
HOLIDAY DONATION DRIVE - SUPPORT MSW - DO YOUR PART TO KEEP THIS GREAT FORUM GOING! (Only 13 donations so far - C'mon guys!)
×


Jeff-E
-
Posts
699 -
Joined
-
Last visited
Content Type
Profiles
Forums
Gallery
Events
Everything posted by Jeff-E
-
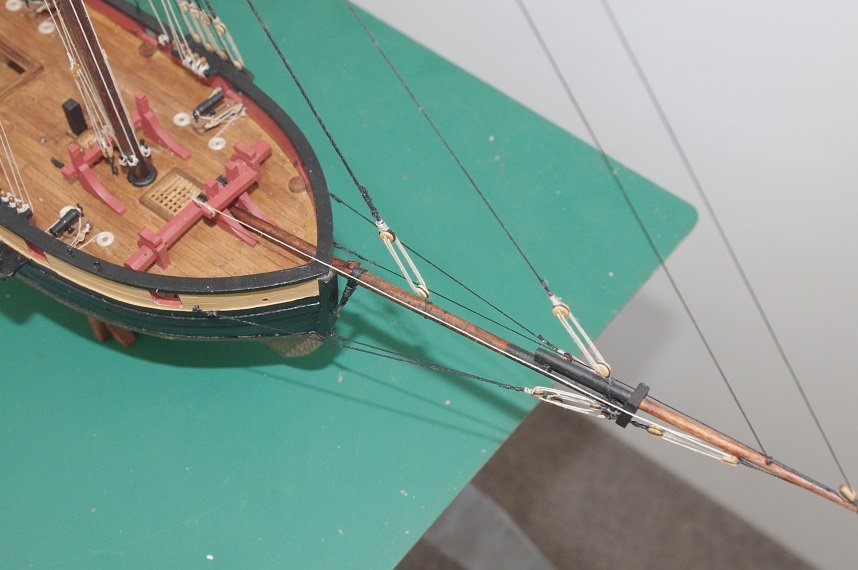
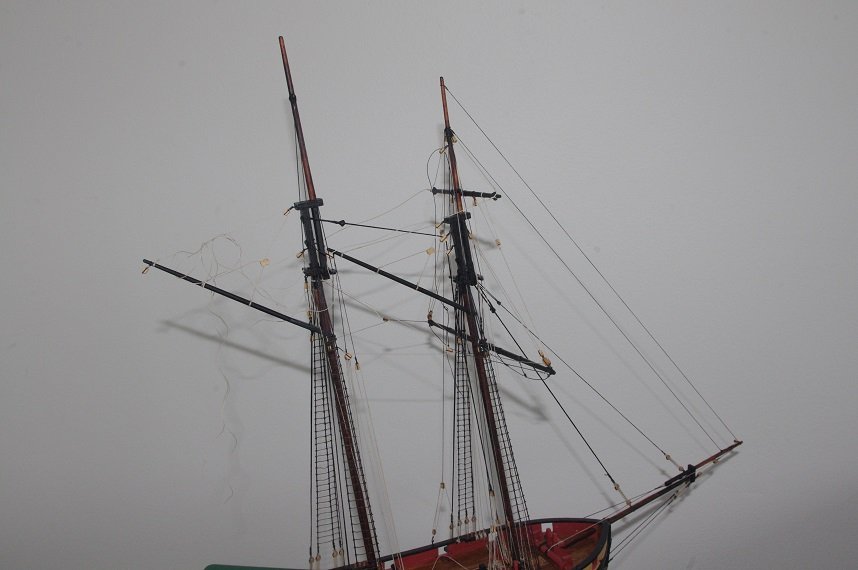
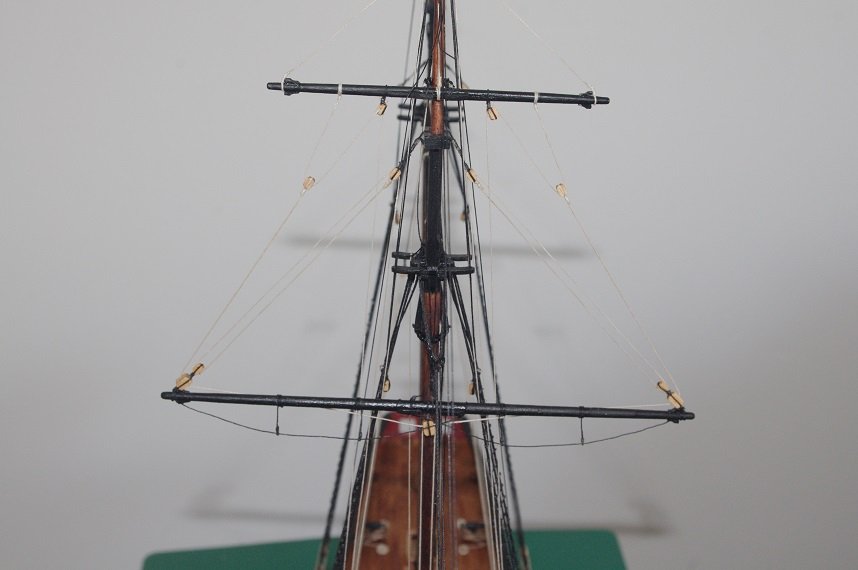
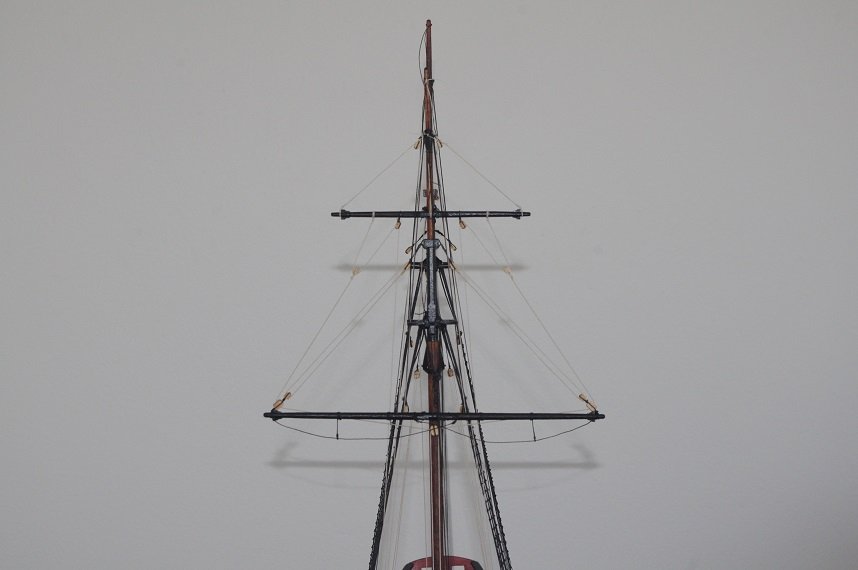
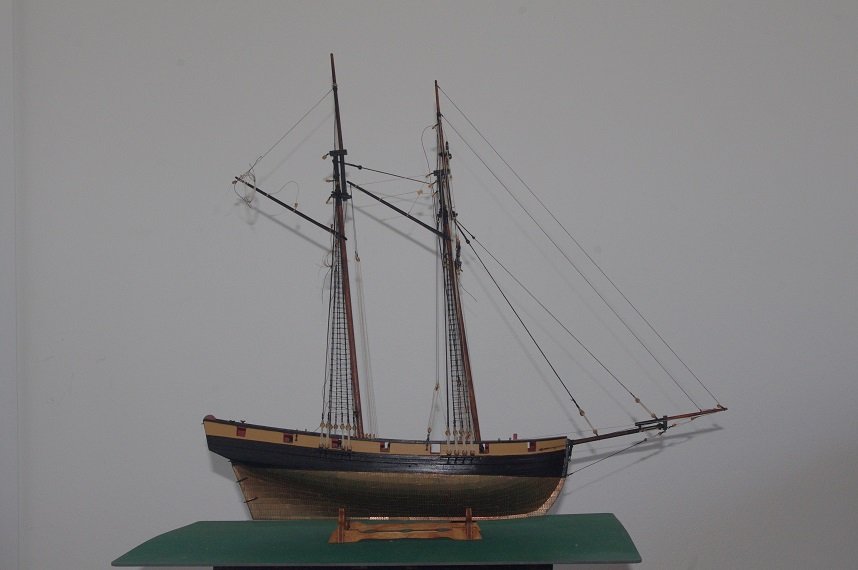
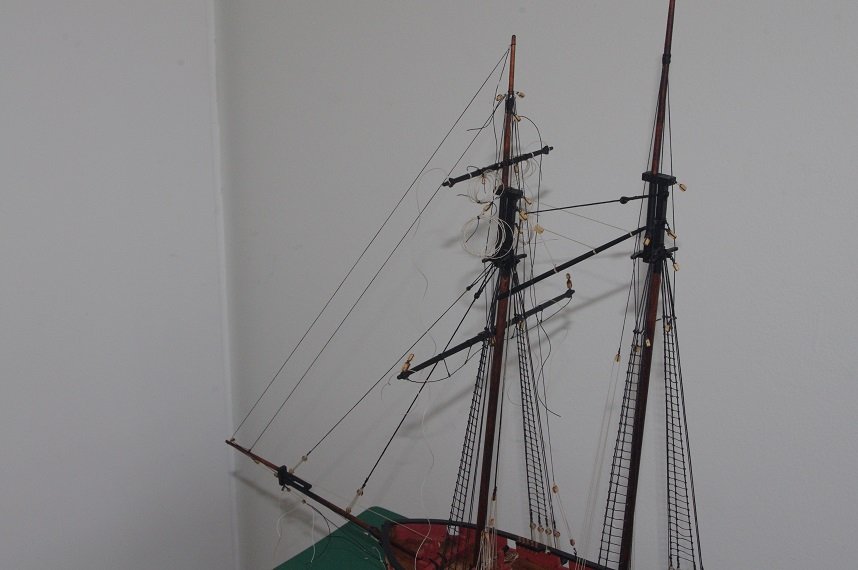
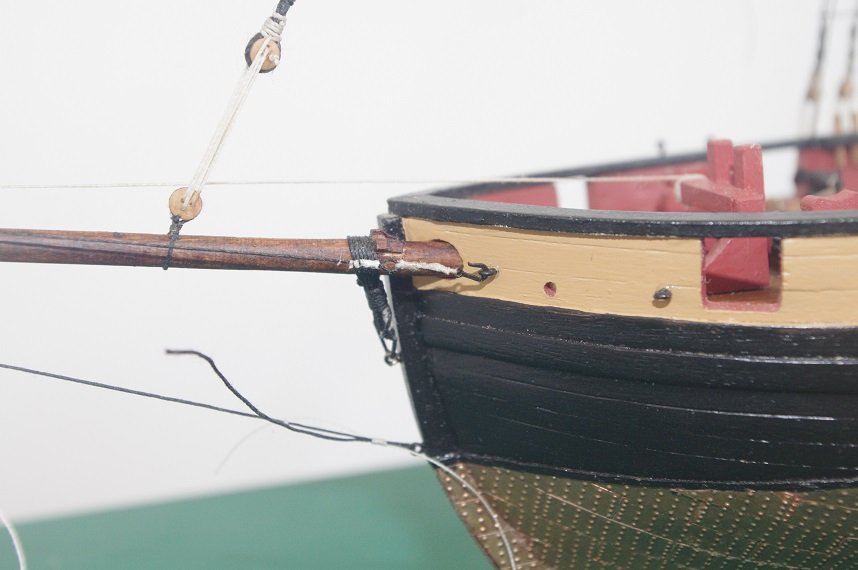
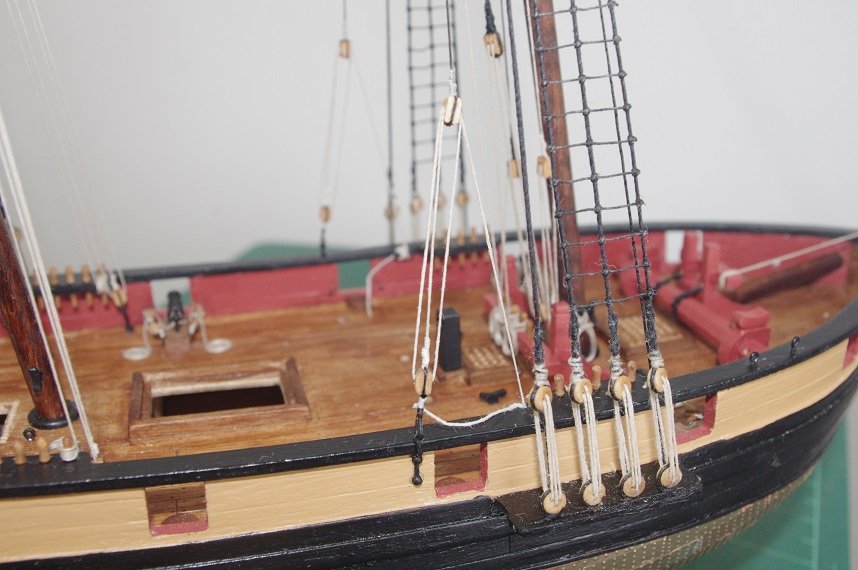
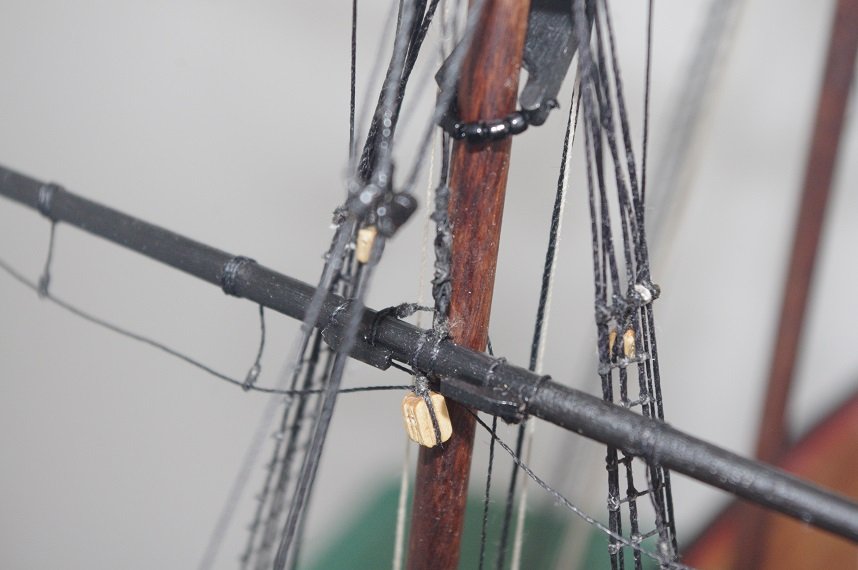
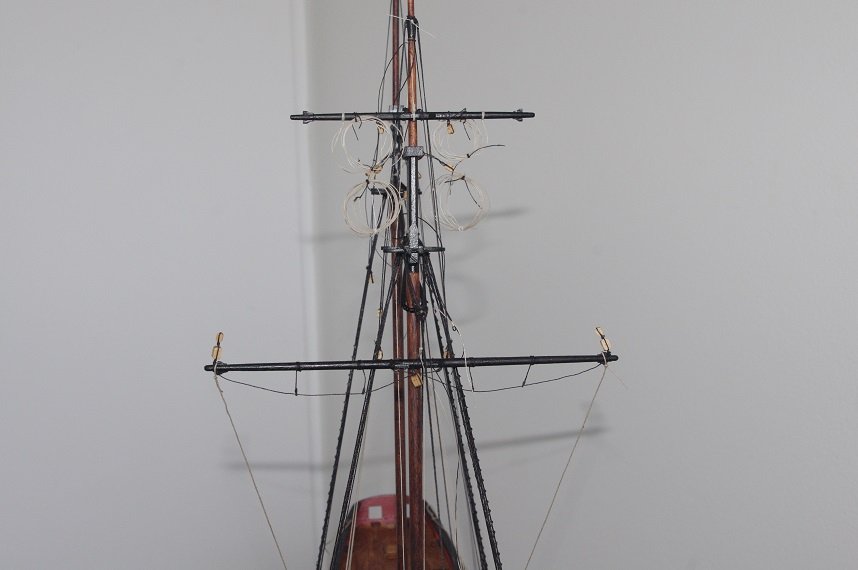
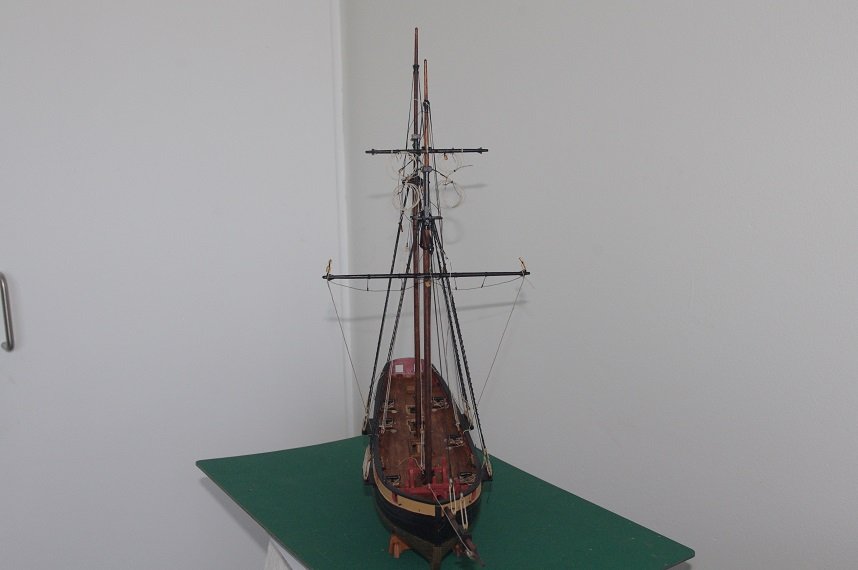
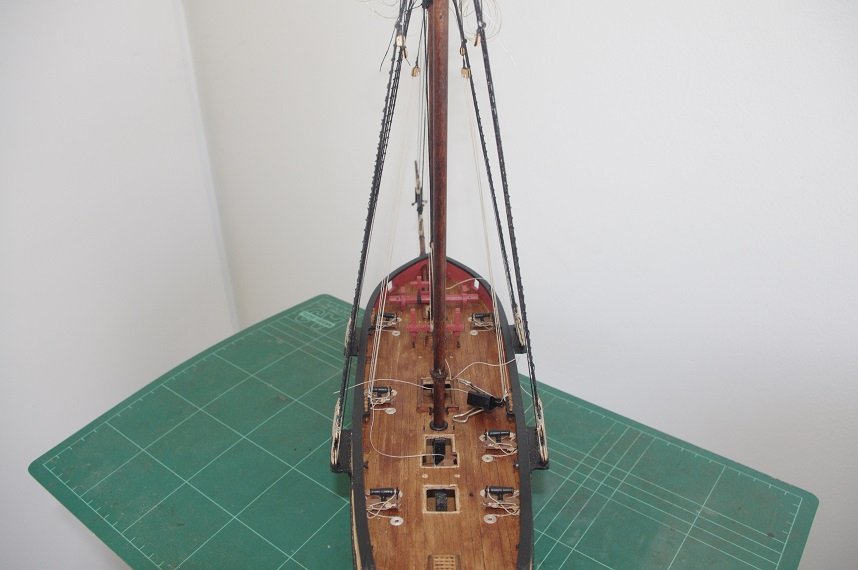
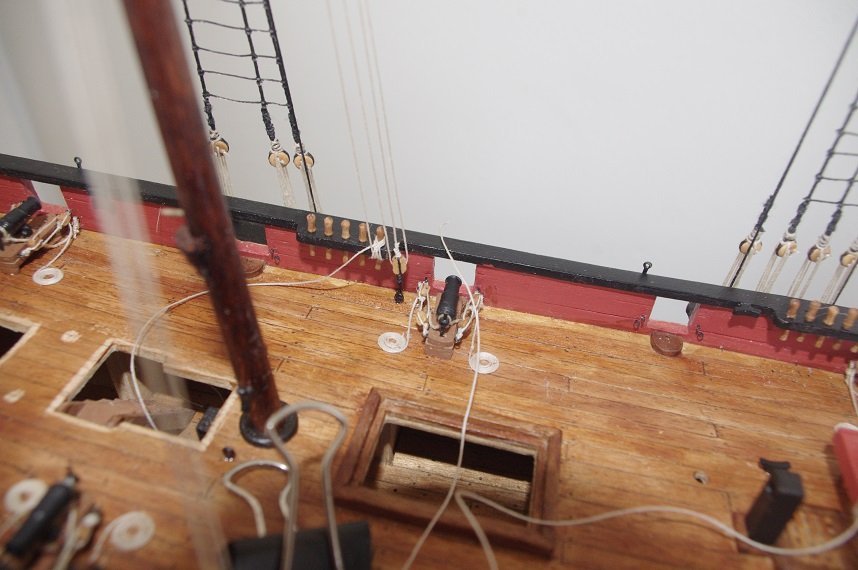
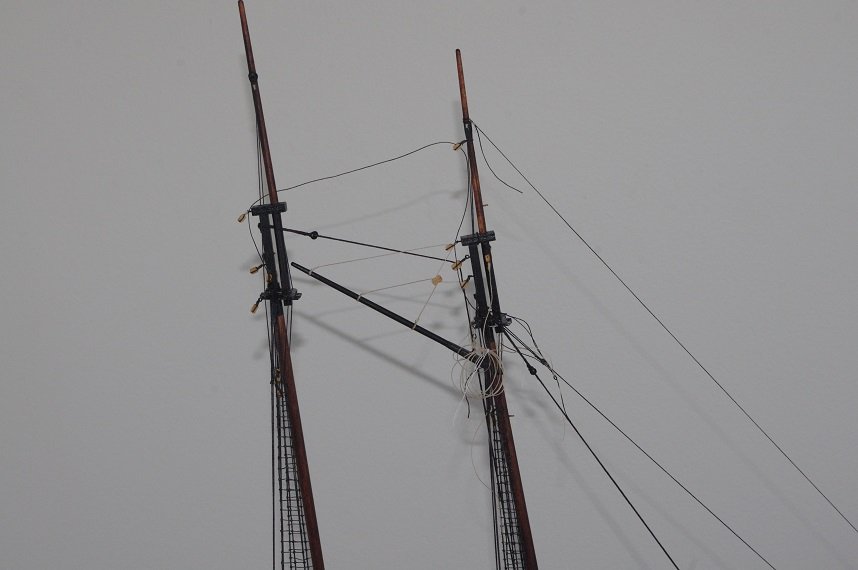
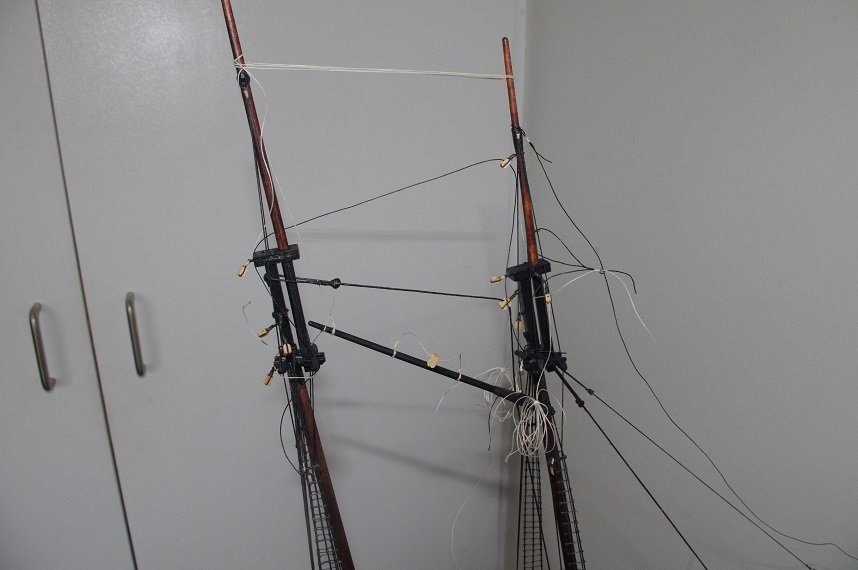
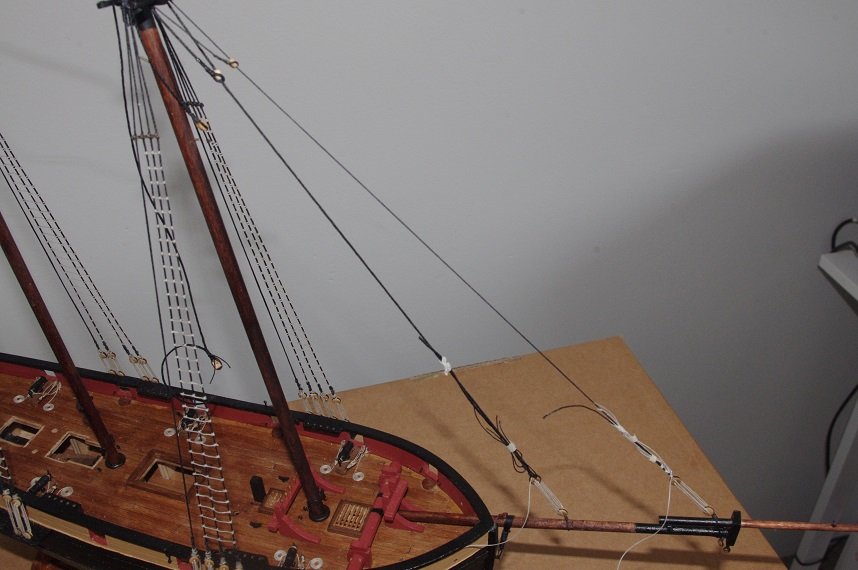
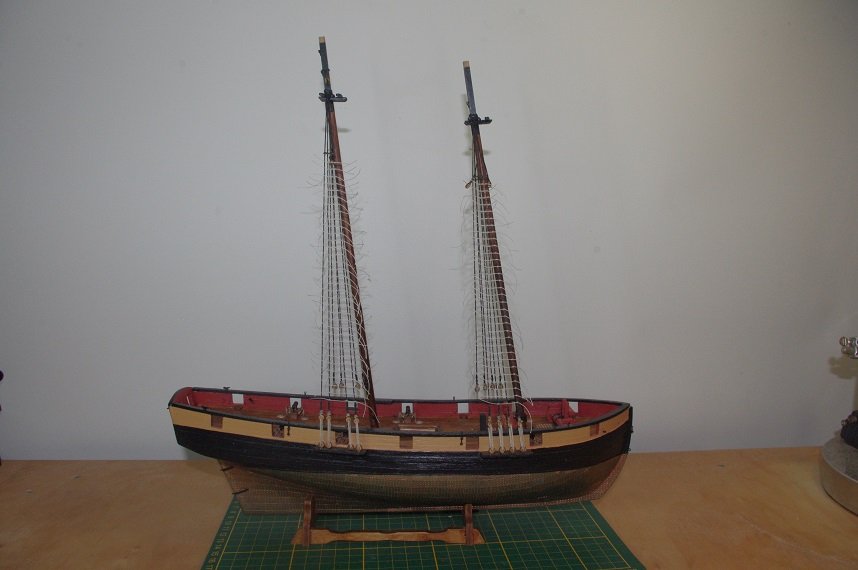
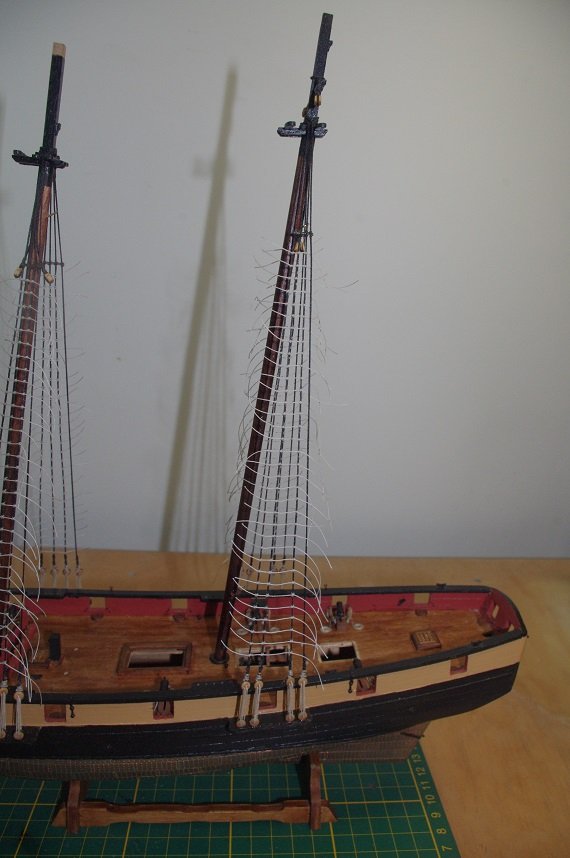
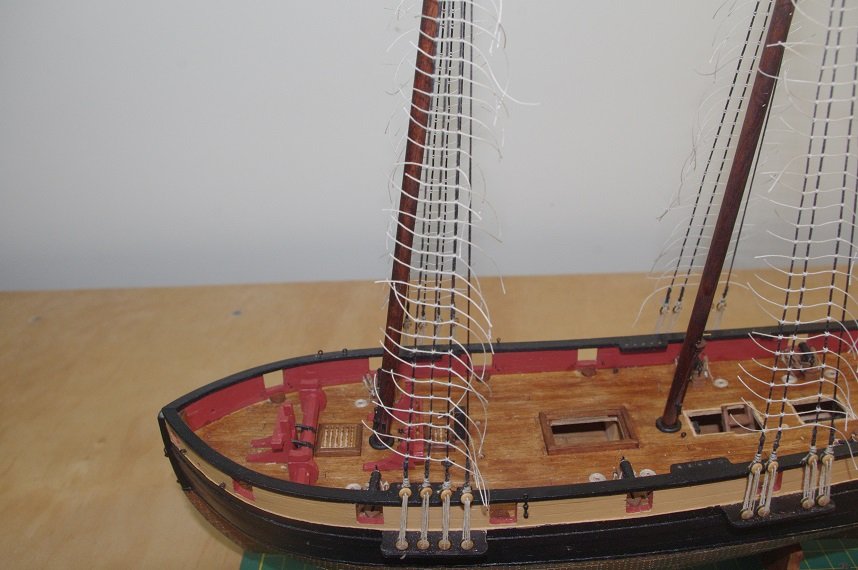
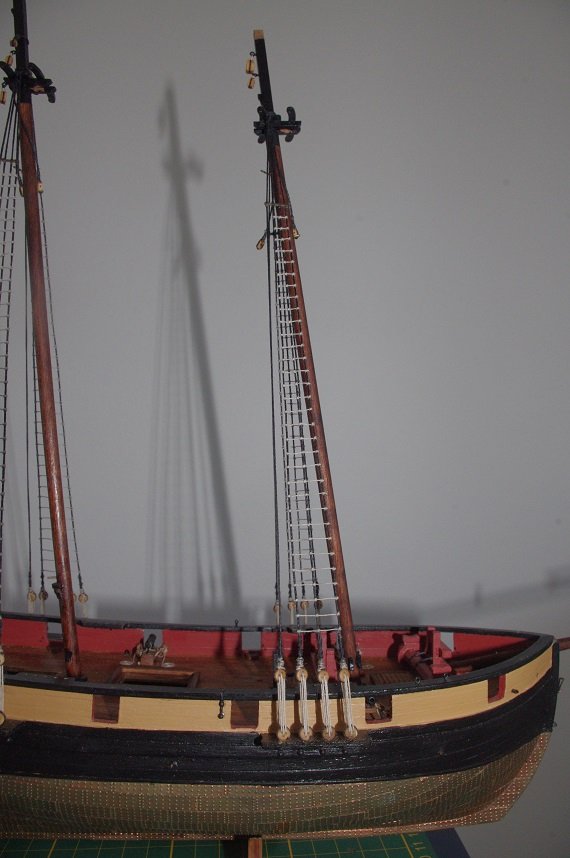
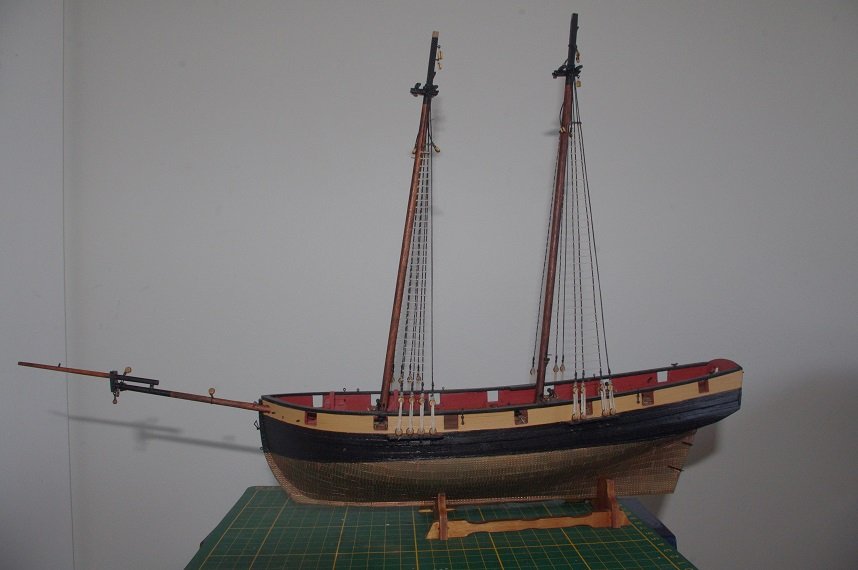
Hello All, The bowsprit shrouds have been set up these are rigged the same way as the bobstay with the exception that they are hooked into the eyelet in hull instead of being seized directly to it. The braces have also been rigged. The foreyard brace standing end is tied to the mainmast below the trestle tree, it then reeves through a 3mm single block attached to a 60mm pendant which is tied to the end of the foreyard it then reeves through another 3mm single block tied to the foremost lower mainmast shroud below the futtock stave and then down to belay on the aft capping rail pin rack. The standing end of the fore topmast yard braces are tied directly to the end of the yard and pass through a 3mm single block seated on the stop cleats on the main topmast and then down to belay on the aft pin rail. They have not been tied off yet. thanks for looking and the likes. all comments welcome.
- 86 replies
-
- 2
-

-
- pickle
- caldercraft
- (and 1 more)
-
Hi Mark, Looks like your restoration is off to a good start after your misadventure, this ship will be my next build but from a different manufacturer.
- 15 replies
-
- 1
-
-
- supply
- artesania latina
- (and 1 more)
-
Thank you very much Eamonn Hello All, The sheet and clue lines were next to be rigged on the foremast. The sheets are made from 0.5mm tan thread, they have a 3mm single block seized into one end an reeve down through the 5mm single block tied to each end of the fore yard and then through the 5mm double block tied to the centre of the fore yard and then down to belay on the two cleats attached to front of the foremast. The clue lines are of 0.25mm tan thread, the standing part is tied to the fore topmast yard it passes through the 3mm block on the sheet line and then through the 3mm block tied to the topmast yard and then down to belay on the fore caprail pin rack. The main gaff has also been fitted. It was pinned and glued to the mainmast with 2 part epoxy in the same way as the fore gaff. This gaff was fitted now so that the parrel beads could be fitted to it before the foreyard braces are fitted which would have made access to this area difficult. The braces will be fitted next. Thanks for looking and the likes. All comments welcome.

- 86 replies
-
- 3
-
-
- pickle
- caldercraft
- (and 1 more)
-
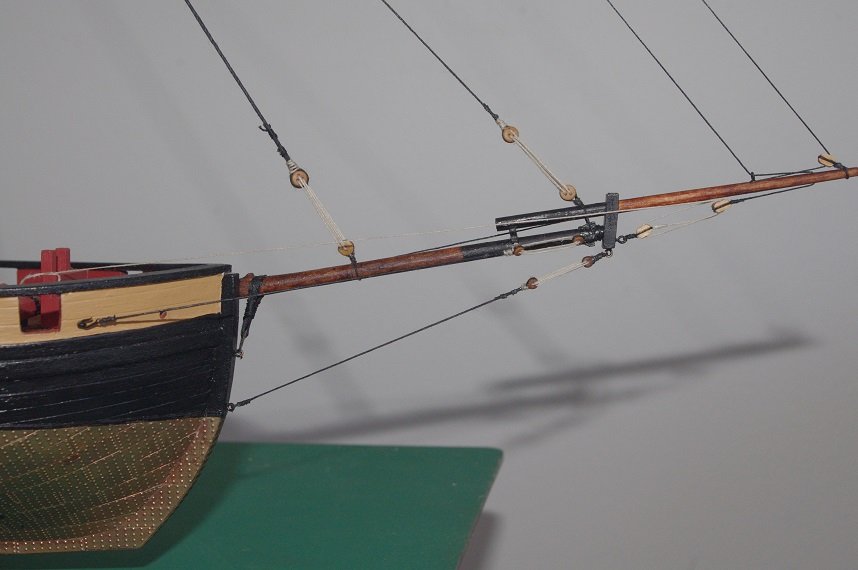
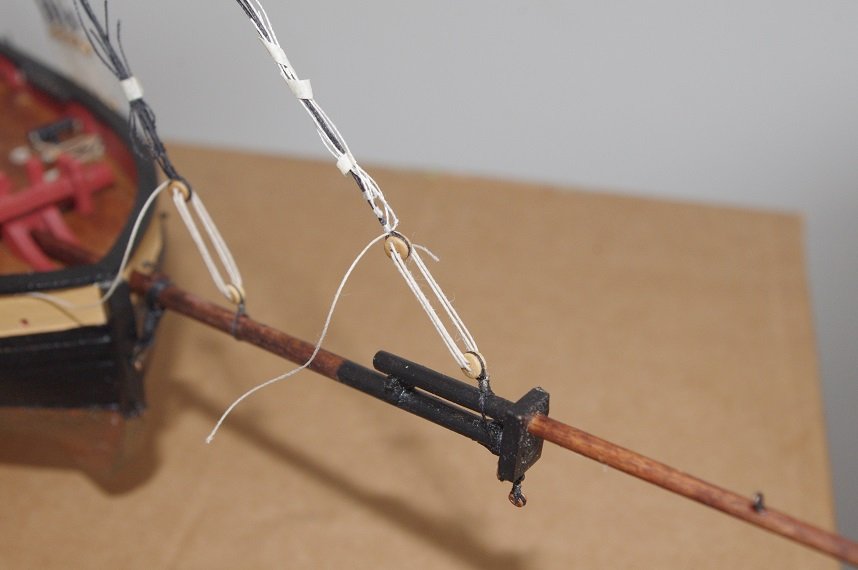
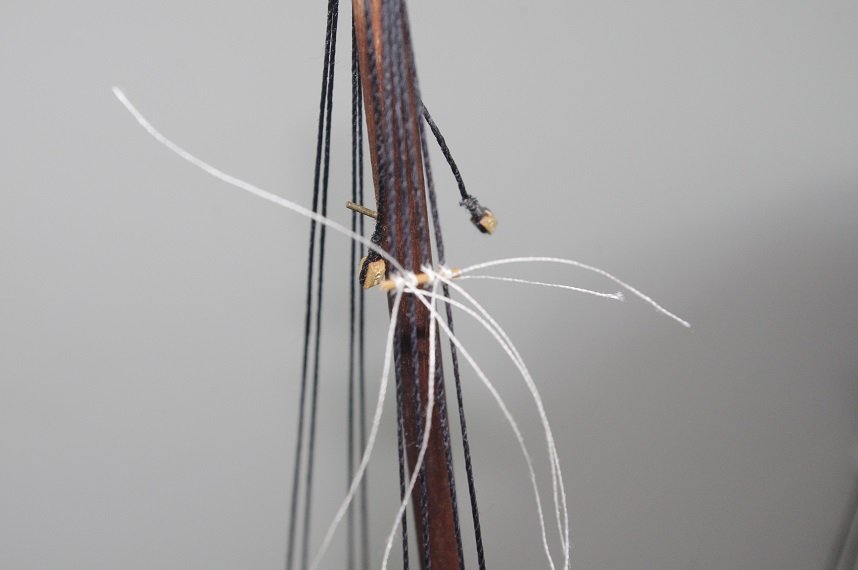
Hello All, The fore topgallant stay was the next line rigged, it runs from the top of the fore topmast through a 3mm block attached to the end of the bowsprit and then runs back to the bow, an eye is formed into the end of the stay and it secured to the eyelet in the bow by a short lanyard and a hook. The bobstay has also been fitted to the bowsprit, it is seized to an eyelet in the stempost and a 3mm deadeye is tied to the other end of it, it is the rigged to the 3mm deadeye attached to the bowsprit cap. The foreyard and the fore topmast yard lifts have also been rigged. The fore topmast yard lift standing end is secured to each end of the yard and passes through a 3mm single block,which is attached to the topmast with a cut splice seated on the hounds and then down to the deck to belay on the capping rail pin rack. The standing ends of the foreyard lifts are seized to the end of the 3mm single blocks which are attached to the centre of the mastcap. The running end reeves through the 3mm block attached to each end of the yard and back through the block on the mastcap and down to belay on the capping rail pin rack. The foreyard lifts belay to the first pin and the fore topmast yard lifts belay to the second one. Comments always welcome. Thanks for looking and the likes.

- 86 replies
-
- 5
-
-
- pickle
- caldercraft
- (and 1 more)
-
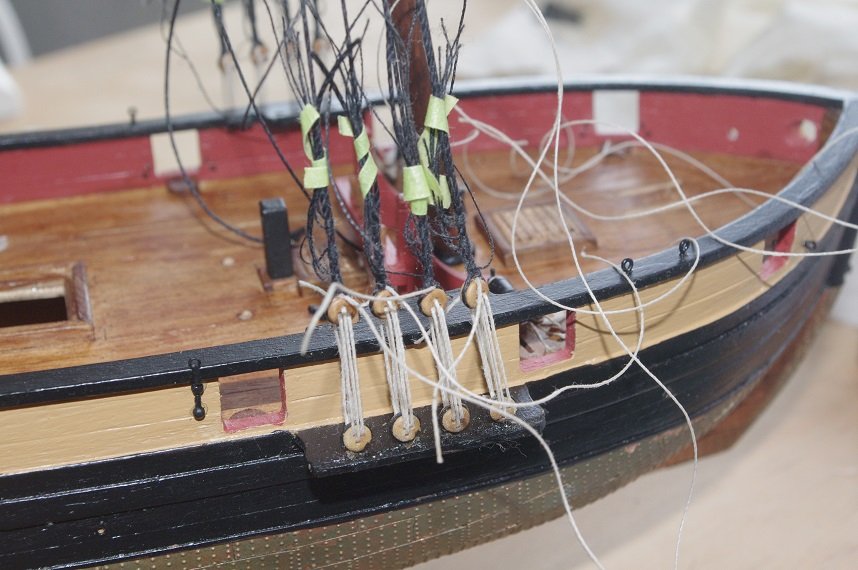
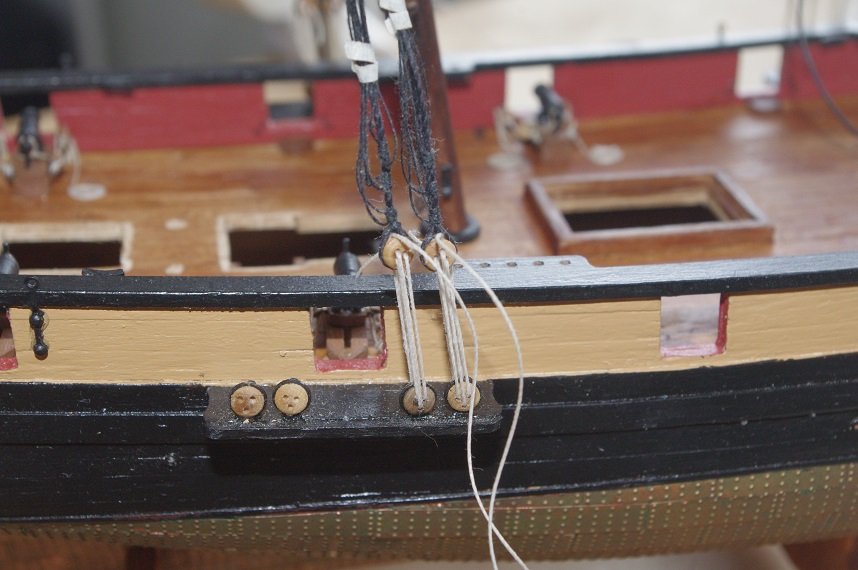
Hello All, The fore topmast backstays were fitted next. There is one stay port and starboard, they are made from 0.25mm black thread and they seat down on the hounds on the topmast. The starboard side is rigged first. An eye is formed in one end which goes over the mast and a 3mm double block is seized into the other end about 50mm from the cap rail and a single 3mm block which is hooked into the bracket on the hull and has 0.25mm tan thread attached to it are rigged together and belayed to the cleat on the inner face of the rail. All comments welcome Thanks for looking and the likes. Lest We Forget.
- 86 replies
-
- 3
-
-
- pickle
- caldercraft
- (and 1 more)
-
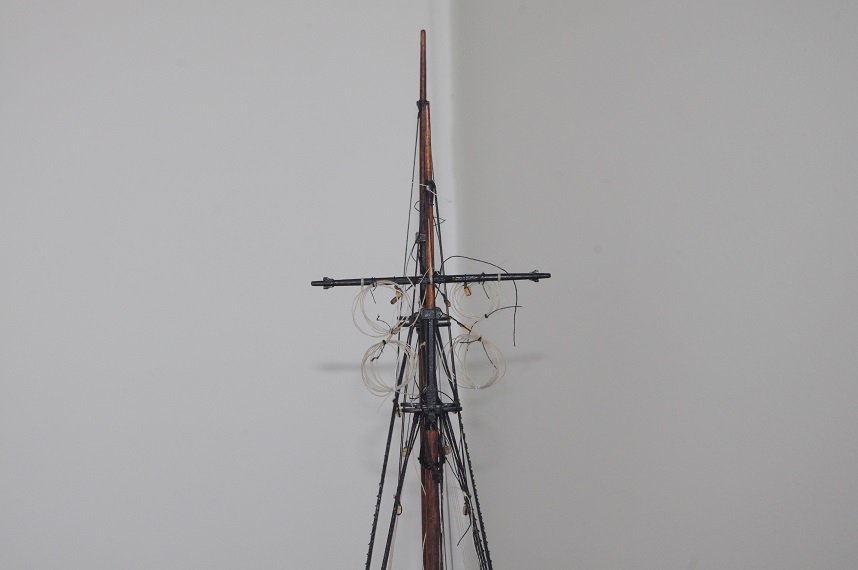
The fore yard is held onto the mast by a yard sling and truss pendant. The upper half of the sling sits down on a stop cleat on the aft side of mast head and passes around the mast and down through the trestle tree so that the eye in the end of it sits about 7mm above the eye attached to the centre of the yard, these are reeved together with 0.1mm thread. One half of the truss pendant is tied to the yard inside the port sling cleat with a small eye formed in it the other half of the pendant is tied to the starboard side of the yard and passes around the back of the mast through the eye and down the port side of the mast, a 3mm double block is tied to the end of the truss approximately 40mm from the deck and is rigged to a single block which is hooked into the port eyelet at the base of the mast and belayed to the fore bitts. Some rope hanks were made and hung over the belaying pins. The hanks were made using Tom Lauriett's method, which can be viewed on youtube, they were quite fiddly to make and get to look presentable as these ones were only 6mm in diameter. Comments always welcomed. Thanks for looking and the likes.
- 86 replies
-
- 3
-
-
- pickle
- caldercraft
- (and 1 more)
-
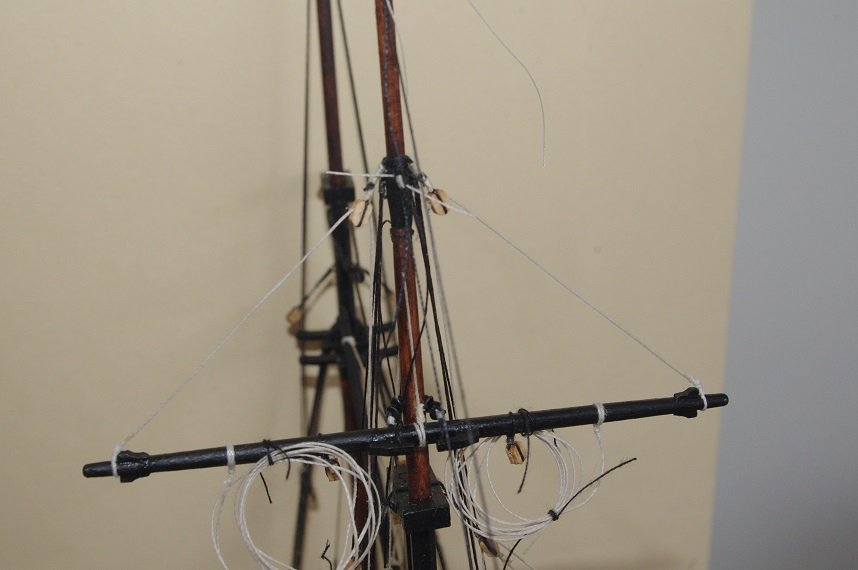
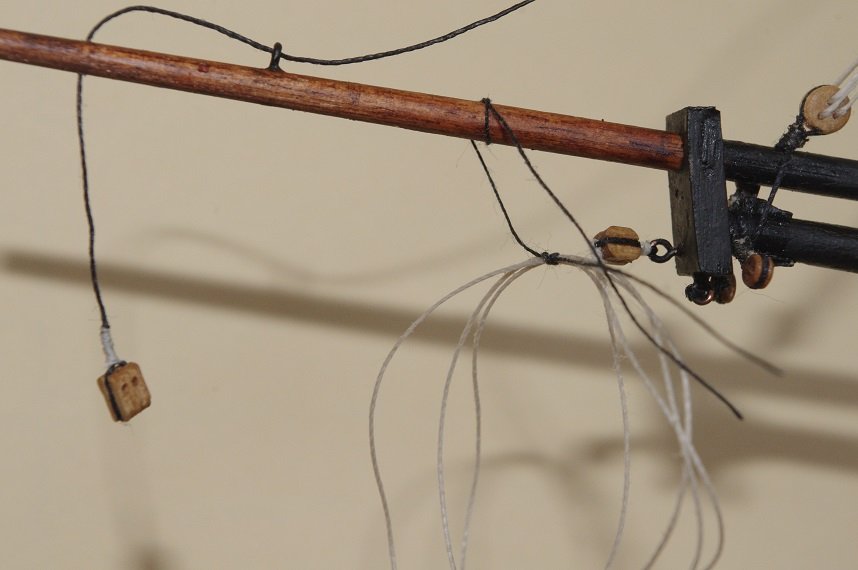
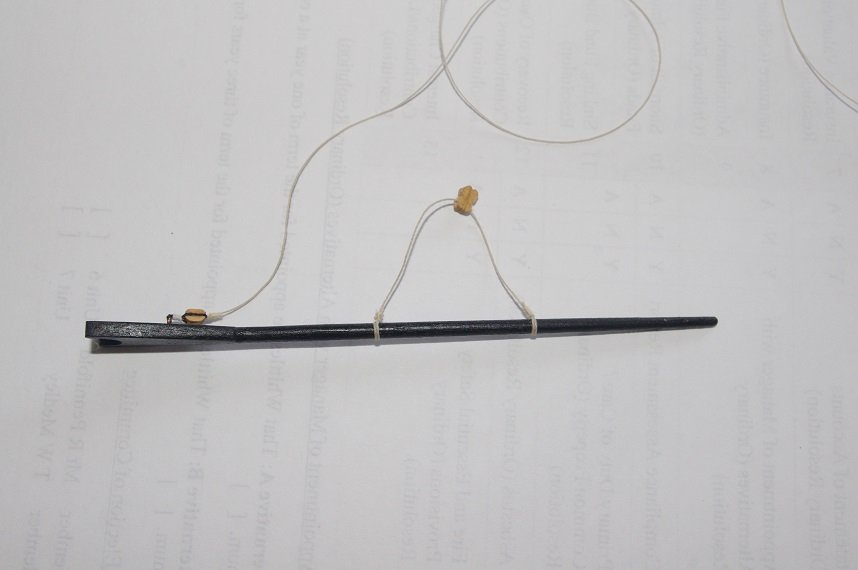
Hello All, The next spar to be fitted was the fore topsail yard, this was pinned to the mast and after the glue had dried the tie and parrel was rigged. The tie is attached to the centre of the yard and it then reeves through a 0.5mm hole in the topmast, it passes down the starboard side of the mast and has a 3mm double block attached to the end of it approximately 45mm from the deck, a single block which is hooked into the starboard eyelet at the base of the foremast with a fall of 0.1mm thread seized to the end of it are rigged together and belayed to the starboard cleat on the mast. The parrel beads and ribs are passed around the mast and seized back onto the yard. The instructions say that 8 parrel beads and 9 single parrel ribs are needed for this but I only needed 5 beads and 6 ribs, if I had used them all I would have ended up with a large gap between the parrel and the mast. The fore yard was added next it was also pinned and glued to the mast, the 2 lines tied to each end are to hold it level while the glue dries.


- 86 replies
-
- 2
-
-
- pickle
- caldercraft
- (and 1 more)
-
The last lines to be rigged to the fore gaff are the vang pendants. The pendants are approximately 70mm long and have a 3mm double block seized into the end of each one, they are attached to the end of the gaff and are rigged with 0.10mm tan thread attached to a 3mm single block and hook which is hooked into the eyelet on either side of the deck just in front of the main pinrail, they are reeved together and belay to the main pinrail. The outer jib stay was also rigged, it is made from 0.25mm black thread seized to the fore topmast at the hounds and passing down through the eyelet in the bowsprit and the through the 0.5mm hole drilled into the bowsprit it then has a 3mm double block seized into the end. A 3mm single block with a fall of 0.25mm tan thread seized to the end of it is attached to the eyelet in the bowsprit cap. The two blocks were then rigged together and the end was belayed to the pawl bitts crosspiece. The tension of the stay was adjusted with the seizing at the mast top. All comments welcome. Thanks for looking and the likes.
- 86 replies
-
- 4
-
-
- pickle
- caldercraft
- (and 1 more)
-
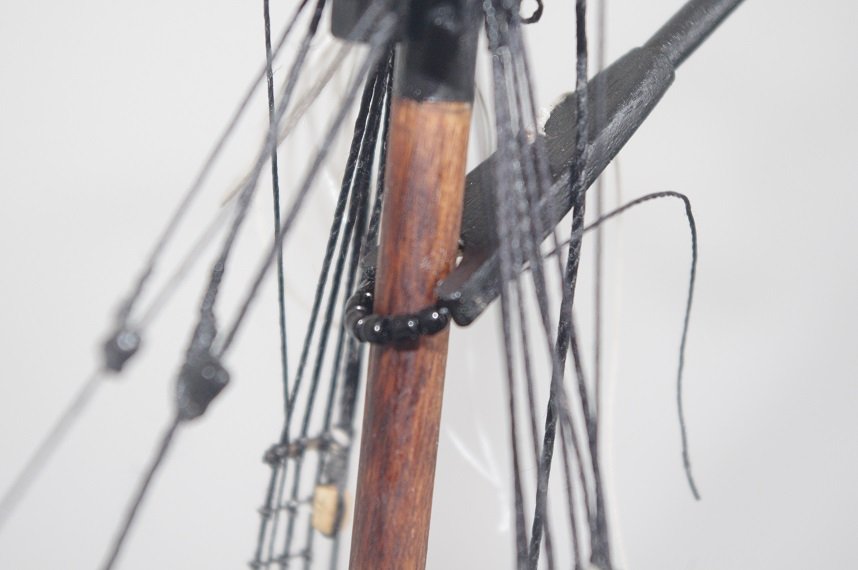
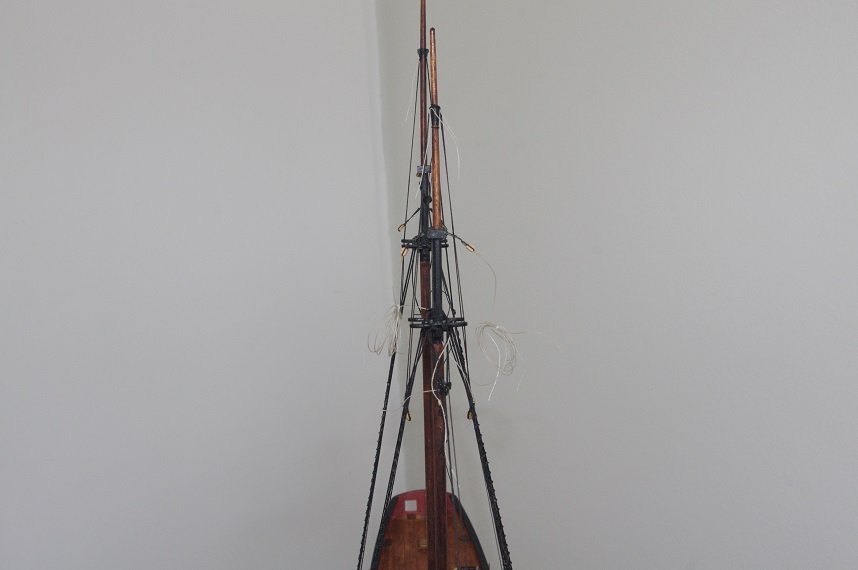
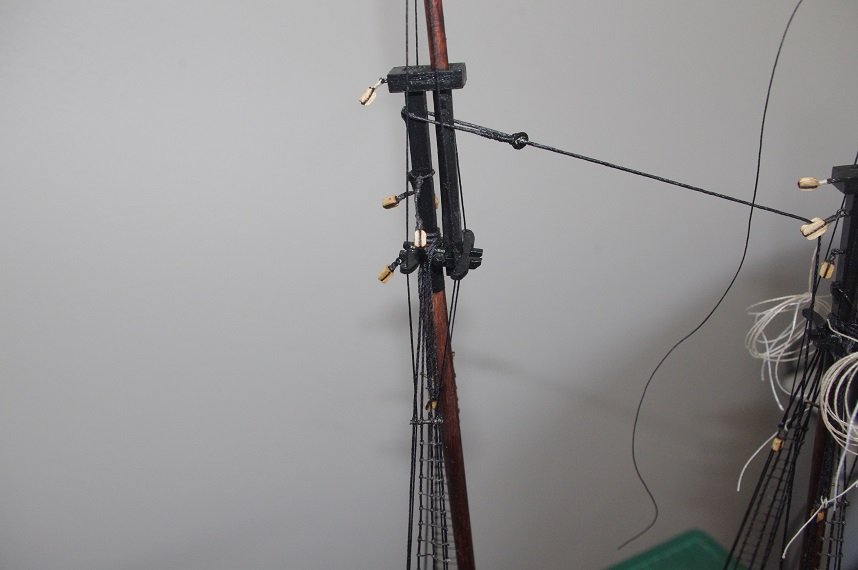
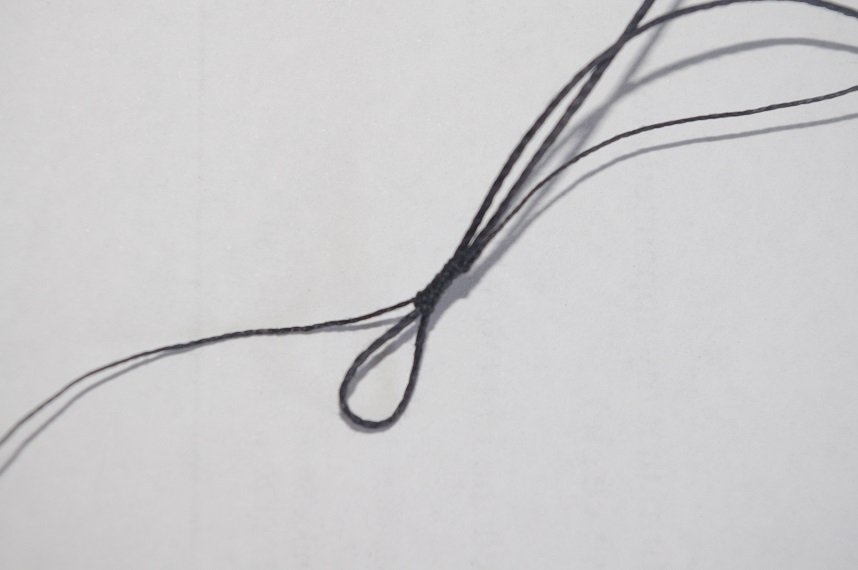
Hello All, The fore gaff has been fitted and rigged. A hole was drilled into the mast, before it was glued onto the ship, and into the jaws of the gaff and a 1mm brass pin was epoxied into the gaff and the mast. The thread wrapped around the mast tops is the fall for the topping lift used to hold the gaff in place while the glue dried. The other slack line coming off the fore topmast is the outer jib stay. The fore gaff does not have a throat halyard but instead has a sling which is set up between an eyelet in the upper jaws of the gaff and a sling of 0.5mm black thread with an eye in each end of it, it is passed around the masthead and one eye is passed through the other forming a slip knot so that one eye ends up approximately 6mm away form the eyelet in the gaff jaws. They will be lashed together with the 0.10mm line attached to the eyelet. The gaff is held onto the mast with a string of parrel beads on a length of 0.25mm thread which passes through a 0.5mm hole drilled at an angle into either jaw of the gaff. Once the epoxy glue was dry (24hrs) the sling was rigged, this will be painted black later, and the topping lift was also rigged. As can be seen the topping lift is attached to the end of the gaff it passes through the single block on the mastcap then through the sister block and down through the single block on the masthead to belay on the fore bitts crosspiece.
- 86 replies
-
- 4
-
-
- pickle
- caldercraft
- (and 1 more)
-
Thanks, Eamonn the rigging is my favourite part of the build.
- 86 replies
-
- 1
-
-
- pickle
- caldercraft
- (and 1 more)
-
Hi Mark You are making good progress with her, for the hooks on the cannon rigging I used thin fuse wire to make mine on my Victory bow section PS the blocks are 3mm and the tags on the eyes of the hooks were trimmed before fitting.

-
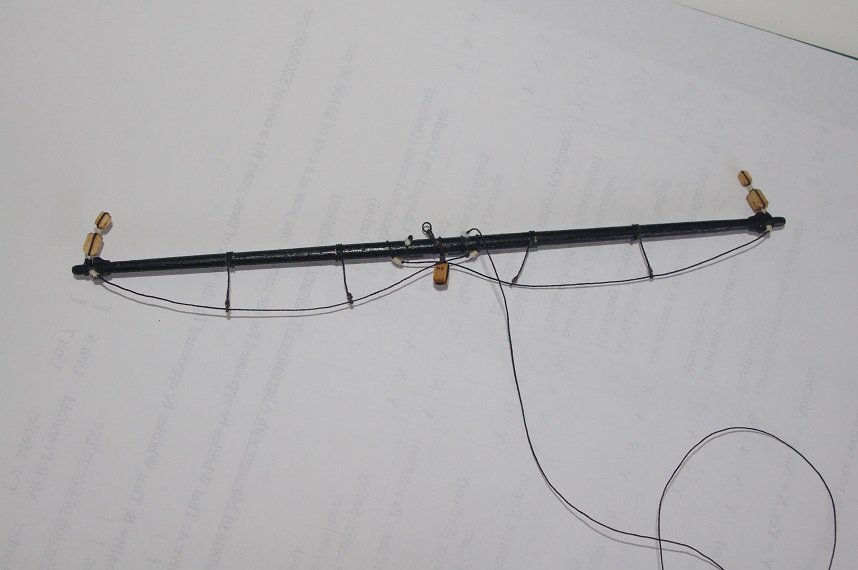
The yards and gaffs have also been painted and rigged ready to be fitted. The fore gaff has a sister block fitted to it on a length of 0.25mm tan thread seized to the gaff an the legs for the vang pendants attached to the end of it. The main gaff also has a sister block attached to it, this is for the topping lift and a 3mm single block with a fall of 0.25mm tan thread for the throat halyard. As can be seen in the above photo the foreyard has the foot ropes fitted these were from 0.25mm black thread as were the stirrups also fitted are the blocks for the yard lift and sheets, the truss pendant and the strop and eye for the yard sling. Comments always welcome. Thanks for looking and the likes.
- 86 replies
-
- 4
-
-
- pickle
- caldercraft
- (and 1 more)
-
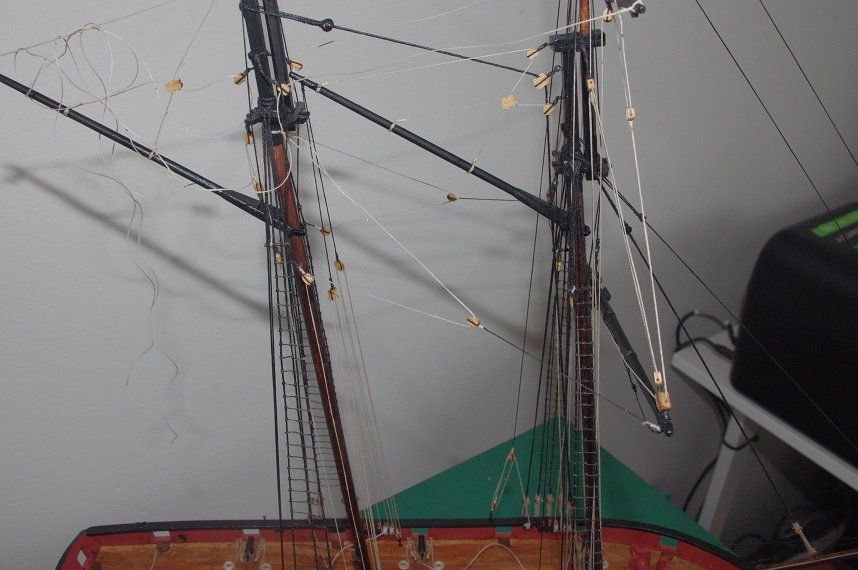
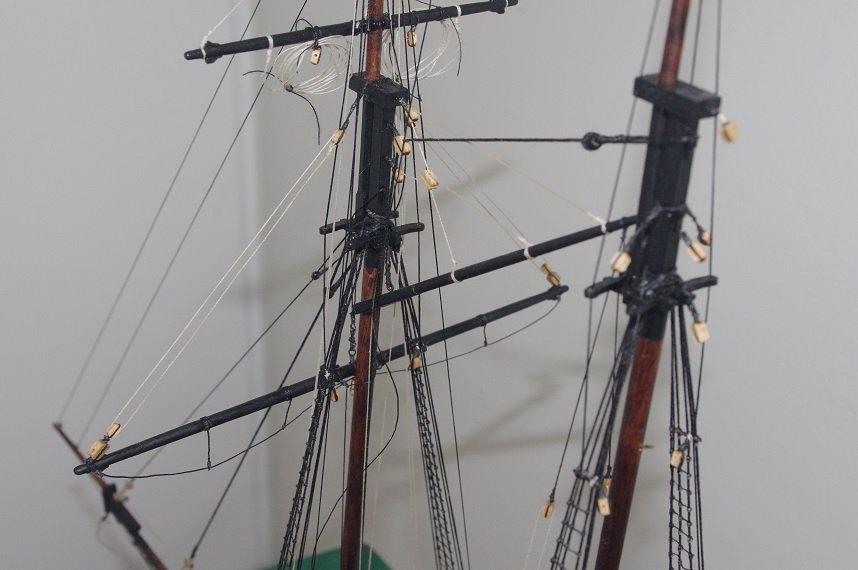
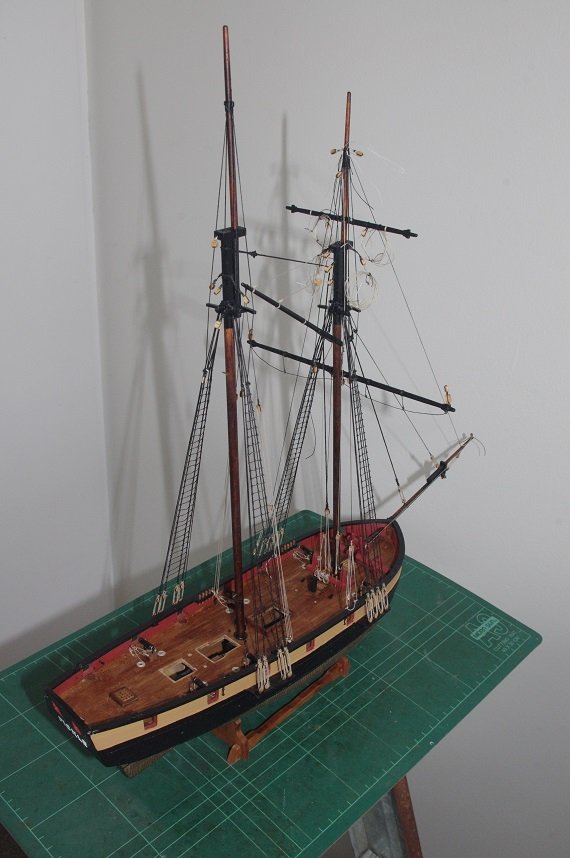
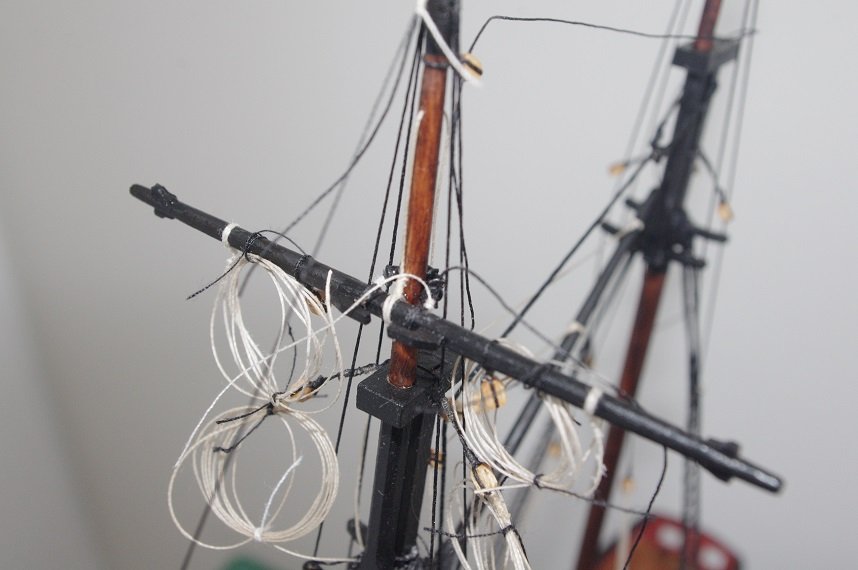
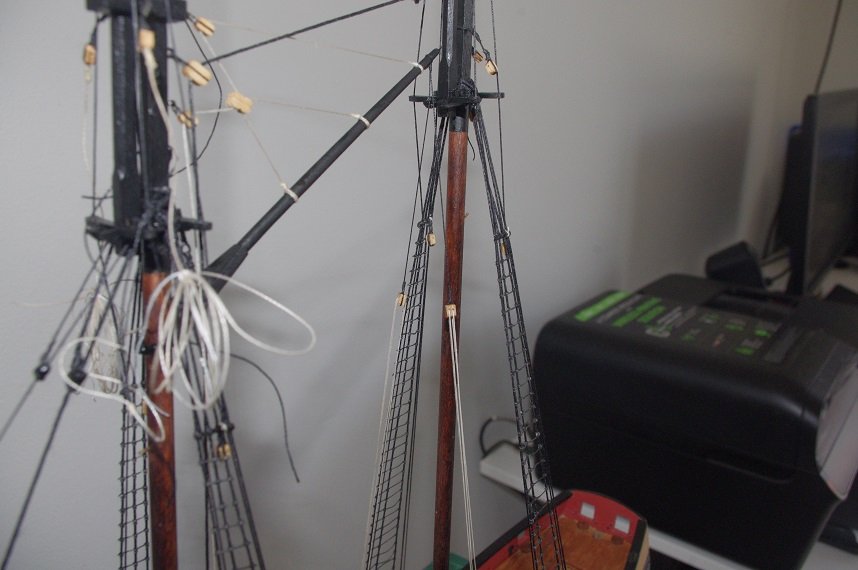
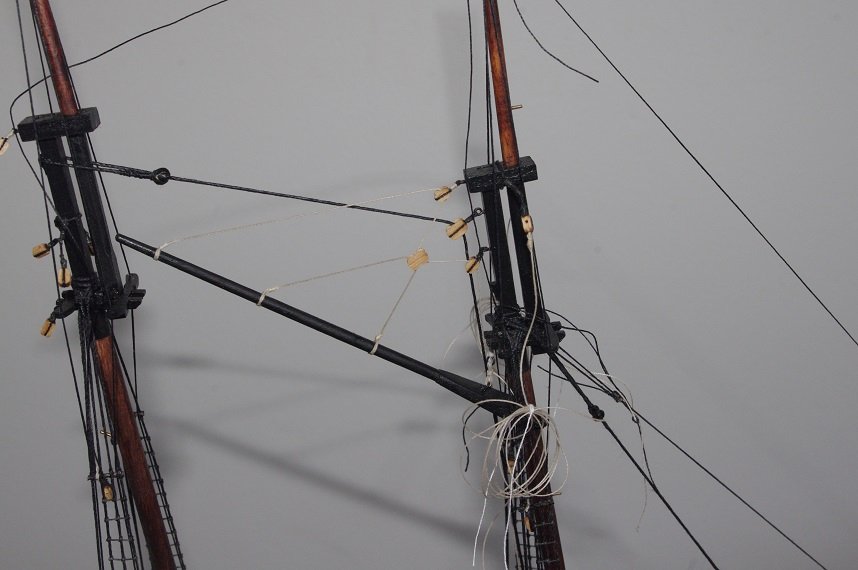
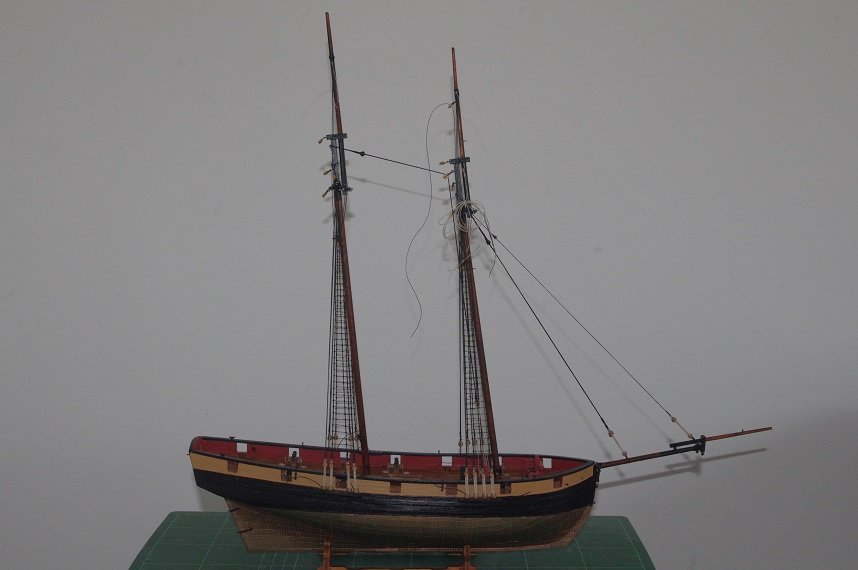
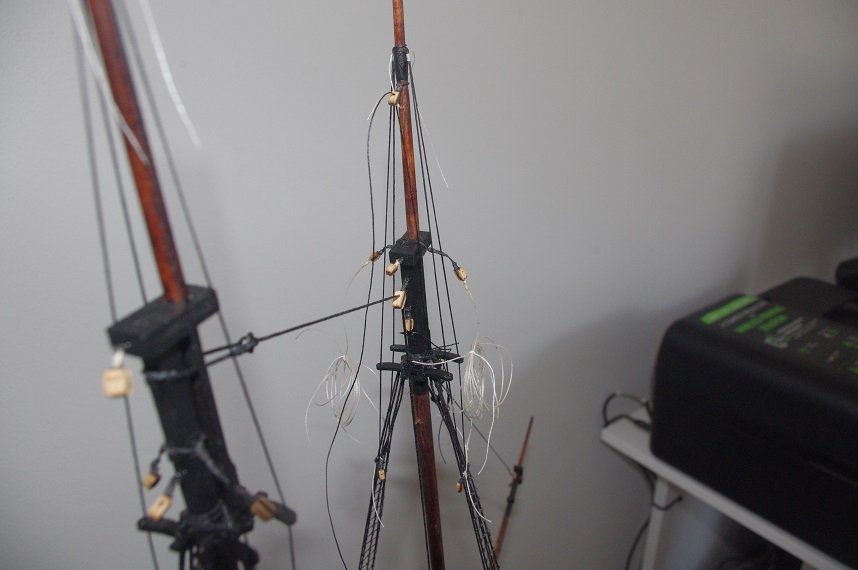
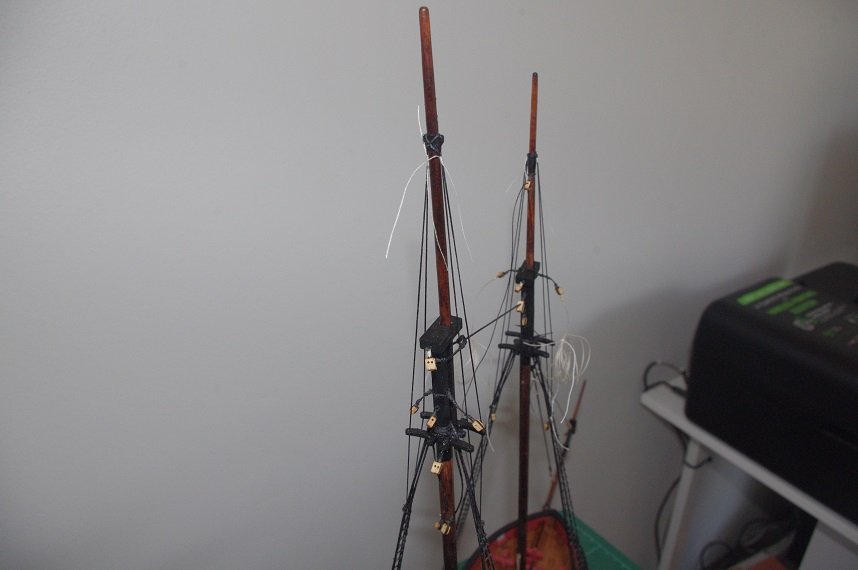
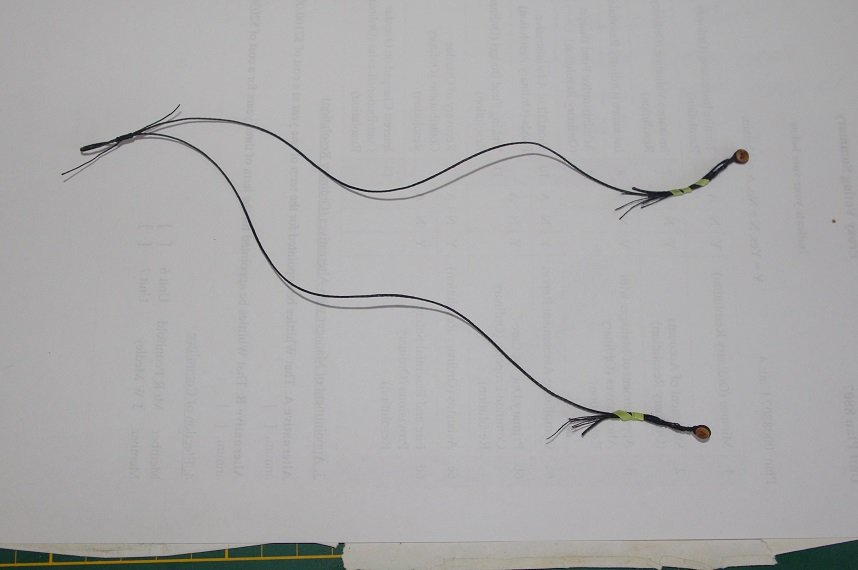
Hello All, The next stage was to fit the fore and main topmasts as well as the blocks and slings that mount on the mast caps and mast heads. The first photo shows the foreyard lift blocks attached to a cut splice of 0.5mm black thread with the falls of 0.25mm tan thread attached to the end of the legs. This assembly fits over the mast cap on the fore mast. The two blocks for the braces of the foretop yard were made in the same way and fitted over the mainmast head the sling for the foreyard was also fitted over the foremast head. The fore and main topmast assemblies were then glued in place and the topmast shrouds fitted. These were made in pairs from 0.5mm black thread and slipped over the mast, resting on the hounds on the foremast and two stop cleats on the main, they thread down through the holes in the trestle trees and are tied off to the base of the fore and aft deadeyes on each channel. The loose line that can be seen is main topgallant stay which is belayed to the forestay collar which is much easier to attach now. It will be rigged to the main topmast later.
- 86 replies
-
- 4
-
-
- pickle
- caldercraft
- (and 1 more)
-
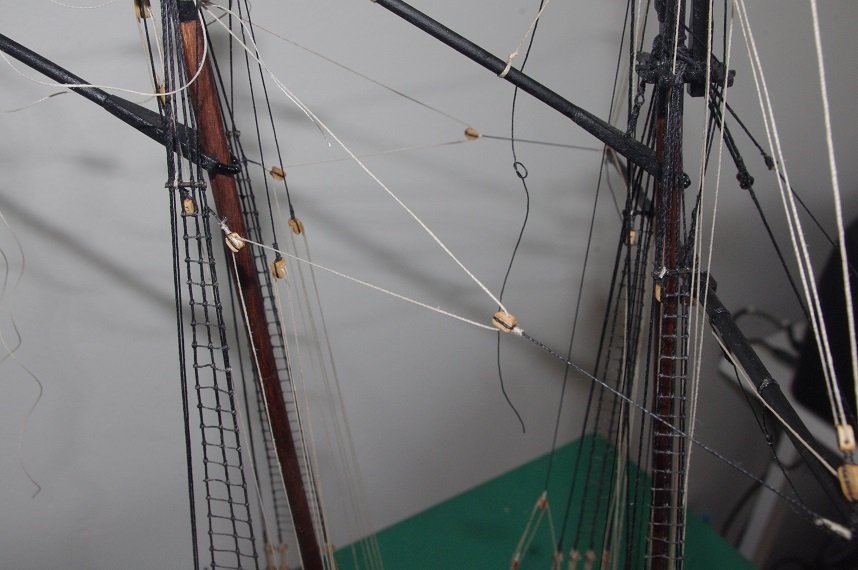
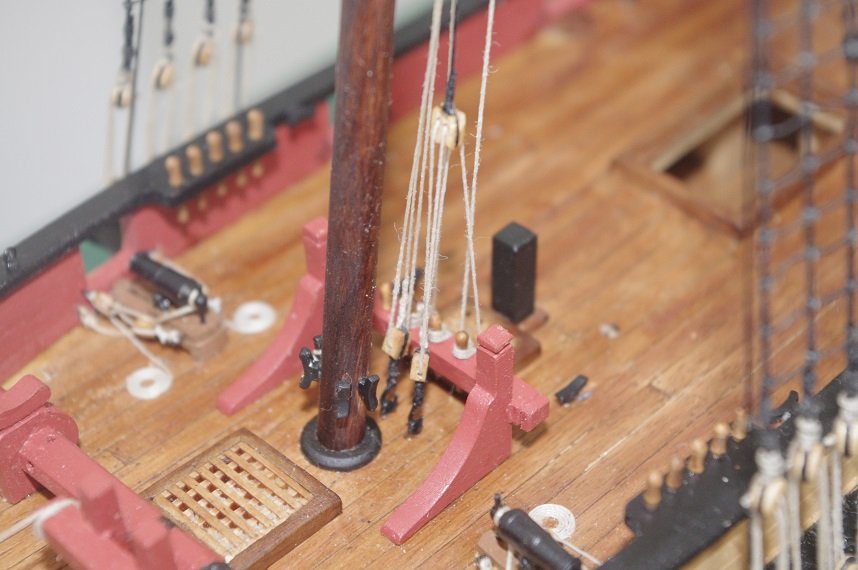
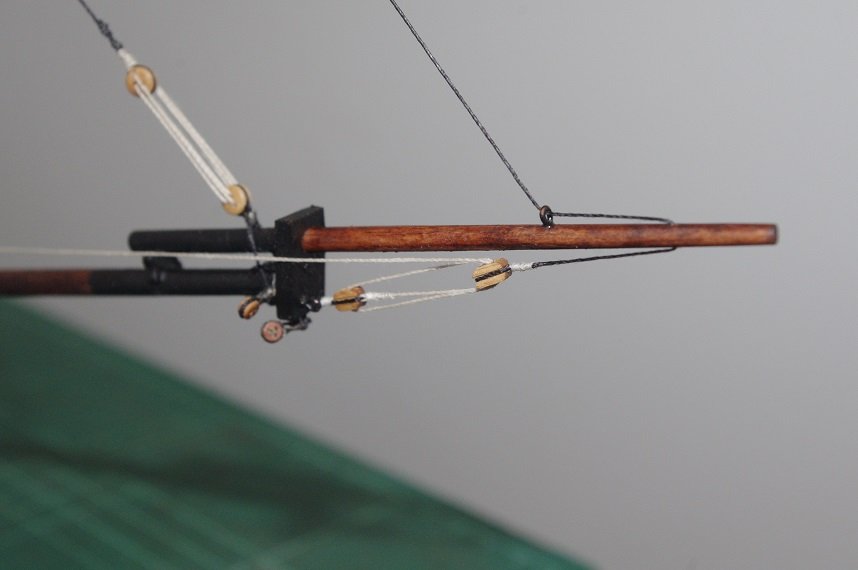
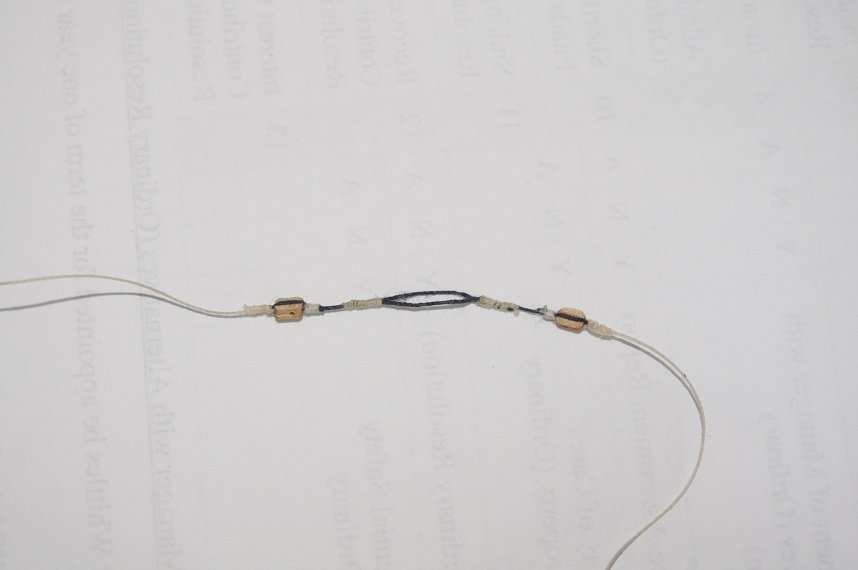
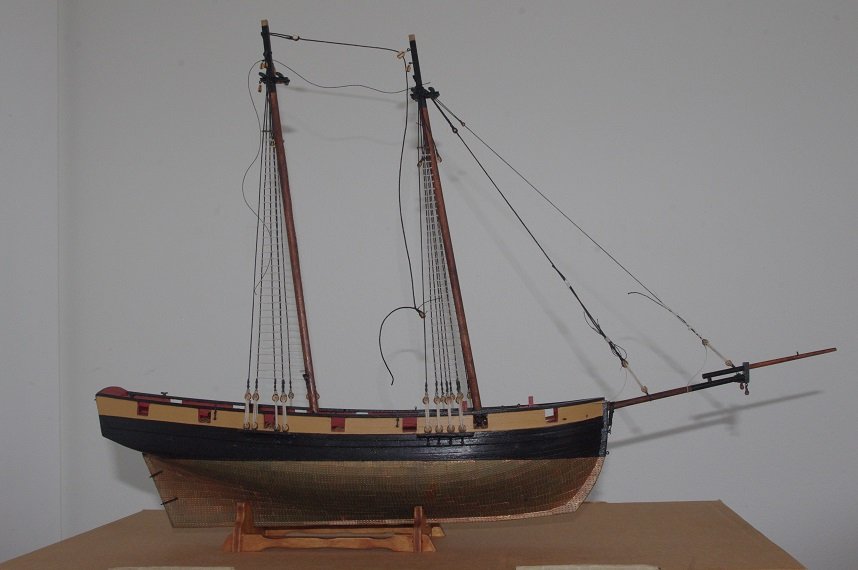
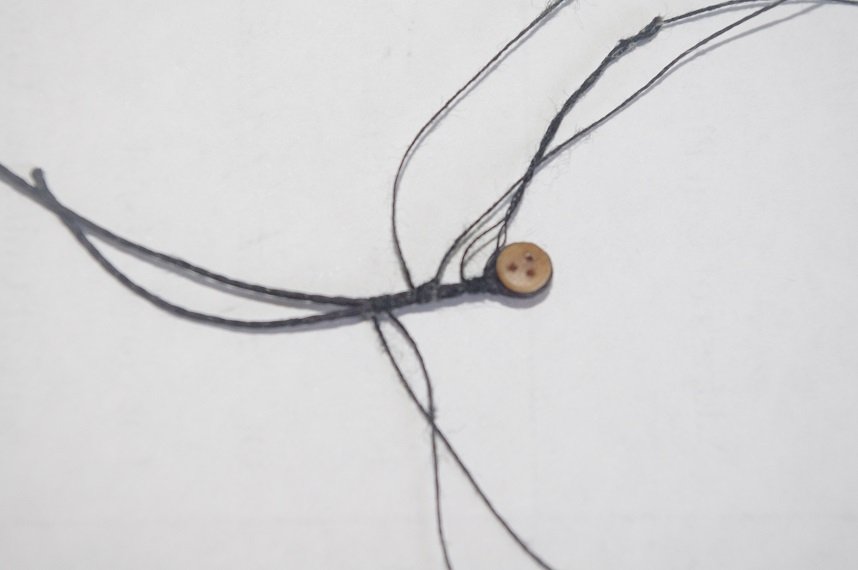
Hello All, A small update. The lower stays have been fitted, they being the forestay, the jibstay and the main or schooner stay. The fore and main stays are made from 1mm black thread and the jibstay is from 0.5mm black thread the 'mice' are made from 3mm dowel drilled and sanded to shape and glued to the stay at the distance stated on the plans, which is 90mm form the eye on the fore and jib stays and 60mm on the mainstay. A deadeye is seized into the ends of the fore and jib stays and reeved to the deadeyes mounted on the bowsprit with 0.25mm tan thread. The mainstay passes through a 5mm block attached to the foremast head and has a 3mm double bock seized into the end of it approximately 70mm from the deck, a single 3mm block with a hook attached is hooked to the centre eyebolt in the deck behind the foremast and is reeved through the double block in the stay and belayed onto the fore bitts. The topmasts and the topmast shrouds will be fitted next. All comments welcome. Thanks for looking and the likes.
- 86 replies
-
- 4
-
-
- pickle
- caldercraft
- (and 1 more)
-
Very nice start, Mark, I will follow along if I may. I also have the Panart 783 kit on the shelf which I hope to start after my next build. Have you considered the Caldercraft figure head as a replacement?
-
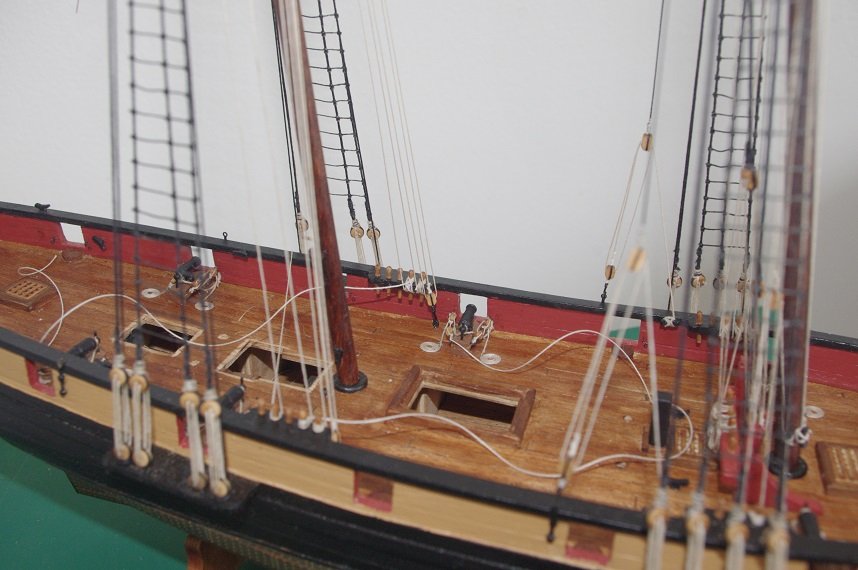
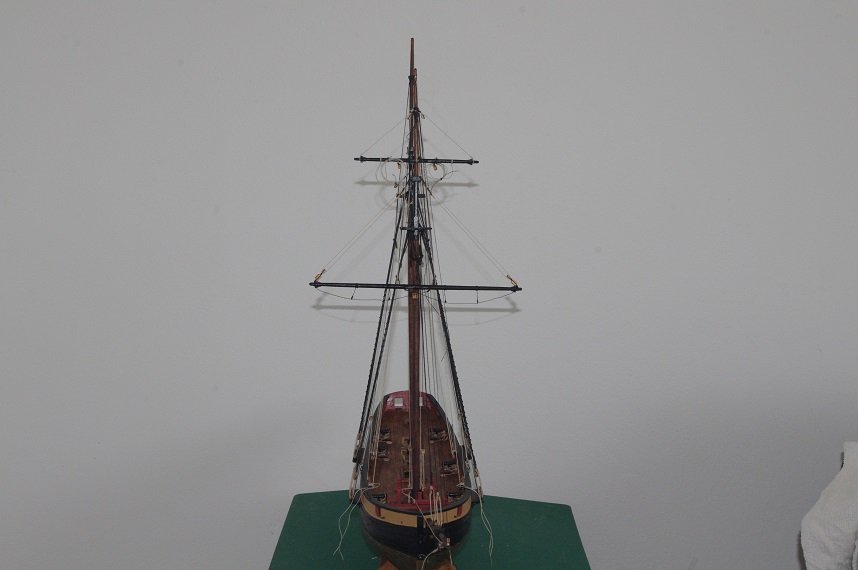
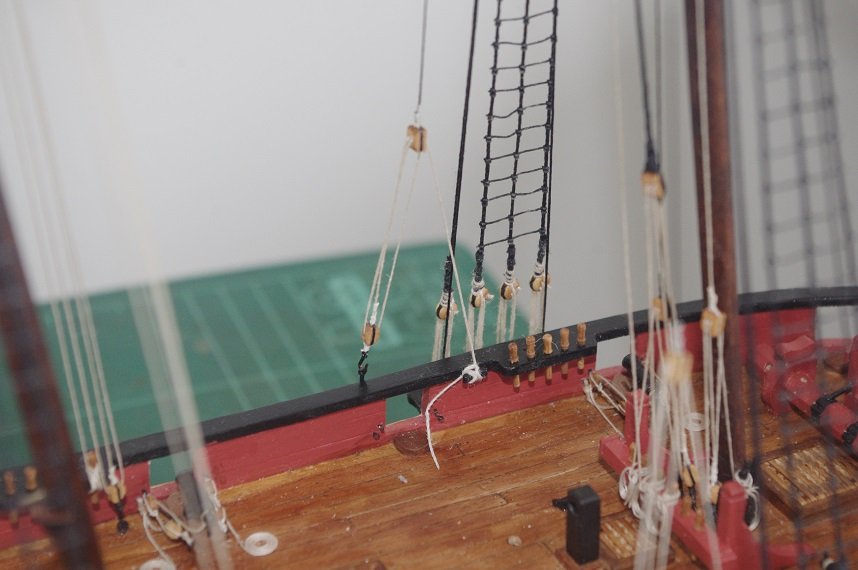
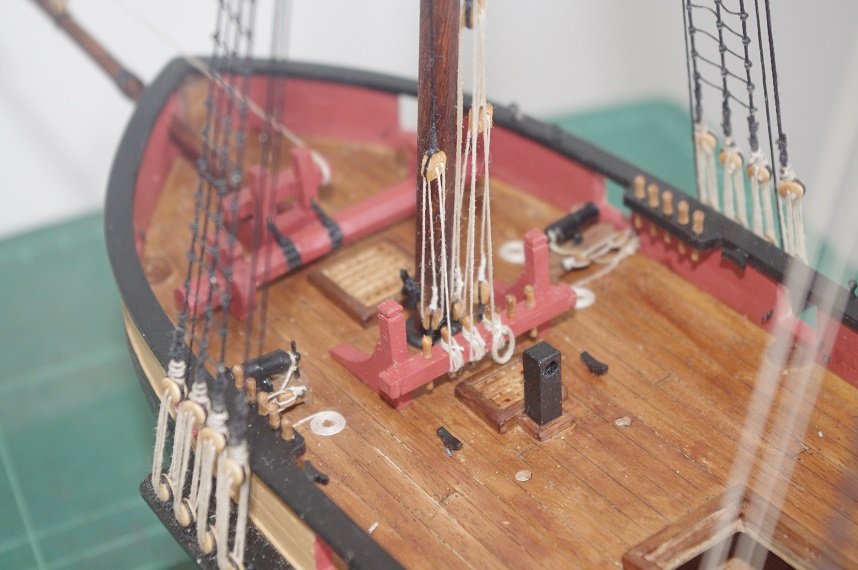
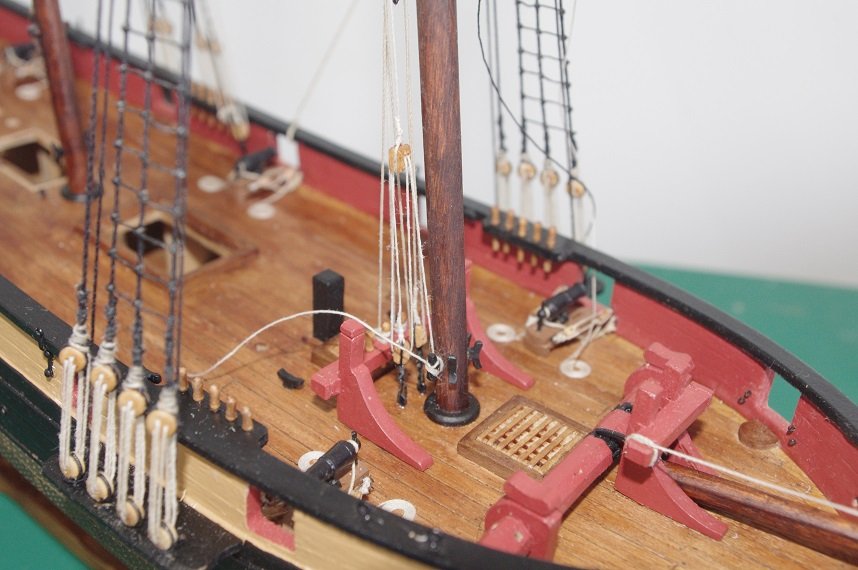
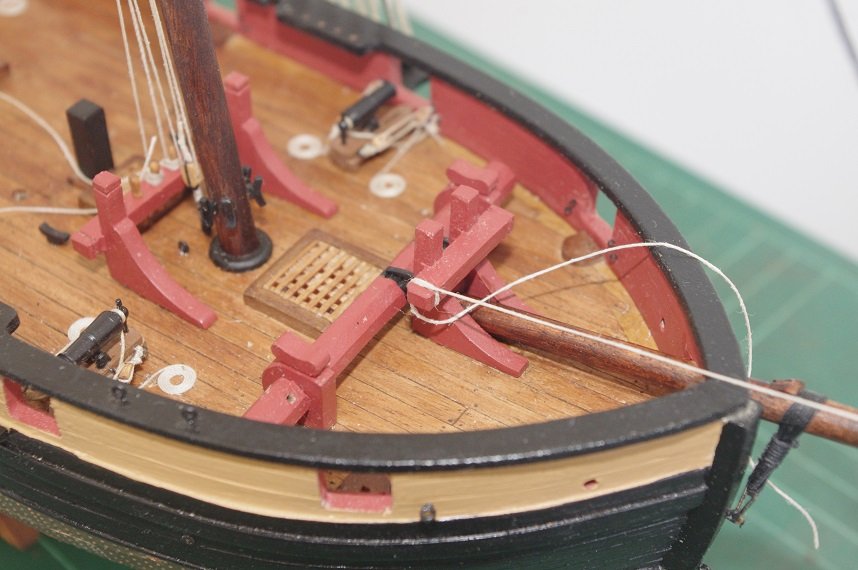
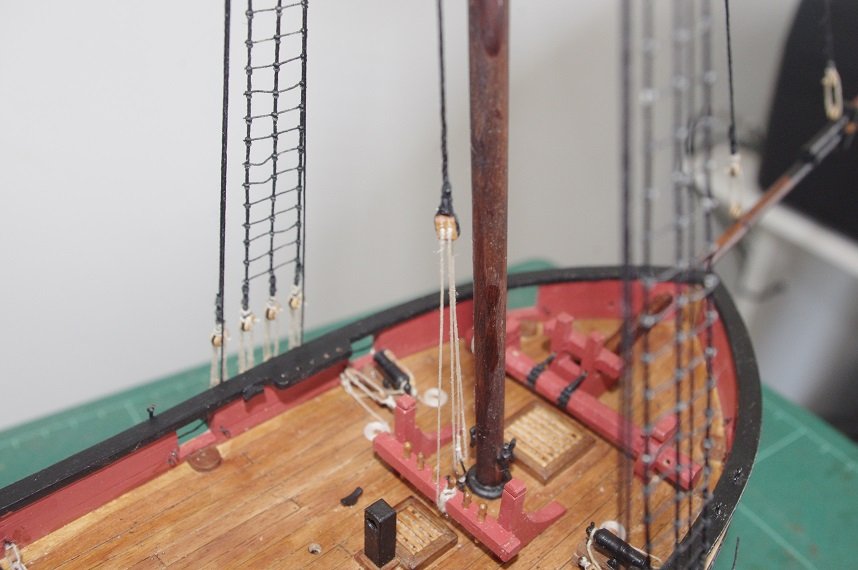
Hello All, All of the ratlines have been tied onto the shrouds, 0.10mm tan thread was used for the ratlines. Also as can be seen in the above photo the anchor winch and the pawl bitts, which is also the mount for the bowsprit, have been fitted. After giving all of the knots a coat of diluted PVA glue the ends of the ratlines were trimmed using a pair of tweezers and a very sharp scalpel. The bowsprit was fitted as well as a few blocks on the fore and main mast tops. All comments welcome. Thanks for looking and the likes.


- 86 replies
-
- 5
-
-
- pickle
- caldercraft
- (and 1 more)
-
Looking good, keep up the good work.😊
-
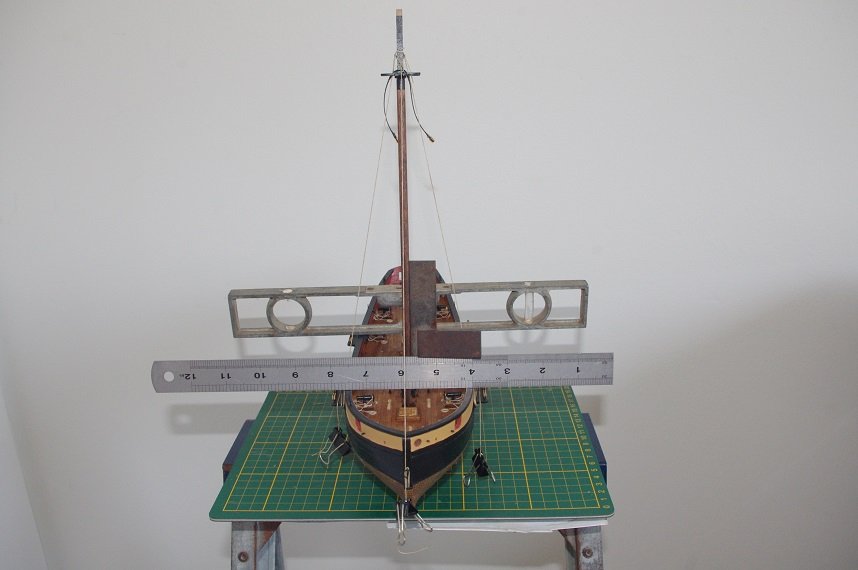
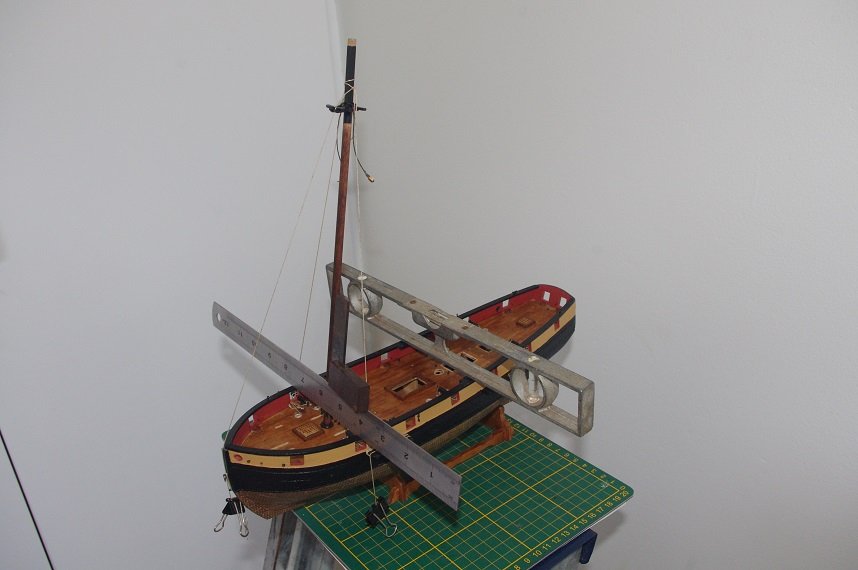
Hello All, The lower mainmast was fitted in the same way as the foremast and left to dry. As mentioned earlier the lower shrouds were made off the model. The instructions call for the shrouds to be made from 0.75mm thread and to use 0.25mm thread as the seizing, I tried it but it seemed too bulky and out of scale for me especially at the dead eyes where 3 small seizings are required. I did use it at the masthead but I used black cotton for the seizings at the dead eyes. Each pair of shrouds was made and test fitted to the model and rigged with lanyards made from some spare rigging thread to get the approximate positions of the dead eyes before they were removed and completed on the bench. The loose ends were taped up so I could make any final adjustments and they were fitted to the model. The lanyards are rigged with 0.25mm tan thread. Once all the lower shrouds were in place and the dead eyes were at the same height with a reasonable tension in the shrouds the seizings were glued with diluted PVA and the excess thread trimmed. The futtock staves have also been made, the instructions call for these to be made from 0.70mm brass wire but I made mine from some left over 0.75mm drawn bamboo which will be much easier to trim on the model. Next job after all the futtock staves are fitted, trimmed and painted is the ratlines. All comments welcome Thanks for looking and the likes.

- 86 replies
-
- 4
-
-
- pickle
- caldercraft
- (and 1 more)
-
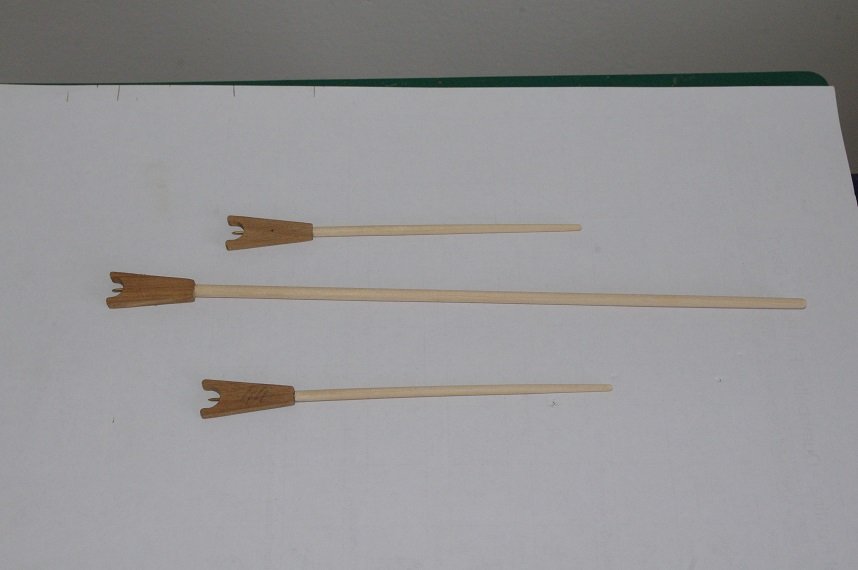
Thanks Chuck for your kind comments and for looking in. Hello All, The tackle pendants were fitted to the lower masts using a cut splice. The splice was made by using a needle threader to poke the ends of the 0.75mm thread through the strands of the opposite leg of the pendant a couple of times, it was then seized with cotton thread which will be painted black. The fore mast has also been fitted. You may notice that the topmast has not been fitted at this stage, this is to allow me to rig the shrouds and lower stays off the ship which I think is a lot easier than trying to tie seizings at the masthead and the dead eyes on the model. The driver boom and gaffs have been assembled and need a little bit of sanding where the yokes are attached before painting. Comments always welcome. Thanks for looking and the likes.
- 86 replies
-
- 4
-
-
- pickle
- caldercraft
- (and 1 more)
-
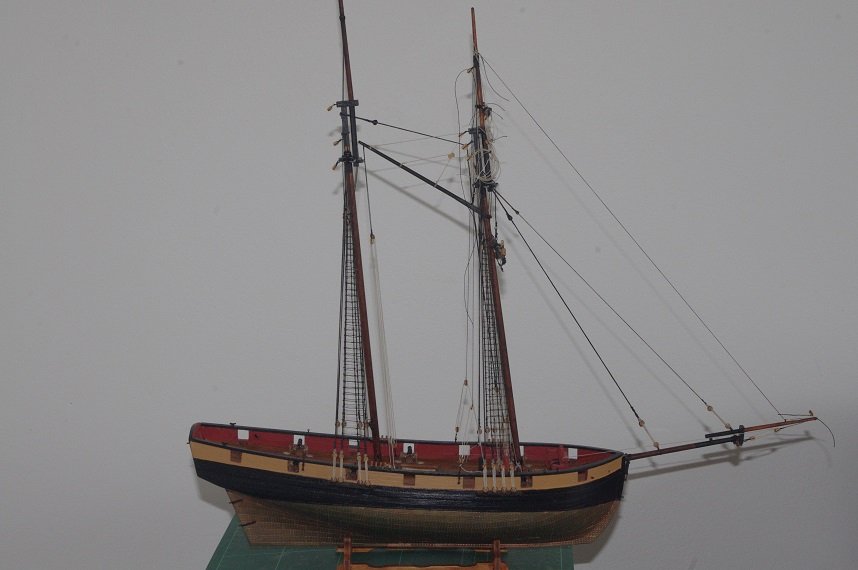
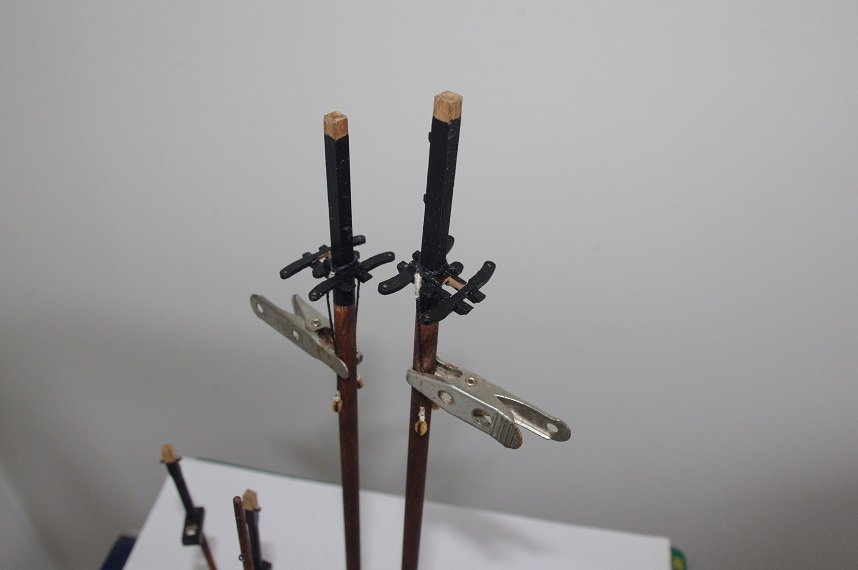
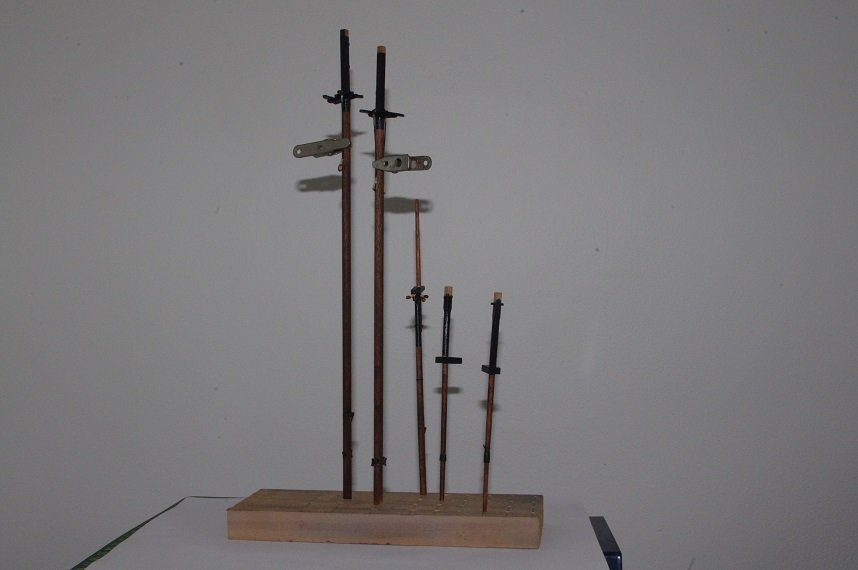
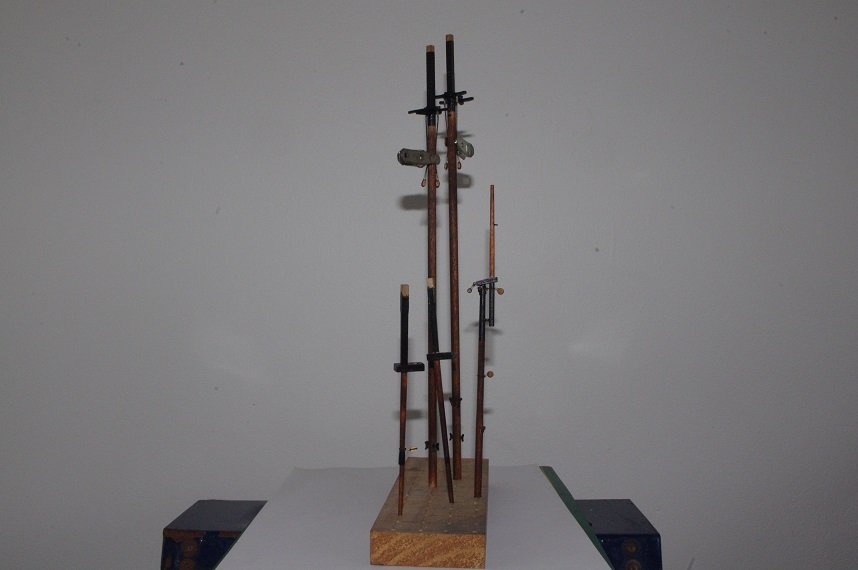
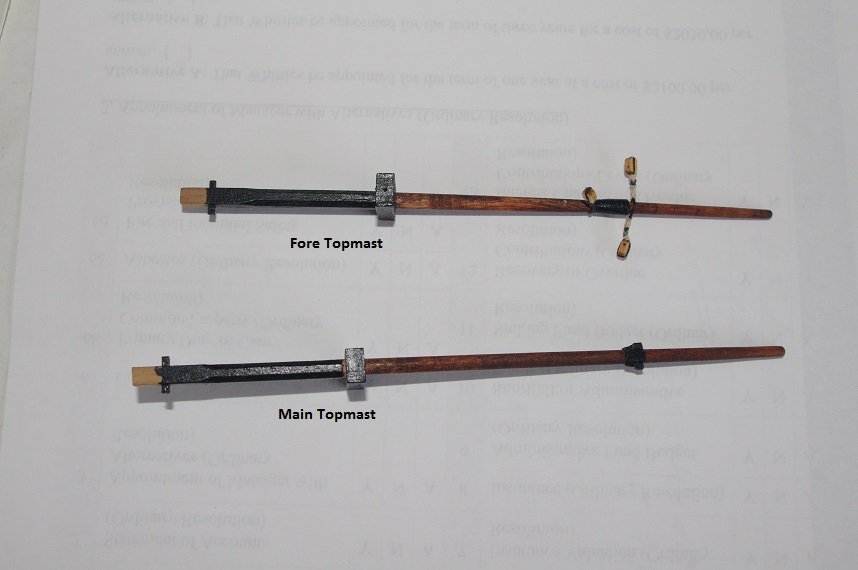
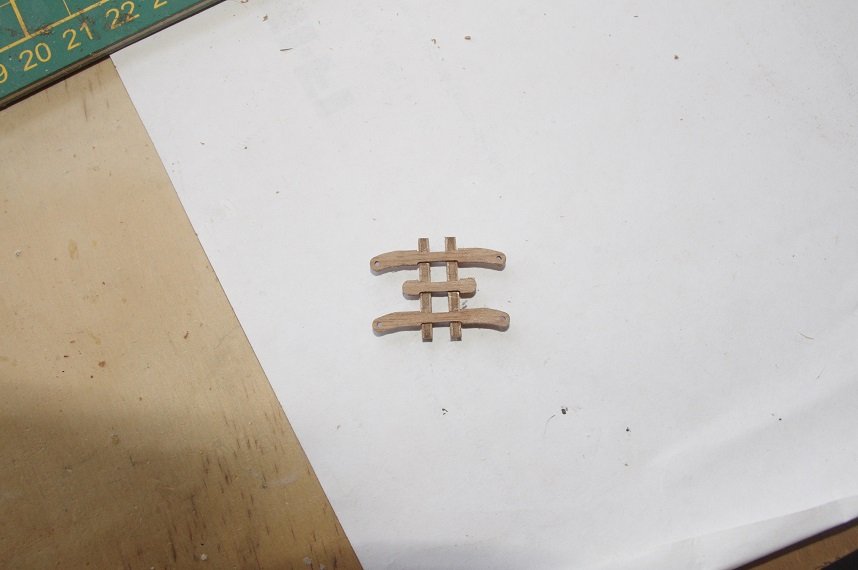
Hello All, I hope you are all well. Work continued on the construction of the fore and main masts. The trestle trees were glued together and the lower masts were assembled according to the instructions. The upper sections were painted black and the lower parts were stained with an oak stain. The fore and main topmasts have also been assembled and painted. All comments welcome. Thanks for looking and the likes.

- 86 replies
-
- 6
-
-
- pickle
- caldercraft
- (and 1 more)
-
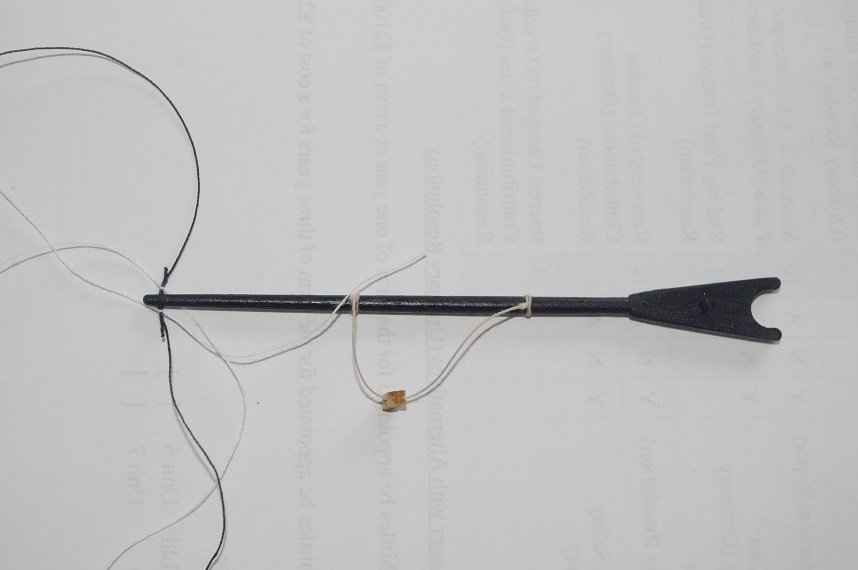
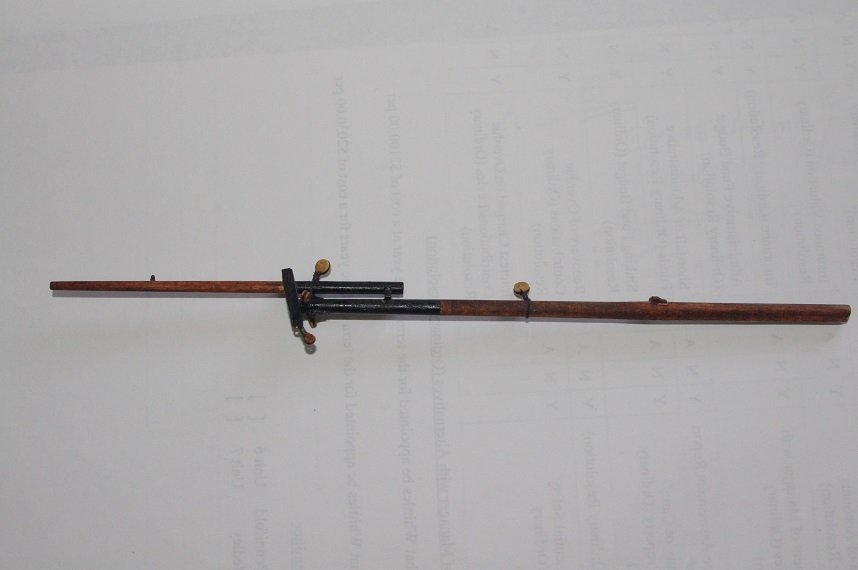
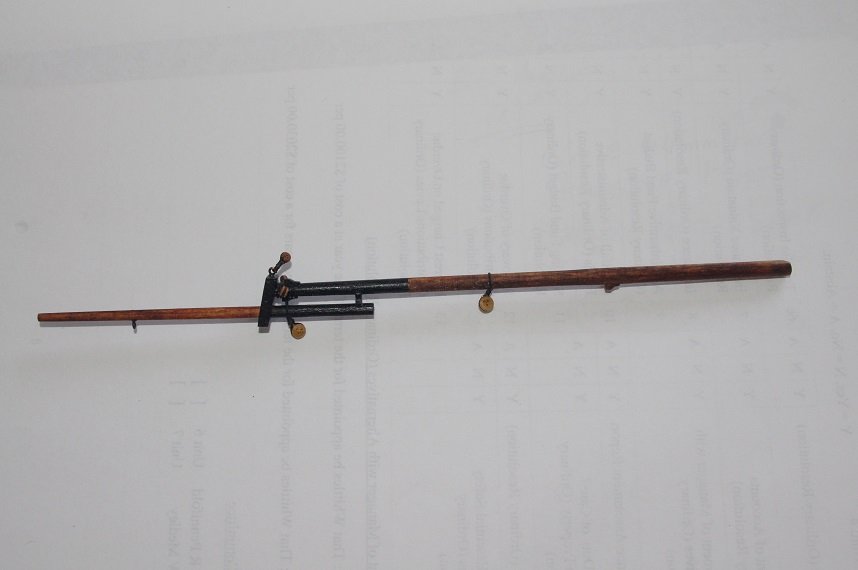
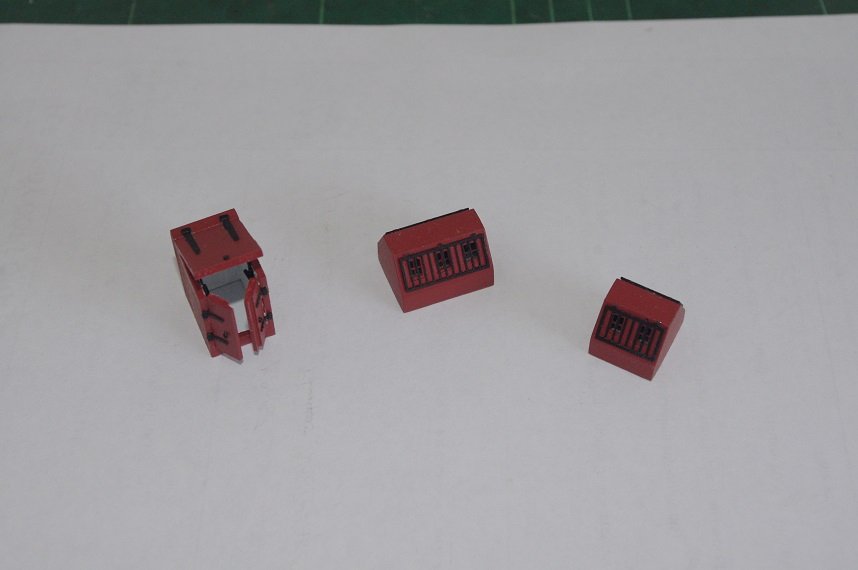
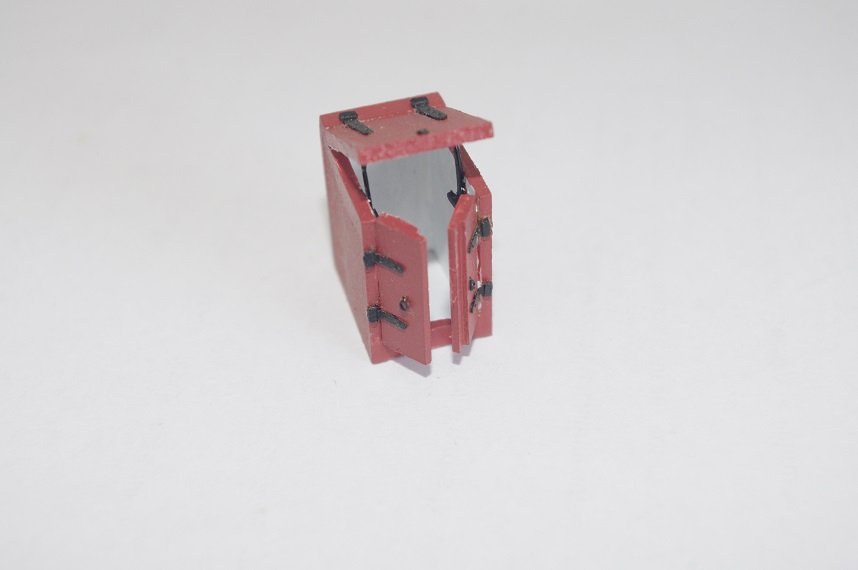
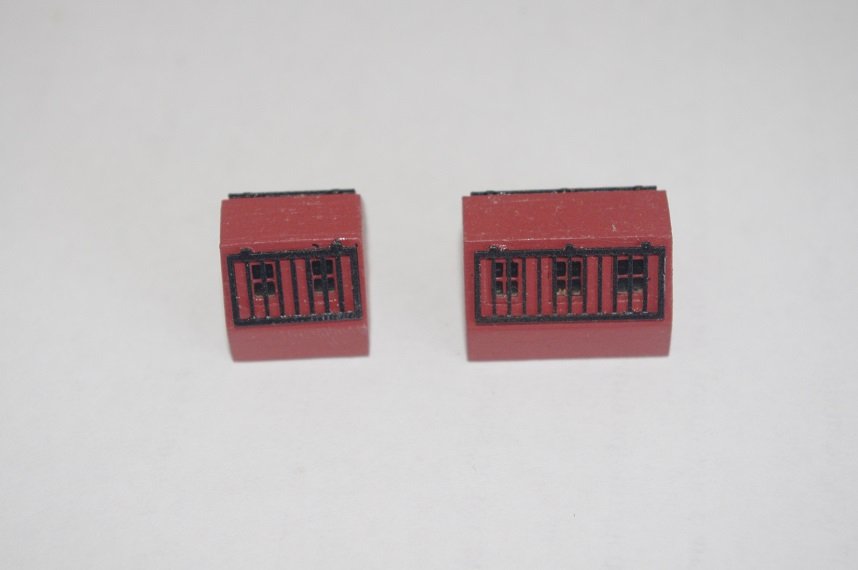
Thank you Eamonn. I used 5 minute two part epoxy to glue the metal parts together to give me a bit of time to get them in the position I wanted and there were a few 'Trying' words uttered waiting for it to grab. Thank you mugje. Hello All, The deck houses and companionway hatch have been assembled and painted. The inside of the companionway was painted white to lighten the view to the lower deck when installed. These have been put aside as they won't be fitted until after the rigging is complete to give me easier access to the belaying points on the rails. The bowsprit has also been made and painted. The deadeyes for the bowsprit shrouds, bobstay and forestays have also been fitted along with the stop cleats for the gammoning rope. All comments welcome. Thanks for looking and the likes.
- 86 replies
-
- 5
-
-
- pickle
- caldercraft
- (and 1 more)
-
Nicely done Phil👍
-
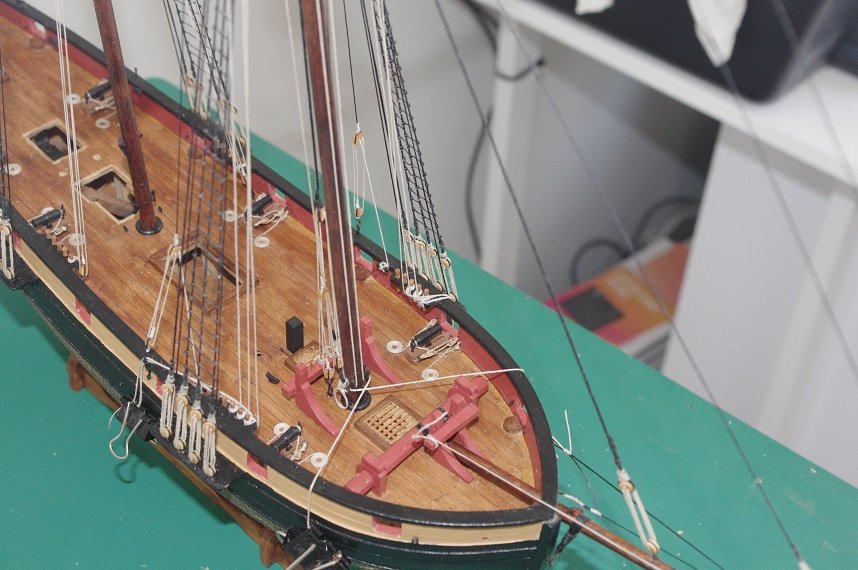
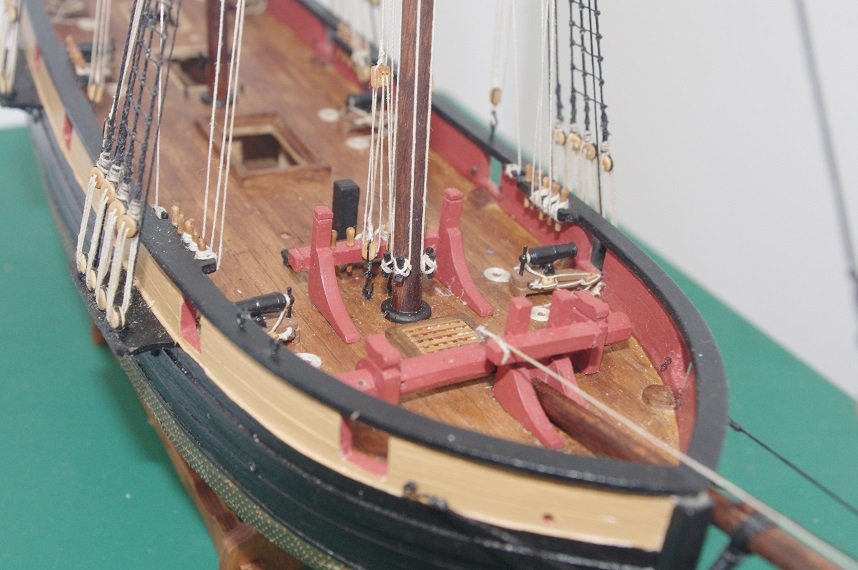
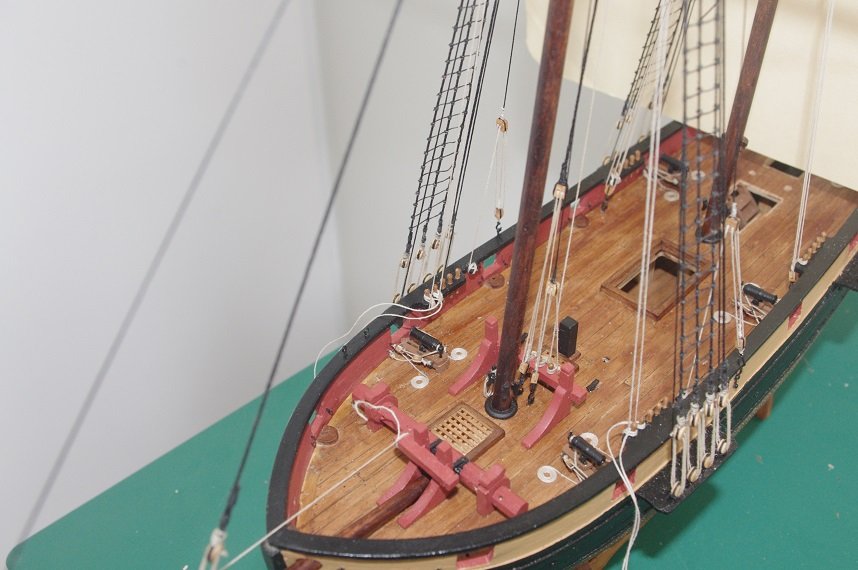
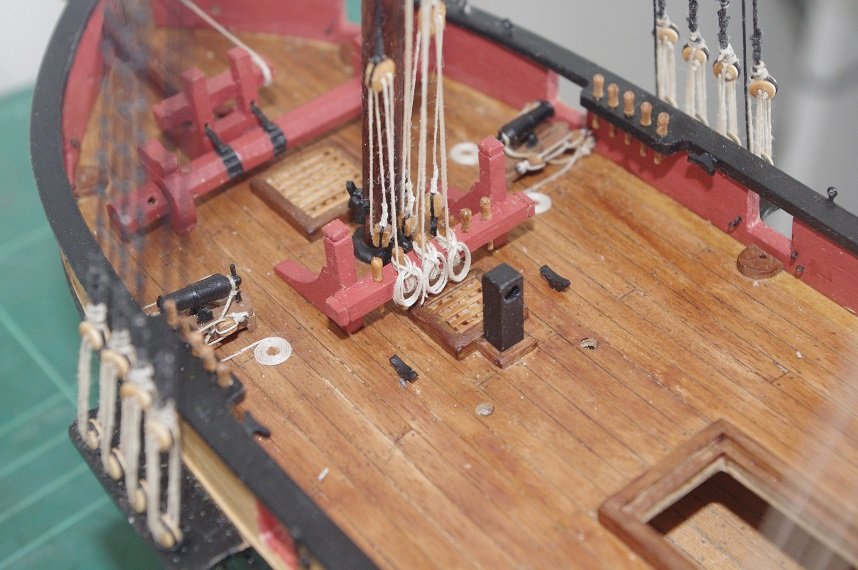
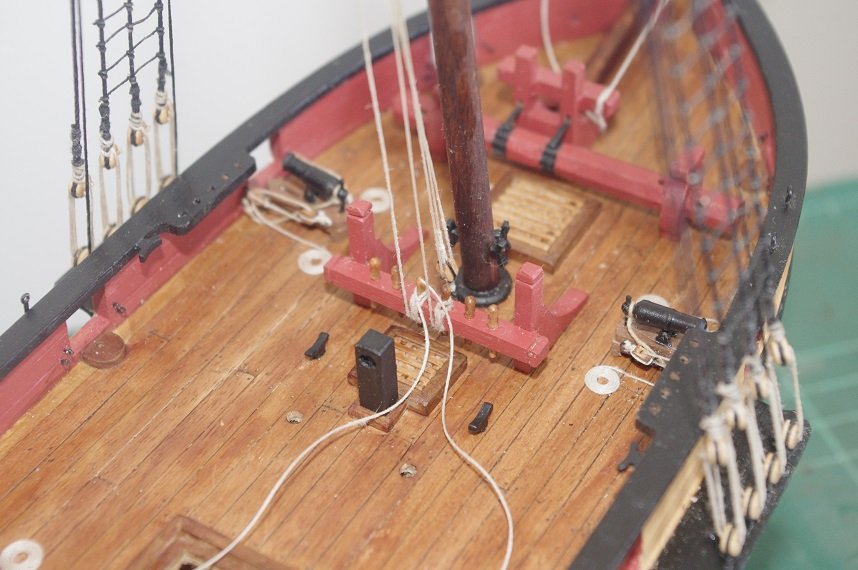
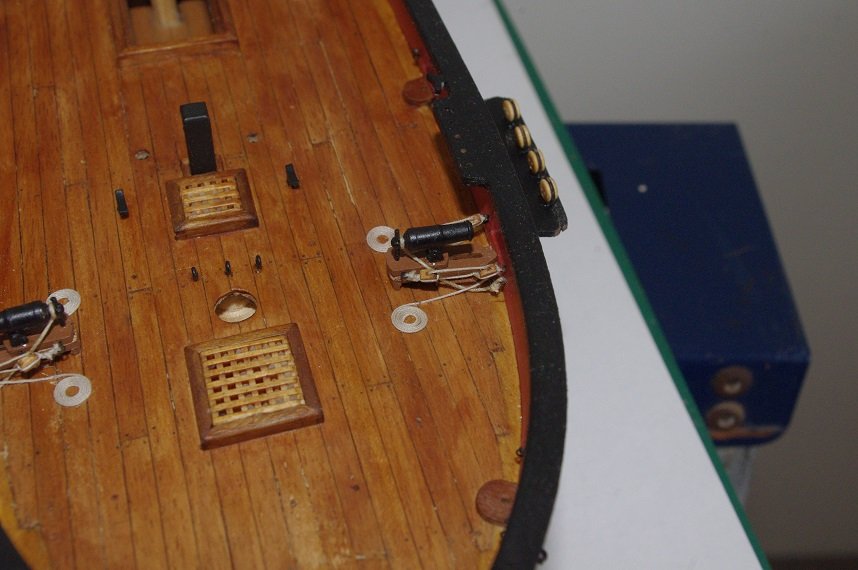
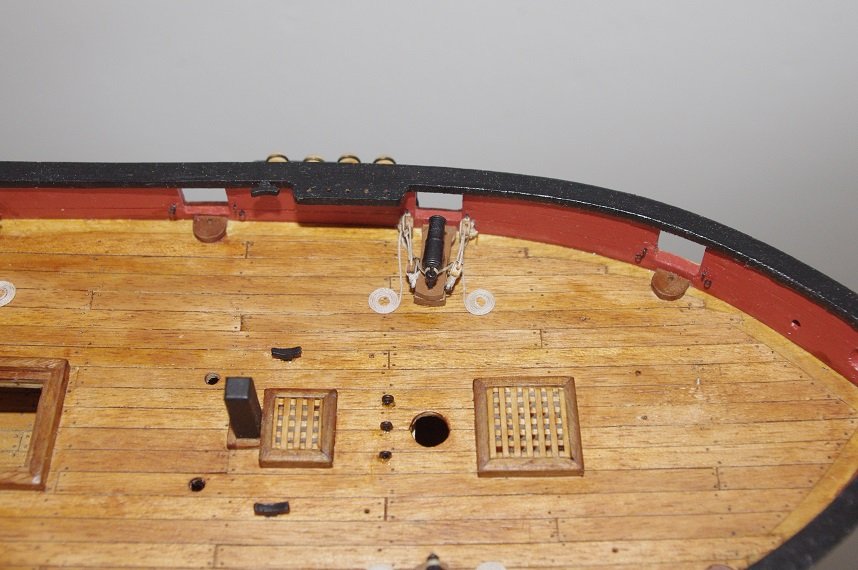
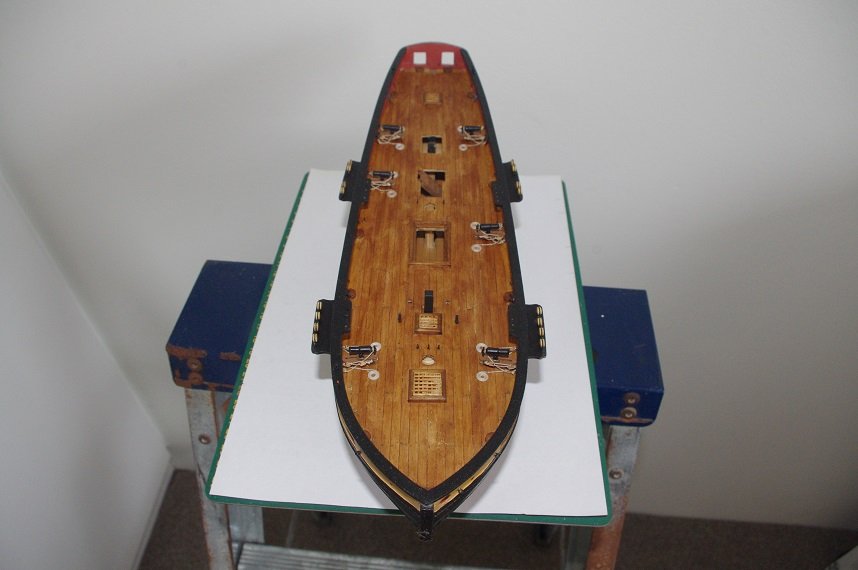
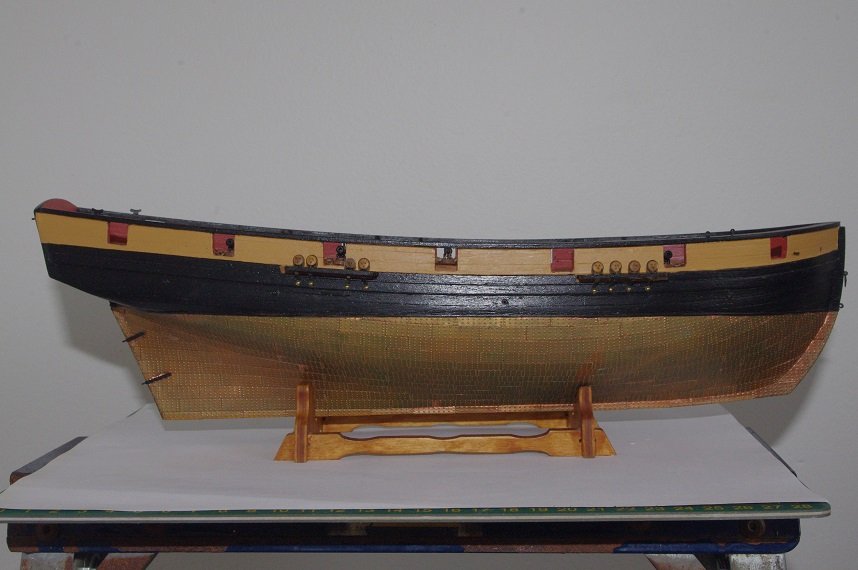
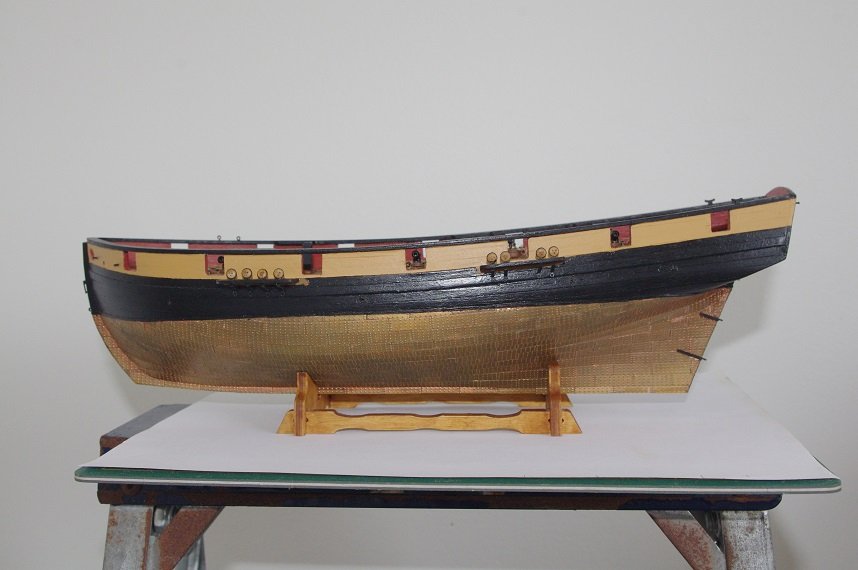
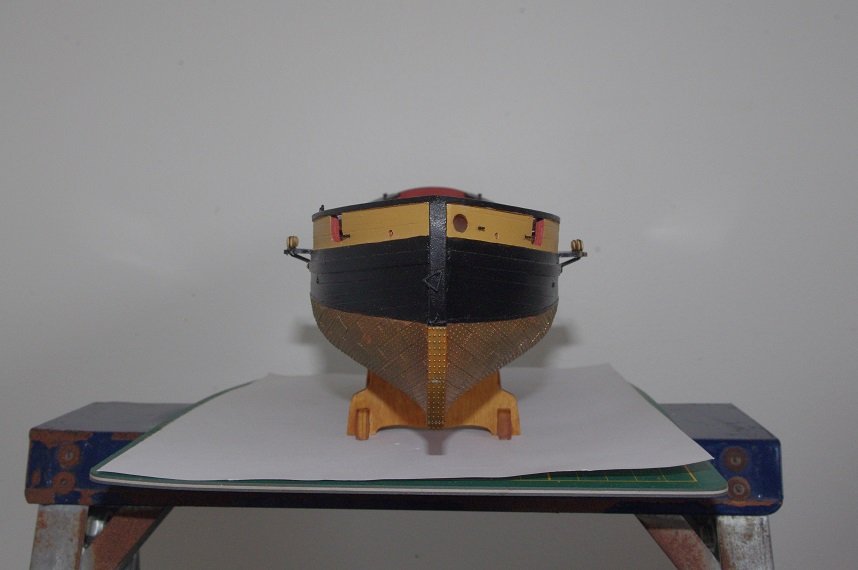
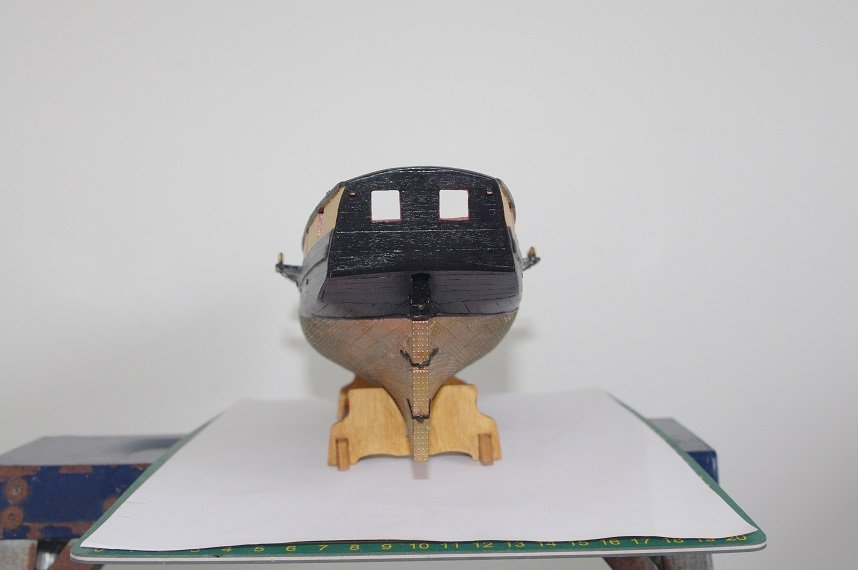
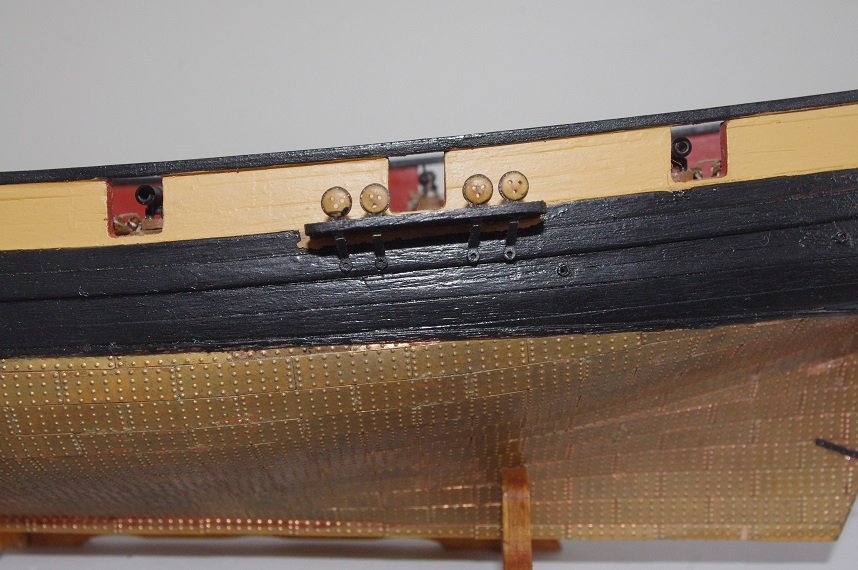
Hello All, The channels have been fitted and the outside of the hull between the water line and the gunports has been painted black. There is still some touching up to do around the channels. You may also notice in the above photos that the carronades have also been fitted. I did not take any photos of their assembly as it was a tedious and patience trying process, especially the assembly of the trunnions but in the end I think they turned out OK and I am quite pleased with them. The breech ropes and their eye bolts were fitted to the carronades before they were installed on the model as was the side tackle, the eye bolts were then glued into the predrilled holes in the bulwarks. The rope coils were added and so were some of the deck fittings such as eye bolts and cleats. All comments welcome. Thanks for looking and the likes.
- 86 replies
-
- 4
-
-
- pickle
- caldercraft
- (and 1 more)