dafi
-
Posts
2,434 -
Joined
-
Last visited
Content Type
Profiles
Forums
Gallery
Events
Everything posted by dafi
-
 For those also interested in Marine aviation, there was a nice report from the museum in Rochefort at modellmarine: http://www.modellmarine.de/index.php?option=com_imagebrowser&view=gallery&folder=rochefort-marineflieger&Itemid=55 Enjoy, XXXDAn
 -
Funny enough the organisators eliminated all references upon Heller and plastic from the model description. Honi soit qui mal y pense 😉 Here a shot down the rabbit hole when she was in France, displaying proudly her colors on Trafalgar day! XXXDAn
-
And what we saw on the Hermione can be seen her on yesterdays slide show on Modellmarine.de http://www.modellmarine.de/index.php?option=com_imagebrowser&view=gallery&folder=hermione-rochefort&Itemid=55 XXXDan
-
Very enjoyable build. I had the luck to see one of those being build in Douarnenez / Brittany. Here a link to my shipyard report: https://www.segelschiffsmodellbau.com/t291f235-Un-Langoustier-pour-Douarnenez-Werftbesuch-bei-der-Skellig.html XXXDAn
- 131 replies
-
- 2
-

-
- finished
- artesania latina
- (and 1 more)
-
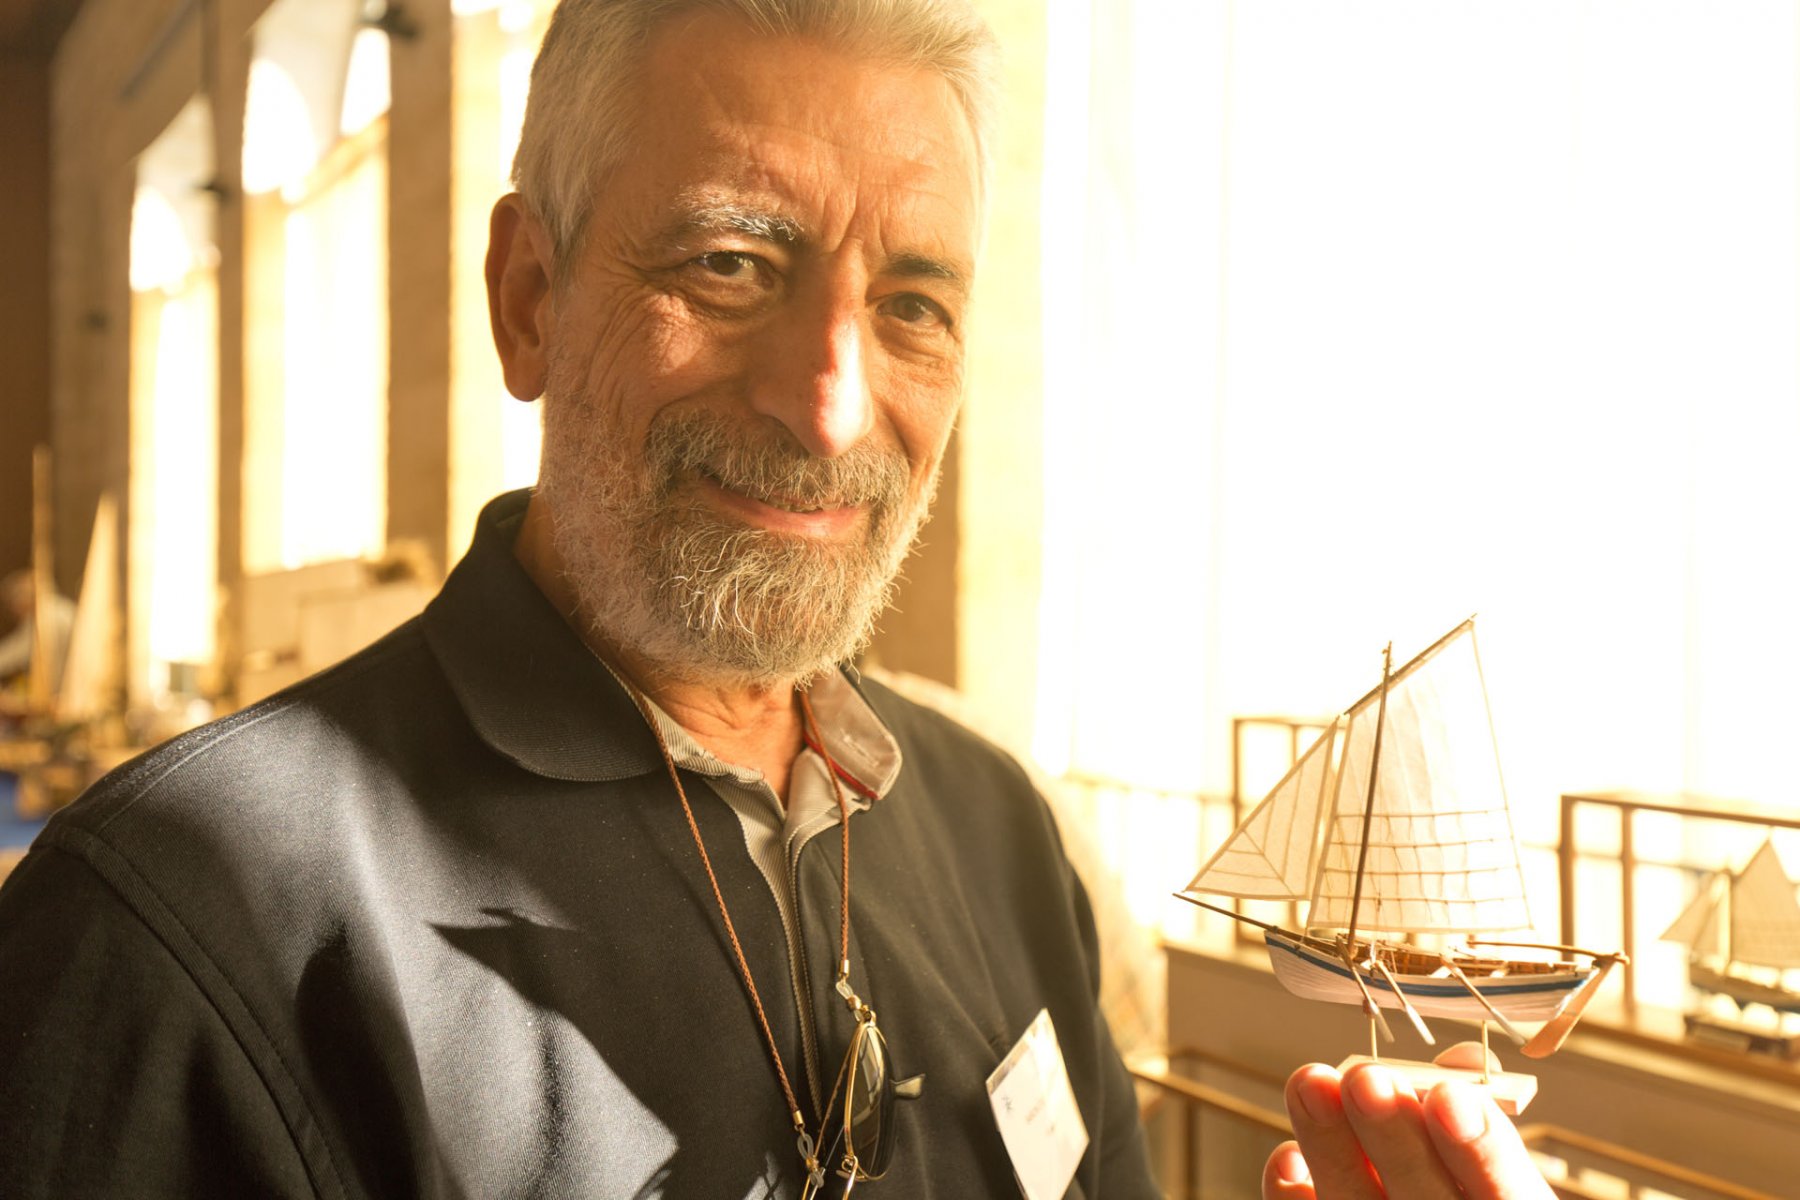
Oh it did hurt to see her all alone in the back of the car going to a big trip. What happens if she was bored? Thirstty? Hungry? Or needs a p-brake??? And off it went for the journey, a 1000 km across France to Rochefort. Straight into ships paradise, together with another 150 models and proudly showing the flag ... ... of the german delegation together with the Amerigo from Joachim/Schiffebastler:-) Later still came Chapman´s barge from Alexander / Foxtrott ... ... and the Sphinx from Alexander / Alex M. ... ... and me I was obsolet as the kids played all by themselves. So I used the time ... ... to go and see her great-great-great-...-great niece ... ... together with the other german ship parents that did not have to bother for their small ones 🙂
-
At least the deck was not fixed yet as I have to fix some details still. But in order to be looking smart, neat and tidy, the stern needed some attention. Great o the outside but the inside ... ... still quite worn, so I ground down the old paint and rediscovered the two square holes on the top that I added eons ago to fix the stern quarter davits, but scraped them later as newer research omitted them. Looking more cute. See the two metal bits on the top? Then had to fit the stern part. Great to have good tools. Never thought to use a plain on my plastic tub 🙂 To be able to still look inside later on, I hid two magnets in the side galleries, fitting the two metal bits 🙂 Then came the cover of the tiller head ... ... build the box ... ... removable of course 🙂 And to give a good fit, a frame on the deck was to be build. Quite tricky in that size, so did an external work on some paper, that was removed by being made wet later on. Searched for the wheel and the binnacle, made in February 2012, made a small base ... ... and also smartened the anchor cable for protection ... ... and the deciples came to praise her! And then simply he simply took the model with him ... ... I needed to be strong then ...
-
In-between some necessary private restructuring, moving place, plenty of work in the office, workshop full of moving boxes, to nice weather to stay inside and other reasons I was neglecting my dear little small one. Unfortunately ... But then came the day, and a job, an important job was to be done and I was able to hold my small one in my arms again ... ... and some serious cleaning was the job of the day. Time to be surprised: "Oh how did I achieve all this? Have to read the building report in MSW to believe." She needed to be look beautiful, really beautiful. The big mess was still the slots, intended for the insertion of the upper decks. So I had to protect her. But all ok, the plastic protected the lower deck from the biggest dirt from the carnage of the upper decks. Then fixed the spriketting. Then engraved the planking in situ - should have done before - and bent the water ways. Added sone deck beams and evened up the knees ... ... and splashed some color and it looked much more clean and crisp in the inside. The only problem with my way of building are the breaking parts on the way, even half the complement of the heads didn´t give a **** and did **** off ... Then came the moment I was able to do a dry fit of the upper deck 🙂
-
Hello Javier, it was a great pleasure to meet you and see your little marvels at Rochefort! All the best, DAniel

-
And there she stood, well packed to be shipped far off. What the hell happend? The end of this building report?
-
"Gunnery notes" from William Rivers (*1755, †1817)
dafi replied to dafi's topic in Nautical/Naval History
Having had an actual discussion in our german forum we came to another interesting interpretation: "The Victory had white hammock cloth spread loosely over the others and kept wet until they commenced firing." The interpretation was that the hammocks were covered by a second layer of cloth to keep fire hazard down. Any opinions? The other question concerns the Structure of the hammock cranes with the horizontal bars, also to be seen on some drawings. Any idea about this feature? Are there any further informations about this drawing and Richard F. Roberts, midshipman on the Vic at Trafalgar? What is the source and the date of this drawing? Straight after the battle or a look back in later years? And of course, still looking for a source of: Royal Naval Museum: William Rivers (1755-1817), gunner on HMS Victory: gunnery notes (Acc 1998/41) http://www.nationalarchives.gov.uk/accessions/1998/98returns/98ac1070.htm -
You are going to laugh, you are not the first one to ask this and actually there are already some left-overs spread in several builds around the world :-) Cheers, Daniel the destroyer!
-
Hello Shipman,
sorry for hearing that. As my daily job is quit demanding, it is not always easy to answer as fast as i would like to do, but I really thought that I already answered all the outstanding orders. I saw the other message but can´t relate any requests with your nickname. Please send me a PM via this forum with your name and address and I will send you a copy of the wanted plate!
All the best and thank you for your message, Daniel
-
Thank you wefalck for the hint and thank you shipman for your patience. Rather difficult times at the moment with a privet move that went berserk, lots of work in the office and finally a very persiatant flue ... Things are starting to get sorted out on my side and I alreday started answering all the posts that summed up on my account. If you did not get an answer from me yet, please try here on this way to contact me. All the best and sorry for any inconveniences, cheers Daniel PS: And hell how am I looking forward to pick up my own build again!
-
Have a look for Alexander and his Anson. he is preparing a second set of plans that shows it as razé. https://modelshipworld.com/index.php?/topic/828-64-gun-ship-anson-build-in-1781-in-plymonth/&do=findComment&comment=414569 http://zope.mein-media.de/meinmedia/anson64/plans/index.html XXXDAn
-
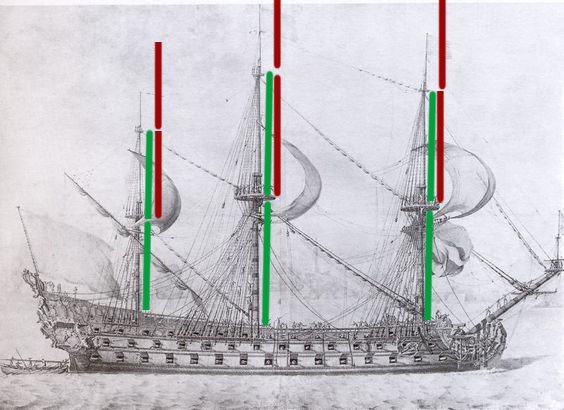
Nice thoughts, one thing still to consider is how the top masts were set: They have to pass through the opening in the top and need to be heaved through the cap. That is impossible with the "original" set-up of the kit as I saw on my model years ago. So there is a telescopic ratio in between the single masts. The drawing in the post above respects this ratio, the topgallant mast even could be higher technically seen. Also funny to see my model of the Vic beside the one of the Soleil: The Vic has - with a bigger draught - much less high topmasts and looks much more healthy towards over all stability. XXXDAn
- 2,699 replies
-
- 7
-
-
- heller
- soleil royal
- (and 9 more)
-
Great build! "Chilling on the porch with a some and coffee. Nerves are tattered ... " better take some valerian drops, keeps the hand much more steady :-) If you havent already done all the lanyards of the deadeyes, consider taking a thinner thread. Also try out how it works for you to tie the shrouds to the lower dead eyes. If it is too hard, consider to take the lanyards off and take wooden dead eyes for the upper ones. Painted black they should fit the plastic lower ones and should be easier to handle. All the best, Daniel
-
Hello William, was nice to catch up with your build :-) For the missing side entry port - most probably the historical correct version - take the longer iron :-) Do not worry too much for the lanyards being shorter than advised. As long as you manage to do a clean build :-) Did you already try to fix the shrouds on the deadeyes the way that Heller suggests? Looks quite difficult, try already now to have enough time to find a good technic or a alternative way for that. For the broken yard take wood, resin os not a good replacement as too brittle. And for the draught marks, here is a picture of the ones of 'Royal George', sank 1782. Draught marks X, X and III. Mounted on a textile-covered board. http://collections.rmg.co.uk/collections/objects/63420.html All the best, Daniel