HOLIDAY DONATION DRIVE - SUPPORT MSW - DO YOUR PART TO KEEP THIS GREAT FORUM GOING! (Only 24 donations so far out of 49,000 members - C'mon guys!)
×


rafine
-
Posts
2,932 -
Joined
-
Last visited
Content Type
Profiles
Forums
Gallery
Events
Everything posted by rafine
-
 Work on the frames is still slow -- two to three days each to cut, assemble and rough trim. I've now done three. Being cautious, I've left a fair amount of extra meat on them. I'm sure this will mean a a whole lot of sanding later. Bob
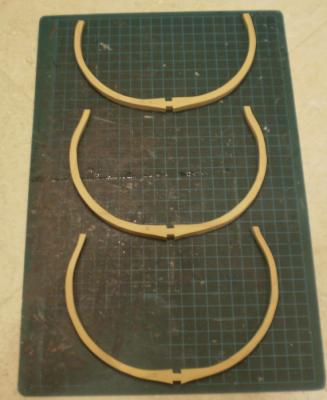
-
As always, I'm impressed with the precision of your work. Those joints look perfect. Bob
-
Very nice looking work, Larry. Bob
-
Thanks, Daniel. I've had the same concerns about the hand cutting. We'll see what happens. Bob
-
Thanks, Ron. Hopefully, the real ones will look better. Bob
-
Very nice looking deck, Larry. Bob
-
Nice rework on the limber boards, Ron. Bob
-
Thanks, Paddy, Pete38 and Russ. I'm afraid the picture looks better than the actual frame. The good news is that I never intended to use it. Good advice, Russ, that I intend to follow. Bob
-
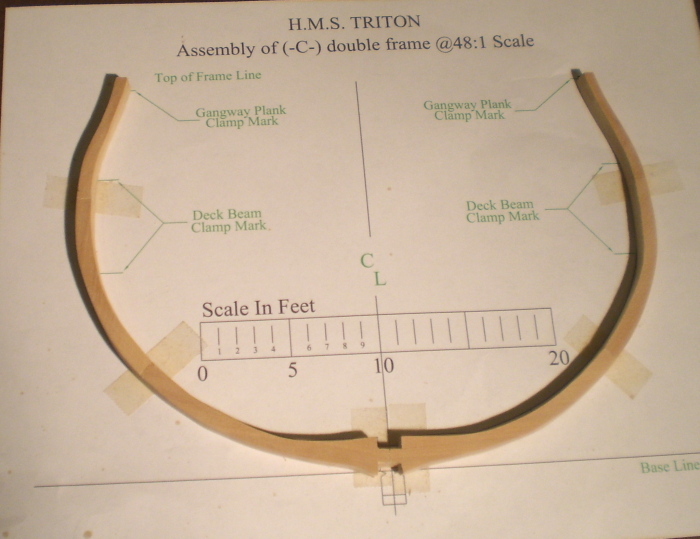
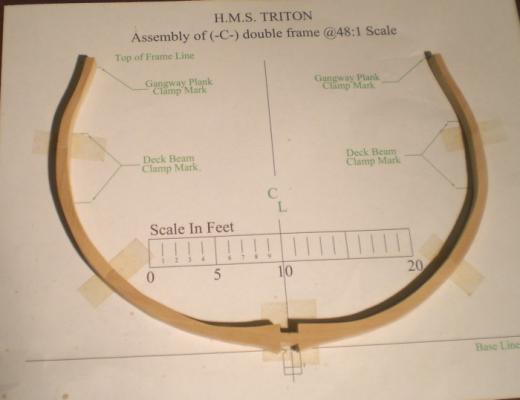
Two events. My wood has arrived from Hobbymill ( beautiful, as always), and I have finished assembling my practice frame. Cutting and sanding by hand on the frame was SLOW. I'm not very happy with the frame, but I can see that with more repetition, both skill and speed should improve some. I hope so. Now it's time to start building the real frames. Bob
-
Thanks, Augie. It was fun to relive the build again through the reposted log and pictures. Bob
-
Lovely work, Remco. Having tried similar detailing, I know that it is not nearly as simple as you wish to make it seem. Bob
-
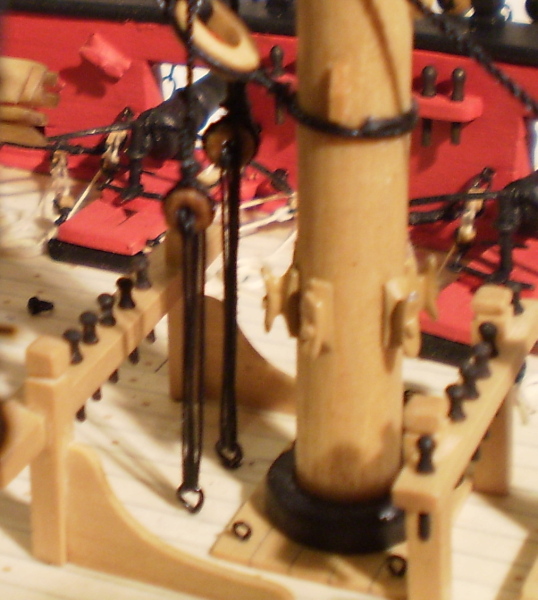
Thanks, Robert. Yes, Syren is safely in a case in my house. I use a very simple method for the coils: a length of line has glue applied to it and is wrapped around an appropriately sized piece of styrene tubing (to which it does not stick). After allowing a couple of minutes for the glue to stick the wrapped line to itself, the coil is removed from the tube and stretched to shape with my fingers Nothing very high tech. Bob
-
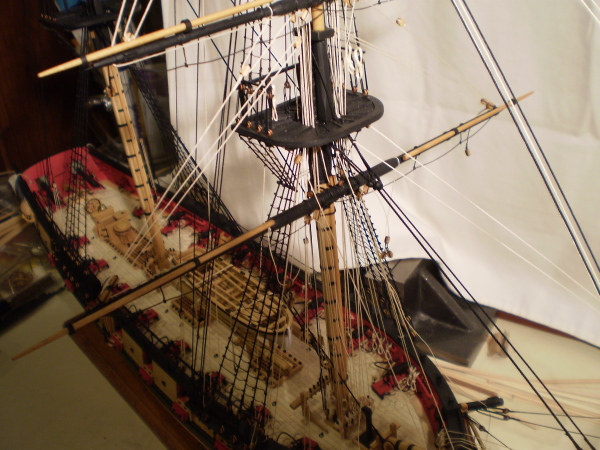
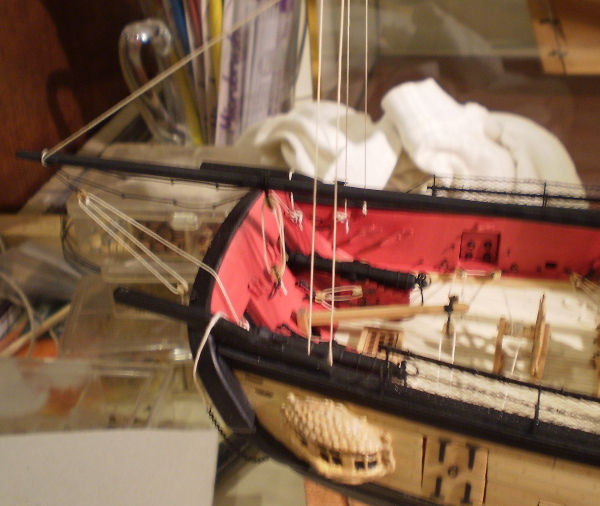
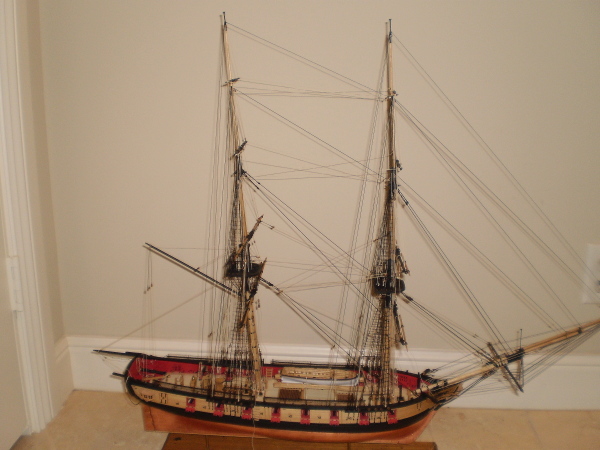
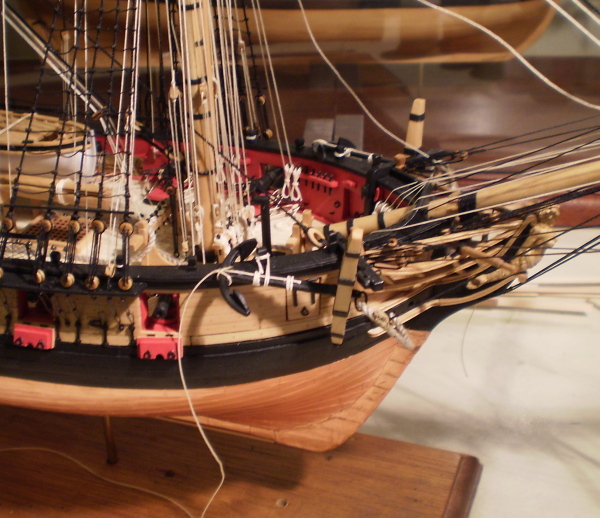
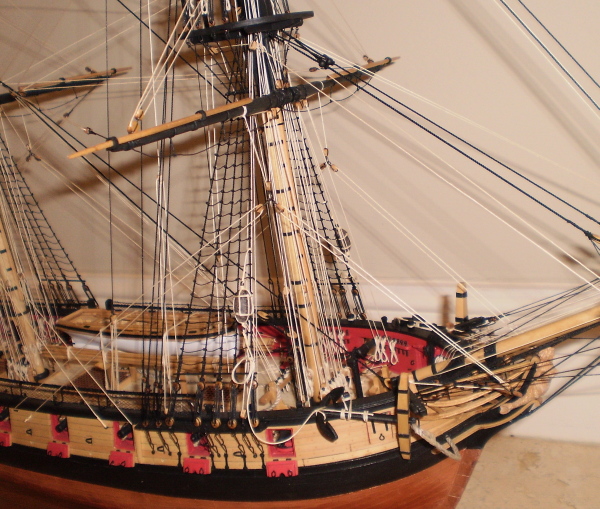
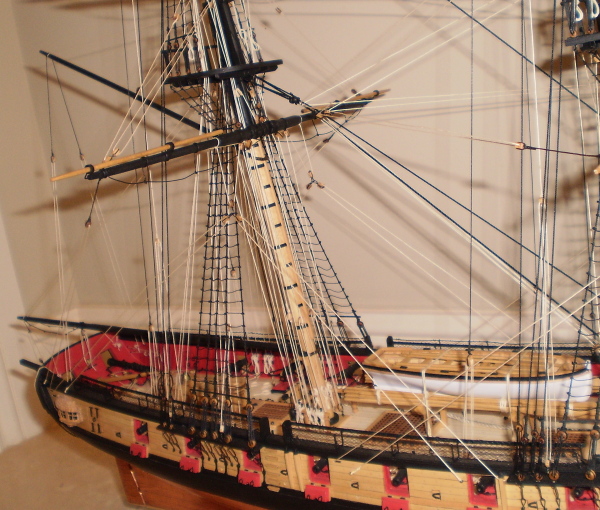
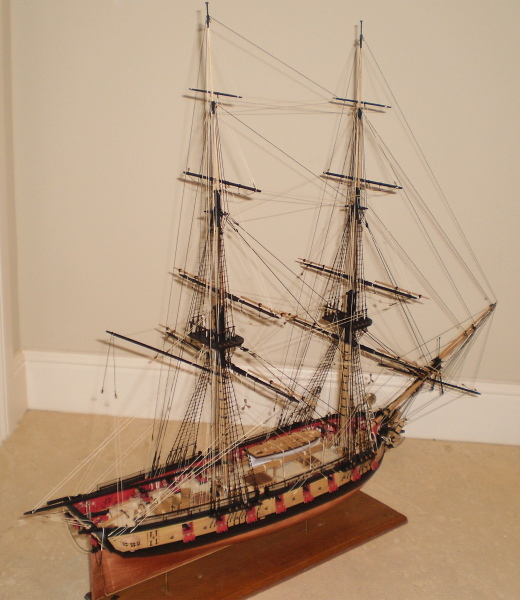
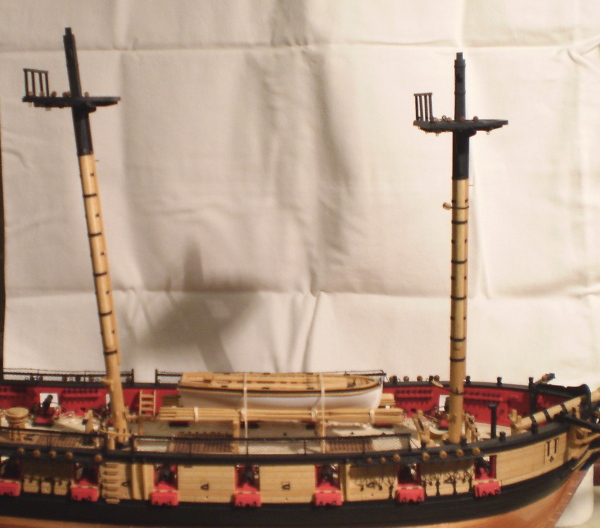
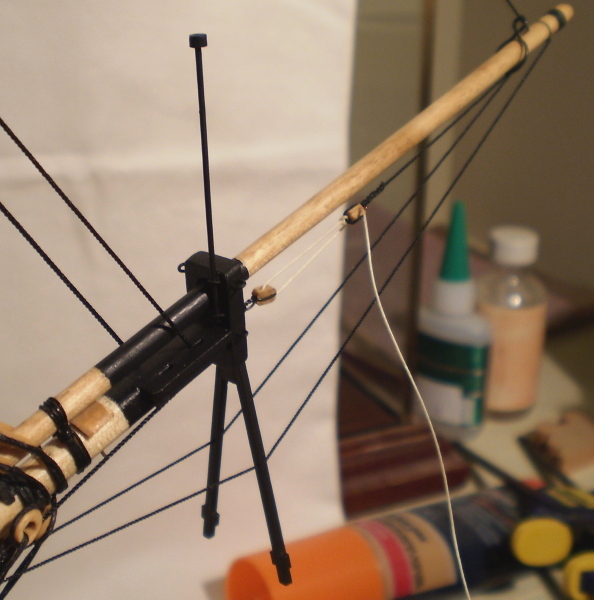
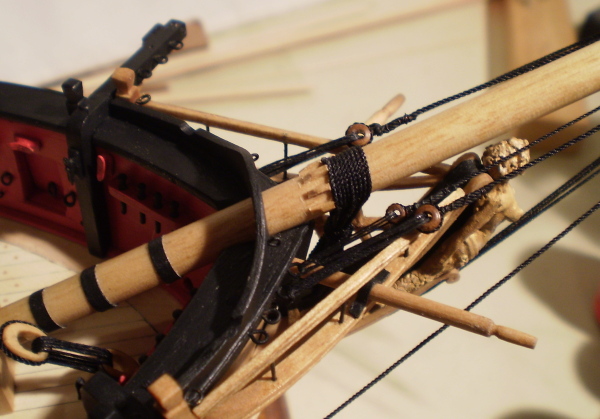
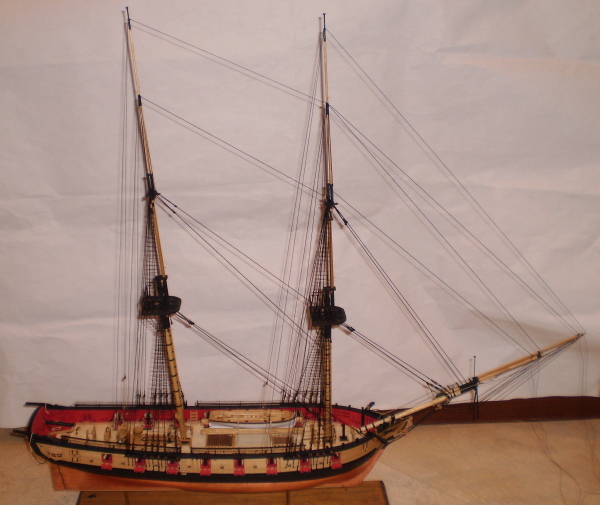
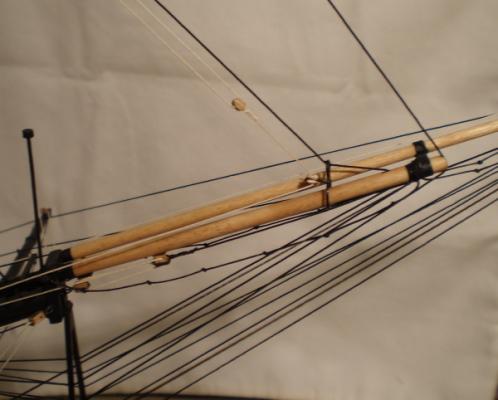
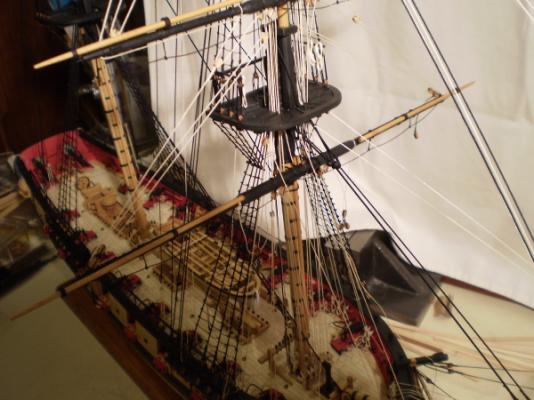
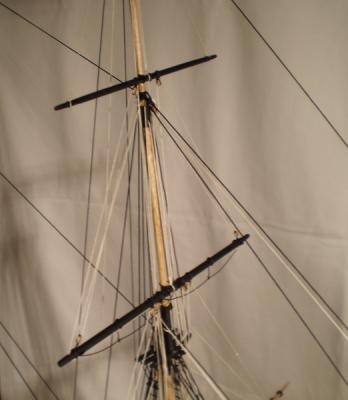
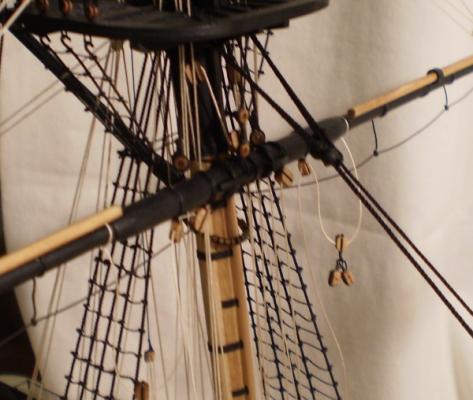
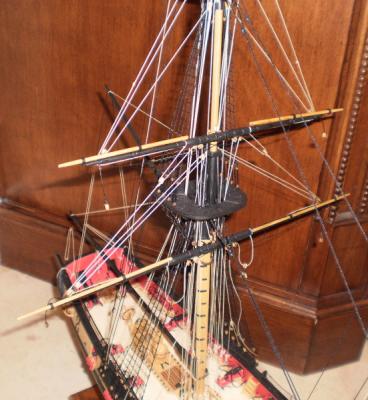
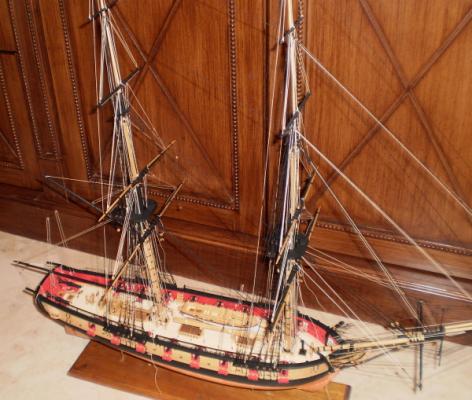
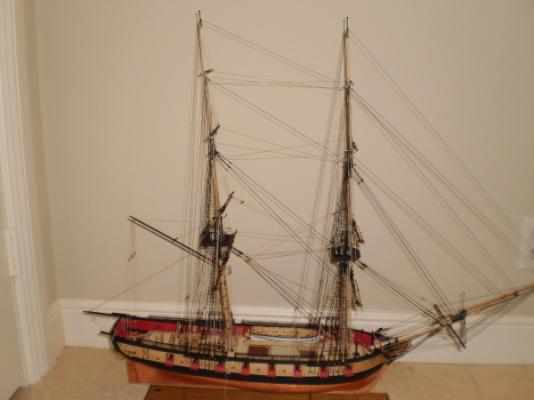
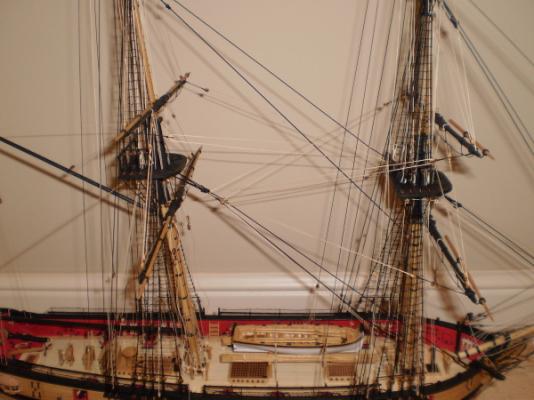
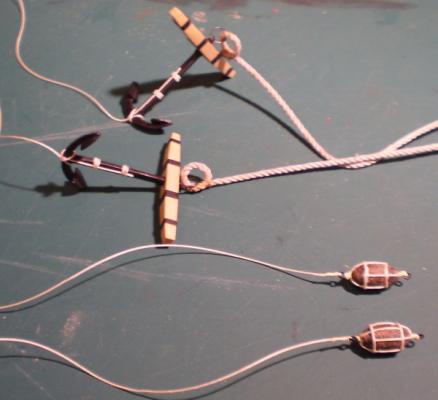
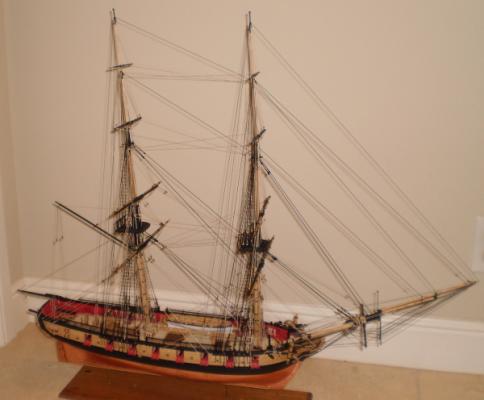
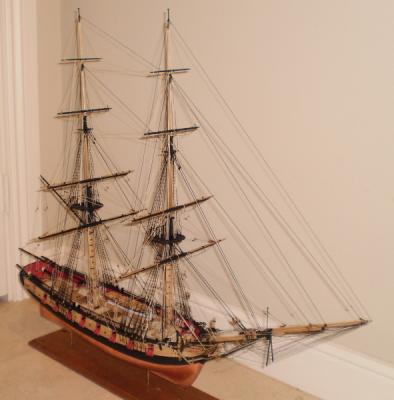
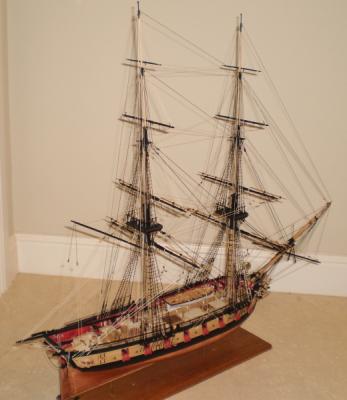
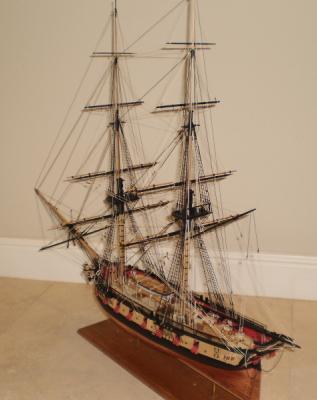
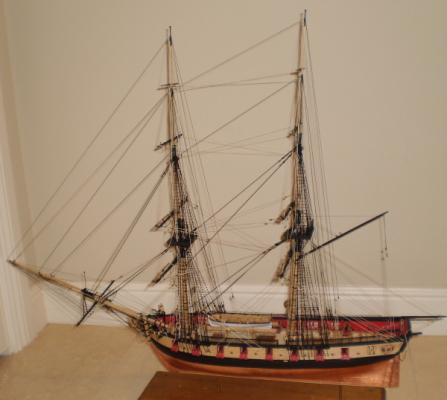
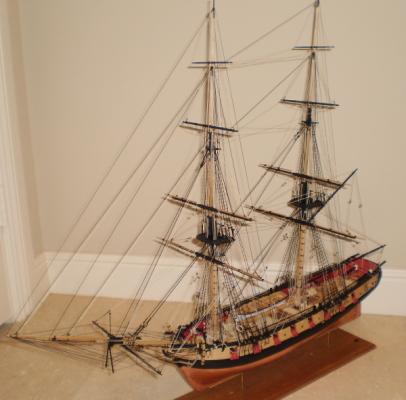
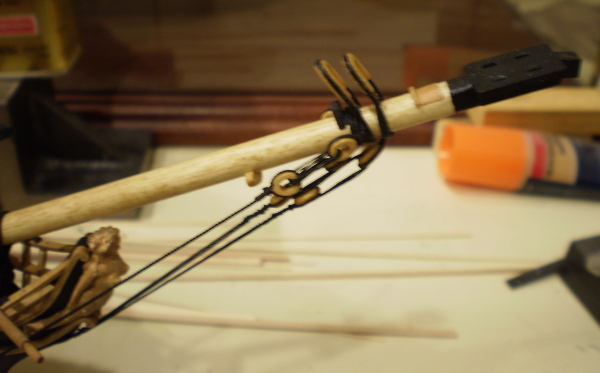
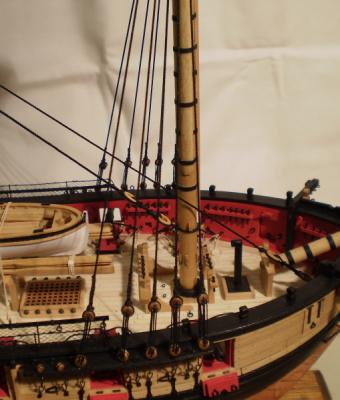
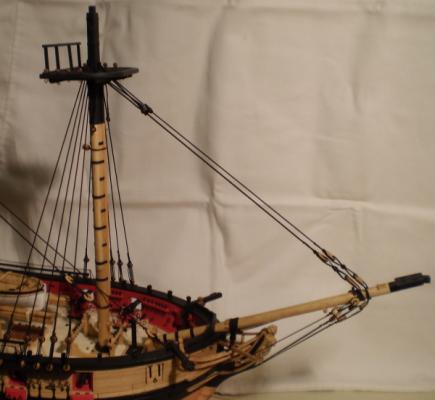
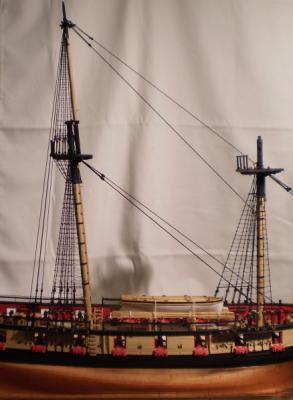
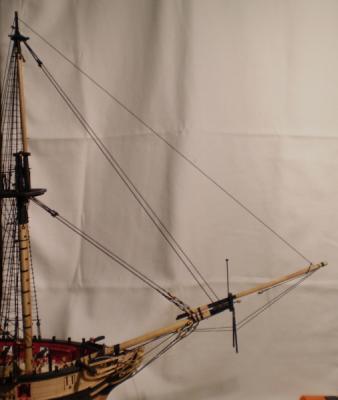
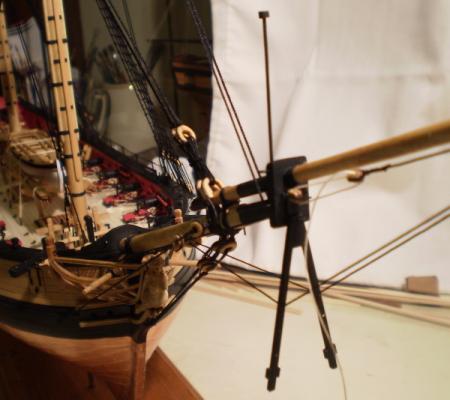
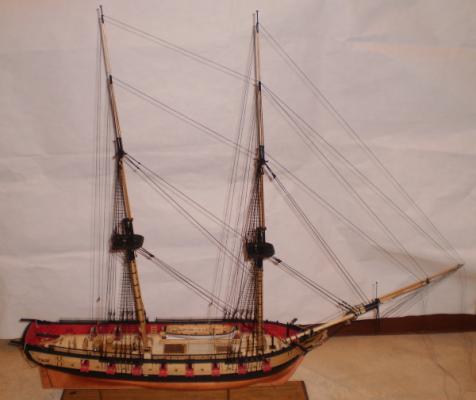
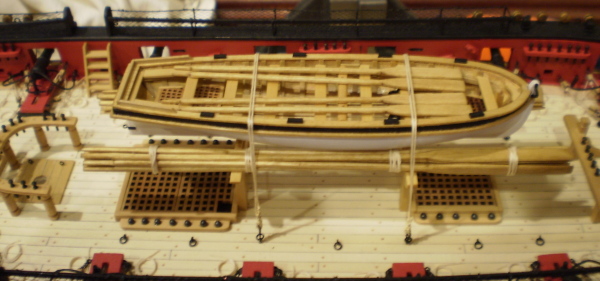
Yards, running rigging, anchors and finished model: Like the masts, the yards were made from dowels with the octagonal sections built up from strip wood. Unlike the standing rigging, which I do from aft to fore, the yards and running rigging are done from fore to aft. The reasoning, however, is the same -- ease of access. All of the yards are mounted on the brass pins that were previously added to the masts. Running rigging always involves choices as to what to include or exclude. On this build, I included all of the yard control lines ( Slings, trusses, parrels,lifts, ties, halyards and braces) and many, but not all of the sail control lines ( clews, sheets, tacks, but not buntlines, leechlines or reef rigging for the square yards; halyards and downhauls for the headsails, but not for the other staysails ). The anchors are from the kit. The stocks were made from boxwood. The buoys were made from tapered dowel. Bob


- 31 replies
-
- 14
-

-
- syren
- model shipways
- (and 1 more)
-
I agree that it's always scary to cut into your finished work, but you've passed your "bravery test" with flying colors. Nicely done. Bob
-
Just a brief update on where I stand. I've ordered wood from Hobbymill to do the frames and planking. At this point, my choices are to do the frames and internal planking in boxwood, The lower outer hull will be holly and the wales will be ebony. I've made no decision about the upper hull and bulwark planking yet. Nor have I made any decision about whether to plank both sides or only one. I'm sure that choice will depend on how the framing turns out --one side if it's good, both sides if it's not. While waiting for the wood, I'm practicing cutting and assembling a frame using scrap wood. Bob
-
It's looking really good, Rusty. Bob
-
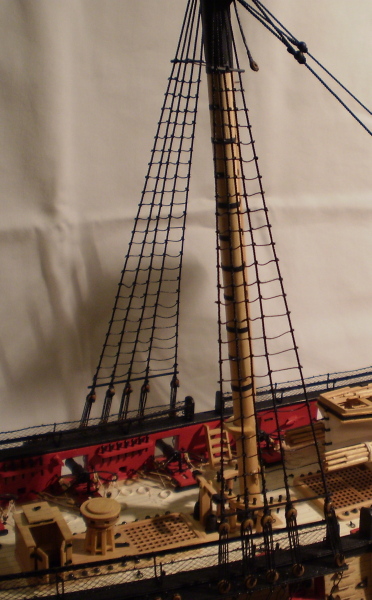
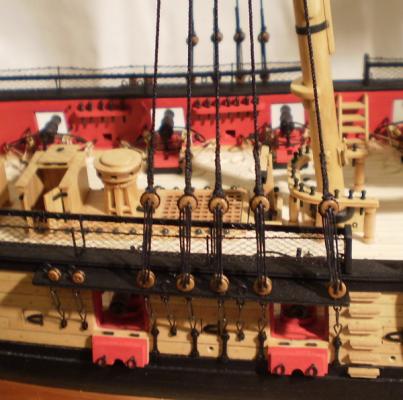
Thanks, Thomas. The standing rigging is all black Morope, with the exception of the ratlines and lanyards, which were done with black linen line that I have had for many years. Bob
-
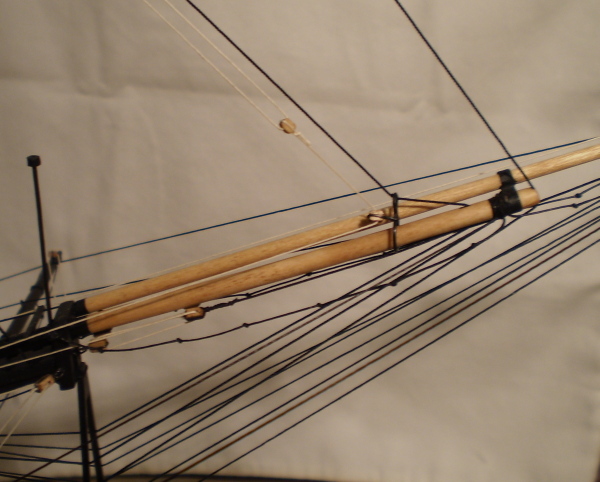
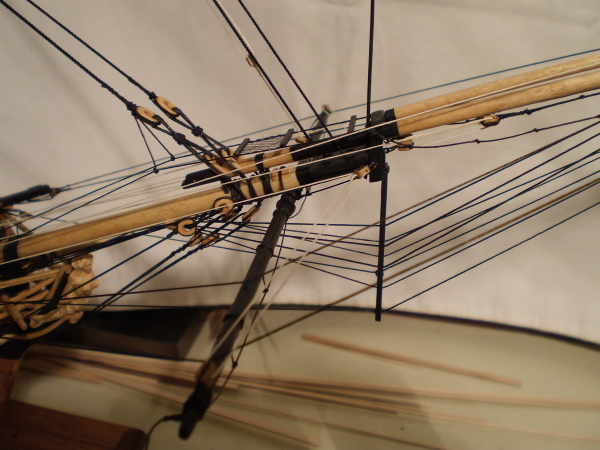
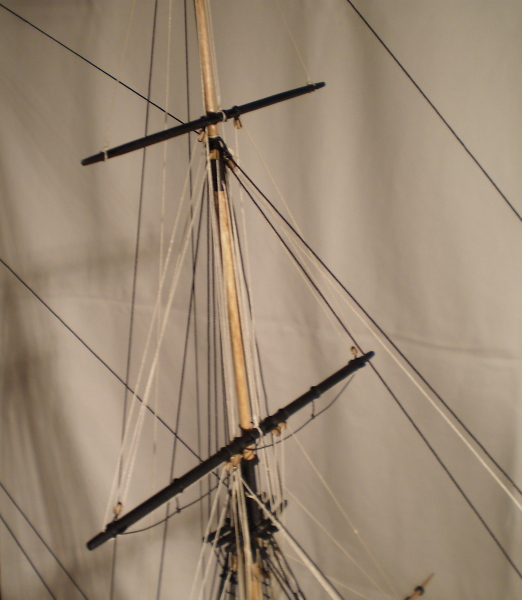
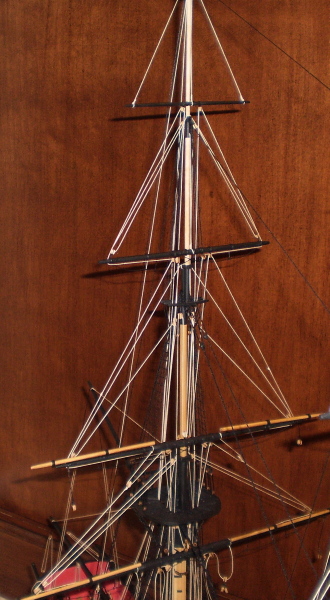
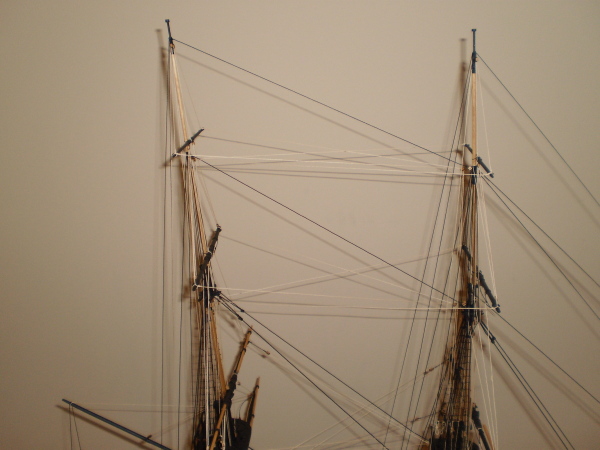
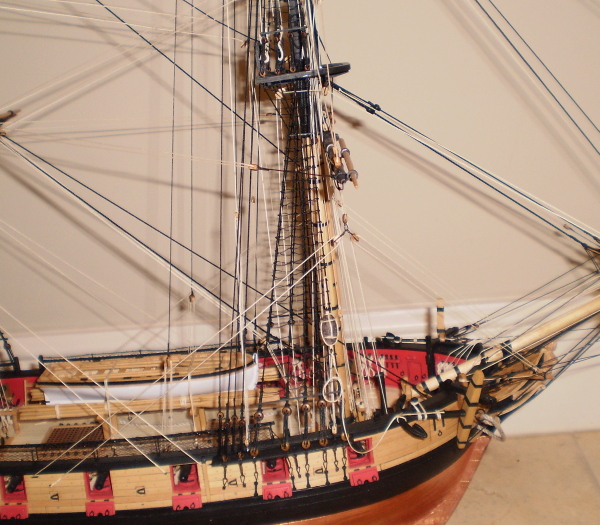
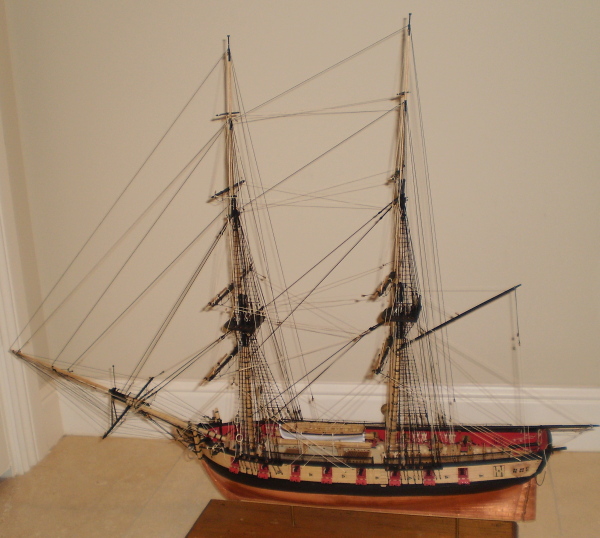
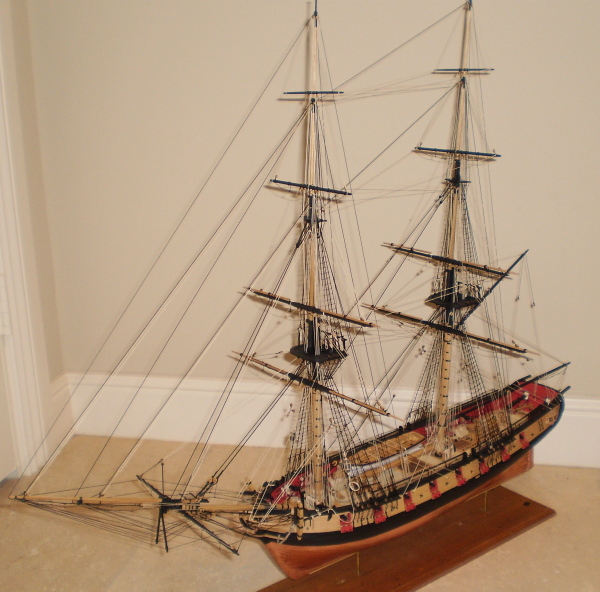
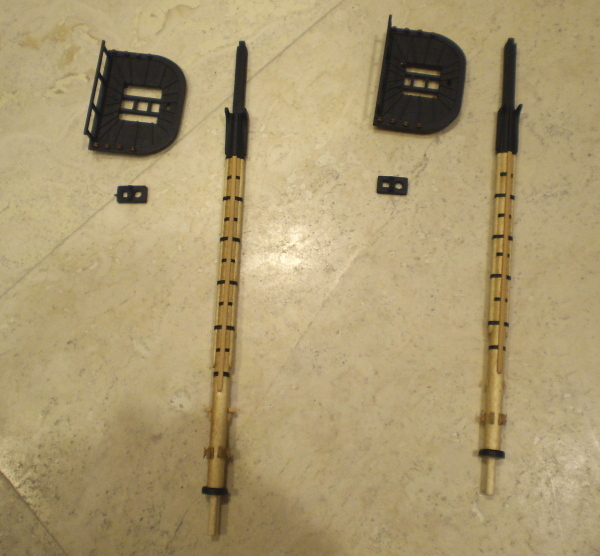
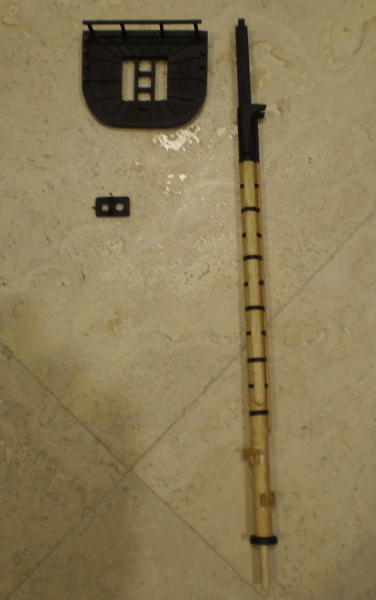
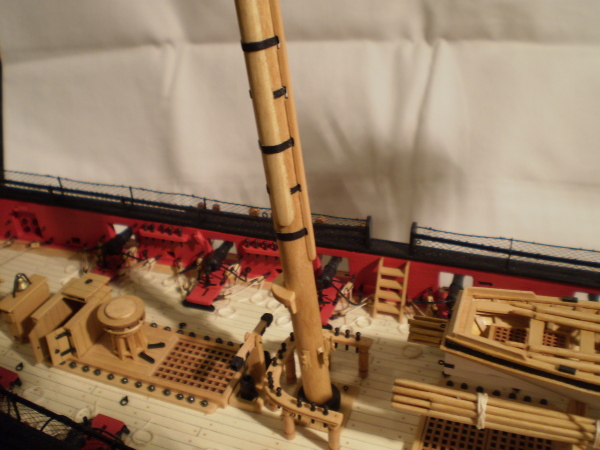
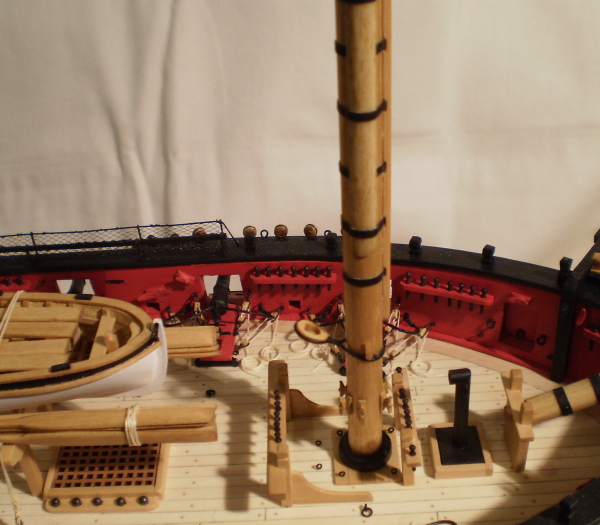
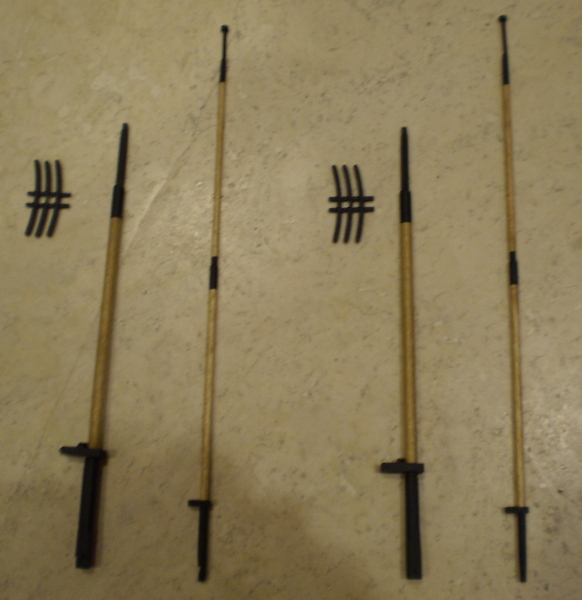
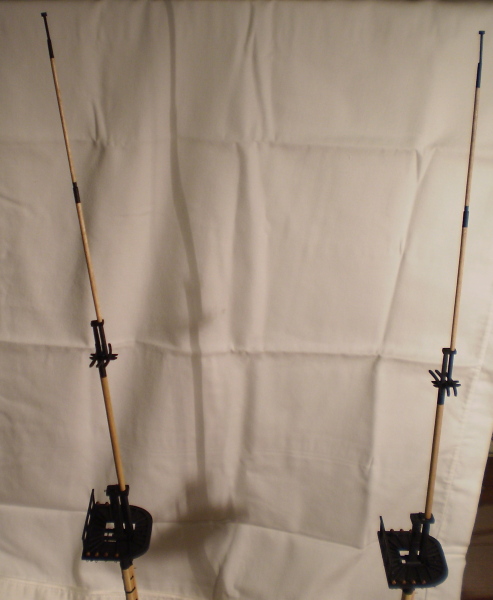
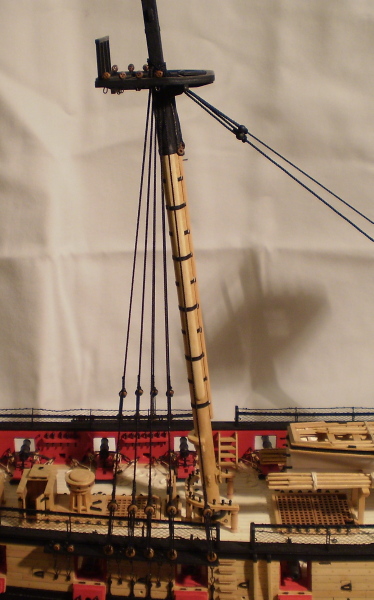
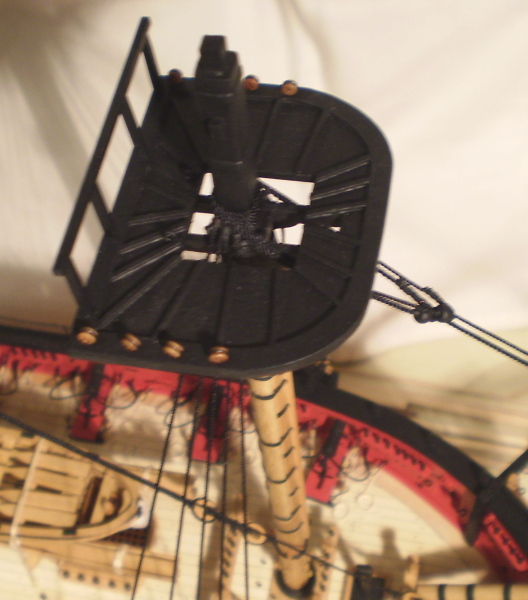
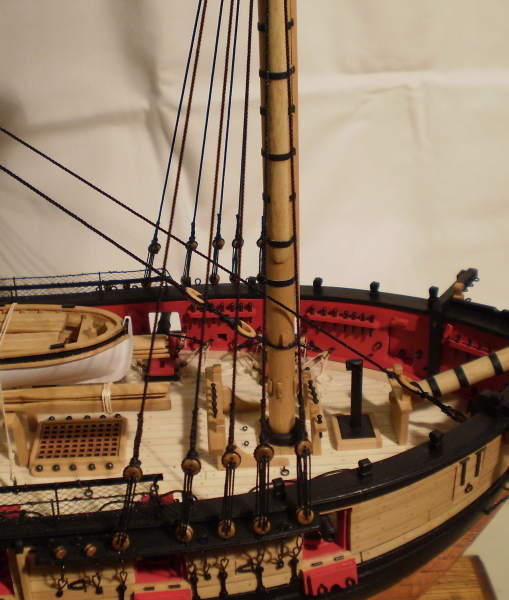
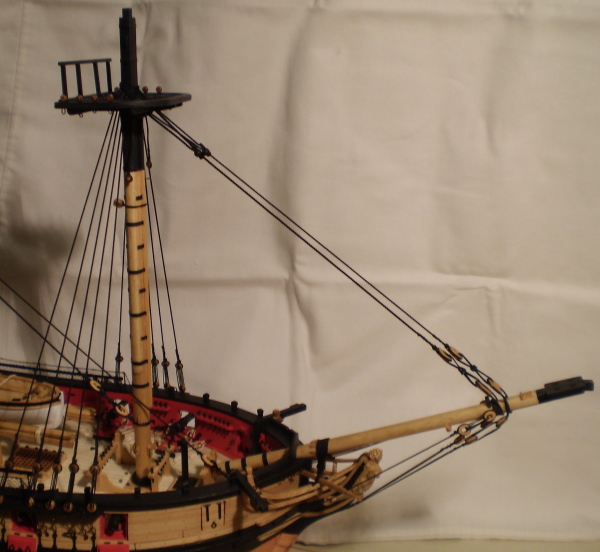
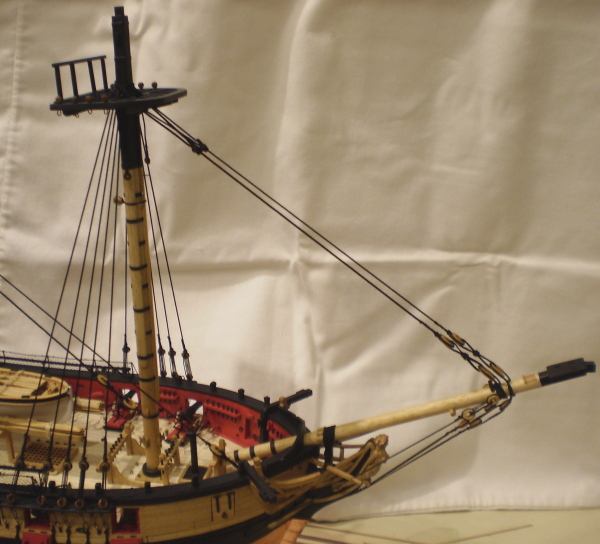
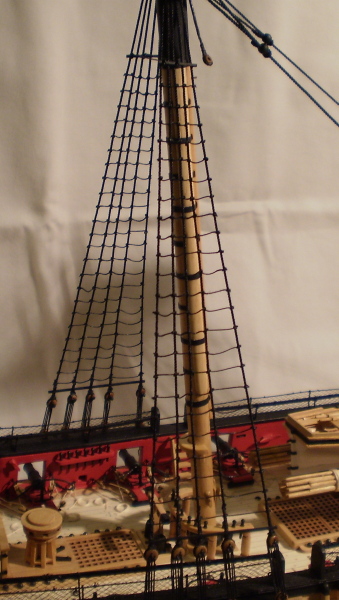
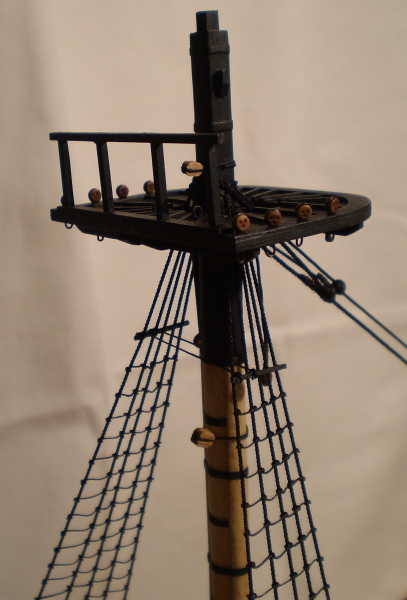
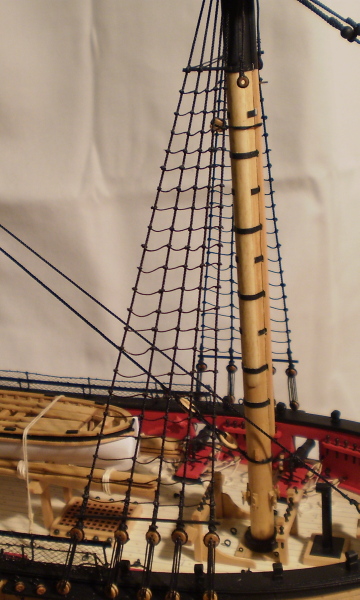
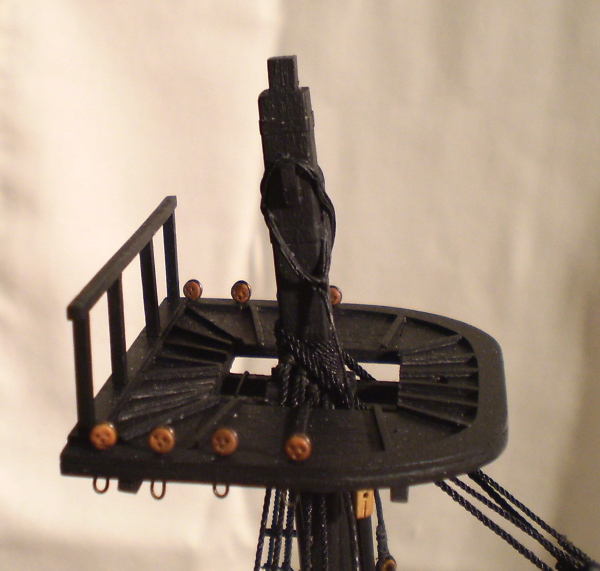
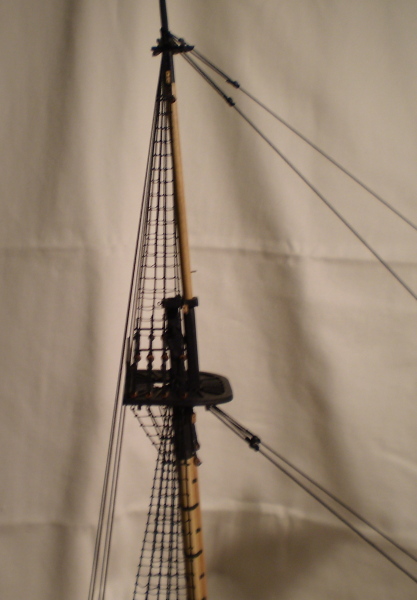
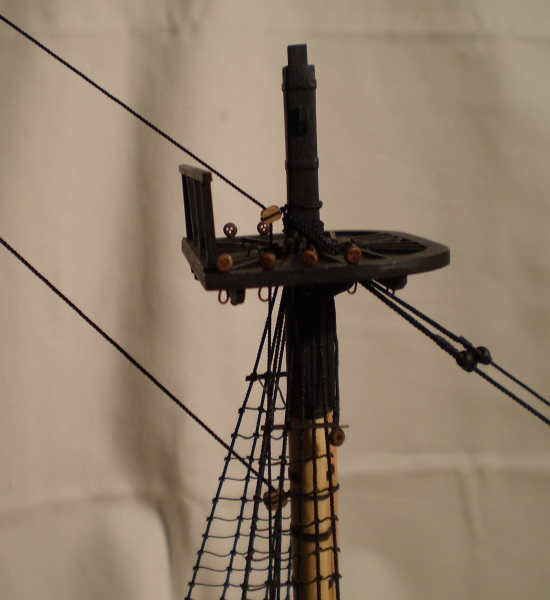
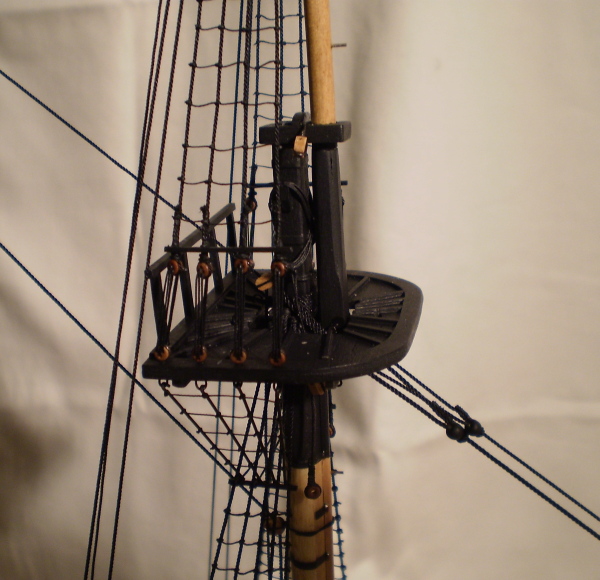
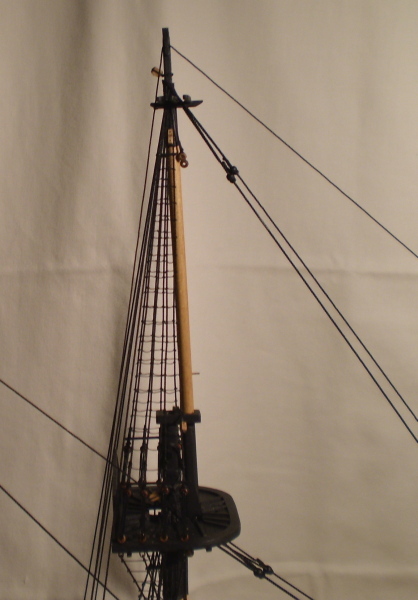
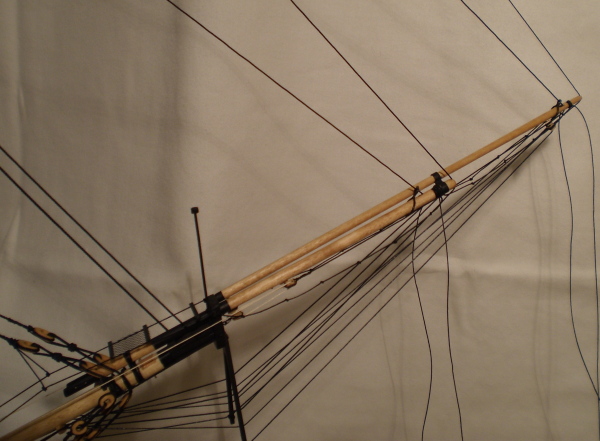
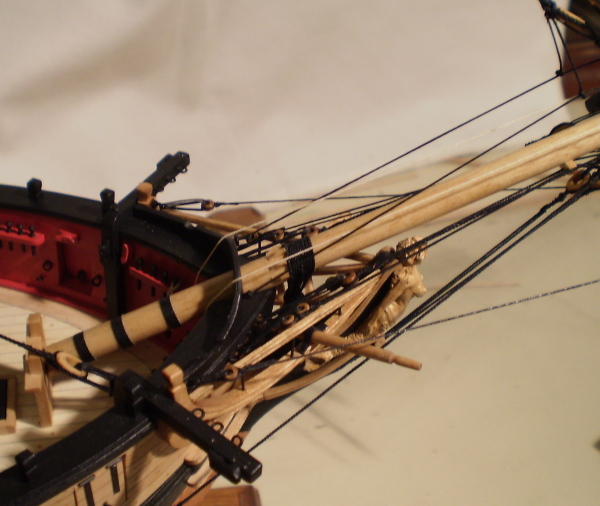
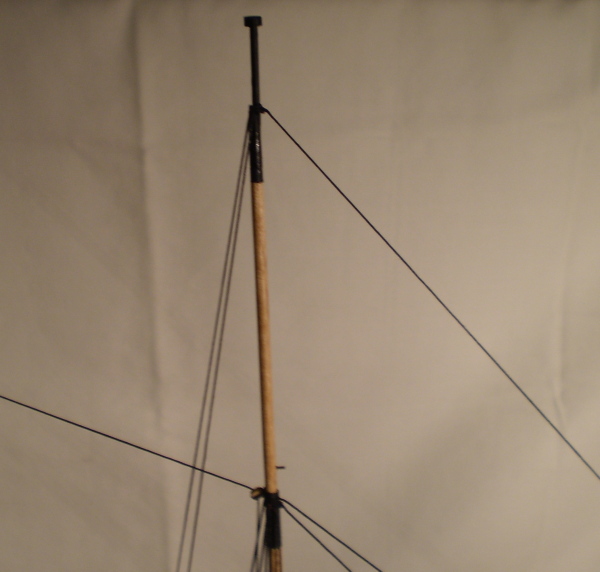
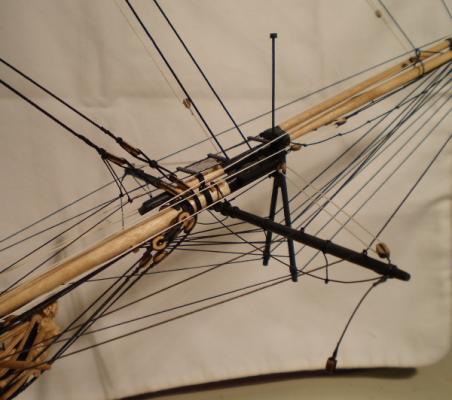
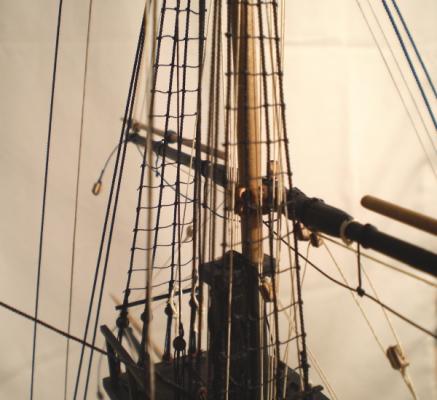
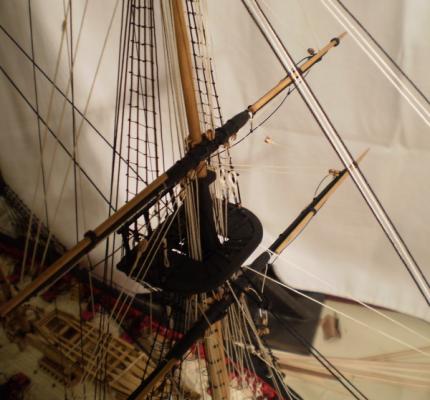
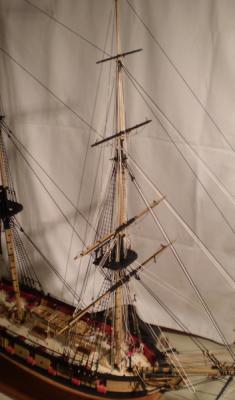
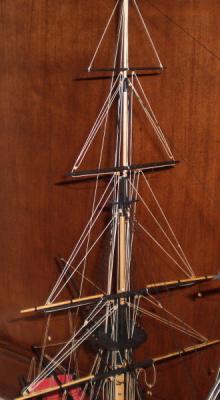
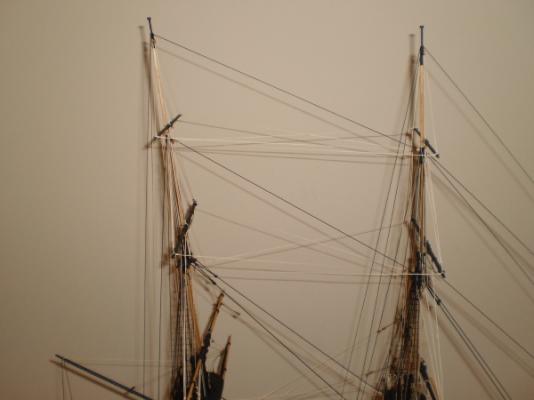
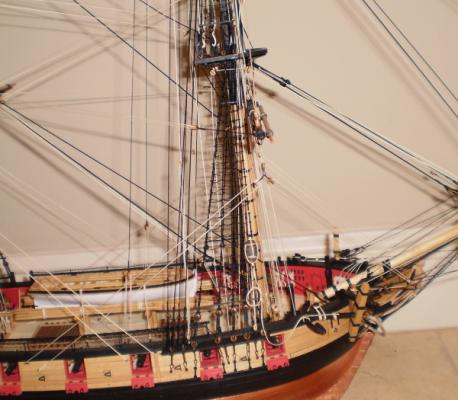
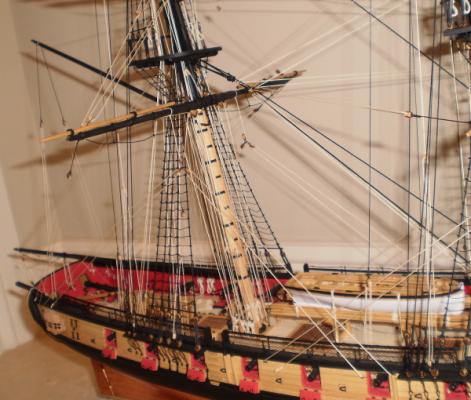
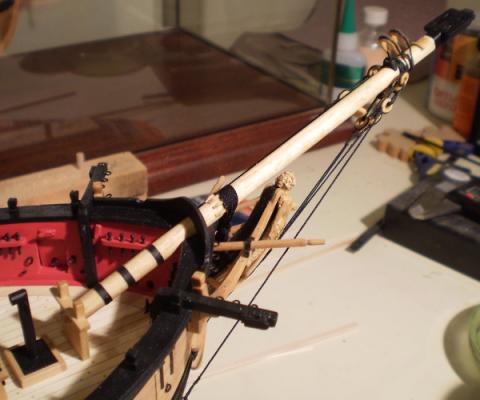
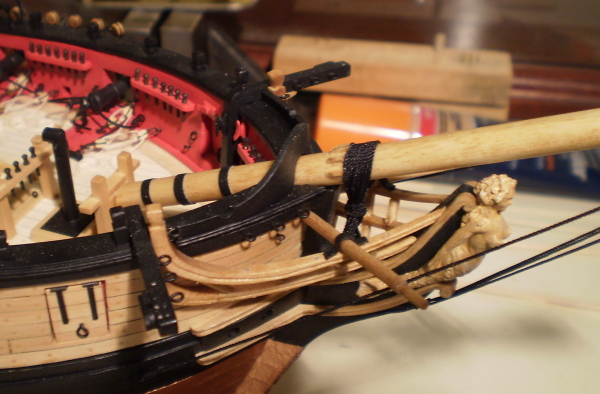
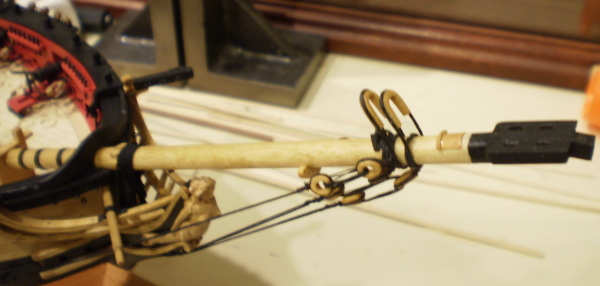
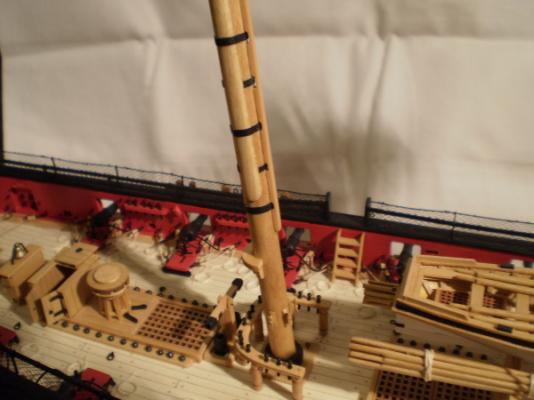
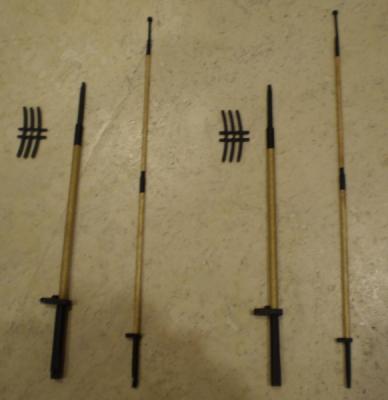
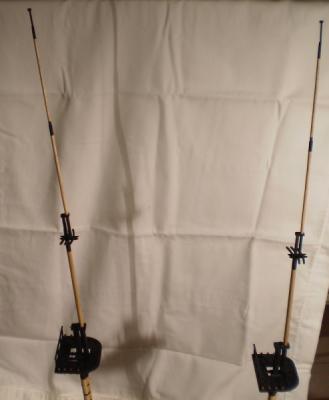
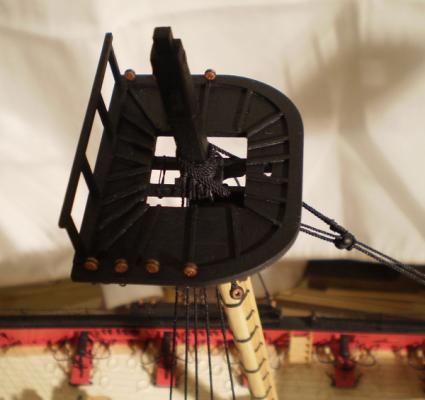
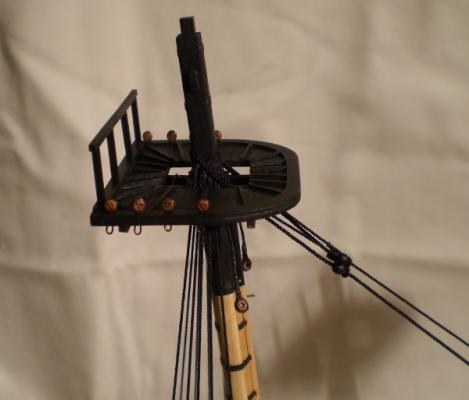
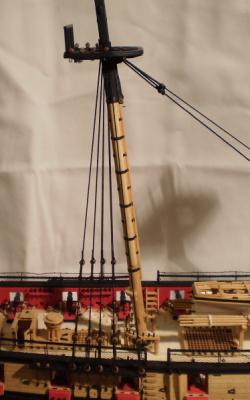
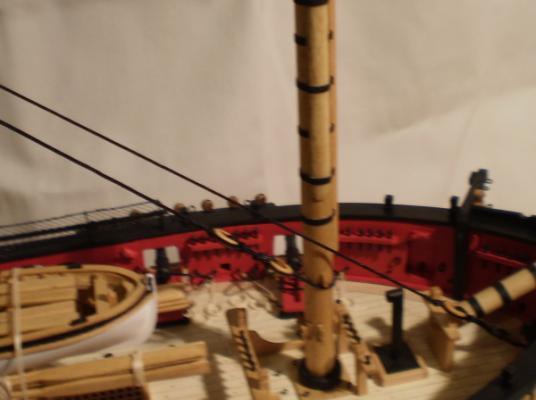
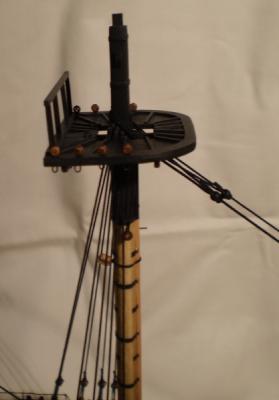
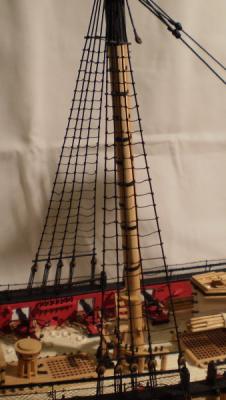
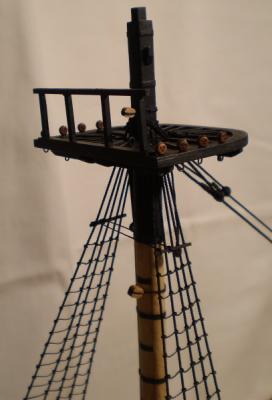
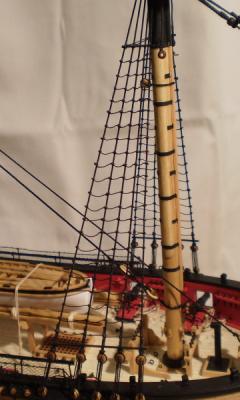
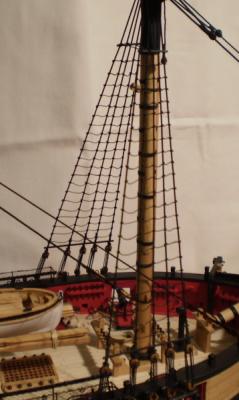
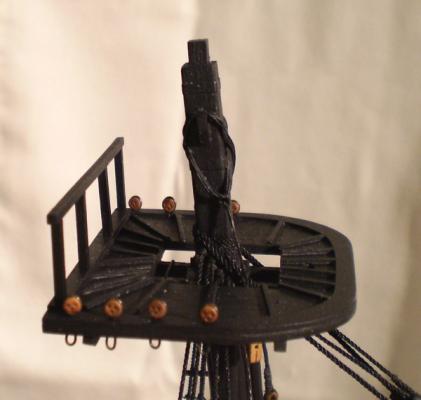
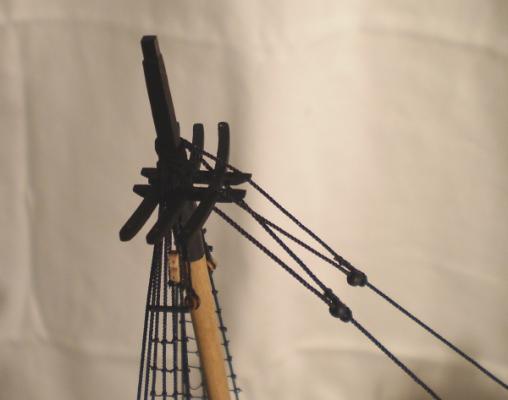
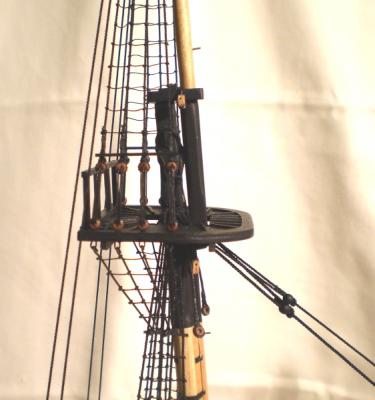
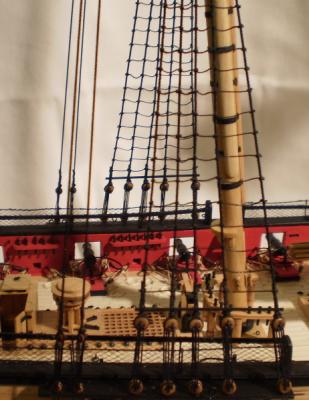
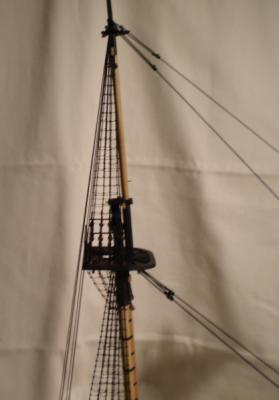
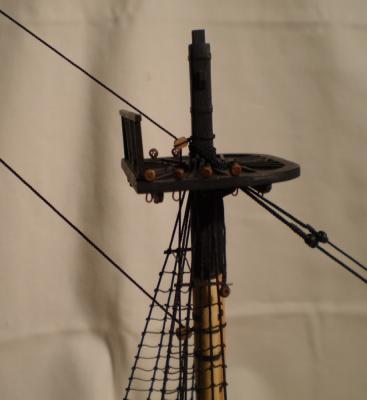
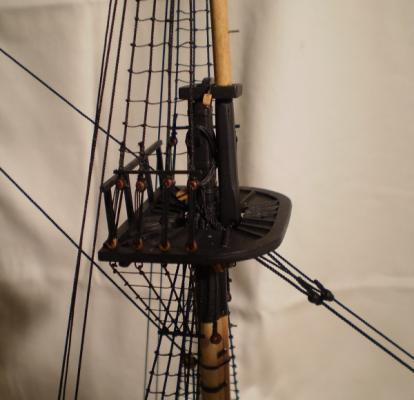
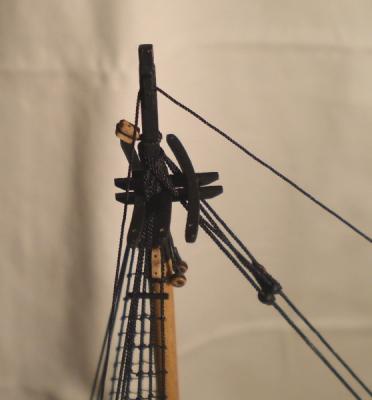
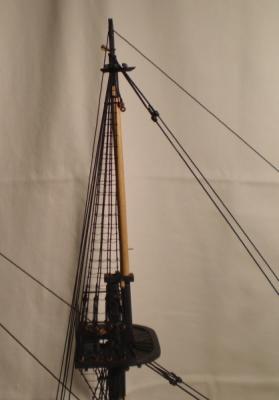
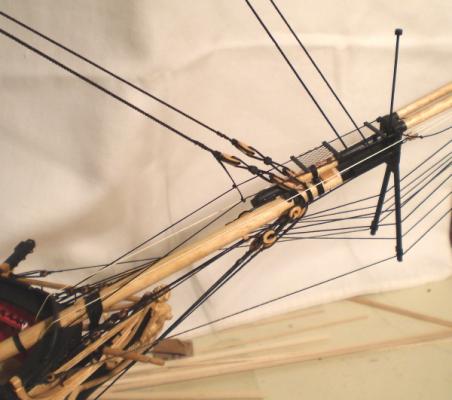
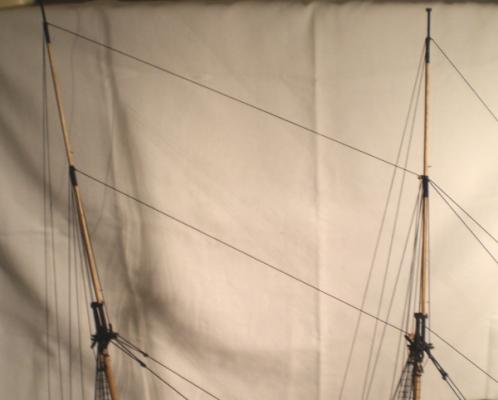
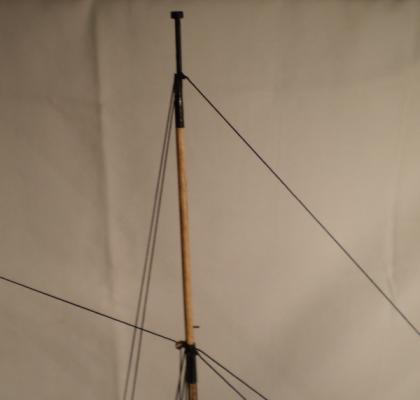
Bowsprit, masts and standing rigging: With the completion of work on the hull, it was time to move on to construction and installation of the bowsprit and masts and then to the standing rigging. As is my usual preference, I began with the bowsprit and it's gammoning, bobstays and shrouds. The splash guard was also added at this point. I then did the lower main mast and it's pendants, shrouds and stays. This was followed by the fore lower mast and it's pendants, shrouds and stays. I choose this order to maintain maximum access. I then did the catharpins and lower ratlines. The topmasts and their pendants, shrouds, stays, backstays and ratlines were then done, also from aft to fore, and then the topgallants and royals and their rigging in similar fashion. The jibboom and flying jibboom were added as the topmasts and topgallant masts were installed. Construction of the masting was done in accordance with Chuck's plans and instructions. The kit deadeyes were used, but I made all of the hearts from cherry. Brass pins were installed on the masts for the mounting of the yards. Bob


- 31 replies
-
- 3
-
-
- syren
- model shipways
- (and 1 more)
-
Really nice yards, Augie. Like you, I "know" that they should be made from square stock, but I continue to start with round and they come out just as good. Bob
- 1,668 replies
-
- 1
-
-
- syren
- model shipways
- (and 1 more)
-
Thanks, Grant. It's nice to know that it can actually be done this way. Bob
-
Thanks, Robert. I built Syren about seven months before starting Fair American. I finished the rigging on my Kingfisher build in between ( I will repost that build after this repost). Fair American took me about a year to build. One of the great things about retirement is the time available for model building. Bob
-
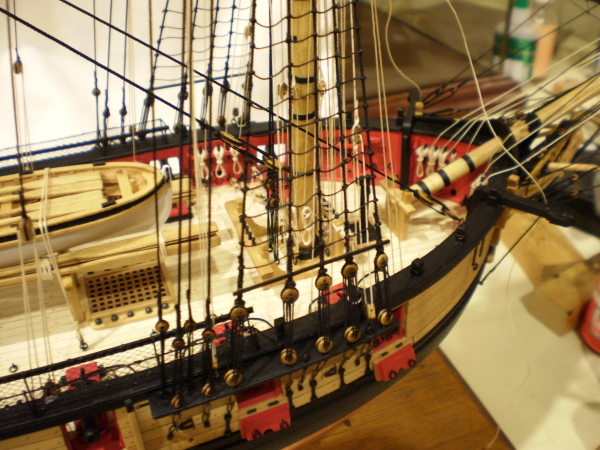
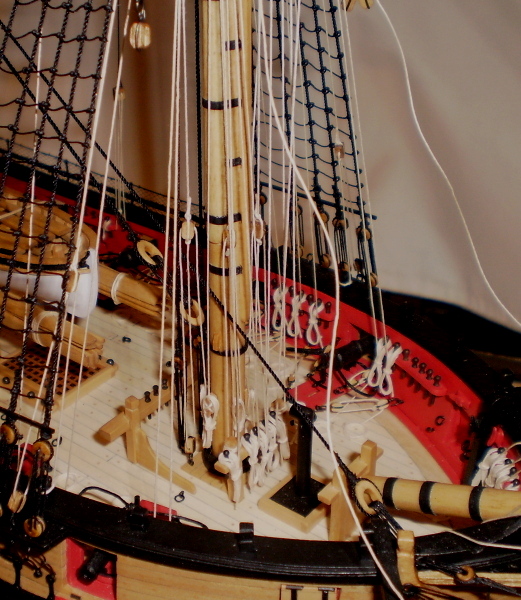
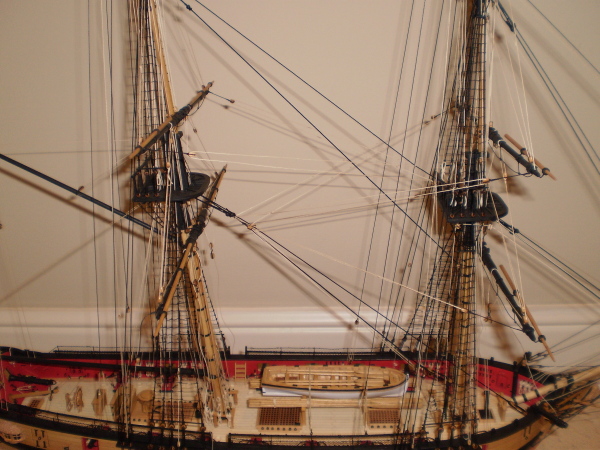
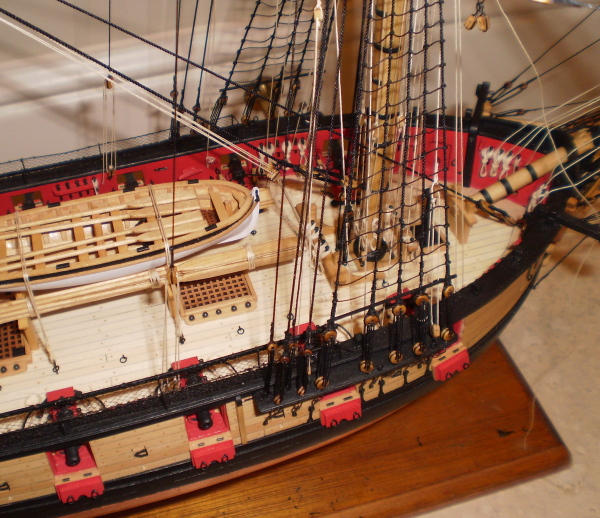
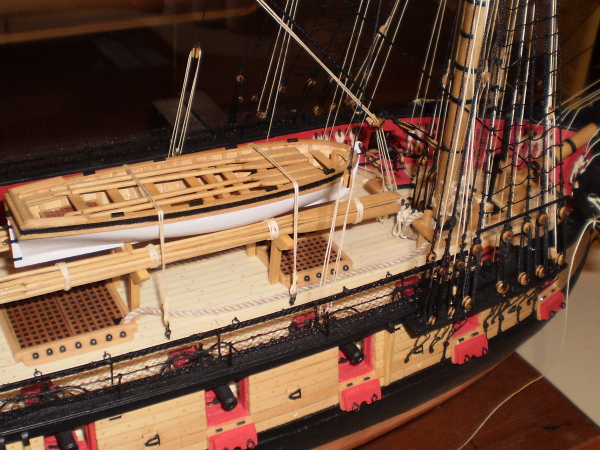
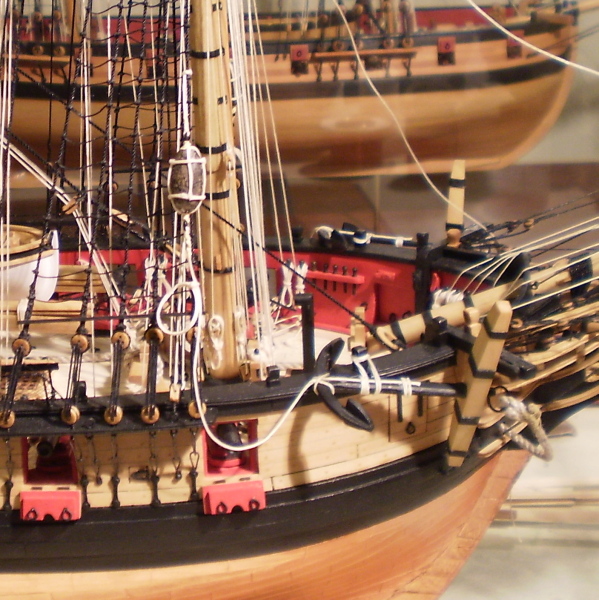
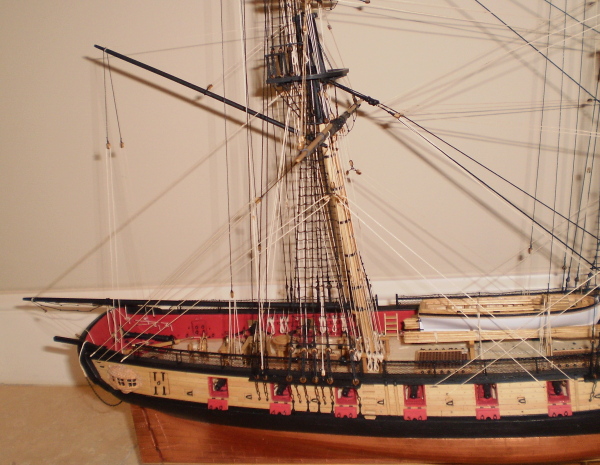
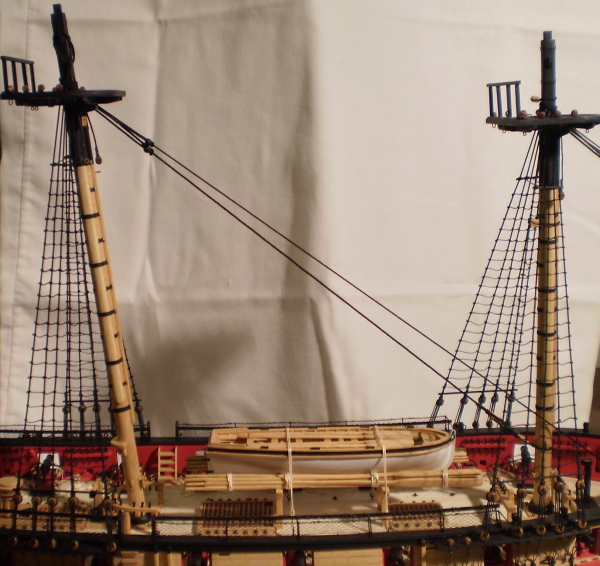
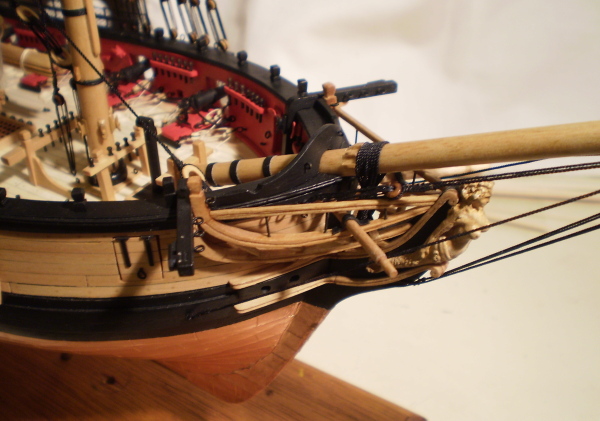
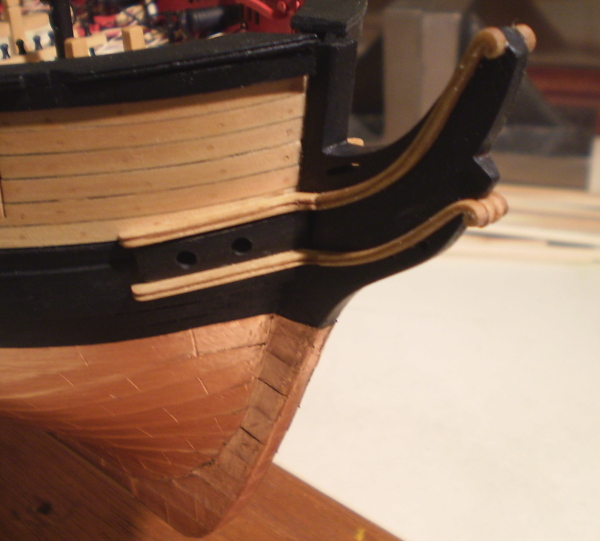
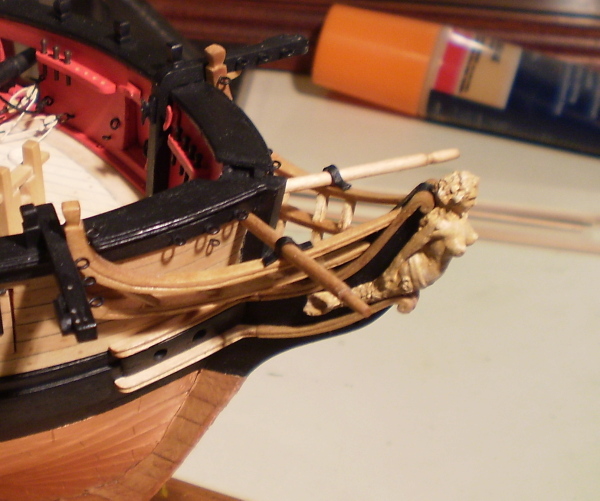
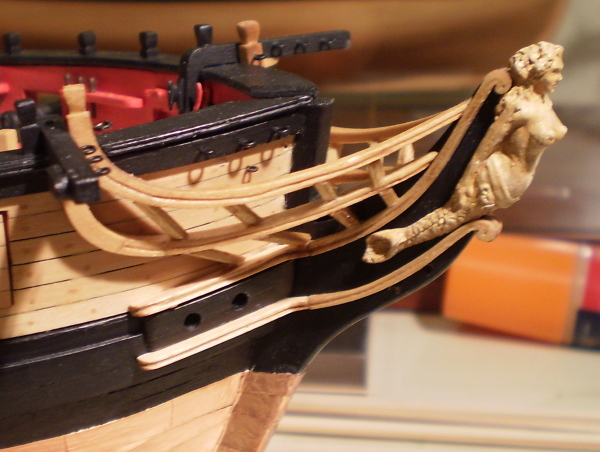
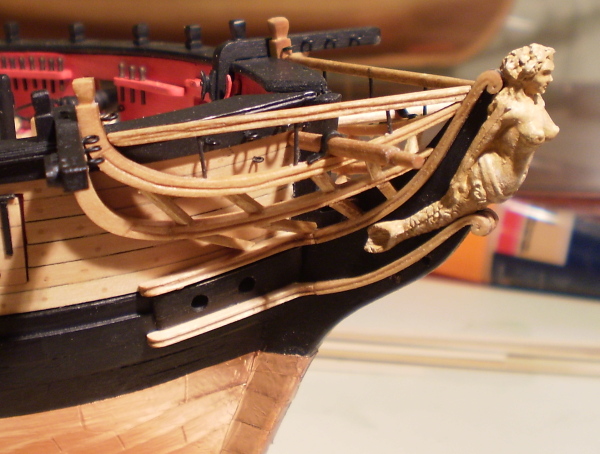
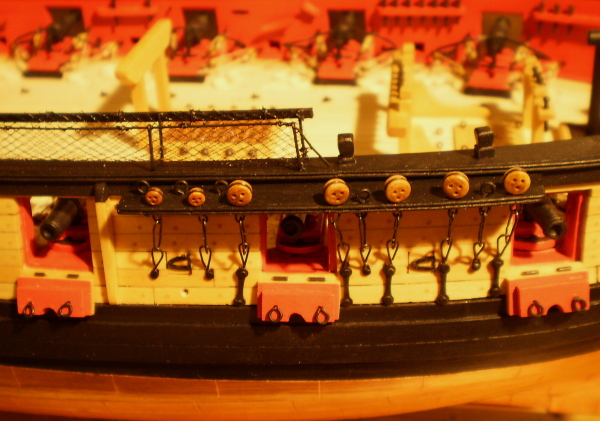
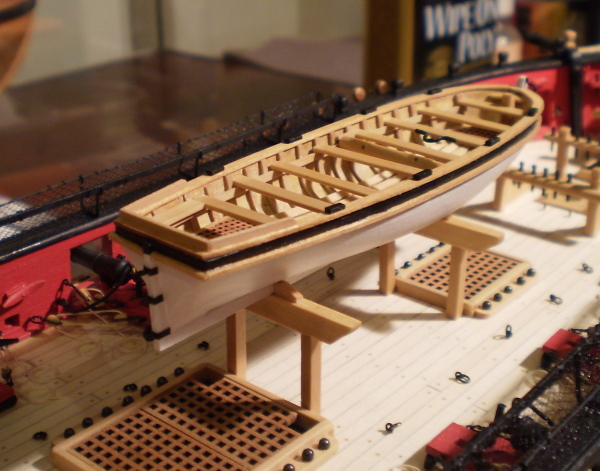
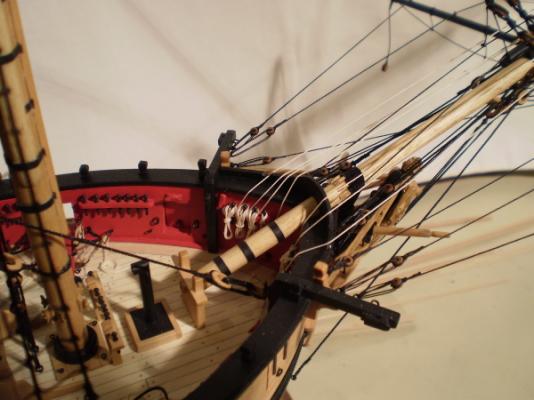
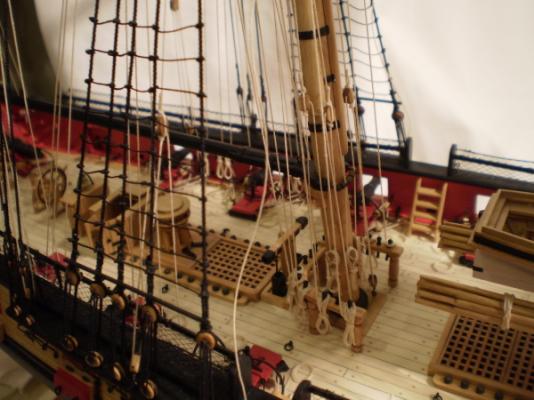
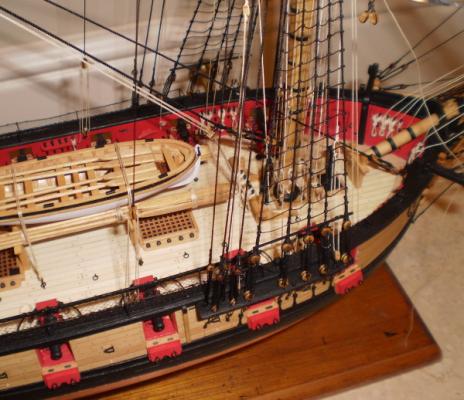
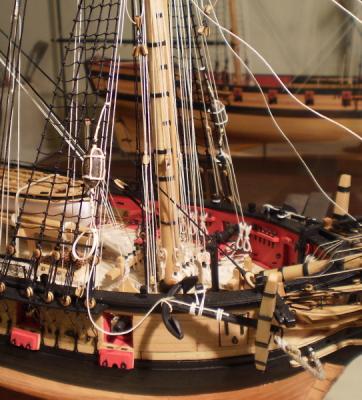
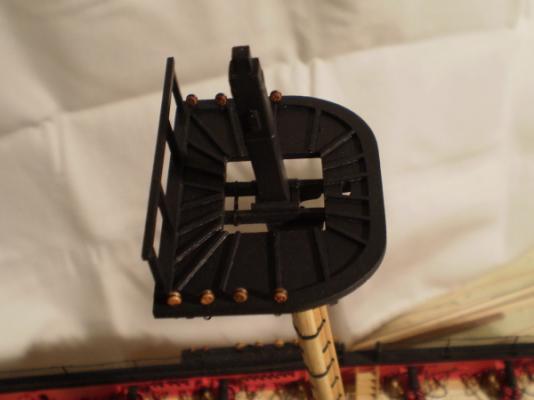
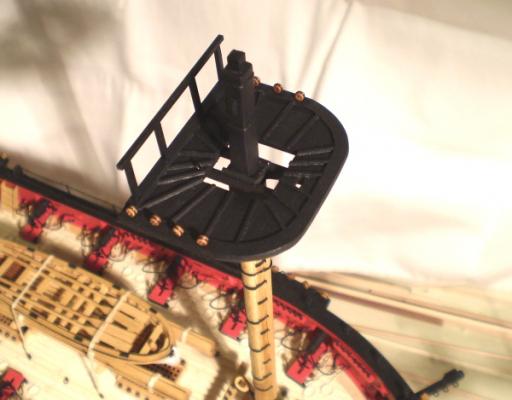
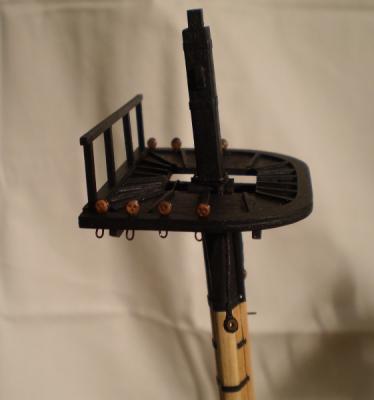
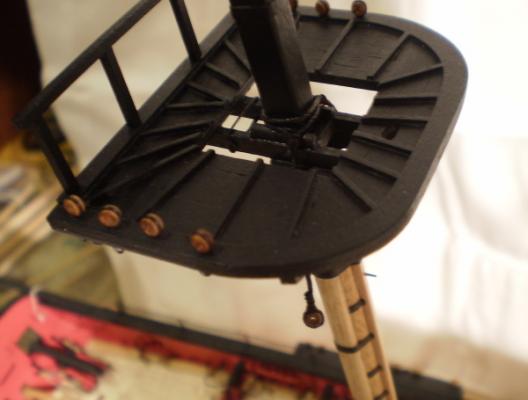
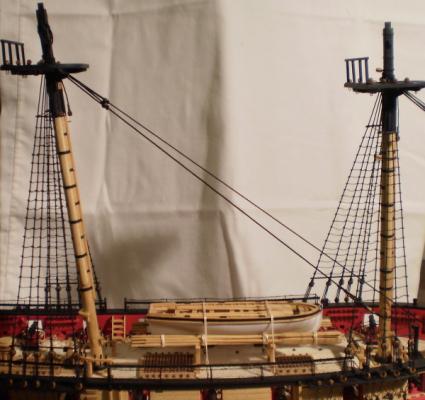
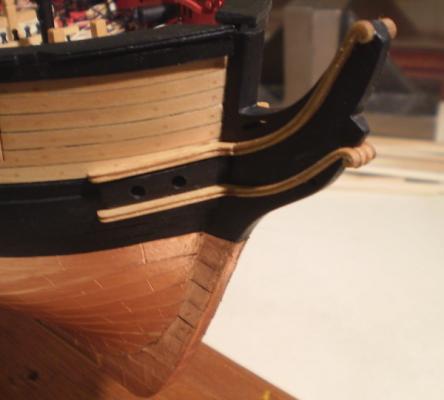
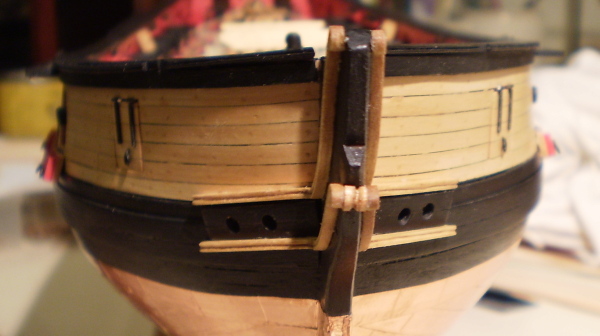
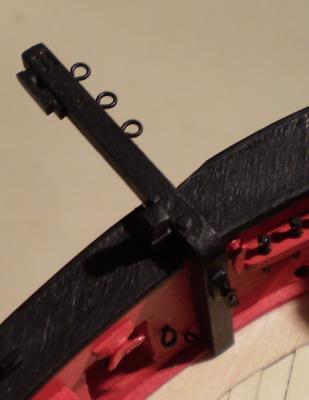
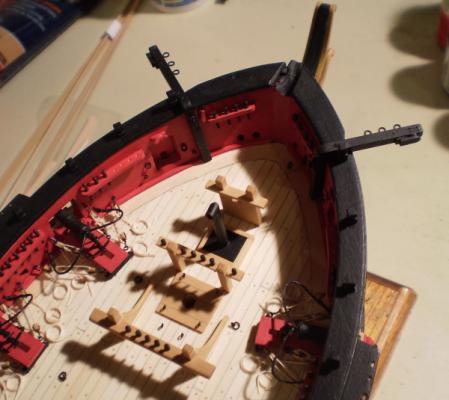
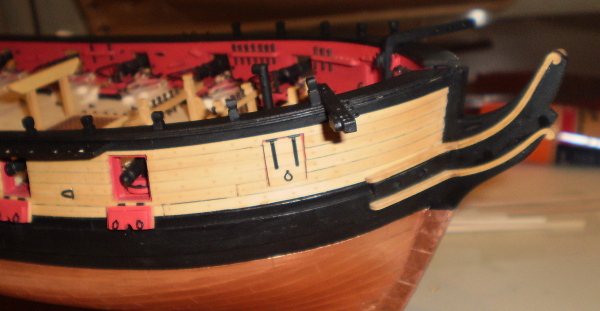
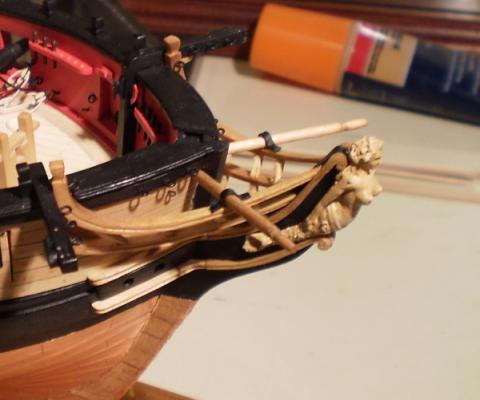
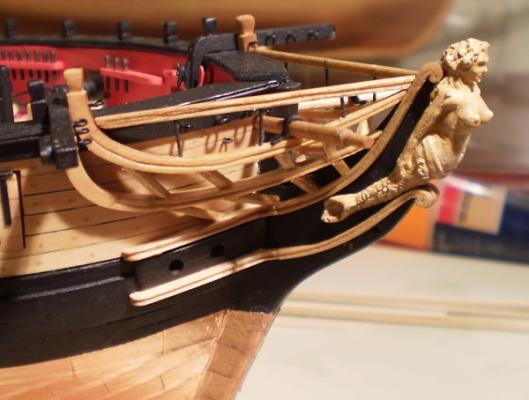
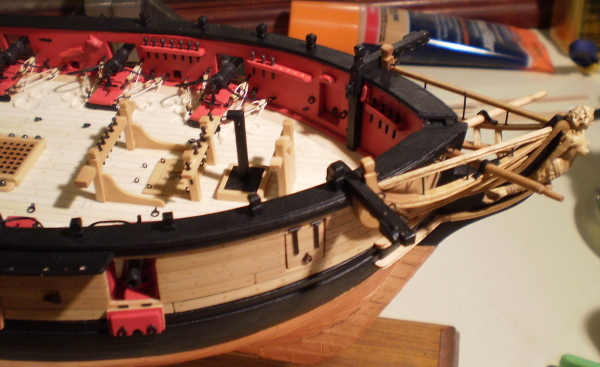
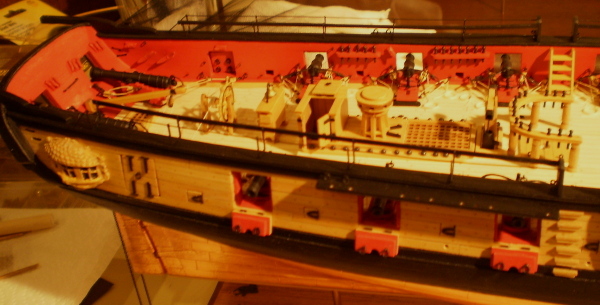
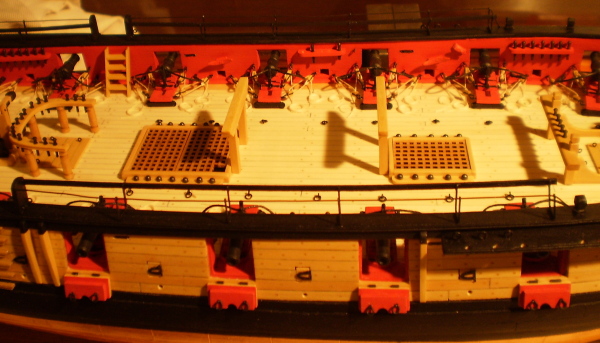
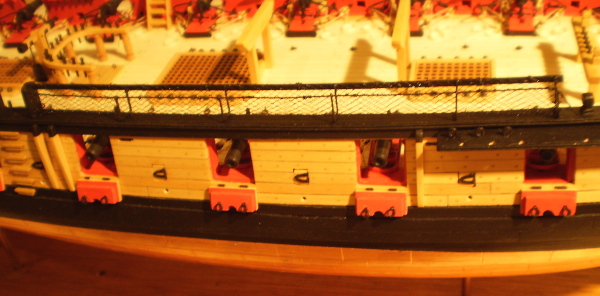
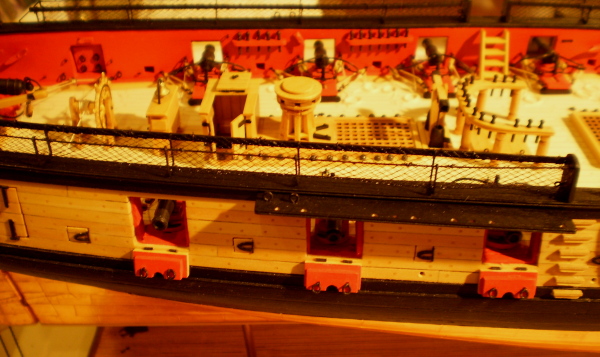
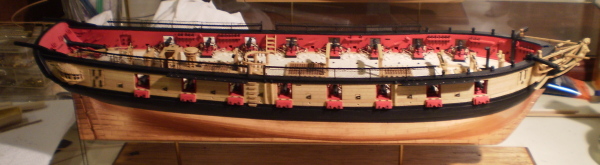
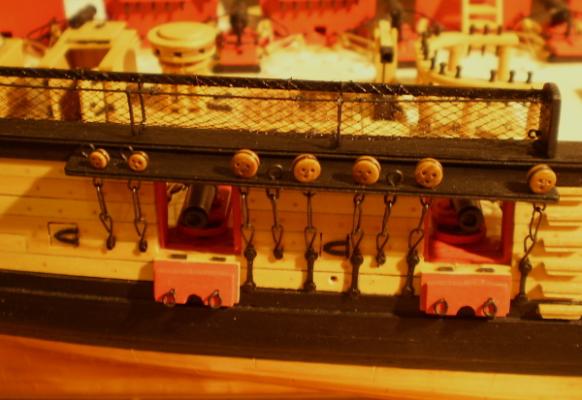
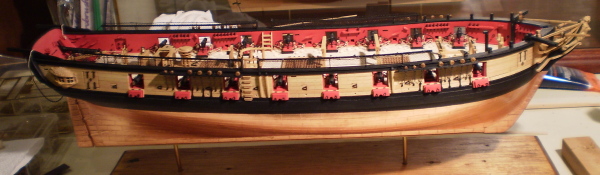
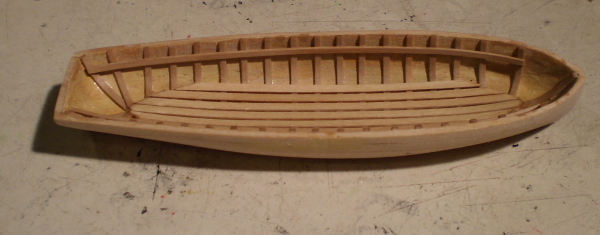
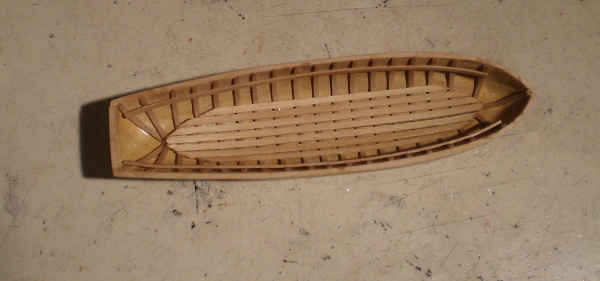
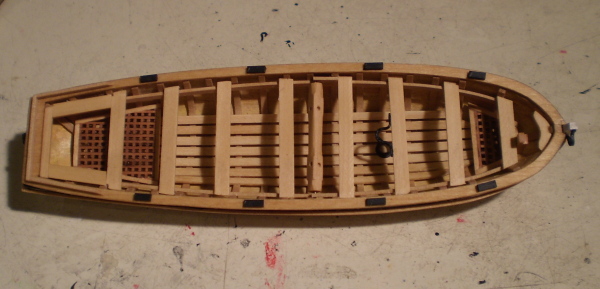
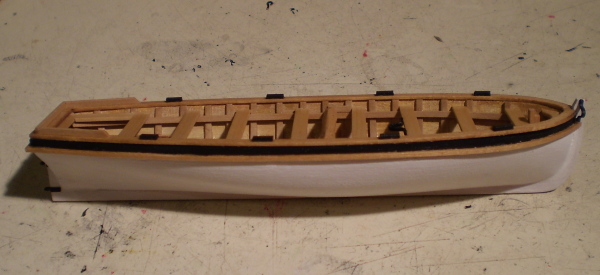
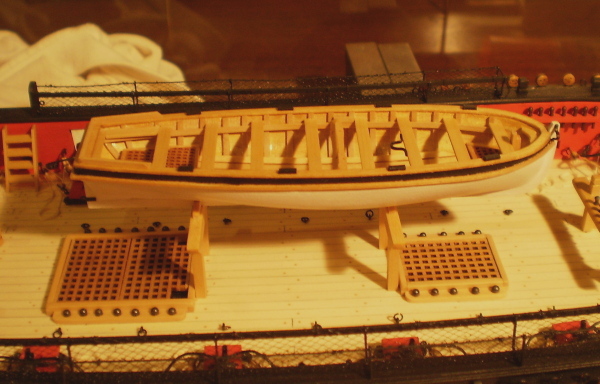
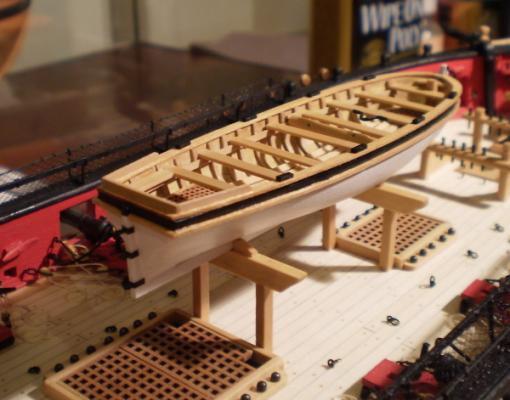
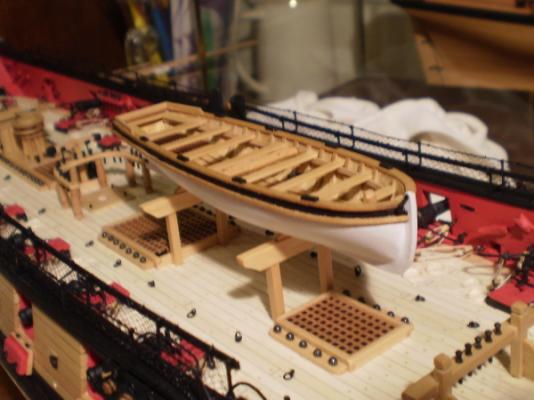
This installment will finish up work on the hull, including the head, the hammock frames and netting, the lower deadeyes and chains and the boat: Work on the head involved doing the catheads, the timberheads, the cheeks, the head rails and head timbers, the boomkins and the figurehead. All of this was done pretty much as set out in the practicum, with the exception that the timberheads were filed to shape from boxwood. My only second thought was that I would do the head timbers in one piece, rather than two, if I were to do them again. The figurehead was painted to try to match the boxwood of the planking. I also added eyebolts, as required for the rigging. The instructions were followed for the hammock frames and netting with one exception. I used #28 black wire, rather than rigging line, as the top line between the frames. I found it easier and more stable to work with. The deadeye chains were bent from wire, using a simple two nail jig and were relatively easy, but tedious. The boat was done "by the book" and was a fun project. Bob


- 31 replies
-
- 5
-
-
- syren
- model shipways
- (and 1 more)
-
I love those catheads, Robert. Beautiful work. Bob
-
Echo by Rustyj - 1:48 - cross-section
rafine replied to Rustyj's topic in - Build logs for subjects built 1751 - 1800
It still amazes mr that you can work on three projects at once -- and do them all so well. This one looks great. Bob -
Thanks so much, Jared and Robert. The old log was in the Syren forum Robert. Bob