MORE HANDBOOKS ARE ON THEIR WAY! We will let you know when they get here.
×


rafine
-
Posts
2,932 -
Joined
-
Last visited
Content Type
Profiles
Forums
Gallery
Events
Everything posted by rafine
-
 Thanks so much, guys. The support is appreciated. I'm afraid that poor photography makes the joints look somewhat better than they really are. Bob
 -
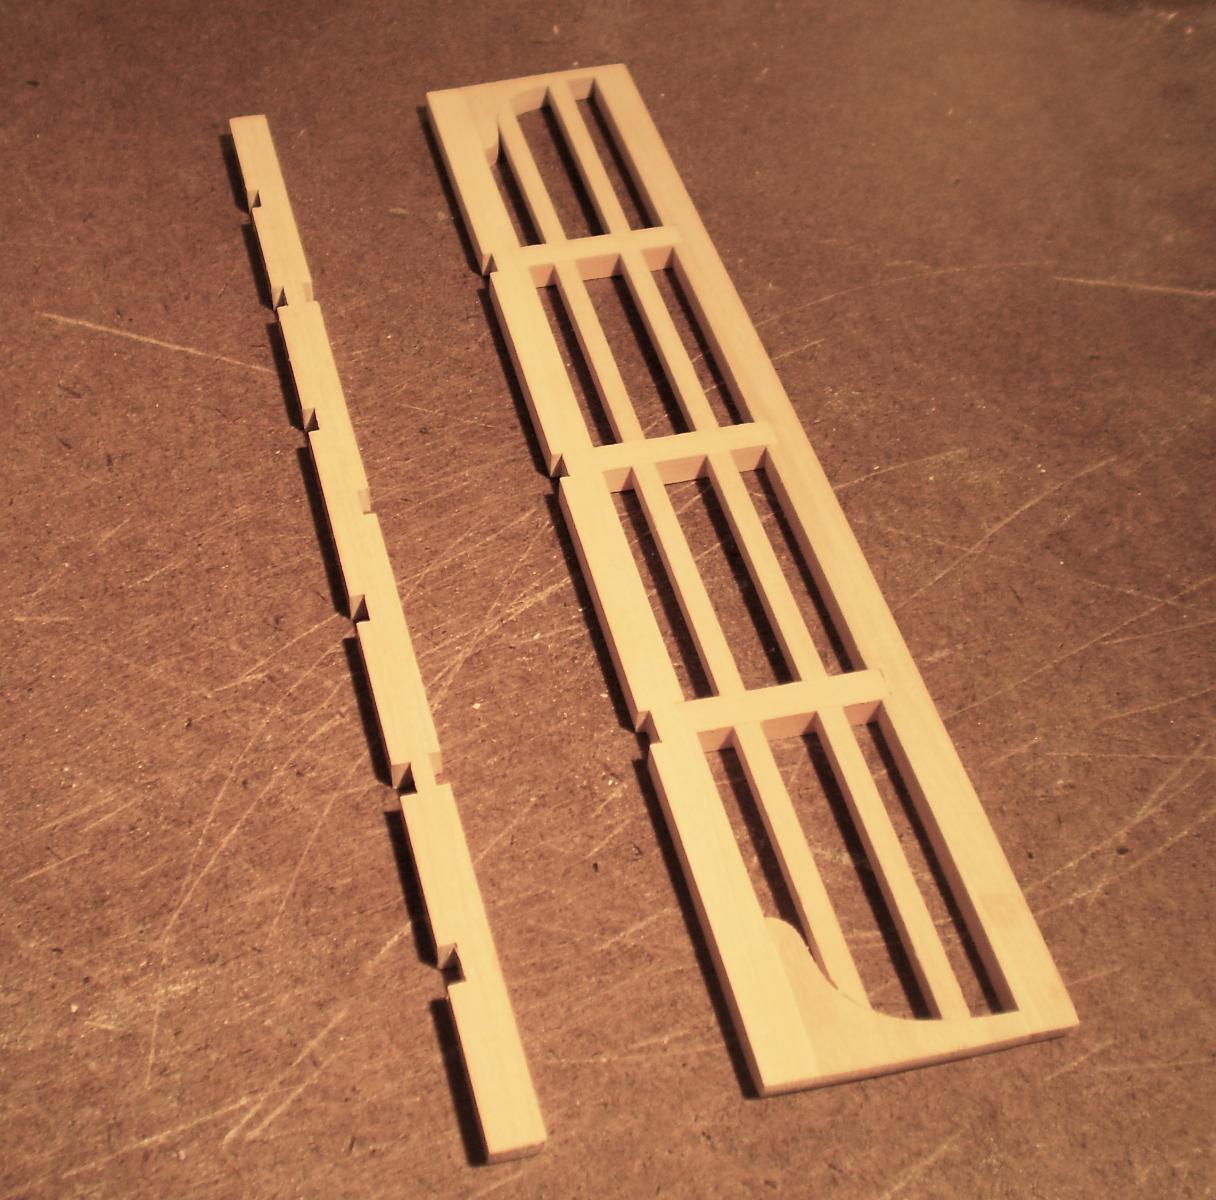
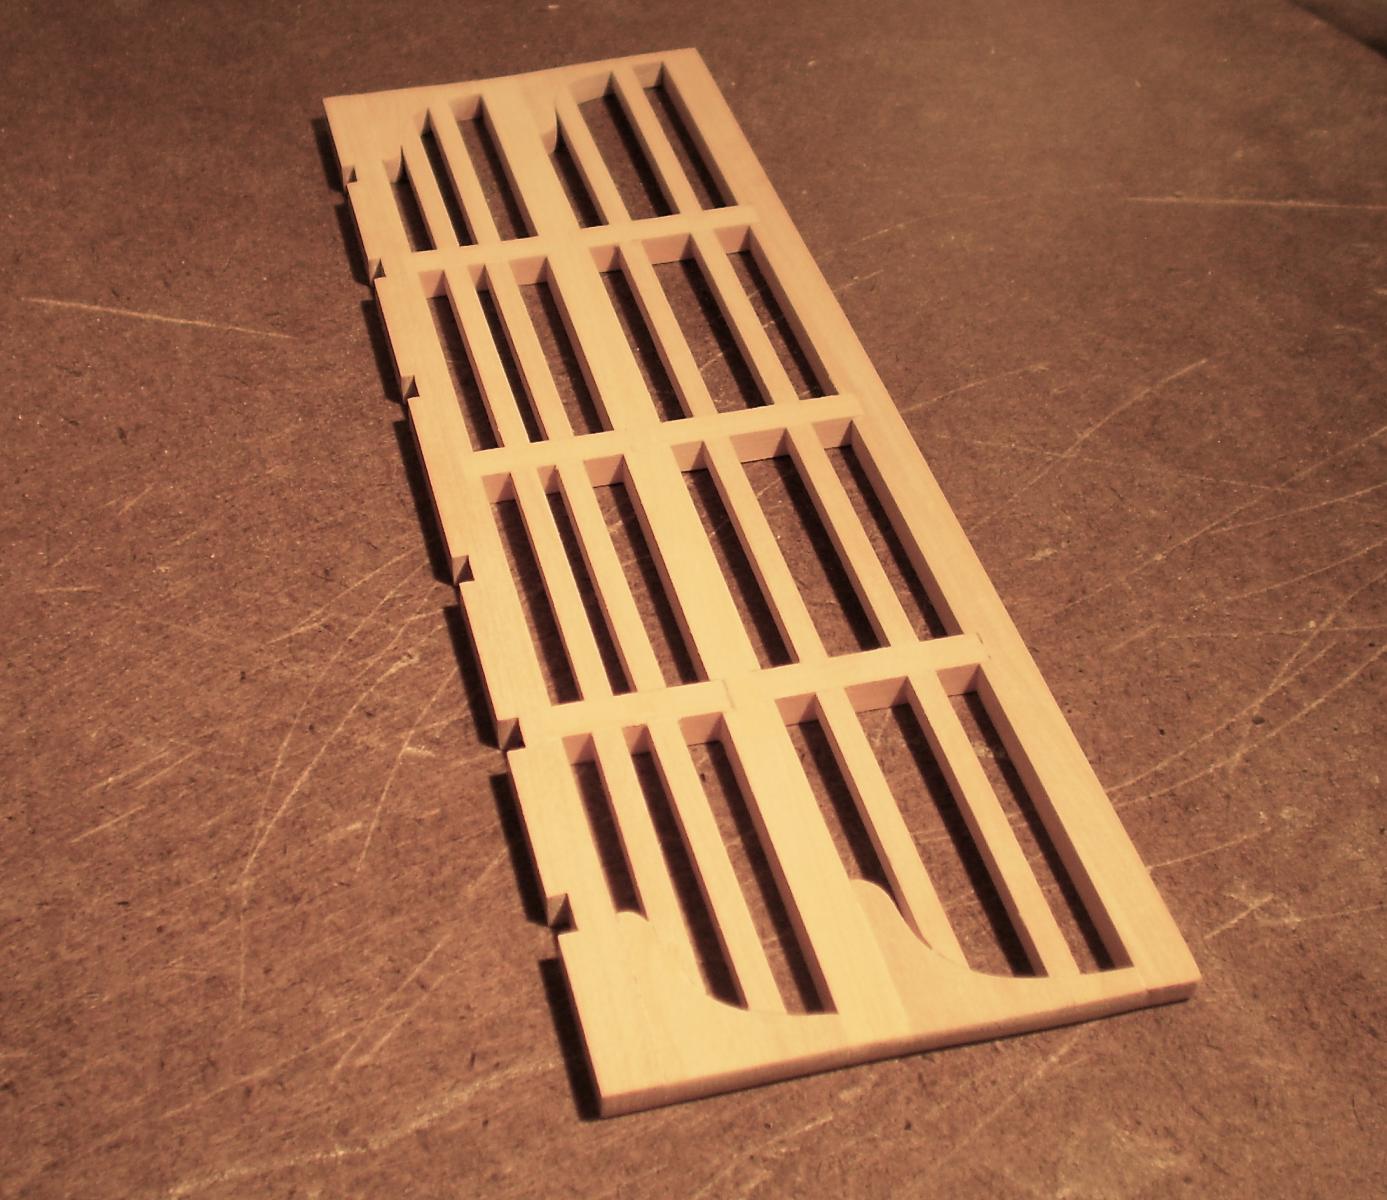
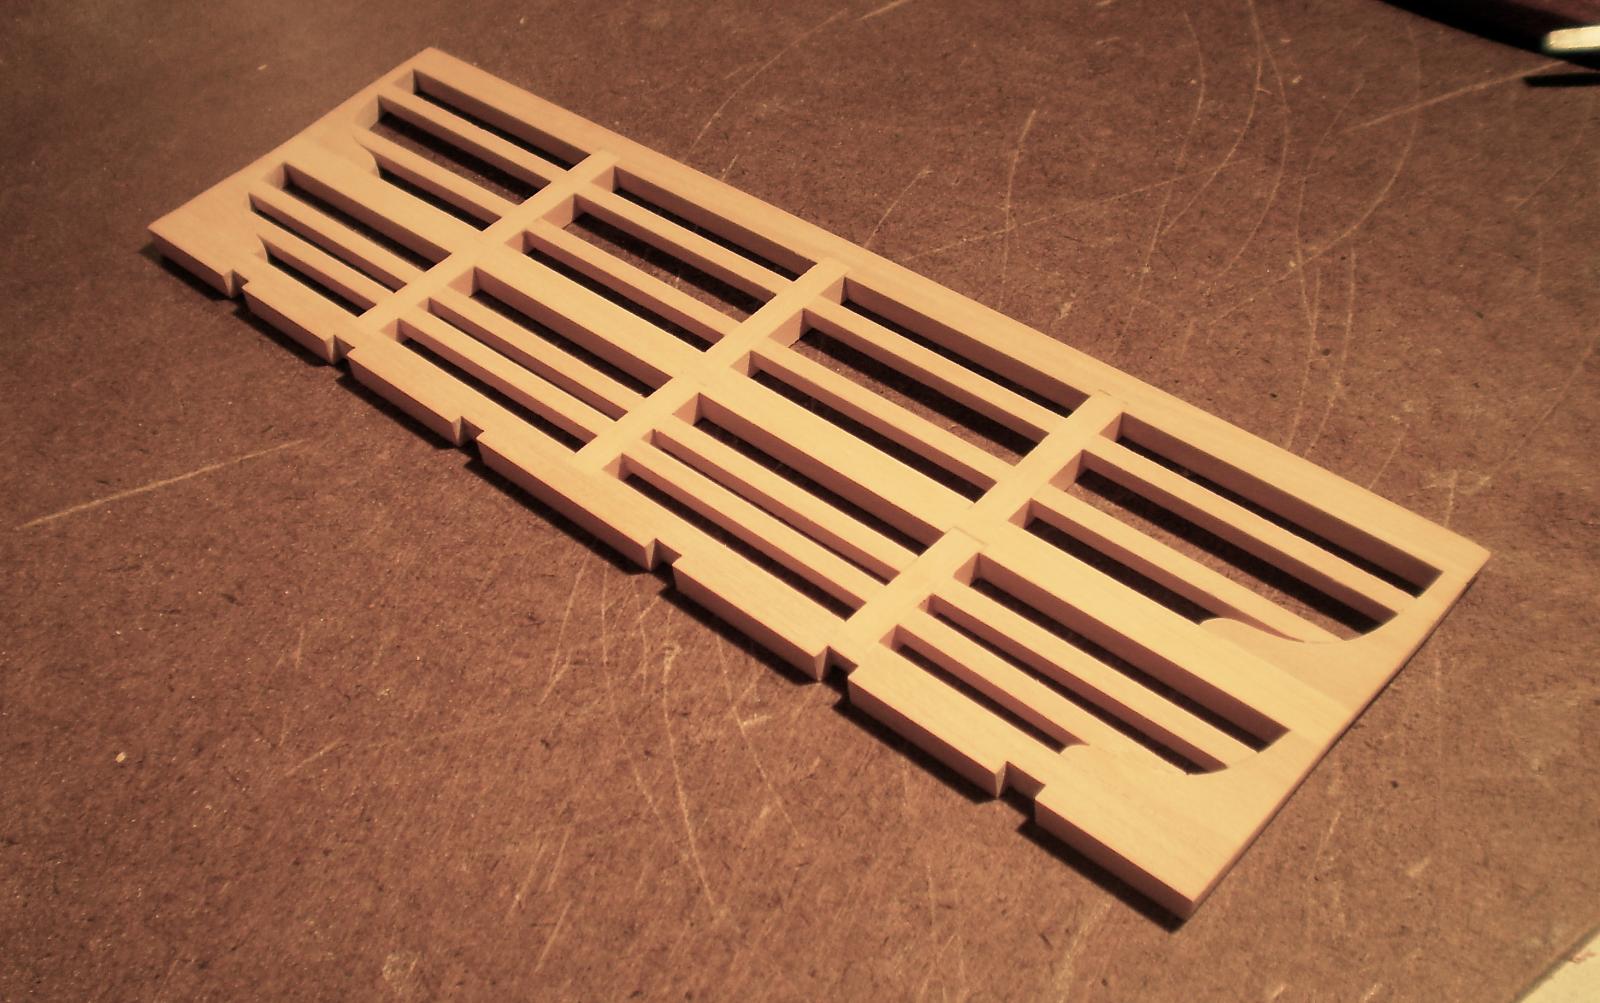
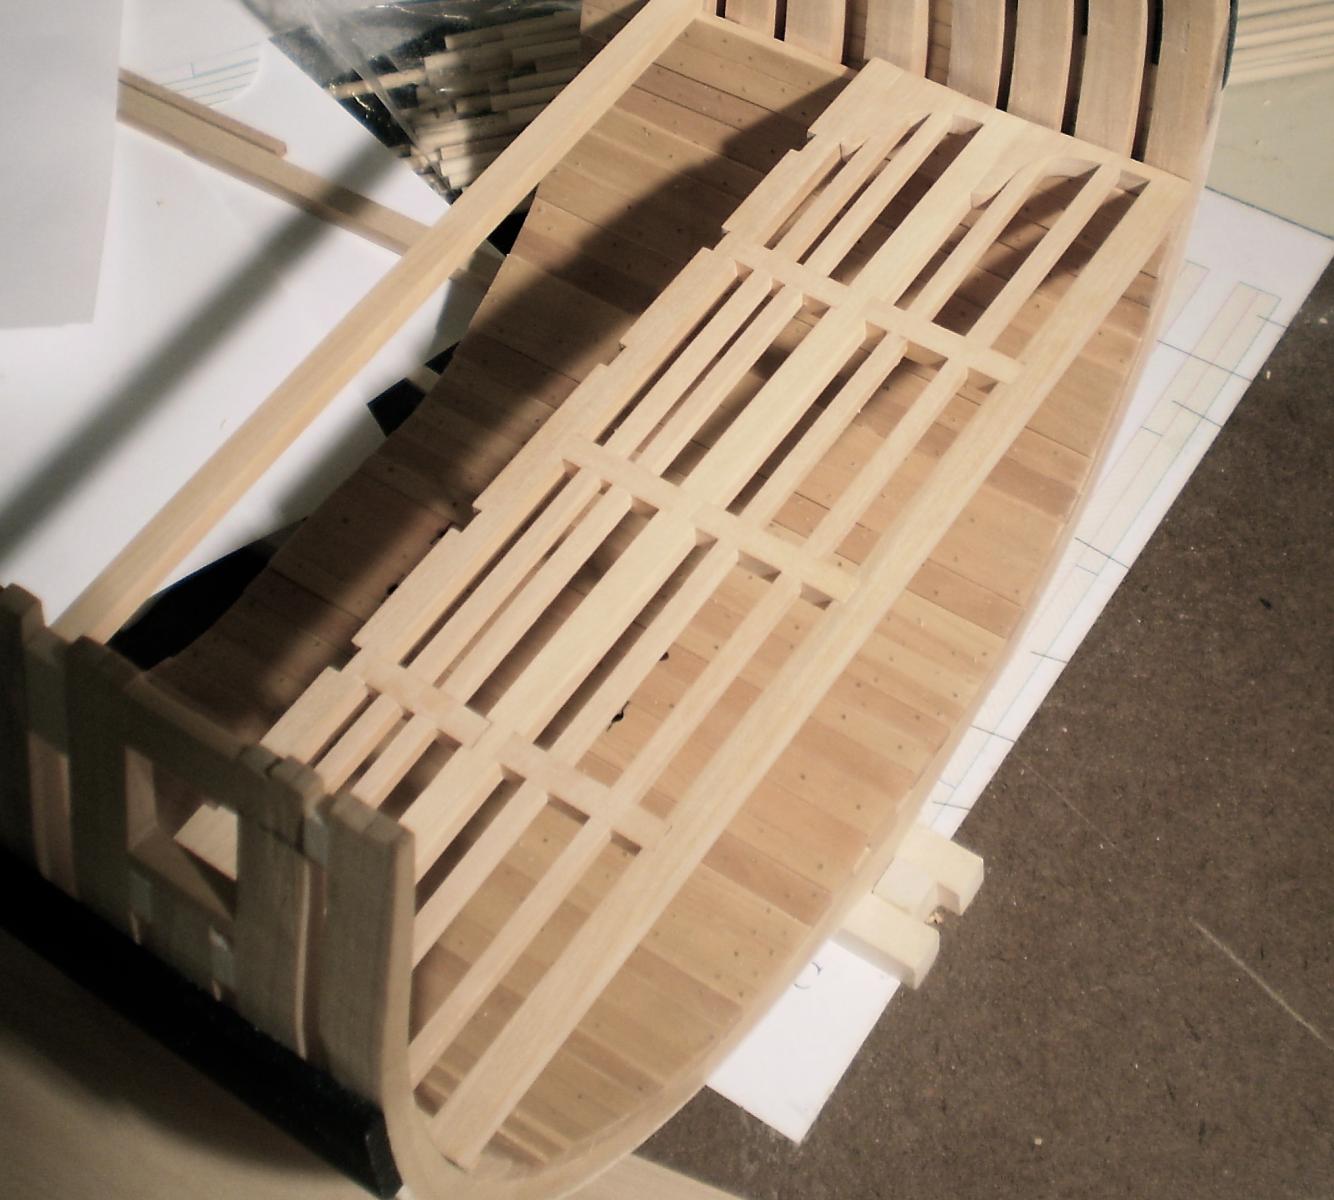
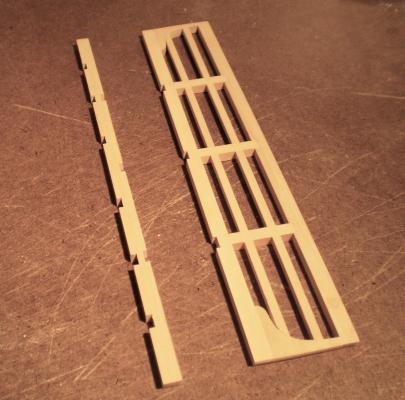
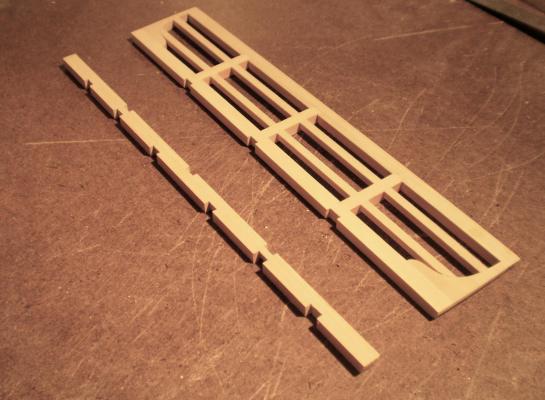
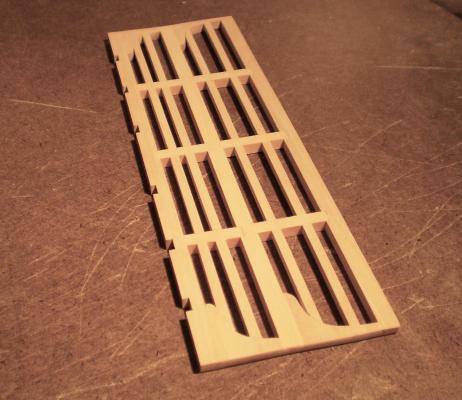
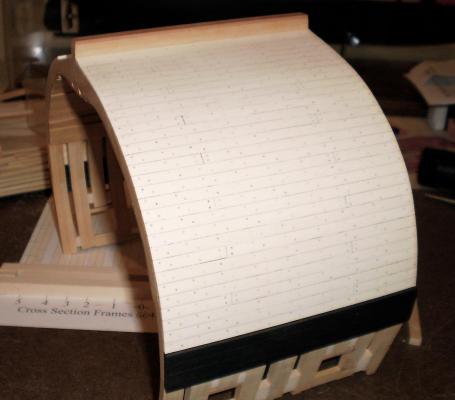
I'm working on the lower deck framing. So far Ive done the three forward beams and the carlings, ledges and lodging knees between them. I'm cutting the hanging knees now. I decided to try assembling the deck framing as a complete unit off the model before installing it. This simplified cutting the mortises and fitting the pieces and so far it has worked out well. The mortises were cut using a razor saw and a small chisel. All of the framing is boxwood. The last photo shows the portion completed to date put in place temporarily for the picture. The next step will be to do the fourth beam and the beam arms. I'll see when they're done whether it can all be assembled in one unit, or if the installation will have to be done in two units and then connected in place. Bob


-
Very nice, Rusty. I'll be following your lead on the wood choice for the inner and outer upper planking. Bob
-
It's coming along beautifully, Russ. Bob
-
Mark, I think that you're going to find that planking is really kind of fun and not all that difficult. But then you get to the joys of tree nailing. Bob
-
Thanks, Augie. After my computer issues, I 've got a lot of catching up to do on other logs . Bob
-
Thanks, Russ and David. David, I use satin Wipe-On Poly by Minwax. Bob
-
Thanks, Pete and Paddy. Bob
-
Thanks, Daniel. I'm using the Byrnes draw plate. It's an excellent tool. I've been having computer problems, apparently the result of a storm, which have kept me from posting. Hopefully, they are resolved now. During this time, and while waiting for wood from Hobbymill, I completed tree nailing of the second side of the lower hull. I also applied a final finish with Wipe On Poly to the lower interior planking, in preparation for doing the lower deck framing. With the new wood having arrived, I've started on that framing. Bob

-
Beautiful work on the capstan, Mark. Bob
-
Thanks, Grant and Joss. Grant, I think we all have a touch of OC in this hobby and that the hobby rewards that kind of behavior. Bob
-
Very good looking work on the bitts and gallows, Rusty. I'm glad to have you in front of me to show the way. Bob
-
Thanks so much, Pete and Russ. Pete, the treenails were drawn down to # 35 on the Byrnes drawplate. I used a drill just slightly larger to do the holes. Russ, I found it really quick and easy to do 10 to 15 at a time and then nip them all off. My previous efforts at treenailing on Syren and Fair American involved "fakes" using filler in drilled holes. I really don't think that using "real" treenails has been that much more difficult or time consuming. The big difference is making the treenails, but with practice it's going much quicker and easier. Bob
-
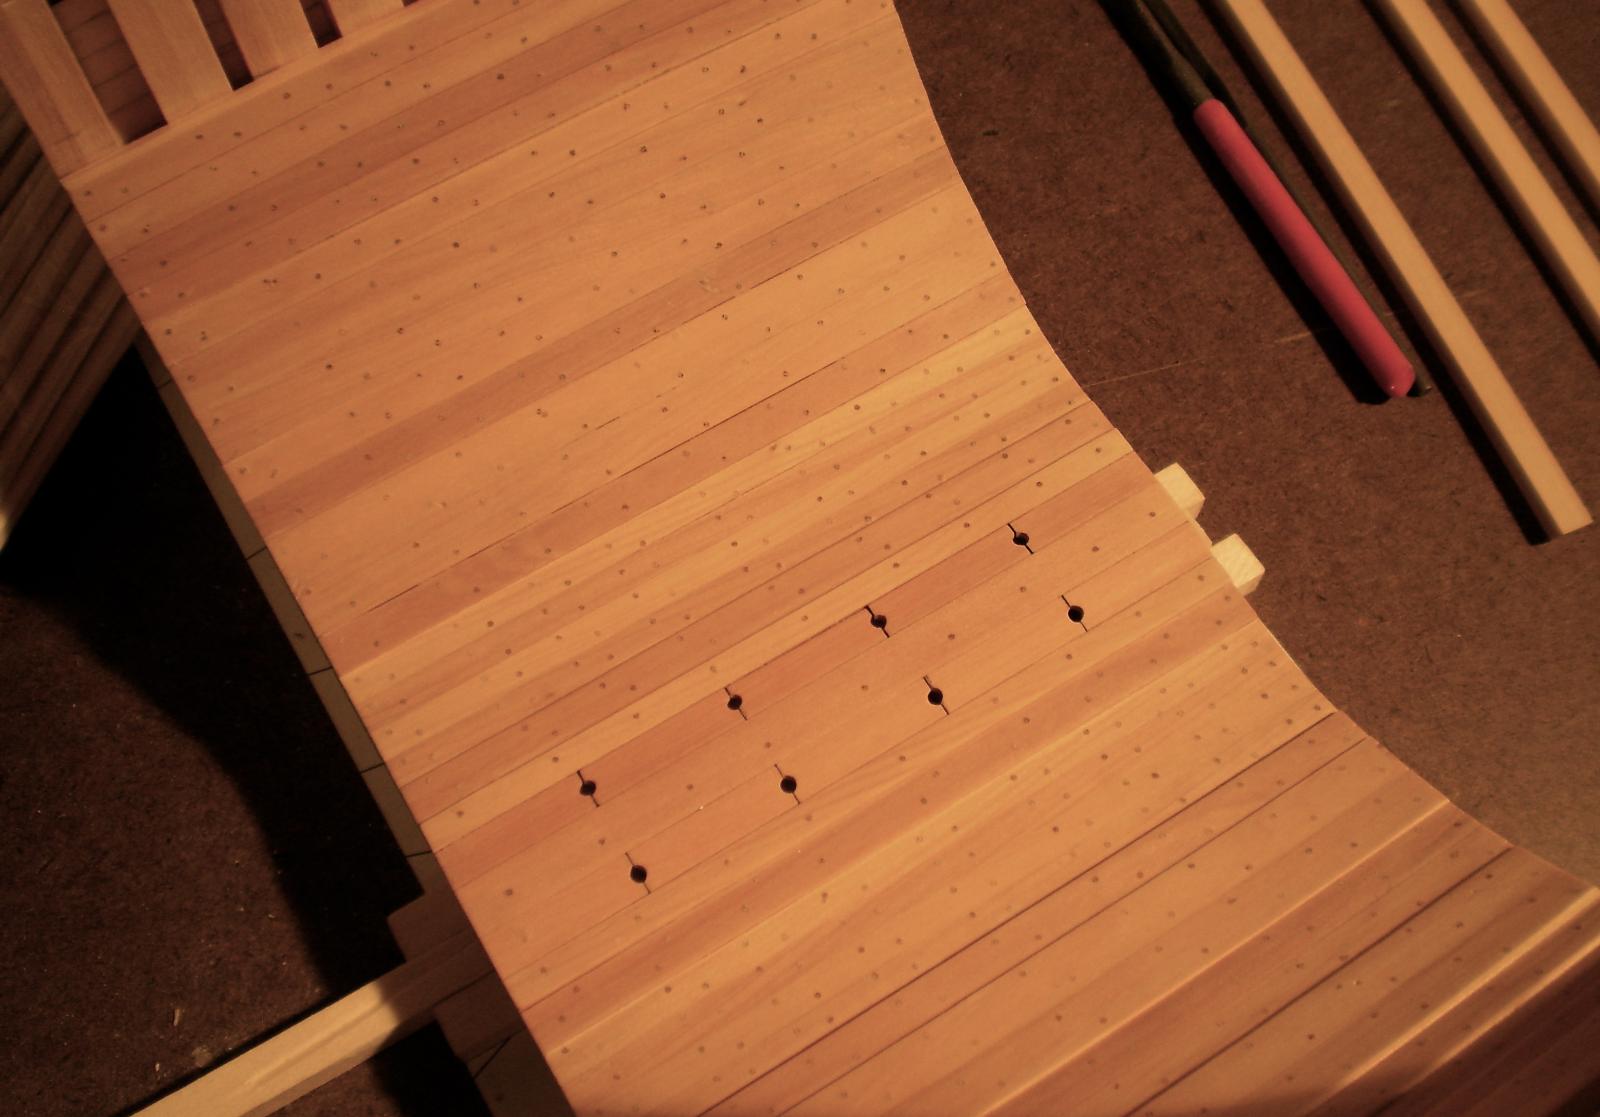
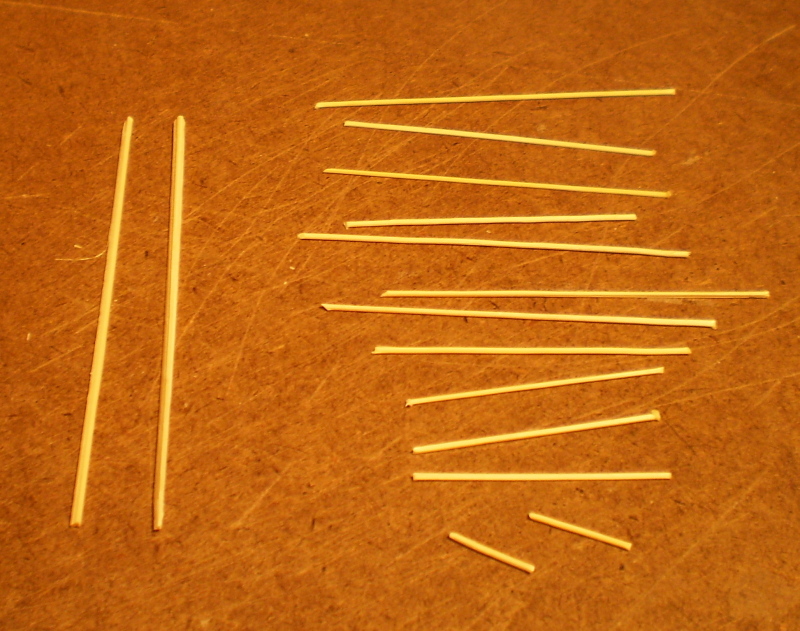
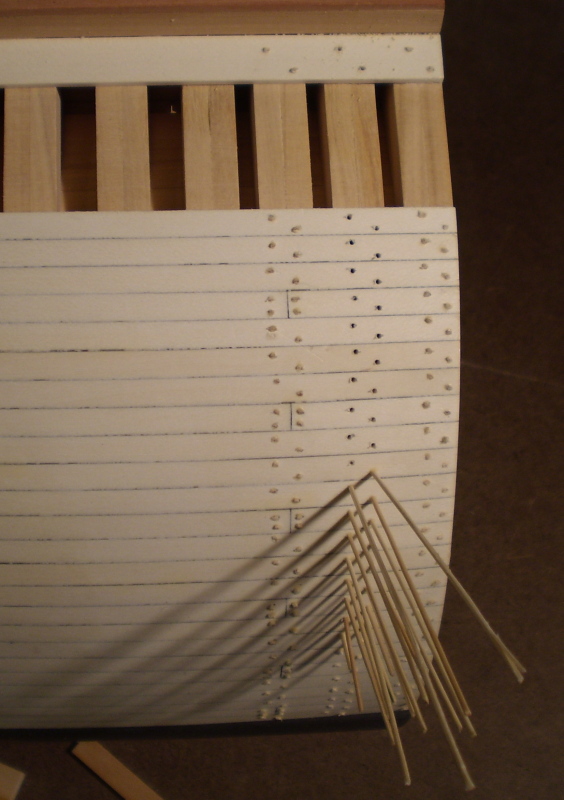
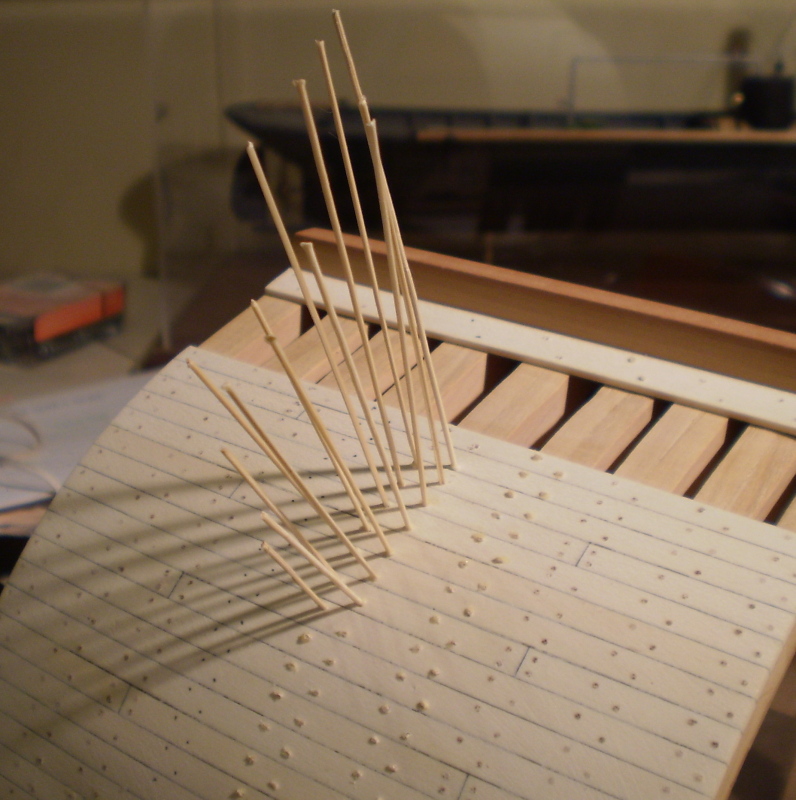
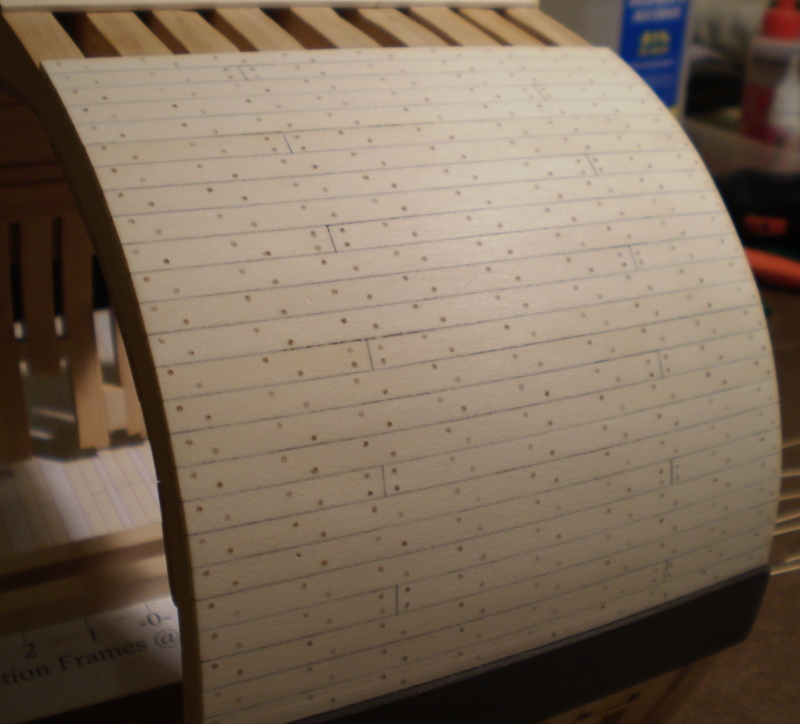
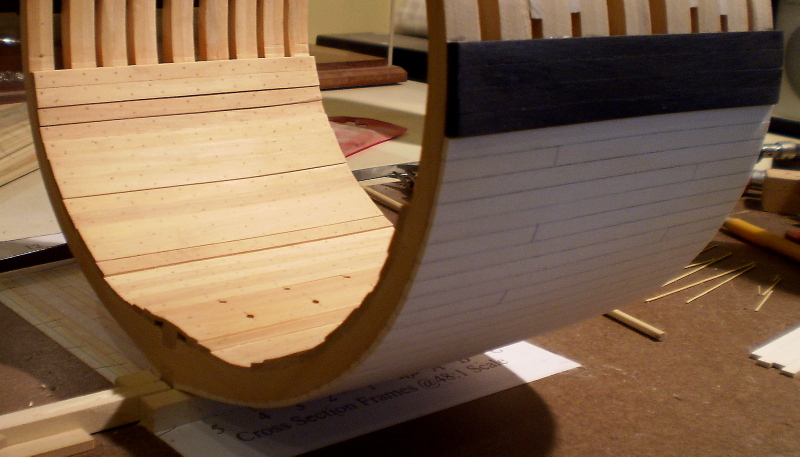
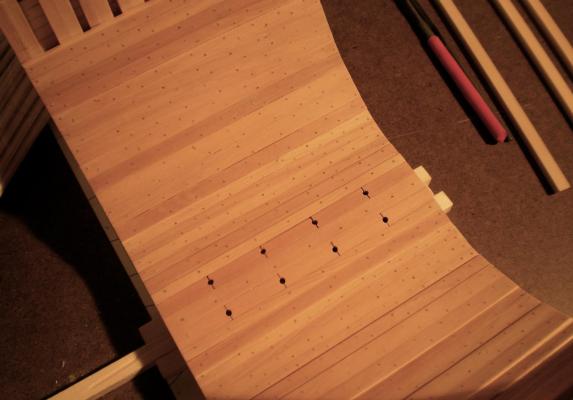
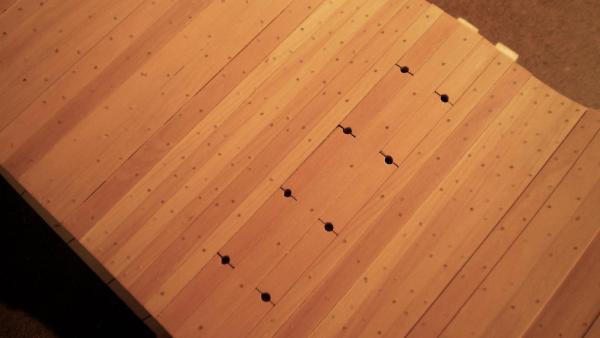
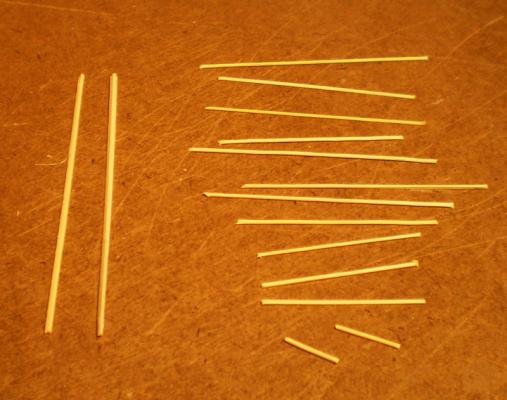
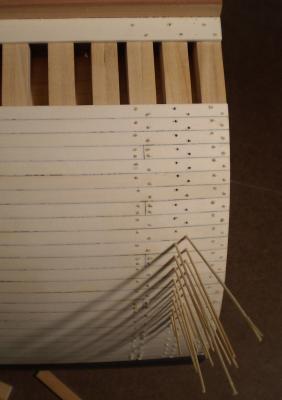
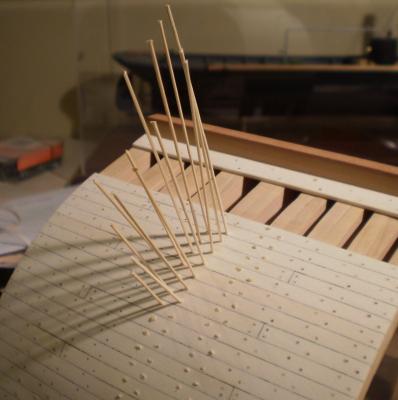
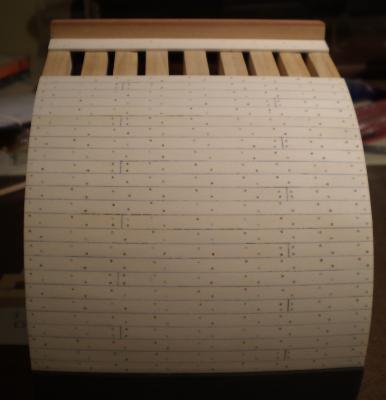
I had intended to do the treenailing slowly and in small segments, but my obsessive-compulsive side took over and I finished the entire port side in one burst over a couple of days. Once I got into it, it was almost impossible to stop. First, I made a supply of treenails using bamboo skewers from the supermarket. (The first photo shows some treenail pieces and a couple of pieces of bamboo that have been split and ready to run through the drawplate). Then I laid out three double rows on the hull using tape to keep straight lines. Next, I drilled holes and inserted the treenail material after cutting a point on the end to ease insertion and dipping in glue. Lastly, I nipped off the pieces with a flush cutter. I then repeated the whole process twice more. Finally, I sanded the planking. By the way, the package of skewers that I bought for about $3 would probably last all of us combined for a long time. I'll be away for a few days, but then I expect to do the same thing to the starboard side. Bob

- 274 replies
-
- 10
-

-
Thanks, Grant. If I had liked the look of the framing more, I would have left more of it exposed. Bob
-
Really nicely done, Grant. Metal work always frightens me. Bob
-
Nice start on the boat, Grant. I admire your courage in undertaking this project. Bob
-
Just a quick update. I've done the other side of the lower planking. Although I had intended to cover all of the framing, I changed my mind and left a small section exposed, probably just to remind me later that I actually had done the framing. I'm now starting the treenailing and will probably get through most of it while I wait for additional wood from Hobbymill. Bob

-
Thanks very much, Grant and Chuck. Bob
-
Thanks, Martin. Sorry for the late reply, but I've been away and didn't see your post. Bob
-
Ahh, the joy of doing ratlines. Nicely done, John. Bob
-
Thanks, Paddy, Russ and Pete. Russ, I think that you've come up with a very good idea on the treenailing. Bob
-
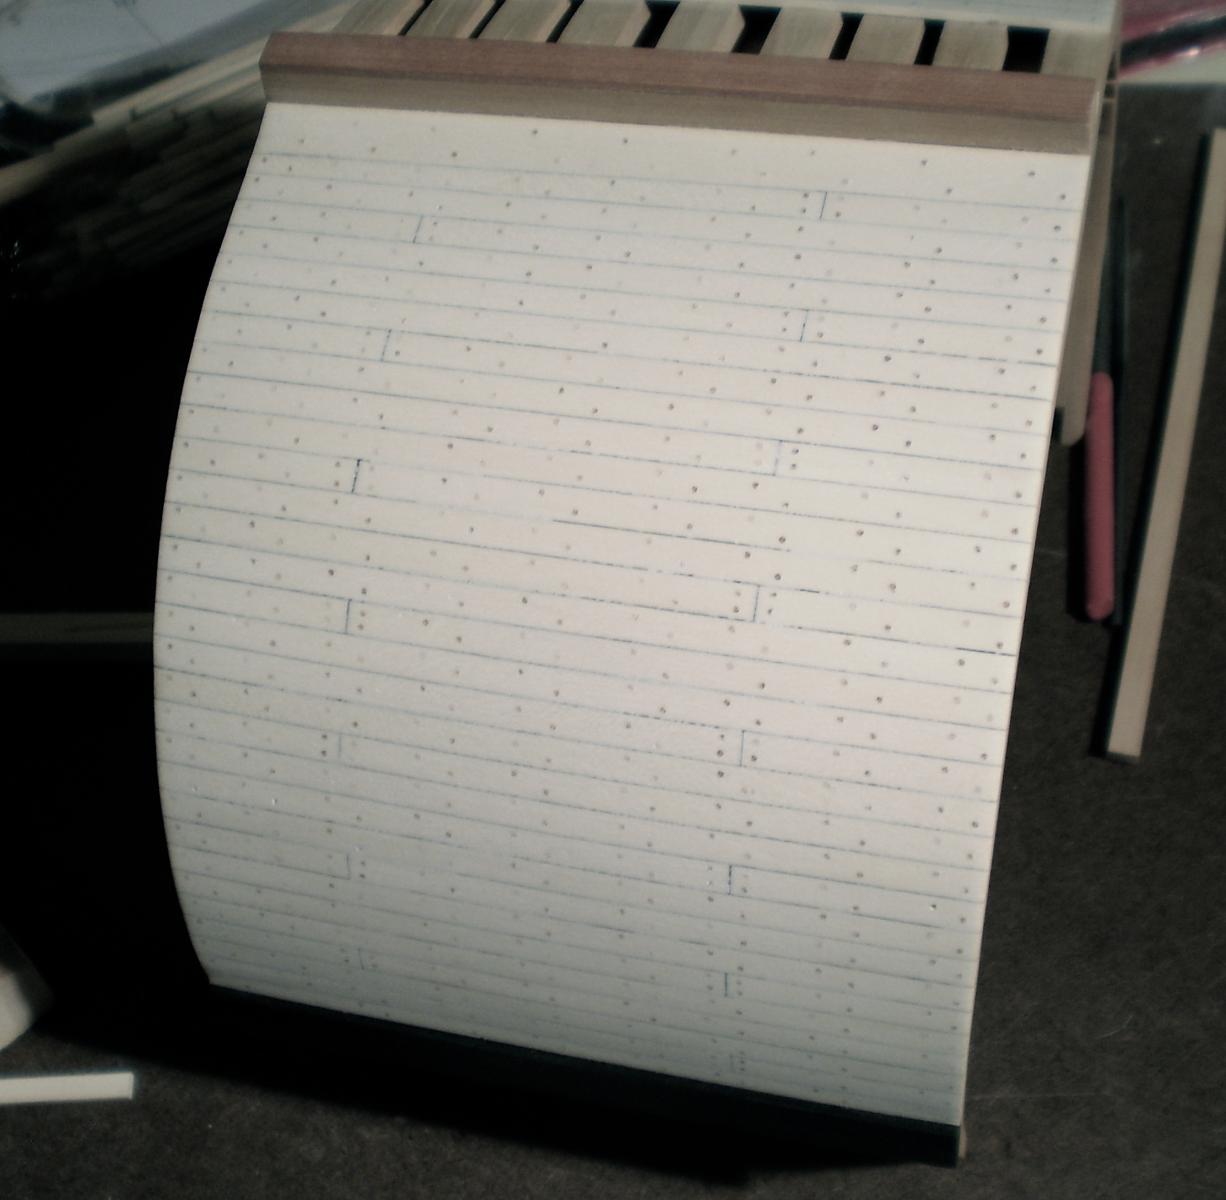
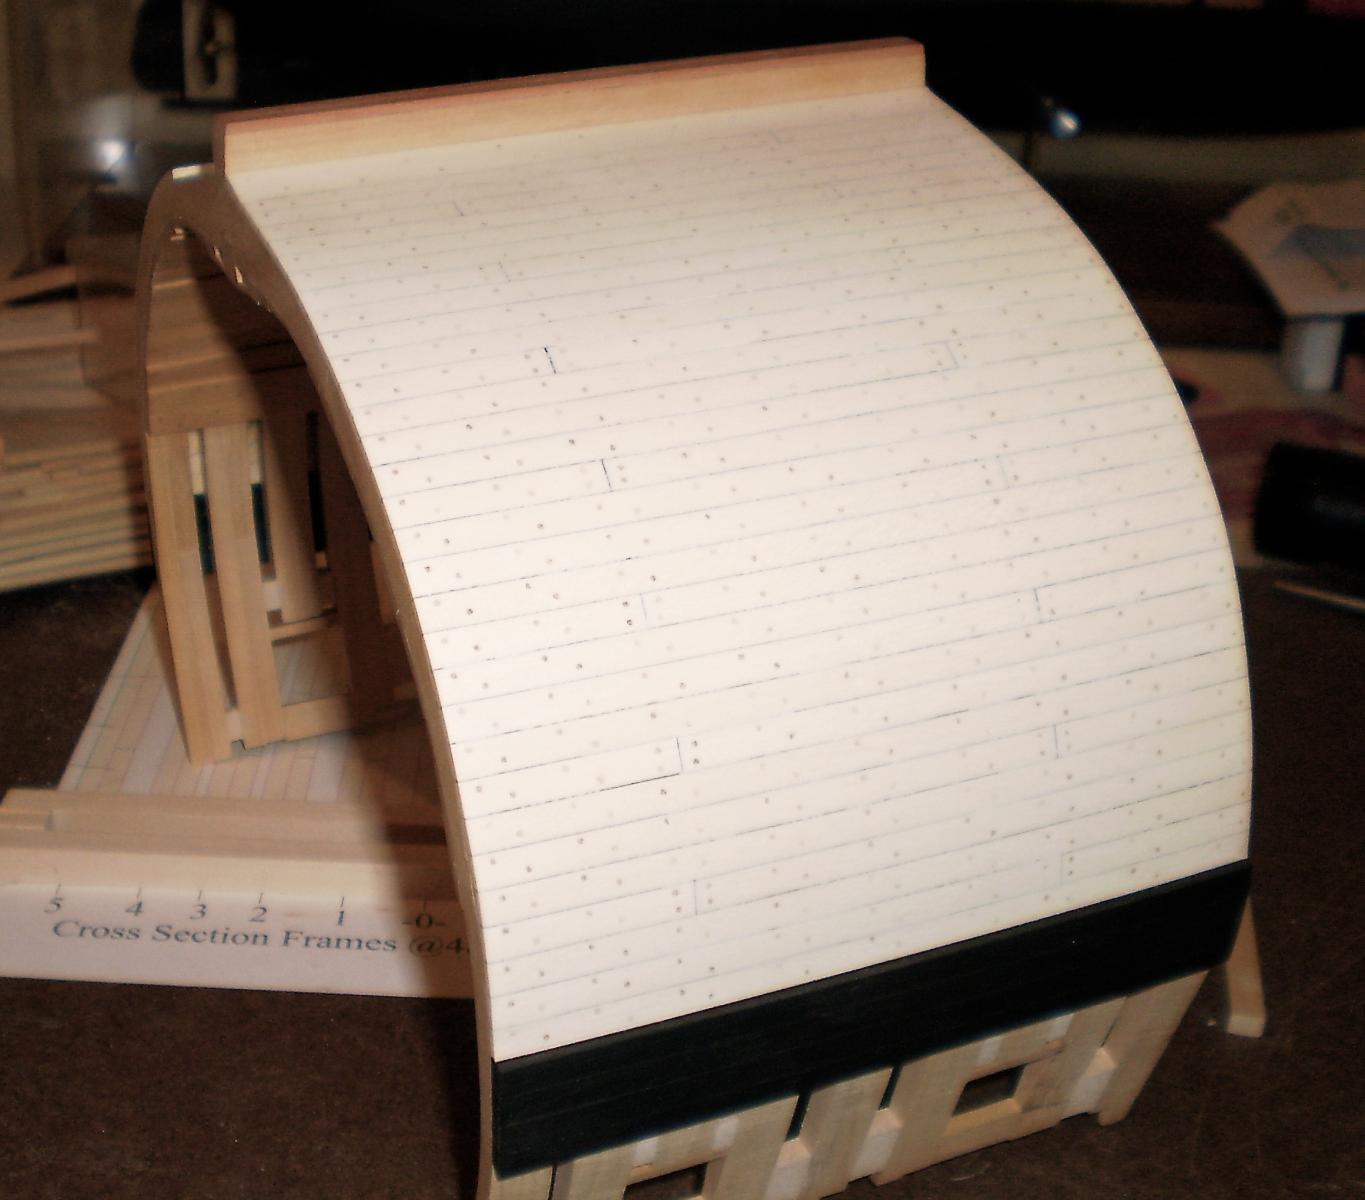
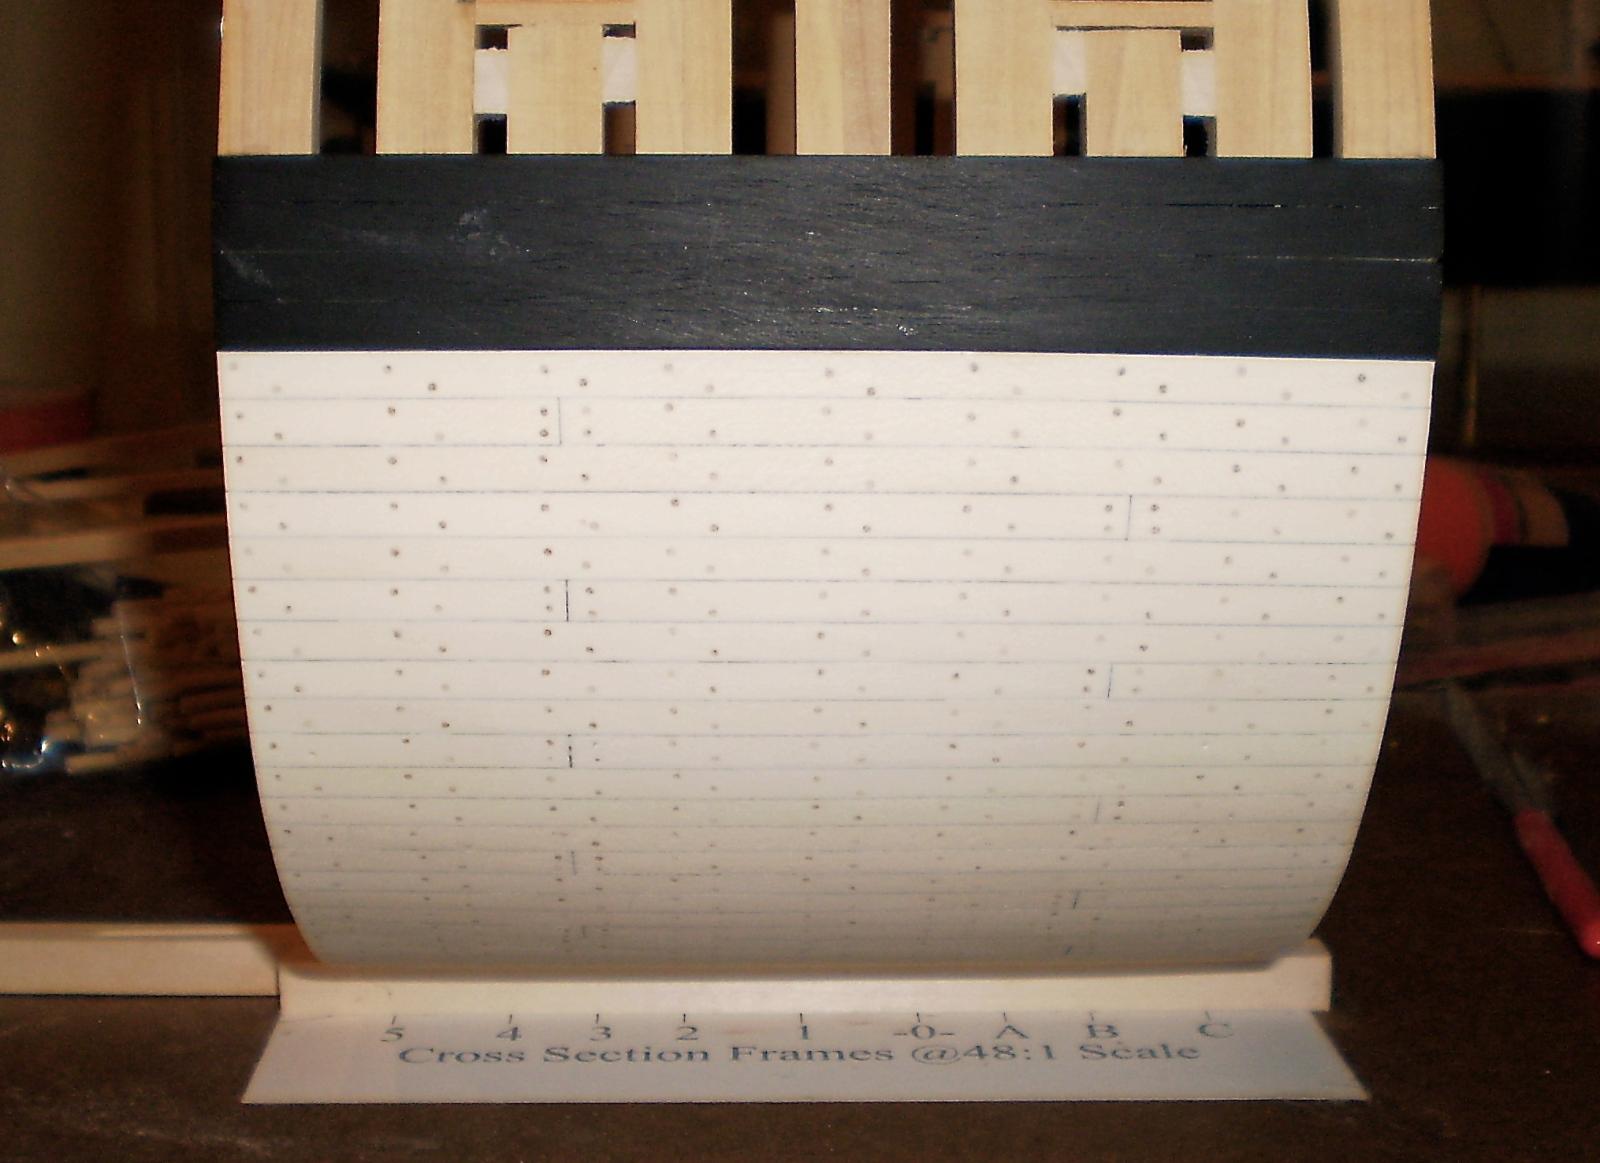
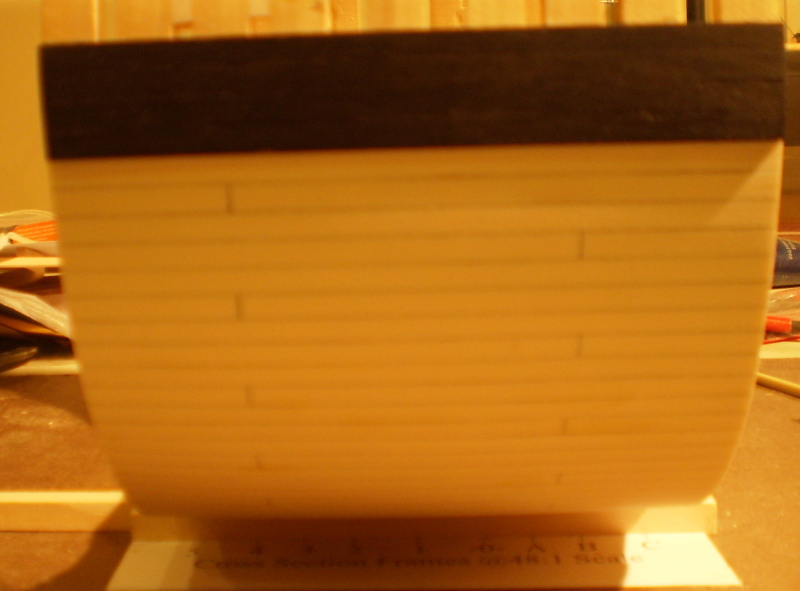
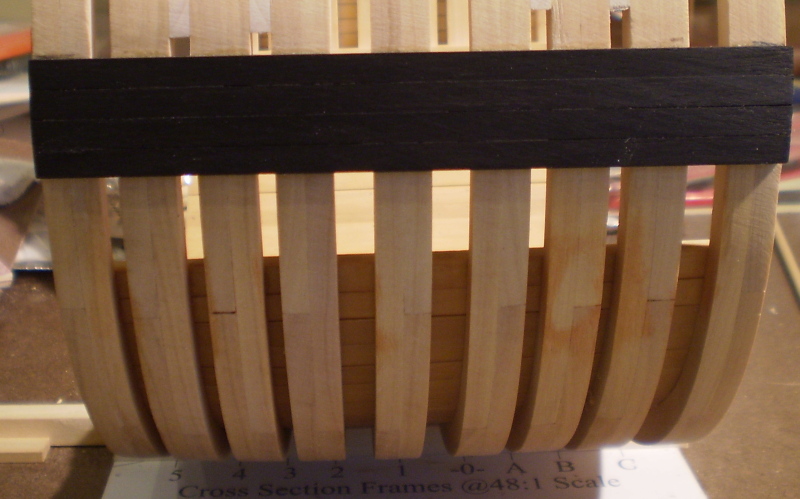
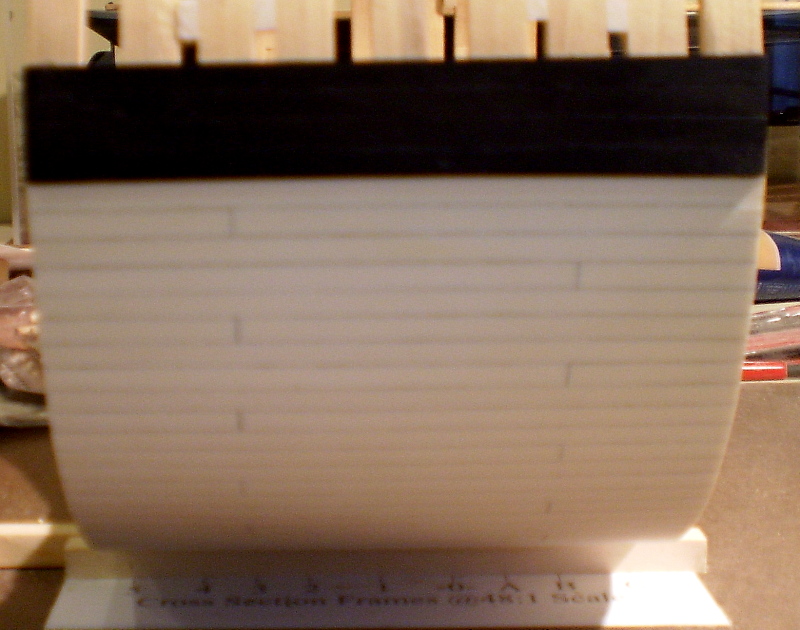
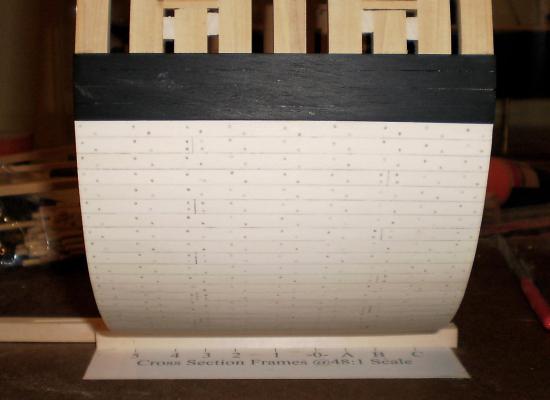
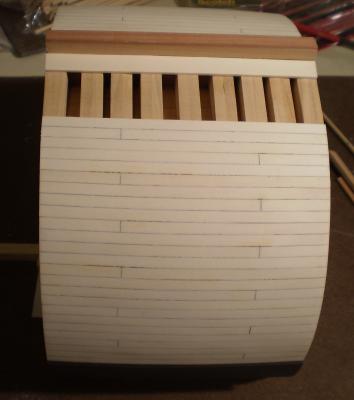
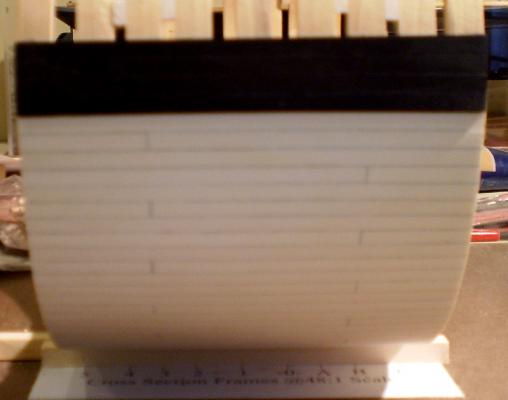
I'm back from two weeks away and really eager to get back to the model. Prior to leaving, I had done the wales on both sides with ebony. Upon my return, I did one side of the lower planking, using holly. Caulking is simulated with pencil on one edge and the joint end of each plank. I did the planking in groups of four strakes and then trimmed the ends and did a first sanding after each group. I'm trying to decide whether to treenail this side now or to plank the other side and then treenail both sides. My real first choice would be to have the treenails magically appear without my having to do them. Bob


-
Really beautiful work on the breech lines, Grant. Bob
-
Very nice looking pumps, Mark. Bob