HOLIDAY DONATION DRIVE - SUPPORT MSW - DO YOUR PART TO KEEP THIS GREAT FORUM GOING! (Only 24 donations so far out of 49,000 members - C'mon guys!)
×


rafine
-
Posts
2,932 -
Joined
-
Last visited
Content Type
Profiles
Forums
Gallery
Events
Everything posted by rafine
-
 Thanks, Russ. Boxwood is good, no doubt about it. Bob
 -
One more voice to tell you how great it all looks. Well done. Bob
-
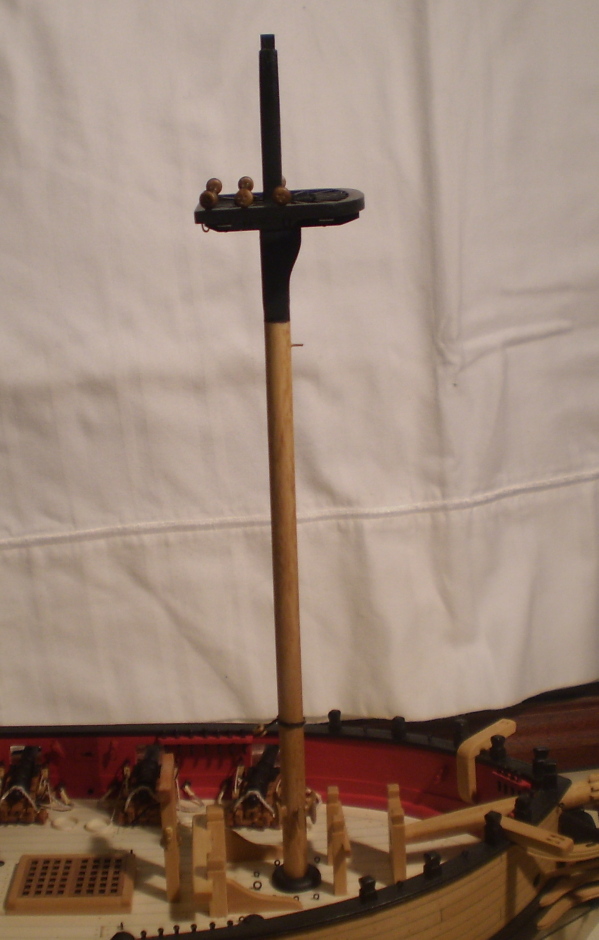
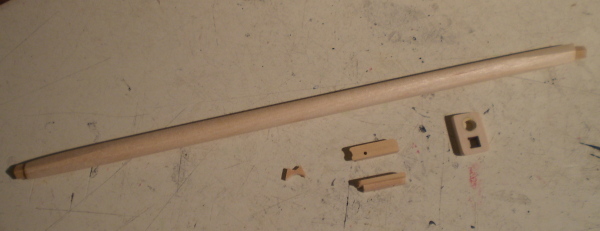
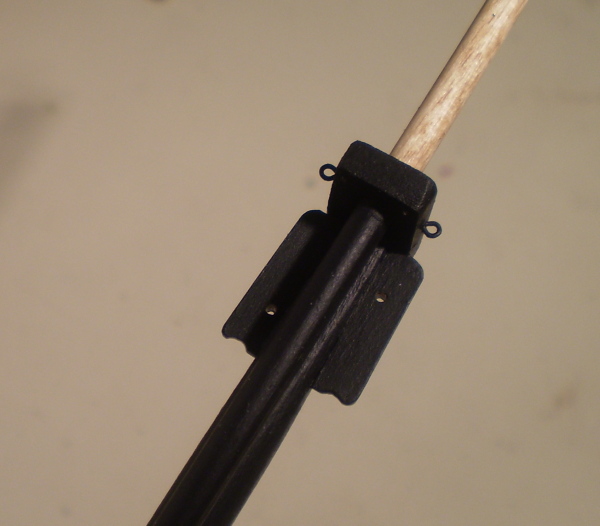
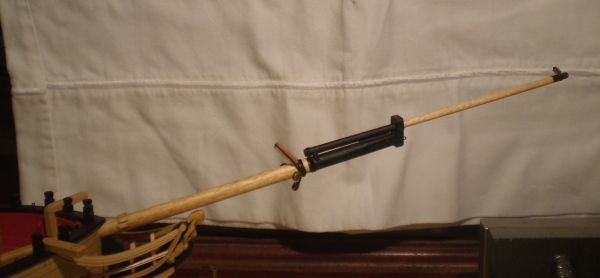
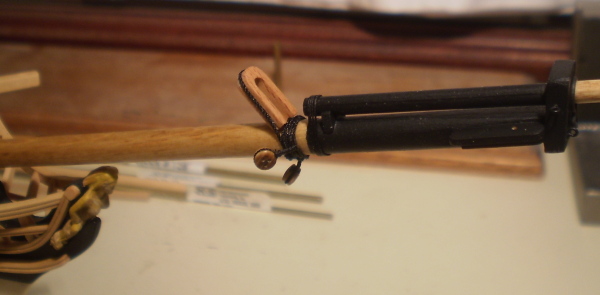
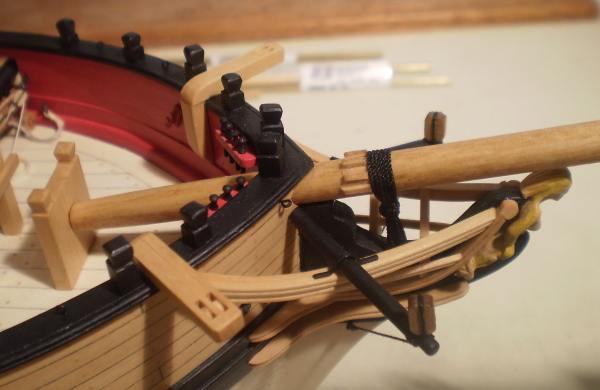
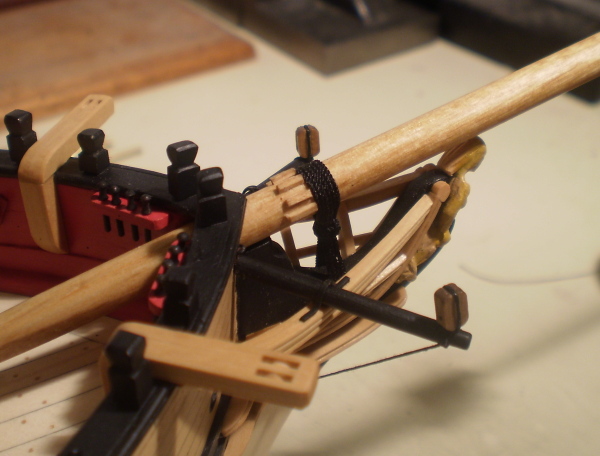
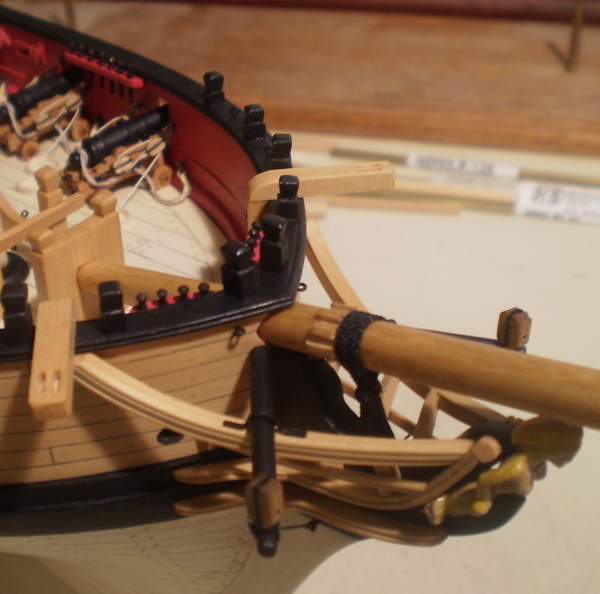
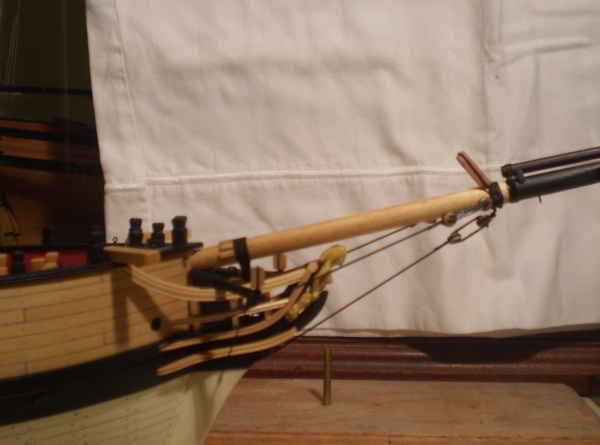
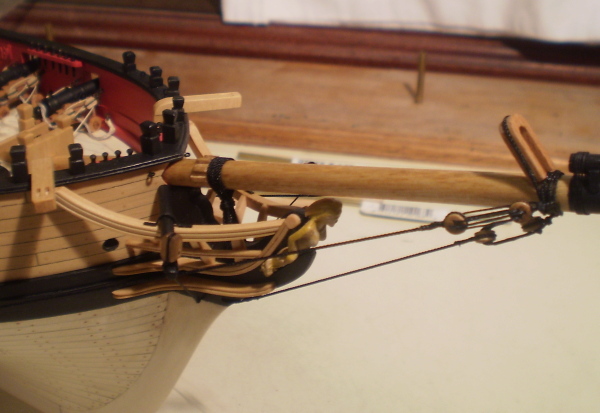
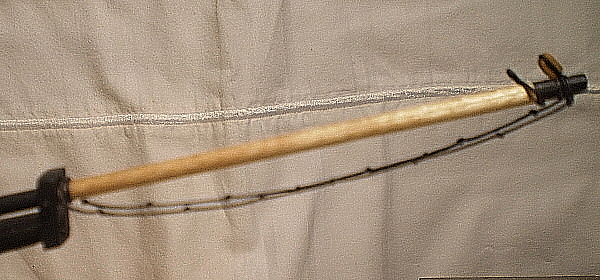
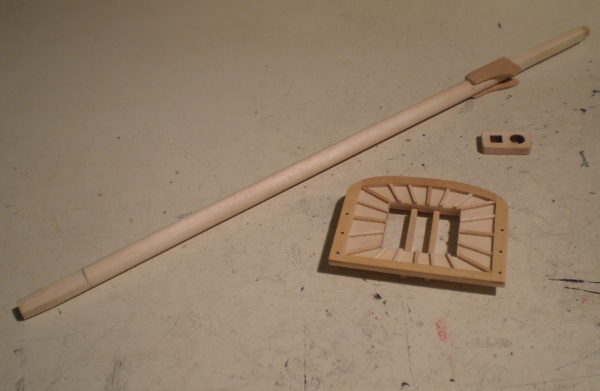
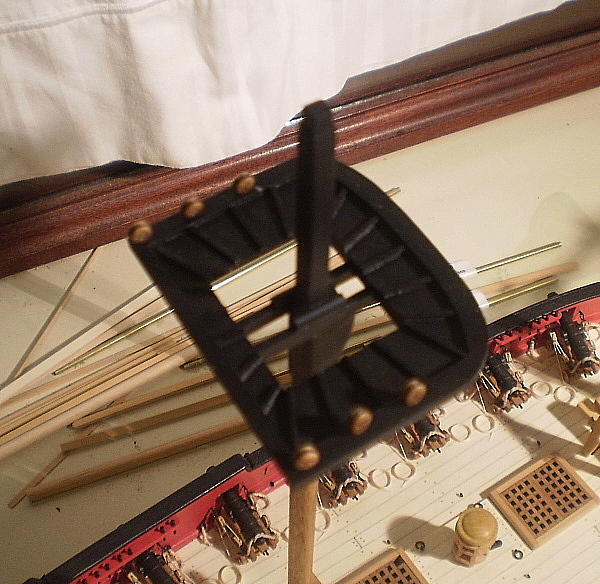
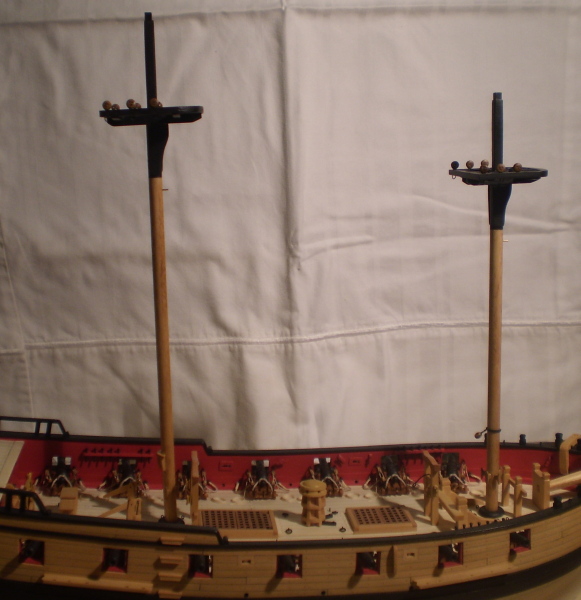
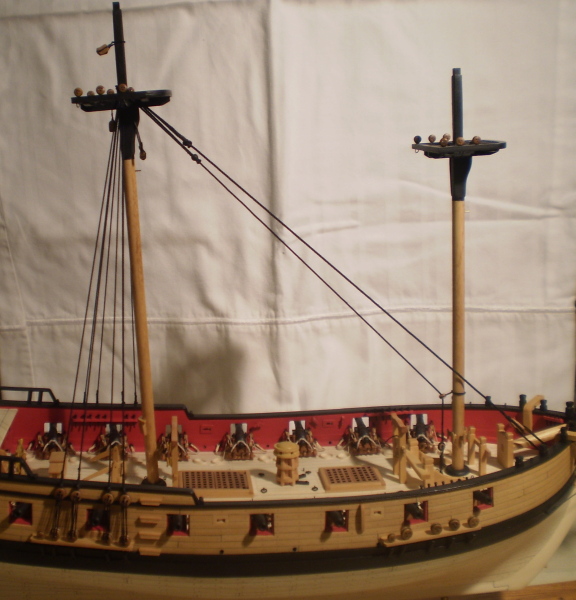
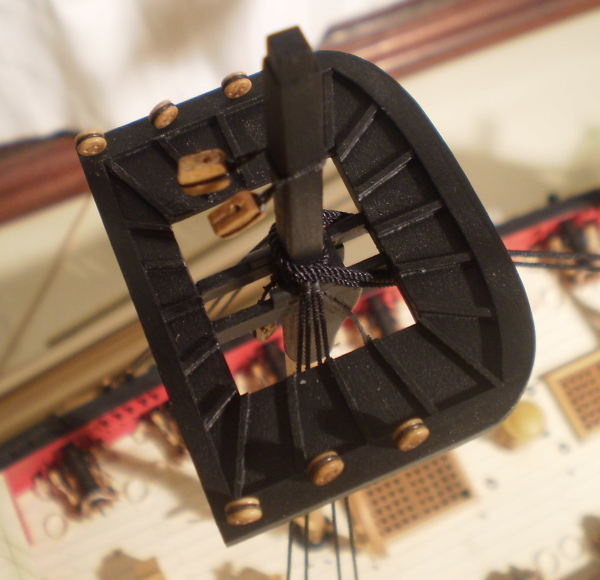
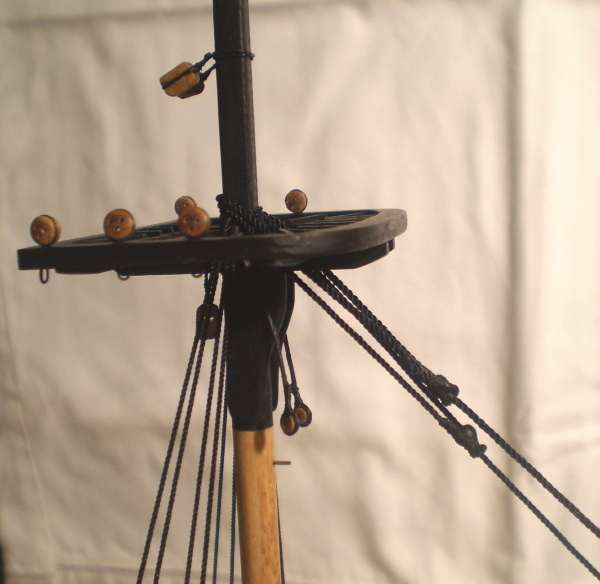
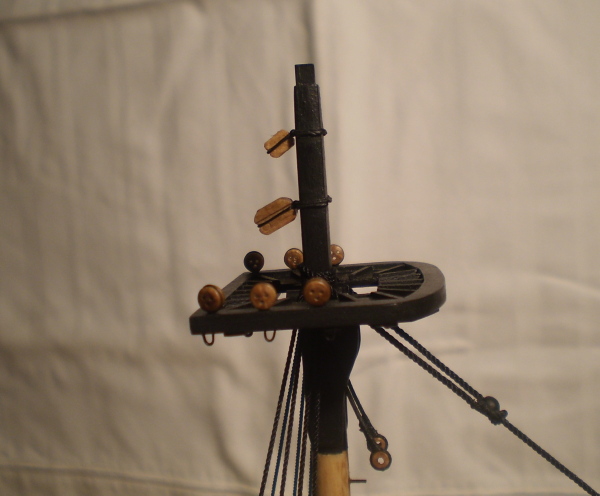
Bowsprit and Lower Masts: This covers the work done to make and install the bowsprit and lower masts and the standing rigging for them. I first made and installed the bowsprit and jib boom and then the gammoning, bobstay and shrouds. I made and installed the boomkins and added their shrouds and blocks. After that, I made both lower masts and installed them. The lower deadeyes and chain plates were added. The standing rigging followed, beginning with the main pendants, shrouds and stays and moving forward to do the fore pendants, shrouds and stays. I prefer this order because it leaves the most access to the work. I chose to do the ratlines later. Eyebolts and blocks for later rigging were added as convenient. Boxwood was used for all of the items such as the trestletrees, crosstrees, tops, caps, hounds etc. I used the kit deadeyes, but made the hearts from cherry. Unpainted portions of the work were stained golden oak and finished with Wipe-on Poly. Painted portions were done with Pollyscale steam power black. Bob


-
Many thanks, B.E., Rick and Tim. Always appreciated. Bob
-
Thanks, Figuerres. I'm looking forward to following your Fair American build. bob
-
Thanks, Remco. Your interest and praise are greatly appreciated. Bob
-
Coming along very nicely, Russ. Bob
-
ancre Le Fleuron 1729 by rekon54 - 1:24
rafine replied to rekon54's topic in - Build logs for subjects built 1501 - 1750
Those guns are some of the finest work that I have ever seen. Bob -
Augie and Russ: You guys are the best. I can depend on you for support even on the second go-round. Thanks. Bob
-
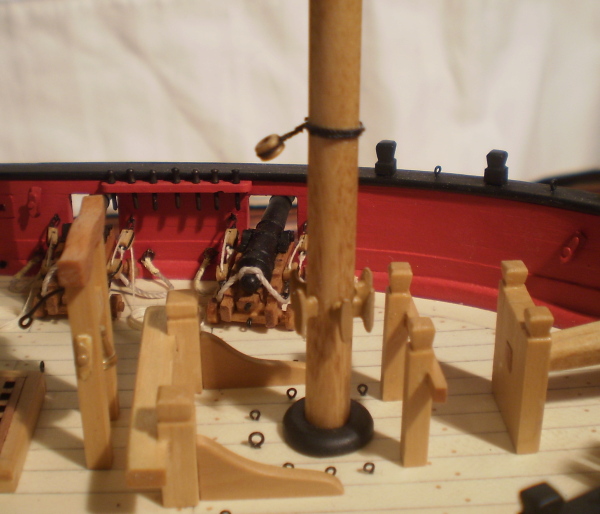
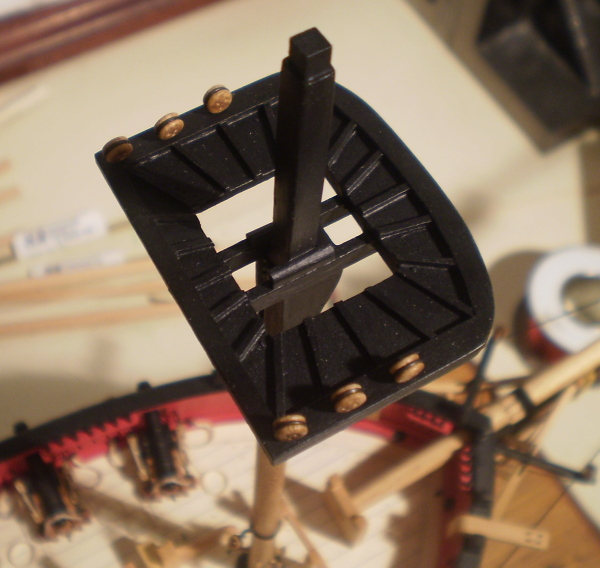
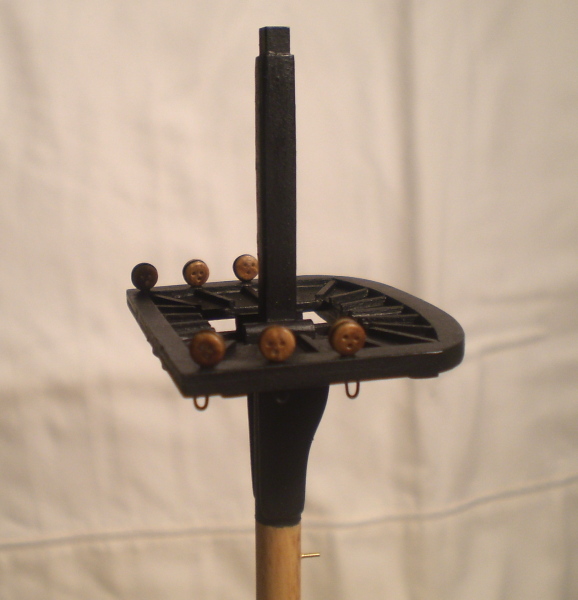
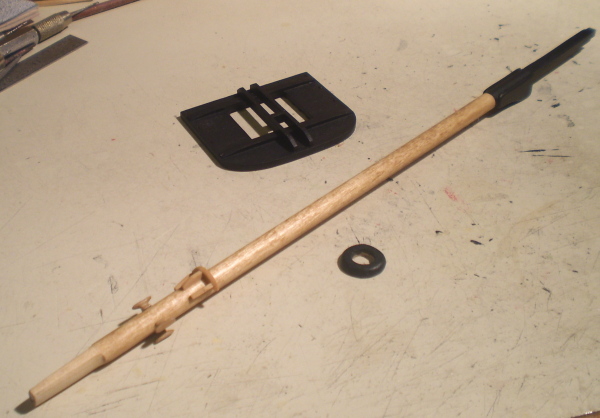
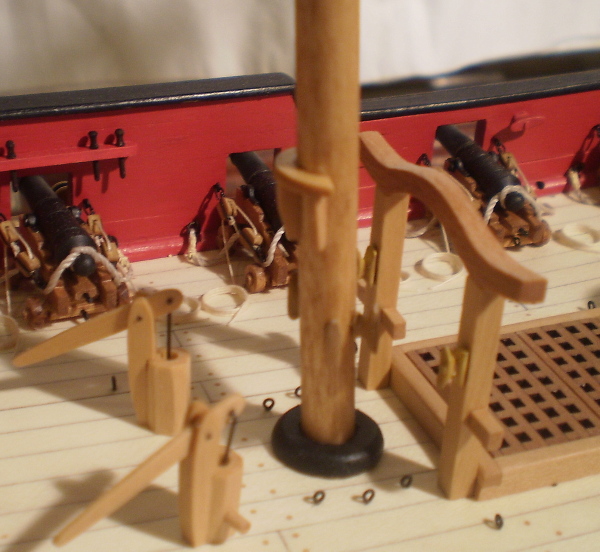
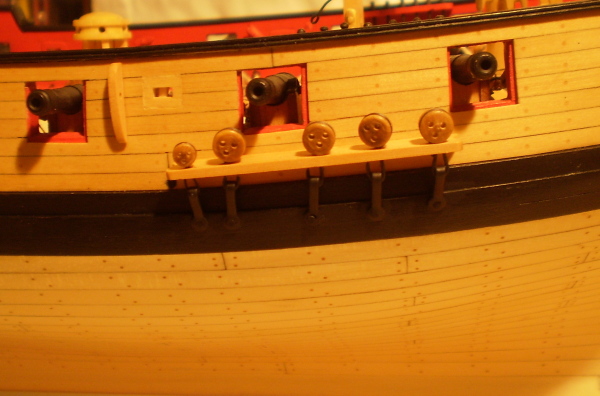
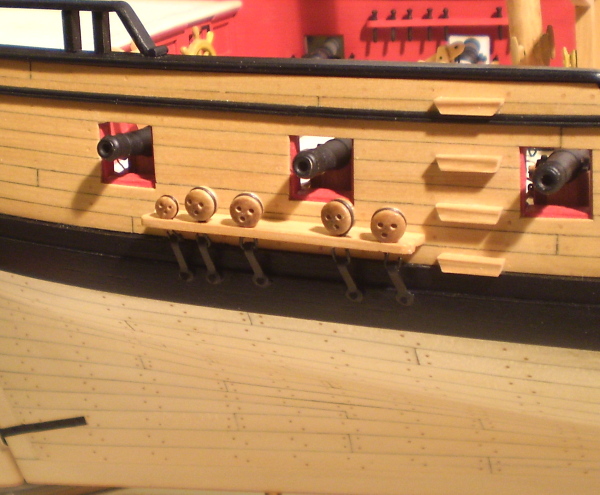
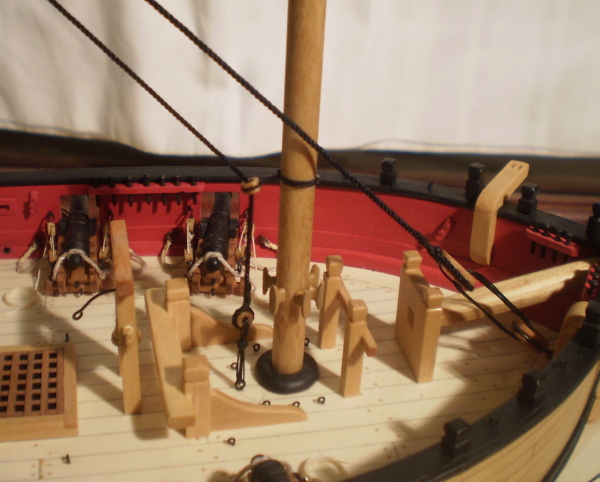
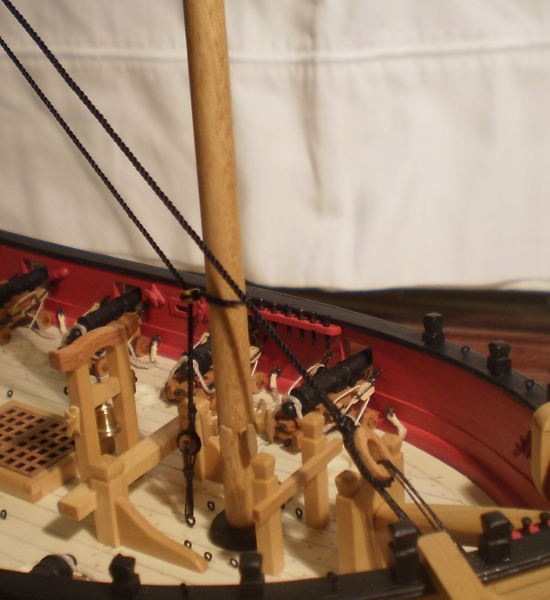
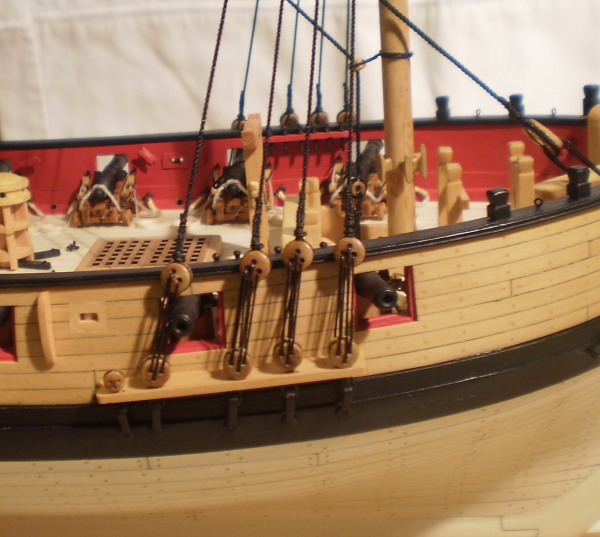
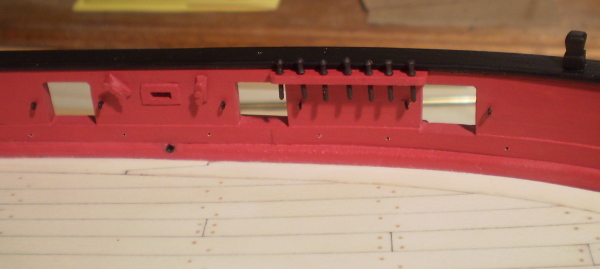
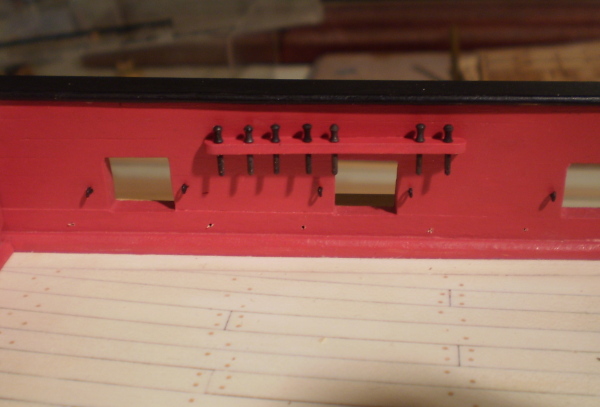
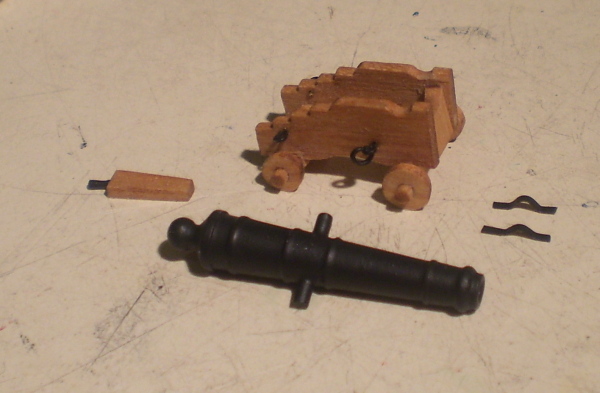
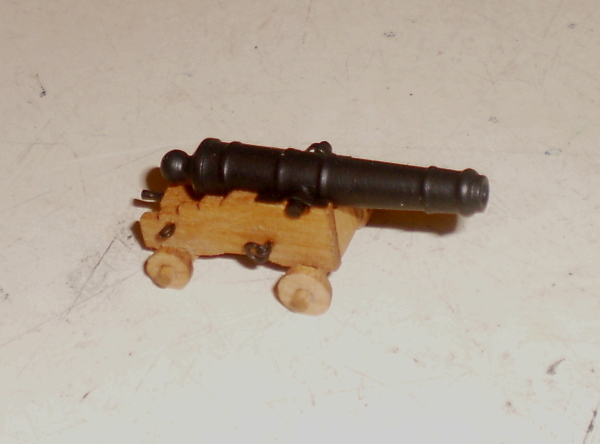
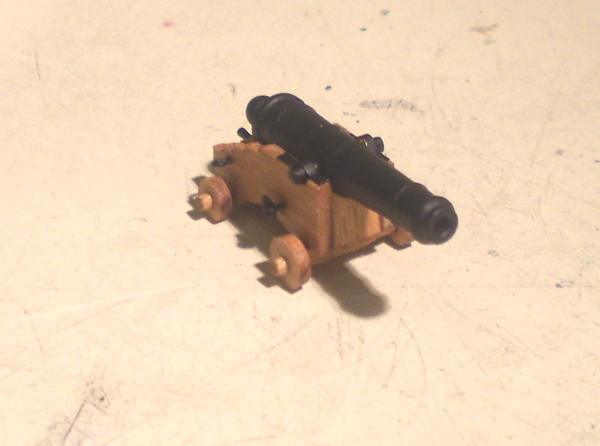
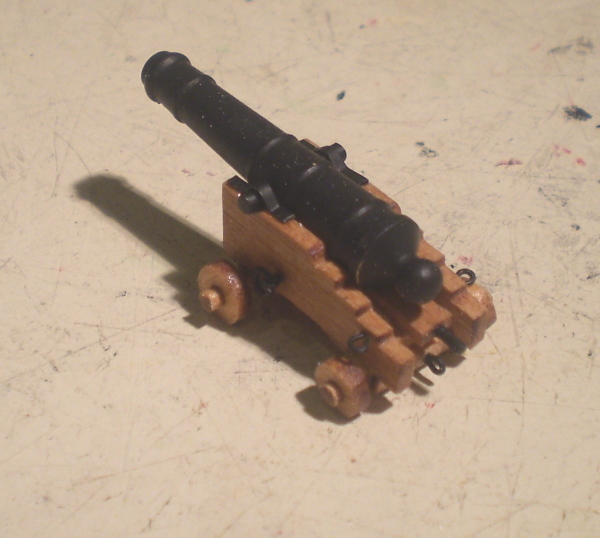
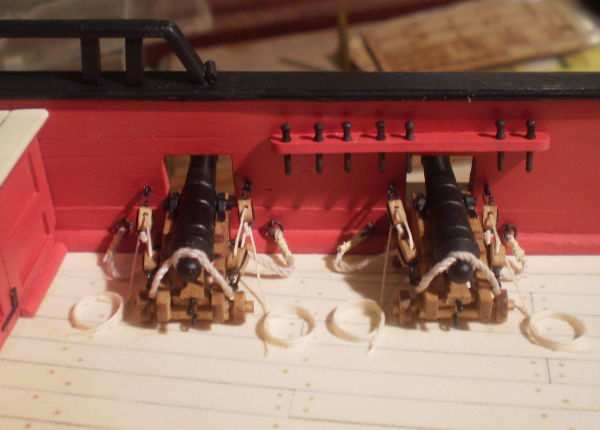
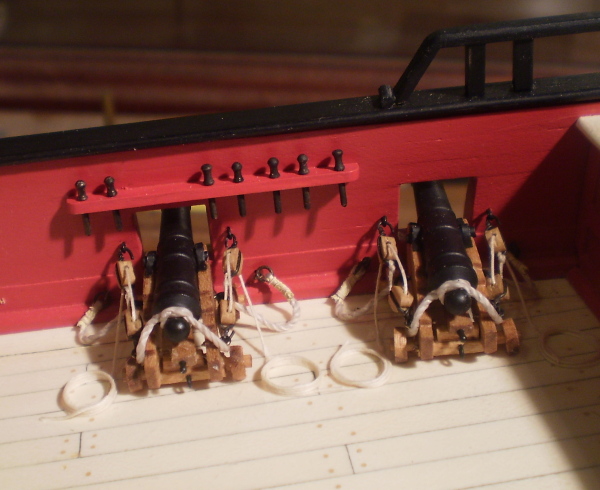
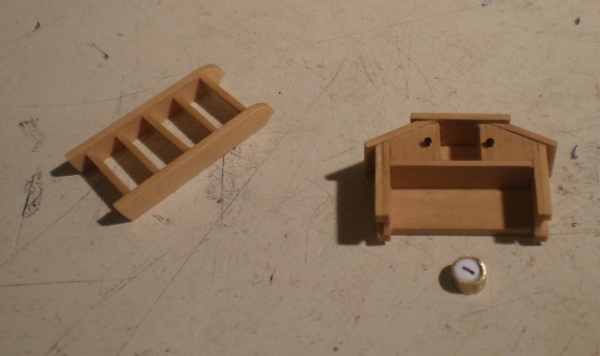
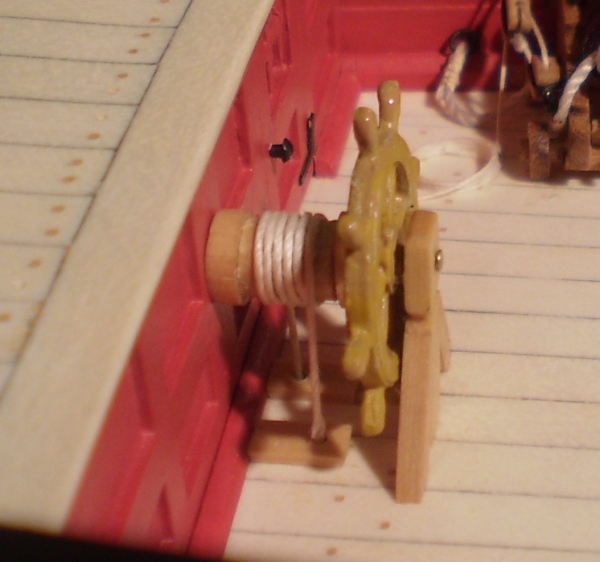
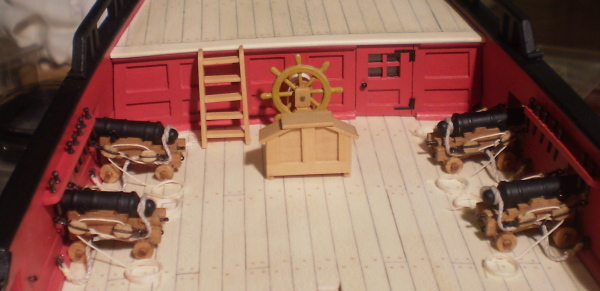
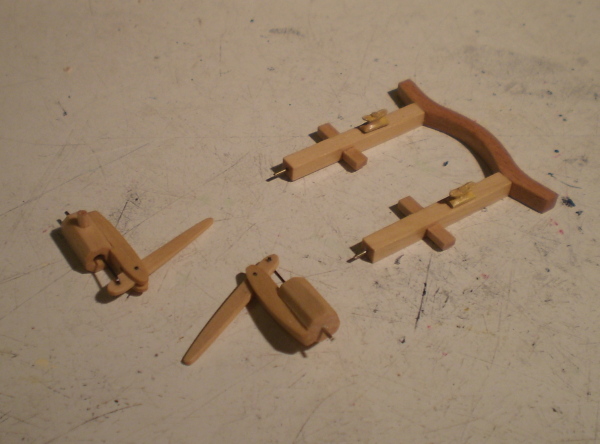
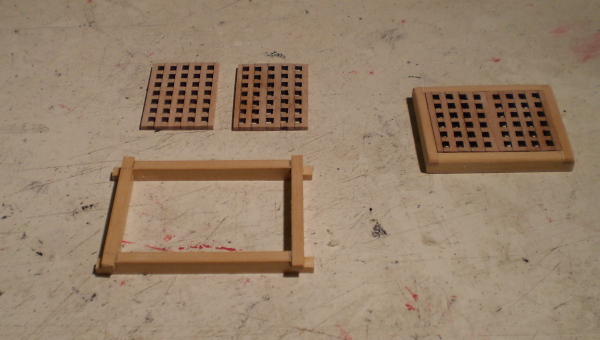
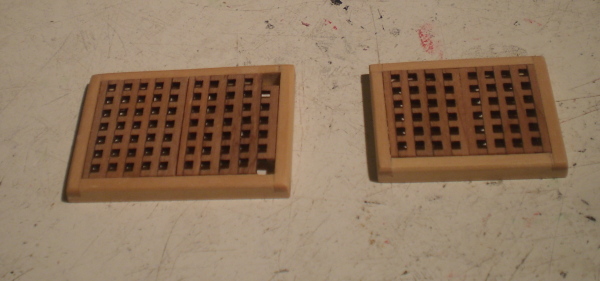
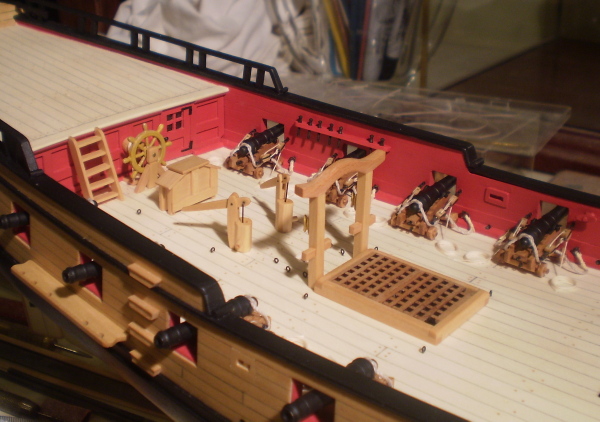
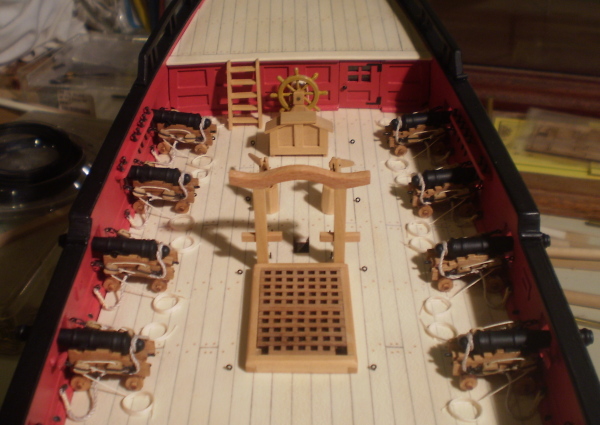
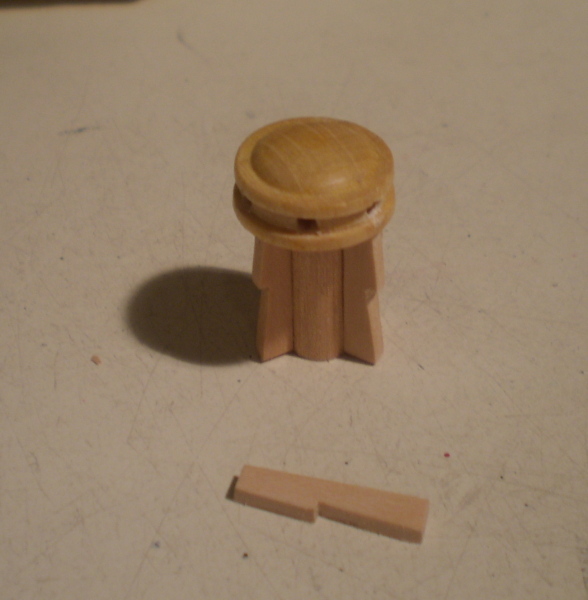
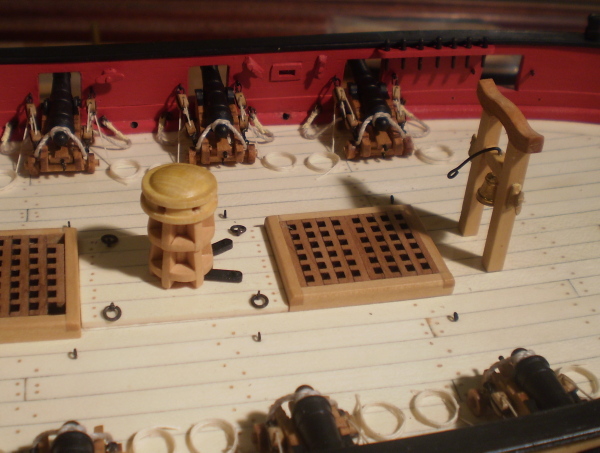
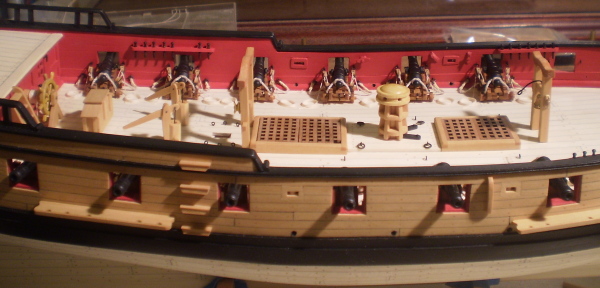
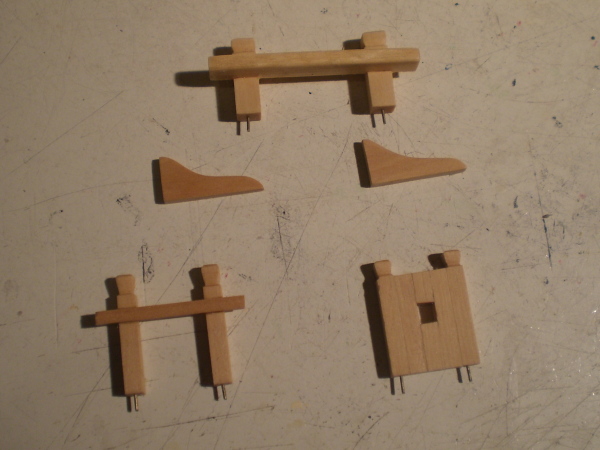
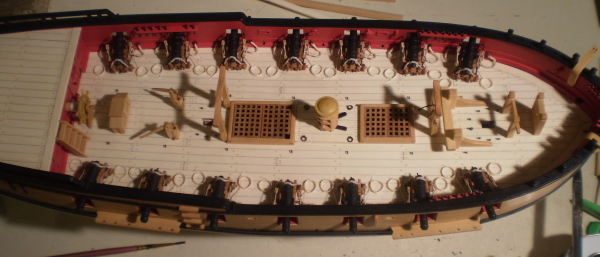
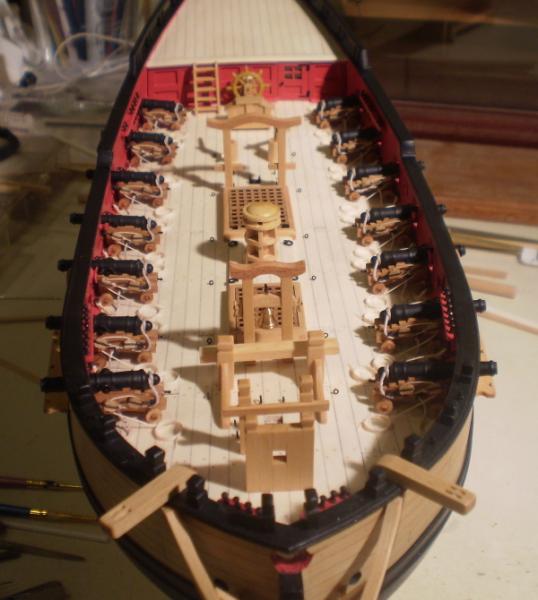
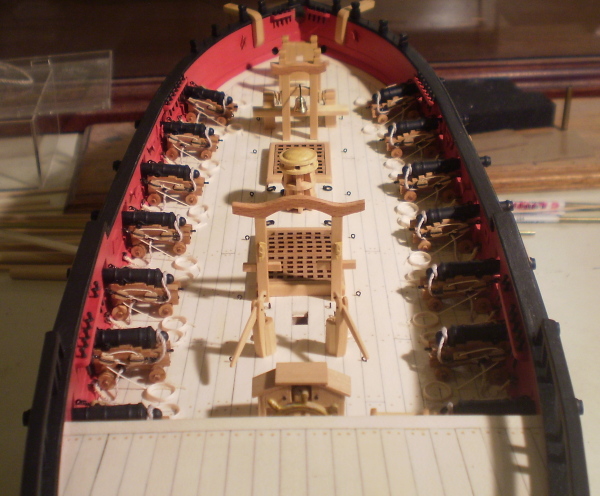
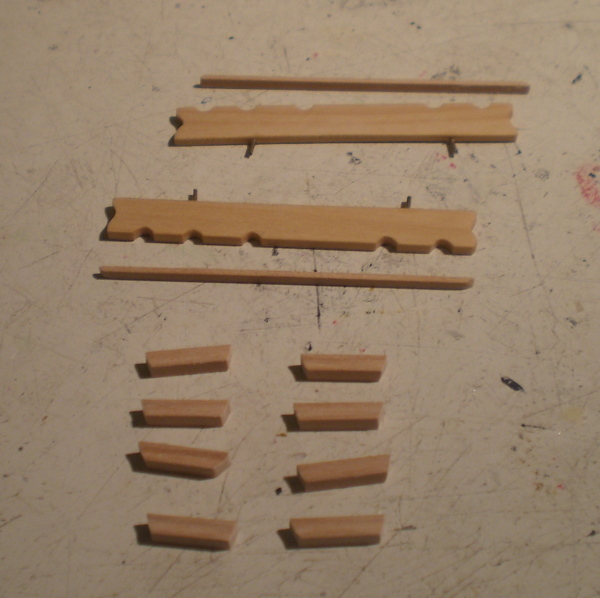
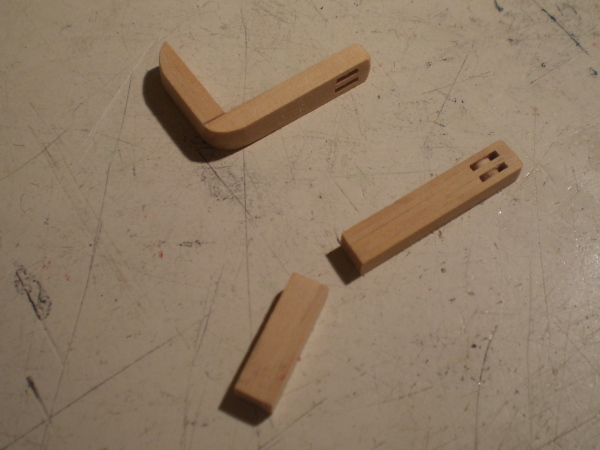
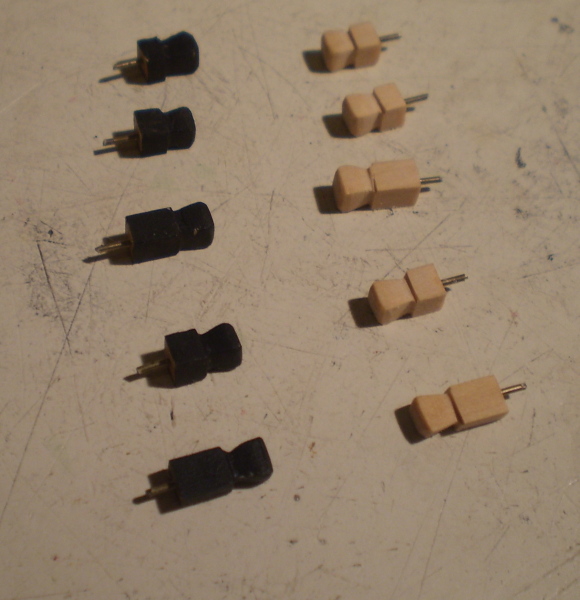
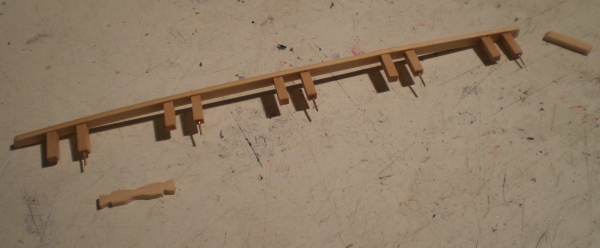
Deck furniture and bulwark fittings: The first order of business was to add the eyebolts, ringbolts, cleats and pinrails to the bulwarks. I like to do these before adding anything to the deck to maintain access and avoid accidents. Holes were drilled for the breech line ringbolts, but the ringbolts were not installed until the cannon installation. Pinrails and cleats were pinned and glued for strength. I also added the boom sheet horse and the cap square and base for the flag staff at the stern. The deck furniture was all scratch built from boxwood, with the exception of the wheel, for which I used the kit casting . For the cannons, I used the kit brass barrels, but the carriages were done from cherry kits from the Lumberyard. I deviated from the plans with regard to the riding bitts, by making them taller and adding supporting knees. All of the bitts were pinned and glued for strength. You will see from the photos that I proceeded from aft to forward in sections, rather than doing all of the cannons etc at one time. This is merely a matter of personal preference. Bob

-
Many thanks, as always Russ, for your interest and kind words. Bob
-
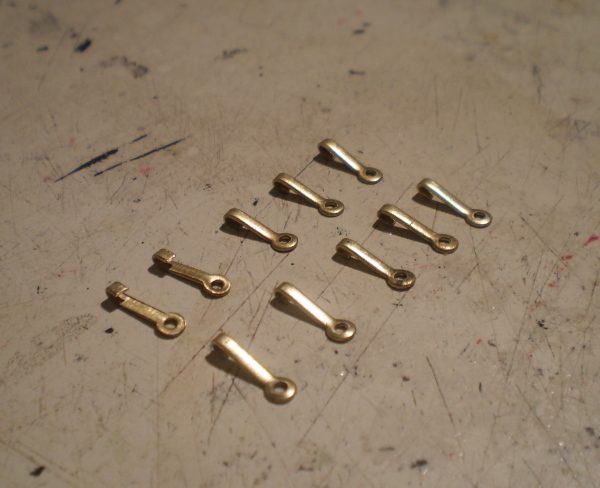
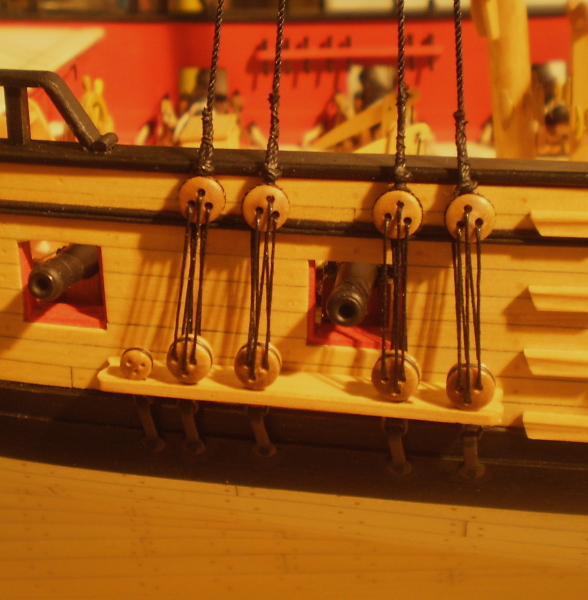
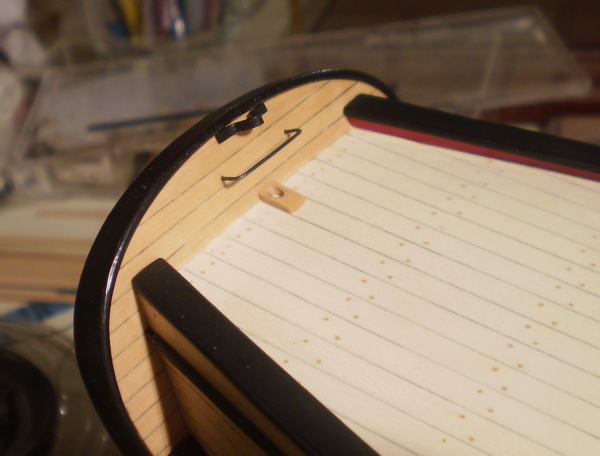
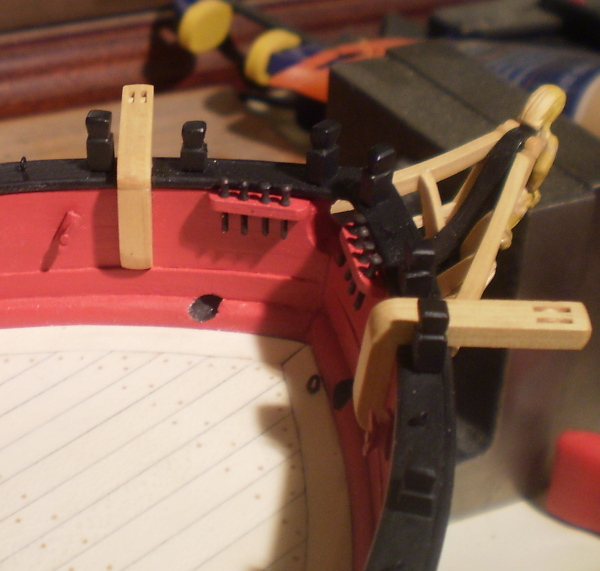
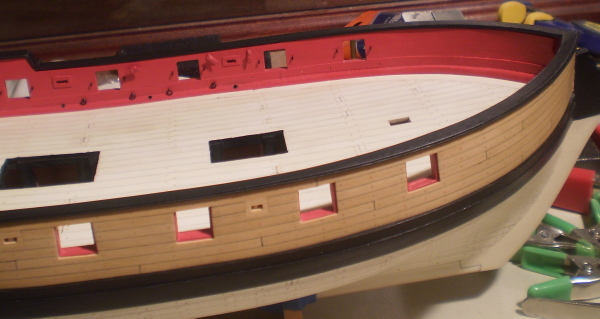
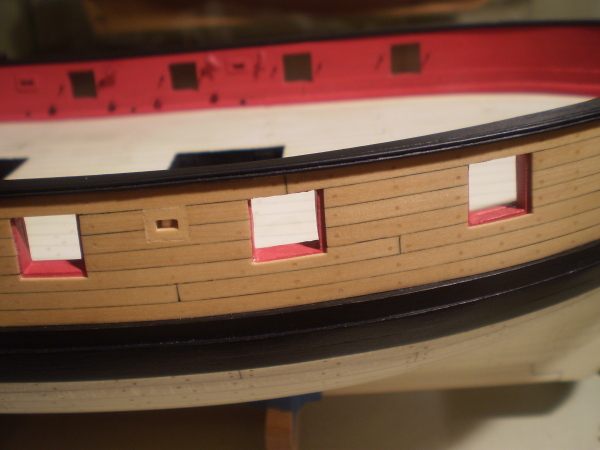
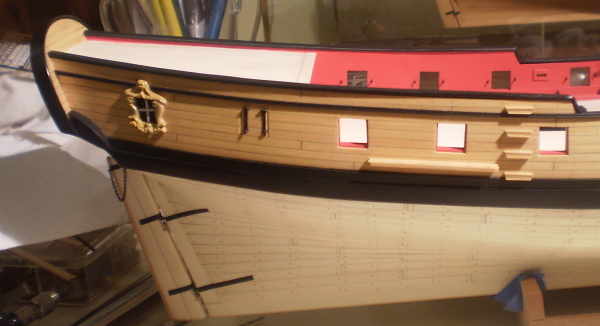
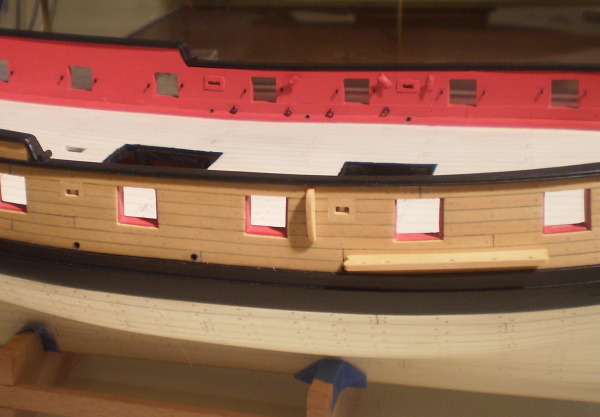
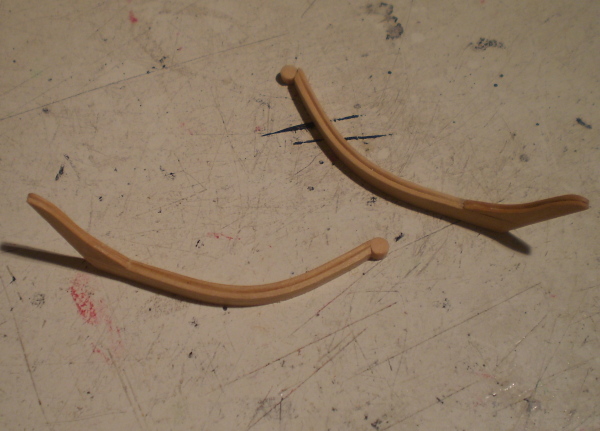
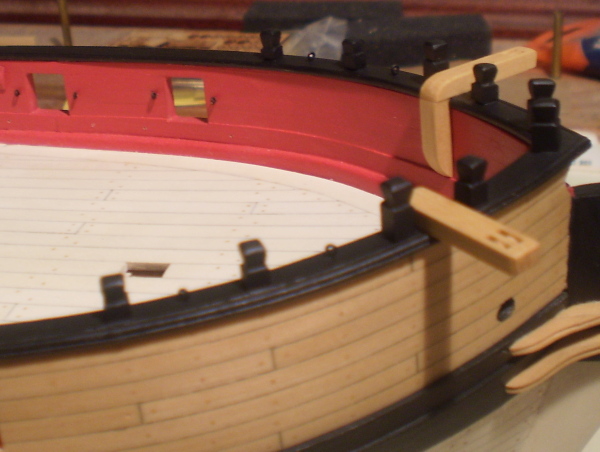
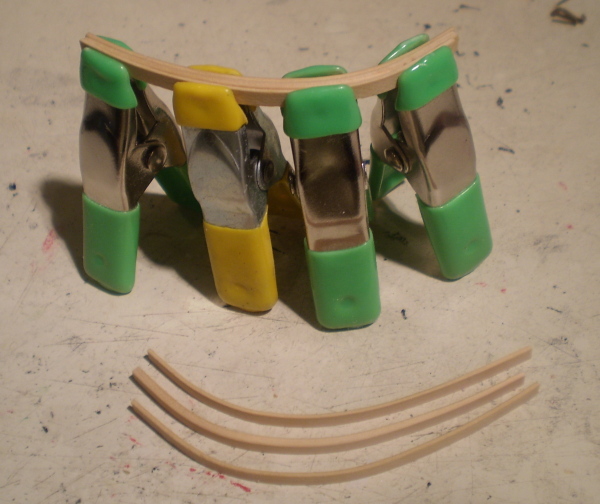
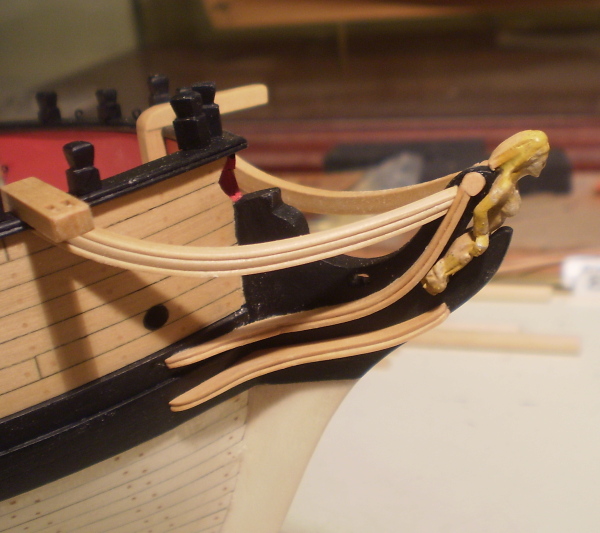
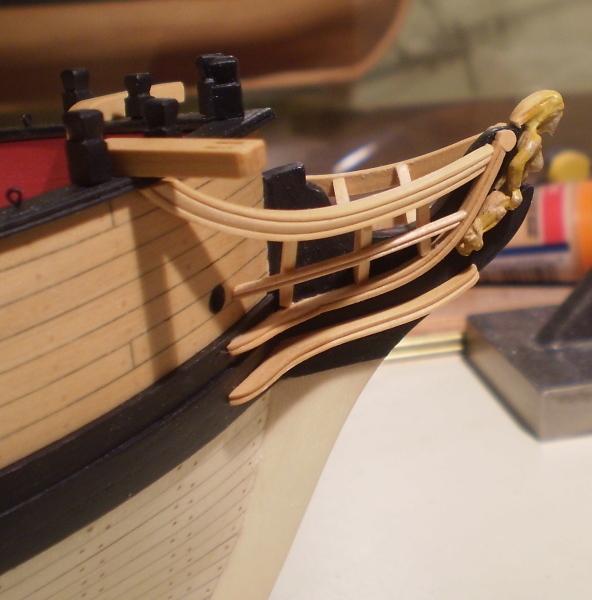
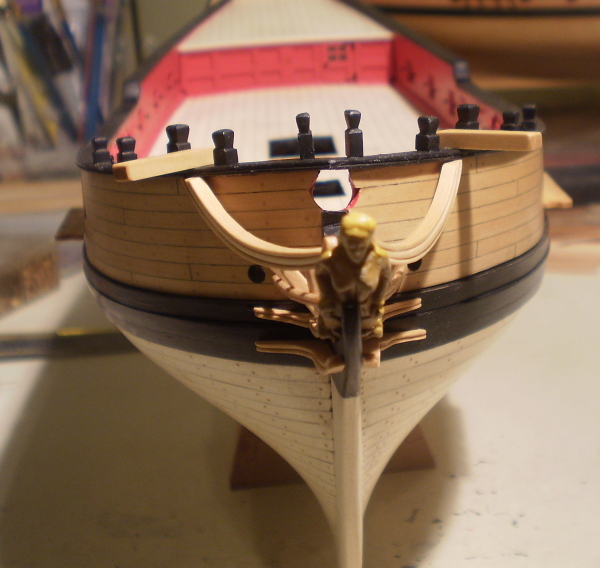
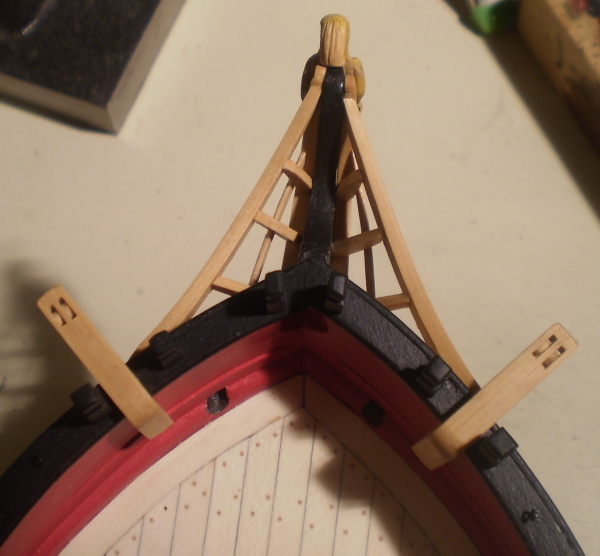
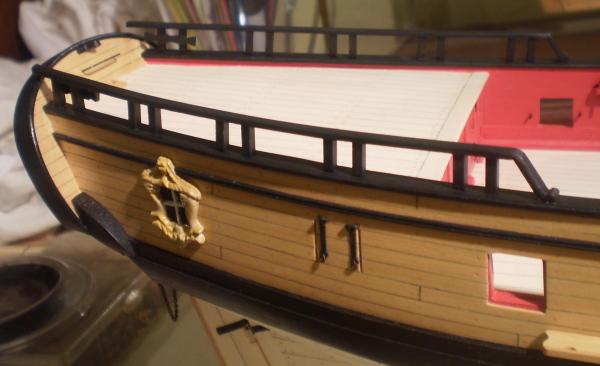
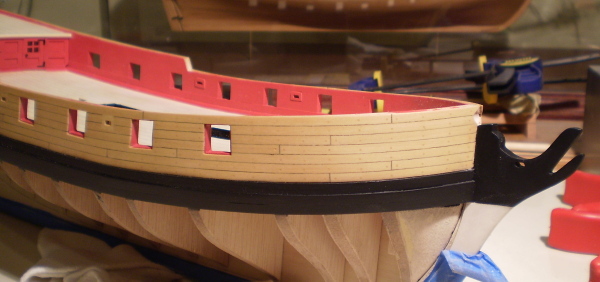
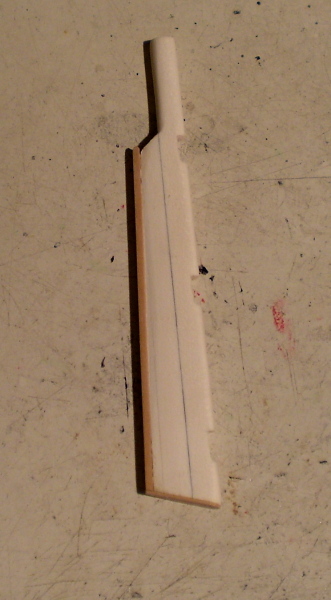
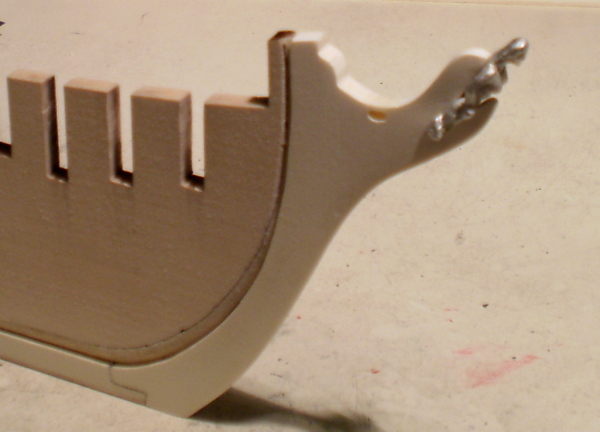
Rails and outer hull work: The various rails were made from boxwood strip and sheet and painted black. The channels were made from boxwood and pinned and glued to the hull. I used the kit castings for the quarter badges and painted them to match the boxwood of the hull. The steps, chesstrees and timberheads were cut from boxwood and filed to shape. The catheads were made from boxwood. Their sheaves were created by laminating boxwood strips. The scuppers were drilled and then painted with Pollyscale graphite to simulate the lead linings. The gunport hinges are etched brass from a set that I had on hand. The rudder was made from holly and shaped and tapered. The pintles and gudgeons are black painted paper strip with bolt heads drilled and glued in and brass rod. I added a spectacle plate and chains. The work on the head is always among the most difficult tasks, and this was no exception. All of the parts were made from boxwood. Since I have difficulty cutting moldings into the knees and head rails, I used laminations of wood strips to create the molded appearance. The cast figurehead was modified by adding a piece of carved wood to deepen the head. Bob


-
Really nice looking work, Russ. Removing those bulkhead tops looks like scary business with those delicate bulwarks in place. Bob
-
Thanks, Maury and Russ. Bob
-
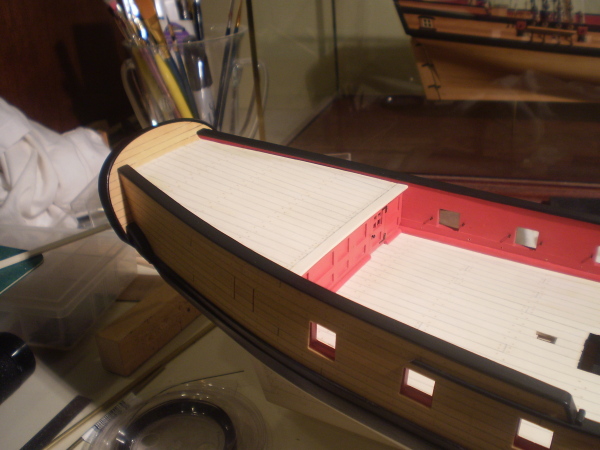
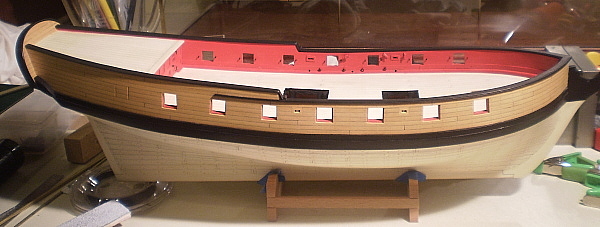
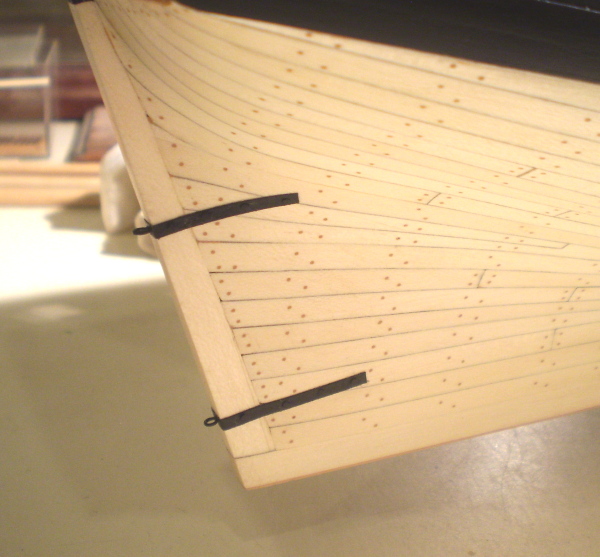
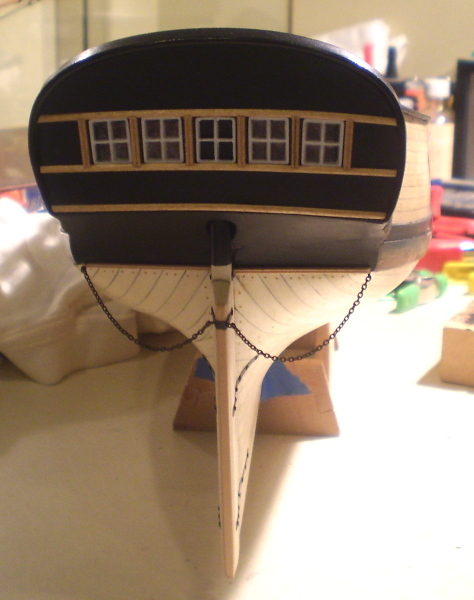
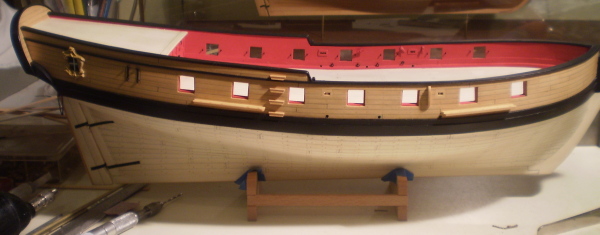
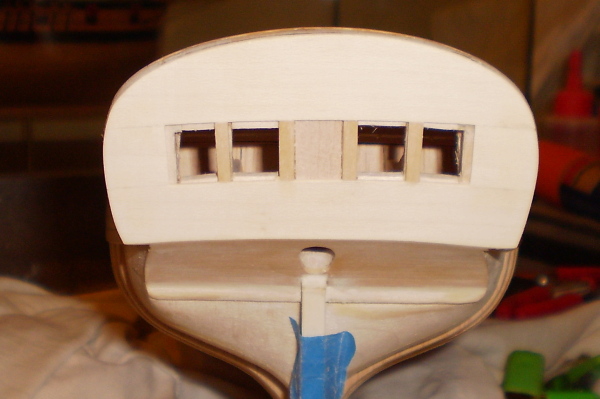
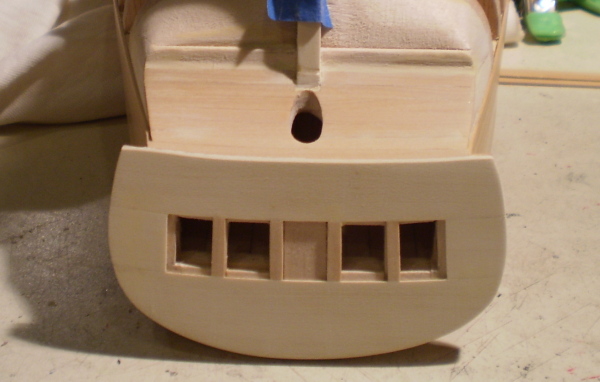
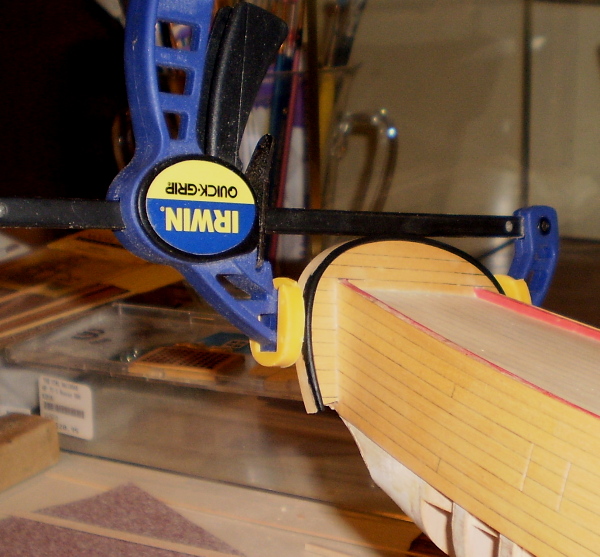
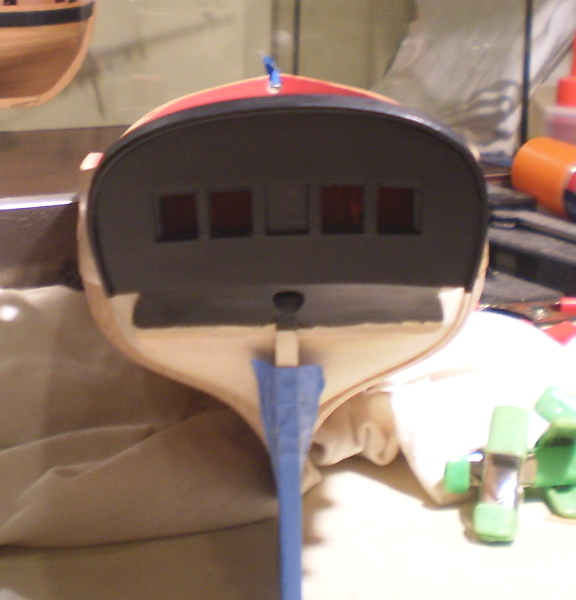
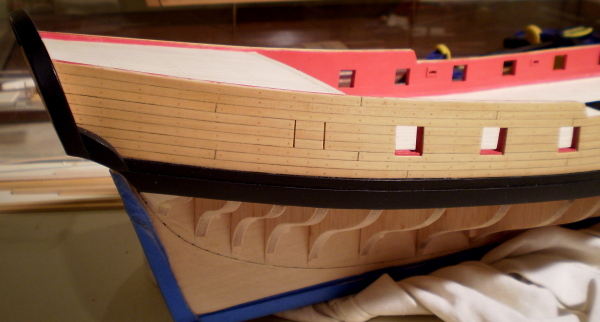
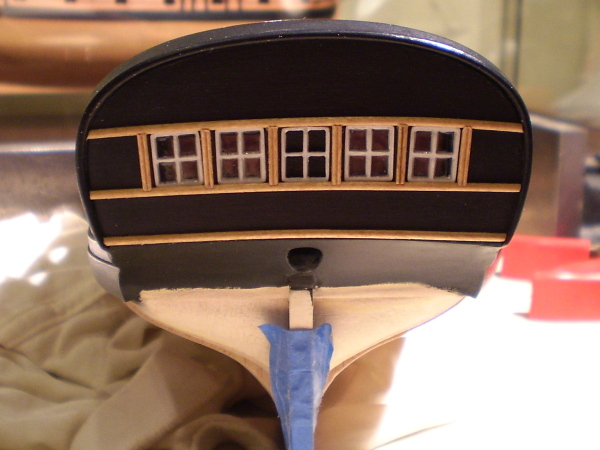
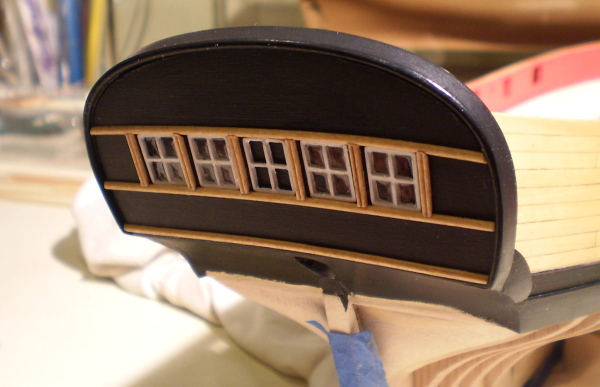
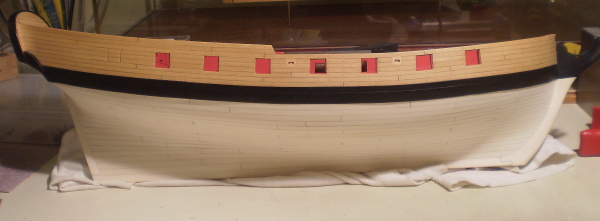
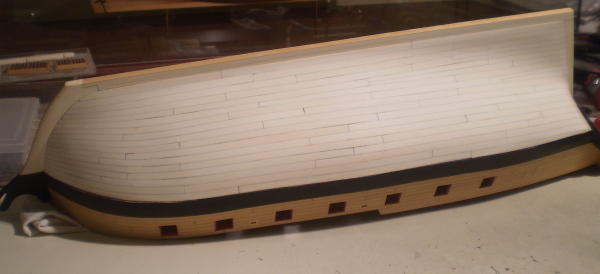
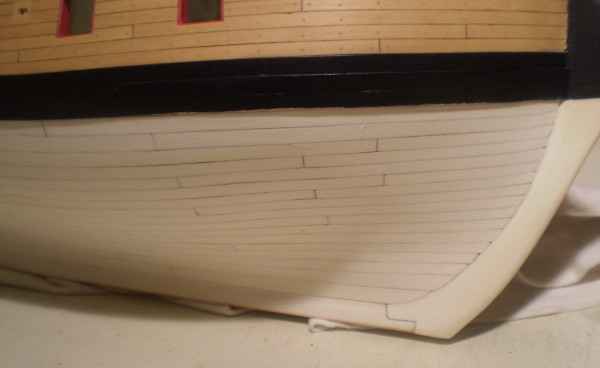
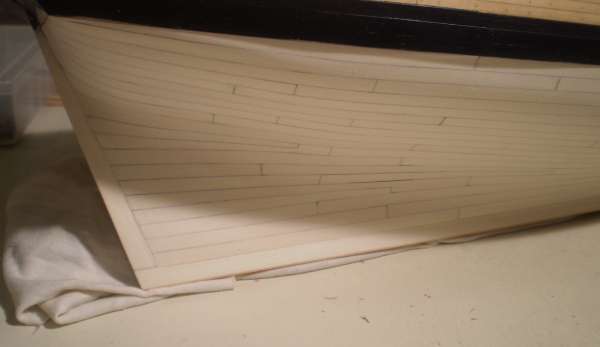
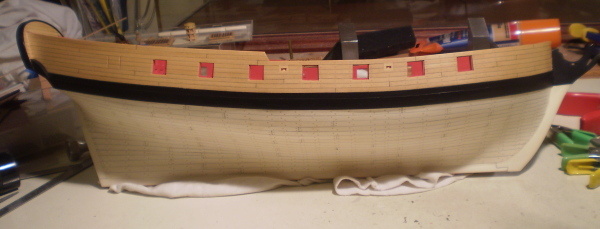
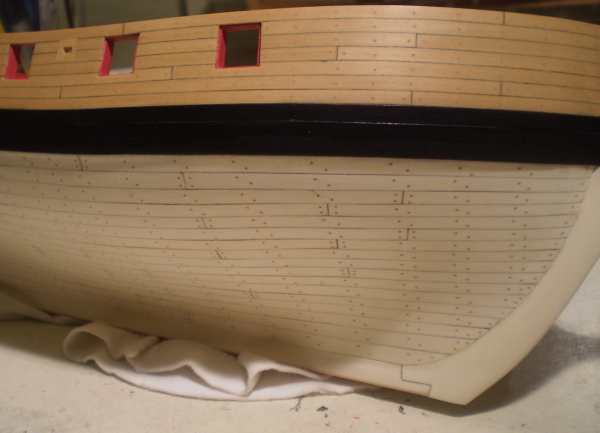
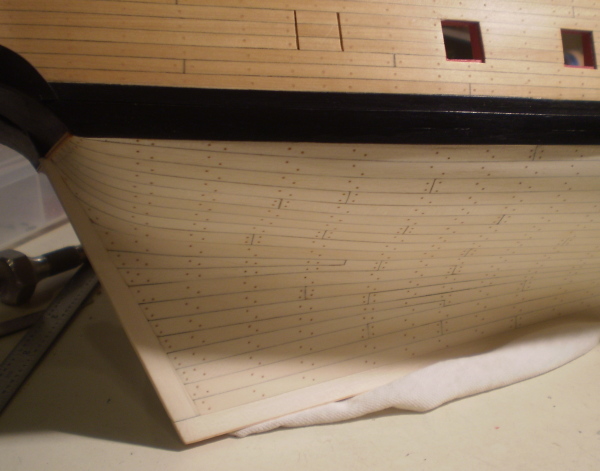
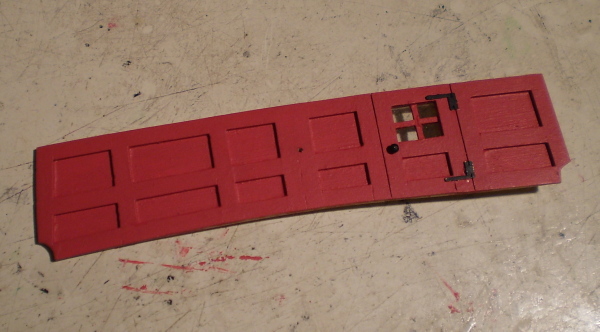
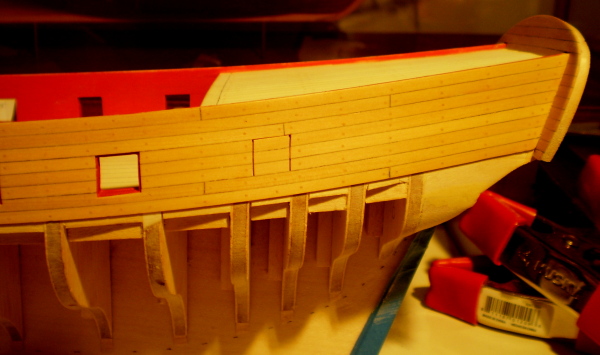
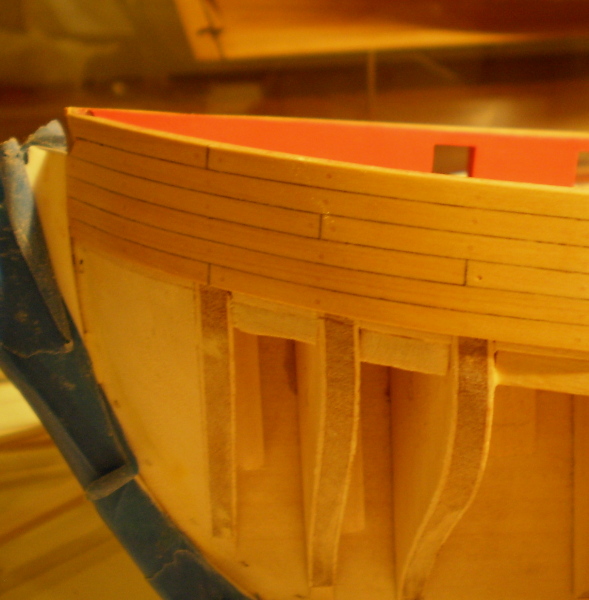
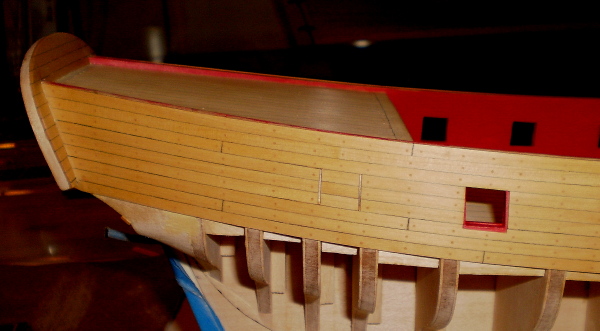
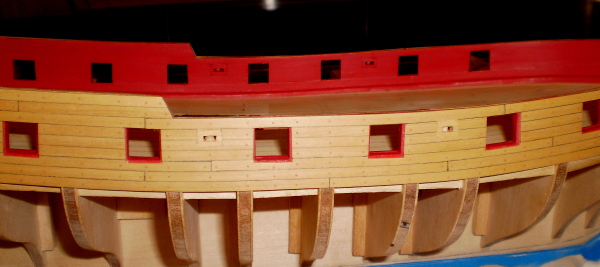
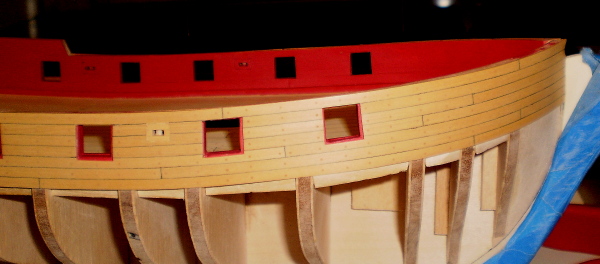
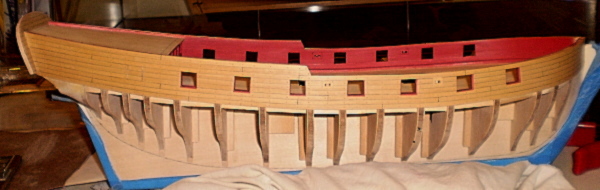
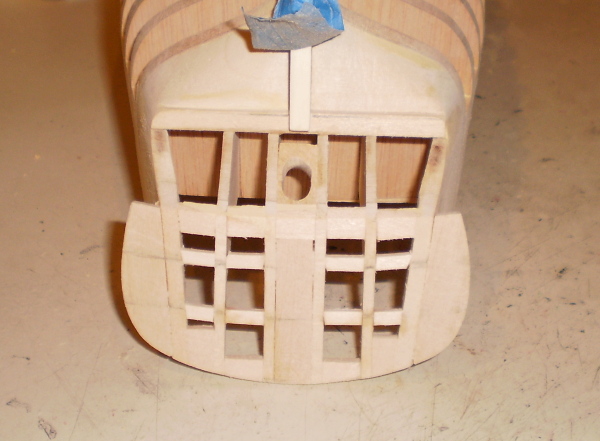
Stern, wales and lower planking: In doing the stern, I didn't like the look of the false windows at the outer part of the transom and chose to omit them. I also added moldings ,not called for on the plans but in keeping with practices of the time. The transom cap rail was wet heat bent from a single piece of boxwood. The wales and black strake were made of boxwood and painted black. The fashion pieces were carved from boxwood and also painted black. The lower planking was done from holly. The treenailing and caulking were simulated in the same ways as for the upper planking and decking. Many of the planks, particularly at the bow and stern, required spiling (shaping), before bending. This was the first time that I had attempted to do really accurate lower hull planking ( prior hulls had either been painted or coppered) and the first side didn't turn out as well as the second because I hadn't measured and lined out the planking as well as I should have. The photos are only of the better side. Bob


-
Thanks so much, Grant and Alistair. Bob
-
Simply terrific. It couldn't be better. Bob
-
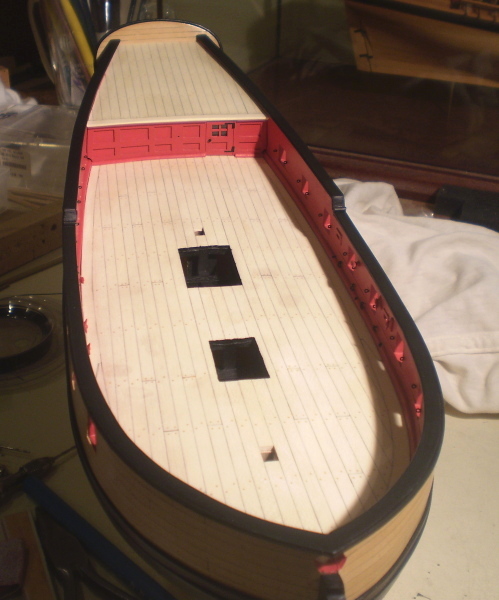
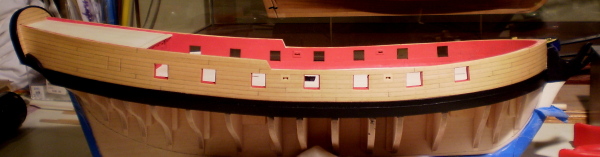
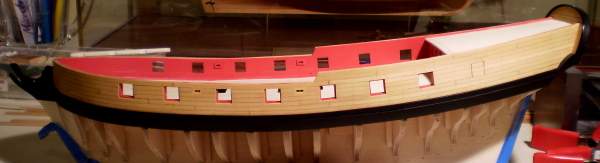
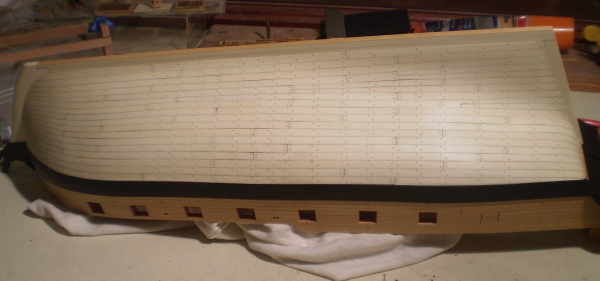
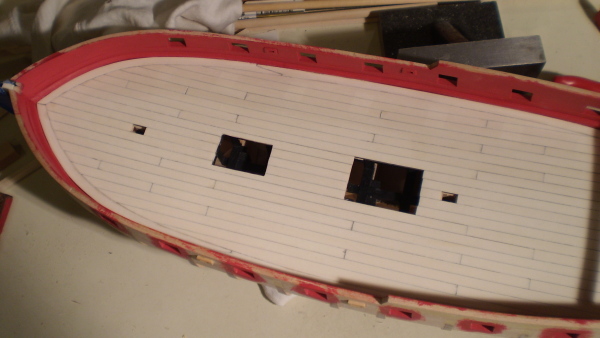
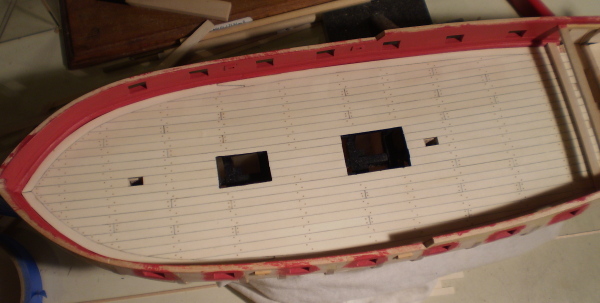
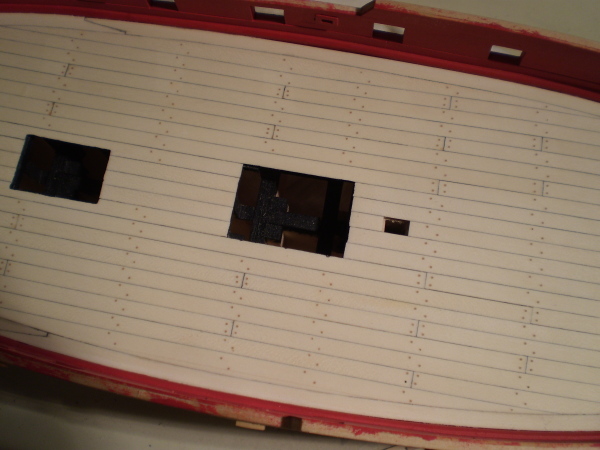
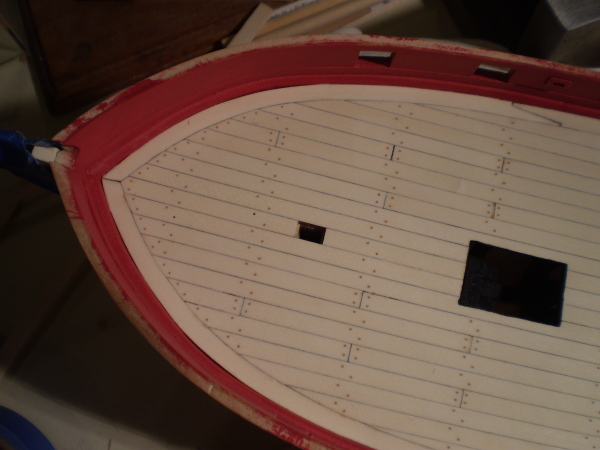
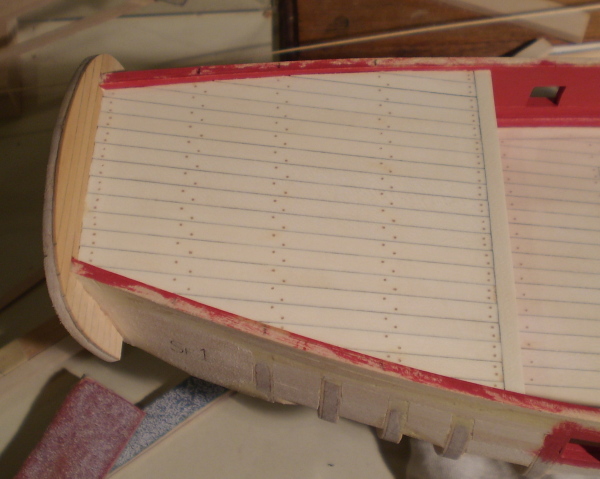
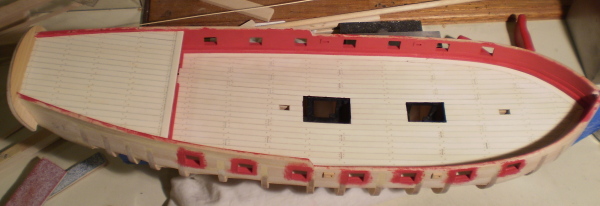
Thanks,guys. I thought the reposting would be a chore, but I'm enjoying it Second installment: Decking and upper hull planking. As I indicated, the kit basswood was replaced and boxwood used for the upper hull and bulwark planking and holly for the decks. I added built-up fixed blocks using stripwood boxes with dowel slice sheaves. The planks were "caulked" by rubbing a pencil along one edge and one end of each plank. The "treenailing" was done using a method learned from Chuck's Syren practicum, namely, filling the drilled holes with golden oak wood filler. All of the unpainted wood was finished with Wipe-on Poly. I deviated from the kit plans by not having a raised section of deck in the center. That choice followed a discussion on the old log as to whether it should. I also changed the quarter deck bulkhead, following a pattern used by Pete Jaquith. Bob

-
Beautiful work on the joints, Robert. Bob
-
Sorry, no clever cartoons. Only my congrats for getting even better with every installment. Bob
-
You're very welcome, John. My pleasure.. Bob
-
Thanks, Augie. It's kind of fun to go through it all again. Bob
-
Thanks, Robert. I'd love to see more logs.
-
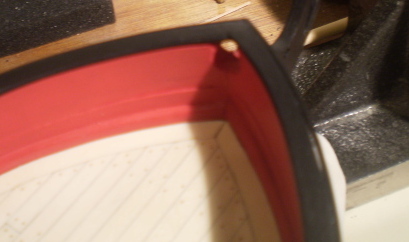
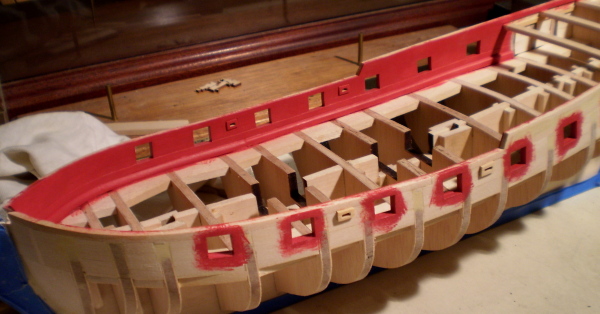
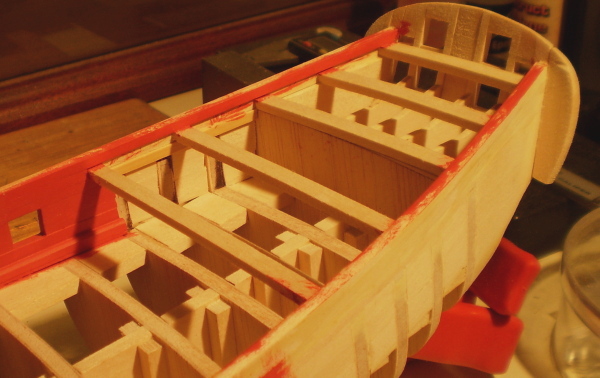
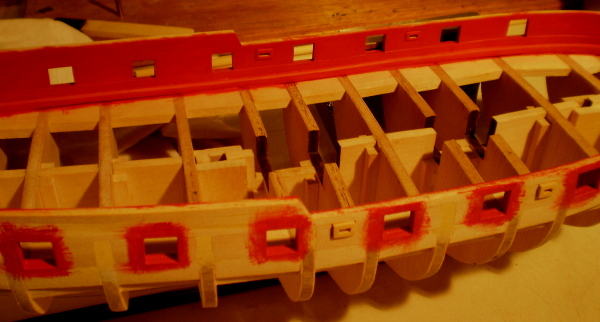
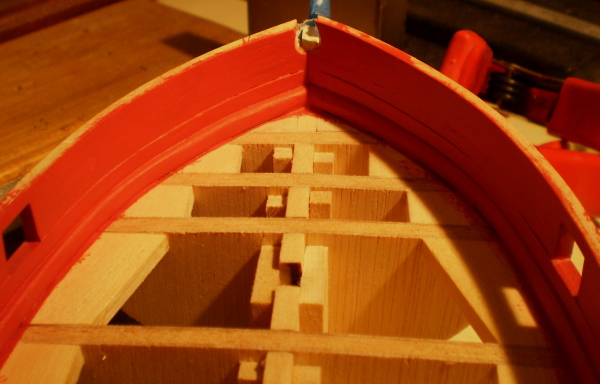
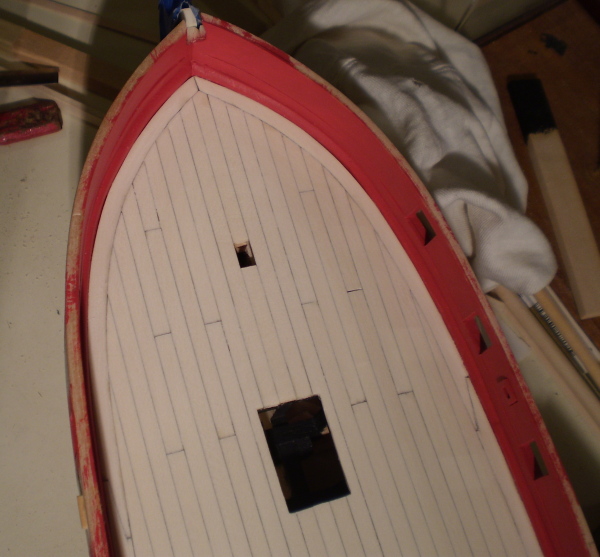
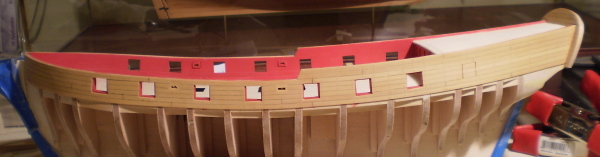
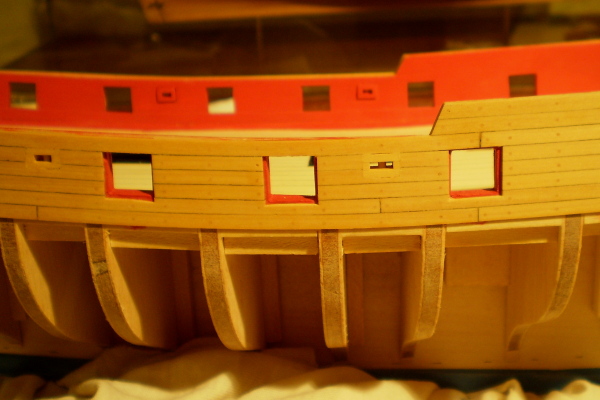
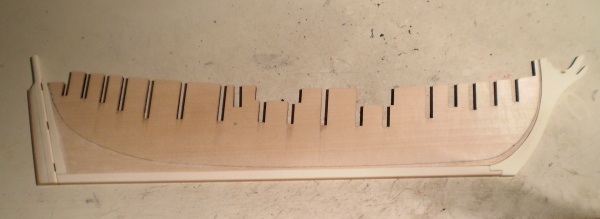
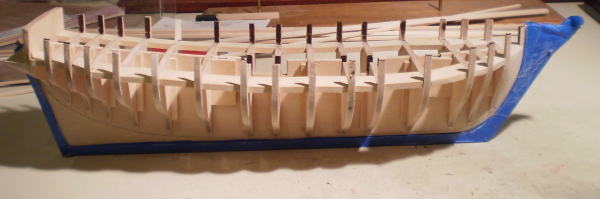
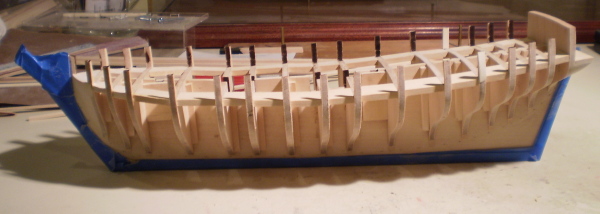
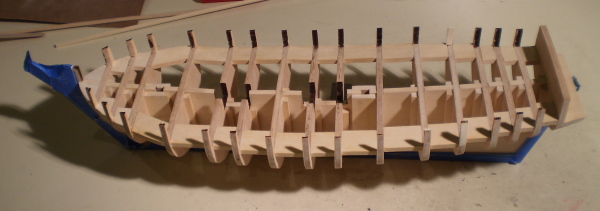
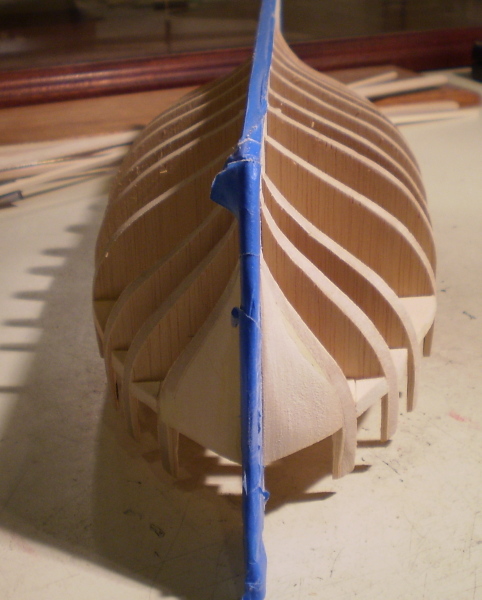
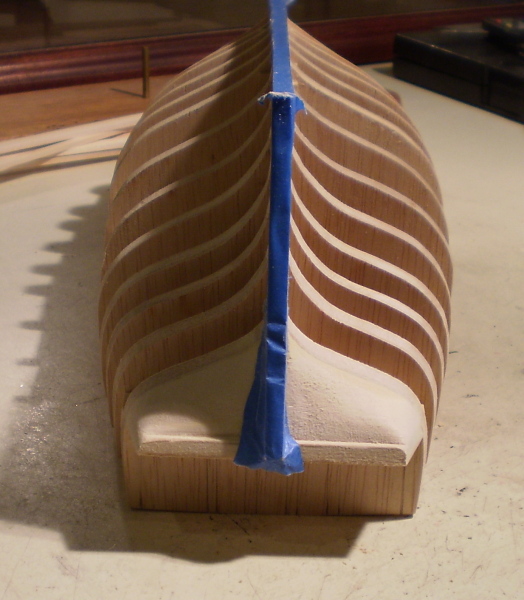
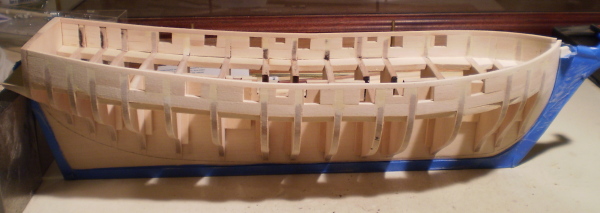
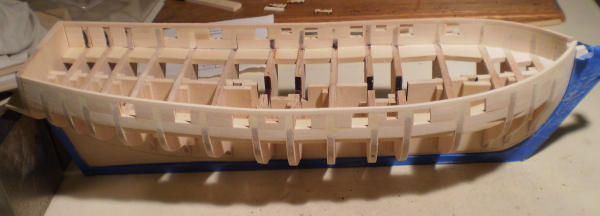
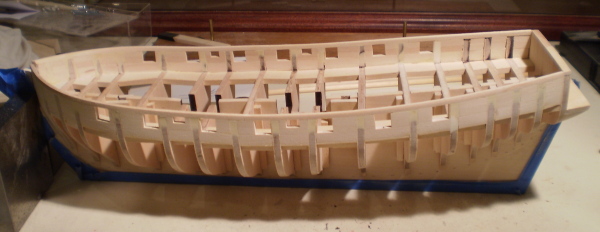
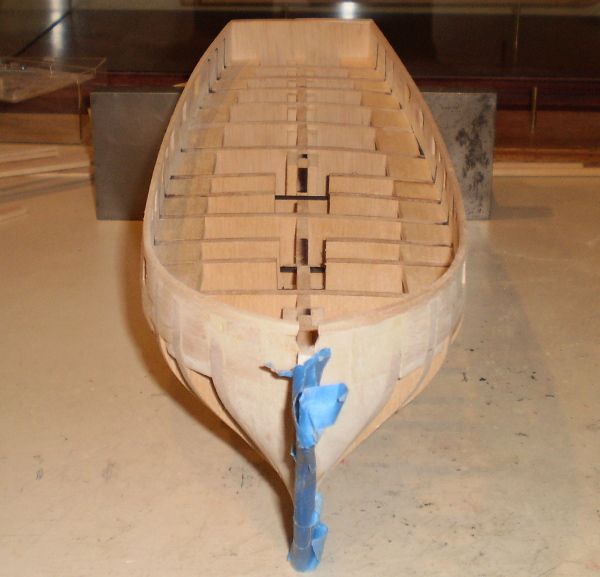
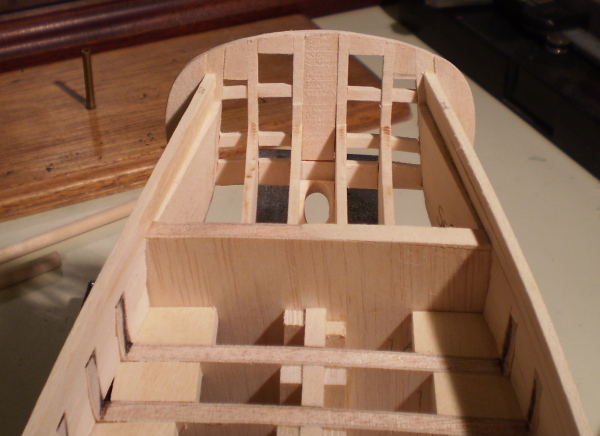
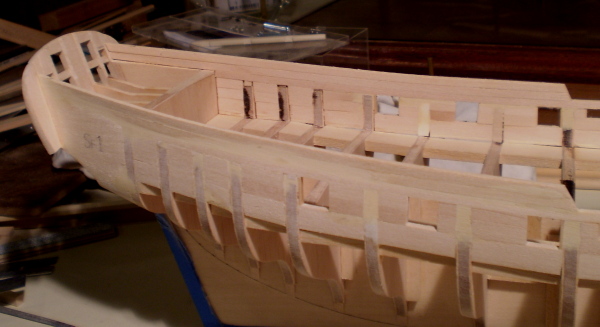
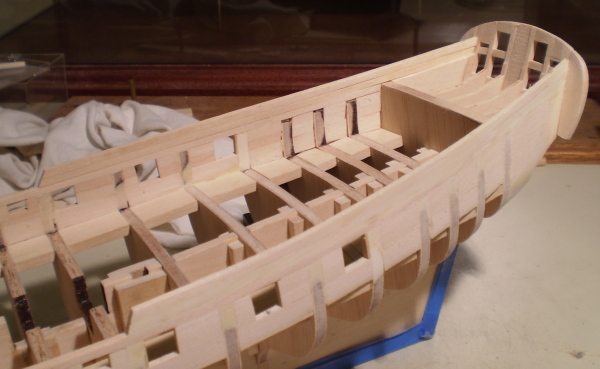
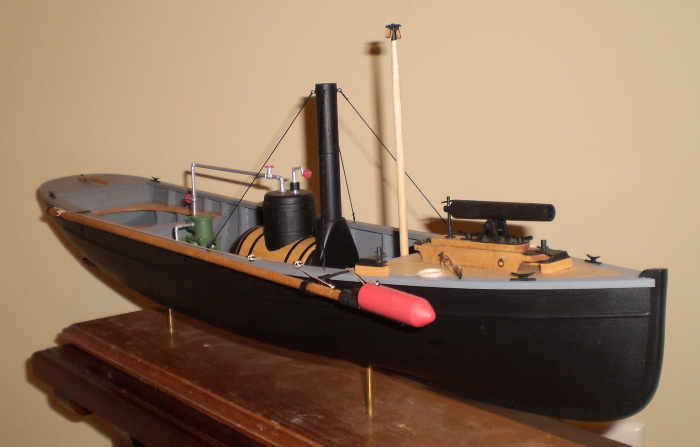
This will be my attempt to to at least partially recreate my log for this build, which was completed in August, 2012. I have all of the photos and will reproduce most of them here. The text, as with most other logs on the site, is lost and no attempt will be made to reproduce it as such. I will try to provide some summary text to go with the pictures. This build was inspired by the build that Pete Jaquith started on MSW. I chose to make some changes that he had made and then made others of my own. The most basic change of his that I adopted was to increase the size of the gun ports, and thereby also increase the height of the bulwarks. My most basic change was to replace all of the visible kit basswood with boxwood and holly. The boxwood was used for the upper hull and bulwark planking and all of the deck furniture. Holly was used for lower hull and deck planking and for the keel, stem and rudder. The first segment of the build was the framing. Because of the dimensional changes that I made, and because I found the kit bulkheads to be deficient, I ended up creating a solid upper structure that had the ultimate benefit of providing a great surface for planking. I also added additional bracing for the bulkheads,using square strip wood at the center keel joints and broad pieces at the outer edges. I like the stability this creates. Other than that, framing and fairing of the hull followed the kit and standard practices. Bob
-
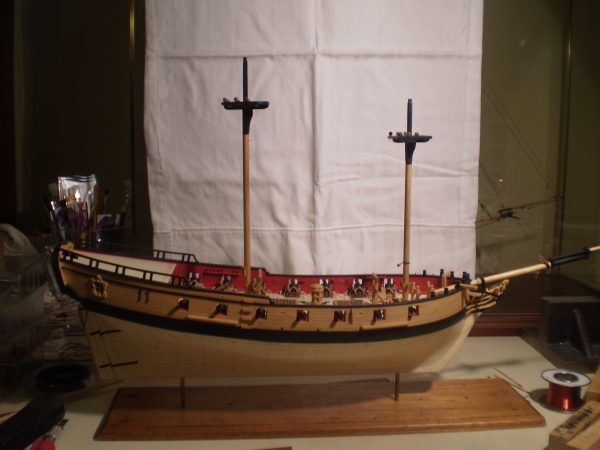
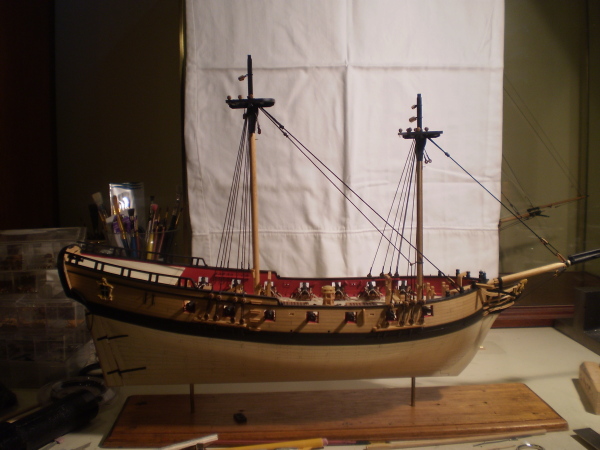
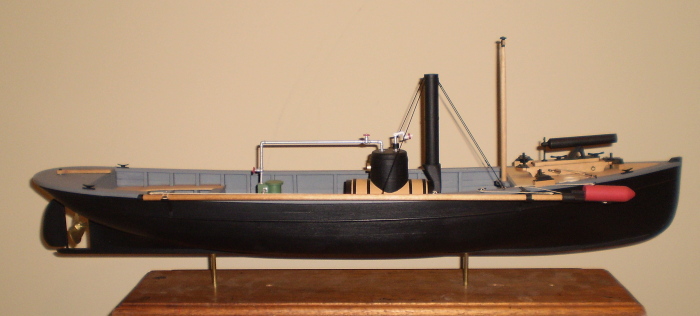
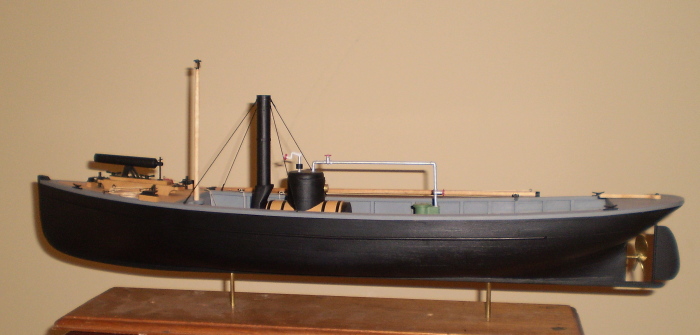
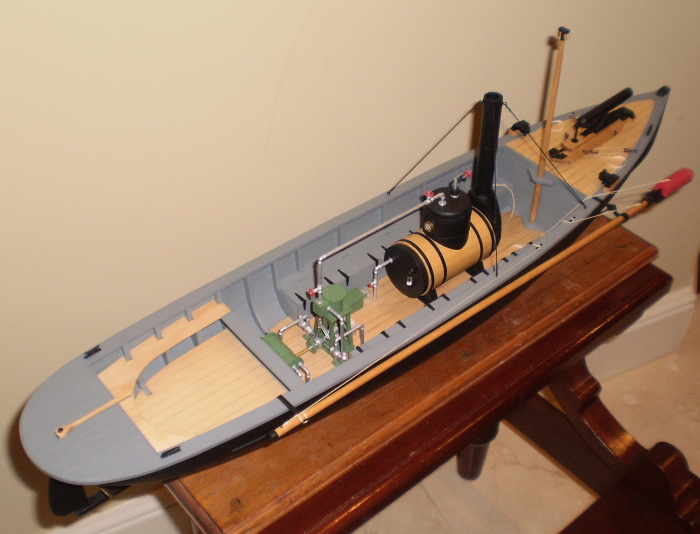
Thanks, Ryland, Bob, Grant and Alistair. Here are the final photos. By the way, the mounting is only temporary. The model will go in a case. Now that this project is done, I am going to try to redo my prior build logs for Fair American, Kingfisher and Syren, at least in very summary fashion. Bob

- 103 replies
-
- 10
-

-
- picket boat
- model shipways
- (and 1 more)