HOLIDAY DONATION DRIVE - SUPPORT MSW - DO YOUR PART TO KEEP THIS GREAT FORUM GOING! (Only 20 donations so far - C'mon guys!)
×


Roger Pellett
-
Posts
4,519 -
Joined
-
Last visited
Content Type
Profiles
Forums
Gallery
Events
Everything posted by Roger Pellett
-
Forum members interested in harvesting and milling their own wood will find today’s Woodcraft Supply, woodcraft.com, to be of interest as it includes a free article on the use of jointers to be of interest. As the jointer’s main job is to flatten bowed and crooked lumber, this article includes a number of common sense tips for those of us trying to mill home cured boards. Roger
- 1 reply
-
- 4
-

-

-
Absolutely Wonderful!! They are just begging for a section of planked carrier deck to sit on. Roger
-
Wonderful model and photos, and congratulations on her selection as a Calendar Girl.
- 599 replies
-
- 3
-
-
- sidewheeler
- arabia
- (and 4 more)
-
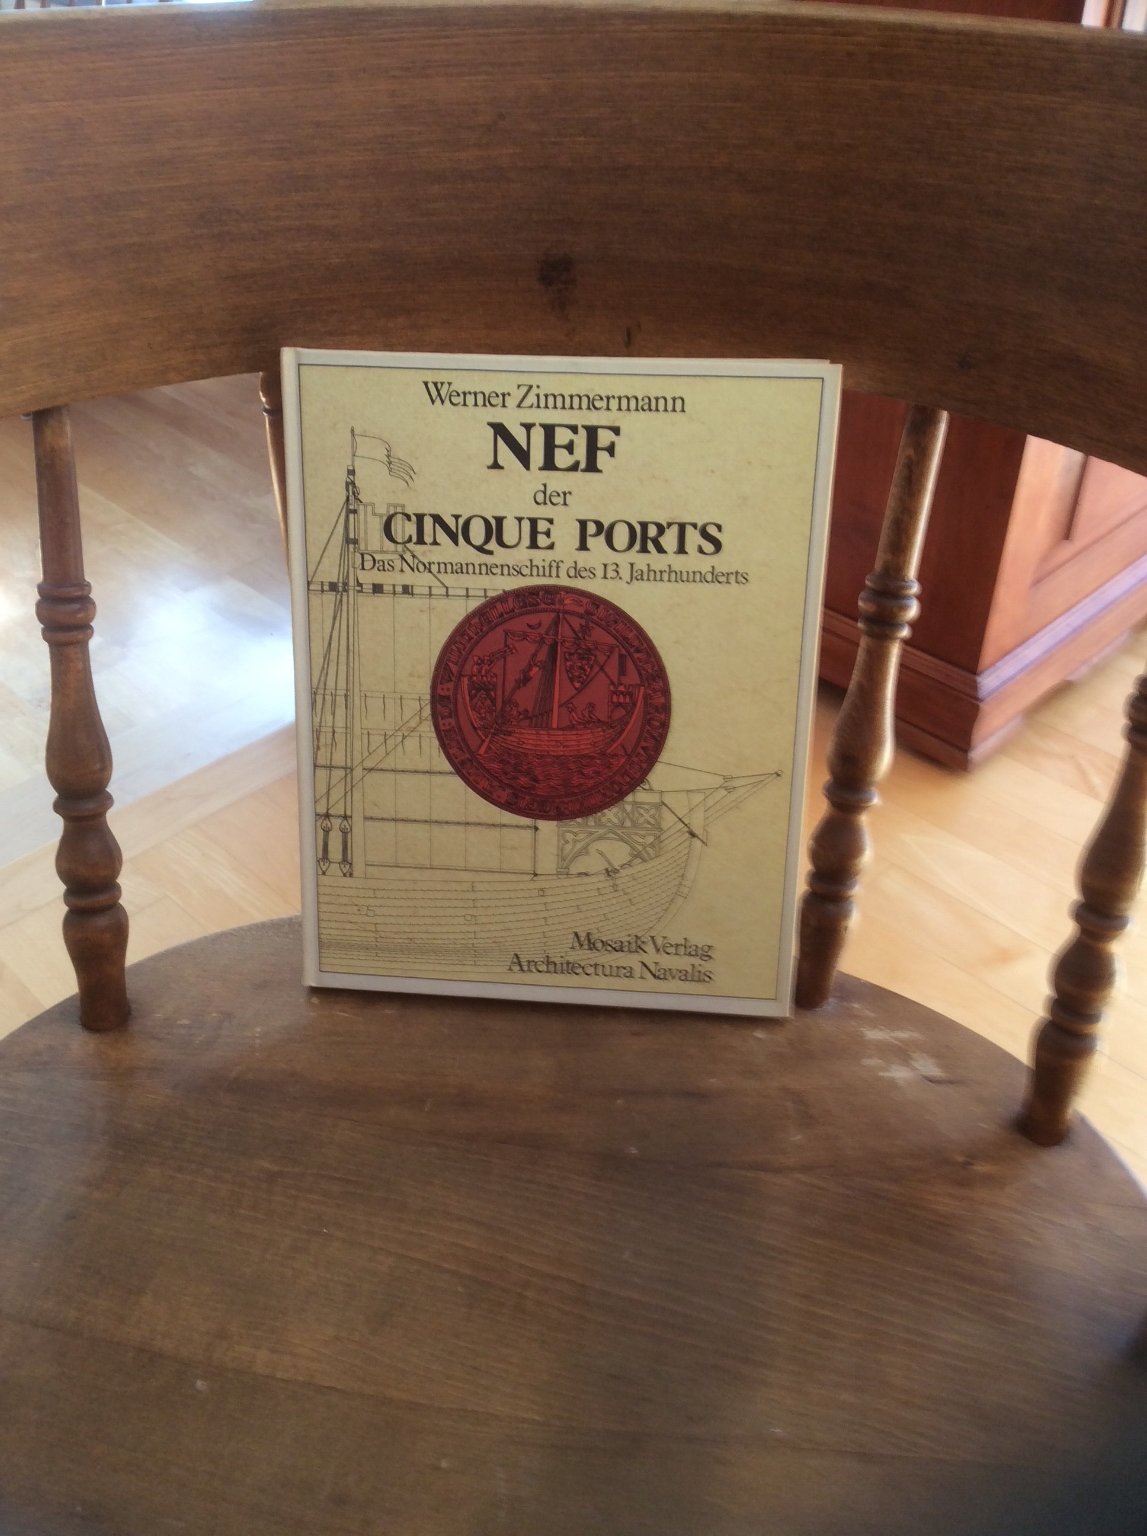
What size cords for the rigging of a 1/50 medieval nef?
Roger Pellett replied to PhilB's topic in Masting, rigging and sails
I don’t read it either, but enjoyed looking at the author’s drawings. -
In 1975 a guy who worked for me offered me the wood from a pear tree that he had removed from his property. The logs were cut up by a small saw mill and the rough planks sat around until I finally sawed and planed them into billets several years ago. When they were originally sawed, I knew nothing about flat sawing, quarter sawing, etc. so the dried planks were cupped and twisted, with streaks of rotted wood. Even after losing perhaps half, I have enough usable billets to last me the rest of my life. The point is that small blocks suitable for model building can be cut from warped and cupped wood that would be useless for other applications. In my case, billets that I cut have remained dimensionally stable. Roger
-
What size cords for the rigging of a 1/50 medieval nef?
Roger Pellett replied to PhilB's topic in Masting, rigging and sails
Phil, No direct answer to your question, but do you have access to this book? Lots of well drawn illustrations. Roger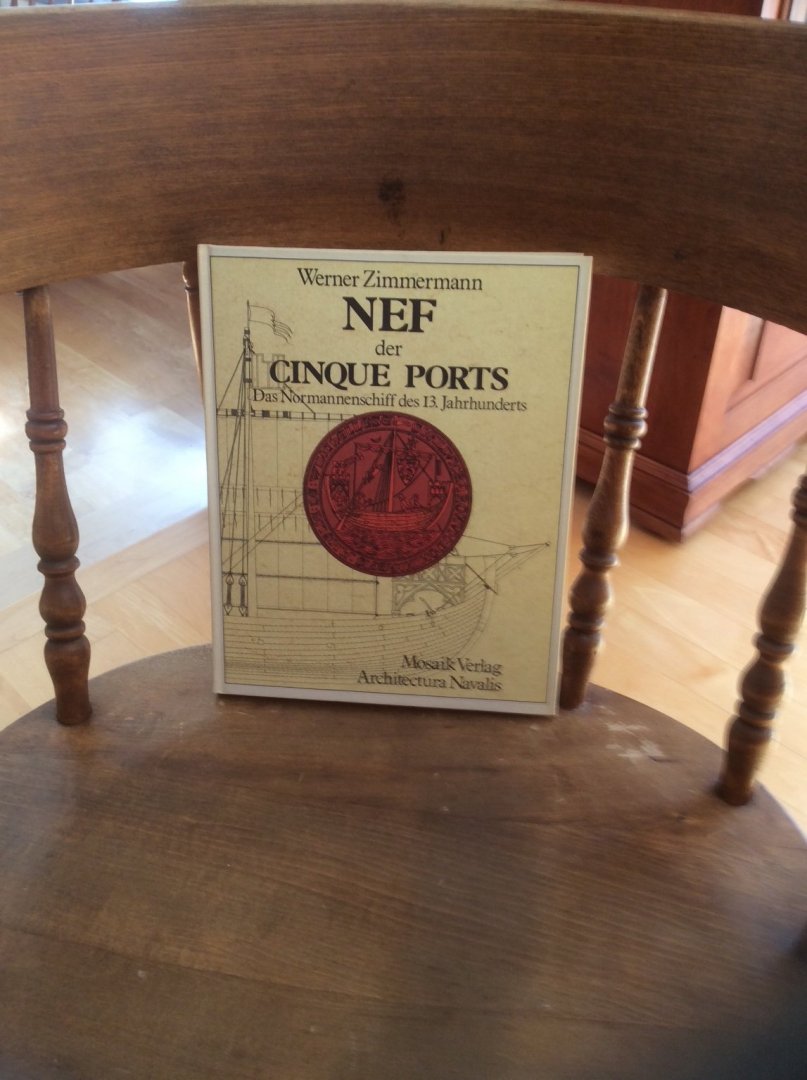
-
You certainly know a lot more about this than I do, so it’s probably a spotlight.
-
The pictures taken in the combat zone show a large light attached to the gun tub that would swivel with the guns. I don’t know whether this is a night vision light or a conventional spot light.
-
Joe, Maybe you have already answered this question but do you have access to Norman Friedman’s book Small Combatants? If not, it has a lot of material about PBR’s. It’s one of his design series about US Navy Ships. It’s out of print and expensive but if you can get it via inter-library loan it might be worthwhile. It has a lot of large photos. While these are too grainy due to book publication choices to show fine detail, a determined researcher in your group could probably track down high resolution copies. like any small craft in combat zones, these pictures show many field modifications. I’m sure that these were made on the spot by crews just trying to get the best of a resourceful enemy. No one was waiting for a NAVSHIPS bureaucrat to issue a SHIPALT. Roger
-
Mike, My thoughts exactly or as my mother used to say, “Don’t look a gift horse in the mouth.” Roger
-
I’ve had much better luck with the non-pigmented finishes in rattle cans. You’re right, the ones dispensing pigmented finishes gum up quickly. As an old timer passing on my experience to others ( although I don’t feel old) It is difficult to know what equipment someone has and what solutions fit their finances. As a much younger man raising a family I remember when buying an air brush and air compressor would have been a big deal. Also, while building model ships is for me an avocation, for others buying and assembling a kit does not warrant a well equipped workshop. My suggestions are, therefore, often the poor boy approach to accomplishing a task. I’m also prone to experimenting with ideas that I dream up. Some work, some don’t. Thanks for the nice complement on the model. Roger
-
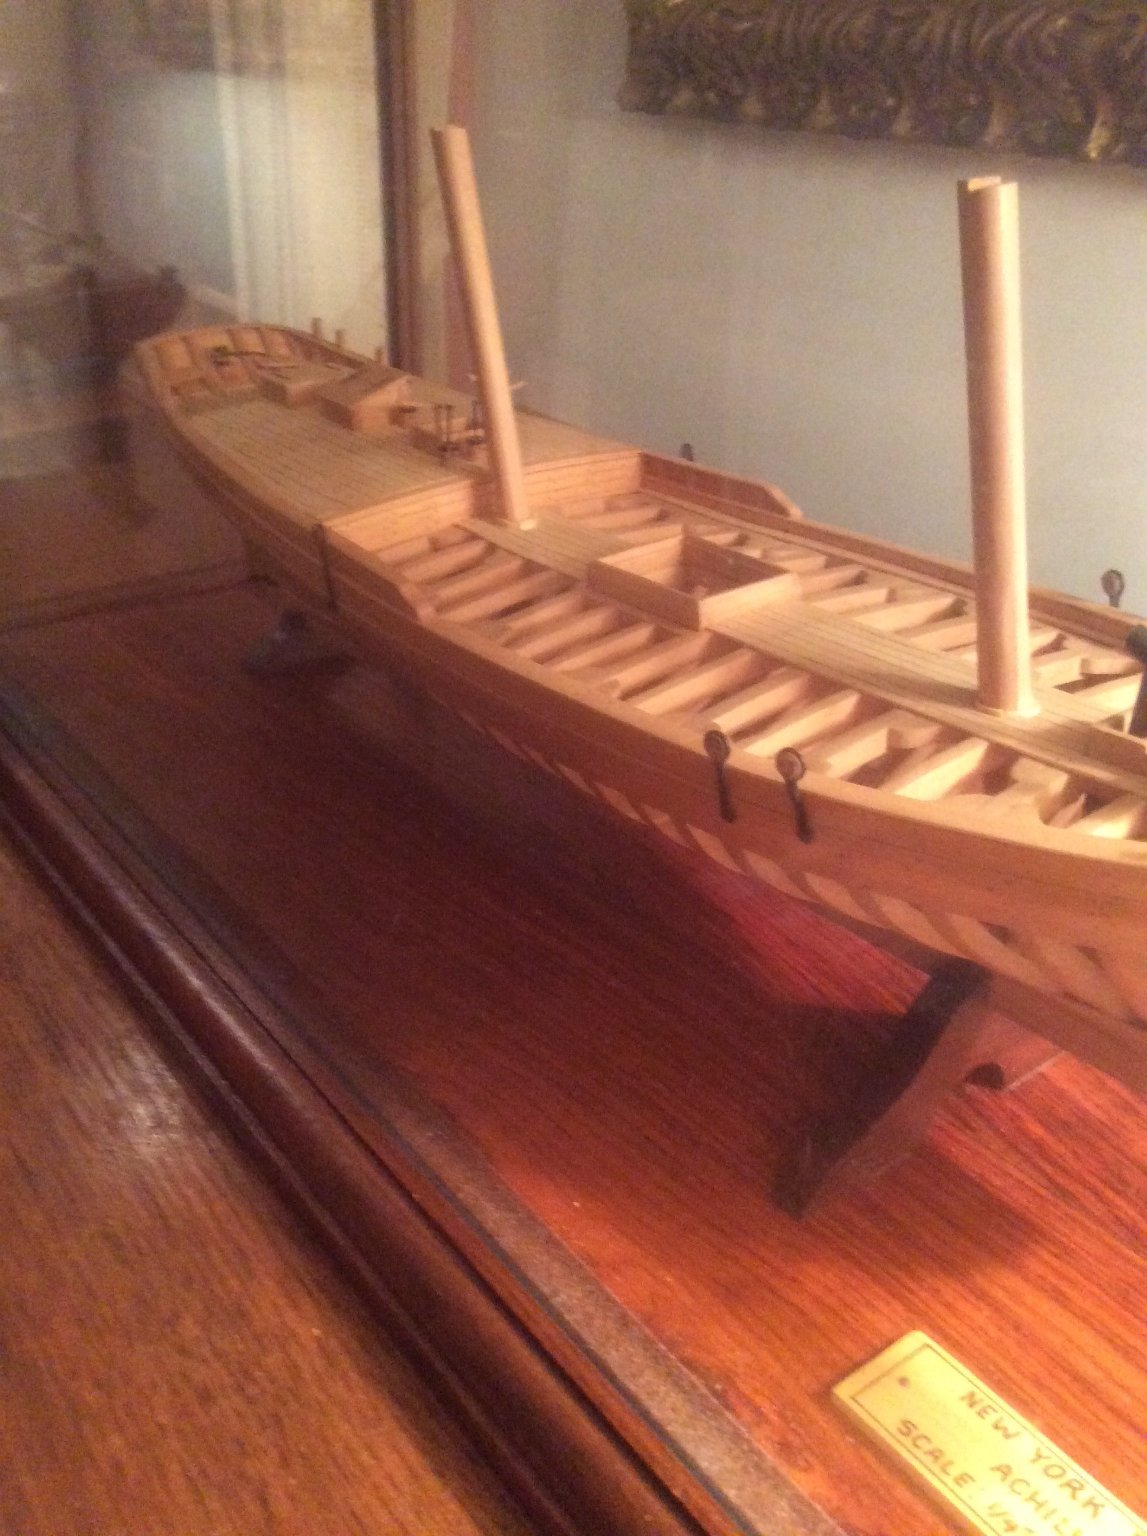
The model below was finished by me in 1982 so it is 38 years old. Hull and deck framing is domestic pear wood. Deck planking is holly and hull planking is boxwood- not Costello, all finished with clear finish, no stain. When the model was finished, I went to a local auto body paint supplier who mixed up a quart of matte finish lacquer. i hung the model from a hook in my basement and sprayed it with a Badger sprayer propelled by canned air. 38 years later finish is still good as new, and there is no visible buildup of finish. Any sort of wipe on finish would have been very difficult to apply and with the oil based finishes you run the risk of discoloration as the finish ages. you could do the same thing. If you don’t have spray equipment, look into a Preval sprayer, inexpensive and disposable. Otherwise use rattle cans. My favorite is Testor’s Dulcote or use one of the hardware store sprayable clear coats. These range from full gloss to matte finish. Roger

-
I’m curious. Was the bottom wing Aluminum and the top wing fabric covered? Roger
-
Do you still shoot it? Roger
-
I use my fingers too. But I still find a sacrificial coat of paint, preferably white to be useful. It also highlights minor damage that may occur later in construction. Roger
-
For many years, the Navy was managed by the “Bureau System.” Up until 1966 ship construction involved at least two bureaus- The Bureau of Ships and the Bureau of Ordnance, and like many bureaucratic organizations each defended their turf. In 1966, the bureaus were reorganized into commands, the Bureau of Ships becoming the Naval Ships Systems Command, but the general idea stayed the same. Each organization involved in designing a ship worked under a formal document defining their area of responsibility. Our slang term for this was the “ball definer,” in other words, “Who’se got the ball.” This organizational approach would have affected the Navy’s filing system and the information appearing on their drawings. If NAVSHIPS built the gun tub and NAVORD outfitted it details would be shown on drawings produced by two different organizations. Roger
-
It would seem that one nuclear bomb would be more than adequate for any one imaginable target. What am I missing? Roger
-
Trying to effectively handle a muzzleloading musket, or worse yet a rifle in battle with loose powder is a non-starter. The answer was cartridges- preloaded powder and ball loaded into a combustable paper tubular envelope. The drill was to bite off the end of the cartridge, dump the powder down the barrel followed by the ball and wadded up paper, all rammed home. Modern day muzzleloader shooters often swab the barrel between shots. Soldiers on the battlefield couldn’t do this. Accounts of Civil War battles often mention muskets picked up after the battle with multiple unfired loads in the barrel and soldiers neglecting to remove their ram rods before firing. Muskets also became inoperable because of black powder fouling. On the other hand, I have not read of soldiers injured by charges exploding prematurely by unburnt embers left in the barrel. Roger
-
In getting a good painted finish, the first coat is sacrificial. Regardless of how well you sand, the first opaque coat will turn up blemishes that must be repaired. For reasons that I cannot understand, the eye fails to pick them up on sanded bare wood. It can, therefore, make sense to apply a coat of paint as soon as you are convinced that the hull has been properly sanded/ faired. Waiting until the model is more finished risks damaging fragile parts. Roger
-
Bravo Zulu, it’s been a long haul. Roger
-
You can also try the old gunsmith’s trick called “whiskering.” Very lightly dampen the bare wood with water and let it dry. This will raise the grain. Now sand it with fine sandpaper. This should reduce the tendency of the grain to raise when you apply your finish. Roger
-
Jparsley, No, it was an old time hobby shop on West Superior Street In Duluth’s Lincoln Park neighborhood. It had everything, including a world class collection of model and antique railroad stuff. Mr Carr died this spring or early summer. Roger
- 40 replies
-
- 1
-
-
- edmund fitzgerald
- iron shipwrights
- (and 1 more)
-
Hank, Would some sort of roof vent help the situation? Other than knowing that they exist I know nothing about them.
-
As a kid I lived for a while on a large hobby farm that my parents owned west of Akron, Ohio. One summer between 1960 and 1965 we began finding shredded Aluminum foil in one of our hay fields. We later found that these B-58 Hustlers had been testing the Cleveland Area air defenses and dropping chaff on us. Unfortunately I don’t remember actually seeing the planes. Roger