


qwerty2008
-
Posts
552 -
Joined
-
Last visited
Content Type
Profiles
Forums
Gallery
Events
Posts posted by qwerty2008
-
-
-
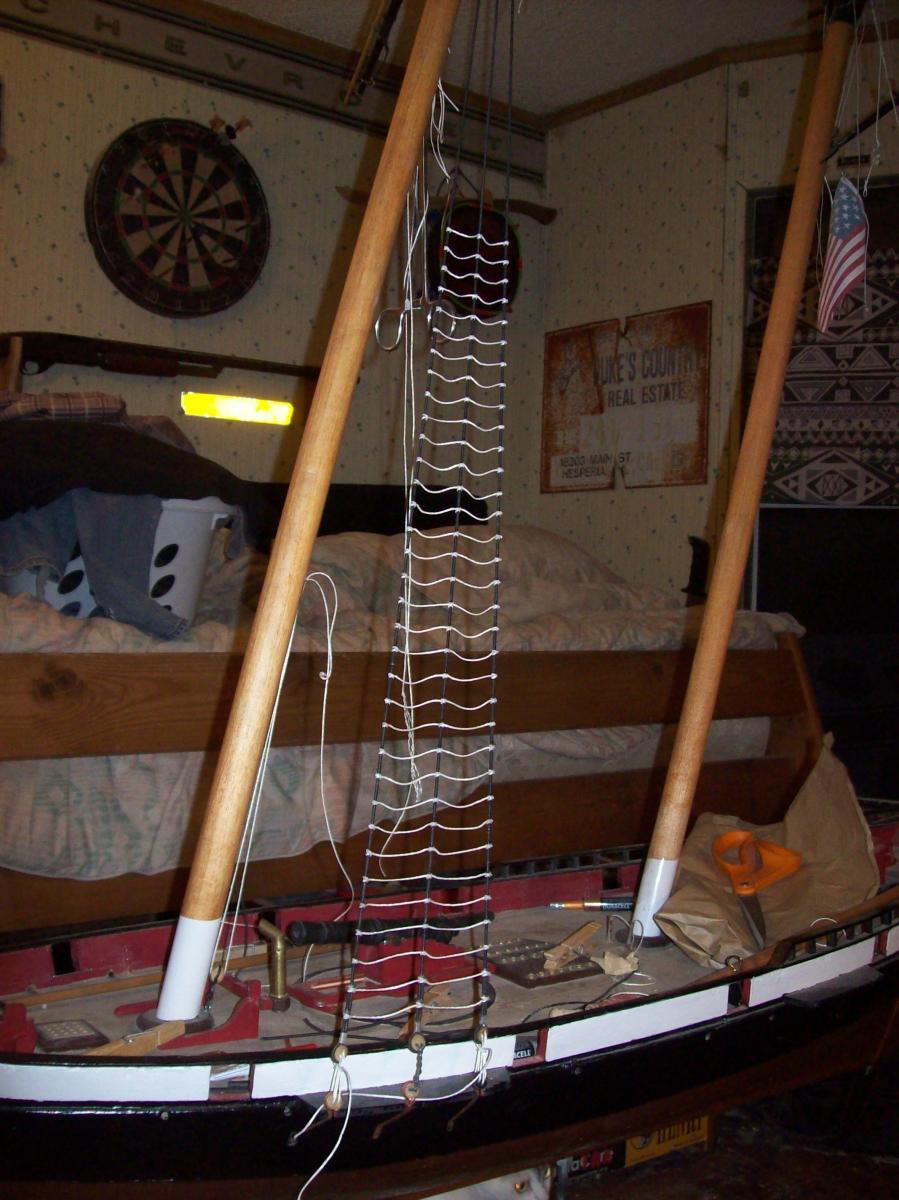
I have managed to get in a few hours of work on the Byzantium today. I made some blocks, now I have all 3 sizes. I also repainted the nameplate as it got covered up during paint touchups. But most importantly I have tied 112 clove hitches on the port side ratlines.


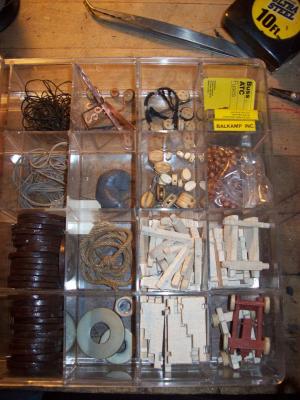
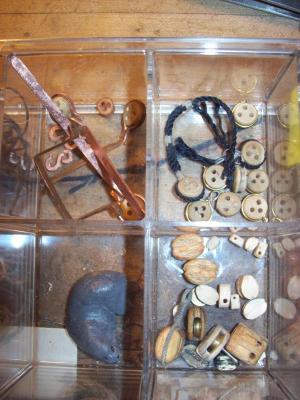
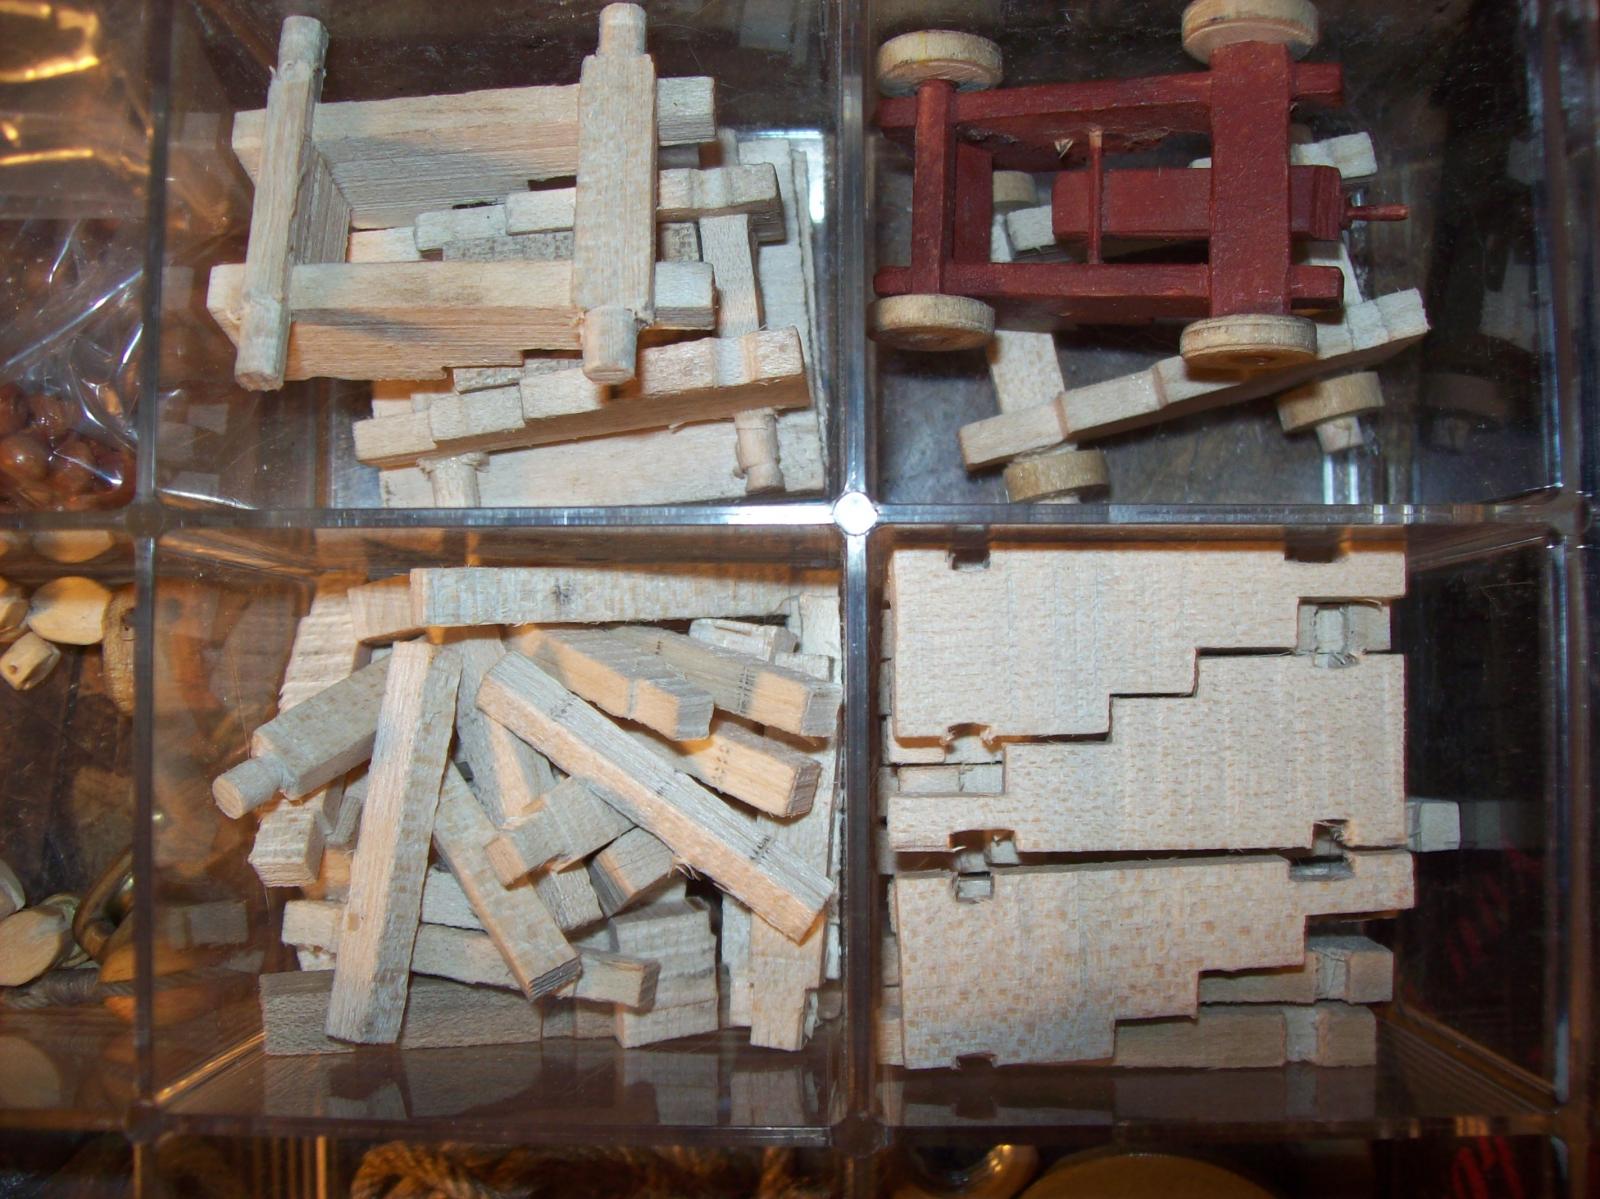
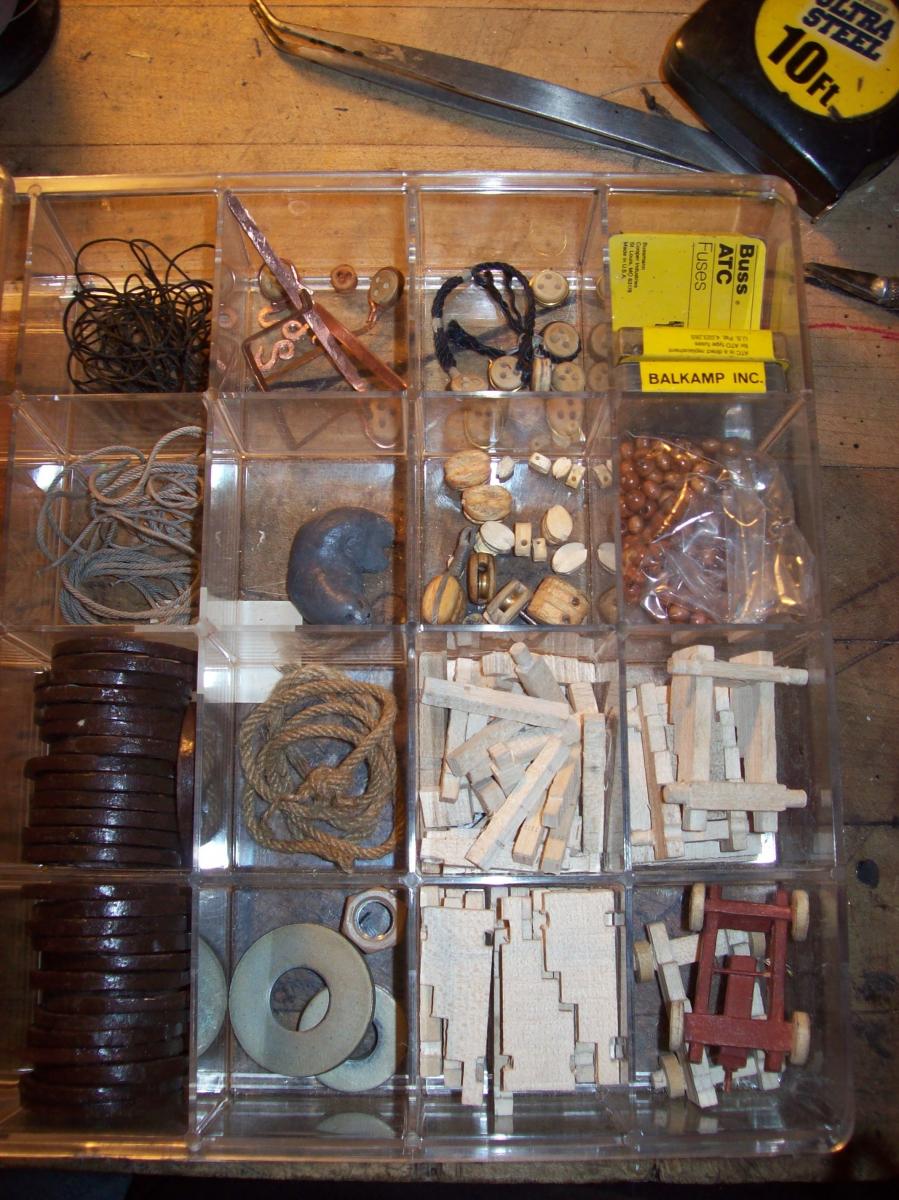
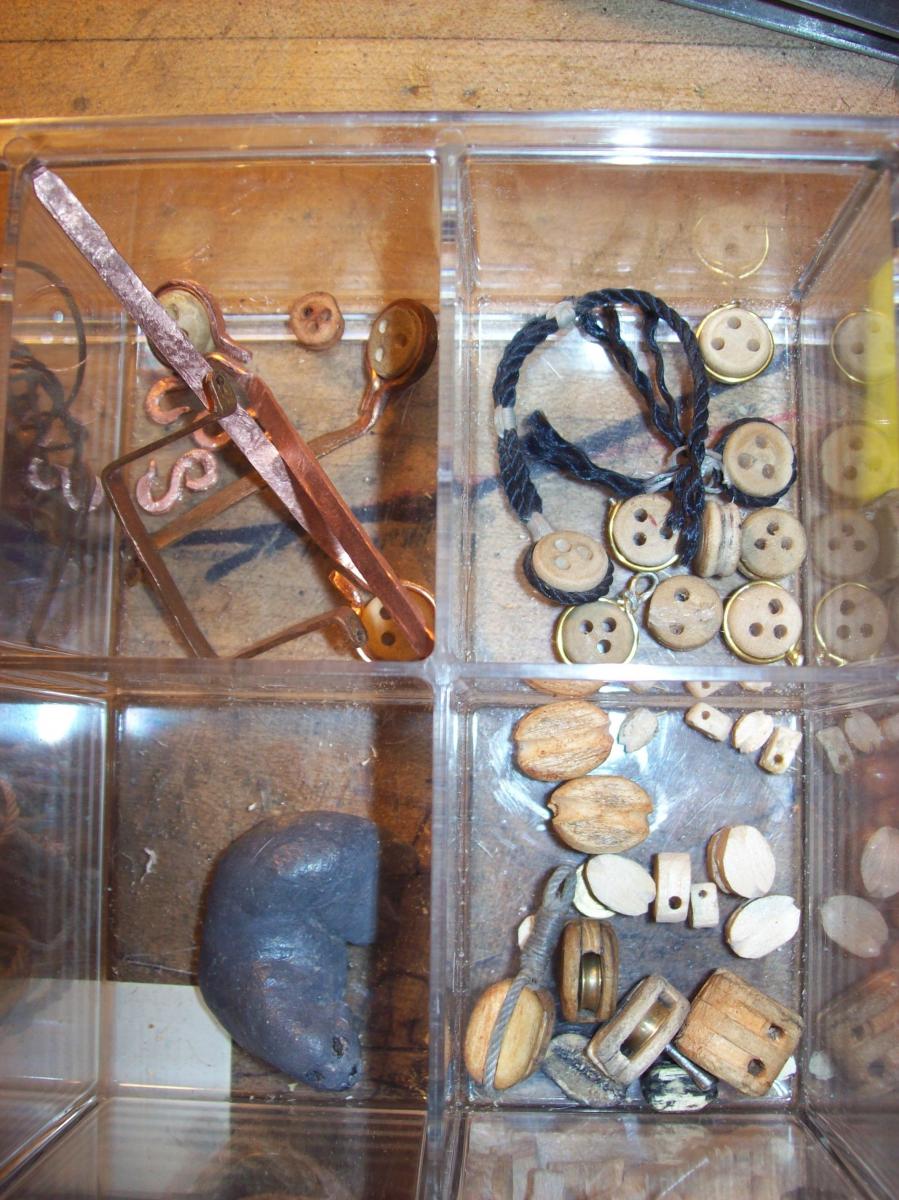
My box of fittings is filling up


Lextin.
-
-
-
-
-
I just found this log, I don't look in kit build logs as often as I should. I have just one question why Serenity? the Serenity was unarmed yet this vessel is quite the opposite. Thinks back...... I named my current (11 gun topsail schooner Byzantium) build after another unarmed sci-fi vessel so my previous question is stupid isn't it?. My point being I am a fellow geek and 'I aim to misbehave'. Hitting follow button.
Lextin.
-
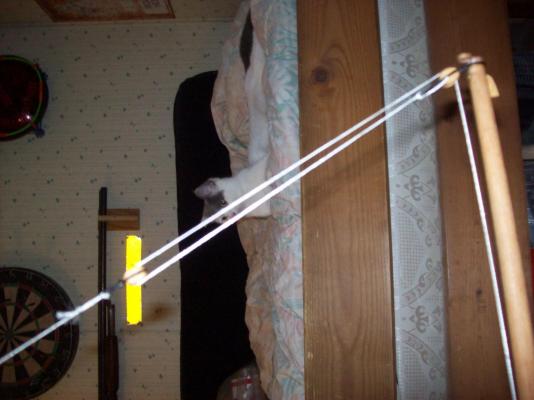
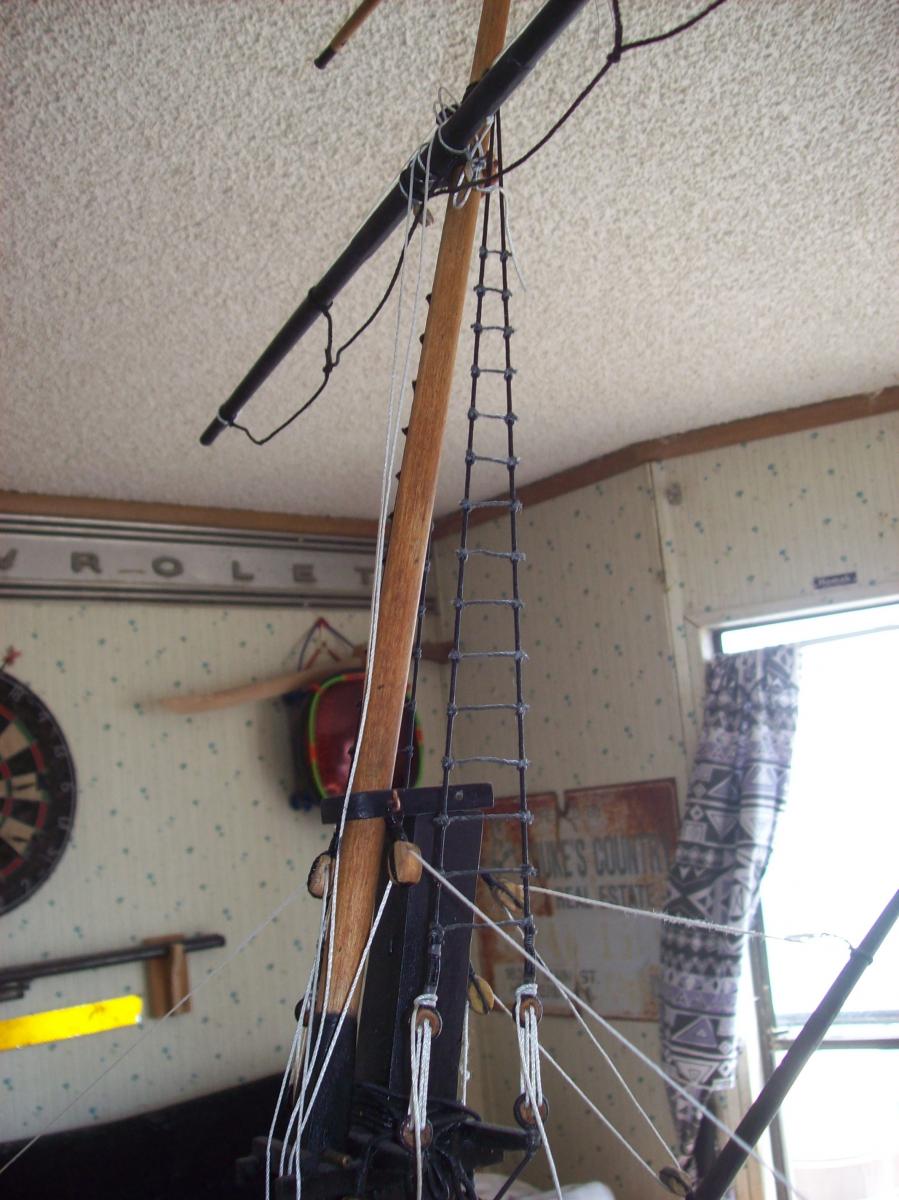
A bit of a mini update I have made two more shrouds, one on the starboard and a second for the port side. I was wondering if i should serve all the shrouds or just the ones prone to chafing?. the string I am using is kinda thin and the serving bulks it up quite a bit. The center shroud might look a bit weird if left un-served as per convention. Serving goes pretty fast now that I have bumped the gear ratio of my serving machine up to 5-1 and ditched the motor in favor of a hand crank.
Lextin.
-
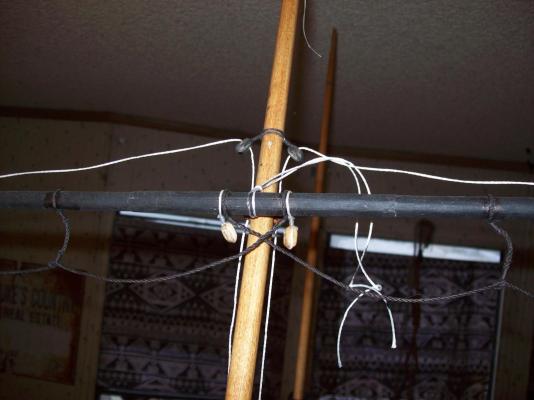
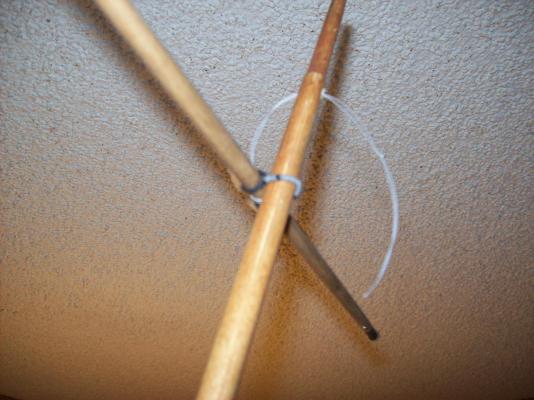
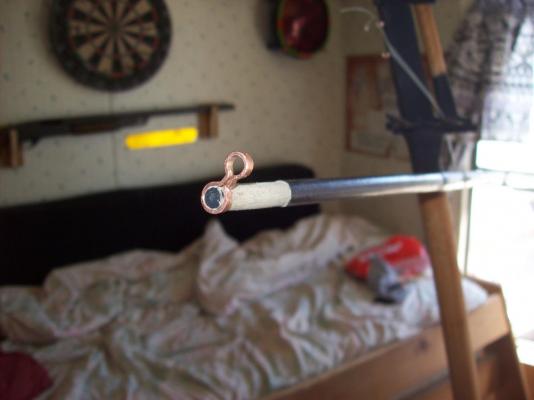
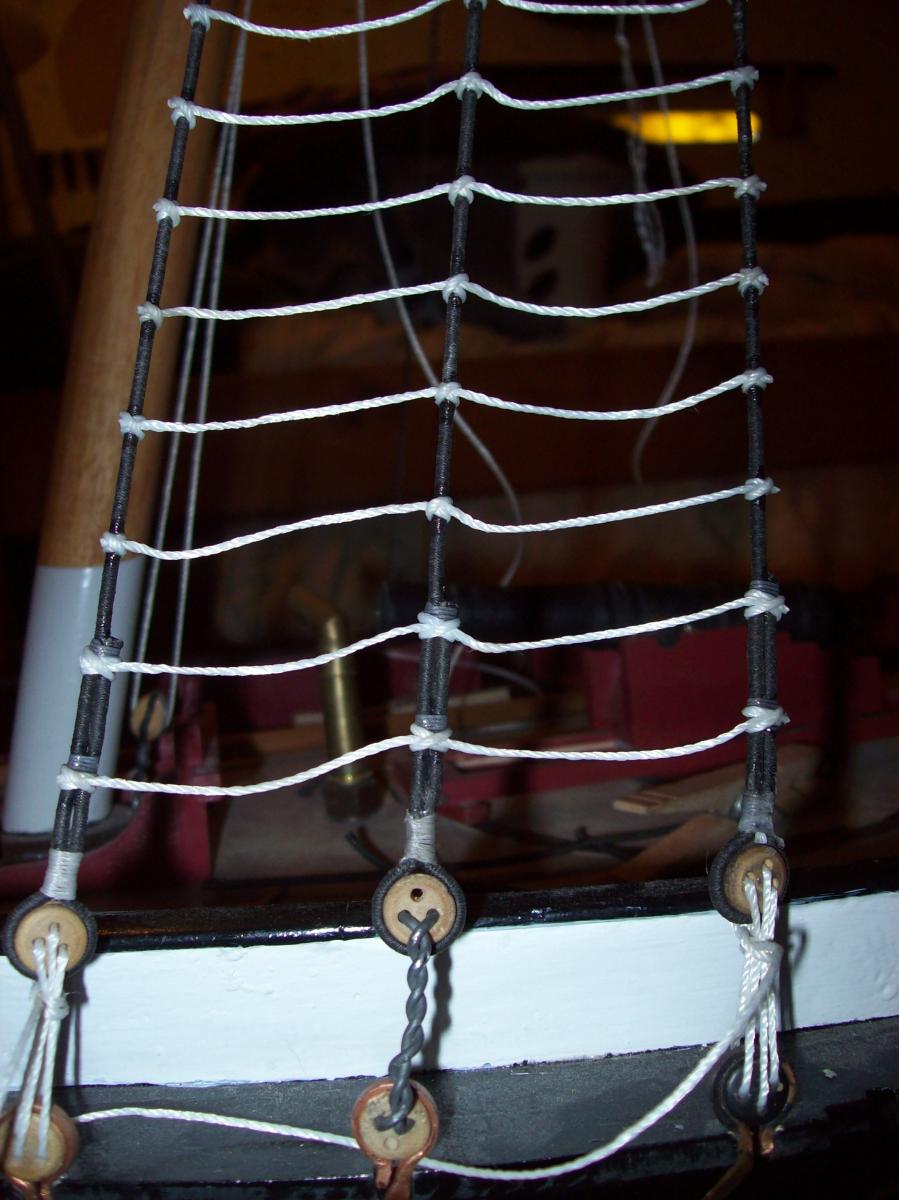
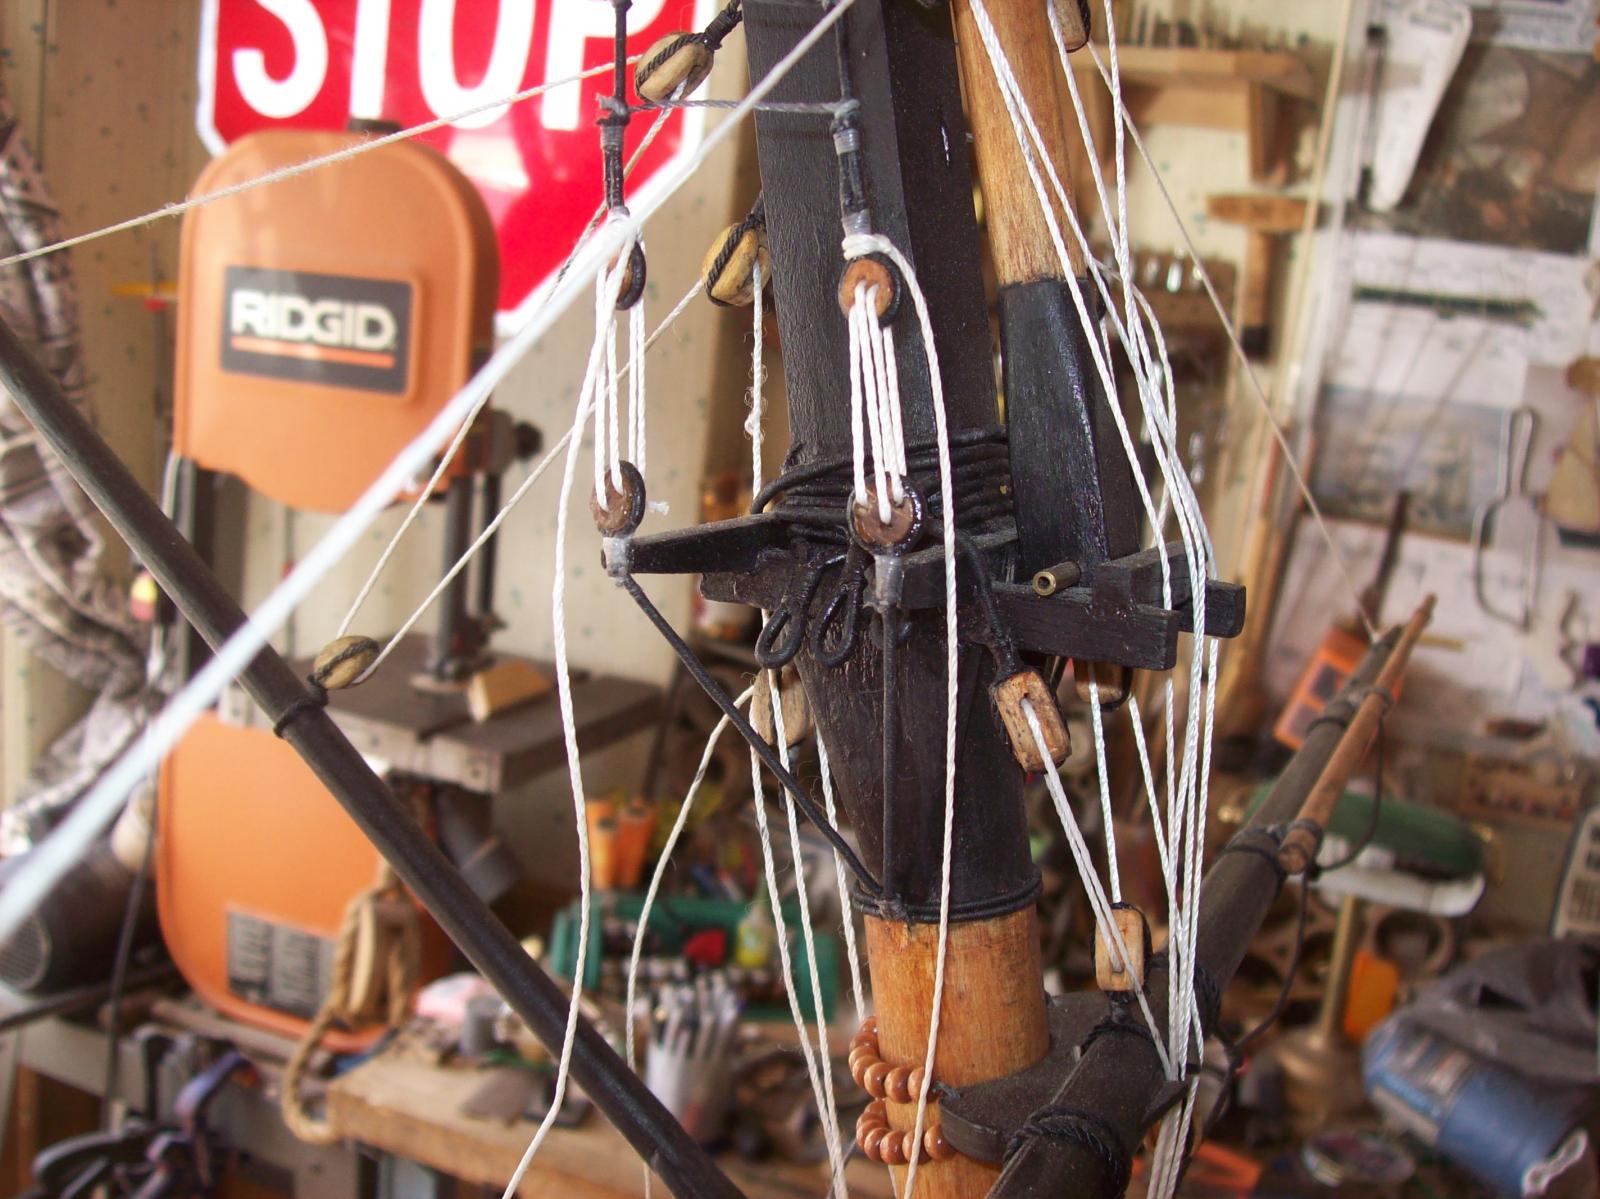
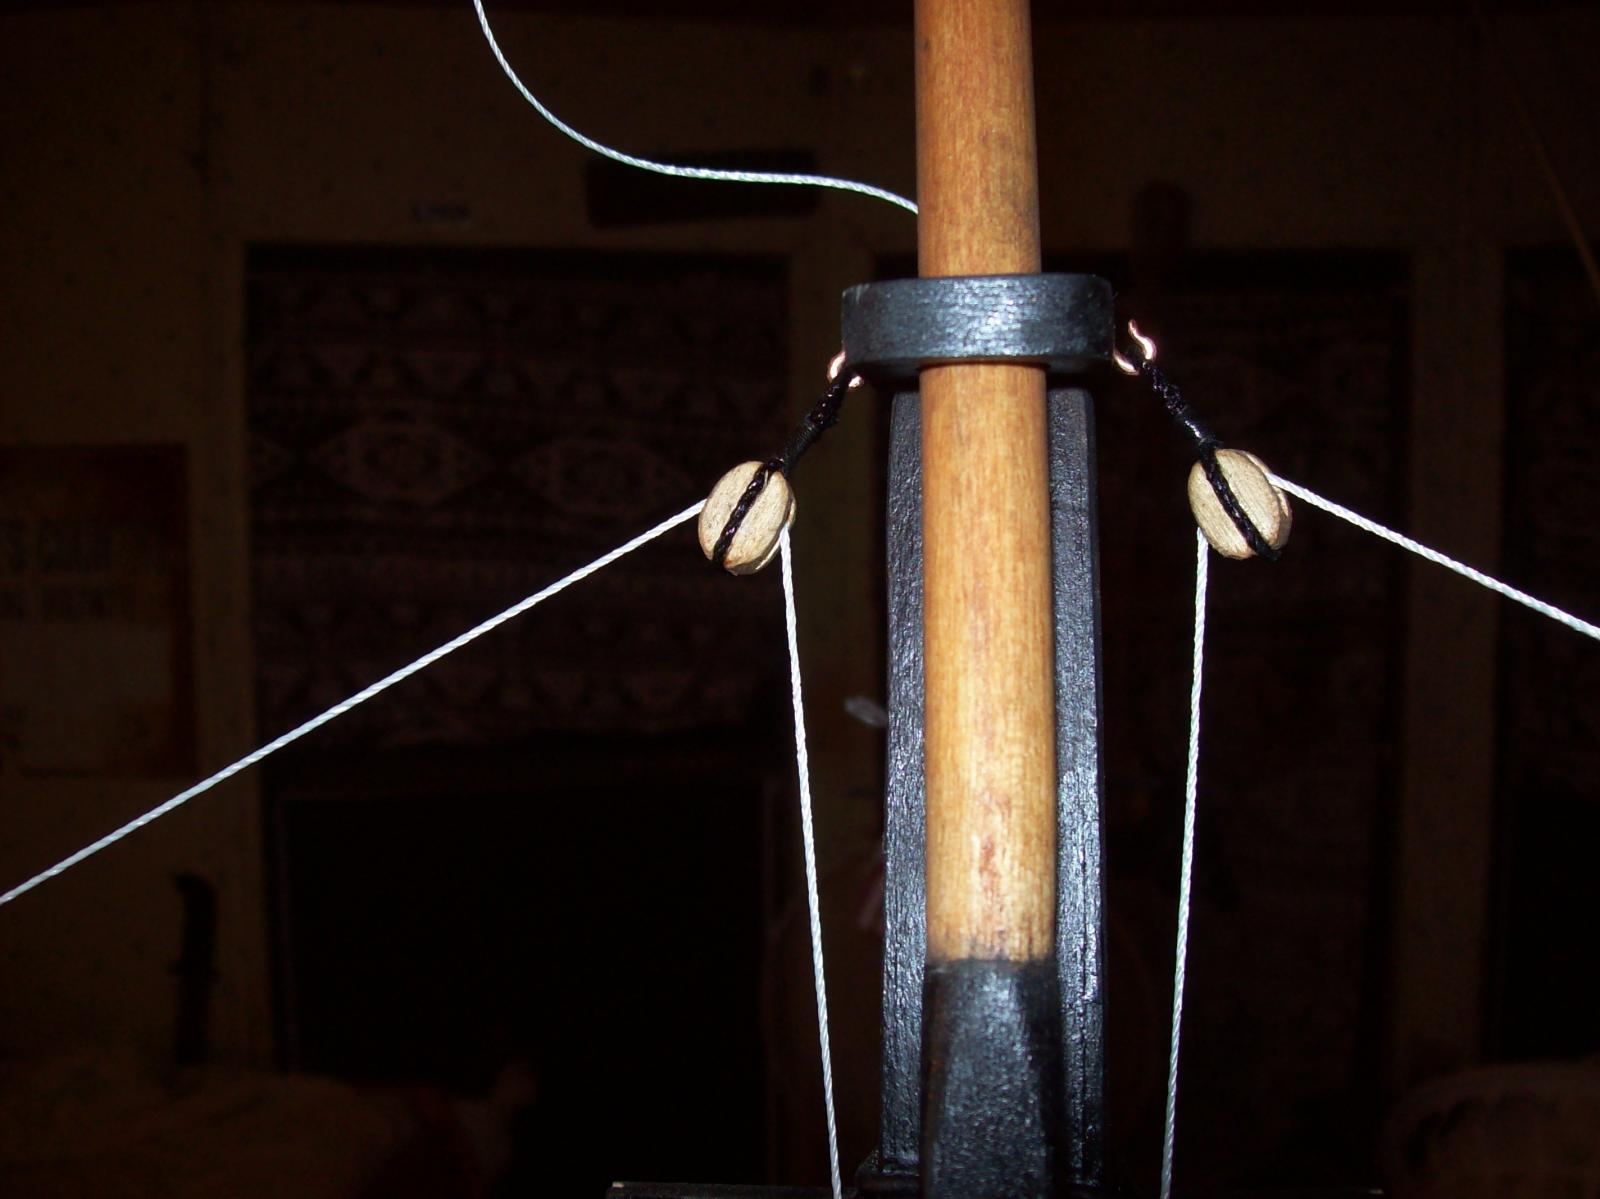
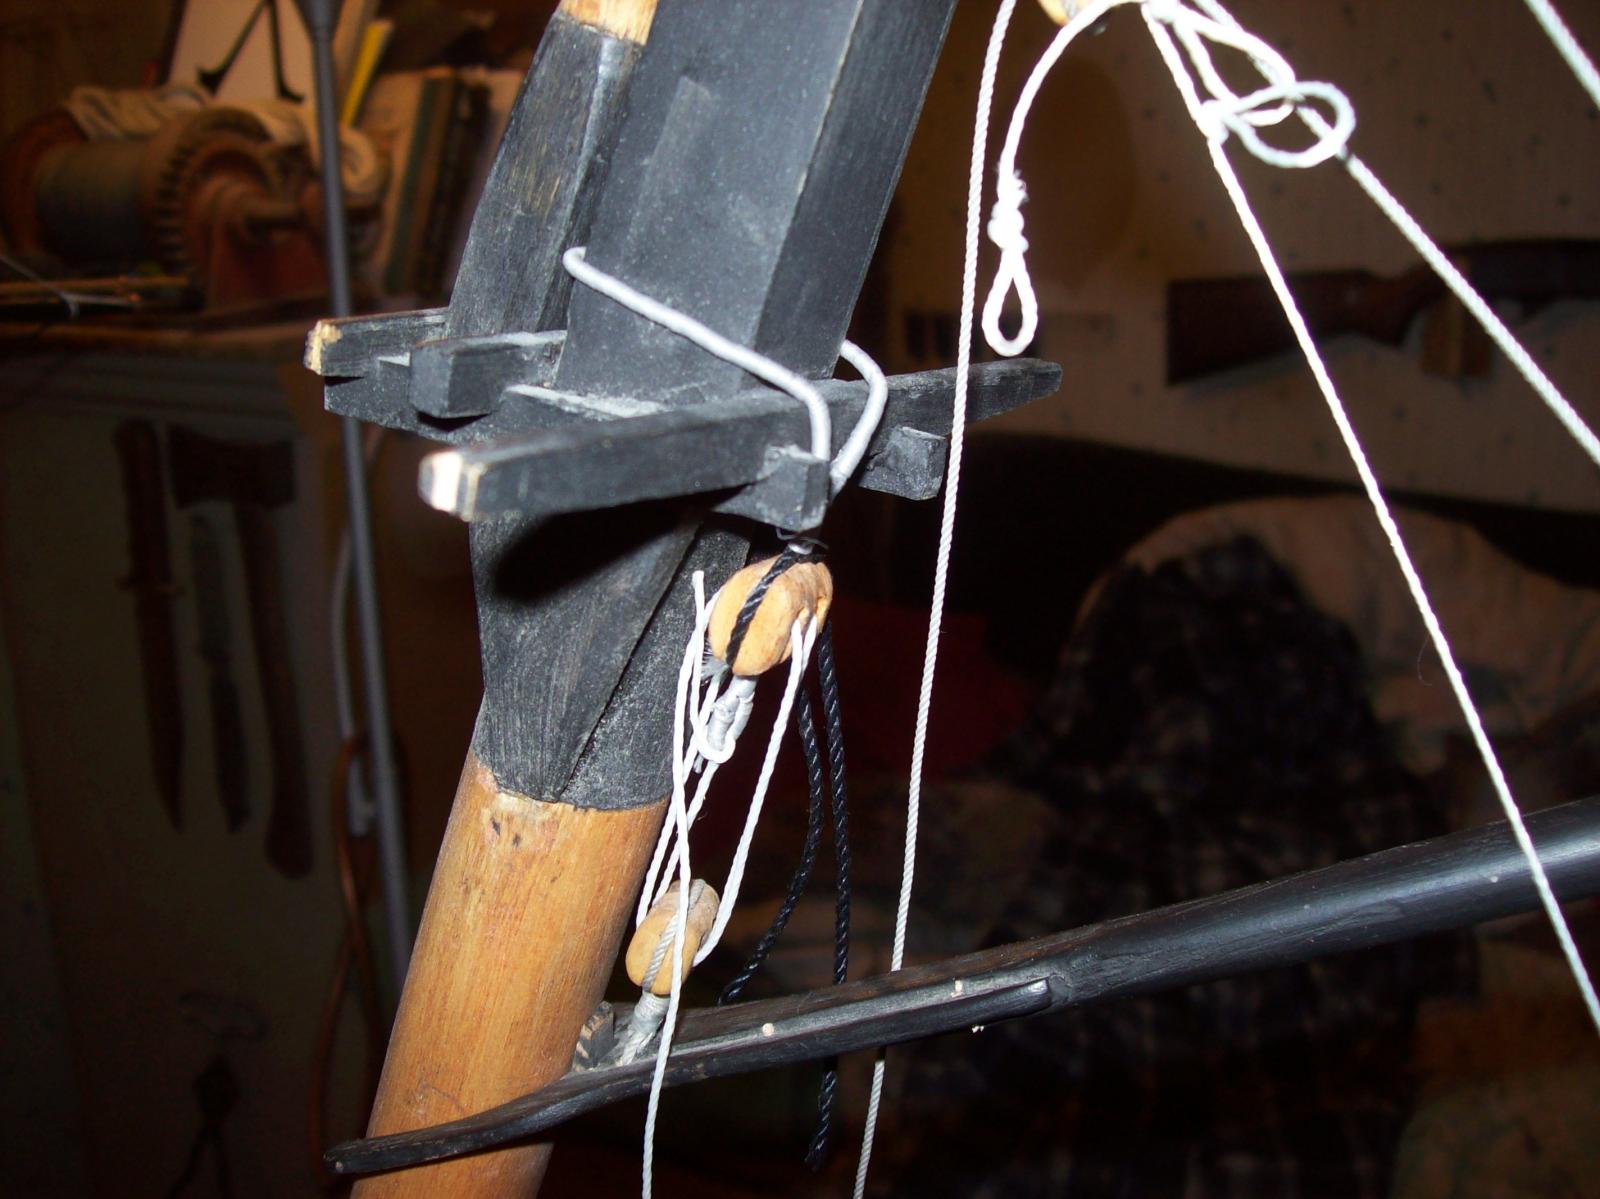
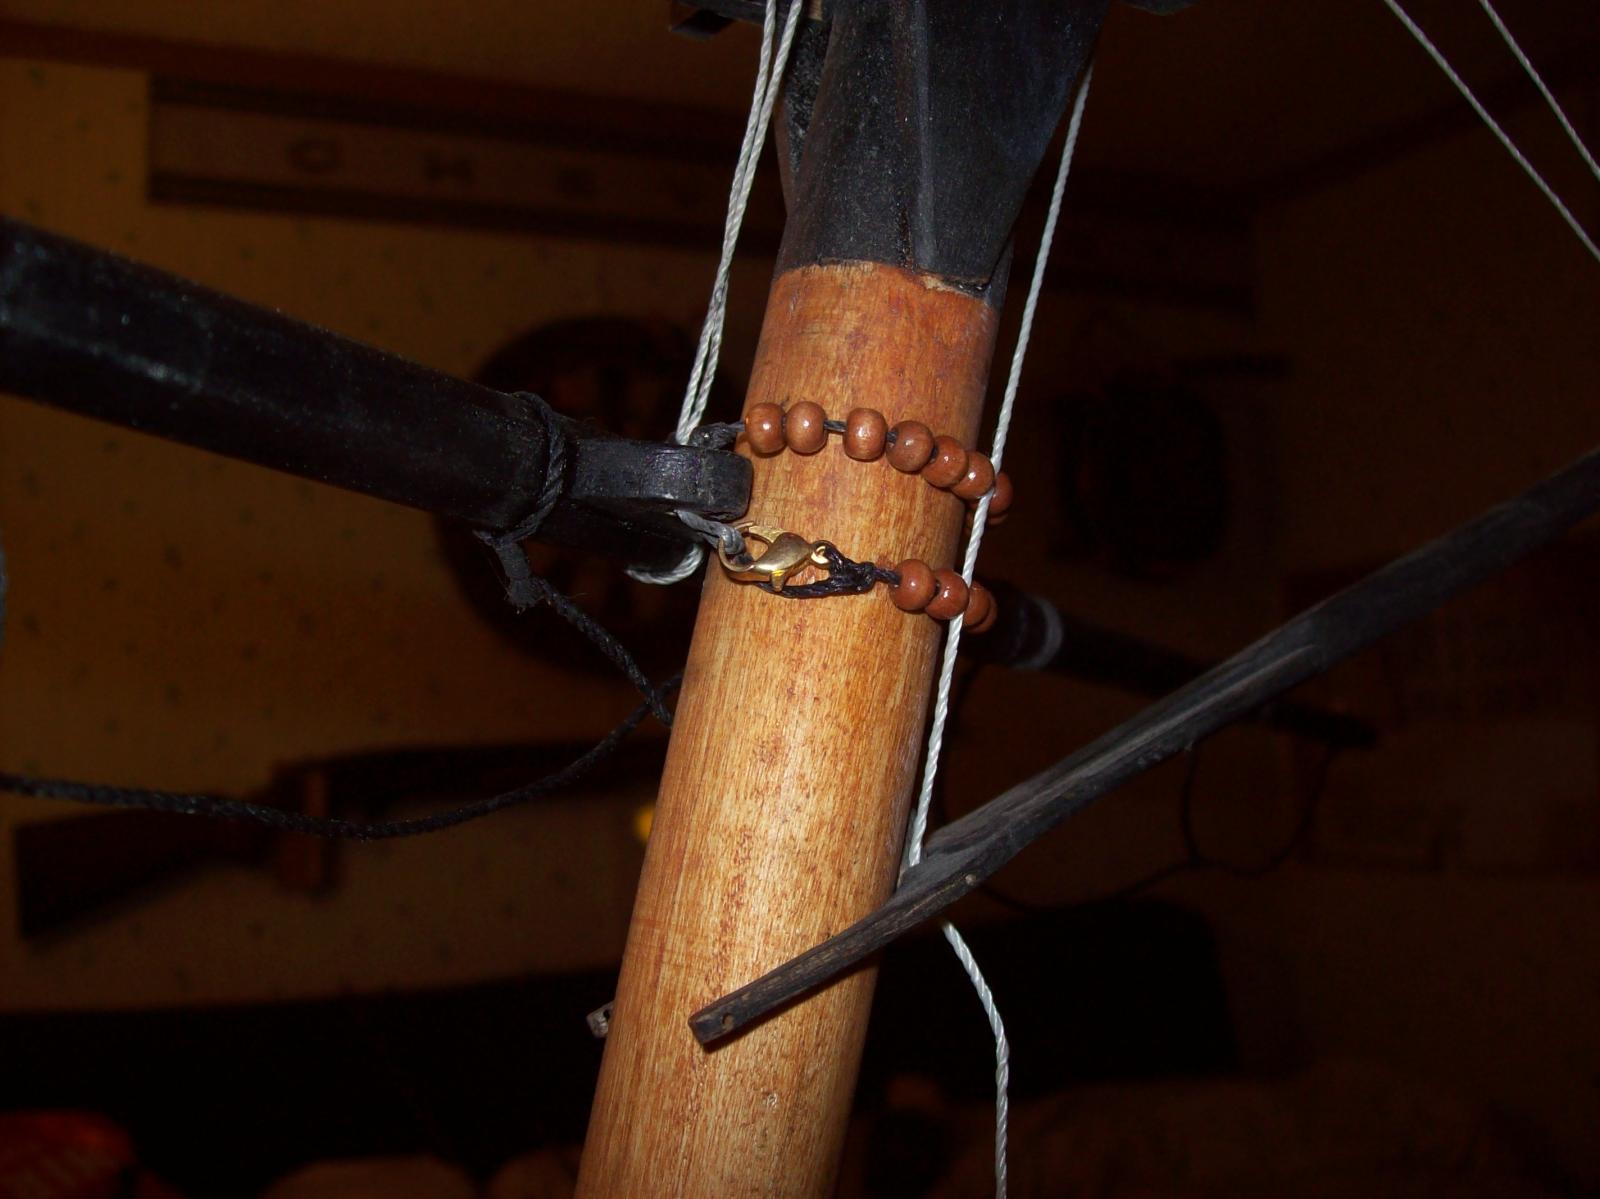
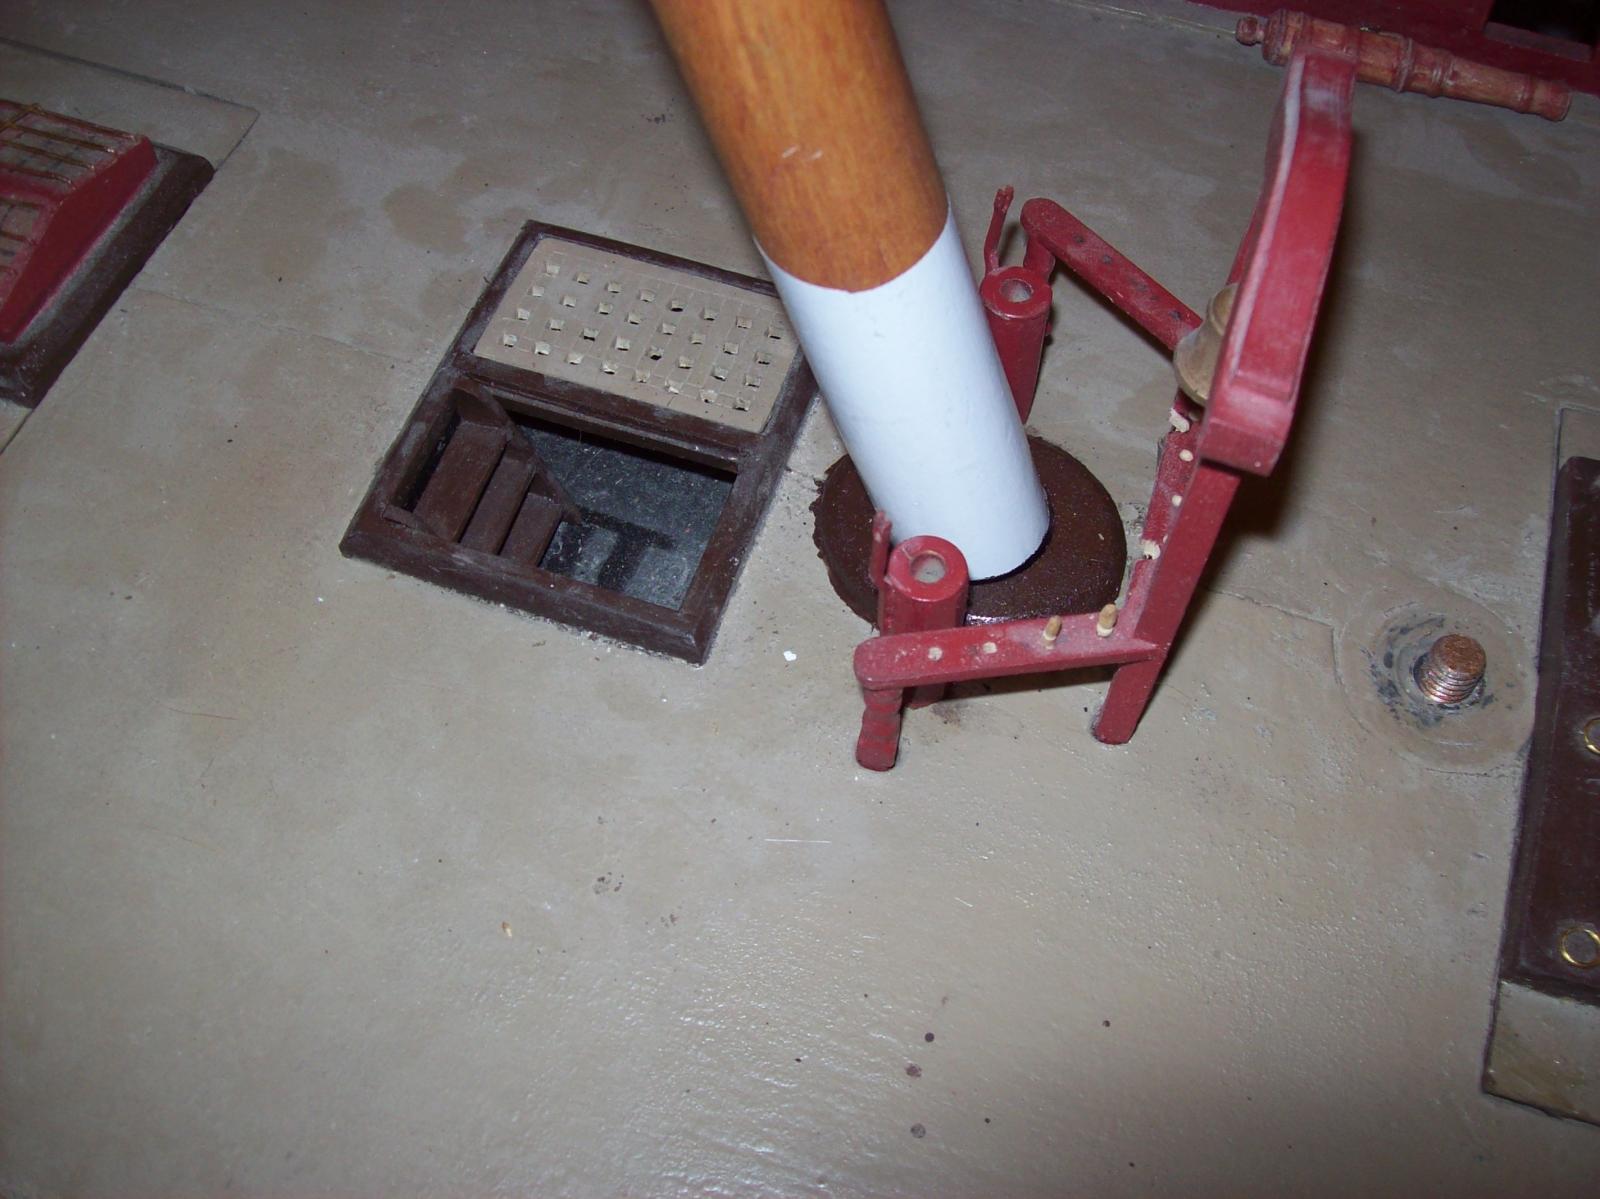
I have been working on the shrouds and have completed the fore topmast shrouds. After completing the topmast shrouds I started work on the lower shrouds, so far I have made one. I did also make the main mast 'Dingleberrys' but forgot to take photos. The mainmast 'Dinglberrys' are the same as on the foremast cept there are only two loops per side instead of three.
I also made two of the four working blocks for the yard braces. The blocks are the same as the rest but have brass sheaves.

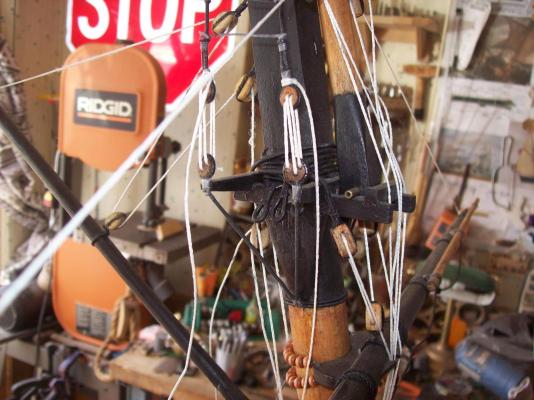


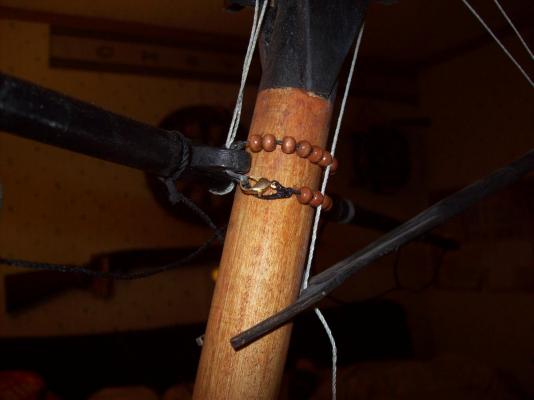
Close up of how the shroud attaches to its 'Dingleberry'.\/
Lextin.
-
-
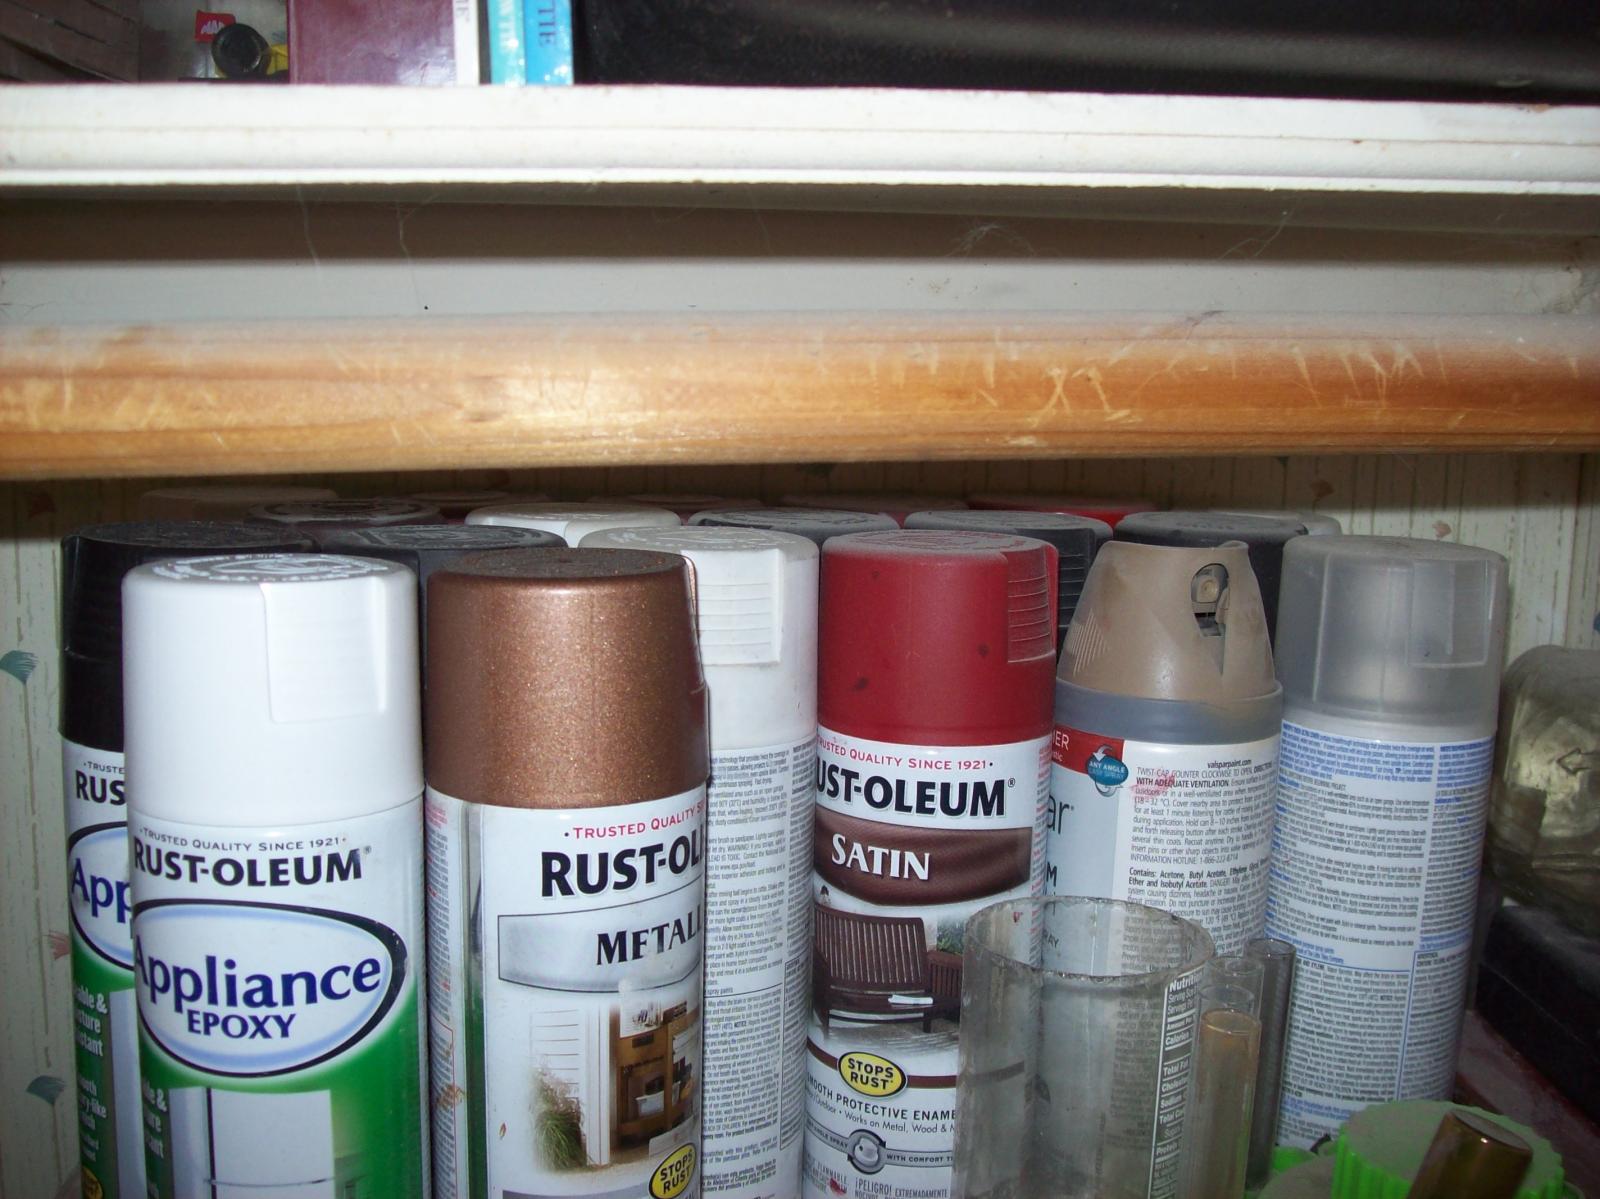
CHEEP PAINT: If your tired of spending excessive amounts of money on model paints this tip might be for you. I save the small glass bottles from the modeling paints and refill them with spray paint. This came about because I use so much of the same colors of paint on my Byzantium. As the Byzantium is 1/20 scale there is allot of area to be painted, I can go though a whole bottle (or more) of model paint in just one session of light touch ups. By refilling the bottles with spray paint I save allot of money IE. one bottle of model paint cost about 2 dollars and one can spray paint cost about 4 dollars but contains 20 or more times the amount of paint.
Lextin.
-
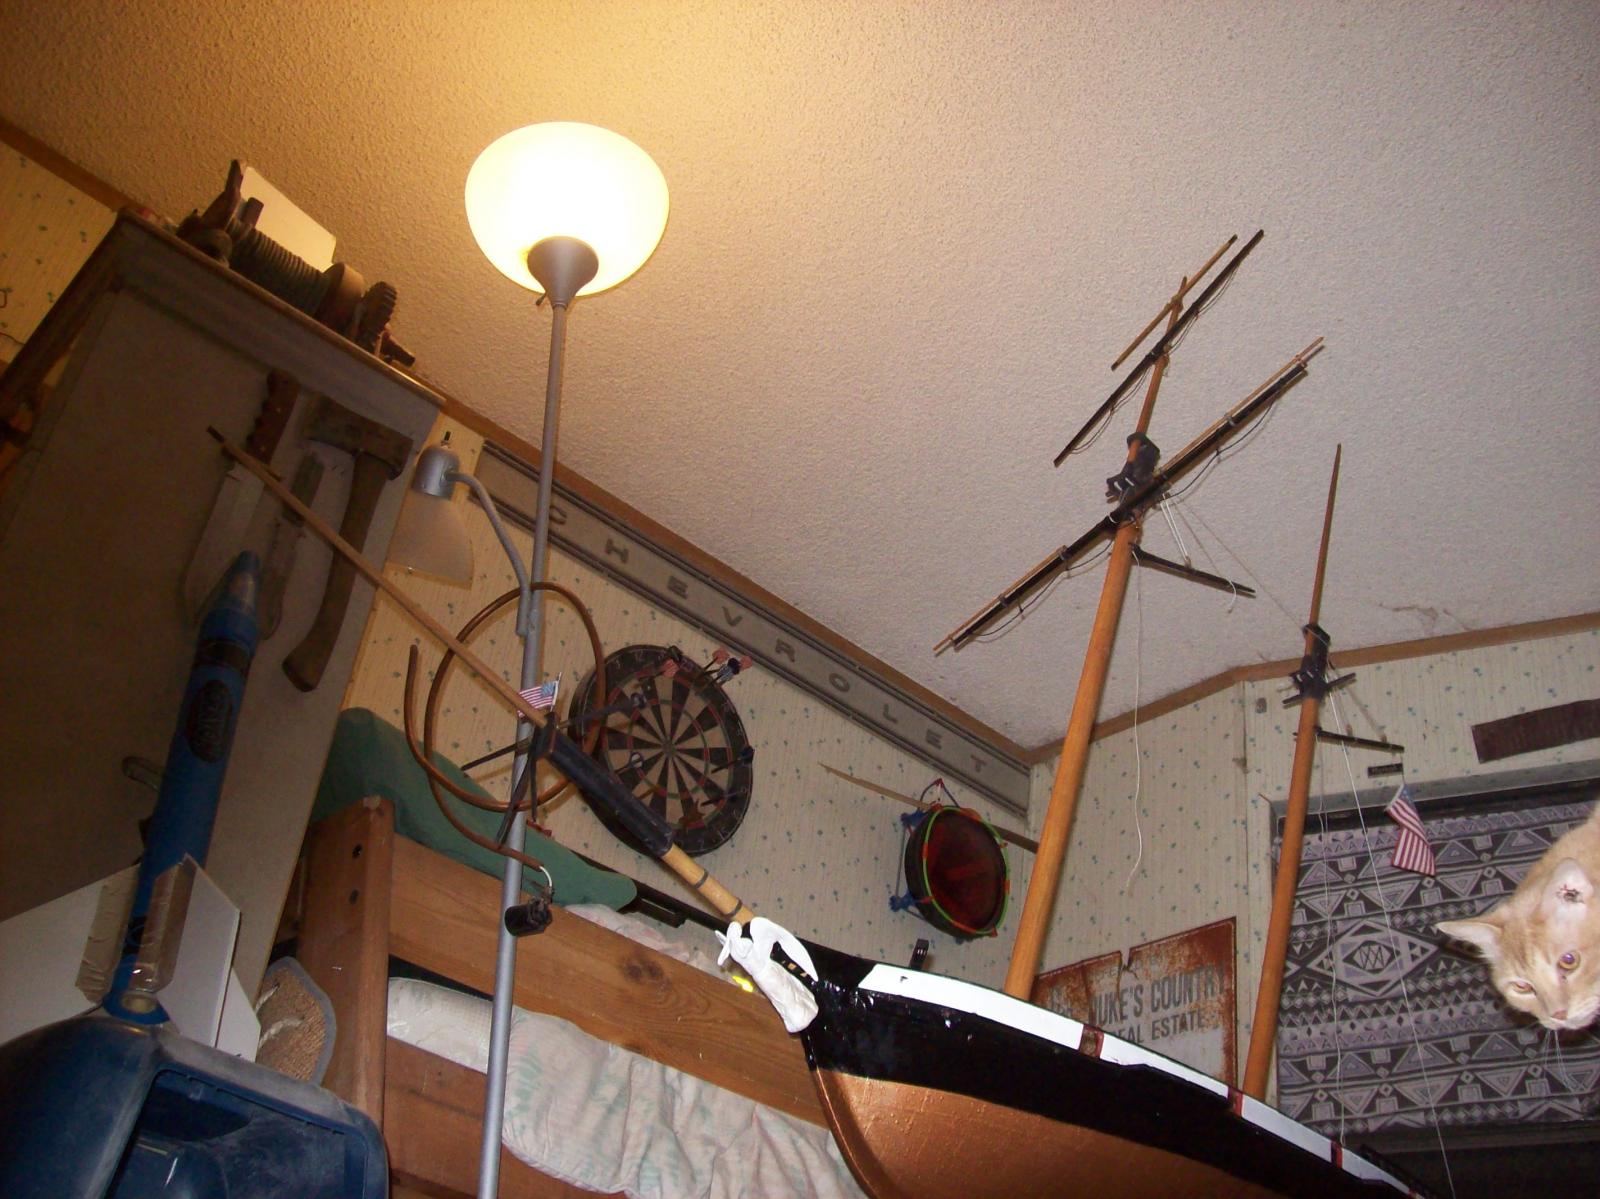
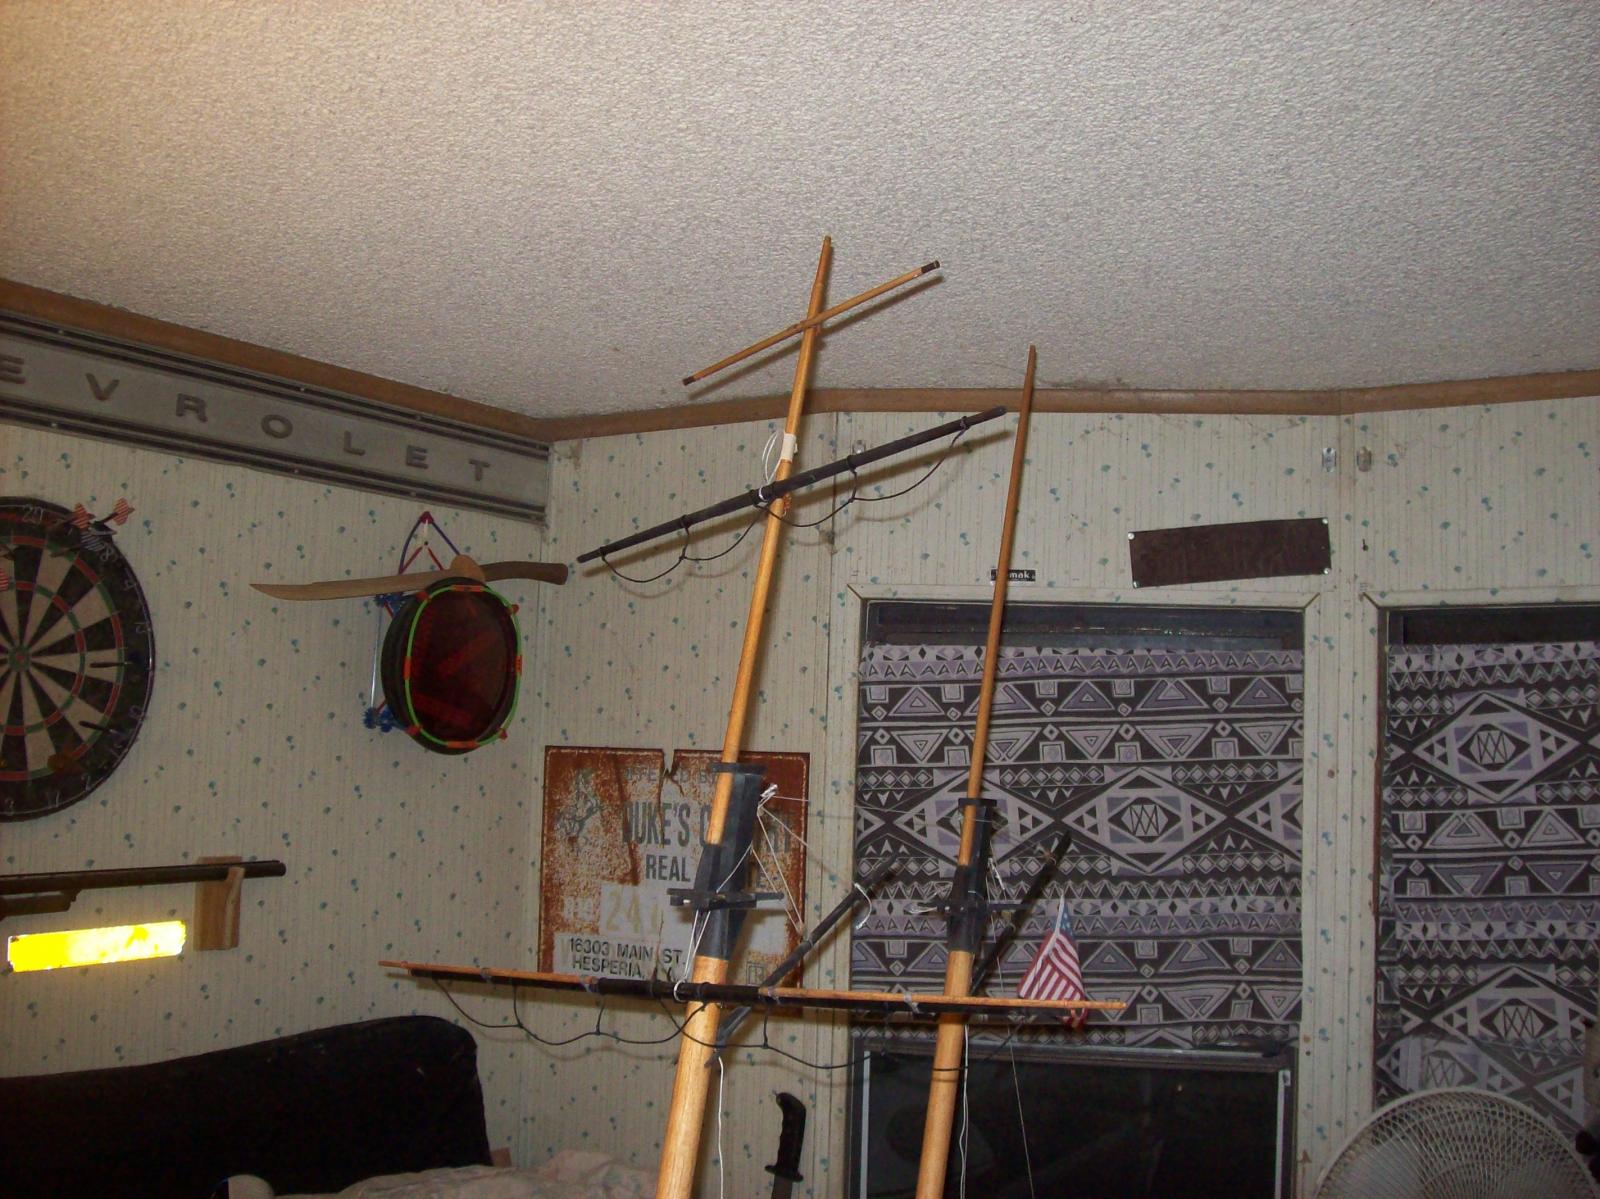
I have done some more work on the rigging but the big thing I have done is re-step the mainmast to correct the rake as well as fixing the height. The mainmast had a full 3 inches difference at the top when compared to the foremast and was 1.5 inches too short. I have also decided to make a jackyard for the main topsail and chop off the extra 5" from the top of the topmast.
Lextin.
- Piet, mikegerber, captainbob and 4 others
-
 7
7
-
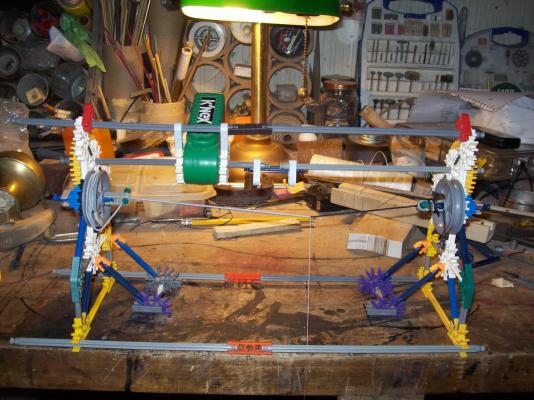
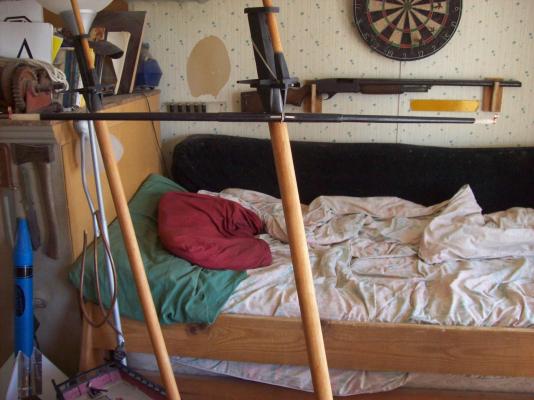
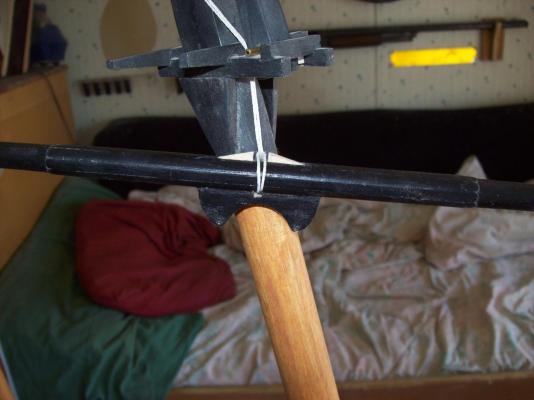
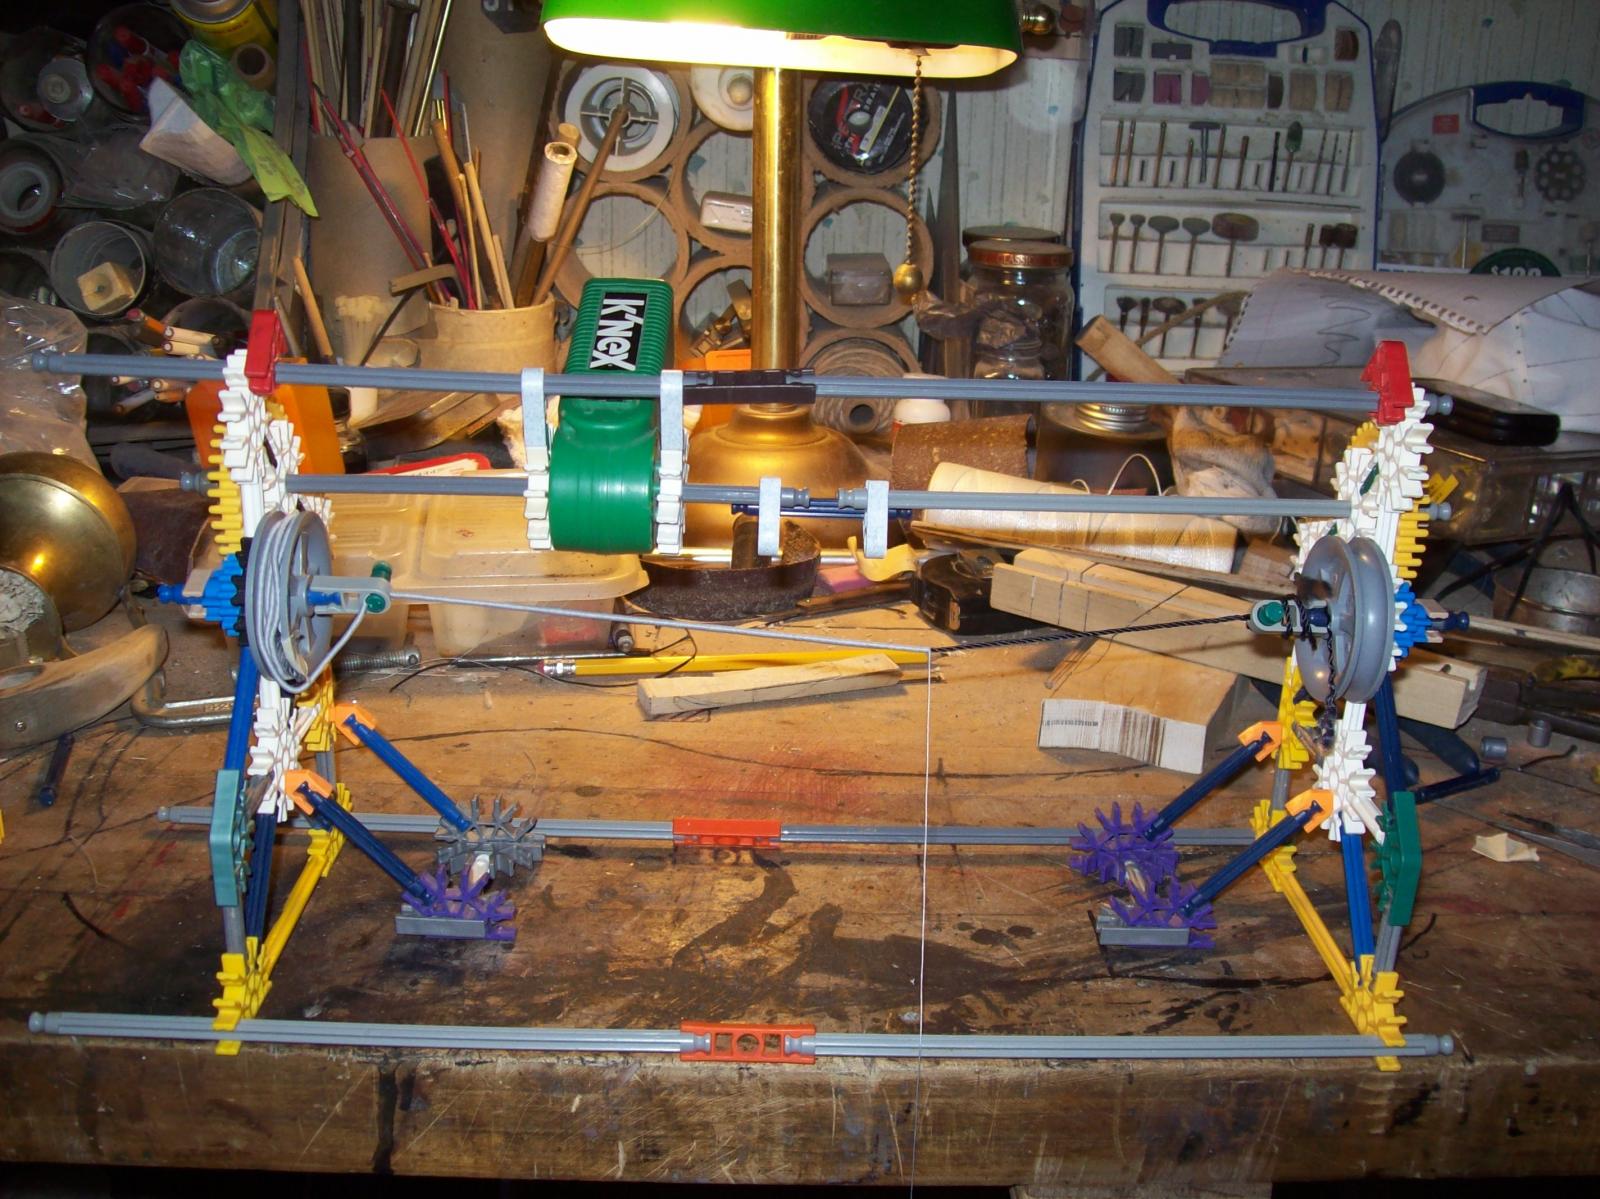
Here is my serving machine. I am thinking of building a new one with a better gear ratio so I can serve more line faster. I have already served over 4 feet of line with it, the first three with a 1/1 gear ratio the last (plus a few shorter lengths and some seizings) with the current 2/1 gear ratio.
Lextin.
- Piet, mikegerber, michael mott and 3 others
-
6
-
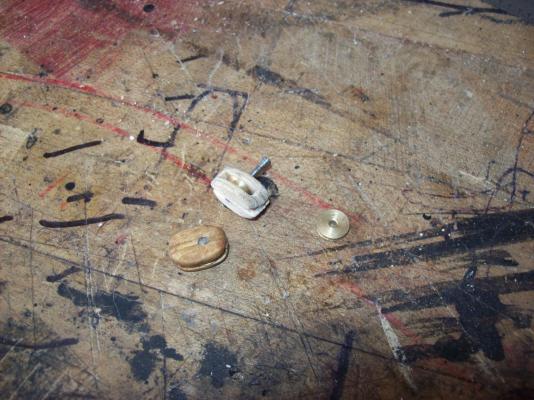
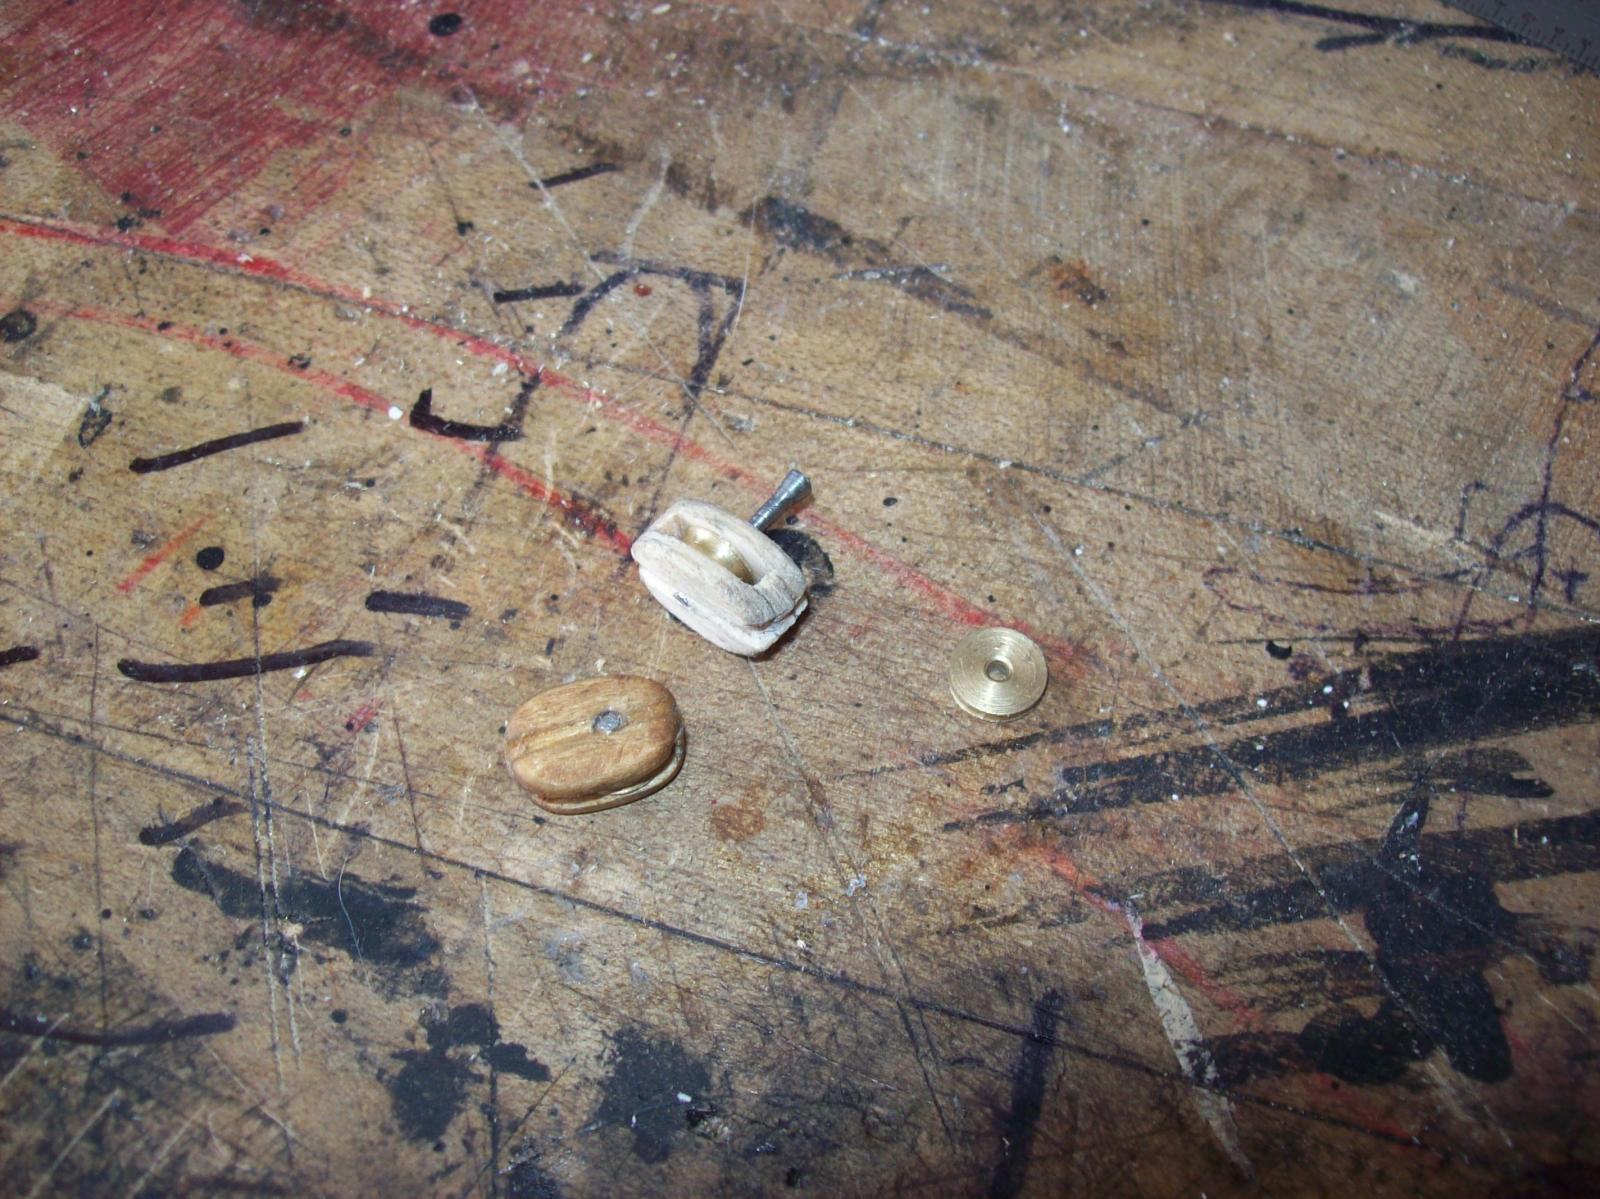
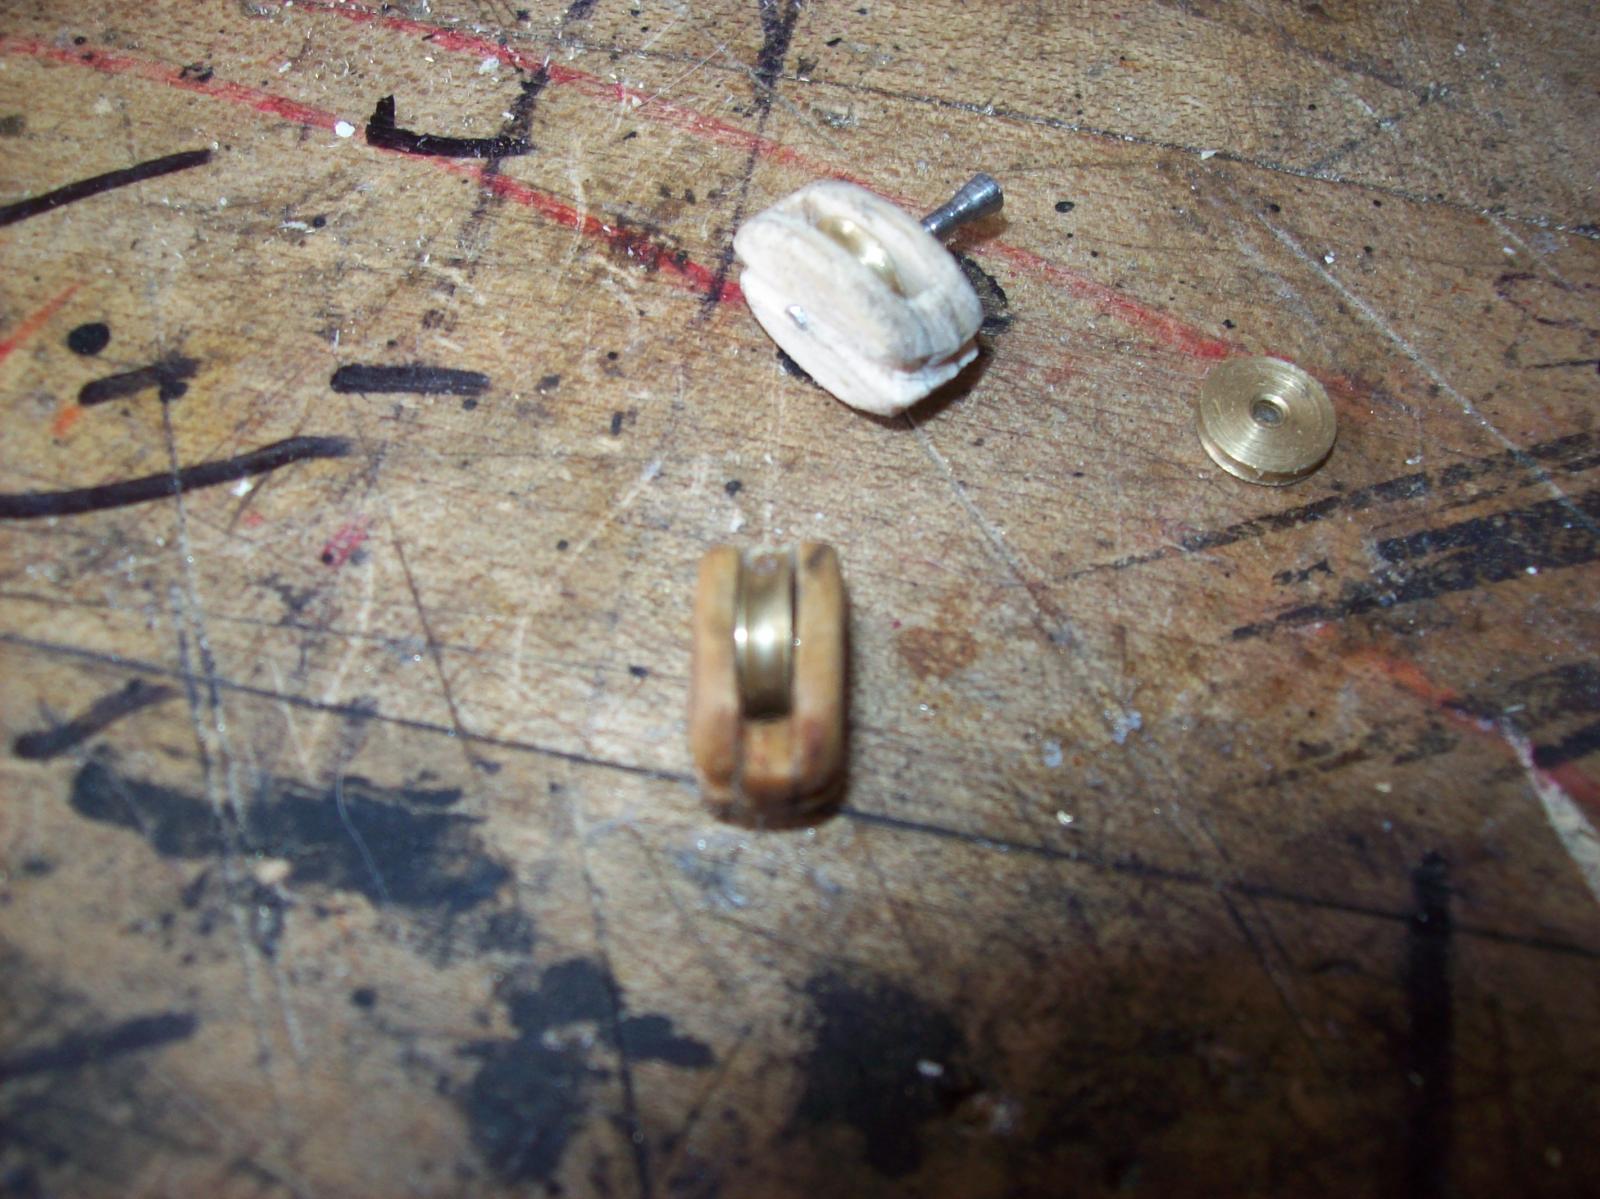
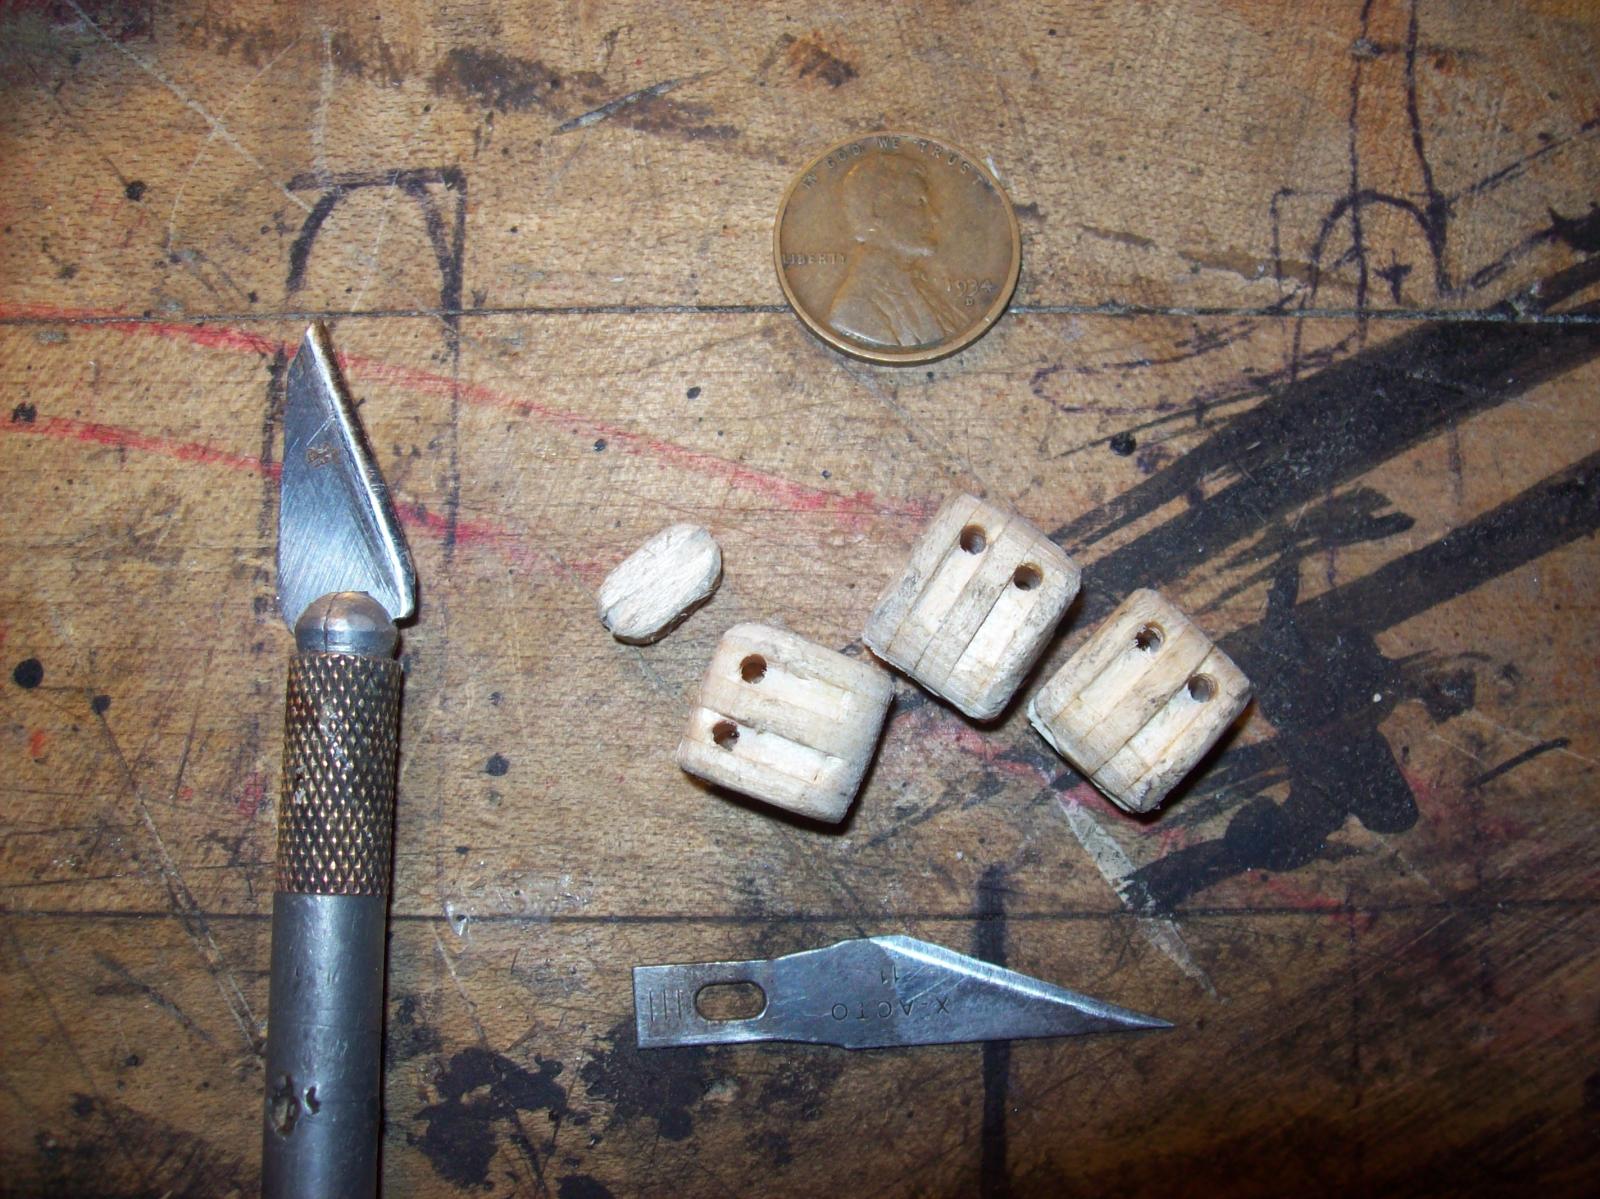
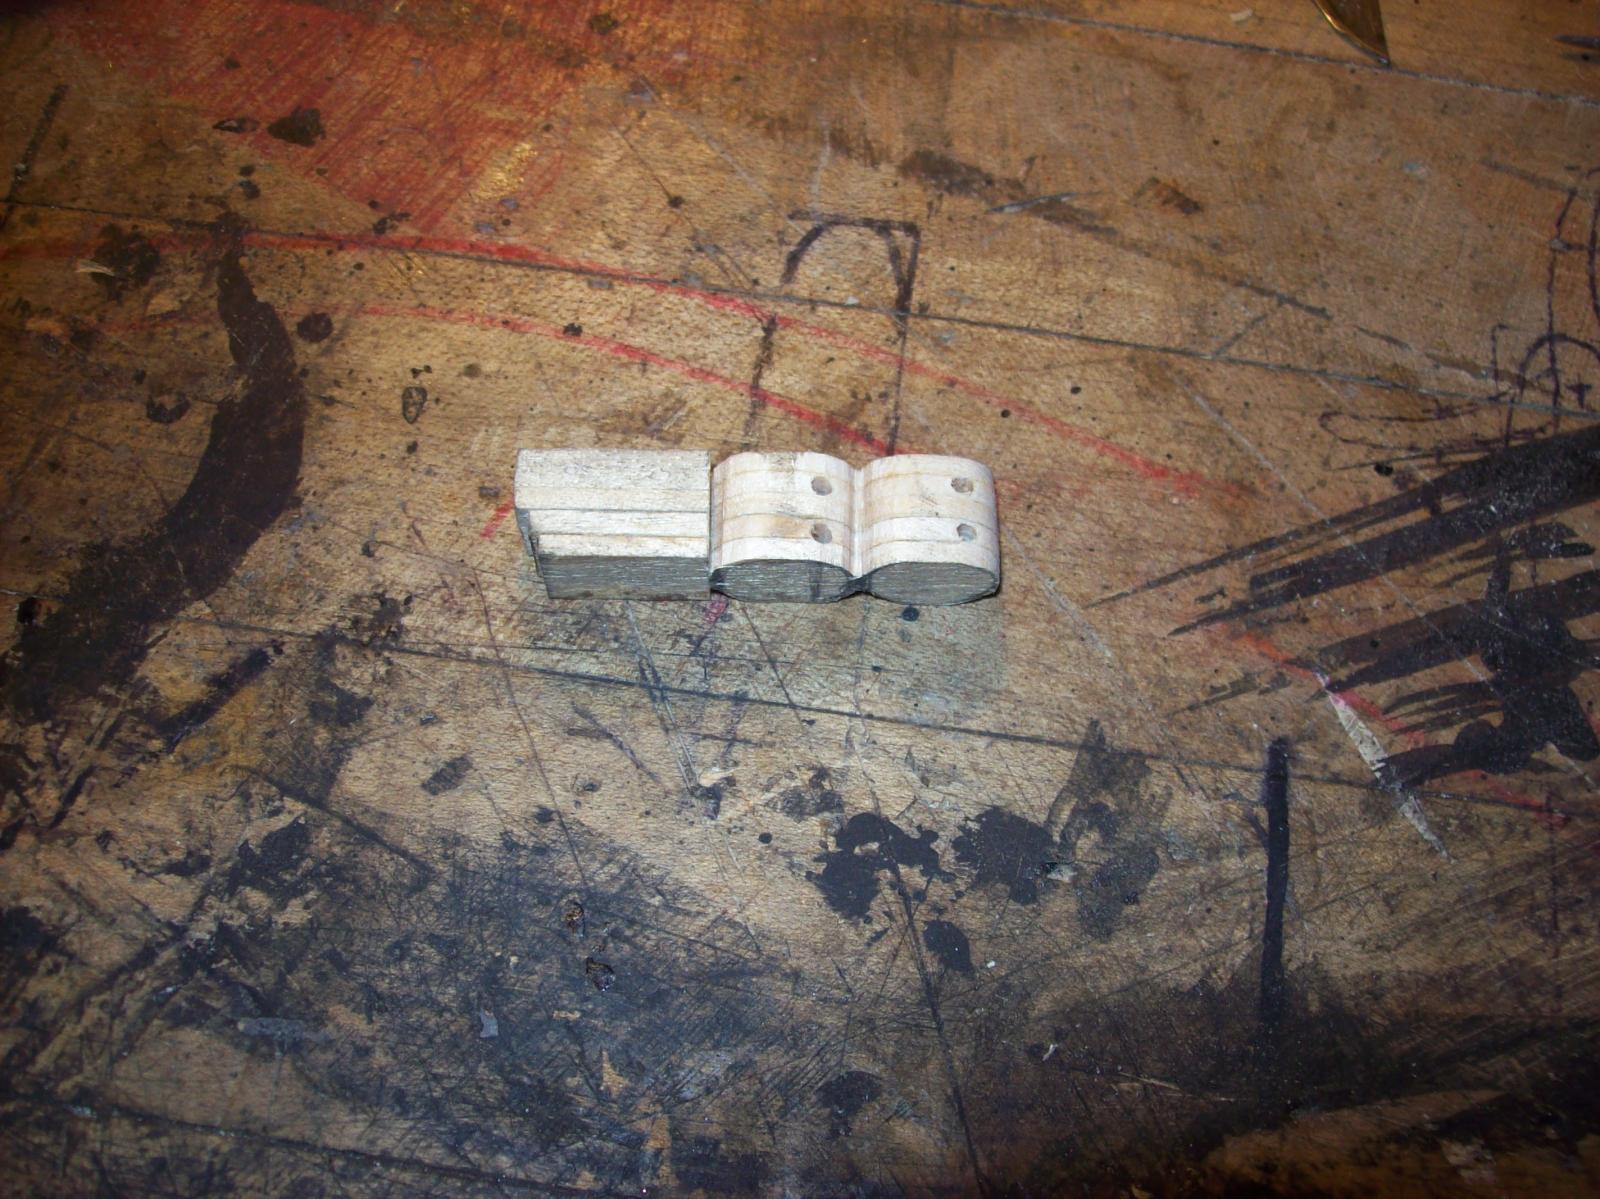
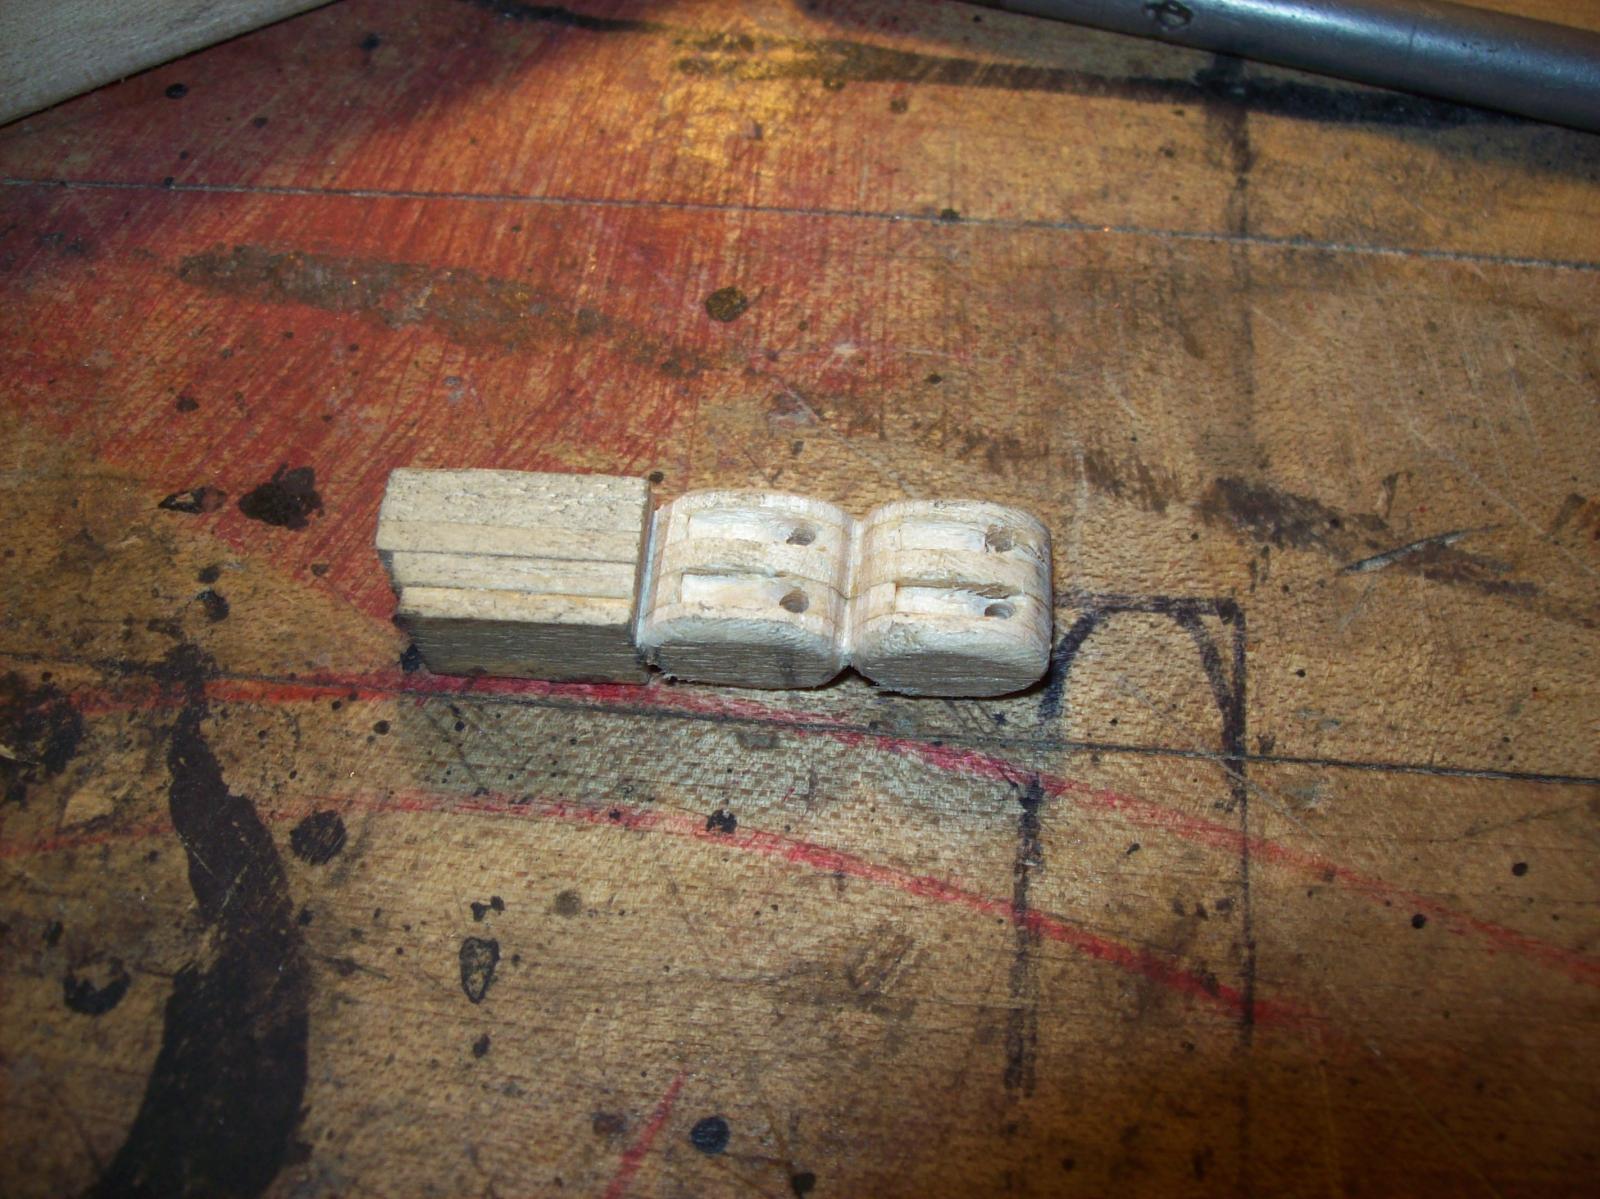
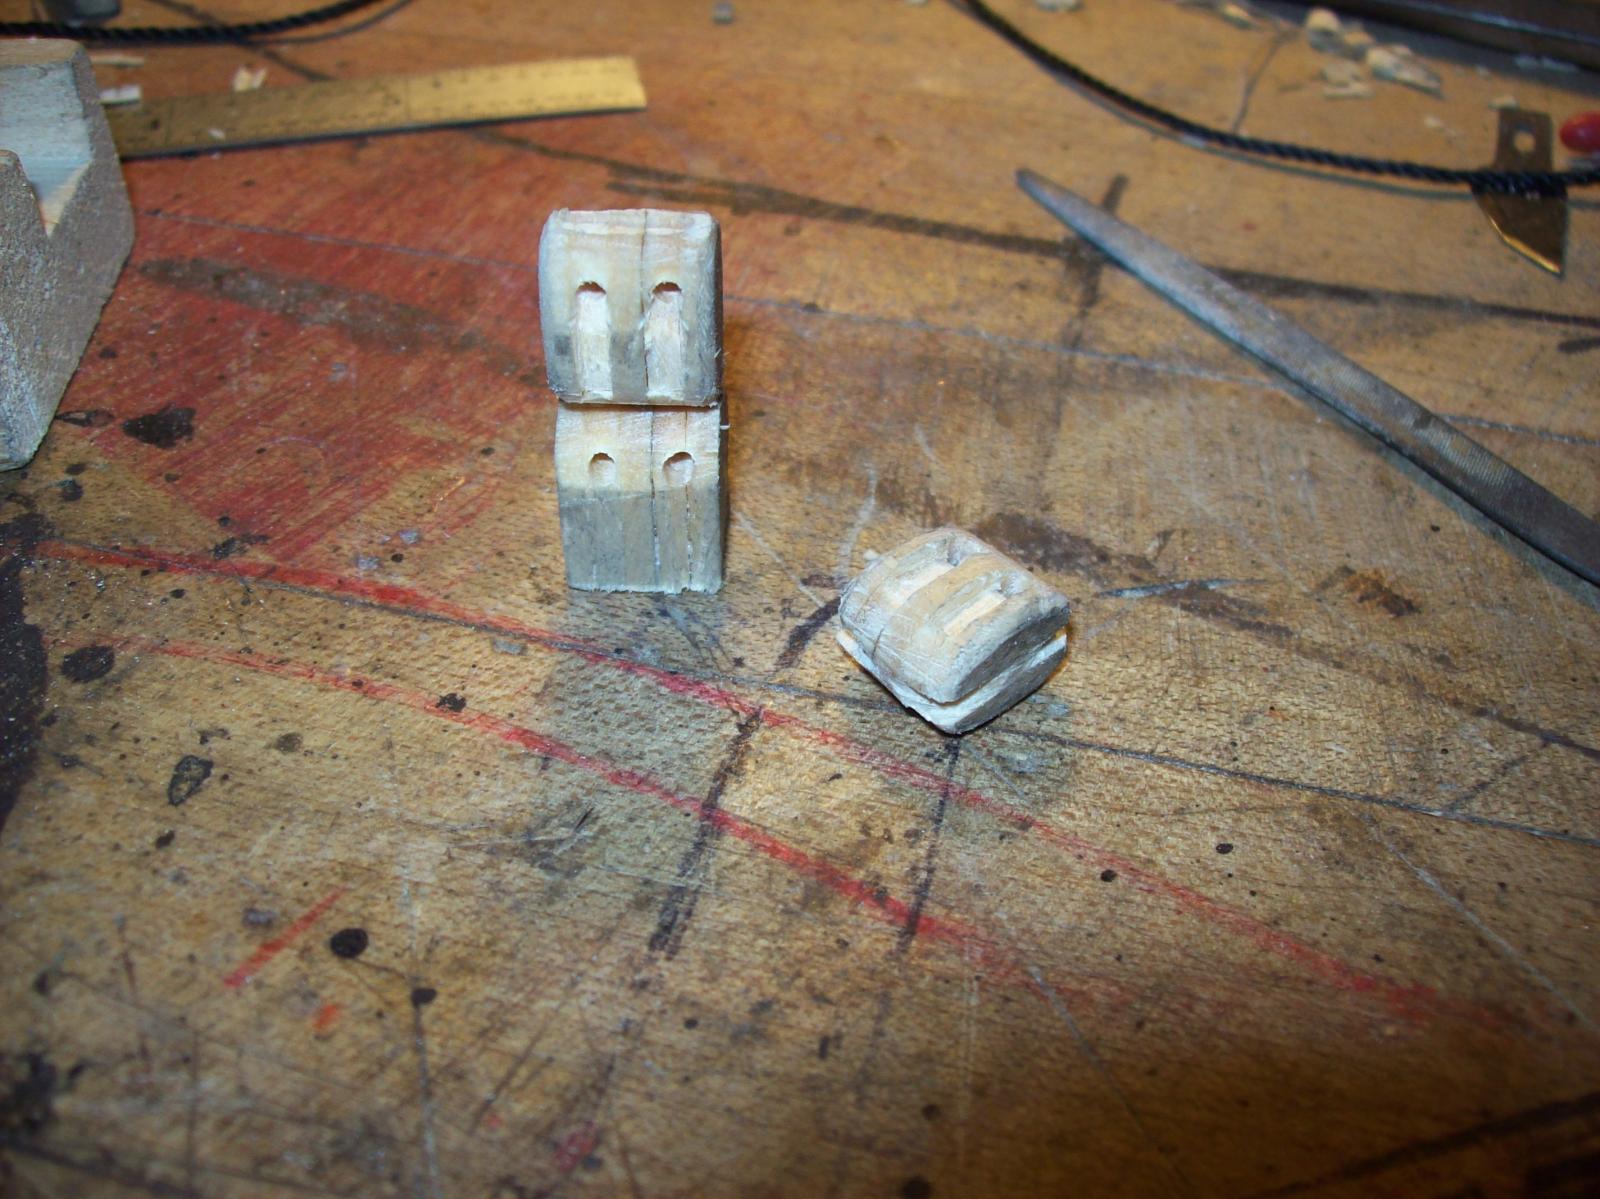
I took a few photos of how I made the blocks. I use a l method I see used pretty often here on MSW. I did make my own changes, for the larger blocks I used several layers of wood laminated together instead of a solid stick.


Lextin.
- captainbob, IgorSky, Piet and 4 others
-
7
-
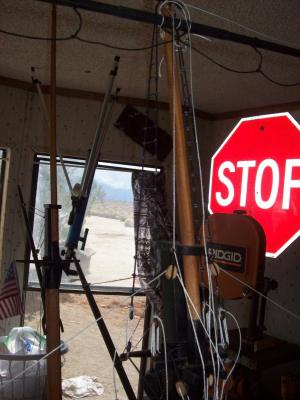
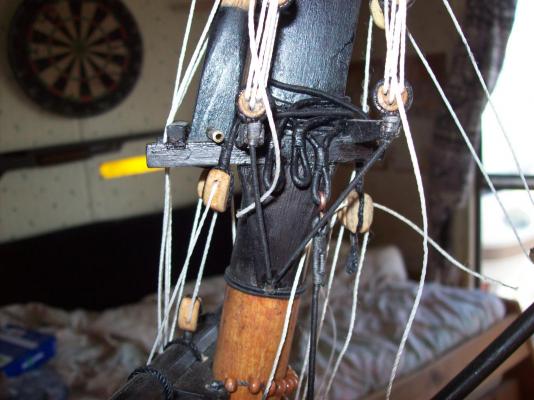
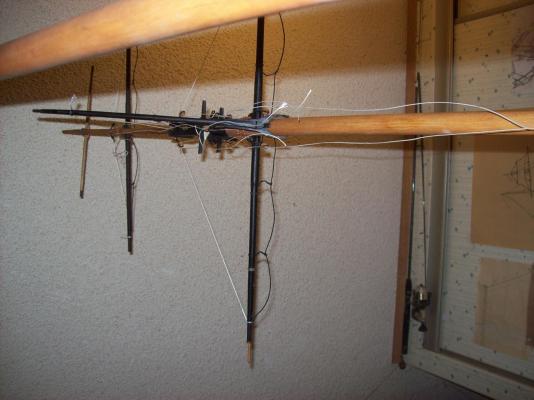
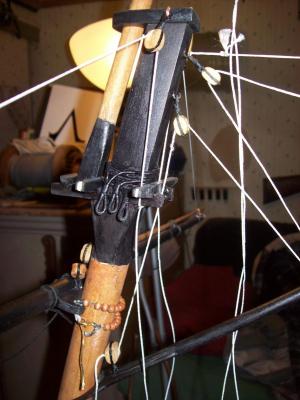
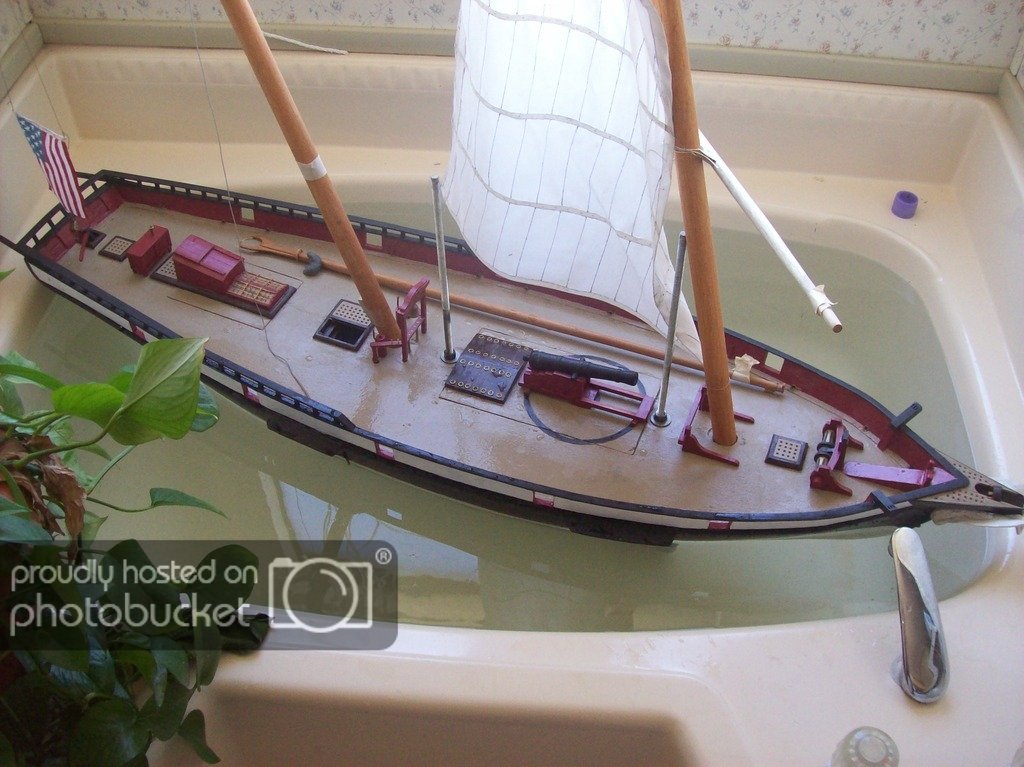
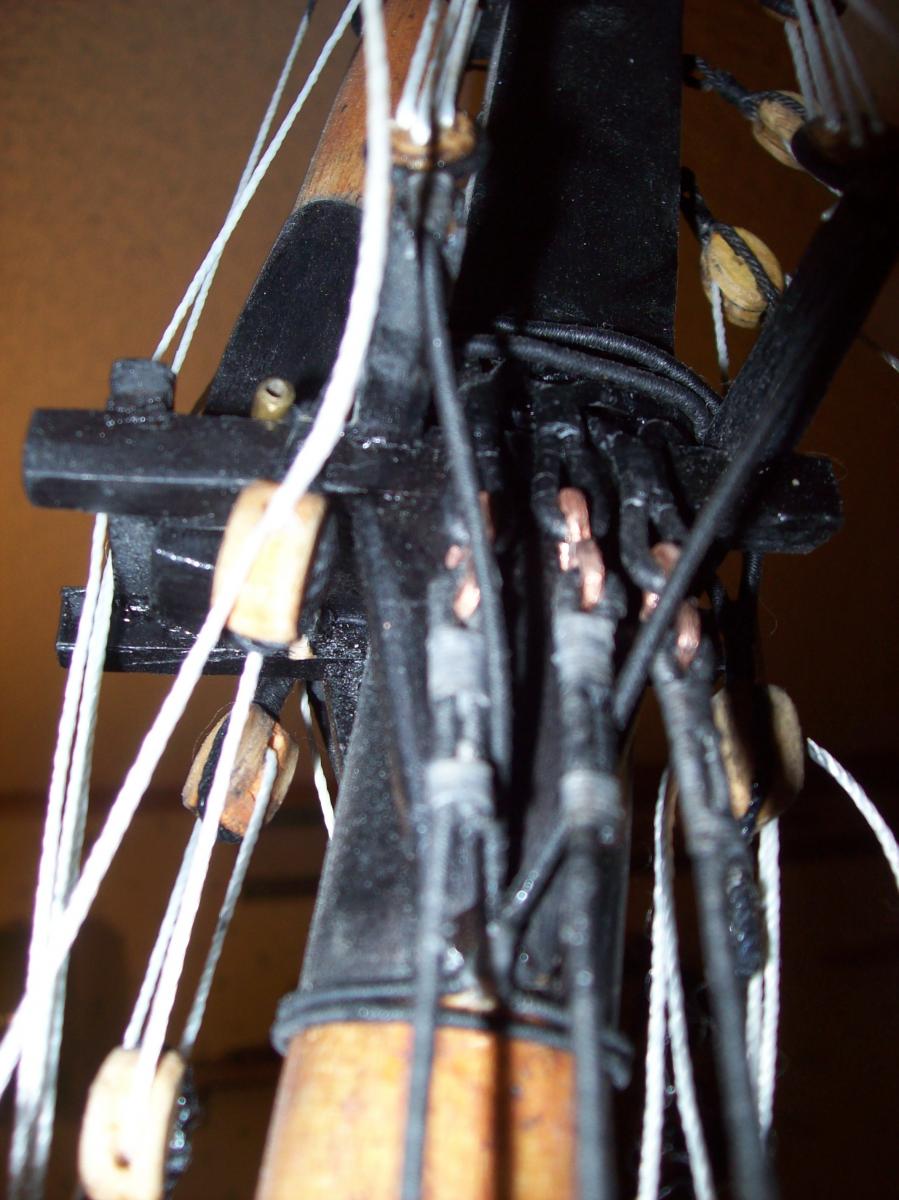
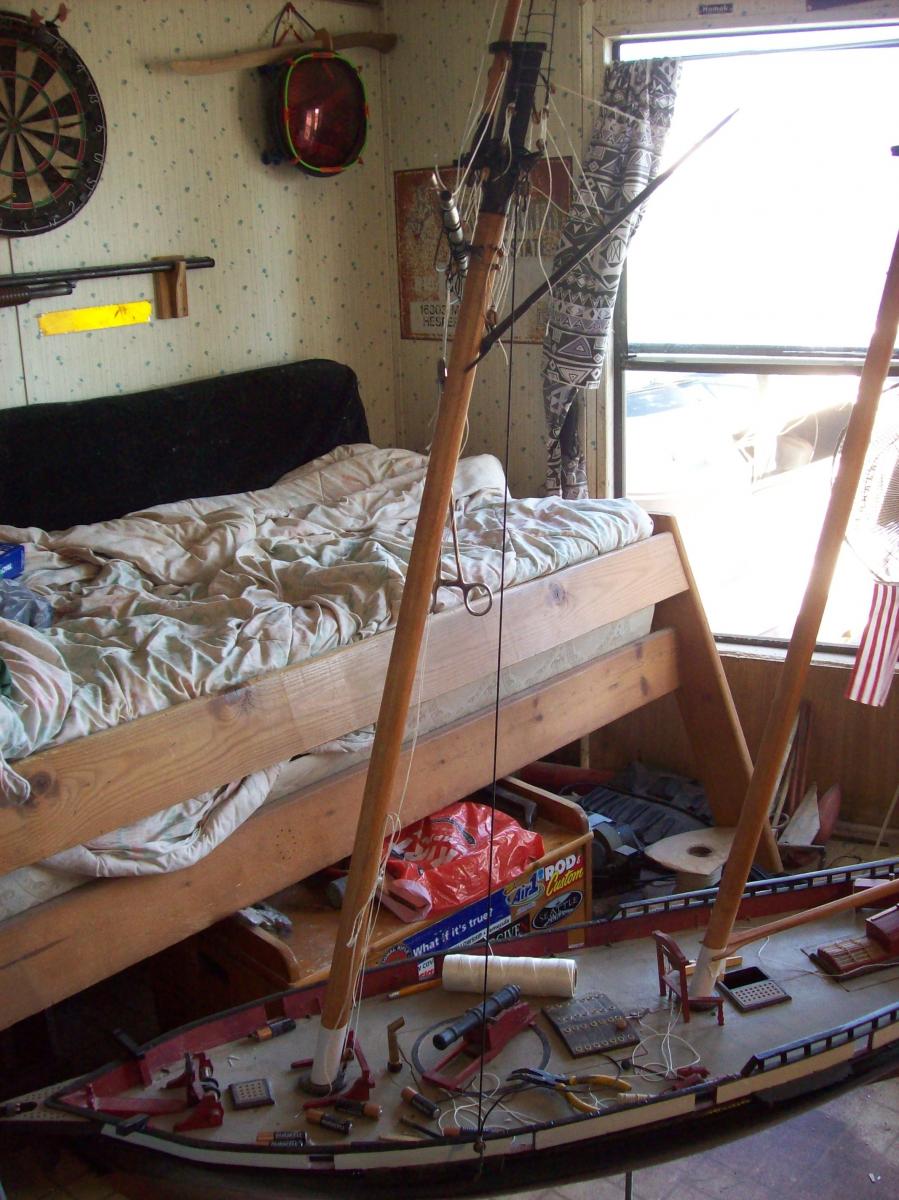
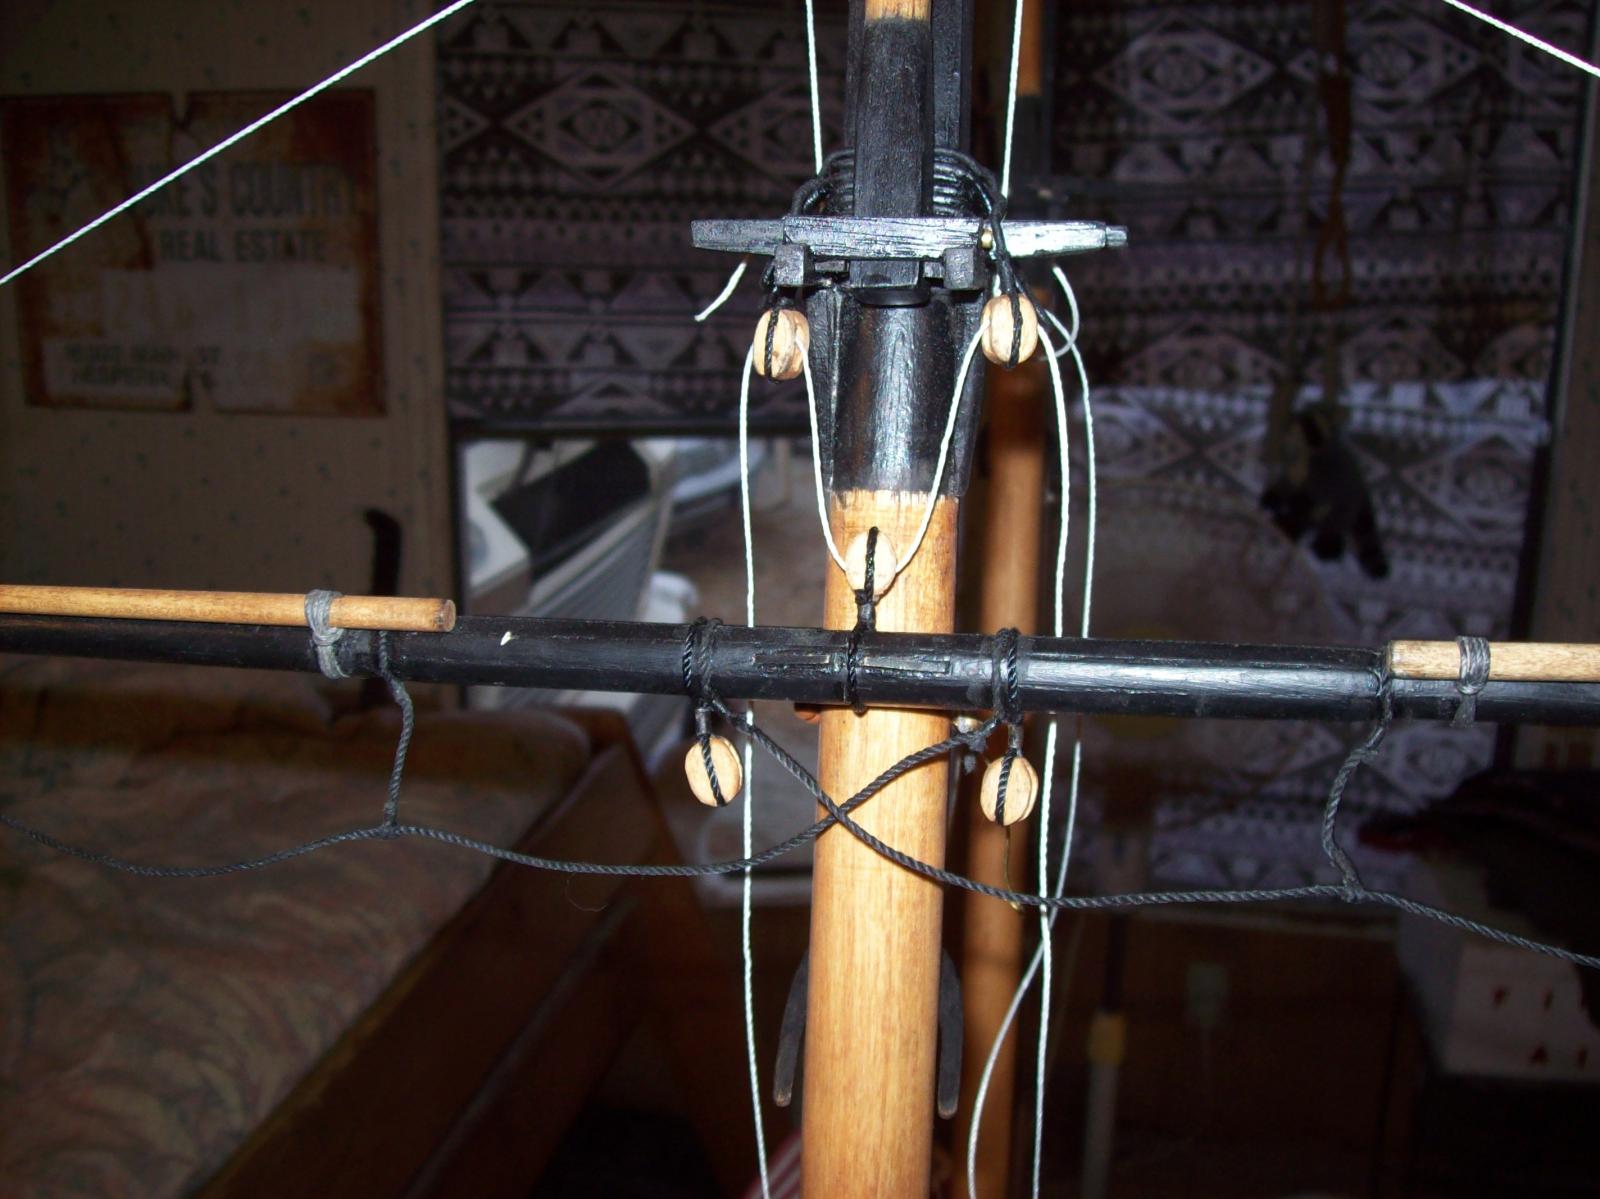
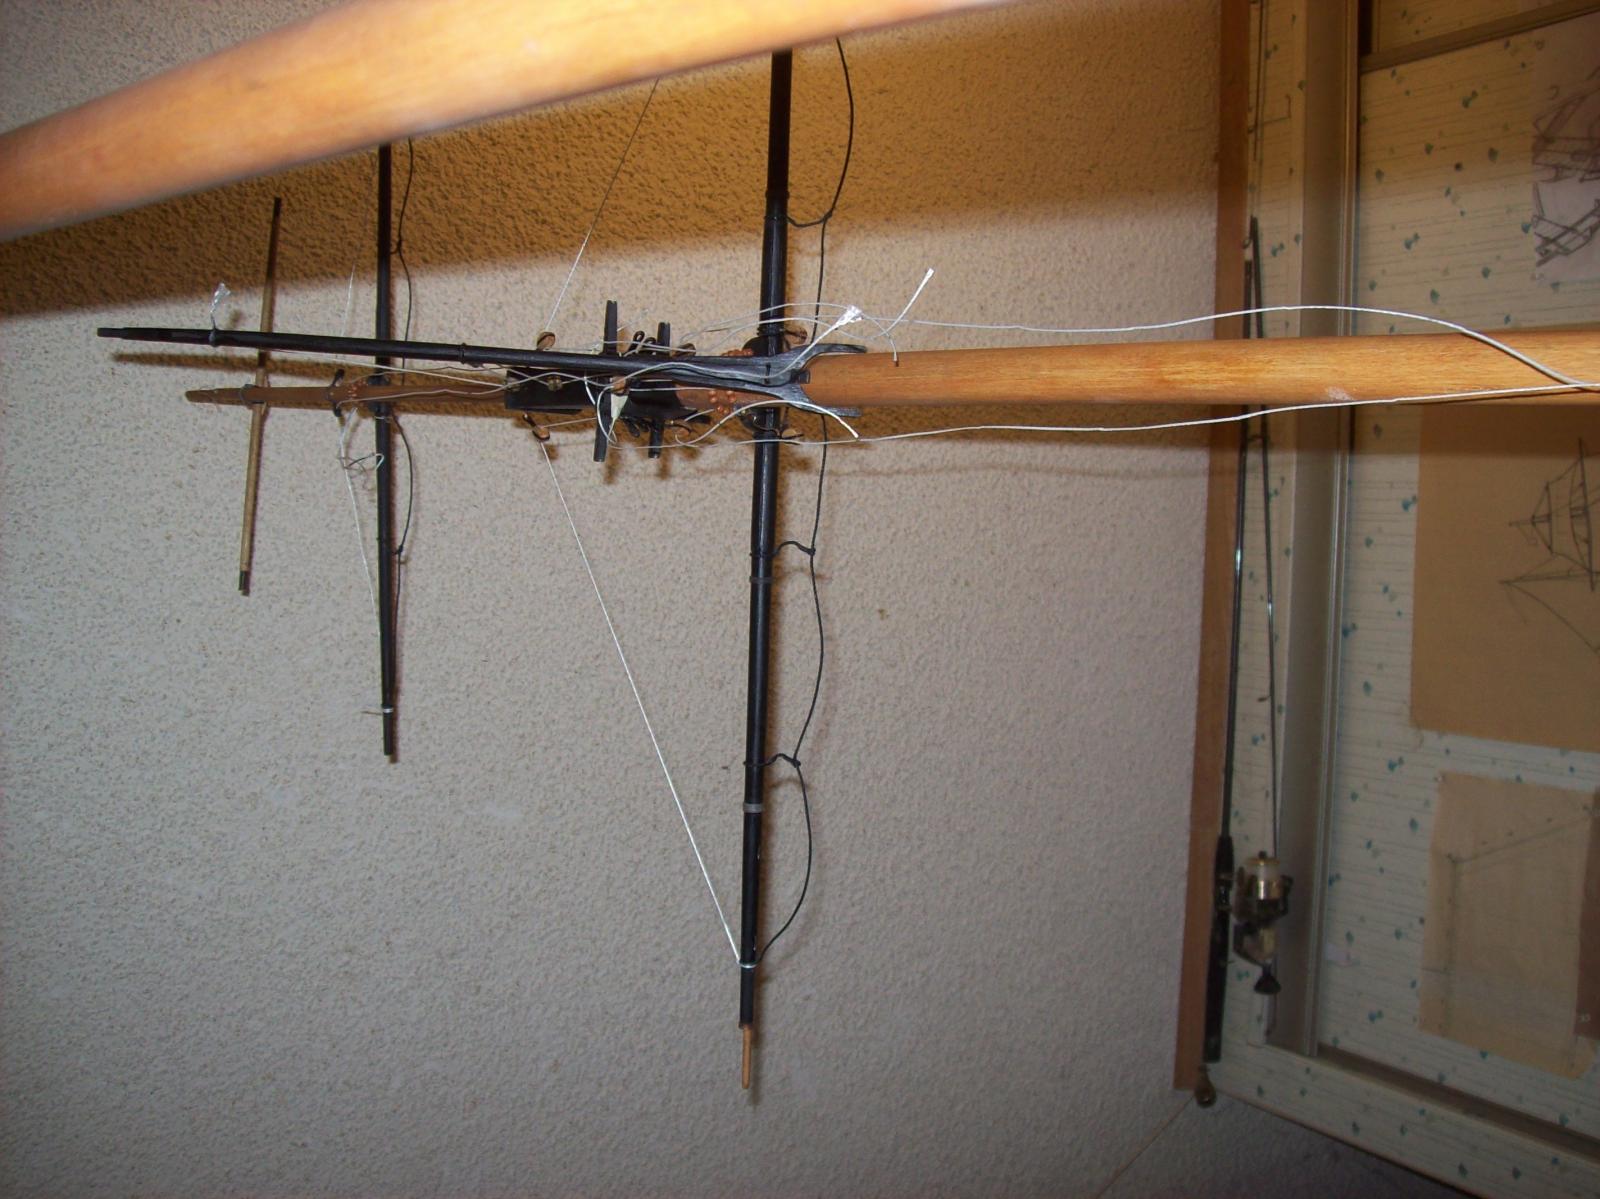
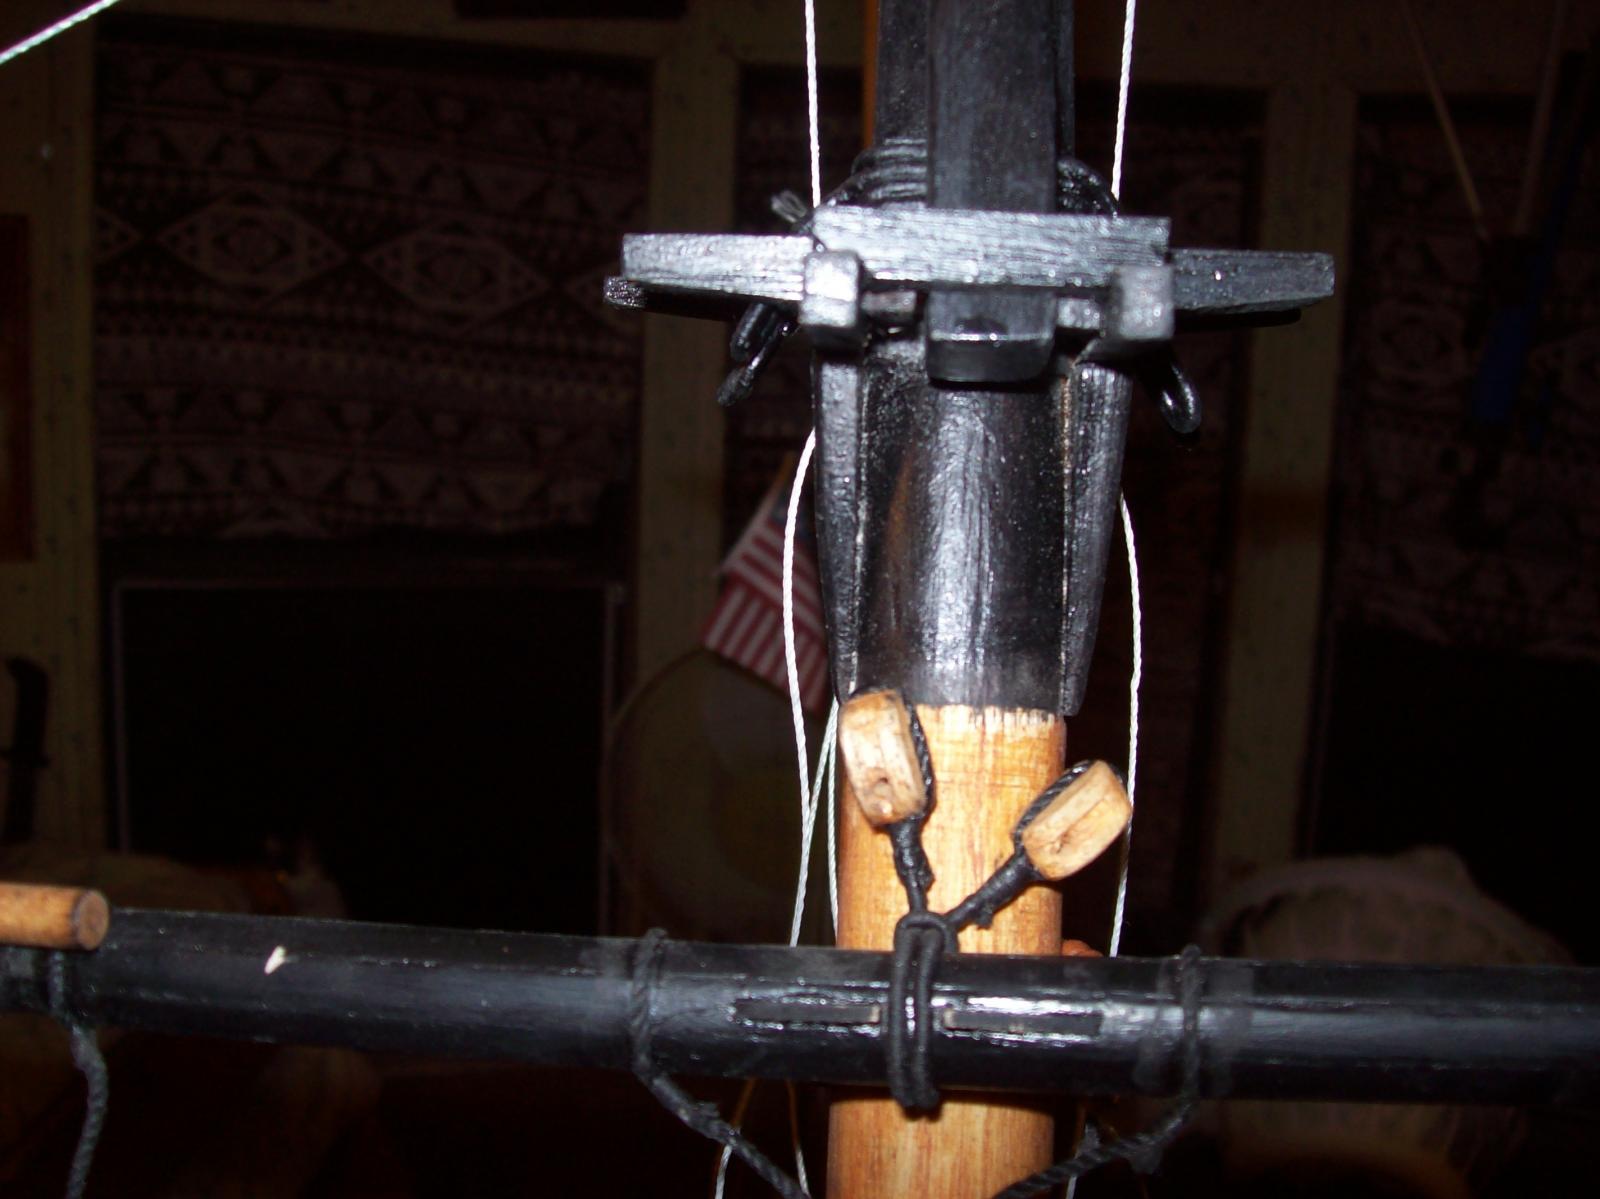
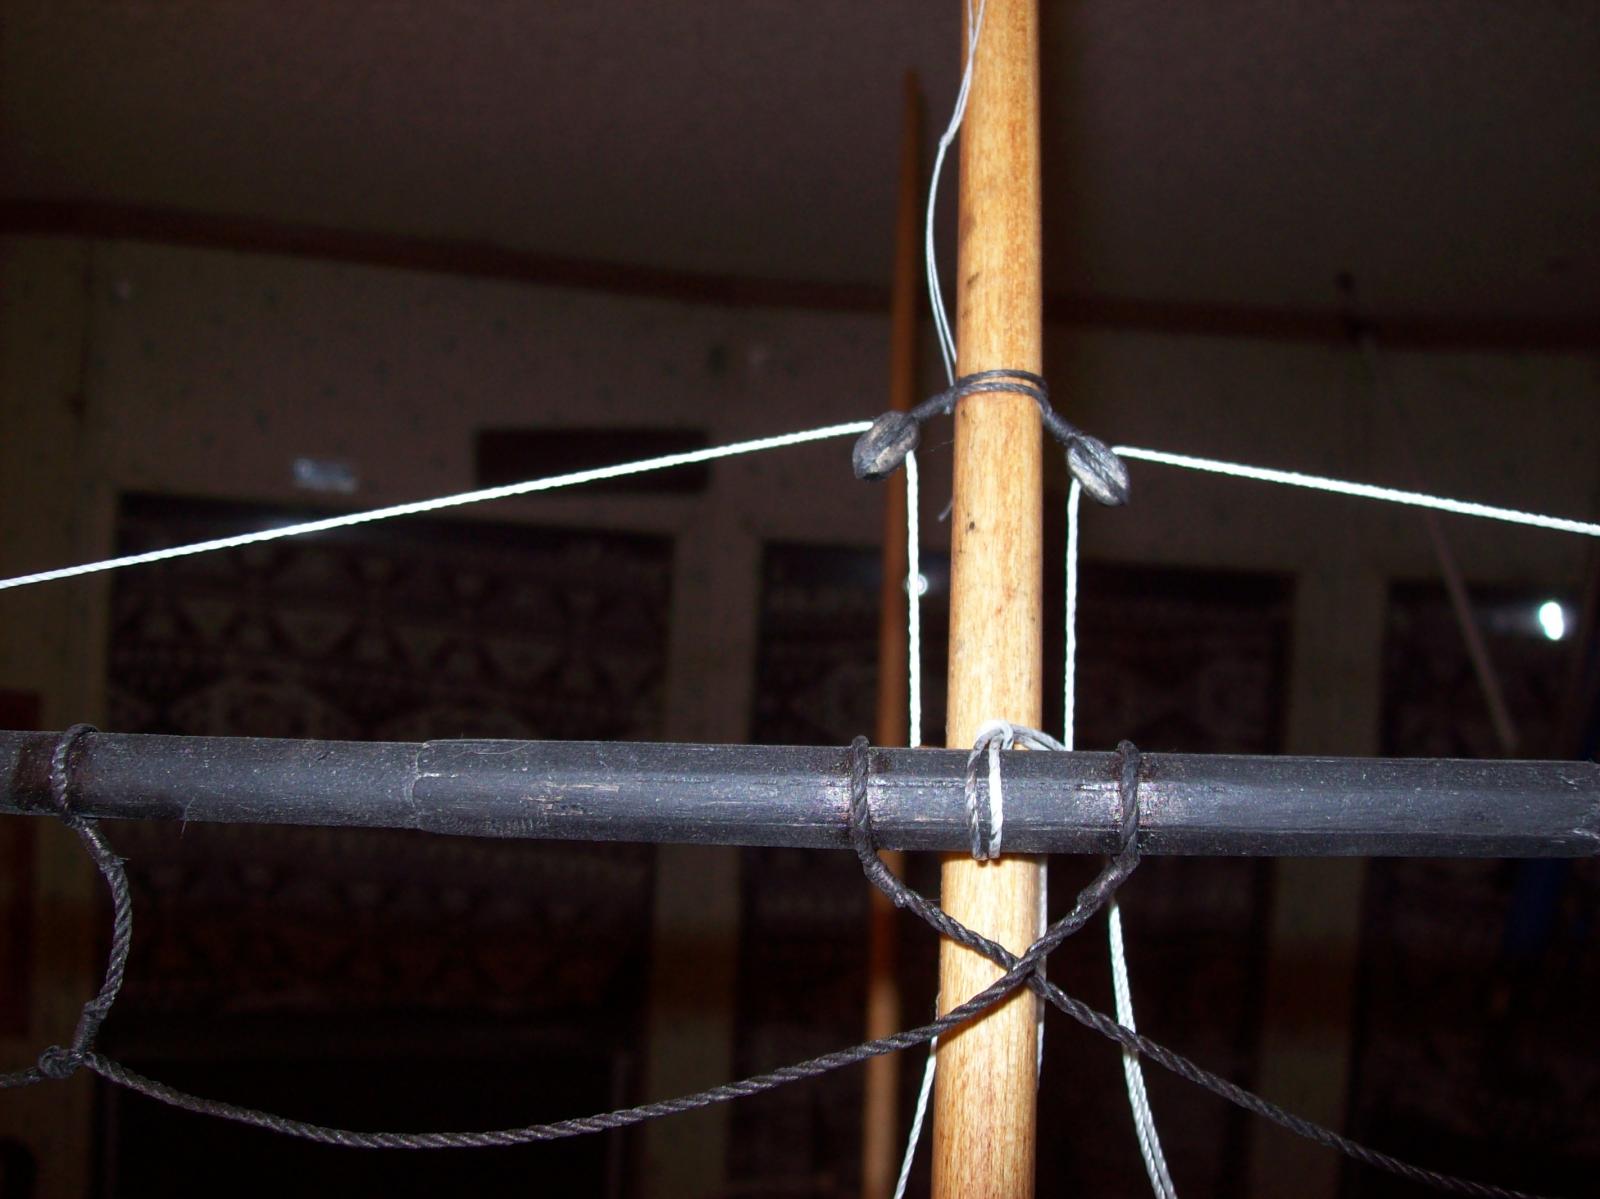
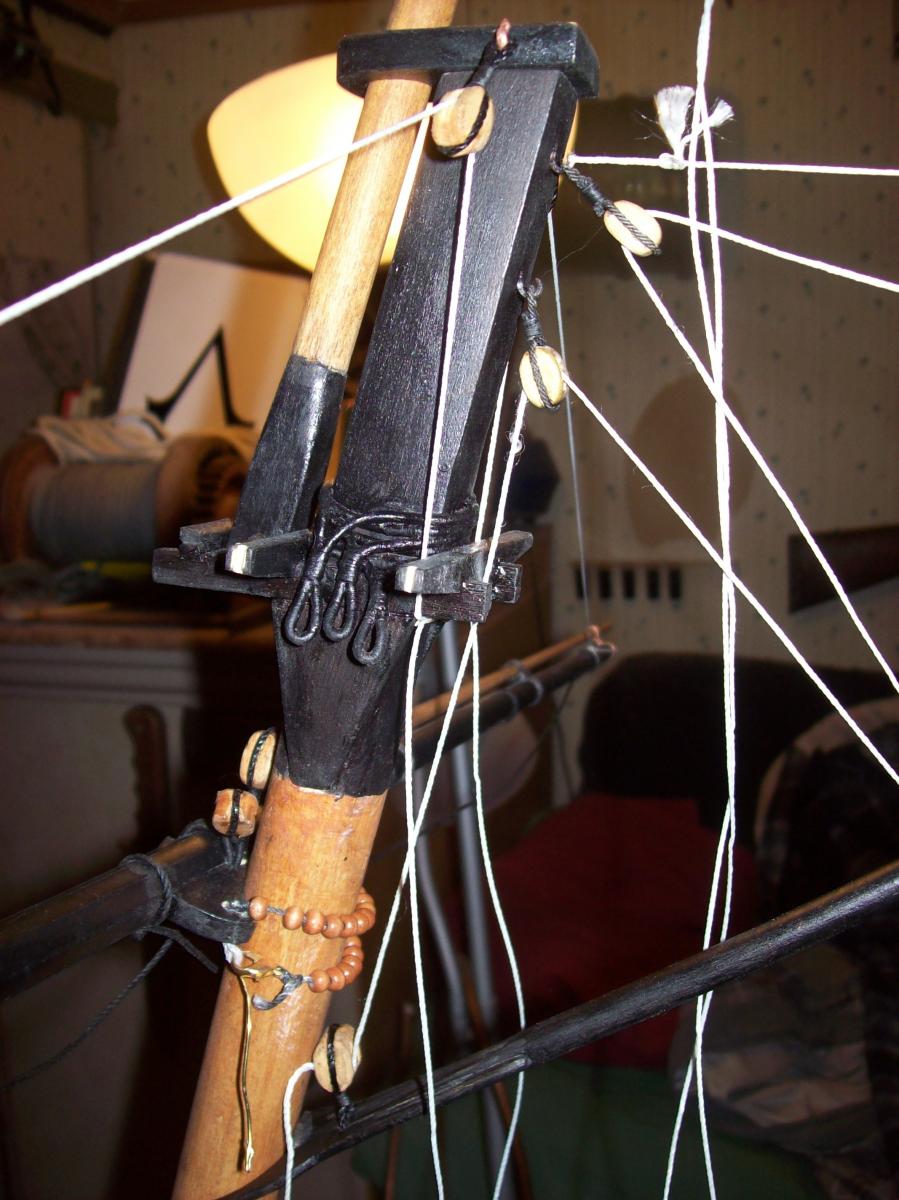
I have been working on the rigging but work is going slow due to me not having any idea what I'm doing. If anyone could provide any diagrams on how similar vessels would be rigged, that would be a life saver. I'm specifically looking for the topmast running rigging. The standing rigging would be nice to but I can probably figure it out on my own. Also any feedback on my current setup would be nice. PS. A few things in these pics are temporary... among other things I am missing a double block for the fore gaff.....


Lextin.
- Piet, mikegerber, captainbob and 3 others
-
6
-
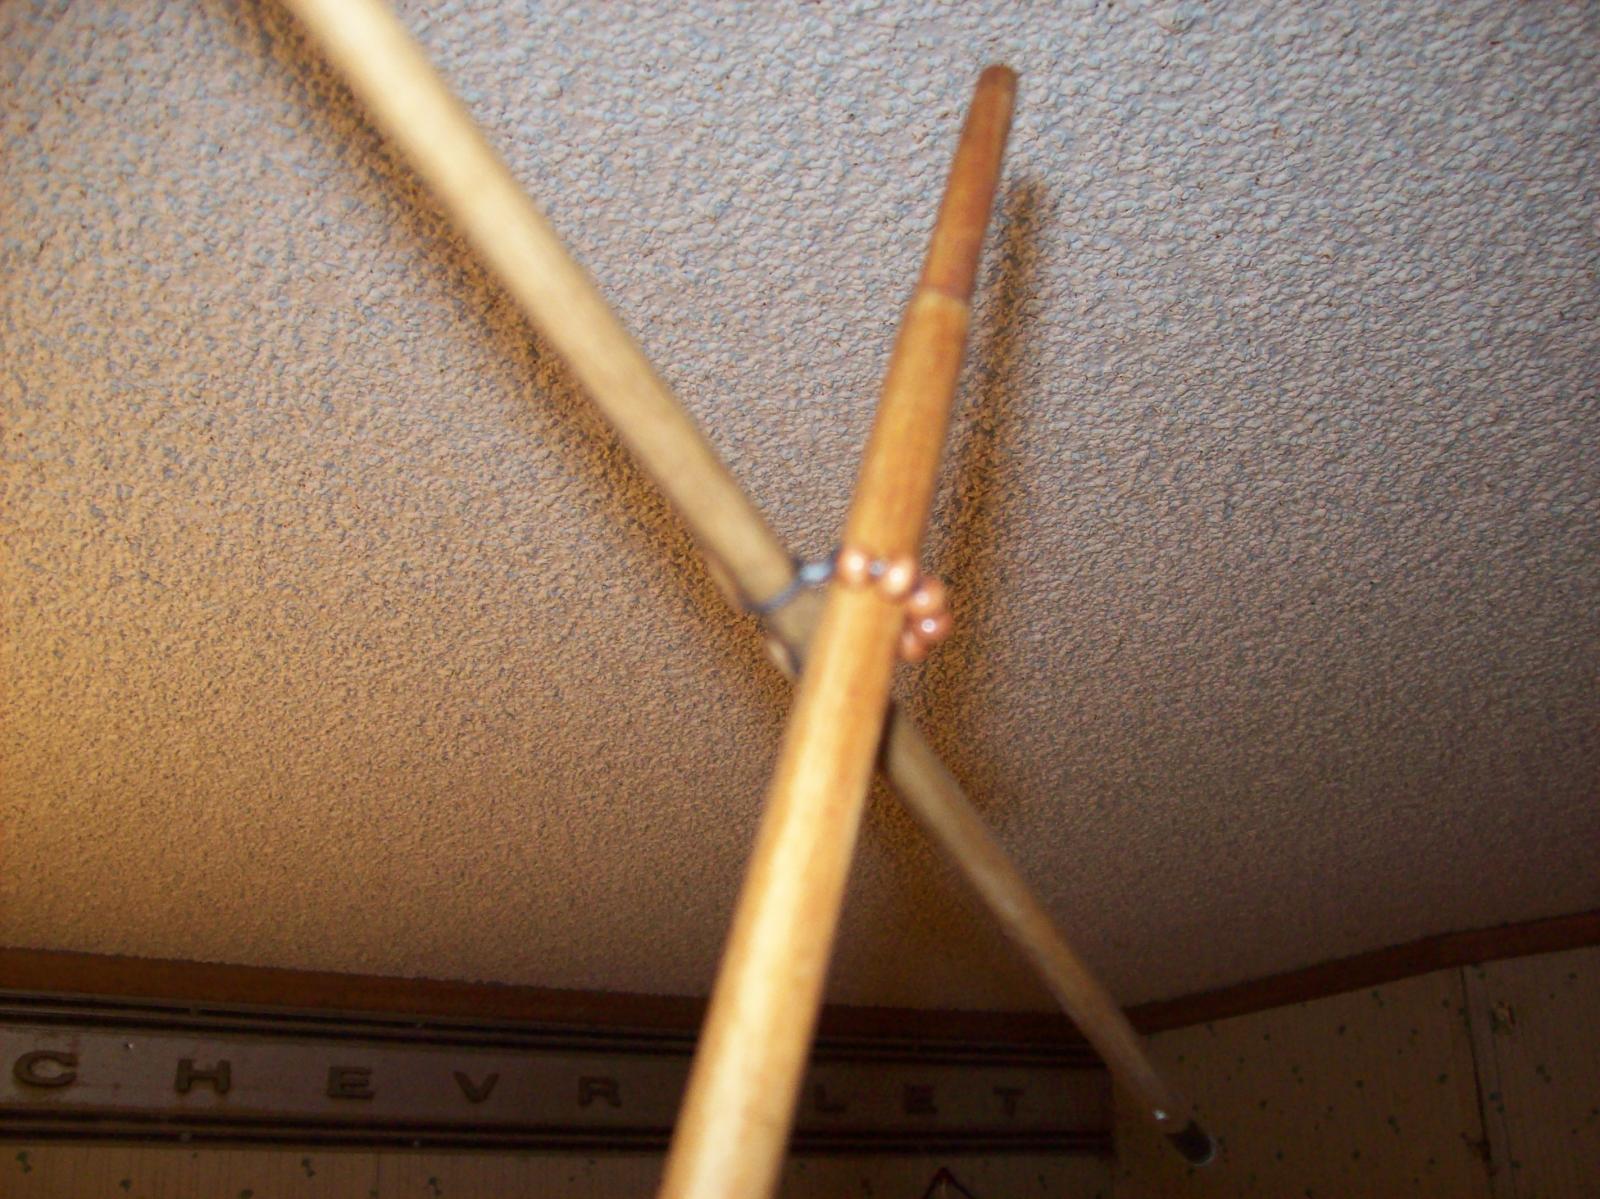
The trees have branches.


Lextin.
- mtaylor, mikegerber, IgorSky and 3 others
-
6
-
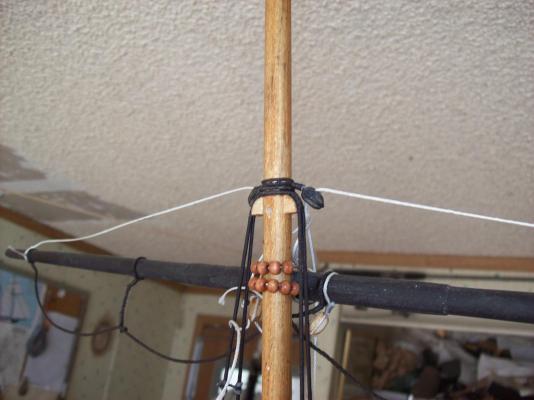
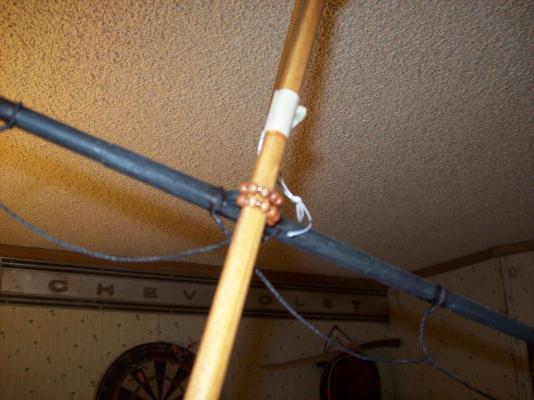
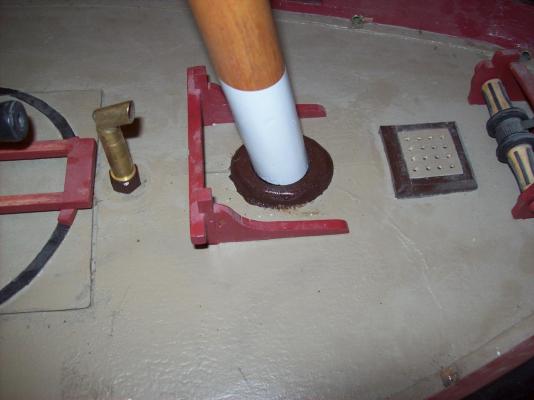
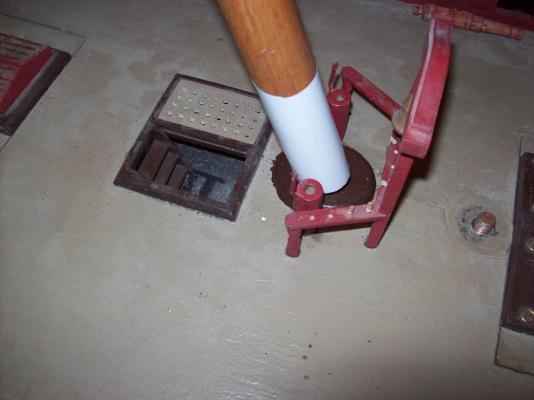
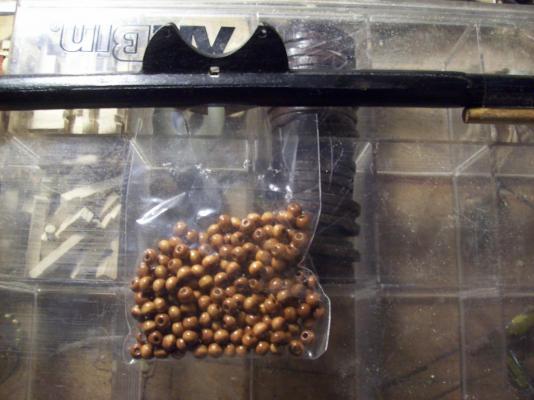
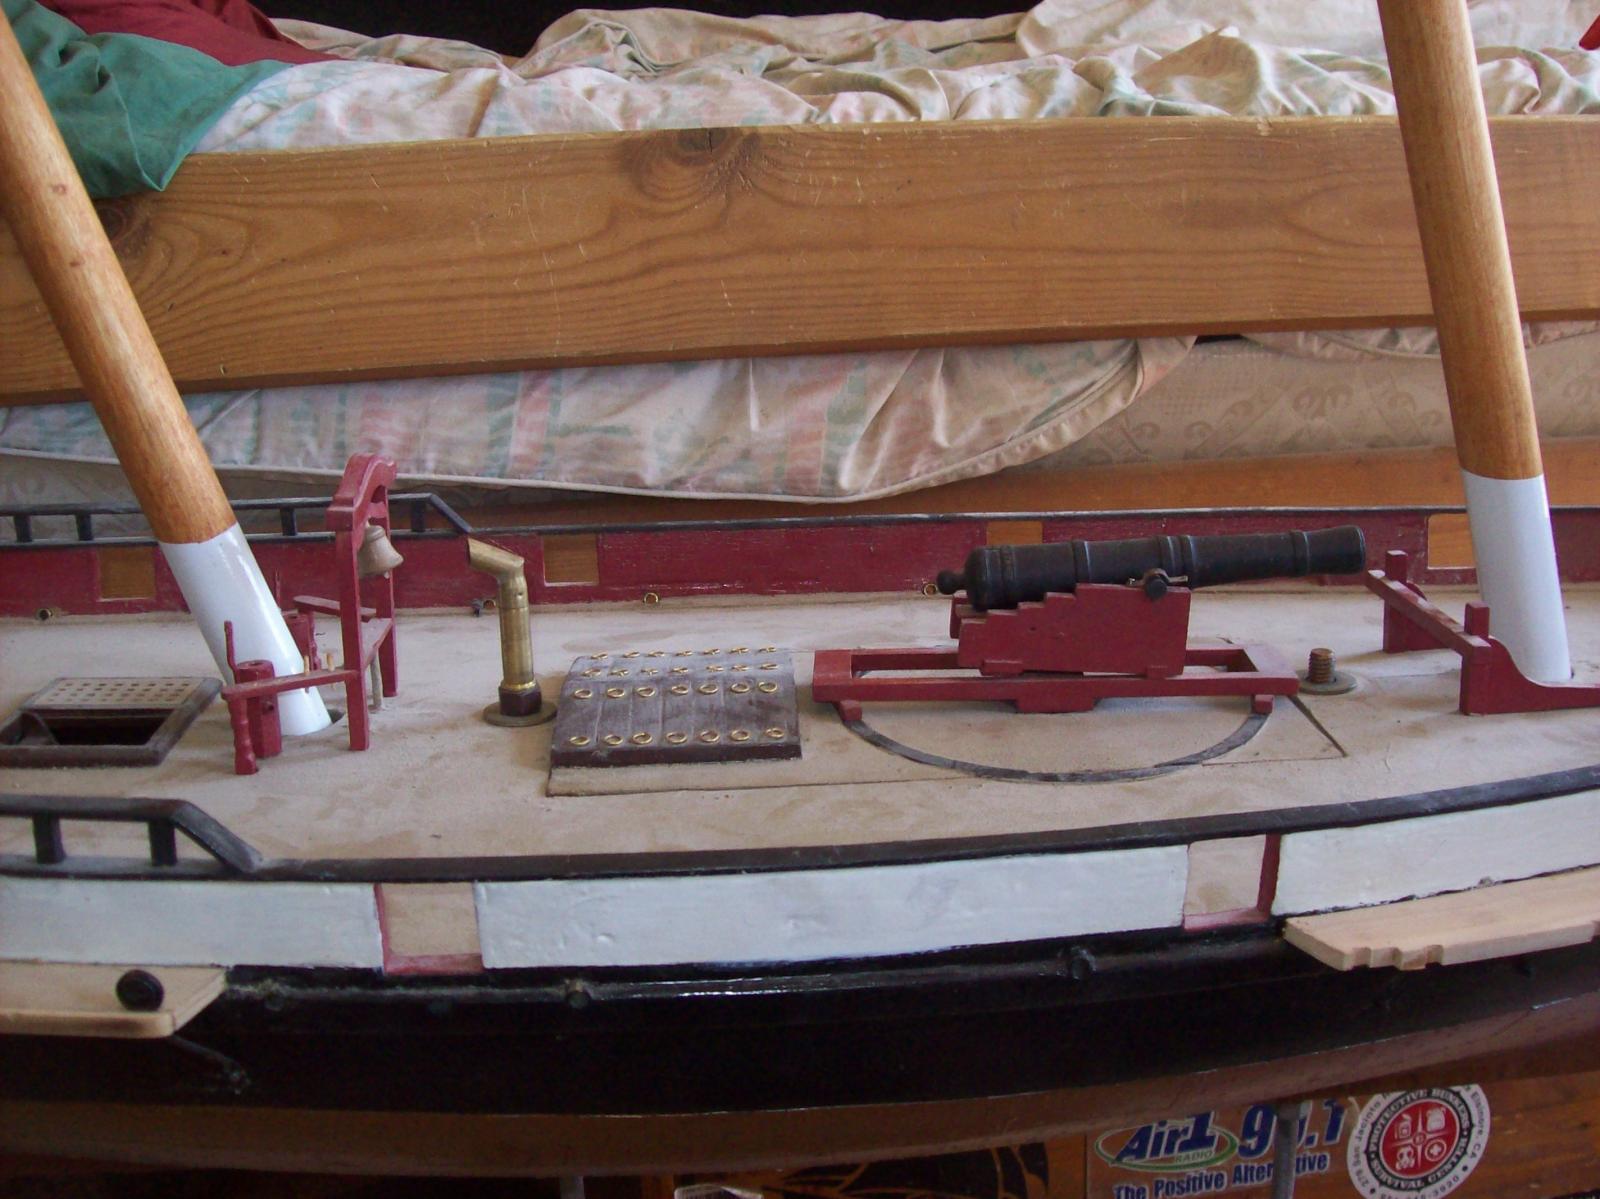
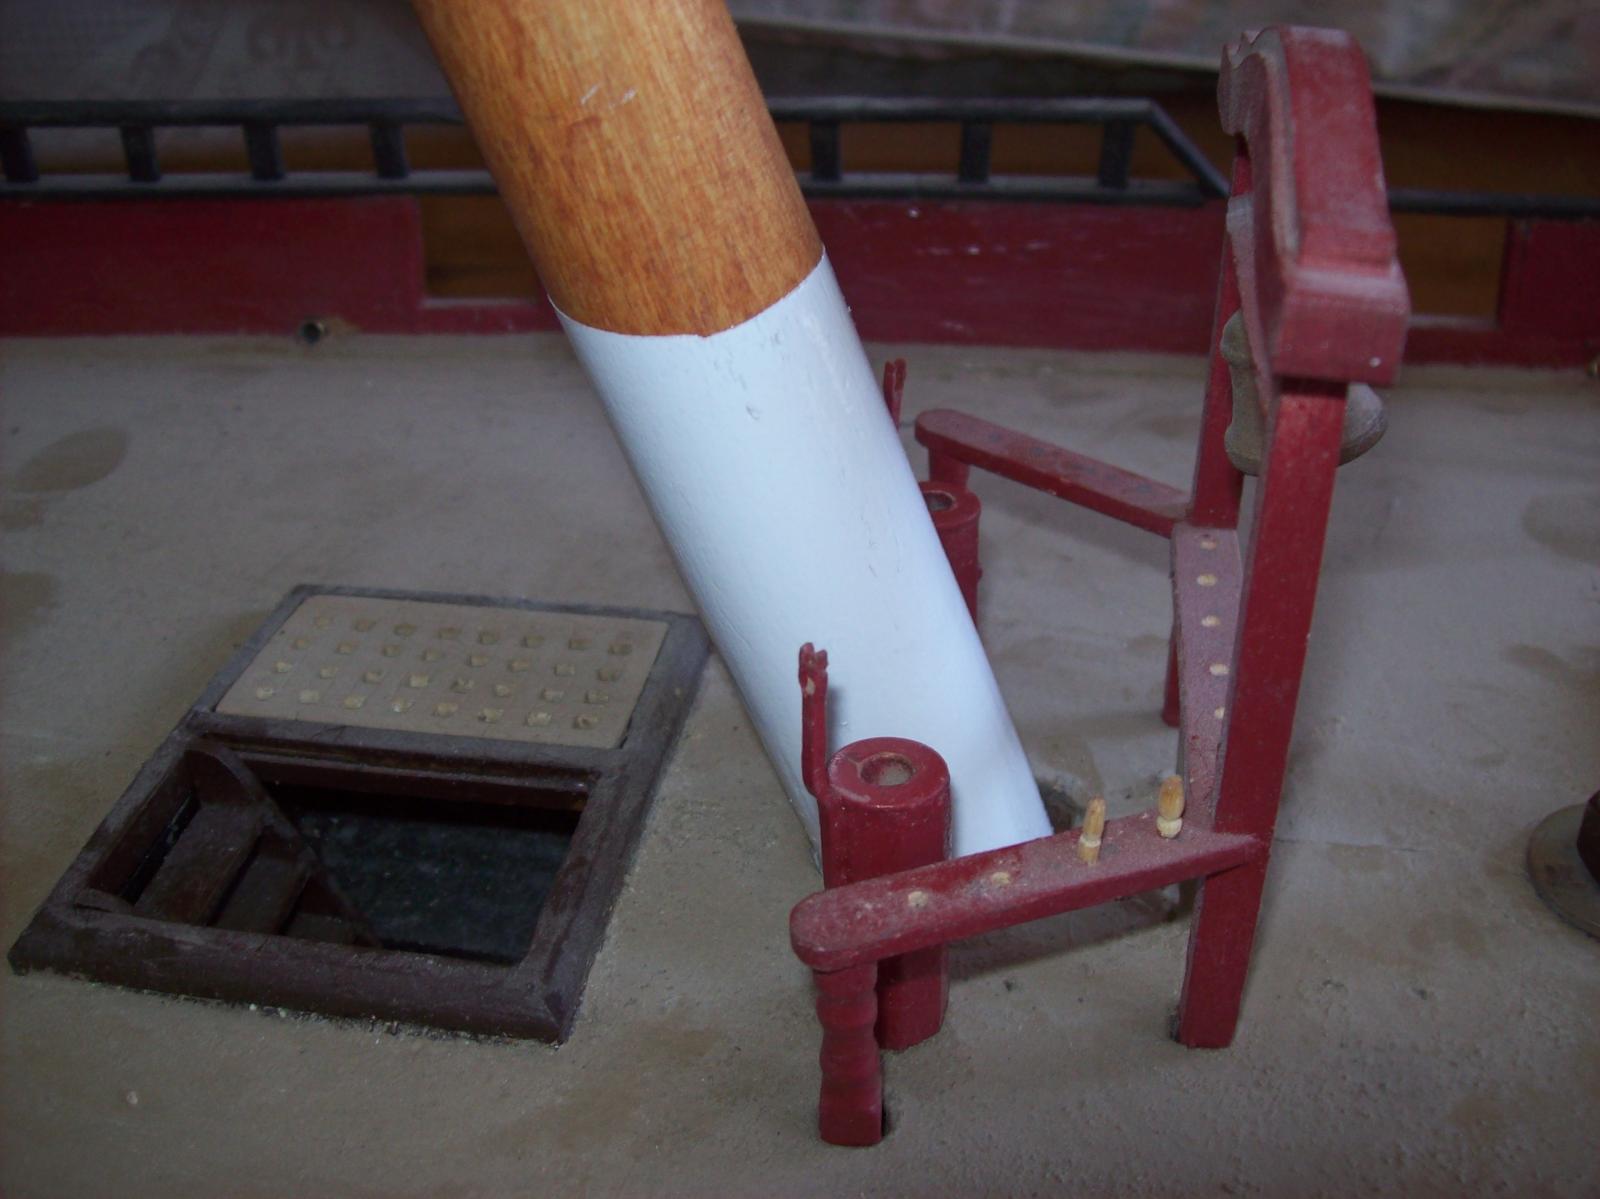
I hit the hull with a few coats of black epoxy and made some combings for the mast to keep water out. I have also been working on the coarse yard and made the ("chopsticks") stun'sl booms. Lastly I picked up some wood beads to use for parrels.
Today I realized I am up to 19 cans of spray paint on this model.


Lextin.
-
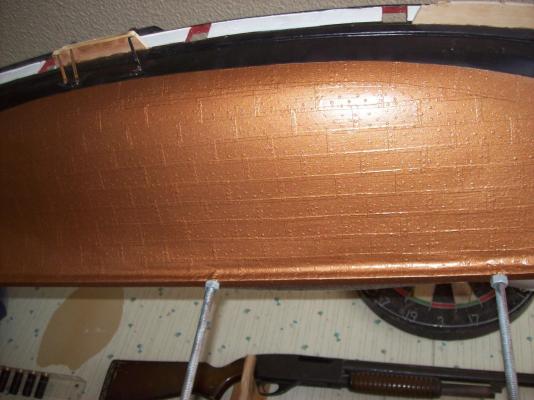
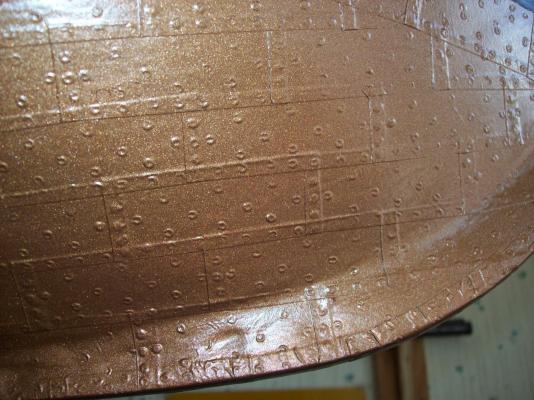
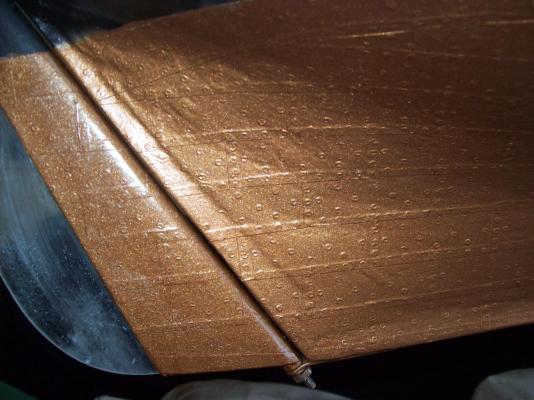
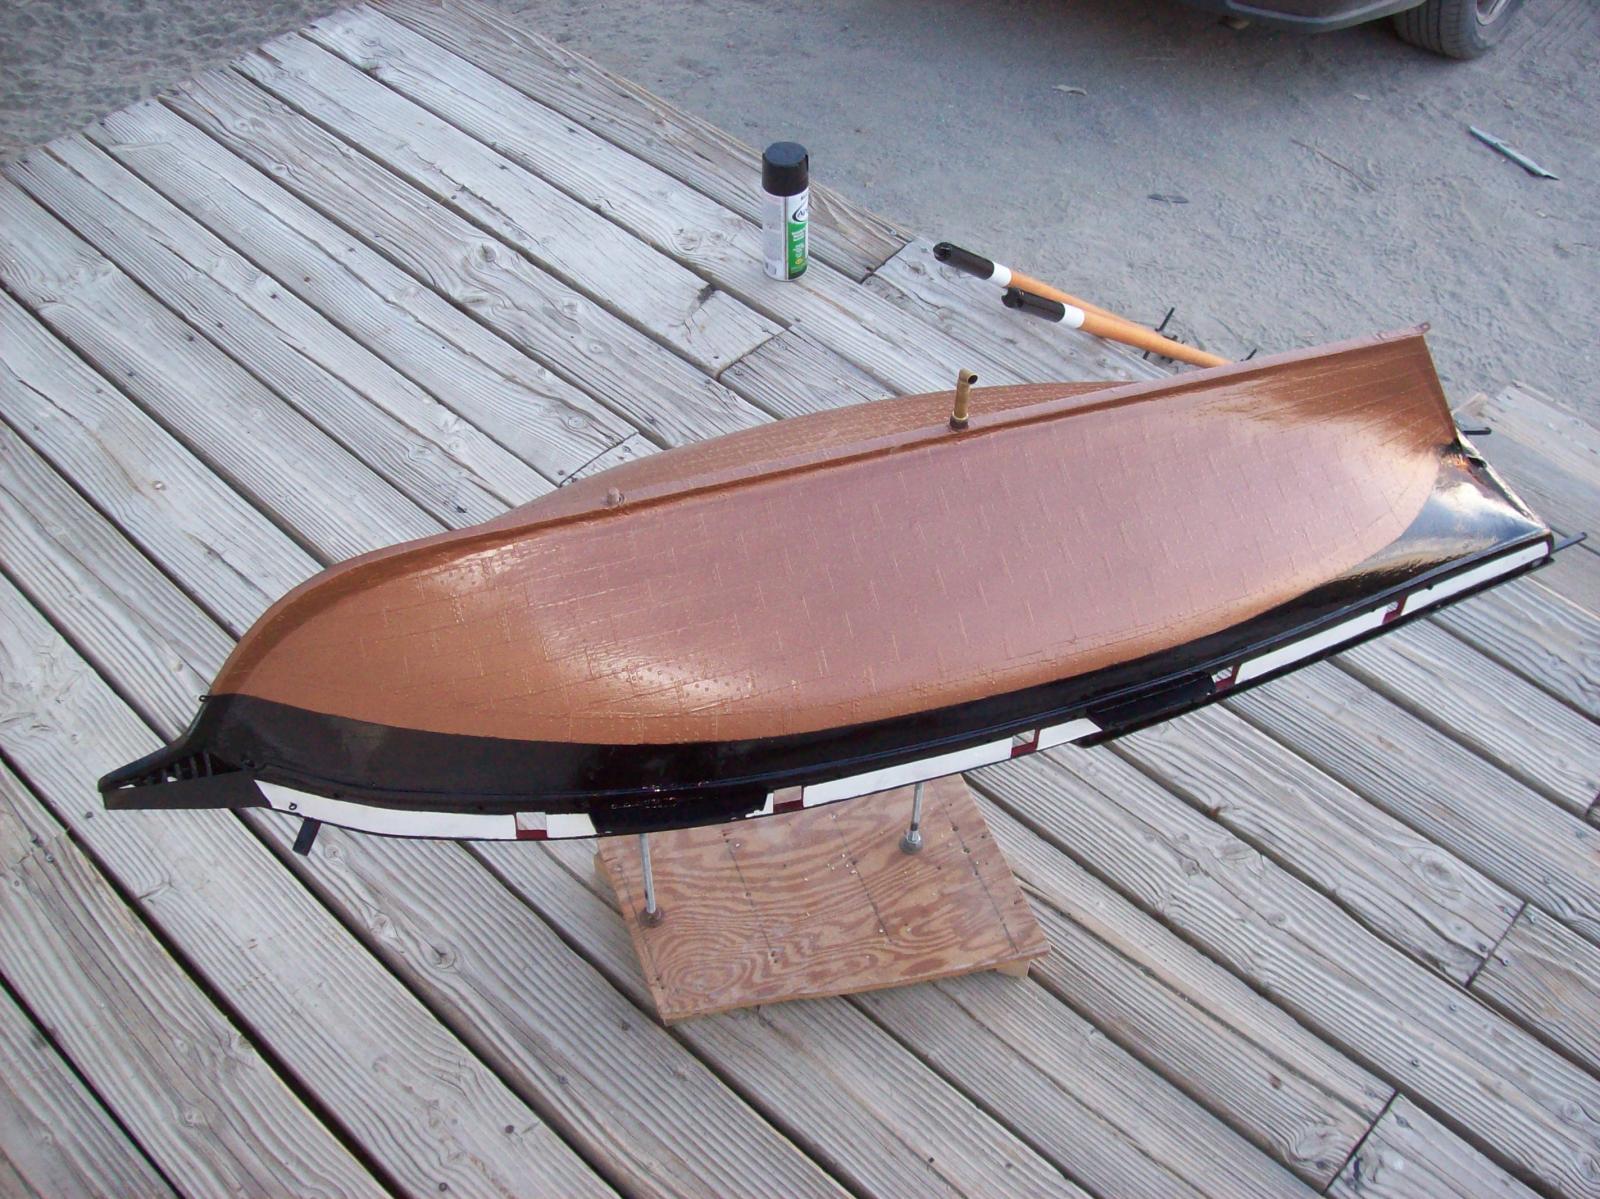
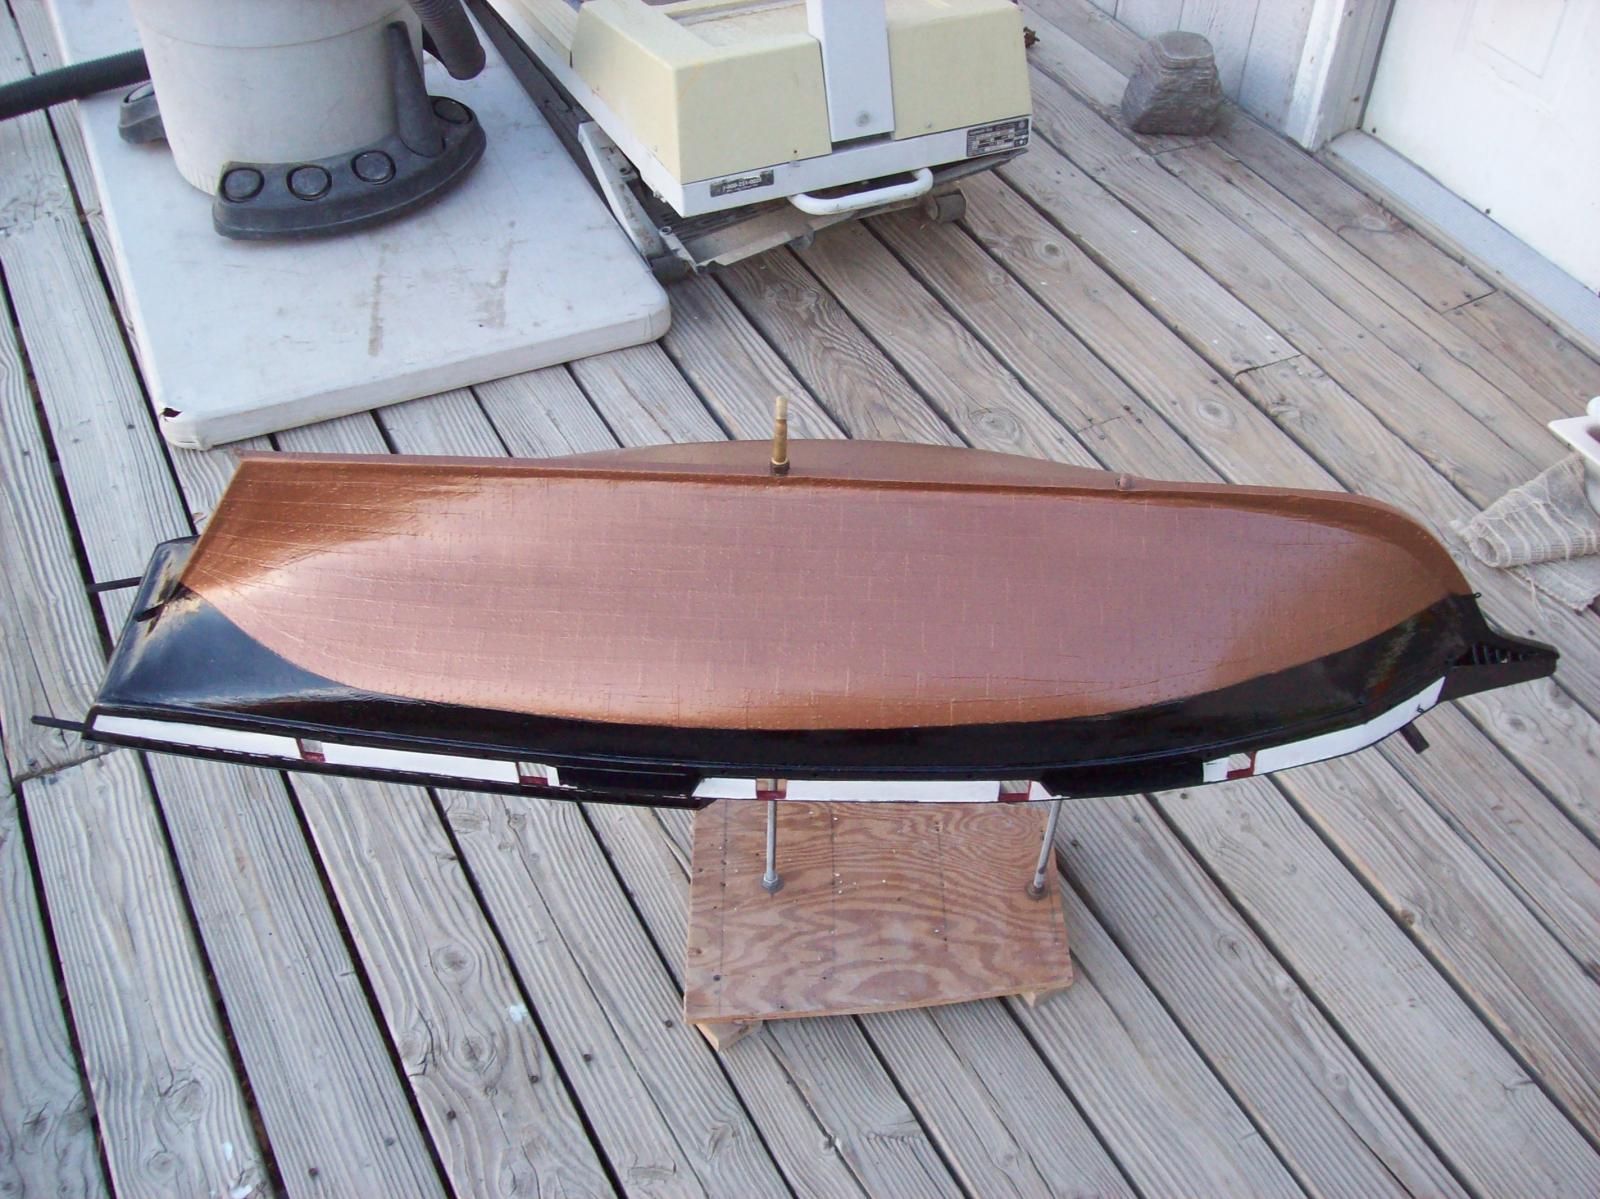
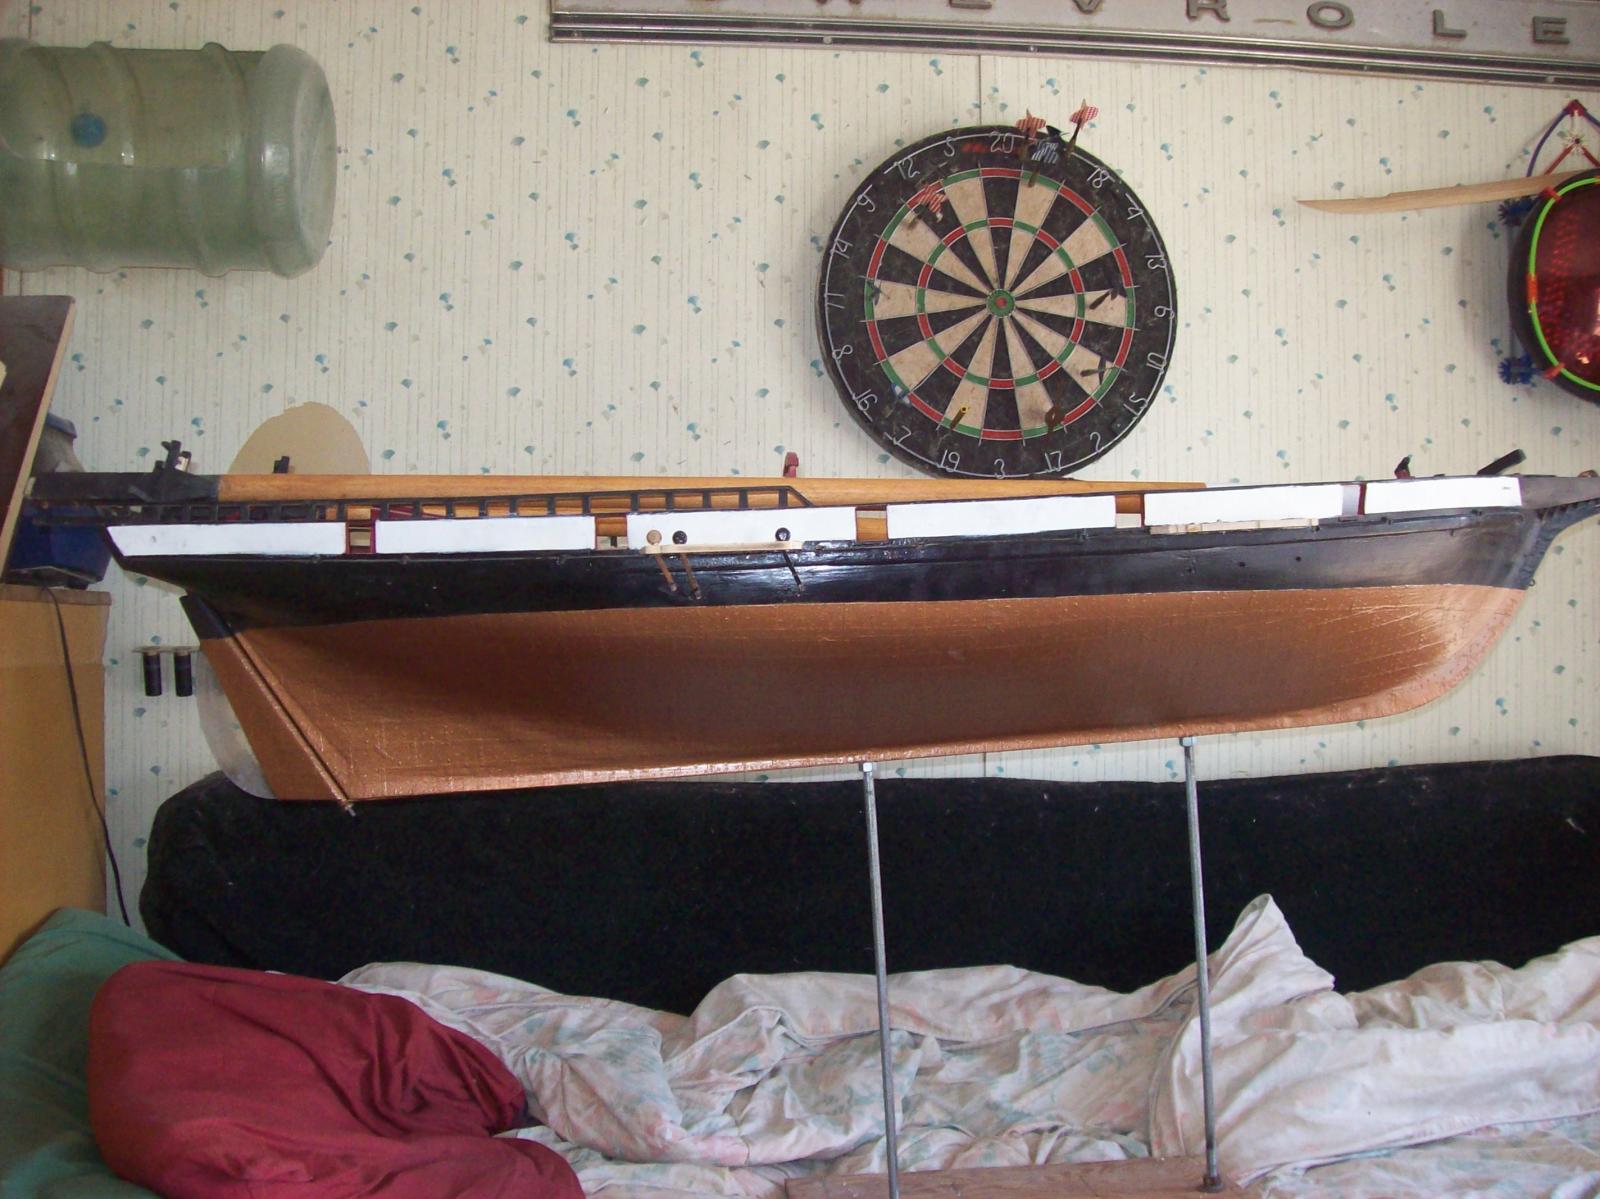
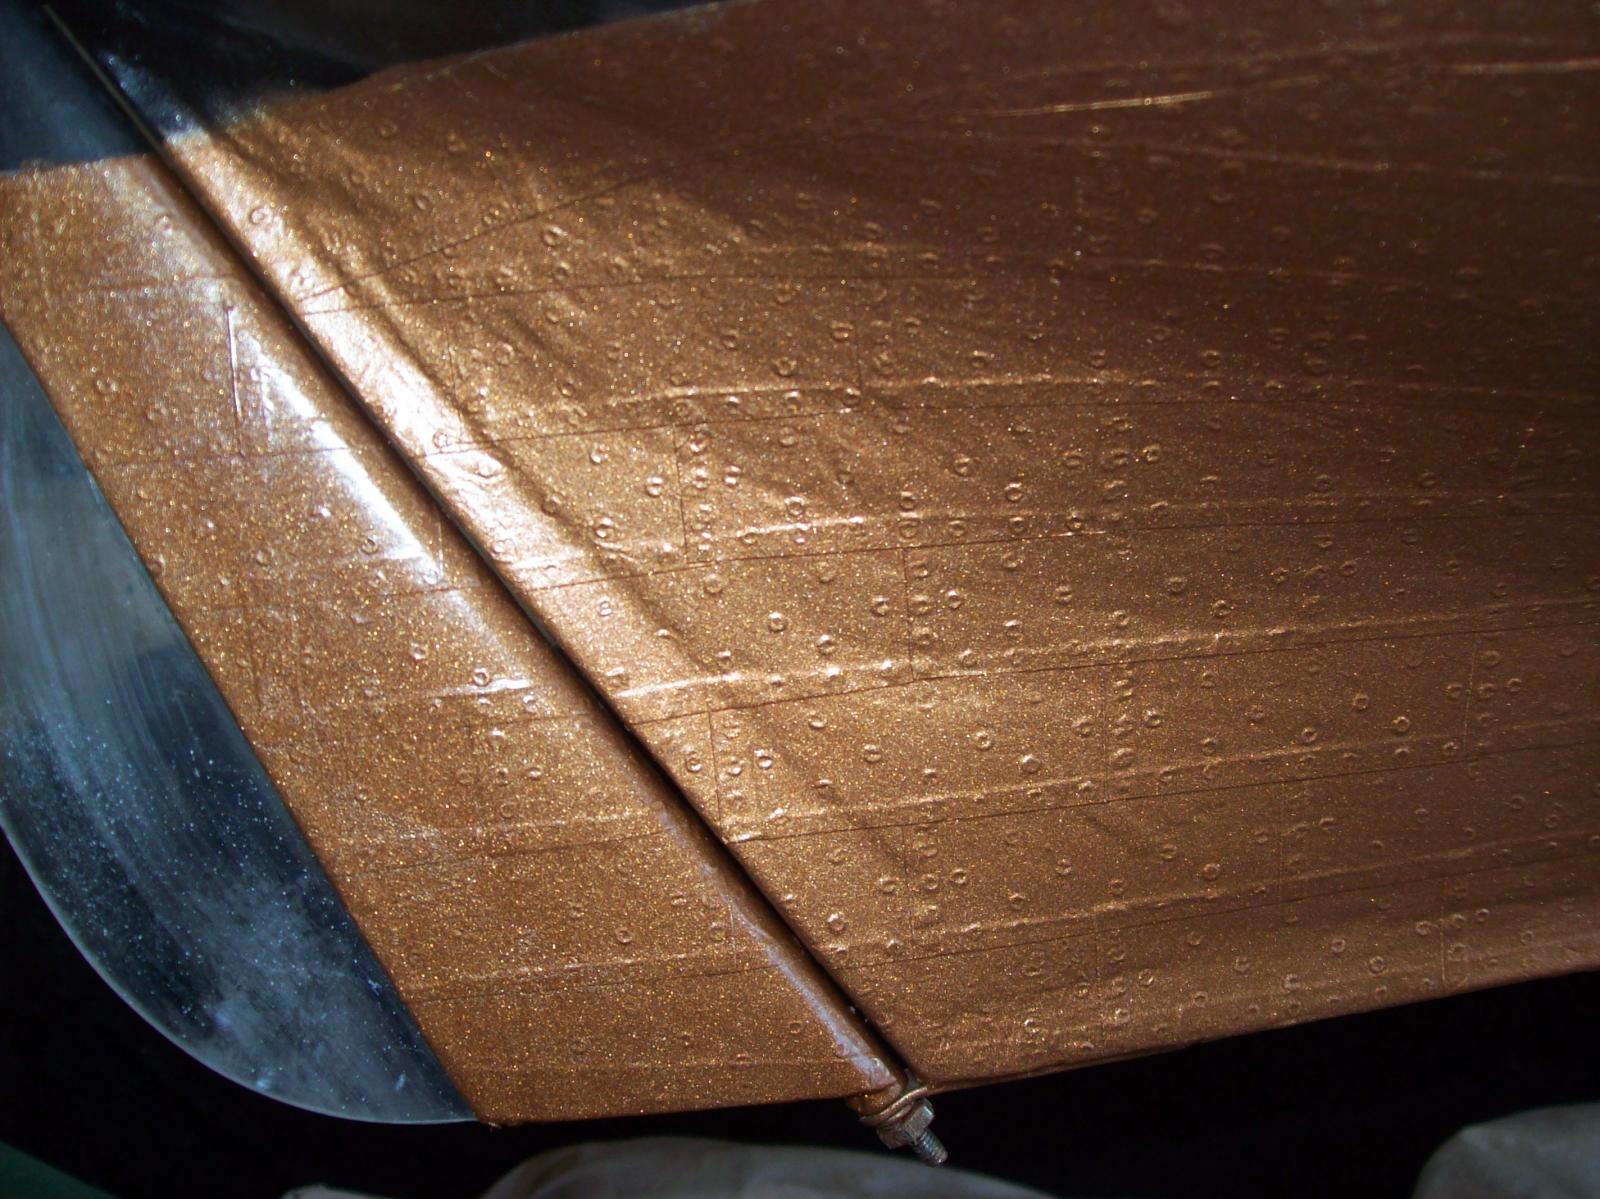
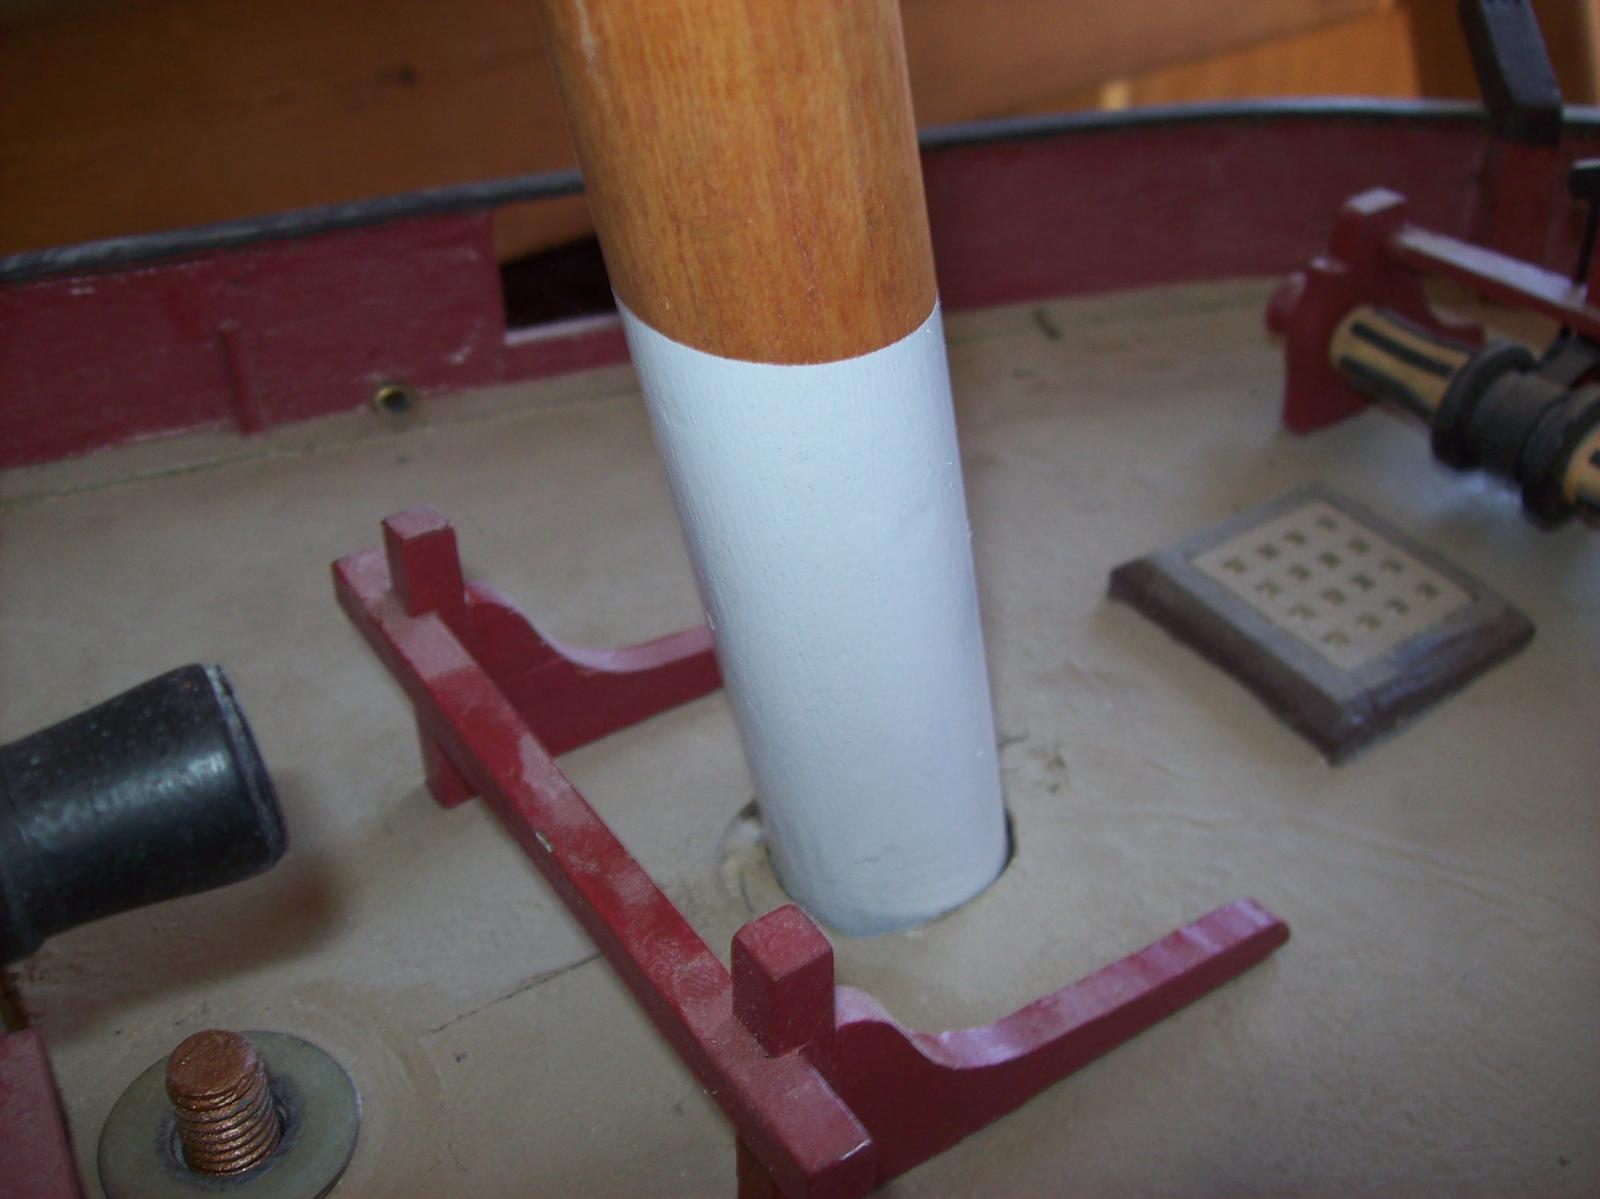
Its been awhile since I worked on the Byzantium but I'm finally starting to get back in the swing of things. I got the paint for the copper plates and wasted no time with applying it. I also painted the lower portions of the mast with epoxy paint to protect the wood. Lastly I have been working on the main yard.
I have made the decision to axe certain details in favor of finishing the model sooner. The cannons will only be rigged with breaching ropes, I will not make pinrails, Rigging will be comprised of only essential lines, etc....etc......


Lextin.
-
-
I have not been able to get myself to sit down and actually work on the Byzantium lately as I have a lot on my mind. My dad got laid off at work so moneys been tight. I am going to be leaving next Sunday, to Seattle Washington for a week long Microsoft convention I will be working at, should be interesting. Then I will be leaving again in September this time for a 9 month long missionary training program. Needless to say I will not be finishing the Byzantium this year as I had planned. Also I will not be going to college this year either.
PS. my dad did get a new job with significantly higher pay so things should be getting better financially.
Lextin.
-
-
Patrick: The deck is recoverable, just needs to be sealed better in a few spots. I would like to replace it with wood but don't have the money or the patience to do it.
Bob: The whole model is sealed inside and out with resin but the cardboard is especially susceptible to water damage. I definitely wont be using cardboard for my next model.
Lextin.
-
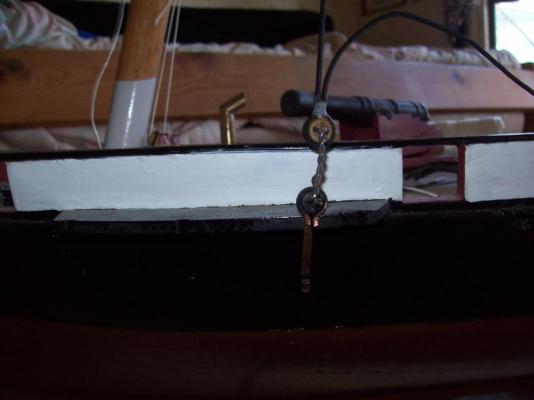
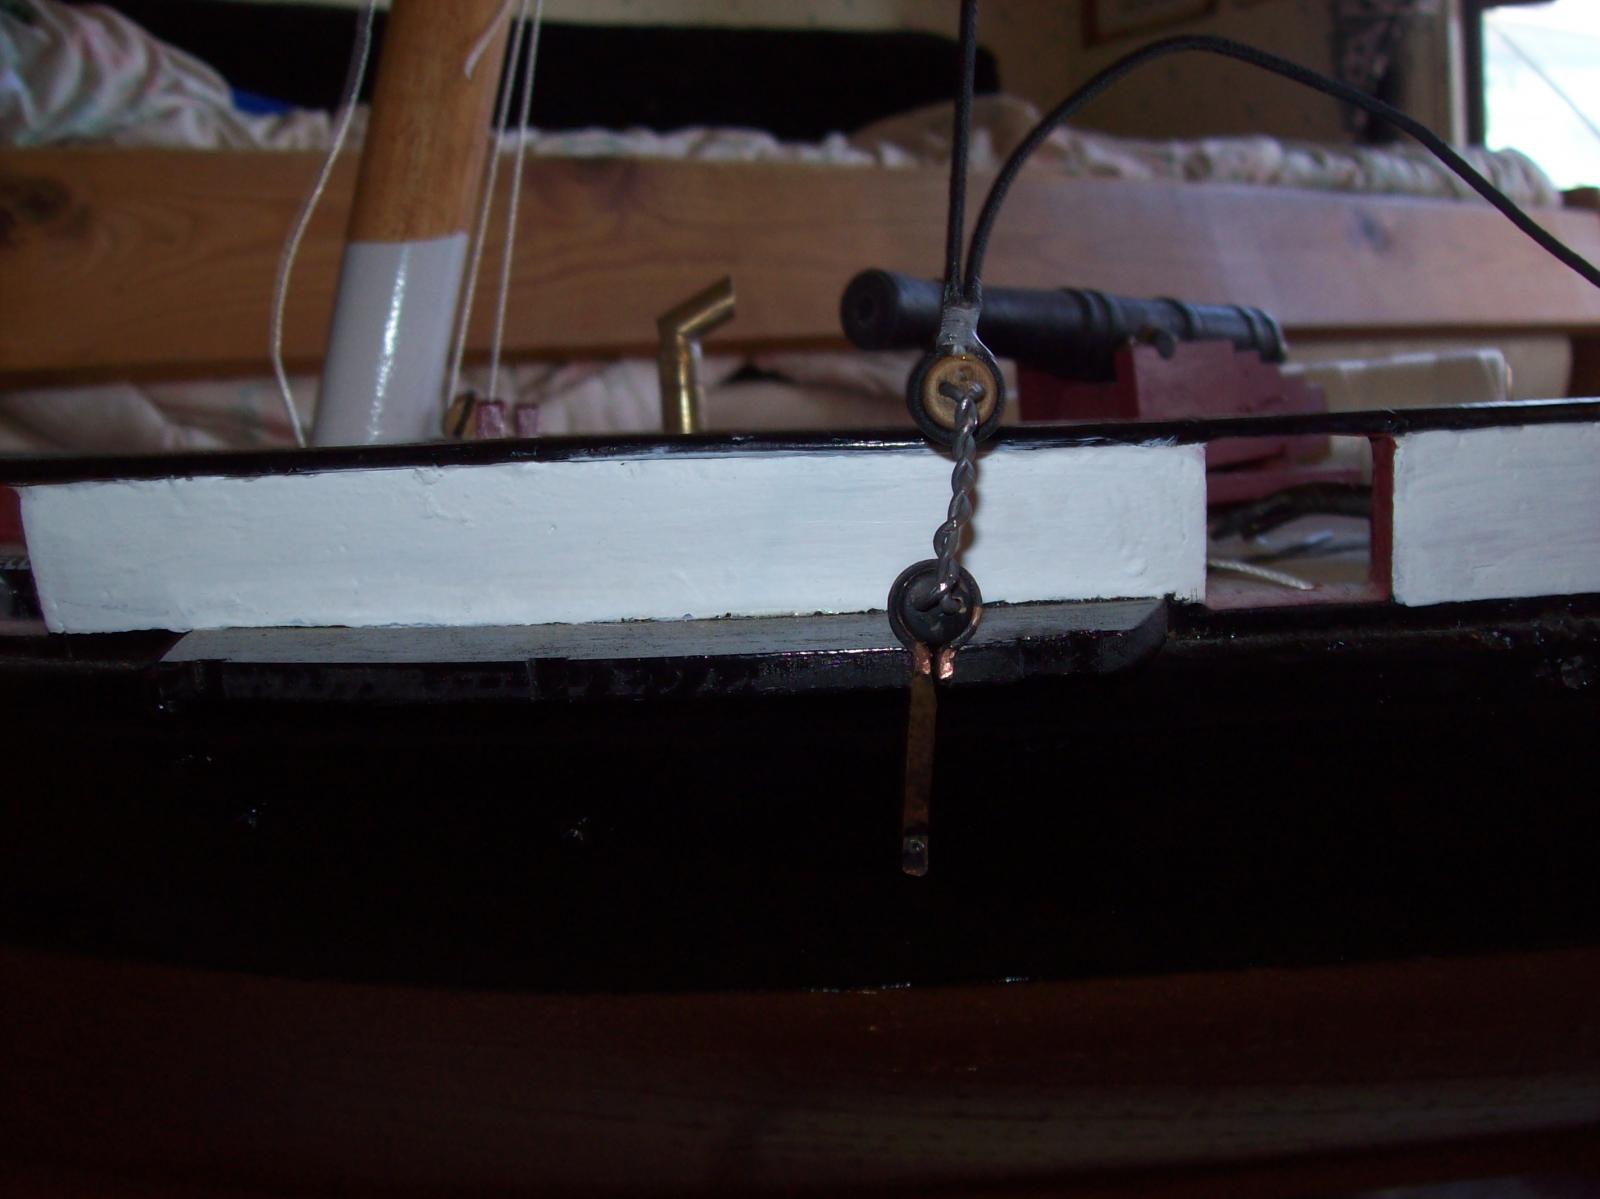
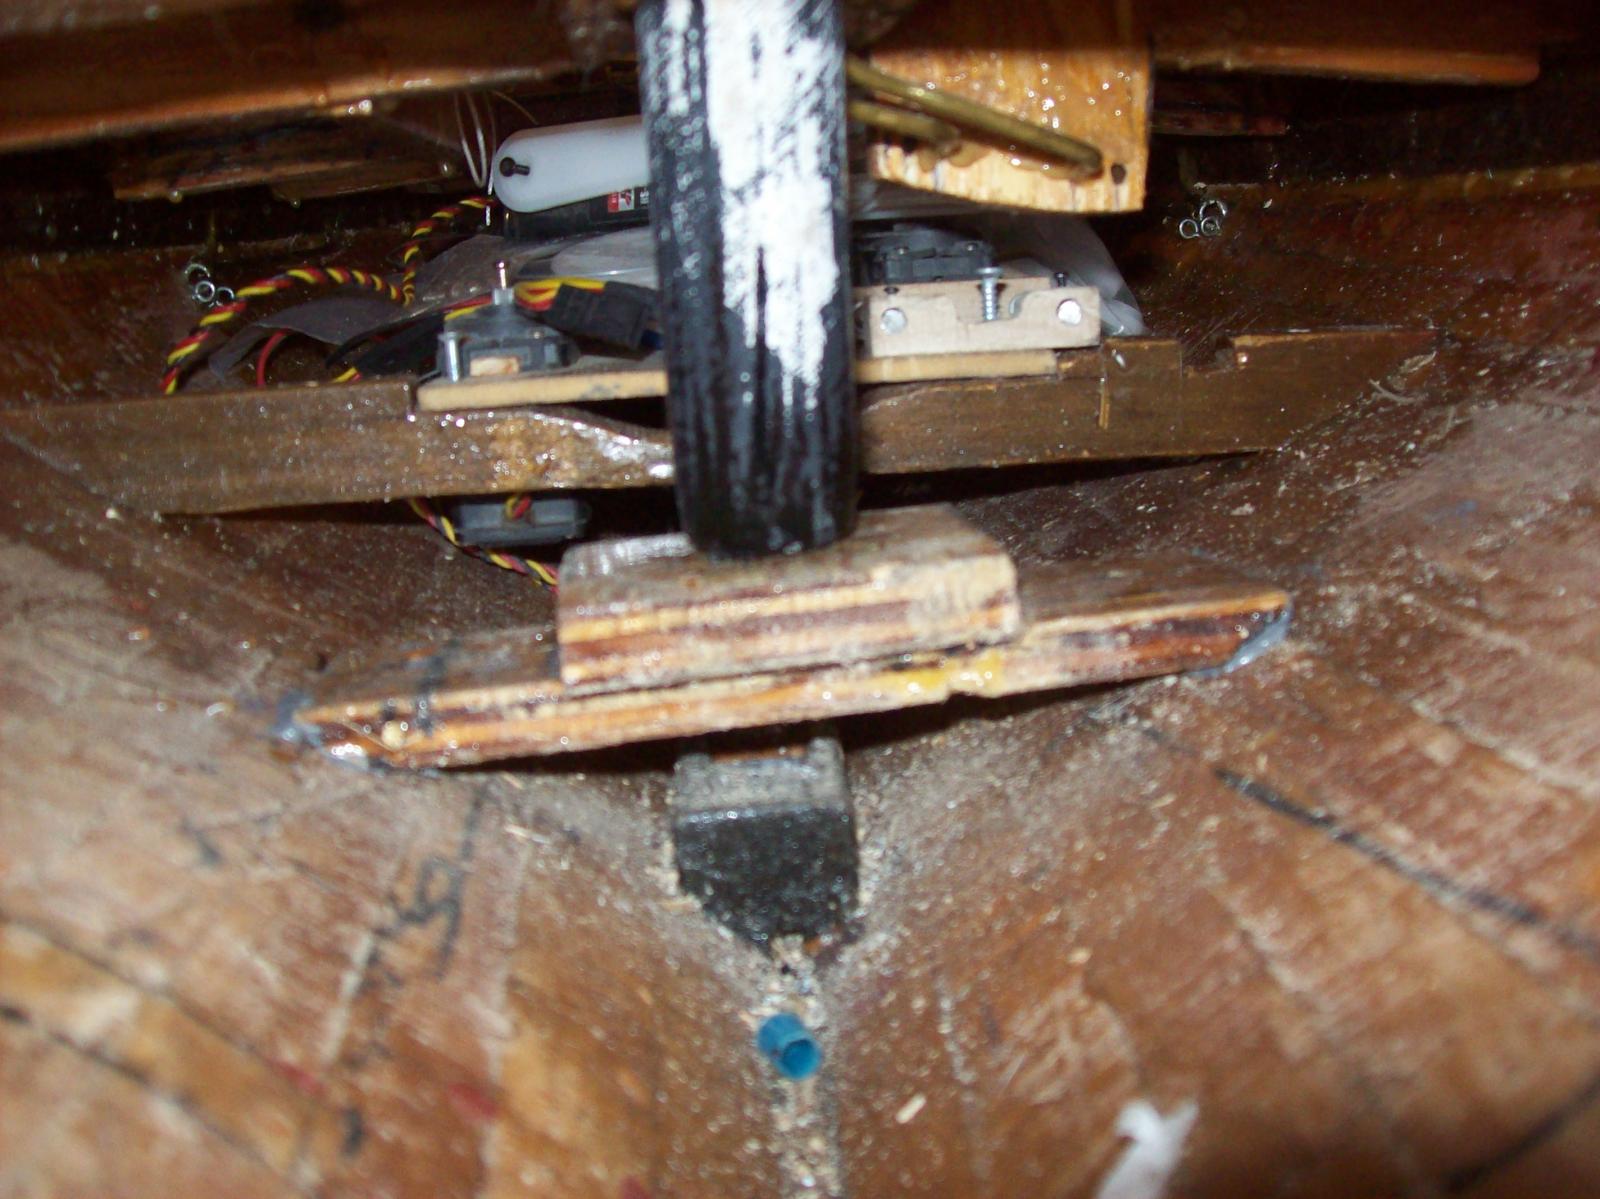
I I did a float test with the keel today. I did notice a few problems when it comes to moving the model as I bumped one of the davits again today, luckily it didn't break but instead came loose from the hull, the channels are fairly fragile and get caught on doorways, the cleats for the gammoning are easy to pop off the gammoning, the figurehead goes exactly where I grab the model in the front to carry it and the weight of the keel amplifies any damage caused by collisions with obstacles wile carrying it. Now to how it held up to the water, I splashed water on the deck and soon noticed the cardboard deck swelling at the hatch corners, the lower portions of the mast had swelled from water that got into the hull and the water inside of the hull would reach the electronics before I would be able to notice her sitting lower in the water. With the 12 pound keel it took six additional pounds plus the battery to get her sitting at her waterline. To test stability I puled on the mast until water started flowing in trough the fairleads this took one pound three ounces force applied to the top of the lower mast to achieve with with the keel about 6 inches (shallow bathtub) below the hull.
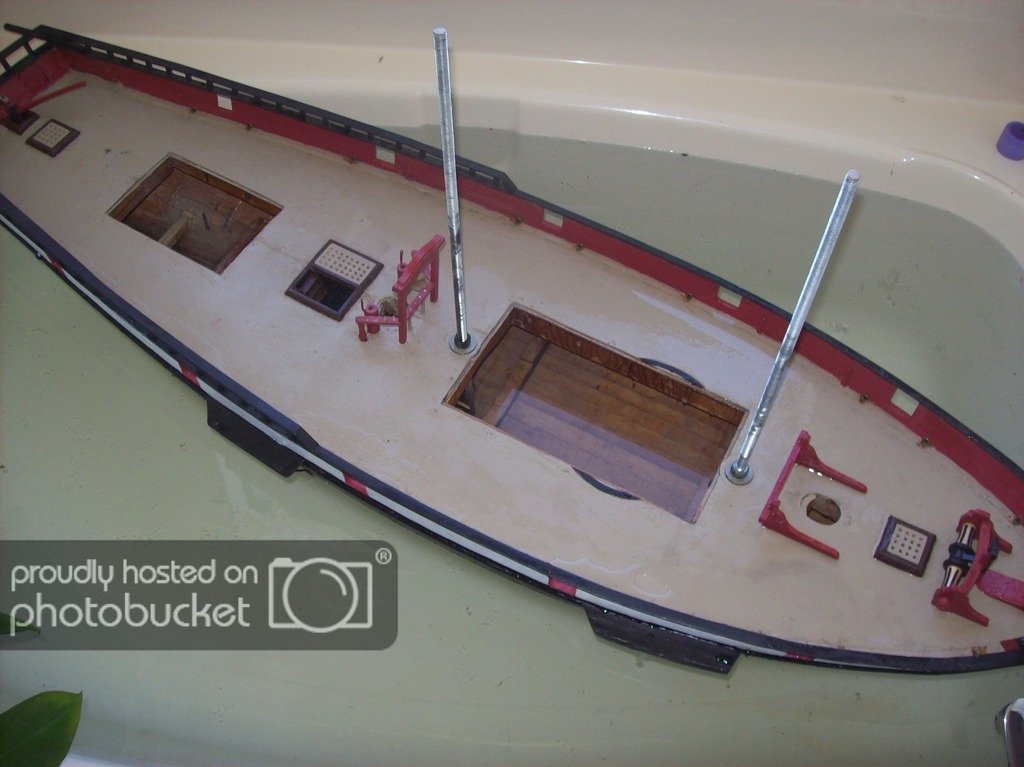
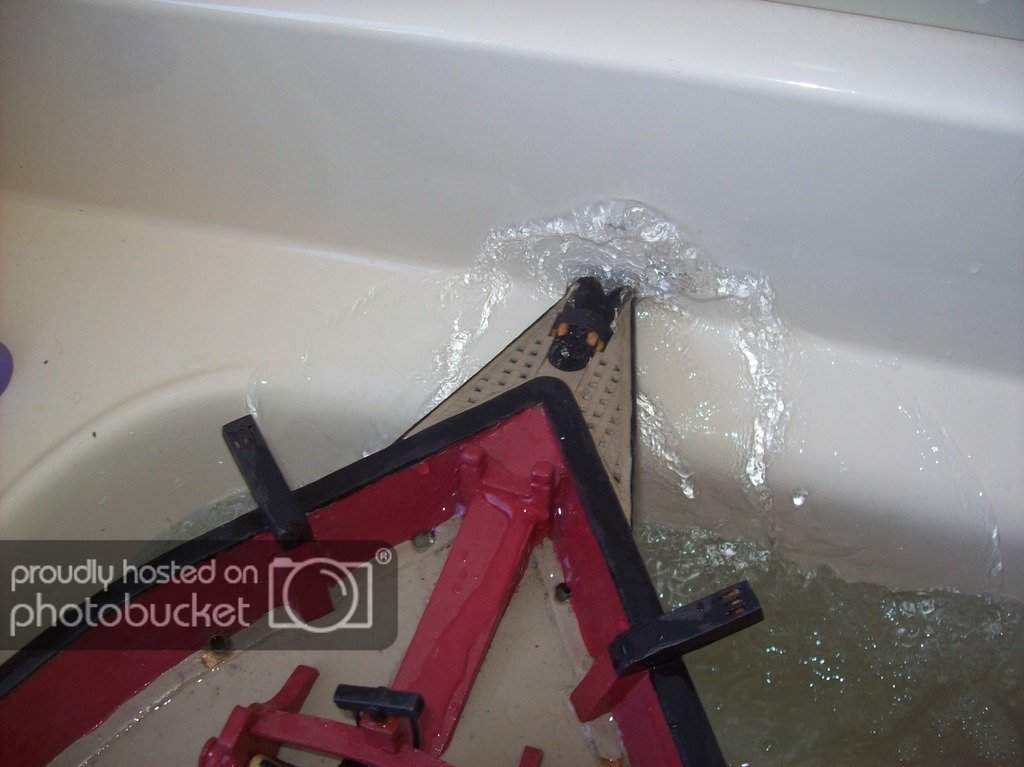
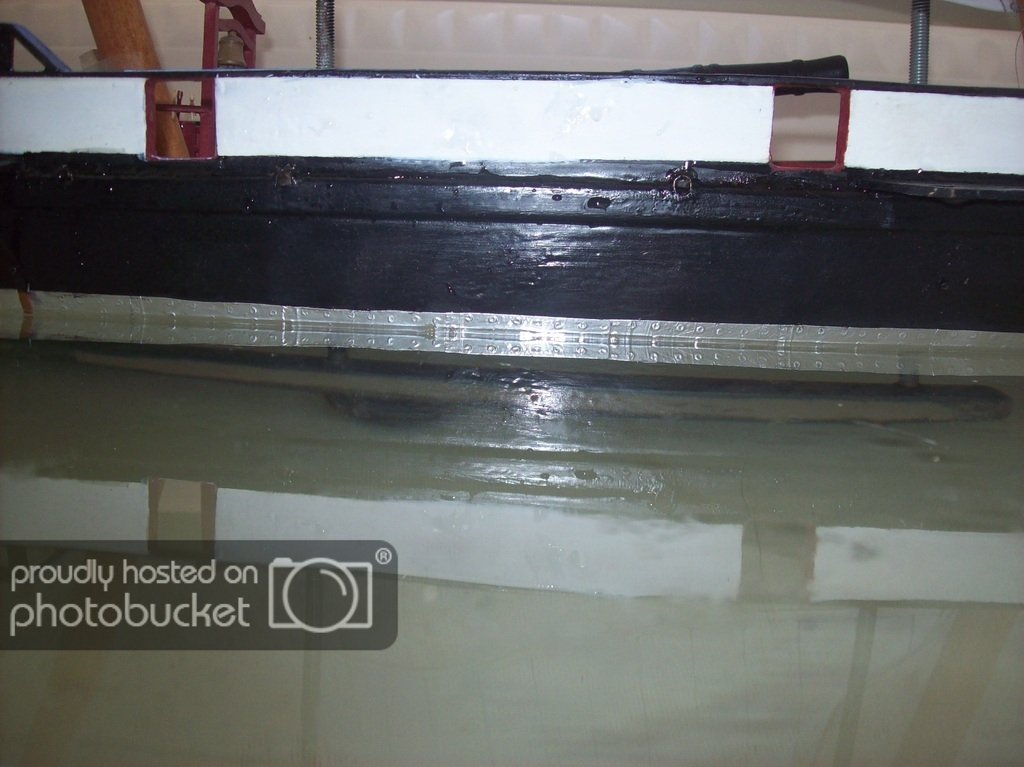
Lextin.
-
I haven't been working on the Byzantium much lately, life has been kinda hectic the past few weeks and I haven't much felt like working on my models. I did however manage to finish up the 'copper' plating today. Sorry no pictures but maybe I can manage to do a float test soon.
- mikegerber, captainbob and mtaylor
-
3


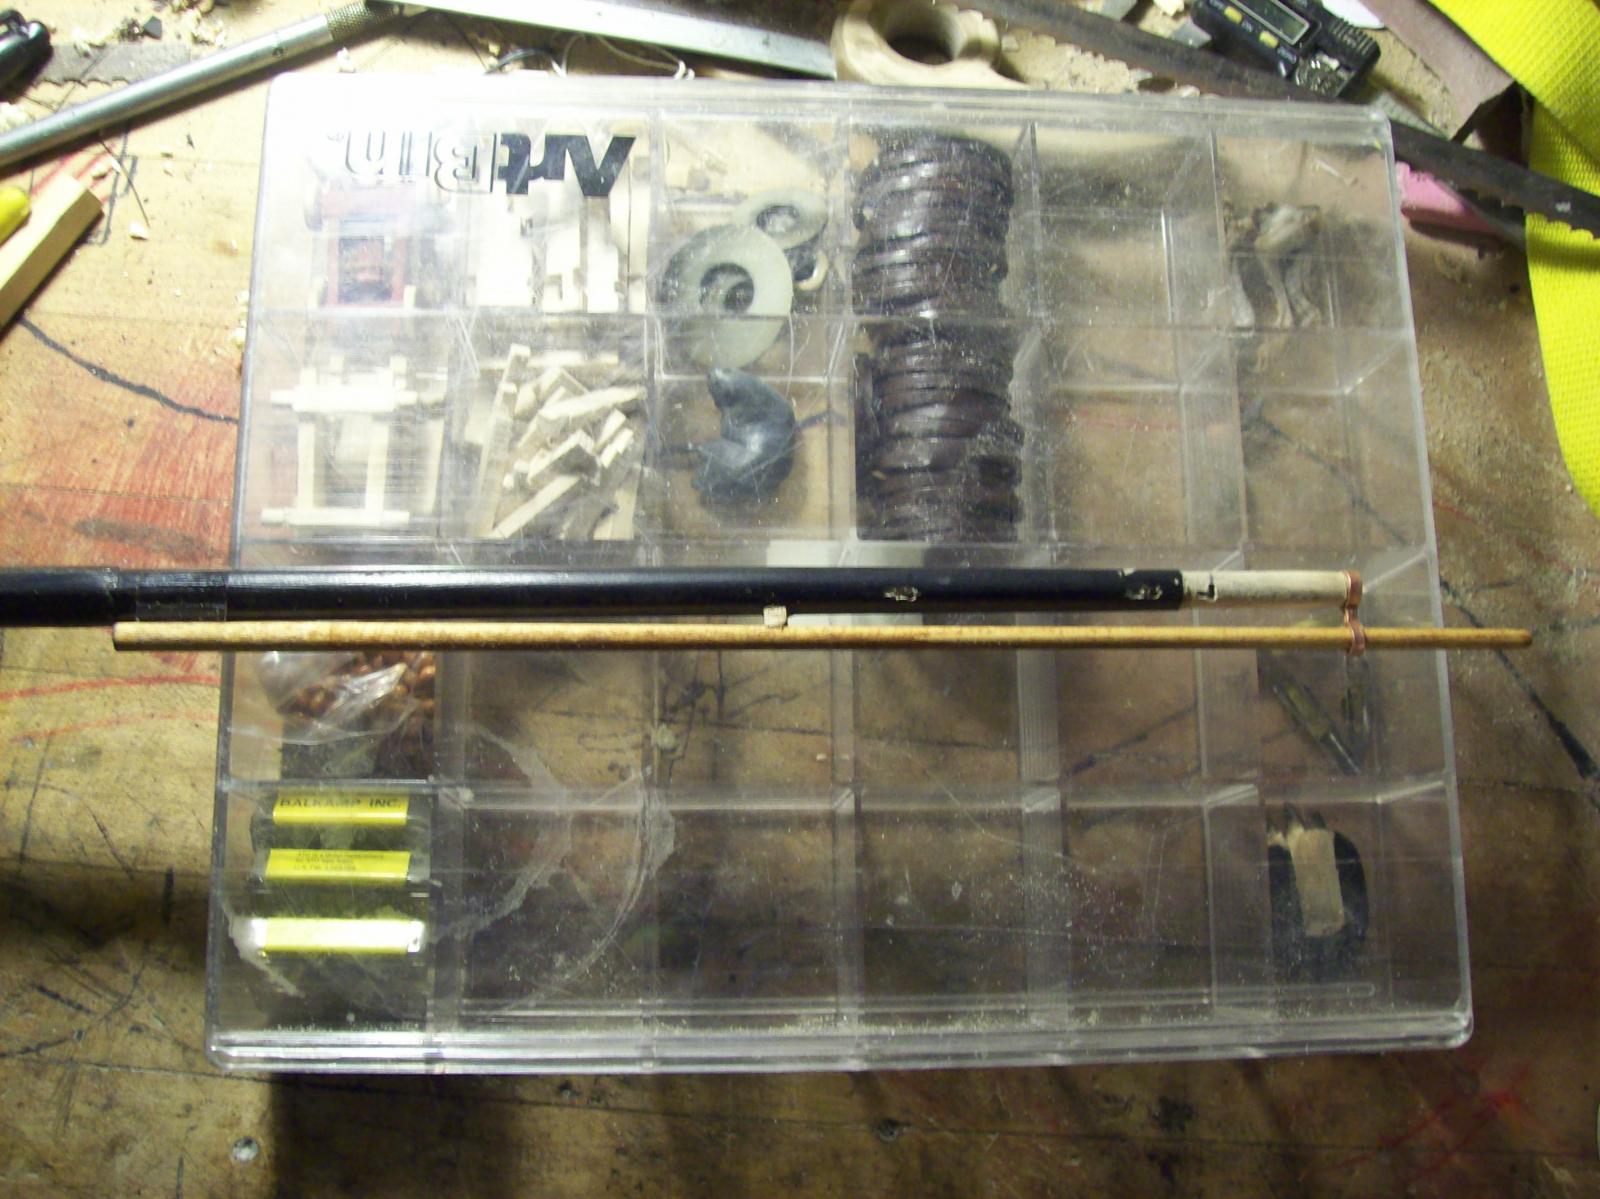


Mast and Spar replacements
in Masting, rigging and sails
Posted
I use mostly Poplar dowels that I get at my local hardware store or craft store. I do sometimes make my own by ripping down strips of straight grained cherry on the bandsaw then making them round using a hand plane.
Lextin.