

Remcohe
-
Posts
607 -
Joined
-
Last visited
Content Type
Profiles
Forums
Gallery
Events
Posts posted by Remcohe
-
-
Thanks guys for you tremendously kind words.
So last week I had a bit of modelers block, don't know where it comes from but happens once in a while. Drove the admiral crazy..... Finally I got over it by cleaning up the shop, and got back to work.
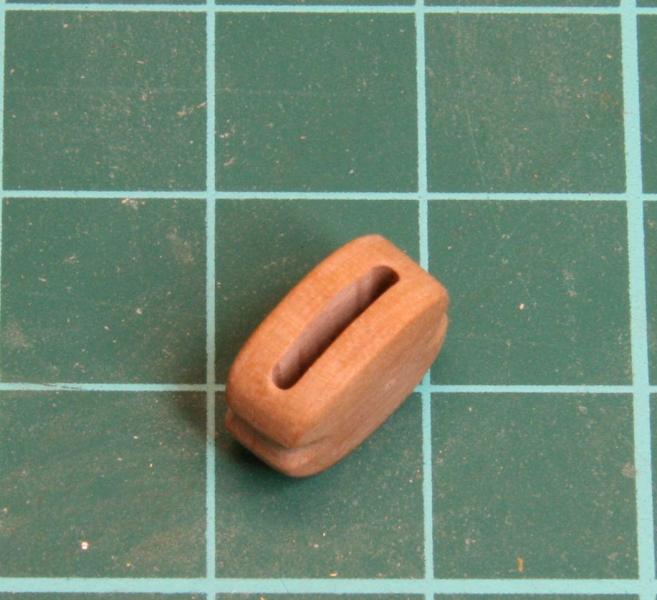
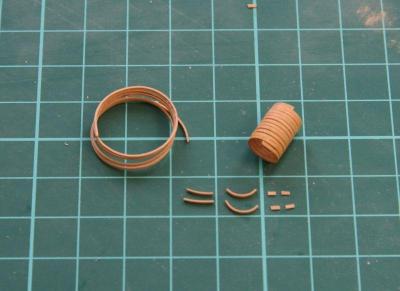
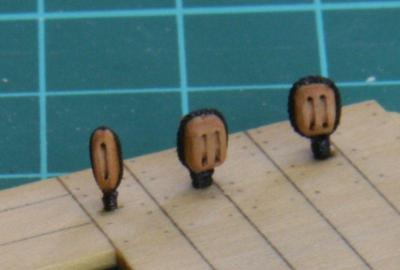
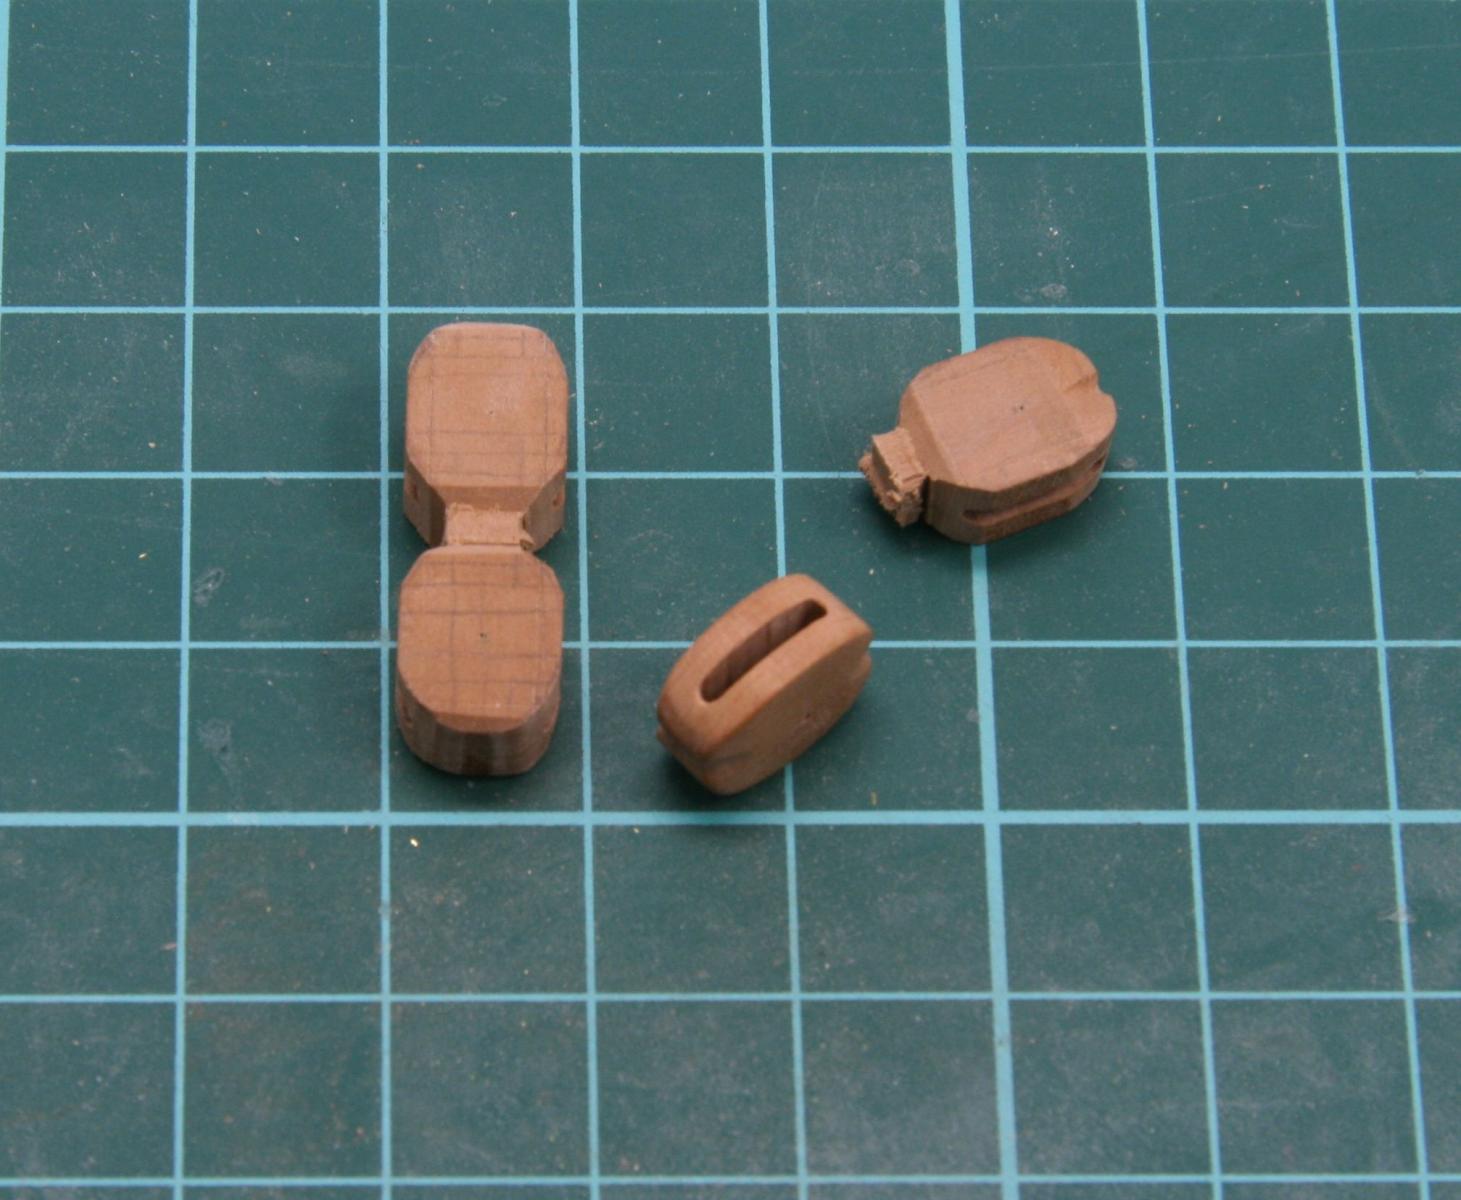
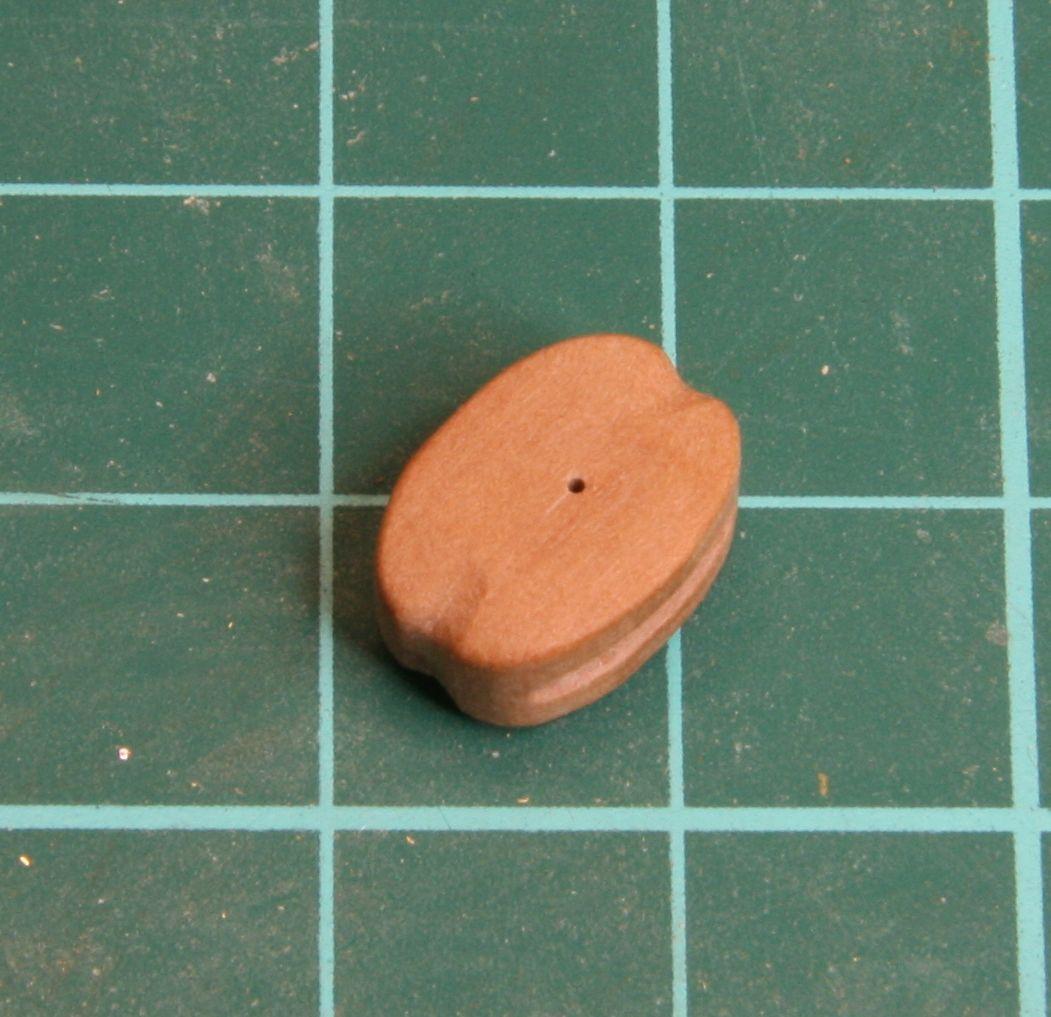
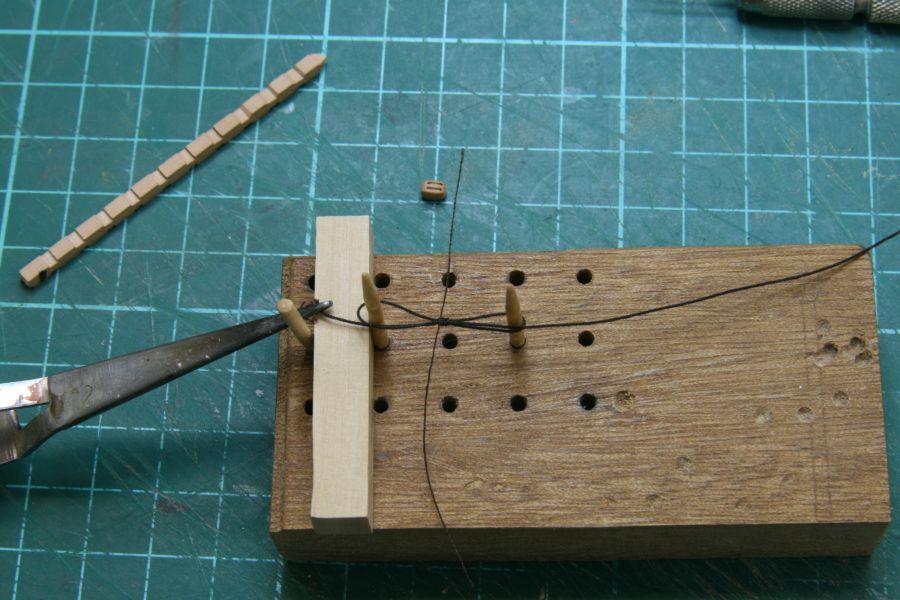
I'm in the progress of making the Jeer tye blocks, these are massive 20" blocks. For a split second I thought of carving the shaves just like the smaller blocks, but having seen Michael Mott's blocks I just couldn't leave it like that.


Advise on the size of the axle for the shave is much appreciated
Bigger isn't easier, getting the shapes uniform is a real headache....
Remco
-
That's a workbench I can only dream of, it looks like it's from a Lie Nielsen catalog, really impressive. I have a small one on order but no where near as nice as yours (rather lightyears off.....).
Remco
-
With a chisel or better a miniature plane with the stock held in a jig. Is the stock you use round or square?
Remco
-
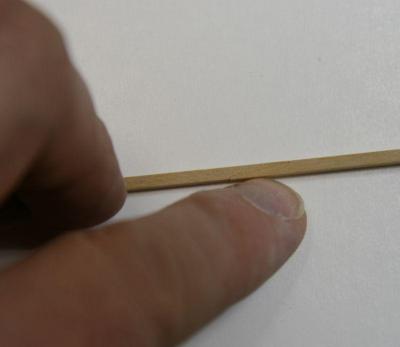
What a sweet little block, without the finger in the picture it looks full sized.
Remco
-
Hi Anja,
It works fine on my Mac and iPad. But what might be confusing is if a picture doesn't fit on the page it's moved to the next page but the box around it is showed on the previous page, suggesting a blank picture.
So the third big picture in part one is on page 7.
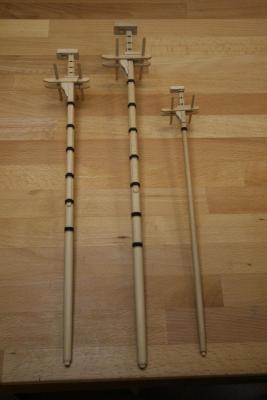
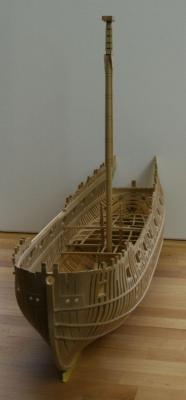
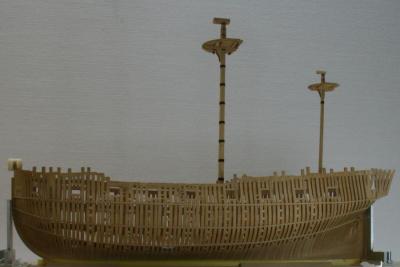
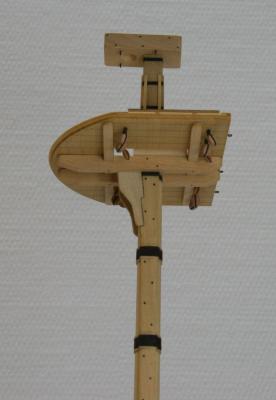
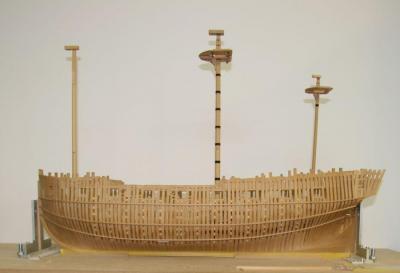
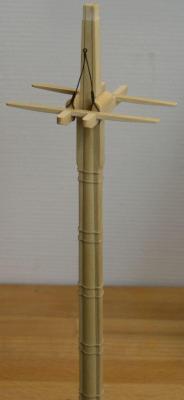
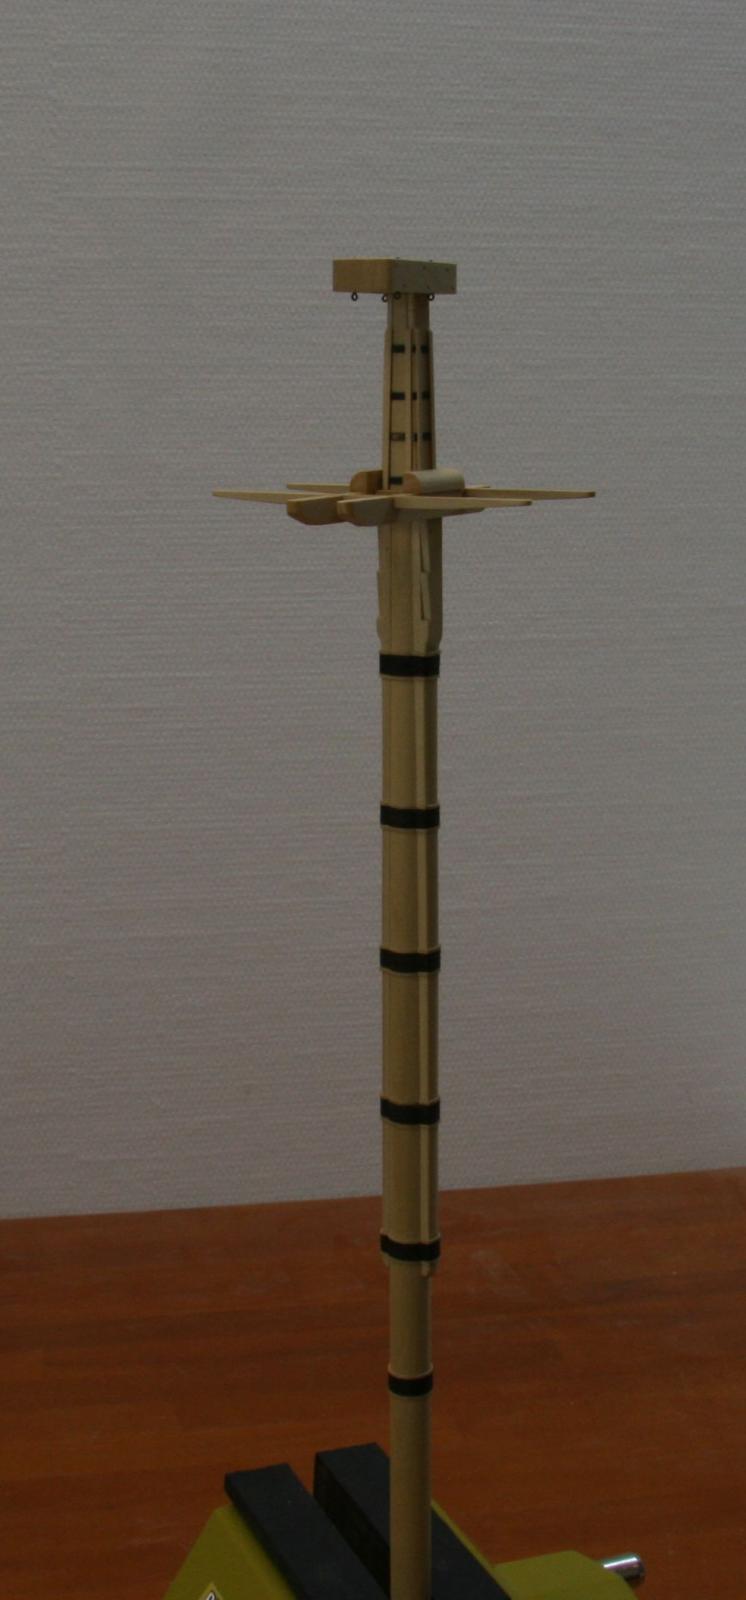
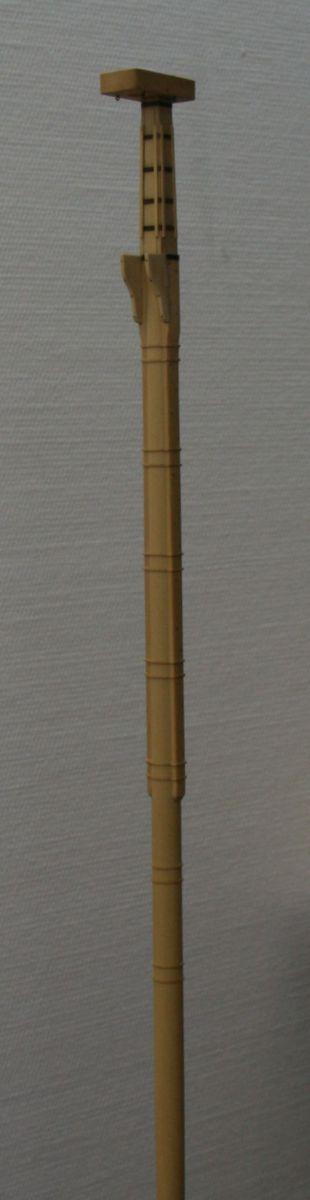
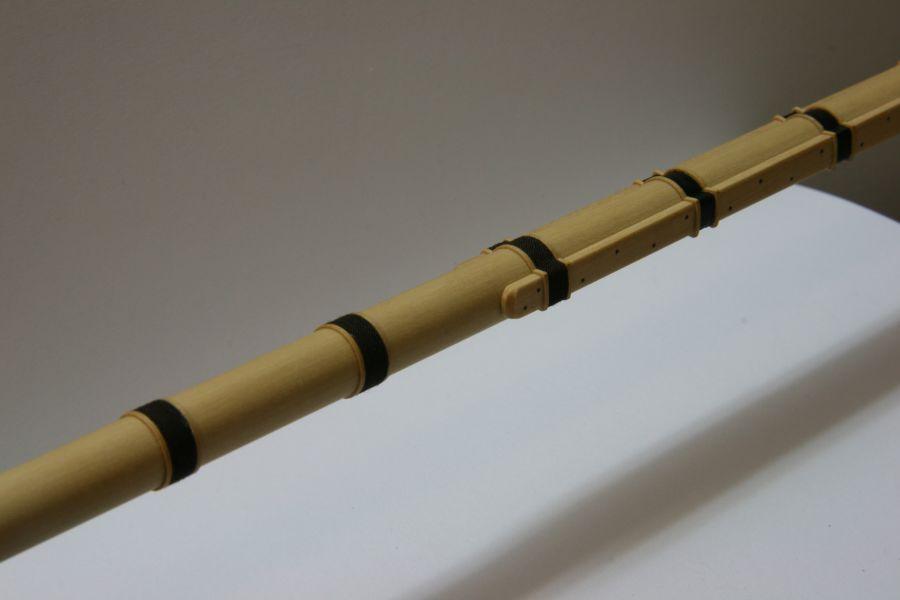
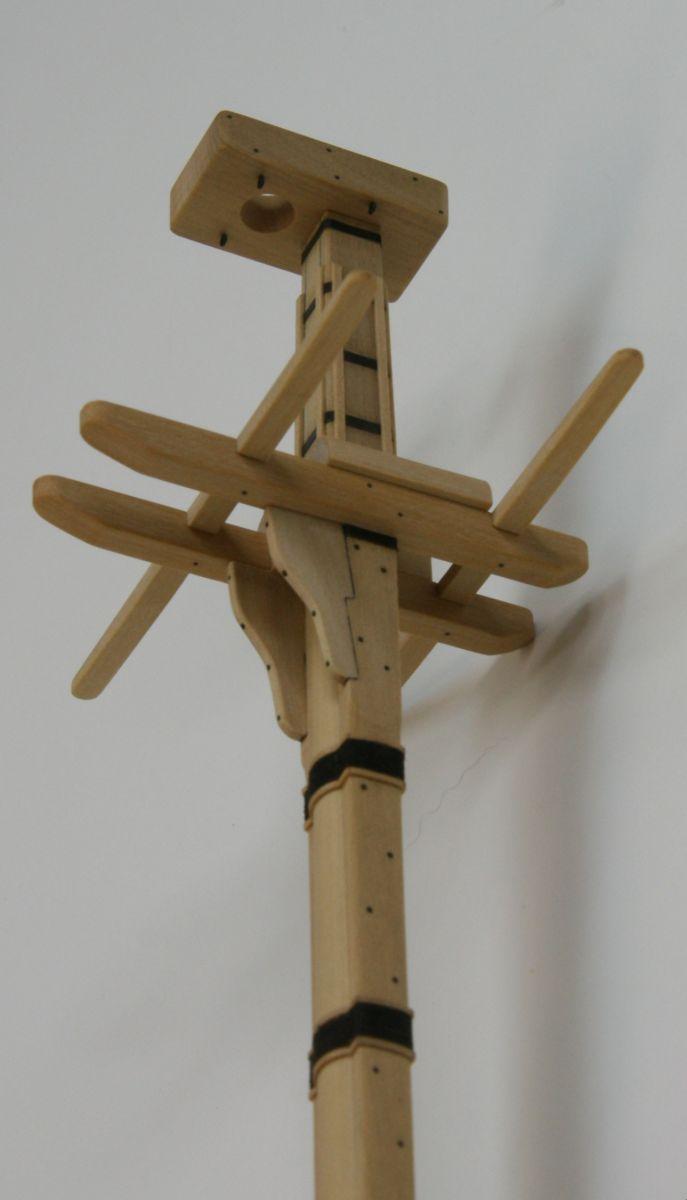
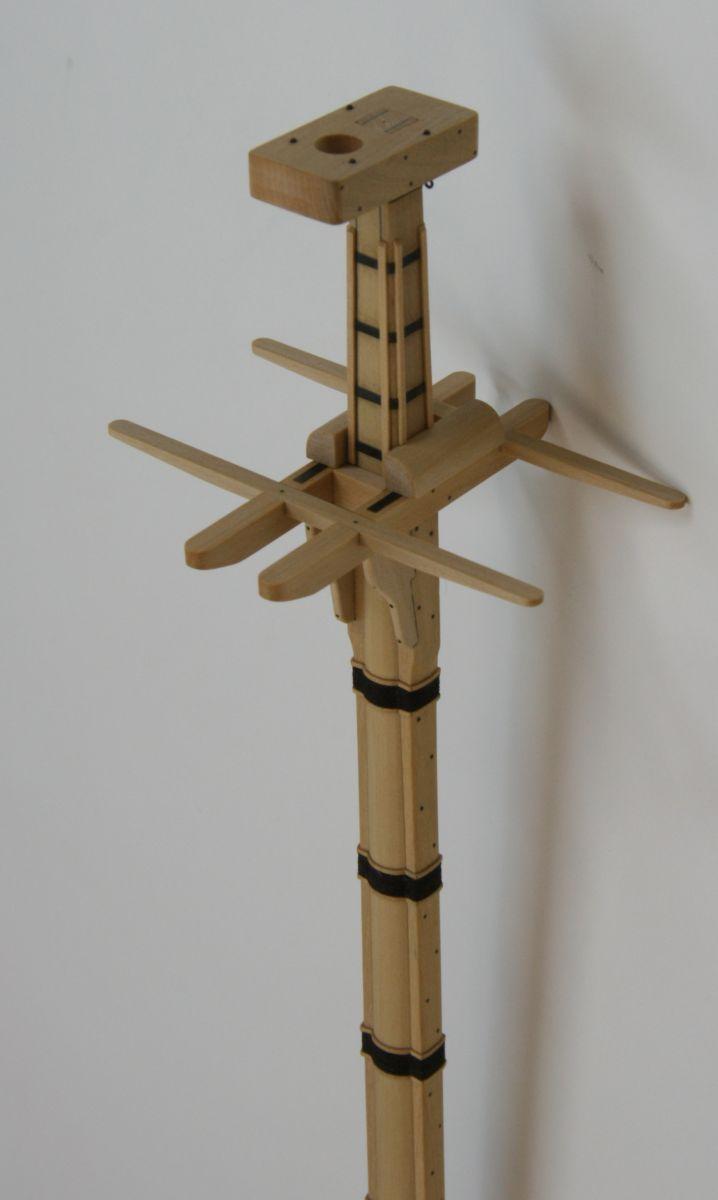
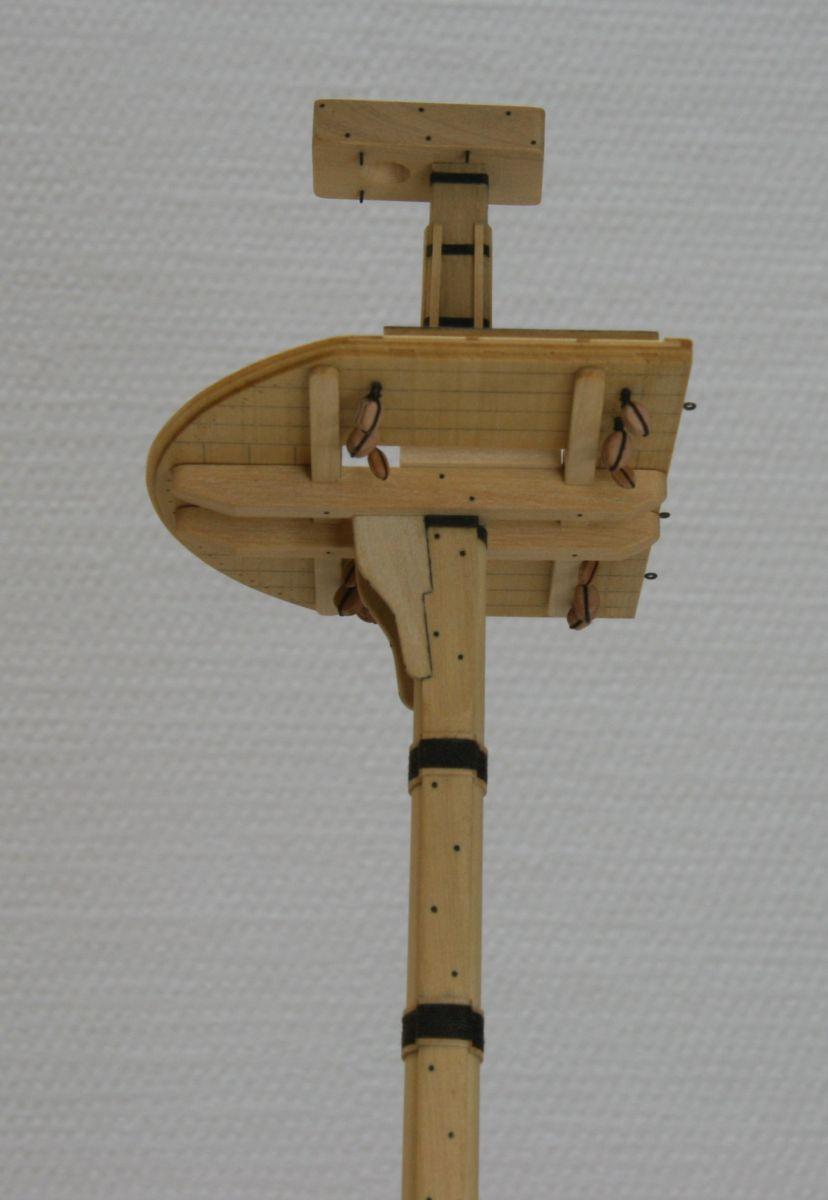
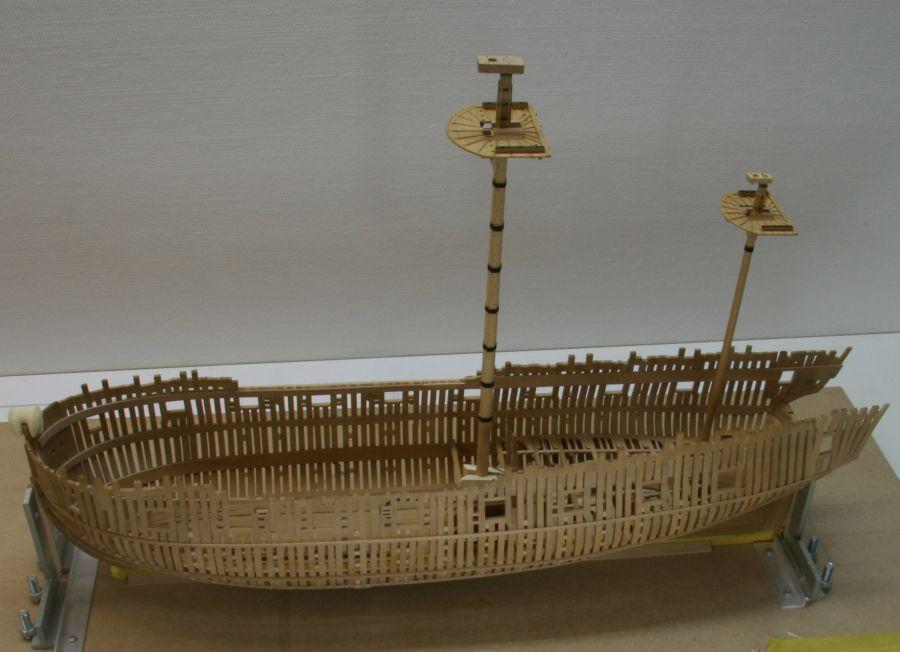
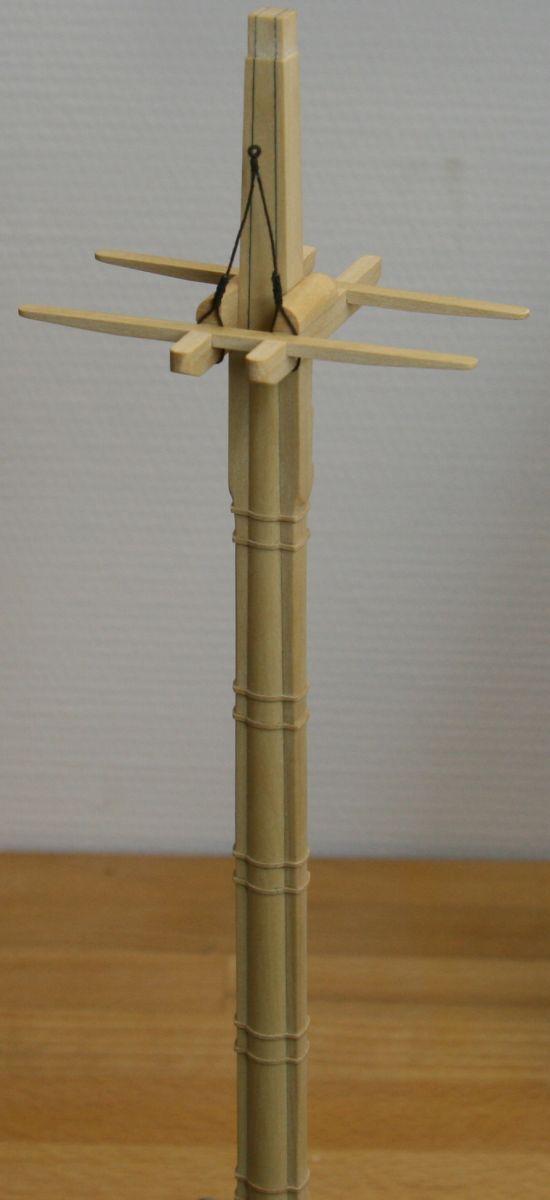
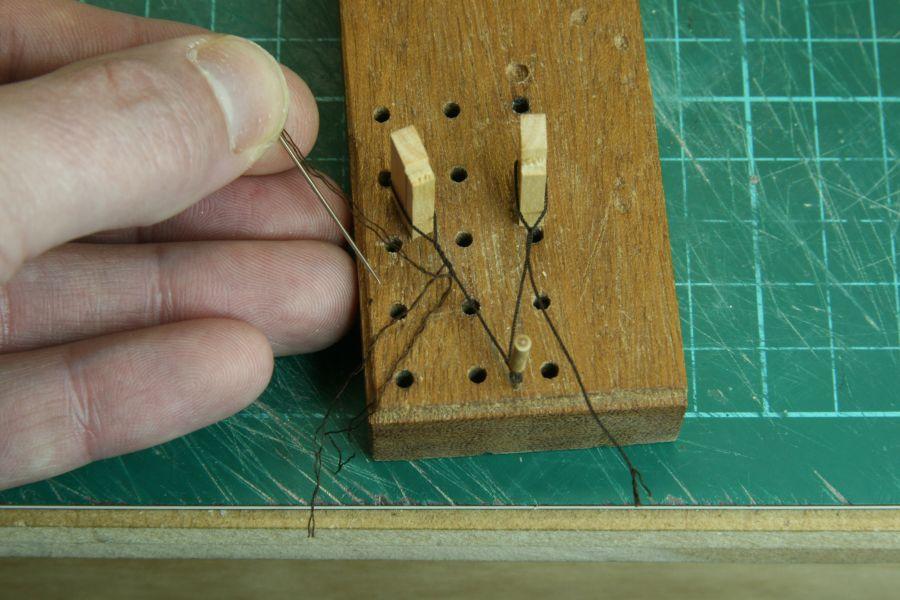
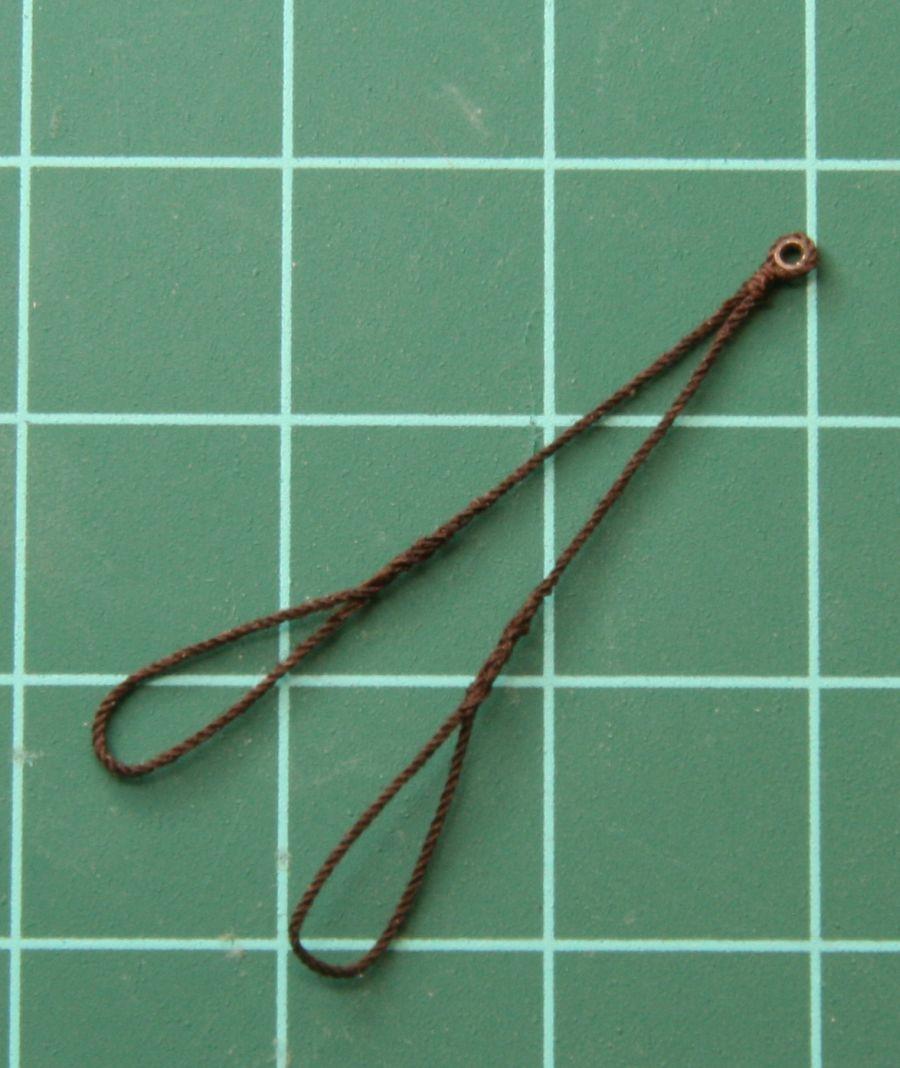
Okay, here's three little mast, the foremast is complete, I just need to blacken the bolts. And for the mizzen mast there is a span to be fitted, but I'm struggling the get a 2" rope served properly, still need to work on my skills there...
Remco
- Jeronimo, druxey, billocrates and 2 others
-
 5
5
-
Nice to have you back too Alex, and I really enjoyed the slide show from start to present. You have one marvelous build going.
Remco
-
Glad to see you're back too Gary
Remco
-
Thanks guys. Mark, you are too kind

So I have a bit of bad news. So Dave (Midnight) saved my log previous to MSW’s move from 1.0 to 2.0.
He was ever so kind to share these files with me to rebuild my buildlog. Unfortunately I’m not able to convert the PDF’s
back to text to get them back into my buidlog. So instead of typing the lot over again I decided to put the PDF’s on a public share where every body who’s interested can download them from.To make live a little easier I compiled a small index so you now what to expect in each PDF.
All the PDF's can be found here. I know it's a bit of a disappointment not to be able to put the information back into this log but the good news is nothing is lost. Any comments of how its working are welcome.
And now it's time to make some sawdust!!

Remco
-
Truly marvelous work Remco . Glad to see it up and running again .
Cheers Dave
PS . i have sent you a PM about your log i saved .
Thanks Dave I got all the files in good order 58 Mb
 of pdf content to process..
 Good morning Remco!
Can I ask you to explain your "treenail technique"? How you get so small pieces of wood in diameter and the wood you used for them. Is amazing to see the framing process on your log.
It used to be a topic about this.
Thanks and good week to all!
Daniel.
Daniel, I use the Byrnes drawplate and use boxwood from Hobbymill cut to 0,8 x 0,8 mm strips. Its a matter of gently pulling the strips through the plate.
Hi Remco,
Your Build log s definitely appreciated again. I am amazed at your perfect wood and metal craftsmanship.
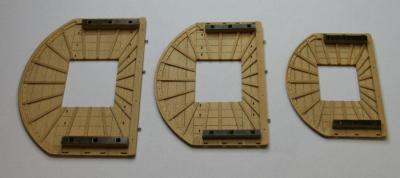
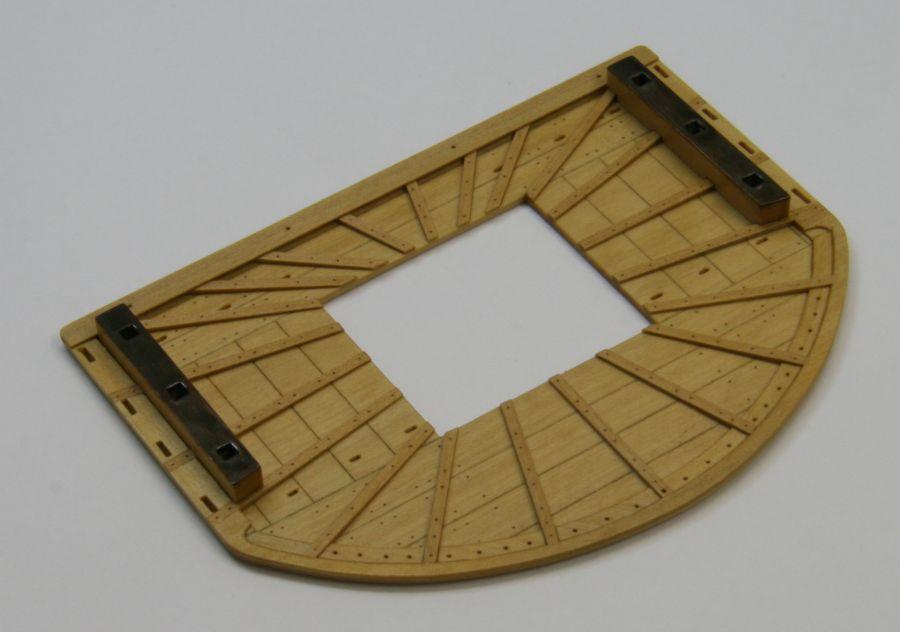
Is there any way you can perhaps post a tutorial on how you manufactured your metal hinges like the one in your image "IMG_7922.jpeg"?
Unfortunately I didn't take pictures of the process. If I remember right I flattened brass rod, cut and filed the pieces into shape and silver soldered them. By the looks there are 3 pieces, the bolts are simulated by drilling small holes.
Remco
-
Glad you're back Toni.
Remco
-
Thanks for the kind words folks.
Glad to see you repost this great build mate.
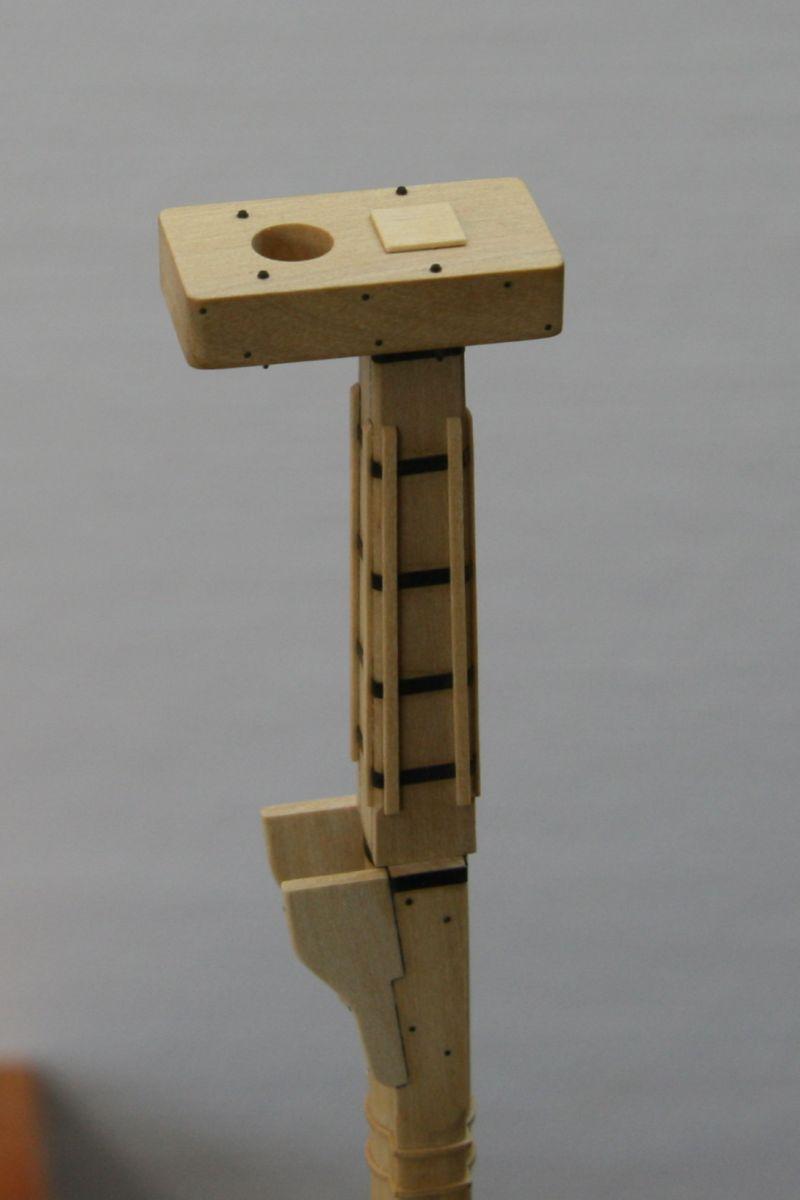
A quick question. How do you fit the round hole of the cap to the topmast (place the topmast into this hole)? I am building the caps for my Endeavour and find that with the 6 sided beveled conical piece at the top I simply cannot slide it through and I have had to cut the calp[s in two longitudinally.
cheers
Pat
Well the topmast is supposed to slide in from underneath, so if I make it the right size it will fit like its supposed to. The Swan's topmast is octagonal at the bottom and round from there on to the top
Hi Remco, is there no end to your ingenuity to find solutions to the problems you encounter in this marvellous build, thanks for sharing it with us.
Martin.
 Only time will tell
Remco
-
Thanks all for your kind words! It was fun for me too to go through all the pictures and make a summary of what has been going on over the past years. Brought back a lot of memories. There is more but I didn't want to make it too long. Dave (Midnight) has a backup of my log and Dave and Danny are sorting things out to get it in a format easier to repost. So hang on and at some point the text will be back too.
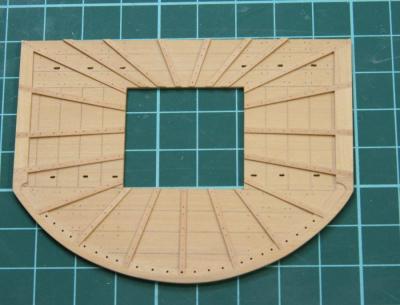
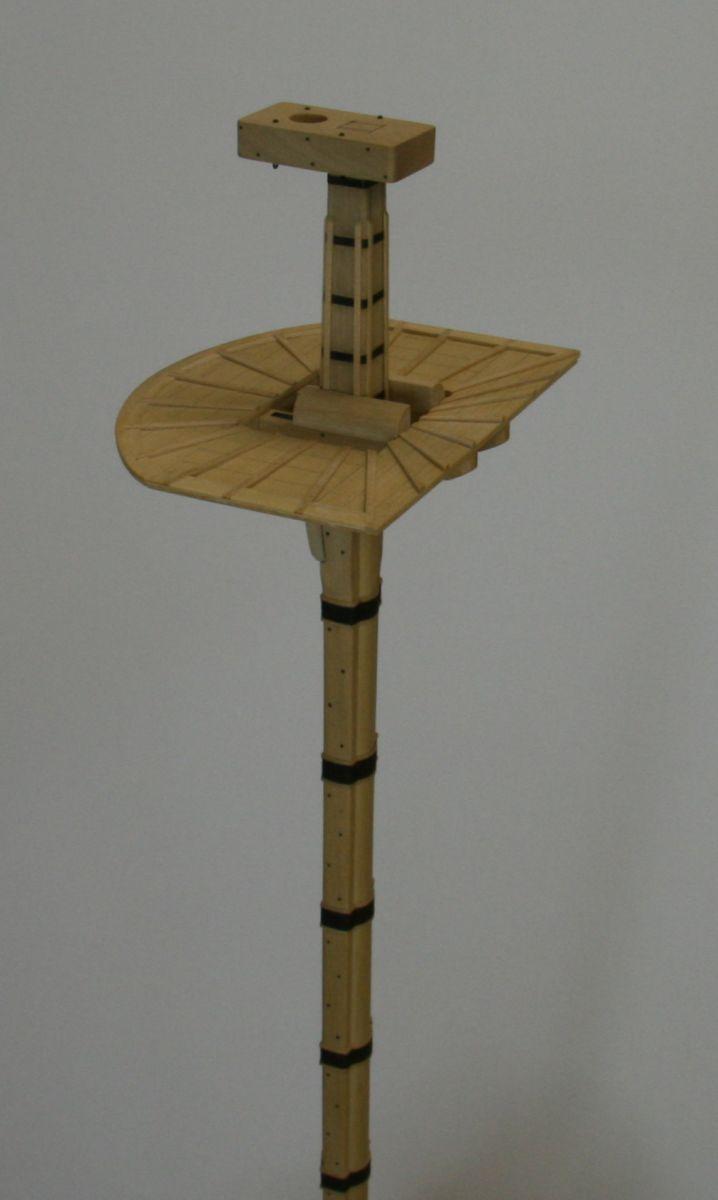
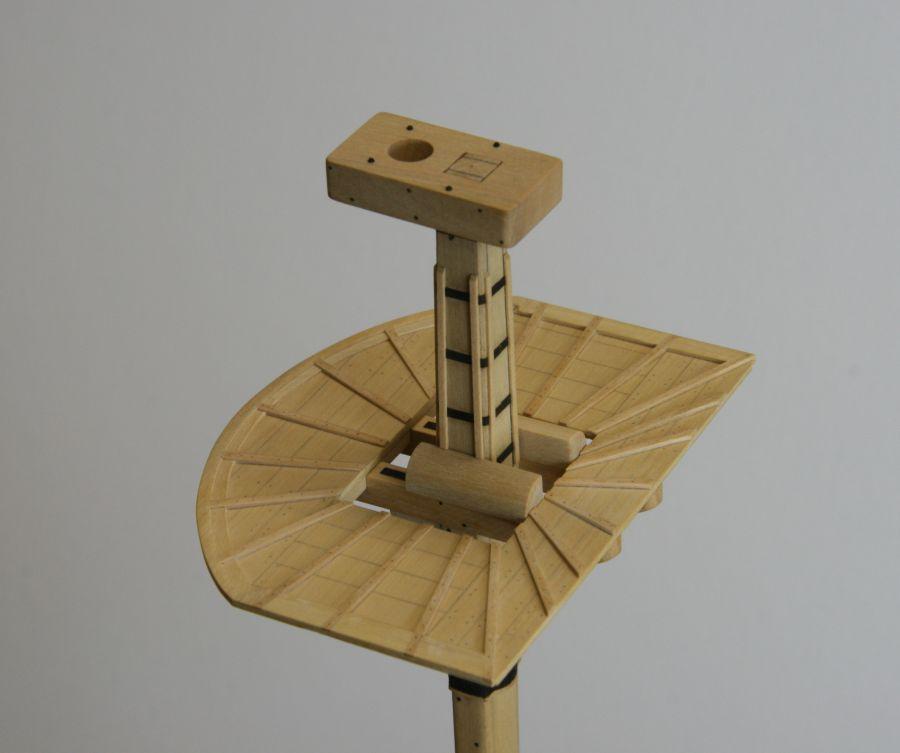
Greg, if I'm going to add the items (I'm not sure yet) it will be when the fore platform is ready. I think the sequence will be finishing the main mast partner , switching to the fore platform. And then adding the ballast. I need to figure out a way get them secured permanently. There will be lots of handling of the hull for time to come and I don't want to have pieces flying around. I think it's wise not to use the gravel.
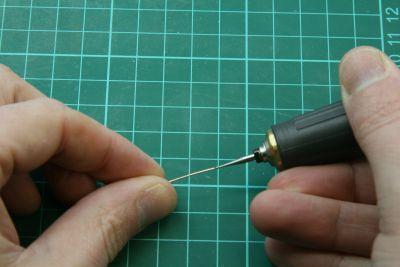
So now I'll reconstruct my last post on the old log and than move forward. It was a little how to make copper bolts, I use them extensively
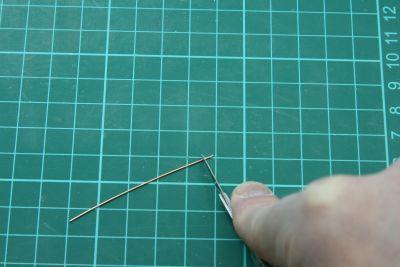
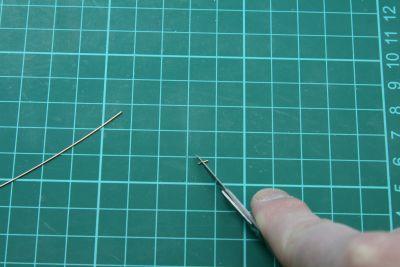
First the end is rounded off with a cup burr
The bolt is cut
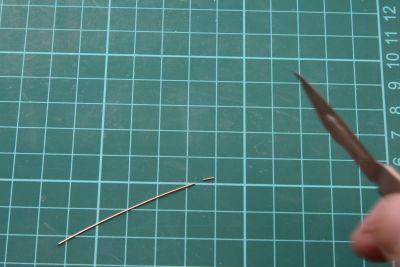
The cutting leaves a little burr on the edge that needs to be removed, other wise I'm having a hard time inserting the bolt in the hole (my drills are 0,5 mm and the rod something like 0,47 mm so the burr gets in the way). Rolling a steel ruler over it does the trick.
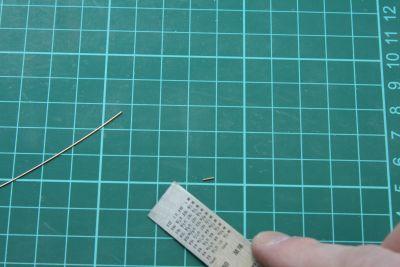
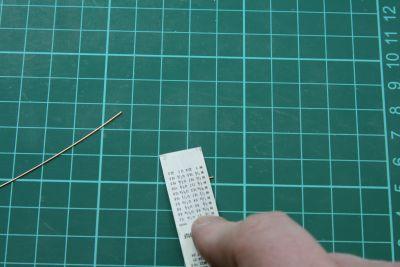
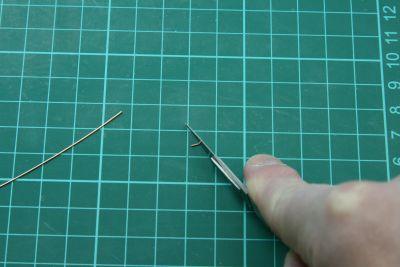
Next up is making a thin burr half way down the bolt. This will keep it in place so I don't have t use glue to fix the bolt. The blade is rolled diagonally with light pressure over the bolt.
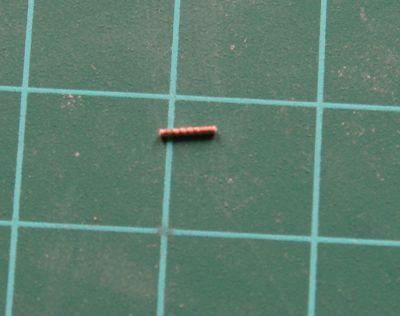
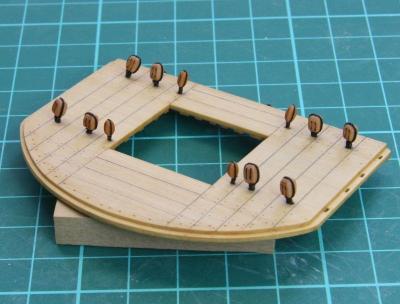
Now the bolt is ready to be installed, I use a home made pushpin with a small hole in the tip so the dome of the bolt will protrude. Blackening is done with liver of sulphur once installed. I make them in small batches so it doesn't become to tedious. I don't dare to make an estimate of how many bolts will be used in this ship.
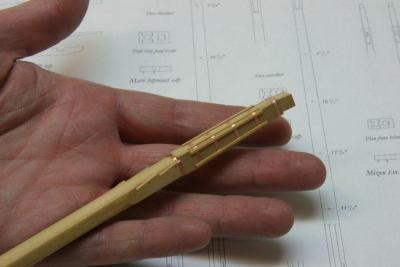
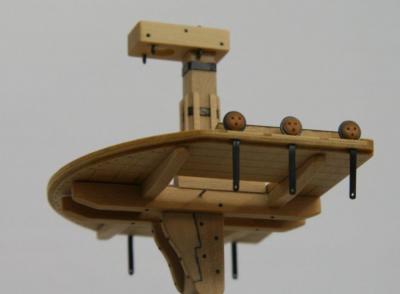
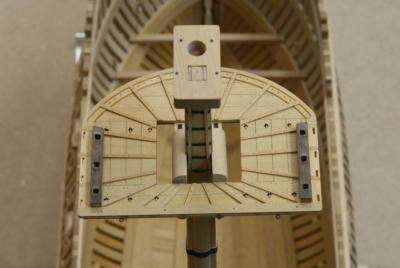
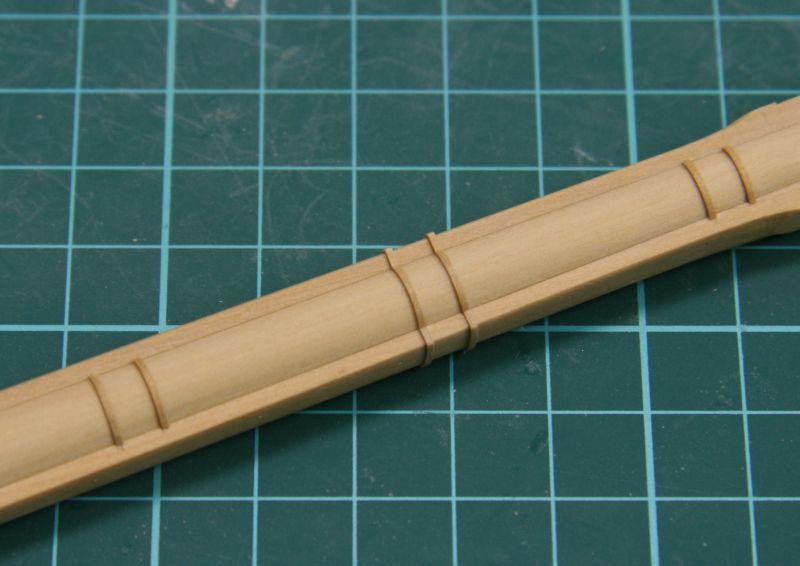
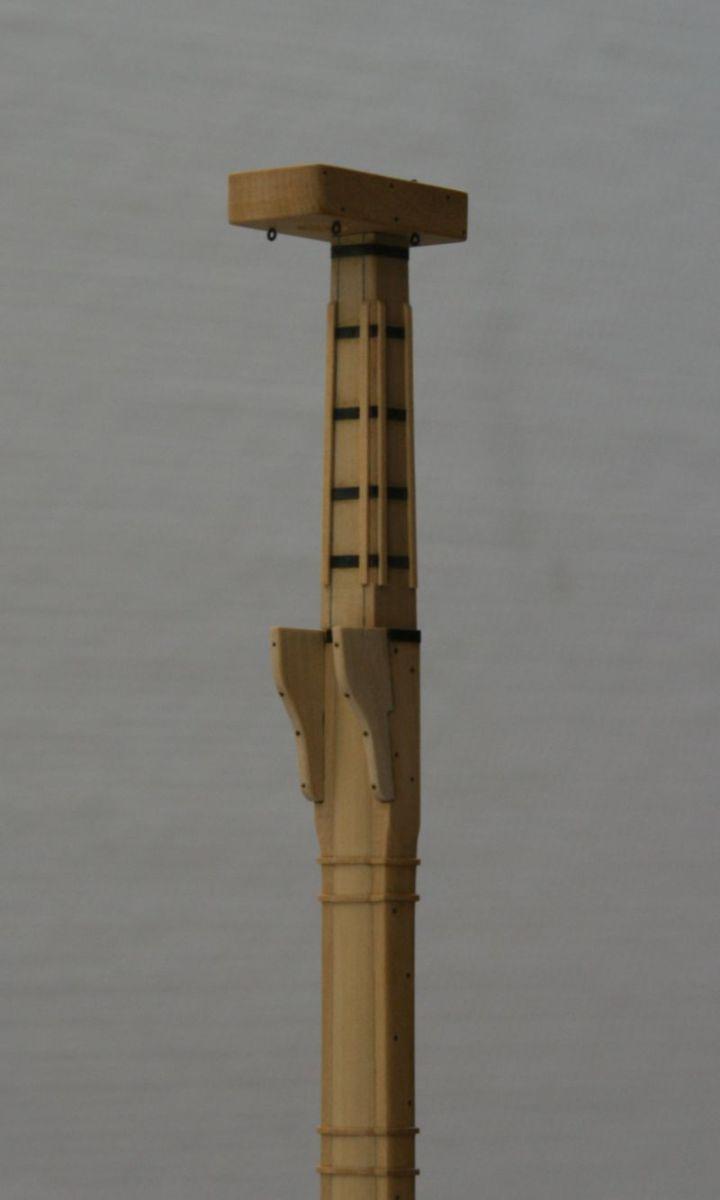
And here's the current state of the foremast, holes can be drilled in the cheeks for the bolts.

- Jeronimo, archjofo, paulsutcliffe and 5 others
-
8
-
-
I don't mind seeing your build from the beginning
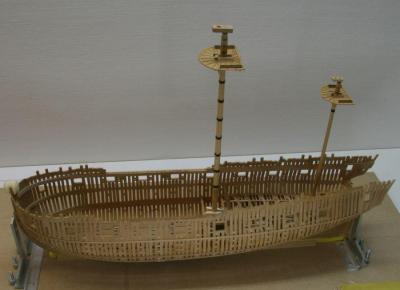
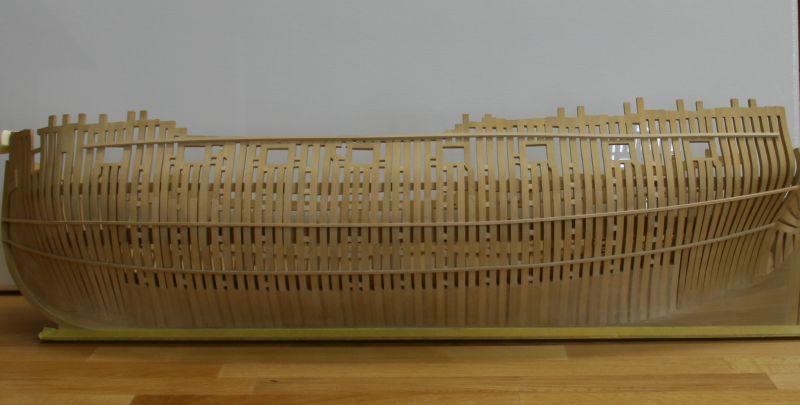
The hull looks unbelievably clean
Remco
-
When reading all the executive summaries and management summaries it just dawned on my how fast time flies by. She really is impressive Grant.
Remco
-
Ron, I sure hope you get the pictures back. There are these small docking stations and travel cases to connect hook up an old drive.
Remco
-
-
To bad your log was lost, but this still will be a great model, that will never change. I can imagine she was fast, she's got a whole lot of sq ft sail
Remco
-
Thanks Ryland, Håkan, Carl, Sherry. Danny I hope he does, I sure do.....
Remco
-
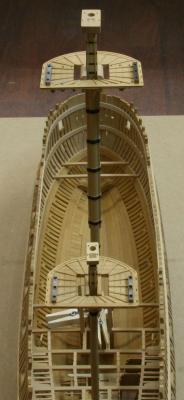
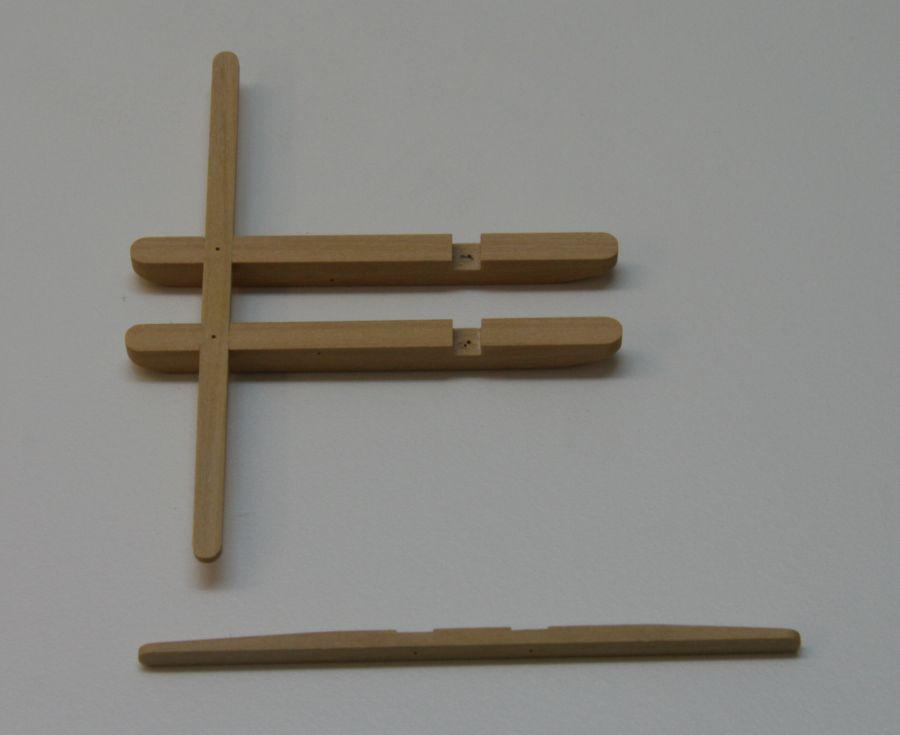
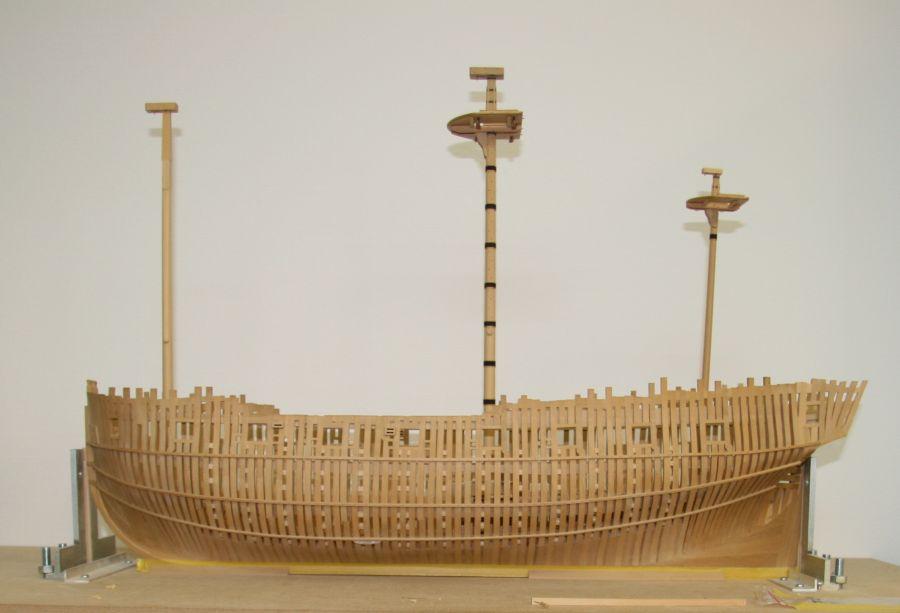
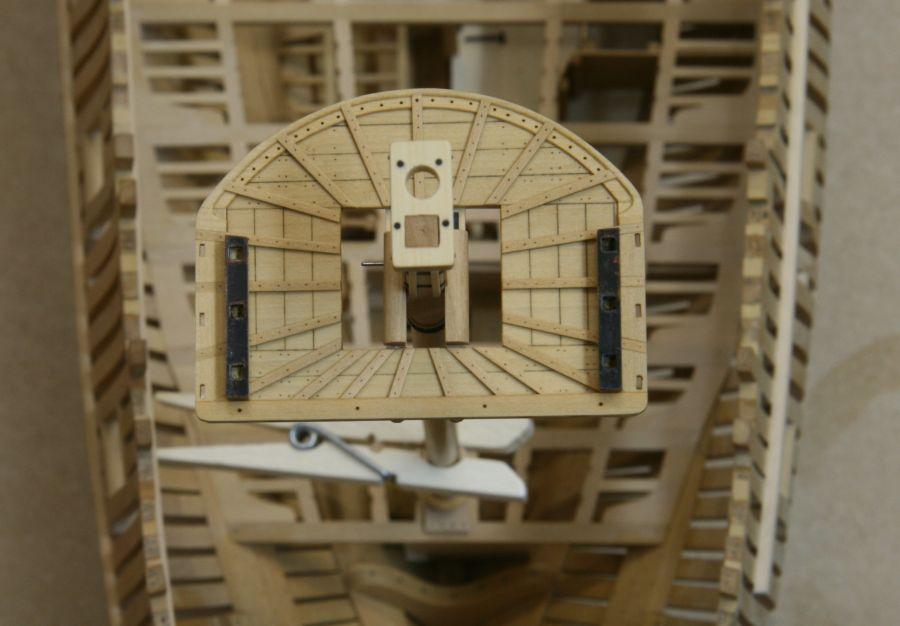
The lower masts and mast tops


-
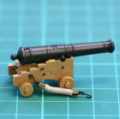
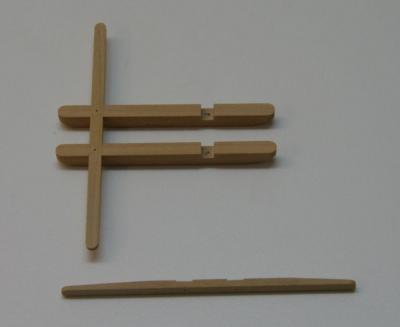
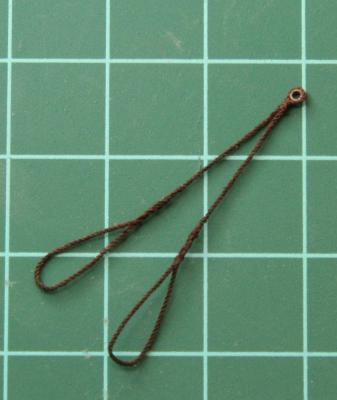
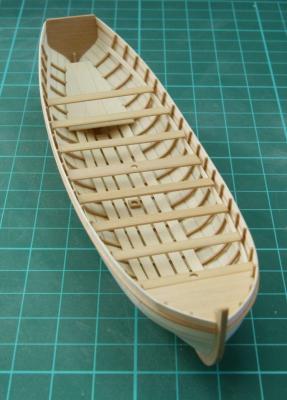
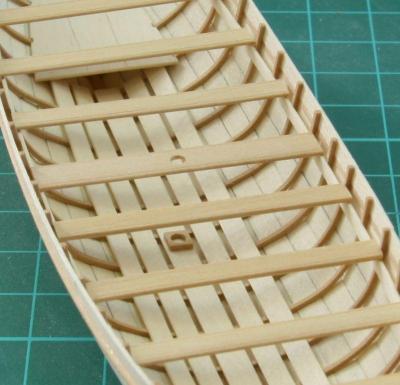
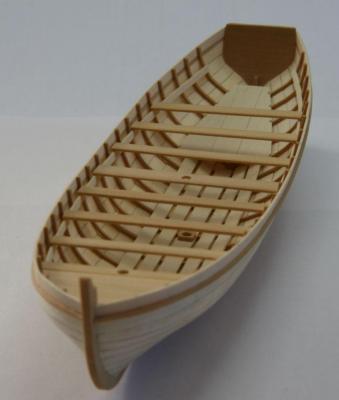
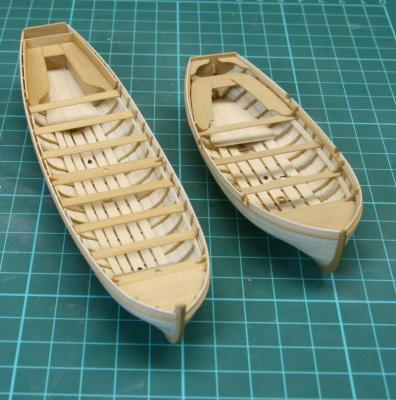
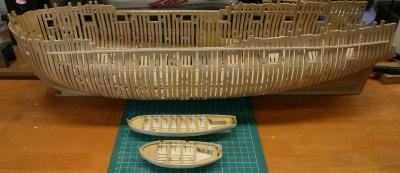
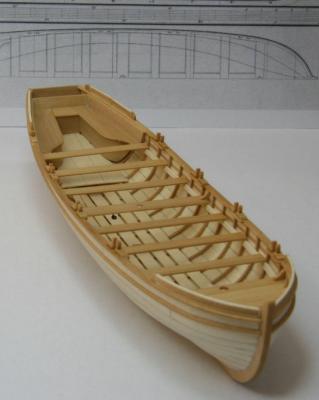
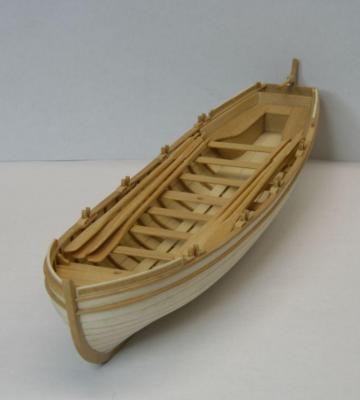
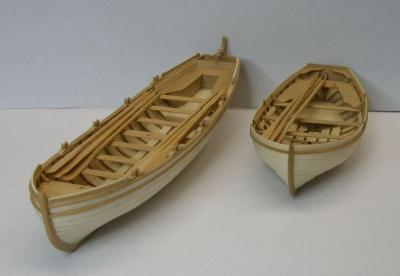
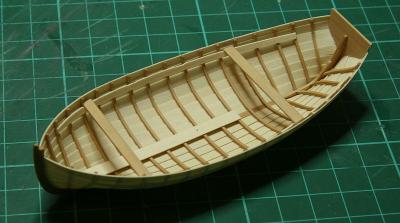
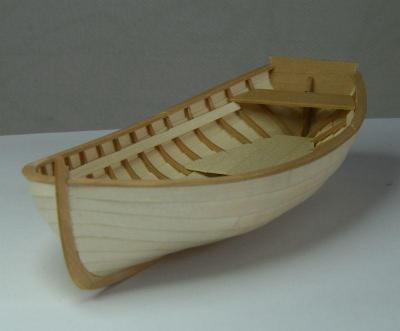
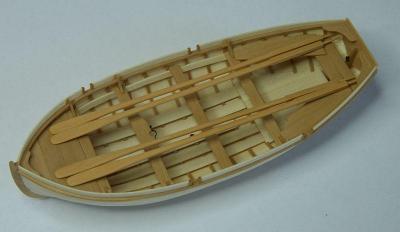
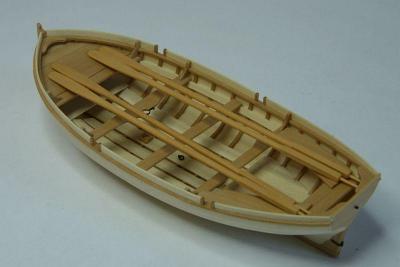
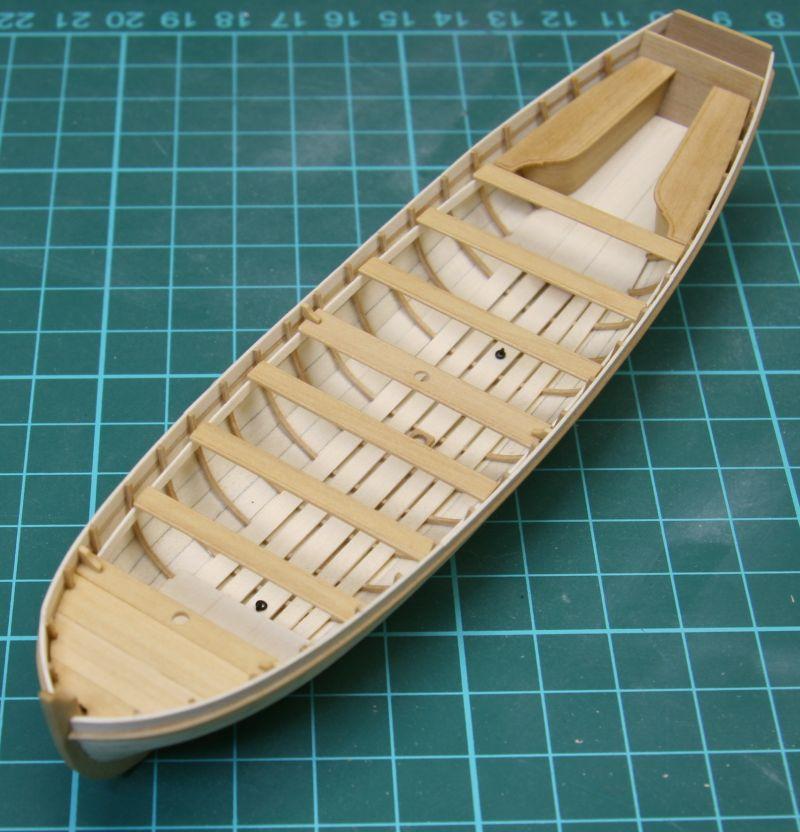
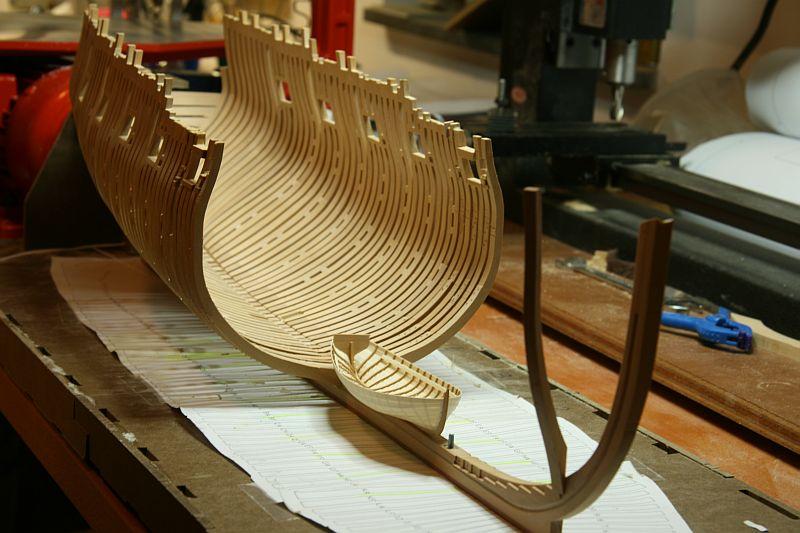
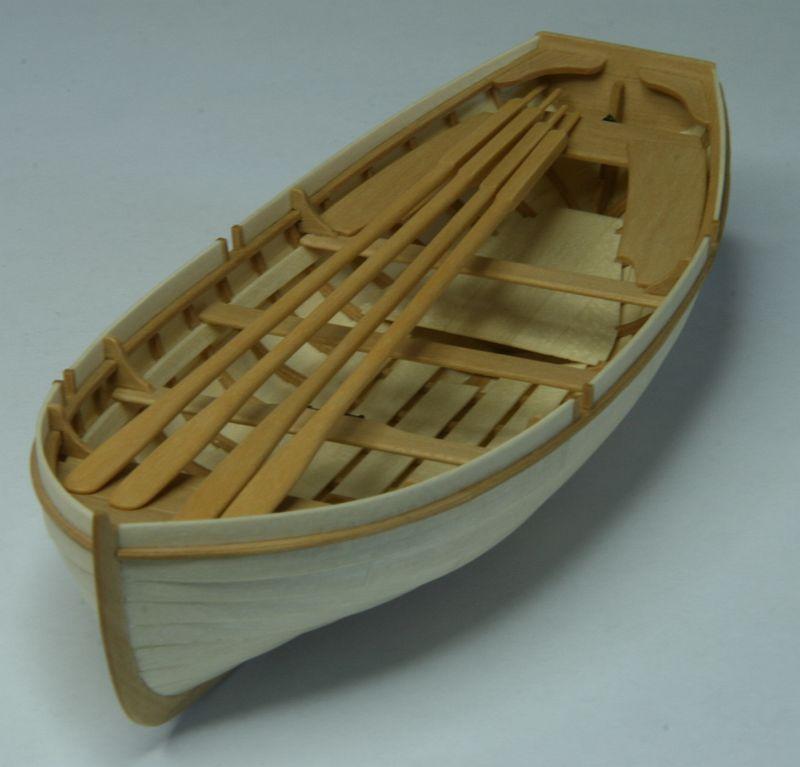
The pinnace was build from a NMM plan


- Karrex, Salty Sea Dog, bonkers and 17 others
-
20
-
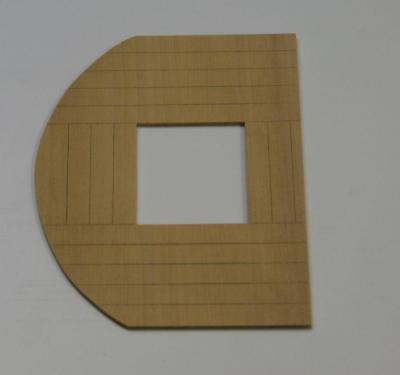
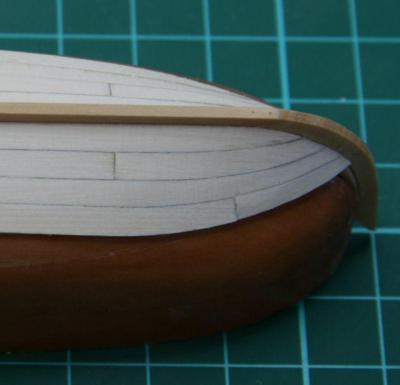
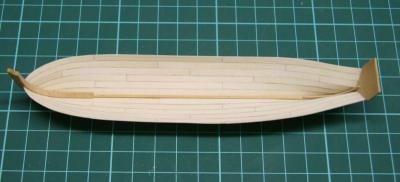
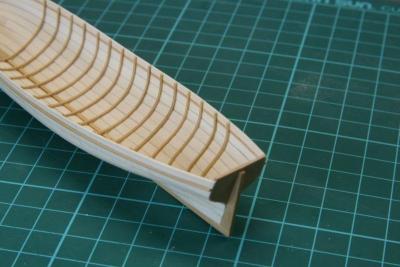
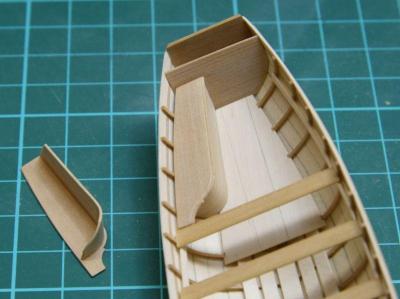
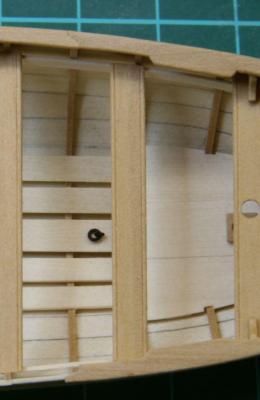
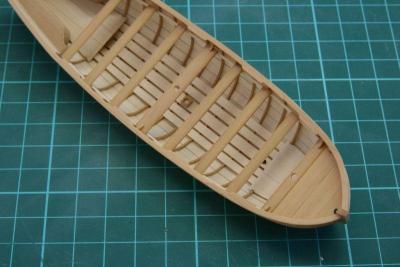
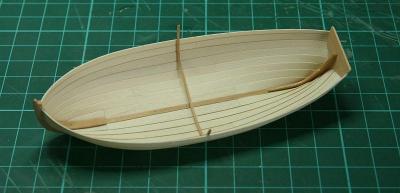
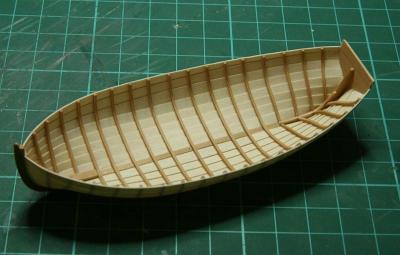
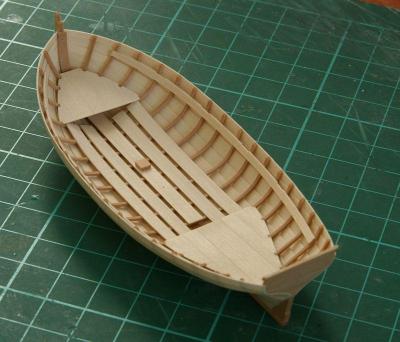
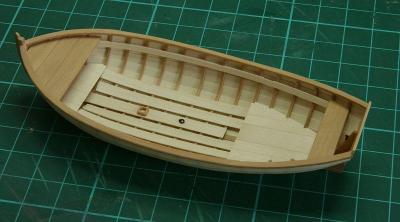
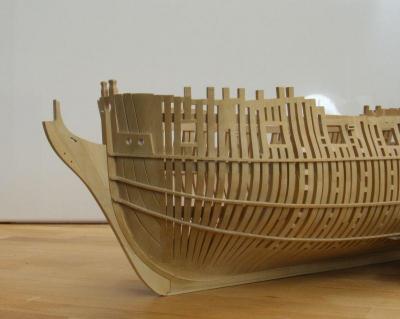
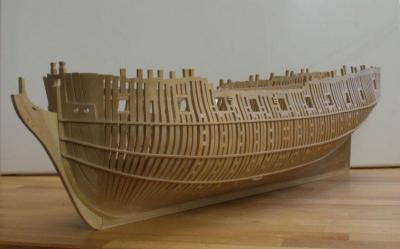
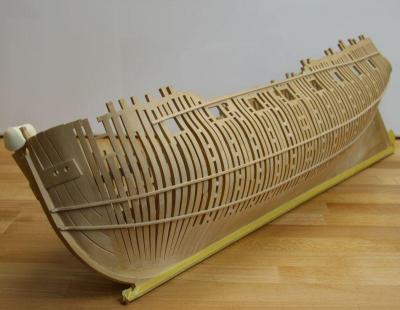
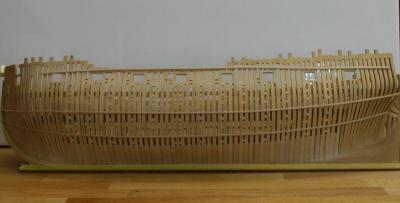
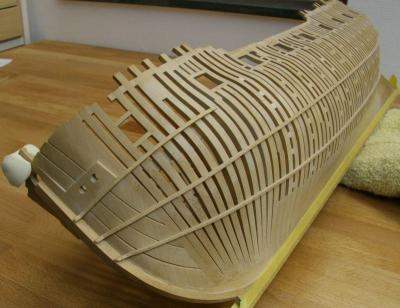
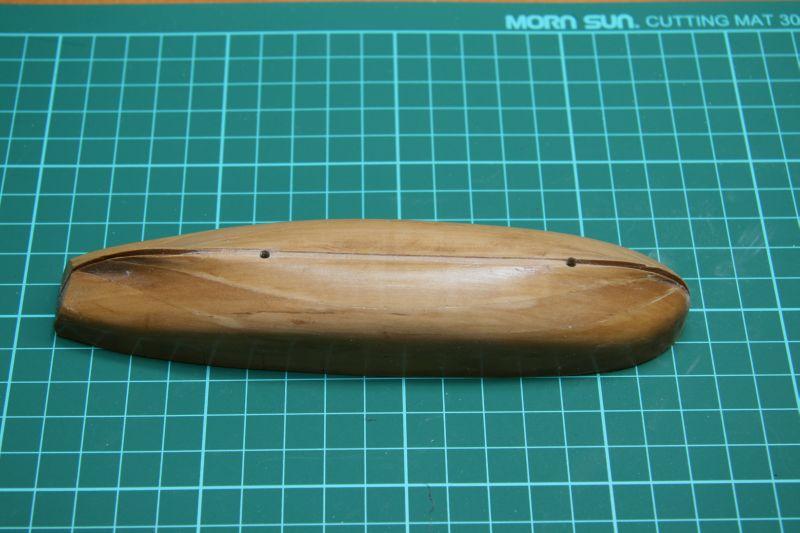
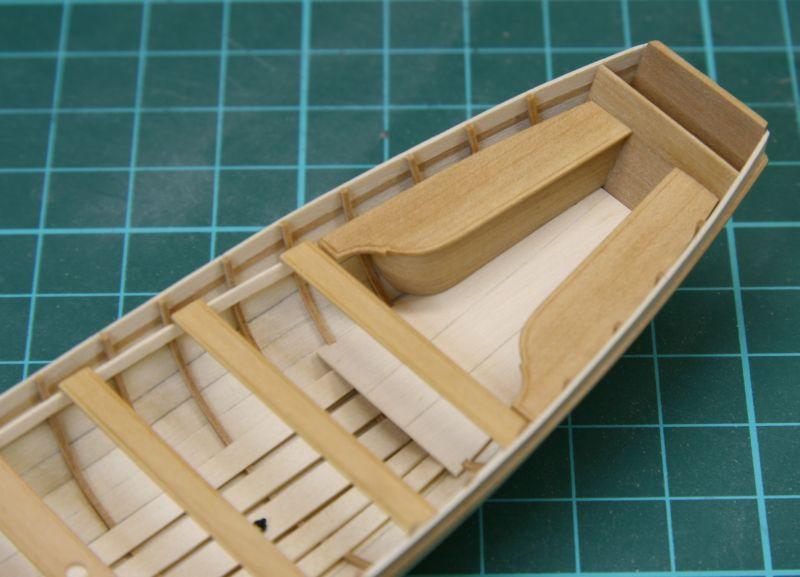
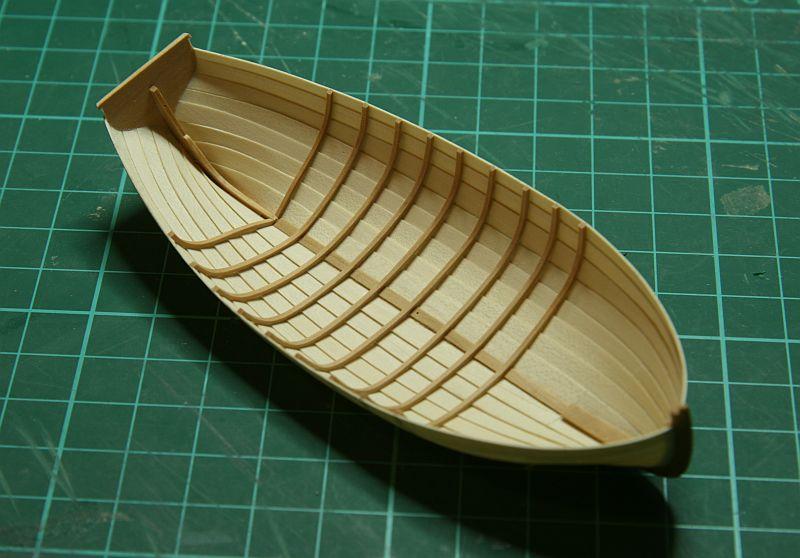
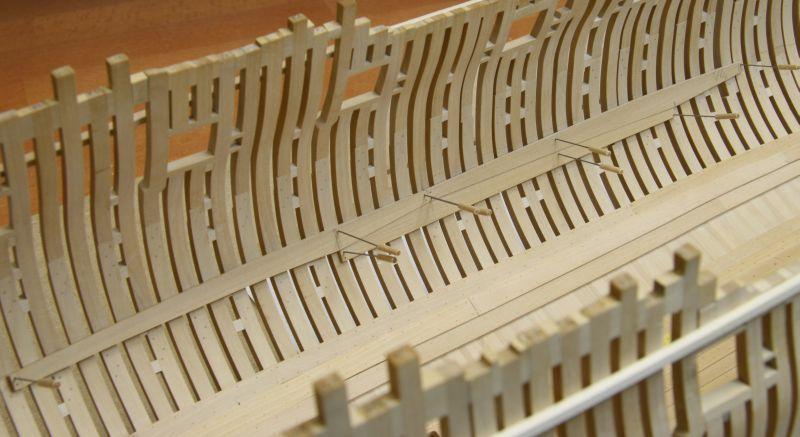
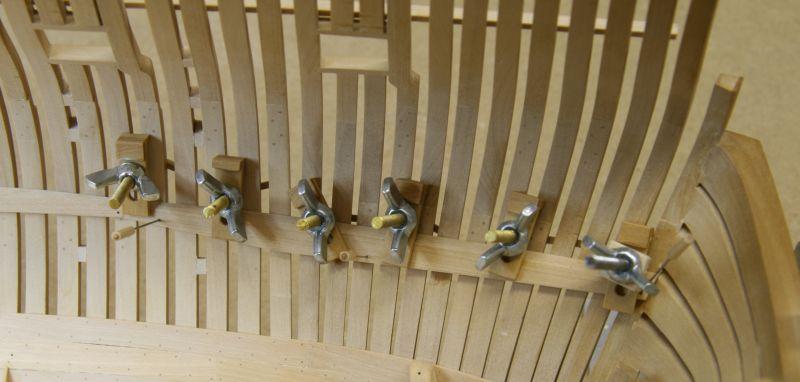
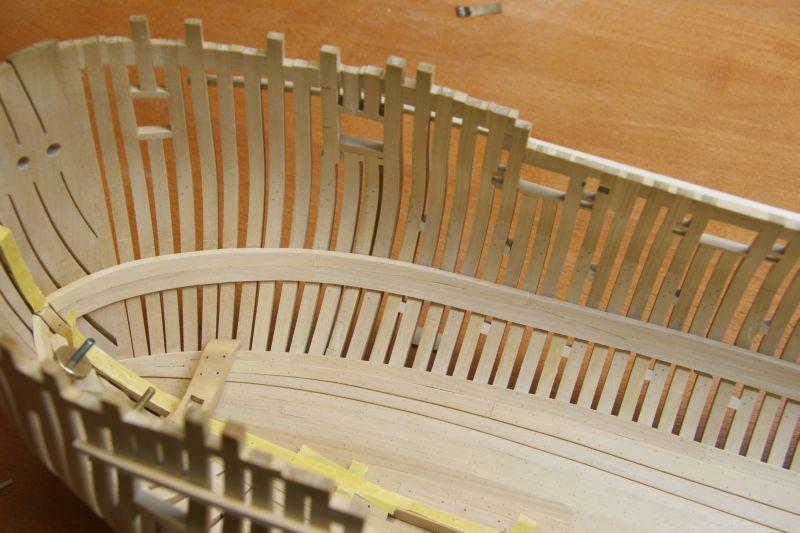
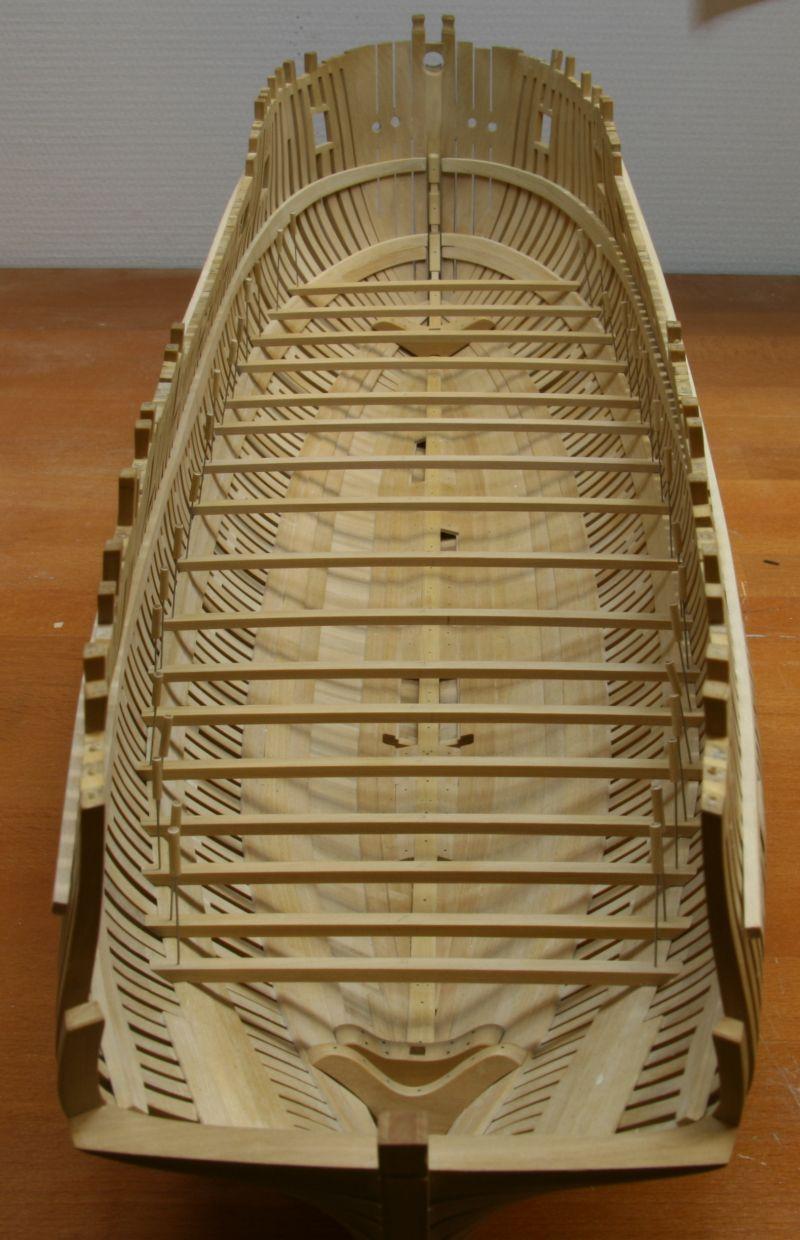
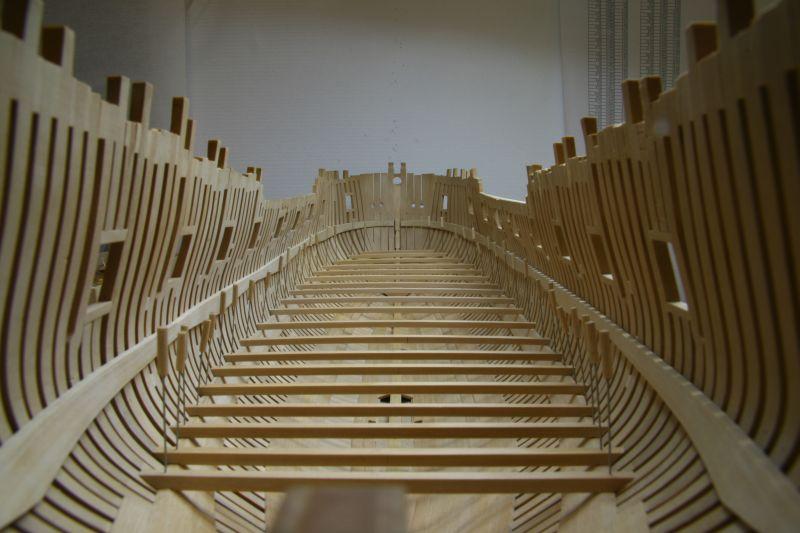
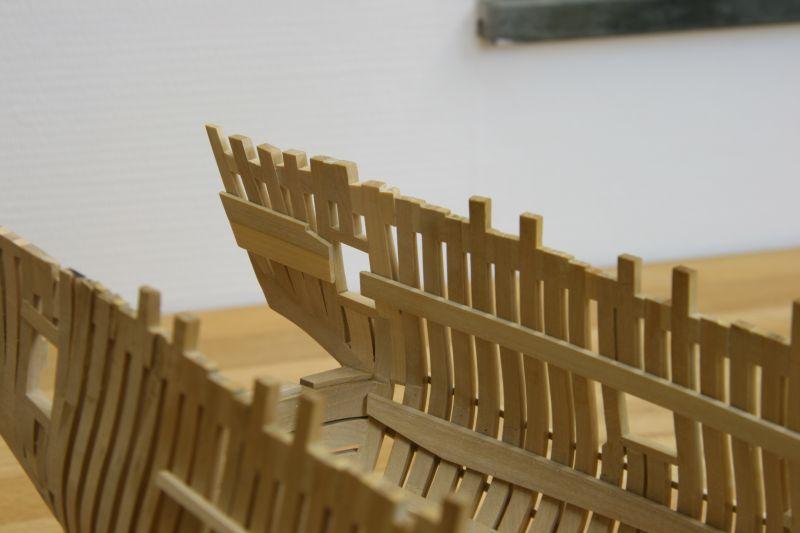
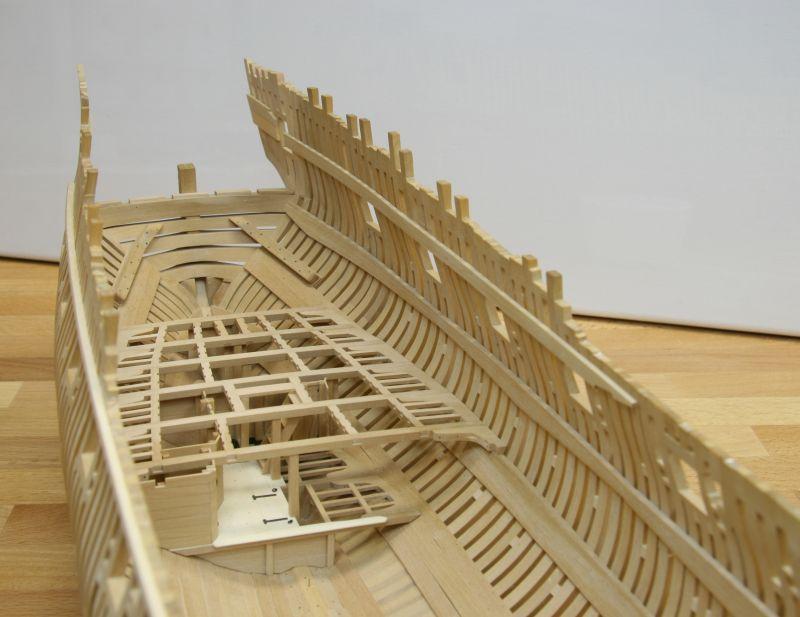
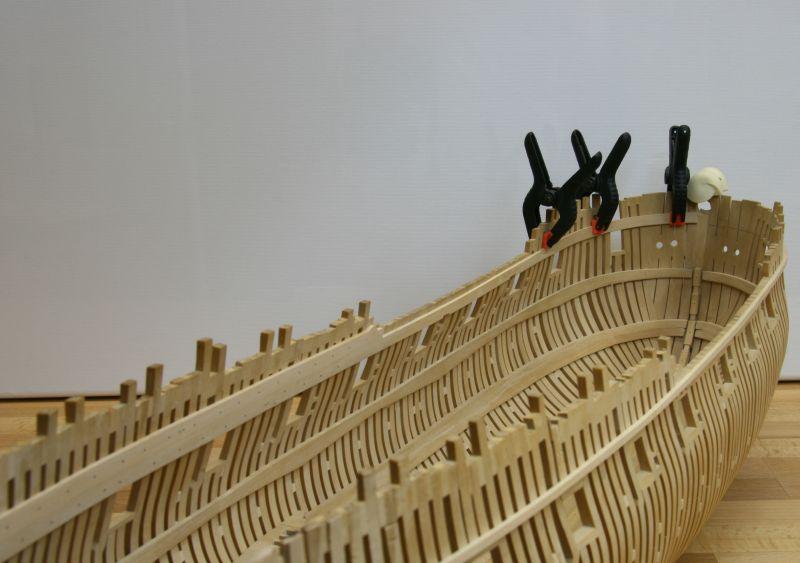
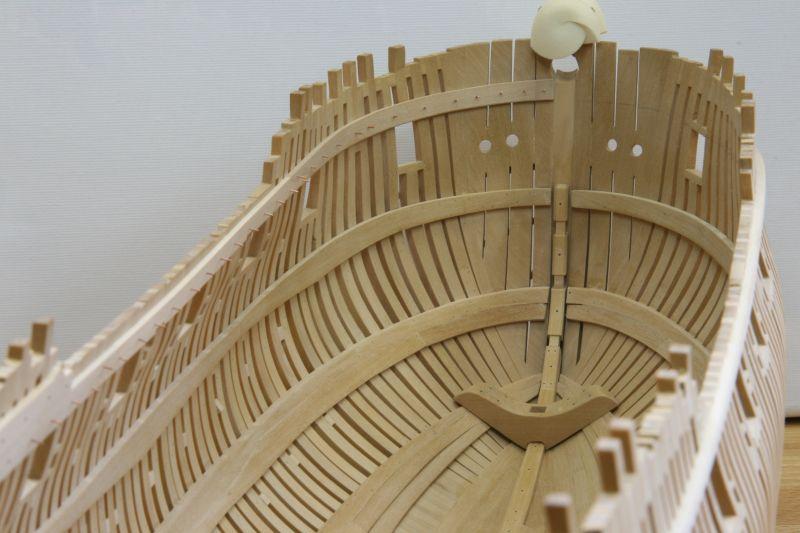
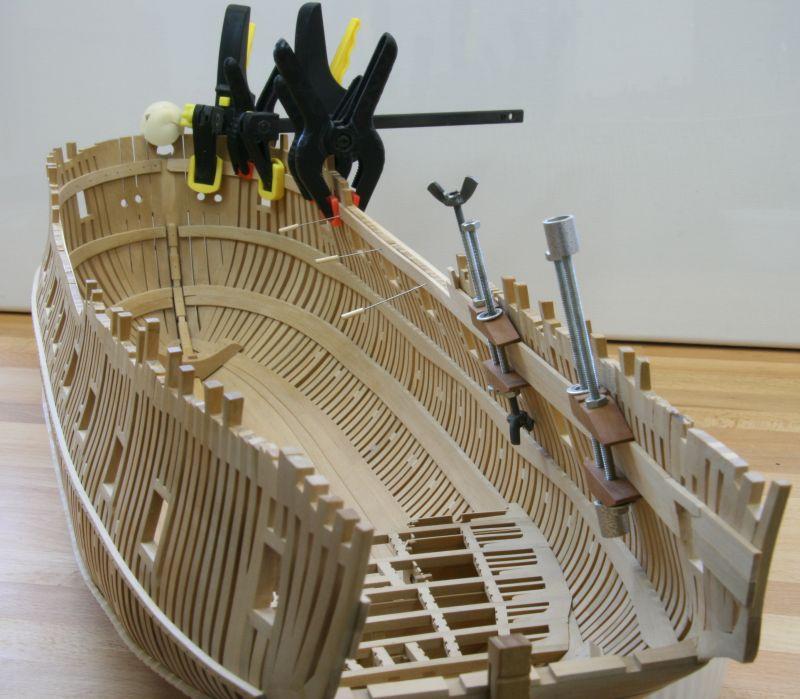
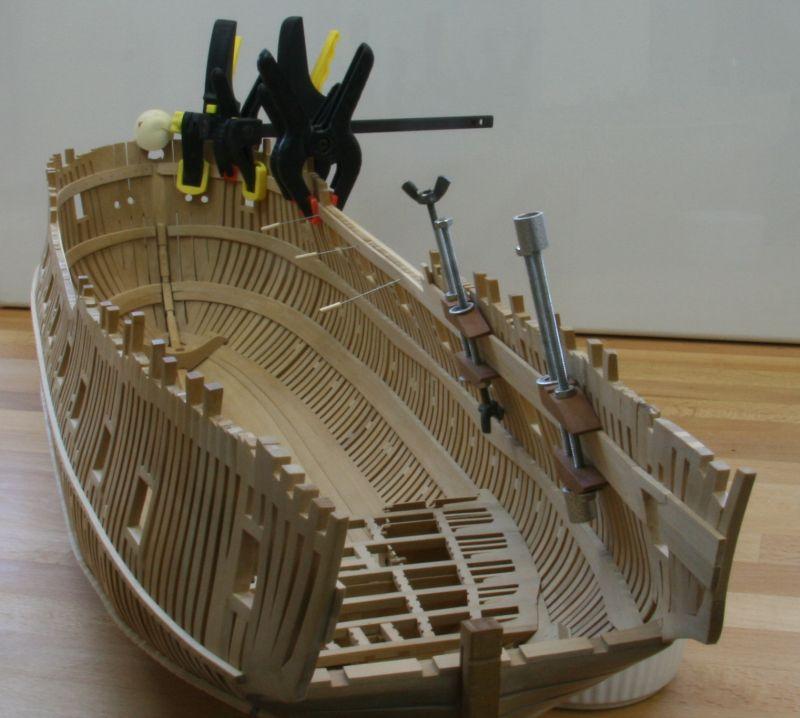
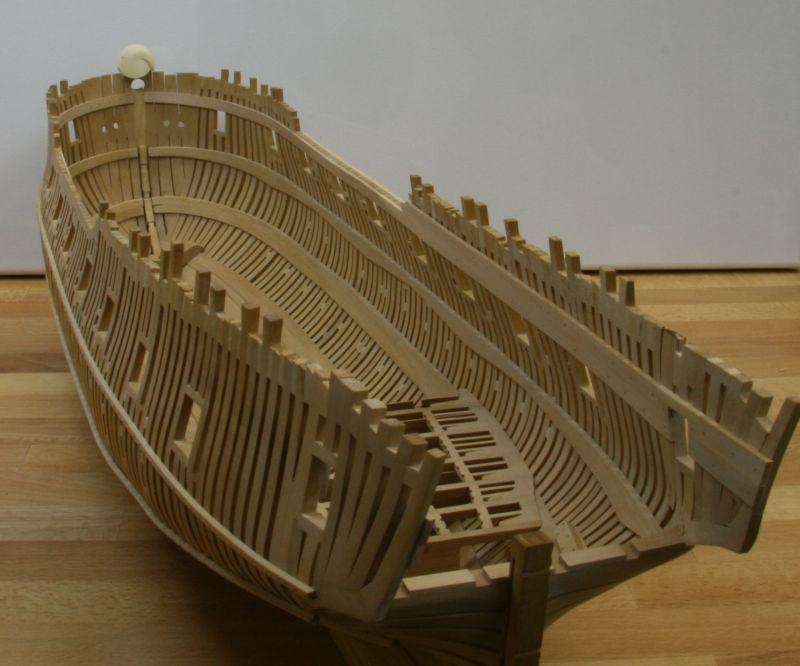
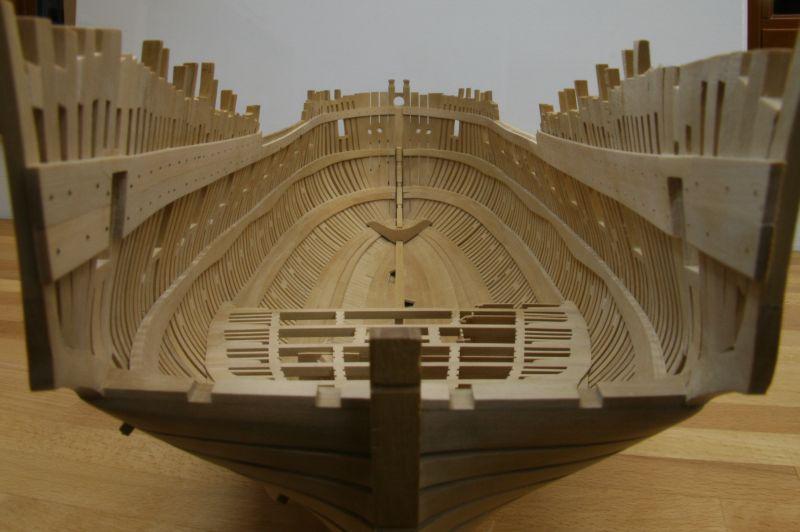
Building the cutter using the Admiralty models plug


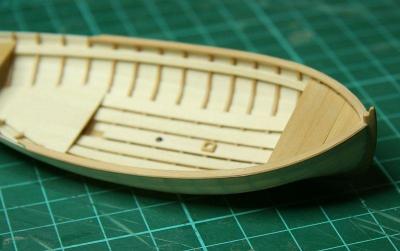


-
-
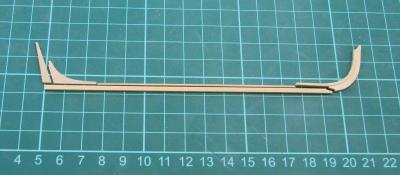
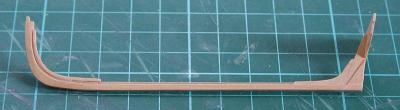
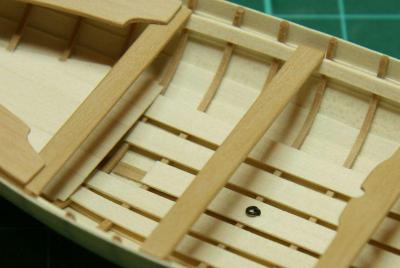
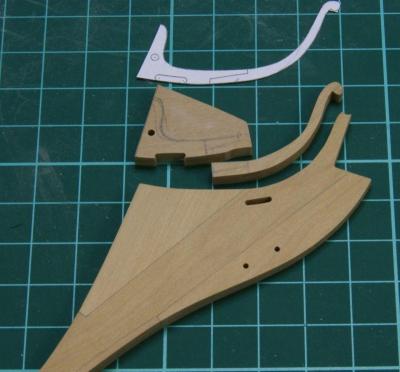
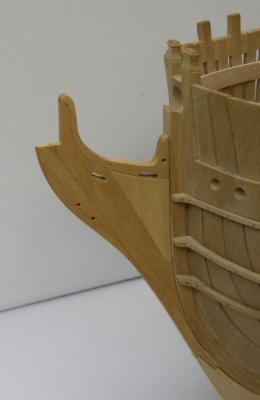
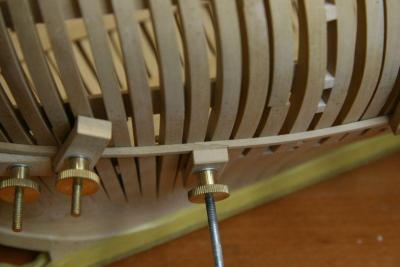
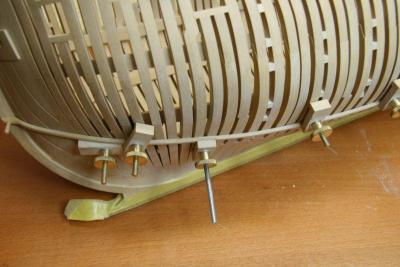
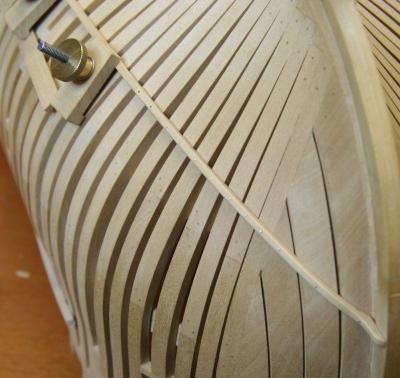
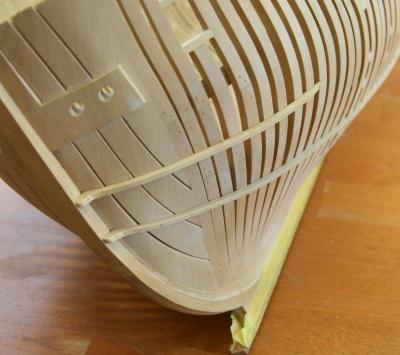
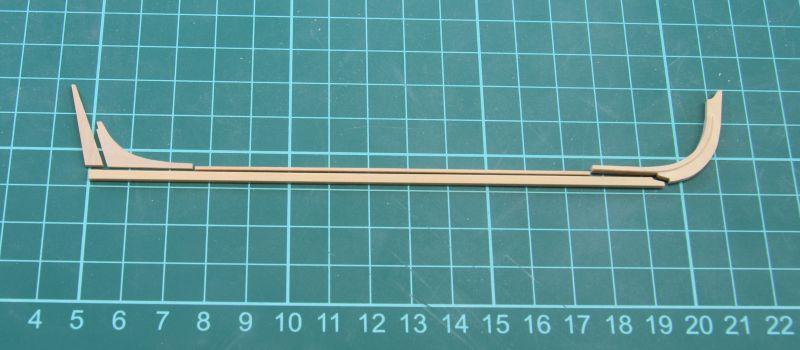
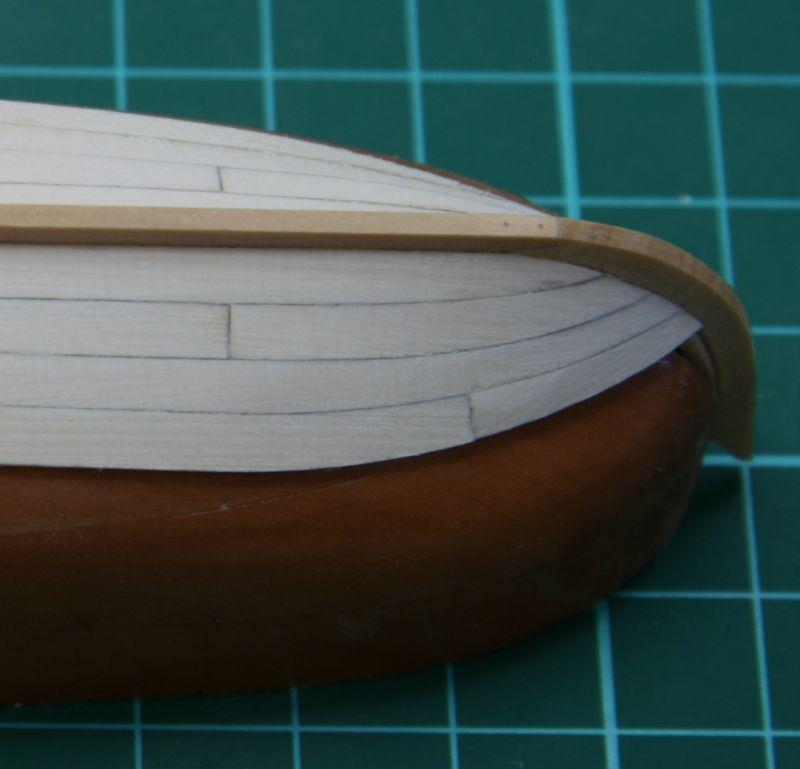
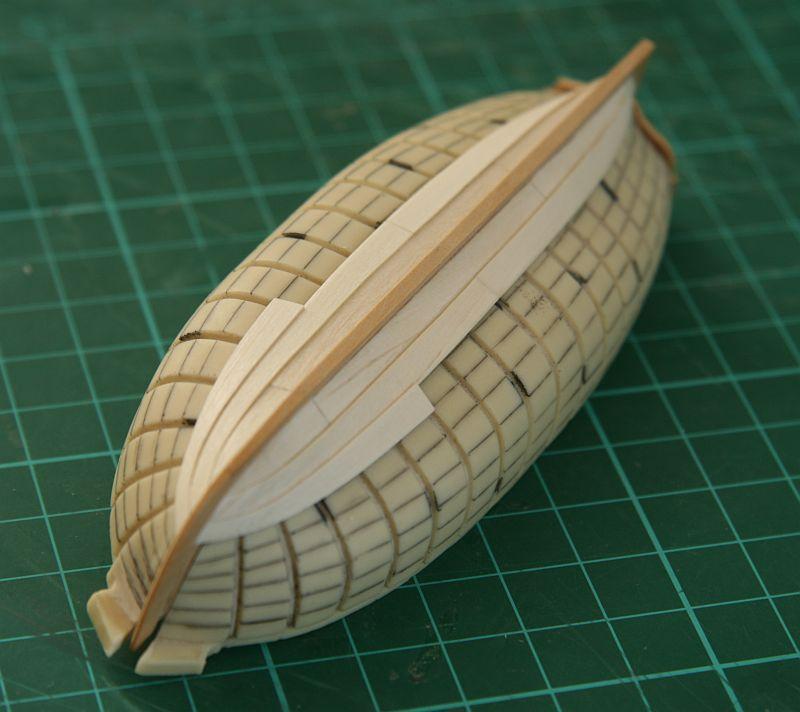
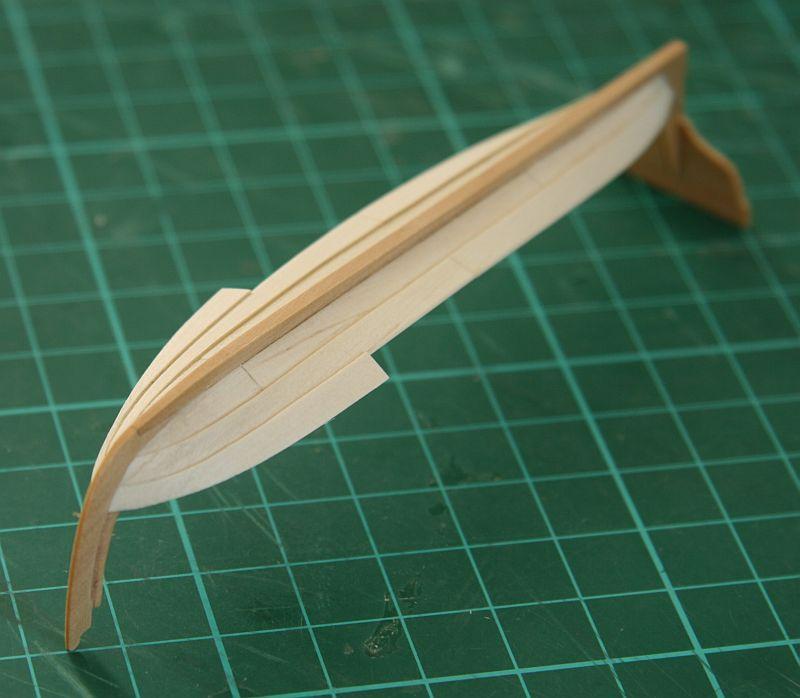
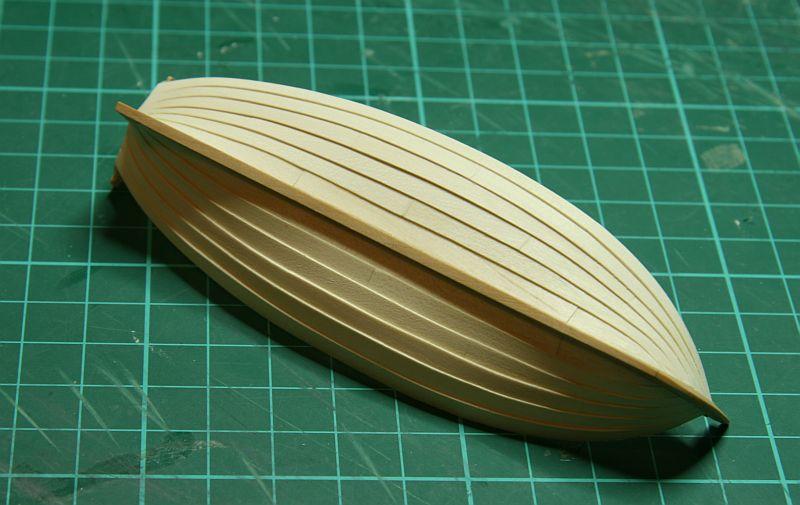
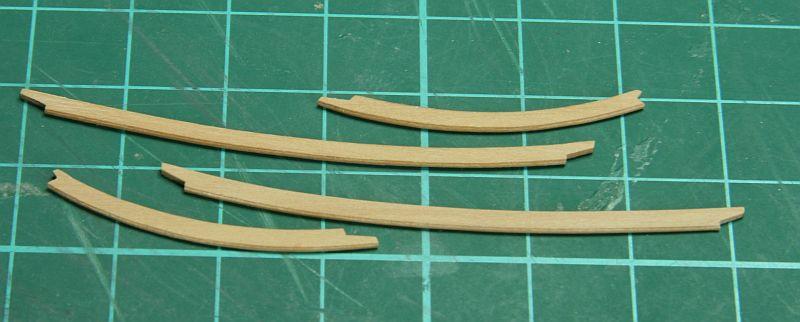
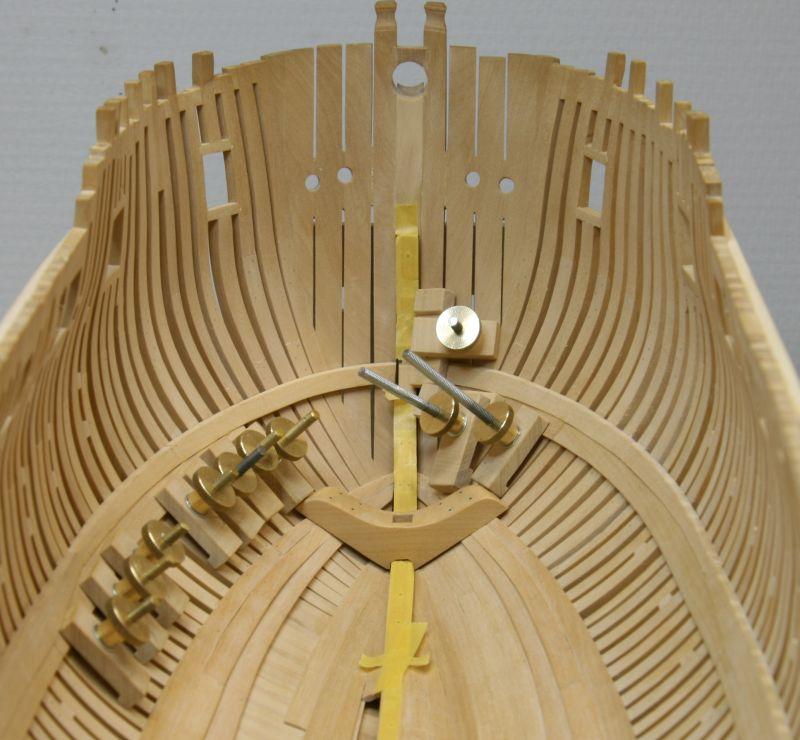
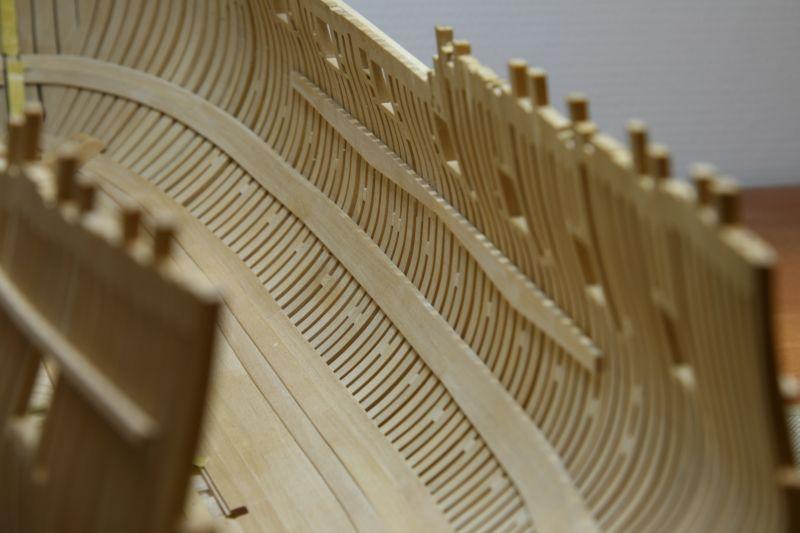
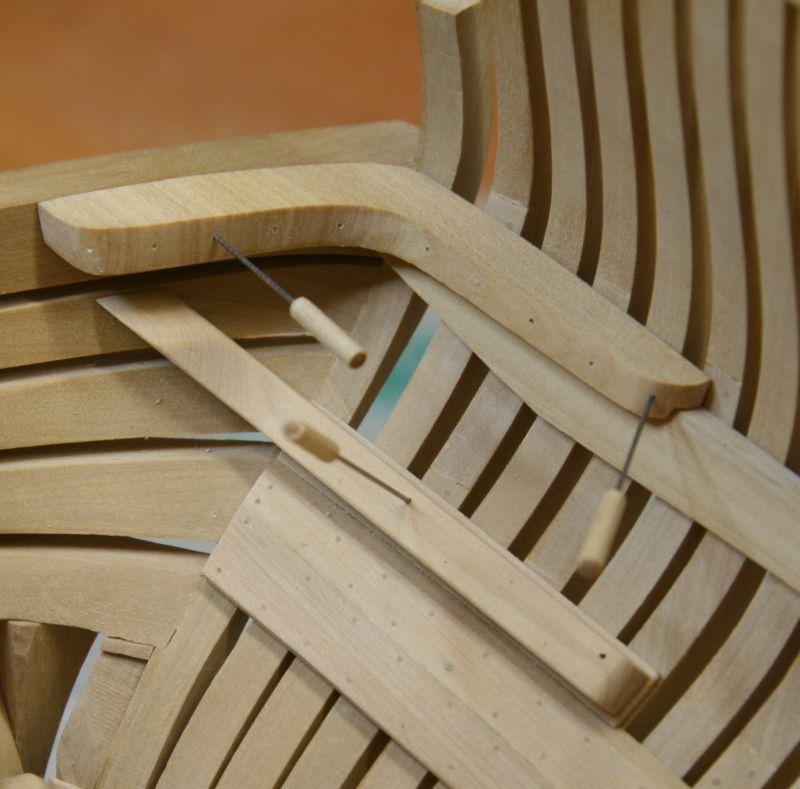
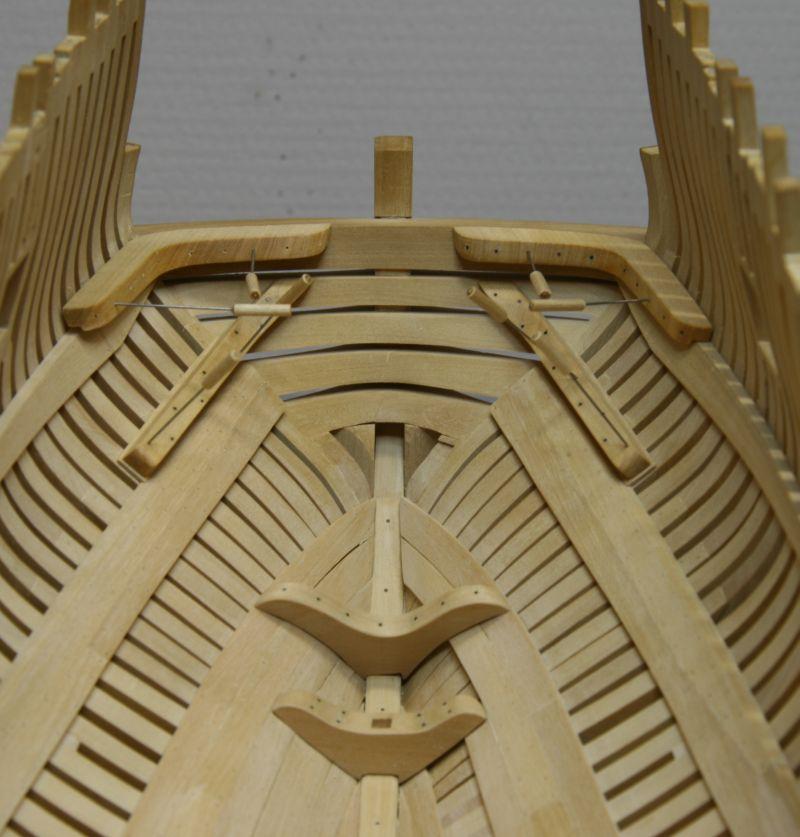
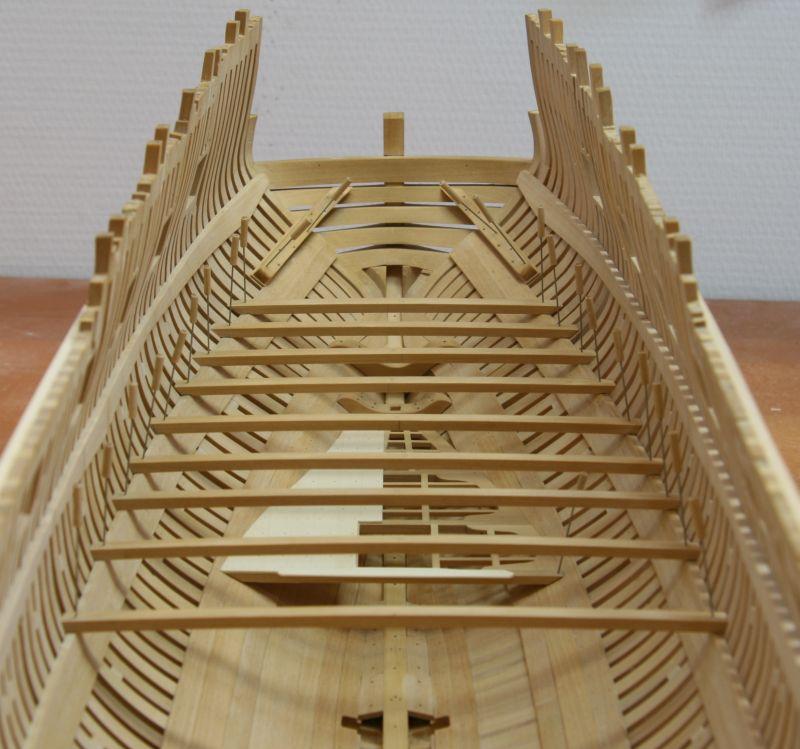
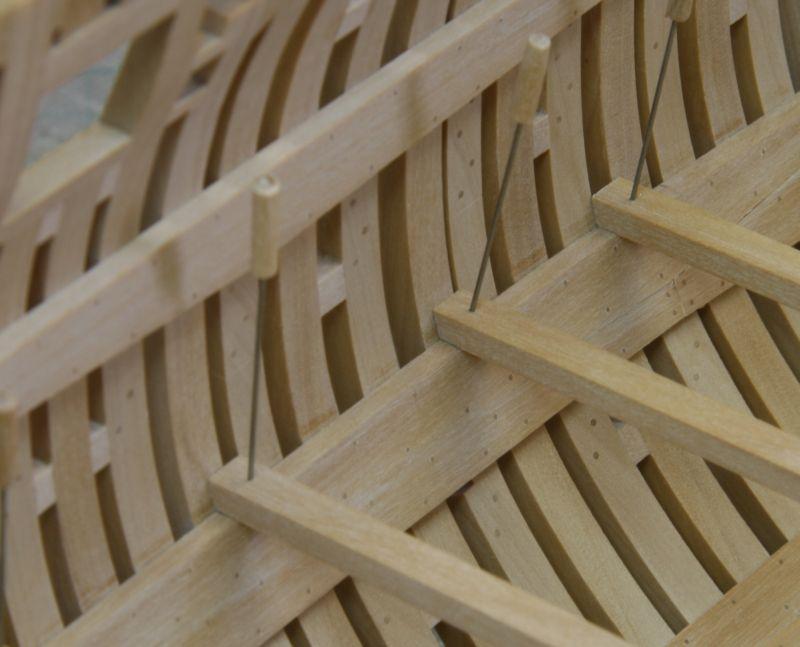
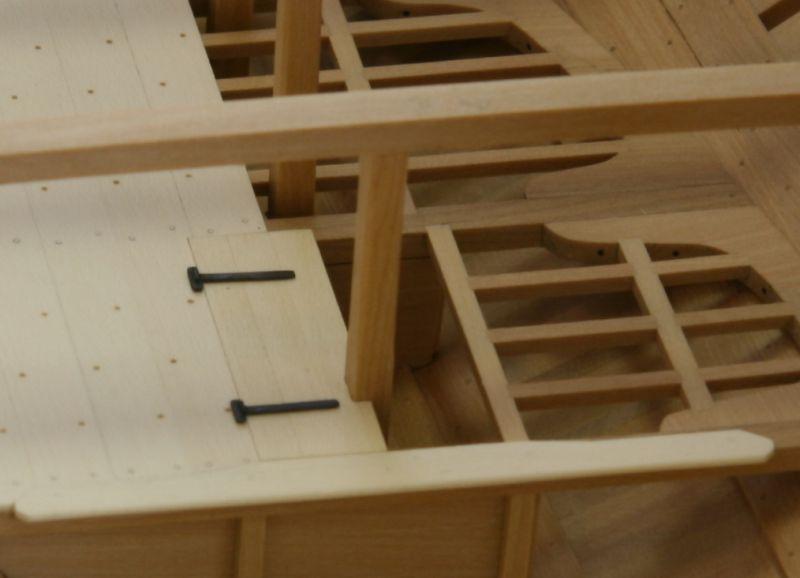
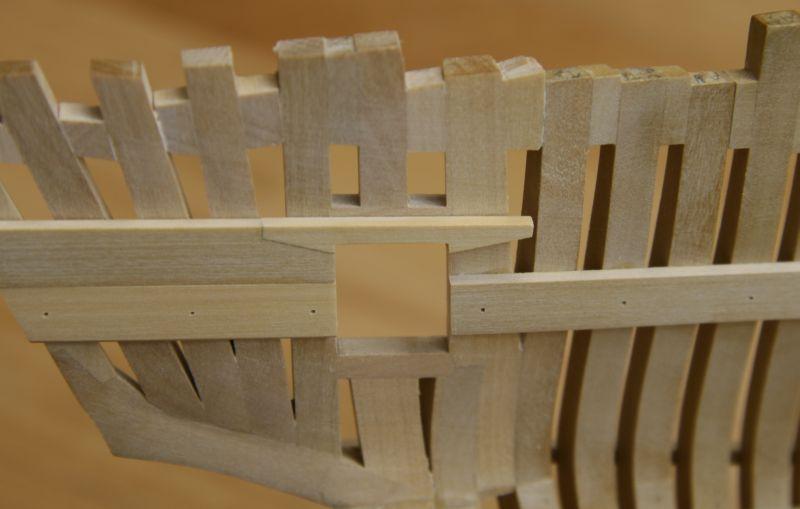
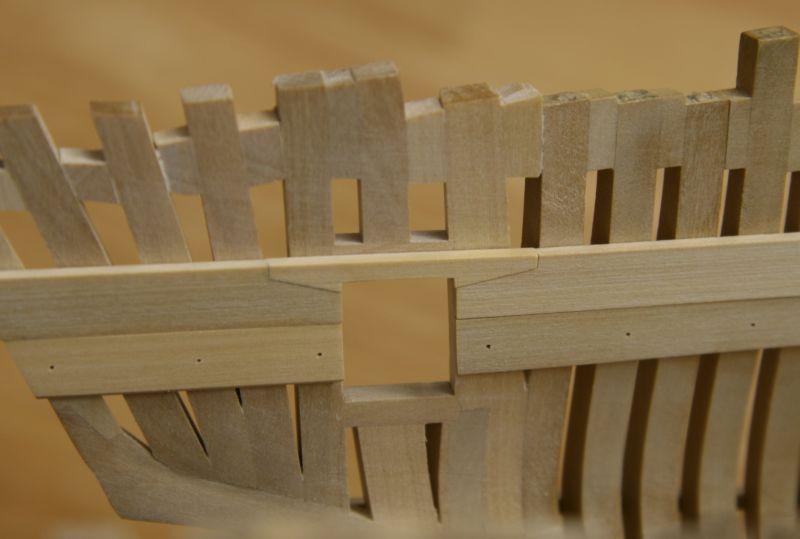
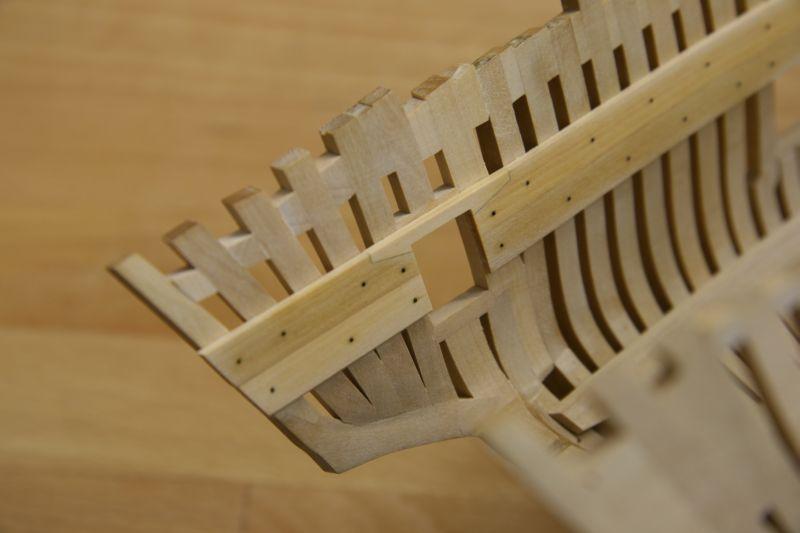
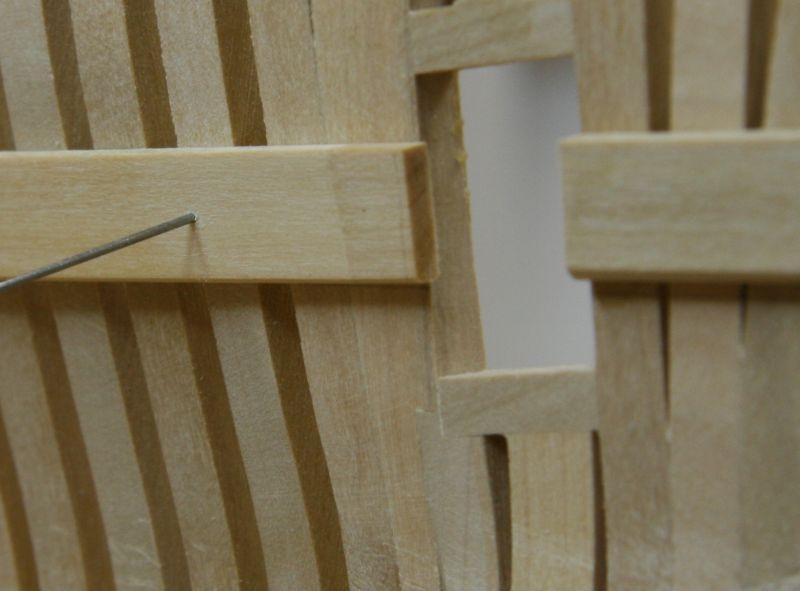
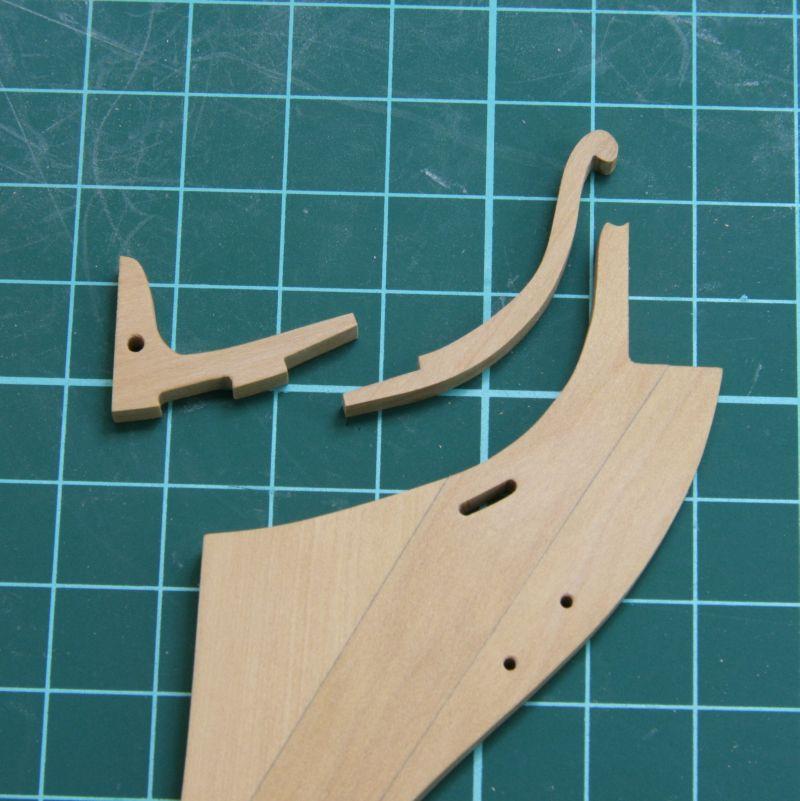
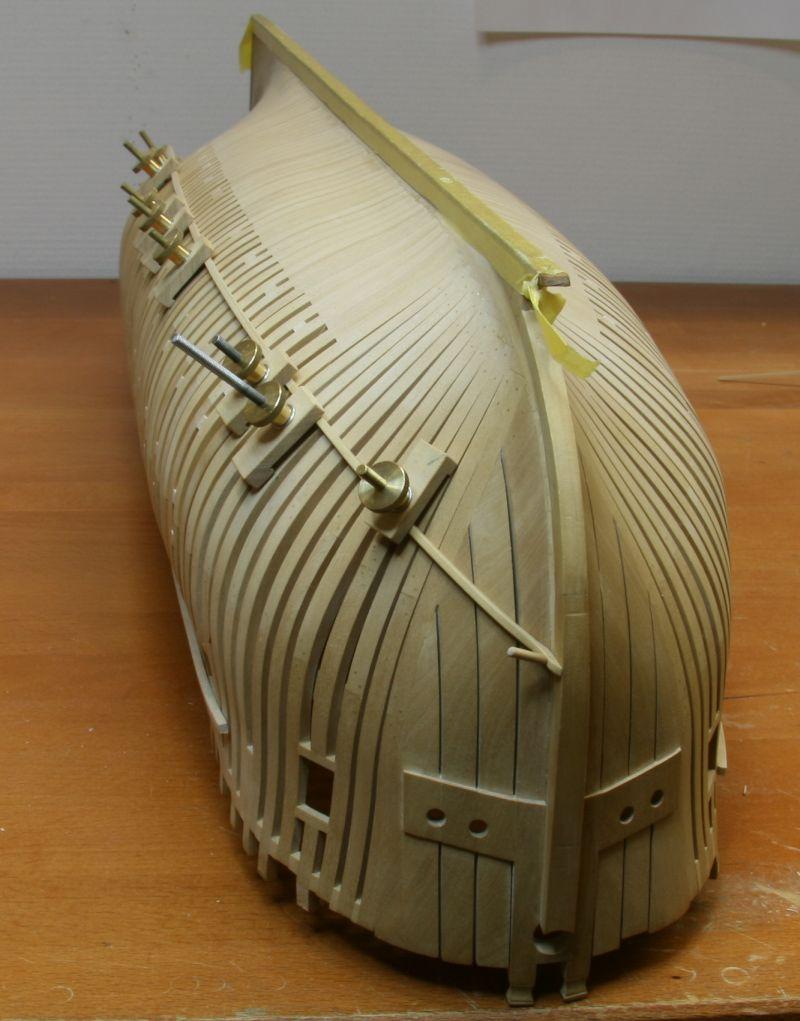
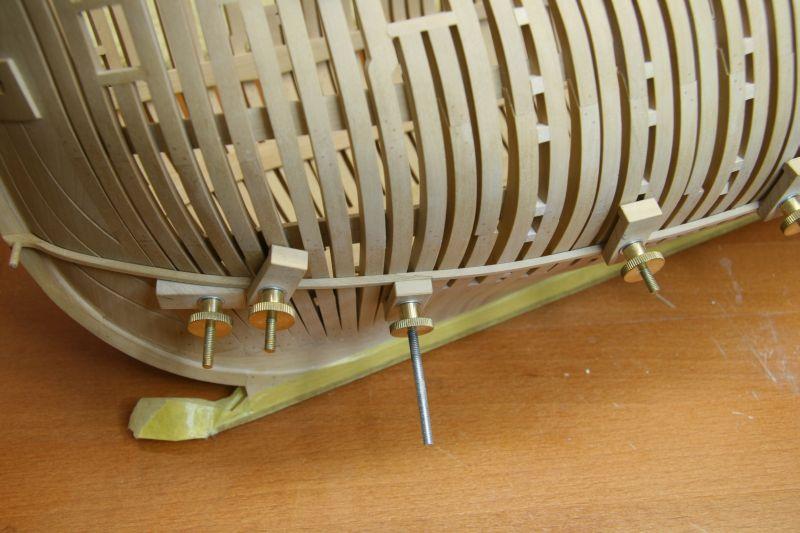
The stem and the ribbands


- avsjerome2003, PeteB, Gusar and 13 others
-
16


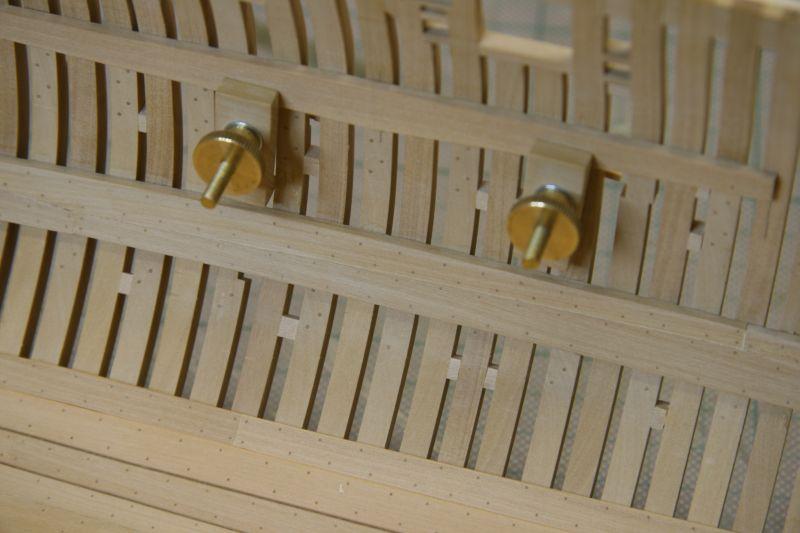
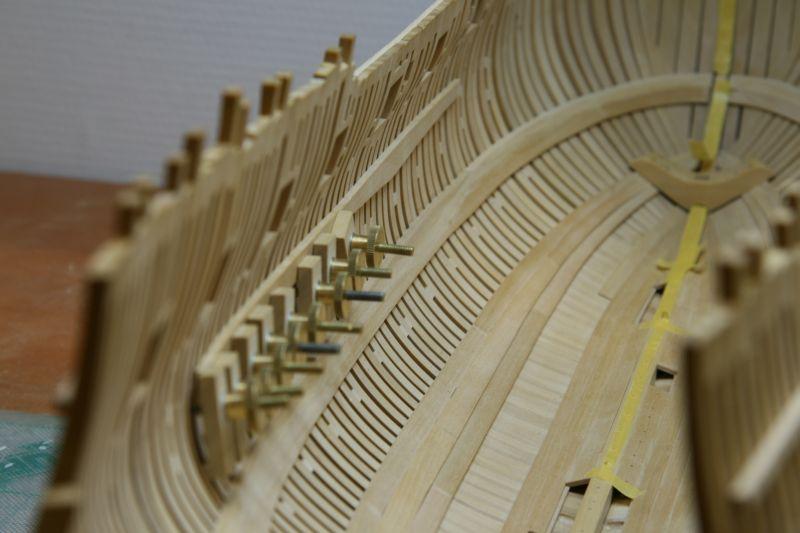


Homemade Mini Clamps
in Modeling tools and Workshop Equipment
Posted
Are you looking for this type:
Like Mark said it has a toothpick on the other side to hold it.
Remco