CDW
-
Posts
7,757 -
Joined
-
Last visited
Content Type
Profiles
Forums
Gallery
Events
Everything posted by CDW
-
 Sounds about right. Here in the USA, I use a pounds per square inch (PSI) scale rather than bars, but the conversion is 1.5 bars = approximately 22 PSI. The thicker your paint, the more pressure you will need to push it out of the brush. When you are doing large work and need high paint volume, you turn the pressure up. When you are doing fine work, you thin the paint and turn the pressure down a bit. It's something you will have to experiment with to get the hang of it. Vallejo Air paints are supposed to be ready to spray through your airbrush straight from the bottle, but sometimes I may need to add a drop or two of thinner to get it to behave properly through my airbrush. I set my pressure at the compressor around 24 PSI, then I use a second air valve to regulate my pressure down at the airbrush. With this valve, I adjust it by feel, not by a gauge since I already know the pressure is 24 PSI on the high end, I just adjust it down according to my particular need, testing it on a piece of paper or scrap plastic first before spraying my model. Look on youtube. There are a ton of good videos on how to use the airbrush as well as how to thin the various paints.
 -
Looks great OC. You made a good choice for your 1st airbrush. You will gets years of fun with it. In your spare time, practice spraying the airbrush on card or paper to get a better feel for everything you can do with it. As you pull back on the trigger, you increase the amount of paint coming out of it. Pull back little and you can paint very fine lines. Pull back more and the line width will increase. With practice, you will become comfortable with how much is enough for the particular task.
-
Thanks for the sacrifice to help clear this up. 😀
-
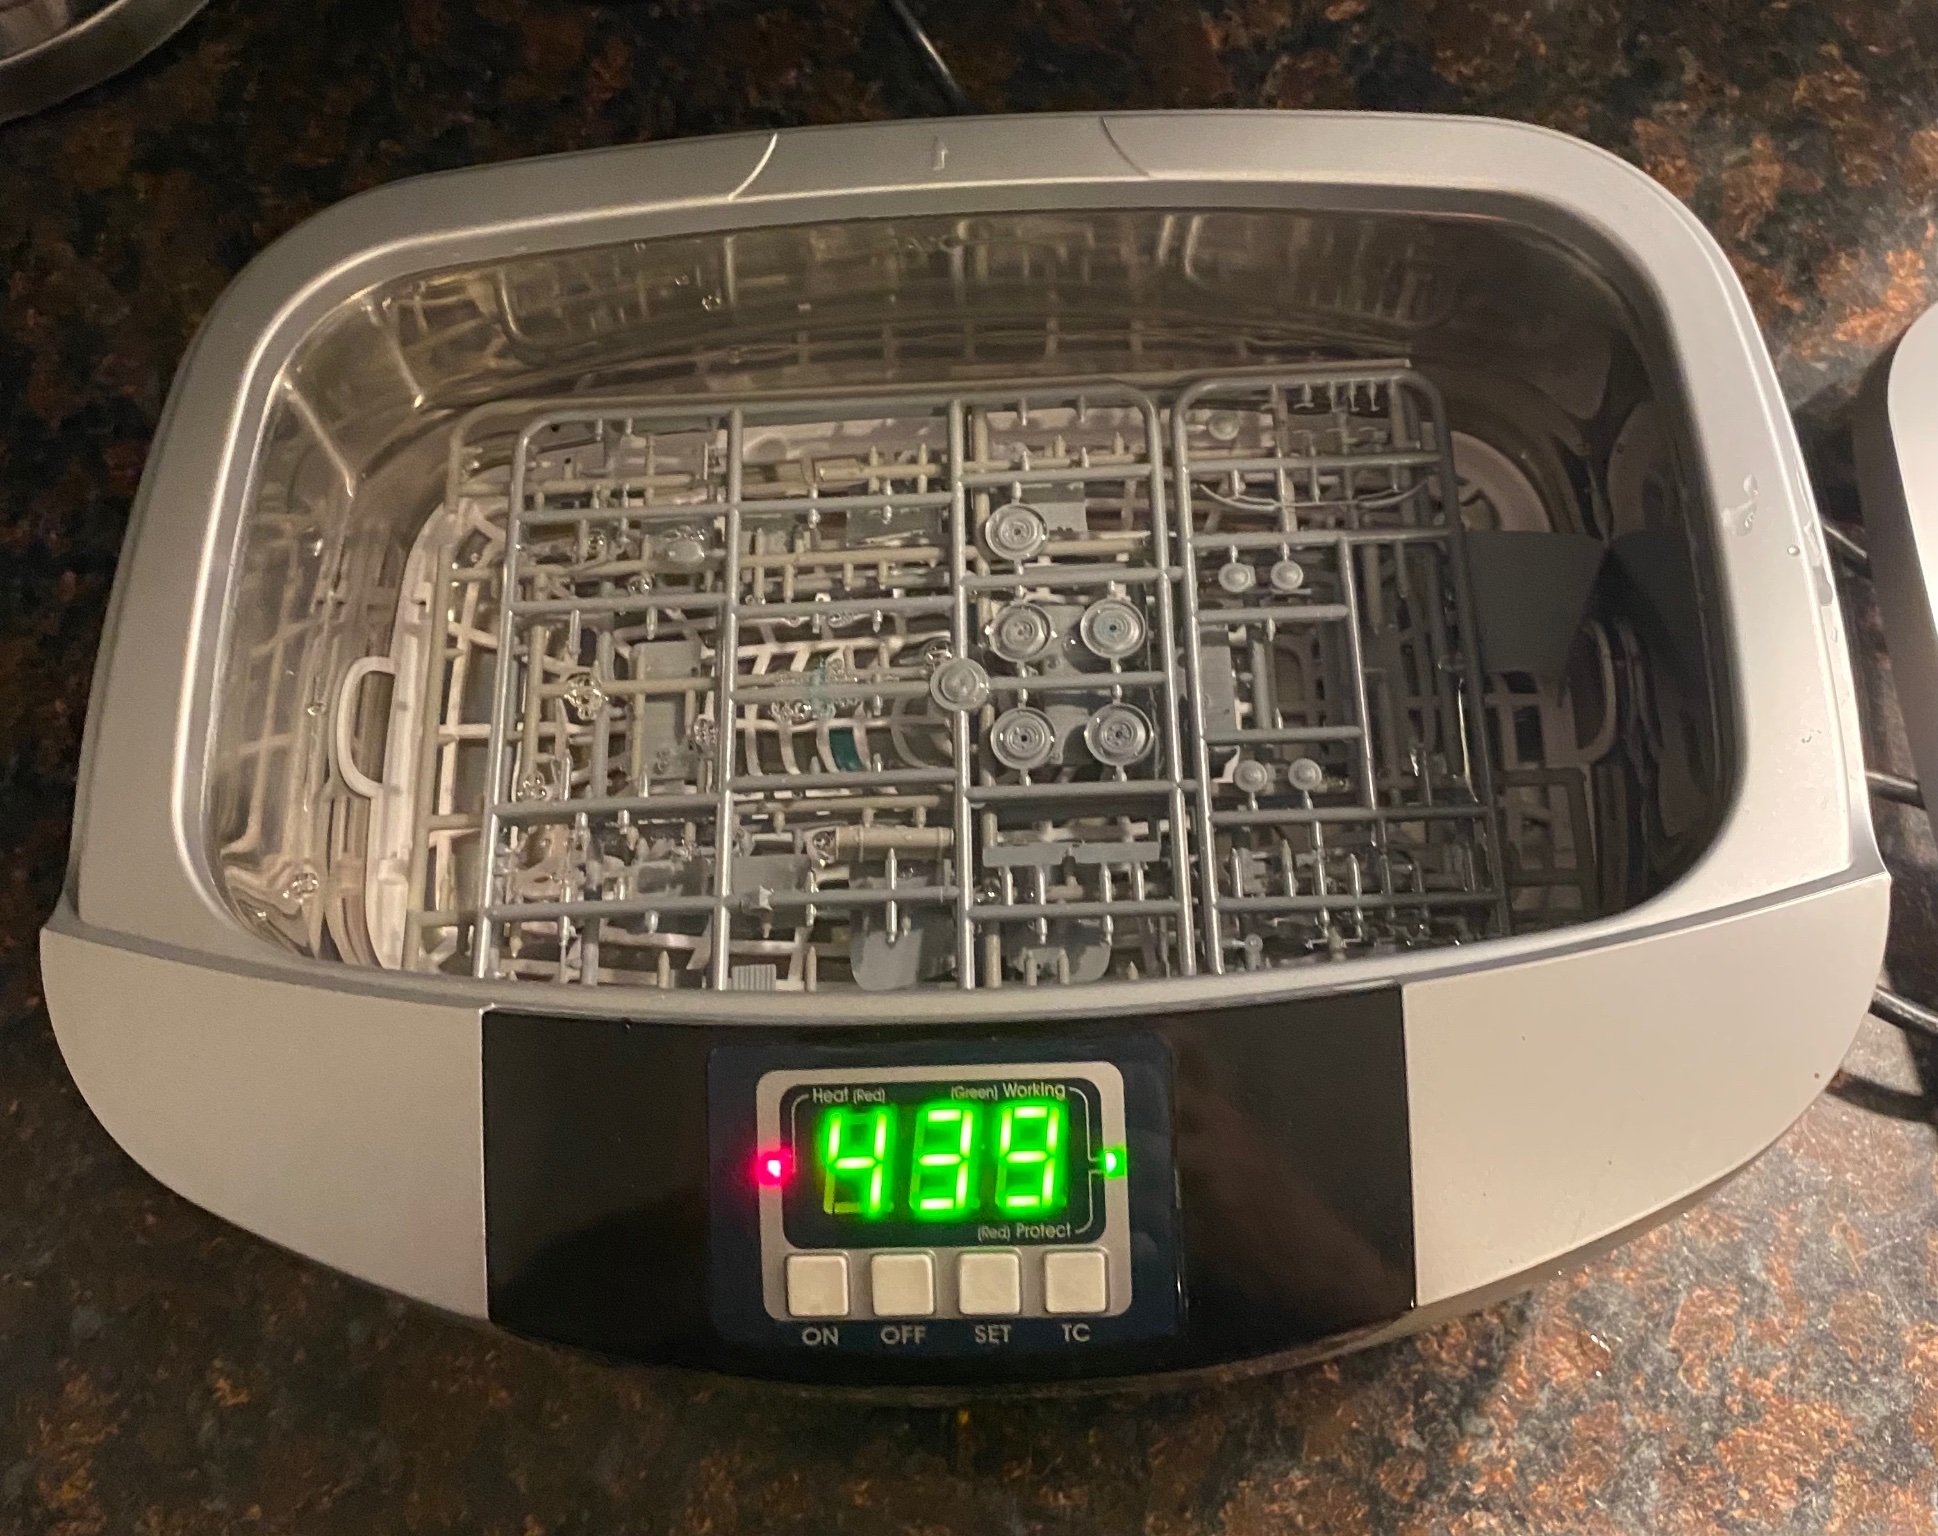
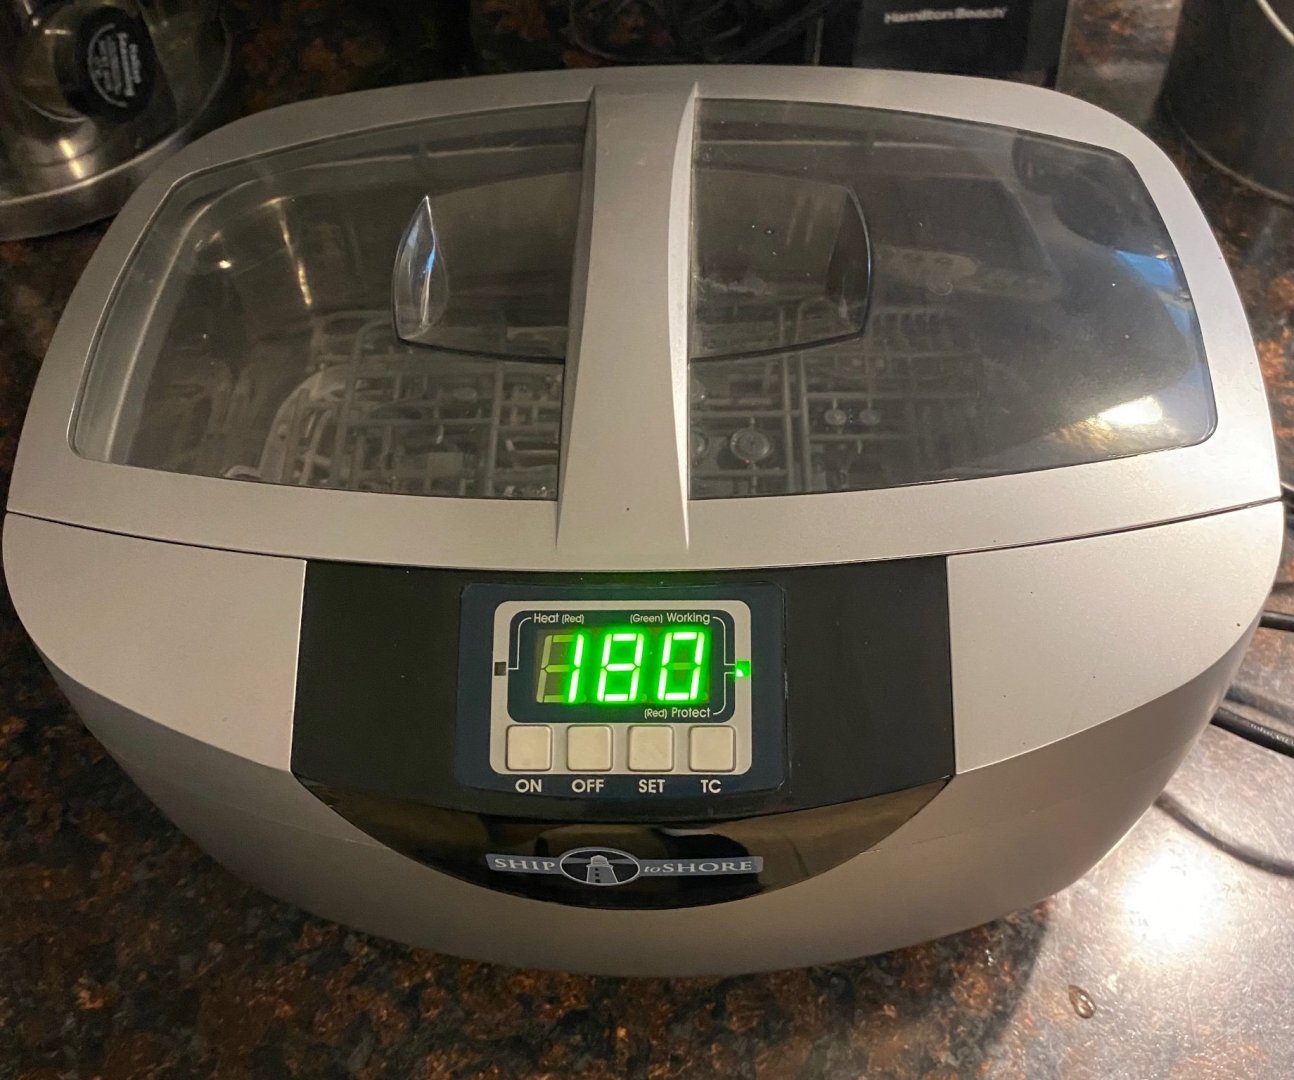
A few years ago I bought this 2.5 liter ultrasonic cleaner. You just drop your plastic part trees or photo etch sheets in there, pour in enough water to cover the parts, add a couple of drops of dish washing liquid, then set your timer and turn it on while the washer does it’s thing. This one heats the water, too. Does a great job prepping photo etch for paint.

- 143 replies
-
- 10
-

-

-
That's a fleet of built models! Do you have any plan on how much time you will spend doing restoration on each model? You could potentially sink a lot of time into restoration but it should be rewarding and fun. Looking forward to seeing your progress.
-
I know I should make it a habit to wash the kit plastic trees in a mild solution of water with dishwashing liquid before beginning each build, but I don't. This time it almost reached out and bit me hard because this kit plastic had traces of mold release agent which in turn caused the primer paint to fish-eye. It's been a long time since I had a kit where that has happened, but this one is a prime example of why it's a good habit to pre wash and dry the plastic first. Just putting this up here as a public service announcement. 🙂
-
Alan While building the Scharnhorst 1940 version, I ran into the exact same problem you did with the secondary gun deck and the railings. Once everything had been glued in place, it left too little room to work the photo etch around those compound and reverse curves. Luckily, I also have the Scharnhorst 1943 version, so I borrowed the secondary gun deck from that kit then bent my railings to match it, then transferred the railings to the 1940 version. And yes, the ship had torpedo tubes that the instructions do not locate. I have a Scharnhorst reference that shows where the tubes are located. I can scan a page of it and email it to you if you need it. Let me know via PM. PS: next time, try painting your photo etch pieces while they are still attached to the frames/sprues, whatever they are called. When you cut them away and bend them, you will lose some of the paint to cracking or peeling, but it's easier to touch it up with a brush than it is to blue tack them in place to paint them. They are so delicate, the blue tack can deform the parts badly as you probably found out as well as the residue problem.
-
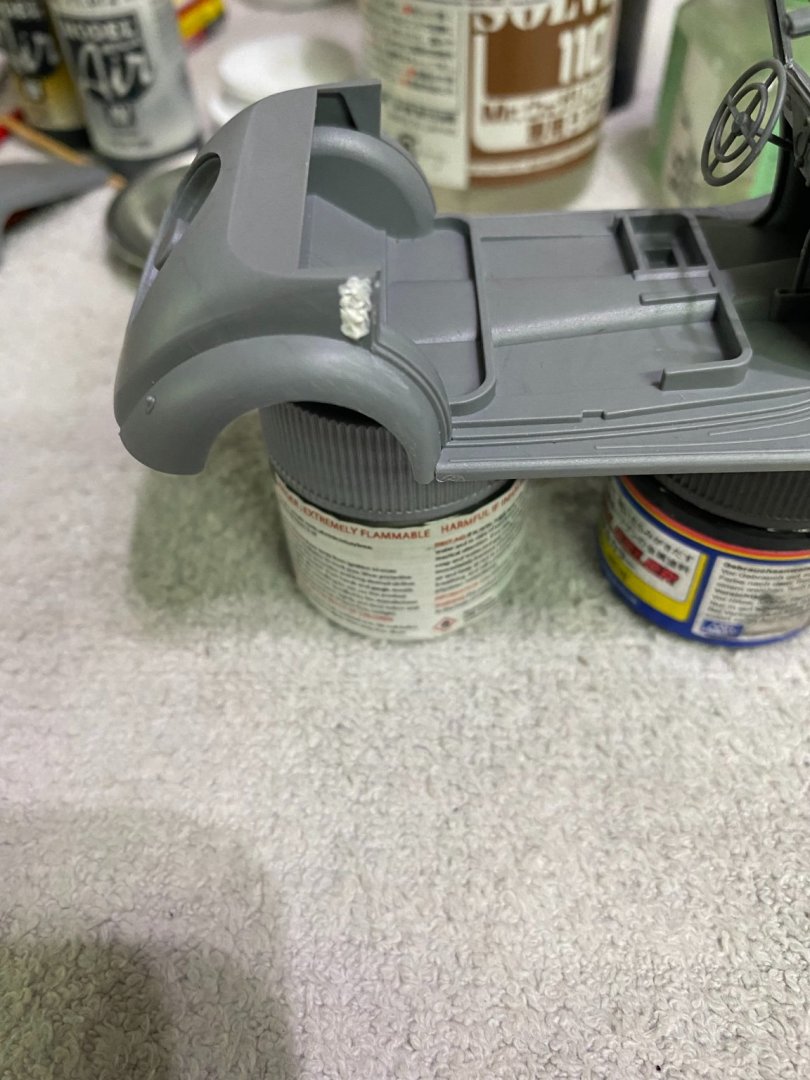
Popped it in the dehydrator for 30 minutes at 113 degrees F and completely dried the acrylic putty then sanded it down. When finished, layer down a coat of Mr Surfacer 1500 primer. It’s now ready for painting.


- 143 replies
-
- 12
-
-
For some reason, I thought German cars had the driver’s seated on the right. Is right hand driver seating only in the UK?
-
By all means. OC’s work is fabulous!
-
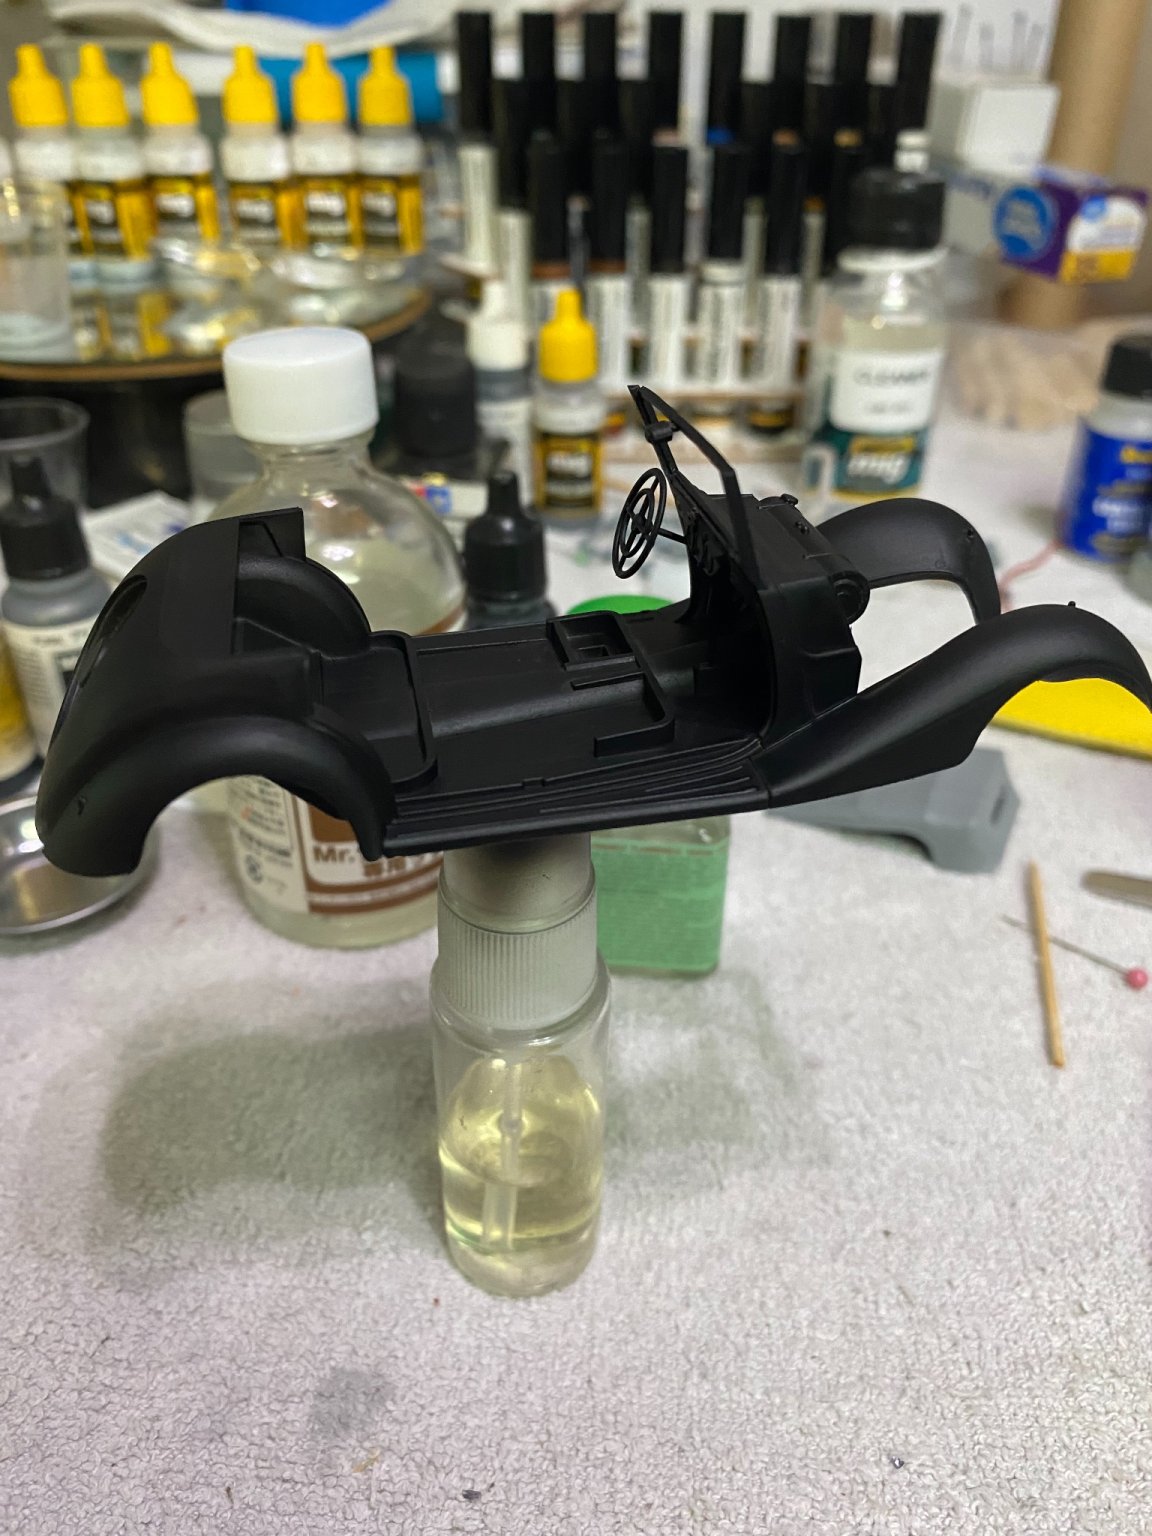
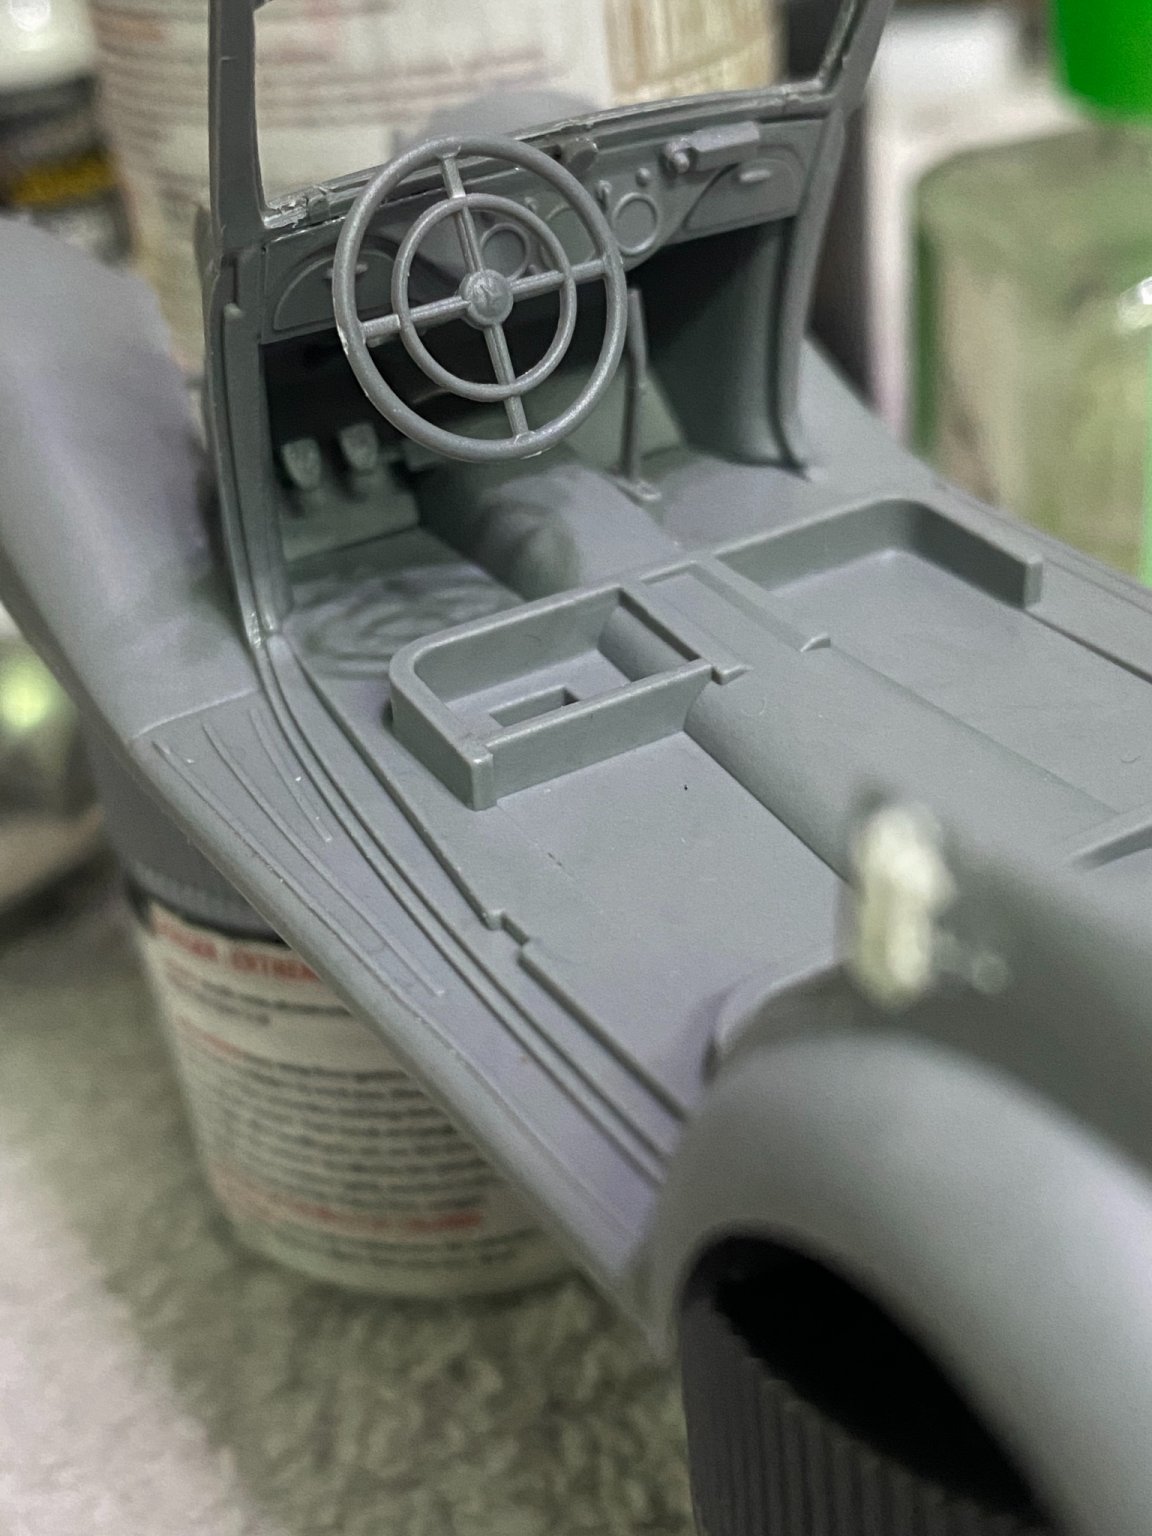
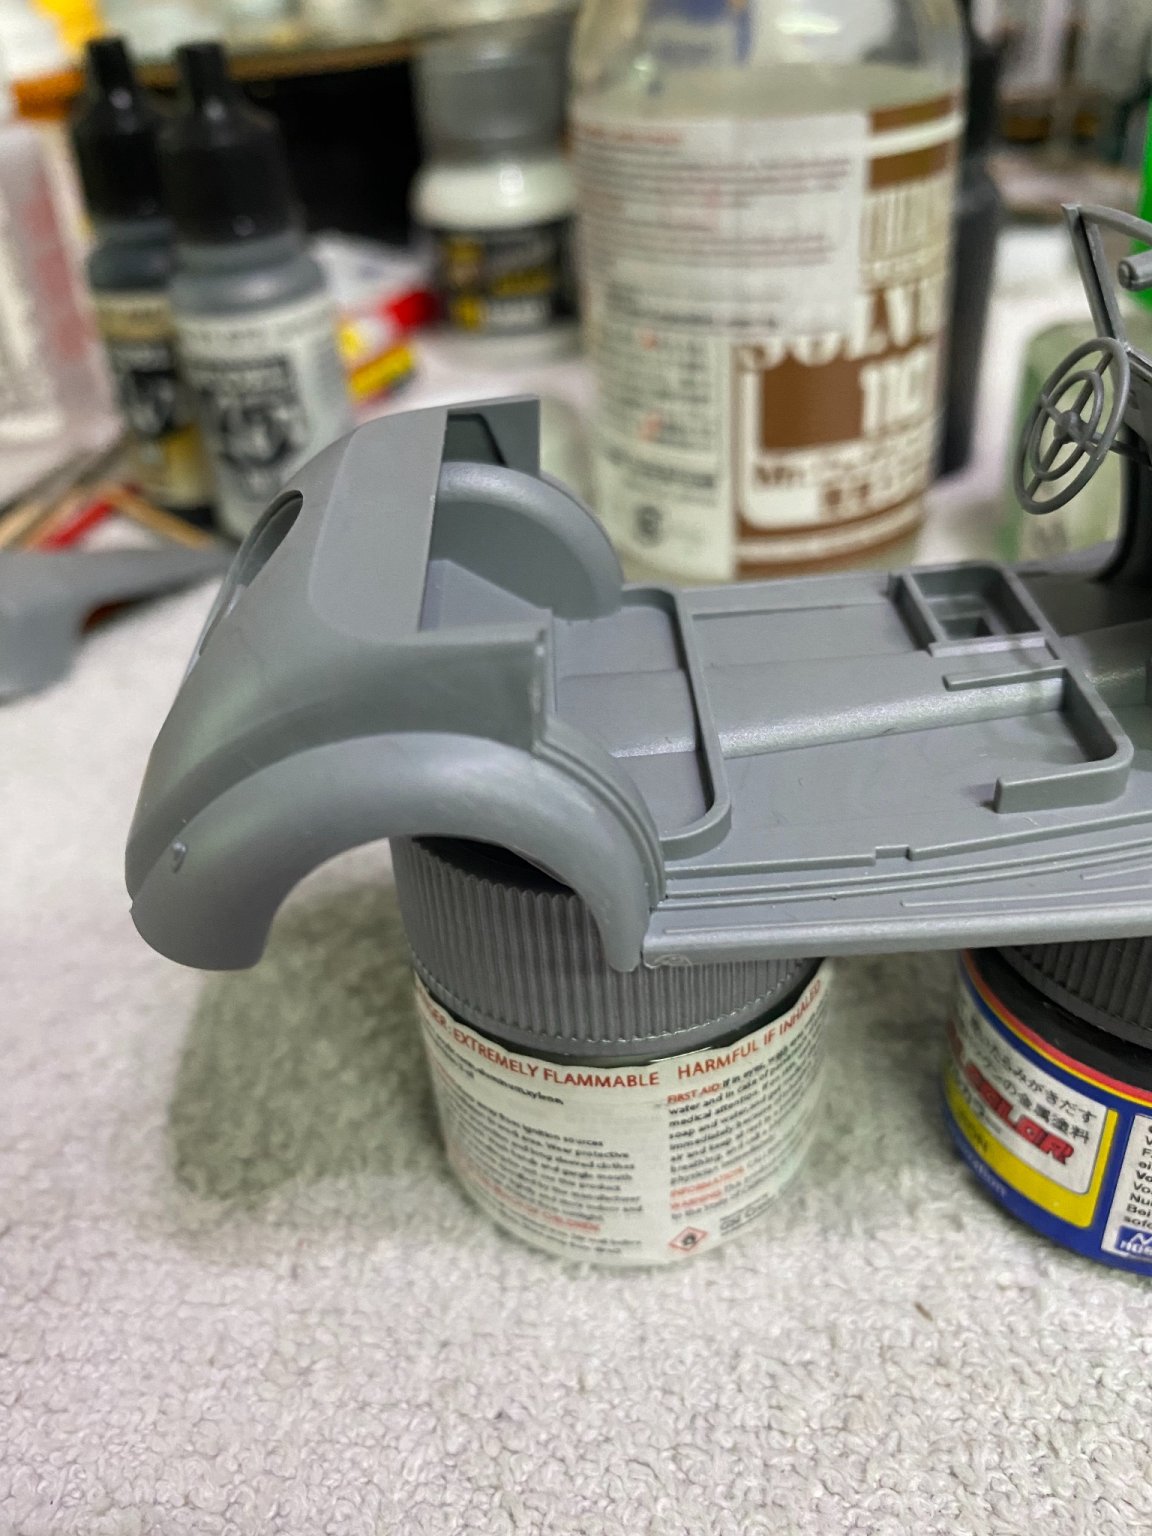
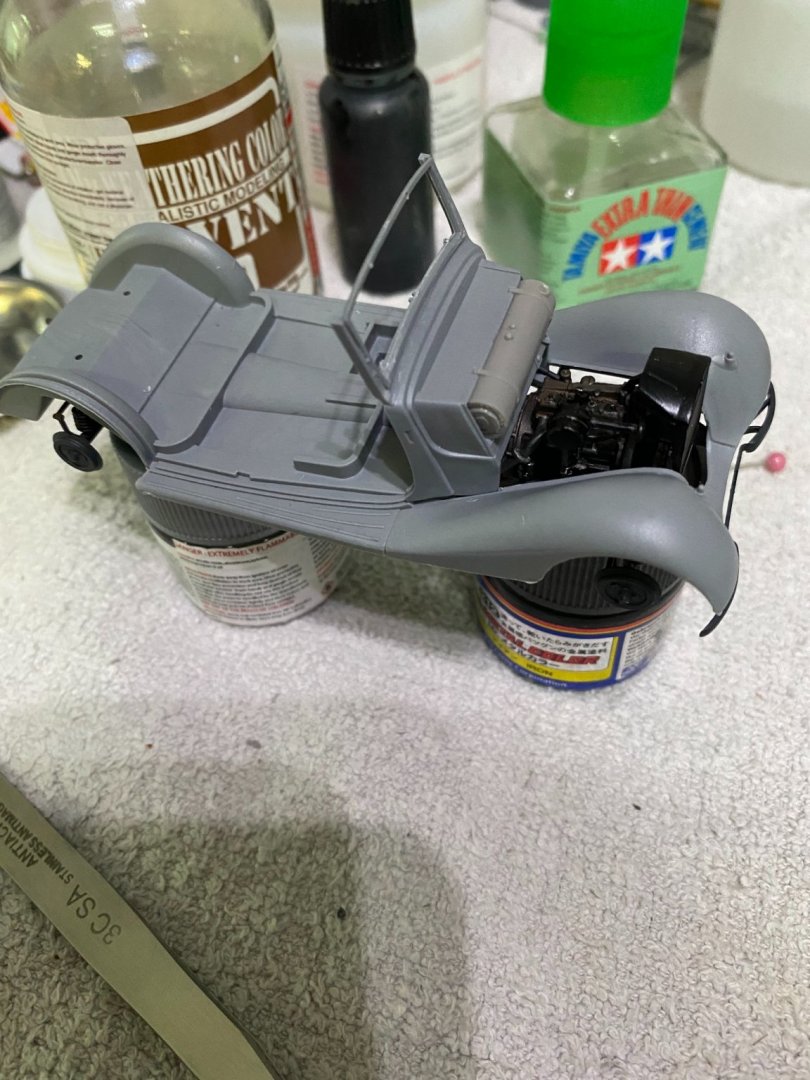
The well detailed interior is detailed with separate brake, clutch, and accelerator pedals, parking brake lever, and a gear shifter that will be added after painting.

- 143 replies
-
- 10
-
-
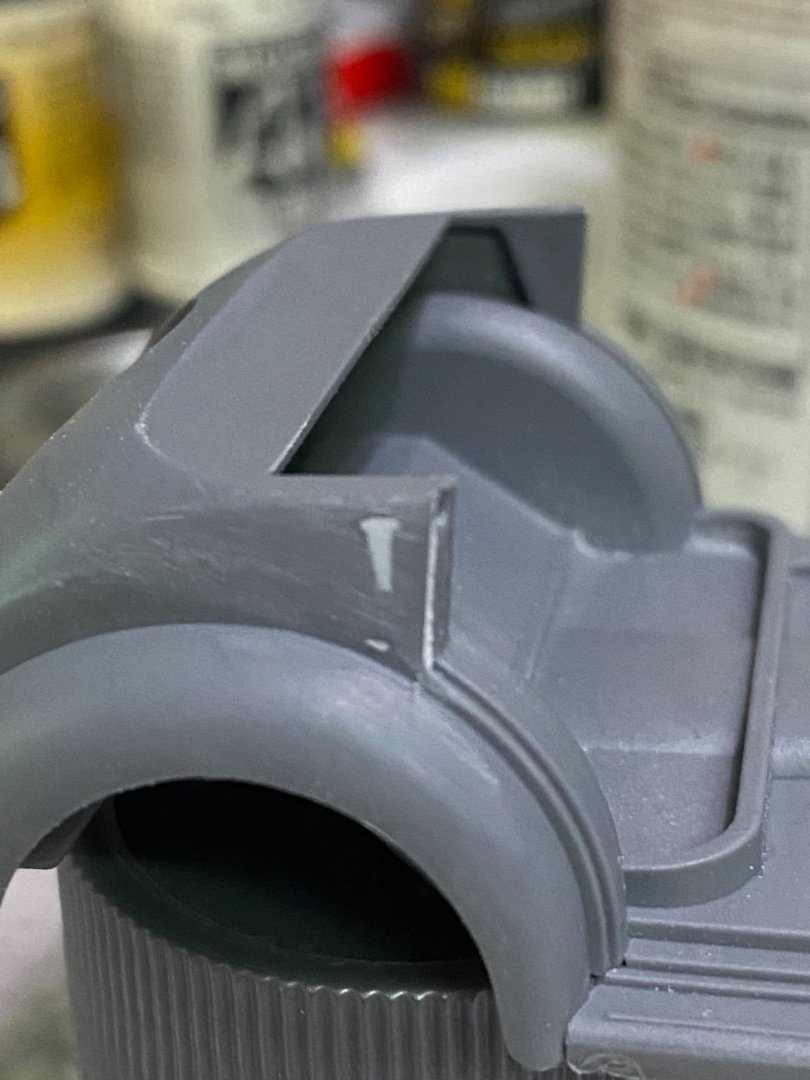
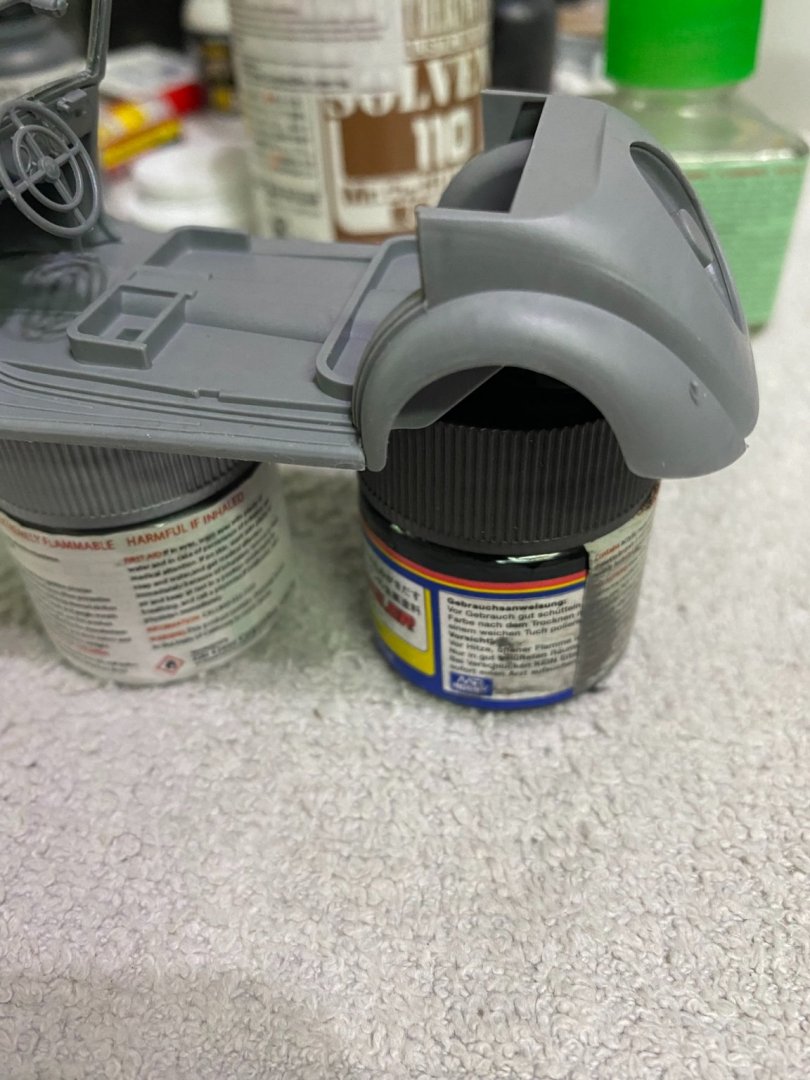
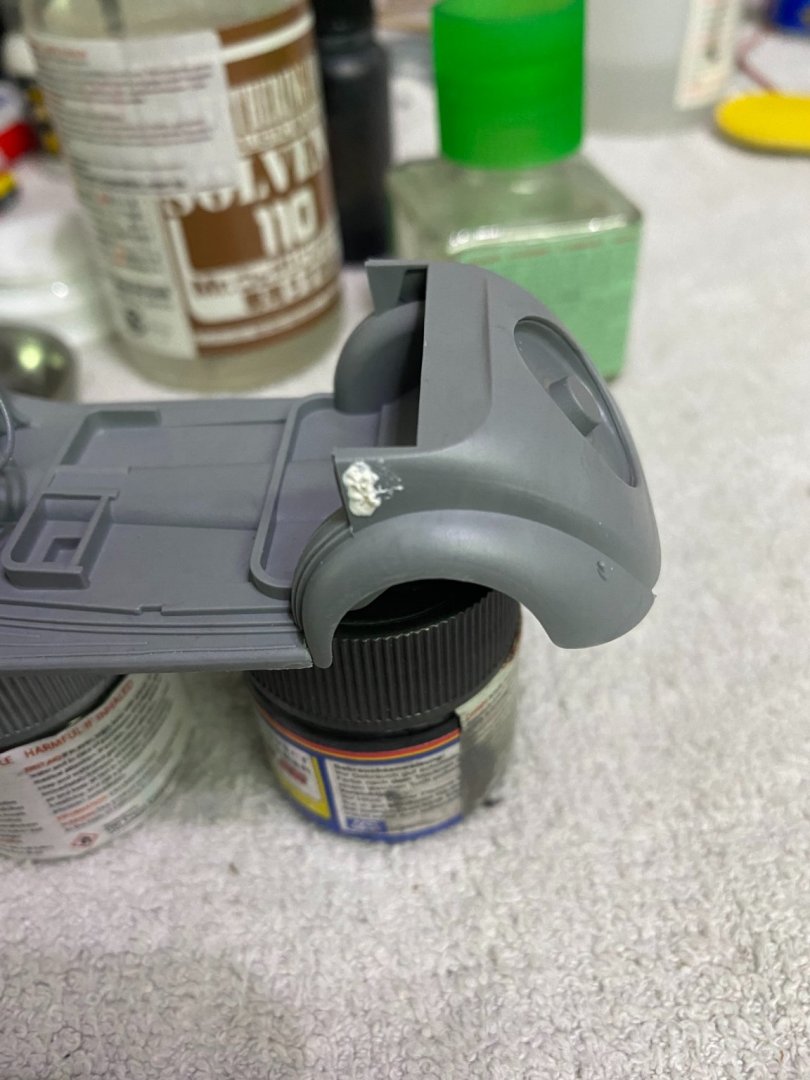
Both sides of the car body have a slight sink mark where the rear doors meet the body. A dab of putty should solve the problem in short order.

-
Thanks for the comments Alan. Im not one of the expert figure painters, but have watched a lot of tutorials and am looking forward to trying out the tips and tricks. Make no promises but will give it a shot. 😄
-
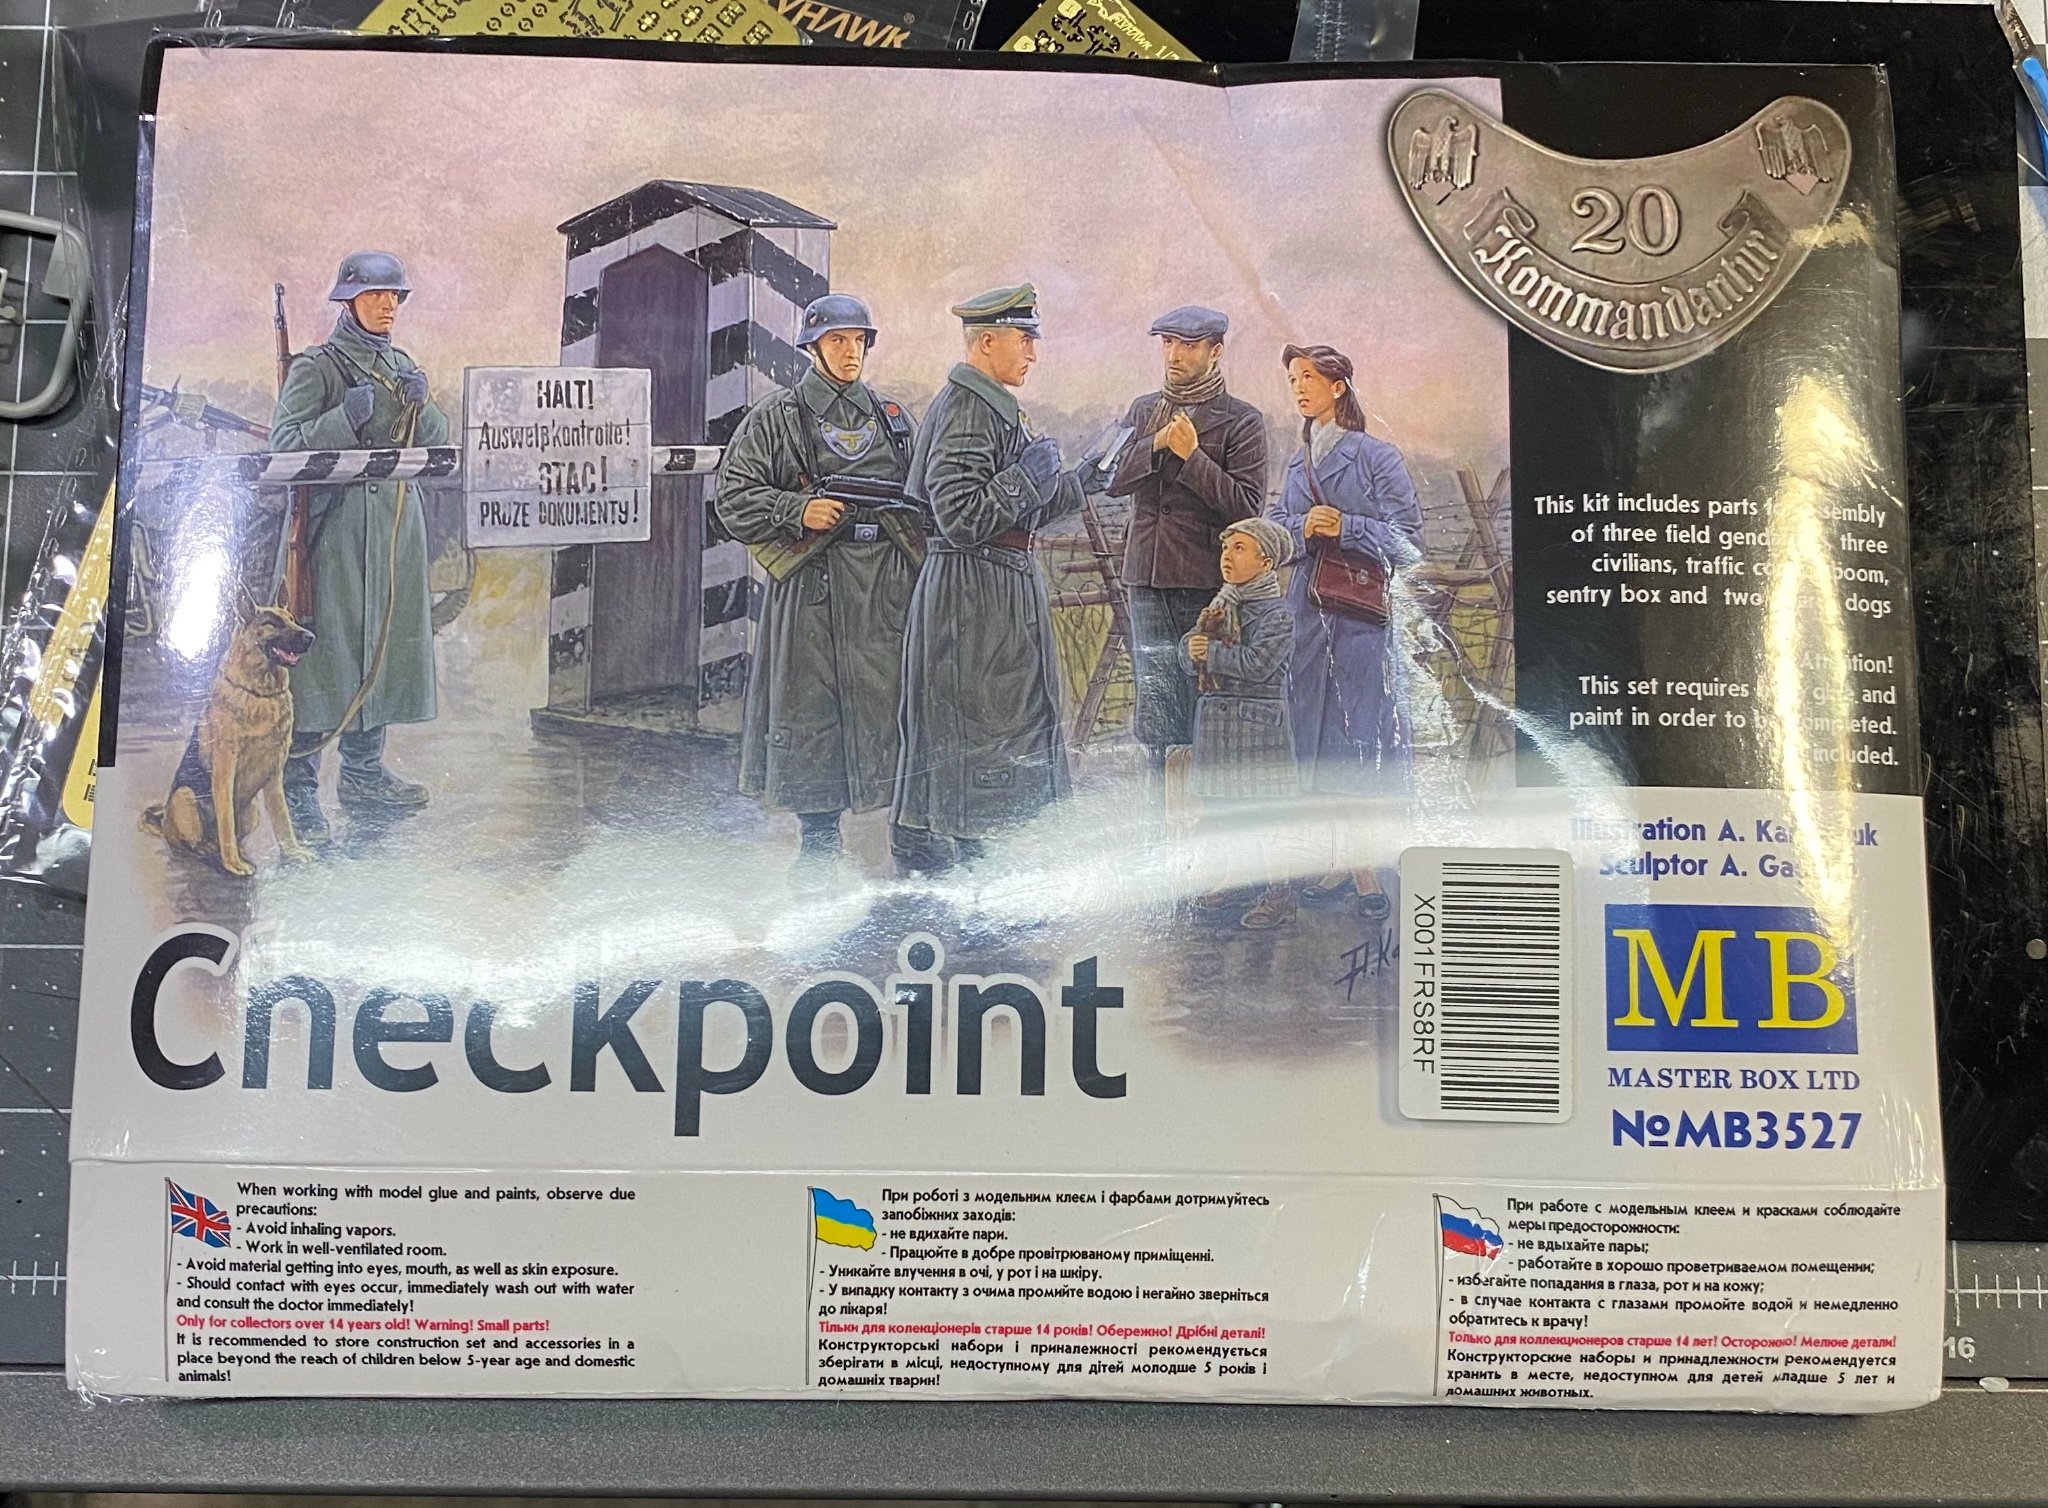
In some fashion that has not yet been fully determined, will use the sets of figures pictured in this thread (see some of the earlier posts) to complete the vignette (or diorama if you will 😃). I’ll have plenty of time to decide as the figures will take a while to complete. Figure painting is not my forte. I know very little about it and have attempted it even less. Will follow some tutorials in the process and see how it shapes up. Always love learning new things.

- 143 replies
-
- 10
-
-
Thanks EG!
-
Chris One thing I noticed when visiting the GPM card model store, they list all the recommended accessory items below the main page for each particular model. In the list of items, often there will be photo etch as well as laser cut details. It's never clear to me whether one set replaces the other. I would be interested in trying the laser cut details rather than the photo etch, but am never sure if this completely eliminates the need for photo etch or only partially eliminates it. Because of the cost of postage, I want to avoid a need to order twice. Any idea on this, or does it vary from one kit to another? I am guessing the laser cut parts will be easier to work with in more than one way, not the least of which is the painting (of lack thereof) needed.
-
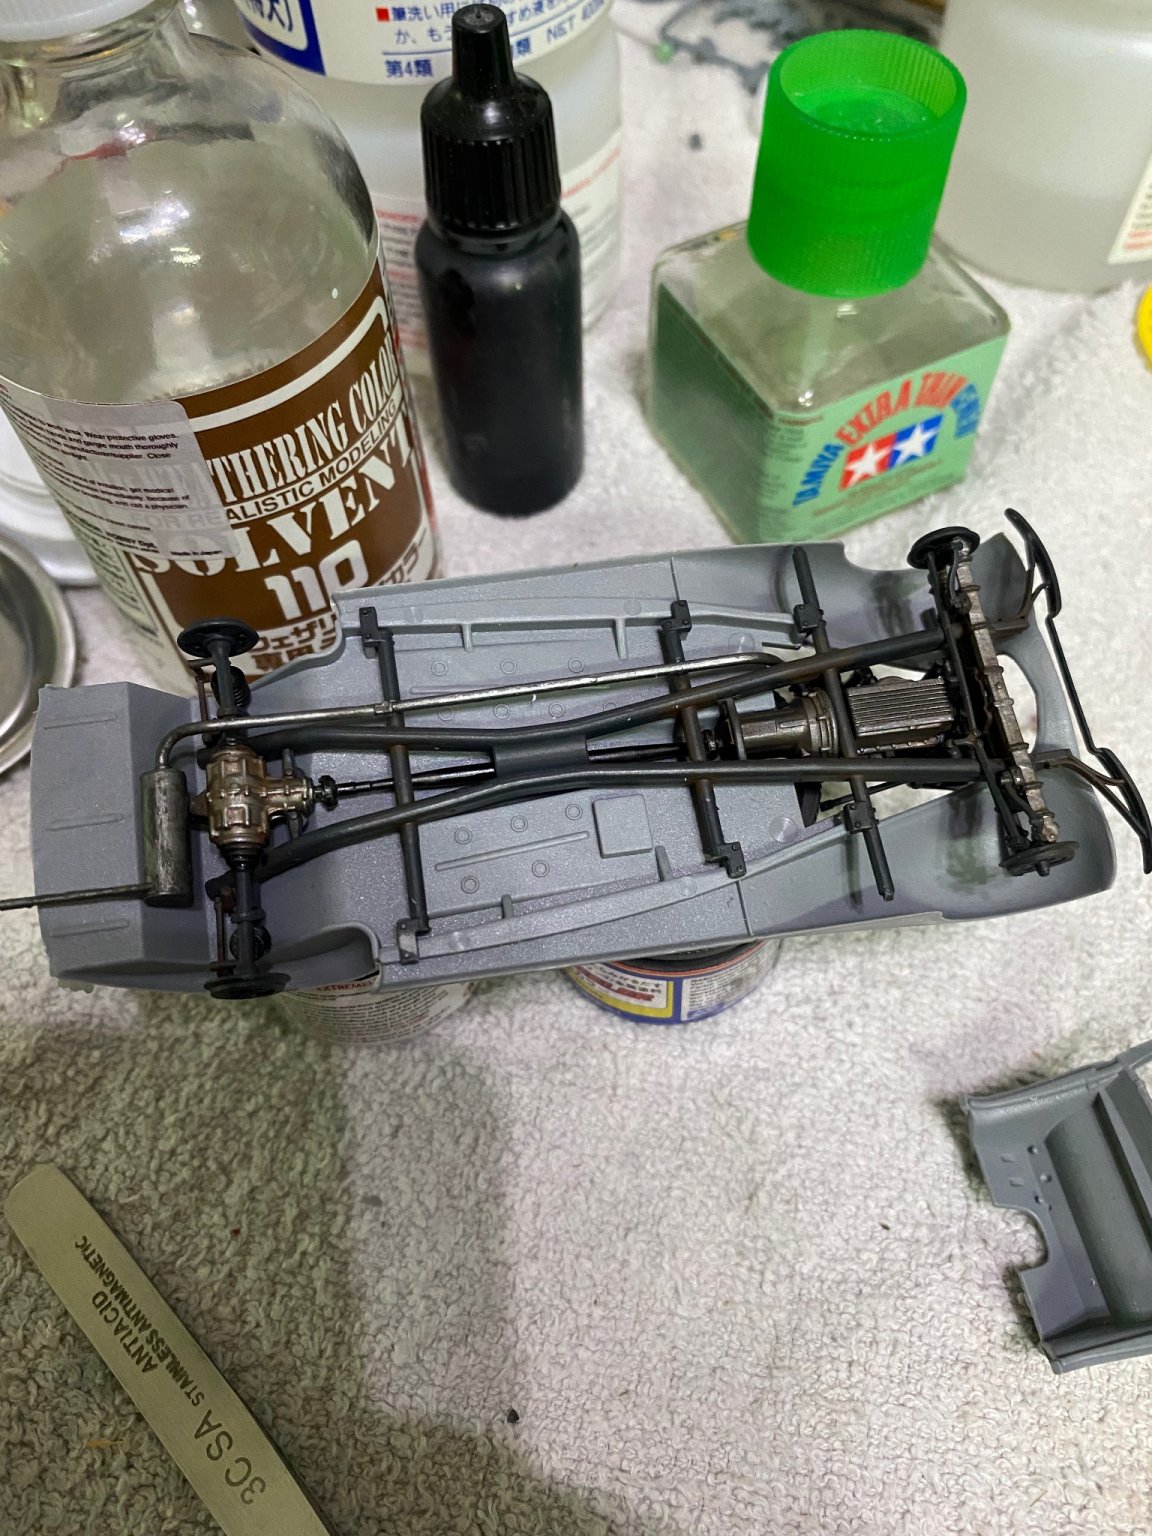
I'll bet you are correct. Look at the first photo in the three photos above. There is a rectangular object on the bottom of the floor boards, under the driver's seat. I bet that's the battery box. No need to model a battery then as it would not be seen. Makes sense now why it's not part of the kit. Everything else is so well detailed, would be very surprised if they left out something like that.
-
Hi Chris Happy to follow your build thread for the Waratah. May I ask, what specifically makes the two models on your special shelf so difficult in your opinion? You appear to be very proficient with your builds I have seen. I am curious because being entirely new to card models, it doesn't yet occur to me what makes one kit more challenging than another. In reality, all of them appear challenging to me. 🤔
-
Macro photos with an iPhone
CDW replied to Tomculb's topic in Photographing your work. How to do this.
What is the focal length of it? I have not seen that macro lens in action. My grandson wanted the zoom function for his hunting exploits, and that part worked well for him. -
Macro photos with an iPhone
CDW replied to Tomculb's topic in Photographing your work. How to do this.
My grandson asked me to order one of these for his iPhone. I was shocked how well it worked. I thought for the small price it was probably junk, but I was wrong. Amazon.com: Cell Phone Camera Lens Kit, SEVENKA 18X Zoom Telephoto Lens with Remote Shutter, Tripod, Fisheye, Macro and Wide Angle Lens for iPhone 11 Pro Max X XS Max XR/8/7/6/6s Samsung Android Smartphone : Cell Phones & Accessories -
Probably just me, but I wondered why the kit did not contain a battery, and if it did, exactly where it was located with this vehicle. Any know? I can scratch build the battery but need to know where to place it.
-
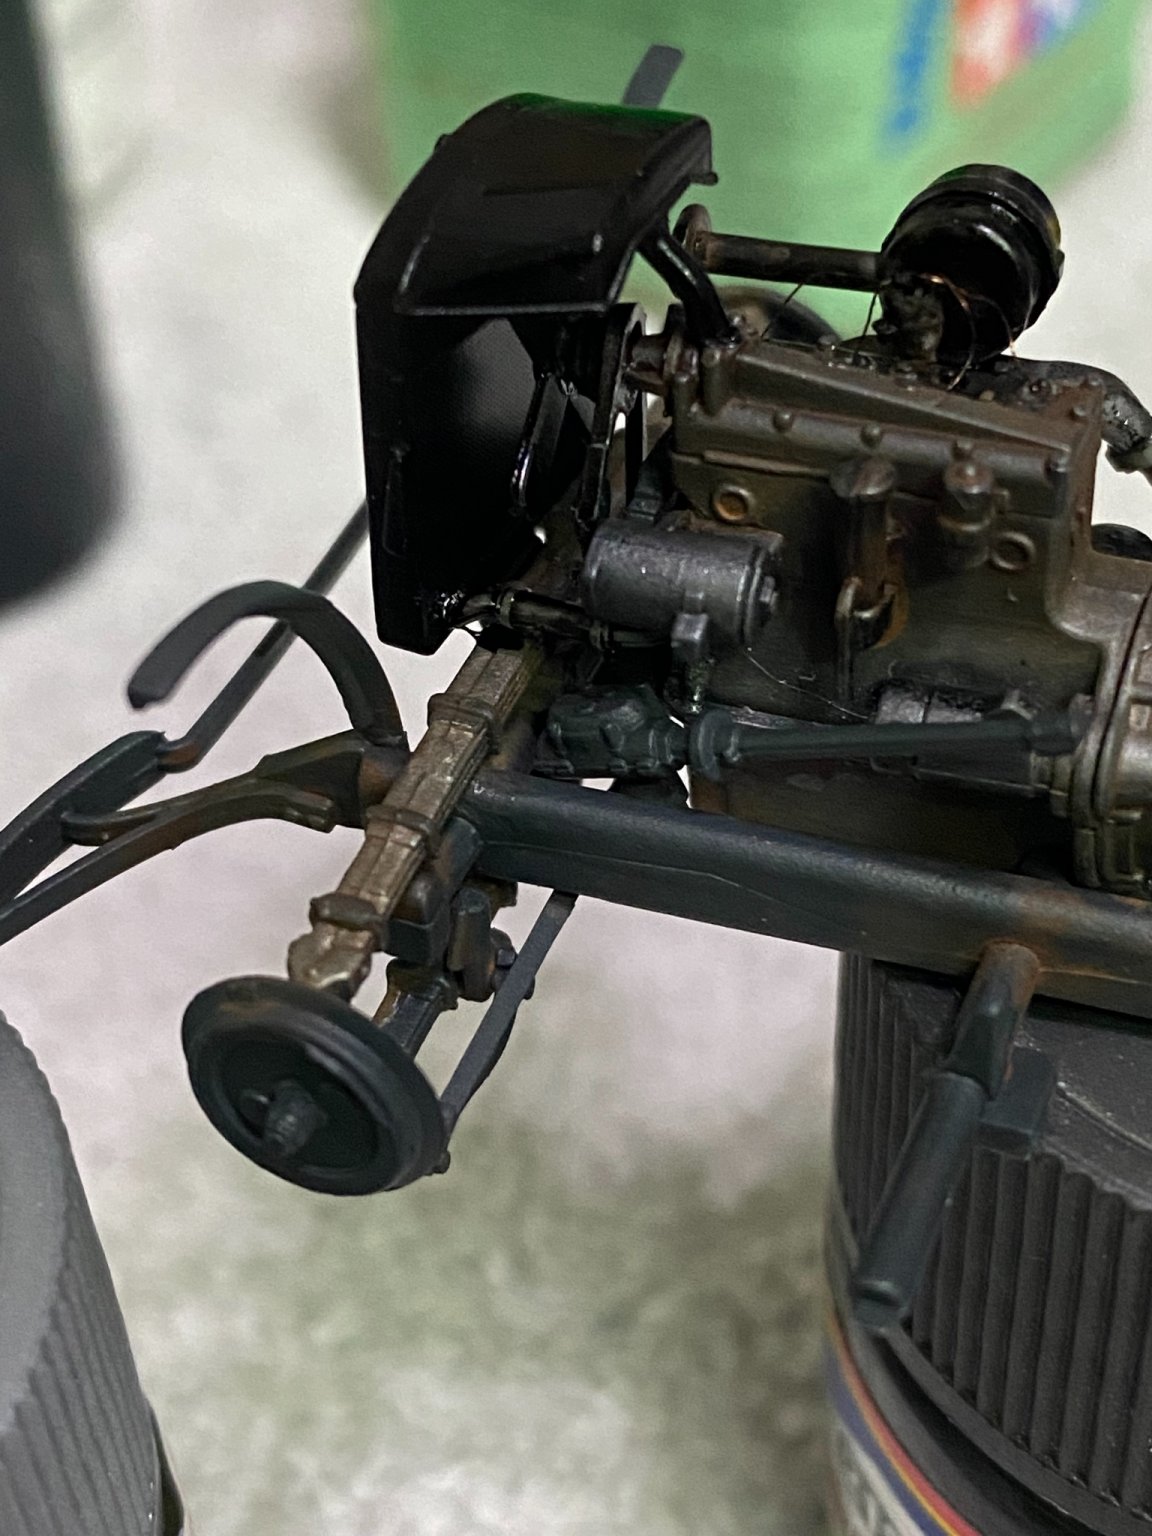
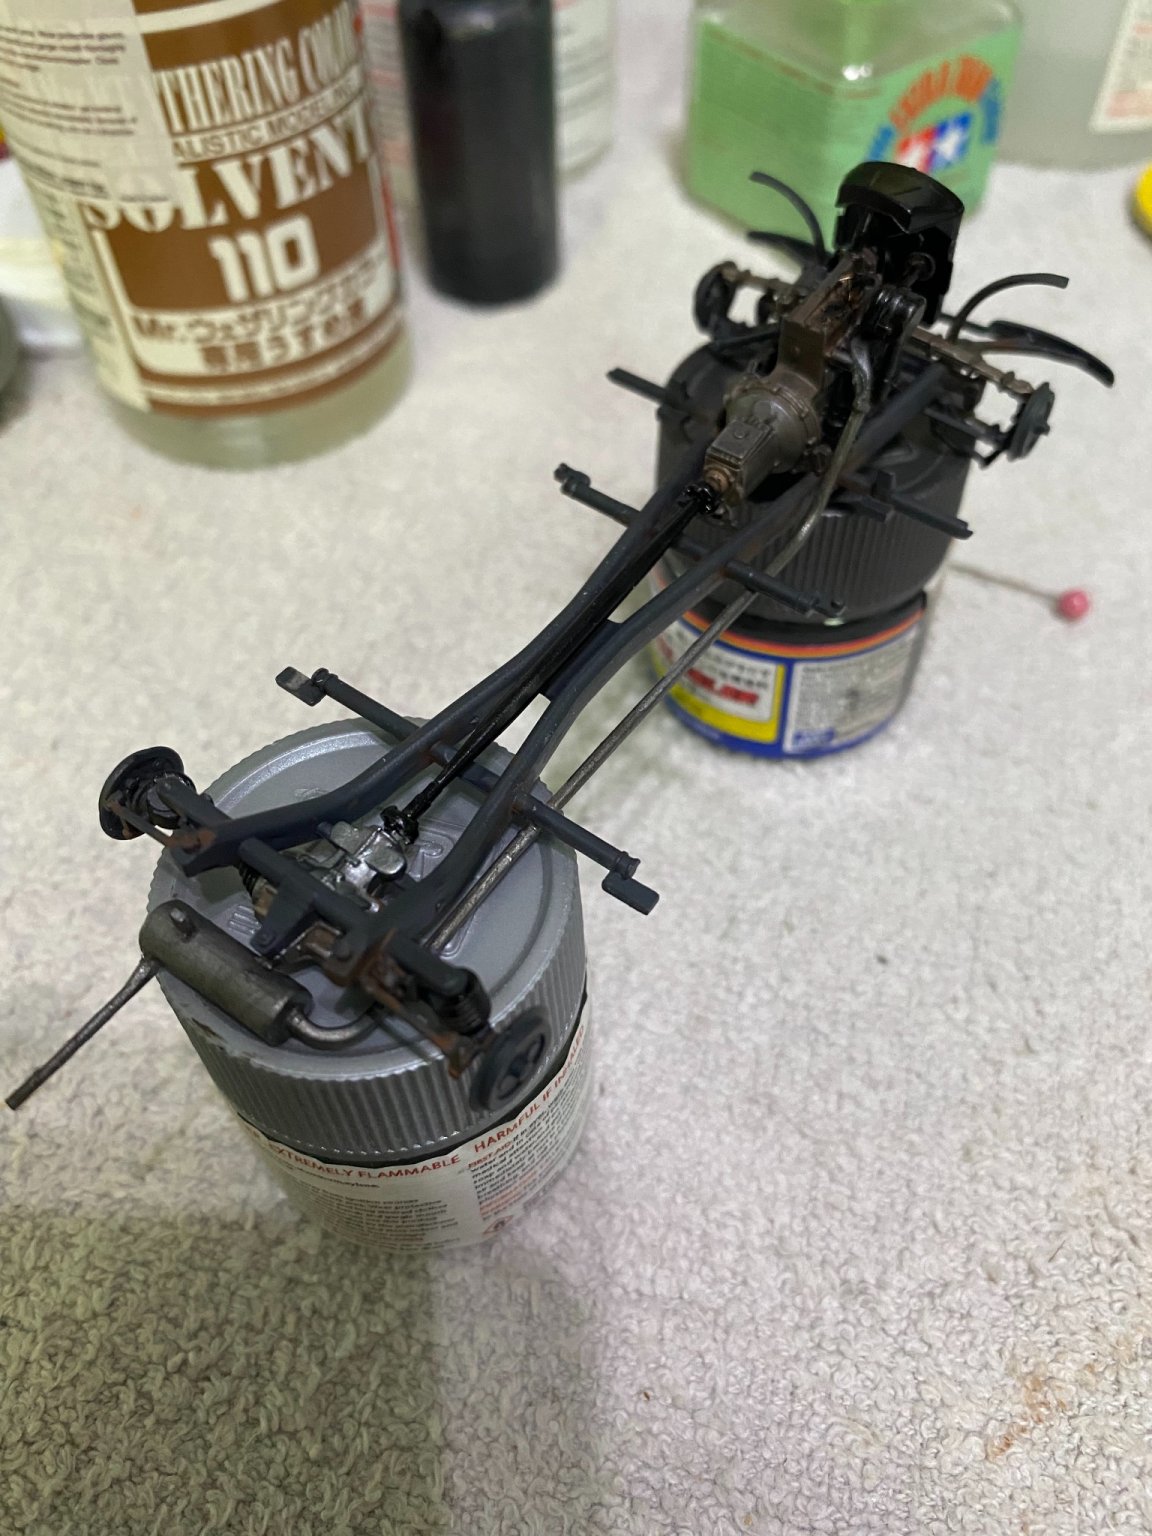
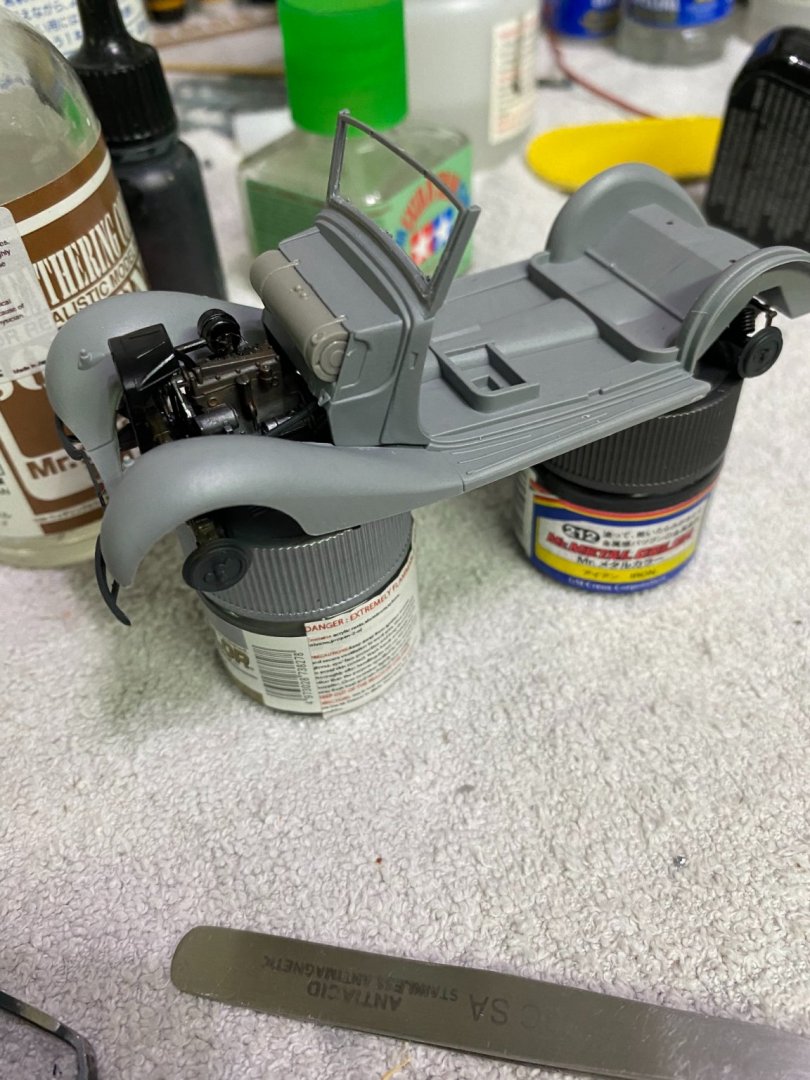
Firewall fit to fenders will tighten up nicely with glue applied. Notice the fuel tank on the firewall behind the engine which is unusual to me. Used to seeing the fuel tank in the rear.
- 143 replies
-
- 11
-
-
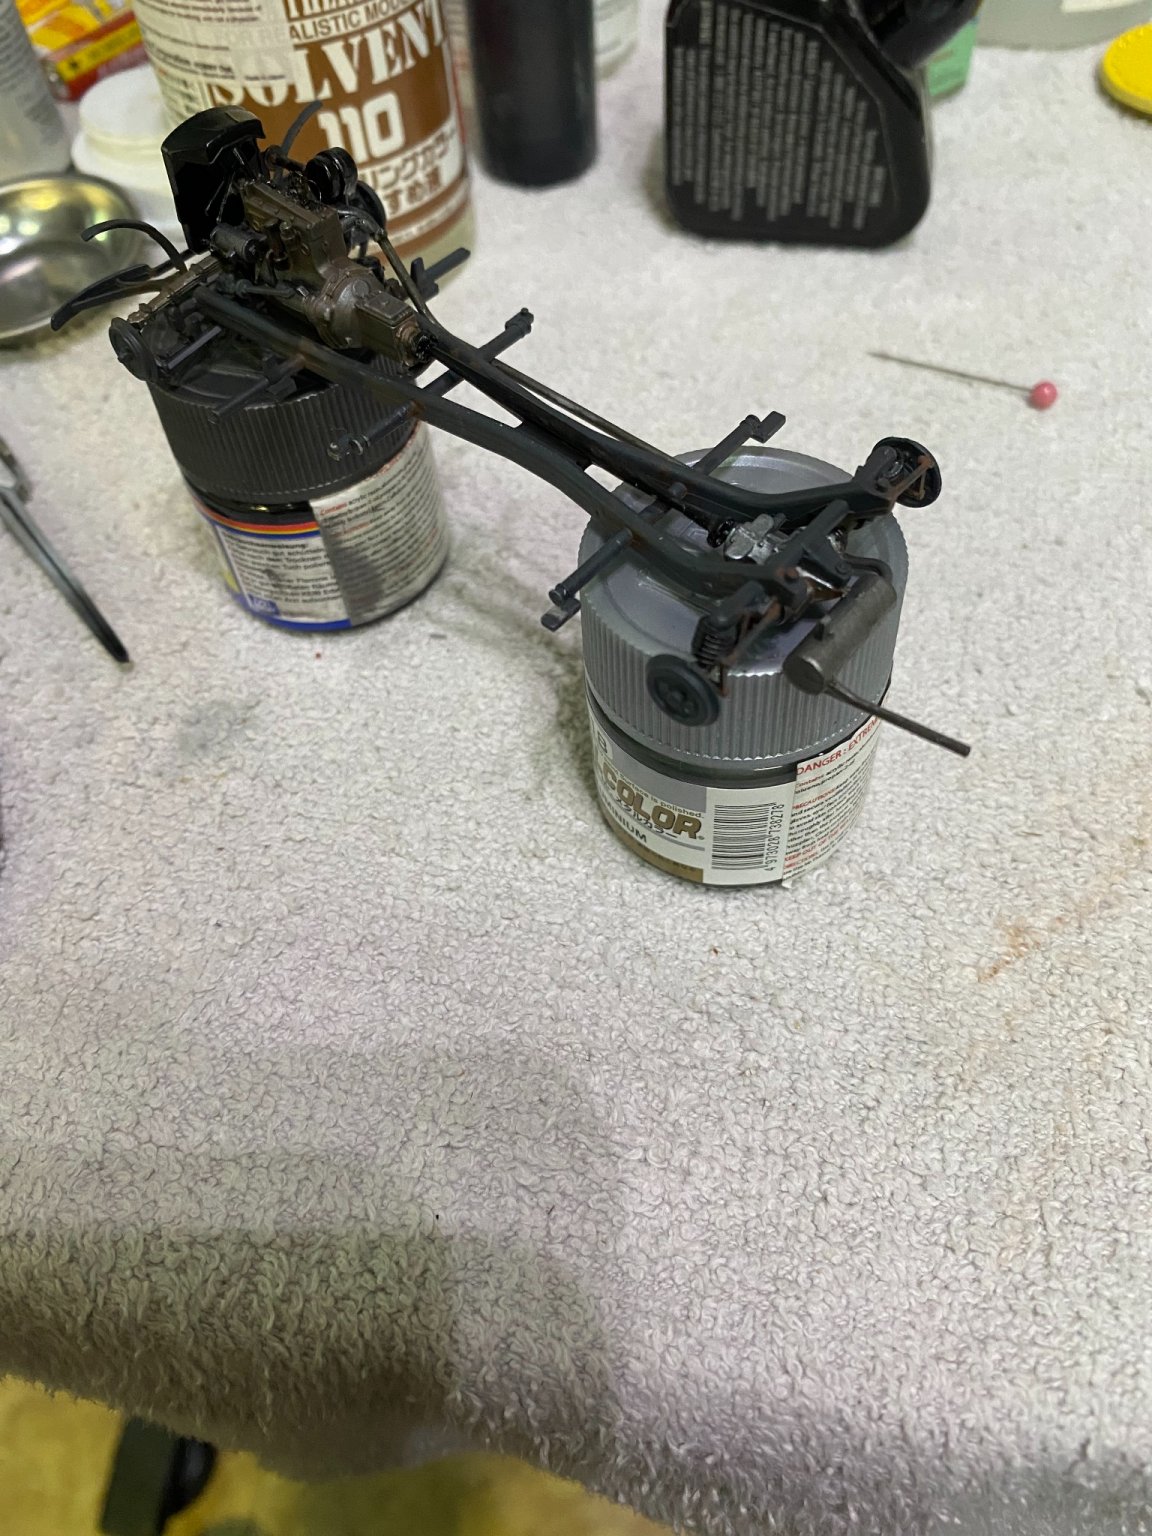
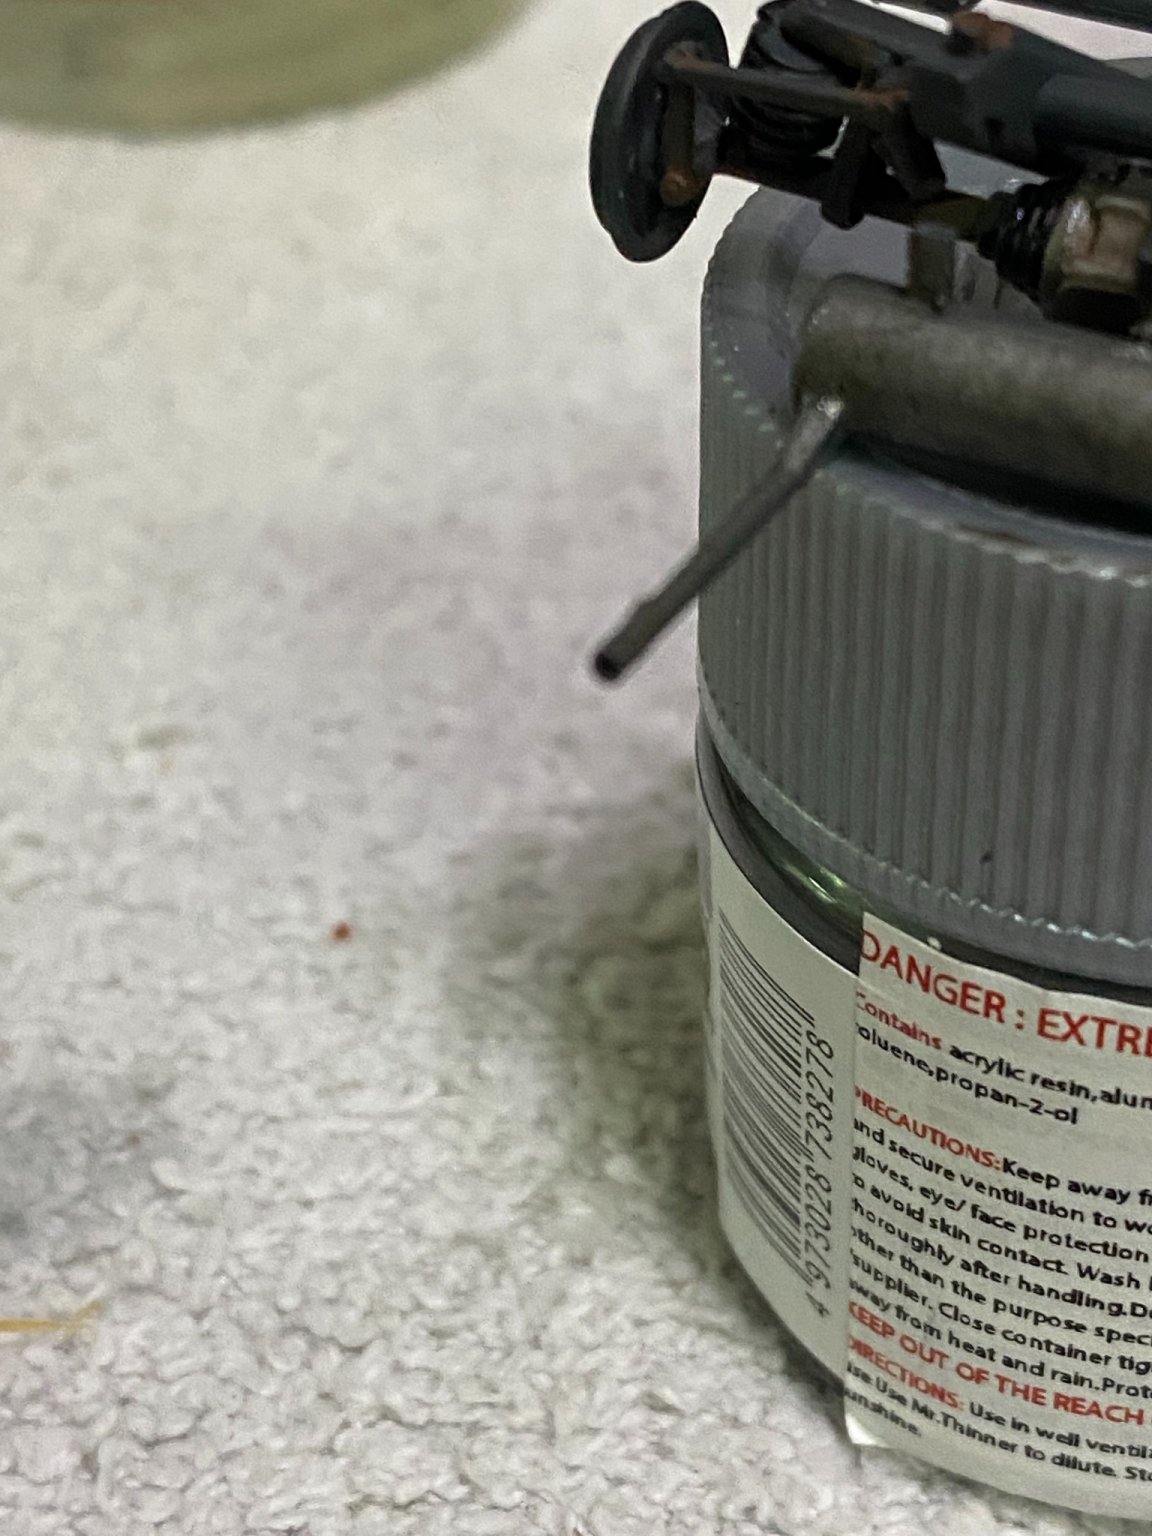
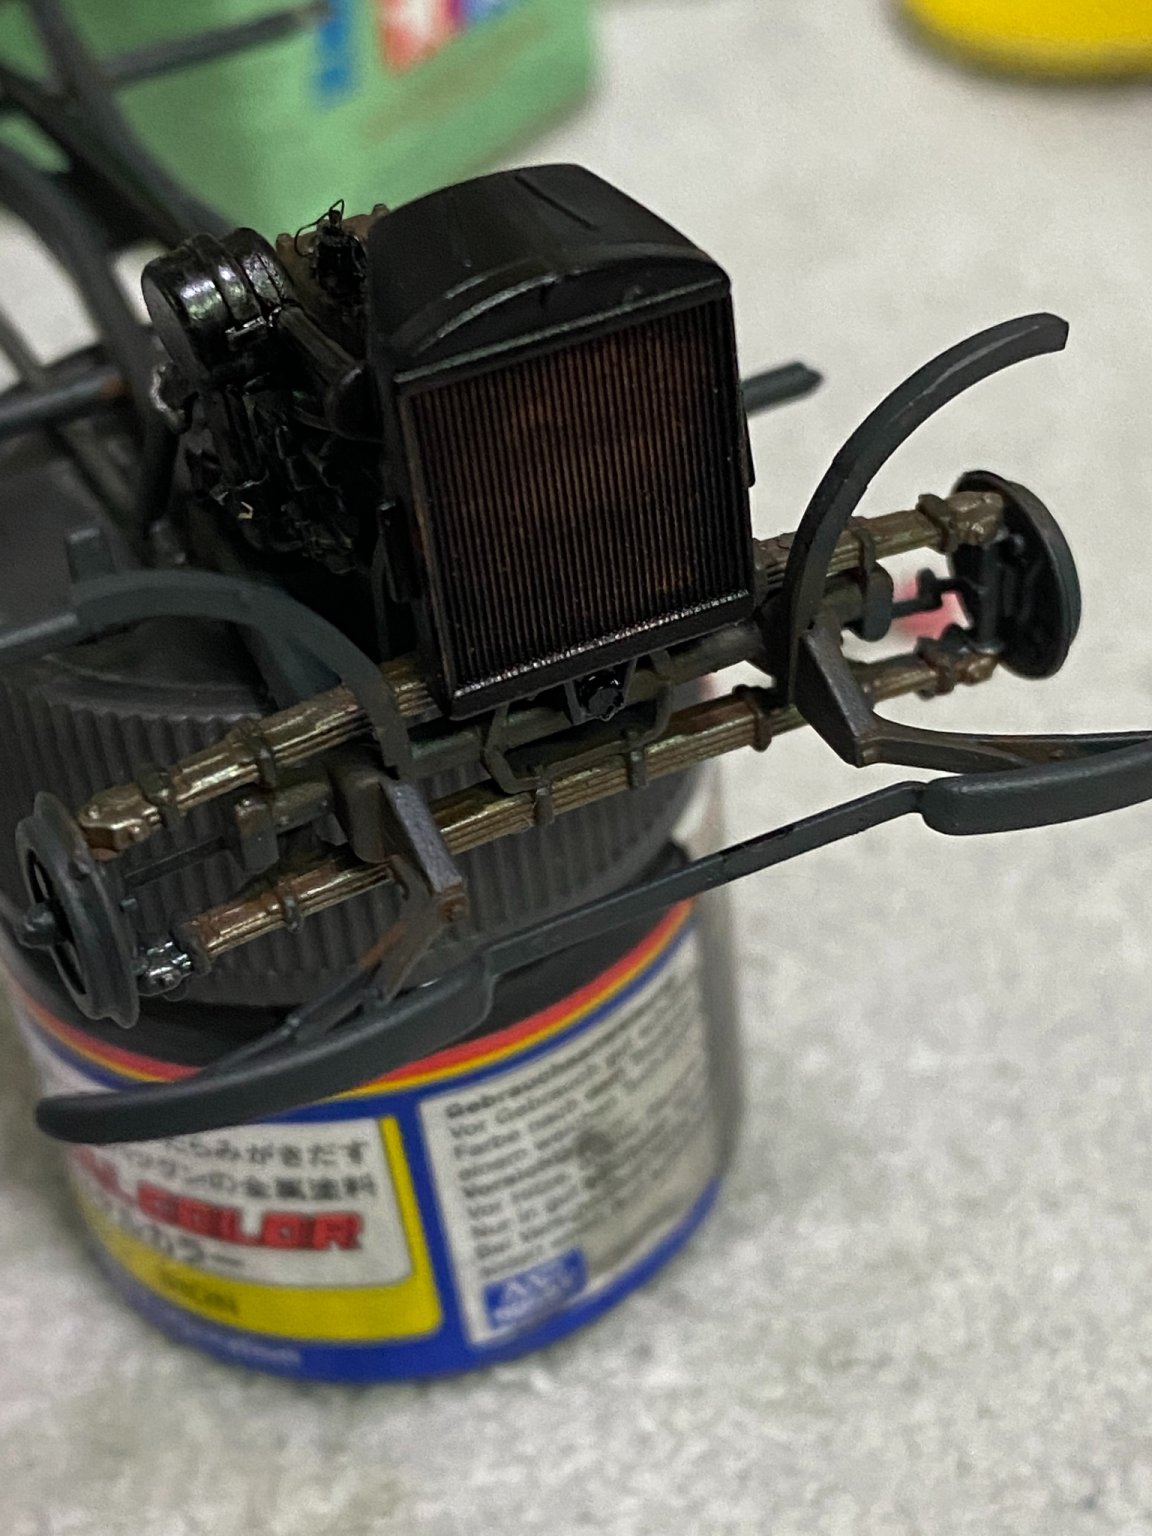
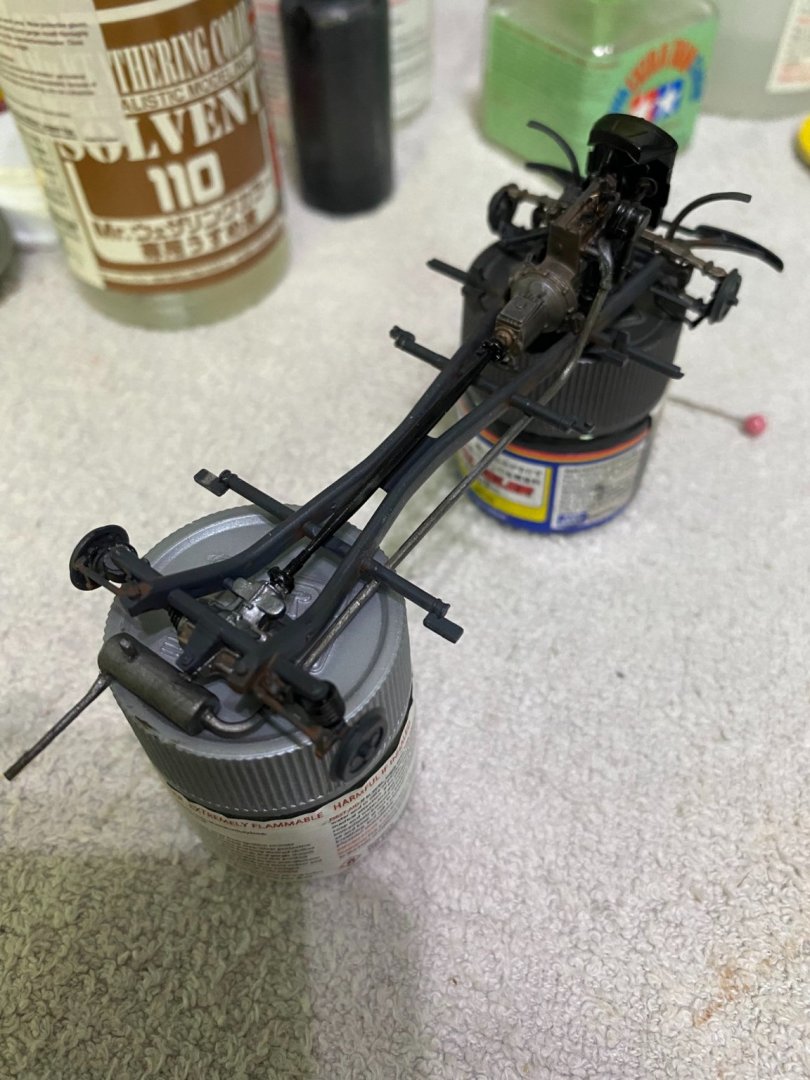
Added the radiator, hoses, and exhaust system. Don’t forget to drill out the exhaust tip.


- 143 replies
-
- 10
-