CDW
-
Posts
7,719 -
Joined
-
Last visited
Content Type
Profiles
Forums
Gallery
Events
Everything posted by CDW
-
 Thanks Patrick. I did not realize she was a Mercedes until now.
 -
Oh man, I used the heck out of the automotive tools I once owned back in the day. Not so much these days. Been a long long time since I last owned a 60's car. More than 20 years ago. Last car I did any extensive work on was my '96 Buick Riviera. Loved the way that car looked and drove. Supercharged V-6. Once that car reached the end of its warranty, 36,000 miles, almost everything you can imagine started breaking and needing replacement. Thanks on the 44 years. She's been a keeper.

- 143 replies
-
- 10
-

-

-
Oh yeah! This came out great Denis. Love the Liberator and this one really looks the part.
-
Exactly. My project was completed with less than optimal tools, resulting in frustration and extra time required. But eventually it did get done (probably by the skin of my teeth). I watched Youtube how-to videos in vain, only to learn I did not have the correct tools. Buying the correct tools is cost prohibitive unless one is a professional plumber and then can recoup the cost in a relatively short time. There's a reason the cost of a plumber is high, and much of that is due to his investment in tools and equipment, not to mention know-how.
-
Great tip about the acupuncture needle. Never thought of that before. And I do agree, the ILK model does have excellent masts. It will be interesting to compare the two models side by side once both are finished. ILK Hood is an excellent value and even though the kit plastic is not quite as good as Flyhawk, the photo etch is a little easier to work with I think.
-
She's been my sweetheart longer, but we've been lawfully married 44 years.
-
I finished a major (for me) plumbing issue at my house, also celebrated our wedding anniversary yesterday. Now maybe my modeling time can resume to a more normal frequency. 😊 Did I mention that plumbing maintenance sucks and that paying for a plumber might be equally unpleasant? None of it is as bad as doing without so I’ll quit griping and get down to some serious modeling now (after I take a quick swim).
-
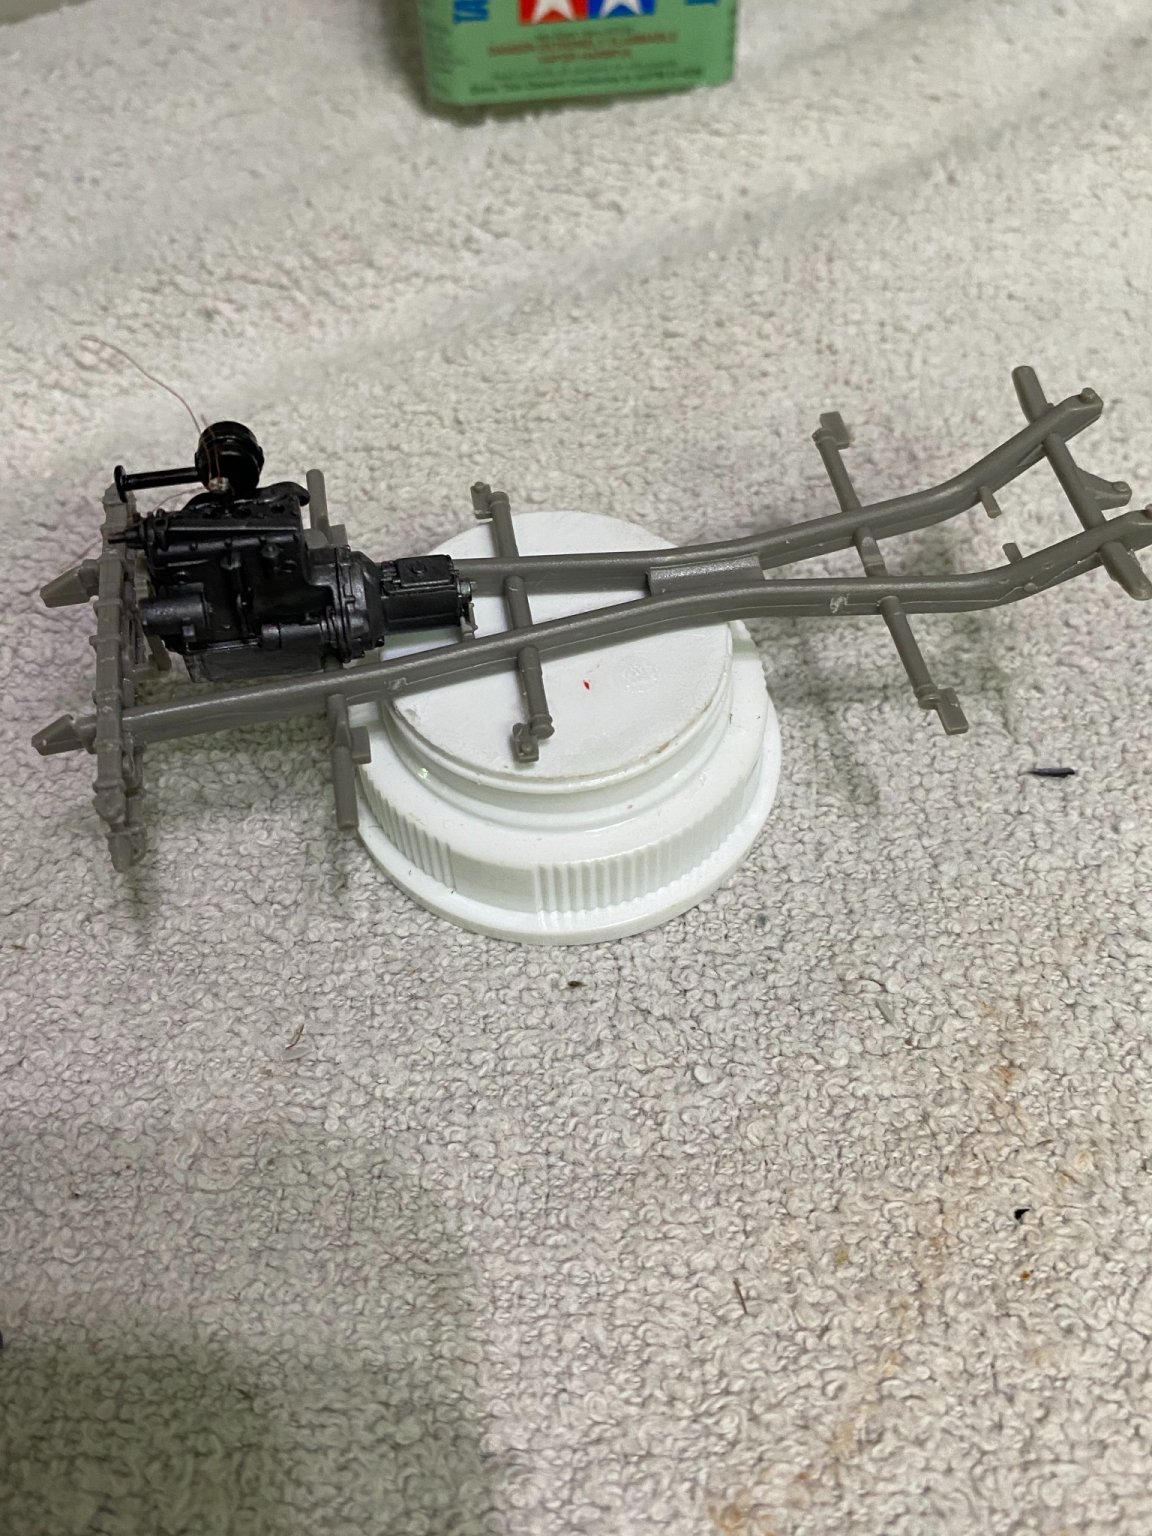
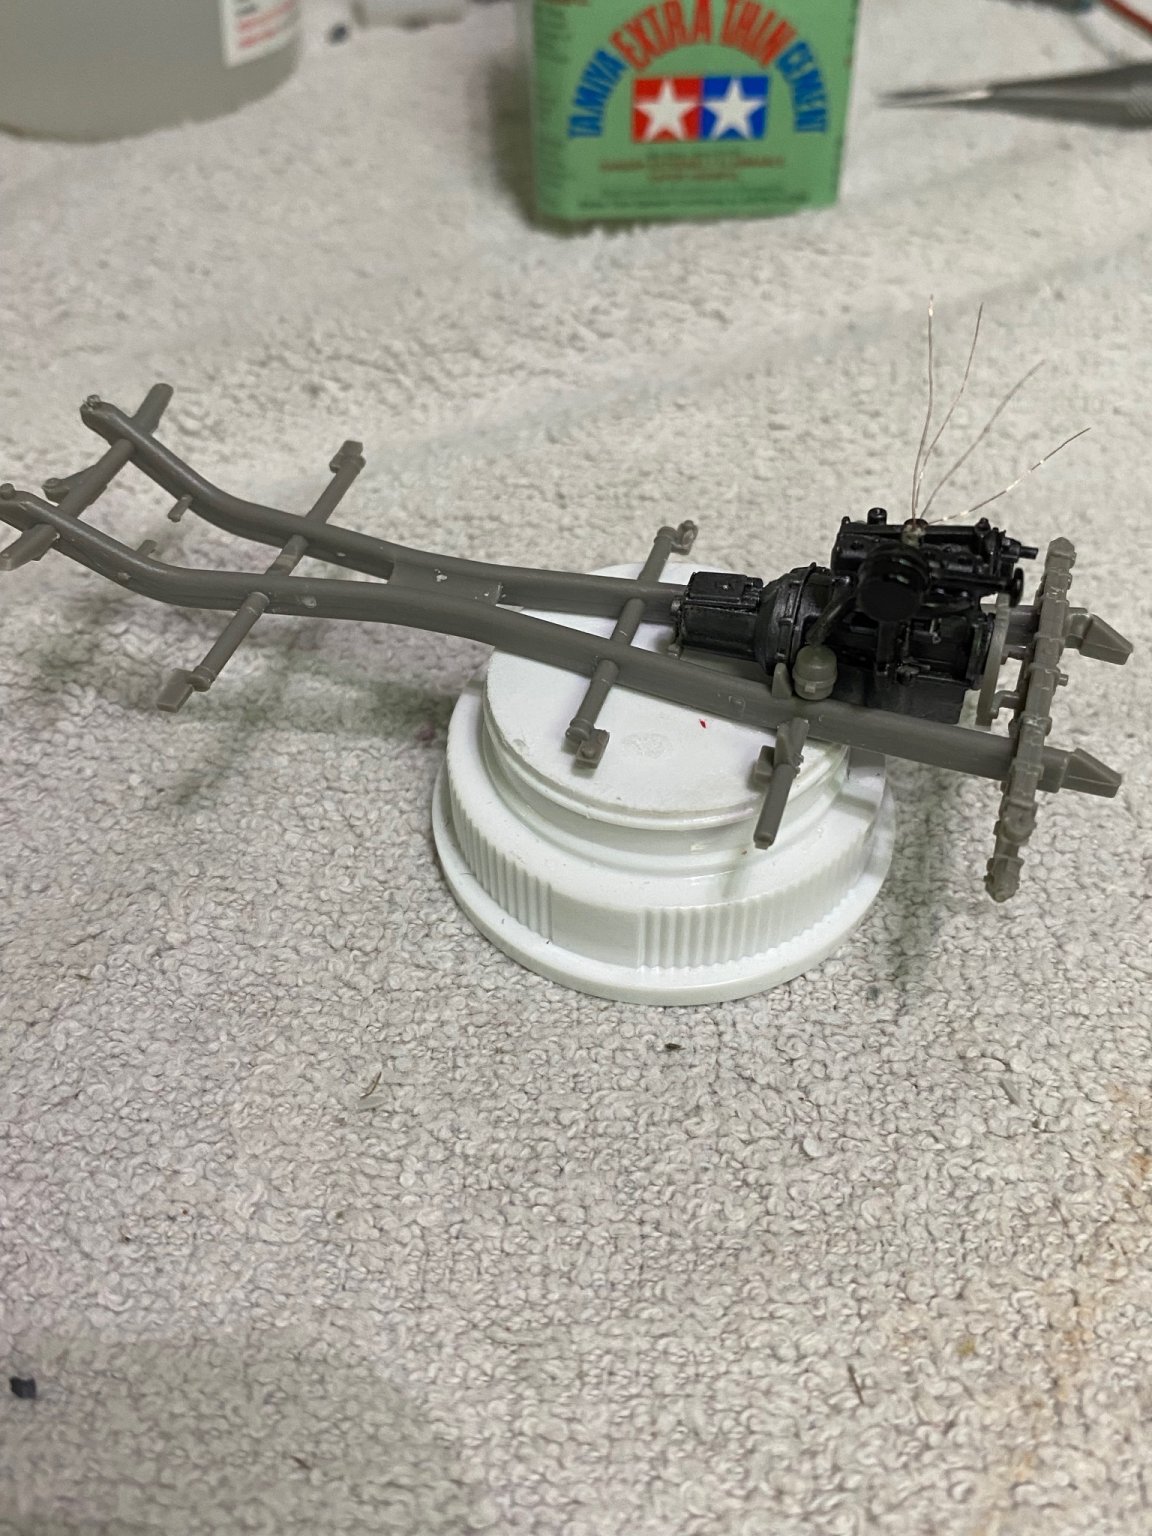
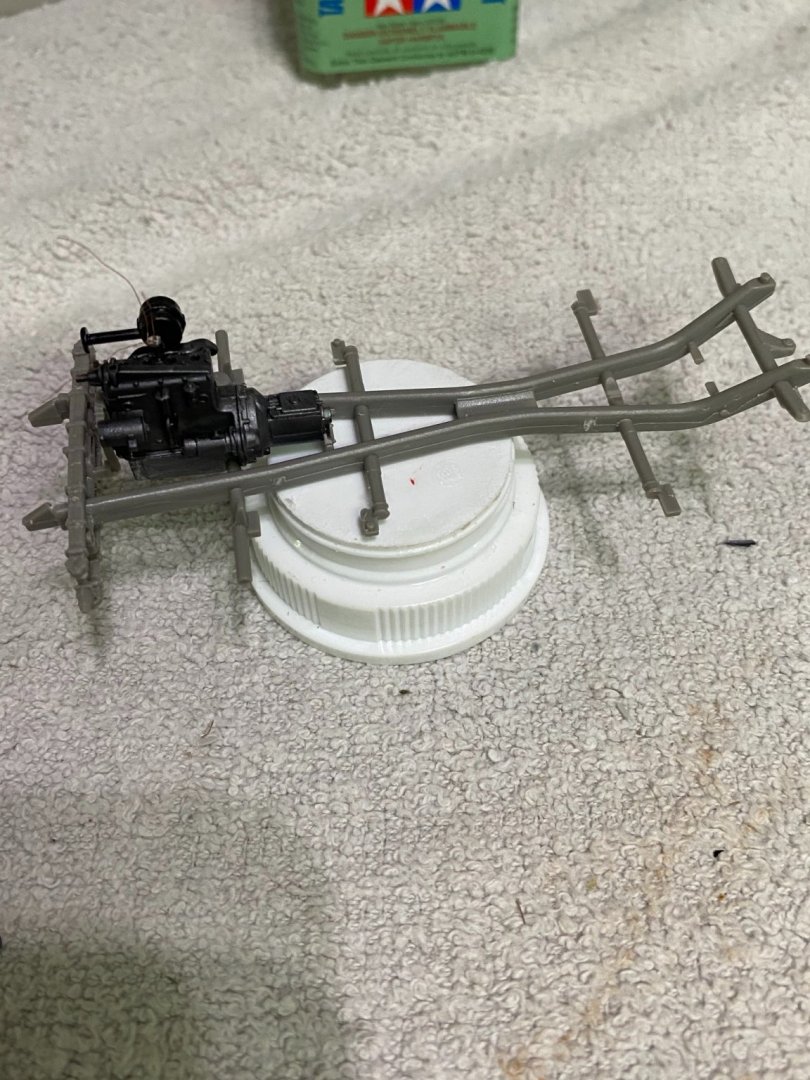
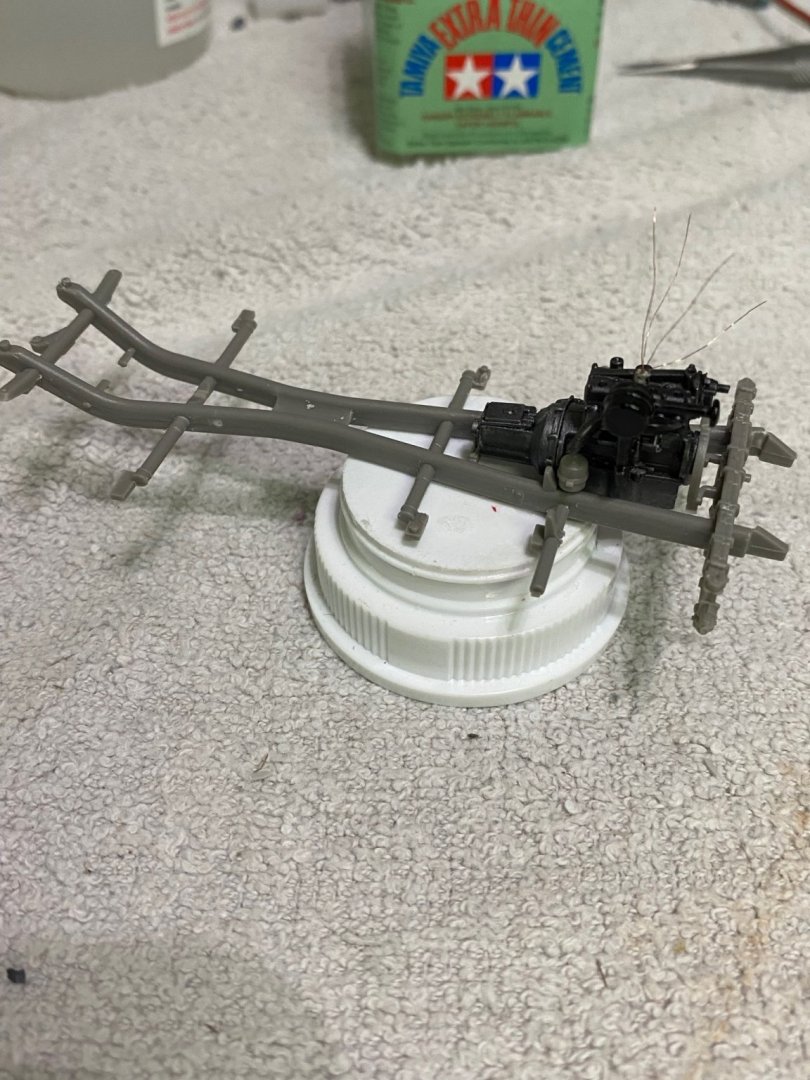
Test fitting the engine to the chassis. Perfect fit. I have no idea whether the Germans used any particular color on their engine for this car. Just going to use my own imagination I guess. No mention of it in the instructions. They only specify exterior colors.
-
Fokker Dr.I by hornet - Artesania Latina - 1/16 scale
CDW replied to hornet's topic in Completed non-ship models
In an aircraft like that, it'll ground loop on takeoff before you can say, Bob's your uncle. -
Outstanding model George! Very well done.
-
Very glad to see you have started your Hood, Roger. I would venture to say that the Flyhawk Hood could be built using all the plastic parts and only using the photo etch railing pieces and still produce a very good looking model. At a minimum, the model does look much better IMO with railings added.
-
Fokker Dr.I by hornet - Artesania Latina - 1/16 scale
CDW replied to hornet's topic in Completed non-ship models
A lot of wing area, a lot of lift. Lots of drag, too. -
Looking super Alan! When I built my Scharnhorst, I must have knocked some of the small parts off a dozen times and had to re-glue them during the process. You're doing a great job of building it then keeping it all together.
-
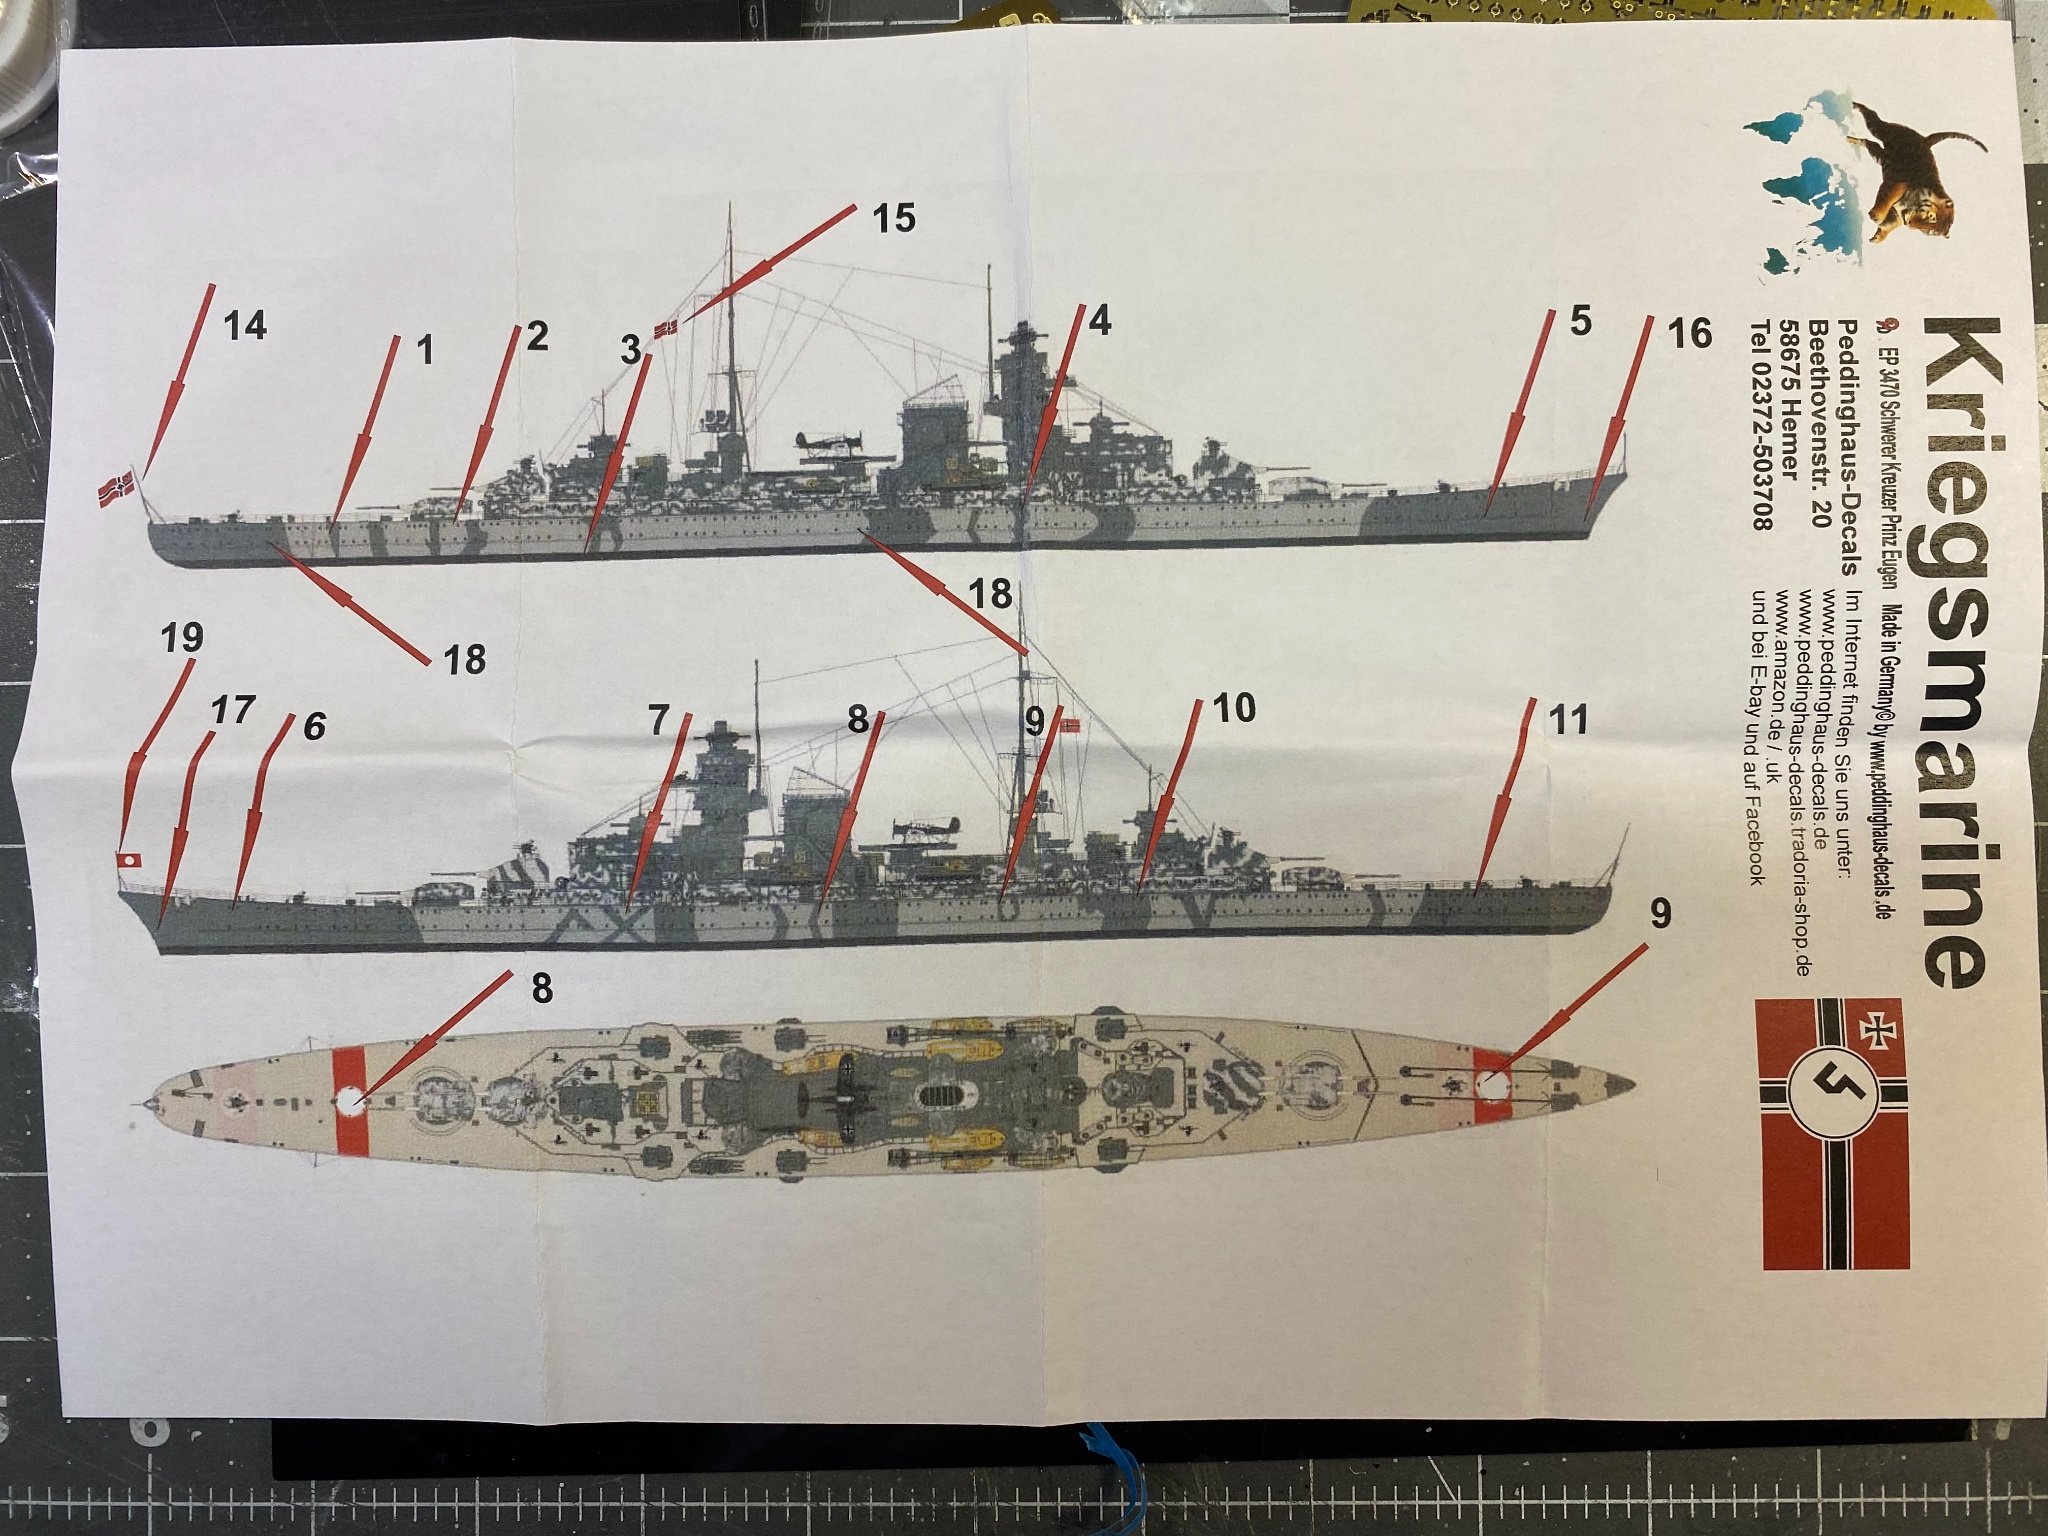
Thanks OC. I thought they might look more precise than what I could do making my own paint mask. The flags are vastly better than the Trumpeter ones that come with the kit.
- 174 replies
-
- 6
-
-
- prinz eugen
- trumpeter
- (and 2 more)
-
I loved that show when I was young. Thanks for the good memories. Made me laugh thinking about it.
-
Fokker Dr.I by hornet - Artesania Latina - 1/16 scale
CDW replied to hornet's topic in Completed non-ship models
Gorgeous! Beautiful work. -
Just found your build log Grant. Beautiful project! Your work looks superb. Going to take my time looking through all your wonderful photos of the pumper.
-
Great project Denis! Just found your build log. Love the oldies like this, they bring back so many good old memories.
-
Hi Gary I just found your build log for this wonderful project. It's simply beautiful and so much fun to see. Going to take my time and look very closely at all the photos just to take it all in. Fantastic craftsmanship. Love it.
- 189 replies
-
- 11
-
-
-
Real life got in the way of modeling today. Maybe tomorrow will be more favorable conditions for Der Tourenvagen. Think I'll name her, Helga. I did listen to some good music while I was working:
-
Thanks Edward...glad you're aboard!
-
That's a lot of quality detail painting your doing there, OC. With a hairy stick no less! Great job.
-
I get it...I had not read your post on the Prinz Eugen until now. 😄