

Slowhand
-
Posts
236 -
Joined
-
Last visited
Content Type
Profiles
Forums
Gallery
Events
Posts posted by Slowhand
-
-
Quick update on progress. Me and the Admiral moved dockyard and in the process lost my background paper for photographing. Decided to buy in some 1 x4 mm Mahogany for second planking as it would give me a chance to finish the wood off a bit more than the 0.5 x 5mm Sapelli supplied with the kit.Just about finished above the wales on both sides.
Bit disappointed in quality of wood as the grain is quite pronounced. I wanted to post a link to the Montanes by Montanes build log as the wood quality there is superb, but must figure out how to do it
Next for the tricky bit below the wales- updates soon.

-
-
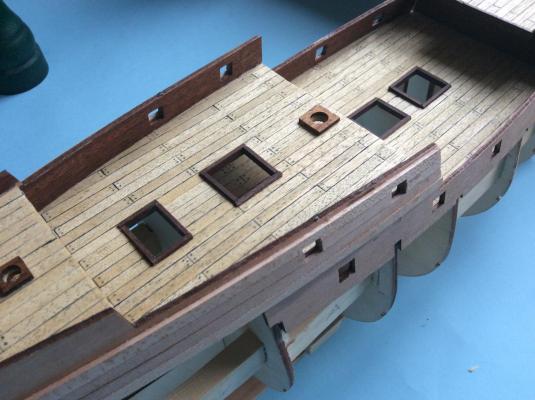
Finished re-planking over the original Tanganyika planking using maple wood, 4mm by 1mm thick, Glad I took the time to do it. Prefer the lighter colour of maple and narrower strips. Mind not sure if in the Spanish Armada there was the daily ritual of scrubbing the decks down with salt-water which whitened the colour of the planking.
Still to decide on how to do trenailing, as don't want to spoil another deck!
Also got to decide on second hull planking. Do I use the thin 0.6mm Sapelli supplied or buy in some thicker timber?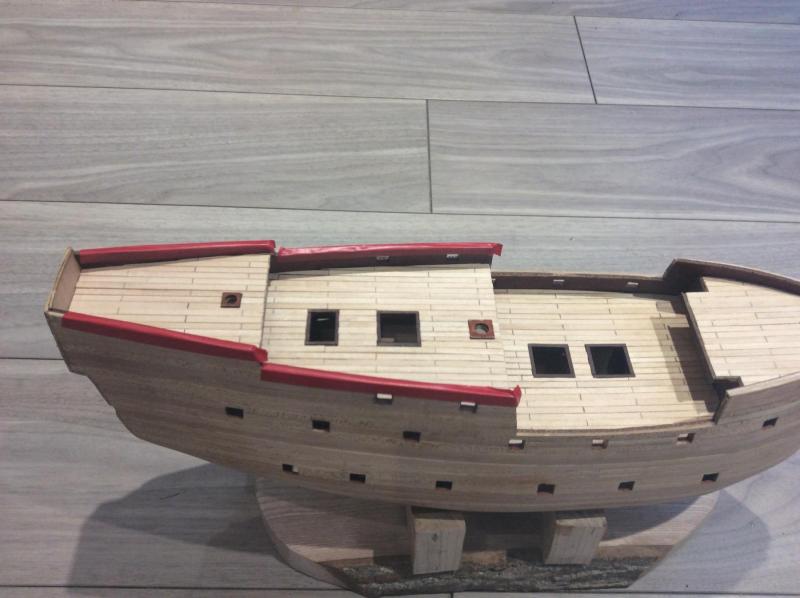

- Elijah, Robin Lous and Tadeusz43
-
 3
3
-
When you think of the time it takes to build one of these models, you don't say what it is, the time taken to plank a deck isn't that significant.
You could plank over it and timber is very cheap. I don't think you will remove all the wood filler from the decks by sanding. I replanked with my model the San Martin because I was unhappy with the width of the planks and the colour after finishing with Danish oil.
- Seventynet, EJ_L, Altduck and 4 others
-
7
-
Think this Is a fascinating build, good to see a warts and all description of your model, sure it will all turn out fine.
- CaptainSteve, mtaylor, Captain Slog and 1 other
-
4
-
Always look on the bright side of life - dum de dum de dum
-
-
Does anyone else do this? You look at your model and debate what you are going to do , yet all the time you know what you are going to do.
In my case I am going to replank the decks with maple 1 x 4mm . The existing ones are too wide and are irritating me. 5mm X 90 would equal nearly 0.5 m wide on the real ship. Colour of deck too yellow caused by using Danish oil on the wood.
-
-
-
One thing about this website is it really makes you raise your game. Finally finished the first layer of planking on the San Martin. 31 planks each side, reasonably happy with it, will need some sanding and filling. Despite tapering the planks are still crowded up at the bows.
Advice requested? Should I go with the 0.6mm thick Sapelli second planking supplied or should I buy in some 1mm thick timber. My last 2 Corel models used the thicker timber and it should be more fore-giving if an extra expense.
Also do I follow the Occre instructions? Going to take my time and listen to advice as the Admiral and me are relocating to another port near by.


-
Perhaps it's the thickness of the strips , found 0.6mm sapelli warps a bit when PVA is used to glue it in place.
- Canute, Burroak and thibaultron
-
3
-
-
Thanks to all for the advice. I waited until the Admiral was out of port for a day and got going with the Babyliss heated hair tongs to help bending the 2 x 5mm strips. Quite pleased with the result. Must get my own set.
-
Thanks Mark, I'll give it a go. Will have to wait until the Admiral is out before using the heated hair tongs.
- mtaylor, Canute and CaptainSteve
-
3
-
Just coming to the final planking of the San Martin (first layer). Advice much welcomed. I've planked the upper hull, which I'am happy with but I want to plank the lower hull realistically to practice for the second layer. From my understanding the garboard plank will need to bend through 90 degrees from lying on the bulkheads to resting against the false keel. The timber supplied is 2x 5mm and appears too thick to bend after a day's soaking. The Occre instructions skim over the planking and all the first planking is of the same size and the instructions would not result in a realistically planked hull with tapered planks. Not sure how to approach this. You can see my build log on the forum. The ships going to be a bit of a bruiser.

- Canute and CaptainSteve
-
2
-
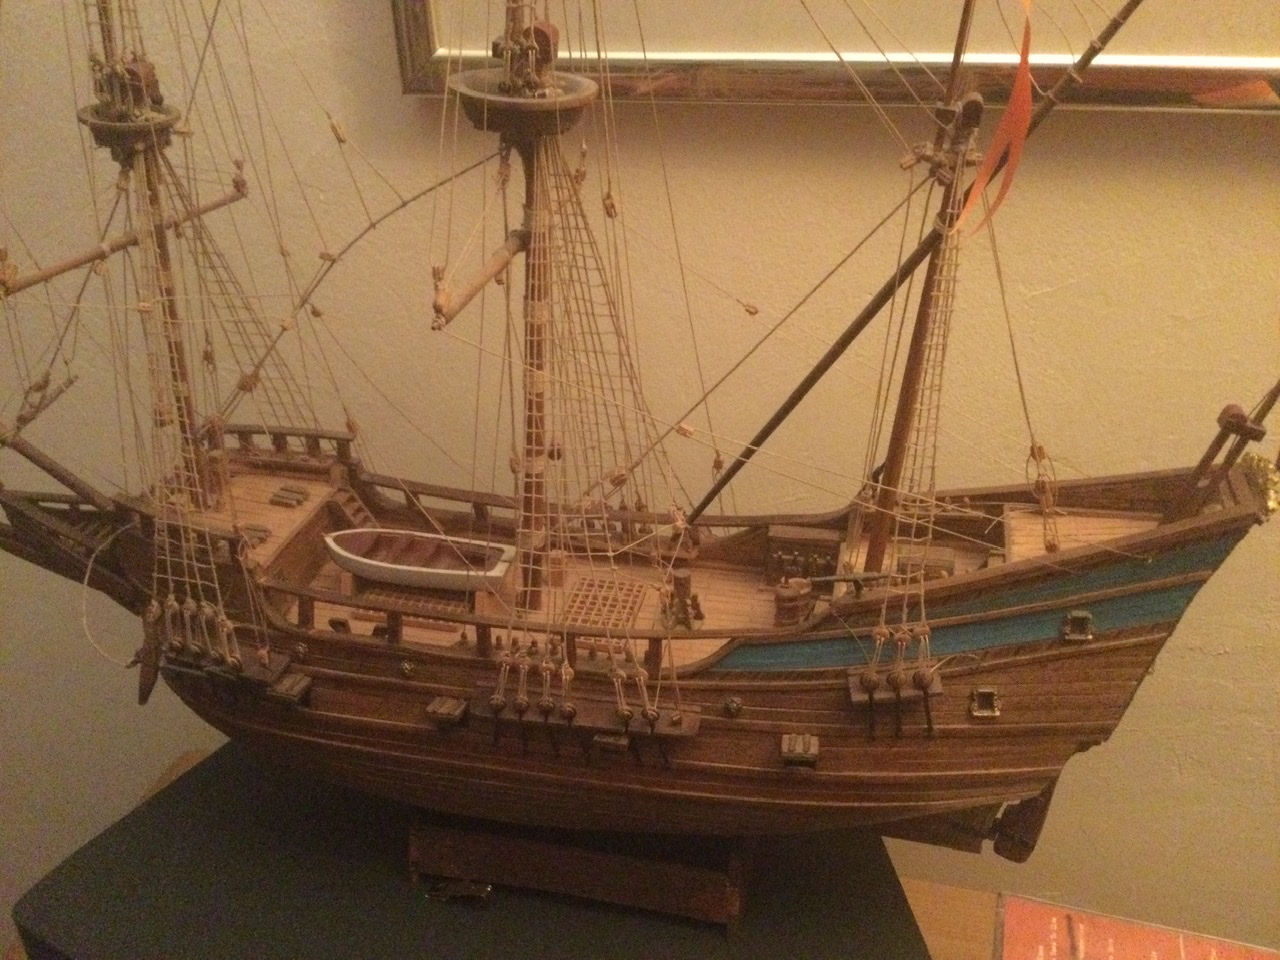
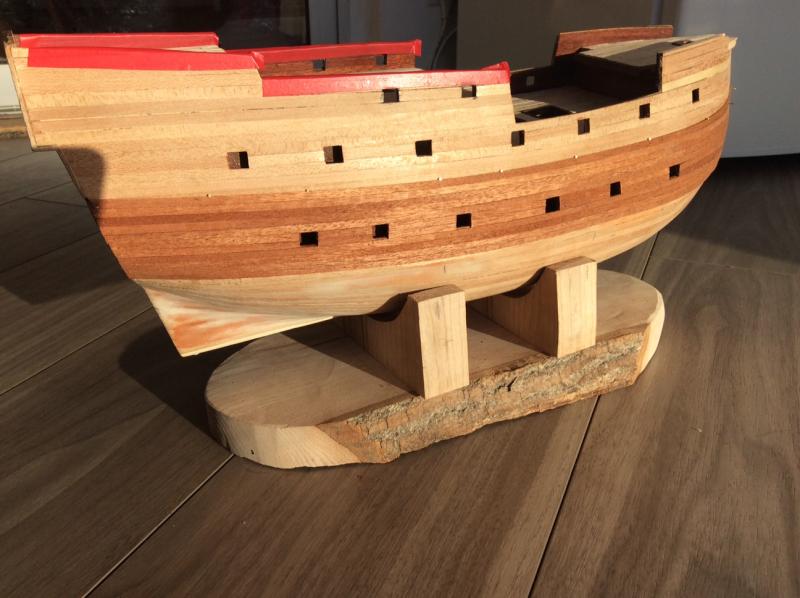
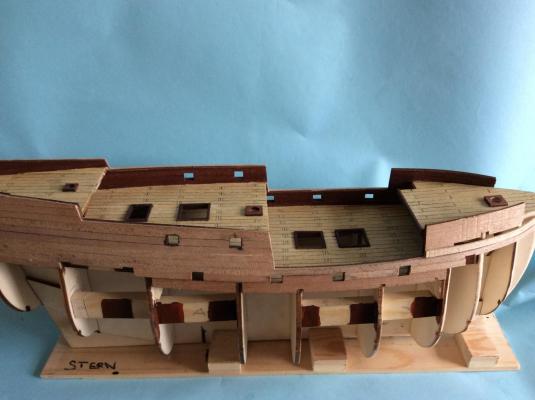
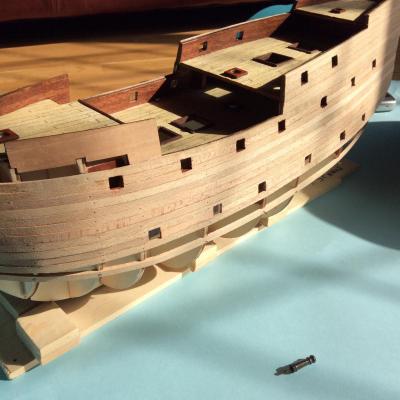
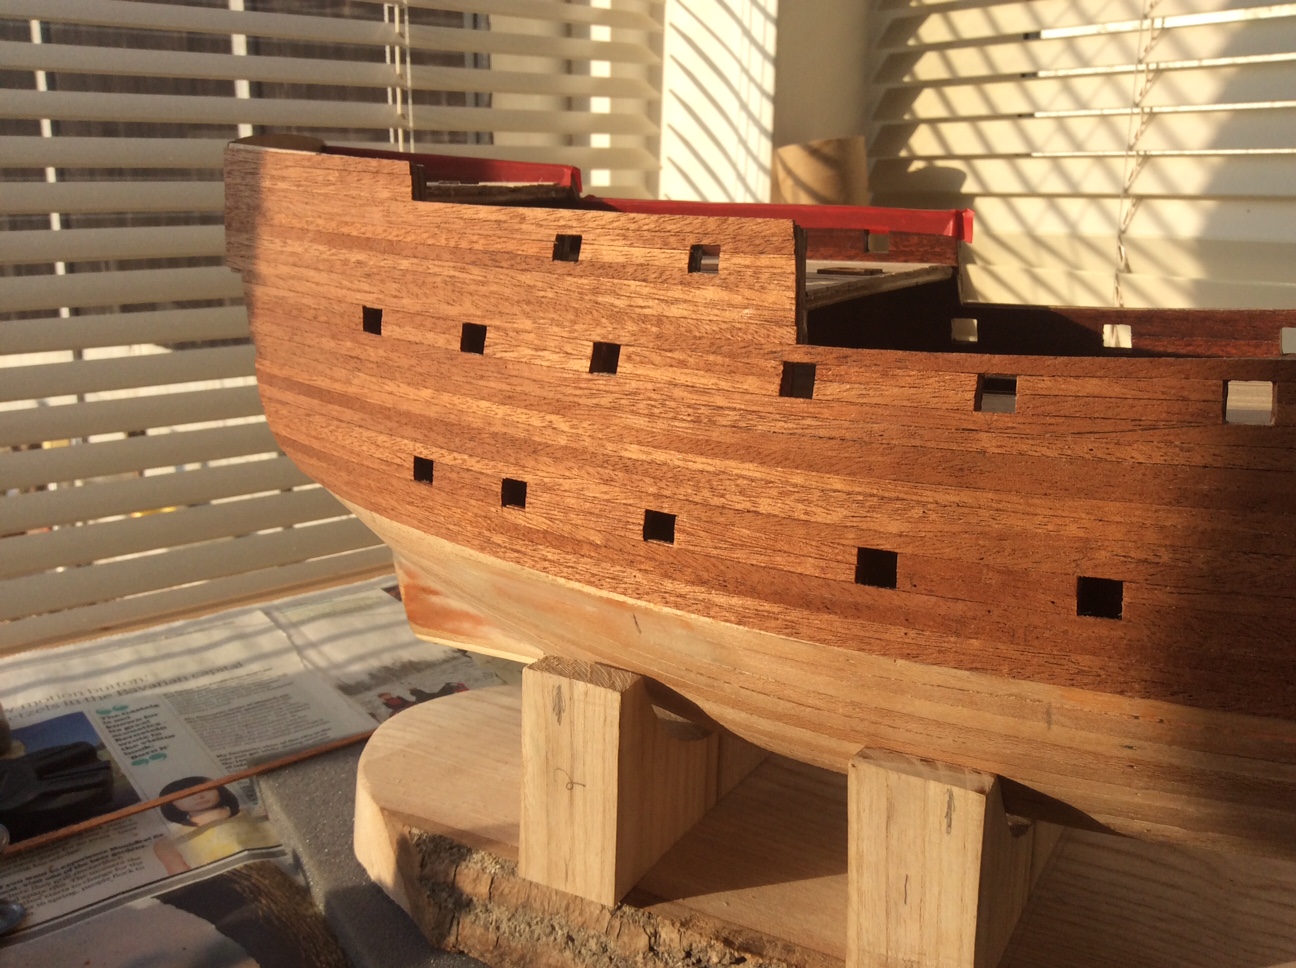
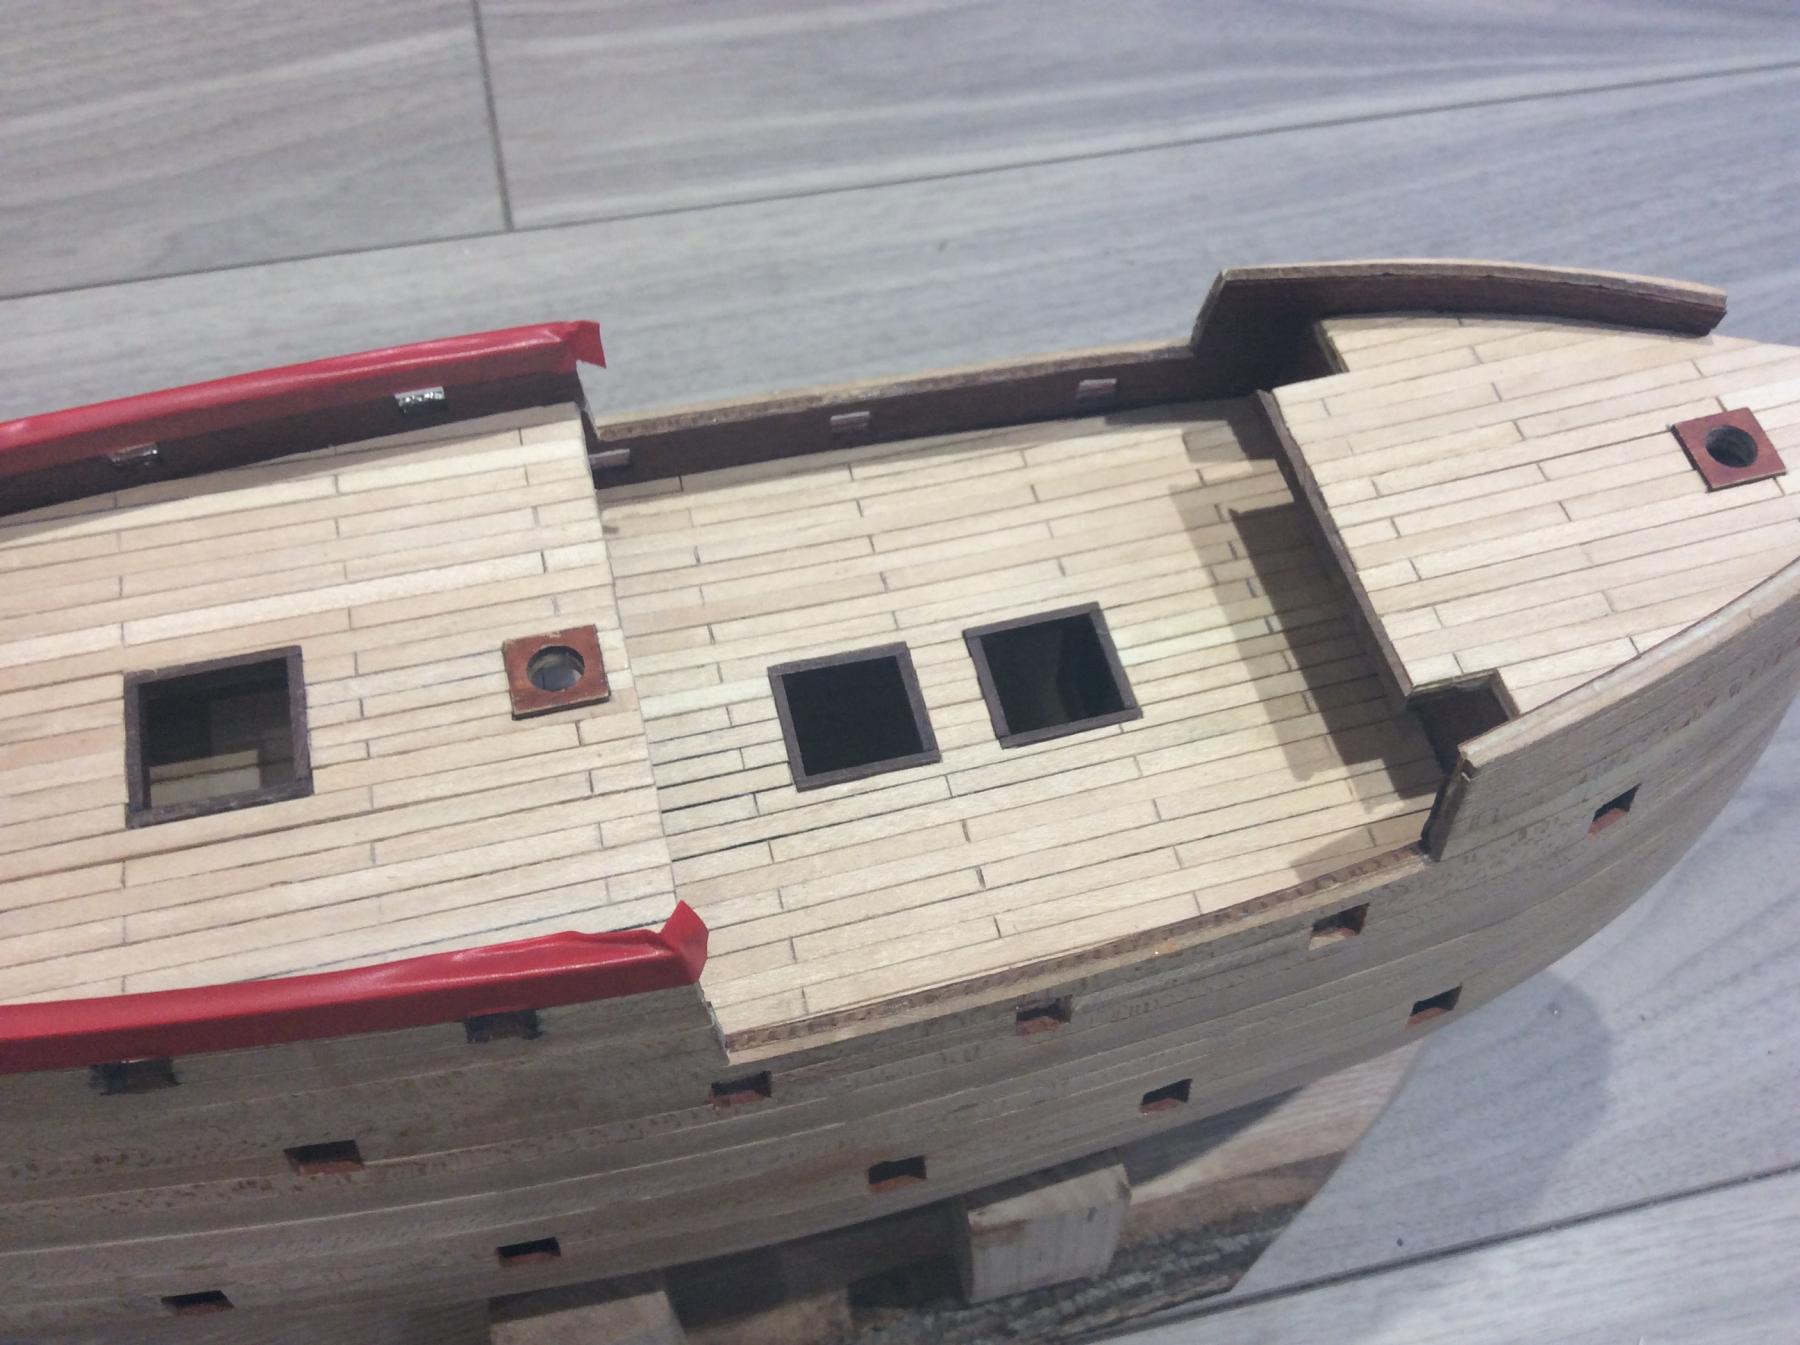
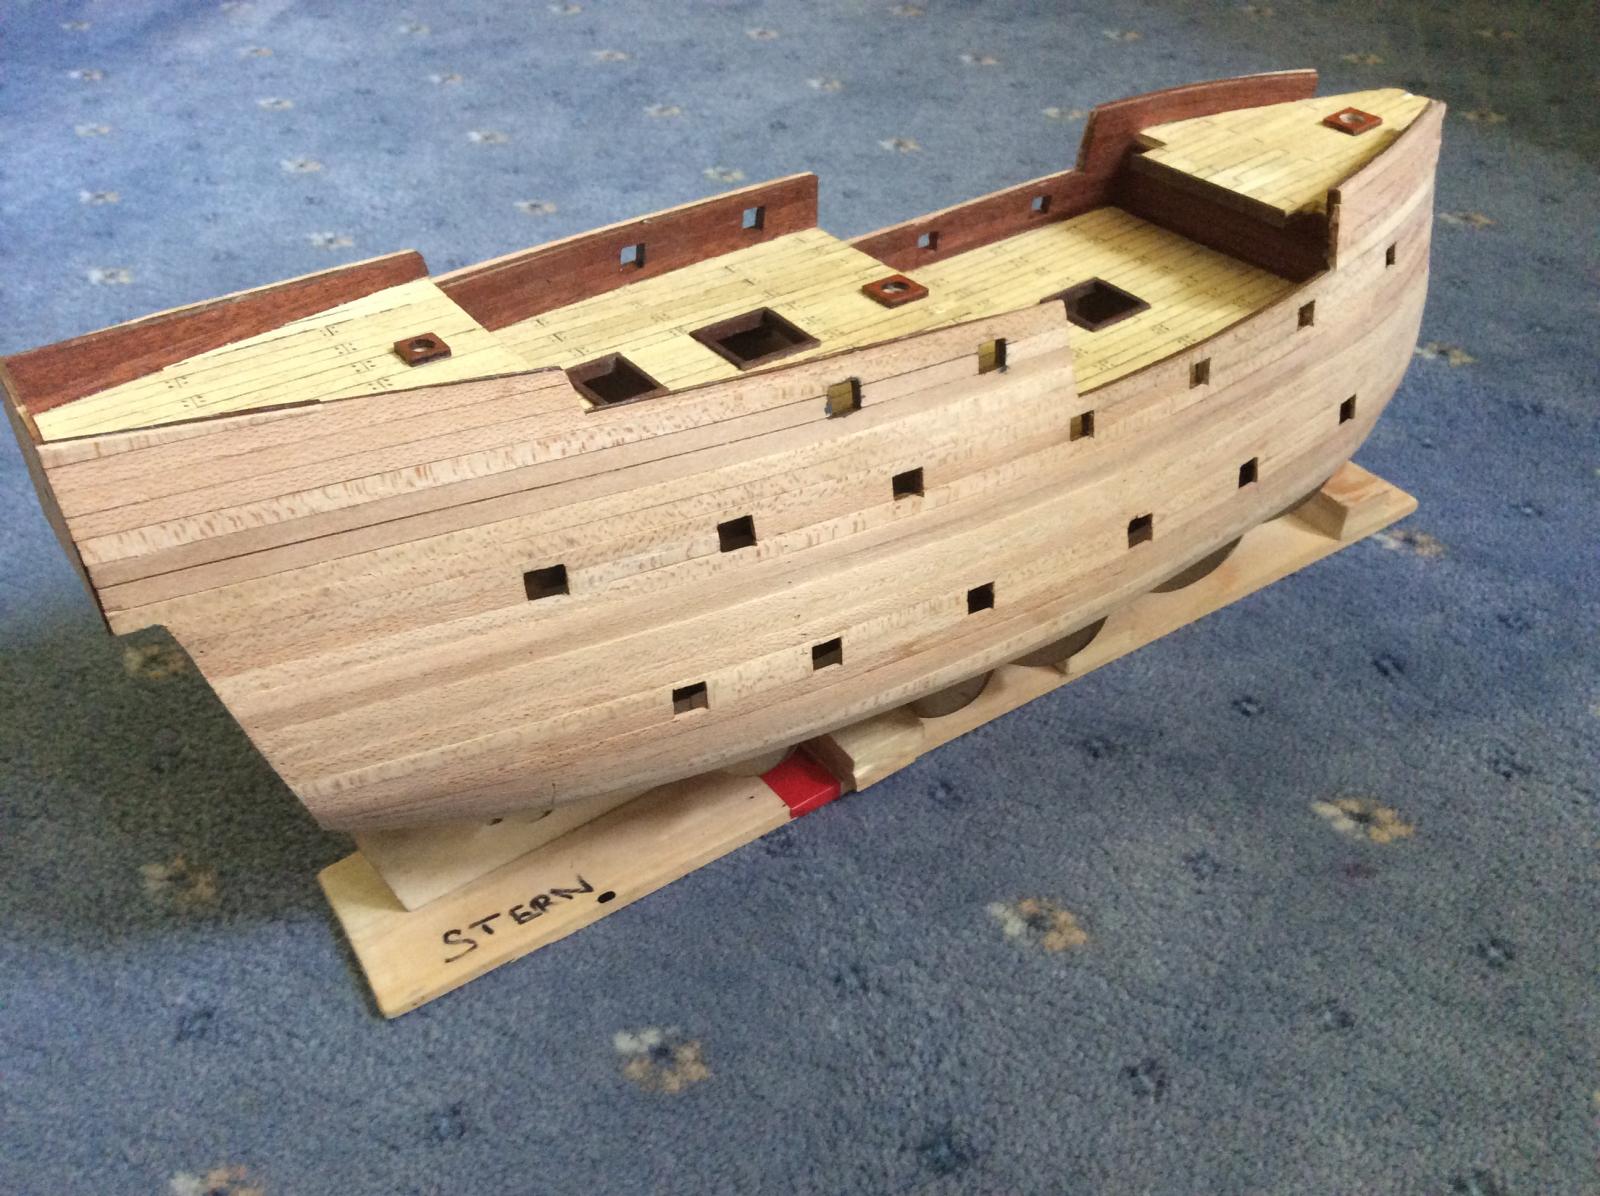
A quick up date to my build log. Slight bashing going on to put cut out gun ports in the hull and add stub cannons into the ports, took the idea from the Corel Half Moon. Compared to some of the hulls built on here with bluff bows, this is easy.
. Original has metal gun doors to stick onto the hull. Think the stub cannons will be too large, Doh!
-
Interesting your comments about the brittle nature of the mahogany strips. I' am doing an Occre model San Martin which has the same material. My previous models always were Corel and had thicker wood for the second planking so might buy some similar stuff in when I get to that stage.
current model San Martin Occre
-
Your stairs could be signatures of your builds, never seen them before , but really cool
-
Been a while since my last post as I've had a few hiccups The last 1 cm of the false port bulwark came adrift just after I'd attached the starboard so I decided to redo end gluing of both as it would be a pain if they came apart later on. Decided to attach the two lower ply bulkheads first to give additional purchases for the upper two which had caused the problems. Later Join Together the upper two and quite pleased with results. Found the ply bits needed quite a bit of shaping to get them to fit. I like the Occre way of working doing the structural stuff and the fine decorative planking together rather than the structural stuff all together.
Now doing the 1st planking layer, one of my favourite tasks, both easy and satisfying to see the hull grow. Doing the upper sides first to give strength to the ply bits. Spot the song title in the post

-
-
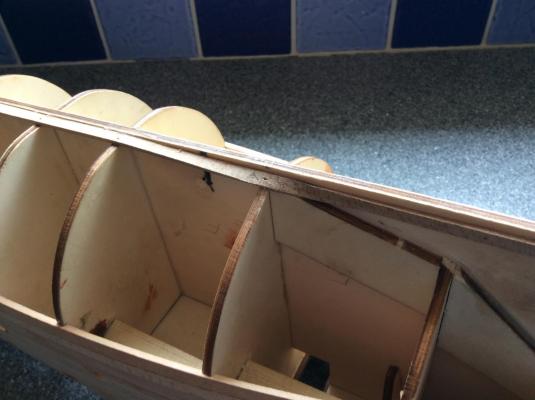
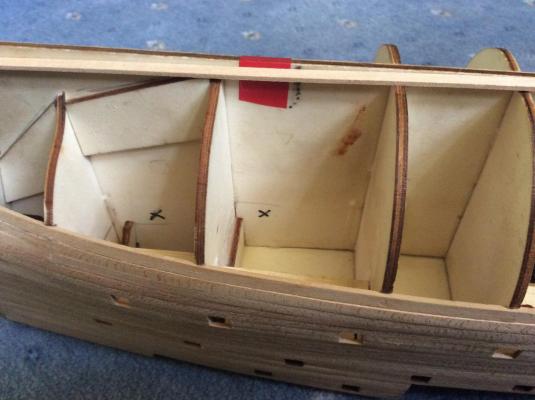
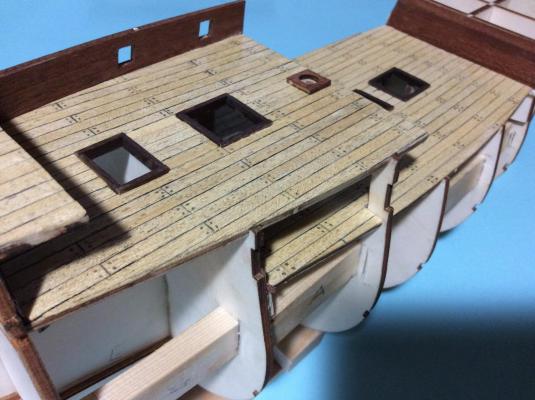
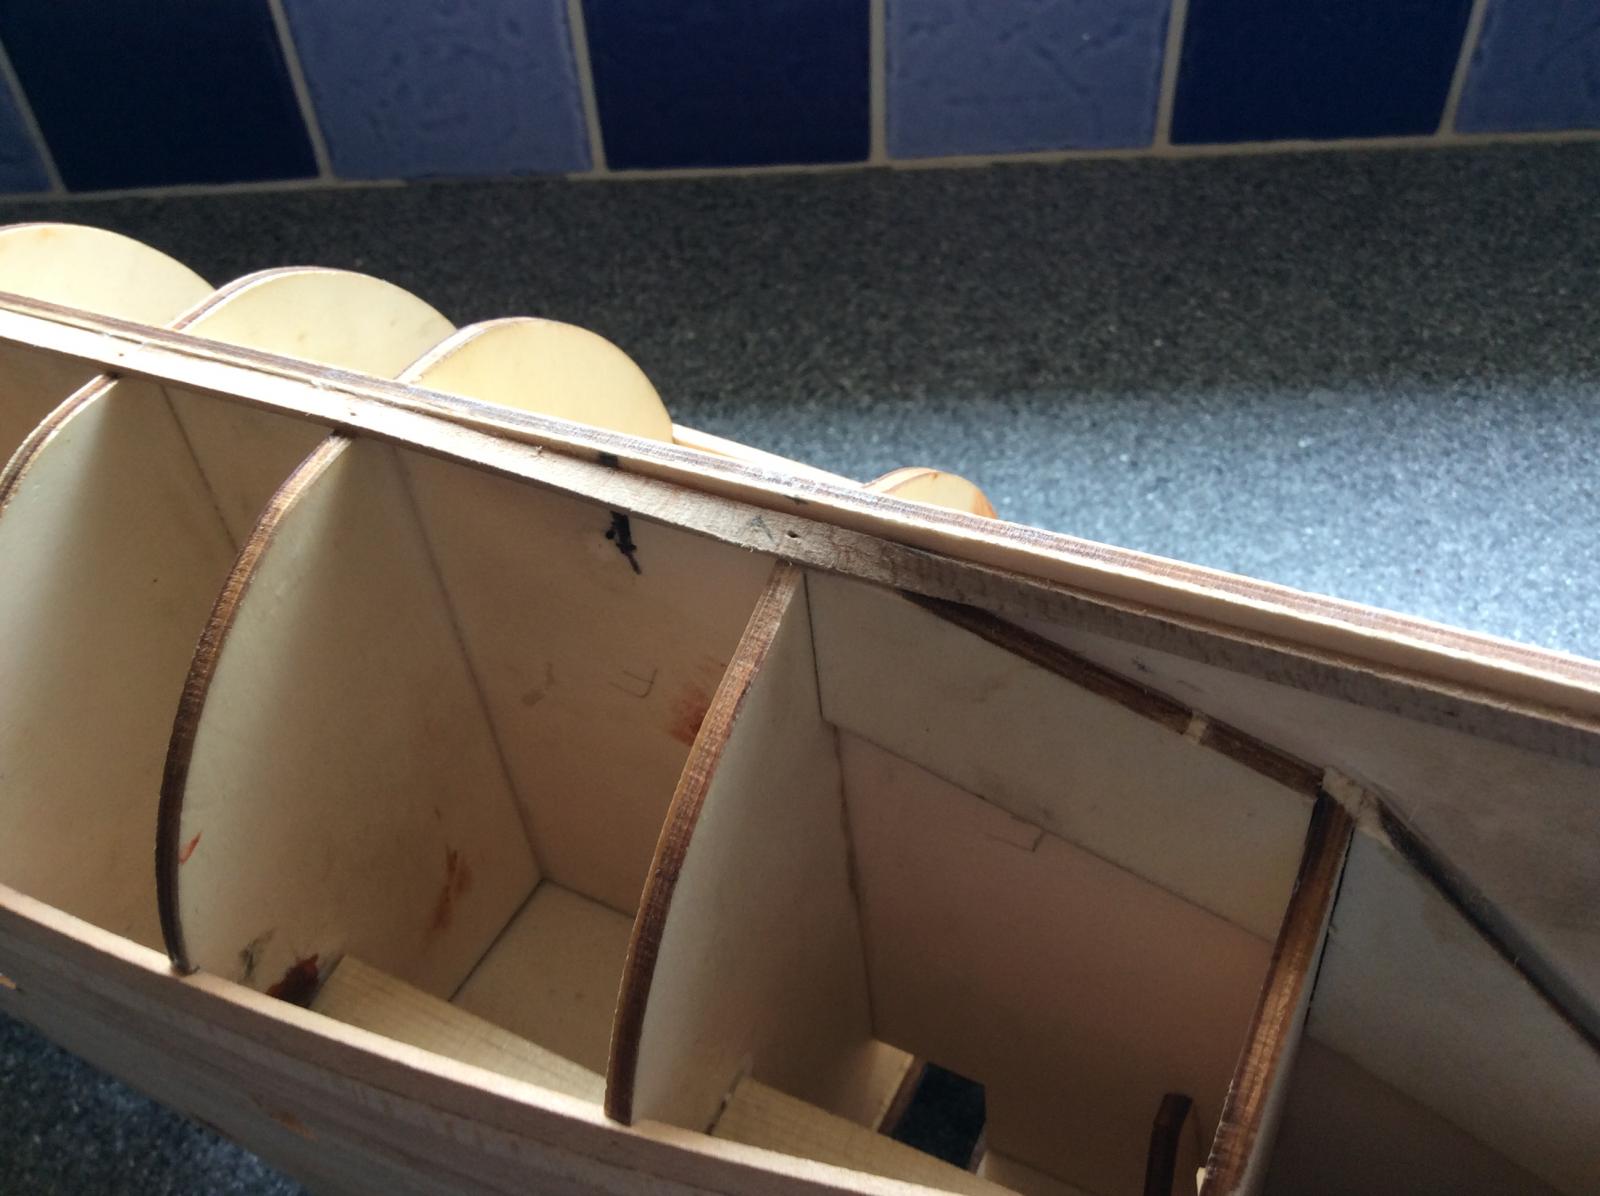
Decided to plank the bulkheads instead of staining them as the instructions said. Stained underside of decks. Glad I did it although waited for extra wood.
2nd photo taken before using Amati plank bender on next bulkhead, left hand end.to get it to fit. Dunno why photo came out upside down
Other bulkheads nearly ready to fit - must remember to shave frames before fitting.
Taking my time.
-
Hi Etcher
All build logs of Occre models I've seen, do planking of decks before fitting. It worked okay for me. Not come across on it on Corel models I've done.
Steve
-
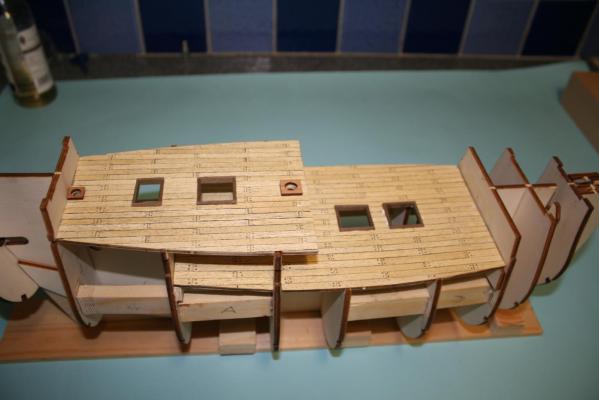
Well here goes, my first build log. The San Martin was the flagship of the King Phillip II 's commander the Duke of Medina Sidonia and is frequently mentioned in "The Defeat of the Spanish Armada" by Garrett Mattingly. It survived the battles and voyage and finally reached Santander after sailing around the north of Scotland and Ireland.
An earlier incomplete build log of this model , with several photographs of the parts in box is shown in
San Martin by Volkerbo - Occre - scale 1: 90 so I won't repeat.
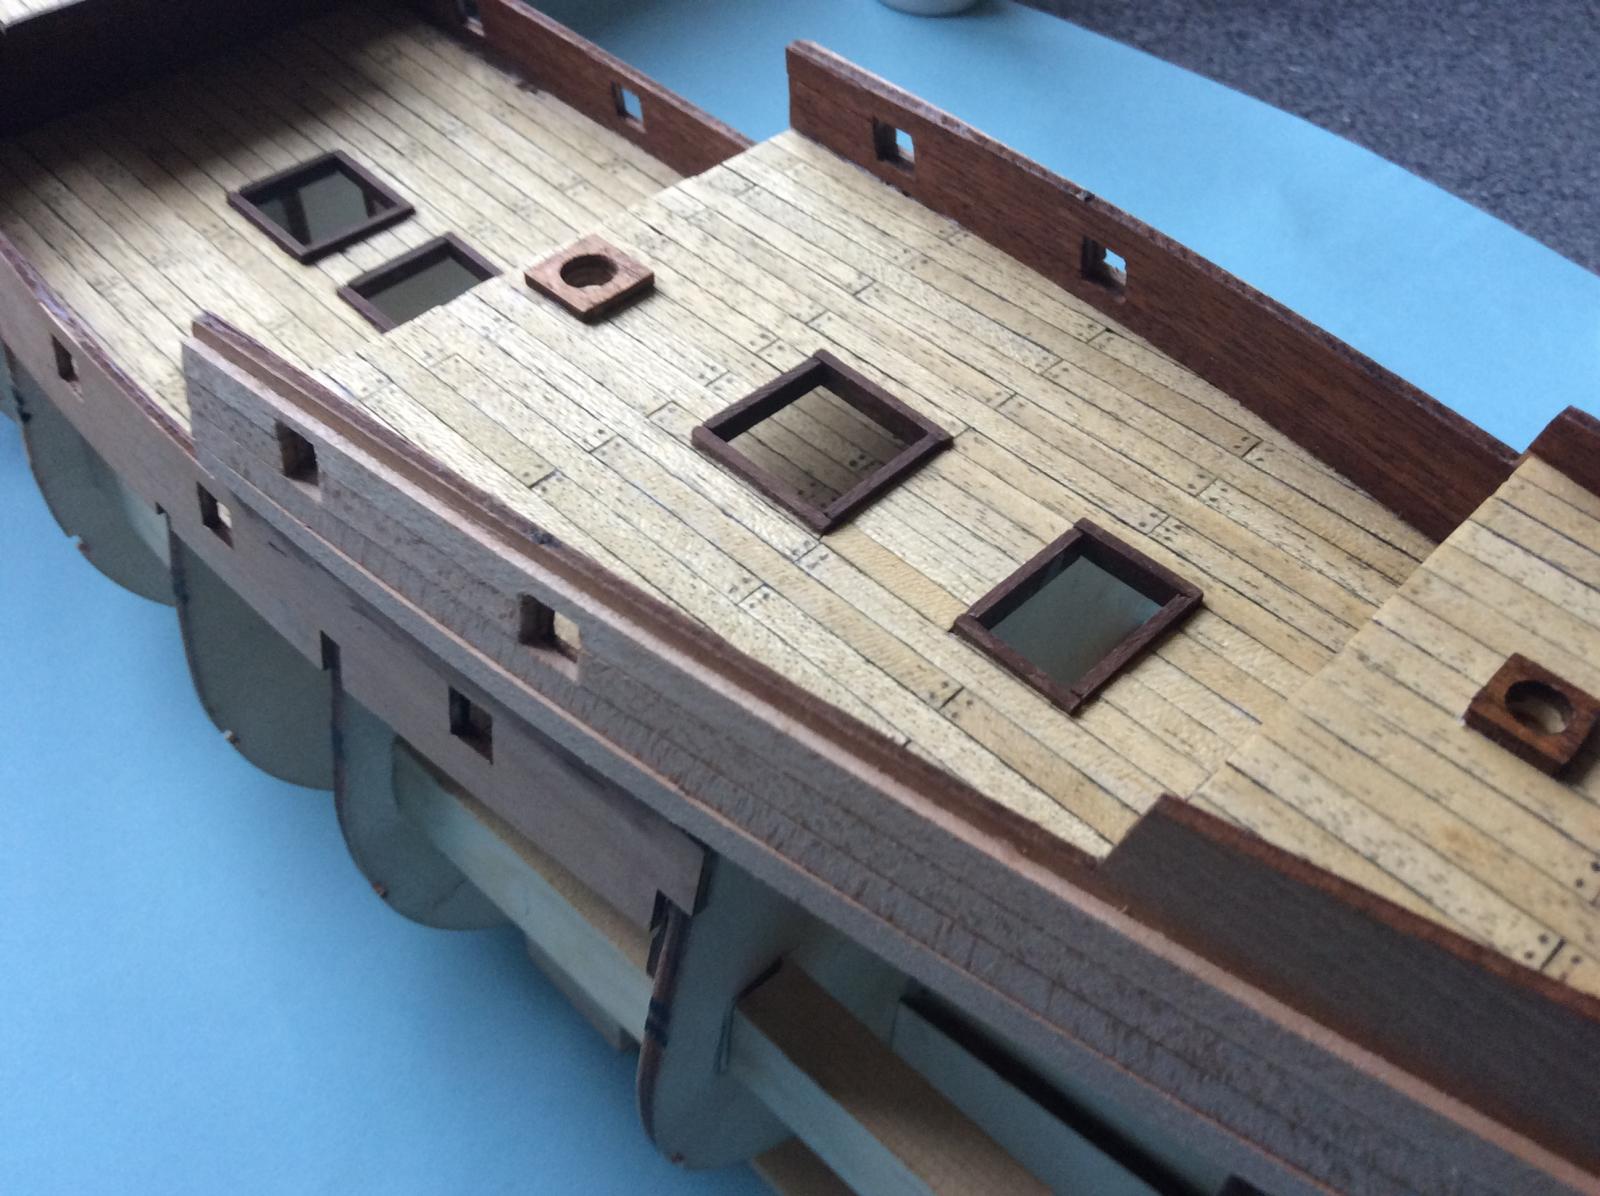
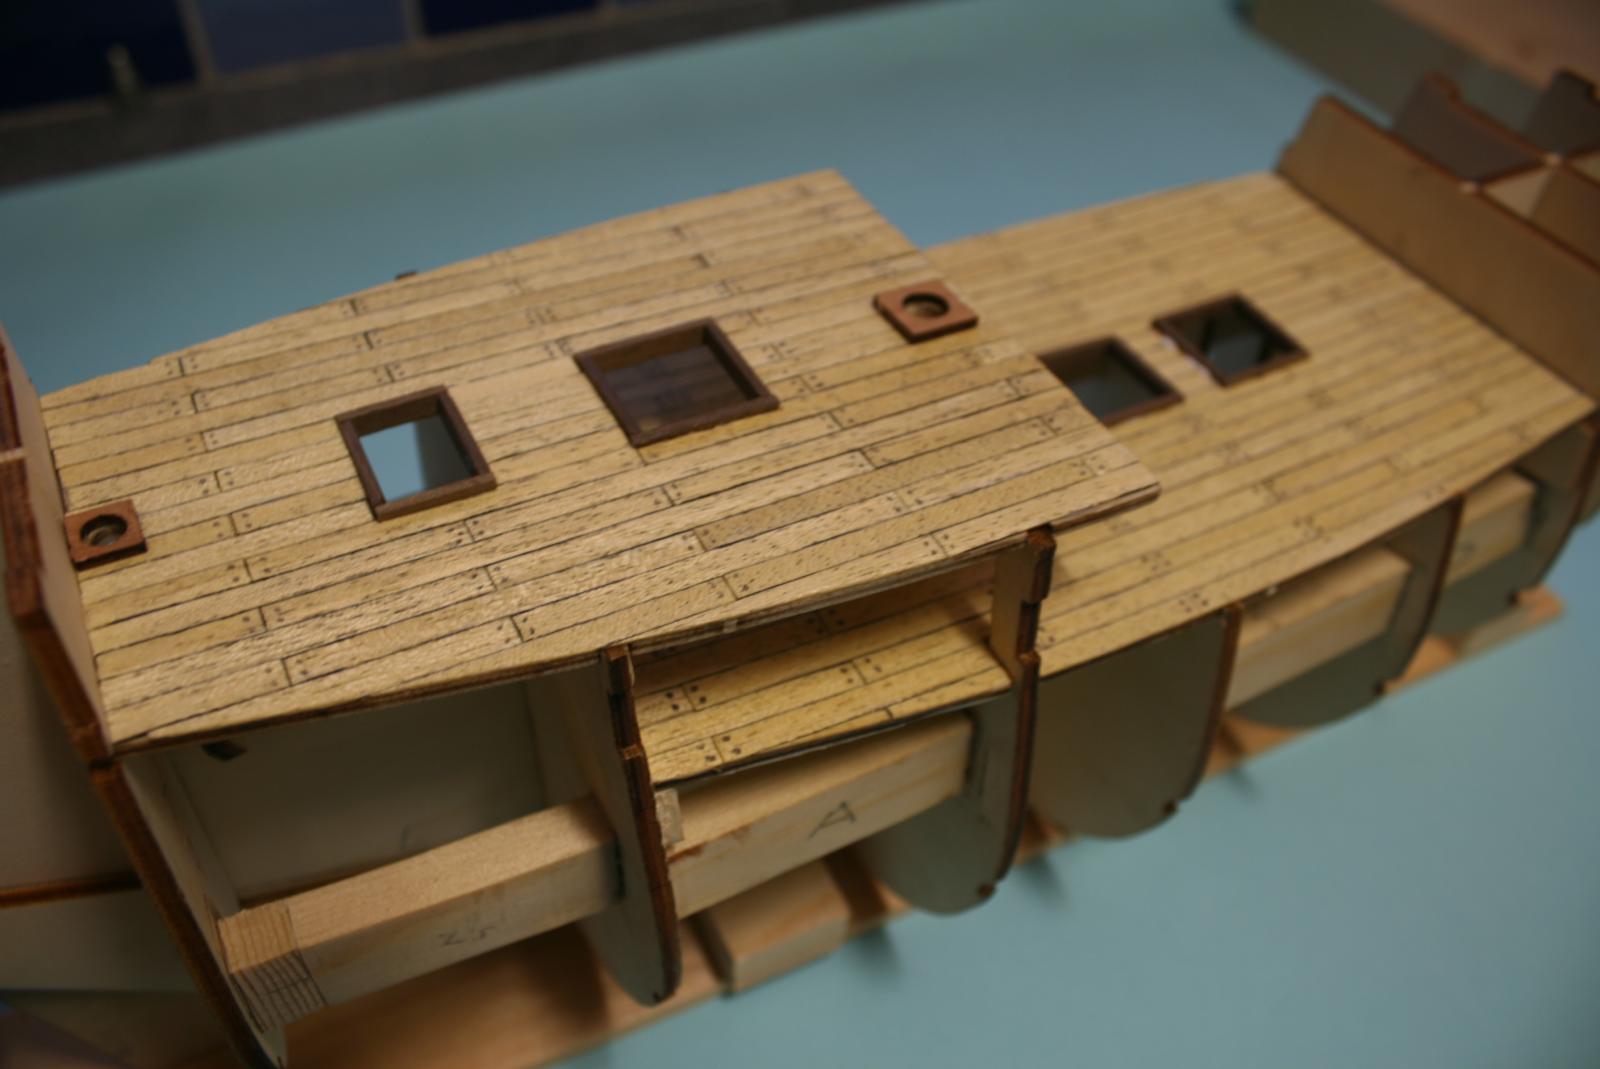
This is my first Occre kit and so far compares favourably with Corel efforts quality wise. The frames and false keel went together easily with only a little easing and first picture shows three of the decks planked, although only the main deck is glued in place which needed clamping it was straight whilst it lies curved. The planks were lightly sanded and given one coat of Danish oil and tree nails added in pencil. For this build I intend to sand, coat with one coat of Danish oil and rub in beeswax at the end. Noted a few oddities in the instructions already, one of which suggests bulkheads planked vertically with mahogany. Never seen this before so will plank horizontally as in many build logs. Also suggested this planking is done before the decks are added which I think would have needed trimming the planked decks. So will fit the decks and then plank the bulk heads.
The only bashing I intend to do is to cut out more gun ports to replace the metal stick on castings. Will try the method used in Half Moon using stub cannons glued into a block fixed to the bulkheads. Aim is for the cannon barrels to protrude from dark shadowy gun ports. If I can't get the planking right around the ports or the effect doesn't look good can always debash the kit.
Now for the fun, I have a decent camera but struggling to get a good lighting and spot in the house.

All comments welcome and I hope its of interest to the members, signing off for now.
Steve
- zoly99sask, cristikc and ccoyle
-
3


Advice for planking
in Building, Framing, Planking and plating a ships hull and deck
Posted
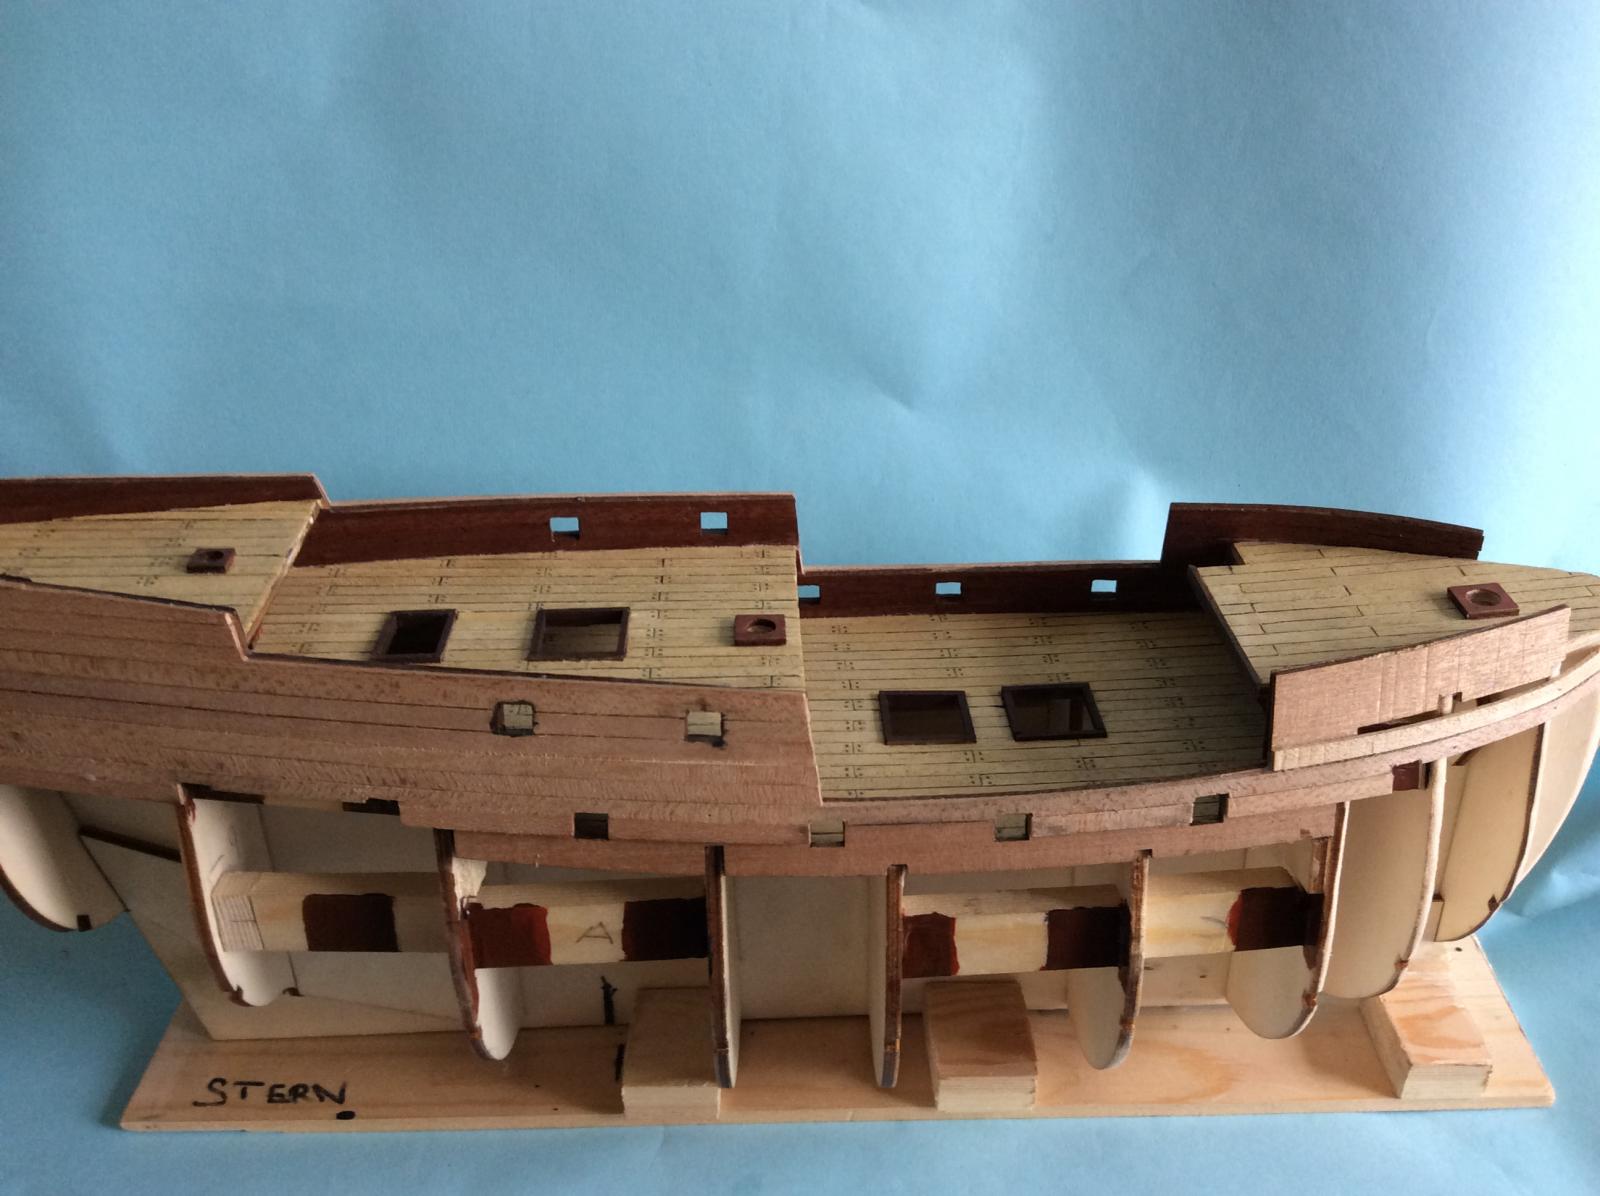
Merry Xmas to all readers,
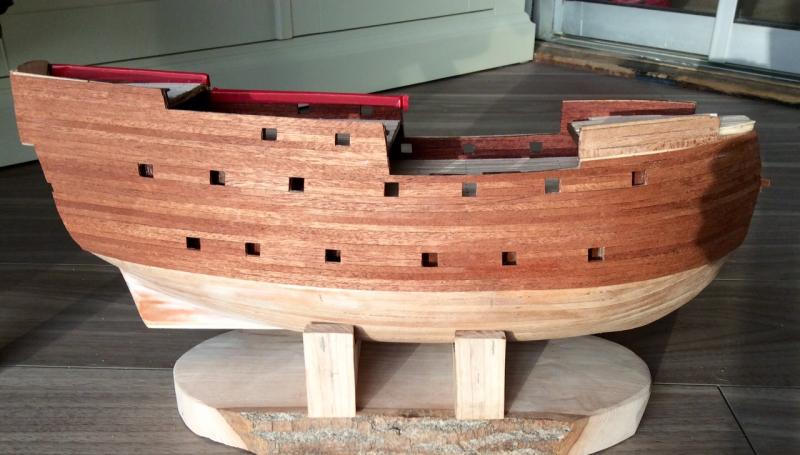
I' am ready to start planking below the wales (not until after Xmas as the Admiral would be unhappy)and was wondering what is best to do? I don't want to do spiling as don't have the tools for it. I've split the area into bands, and will be planking with 4mm mahogany strips. Photos below. The width at mid-ships in all 4 zones bar the one next to the keel is 20mm so that's 5 strips. At the stem the width of the bands is just over 12mm, do I taper all 5 strips do to just over 2mm or is it better to drop the 3rd plank and taper 4 strips to 3mm wide? Photos of lined of lined off hull below. In previous models I tapered the blanks to below 50% width to get it to work but want to do it properly this time.
I know its not conventional but it is tempting not to plank from wales downwards but to start on the middle zone.
Build log is San Martin Occre, afraid cannot paste the http link