EJ_L
-
Posts
2,246 -
Joined
-
Last visited
Content Type
Profiles
Forums
Gallery
Events
Everything posted by EJ_L
-
Welcome to MSW! You are not the first person to end up in this situation and as you will soon see from what I bet will be a long list of both welcomes and suggestions there really is no one "beginner" kit. There actually are a few threads on here that go into great length about many of the kits though. I will agree with the statement that it is possible to start Victory on your first run. You are definitely in the right place for all the help and advice you could ever want. Also, it sounds like you are not inexperienced. The pile of loose parts and materials is daunting to be sure but take it in small pieces and you will be okay. However, if you want to take the much more advisable path, look for something simple in scope and design. A one masted ship, minimal cannons and rigging, small hull, and limited decorations. Just something to get your feet wet with practice of learning the techniques needed in planking and rigging. Whichever path you choose, start a build log on here and keep it updated with progress pics. Ask questions, even if they feel dumb. This is a great group of modelers who are more than happy to teach and share knowledge and tips. Also be sure to look at other build logs of the same model (and others) as they are great ways of seeing some of the issues you may have yourself and with some luck, avoid some of those problems. I wish you the best of luck on your new build and I look forward in sharing in that journey and seeing your work!
-
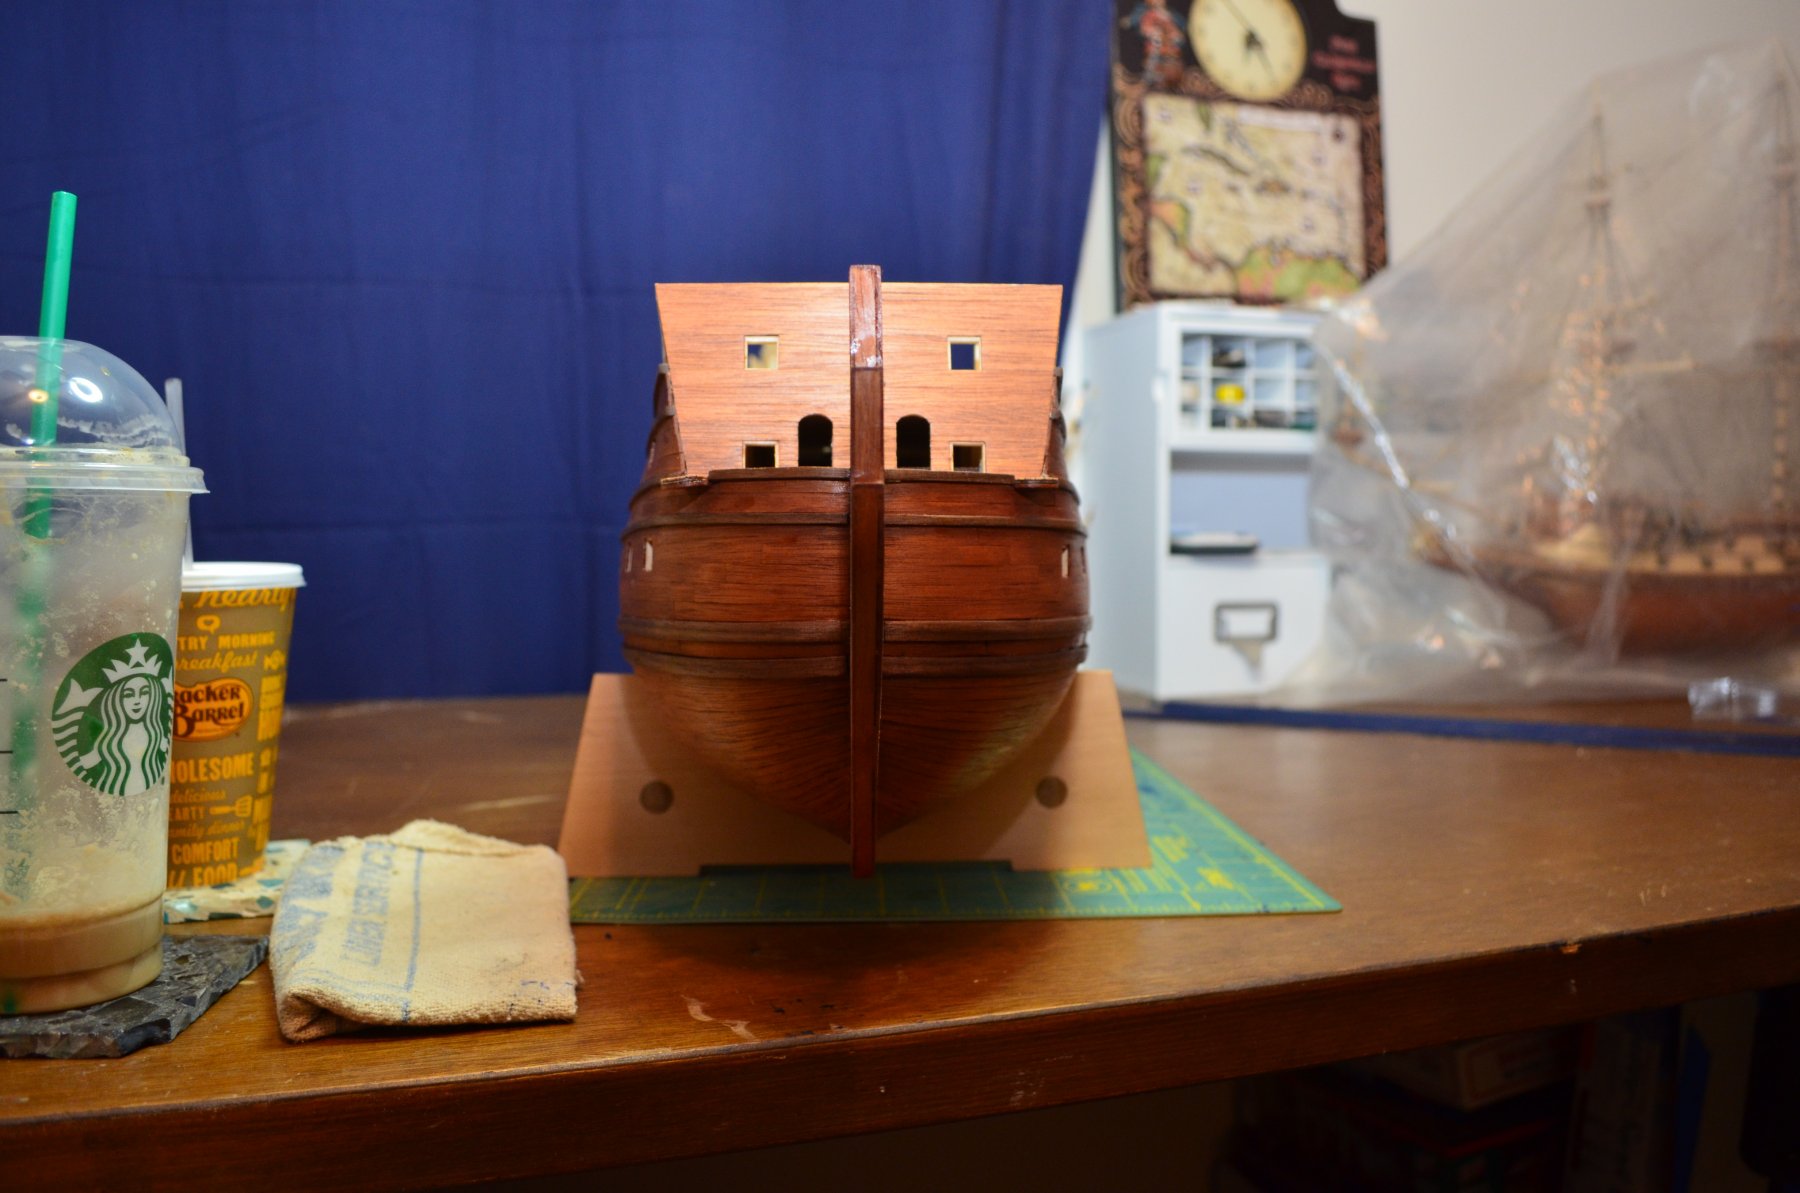
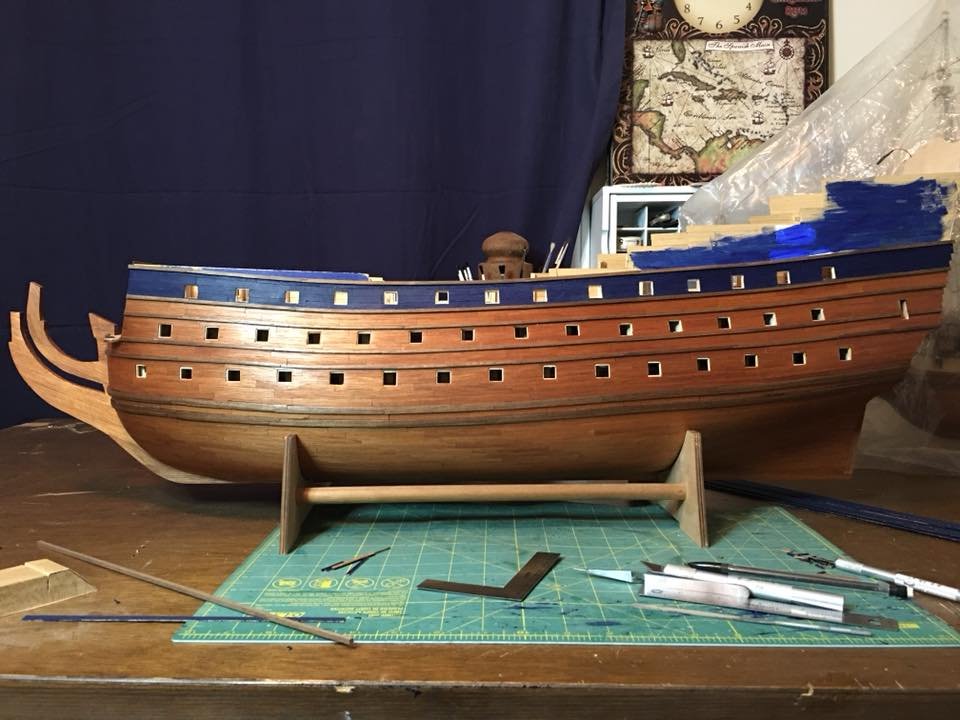
 Well there she is. Finished up the planking on the port side tonight. Now her side profile can finally be completely seen and it feels good to have it done! Still have to match up the starboard side and then I'm thinking about tackling the thru bolts for the wales. Might have a drink or two before those bolts though....
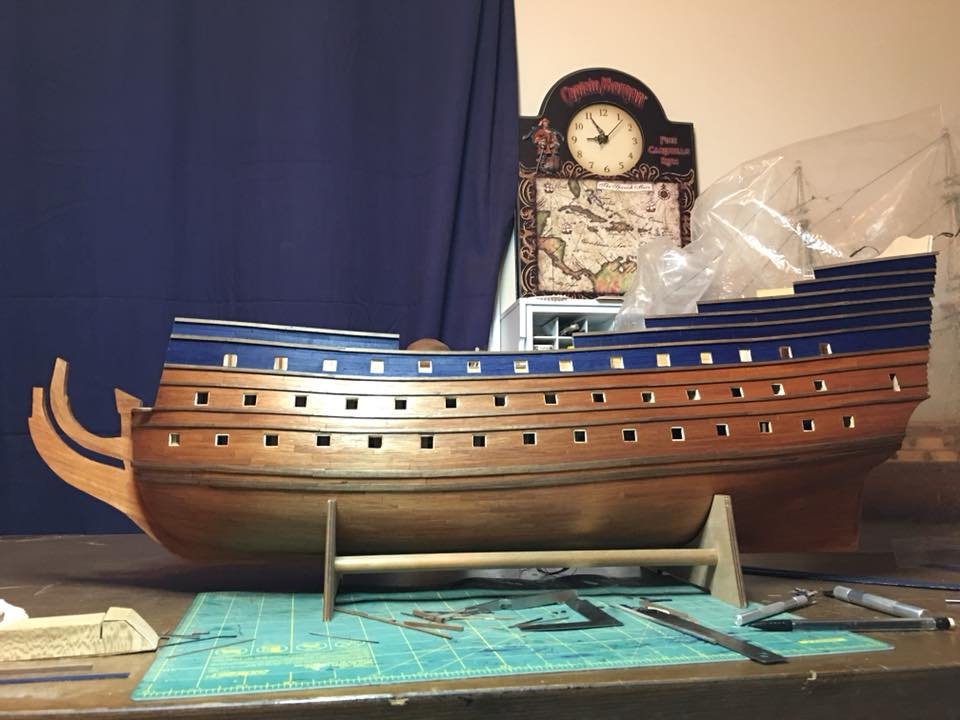
- 961 replies
-
- 12
-

-
I have a heat gun with an adjustable temperature dial that I use for those situations. I've had it for well over 10 years now and has been worth the money. I caution the flame approach as I used it myself for a long time before buying the heat gun. The problem comes in not being able to control the heat very well and also the flame can easily burn the plastic.
- 2,699 replies
-
- 2
-
-
- heller
- soleil royal
- (and 9 more)
-
I'm running out of ways to say how awesome she is looking! Also, I don't think there can ever be too many pictures of an area so no worries there. As always great job! Your willingness to go slow and check, double check, undo, redo, scrap and rebuild it again has paid off in dividends. Regardless of historical accuracy when (if) Vasa II ever graces us with it's presence, you have made a truly impressive model.
-
Those tree nails will be a long and tedious venture but it looks like it will be well worth the effort. Looking good!!
- 91 replies
-
- 4
-
-
- kolderstok
- duyfken
- (and 1 more)
-
Ratlines are almost everyone's least favorite part of rigging. They are simply a pain no matter how experienced you are. They are also exhausting due to the sheer number of them. What kind of knot are you using to tie them? If you are not already doing so, a clove hitch knot is great to use for ratlines. They allow for easy adjustments when needed and are really quick to tie once you get the hang of it. The other advantage is that they tend to do a better job of keeping the lines straight instead of pulling upward. Regardless of how you are doing it, it looks like you are getting the hang of them. Just keep pushing through and I promise they will end! In fact, finishing ratline is one of the biggest sighs of relief that you will feel! Good job, keep it up!
-
Michael, I do plan on attempting sails on this one. You build has inspired me to just go for it. I've never done cloth sails before so it will be a huge learning experience but, I need to start sometime! I will be referring back to your build a lot I'm sure and not only for the sails.
-
Welcome to MSW! Best of luck on round 2 with your Victory!
-
Welcome back Ron!
-
Completed one side of the first blue band tonight. It sure feels good to be making forward progress again!
- 961 replies
-
- 13
-
-
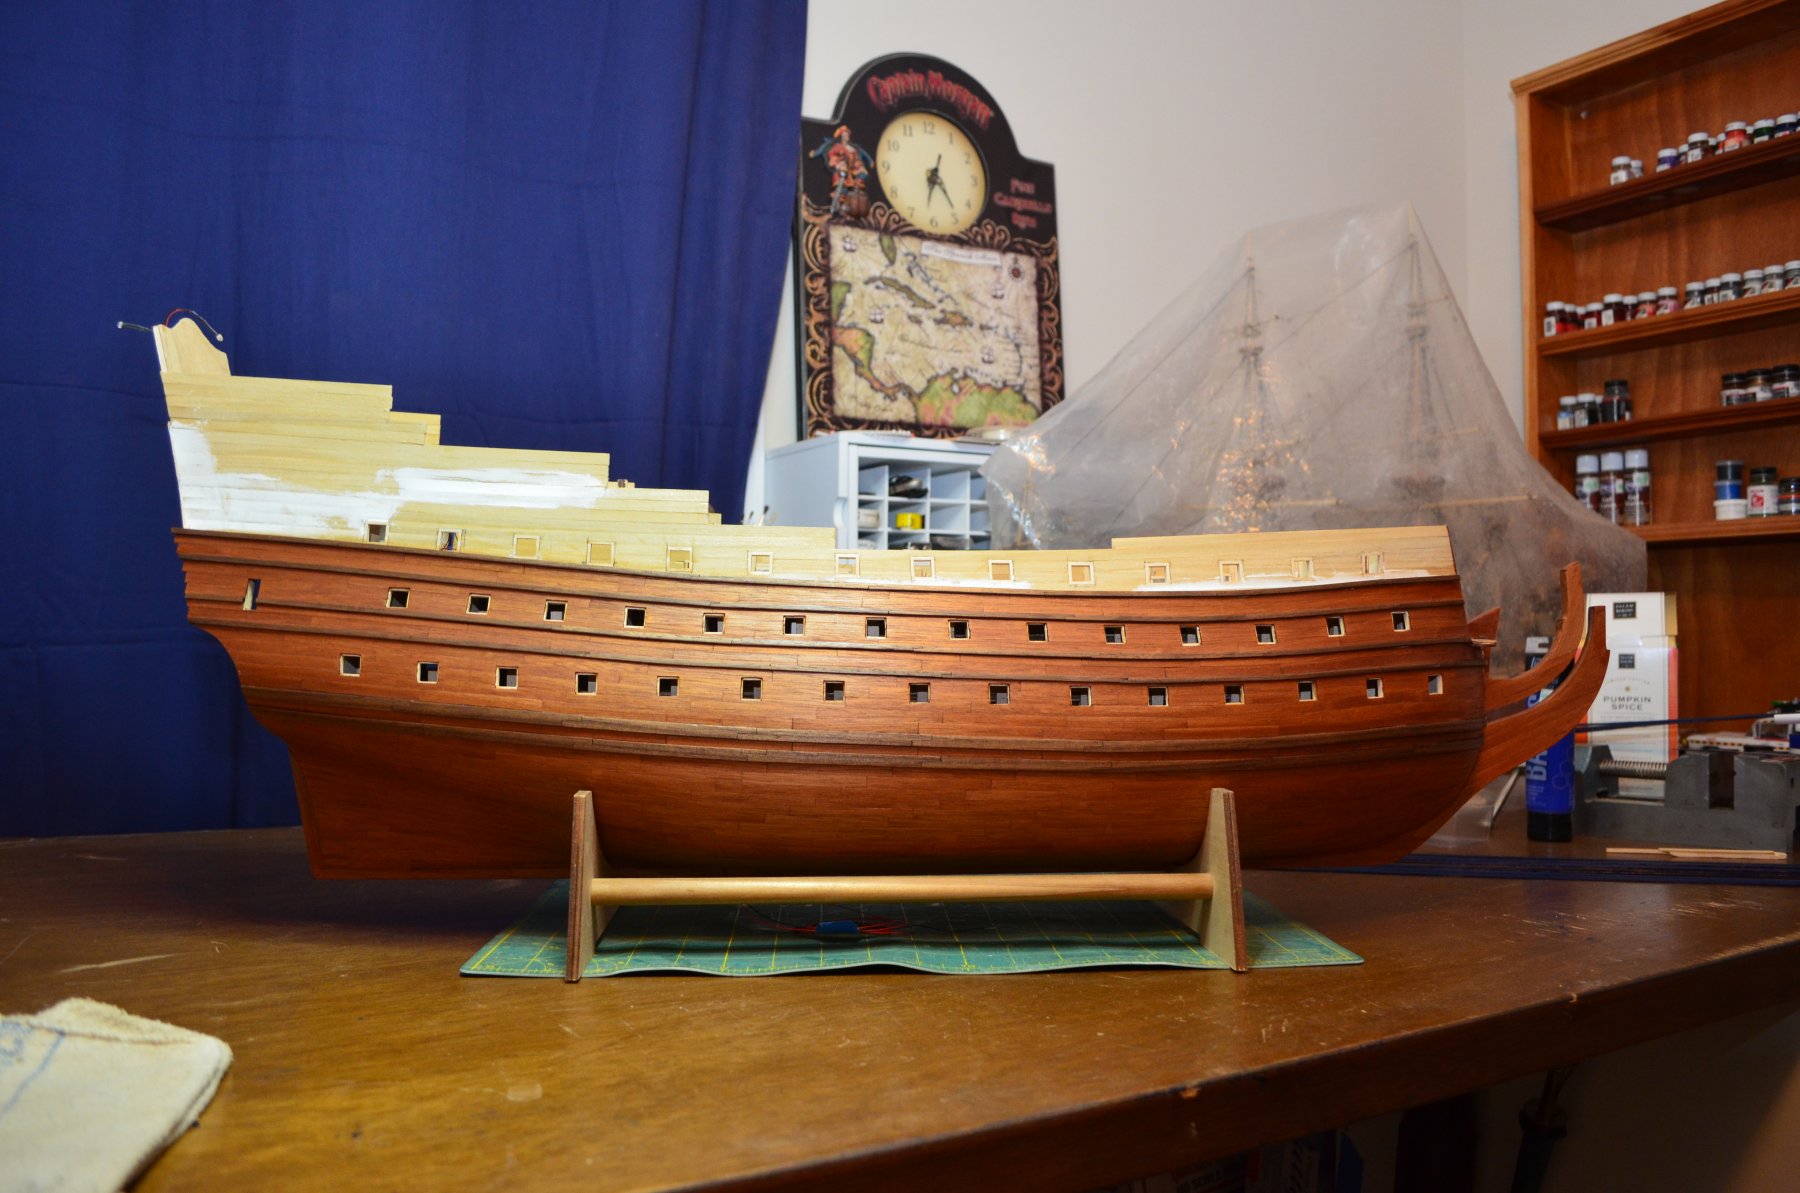
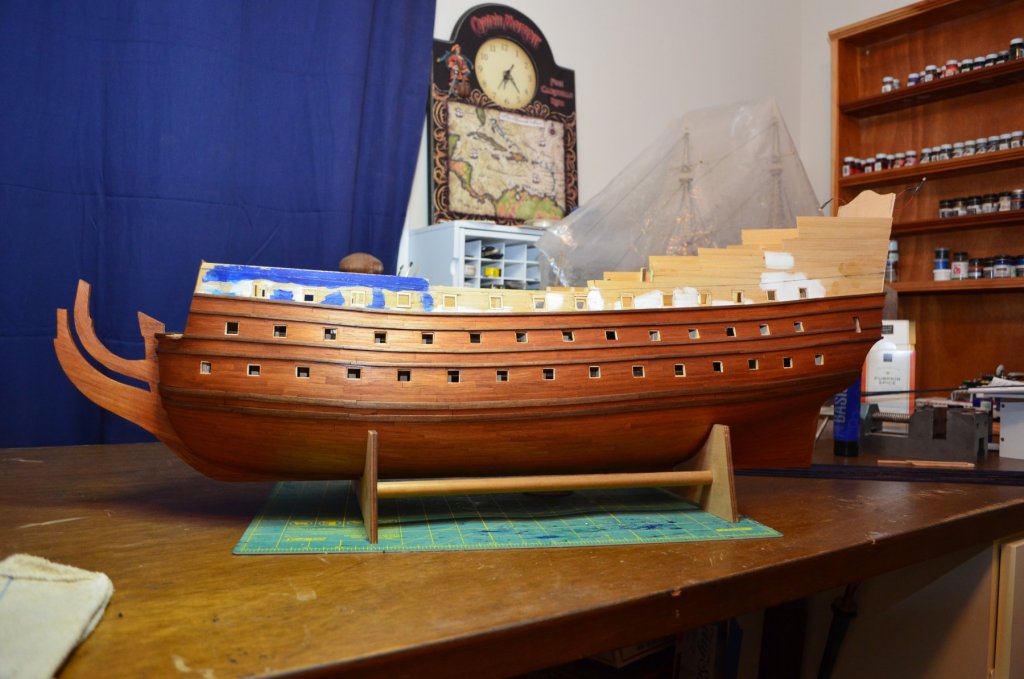
Thanks everyone for looking in and the nice compliments and likes! John, there is no stain. That is the natural color of the mahogany and walnut with a clear satin urethane finish.
-
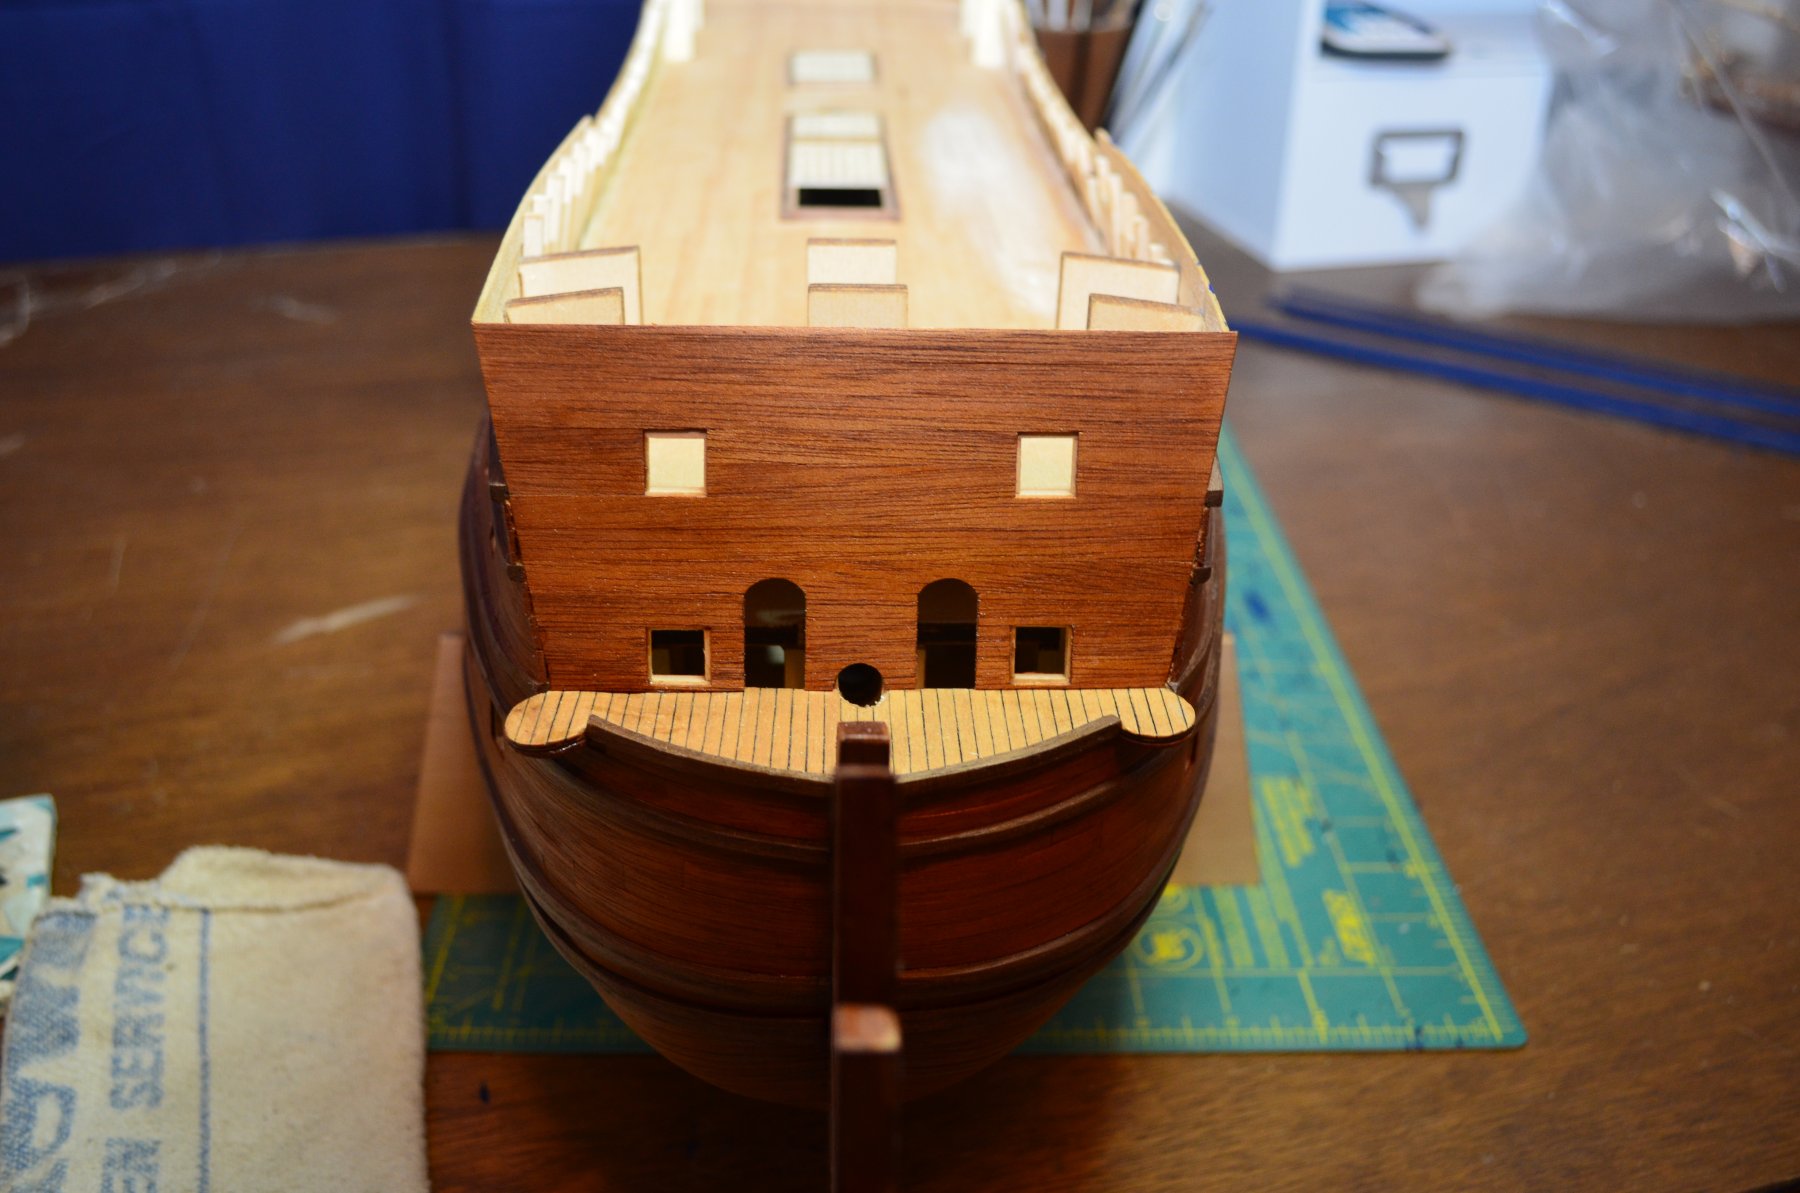
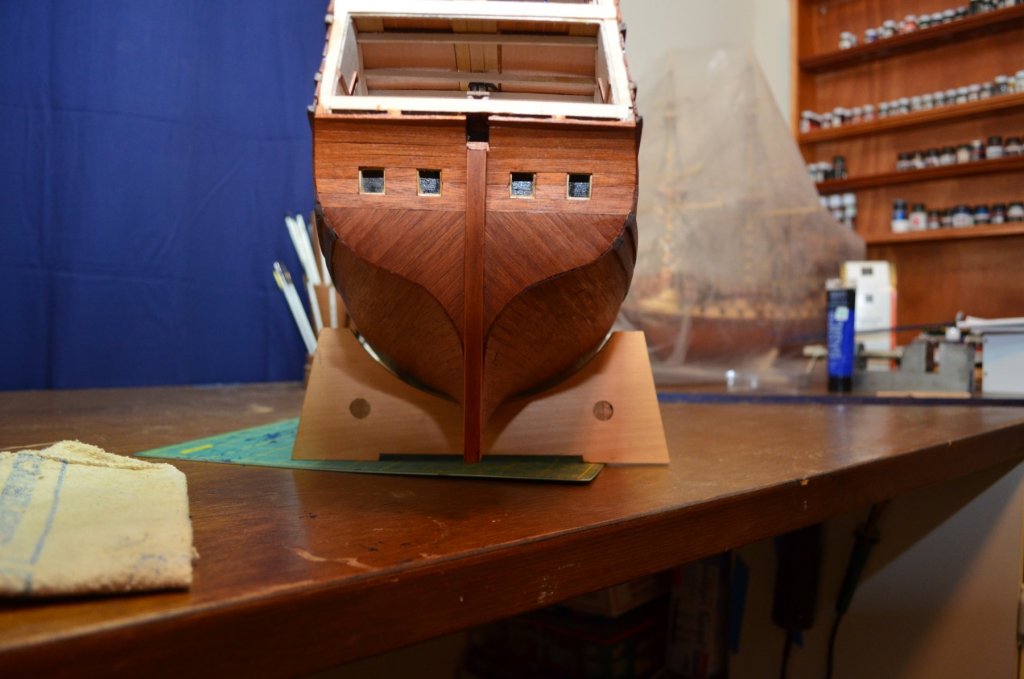
I'm back and healthy(ish) again! Better still, I have updates on the build! I managed to get the hull sanded and coated with a satin urethane. I also spent some time painting the planks that will be used on the upper bulwarks. While I know there will still be touch up paint needed after they are installed, this will eliminate a lot of the painting needed later which will decrease the risk of getting paint where I do not want it. Now I can continue onward and upward with the hull construction. Once all the bulwarks are topped out, I will give the entire hull another coat or two of finish to complete it. Enjoy!


- 961 replies
-
- 18
-
-
SOLEIL ROYAL 1669 by michel saunier
EJ_L replied to michel saunier's topic in - Build logs for subjects built 1501 - 1750
I was curious about that same detail that Marc mentioned. Given the size of and space limits, I was curious if this was a texture added before the carving of the leaves or how it was done. Beautifully done! -
Hi Morgan! I'm a little late but you have not gotten too far ahead yet. Off to a great start on your build! I too am building Soliel Royal but not by DeAgostini. Always fun and educational to see the many variations of similar models that get built. Even when you are just starting out and following the instructions, every builder is unique and therefore every model is as well. Plus you never know who may give you that inspiration for something you have never thought of doing. Plus you are lucky to have Martyn building just ahead of you on his model. It is turning out to be a beautiful build and you will have some great guidance to help you on yours. Good luck and I'm looking forward to an enjoyable build!
- 50 replies
-
- 3
-
-
- soleil royal
- first build
- (and 1 more)
-
Hey Robin! I was wondering if you were gonna have any time between builds but I guess not! I never do either. I've got my chair pulled up and am ready to watch and enjoy. Good luck!
- 91 replies
-
- 1
-
-
- kolderstok
- duyfken
- (and 1 more)
-
Well, I may be finally out of the woods so to speak health wise. Doctors said I had a type of pneumonia but as of this morning things are looking up and hopefully I am on my way to recovery. With some luck I may even get in some shipyard time later this week. So so thanks for all the well wishes! I am looking forward to having some actual ship updates again!
-
Beautiful model Robin! This was a very fun build to follow along with. Take some time to savor the moment and admire what you have created. I'll be looking for the next build!
- 473 replies
-
- 3
-
-
- greek bireme
- dusek
- (and 1 more)
-
Looking good Robin! I feel your pain with the sickness issue. Get well!
- 473 replies
-
- 2
-
-
- greek bireme
- dusek
- (and 1 more)
-
Scale issues are well known in model building no matter the subject. I too would have thought that Rattlesnake would have been a bit larger. No expert on either ship but a 20 gun three master would, to me, be larger than a 14 gun 2 master. Maybe not by much but a few feet in length, breadth and height. Any case, you have a couple of very beautiful models to proudly display!
-
Haha! Robin, Michael thanks for the encouragement. This is by far the most intensive build I have done to date. I'm someone that learns best by doing and I have learned a great deal so far on this build. Maybe not exactly how to do it right but I'm learning ways not to do things in a hurry! Still, a lot of fun and with plenty more to do, I will get on with the build. Progress update, I have taken some time to clean up the ship yard as it was needing it after months of saw dust flying. I was planning on starting to do some hull sanding this weekend but I've not been in the best of health the past few days so I think that is on hold till I can breath a bit better. I did start painting the planks the ultramarine blue for the upper hull. I'll try to get some pictures up in the next day or so. Thanks for looking in!
-
SOLEIL ROYAL 1669 by michel saunier
EJ_L replied to michel saunier's topic in - Build logs for subjects built 1501 - 1750
Excellent work! Inspiring and intimidating also as a fellow S.R. builder. -
Very nice solution! I never would have thought about leather sleeves for water tightness but not only does that make sense it gives you a great way to install the oars. Well done!
- 473 replies
-
- 4
-
-
- greek bireme
- dusek
- (and 1 more)