Overworked724
-
Posts
1,266 -
Joined
-
Last visited
Content Type
Profiles
Forums
Gallery
Events
Everything posted by Overworked724
-
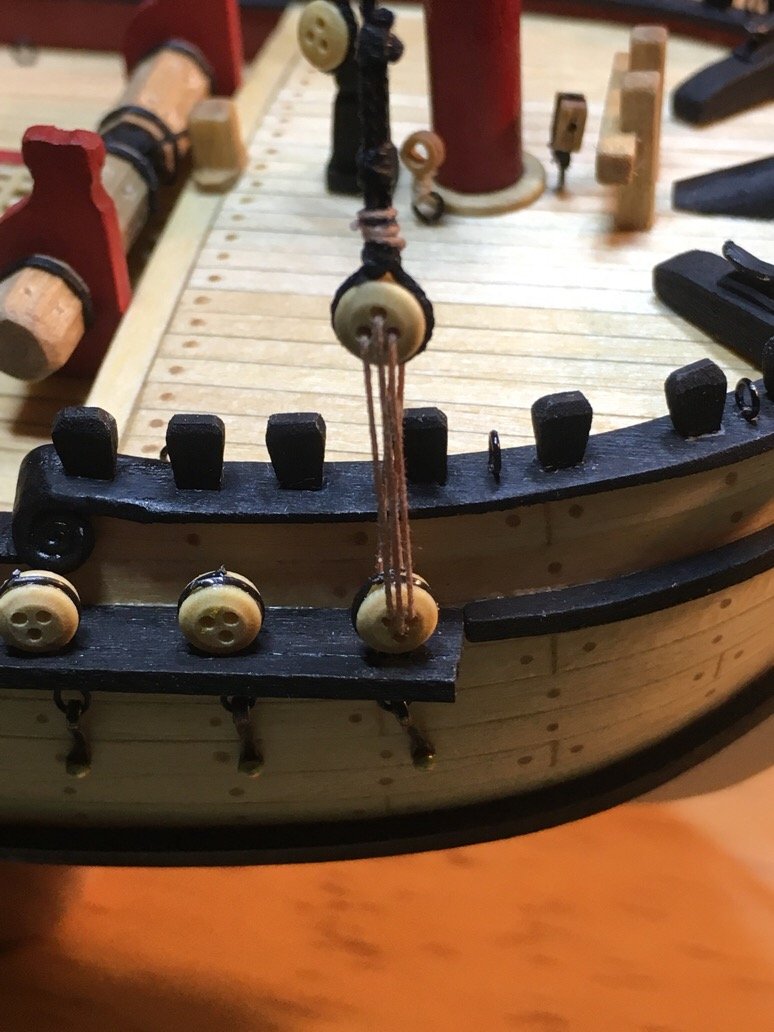
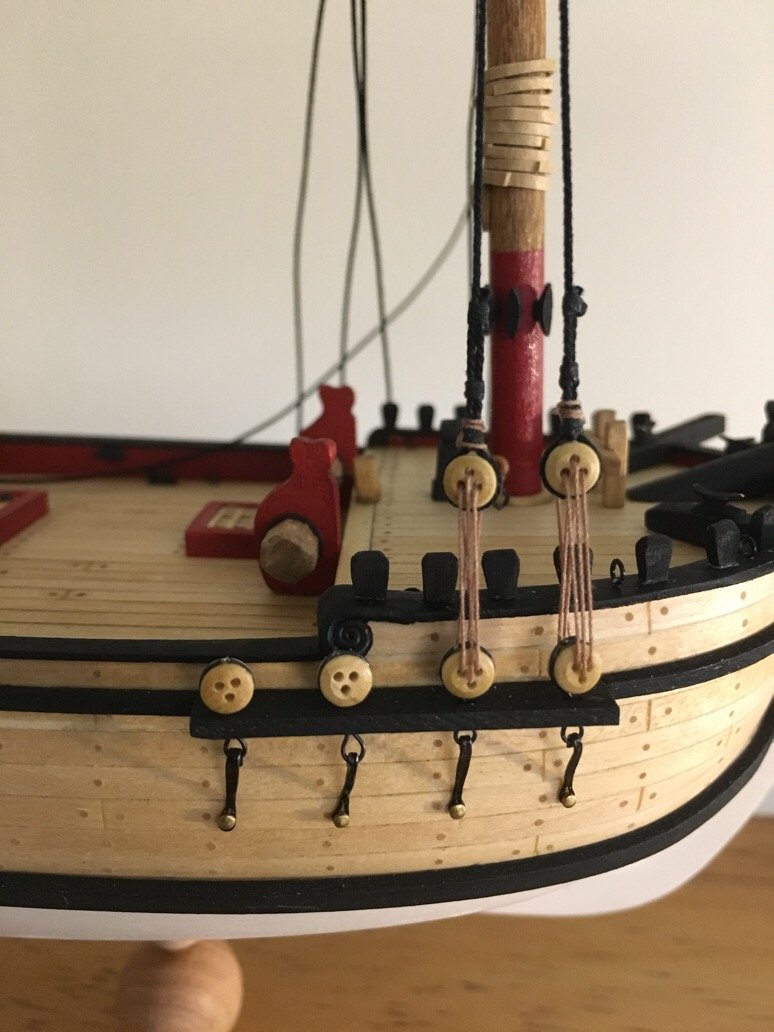
 And as soon as I posted the previous note, I realized that I had tied my top deadeyes to the shrouds correctly on both port and starboard. But....the aft pair of deadeyes on the starboard side of the foredeck are rigged opposite from the leading pair (i.e. I accidentally rigged them as a port side pair) Symmetry and the necessary mirroring between the two sides of the ship can be a real B*TCH sometimes!! Sigh...it's always something. But damned if I'm redoing them. It still looks decent and represent a good bit of work, and skill/knowledge obtained. Imperfection accepted!!! Moving on...again...
- 449 replies
-
- 4
-

-
- sultana
- model shipways
- (and 2 more)
-
I like how you siezed the lanyard to the shroud. Very clean!! Looking good!
- 360 replies
-
- 1
-
-
- sultana
- model shipways
- (and 1 more)
-
Just a note. The book, Rigging Period Model Ships by Lennarth Petersson, is a great tool to help visualize how to properly set up deadeyes and their lanyards. At this scale, it’s hard to hold to complete historic accuracy, but gives you some ideas on how to tie them and still make them look reasonably accurate. One thing of interest, the top deadeyes are set up on the shrouds so as to reflect the opposite side. So the port and starboard deadeyes attaches to the shrouds are tied so they are mirror images of each other. Symmetry...always symmetry! Makes me rethink everything.
- 449 replies
-
- 4
-
-
- sultana
- model shipways
- (and 2 more)
-
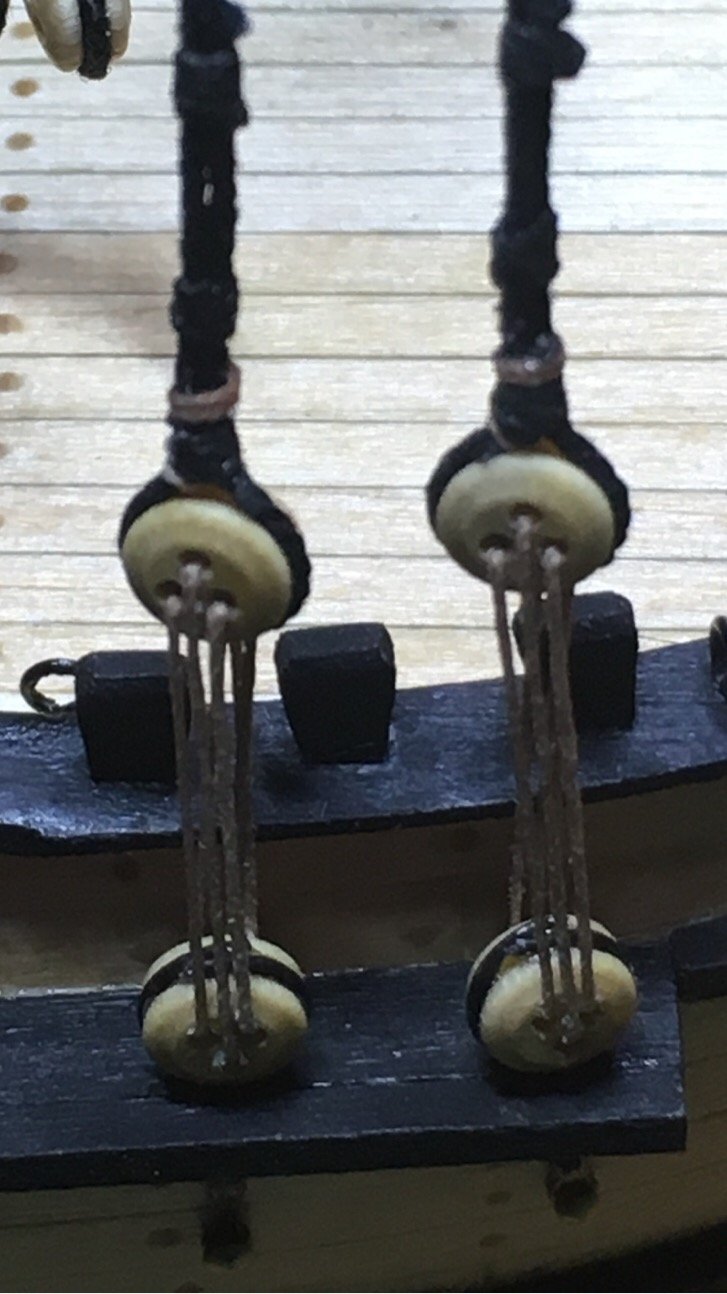
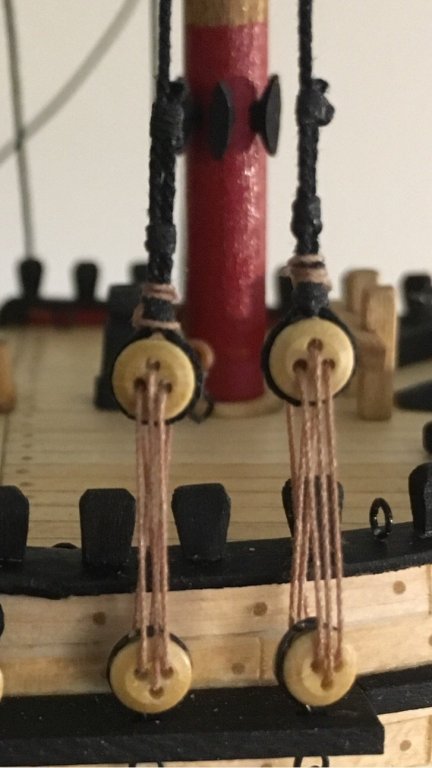
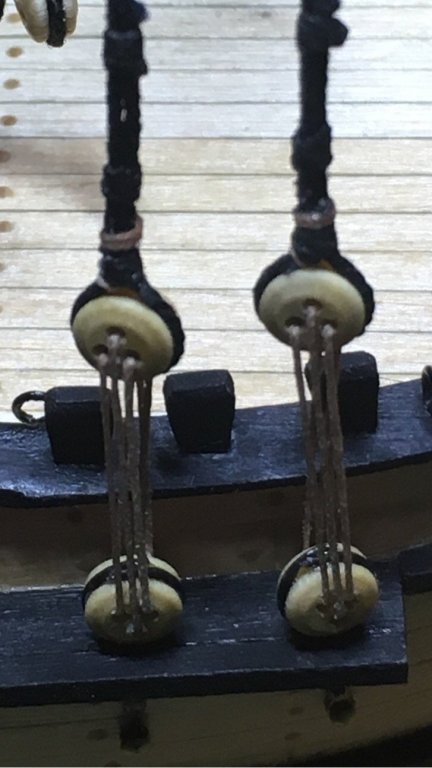
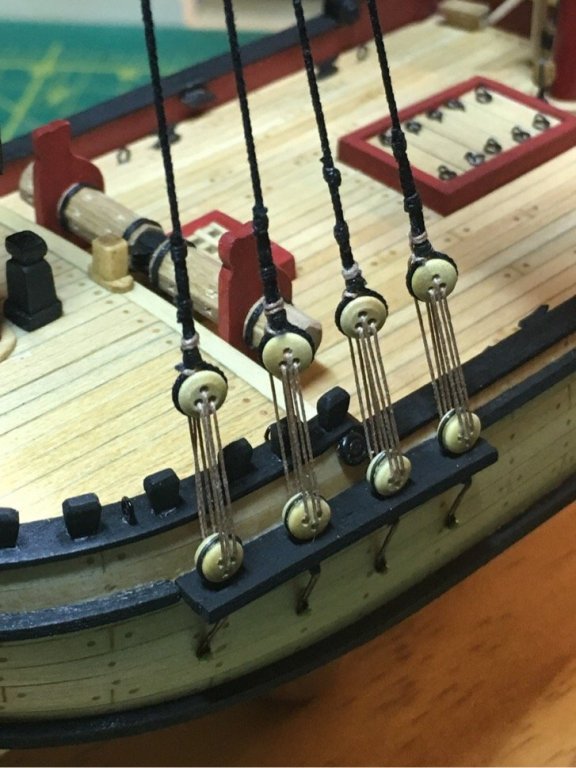
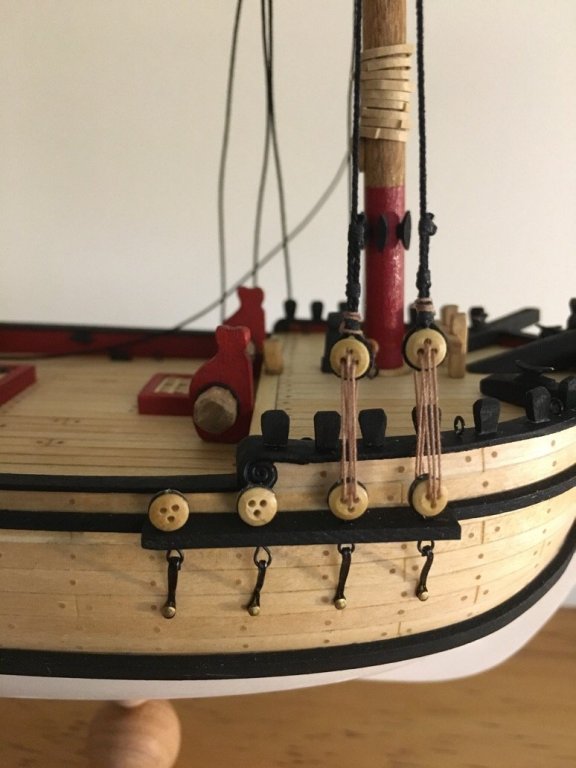
Tha lanyards between the deadeyes has been a challenge. After looking at my first two I realized my problem...consistency. The loose end of the lanyard was difficult to tie down and still maintain good position and tension. So my initial attempt seemed a bit assymetrical. So I redid them... And voila.....!!! Moving on!!!
- 449 replies
-
- 7
-
-
- sultana
- model shipways
- (and 2 more)
-
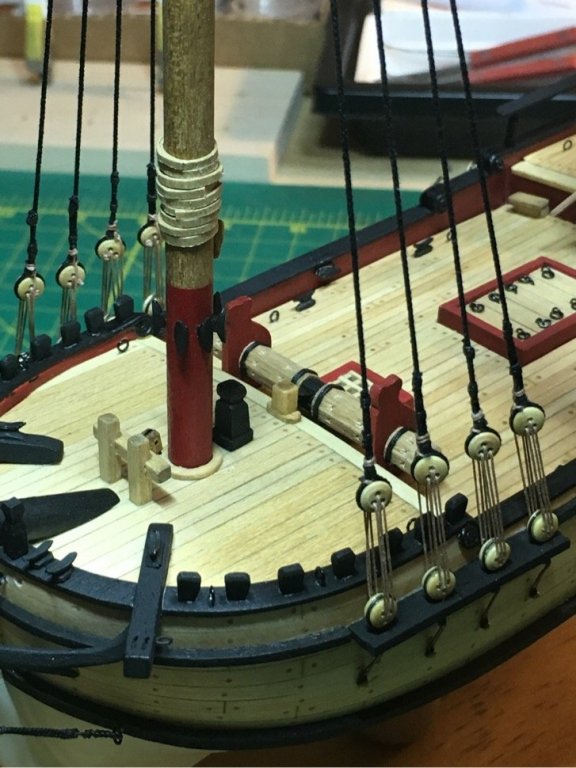
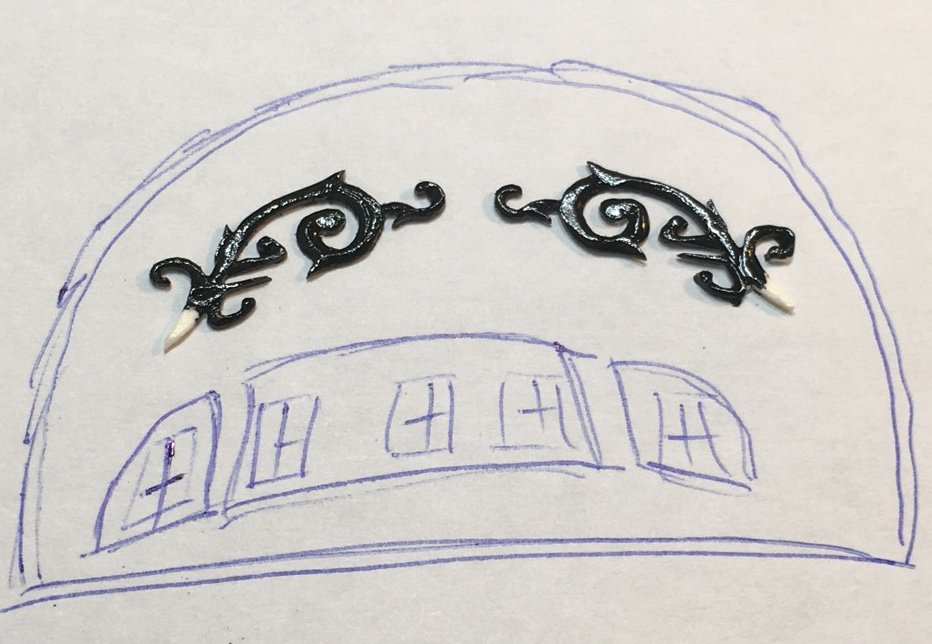
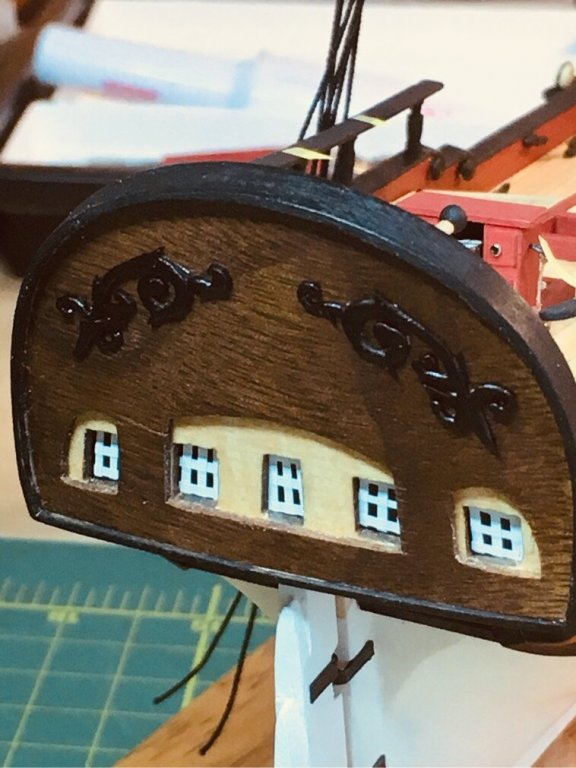
A mix of monotonous and fun progress! Spent some time sanding, shaping, and painting my shroud cleats. So those are done...thank God! Still working through my shrouds and lanyards, which are looking pretty tight! Finally decided to take a break and do something fun. My walnut transom looks nice, but was a bit sparse. I ordered some wood carving templates for bas relief used on another model from Syren since I wanted to start working up a different skill set...and decided to order a resin casting of the same bas relief. I thought I might use it to decorate the transom! The effect was so nice, I decided to go ahead and see if I could get lucky placing it on the ship! Granted...if I could go back and redo the windows now, I would! But, the relief painted black to match the trim adds a very polished touch. Moving on!
- 449 replies
-
- 5
-
-
- sultana
- model shipways
- (and 2 more)
-
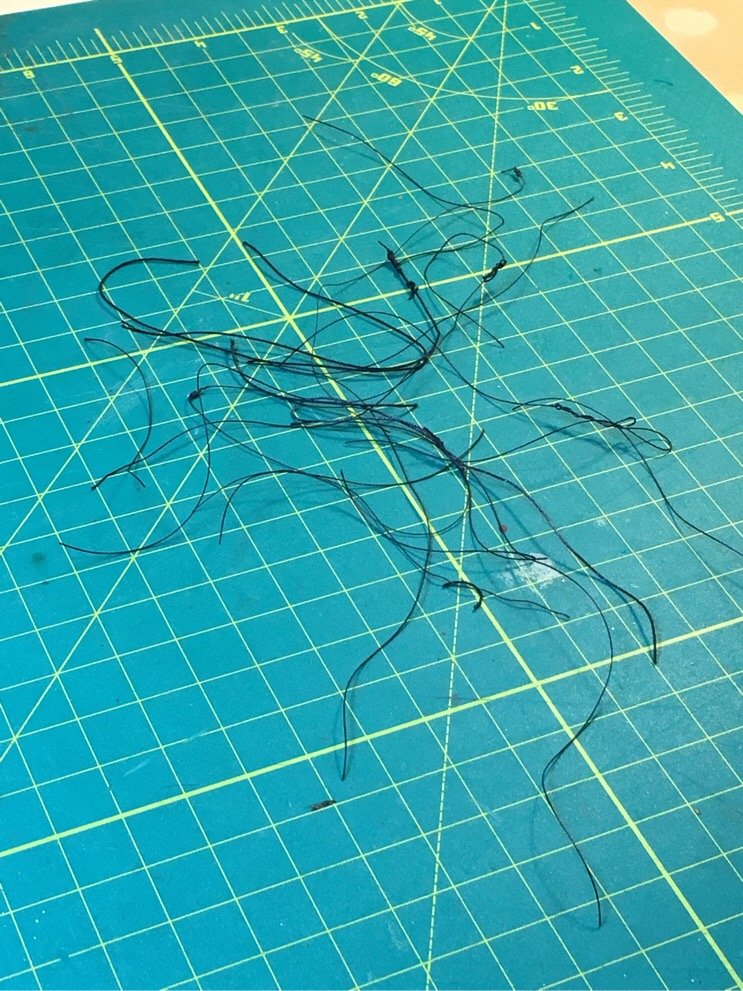
Well...I love the smell. And surprisingly, the line is straight and well behaved after running it through the wax cake...and also has a nice tacky feel.
- 449 replies
-
- 3
-
-
- sultana
- model shipways
- (and 2 more)
-
I’m thinking of retrying those lanyards...I just discovered the magic that is beeswax!
- 449 replies
-
- 3
-
-
- sultana
- model shipways
- (and 2 more)
-
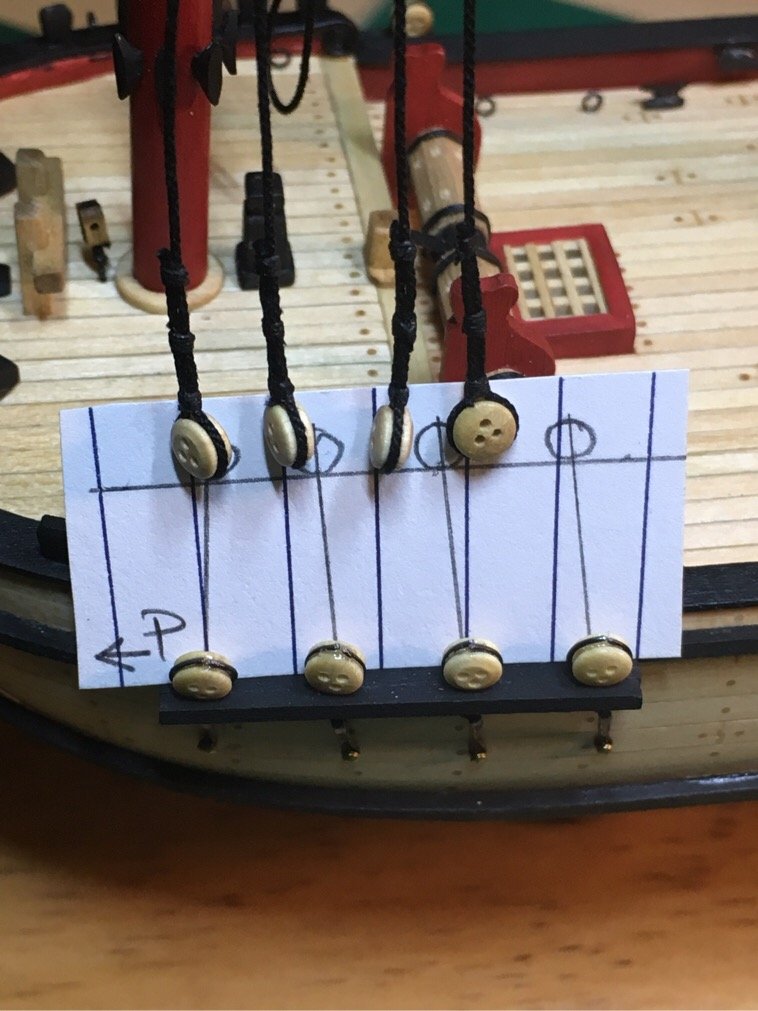
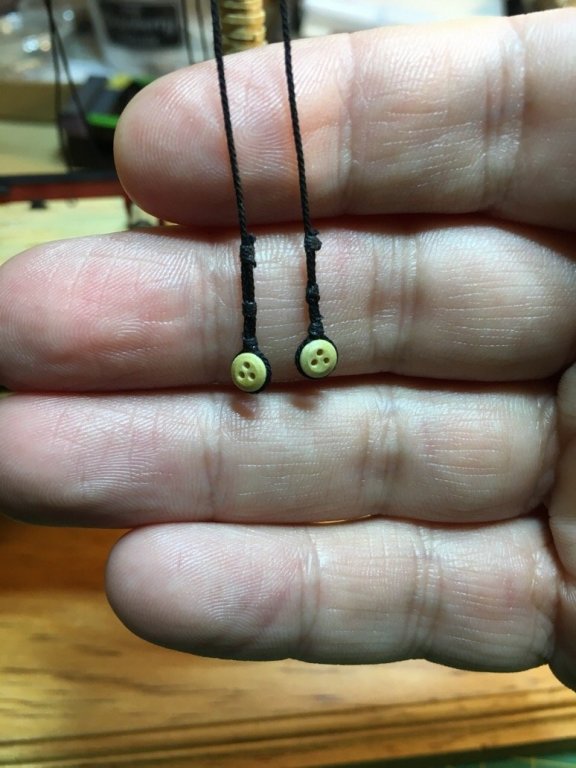
My first attempt at deadeyes took me some time to gather courage. My first two look pretty good. The aft one is a touch lower than the one near the stem, but not bad for my very first deadeyes. Of note is that I changed my seizing thread from a synthetic thread (right deadeye) to a pure cotton blend (left deadeye). I found the knots were easier to slide and the siezings didn’t bunchup as much. But I think I’m getting a better feel for the dead eyes and how they are rigged. It’s a learning process.... Moving on!!!!

- 449 replies
-
- 4
-
-
- sultana
- model shipways
- (and 2 more)
-
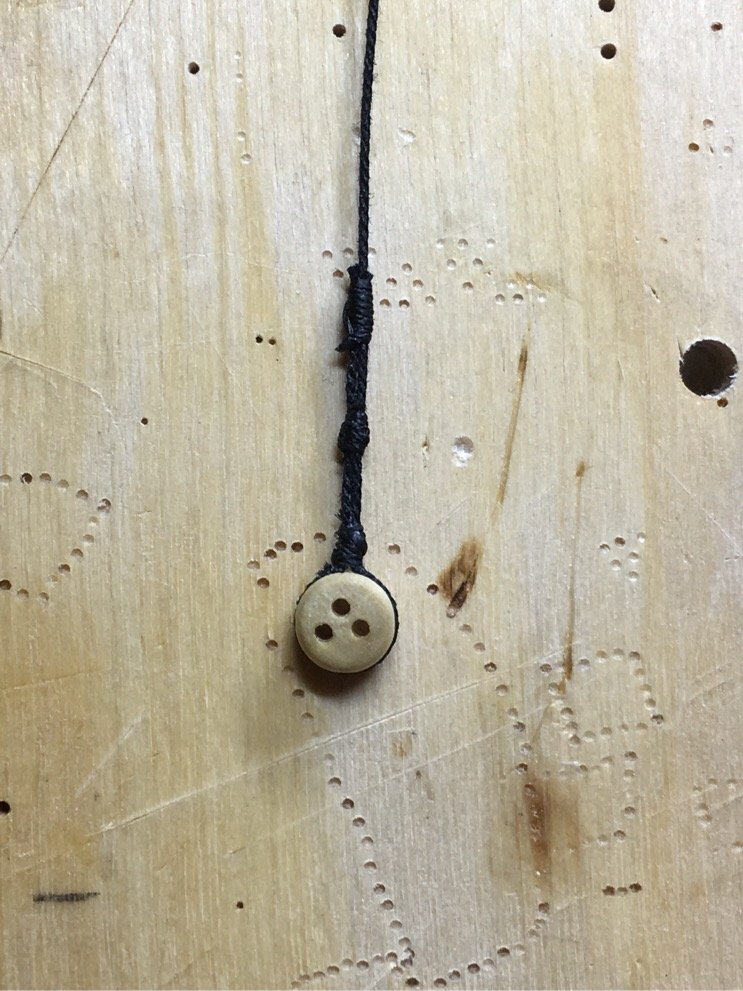
Yes! I was looking at the ZIP siezings you make and seriously considering another try! They look nice!
-
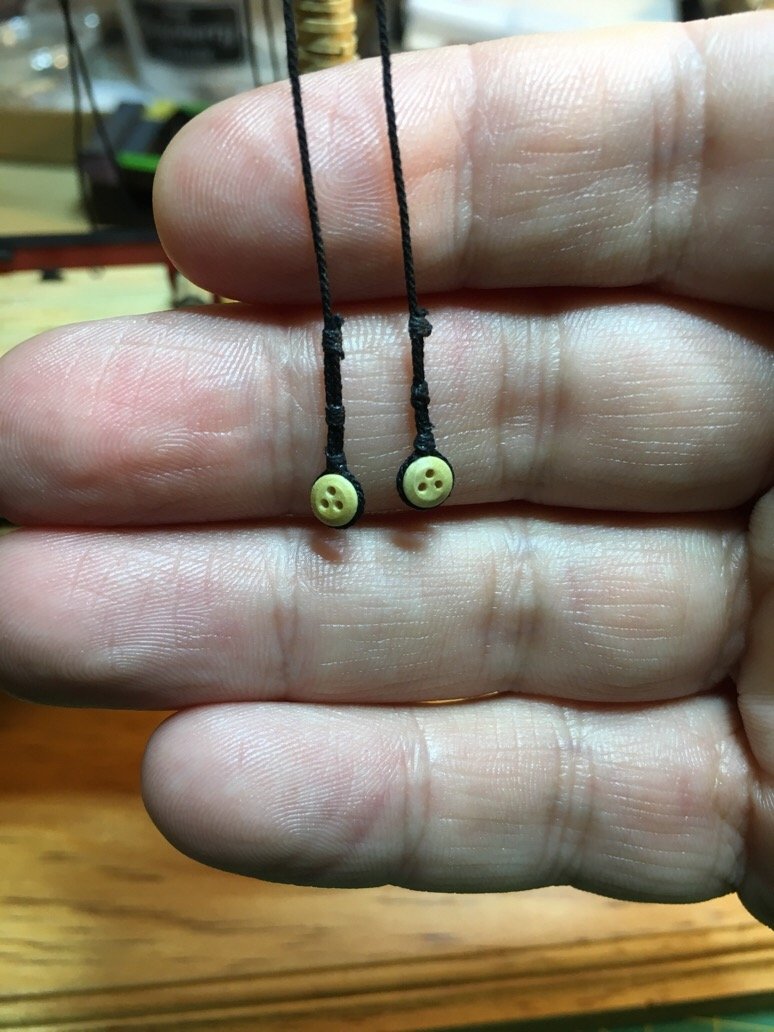
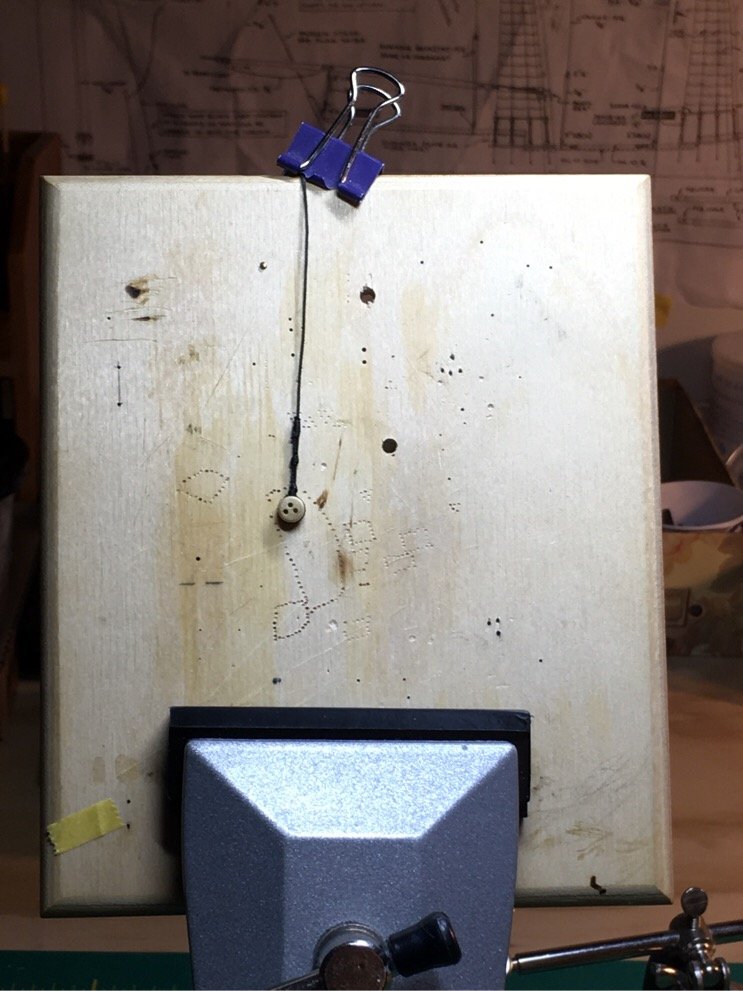
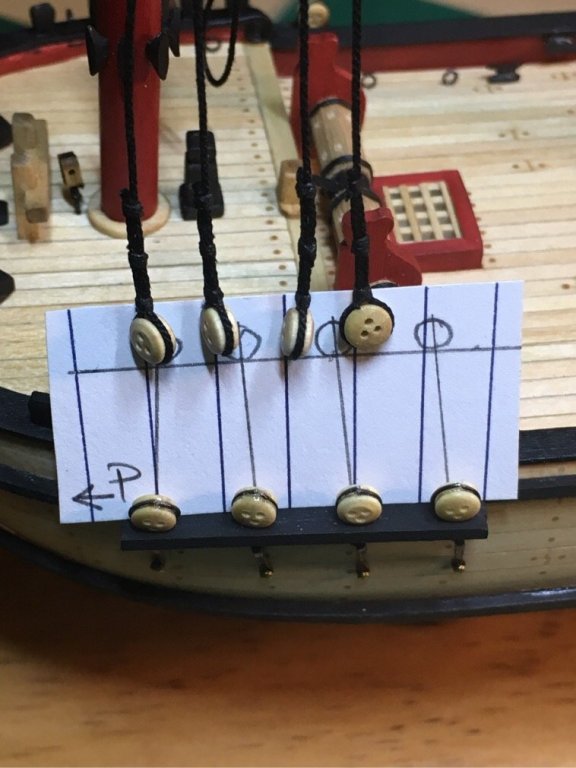
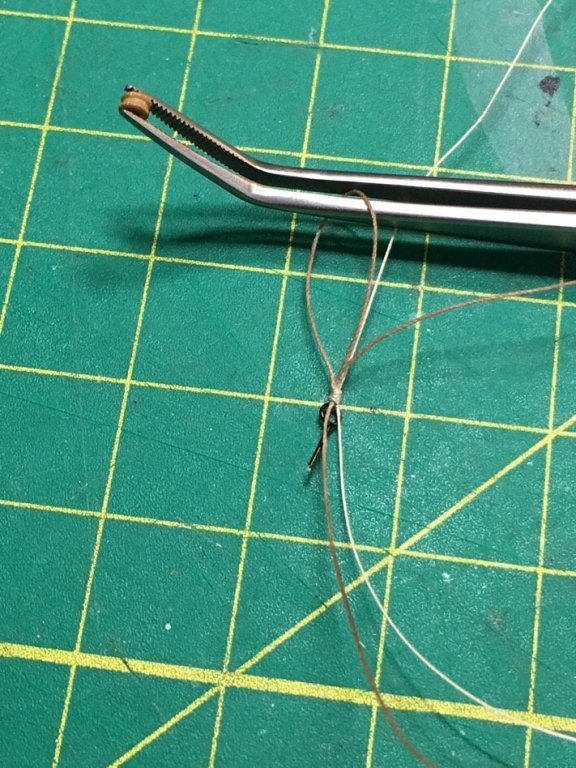
Just messing around with my deadeye practice. I want the upper deadeyes to look uniform. Only practice will help...so using my spare vice and some thread. I’m getting there.... Need more practice though!!!


- 449 replies
-
- 3
-
-
- sultana
- model shipways
- (and 2 more)
-
Oh my goodness! Apologies. I meant to post on my blog but mistakenly put on yours! Sorry about that! 😣 I think these are 2.5-3mm. Same size Chuck referenced in the practicum.
- 360 replies
-
- 1
-
-
- sultana
- model shipways
- (and 1 more)
-
Just messing around with my deadeye practice. I want the upper deadeyes to look uniform. Only practice will help...so using my spare vice and some thread. I’m getting there.... moving on...


- 360 replies
-
- 2
-
-
- sultana
- model shipways
- (and 1 more)
-
I actually have access to the same website. Good resource. He used drill bits but same principle. I tried zip seizings also, and made a copper plated wooden jig to pop off the formed coils after the glue set. Worked well, but I found it difficult to thread the other end through the zipsiezing once it was on the line. But I like the clean look it gives!
- 360 replies
-
- 1
-
-
- sultana
- model shipways
- (and 1 more)
-
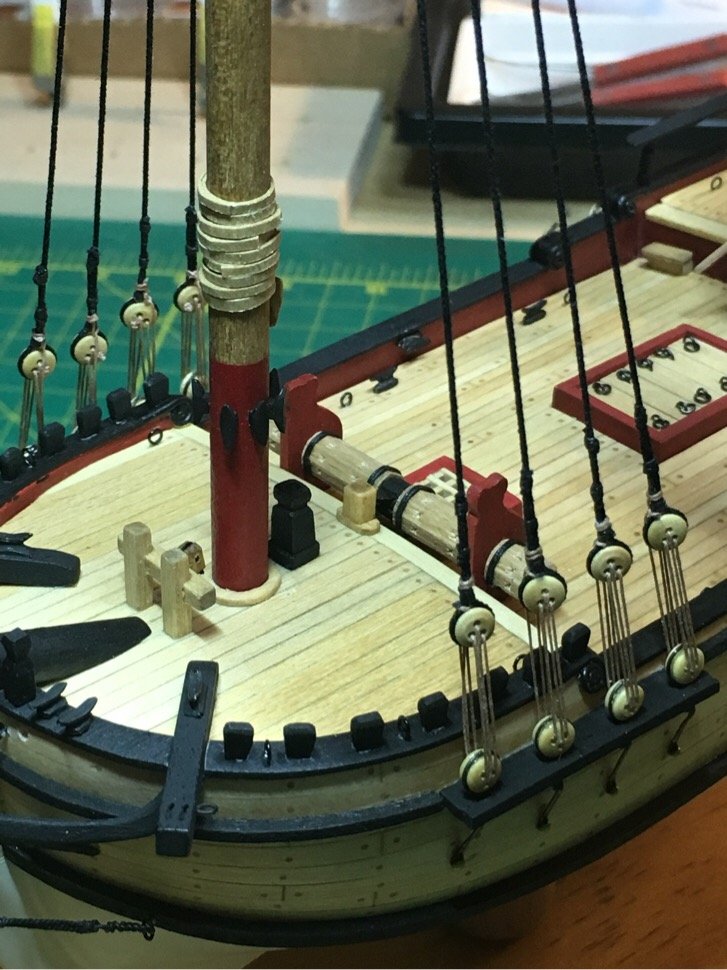
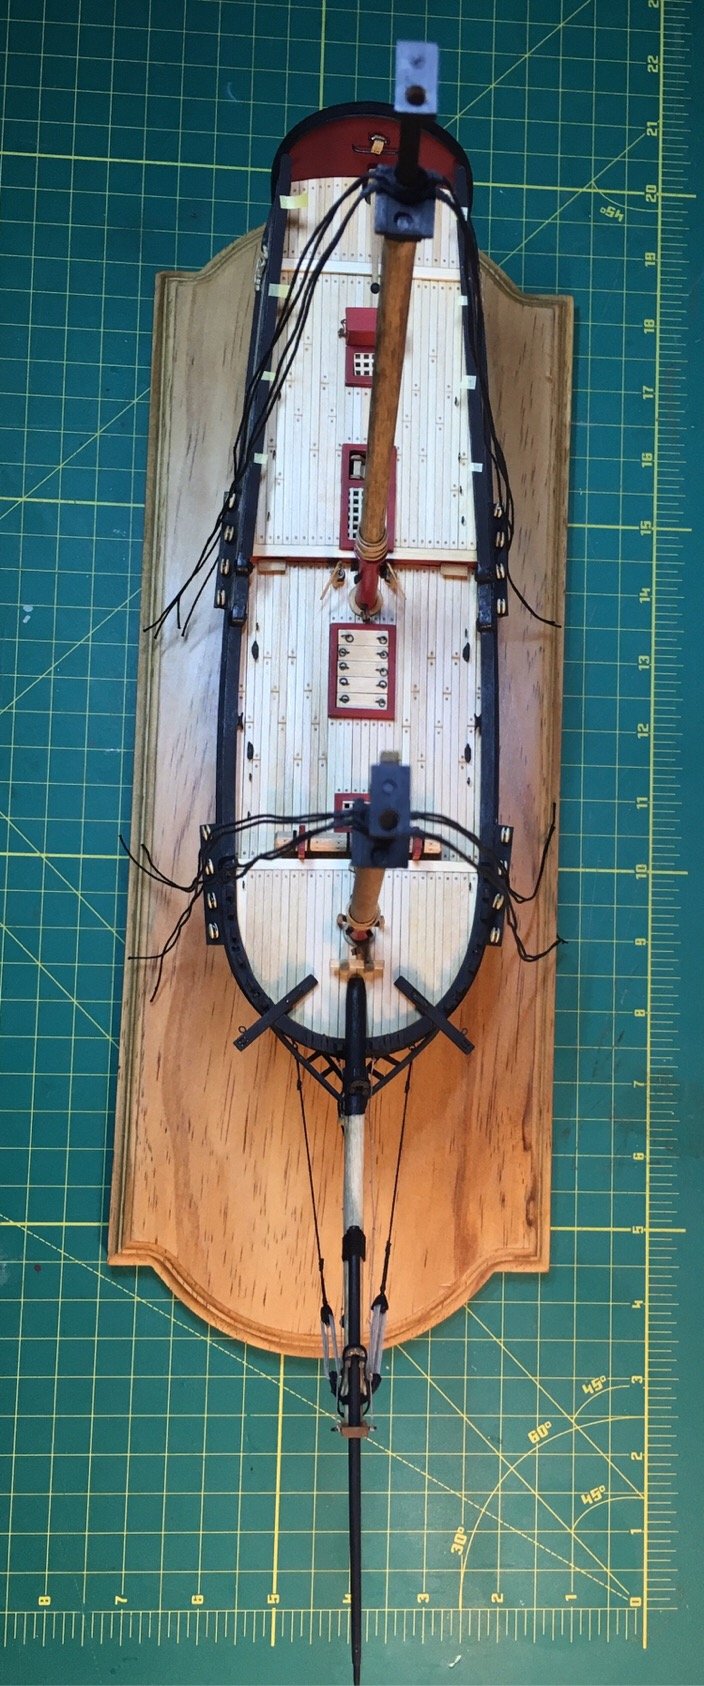
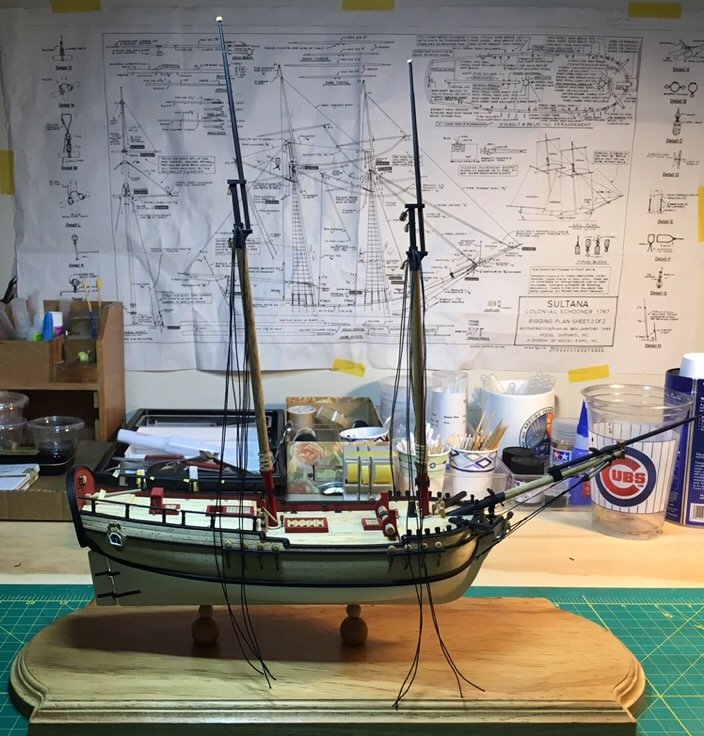
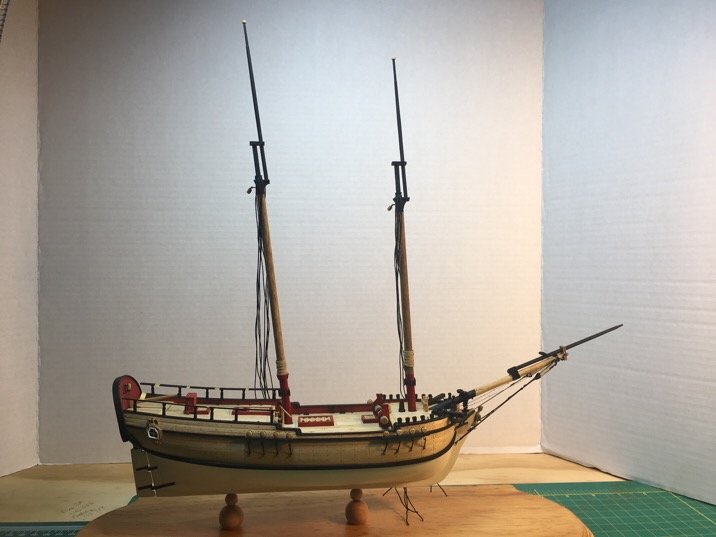
Bit the bullet. Stepped the masts! No turning back! Set the blocks and bullseyes first. Then set up the mast coats and glued in the masts. Used carpenter’s glue and looked multiple directions as it set. Helpful to add the top masts to help eyeball the symmetry as the glue sets. As I noted earlier, the top masts are not set yet. Easy to remove them until I need to mount them. Moving on!!!!


- 449 replies
-
- 8
-
-
- sultana
- model shipways
- (and 2 more)
-
Masts are ready to be stepped. God help me... Crazy part is, I’m over analyzing how to step the masts so that if....IF!...I need to remove them for repairs (or to make a correction for some error or accident), I can actually do it. I am trying to ensure that when I mount the masts, I can (in some fashion) get them back out. Damn it...
- 449 replies
-
- 2
-
-
- sultana
- model shipways
- (and 2 more)
-
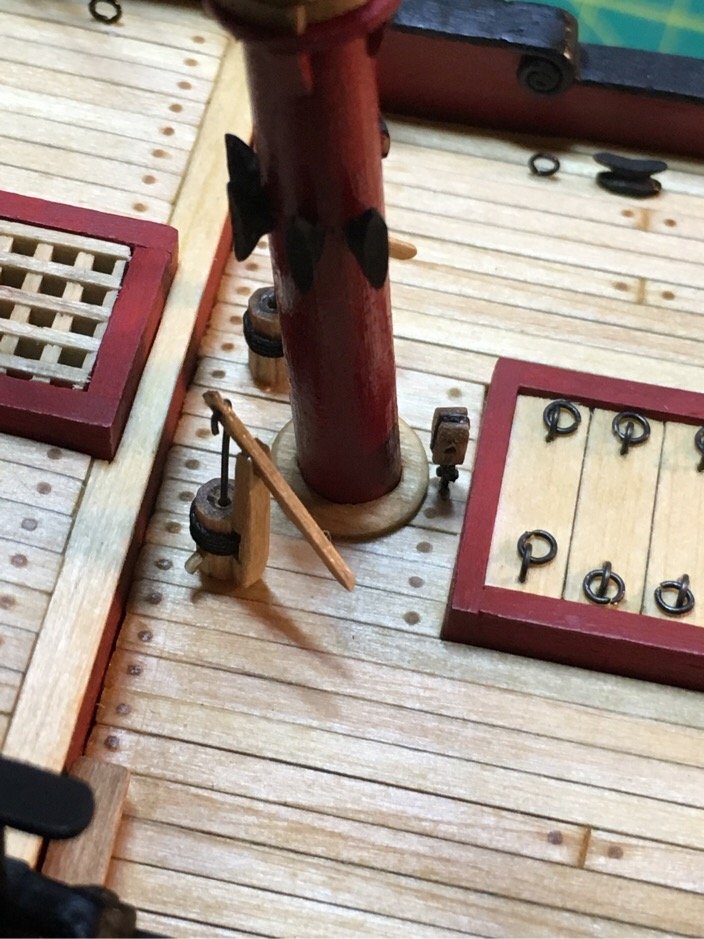
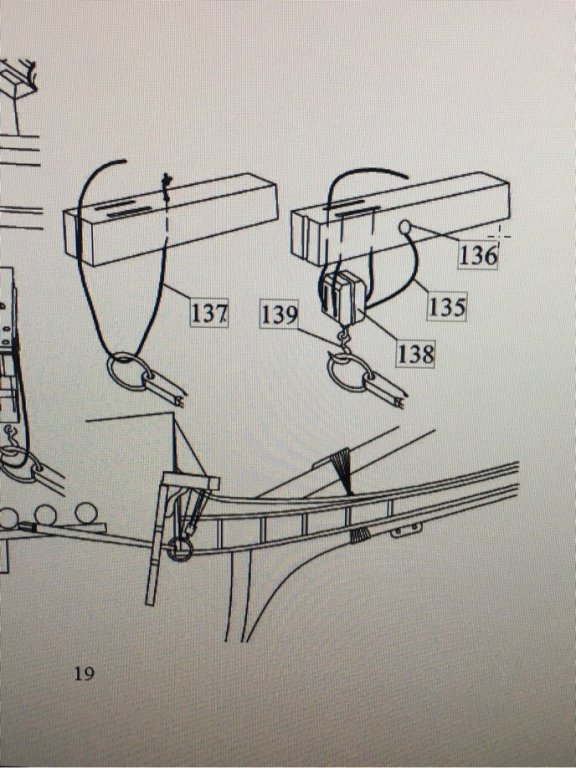
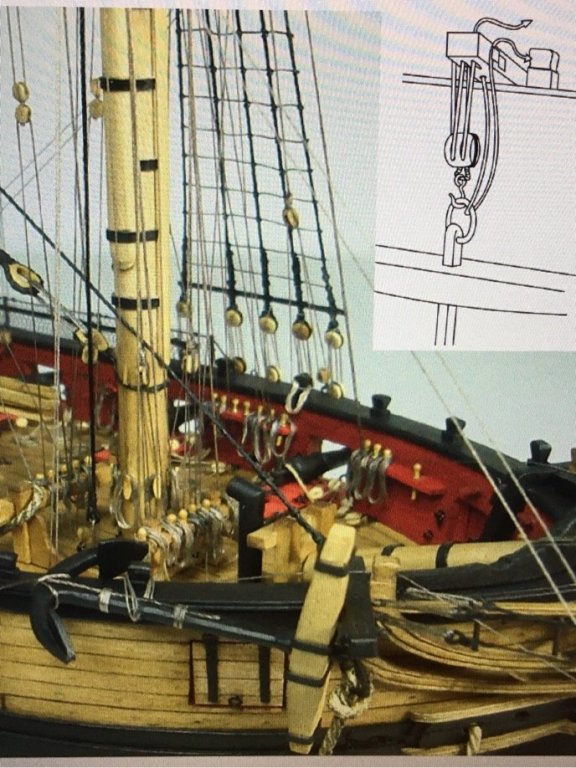
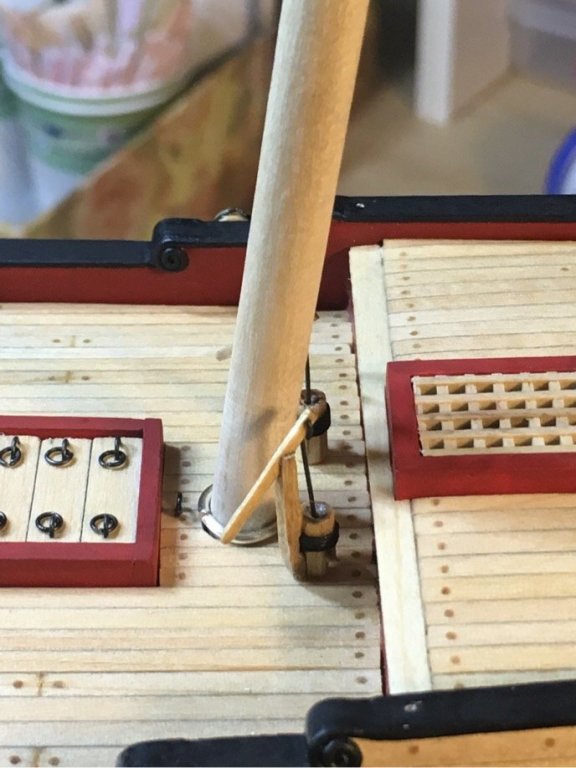
Hi Lou! I found two online graphic references. One was from a pdf of the Instruction for the Golden Hind. The other from a pictorial guide for the Syren, written by Chuck Passaro. Both give a pretty nice account of rigging the cathead to hang the anchor, and sling the flukes to a timber head. I love the look. The terminatingend of the line returning through the cathead is tied to the cleat on the base of the cathead. The other end is tied to the eyebolt on the side of the cathead. I simply couldn’t figure out from Chuck’s practicum how it would be rigged as he didn’t go into detail on this point. Moving on!!!
- 449 replies
-
- 4
-
-
- sultana
- model shipways
- (and 2 more)
-
I’m a stickler for directions. Finally found a good reference to guide me in how to rig my catheads and hang my anchors!!!
- 449 replies
-
- 3
-
-
- sultana
- model shipways
- (and 2 more)
-
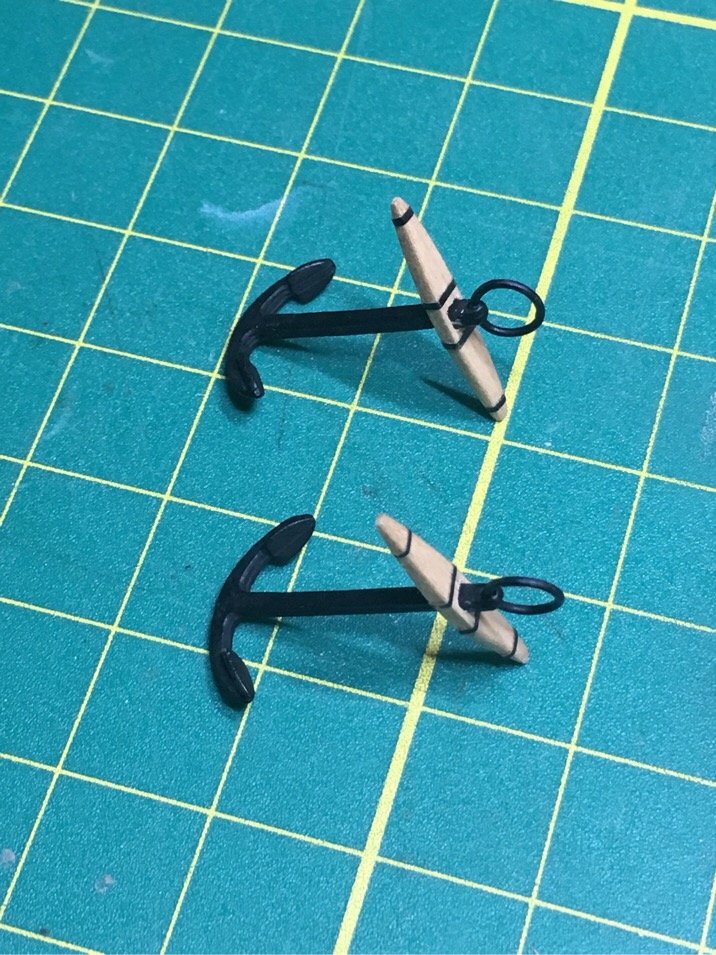
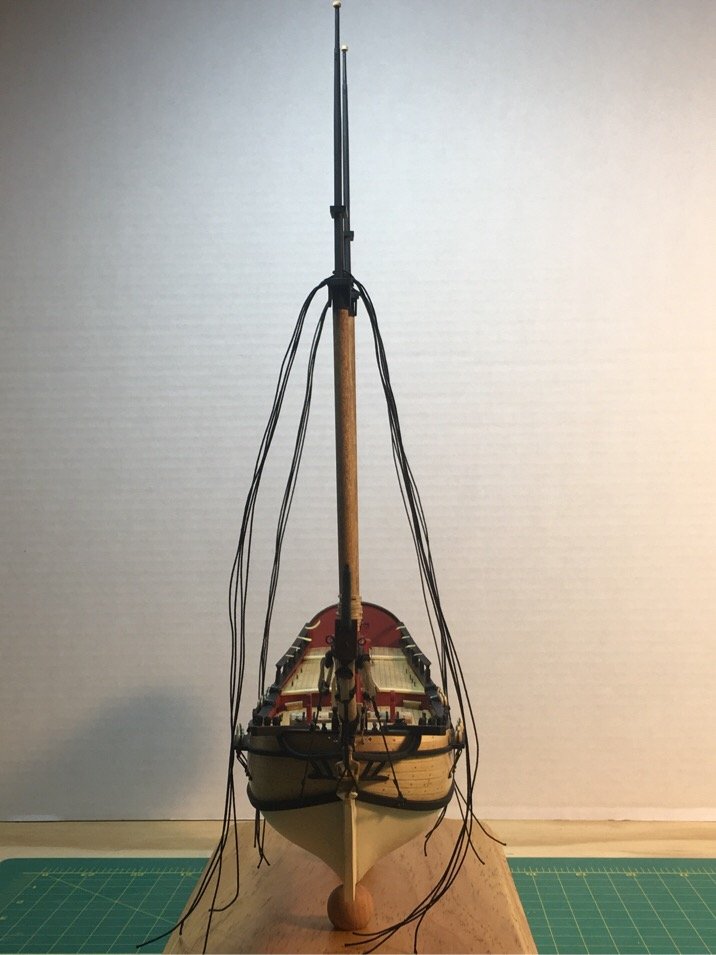
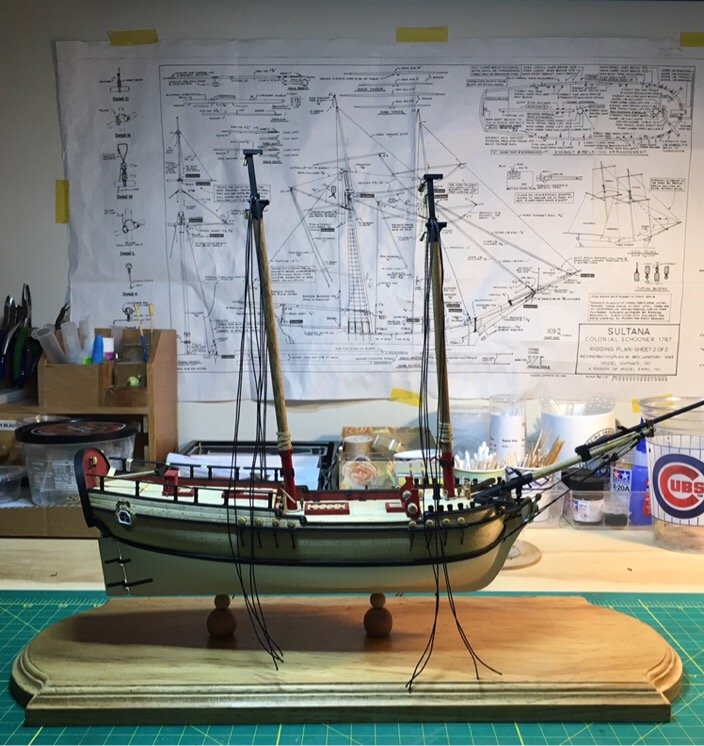
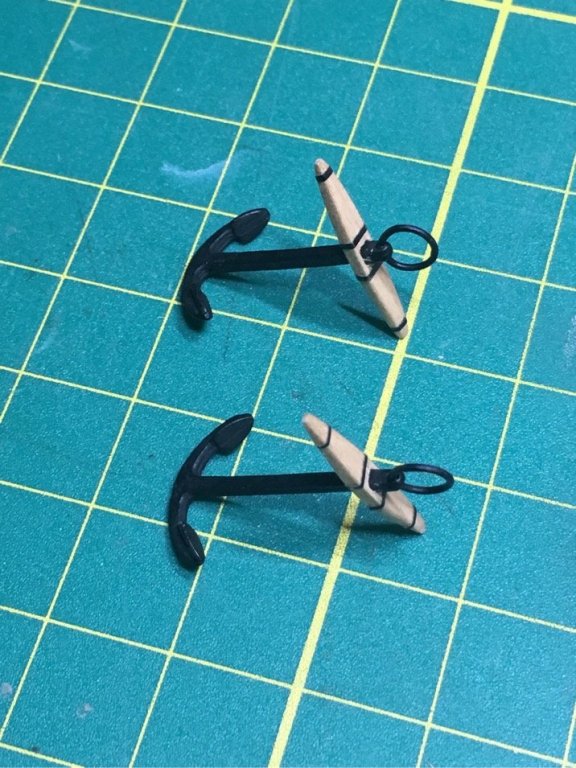
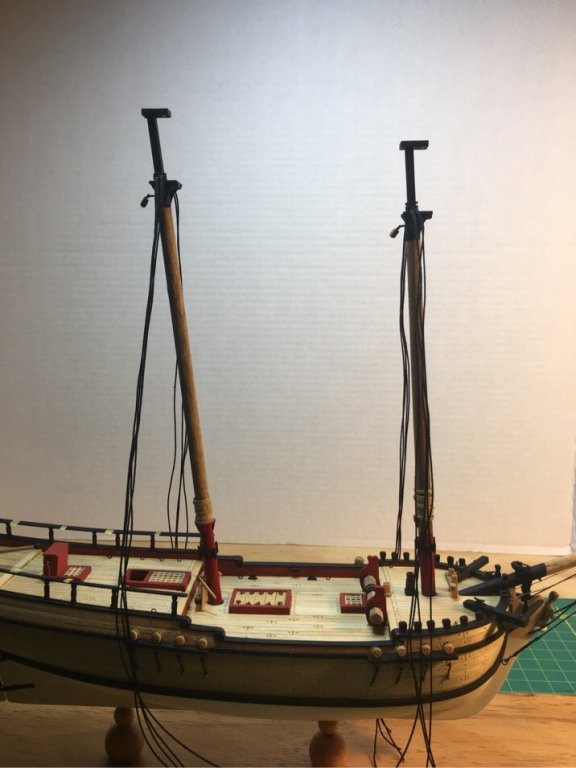
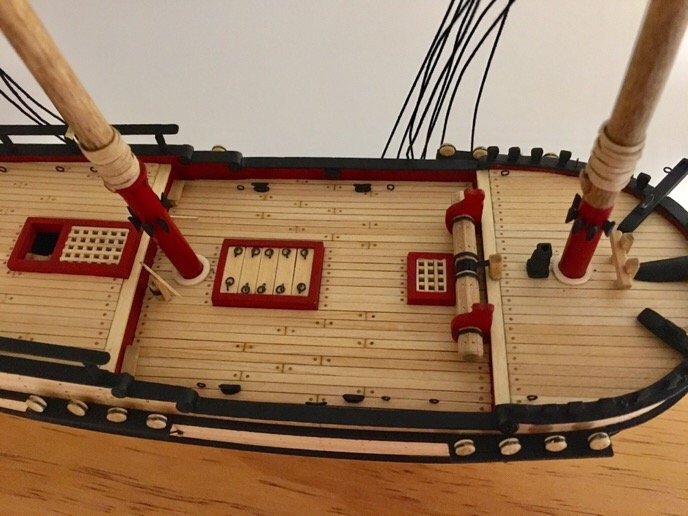
A bit more progress. Anchors are done. Also fixed the mast caps and painted. I see from the front the masts are at the right rake, and that the trees and caps are parallel to each other. Minor bit askew due to a small misalignment when drilling my mast holes, but I’ll live with it. Lesson learned for next time. Have not yet stepped the masts or topmasts. Have a couple more blocks to tie, then will add the mast coats and step main and fore masts. I’m thinking of waiting to secure the shrouds before I step the topmasts...decisions, decisions!!! Moving on....😊

- 449 replies
-
- 6
-
-
- sultana
- model shipways
- (and 2 more)
-
Lou is right...you made me rethink my own laziness!!! Have a beer on me!!!
- 360 replies
-
- 1
-
-
- sultana
- model shipways
- (and 1 more)
-
So does the Admiral...and so do I frankly! Will stain them and call it a day on the mast coats.
- 449 replies
-
- 3
-
-
- sultana
- model shipways
- (and 2 more)
-
Mast coats look great. Made me rethink my original metal ones. Looking good!
-
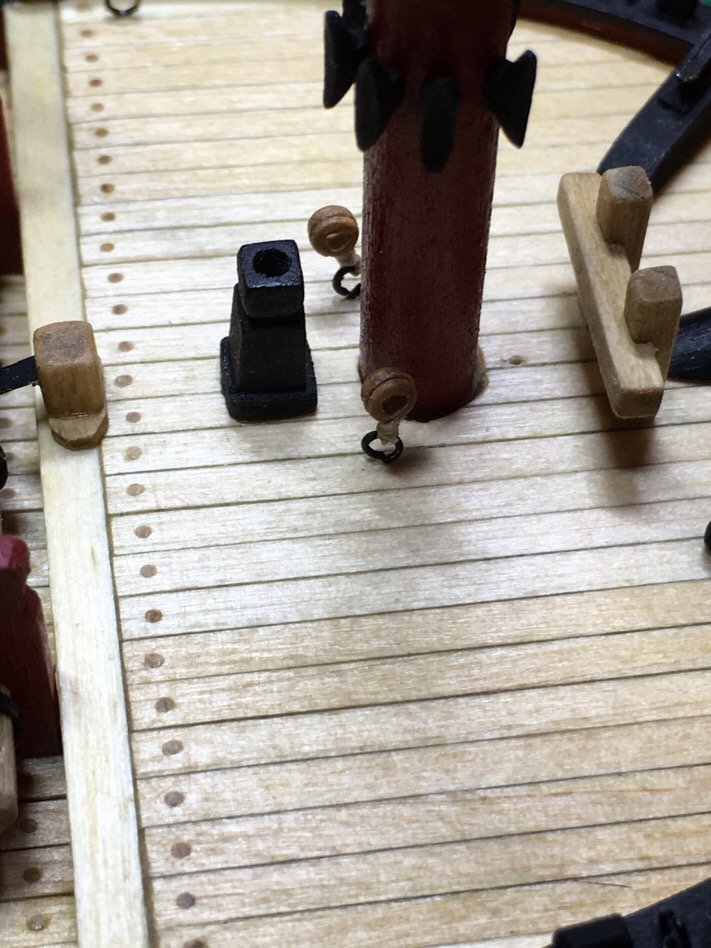
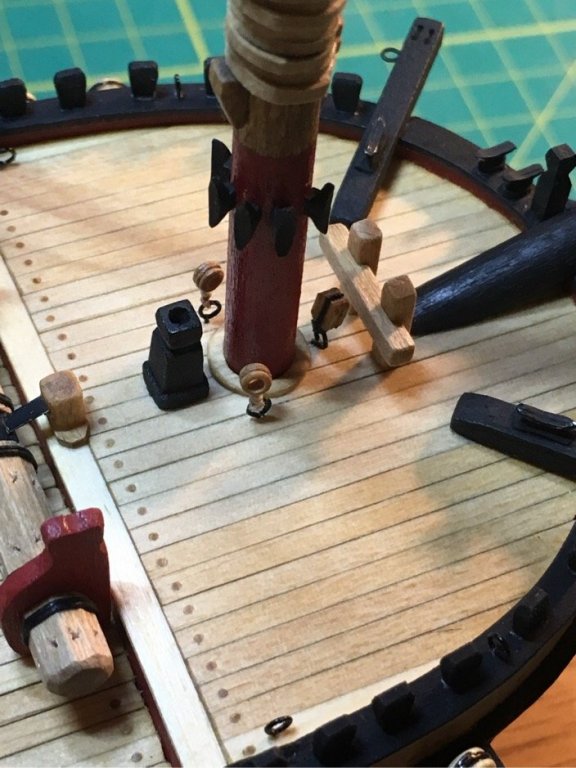
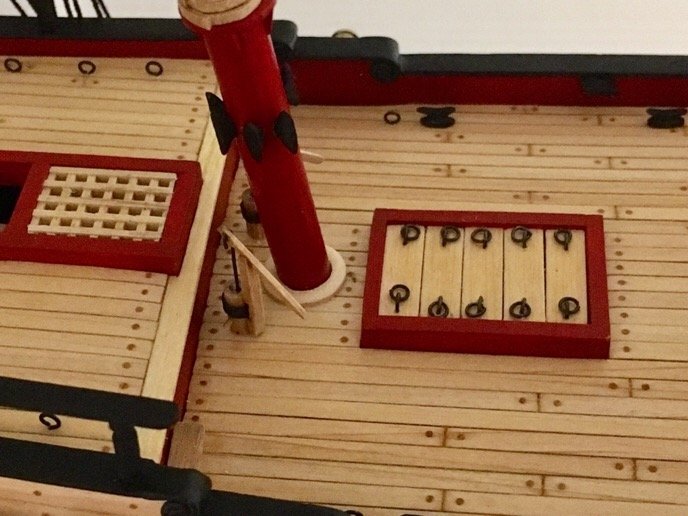
Ok. So that last pic in the post above bugged me...I tried the mast coamings on the mast and, although they looked good, seemed a bit off. The mast coamings which I made earlier using wire and then painted red, were done akin to Chuck’s method in his practicum. The pic below shows my initial coaming (unpainted) for the main mast. Now, the method I had developed earlier (and is pretty easy) to make my full wrap around boom rest, is easily applied in the same way here to make both coamings from wood. Step by step...here is the way I do it. One exacto with #11 blade, one flat razor, an emery board for sanding, 1/32” basswood sheet from Hobby Lobby....taaadaaa. After trimming to size and sanding, make sure to bevel the edges to round them off. Both coamings took me about 20 minutes. So...now I have 2 sets of mast coamings. Metal and wood. I tend to think the wood ones look more natural (ie. imperfect). The coamings were a side project. Working on my blocks/tackle in the background today. Fun!!! Movin’ on...


- 449 replies
-
- 6
-
-
- sultana
- model shipways
- (and 2 more)
-
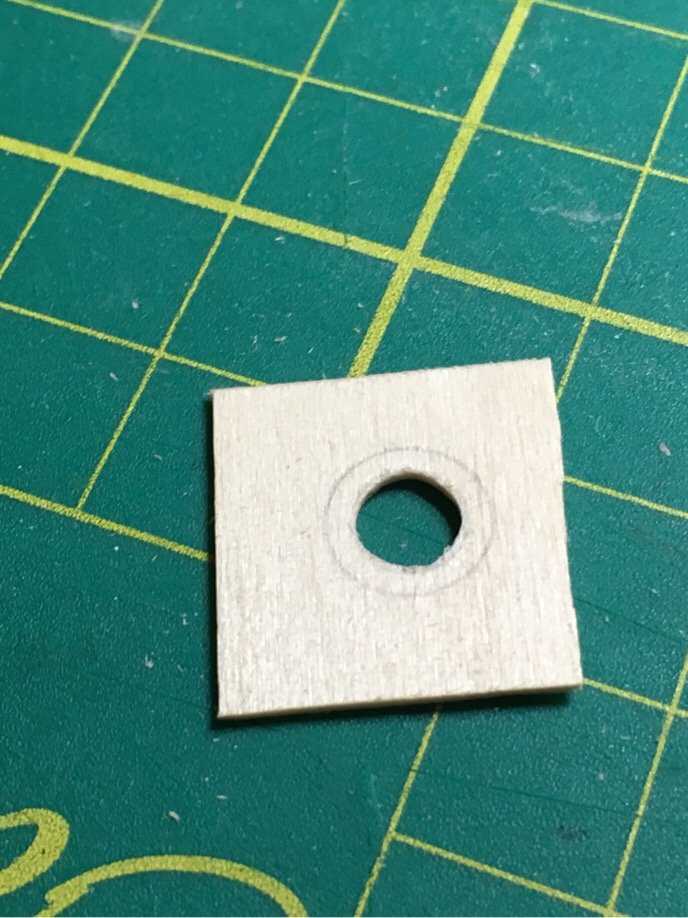
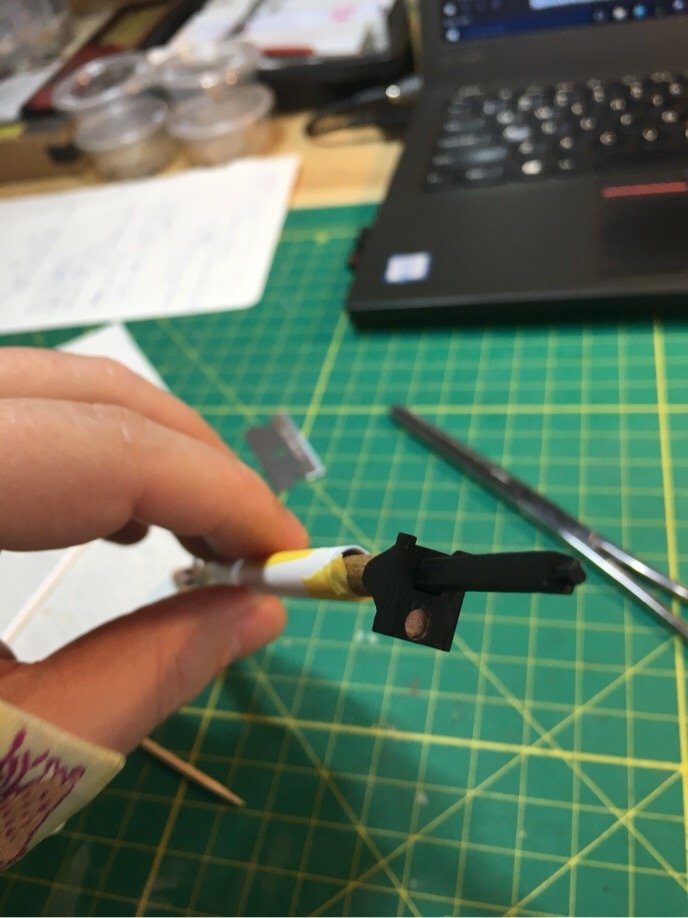
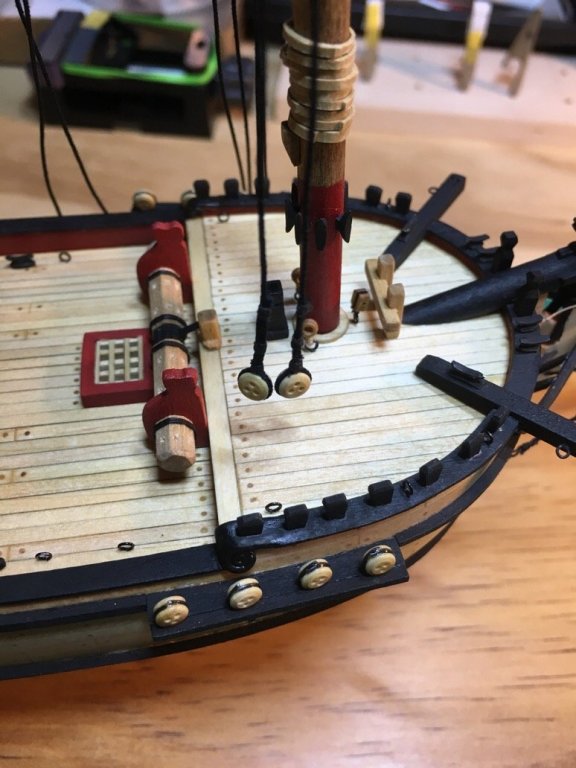
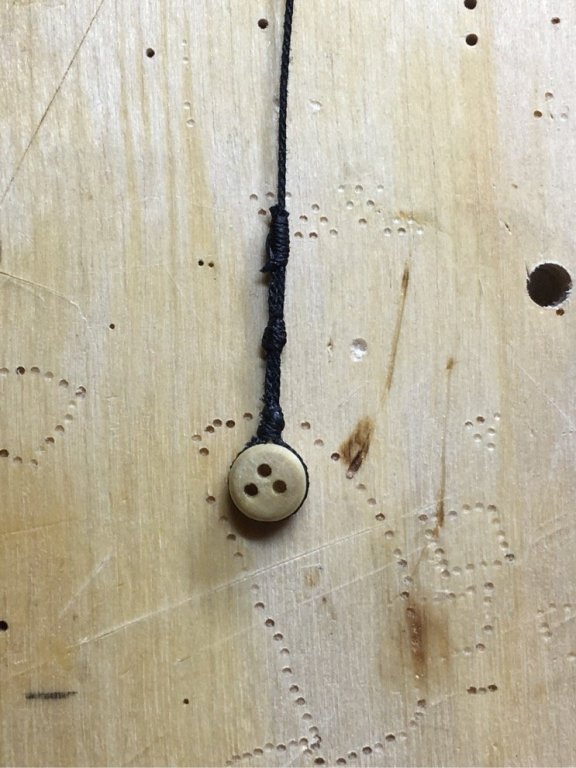
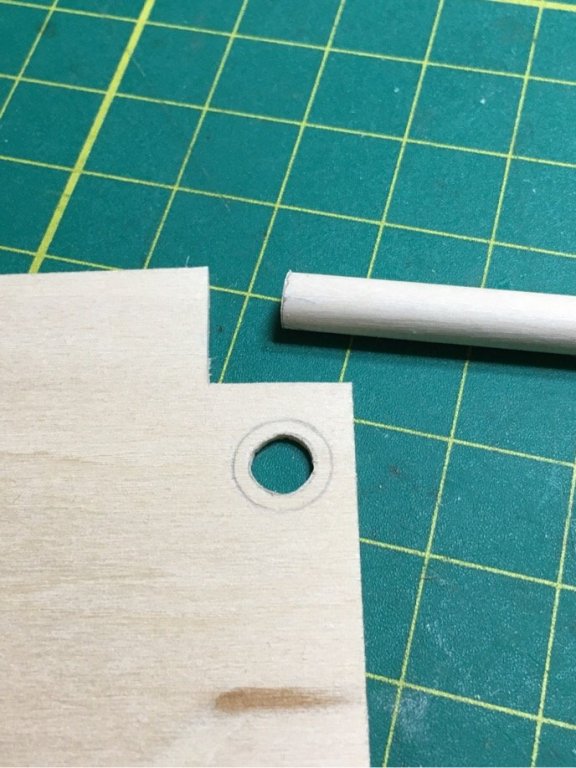
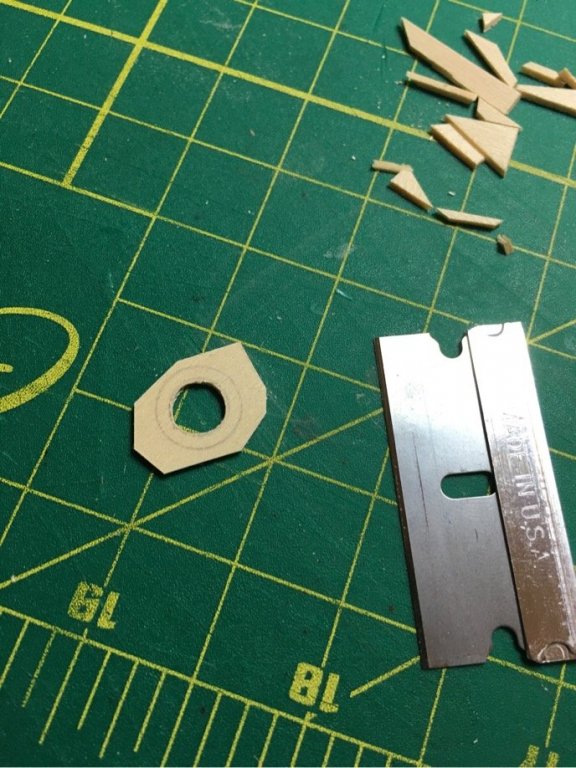
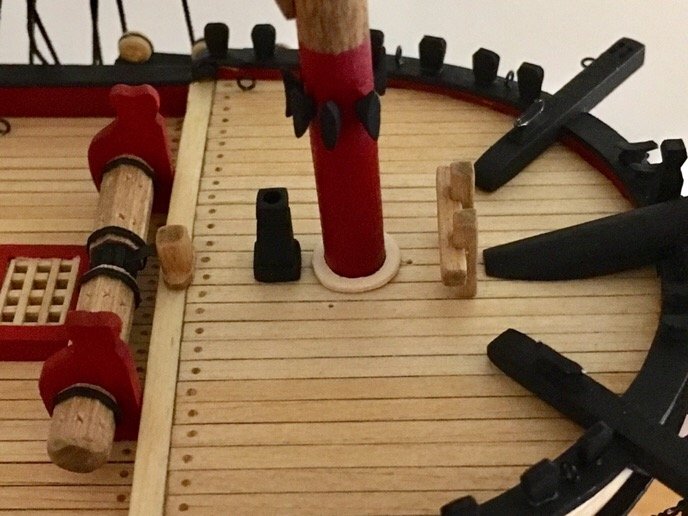
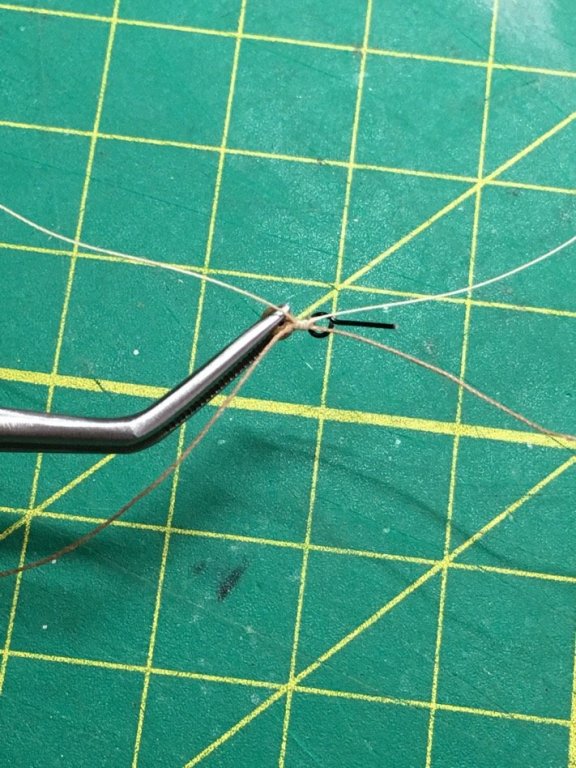
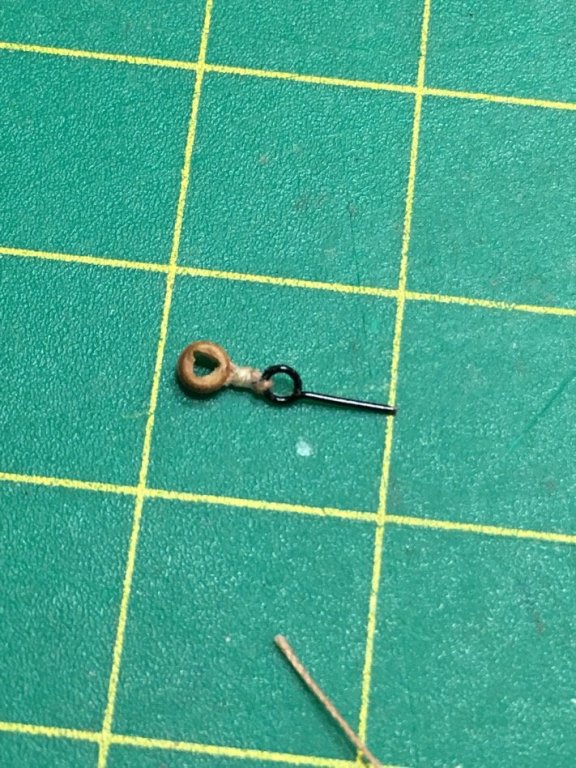
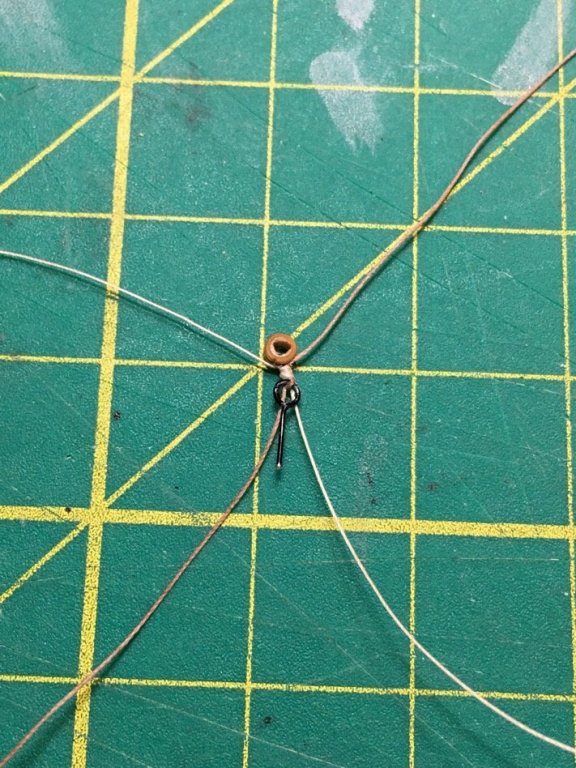
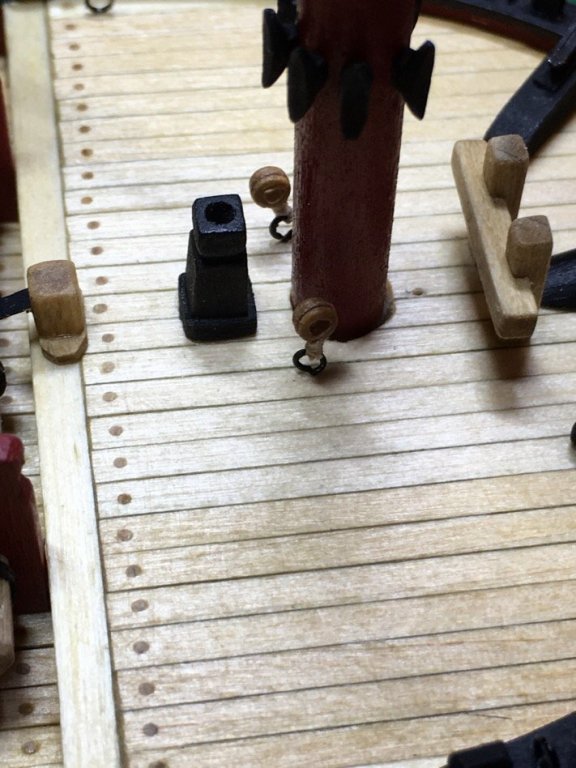
Ok. Thimbles. The foremast has an eye bolt on both port and starboard sides. These are for the main stay and main topmast stay. (Still learning jargon...but they are the lines coming from the double block which will be siezed at the top of the fore mast just beneath the mast cap) Chuck’s practicum shows him making a thimble out of a loop in the line which is tied to the eye bolt (a thimble is like a reinforced loop which protects the line from friction...the reinforced portion was made from metal or sometime bone). He mentioned that buying thimbles commercially for a model at this scale would make them look oversized. Rather than making them from line...which I now feel I could probably do...I tried using my drilled out dead eyes. (Ok...these are closed basically closed hearts) The pics below capture my step by step approach...without YouTube and other blogs, I’d be dead in the water!!! I’m honestly not certain if they are too big...but I thought I did a fair job making them from scratch. So...I’m keeping them on. They will be glue into the deck when I’m ready to step the masts. Moving on!


- 449 replies
-
- 4
-
-
- sultana
- model shipways
- (and 2 more)
-
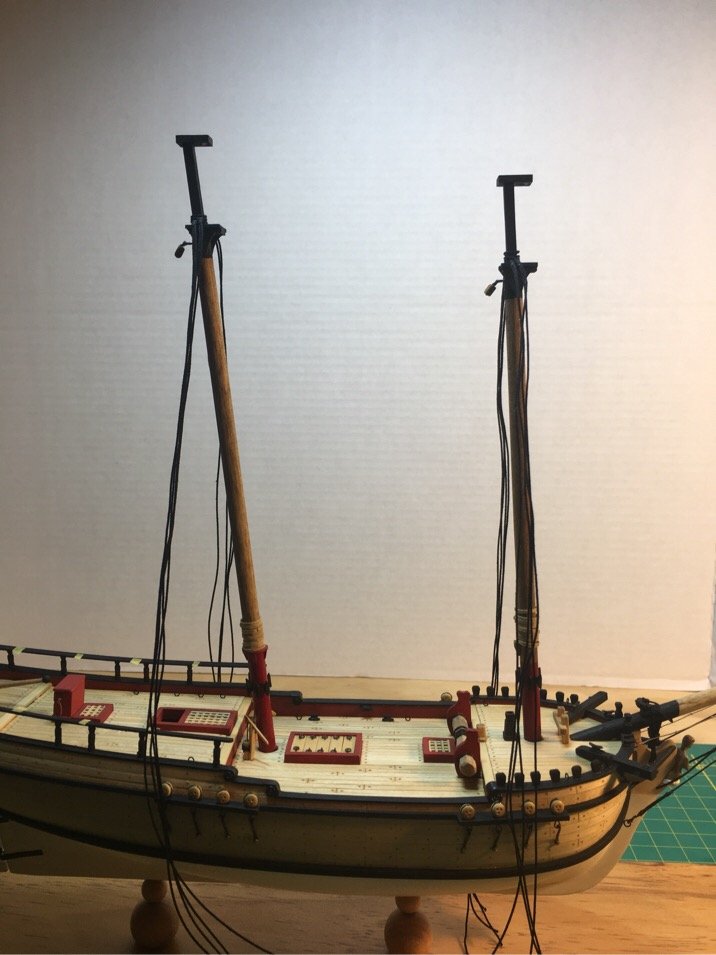
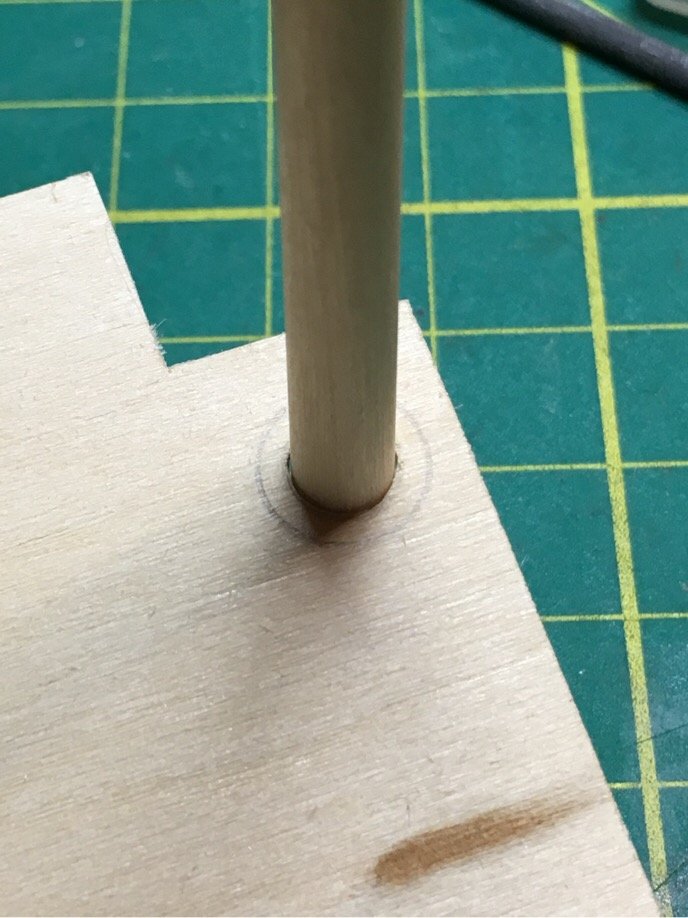
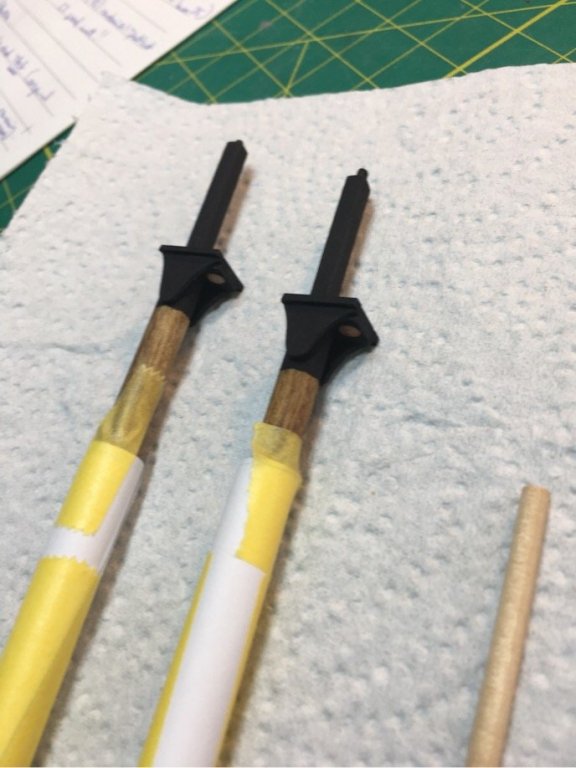
One thing I needed to contend with sooner or later was the trestle trees. Both were made from a solid piece of wood. The slot where the top masts go was actually a hole. Both top masts would slip through and it’s going to be a pain to set them like that...so decided to do something radical. I cut a cross section of dowel that was the same (actually slightly smaller) than the diameter of the hole in the trestle trees and roughly 1/2 the width of the cap. Then I glued in the section into each...sanded a bit. Now simply need to paint. The slot in the trestle trees will hold the top masts with no difficulty and I can simply slide the top masts through the mast caps and set them in the trees when ready. (Yeah...it’s not the way the ship was designed, but it will give a clean look and the illusion will hold) I’ve prepped my shrouds pairs and will mount the mast caps after I’ve completed installing the rigging/blocks for both masts. When I’m ready, I can easily insert both top masts without need of worry of alignment...and just use a touch of wood glue in the ‘slot’ in each mast cap. Moving on...

- 449 replies
-
- 3
-
-
- sultana
- model shipways
- (and 2 more)