


heksanol
-
Posts
105 -
Joined
-
Last visited
Content Type
Profiles
Forums
Gallery
Events
Posts posted by heksanol
-
-
-
Tank you, will have a look

-
-
-
Thanks paul and Coleman!
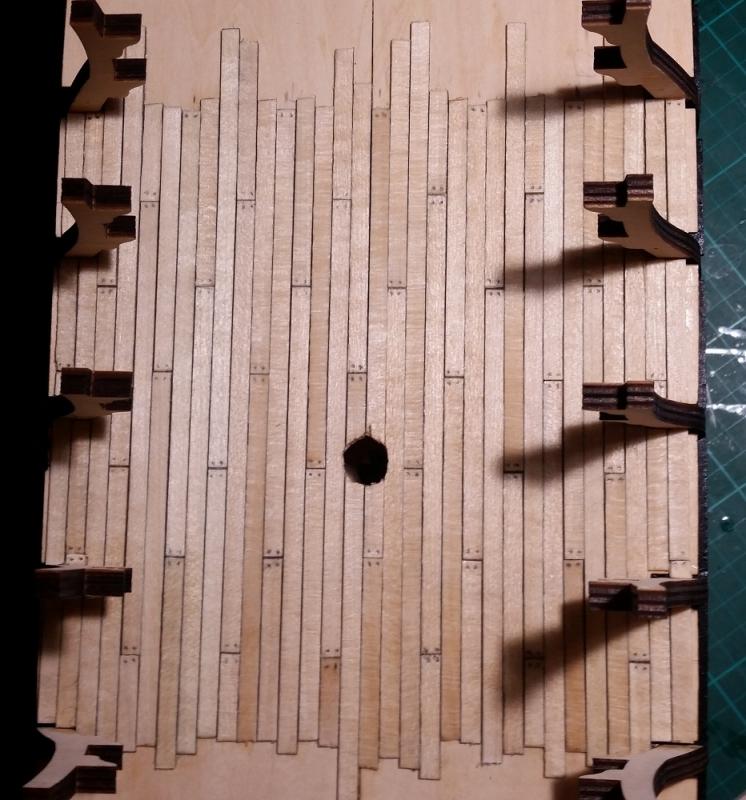
I initially wanted to drill holes to simulate nails, but the wood is very soft so the end effect I tested did not look very nice. But the pencil worked out just fine.
However, with that that said, I am going to see the effect of using a black pencil for nails and caulking.
-
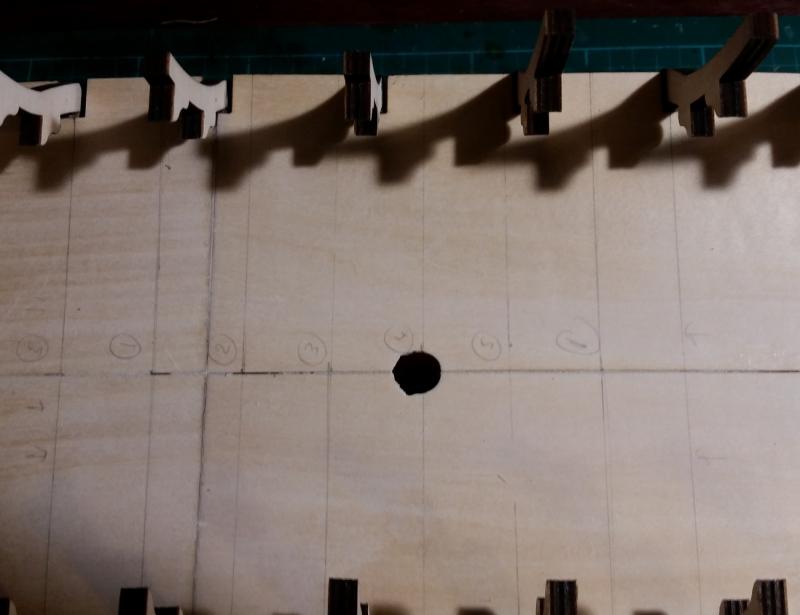
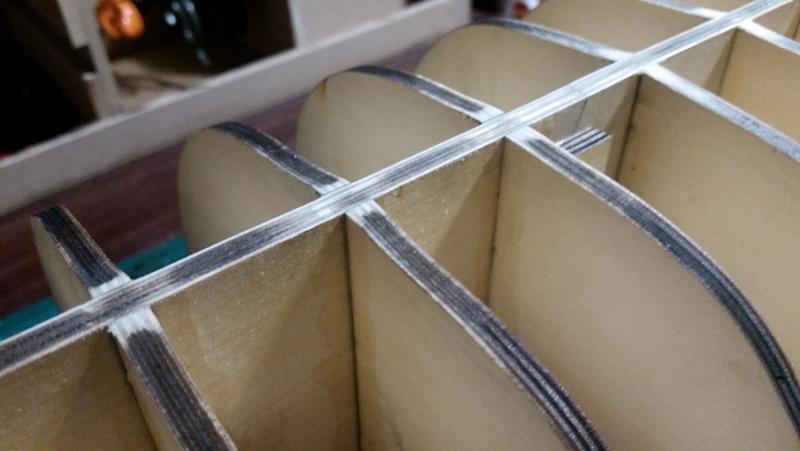
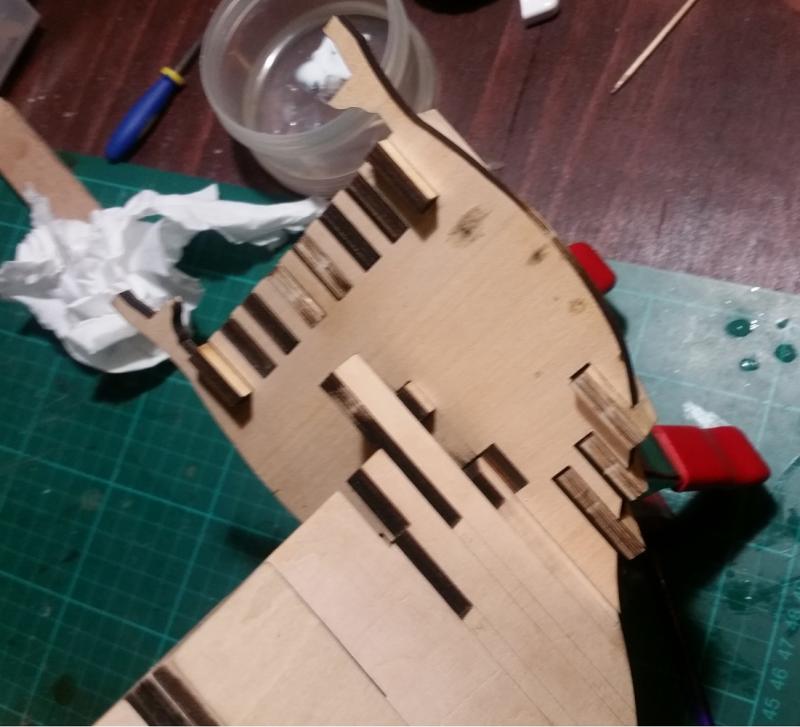
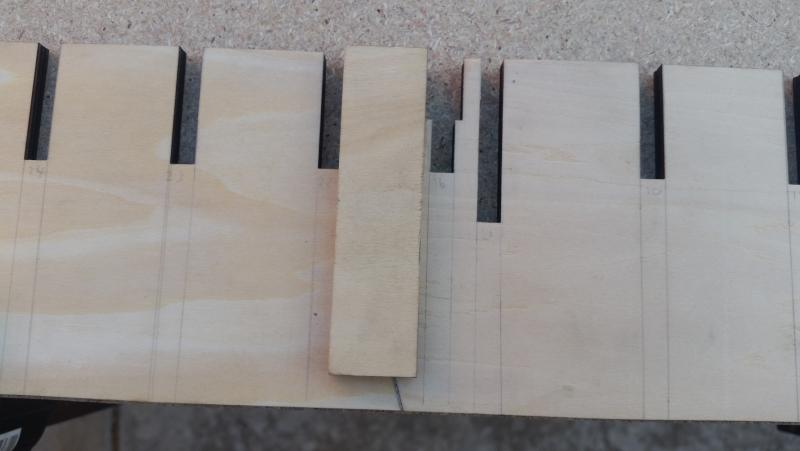
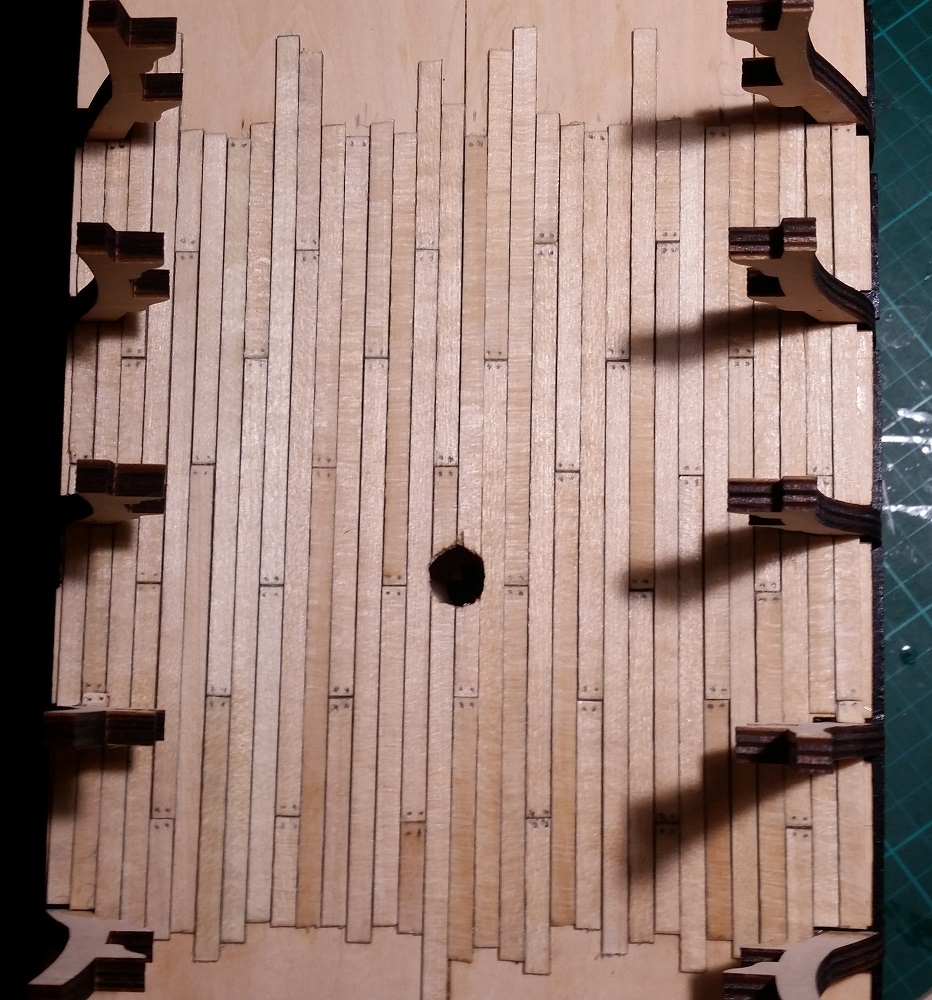
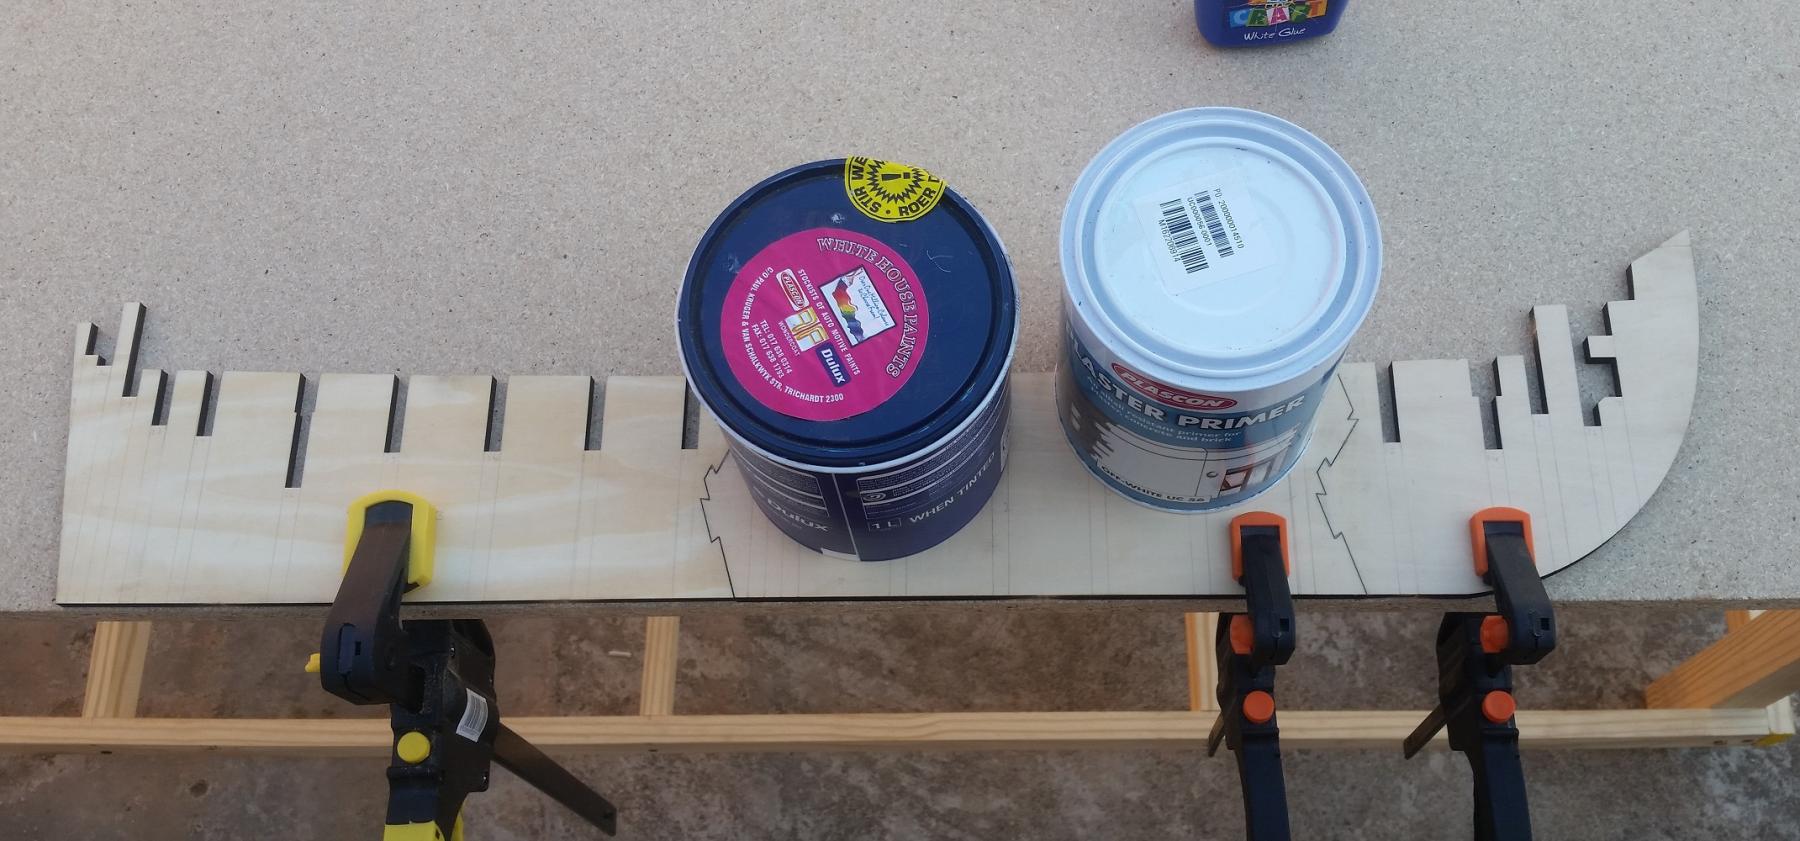
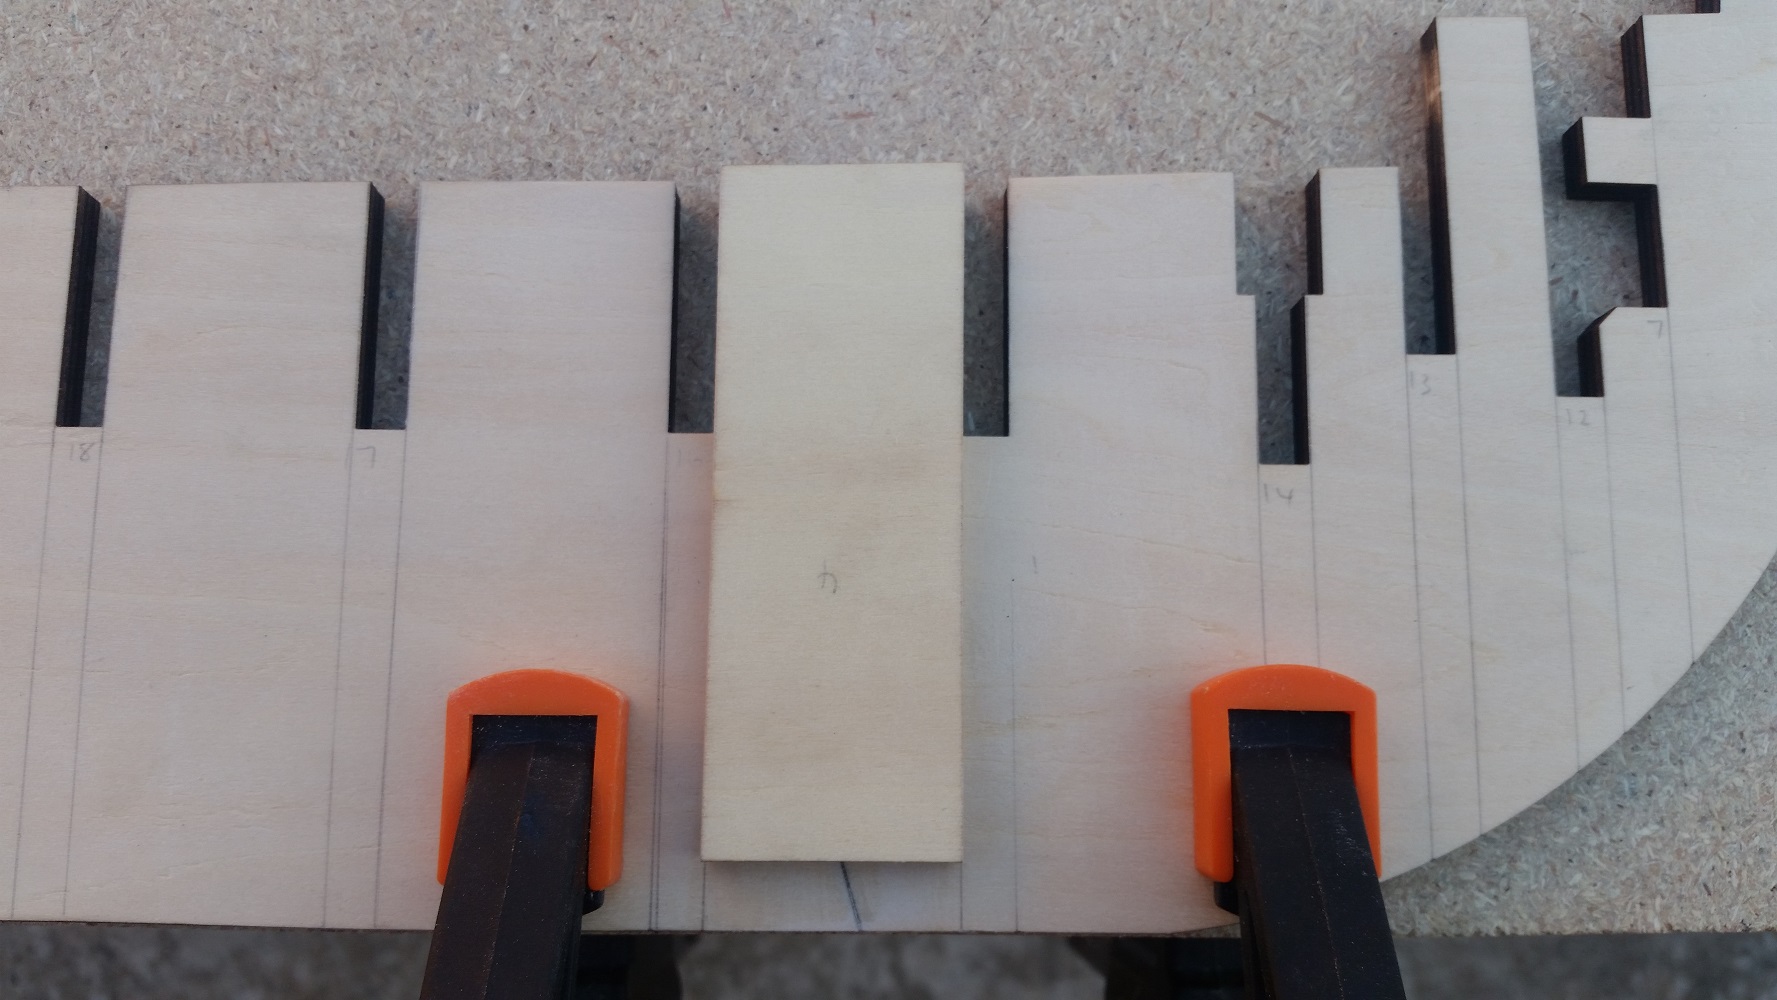
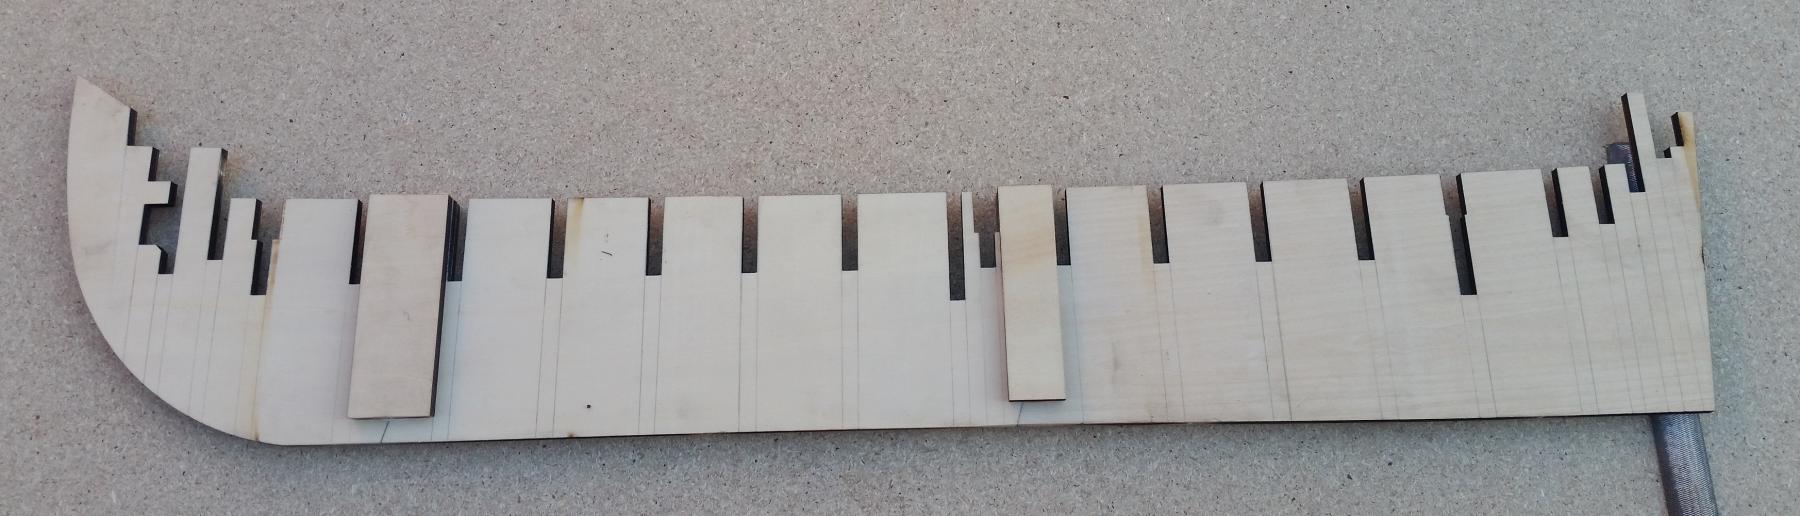
The next step requires that a certain section of the second false deck be planked. This is mainly for the acess opening which will be located on either side.
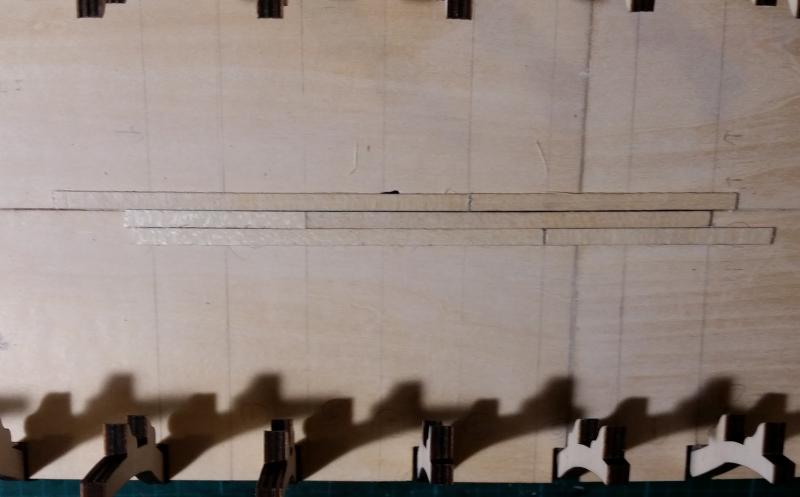
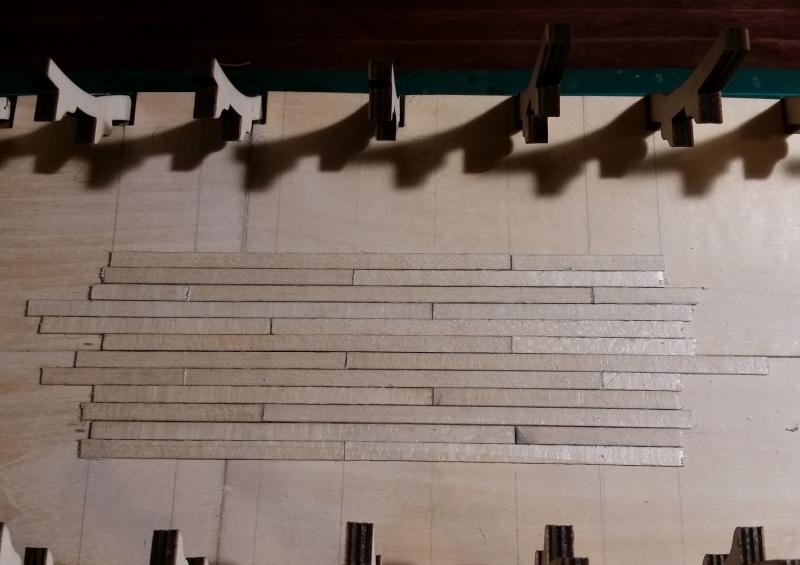
I decided to practice by doing a 5 plank layout. Furthermore, I wanted to test out using a pencil on side of each plank, to simulate caulking. In the past I have used a black ink marker, while obtaining the desired result, I felt that the final effect looked too artificial.
So first of I measured and marked the sections on the deck. Thereafter, I added the first "nr 5" plank with its left and right friends.
The deck laying completed, I sanded it down with very fine sand paper. I used a pencil to make the nail holes and then applied a layer of matt varnish. Overall, I am pleased with the effect and will use the same layout for the other decks.
- Robin Lous, Klaas and clearway
-
 3
3
-
Greetings
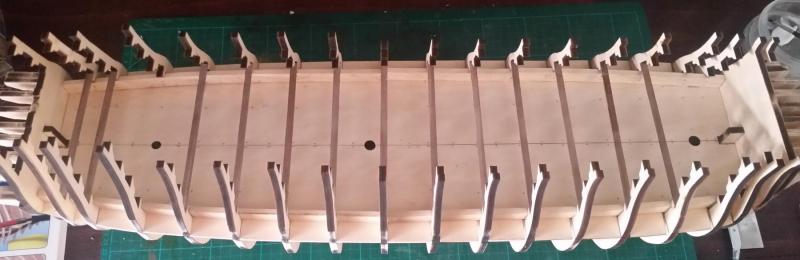
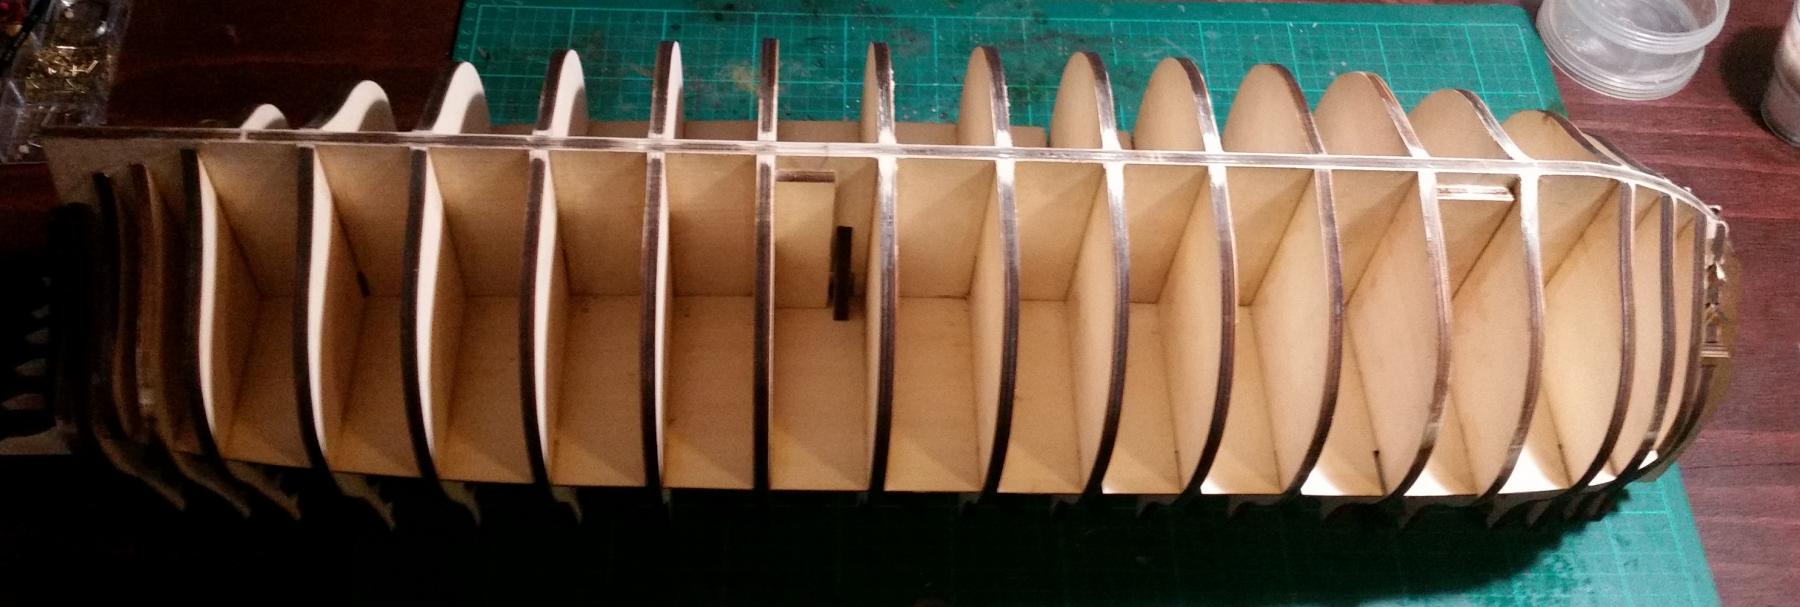
The second false deck has been added. A bit of filing was required to make the decks fit. I also had to make the mast holes bigger in order to align the mast dowels to be centered.
After the glue was dry, I painted the space between the decks black.

-
Hi Paul
Thanks for the info.
No, I haven't looked at the Agostini videos, will definitely have a look at them!
Funny, I initially wanted to save up to buy the Santa Ana one day, in order to build a big model kit, however, as stated, this victory kit came at a good price to pass up.
Let us know when you want to start it one day, would definitely want to see it.
-
-
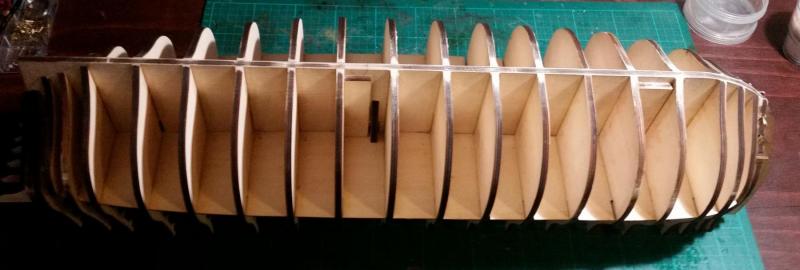
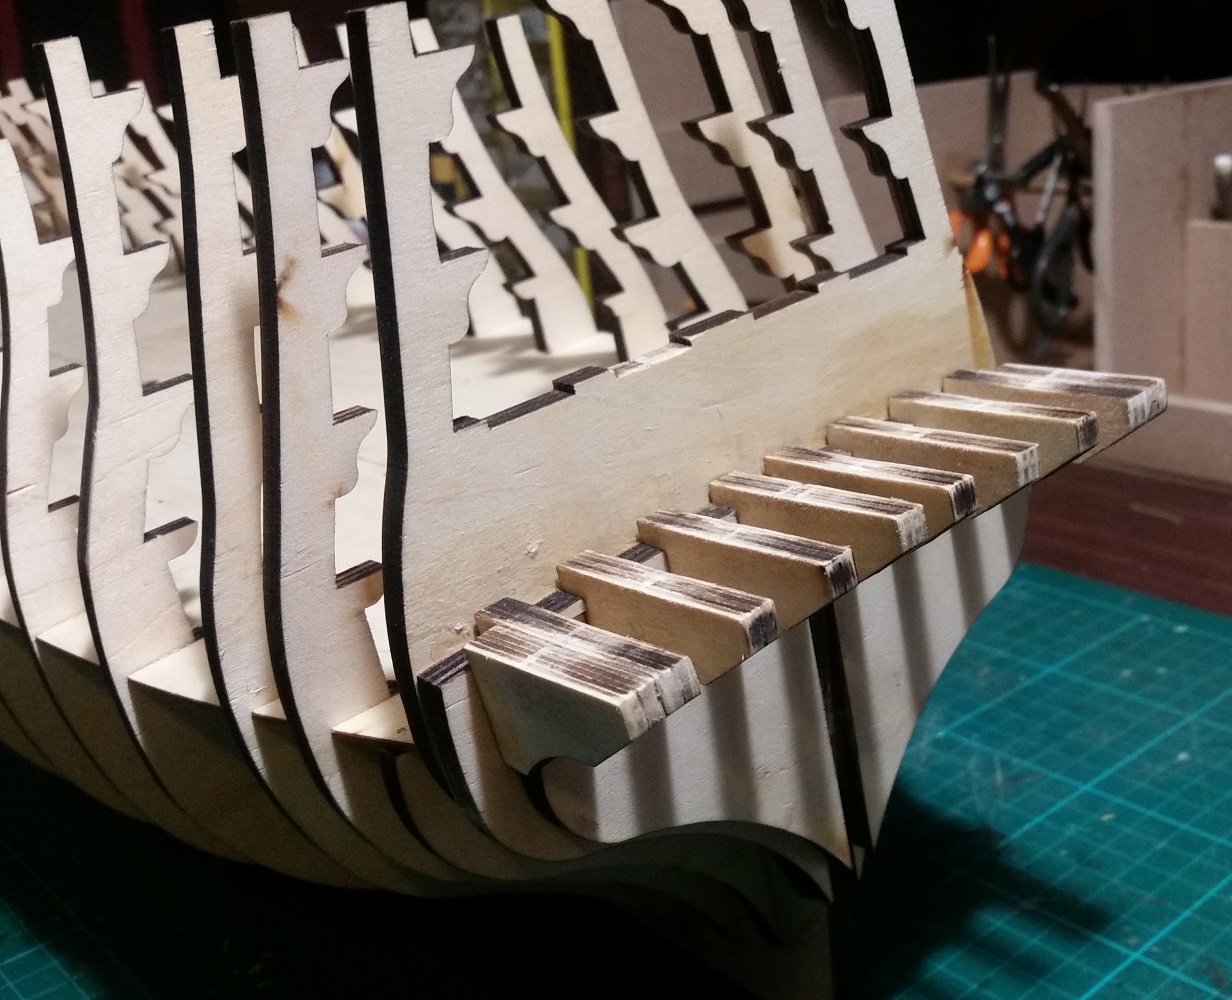
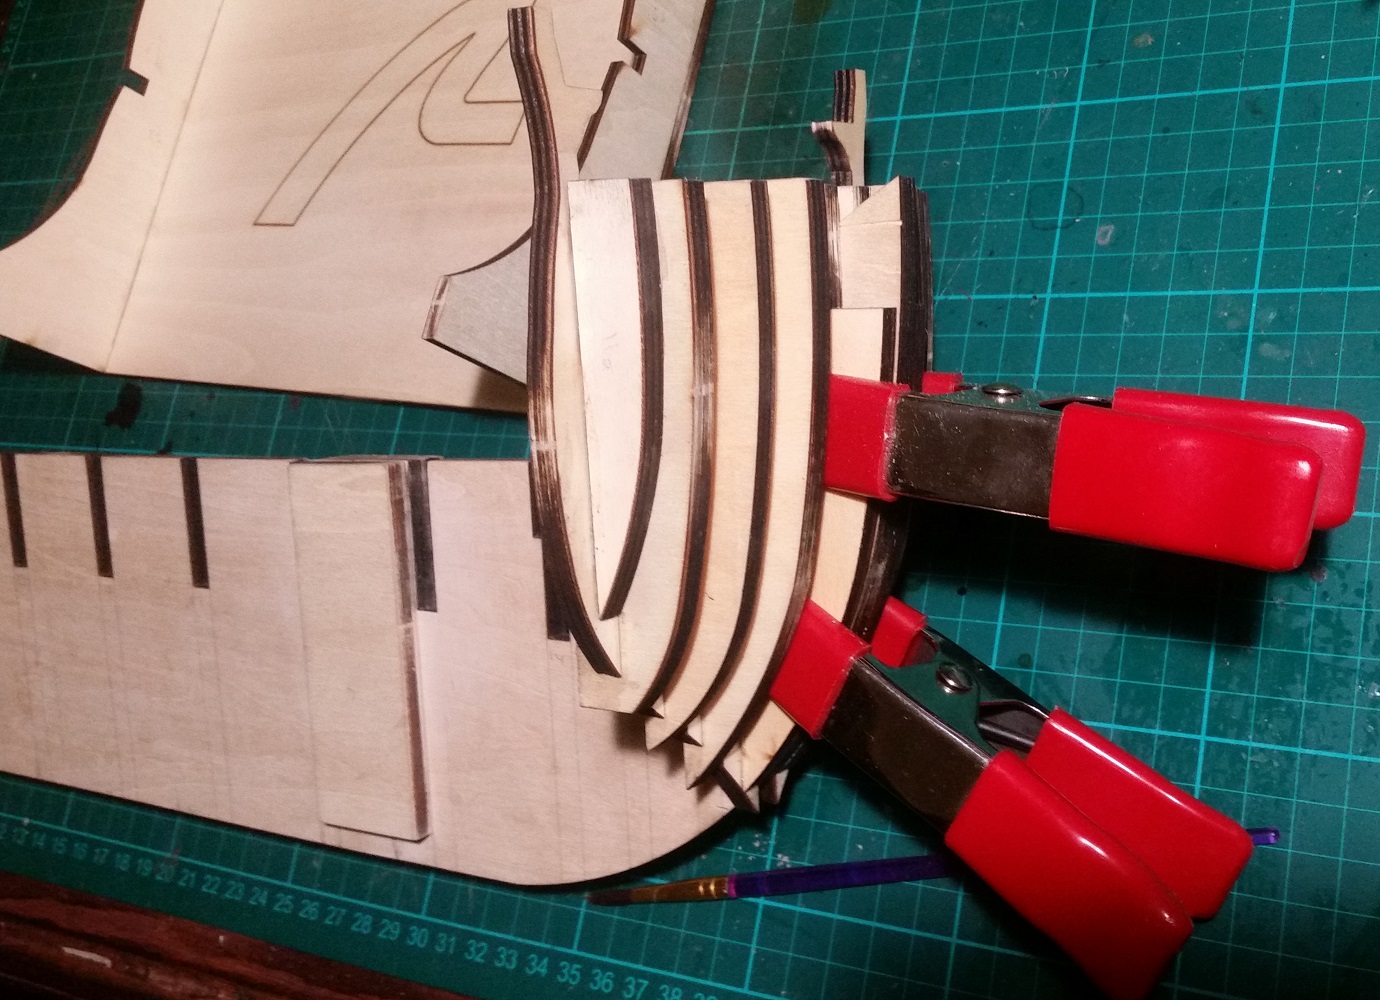
The thick side rails were added to the bulkhead frames.
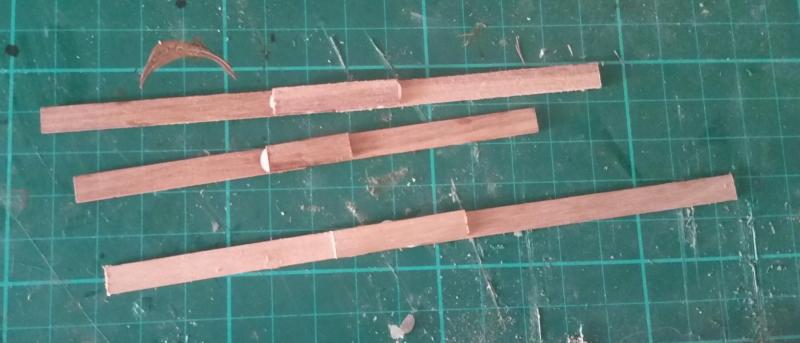
I started adding the sprits to the bulkhead frames, which is needed to add the second false deck. However, it seems that AL did not include enough strips (1.5 x 6 mm). Unfortunately, since I bought the kit second hand, I don't have a recite to request more strips.
In order to finish this section to continue with the build, I glued together the remaining strips, and for the last bulkhead I used a scrap wood.
Fortunate, this wood will never be seen, i.e. used for structural support, so different wood can be used, as long as the thickness is 1.5 mm.
I am going to order more strips, since I will need them to assemble the other false decks.

- Mirabell61 and Robin Lous
-
2
-
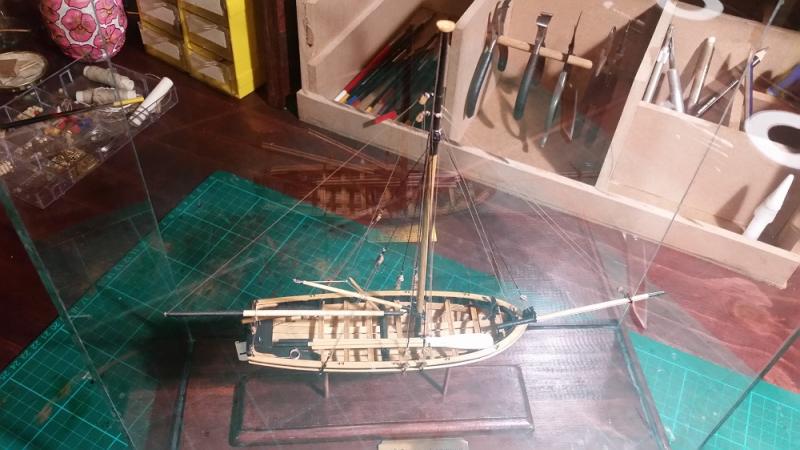
Thank you all very much for the info!
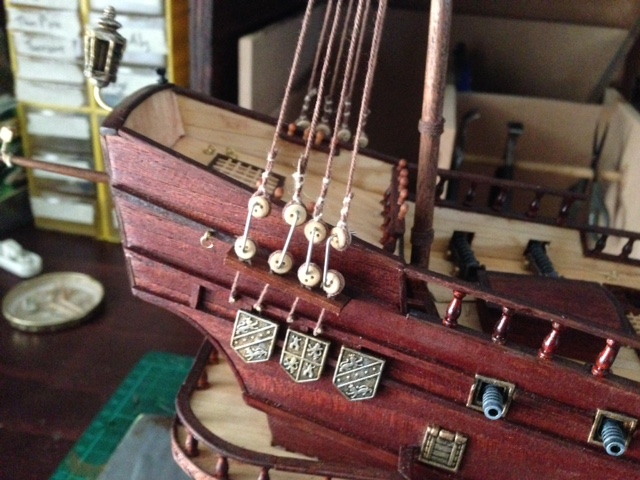
I think for now I will just leave the blocks that serves the sails hanging on the yard.
Banyan - I will have a look at your pictures - thanks.
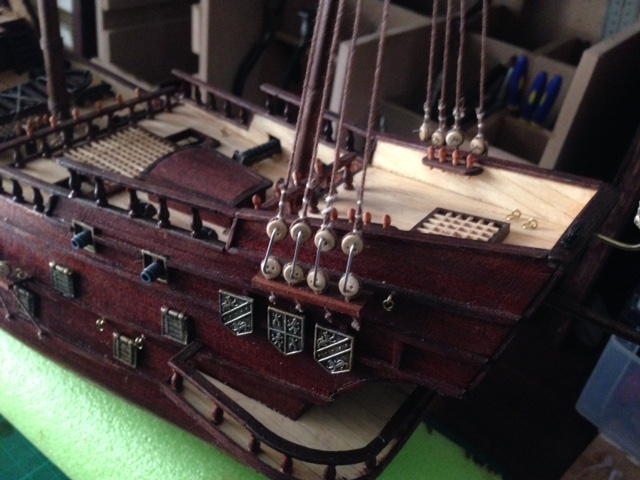
popeye2sea - is this what you meant as shown in the picture below?
Regards
-
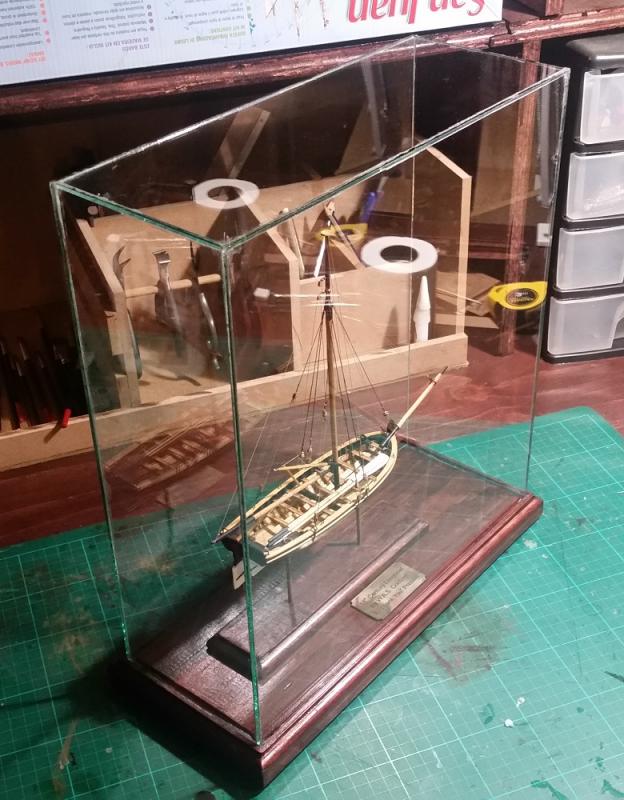
Thanks SomeThingIsFishy, the glass case took longer to complete than I anticipated, but came out well in the end.
-
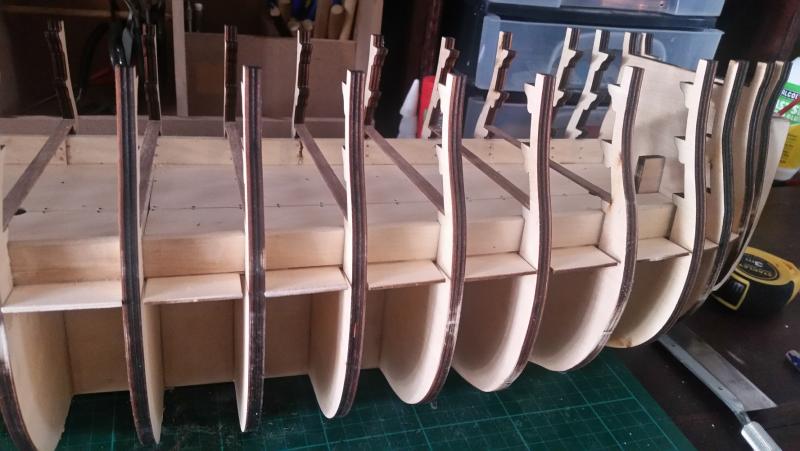
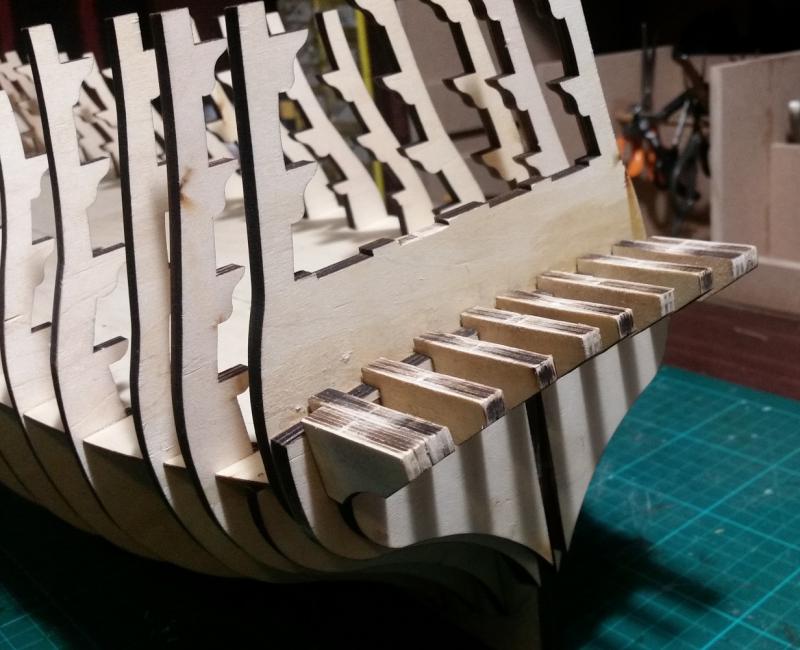
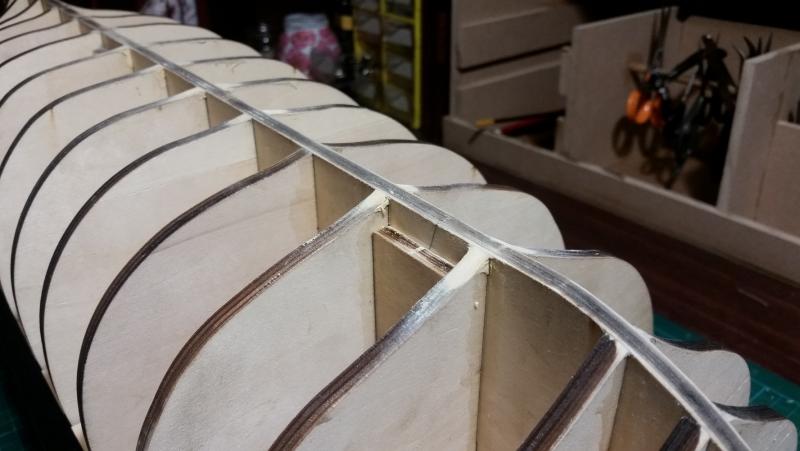
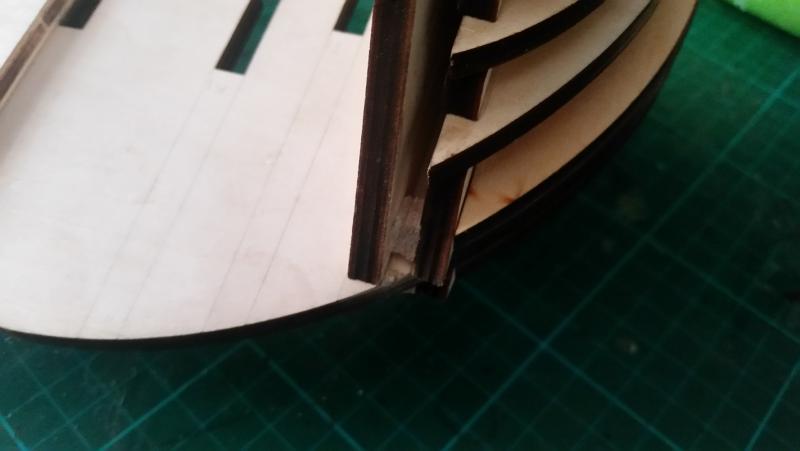
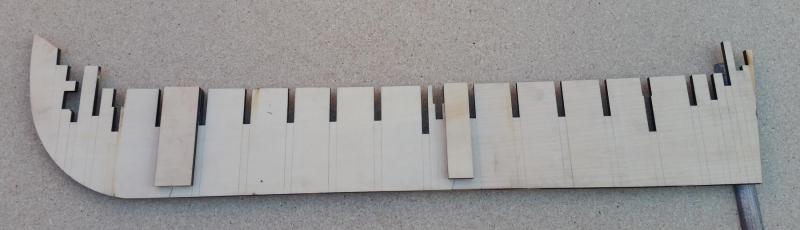
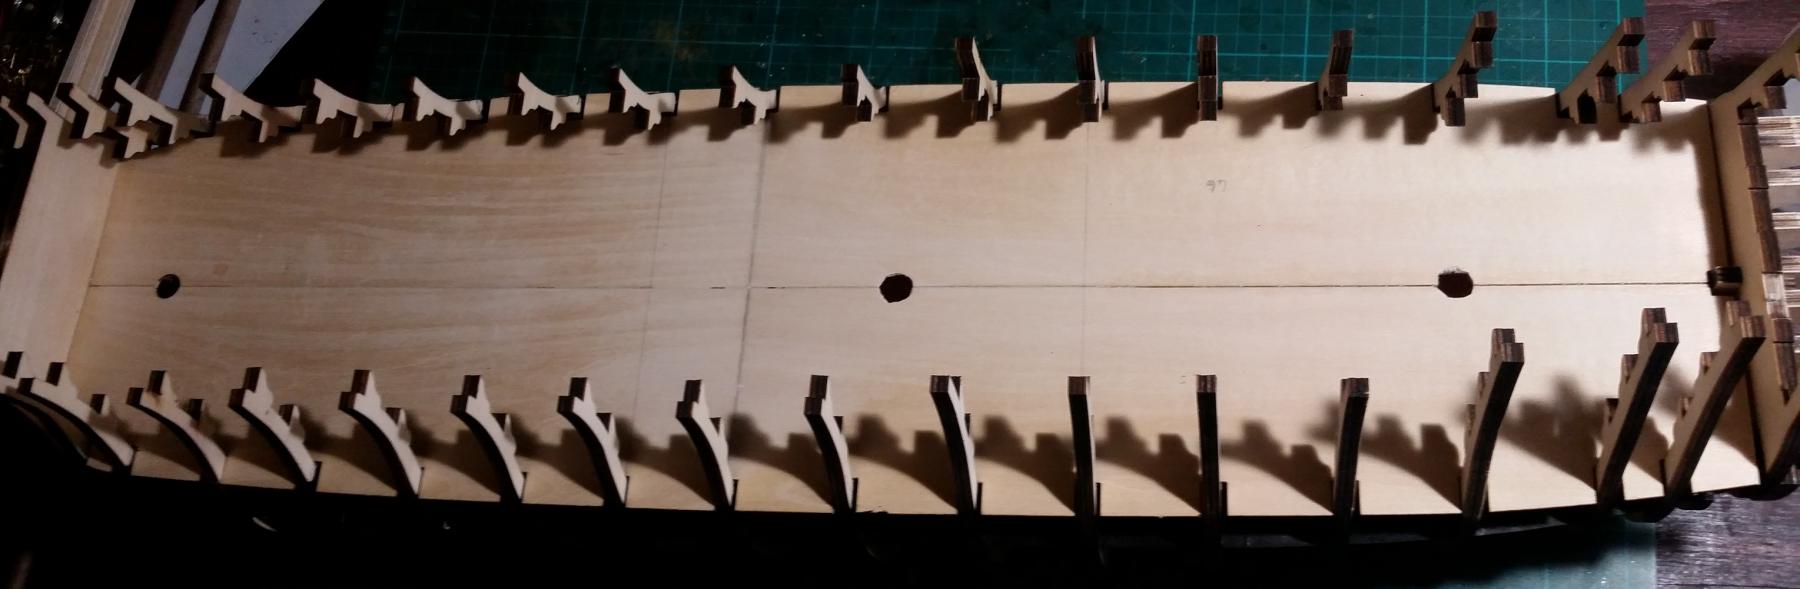
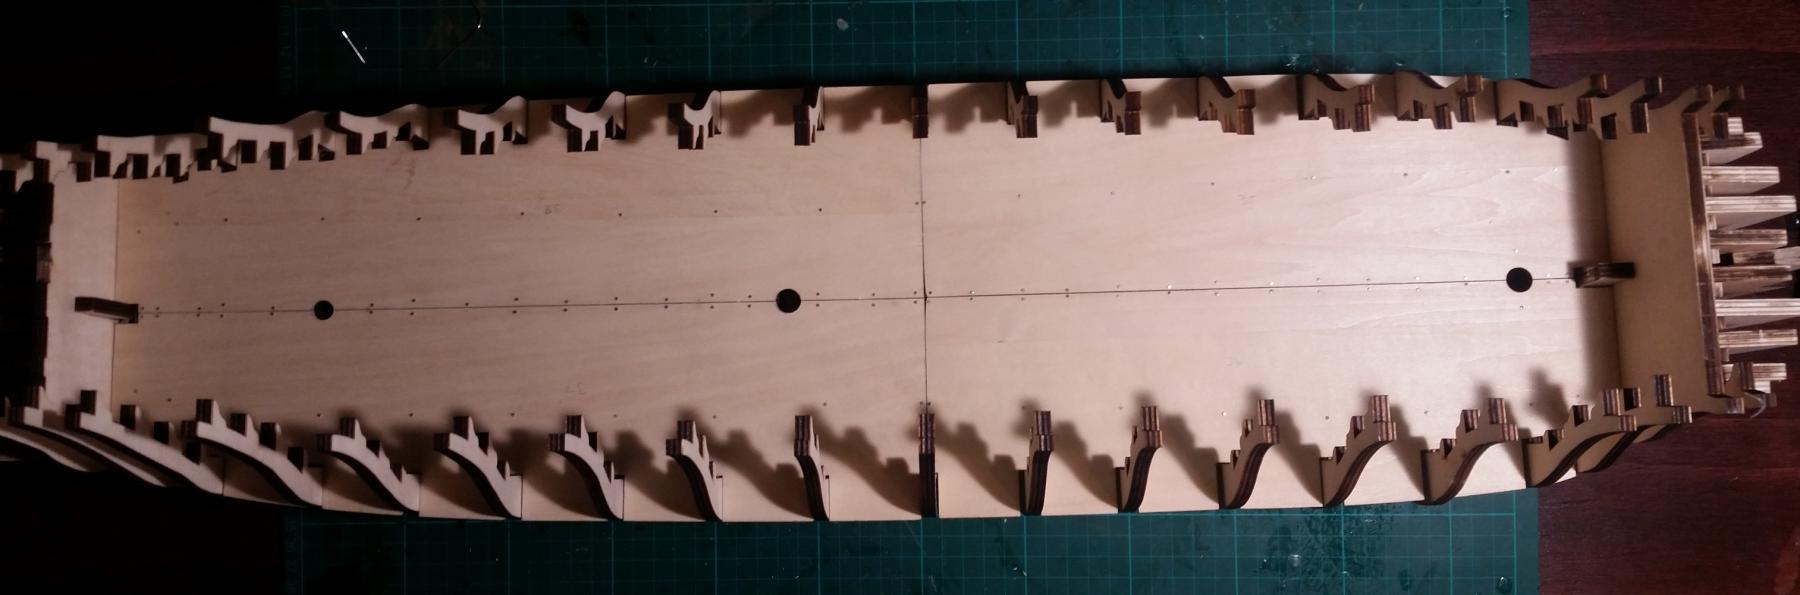
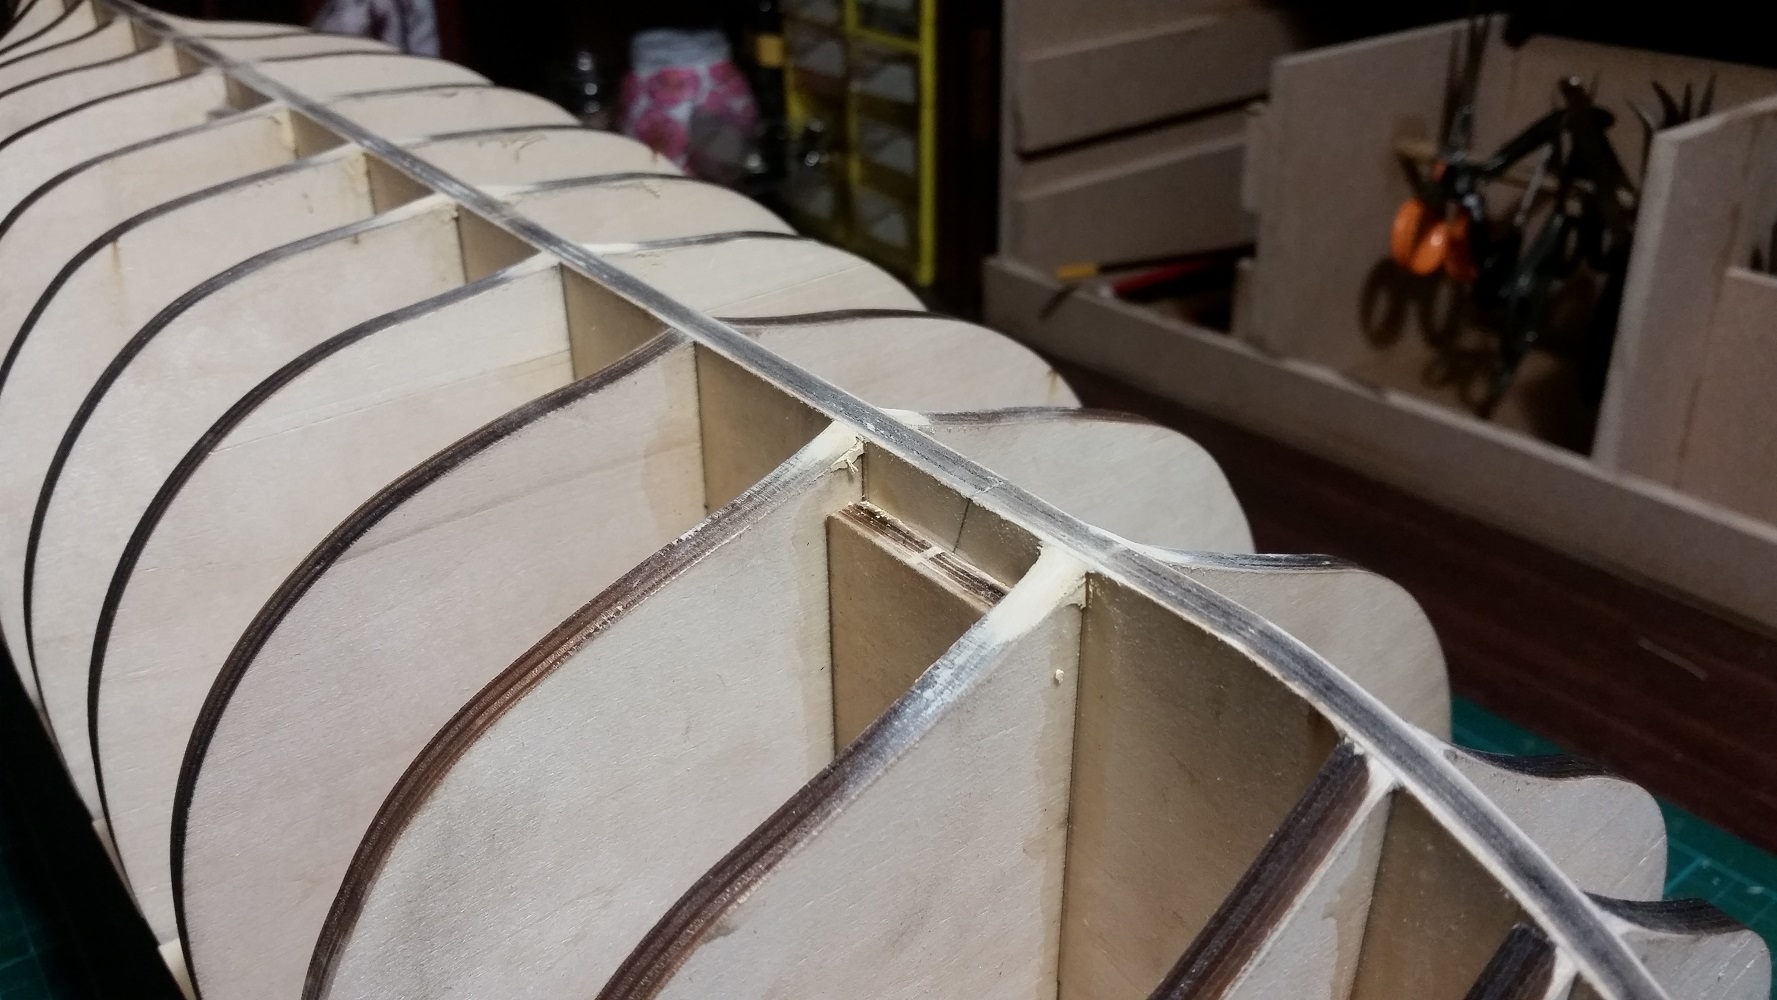
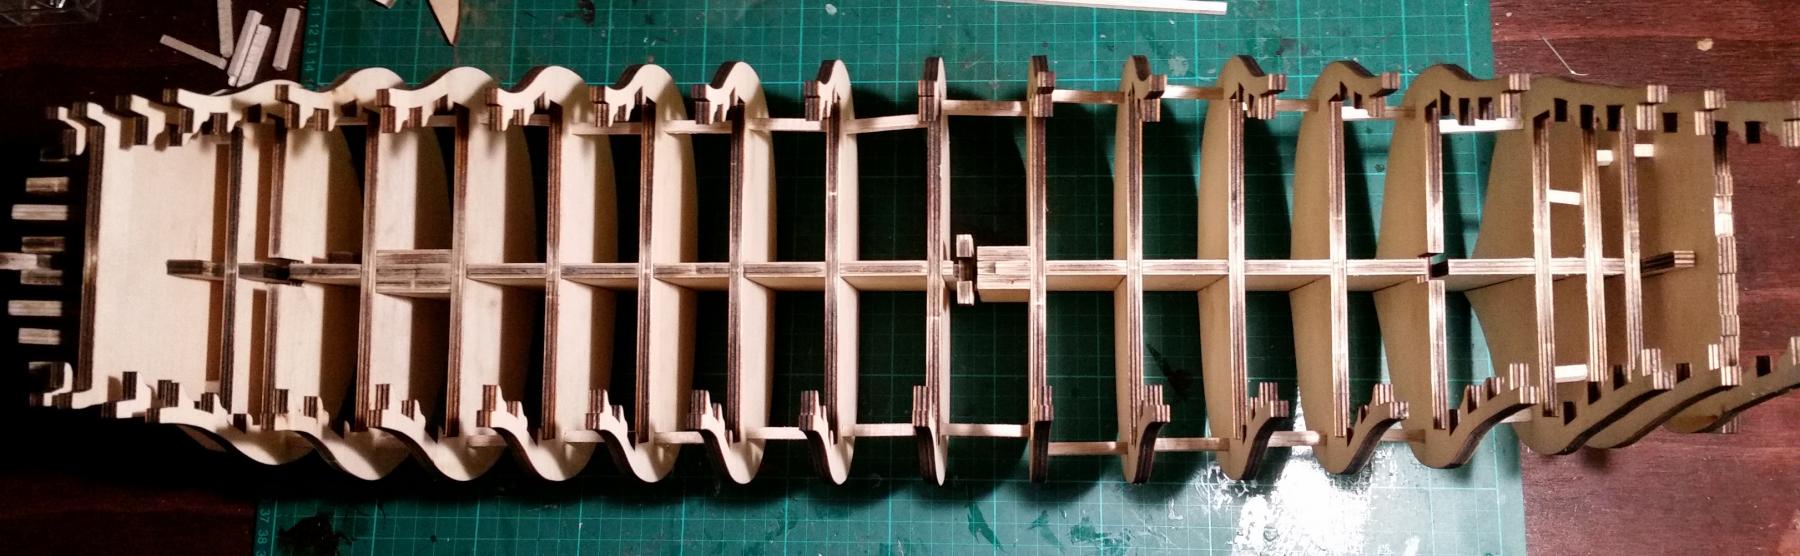
Before assembling the false decks, I added the stern sections and filed it down to be flushed with each other.
The false deck sections were then nailed to the false keel and bulkheads. The false deck sections for the stern was too long and therefore had to be trimmed accordingly.
Once the false decks were in place, the bulkheads were glued to the false keel and false decks for added support. I used paper folder clips to ensure that the bulkheads were flush with the false keel. The lines that I drew on the false keel before hand greatly assisted with this task.
When the glue was dried, I filled down the bulkhead sections that extended over the false keel, and added wood filler to the bulkhead sections to raise them to the false keel (these where also filed down once dry).
- Robin Lous and Ryland Craze
-
2
-
-
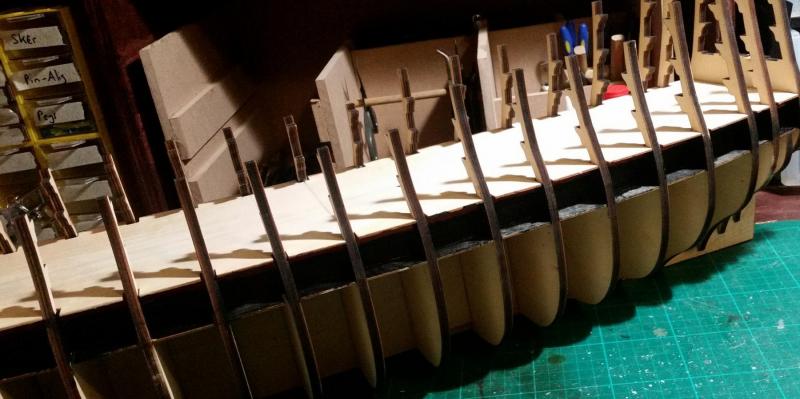
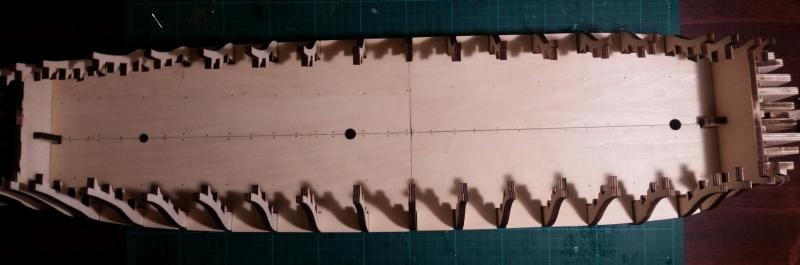
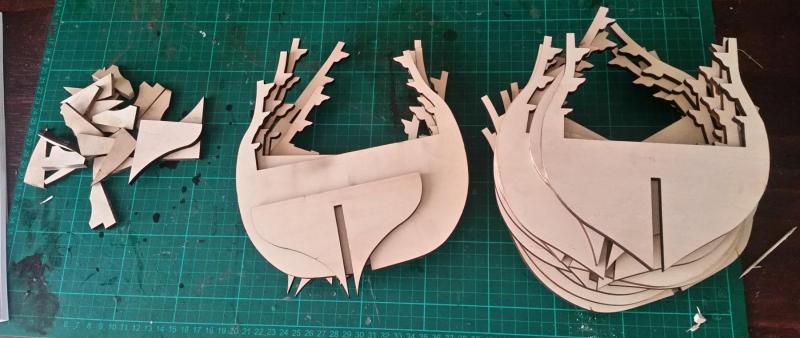
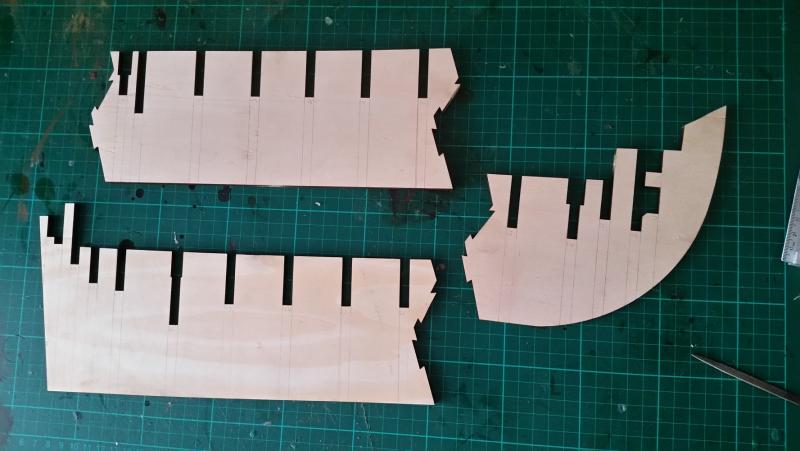
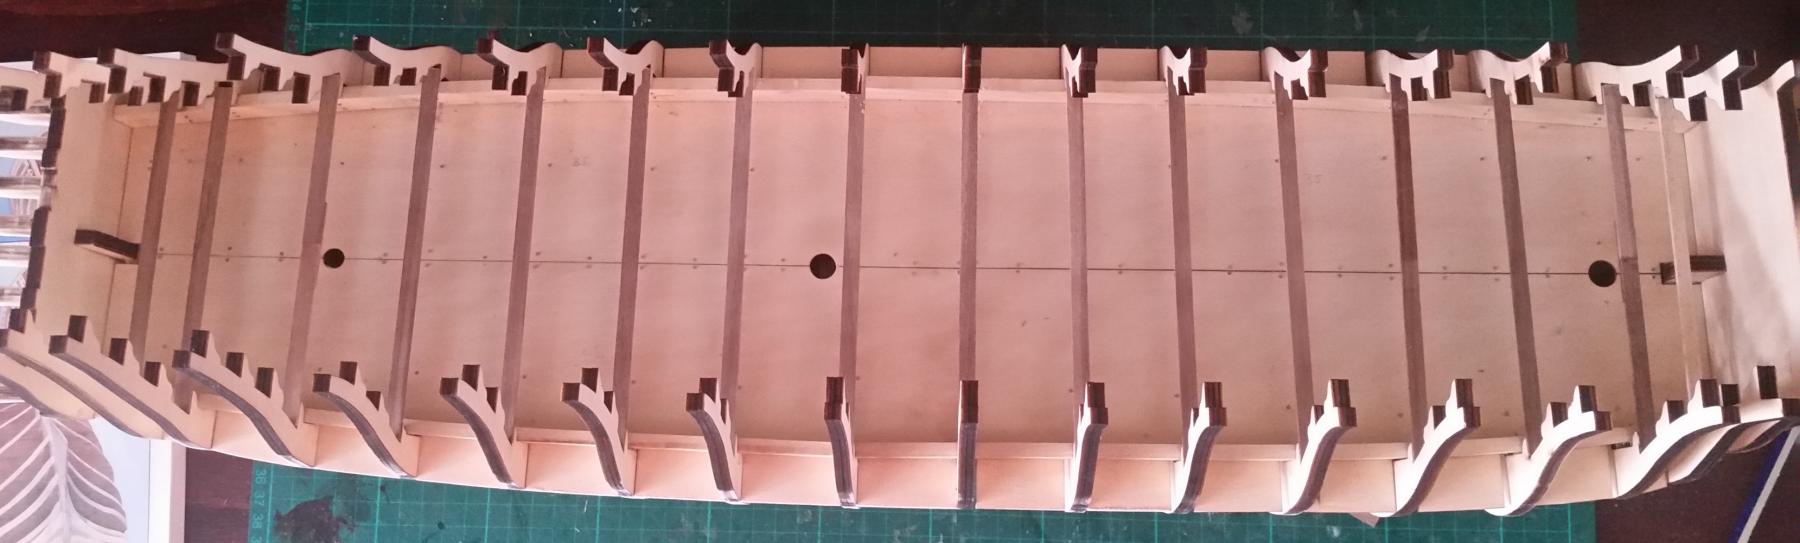
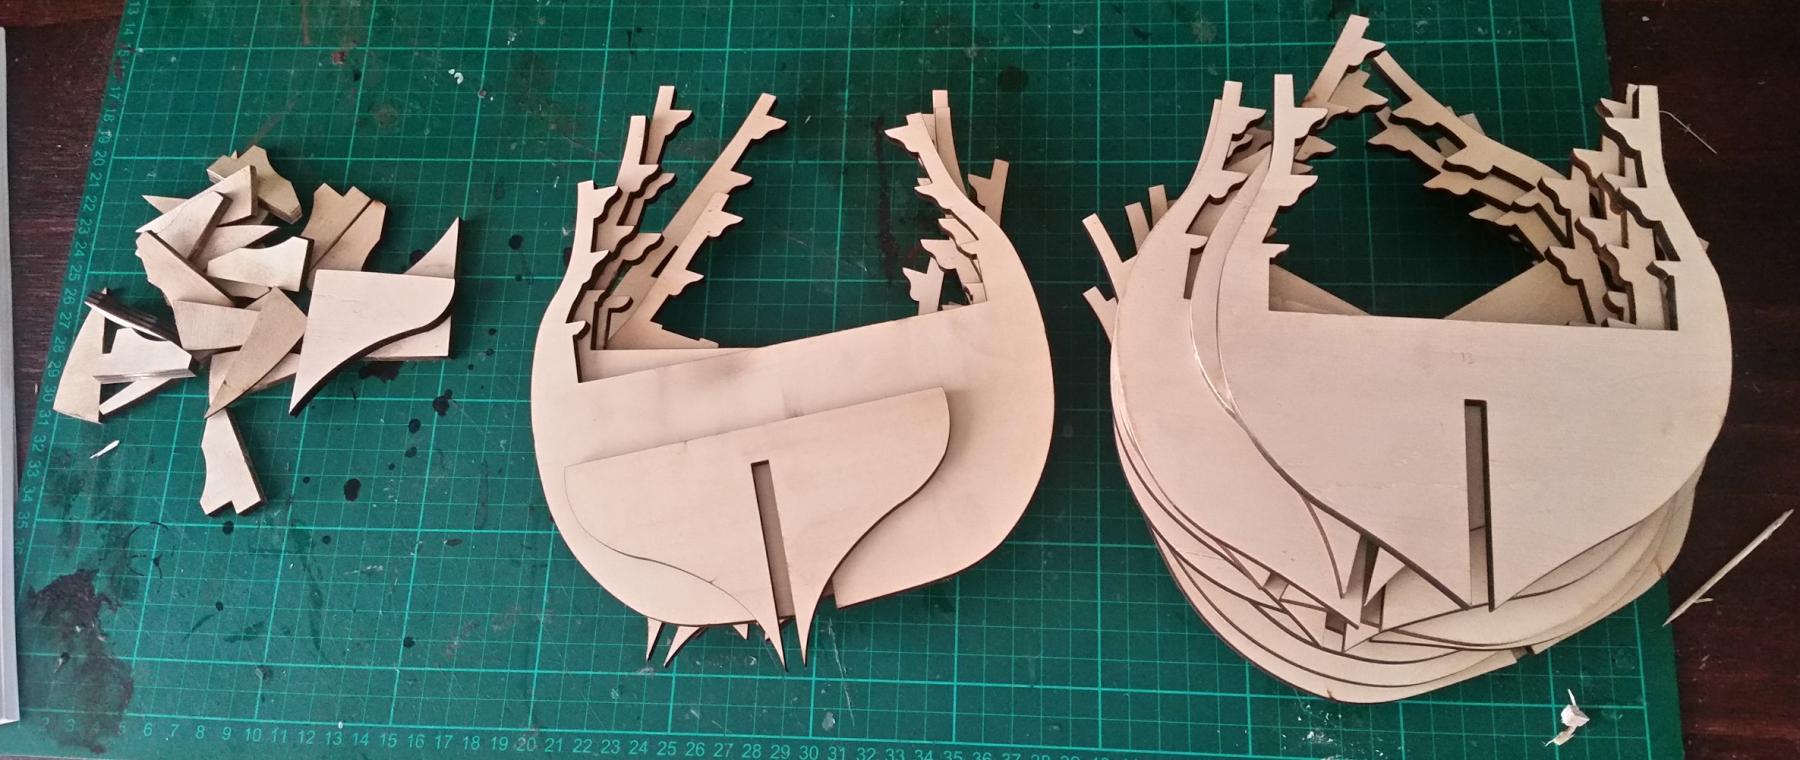
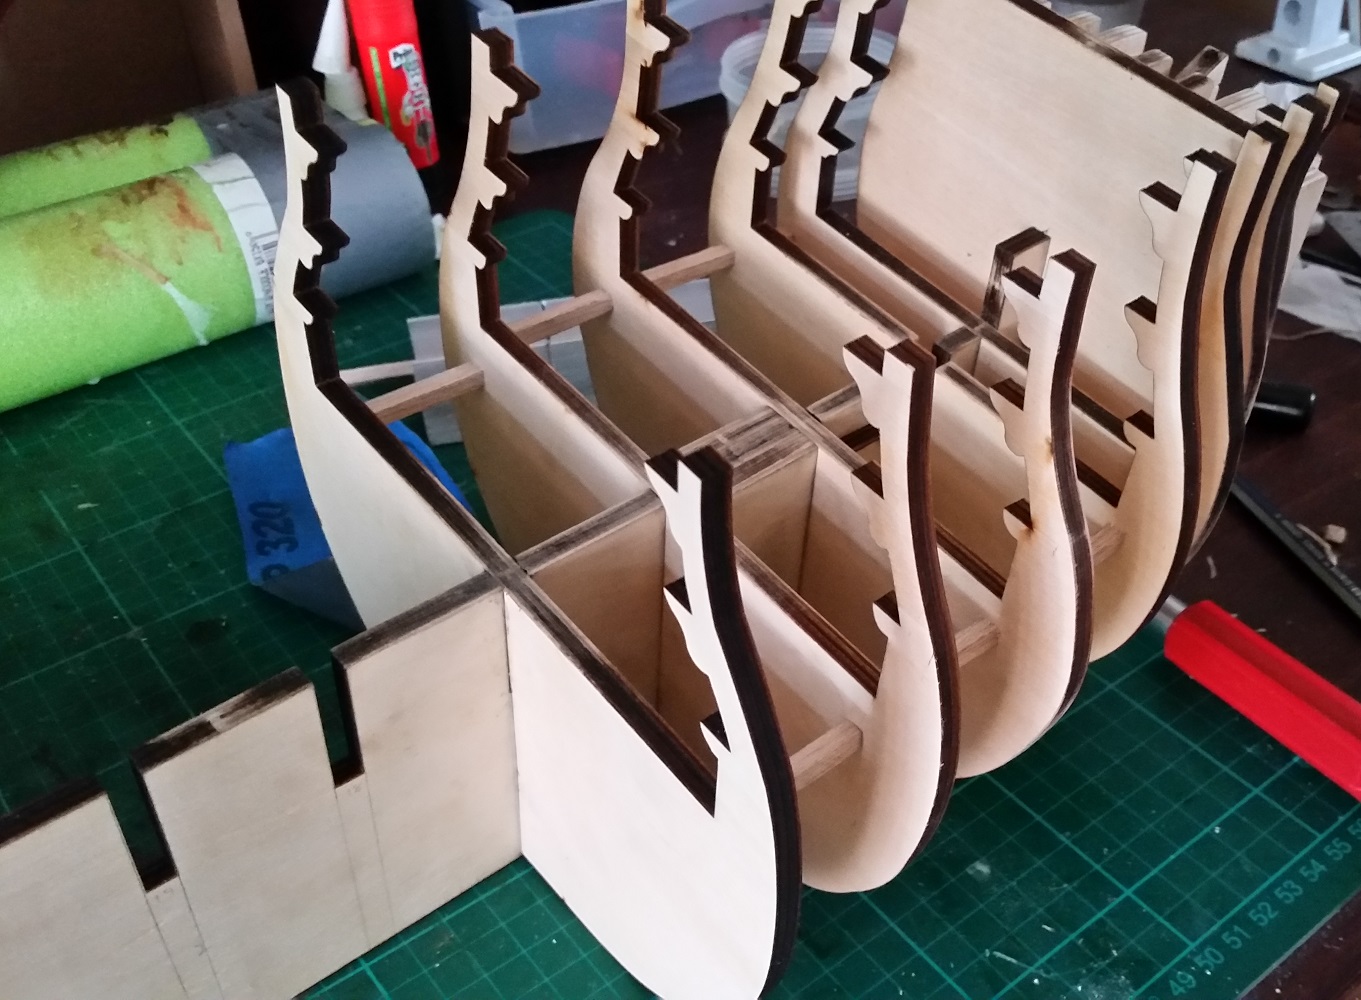
To assemble the bulkheads, the first thing was to cut loose all the parts from the laser cut plywood. This is also 6mm thick, so again strong and sturdy to work with. Then, each part was filed smooth where the joining part was, furthermore, before cutting them loose, I added the bulkhead number to each one, since AL does not have the number laser cutted onto the bulkheads themselves..
The manual says not to glue the bulkheads yet, since the first false deck sheets have to be fitted on them. However, I added support beams from balsa wood in order to see how everything would pan out. Each bulkhead was added to the corresponding number slot on the false keel.
All the bulkheads have been added, next step is to add the first false deck sheets.


- Ryland Craze, mort stoll and clearway
-
3
-
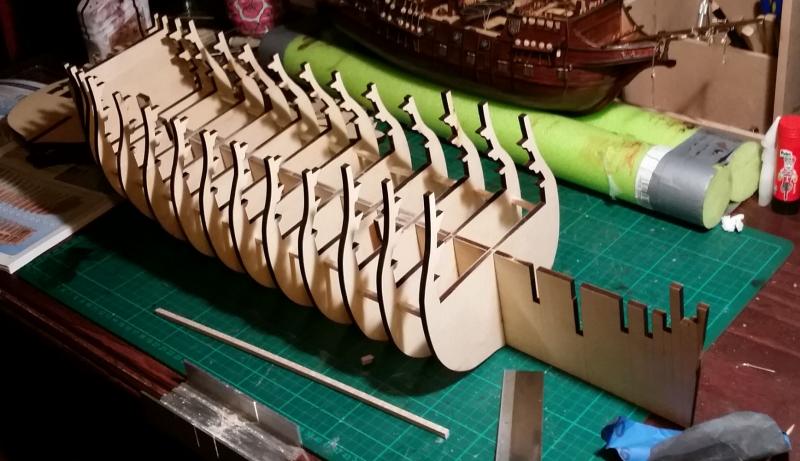
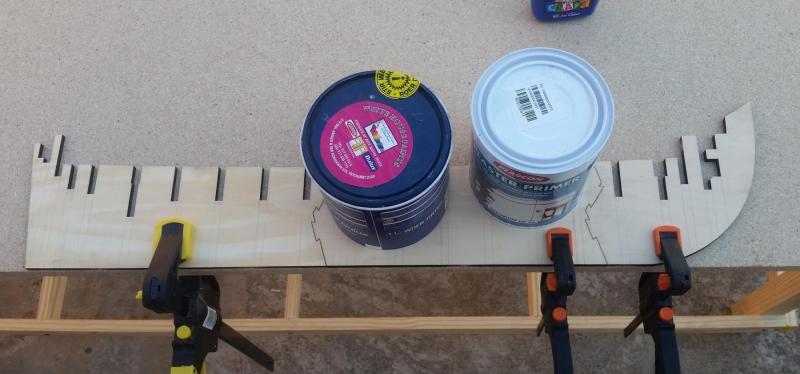
After assembling the false keel, I added the front part of the false keel as per the instructions.
To add some additional support to counter bending of the piece, I added balsa wood stop blocks.
After the part has dried, it is time to add the bulkheads.

- clearway and Ryland Craze
-
2
-
Right, so lets get started!
First off I assembled the false keel. It comes in three parts which must be glued together, and then added supports. Fortunate, the parts are cut to 'hook' into each other, so it's very difficult to pull apart lengthwise. I used a flat table with clamps to make sure the keel parts where flush with each other.
The keel is made up of 6mm plywood, which is strong and sturdy to work with. After the glue dried, I added extra glue to fill any gaps and sanded down each service after the glue dried. I added the support pieces, one side at a time.
Whilst that was drying, I assembled the keel holder that comes with the kit.
After the false keel was assembled, I added the corresponding bulkhead slot numbers on the keel, as well as draw guiding lines on both sides for each bulkhead keel. This will make it easier later to make sure each bulkhead is 90 deg in line with the keel.

- Ryland Craze and clearway
-
2
-
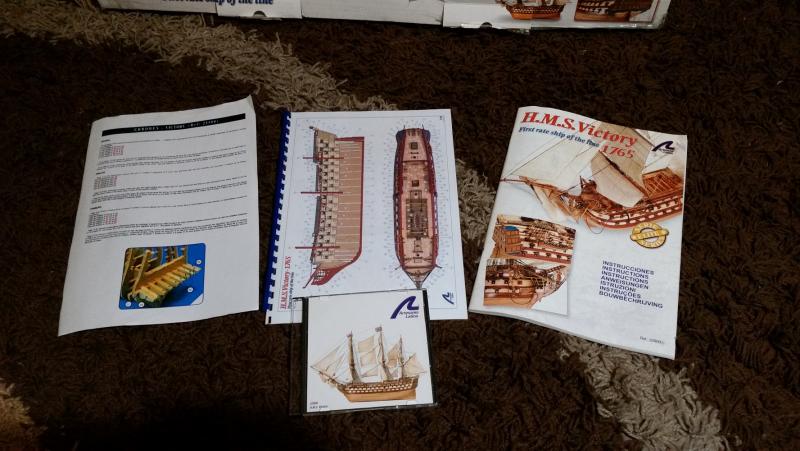
Greetings!
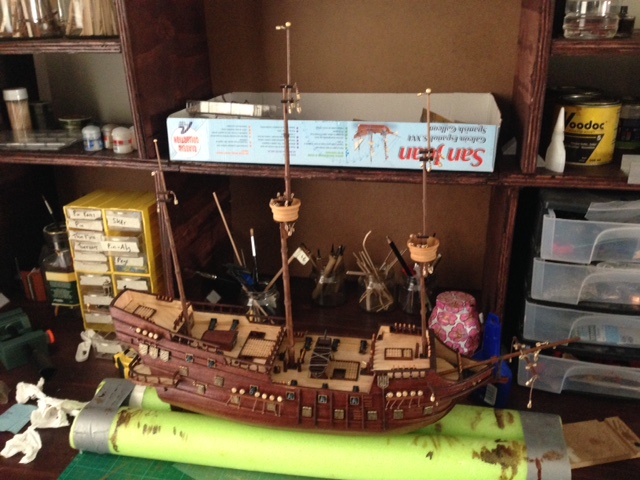
Yip, that is right - another build log for the famous HMS Victory. With that said, I am not going to post any details about the actual ship itself, as there is a ton of info available already.
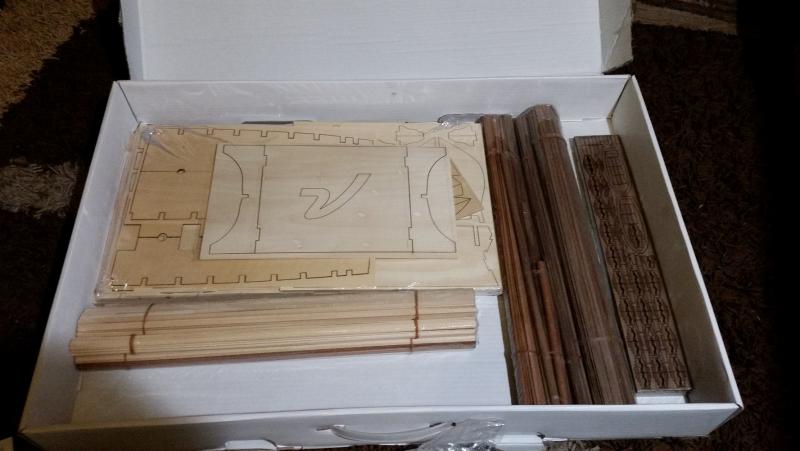
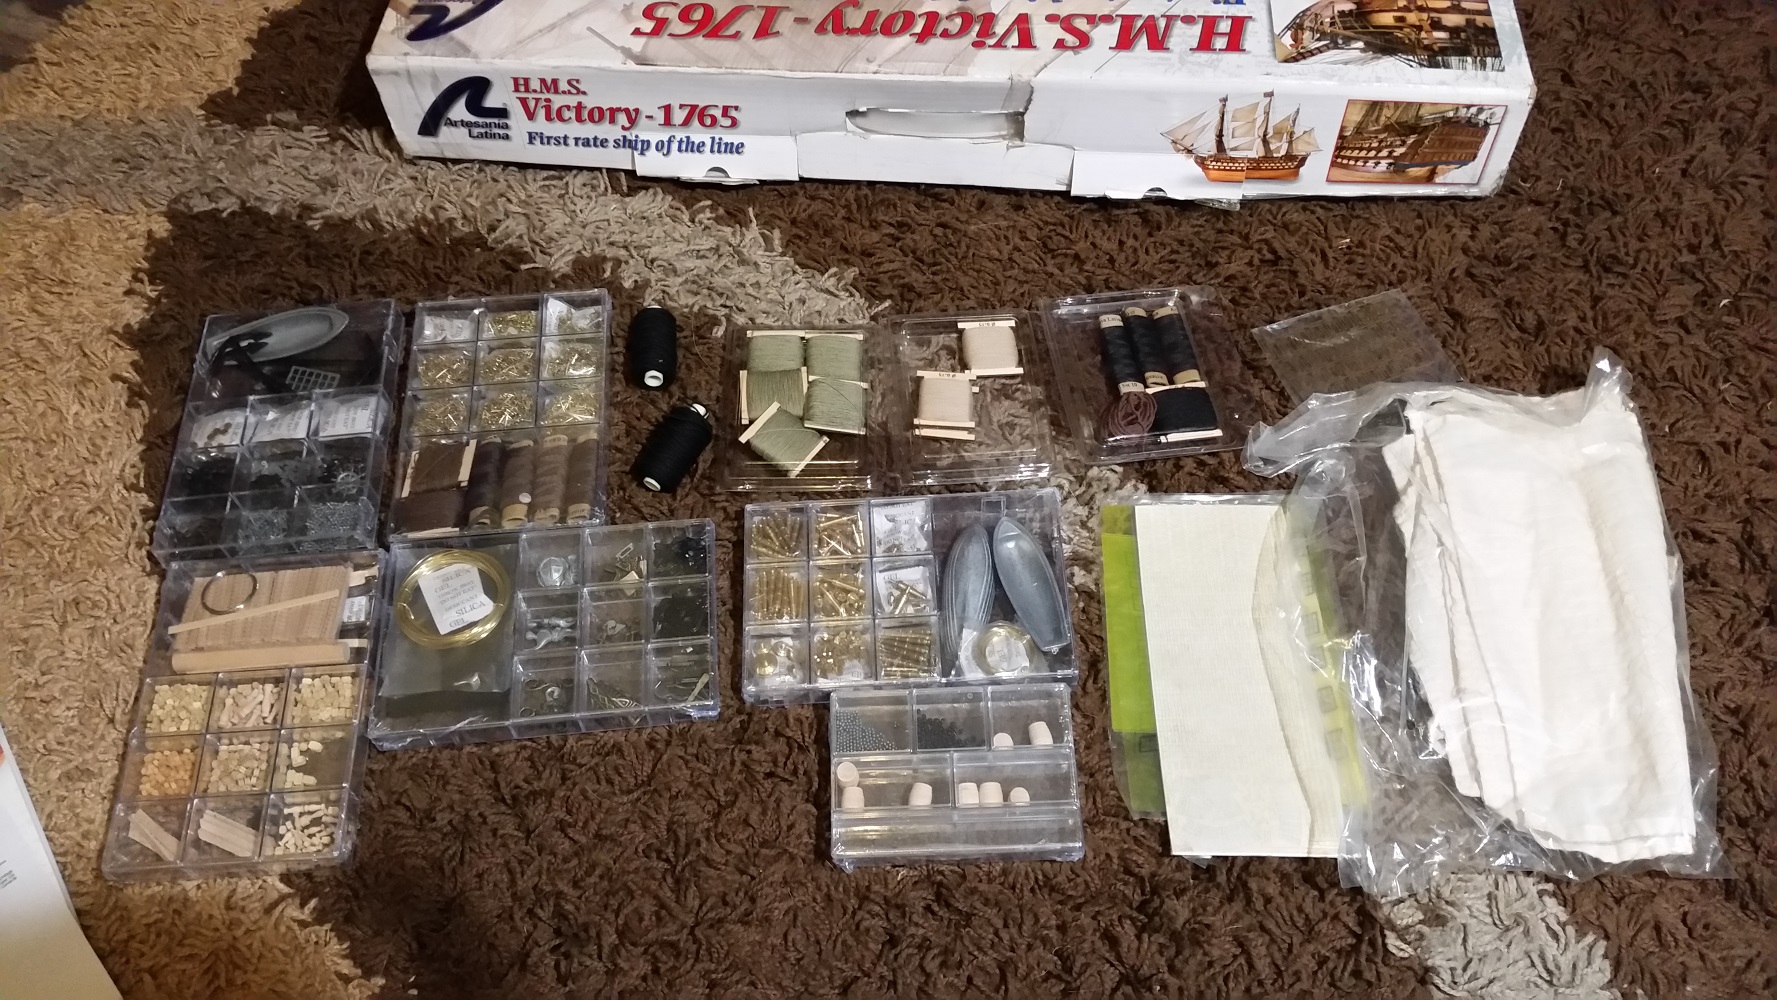
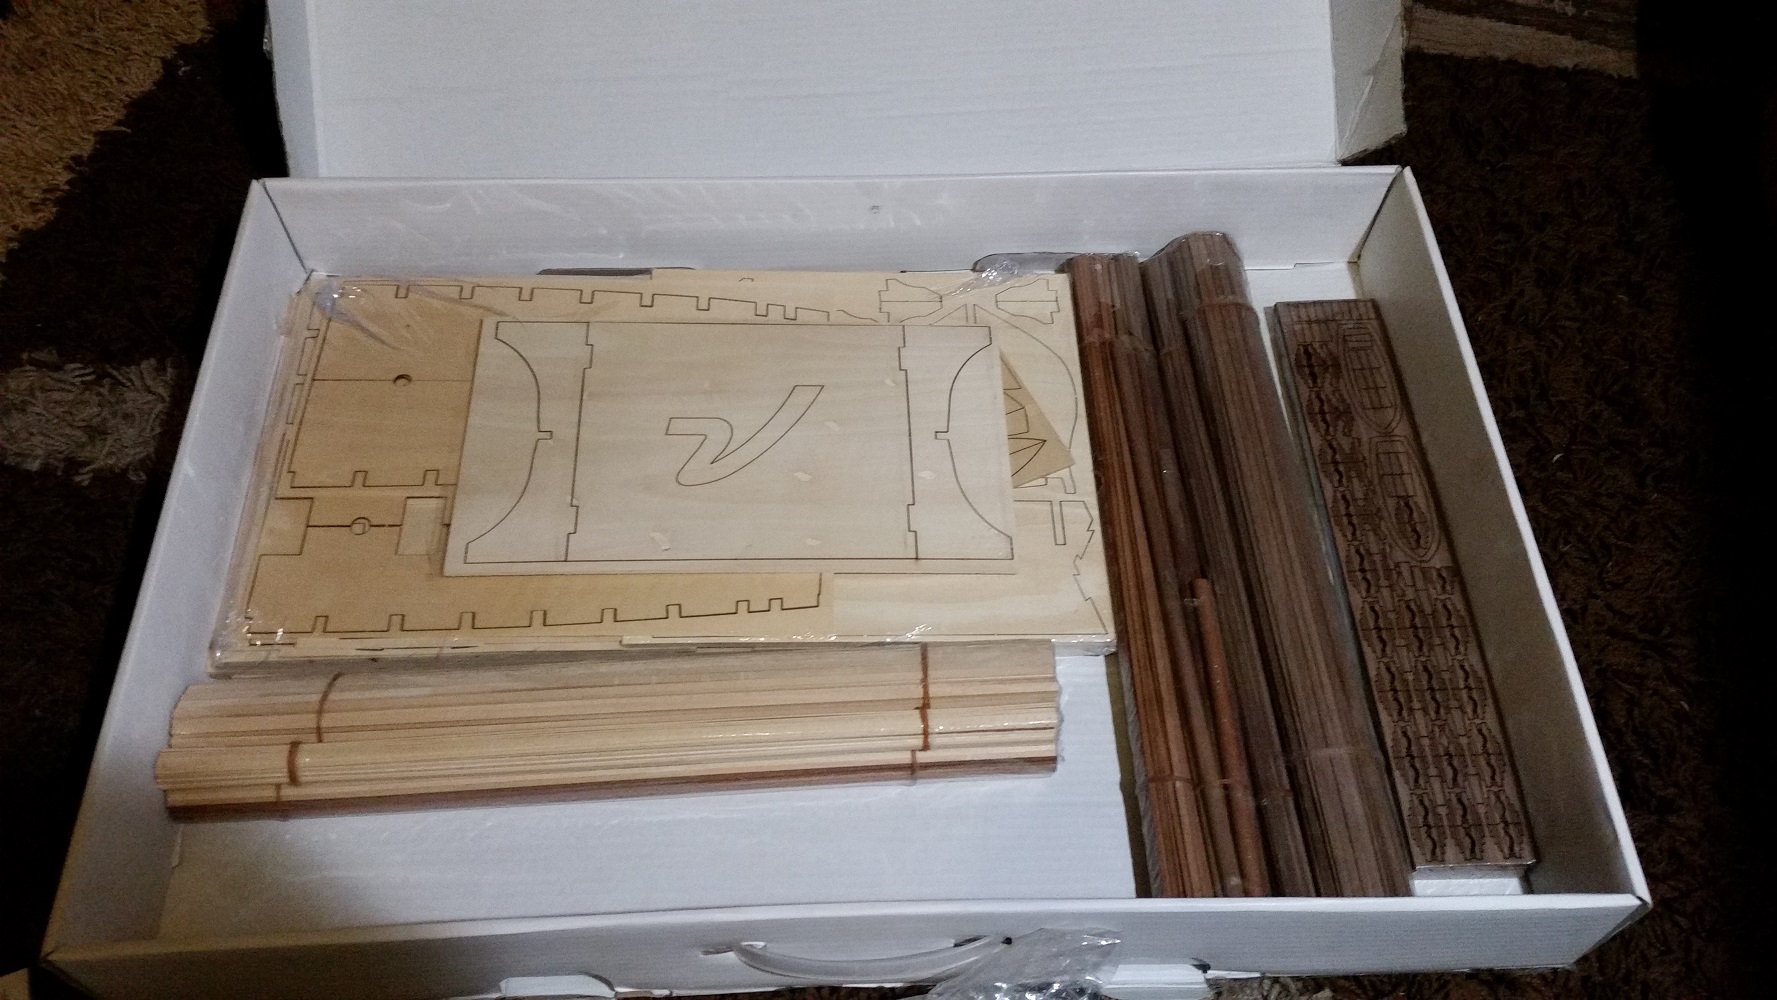
I bought this kit a while back from a second hand site for good price below retail. After building two ships, and busy with another at the moment, I feel confident enough to start with this project.. This is quite a big model kit ship, from AL's website, the following specifications are given:
Dimension: 1230 mm long, 825 mm high and 450 mm wide.
Scale: 1/84
As can be seen below, the box comes with all sorts of goodies - actually - a lot of goodies.
The are a few interesting stuff included with this kit that I haven't encountered before with other AL kits:
- They actually supply you with tweezers
- A baseboard you can assembly (see later) when you are done with the false keel.
- A feedback form in the back of the Manuel where you can rate the kit, instructions etc. and give comments.
- A CD and booklet with extra info on it (I still have to see what is on the CD)
- An addendum sheet of corrections to the instruction manual.
The above is a welcome addition to their kits - just wish it would extend to all of them in the future. The addendum sheet has three points of correction, I am still trying to figure out the last point, since the English grammar used is very confusing ( I have read better manuals translated from Chinese than this).
At this stage, I am not sure if I will paint the model or leave it in the natural wood colour. At this stage, I am leaning to painting it, and adding copper plates to the hull.

- clearway, RGL and Ryland Craze
-
3
-
Thanks Robin, I am also pleased how the colour scheme turned out.
-
Thanks CatHead.
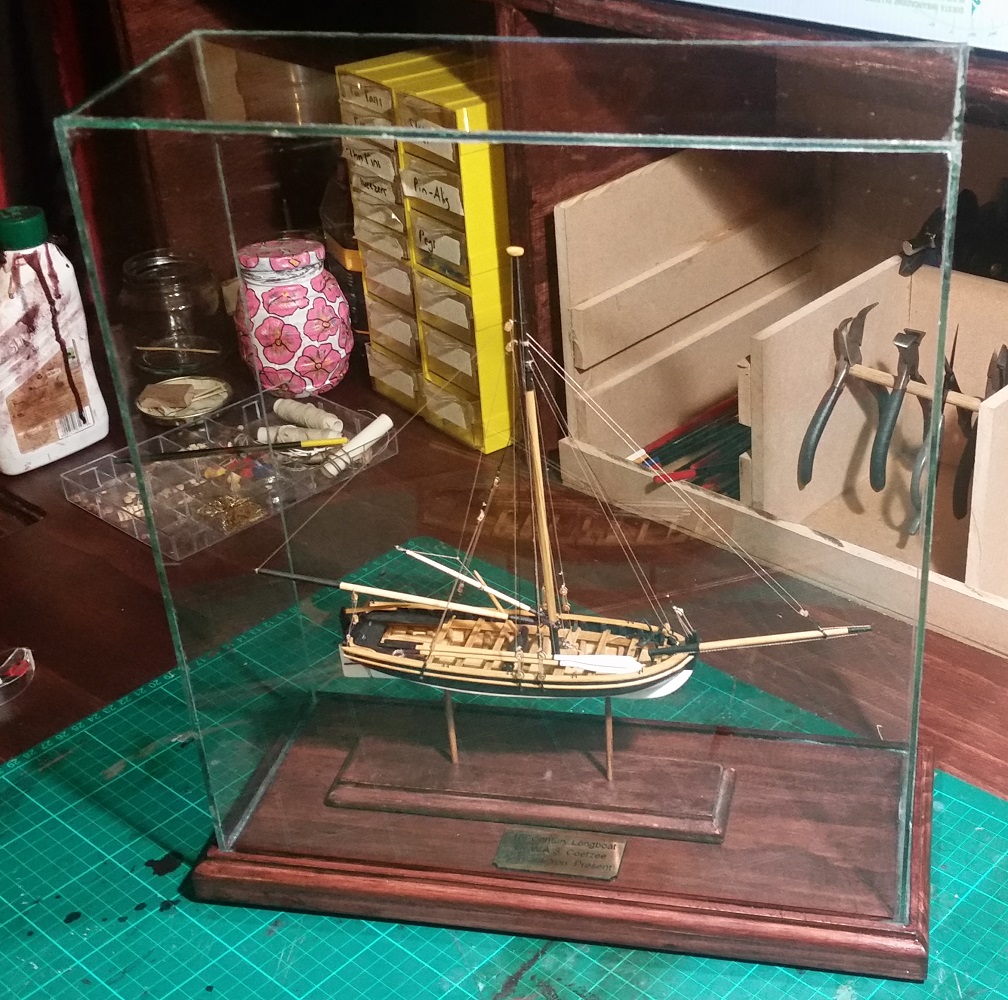
Finished gluing the glass to the base and cleaned up.
Project is now finally done and ready to be given away

- Cathead, CaptainSteve, cristikc and 4 others
-
7
-
Greetings
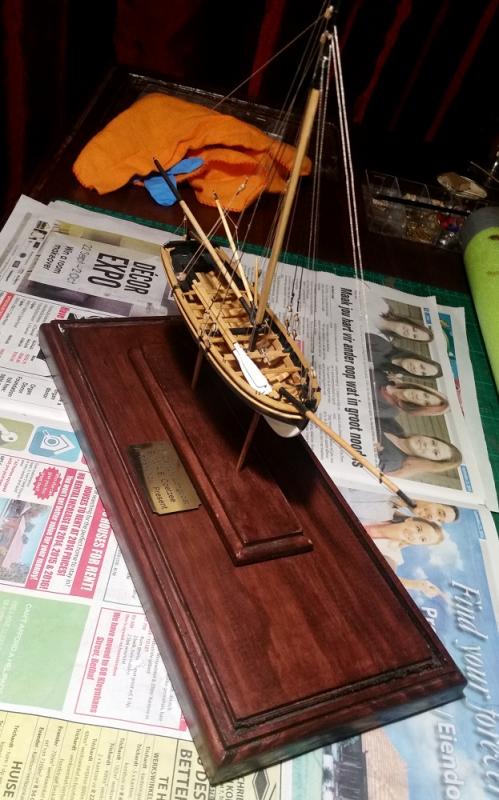
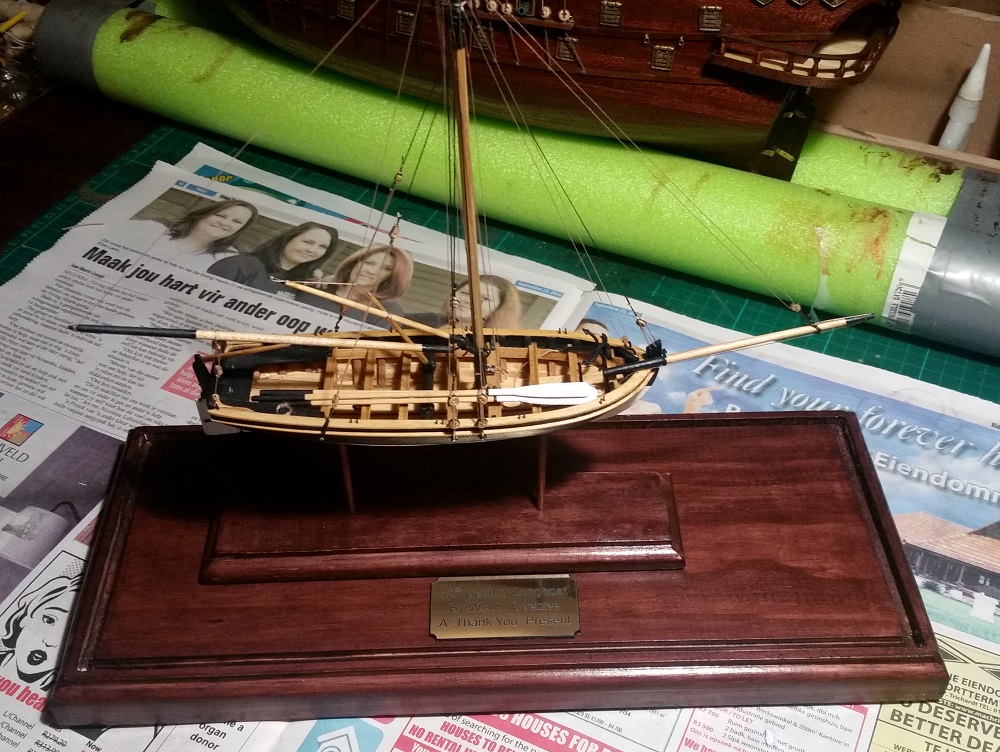
I have glued my model onto the wood base as seen below. Quite happy with how it came out.
Next is to glue the glass case over the model.
- WackoWolf, Haliburton, Ryland Craze and 2 others
-
5
-
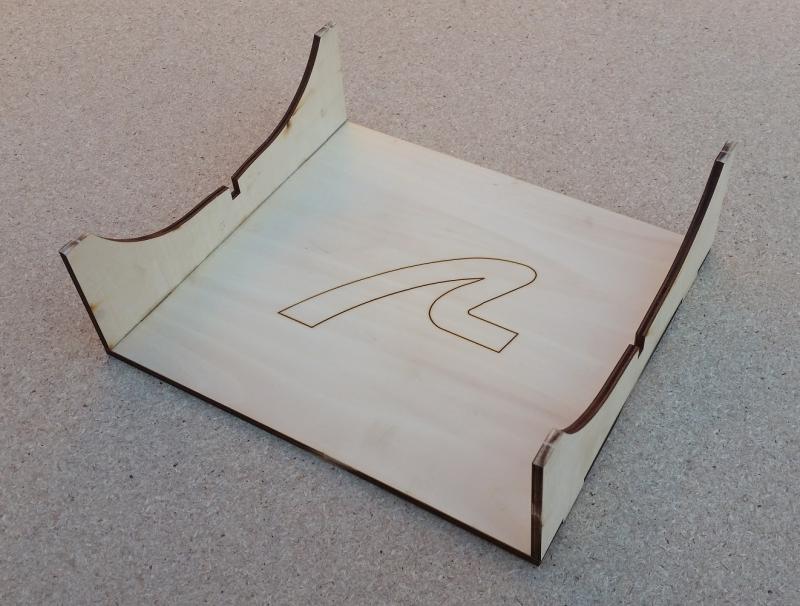
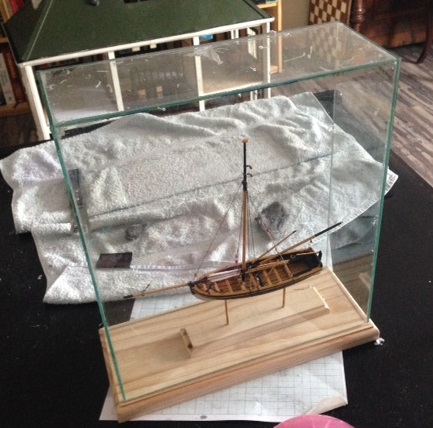
Small update.
Finished scraping off the silicon off the glass case.
Cut the grooves on the big display board for the glass case to fit on.
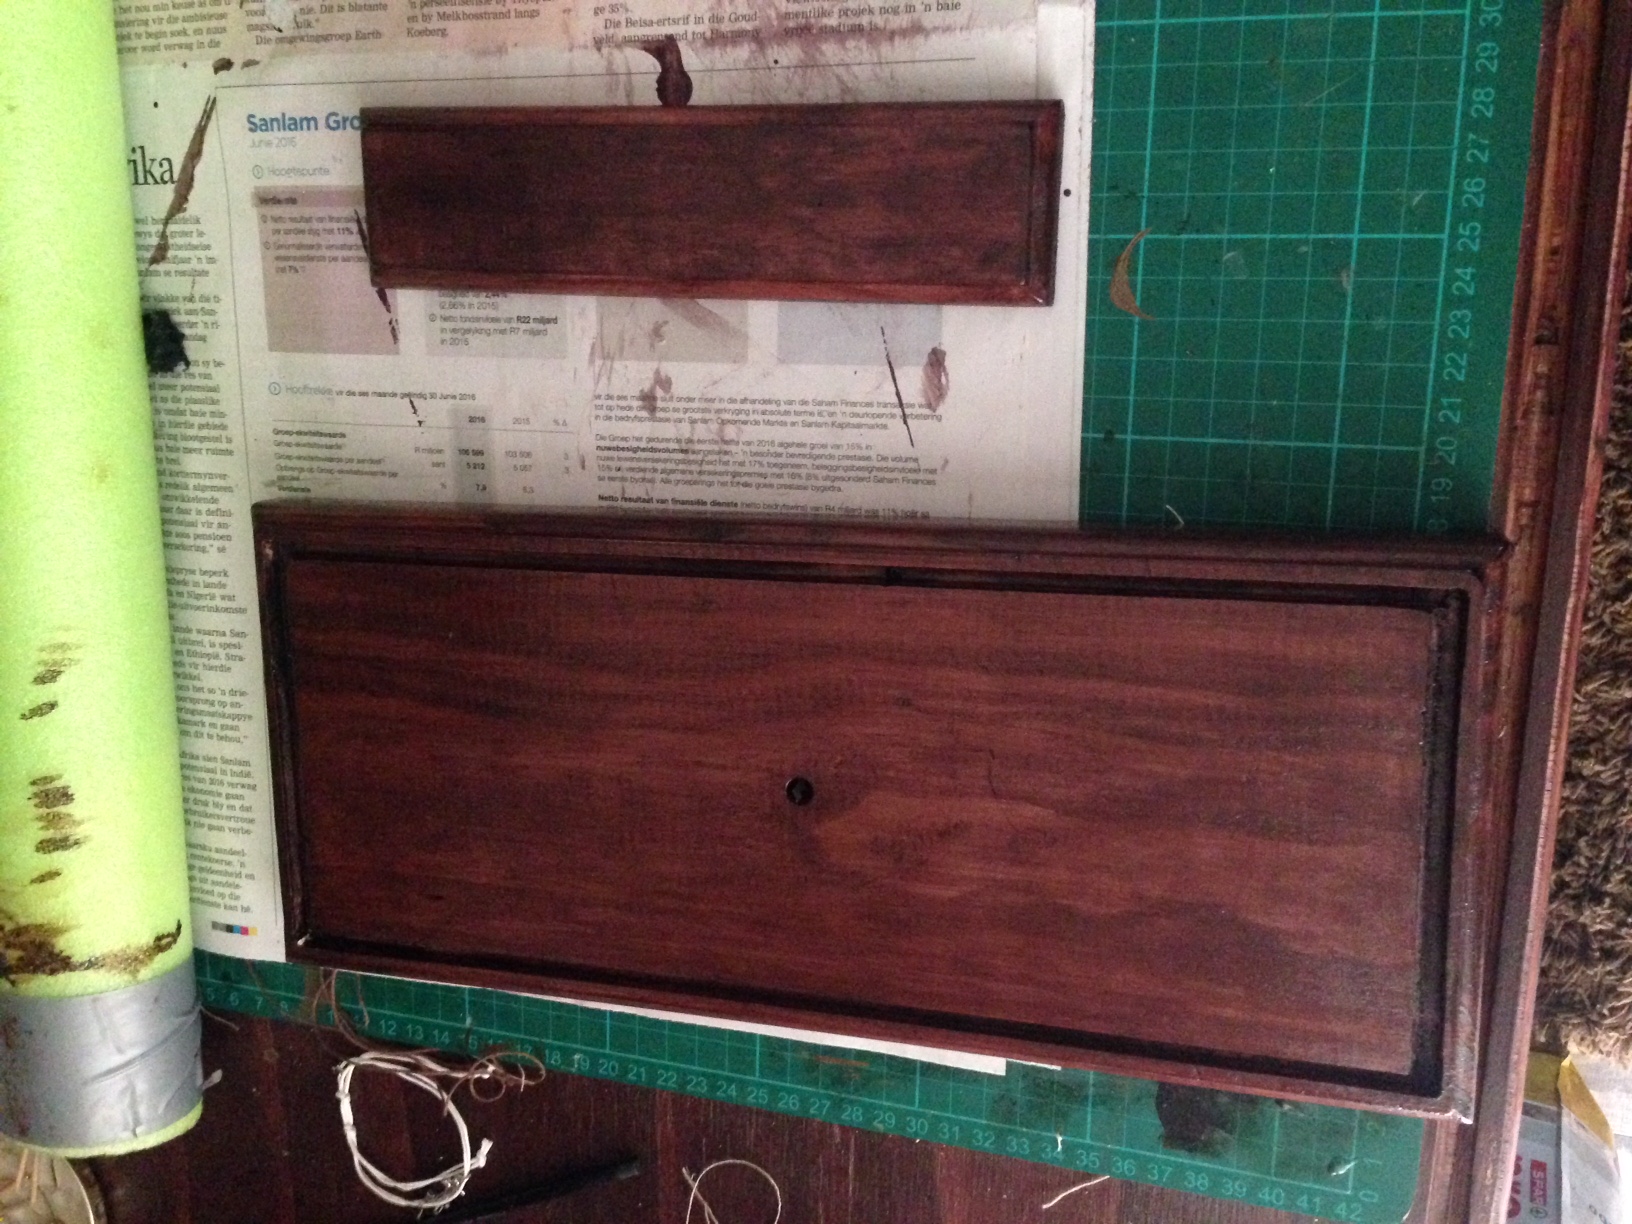
I have stained the wood as can be seen in the picture below. Busy applying varnish to the wood.
After the wood is varnished, I will glue the small piece to the big piece.
I also want to have a plaque made this week.
Regards

-
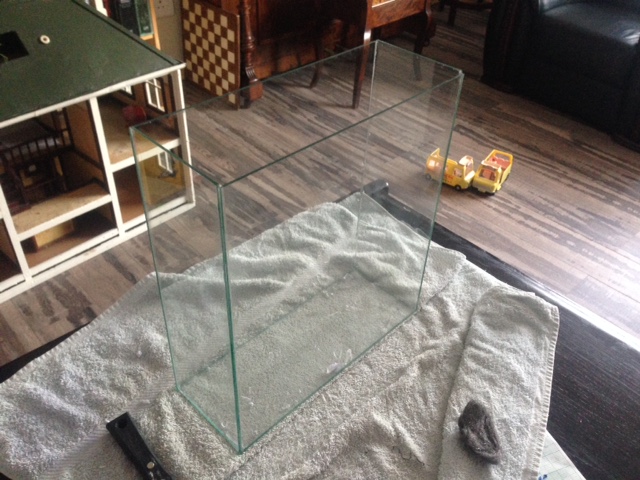
Bought some 3mm glass panels to be used as a covering case for the model.
I glued it together using silicon sealant. However, at this stage I am still busy cleaning all the silicon spillage/residue of the glass case. I am using methylated spirits with steel wool and a paint spatula. Method is working, but it is still taking a lot of elbow grease and time to get rid off the excess silicon.
I also cut the small base of the boat in half, to make it more pleasing to the eye.
Next, I want to continue cleaning the glass case to make it crystal clear, as well as mark out the grooves that has to be routed, in order to place the glass case in to cover the model. Once the groove is cut to the right size, I can also stain the bases, before gluing.
-


San Juan Spanish Galleon by Gif_Hasie - FINISHED - Artesania Latina
in - Kit build logs for subjects built from 1501 - 1750
Posted
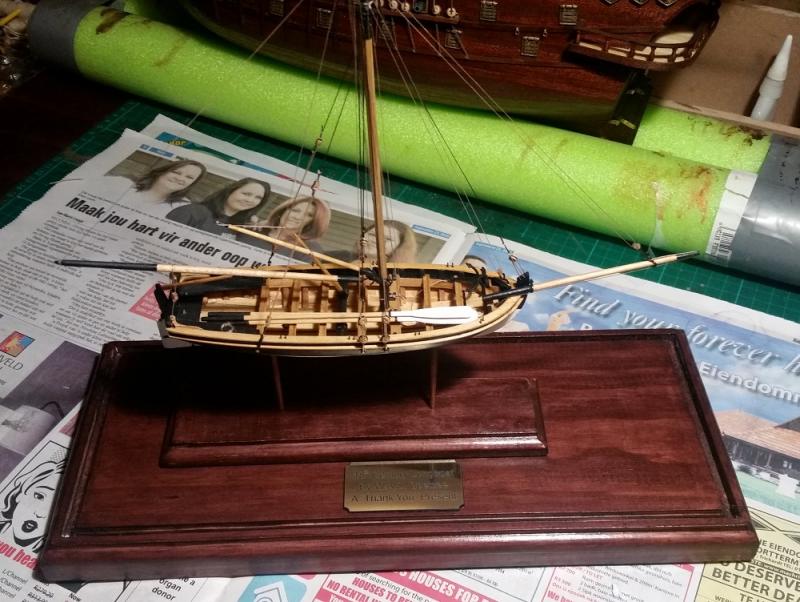
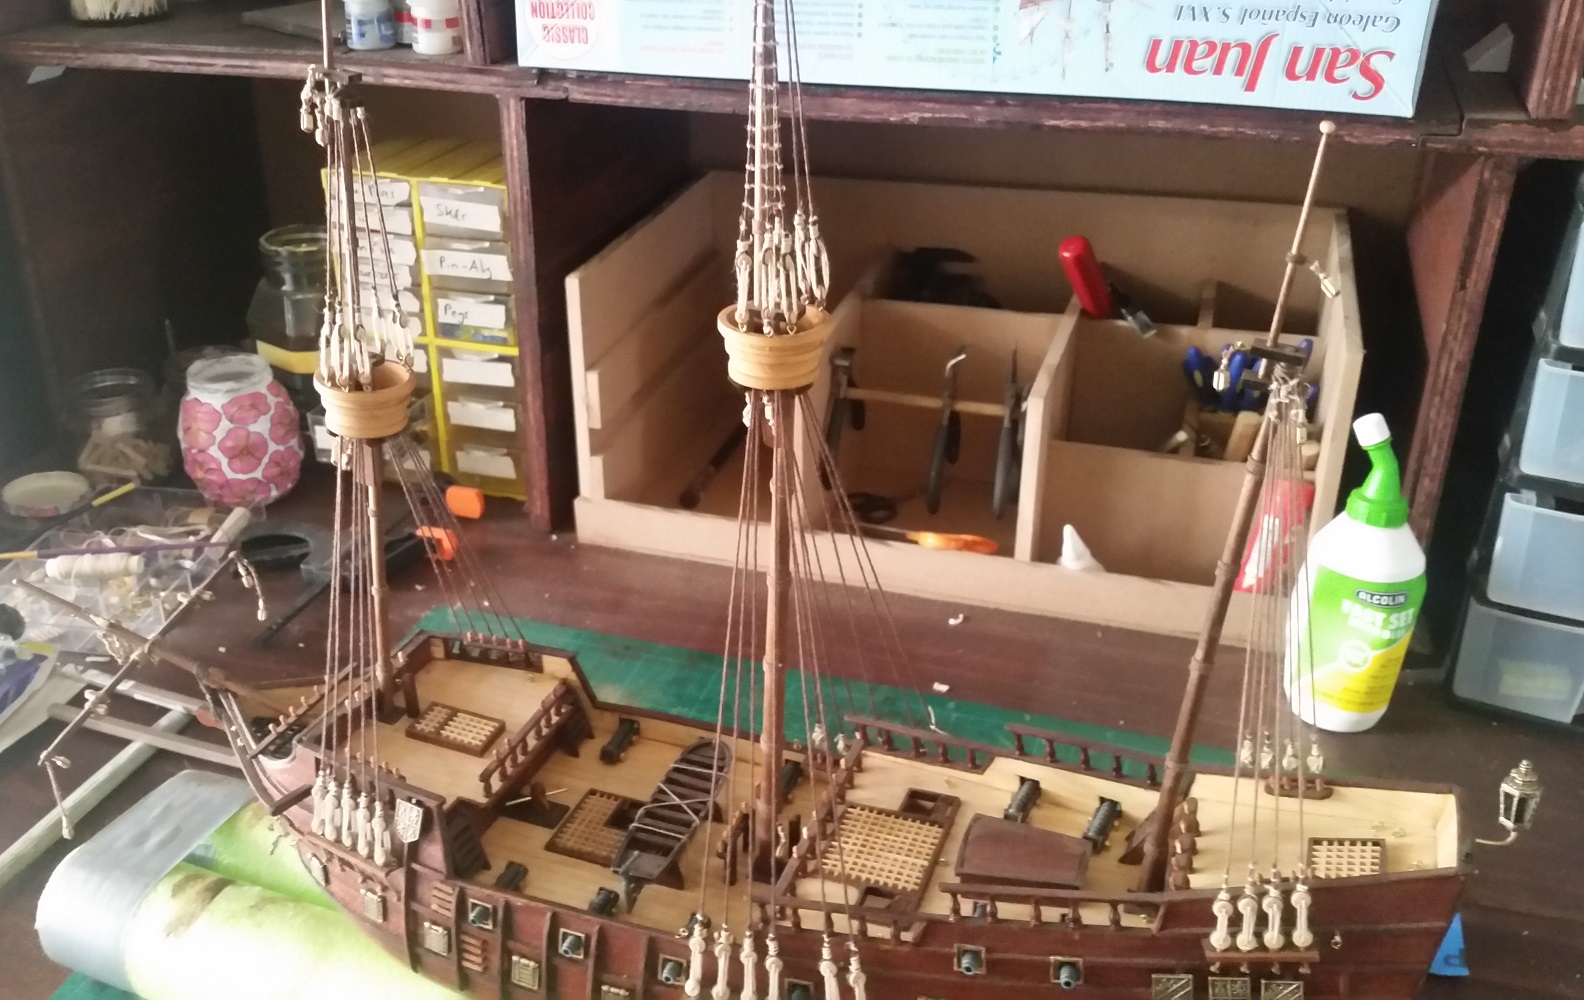
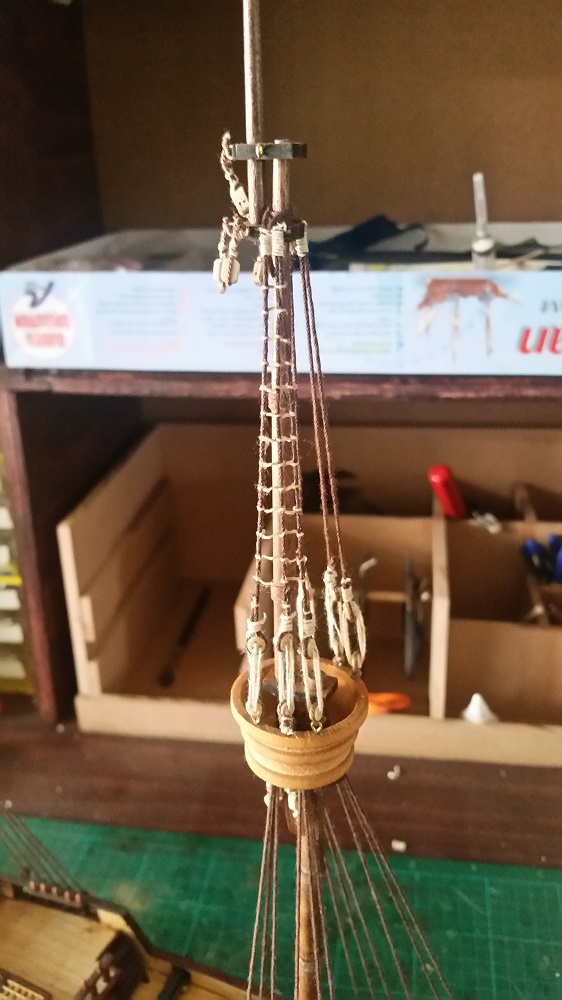
Quick update.
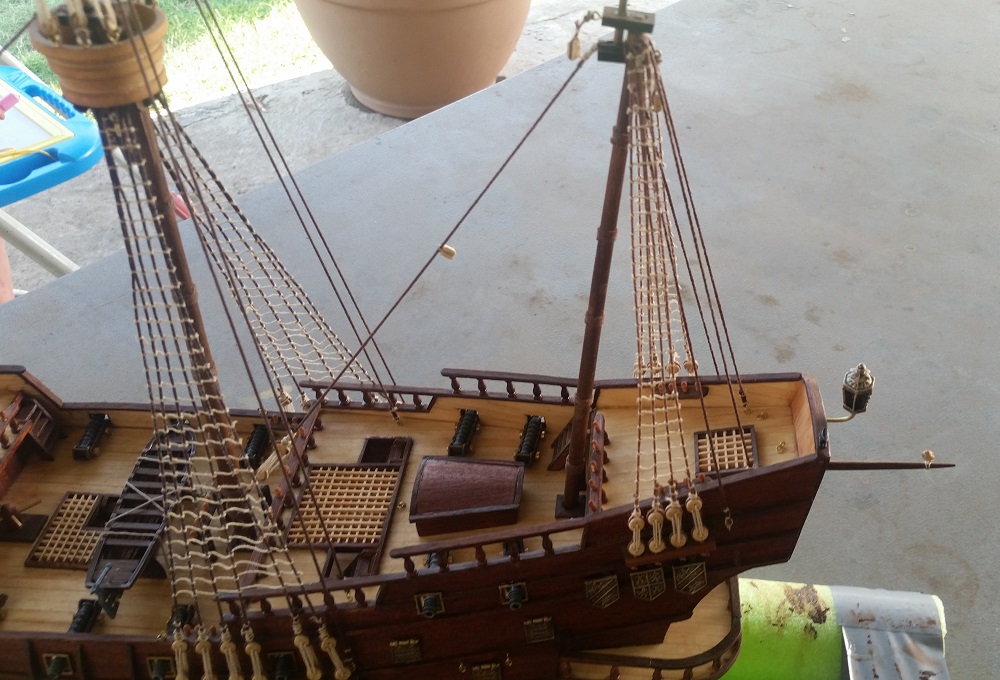
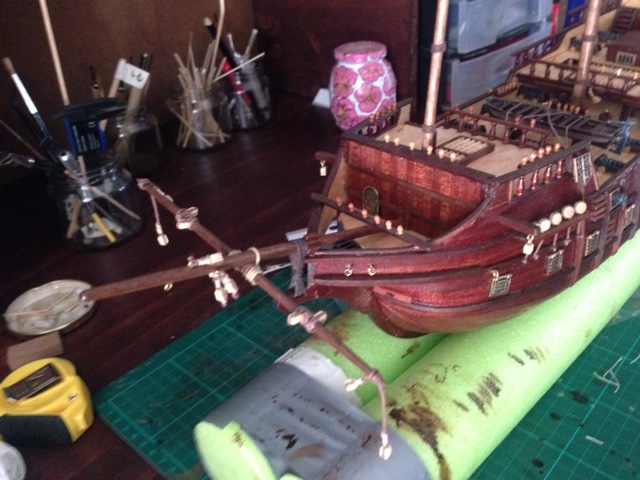
Finished the spars and busy with the rest of the rigging.