Baker
-
Posts
4,277 -
Joined
-
Last visited
Content Type
Profiles
Forums
Gallery
Events
Everything posted by Baker
-
-
 Nice model 👍
 -
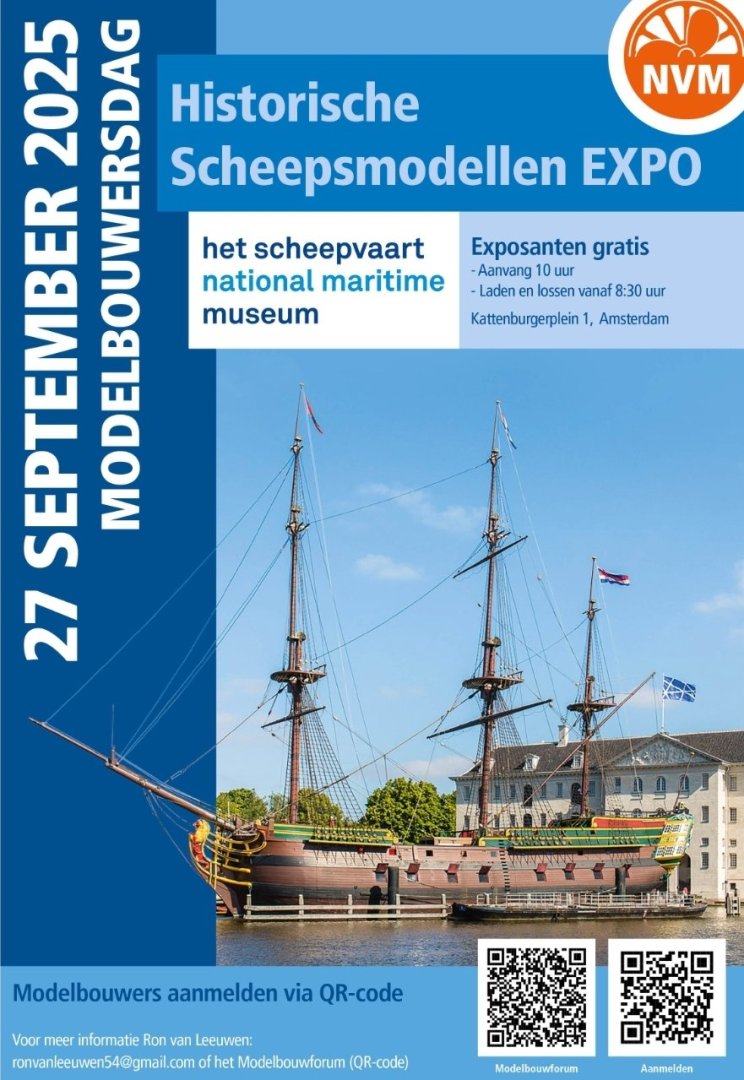
Thanks. If you have time. The model will be on display at this event. https://www.modelbouwforum.nl/threads/modelbouwersdag-expo-historische-scheepsmodellen-2025.291459/
- 94 replies
-
- 3
-

-

-
- Corel
- Große Jacht
- (and 2 more)
-
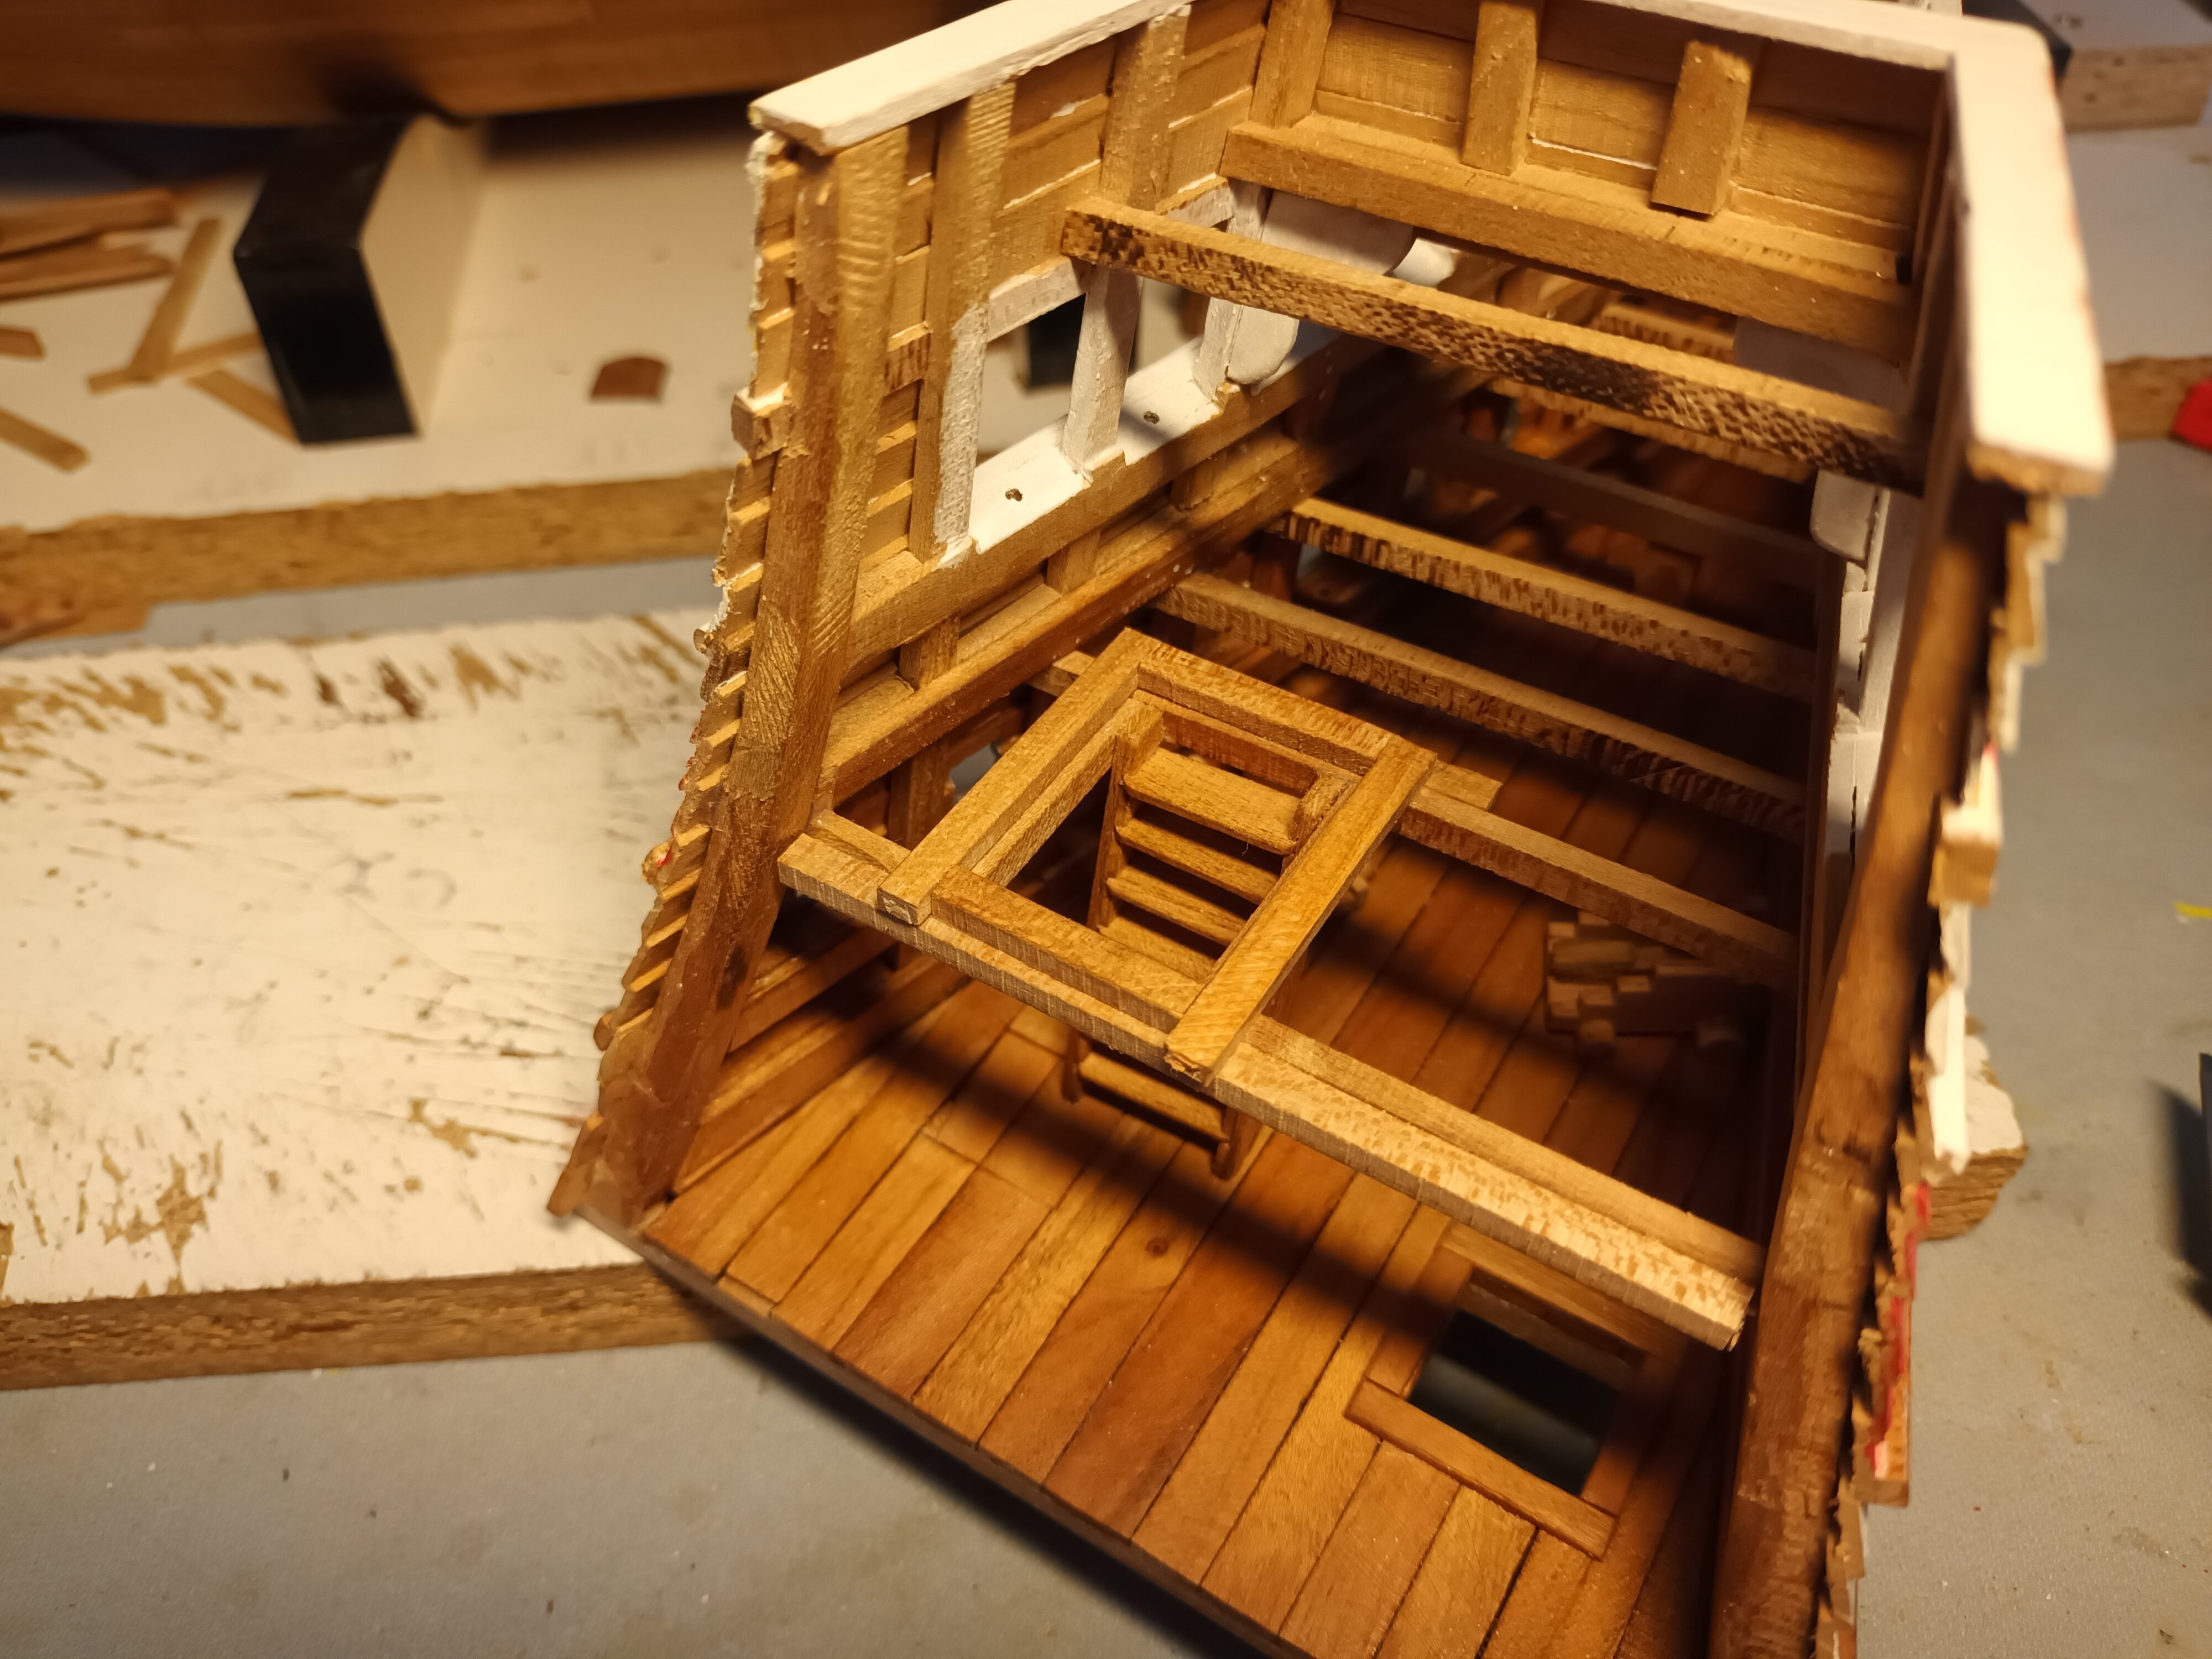
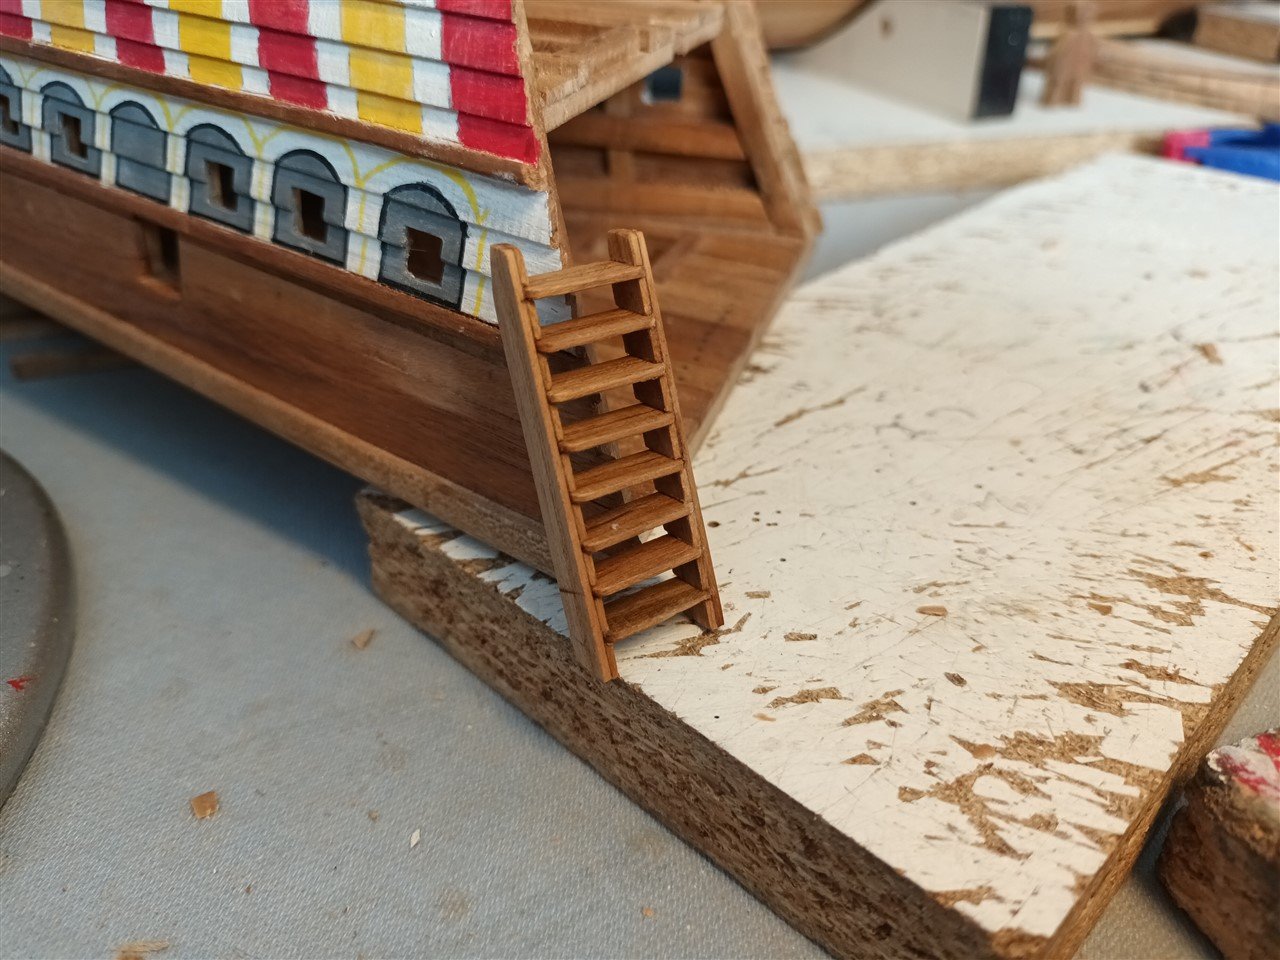
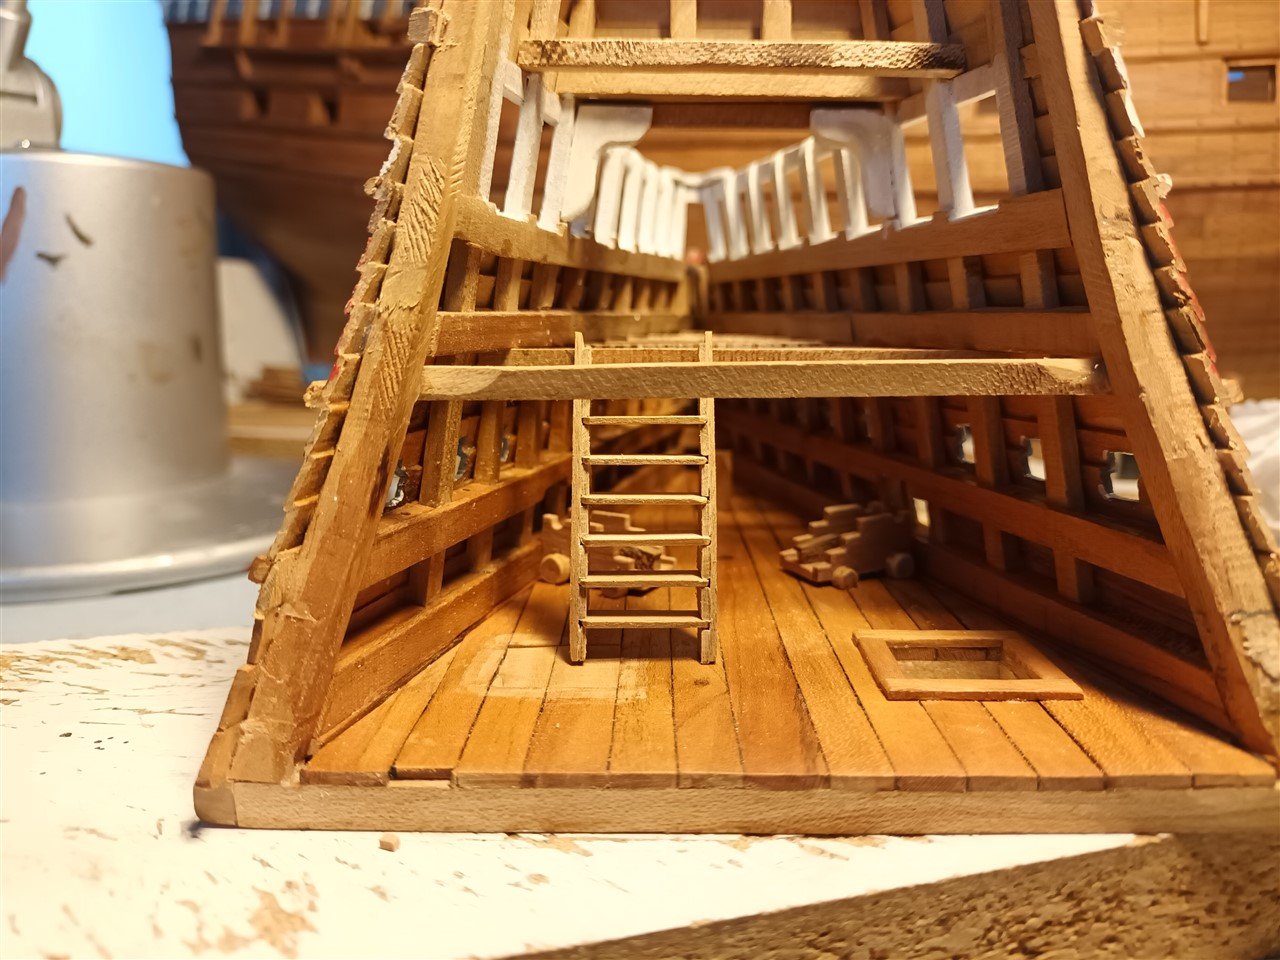
Made a second ladder (writes the same in Dutch as in English (so the English language is derived from the Dutch language...😇) And deck number2 is planked, so i started on "the rear" of the forecastle.

-
Too late for this info. On this small scale it is usually impossible to get the holes in the tracks to fit the teeth of the sprocket. That is why I always removed the teeth that touch the tracks. Works much easier.
-
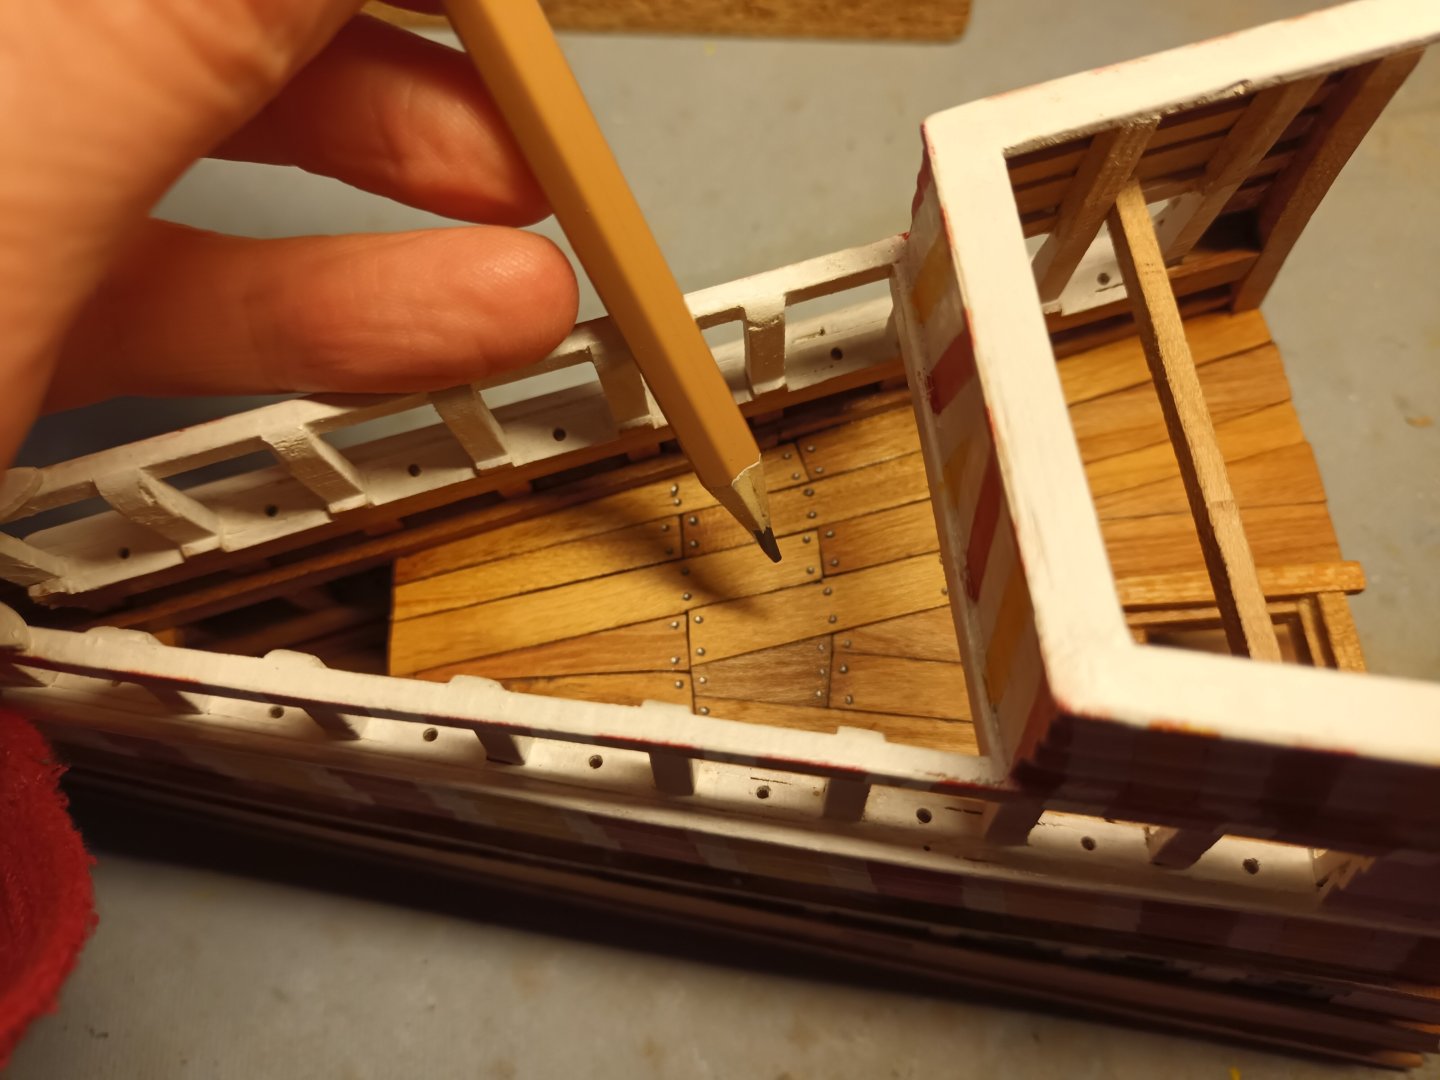
Thanks Steven, In the meantime, one ladder is placed and one deck has been planked. Of course, no nice straight planks, but bits and pieces. And nailed...

-
I always gave them a metallic color first. Then glued them to the model. And then painted them further
-
I repeat myself (again). Beautiful very beautiful work
-
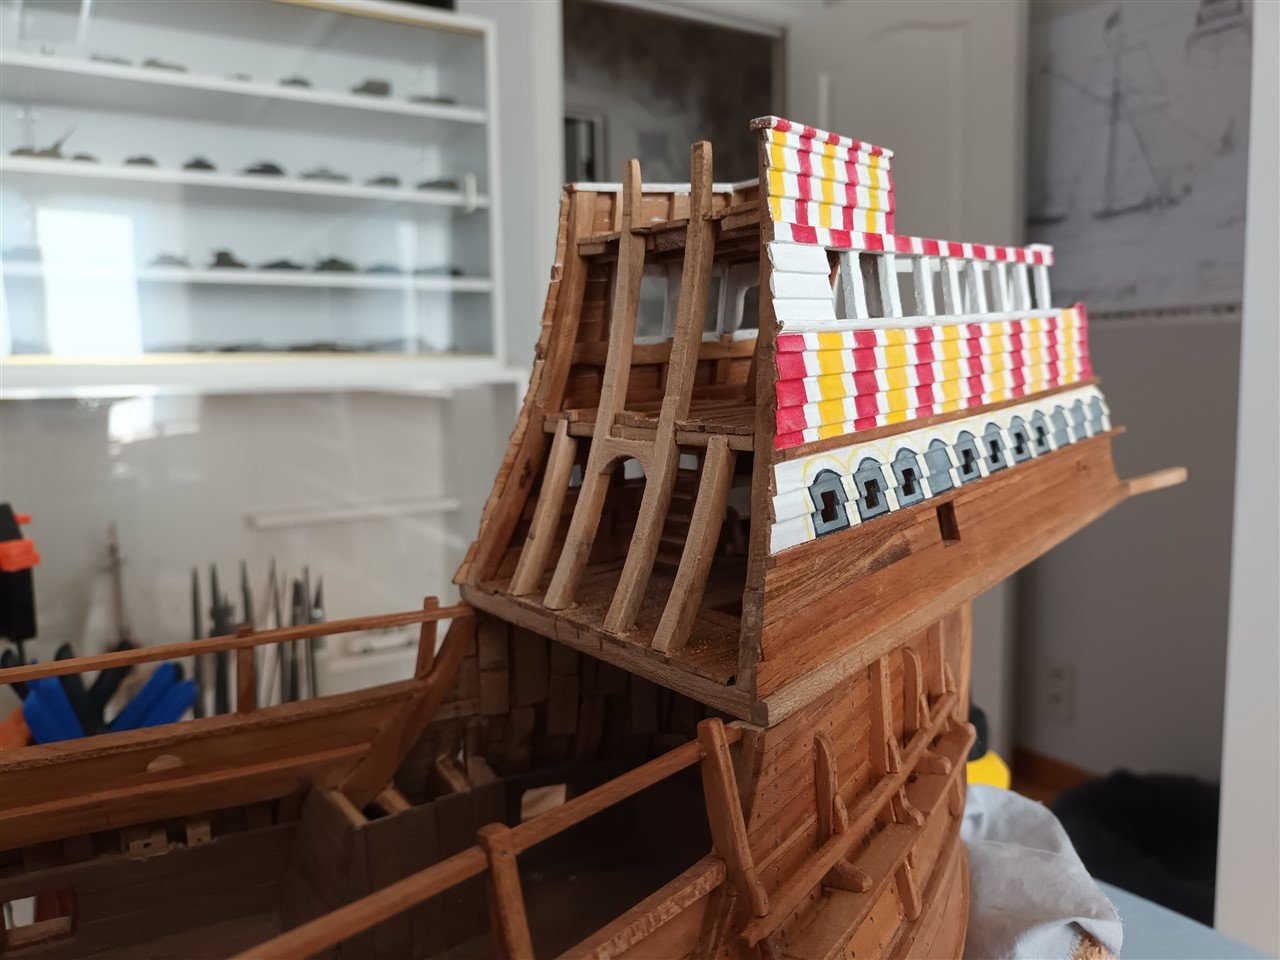
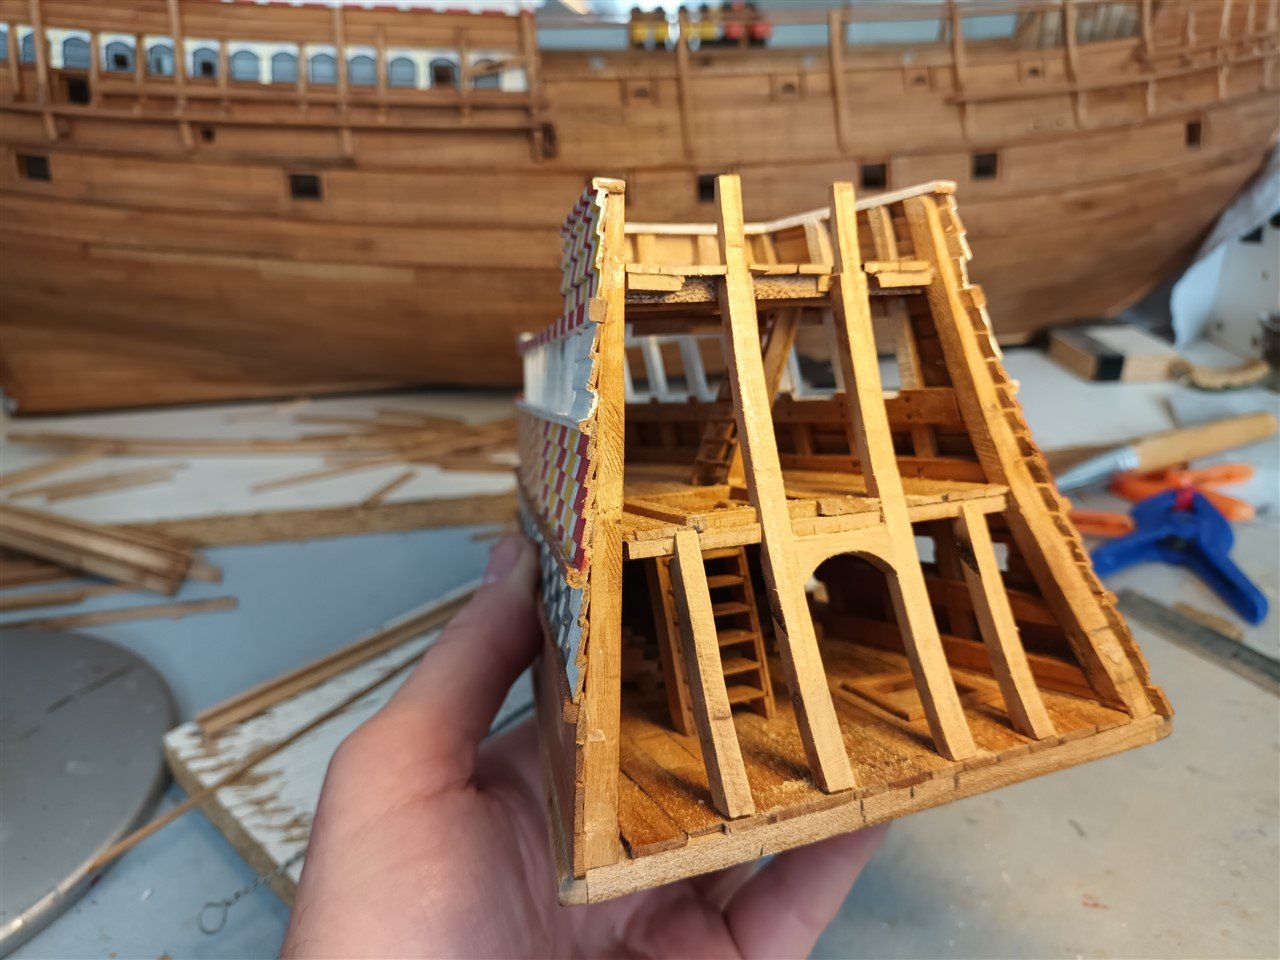
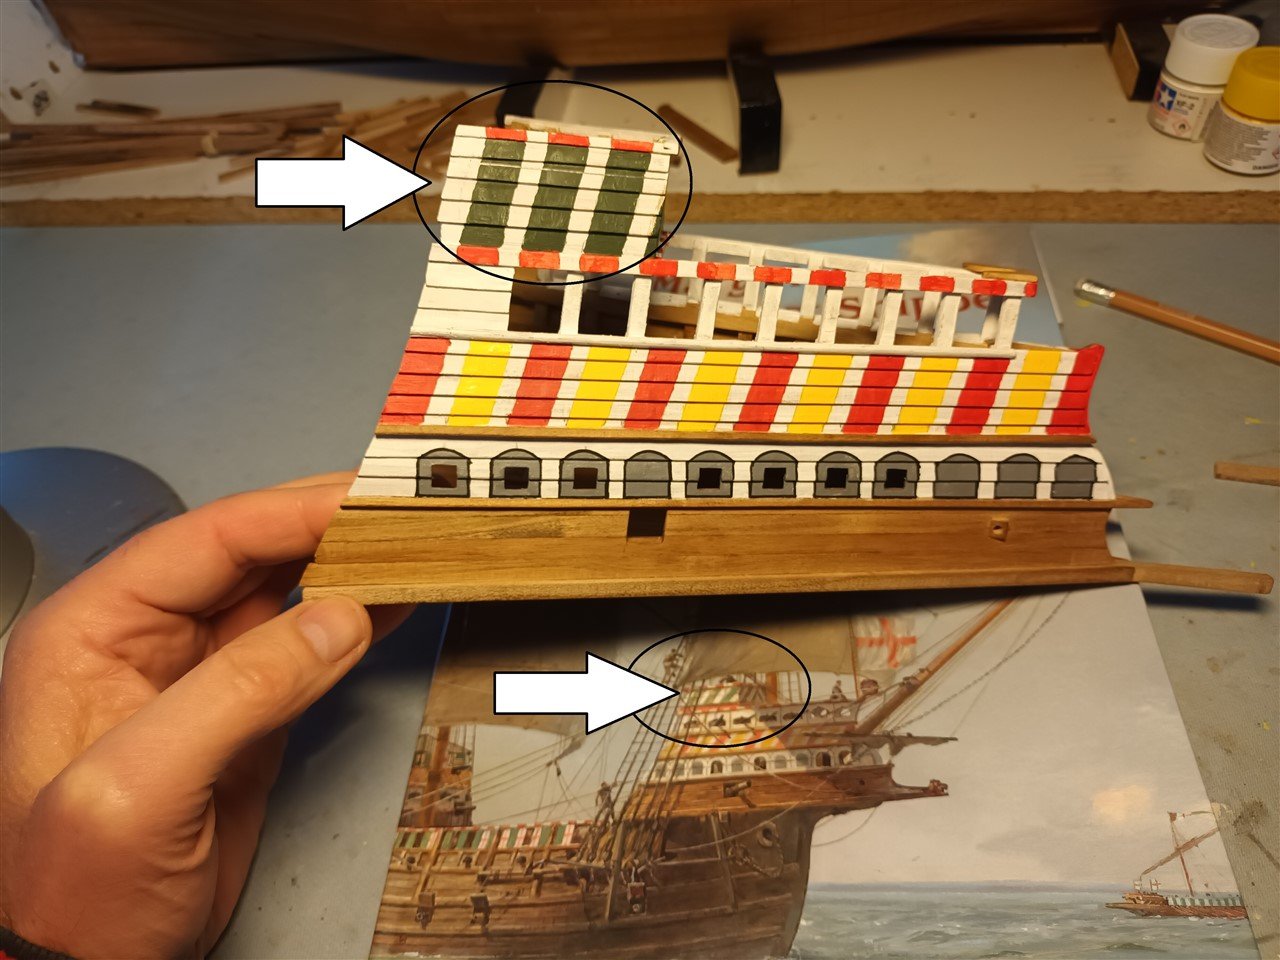
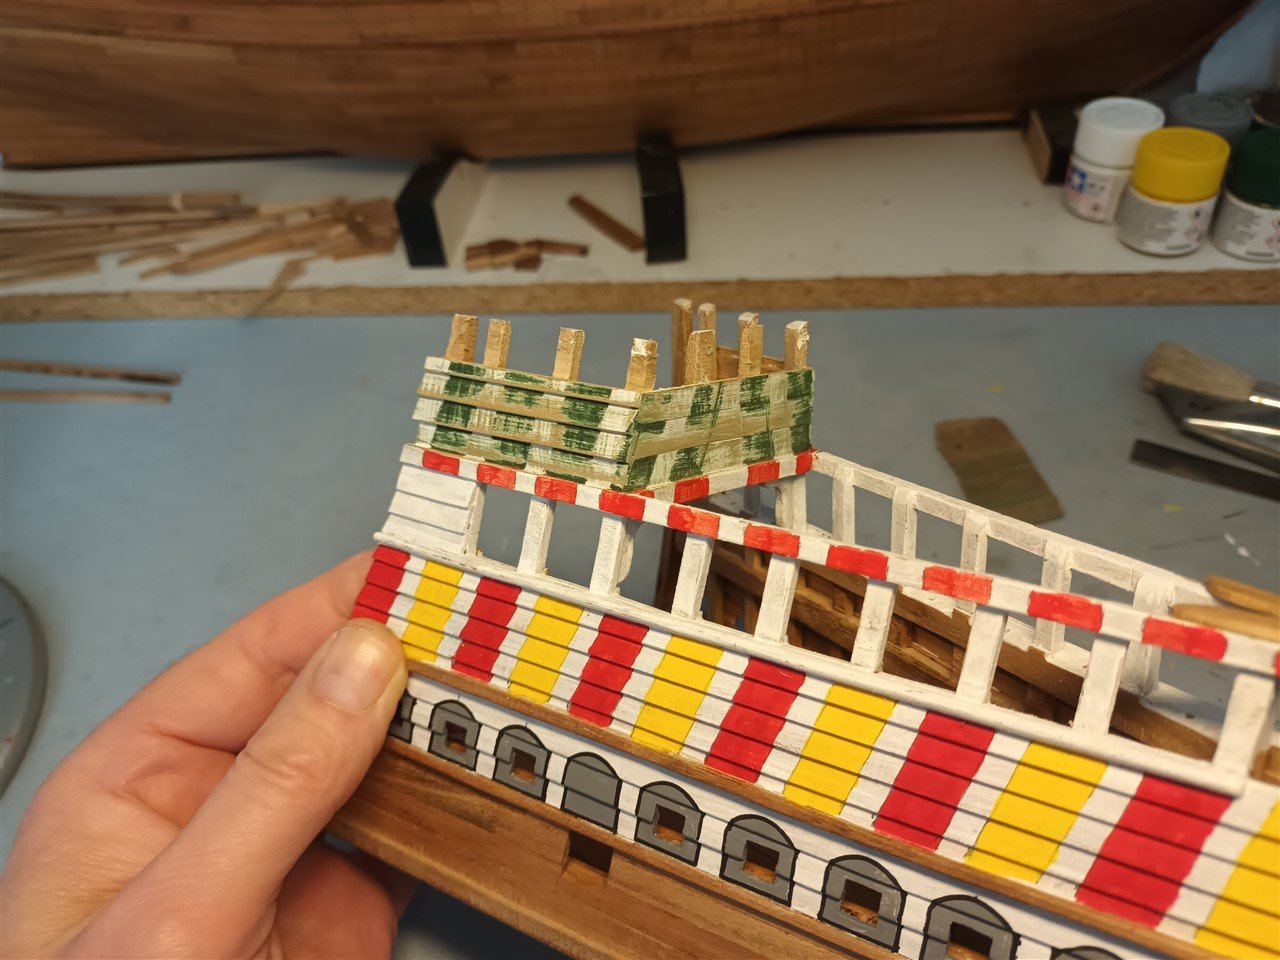
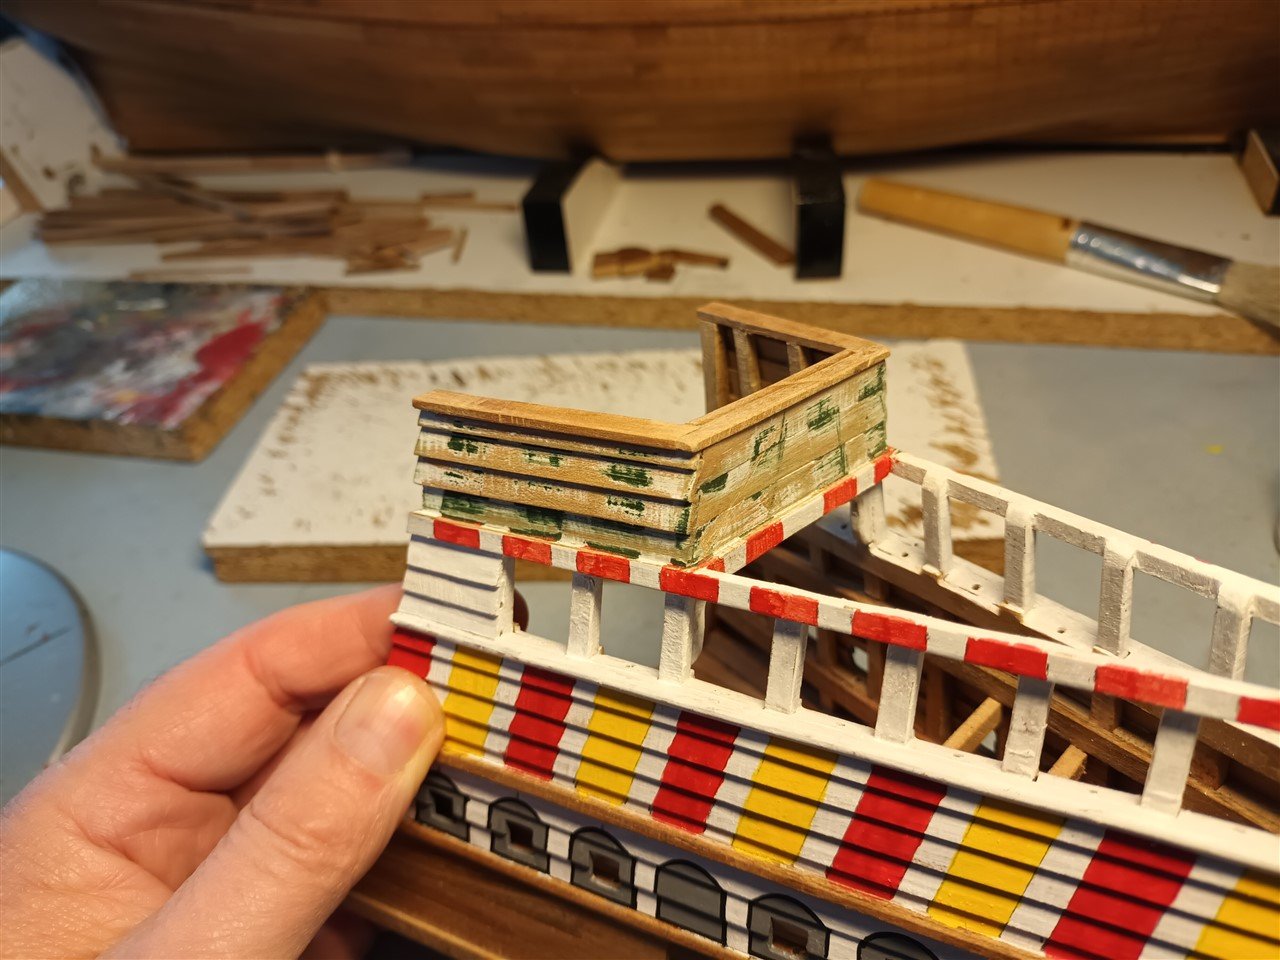
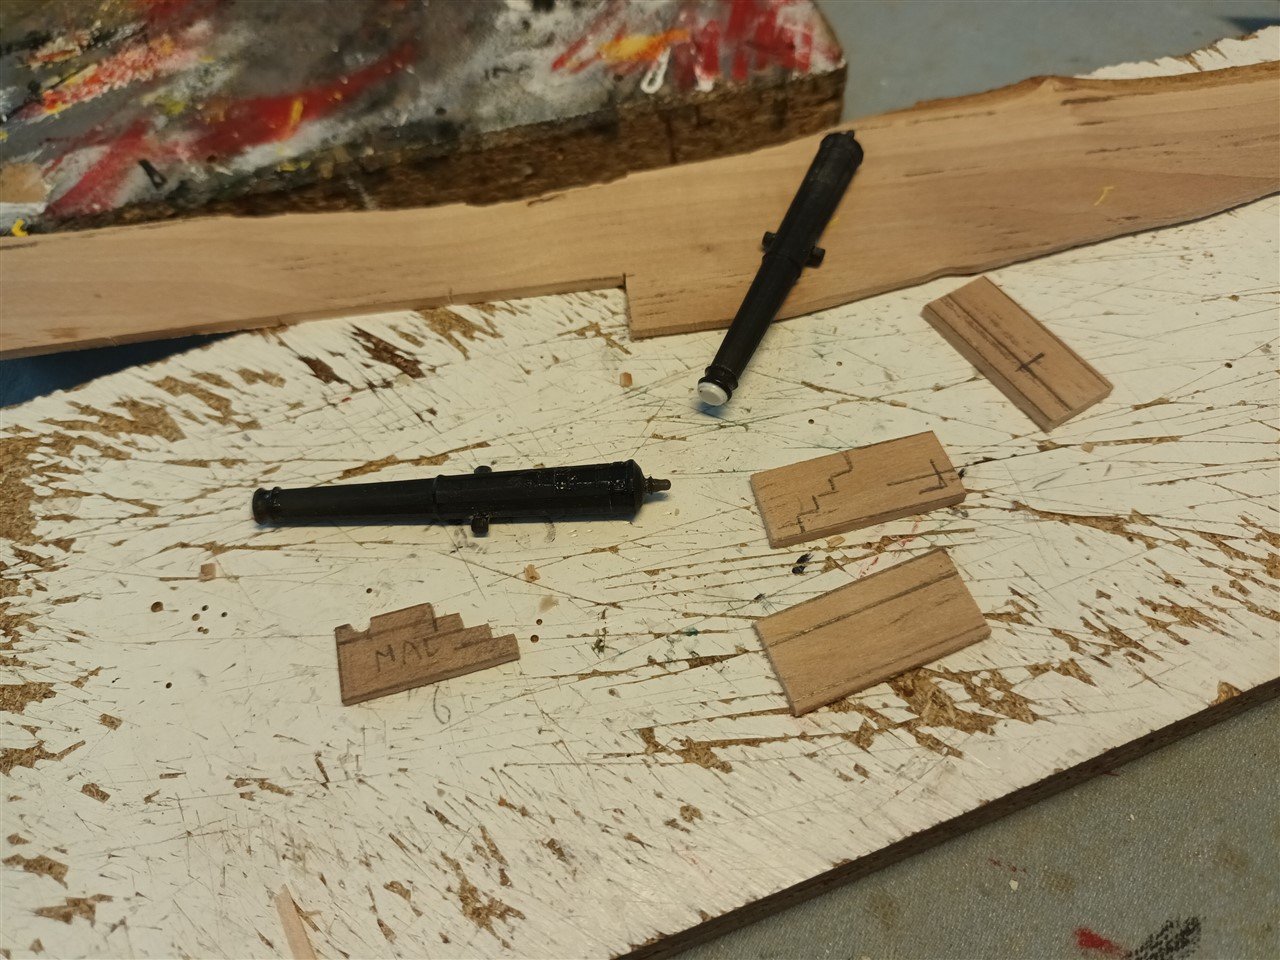
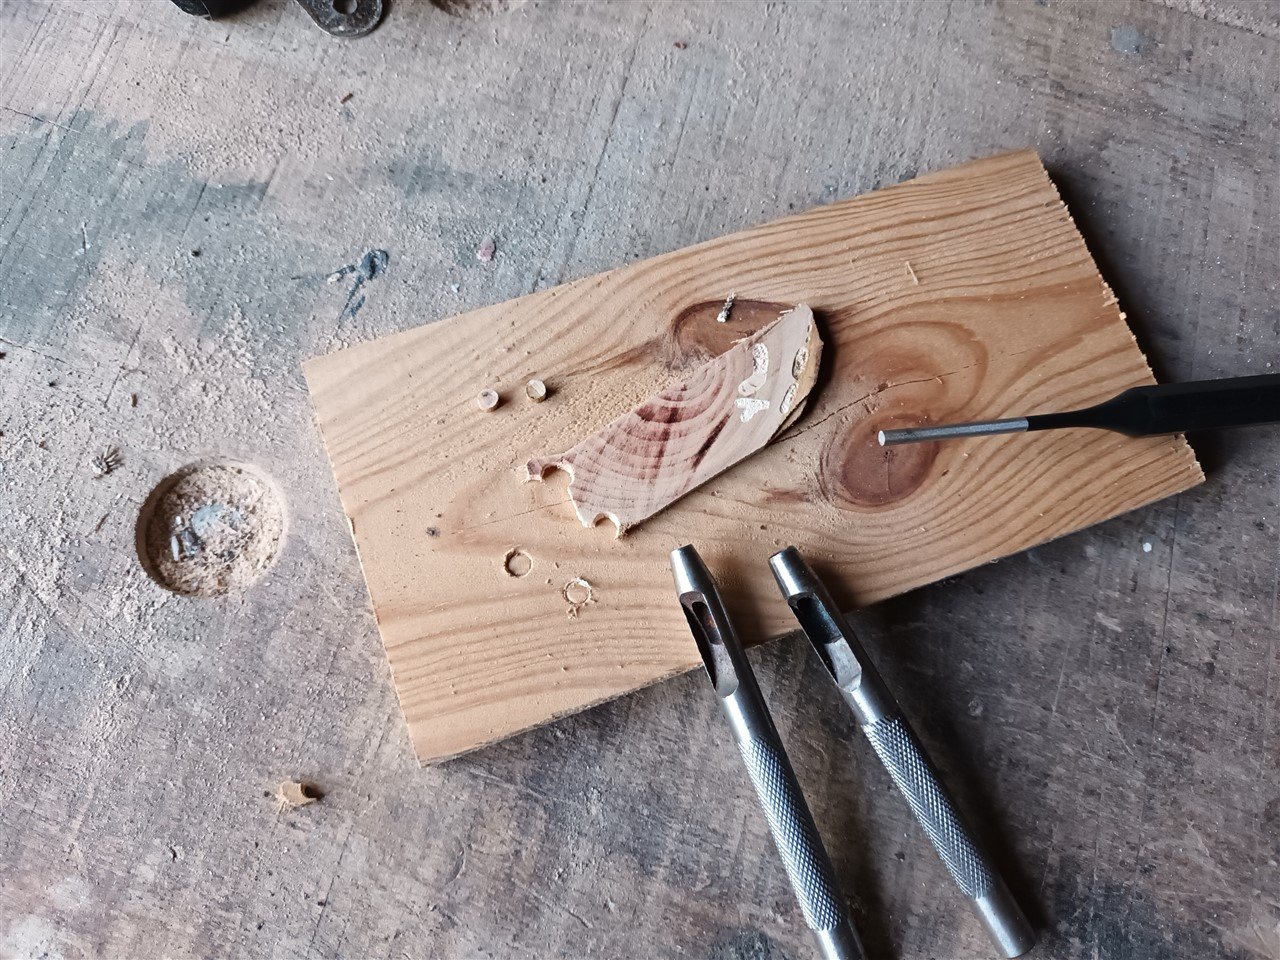
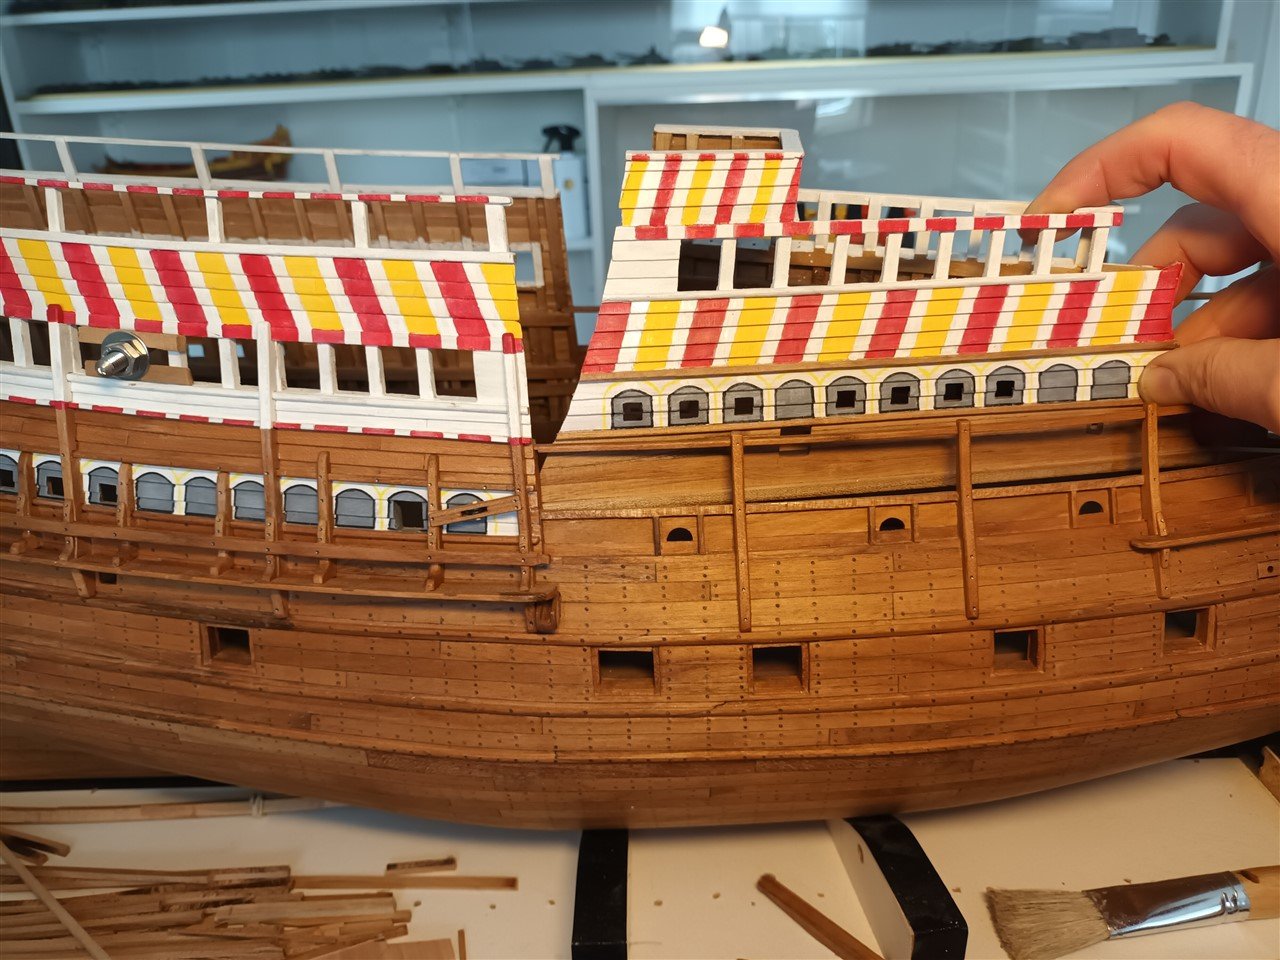
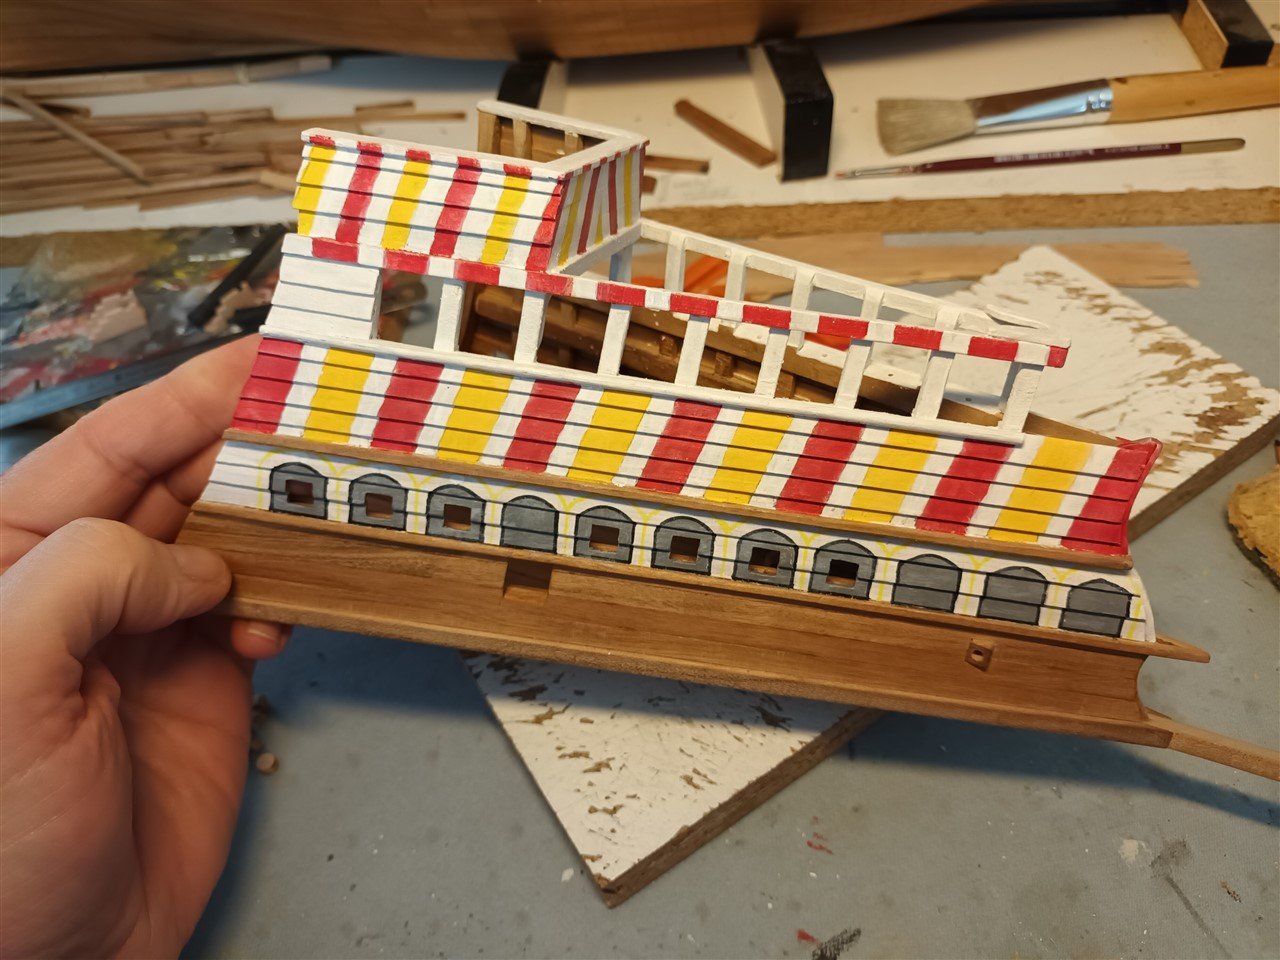
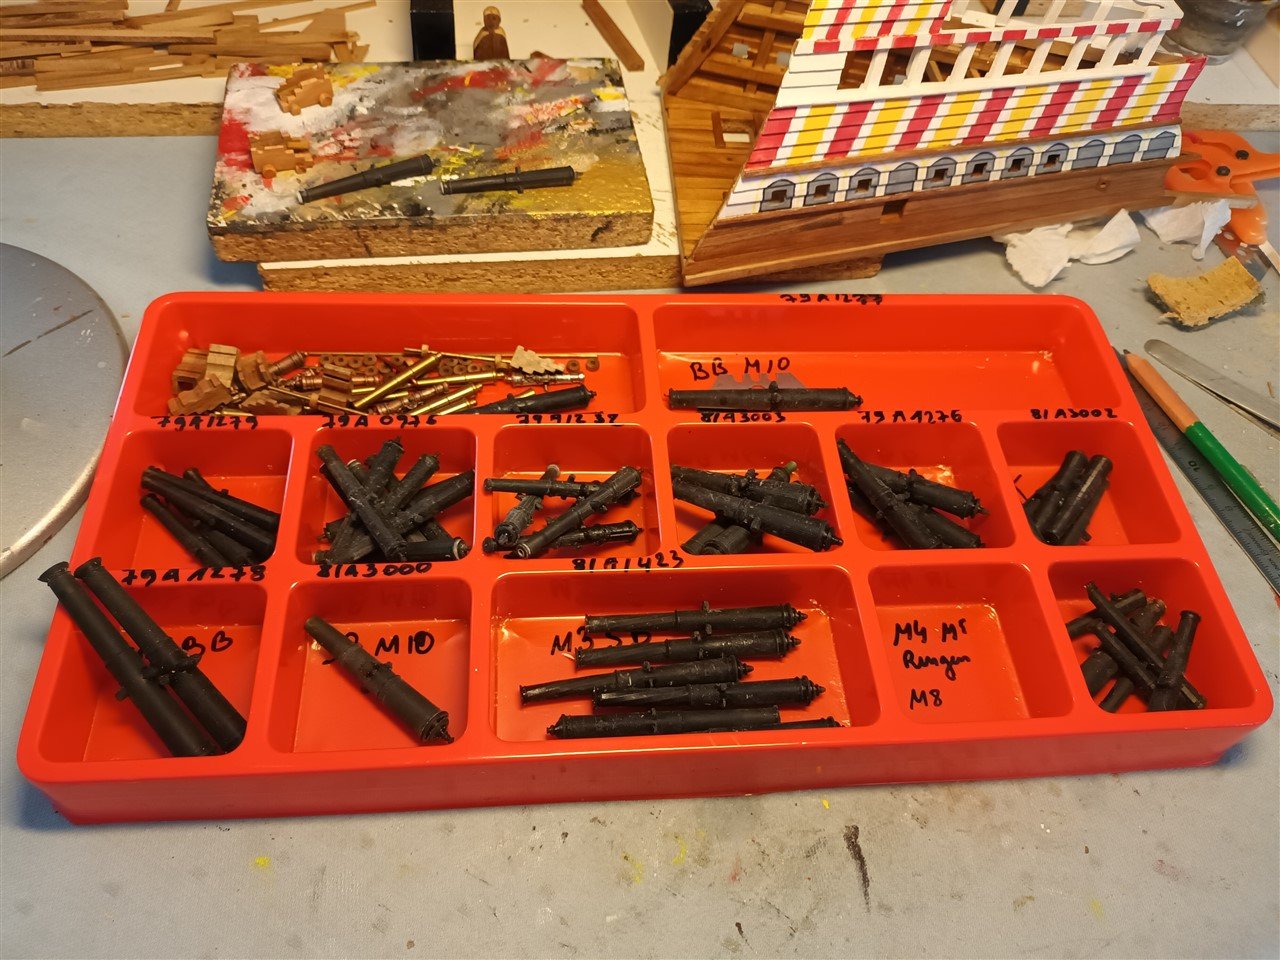
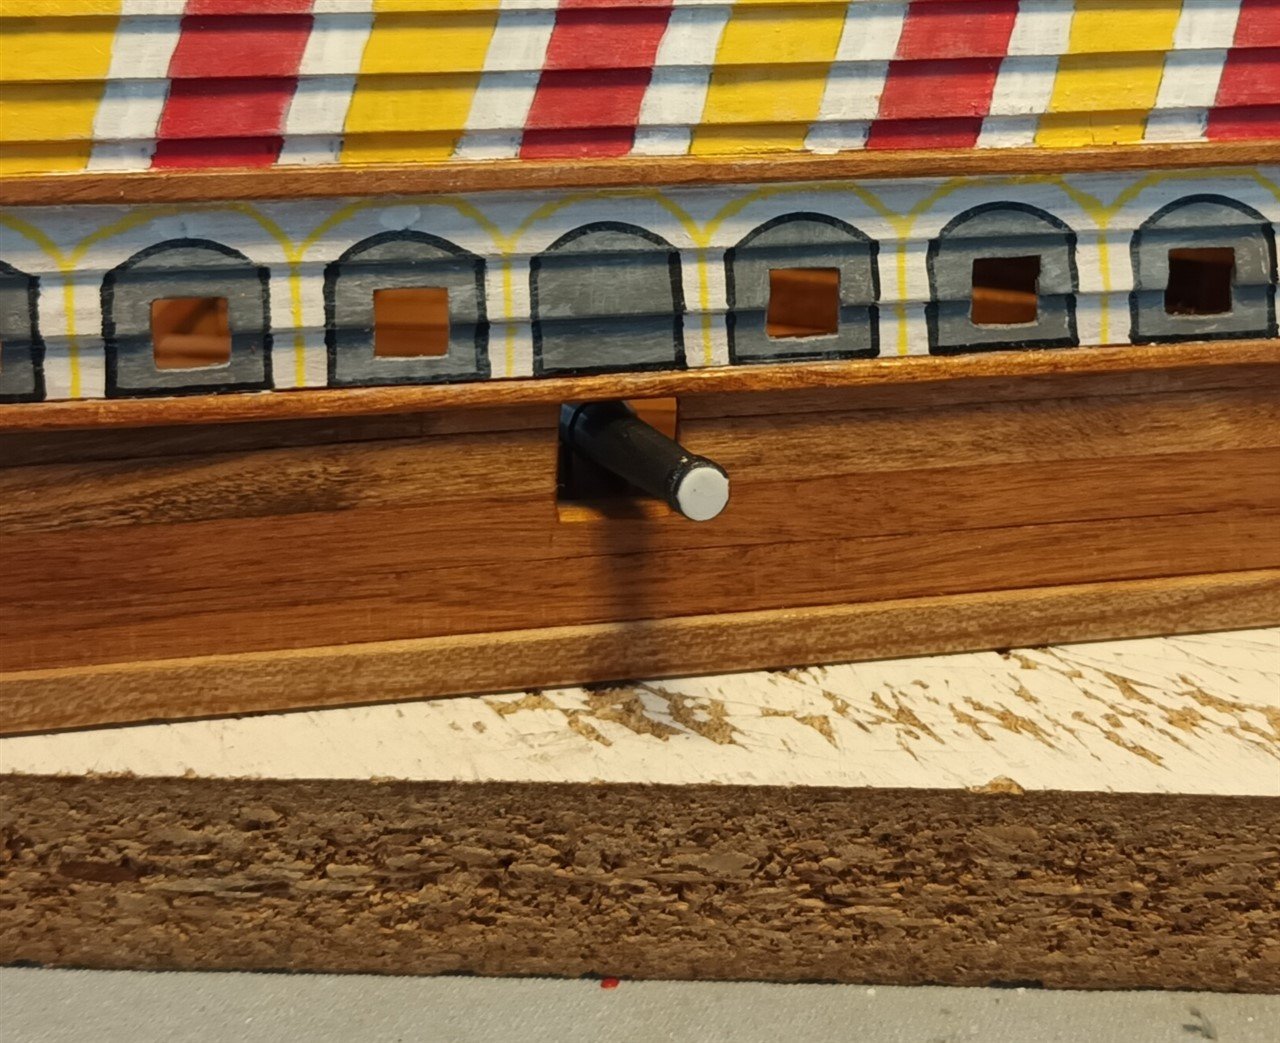
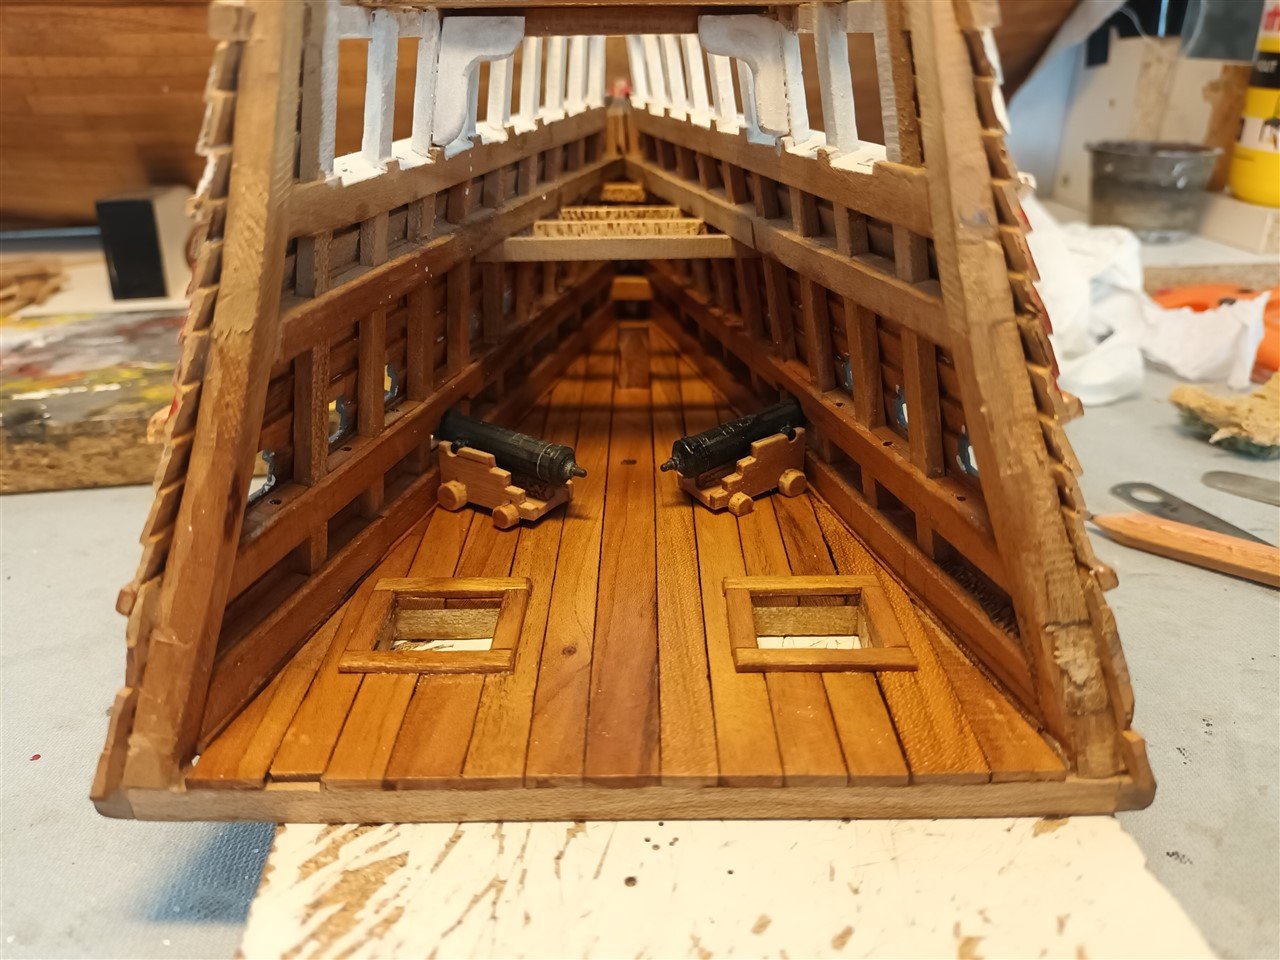
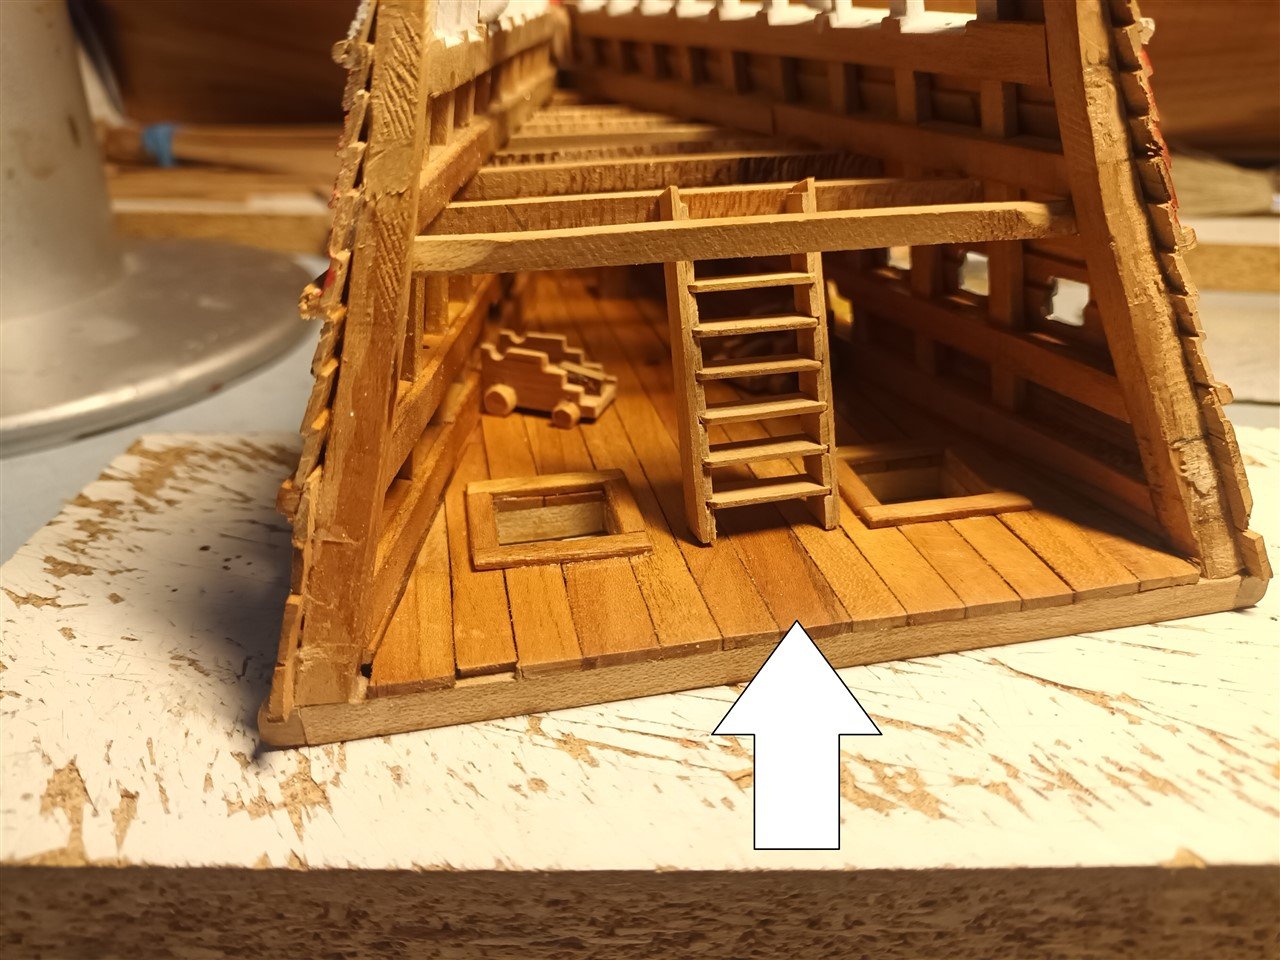
After a long break, we started again on Mary. The fore castle is painted, but the upper part was not really successful I thought. Too high and too green. So the height was adjusted. And repainted. Better, I think. Time to start on the 2 cannons in the fore castle. With special thanks to @henrythestaffy for the 3D printed cannons,much appreciated. (The brass cannons upper left are fore the Brandenburger yacht) there will be little to see of the carriages. So spend i little time on the details. Make wheels Use the crosscut saw to saw thin pieces. so that you can then knock out wheels across the grain. The barrels will be glued on later. A stair on both the sides is too much Then the stair to the upper deck must be in the middle. And that is just before the entrance (arrow). So from the lower deck a staircase on the starboard side. And to the upper deck a staircase on the port side. The error in the planking will be invissible later
-
Welkom
-
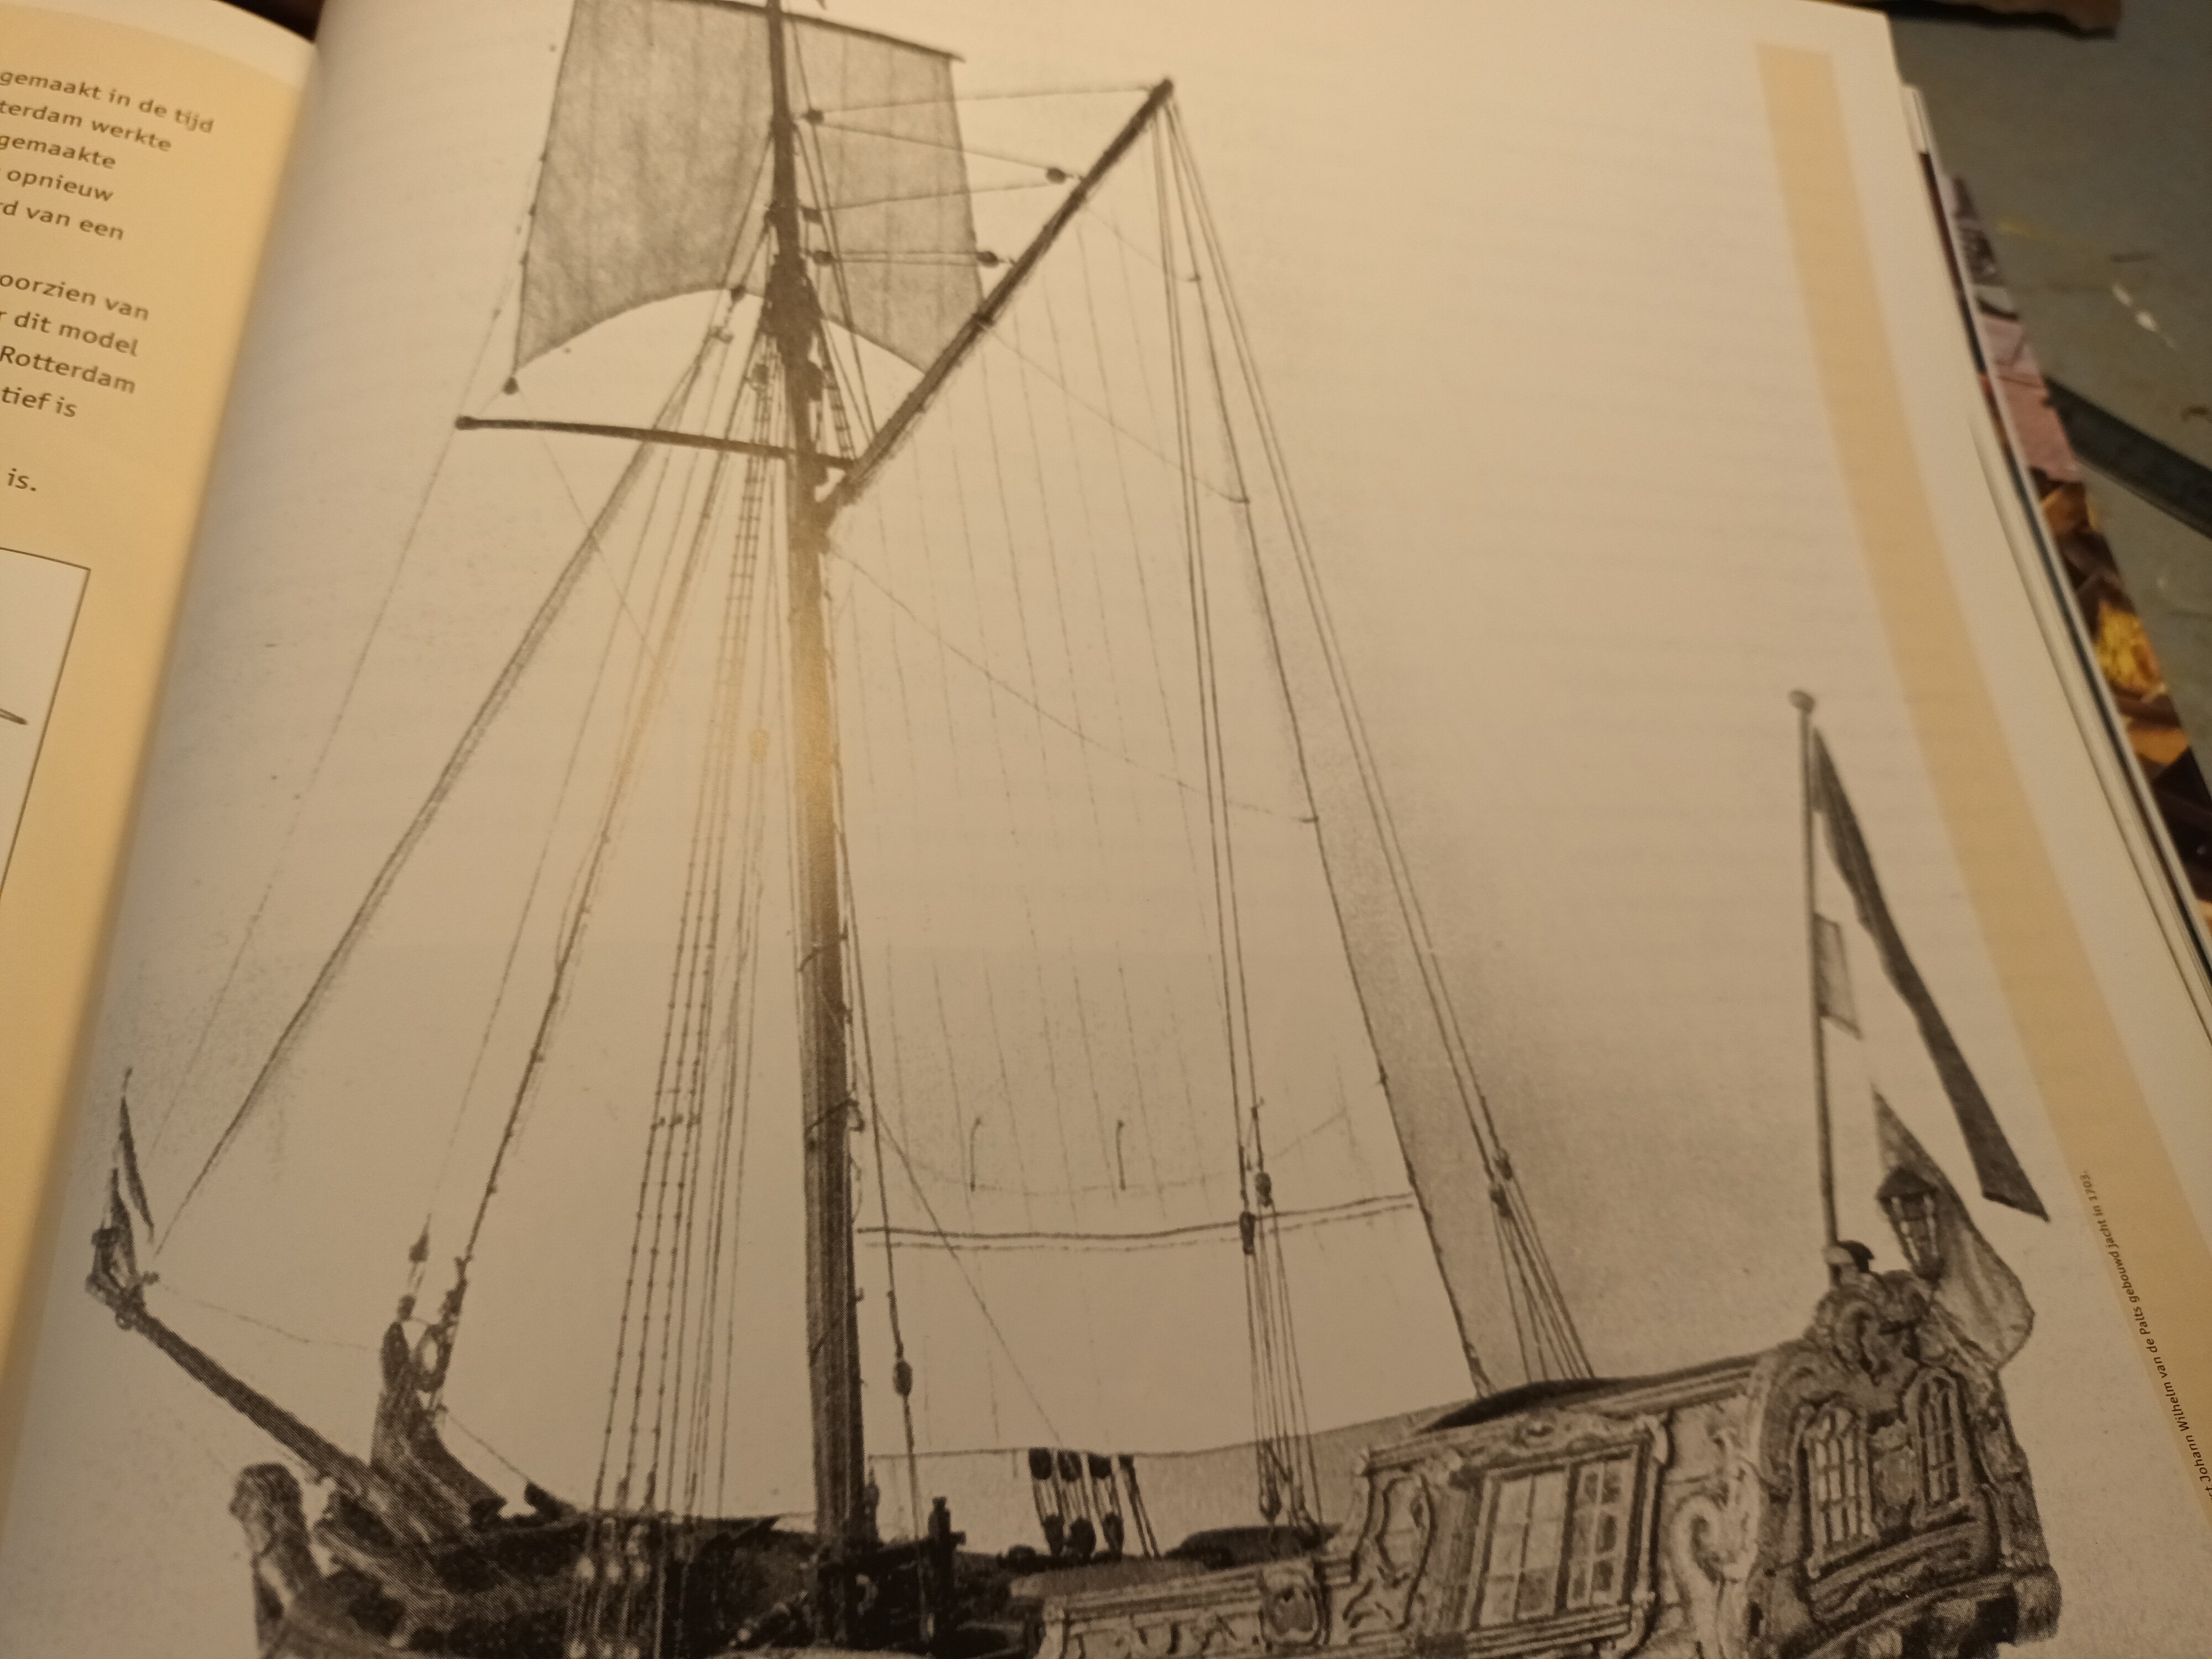
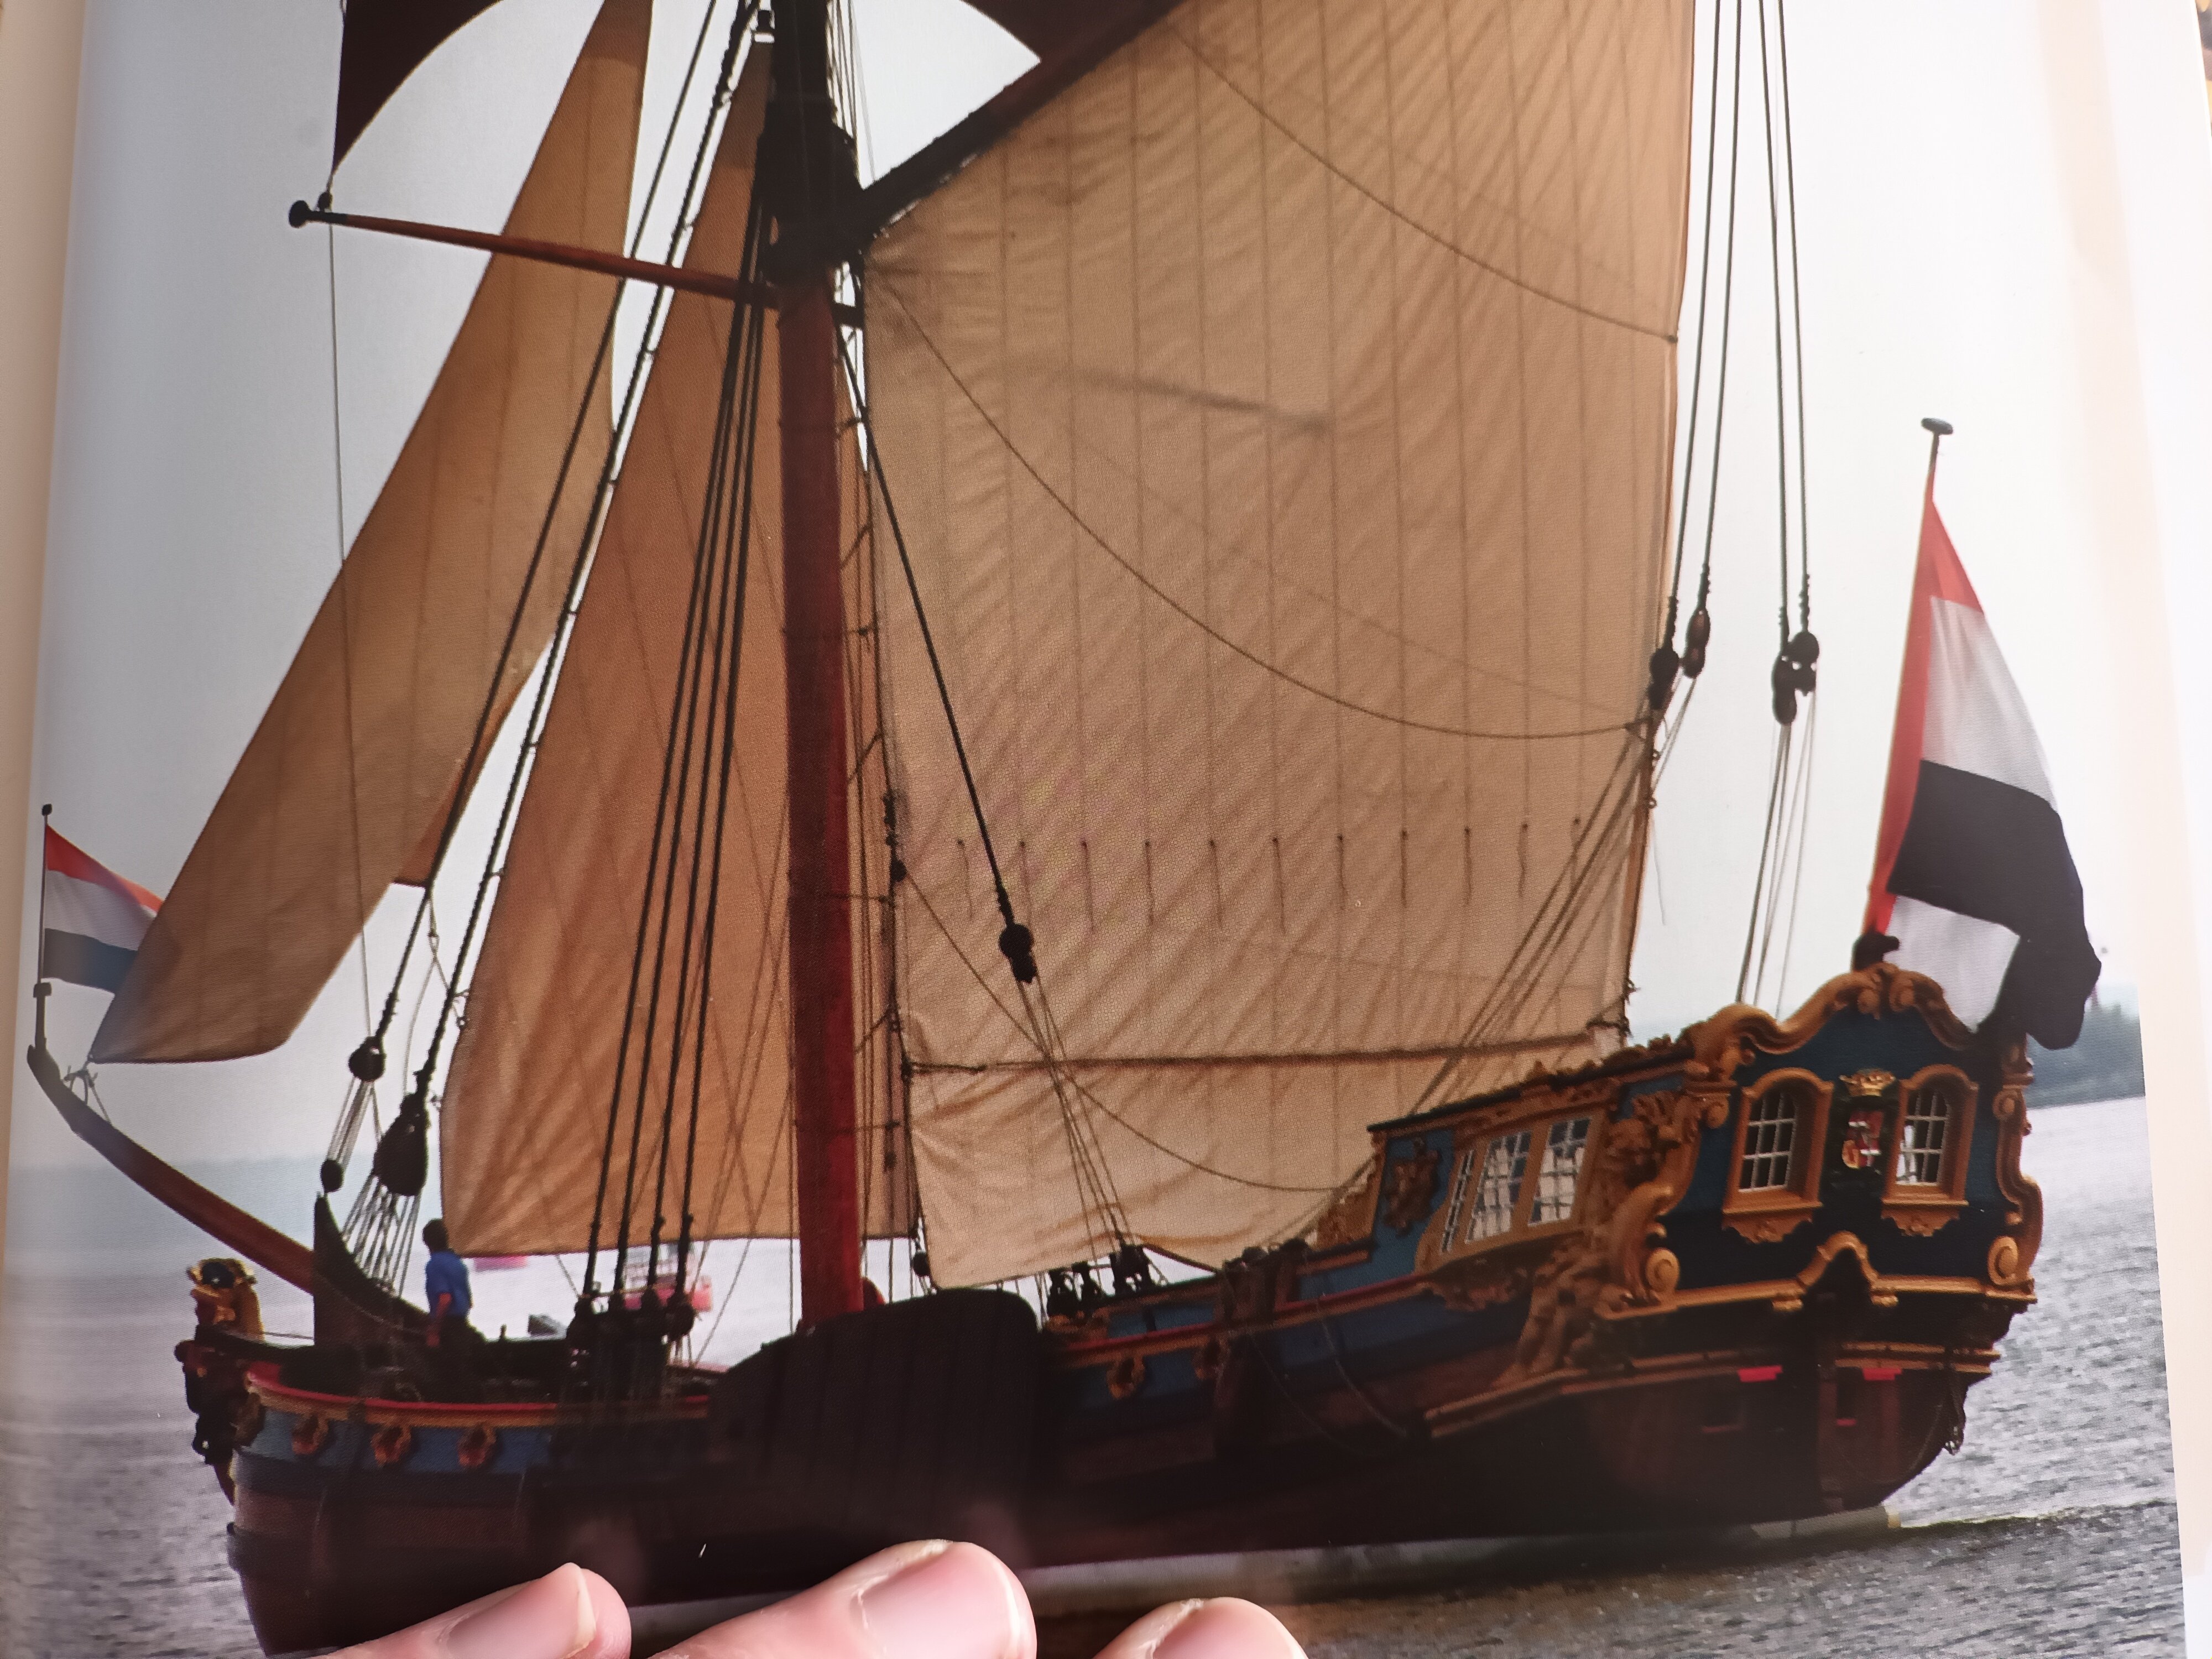
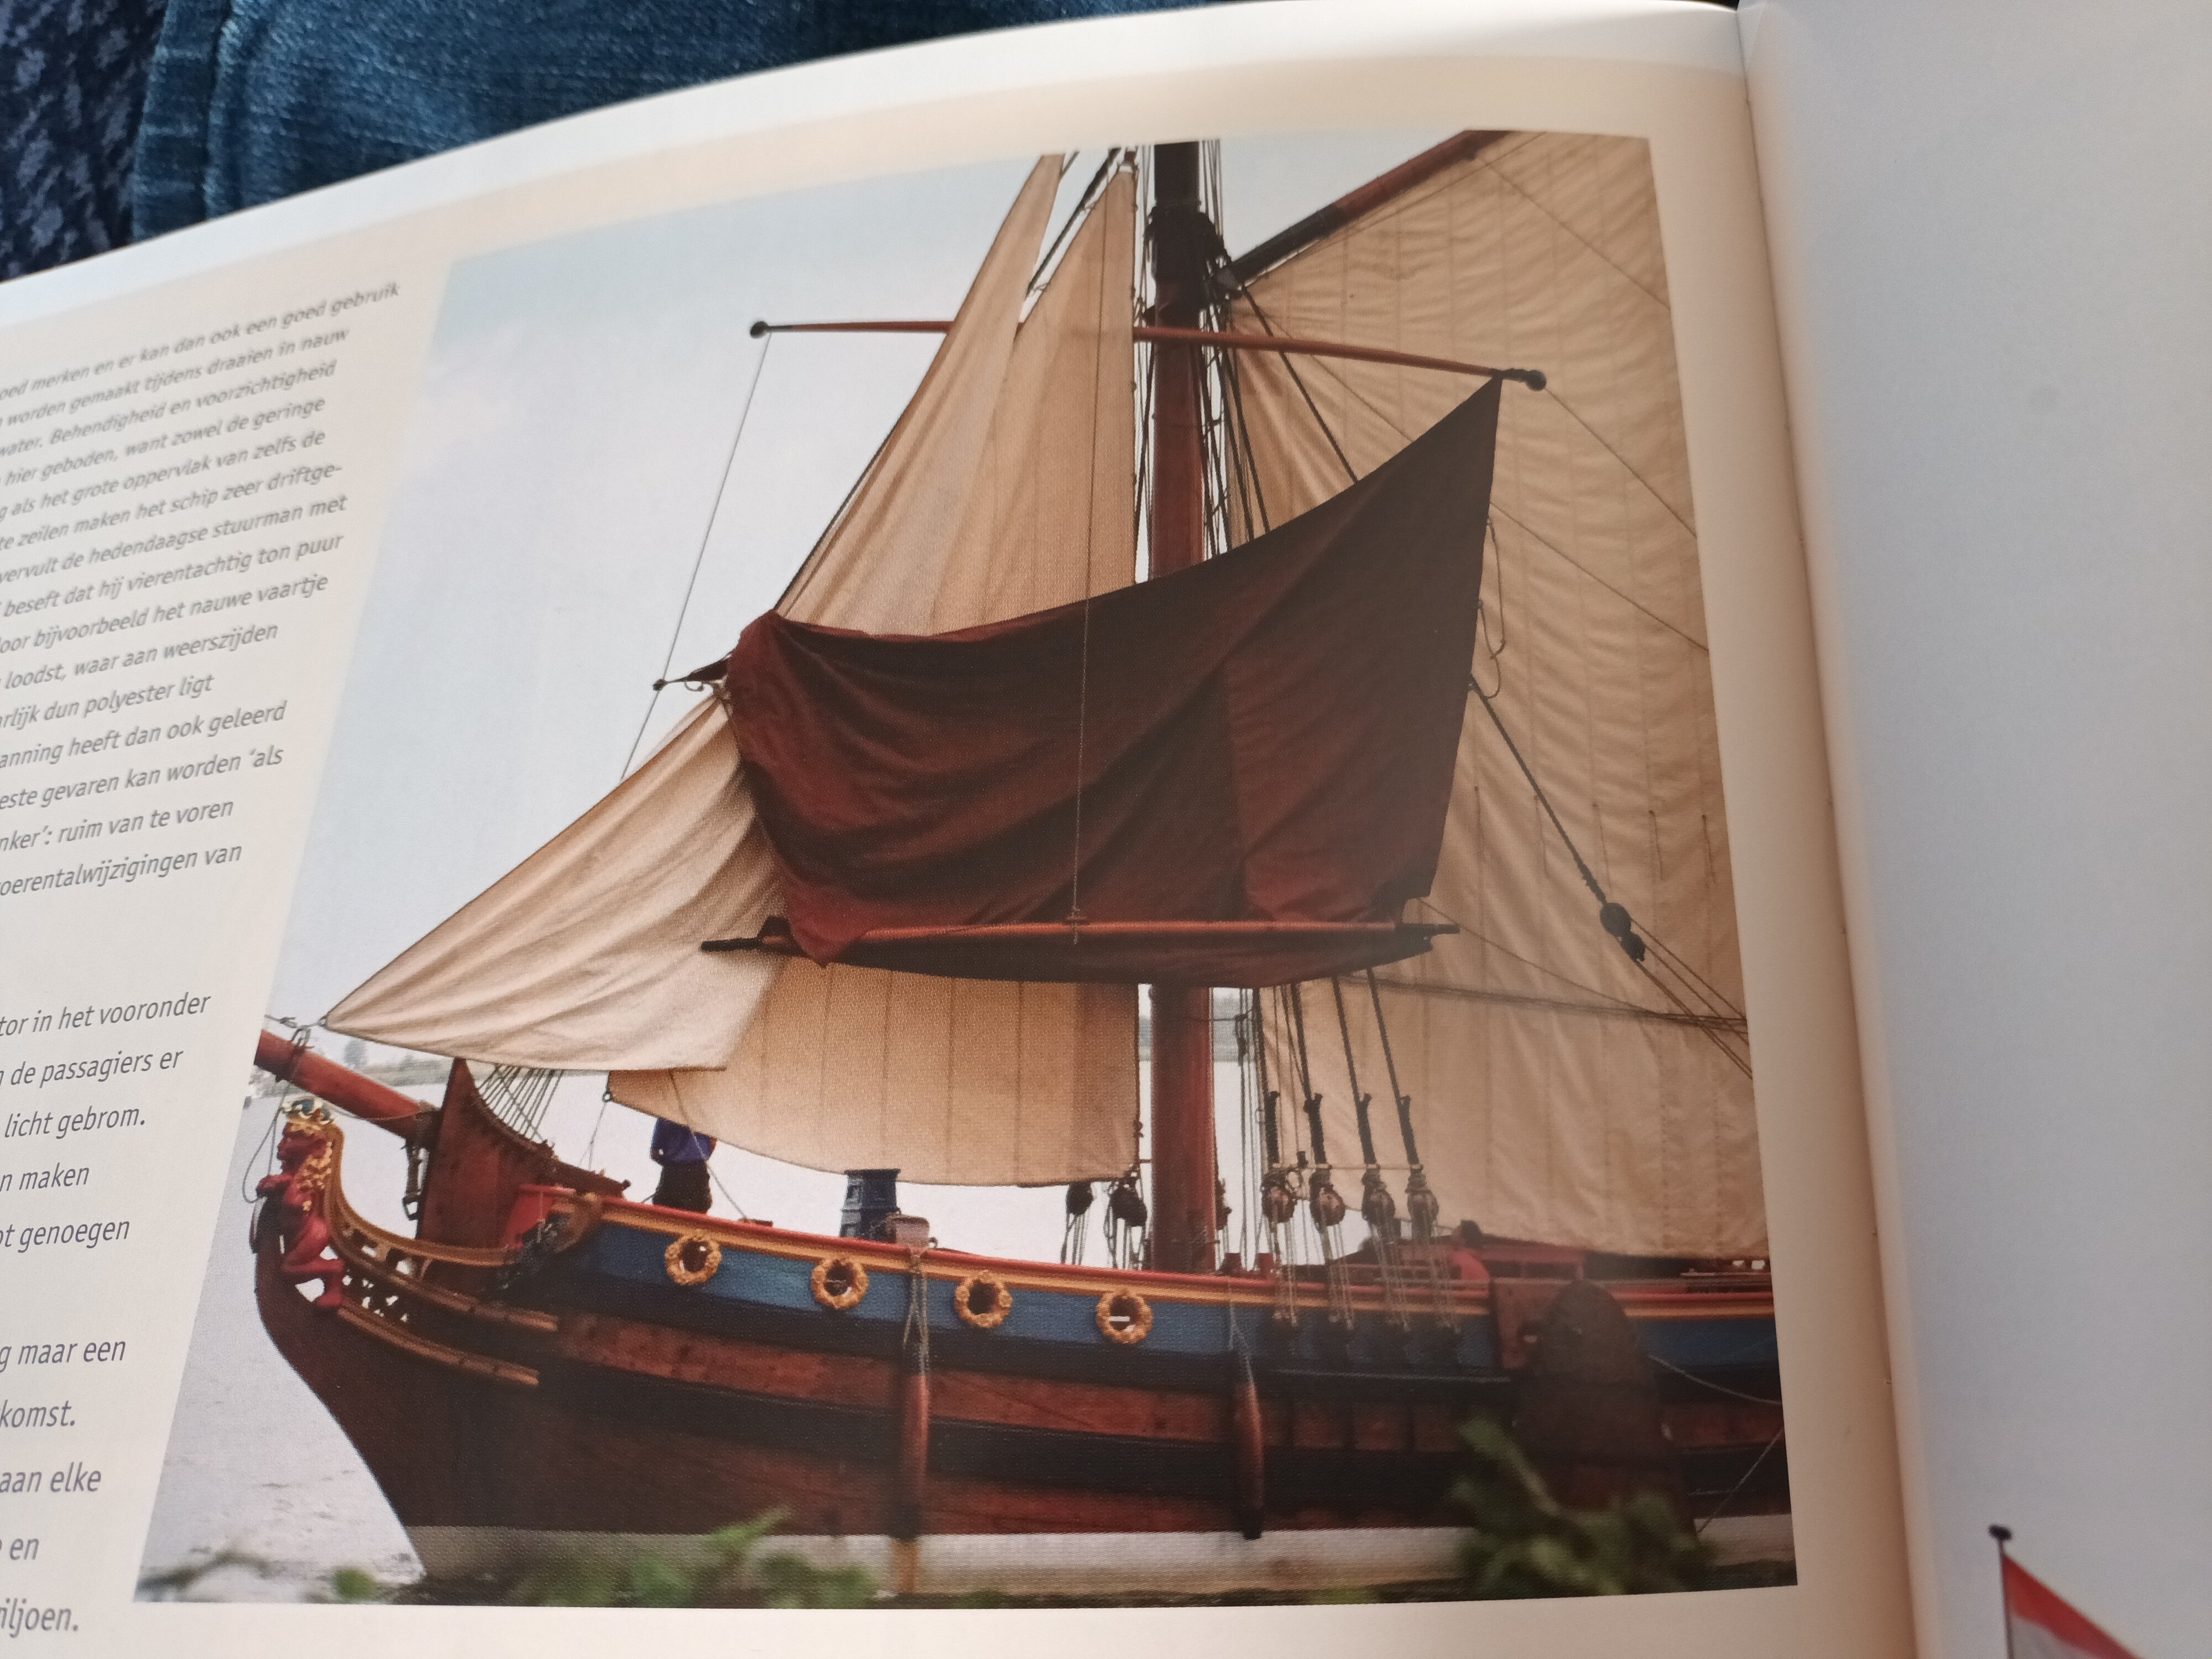
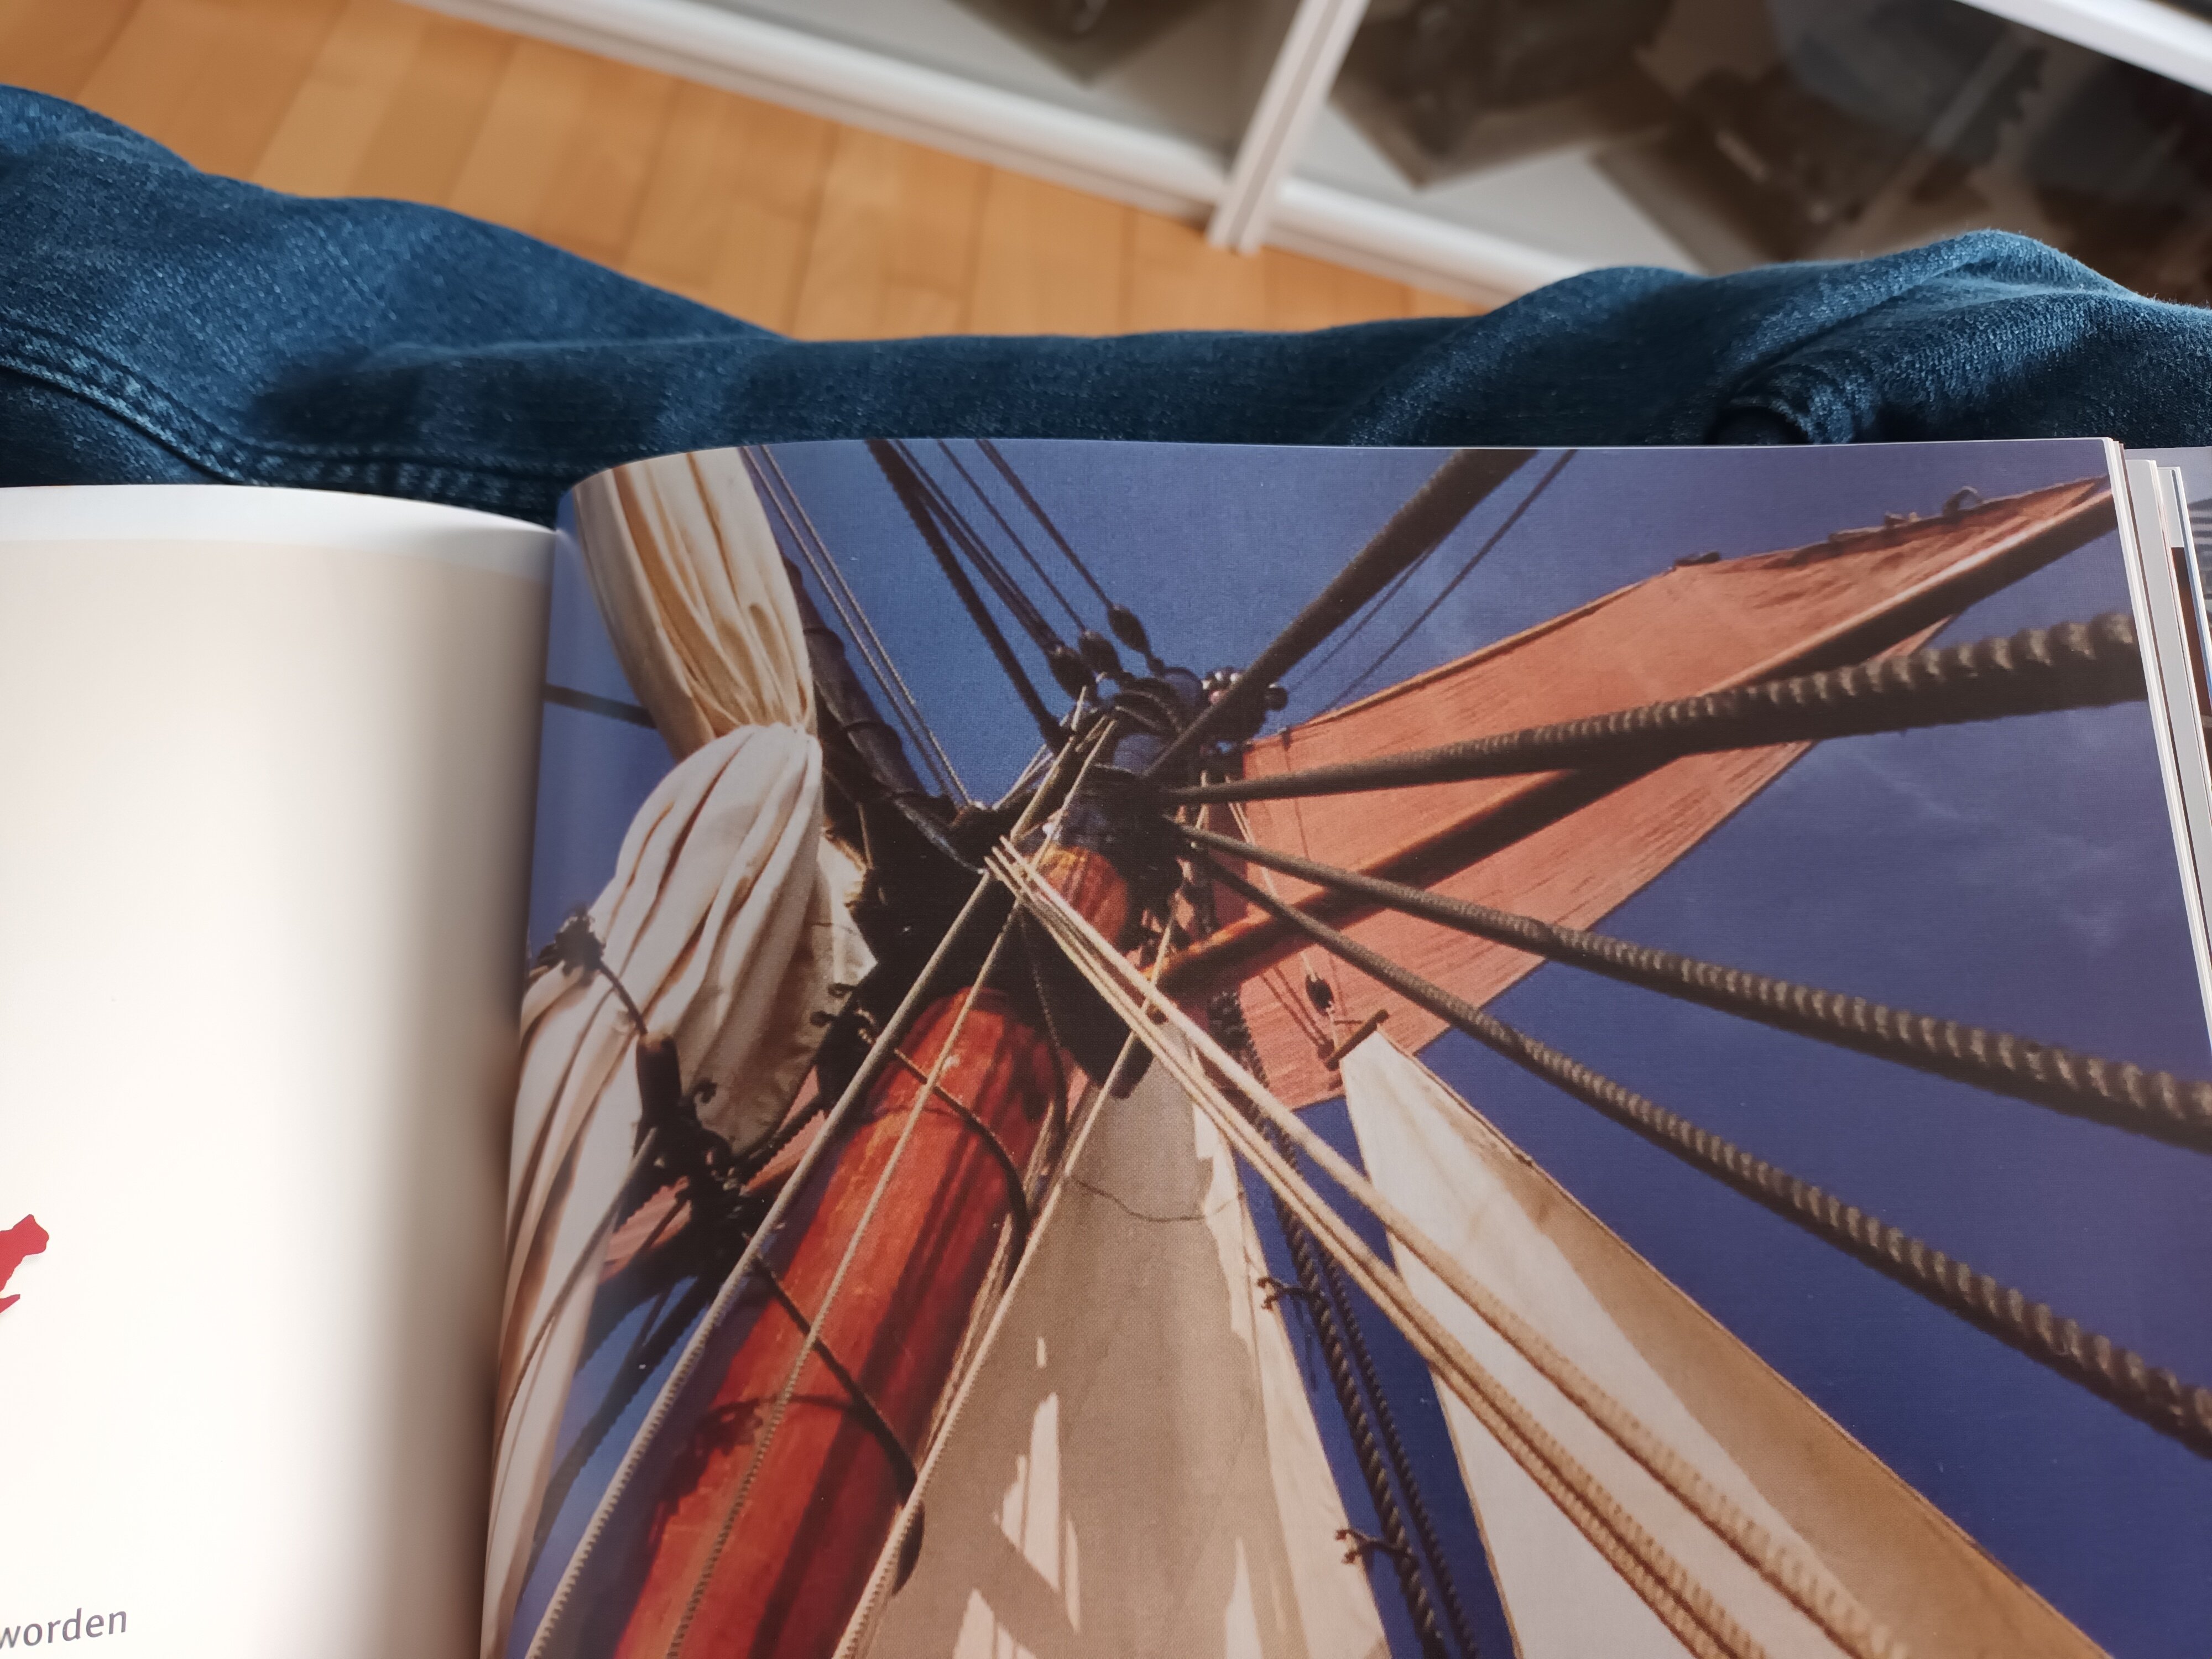
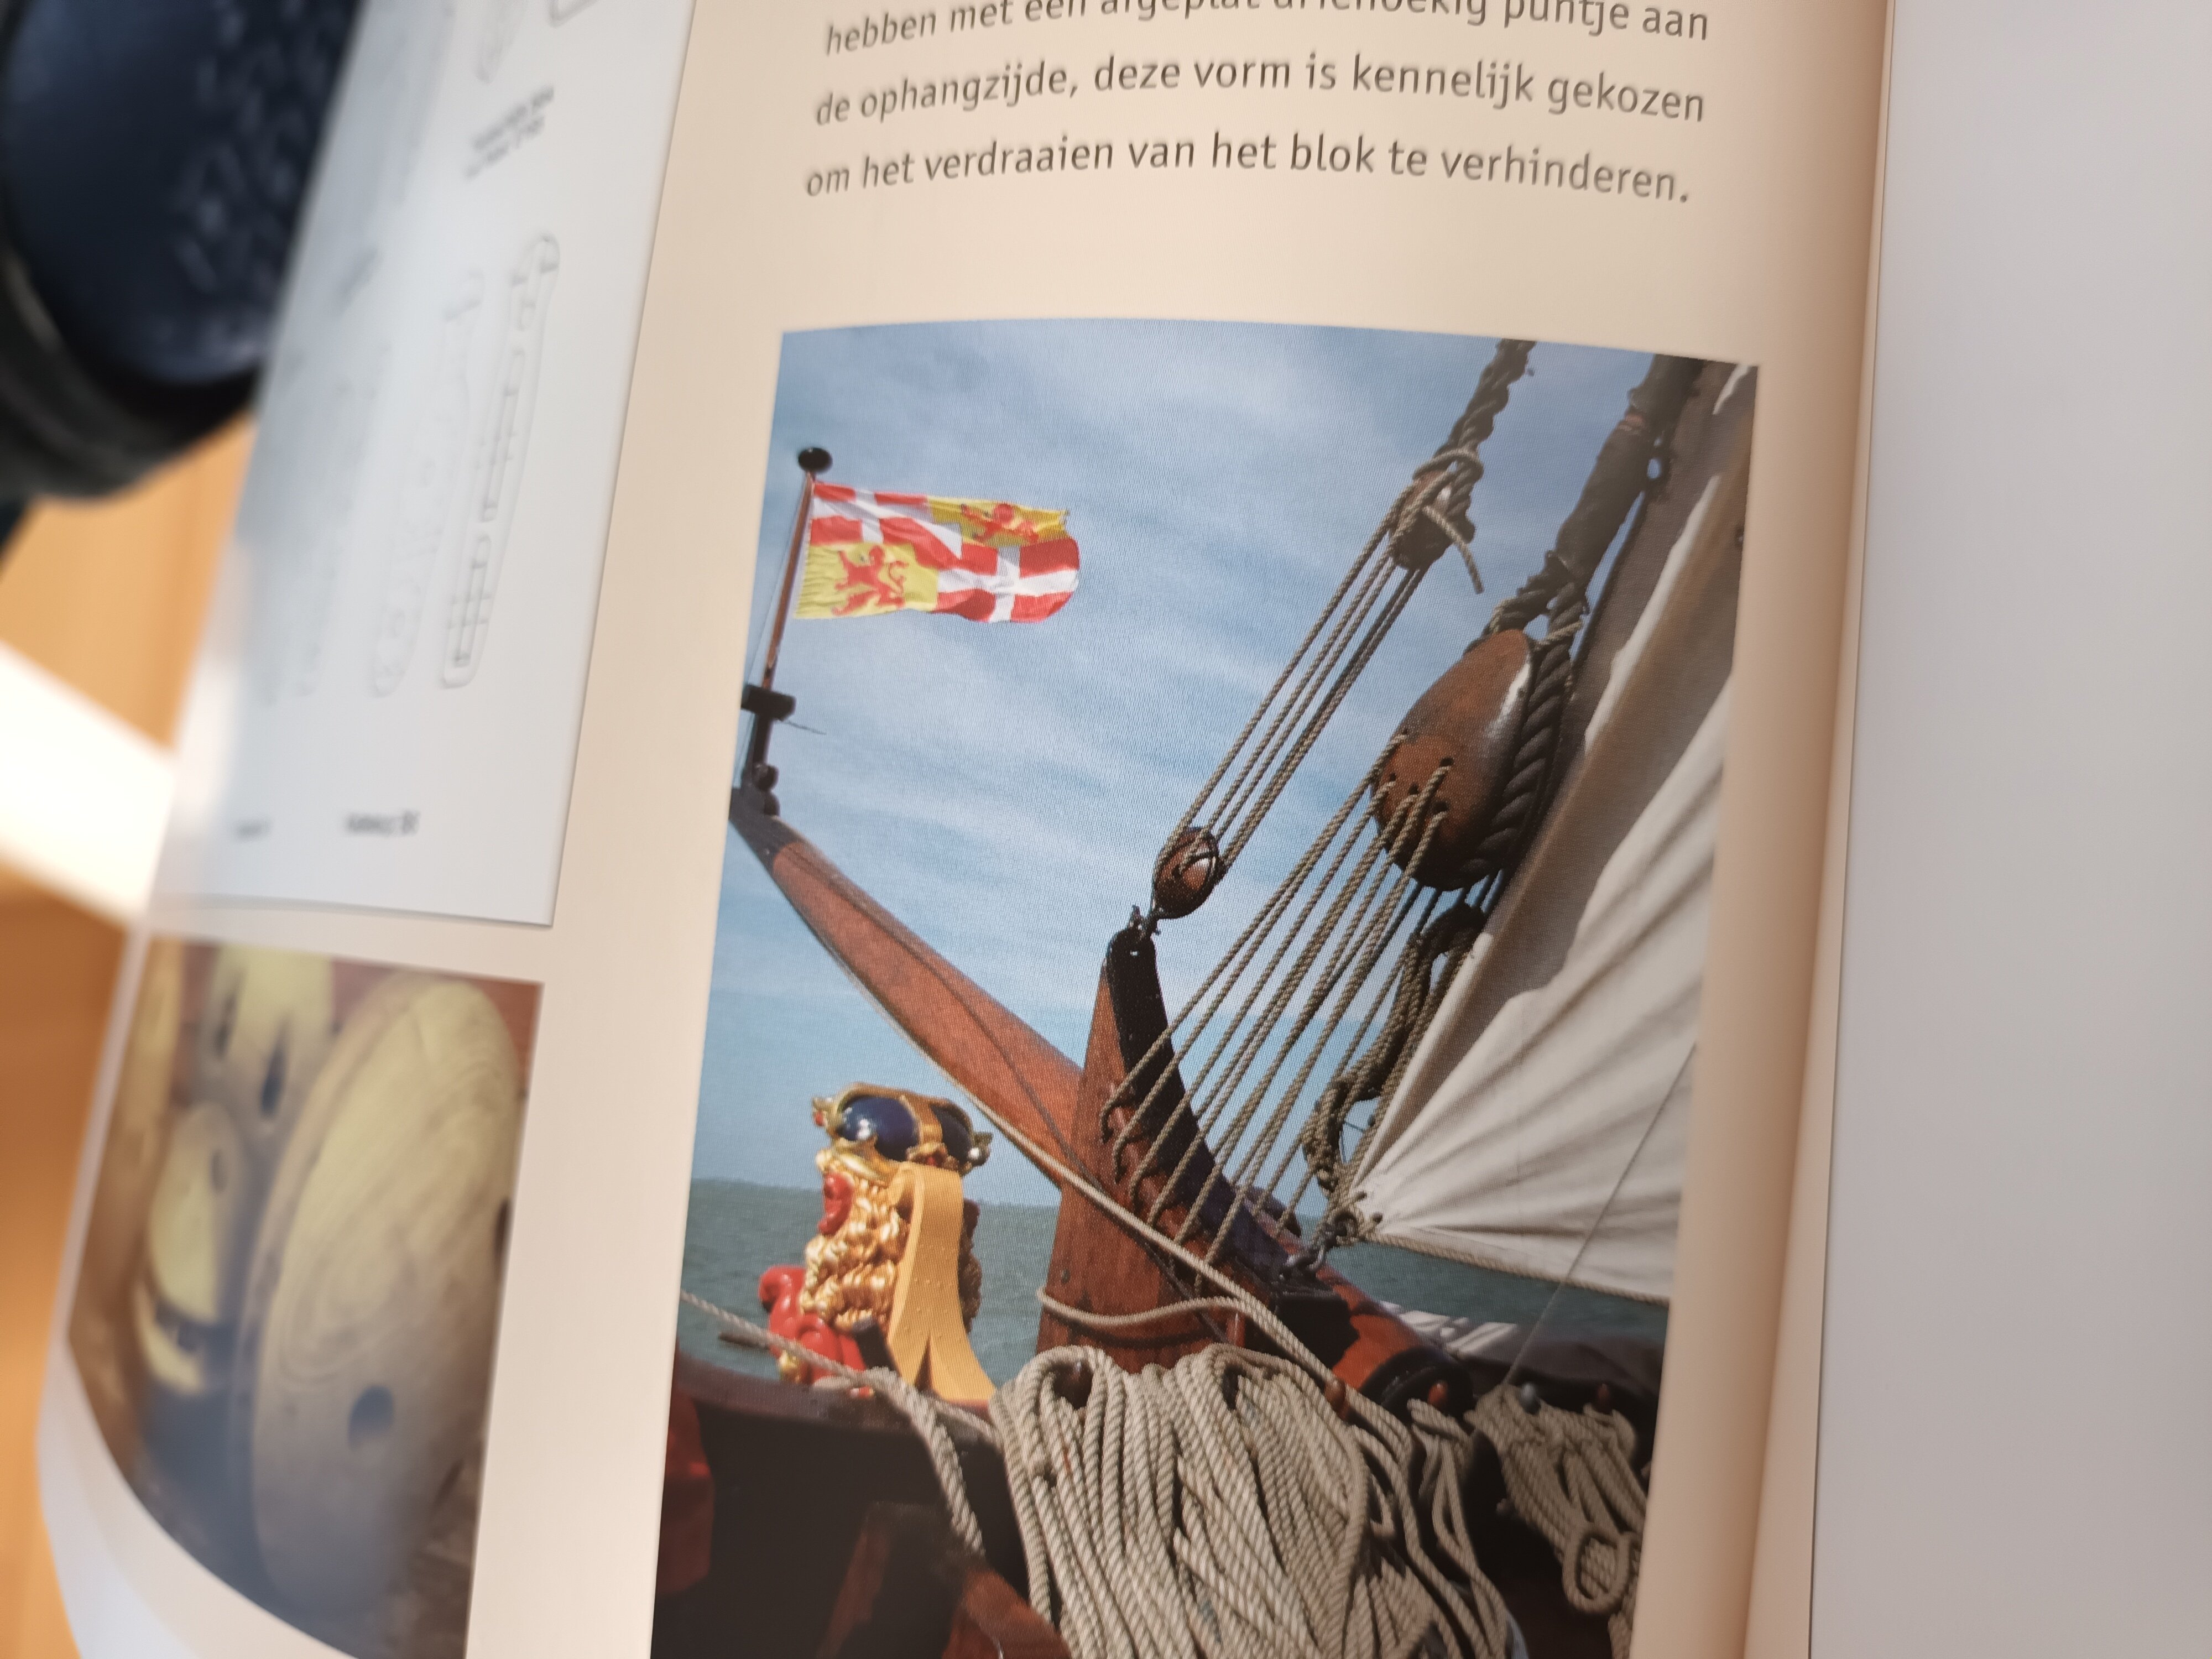
Miffed... don't. This is an old model with original rigging and sails.

- 82 replies
-
- 4
-
-
- Yacht Mary
- Mamoli
- (and 1 more)
-
Very beautiful work