Baker
-
Posts
3,651 -
Joined
-
Last visited
Content Type
Profiles
Forums
Gallery
Events
Everything posted by Baker
-
-
-
 Nice work 👍
 -
-
Hello & HNY on 123123 from Philadelphia
Baker replied to ChiefScienceOfficerDrew's topic in New member Introductions
- 11 replies
-
- 2
-

-
- racing sailboats
- commercial ships
- (and 1 more)
-
Ship in trouble by Ab Hoving - FINISHED
Baker replied to Ab Hoving's topic in - Build logs for subjects built 1501 - 1750
I'm glad the operation went well and you're feeling better again. A wrecked ship. This will be an interesting project. -
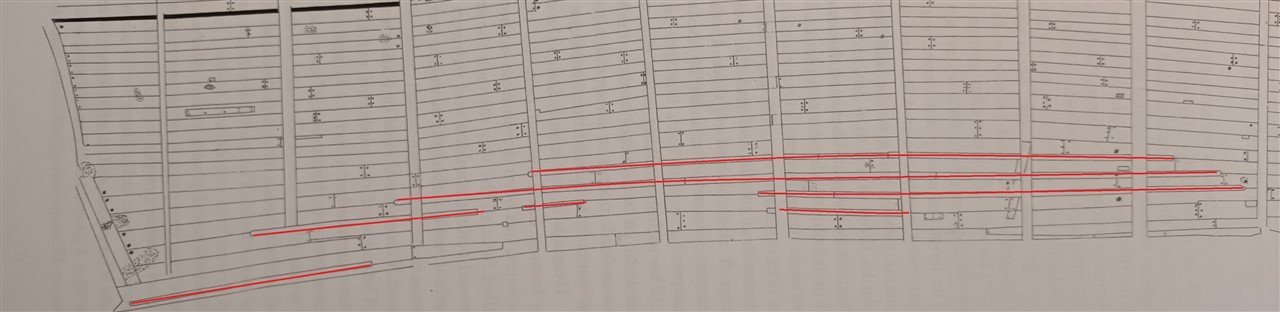
Thanks. No. I had no gaps in my little planks. But remember, on the original ship these planks were 10cm thick, 40 or 50 cm wide and meters long. Not easy to handle and to adjust once placed on the ships hull. So, if there is a gap between 2 planks under the waterline. Nail a batten over the gap, once the ship is launched. Gap, batten....? Where???😇. (My opinion 😉)
-
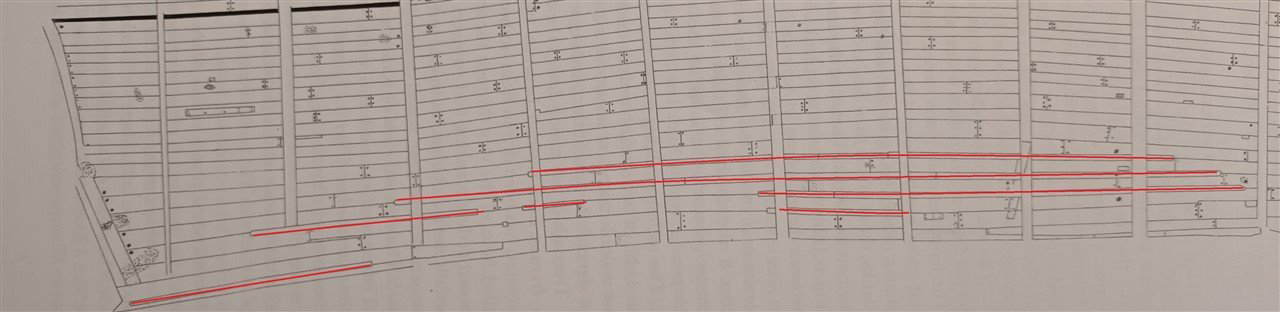
Only on the red lines
-
Russian modern armoured vehicles by Baker - ACE - 1/72
Baker replied to Baker's topic in Non-ship/categorised builds
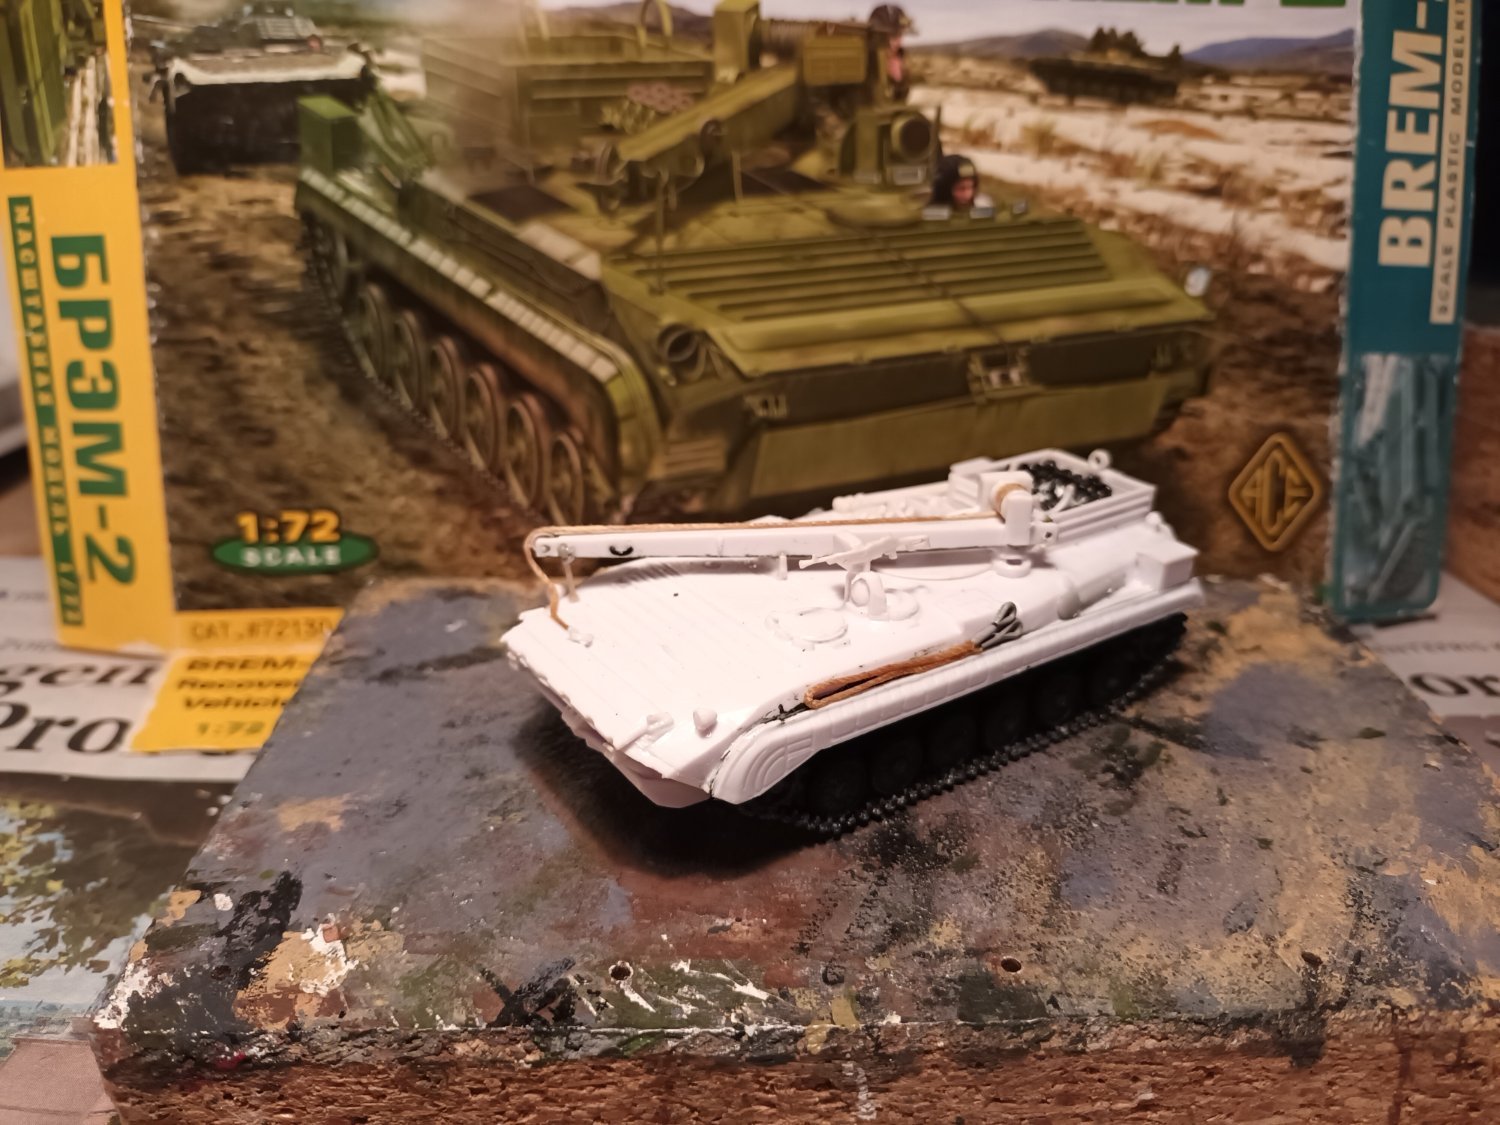
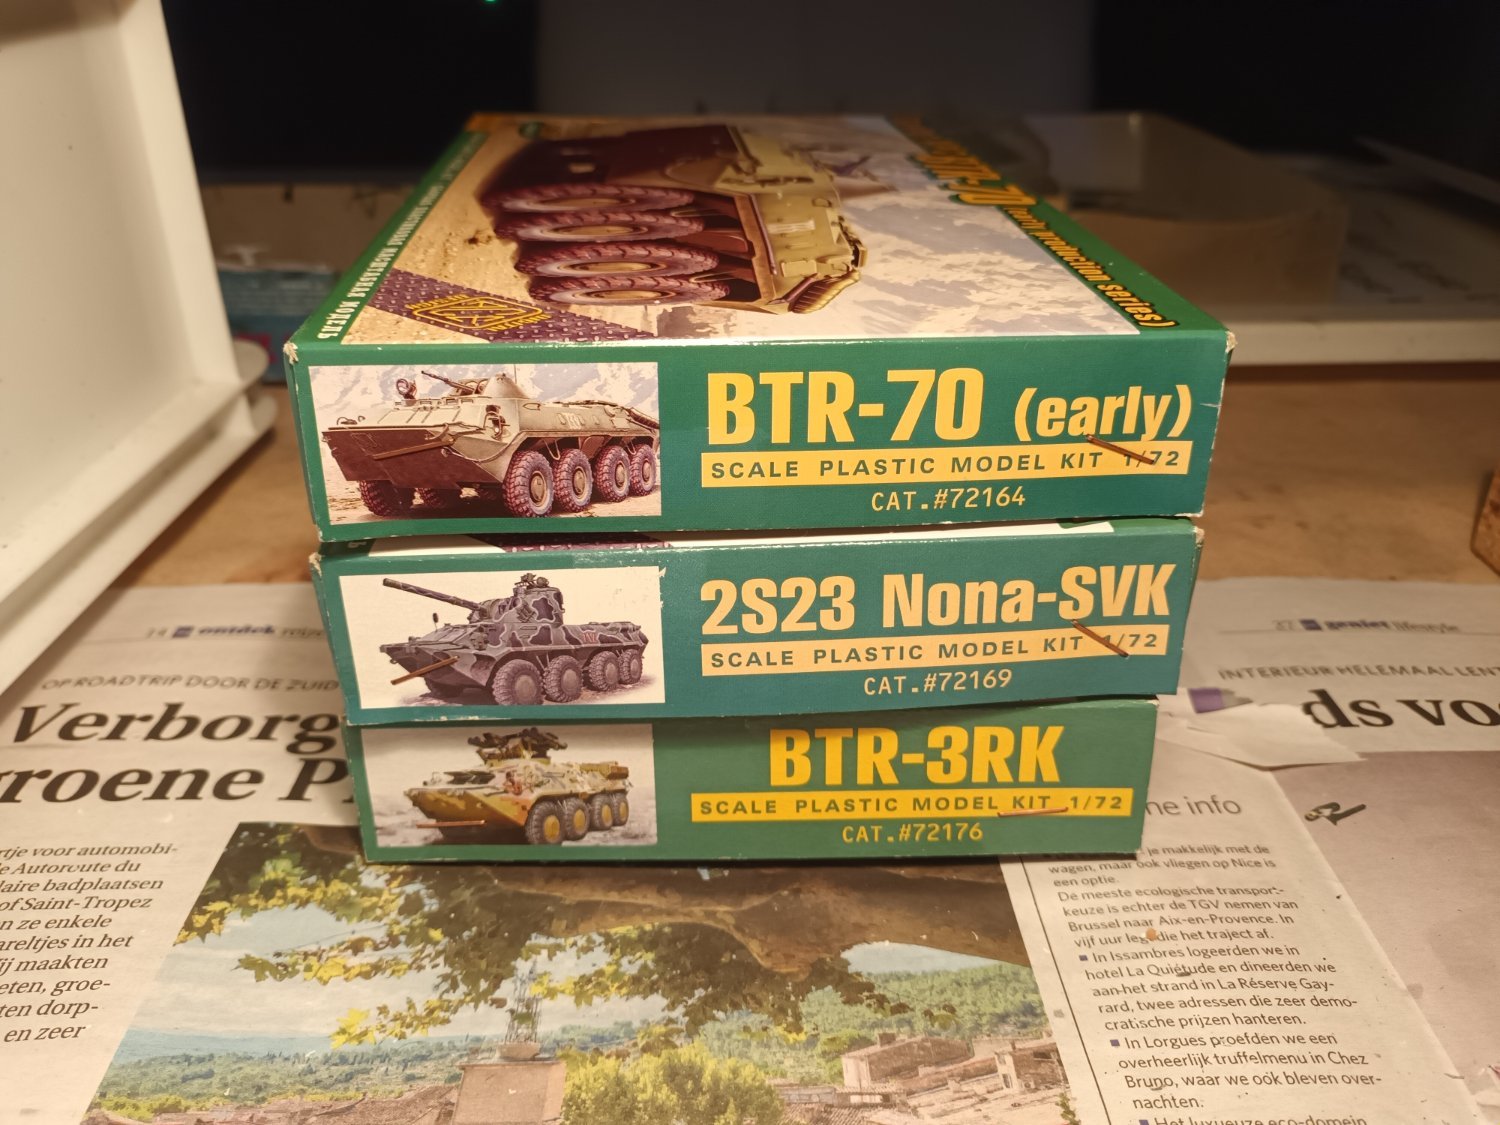
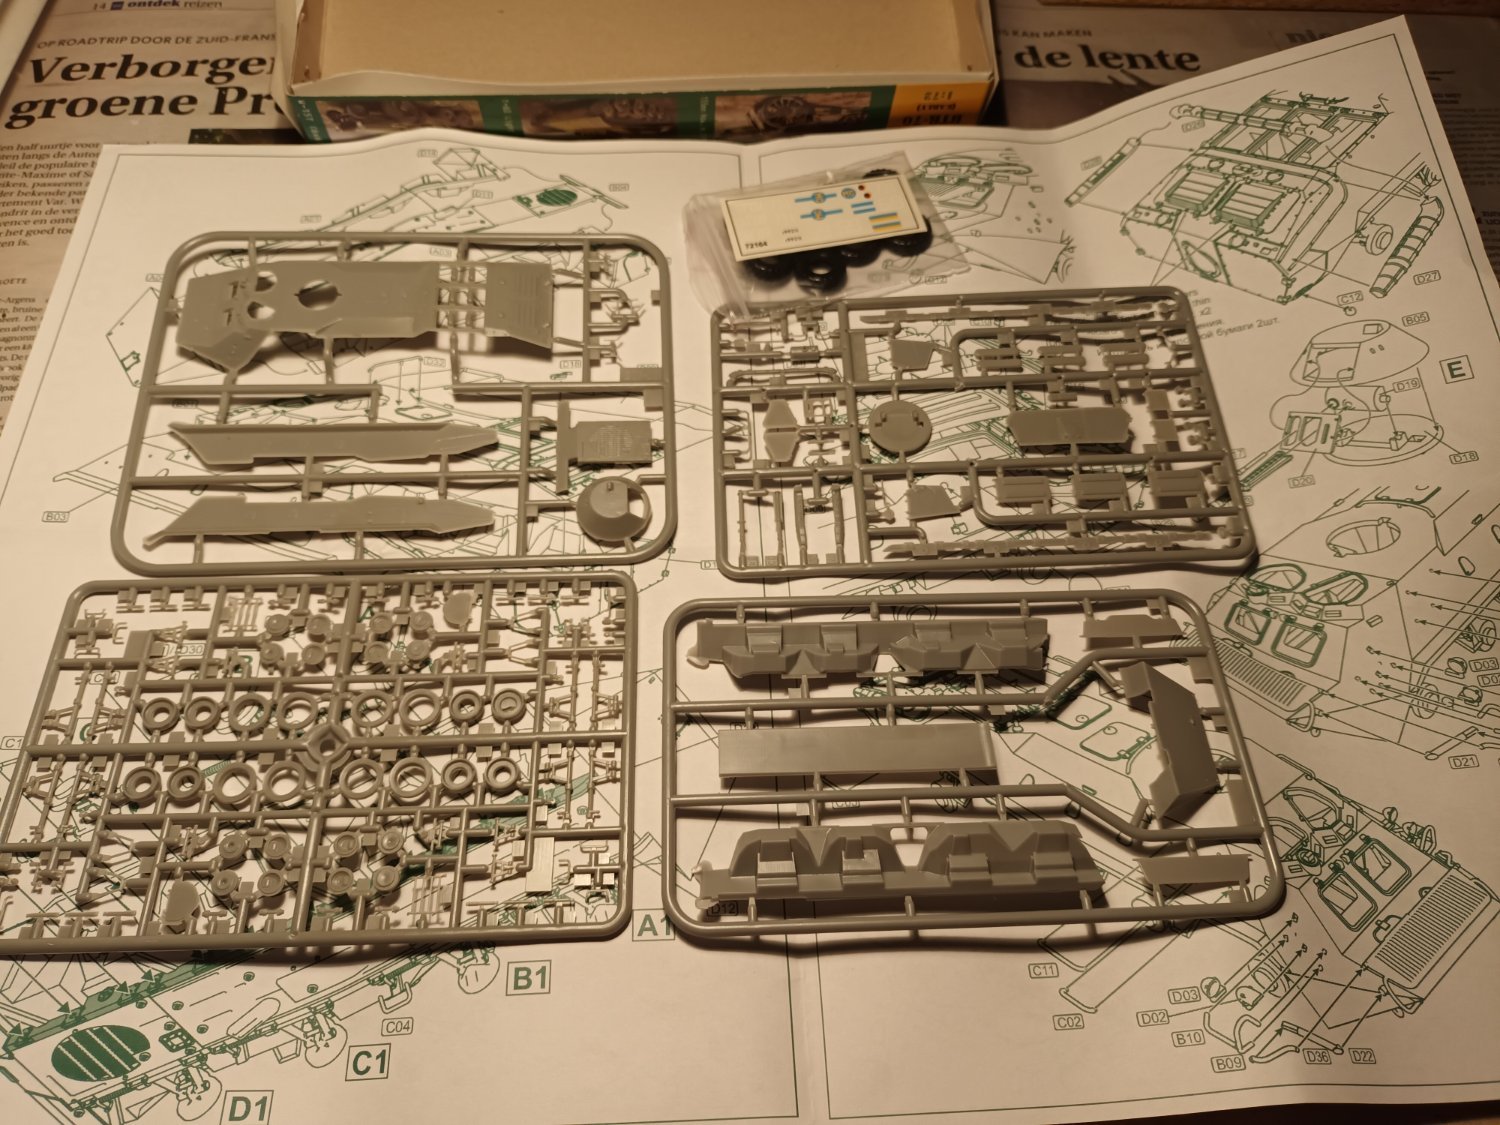
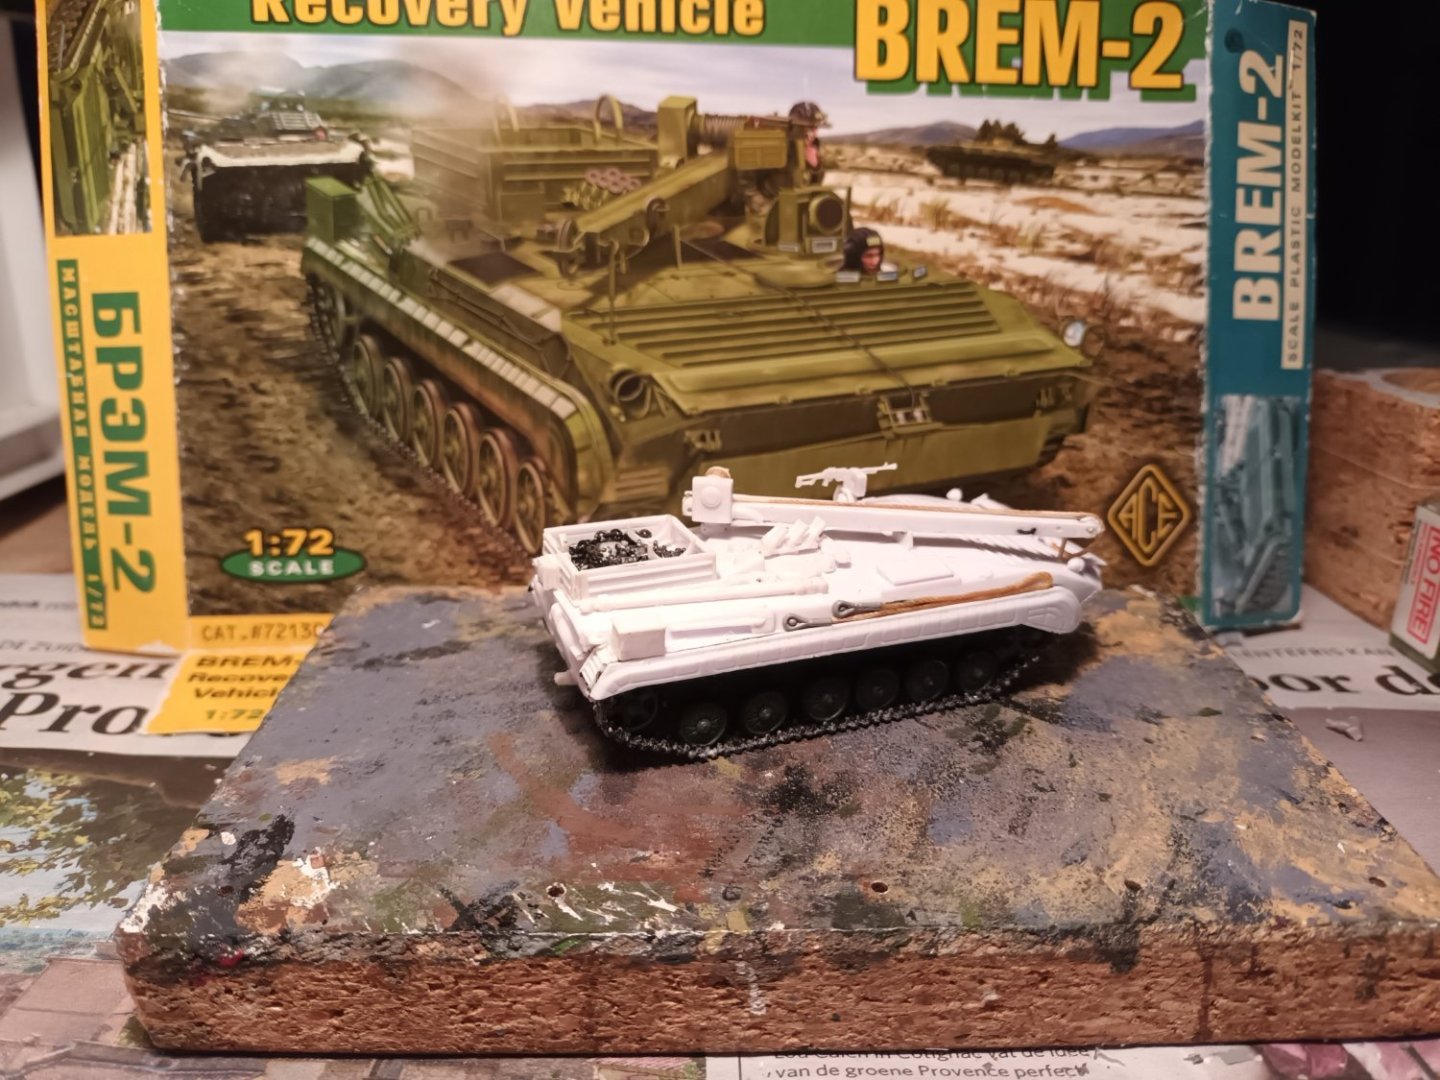
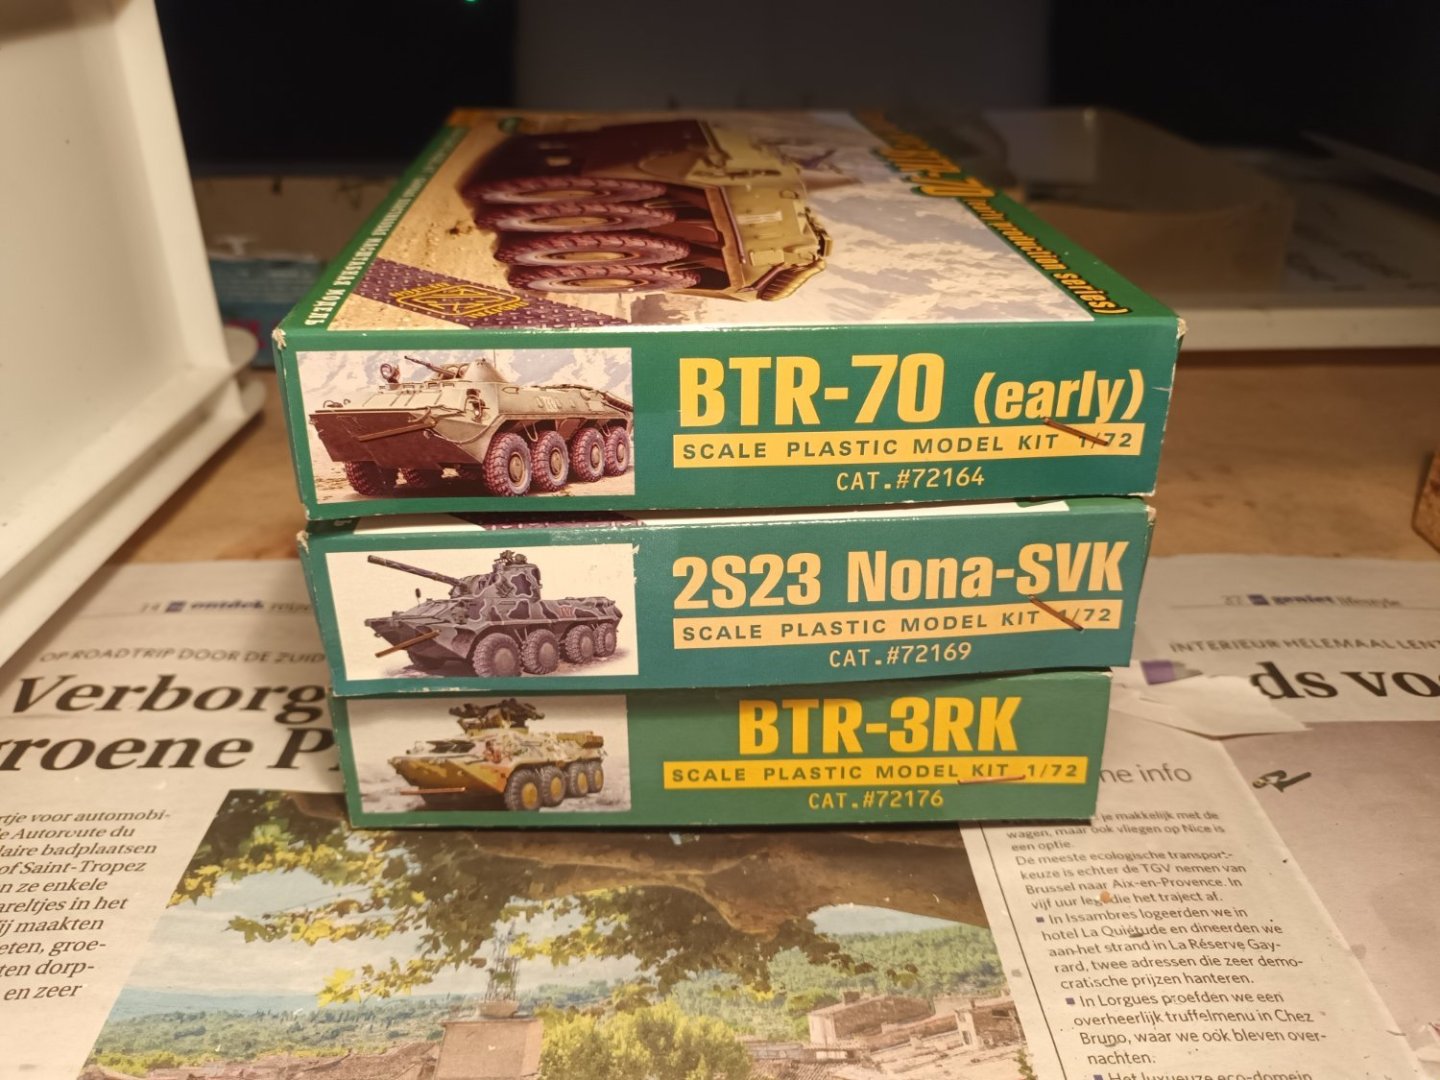
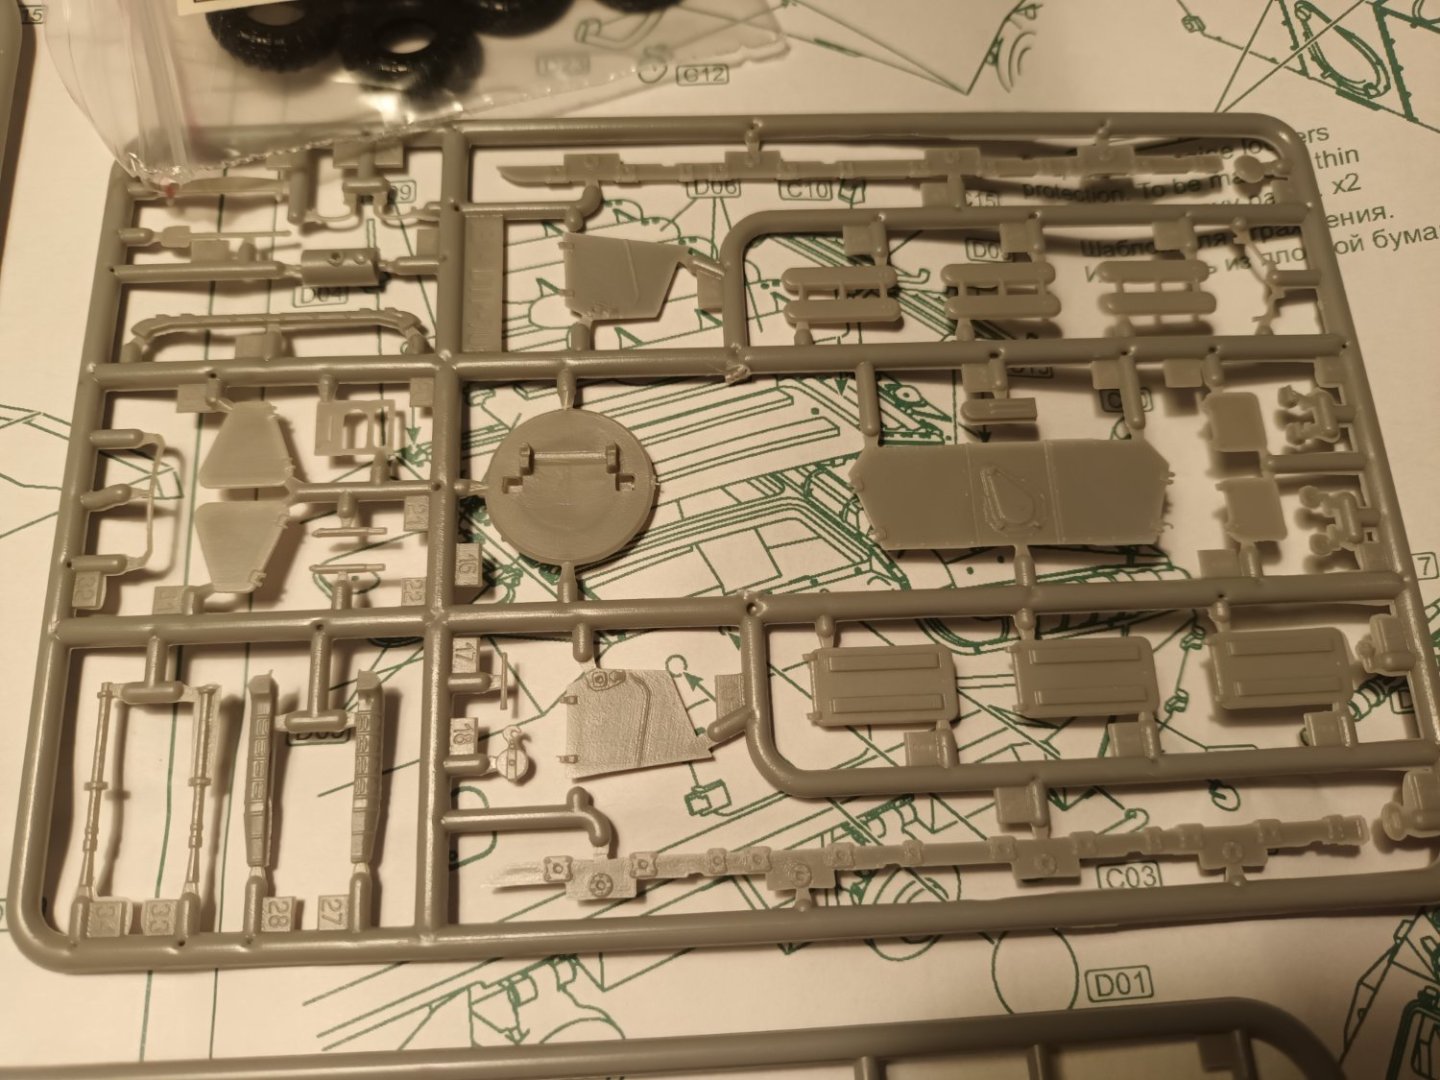
The side skirts, all other parts and some extras are in place, so the model ready for painting Next, 3 armoured cars. The idea is to build them in a series Unlike previous models, sharply cast parts

-
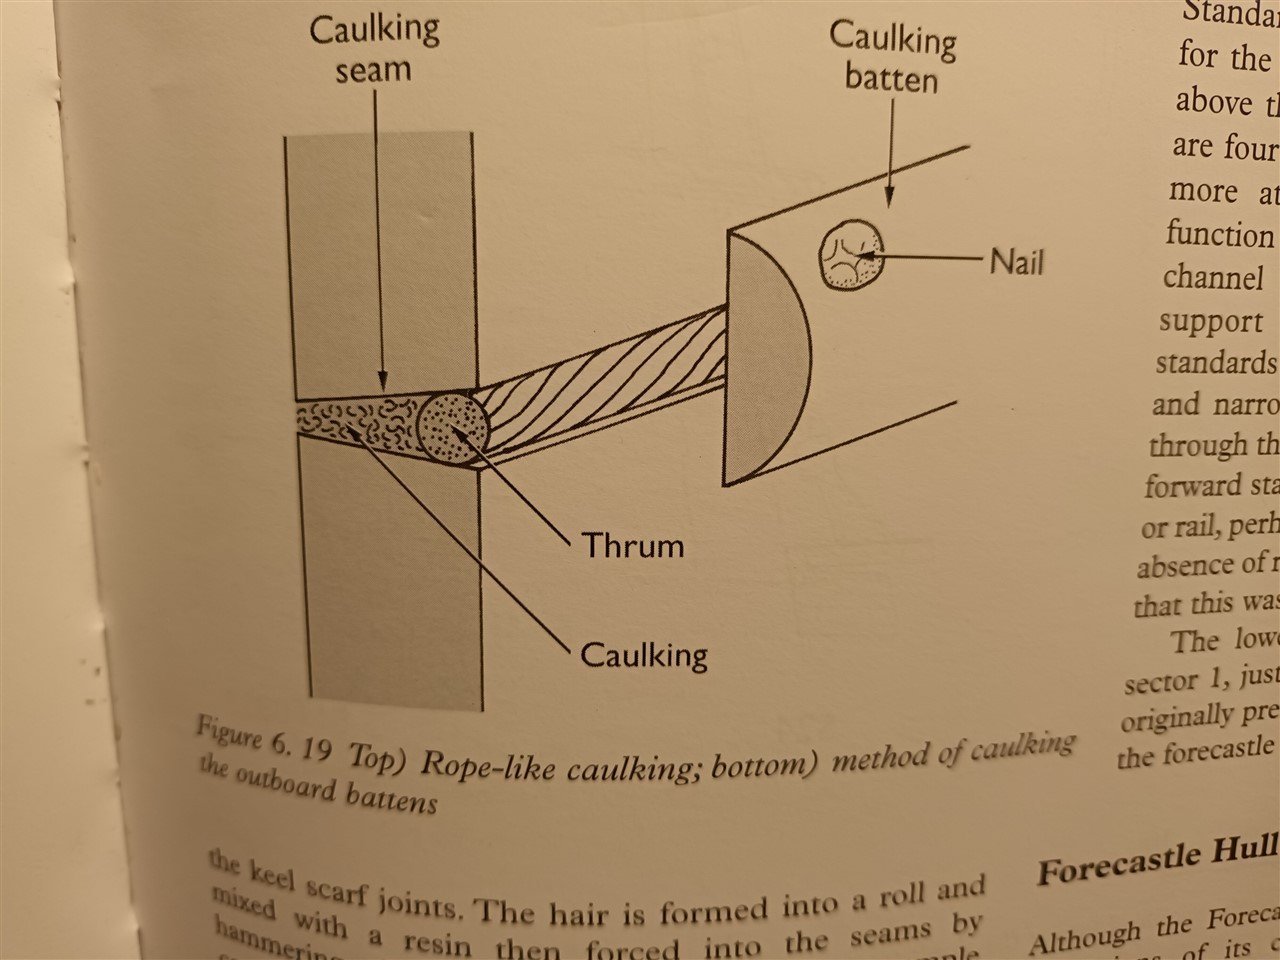
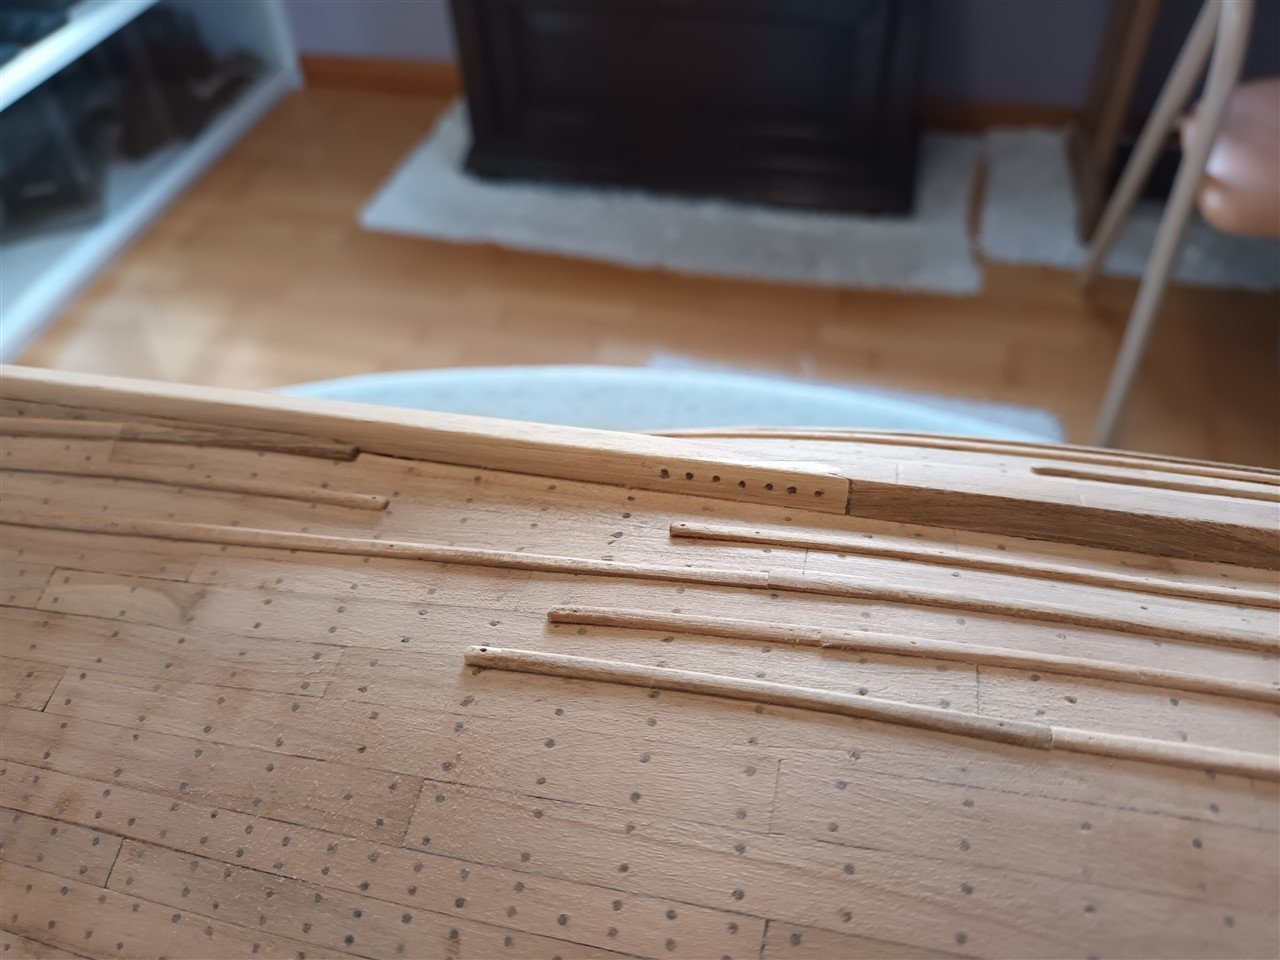
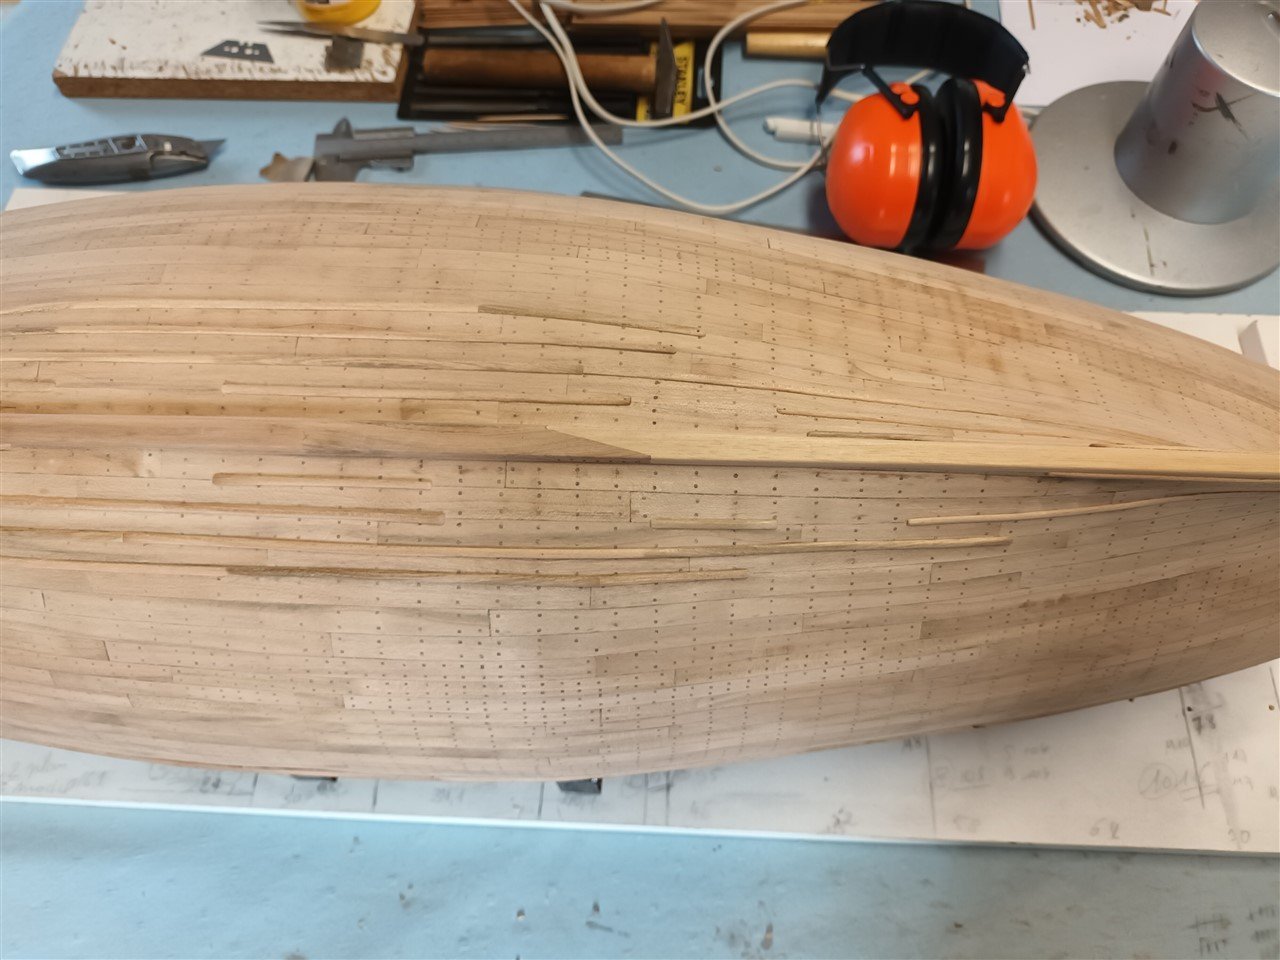
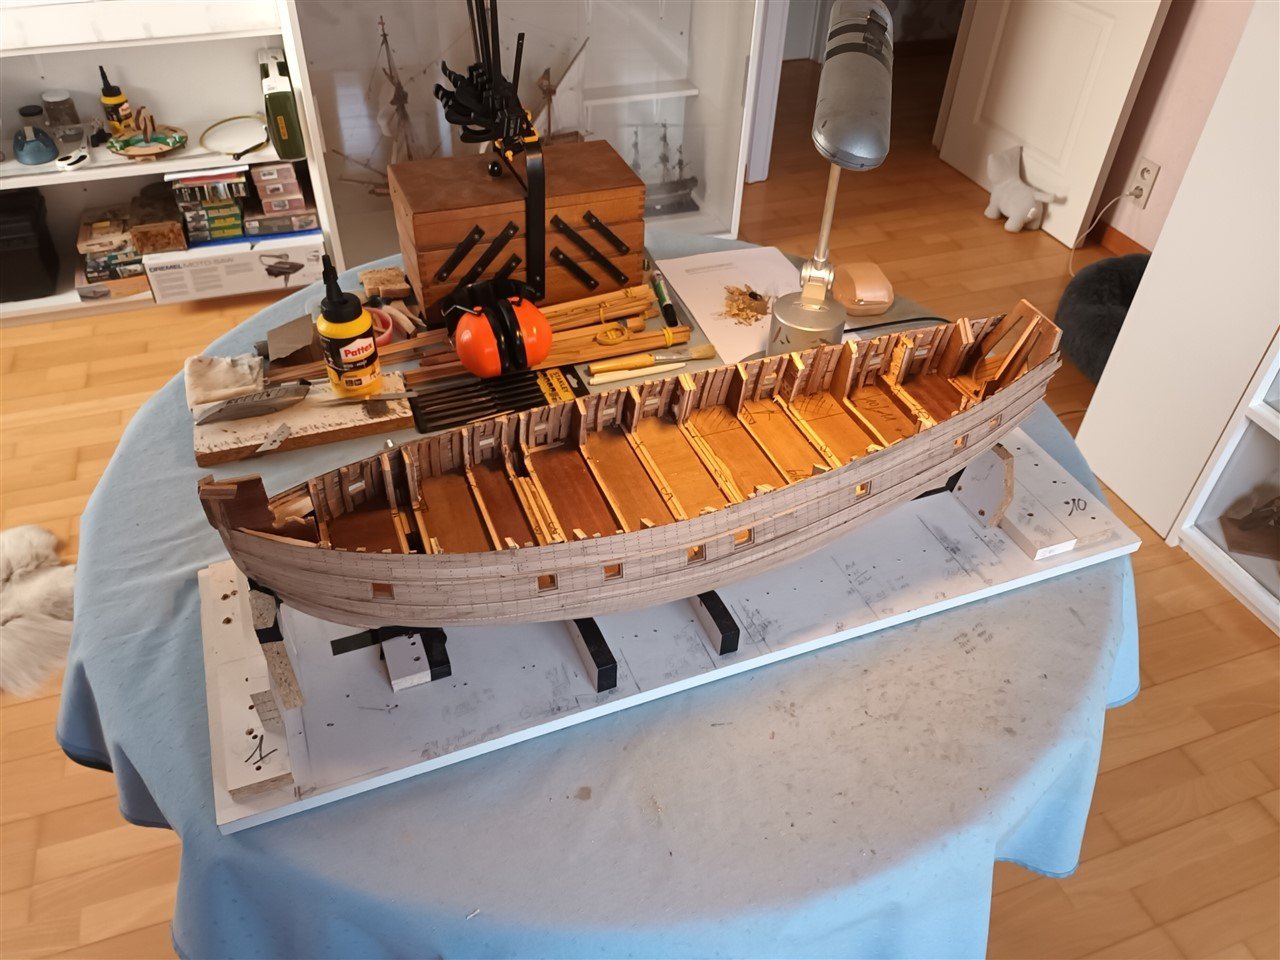
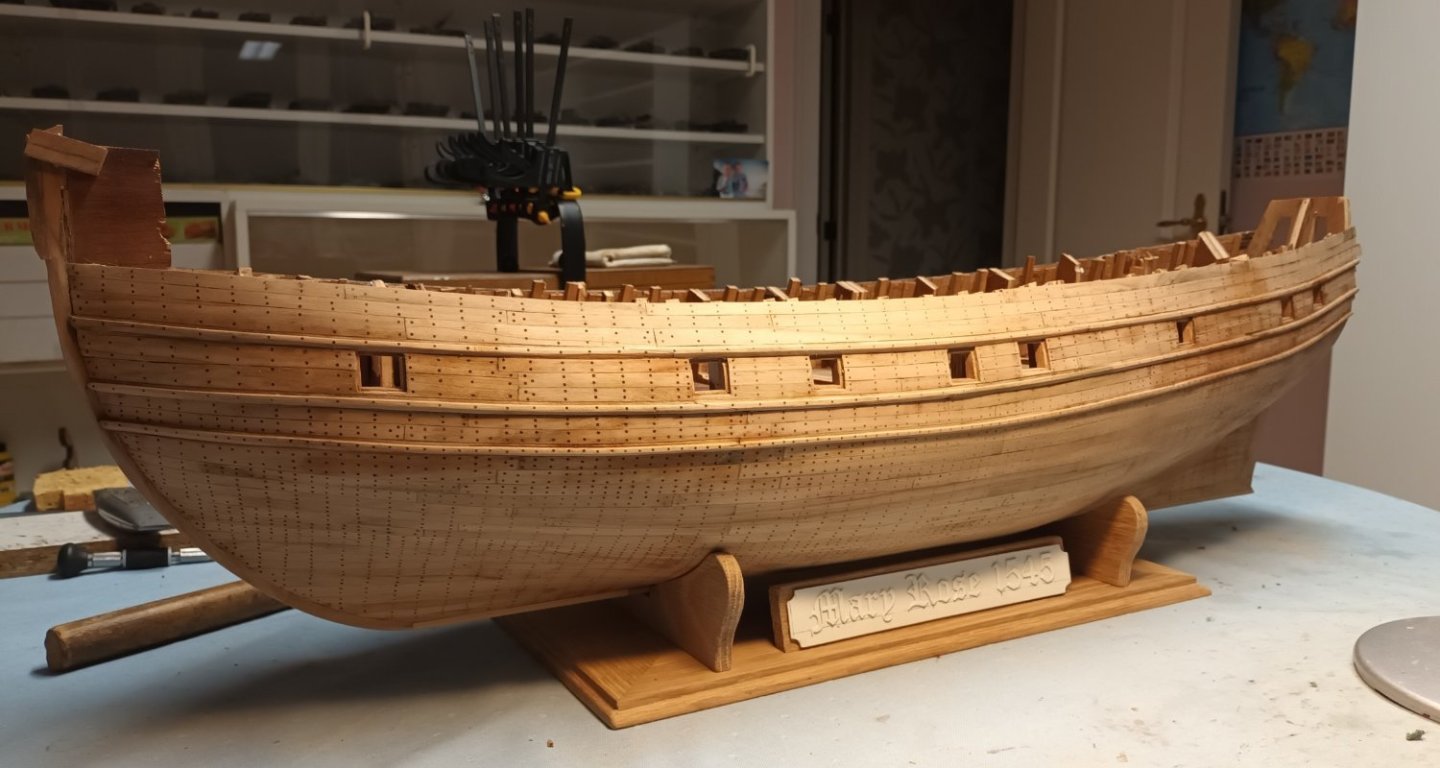
Last update of 2023 The scarfs in the keel parts have treenails and the battens have been applied. I'm not going to add any iron bolts or nails. All iron fasteners were caulced or shielded with wood (bolts in the keel) and are therefore invisible. If the seams between the planks are too wide and caulcing will not stay in place. What are you doing then.. knock a batten over it, and case closed. Personal view, I think it's a horrible sight. Battens And on the model The hull has only been sanded with 120 grit, so it still needs some better sanding. The next step is to install a deck and plank the stern. A happy 2024 to everyone

-
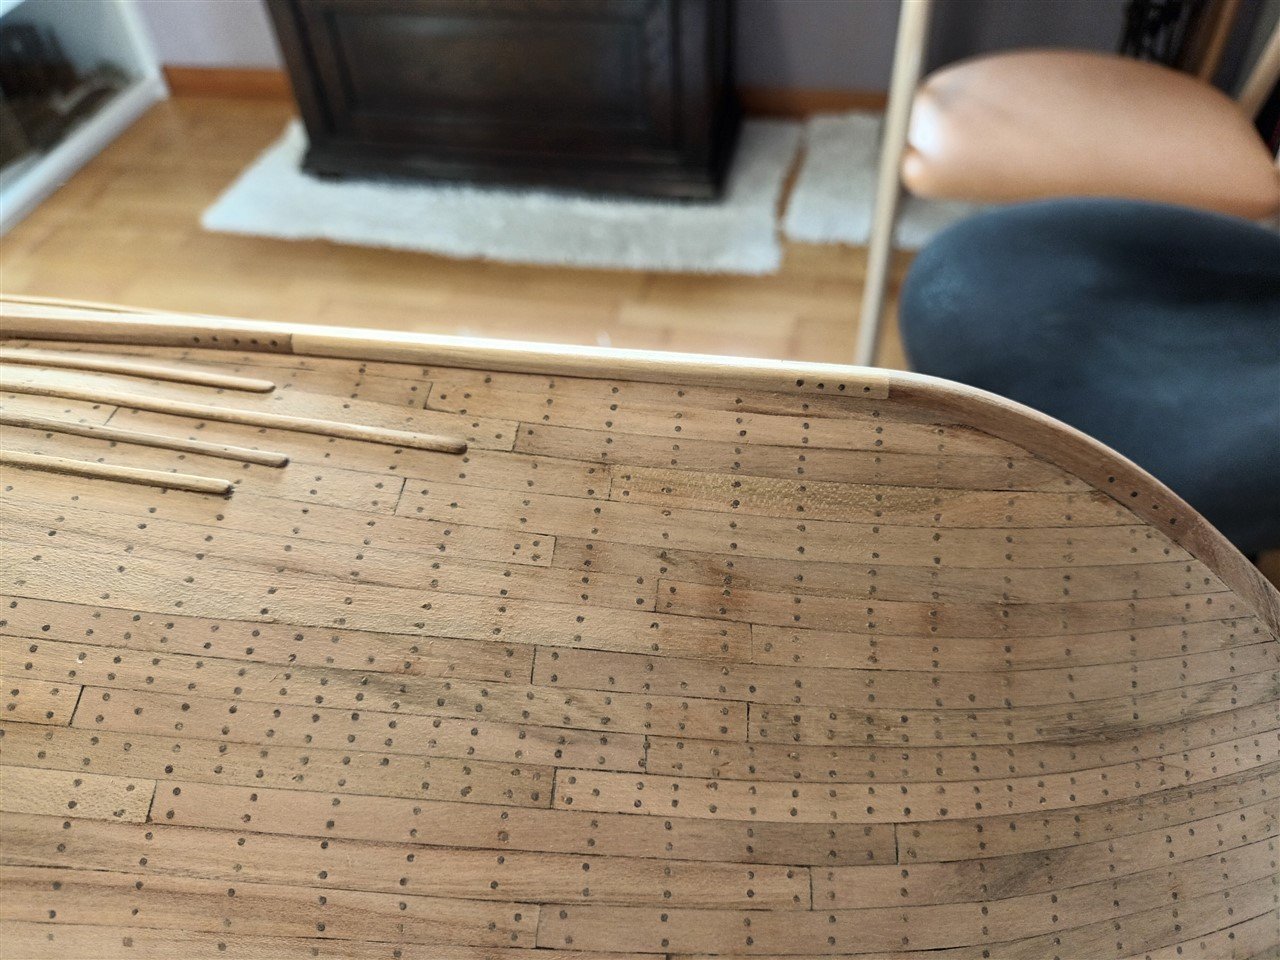
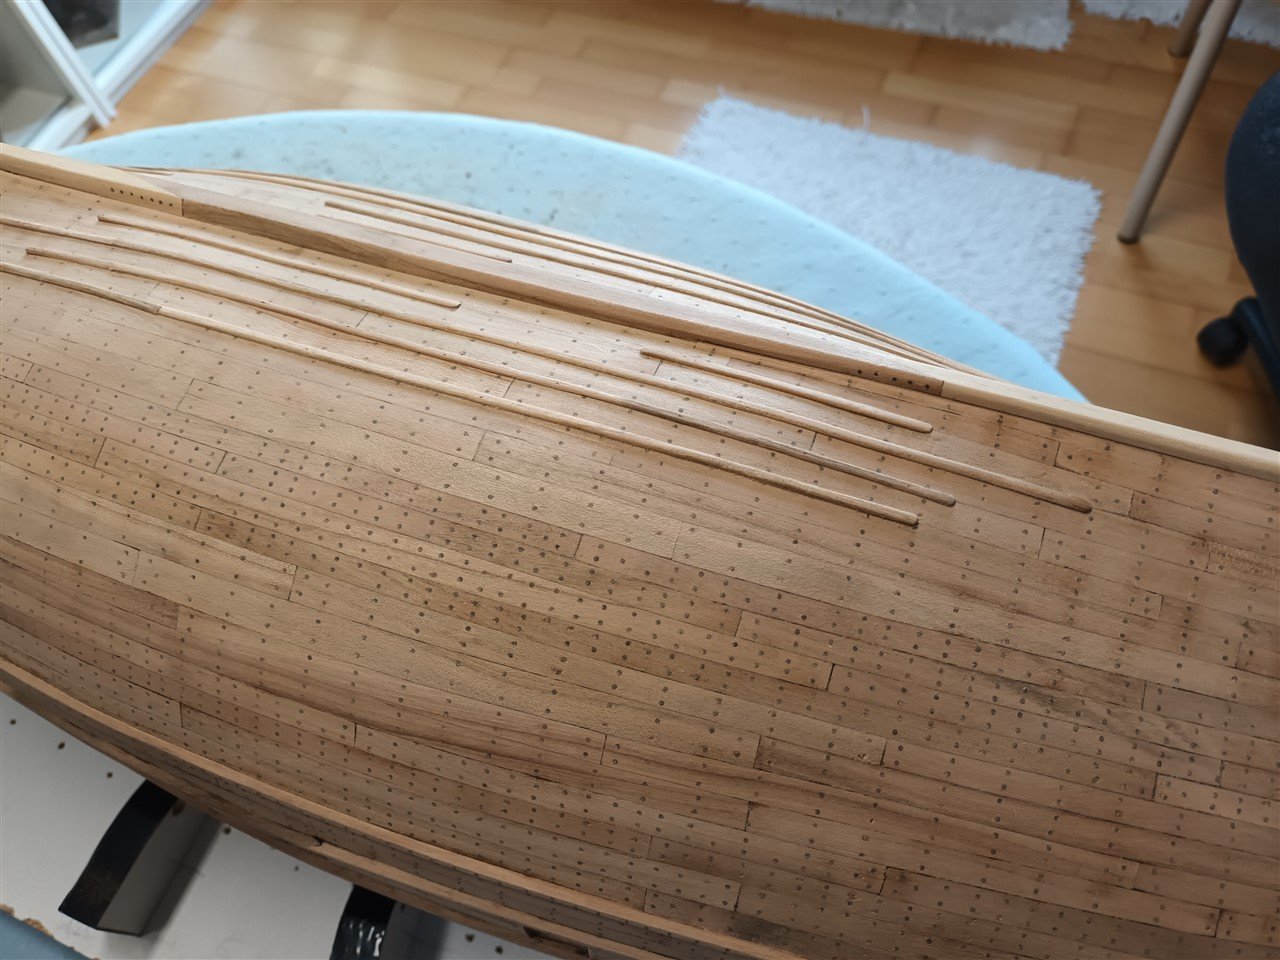
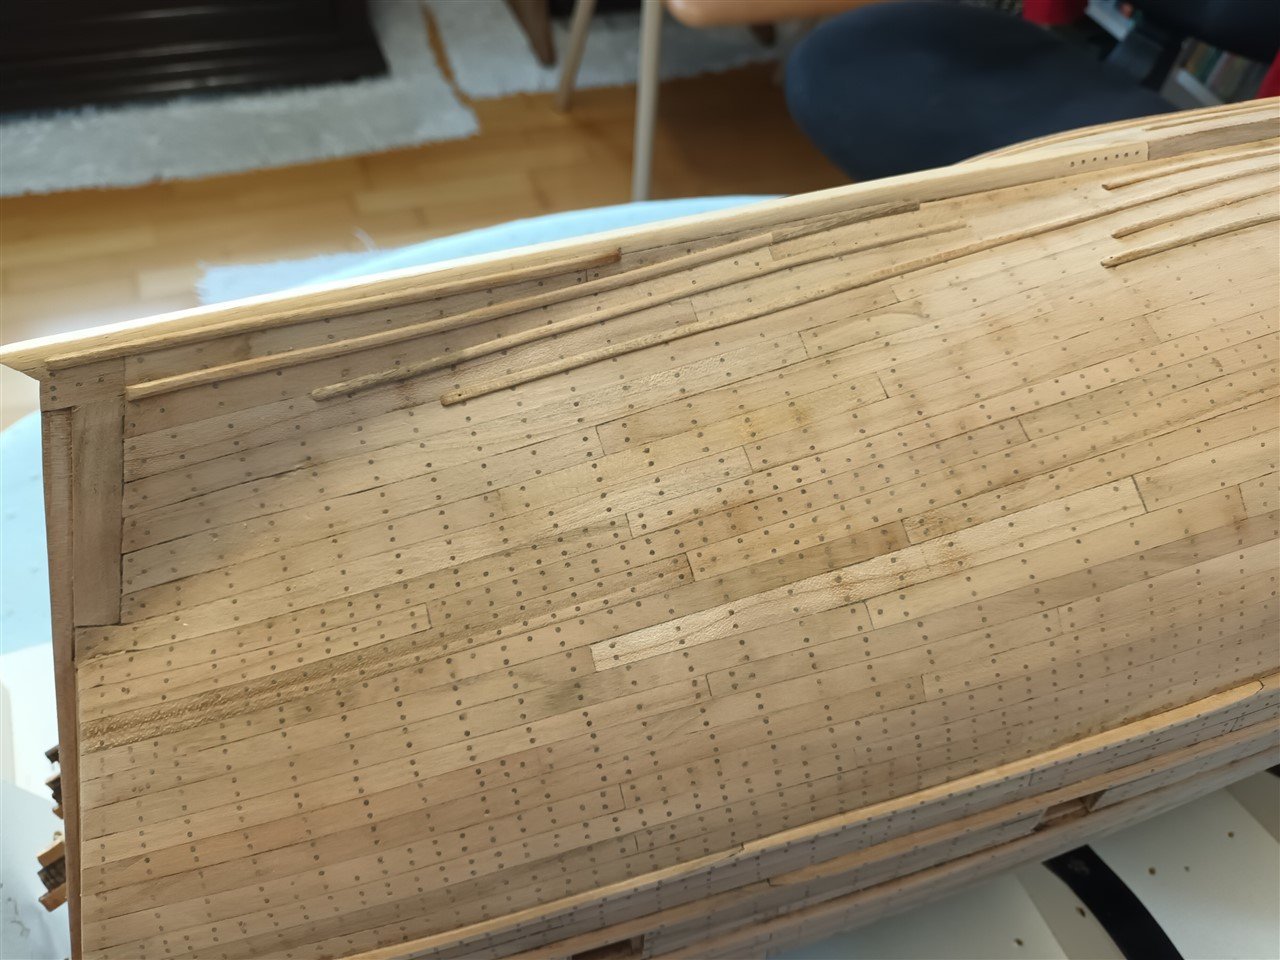
Finished with the treenailing of the hull Estimated quantity approximately 8500 pieces
-
Planking at the bow is tapered. Forget YouTube for a moment and read some PDFs first. Remember, planking is not a race. First read the pdf'S, then think how you gowing to do the planking, then try if the plank fits and only then gleu the plank on the model.
-
Russian modern armoured vehicles by Baker - ACE - 1/72
Baker replied to Baker's topic in Non-ship/categorised builds
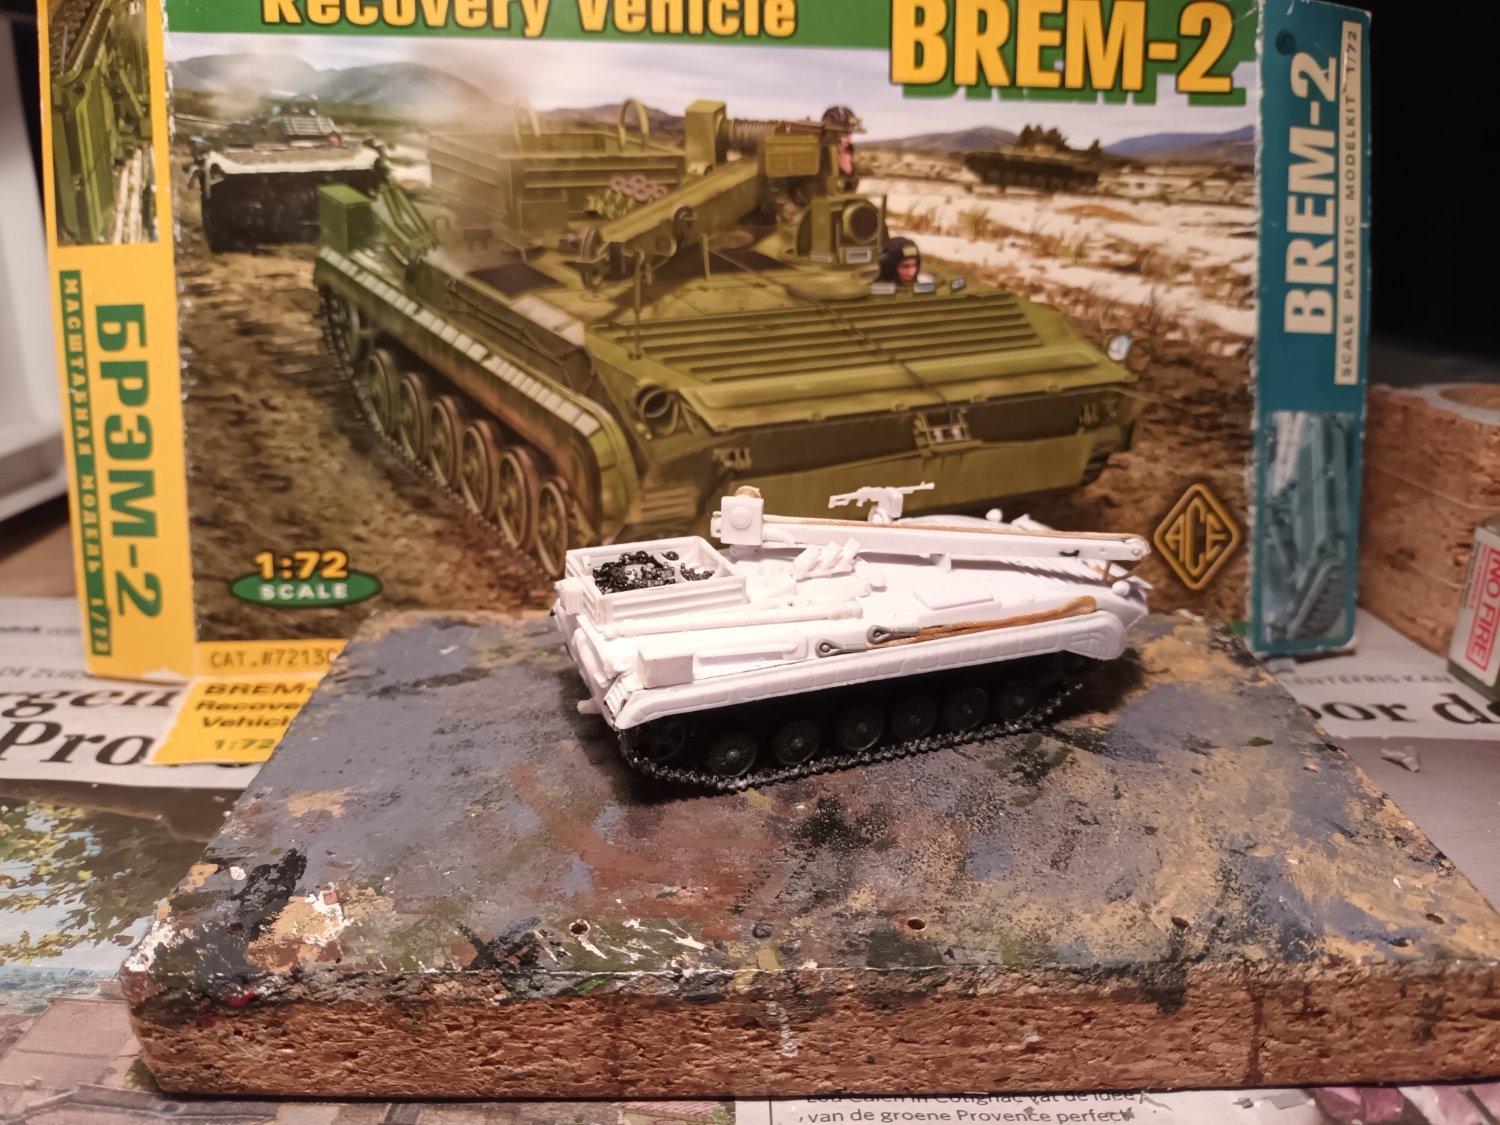
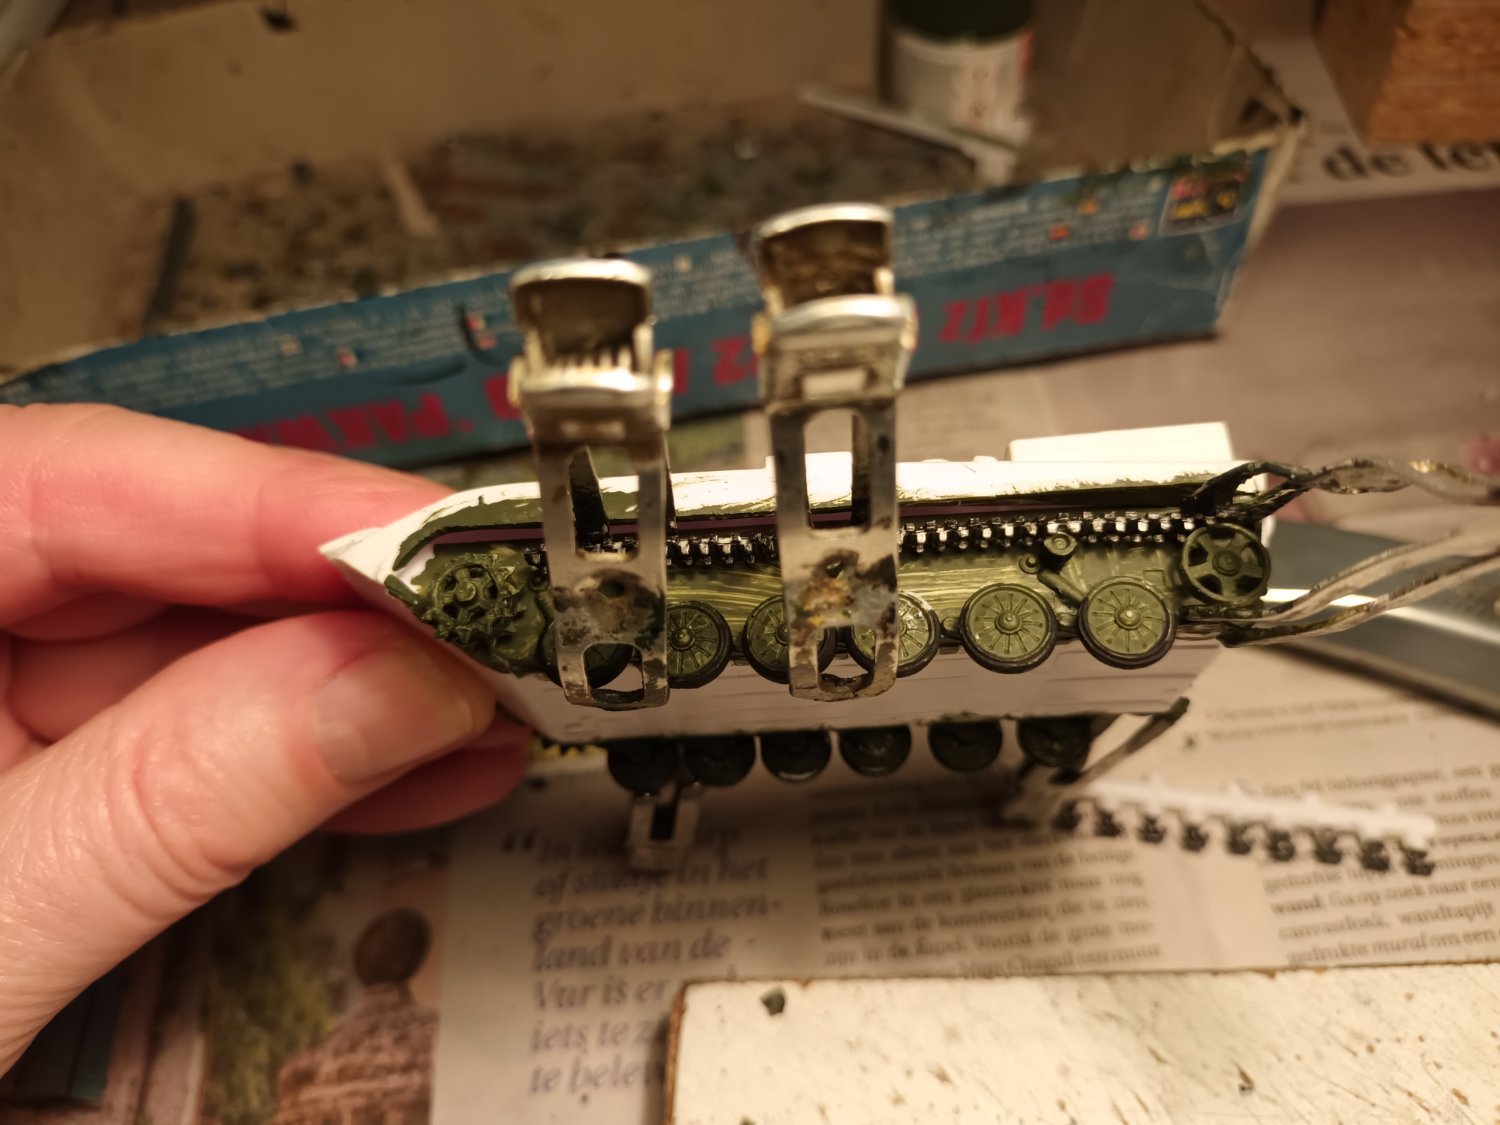
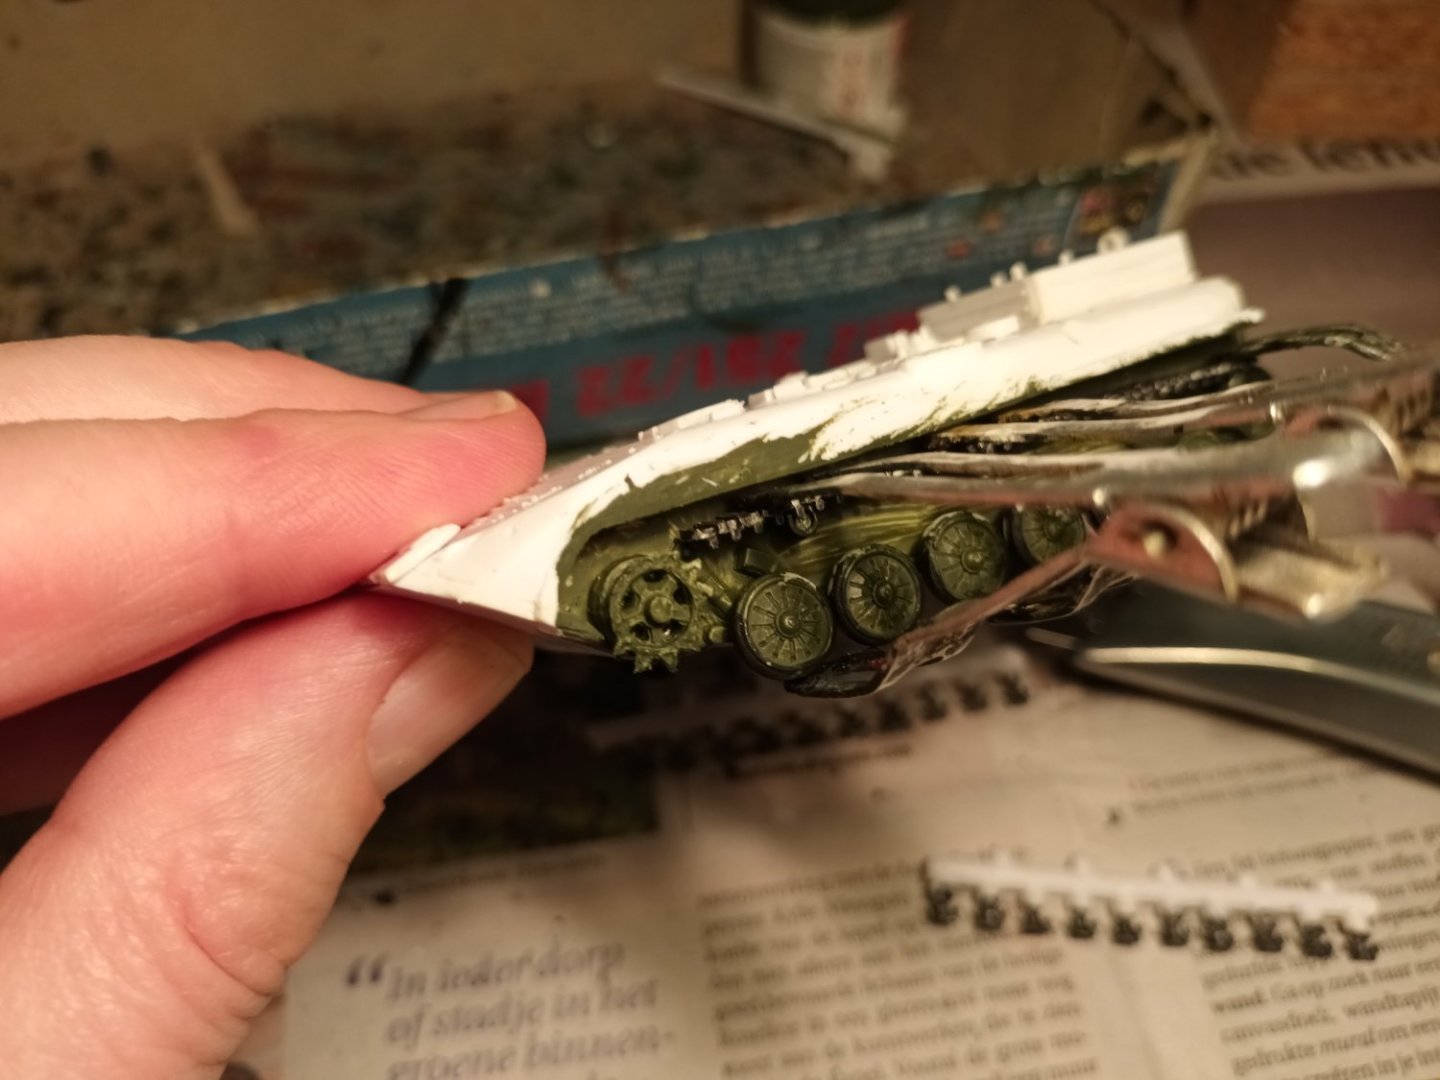
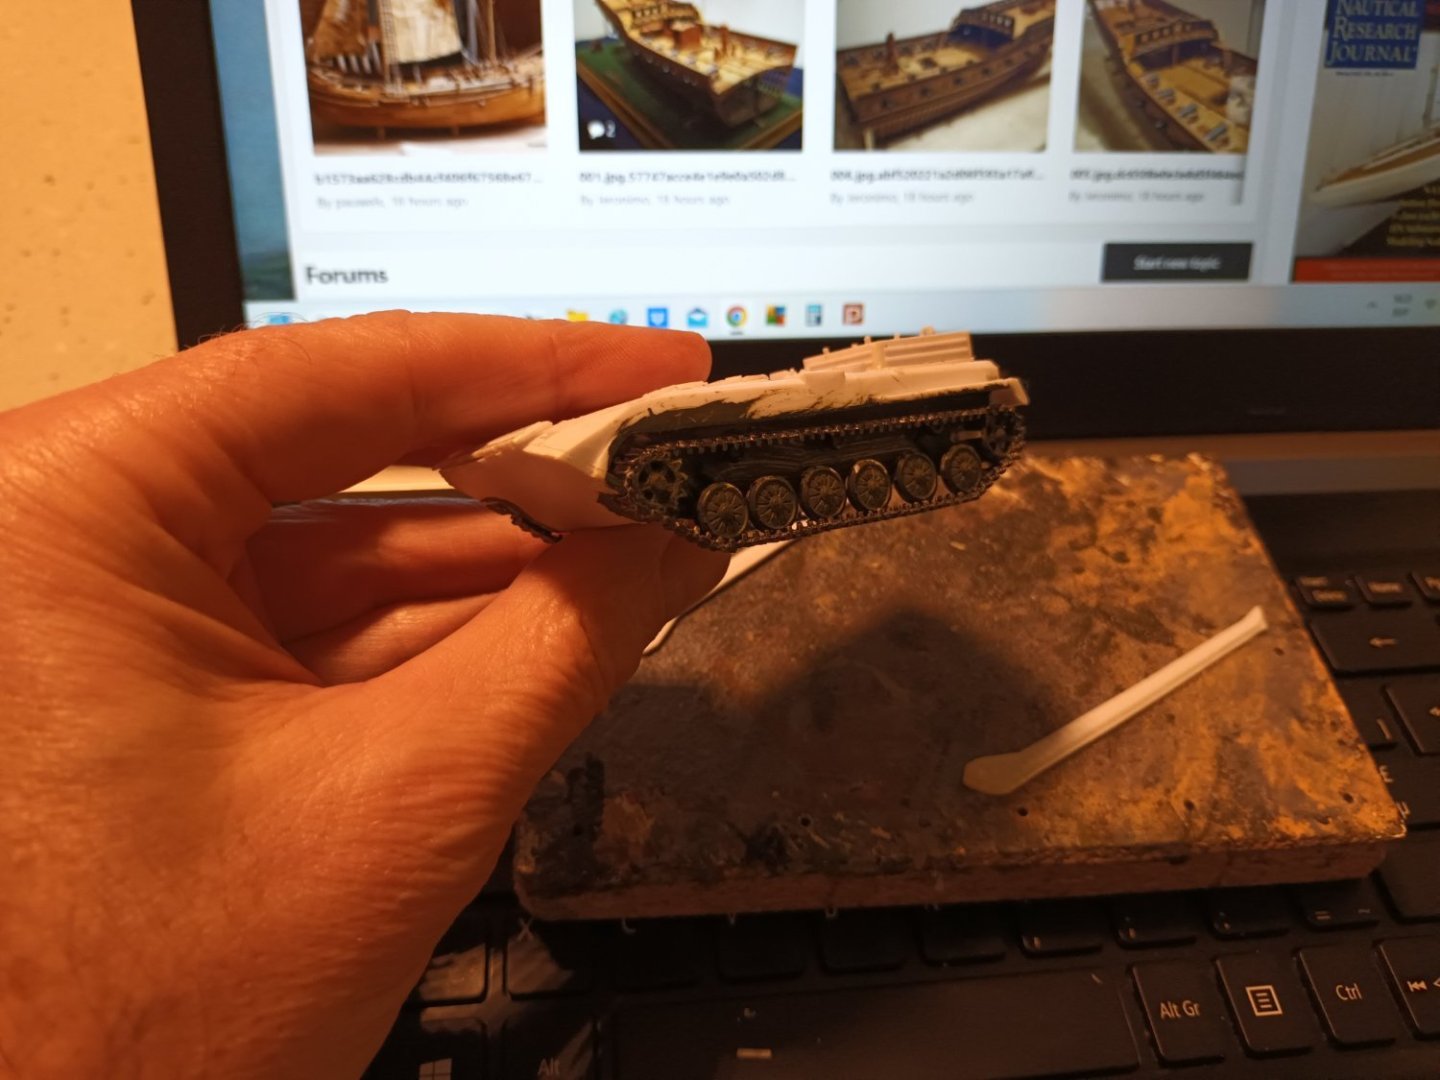
Because applying the wheels and tracks is a delicate job, this is being done now. Step by step and partially painted. Ready to continue painting and mounting the skirts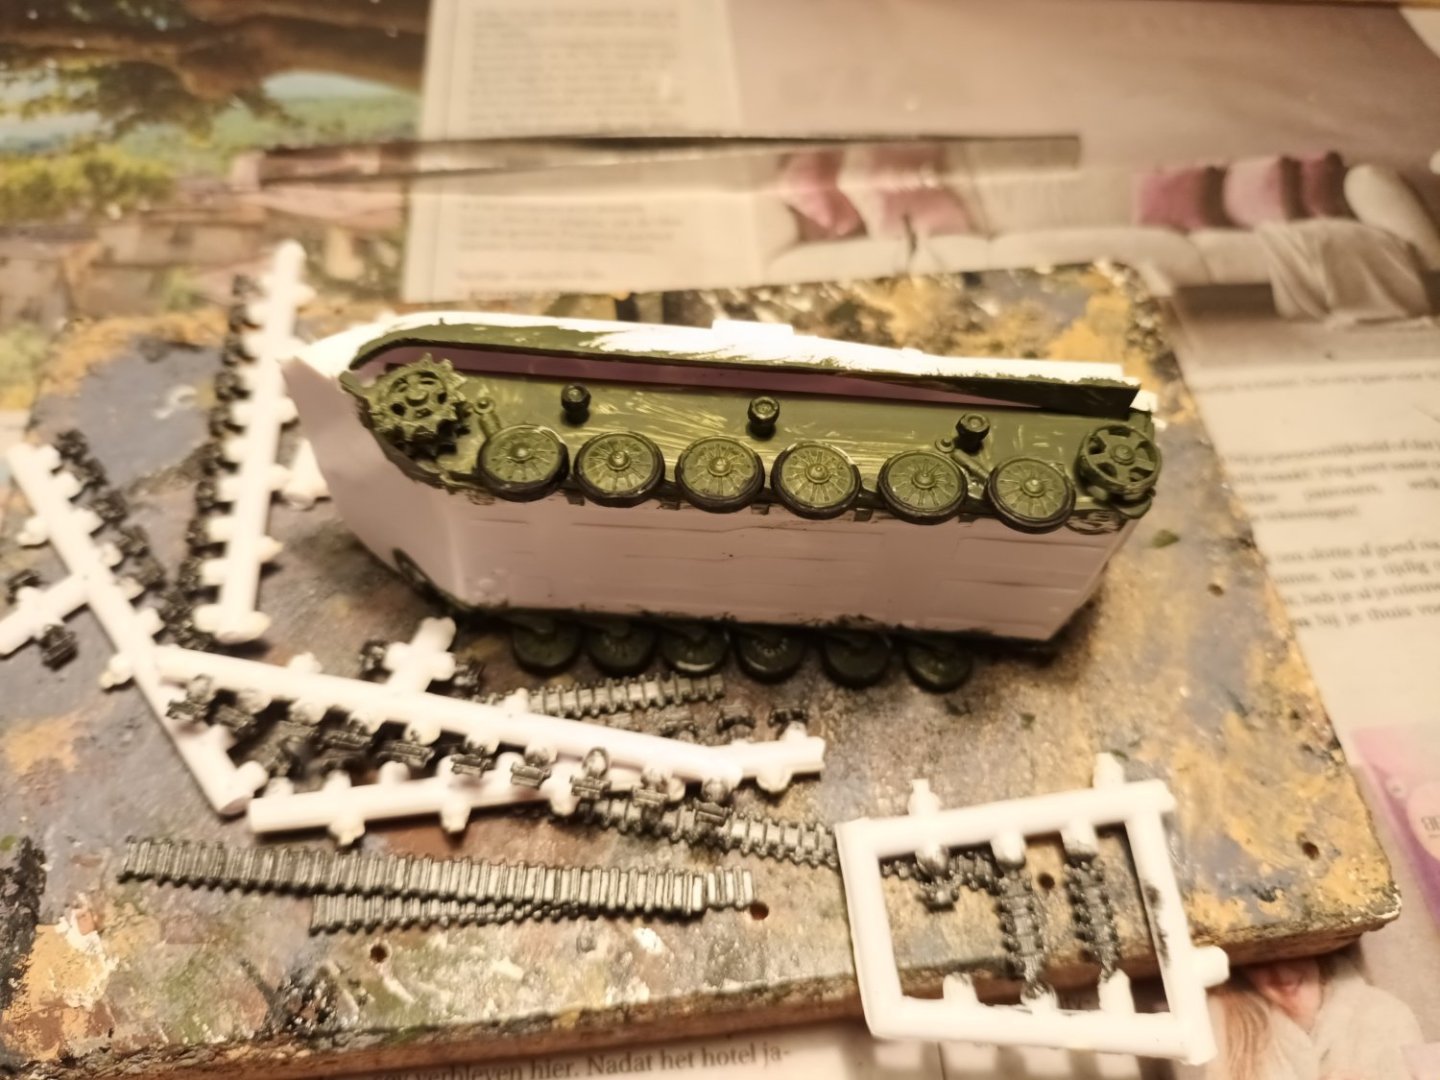

-
For a first time planking, very good. But Take your time for the second planking, this will largely determine the appearance of your model later. Also take a look at your cannon ports, they don't all seem the same size on the picture
-
Golden Hind by Rock_From_Korea - 1:48
Baker replied to Rock_From_Korea's topic in - Build logs for subjects built 1501 - 1750
Congratulations Nice work Rock -
Looks good. I would give it a try with the Scotchbrite sponge. this is smoother and softer than sandpaper. Best is to "practice" on a waste piece first