Baker
-
Posts
4,286 -
Joined
-
Last visited
Content Type
Profiles
Forums
Gallery
Events
Everything posted by Baker
-
greetings patrick
-
 Just an idea, I built this model a long time ago. Out of the box. Without extra detail (no documentation, no internet, and with little experience). what I remember well is that I had problems with the two hull halves to fit well together. Is it not better to put the hull halves together first and then to paint afterwards? And also to see if your newly created parts fit well on the hull. Greetings Patrick
- 2,699 replies
-
- 3
-

-
- heller
- soleil royal
- (and 9 more)
-
Welcome back, nice planking.
-
Greetings from Belgium
-
Greetings Patrick
-
Welcome to MSW and have fun building al those models. Greetings Patrick
-
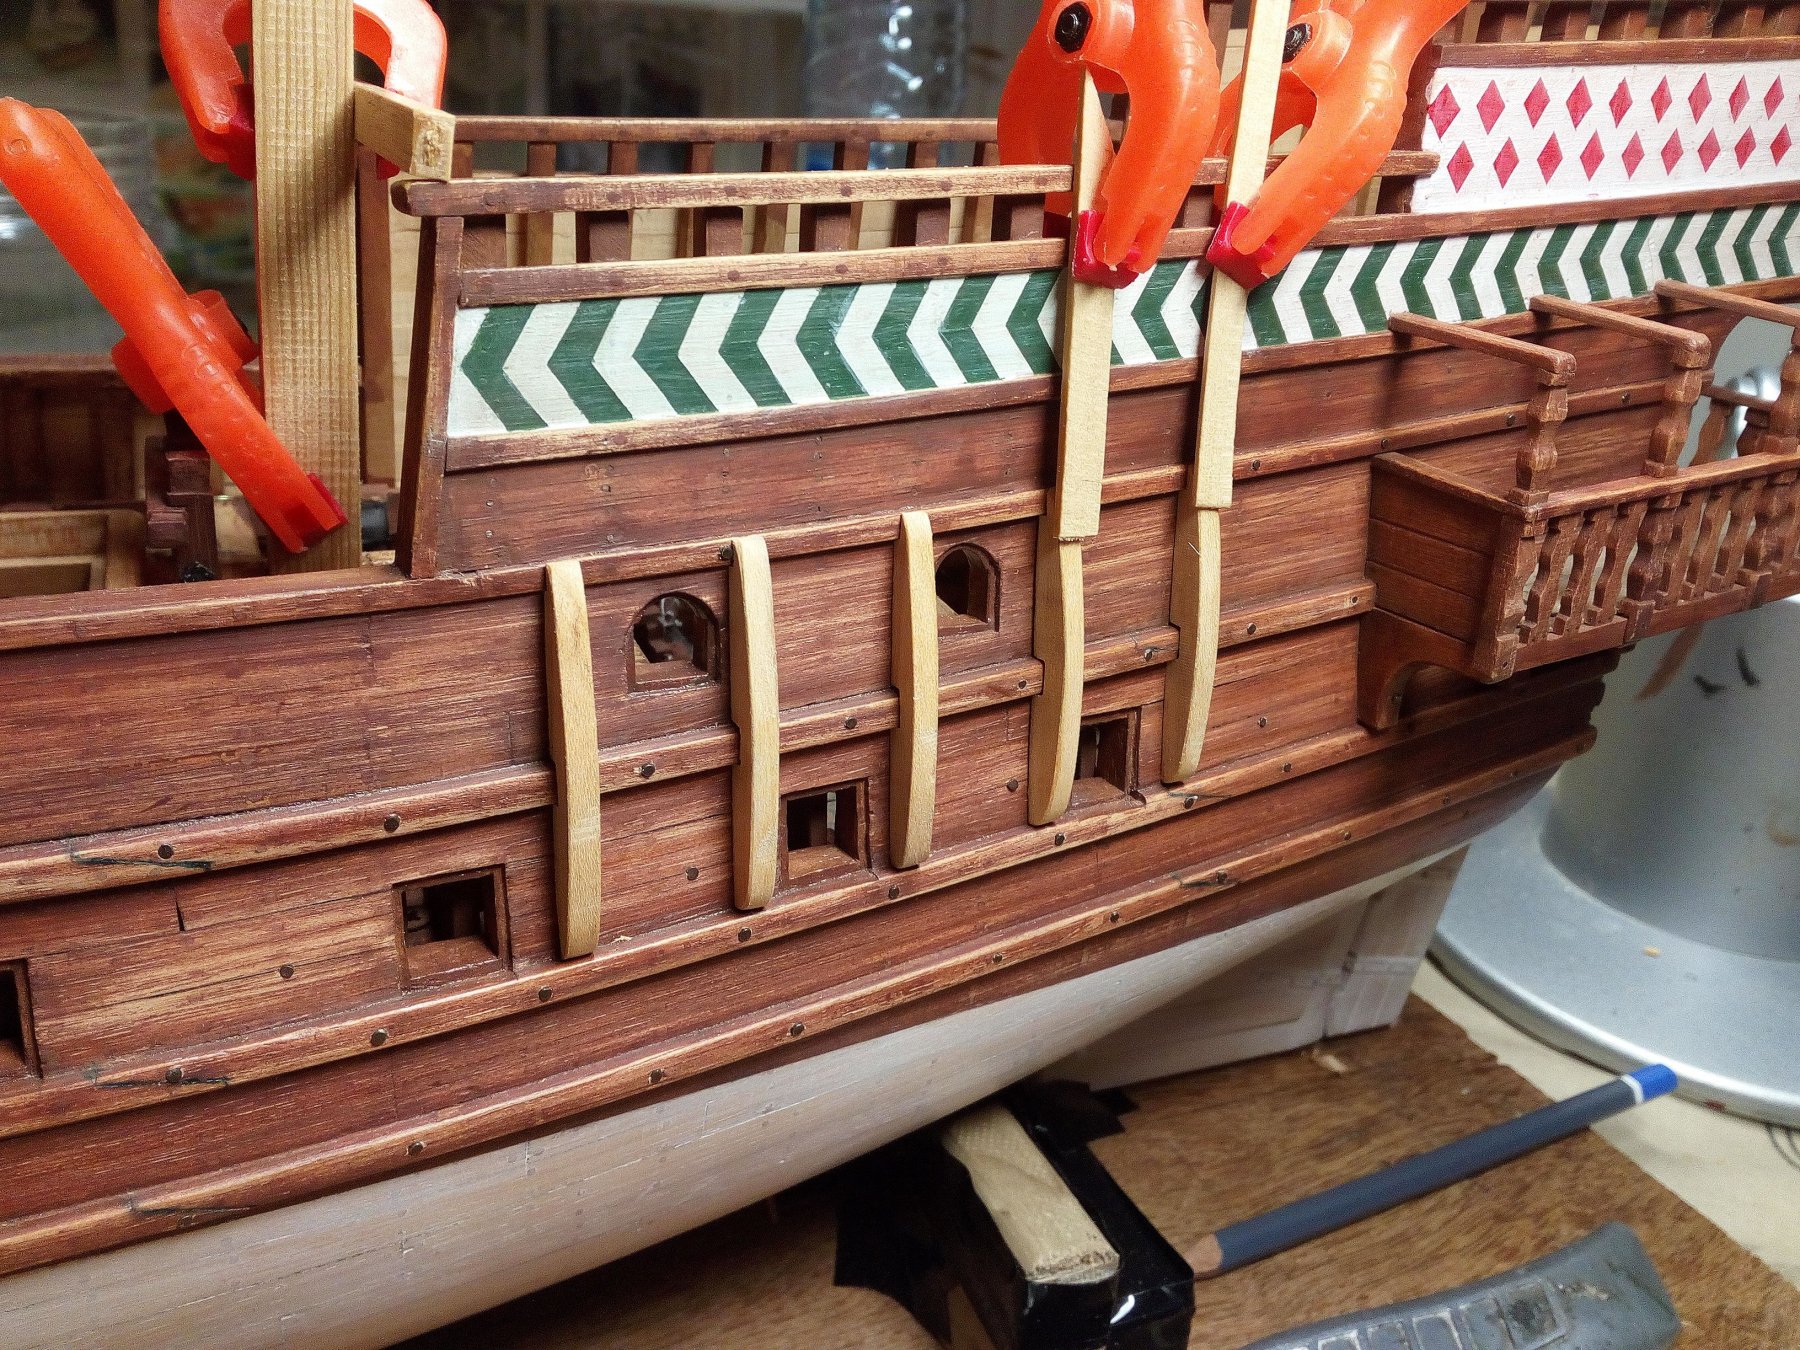
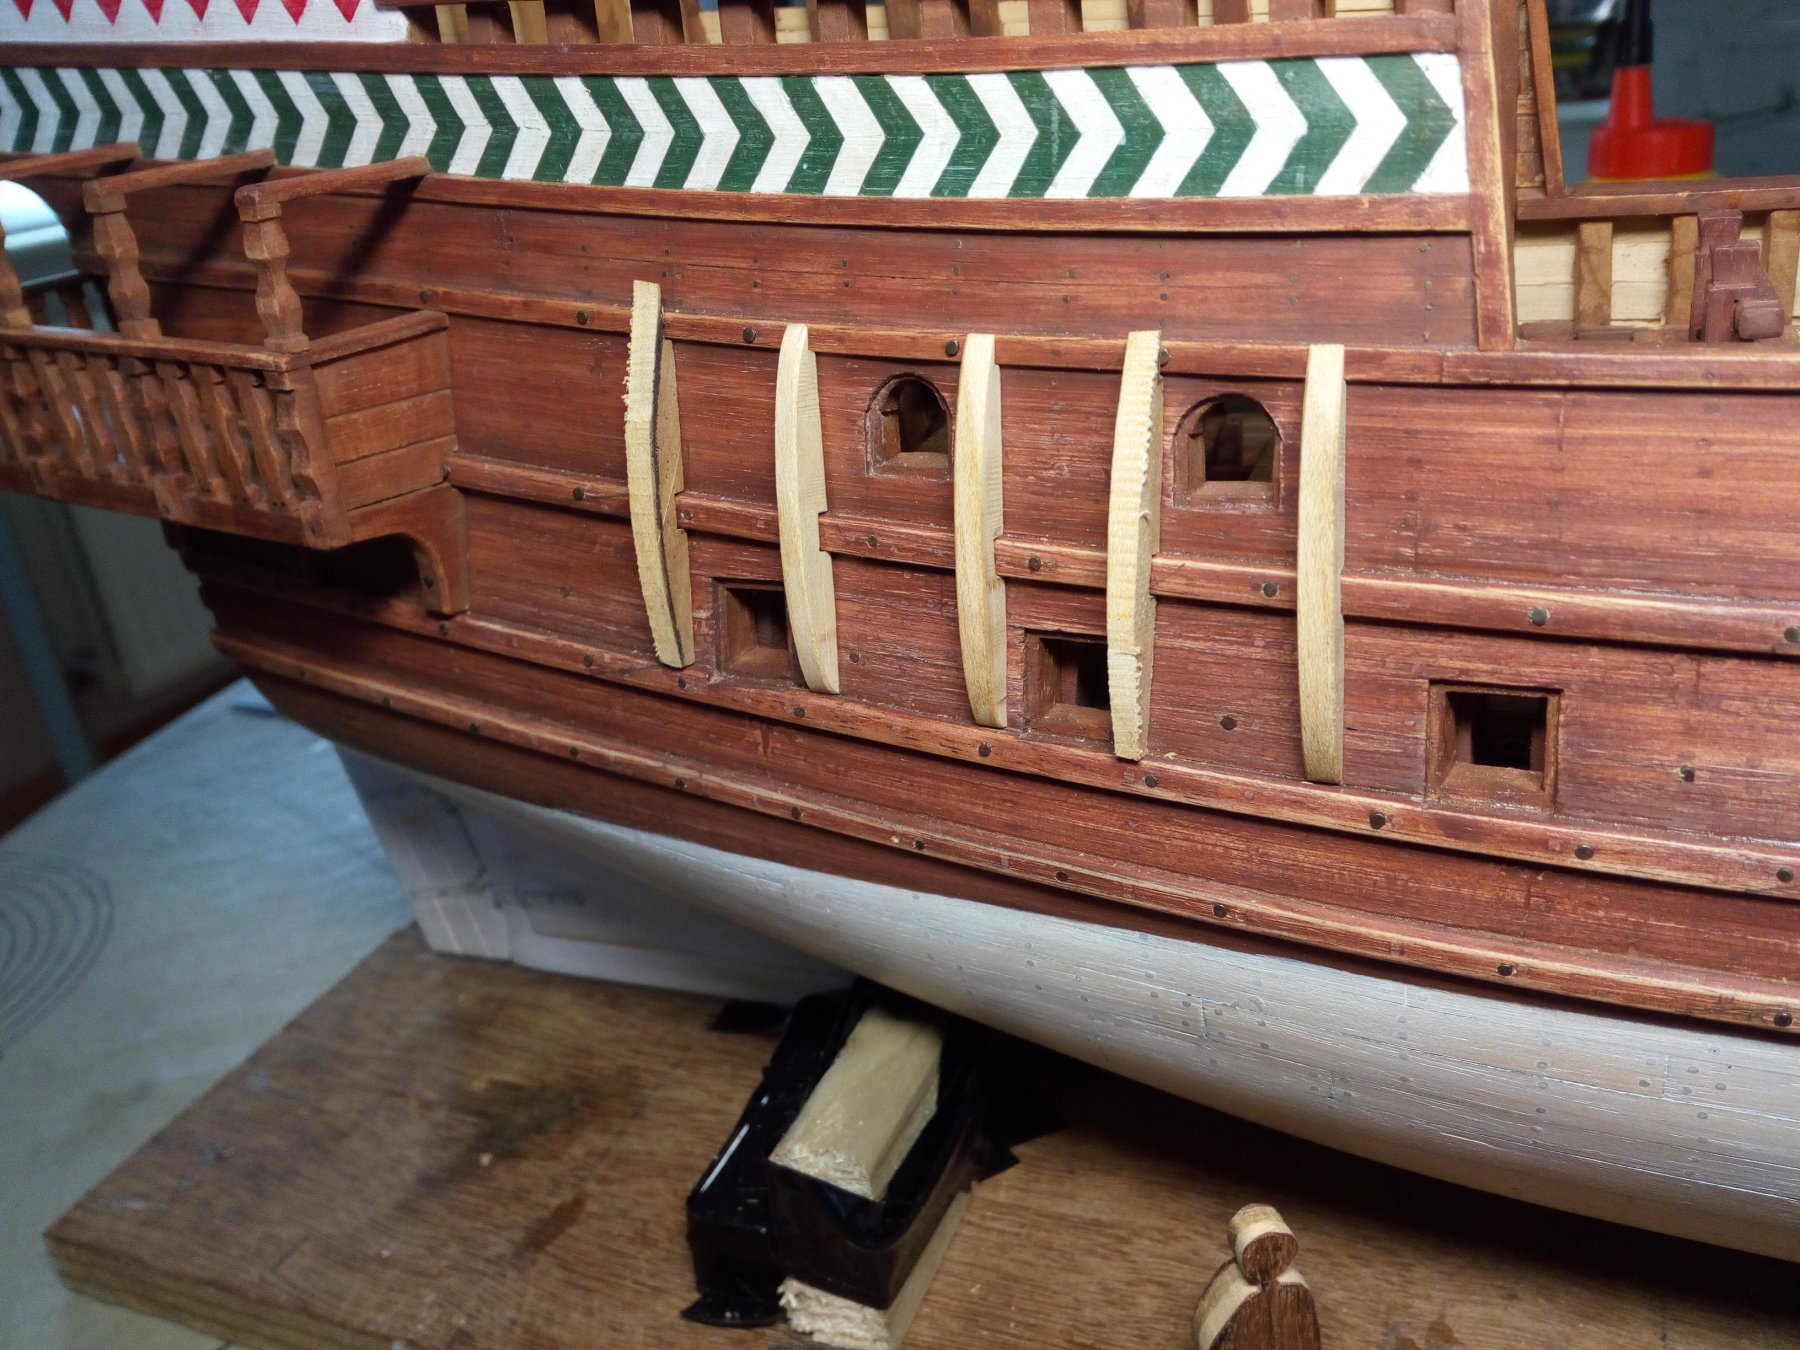
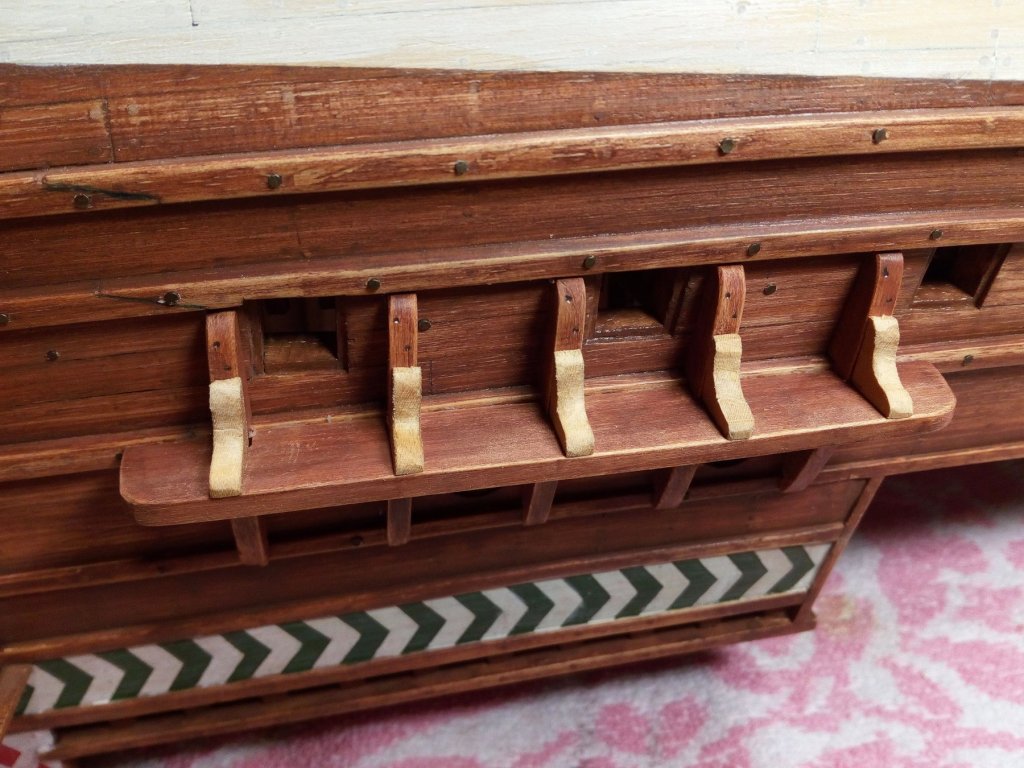
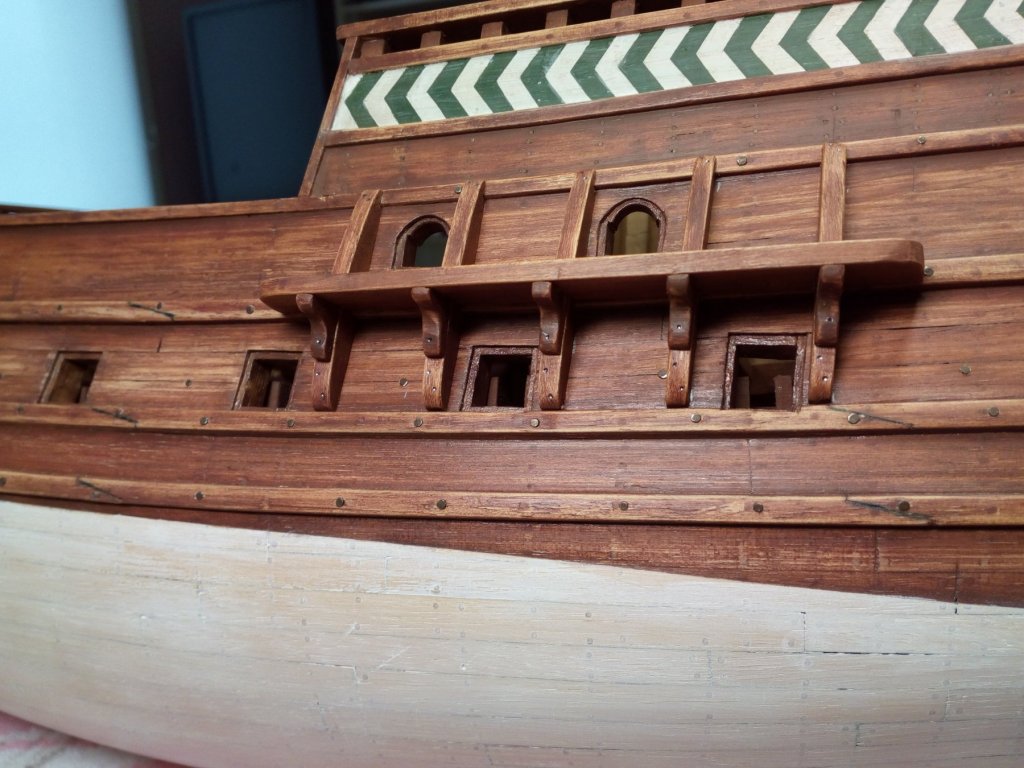
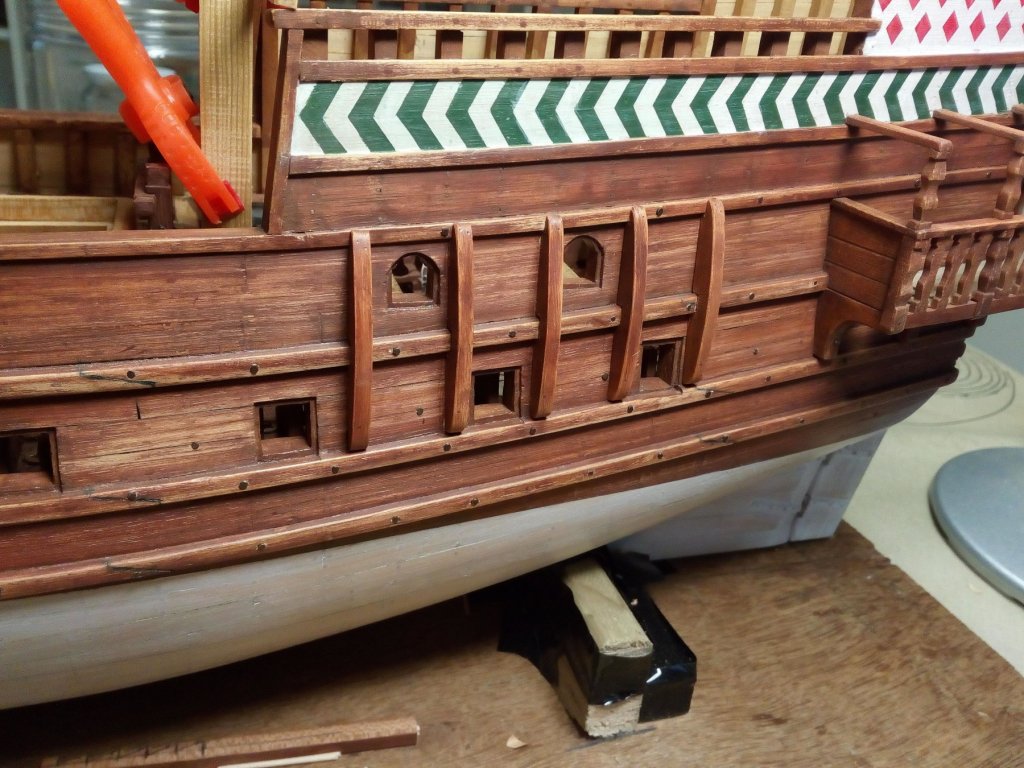
Hello, Thank you G.L. Glad to be back on the shipyard ! I made and attached the channels and the "knees" below these channels. measurement, making and glueing. Lower knees in progress ready Thanks for following.


- 756 replies
-
- 20
-
-
- galleon
- golden hind
- (and 2 more)
-
Beautiful work Michael. I think that the ropes that lie on this deck are for the gunport doors on the deck below
-
HMS ROYAL KATHERINE 1664 by Doris - 1/55 - CARD
Baker replied to DORIS's topic in - Build logs for subjects built 1501 - 1750
As always very beautiful work. The tree nails are very realistic- 1,035 replies
-
- 6
-
-
- royal katherine
- ship of the line
- (and 1 more)
-
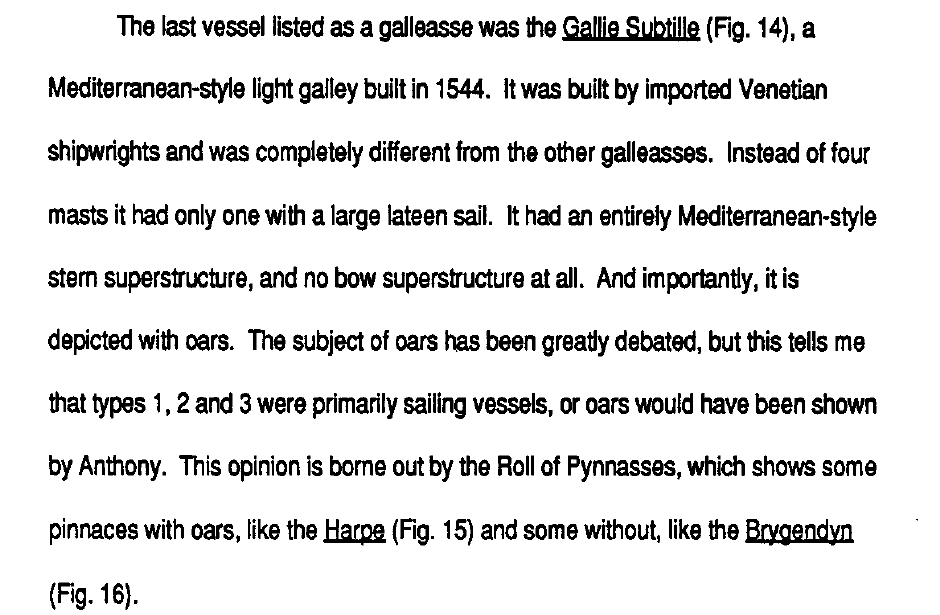
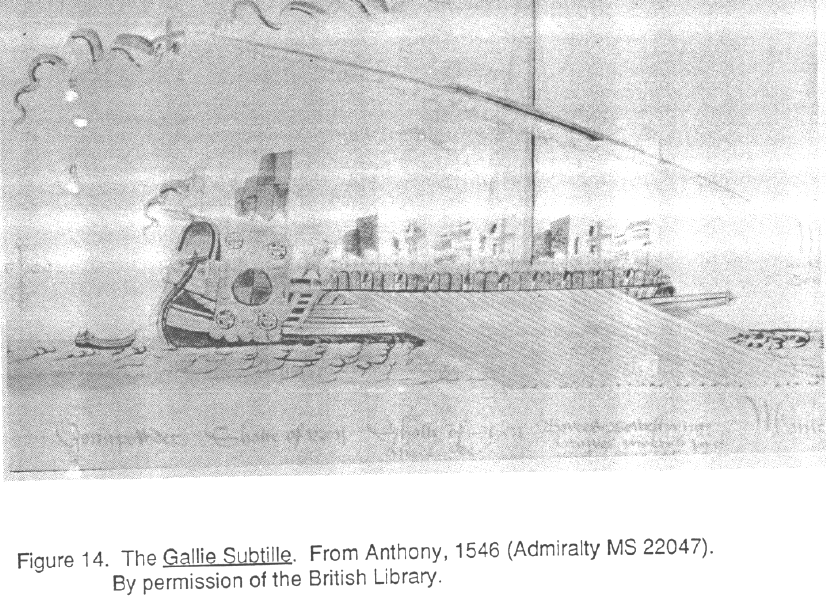
This is about a galley, built in England by a "imported" Venetian shipwright. Hopefully this is helpful for you.
- 27 replies
-
- 3
-
-
- irish galley
- galley
- (and 1 more)
-
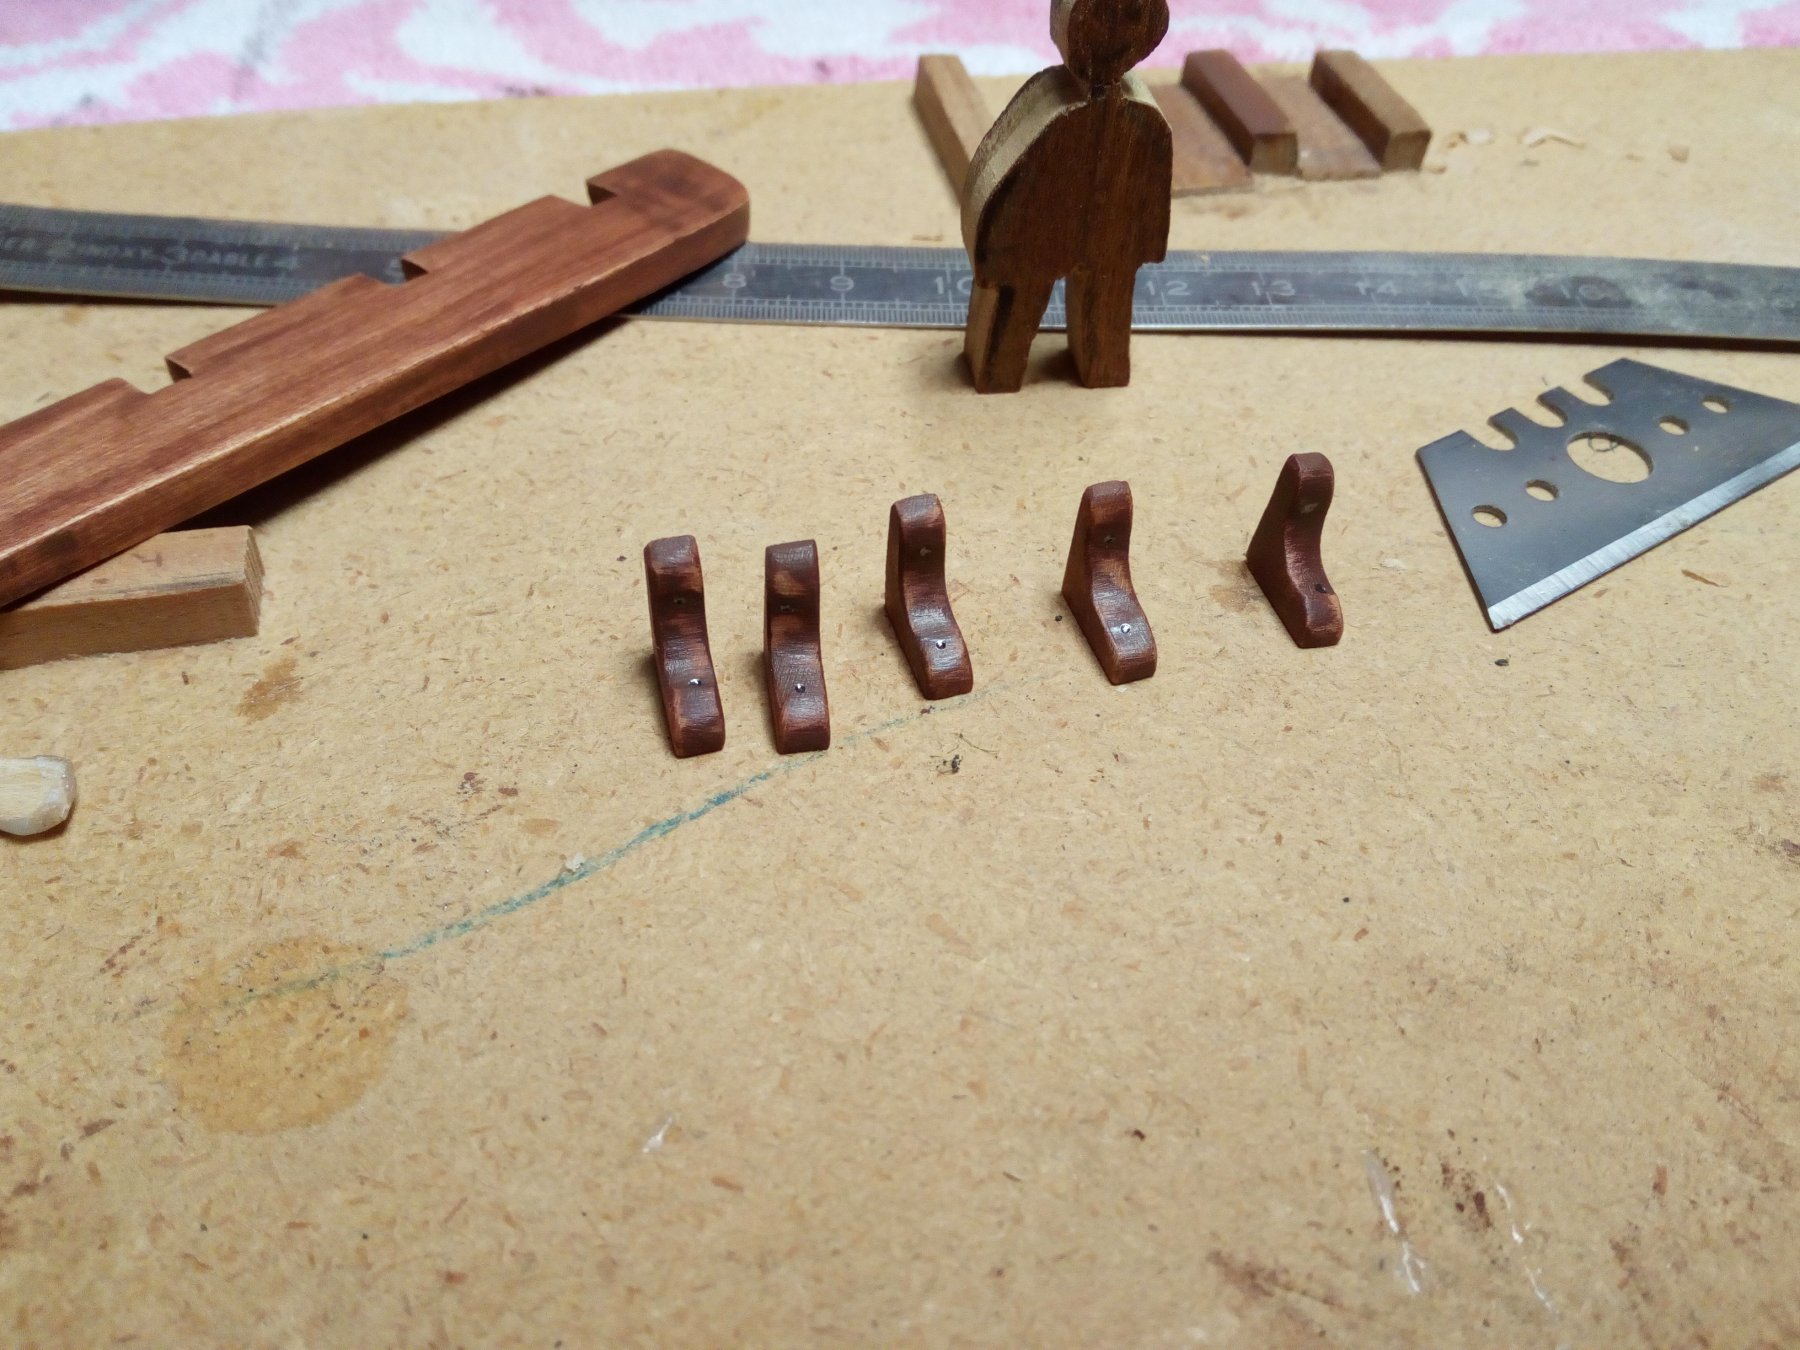
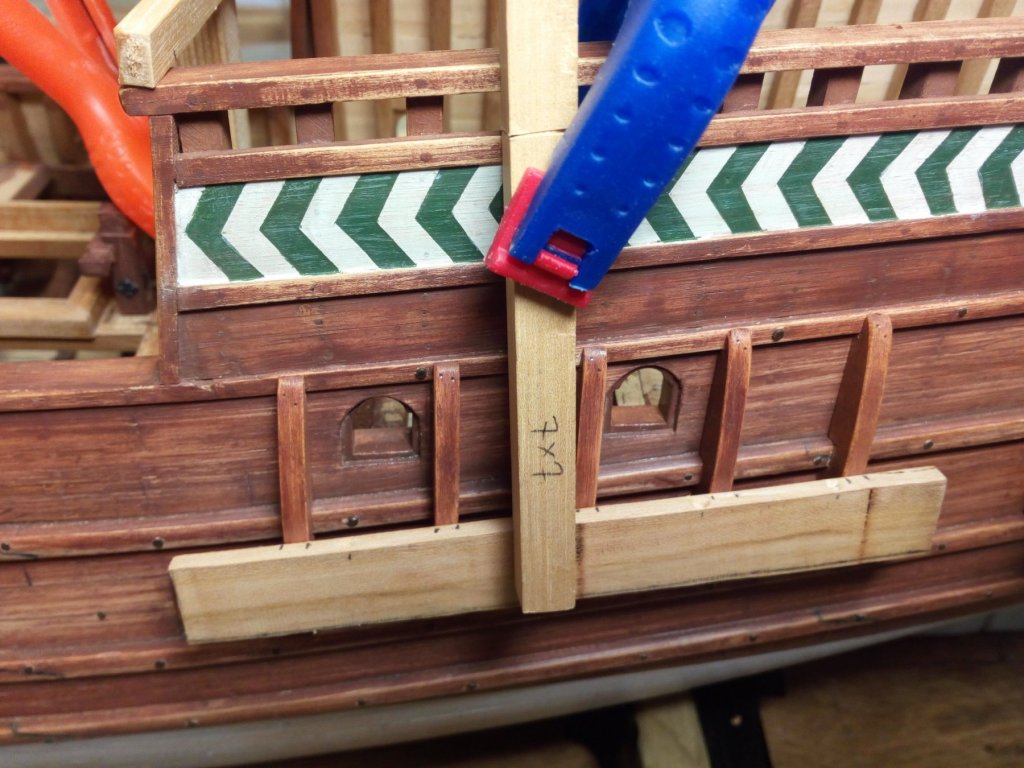
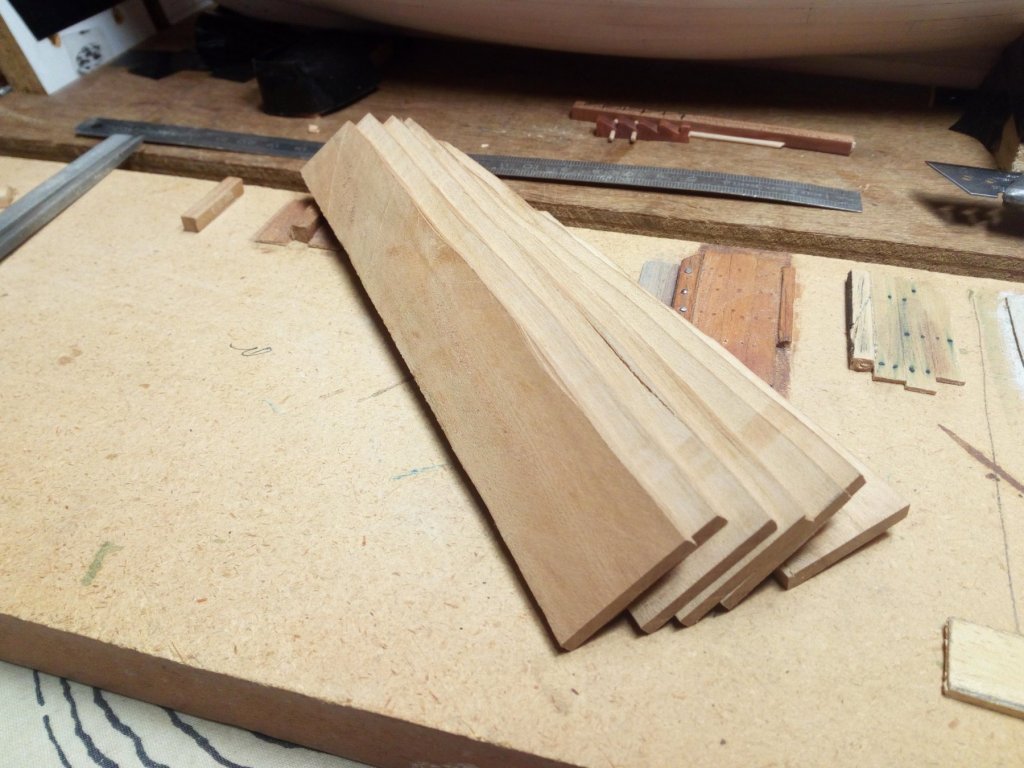
Hello everyone and thank you Moab. Slowly restarting with building and started with the vertical parts of the channels. First the necessary wood is sawn. These pieces are first colored and finished before gluing to the hull. This is now done on the two sides. To be continued, thanks for following


- 756 replies
-
- 20
-
-
- galleon
- golden hind
- (and 2 more)
-
You are not just a great model builder. But also a great electrician.
-
Thank you lawrence. Fortunately I was on time with my elbow problem. And with some pills, stretching exercises and a few weeks already planned holiday there is already improvement. It will not be long before I go back to gardening and modeling Mark, There is indeed a very interesting thesis on this subject (thank you Mark) Placing barrels here will be very challenging in weathering the model. Whatever their intention was
- 756 replies
-
- 2
-
-
- galleon
- golden hind
- (and 2 more)
-
Welcome to MSW and greetings from Belgium
-
Greetings from Belgium
-
Congratulations. Beautiful work. You have earned a tripel
- 219 replies
-
- 3
-
-
- smack
- cross-section
- (and 2 more)
-
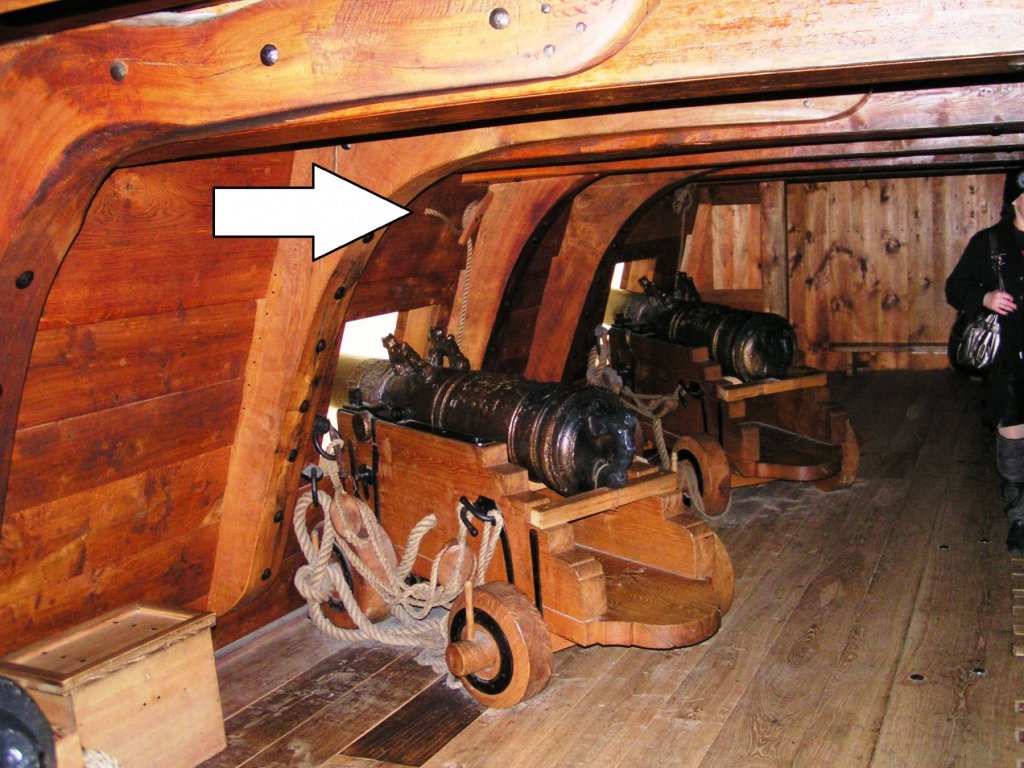
Beautiful work Michael. During my visit to Vasa I took this picture. Looks to be a simple but effective solution.
-
Indeed Jan After having checked my problem a second time. The channels can be made 1.5 mm smaller without getting into trouble. So about 85cm wide to scale 1/1 Thanks,
- 756 replies
-
- 1
-
-
- galleon
- golden hind
- (and 2 more)
-
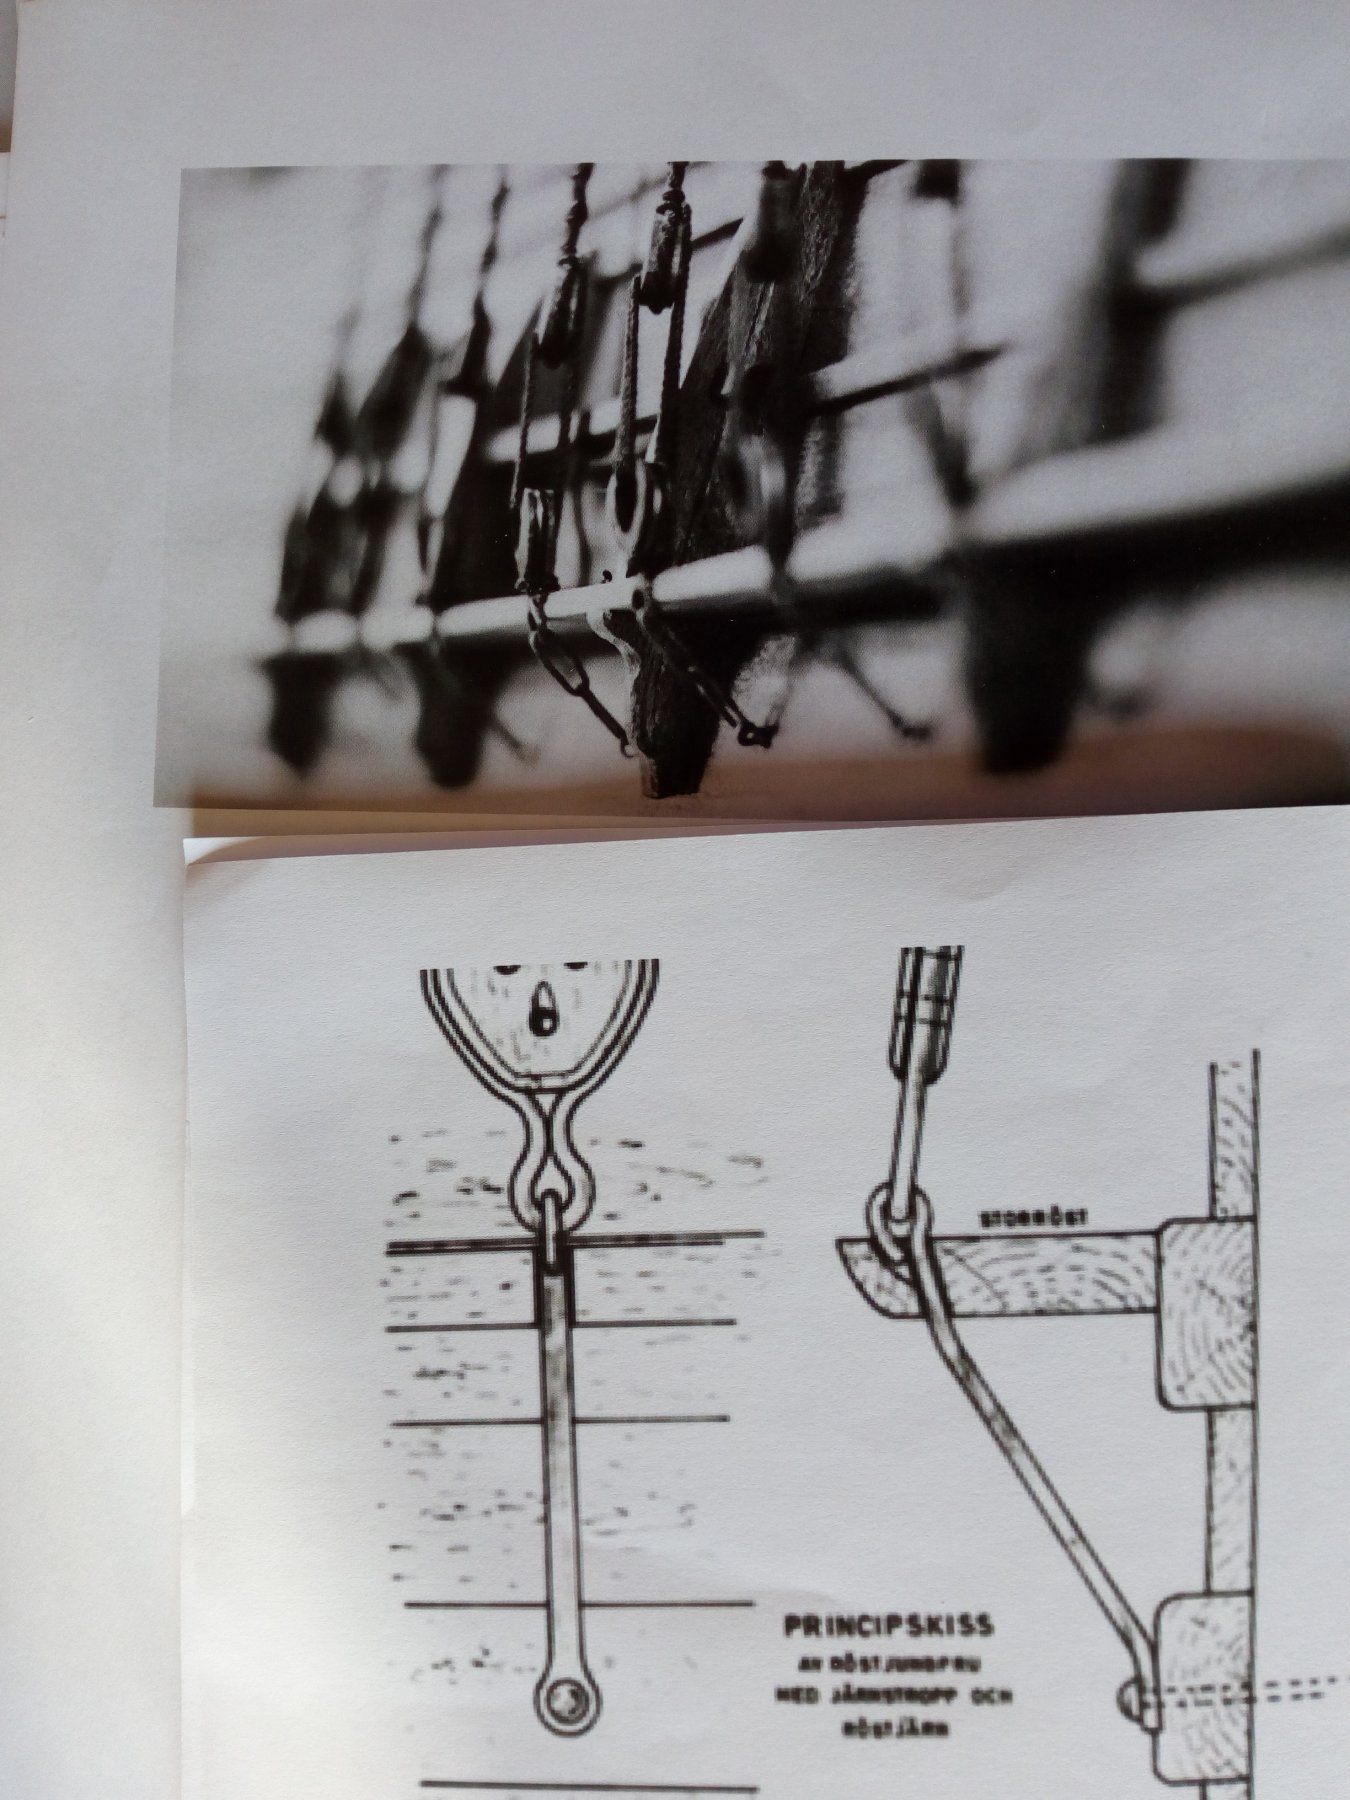
Thank you for explaining the "chains / channels" question. Good idea to look at channels of the Mary Rose and other ships. Turned out i have a drawing of the MR. Looking at Mary Rose I find about 65 cm. The ship with the barrels is about 75 cm My channel of 90 cm is therefore very wide. it will have to be thinner. Thanks for following and likes
- 756 replies
-
- 5
-
-
- galleon
- golden hind
- (and 2 more)
-
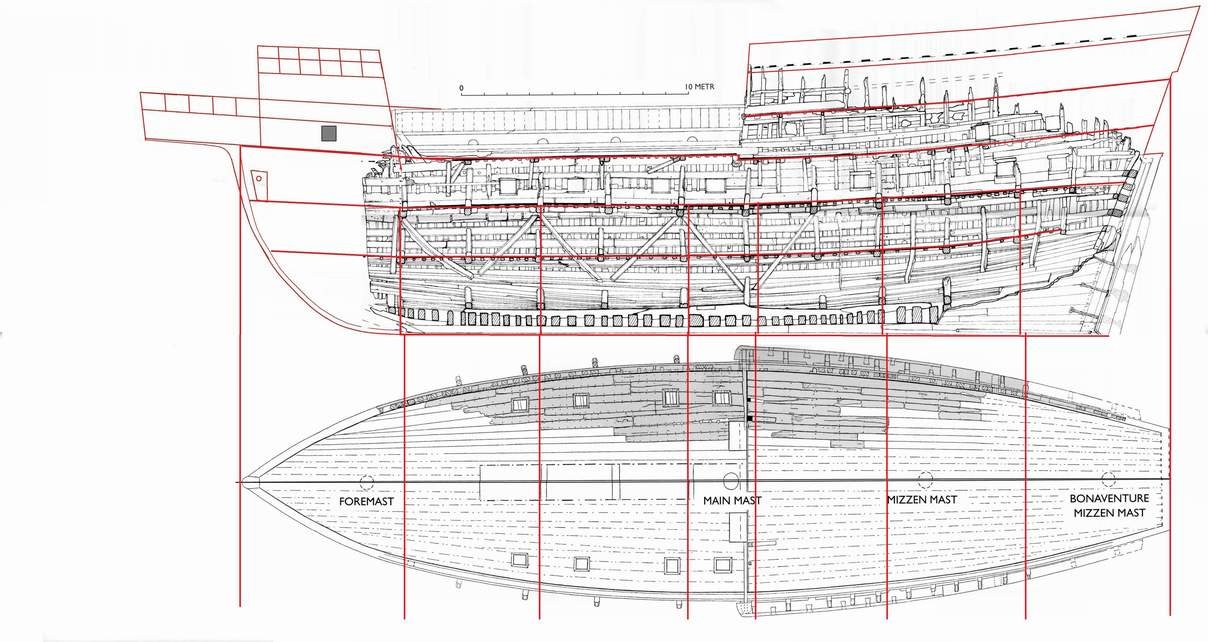
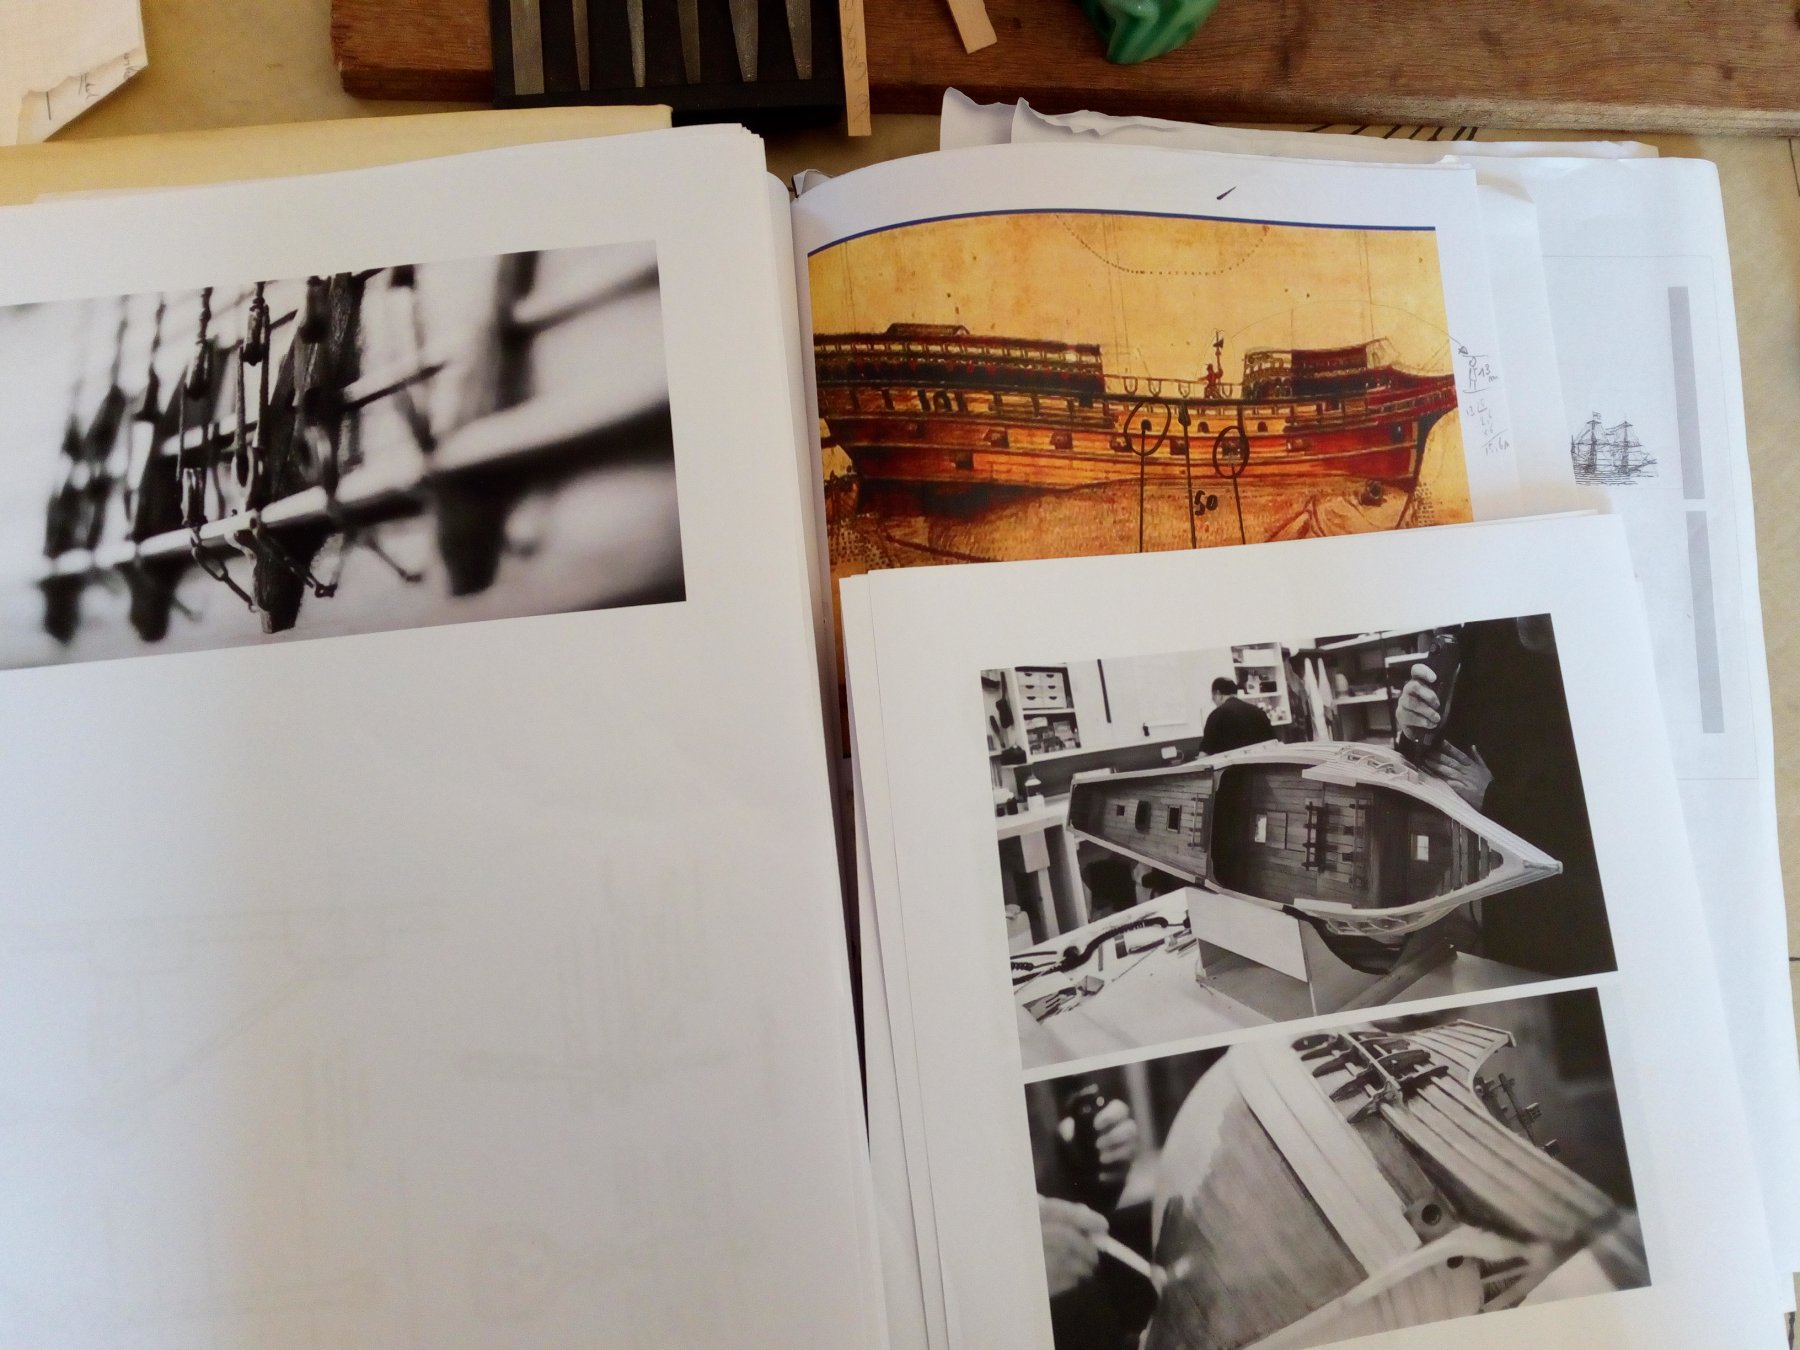
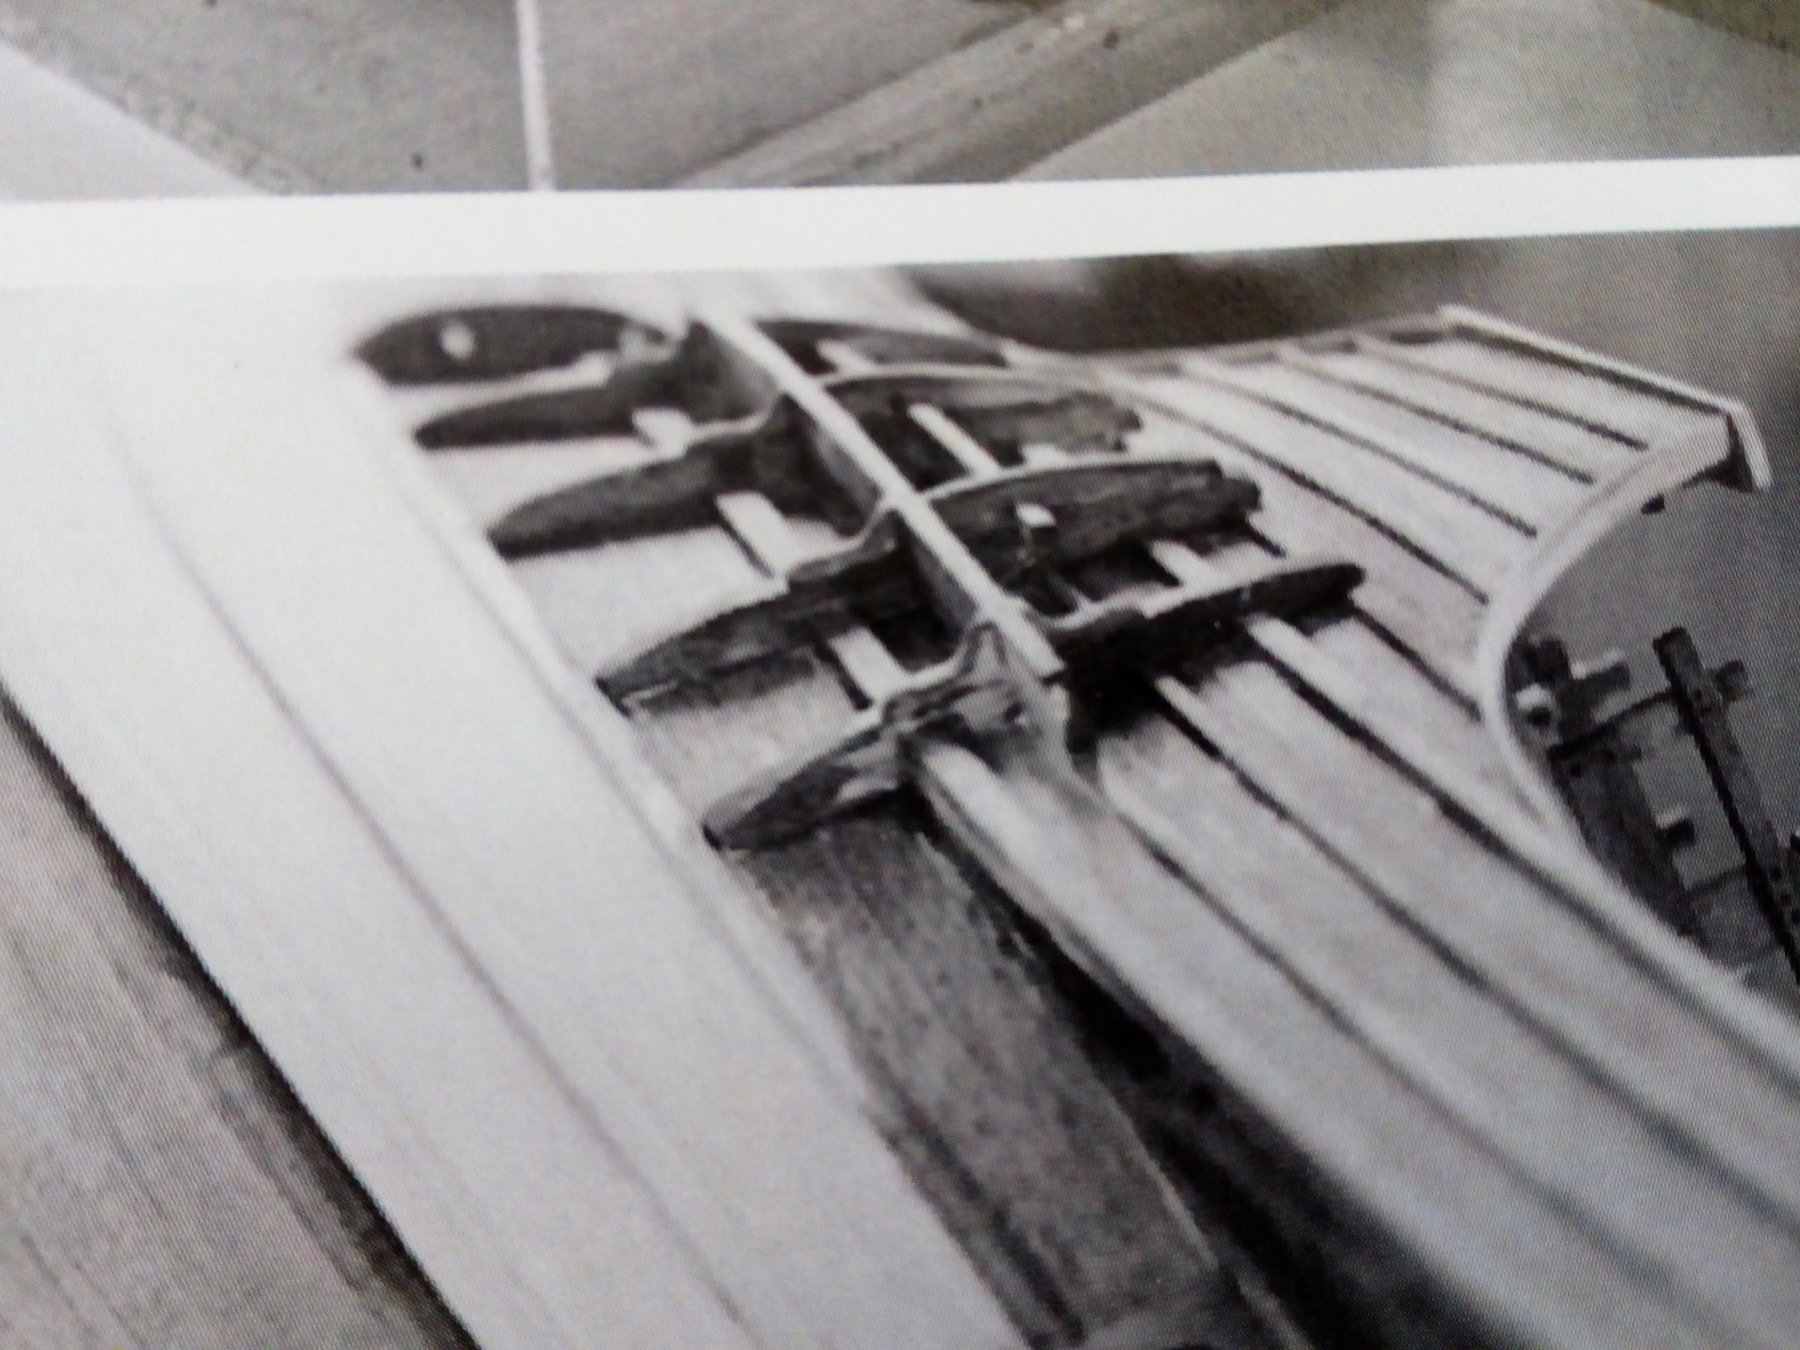
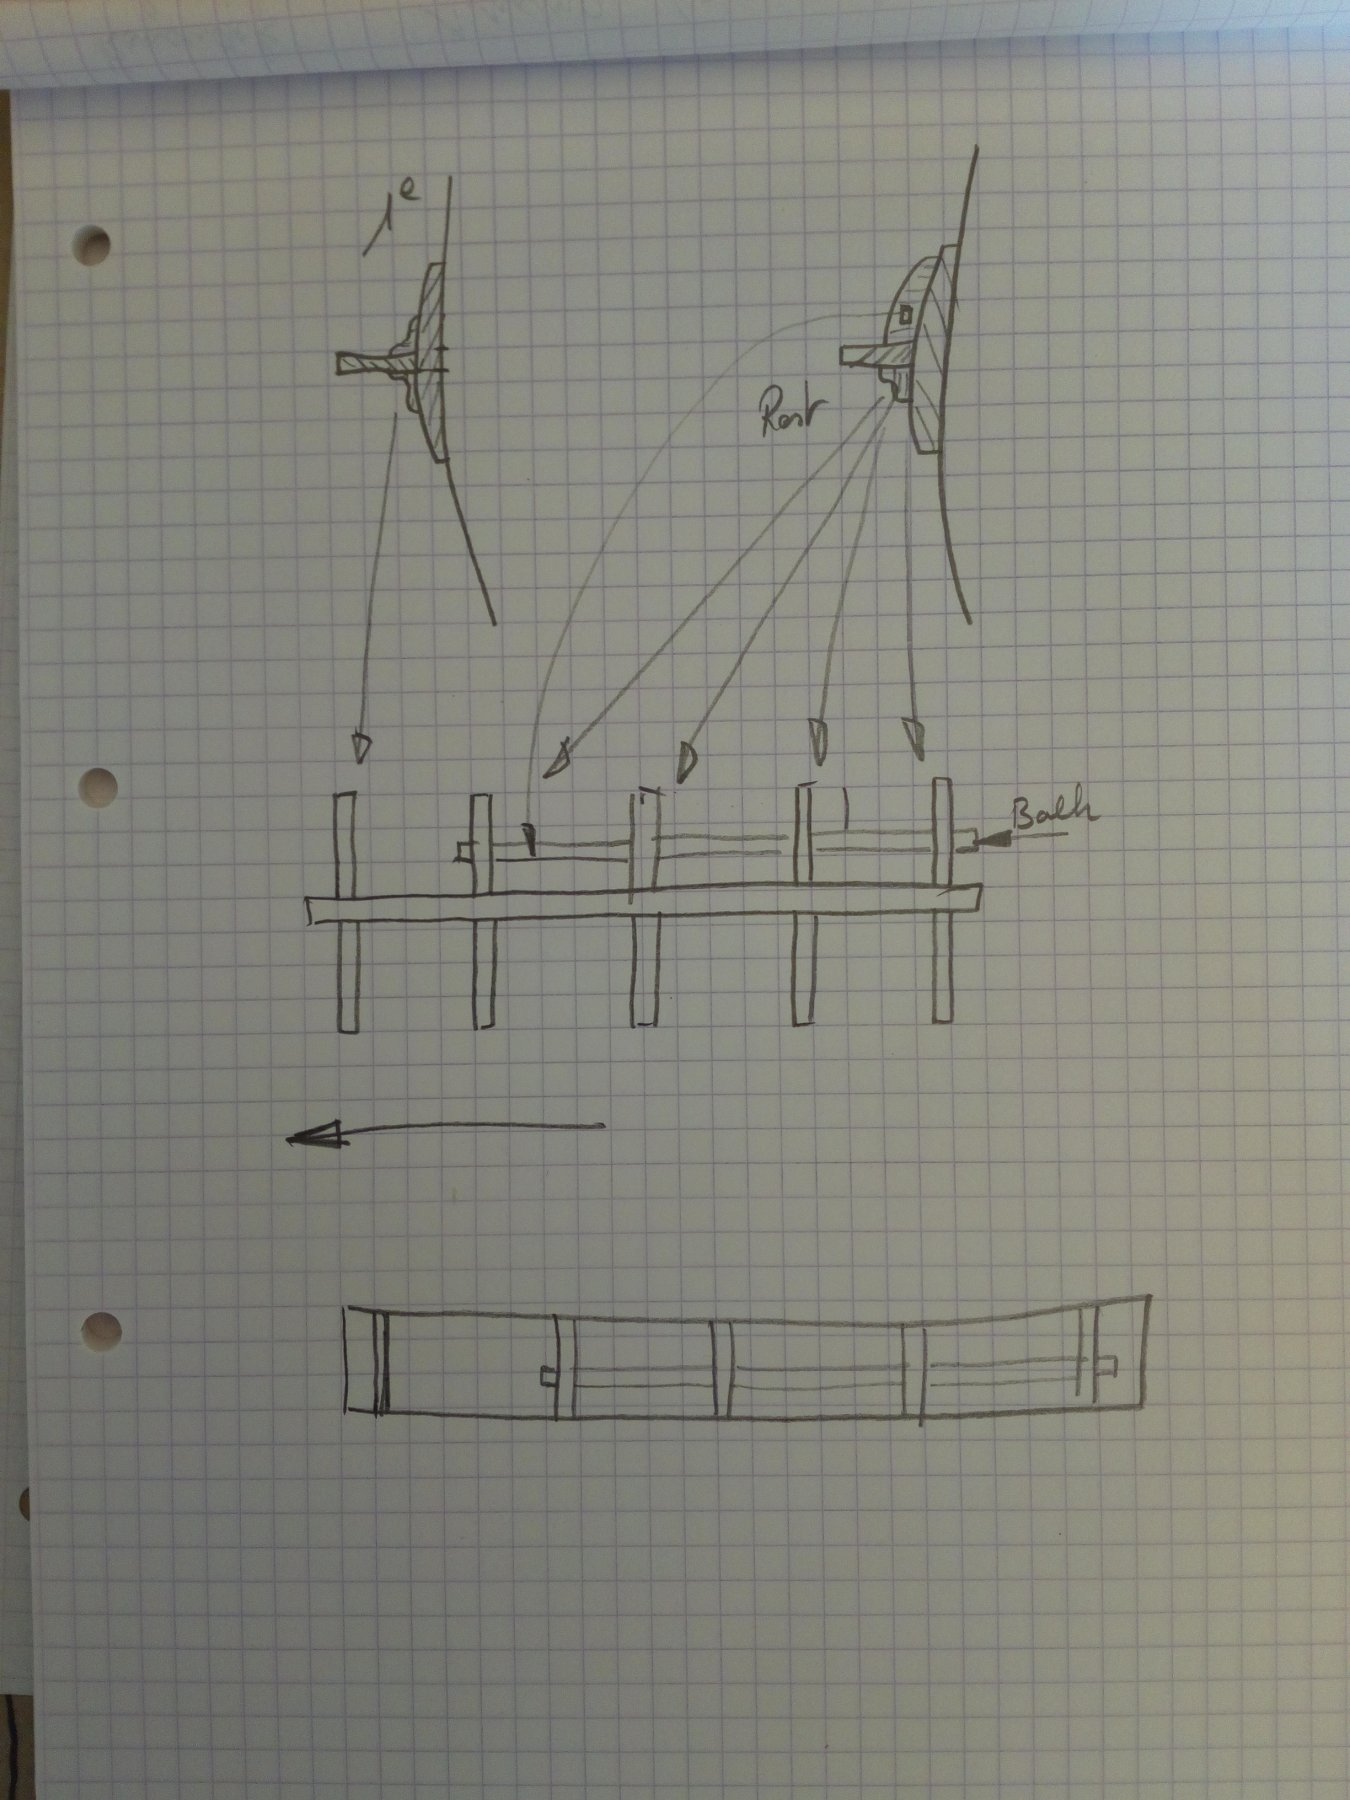
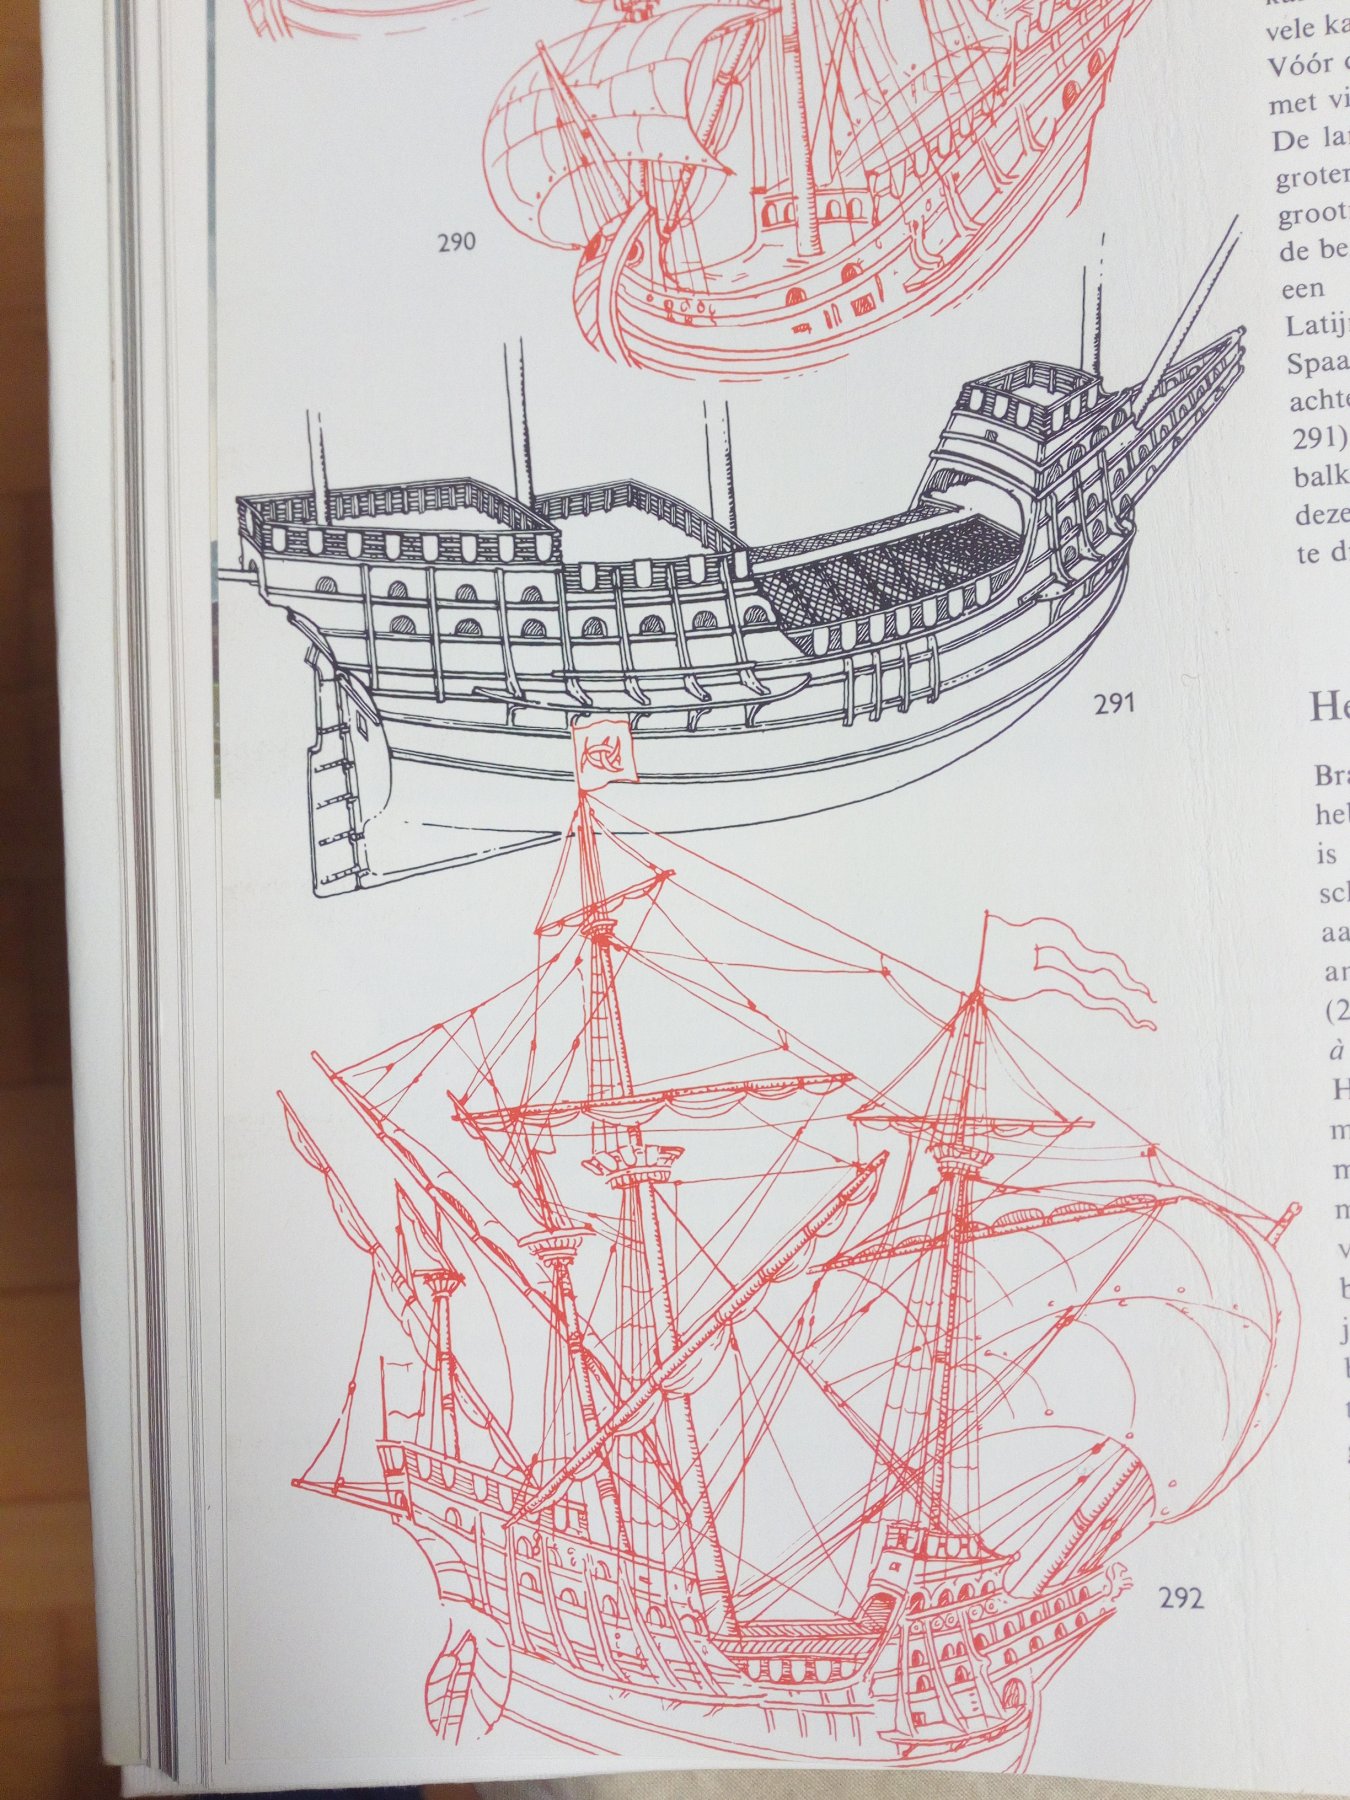
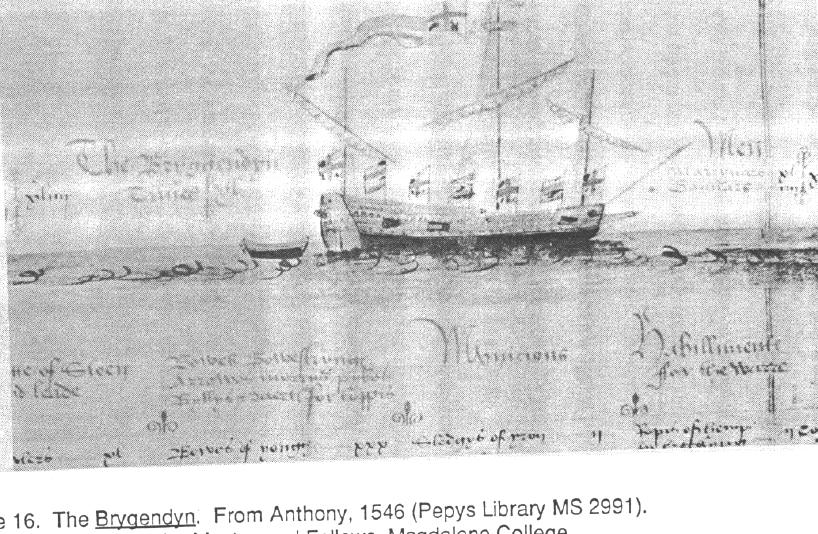
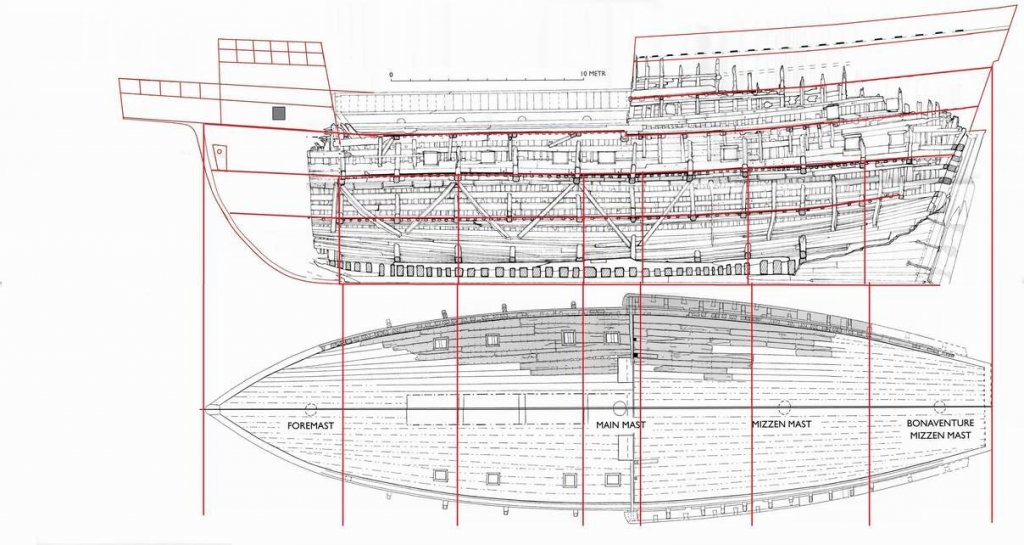
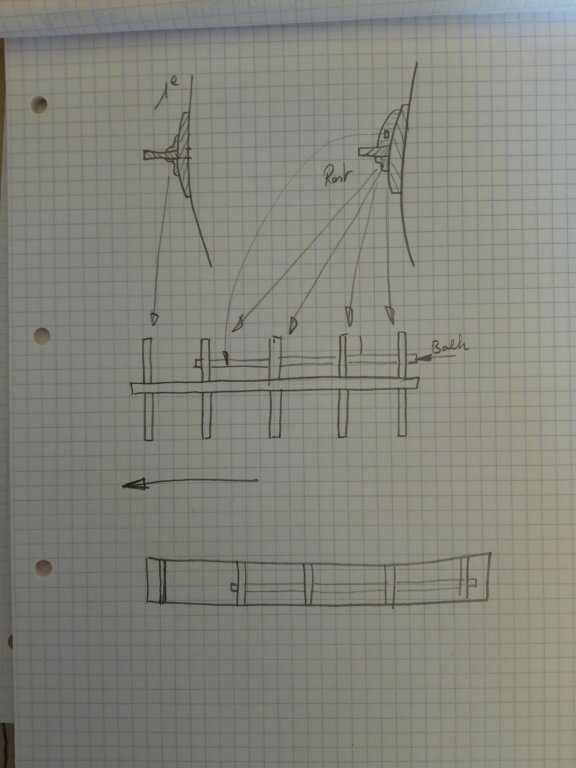
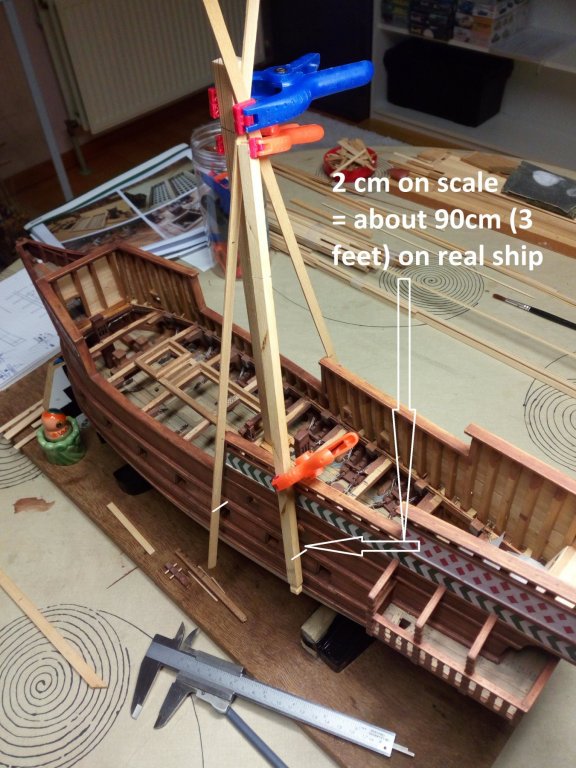
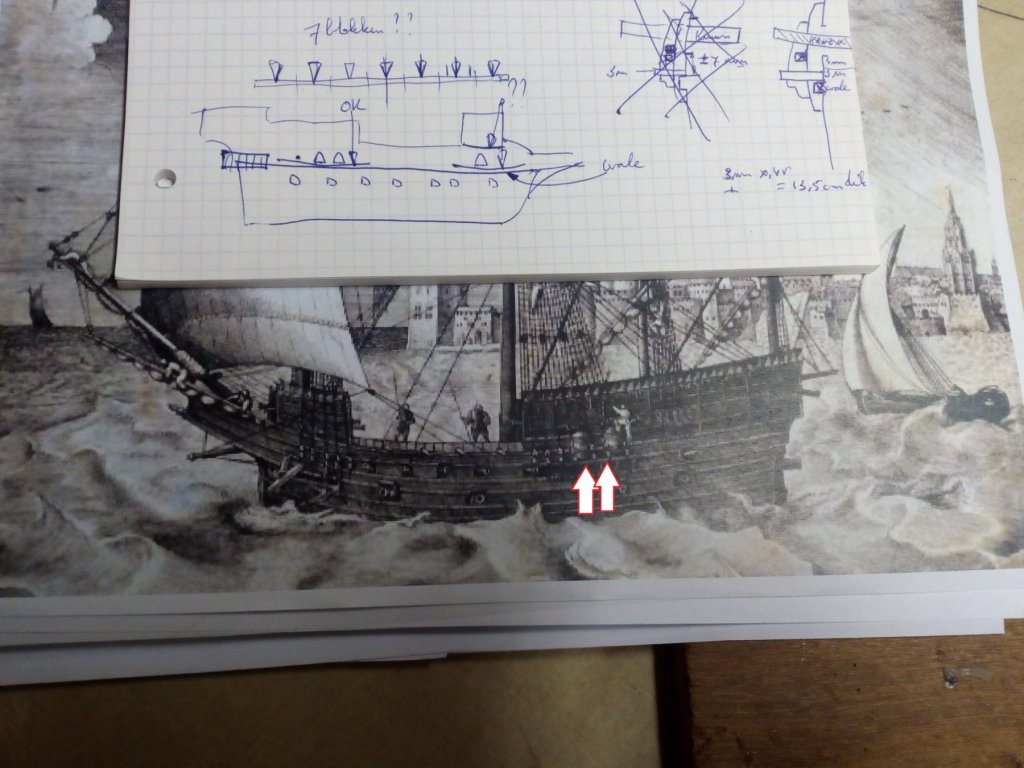
Hello Have not started building again. But I did start thinking about the next step. The places where the deadeyes and schrouds are attached. I do not know the correct English name, but in some logs they are called "chains". Strange "chain" means something very different for me in the English language?? Looking through my documentation there are several possibilities. A simple method as on the Vasa ship (early 17th century) and also applied to most Golden Hind scale models. And, an older method where multiple vertical support beams are used. The second method seems better for this time (about 1570-1580). She can also be seen on drawings by Mathew Baker. So it becomes the second method. Biggest question: how wide were these things? I find narrow and wide versions in my documentation. So first i test how wide they should be on my model, to get no problems later with the schrouds who can come against the hull. Somewhere in a log I saw this method. Ideal if you work without a plan. So we go for the wide version (no other choice) otherwise I will get into trouble later. This makes about 90 cm (3 feet) on a real ship. Reasonably wide, but it can explain how they could place barrels here that served as sanitary facilities. Thank you for following, and hopefully more updates soon.


- 756 replies
-
- 12
-
-
- galleon
- golden hind
- (and 2 more)