


Baker
-
Posts
4,303 -
Joined
-
Last visited
Content Type
Profiles
Forums
Gallery
Events
Everything posted by Baker
-
 Thanks, Why did you use white for the rigging? A stupid beginners mistake (I got this kit for free (but without rigging) and had to improvise Which colors did you use and what manufacturer makes them? Tamiya matte colors What wood oil or stains did you work with? matte varnish, the color is old oak
- 63 replies
-
- 1
-

-
- vasa
- billing boats
- (and 1 more)
-
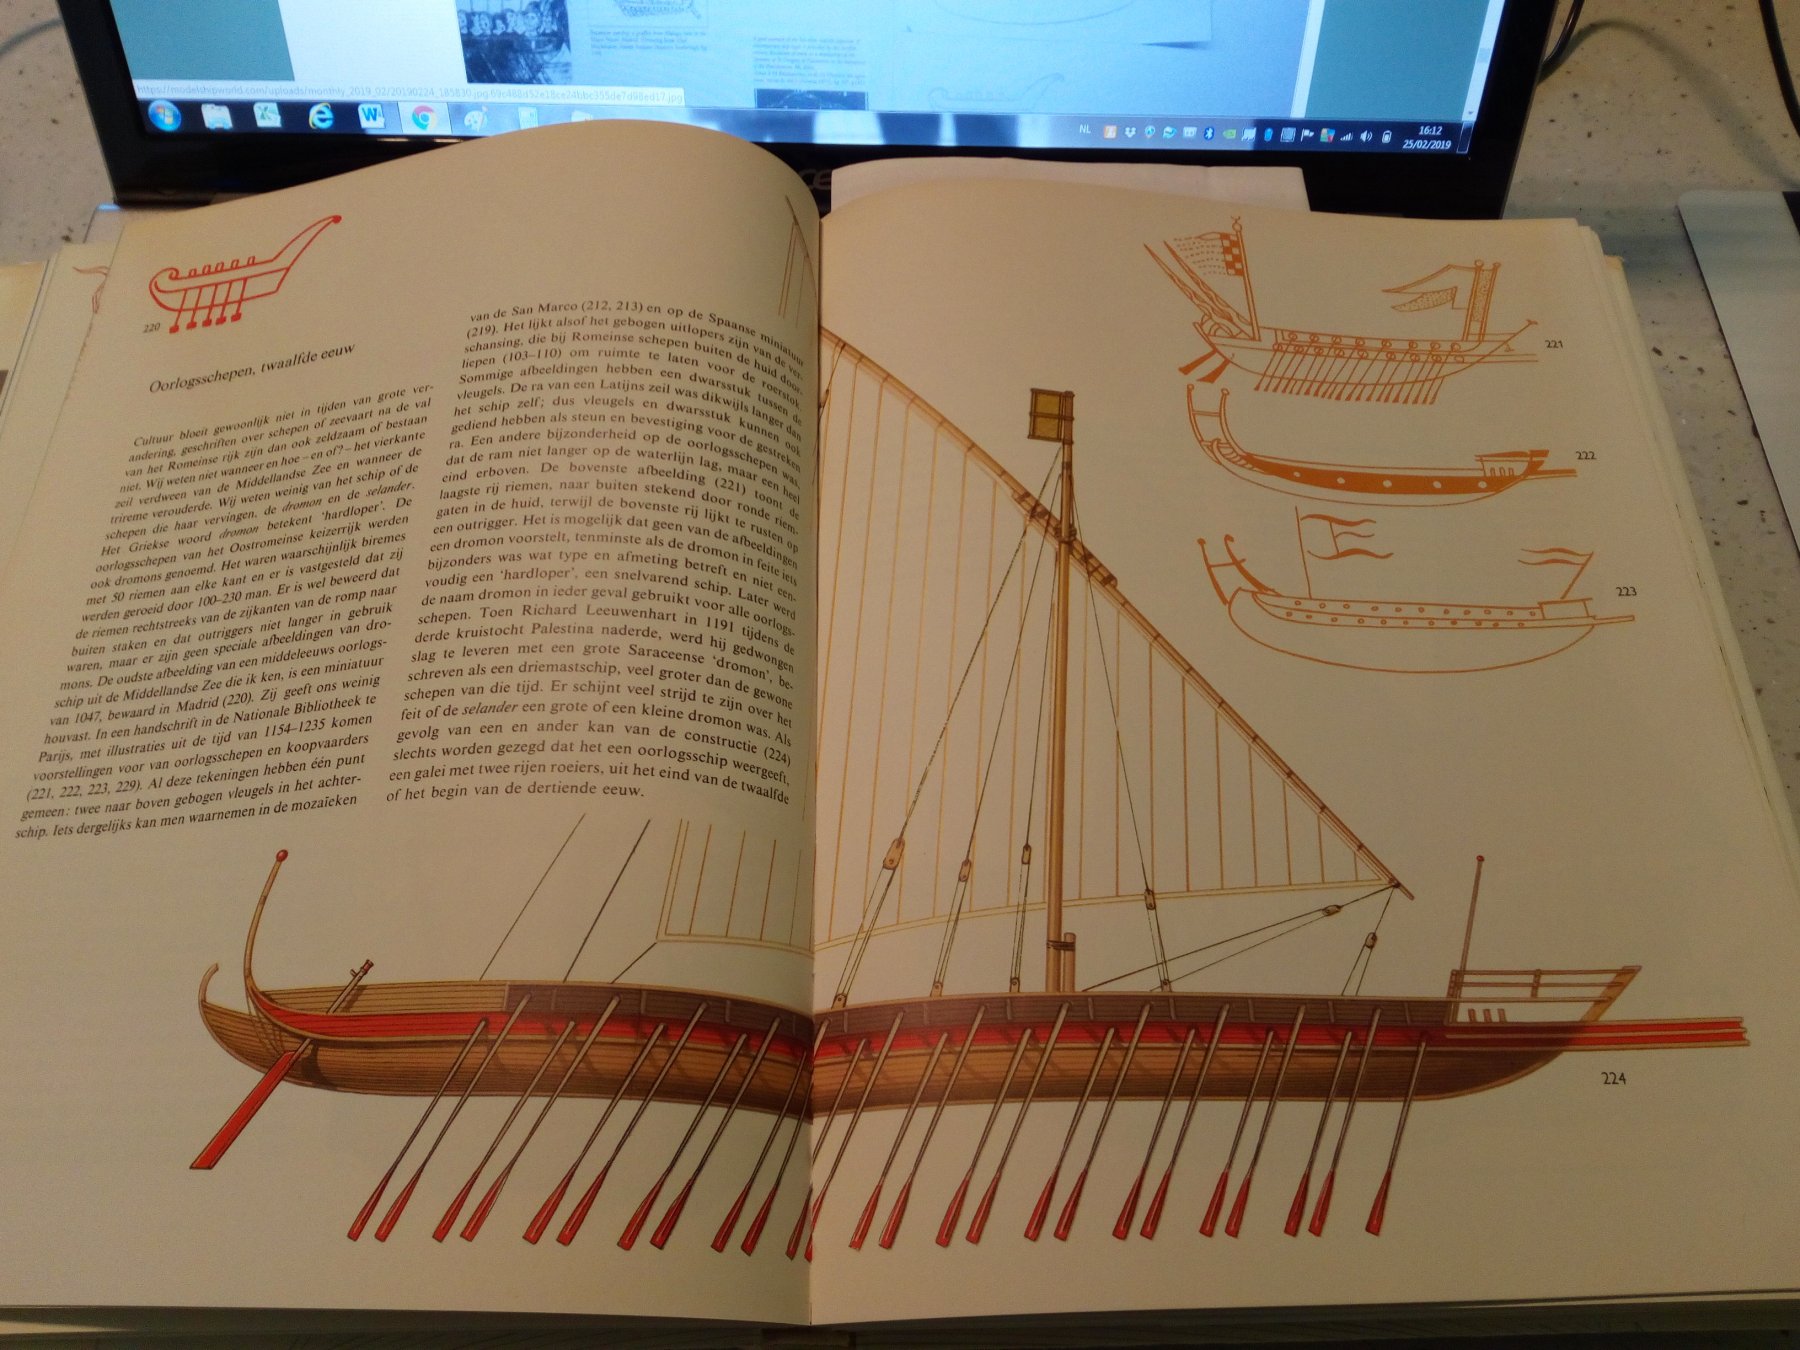
Do not know much about dromons. But the best option seems to be to lower the forecastle. And a horizontal deck looks the most logical. Greetings Patrick

-
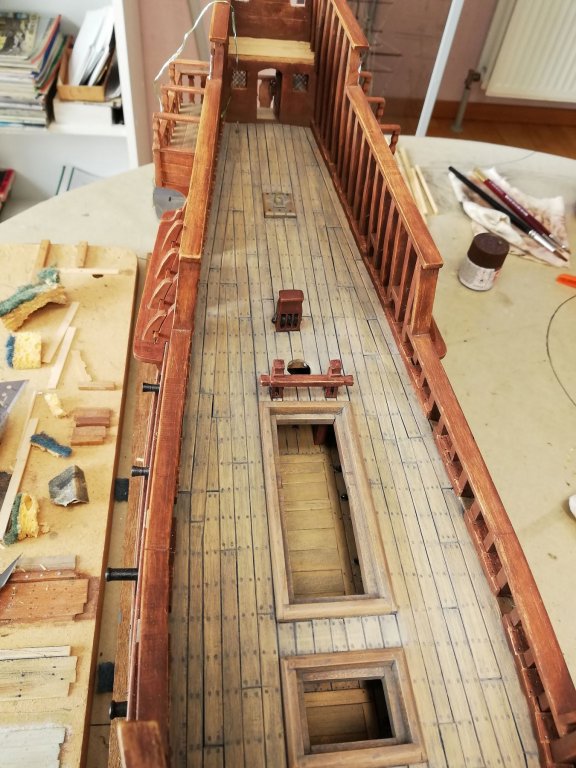
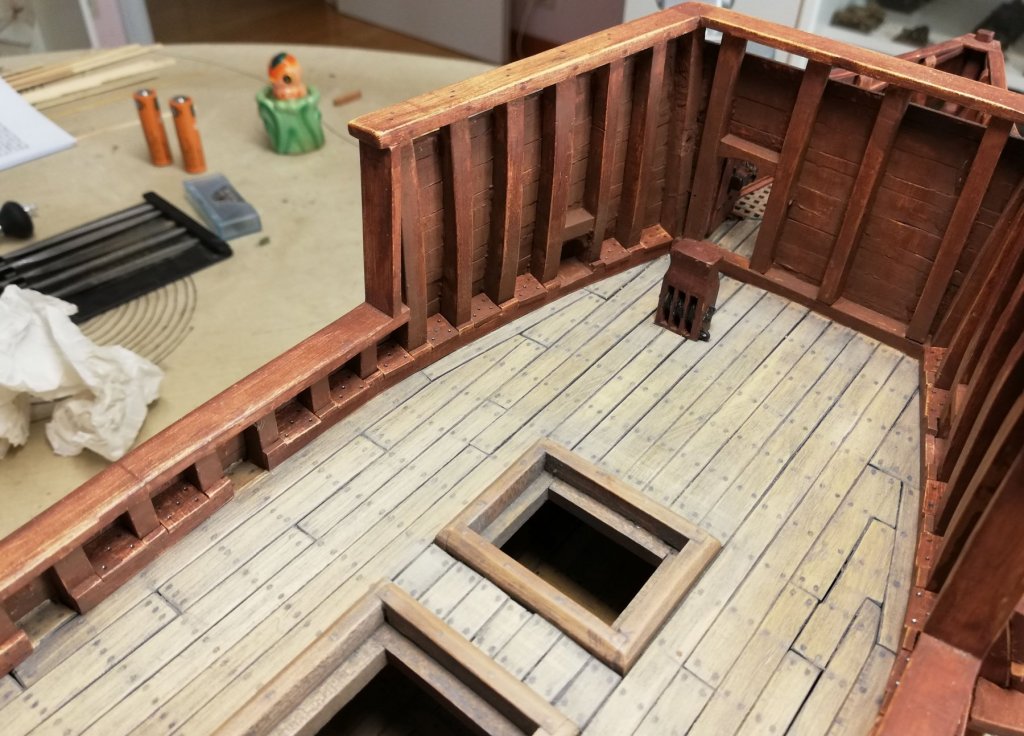
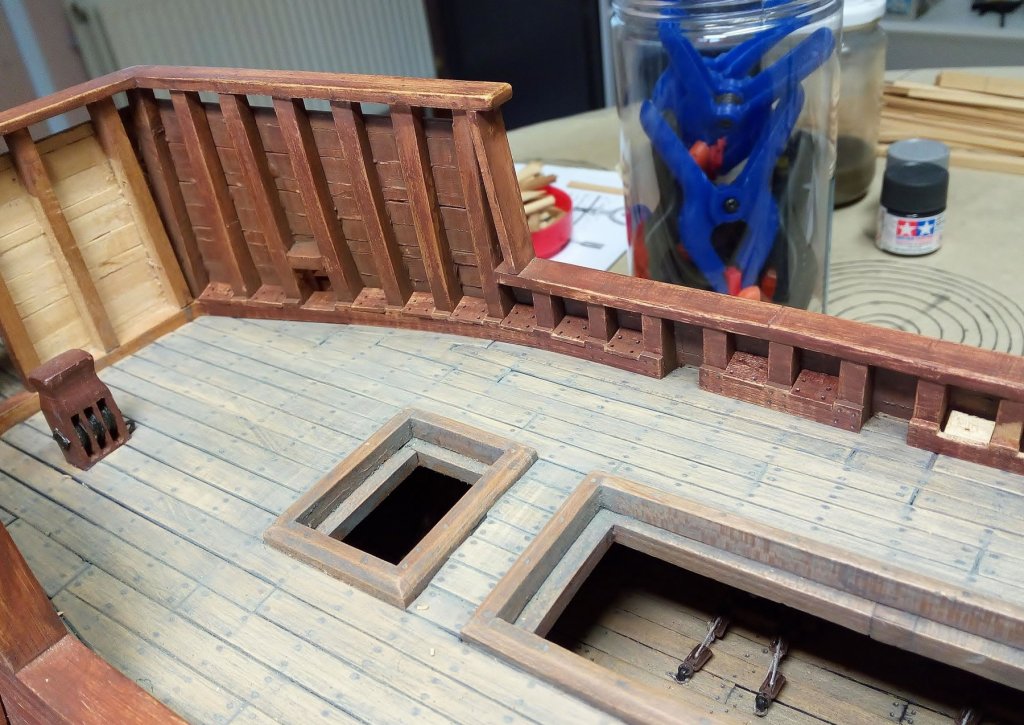
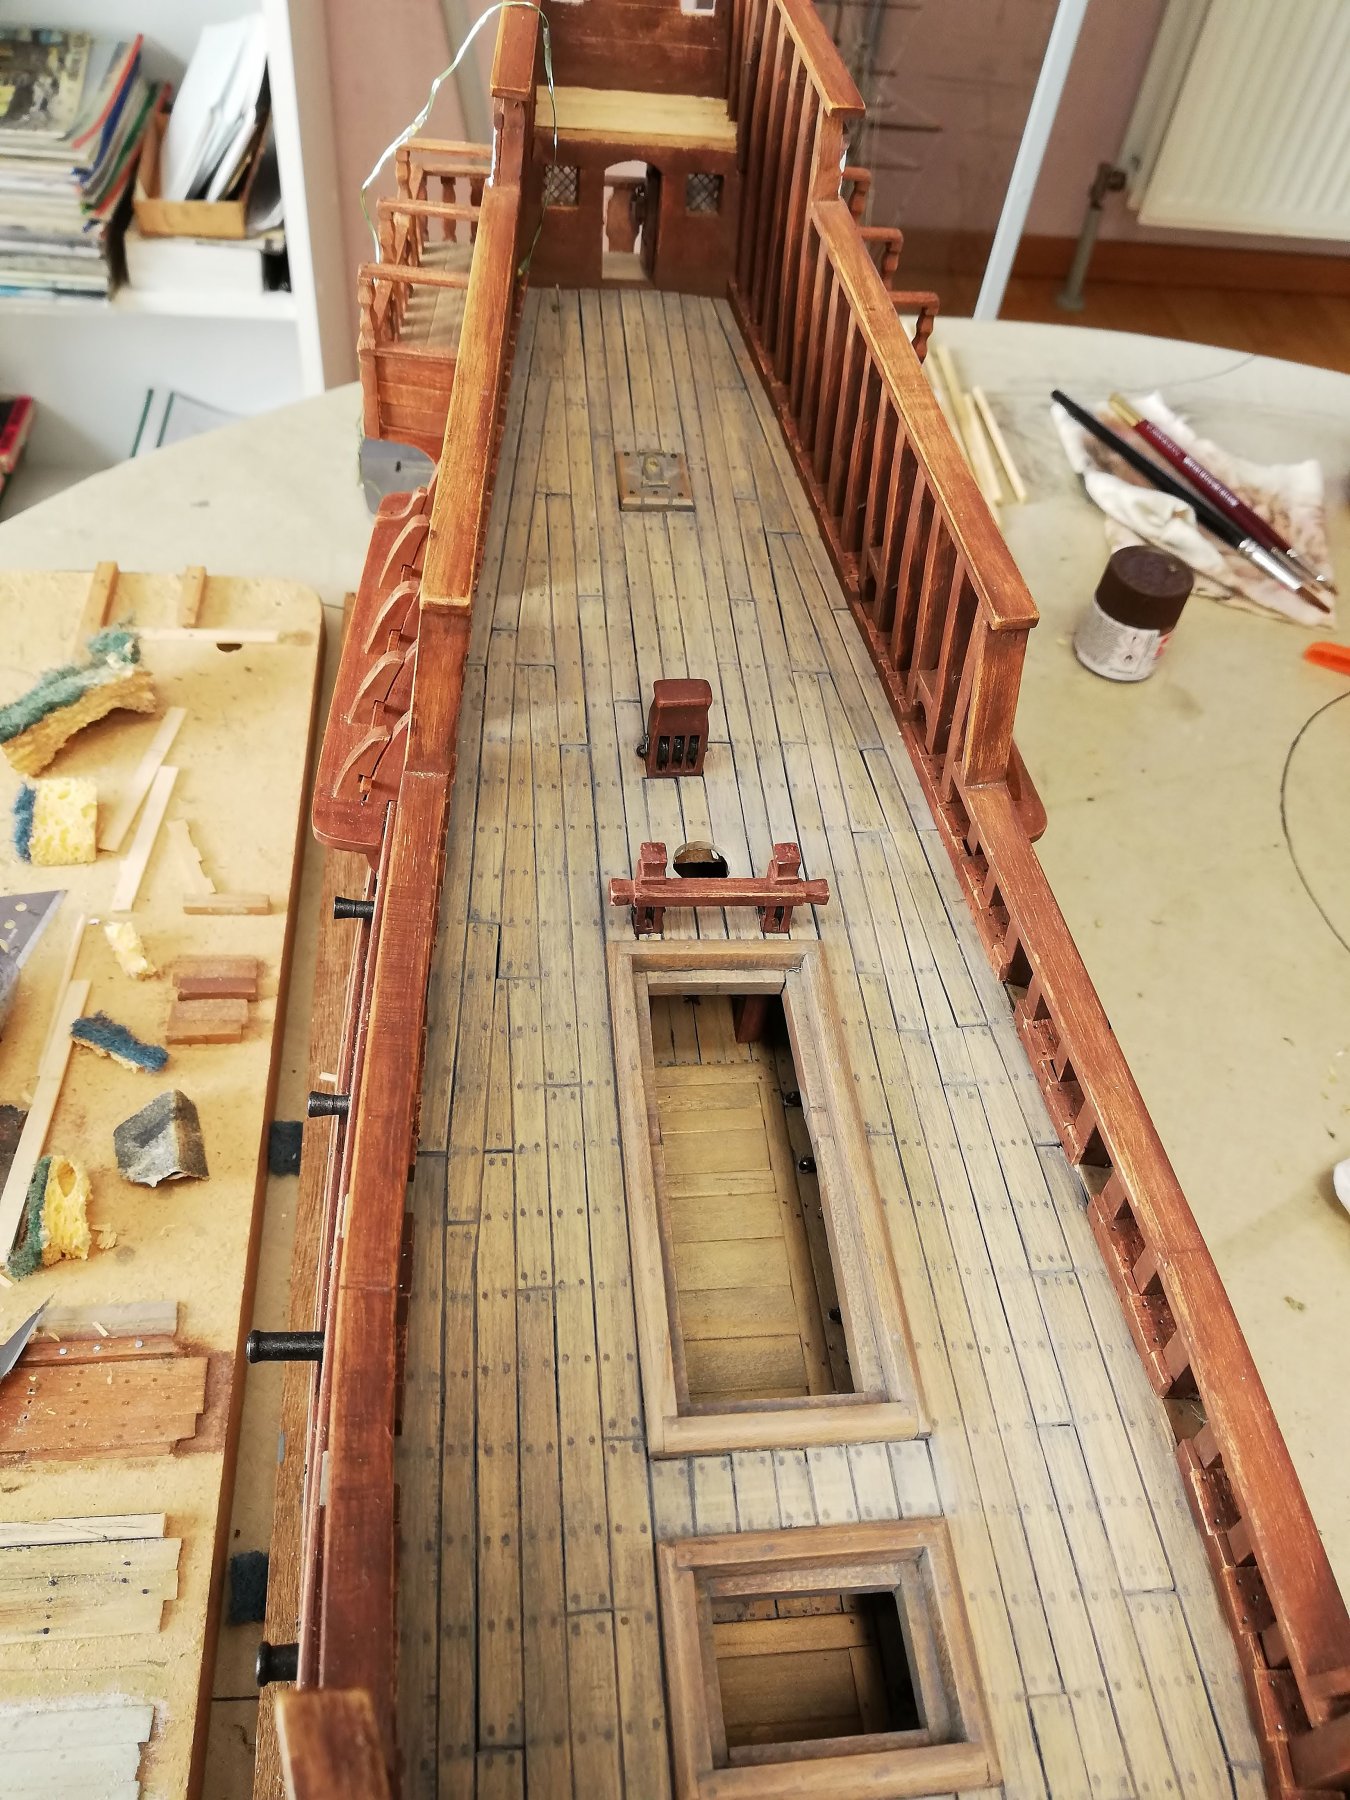
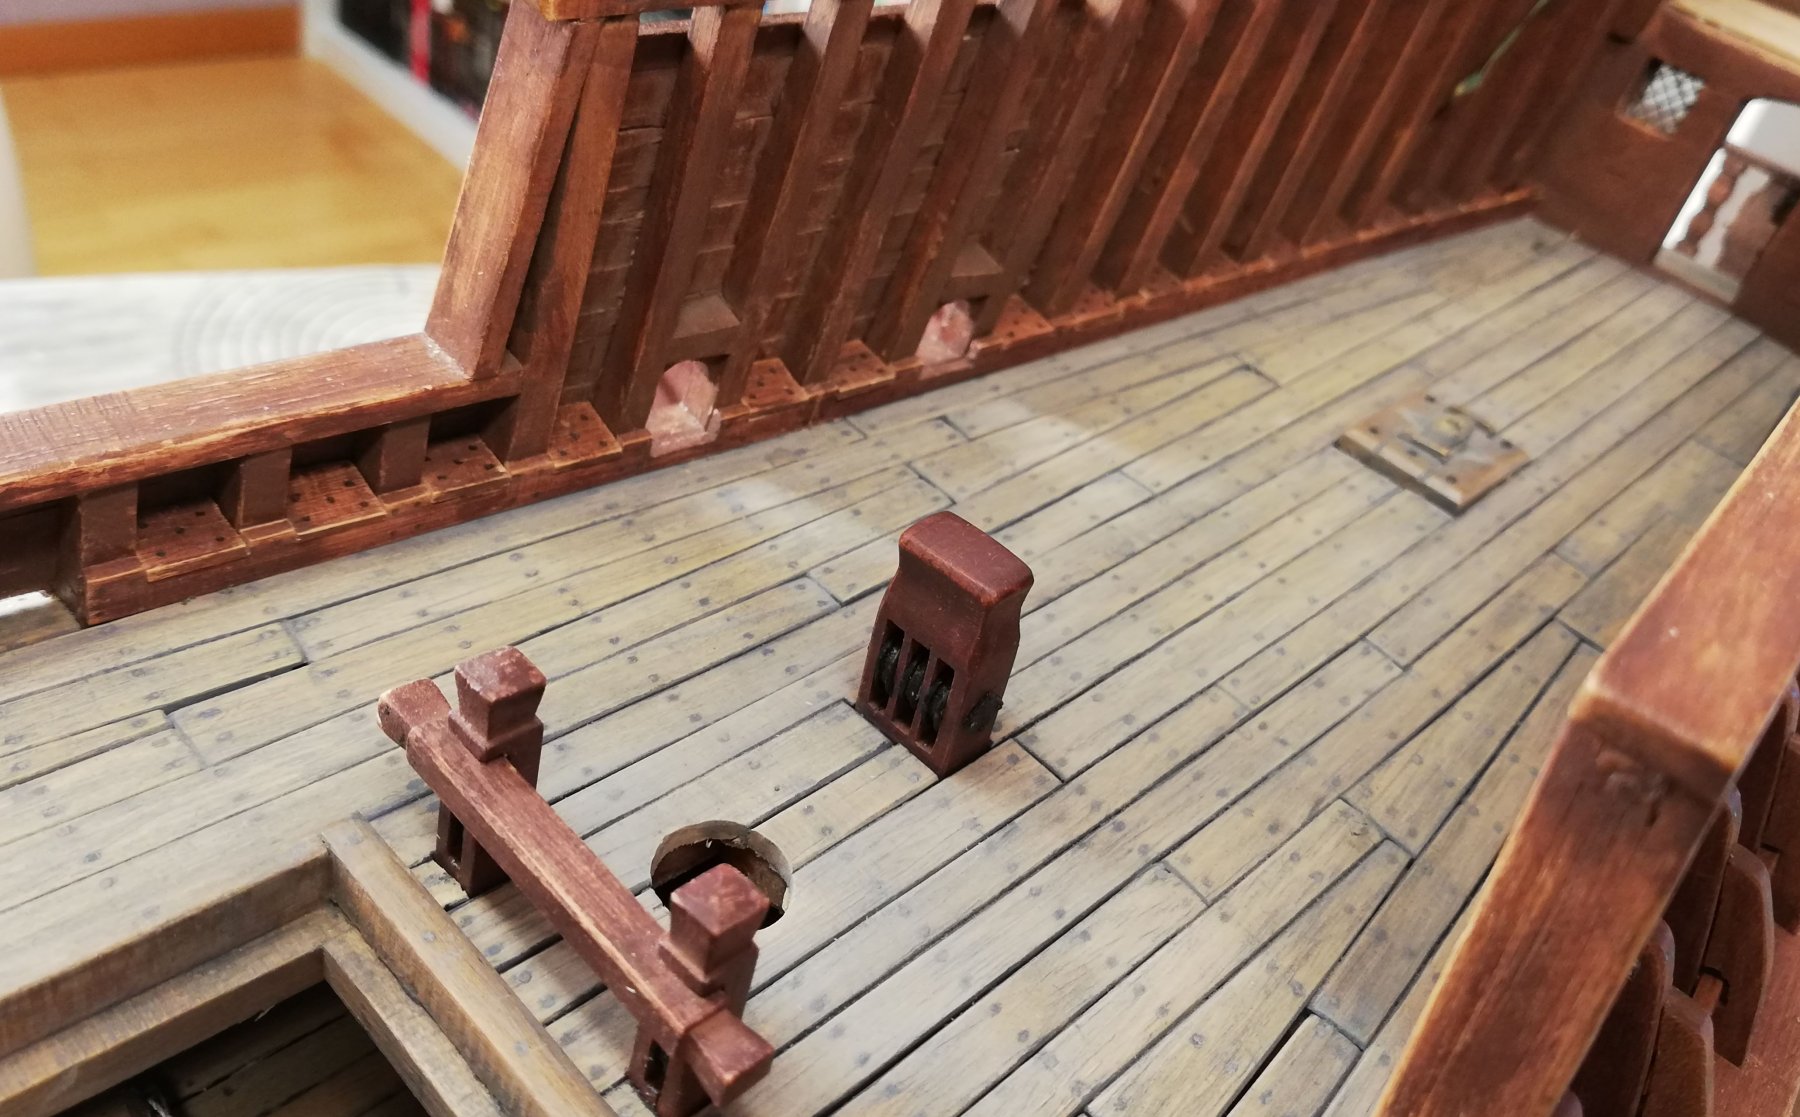
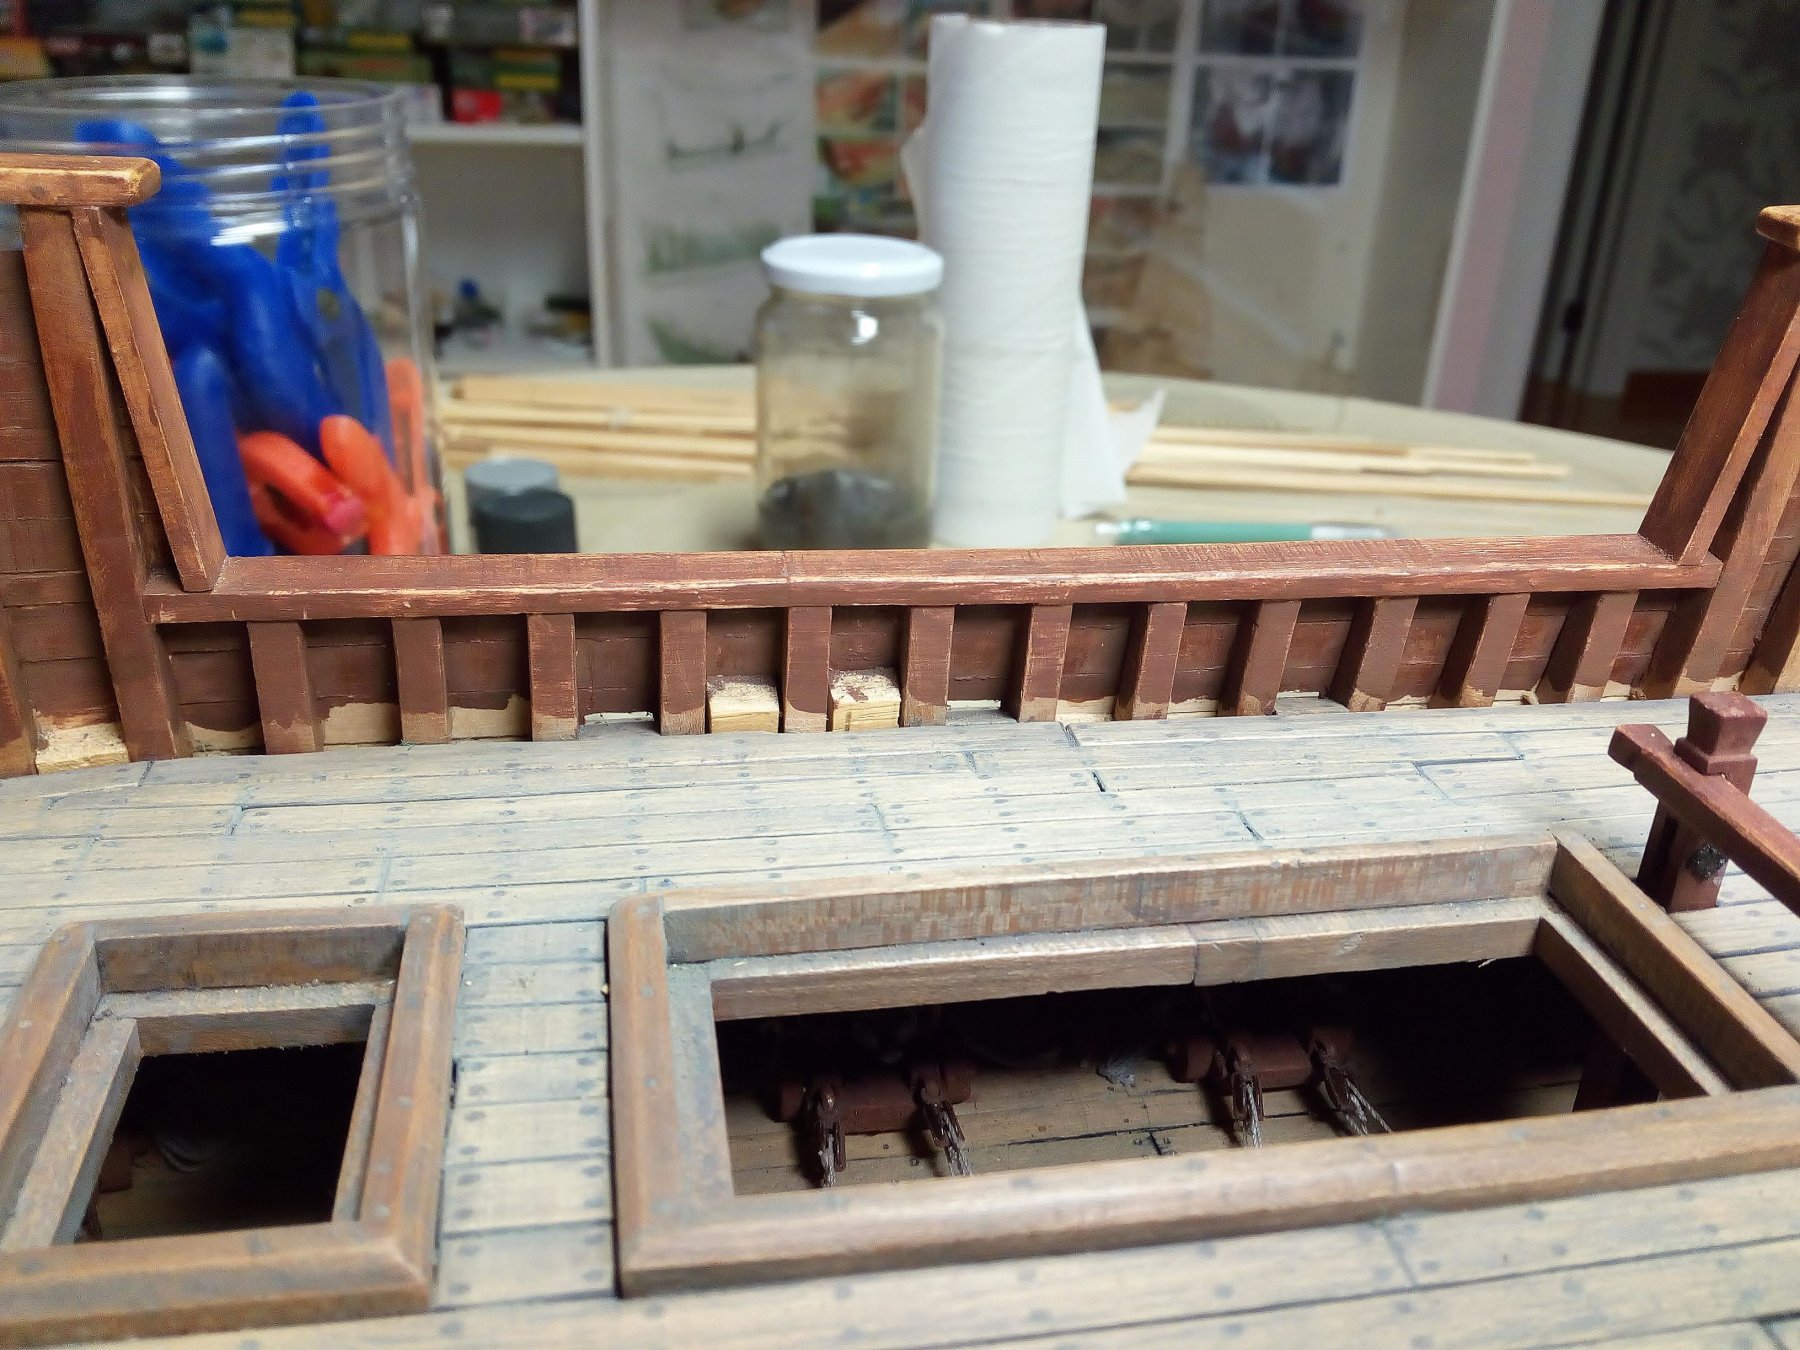
Small update, The inside is painted and the waterway is ready. This work me took more time than expected. Thanks for following.

- 756 replies
-
- 9
-
-
- galleon
- golden hind
- (and 2 more)
-
Thanks Vossiewulf, I have been working on this ship for a few years now. Nobody knows what this really looked like. And most of the "detailed drawings" of this ship were actually drawn a few centuries later. Probably it was not a real warship but an armed merchantman. Paint schemes are the choice of the builder. None (brown wooden hull), red green white (English) Yellow red (Spanish). Nobody can say that you're wrong (or correct). In the years that this ship sailed over the oceans it will probably have been repainted a few times. And if you are thousands of miles from home, you have to paint with what you have found from the Spaniards ... What is reasonably certain : Below the water line it is almost certainly white (the white stuff) Inside of the gun gates certainly no red (ordinary wood color, brown) Wales certainly not black, that came into use later Greetings Patrick
-
Great work. With all builds of the Revenge, the triangles and stripes on the hull are always beautifully painted. But I have never seen how this is done. How do you do this? With my Golden Hind, I had to cut masking tape for hours before I could start painting
-
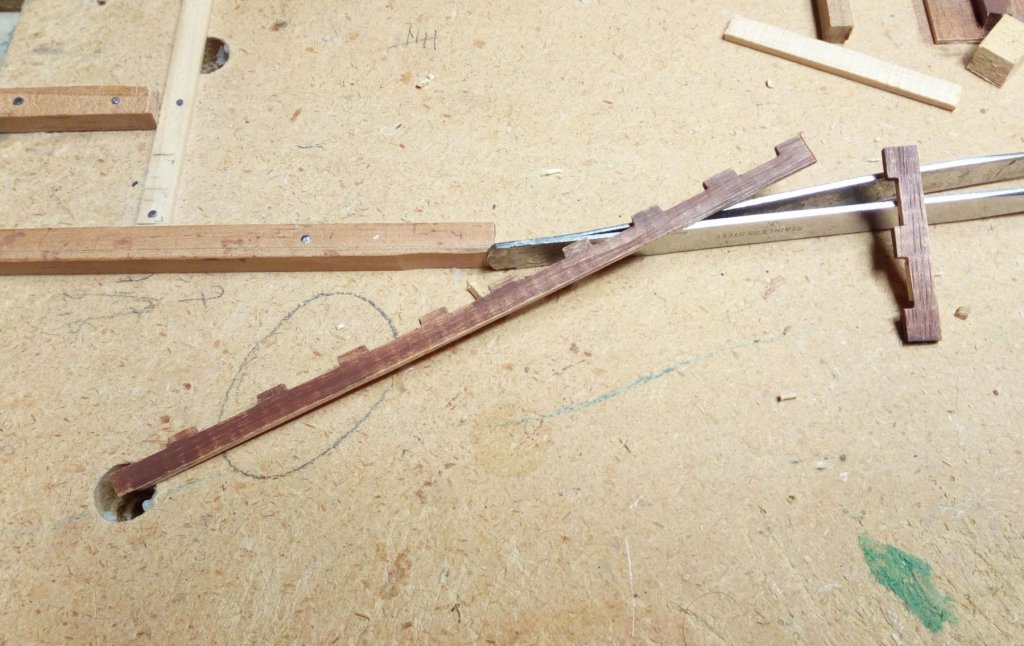
Be sure to use glue to fix the first layer. And where necessary, nails are usually used. The filler blocks is also a good idea.
-
And thank you for the link. greetings, patrick
-
Greetings from Belgium
-
Welcome to MSW and good luck with the exercises for walking again.
-
Welcome to MSW. Very good for a 40+ year project
-
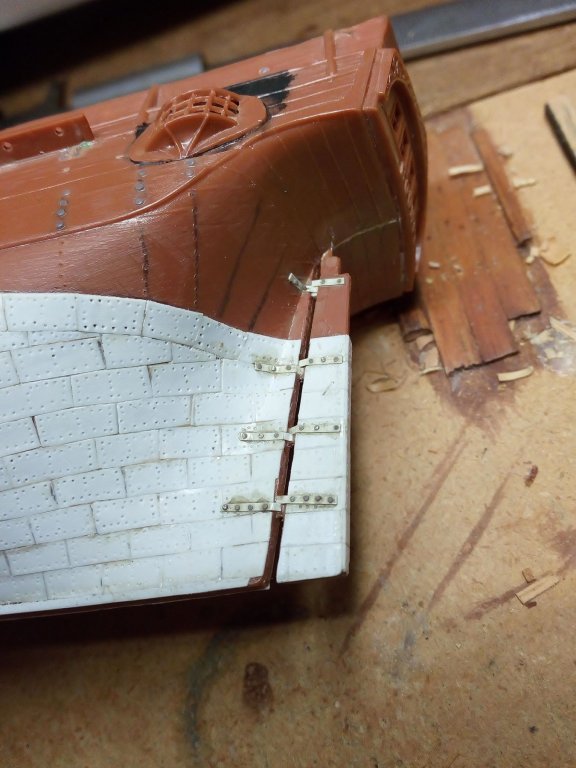
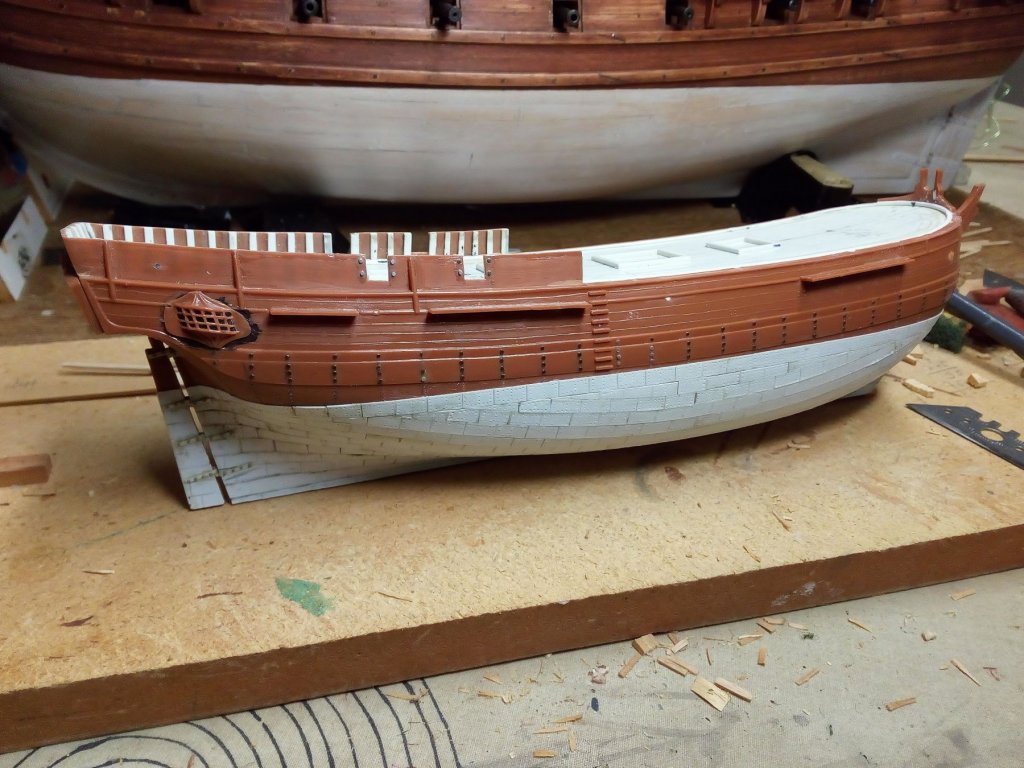
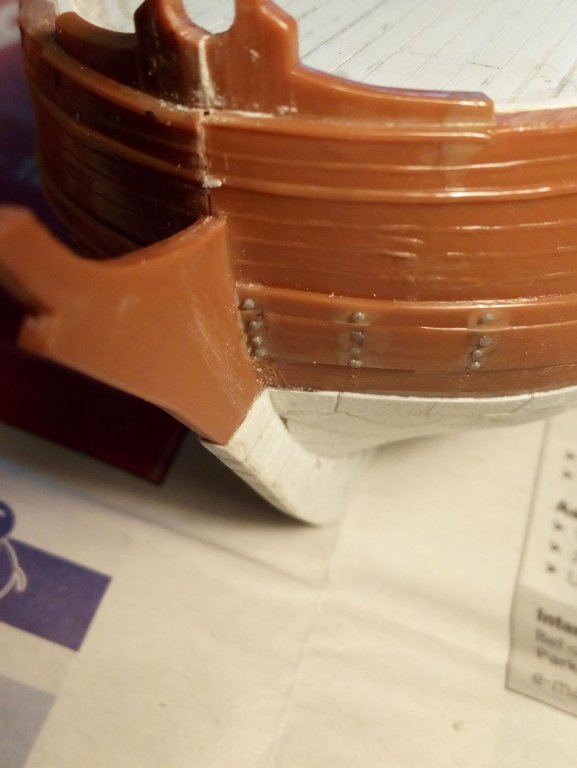
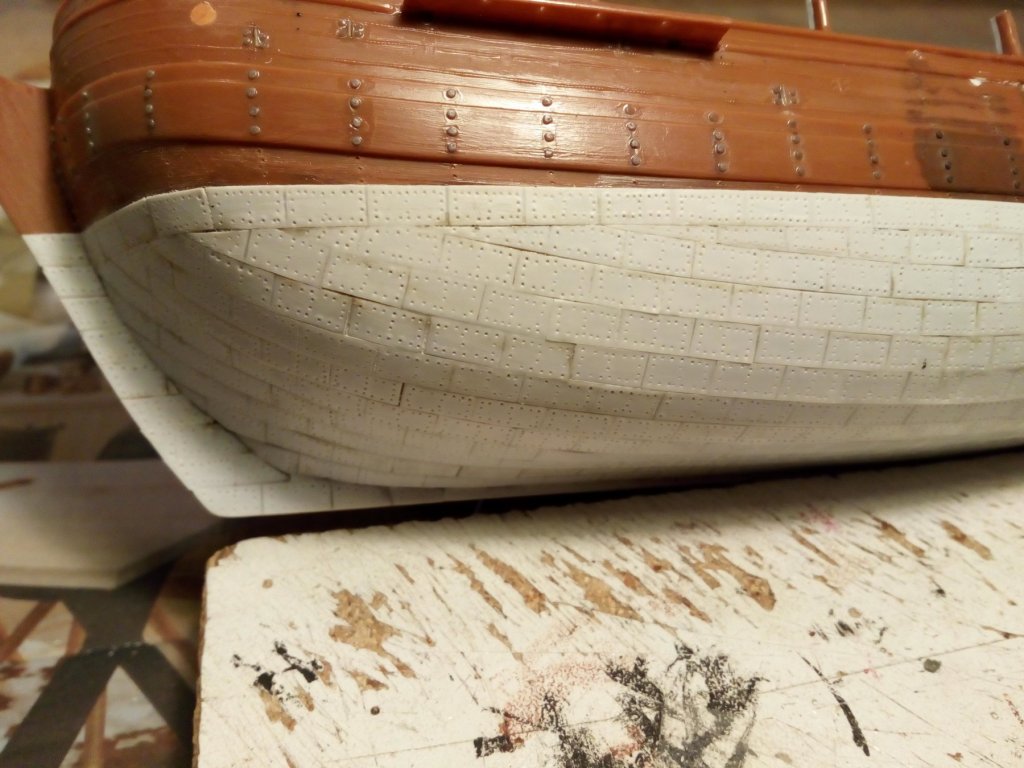
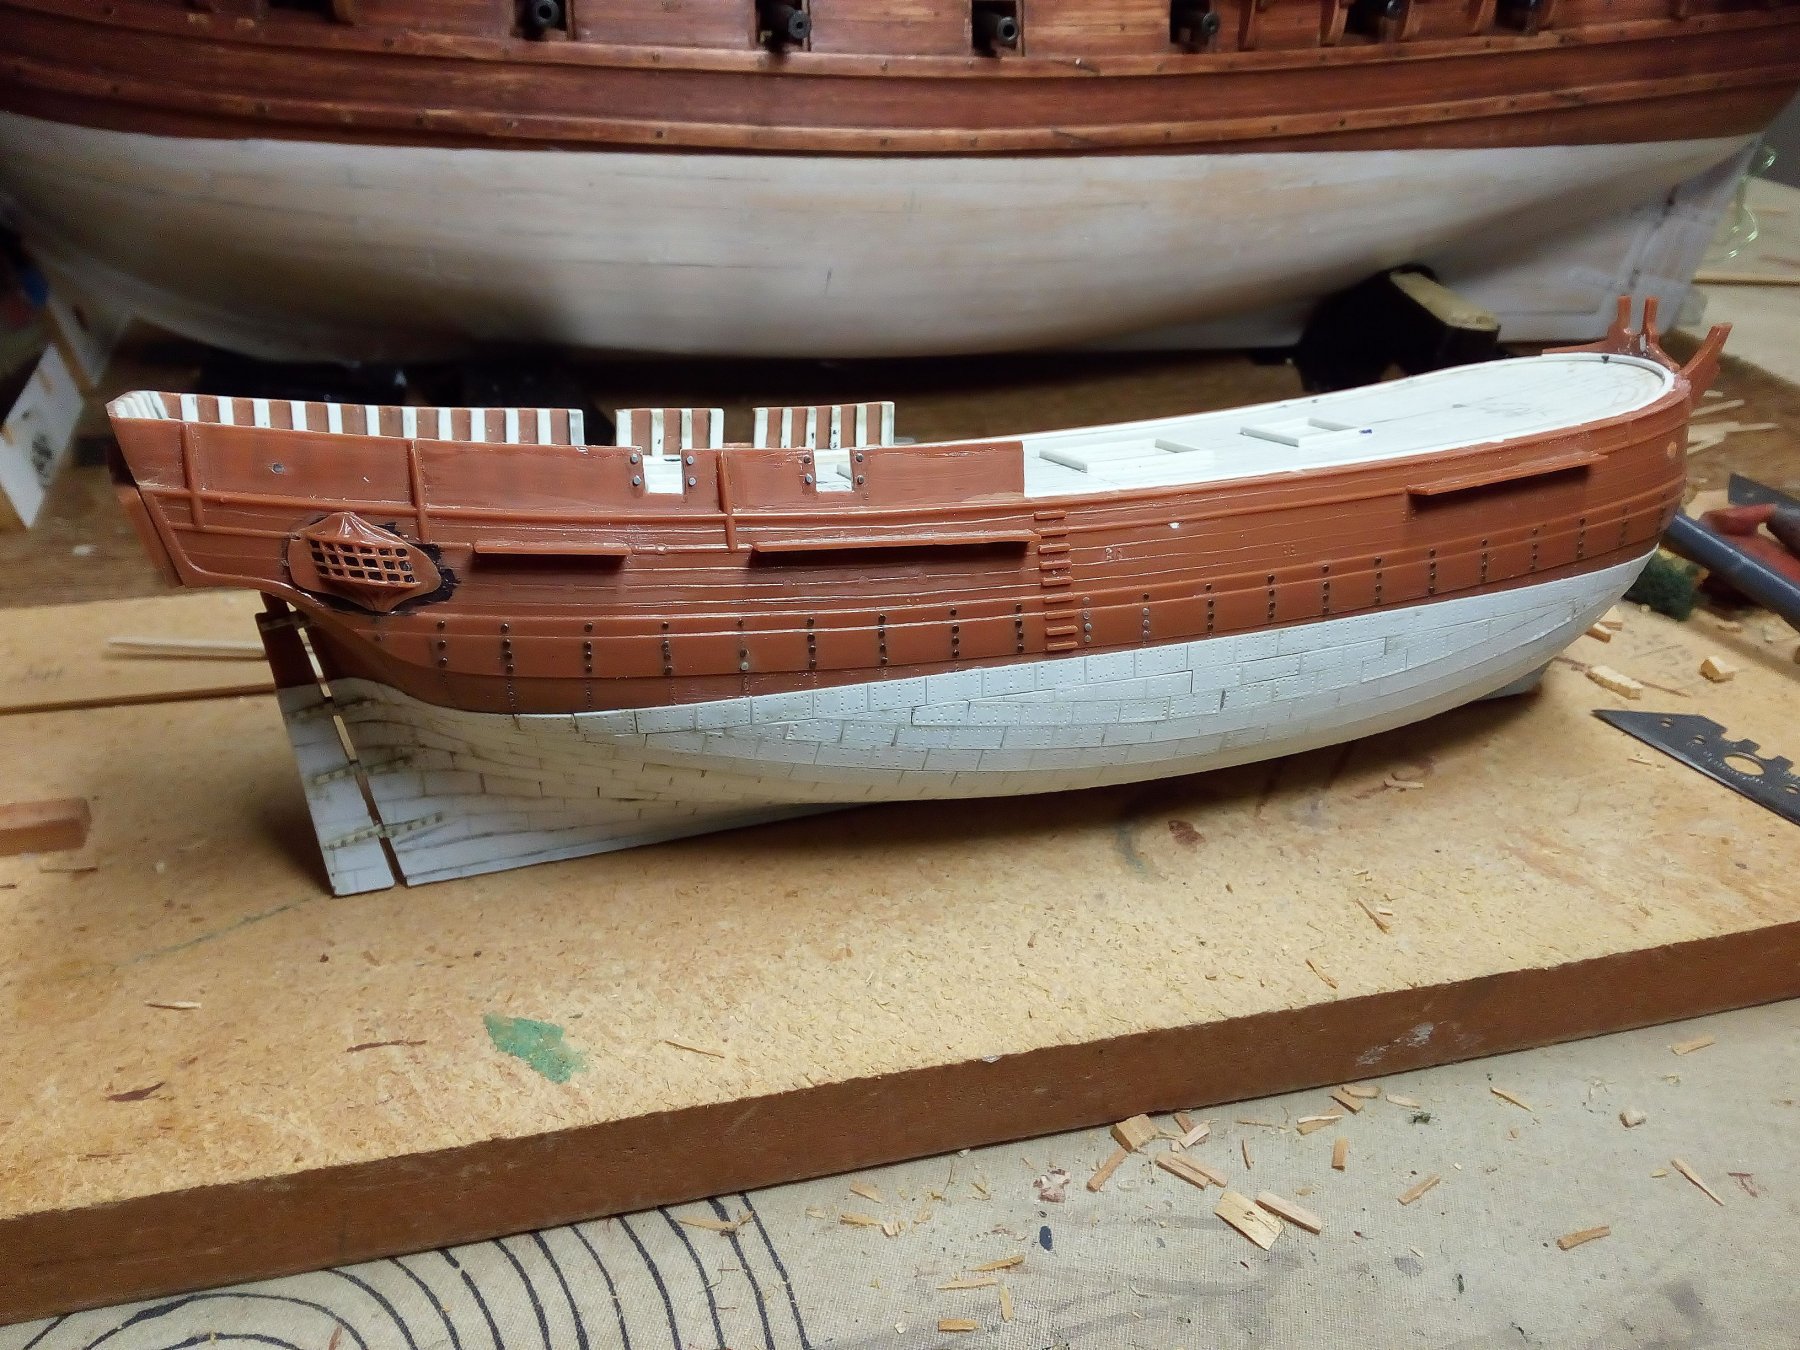
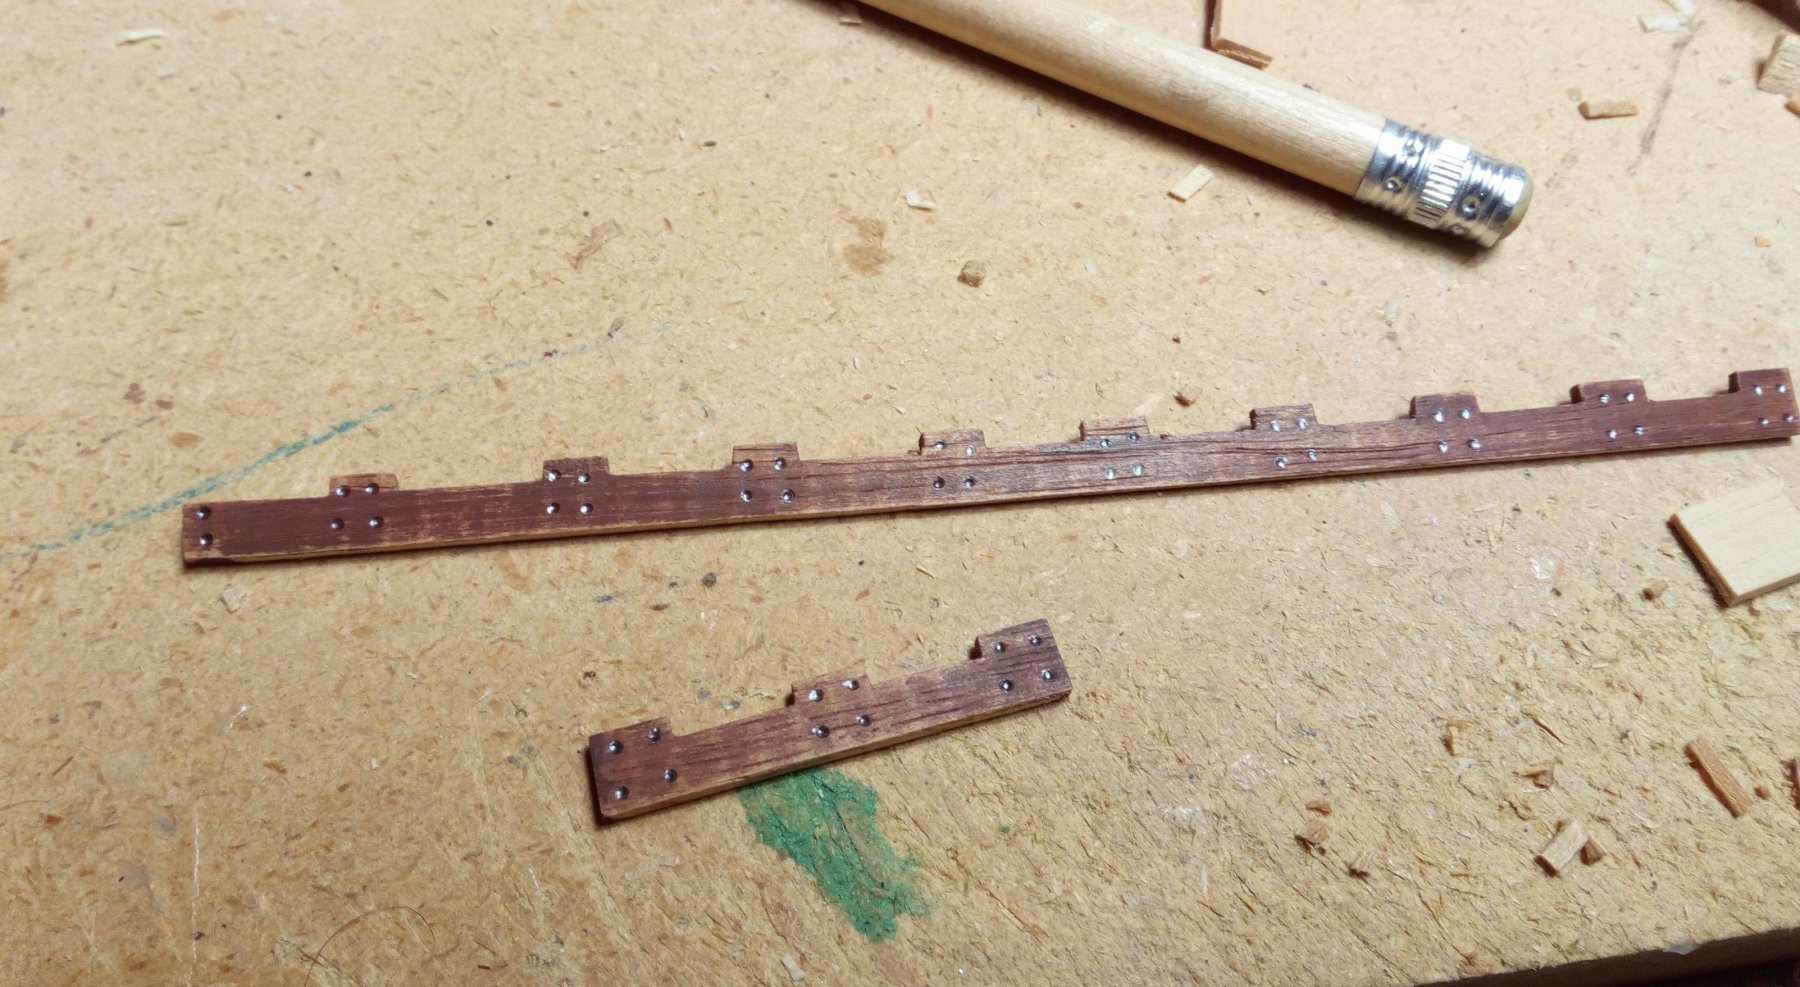
update, The copper sheeting is ready. The rudder now has 4 hinges as it should be (The model had only 3 hinges). The railing has been removed again, it was not really what it was supposed to be. Tested with a metal color, can be okay. to be continued, thanks for following ( Shipyard closed in the summer, on hold until october, november 2019)


- 173 replies
-
- 11
-
-
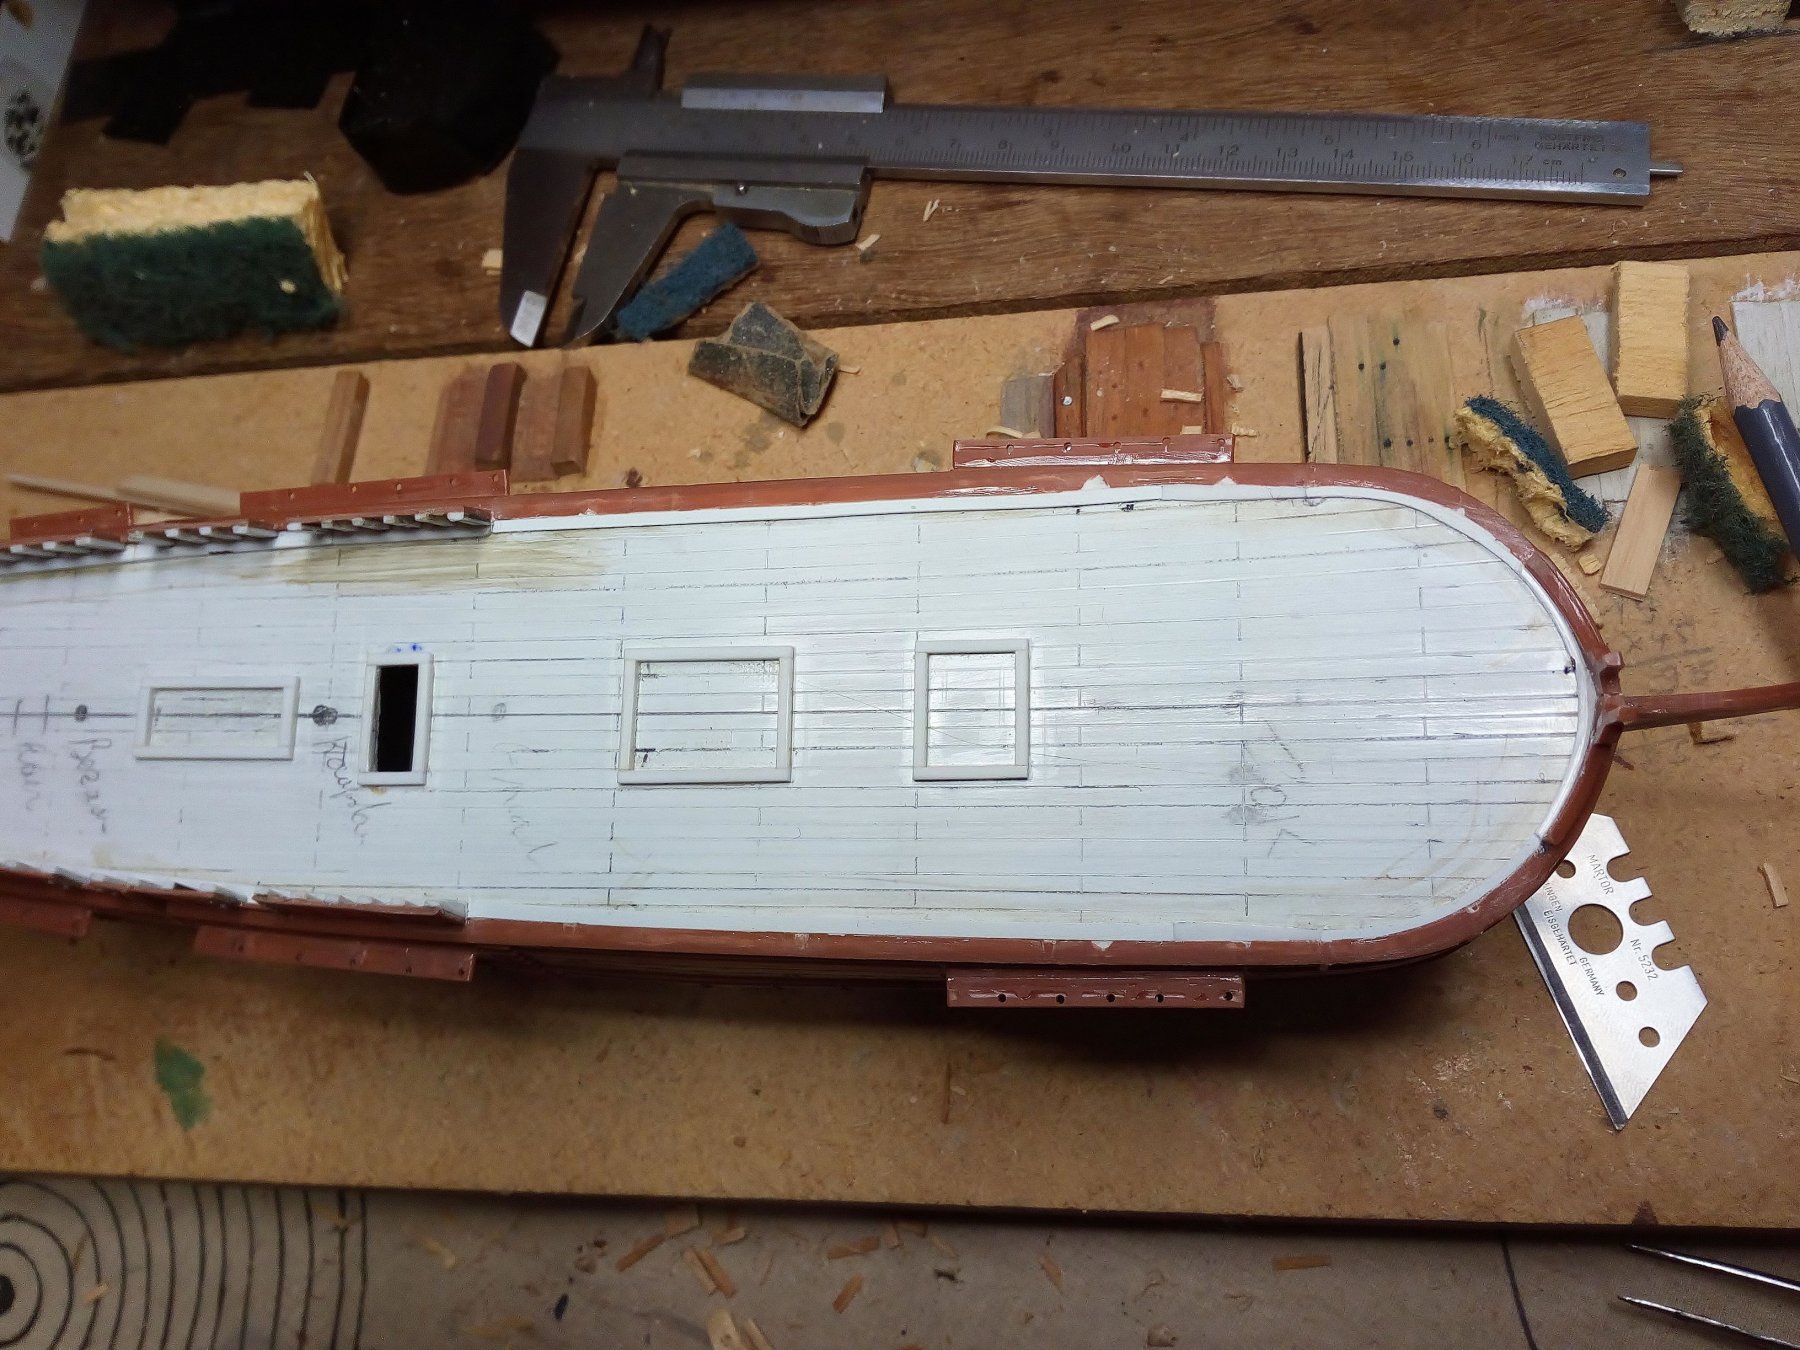
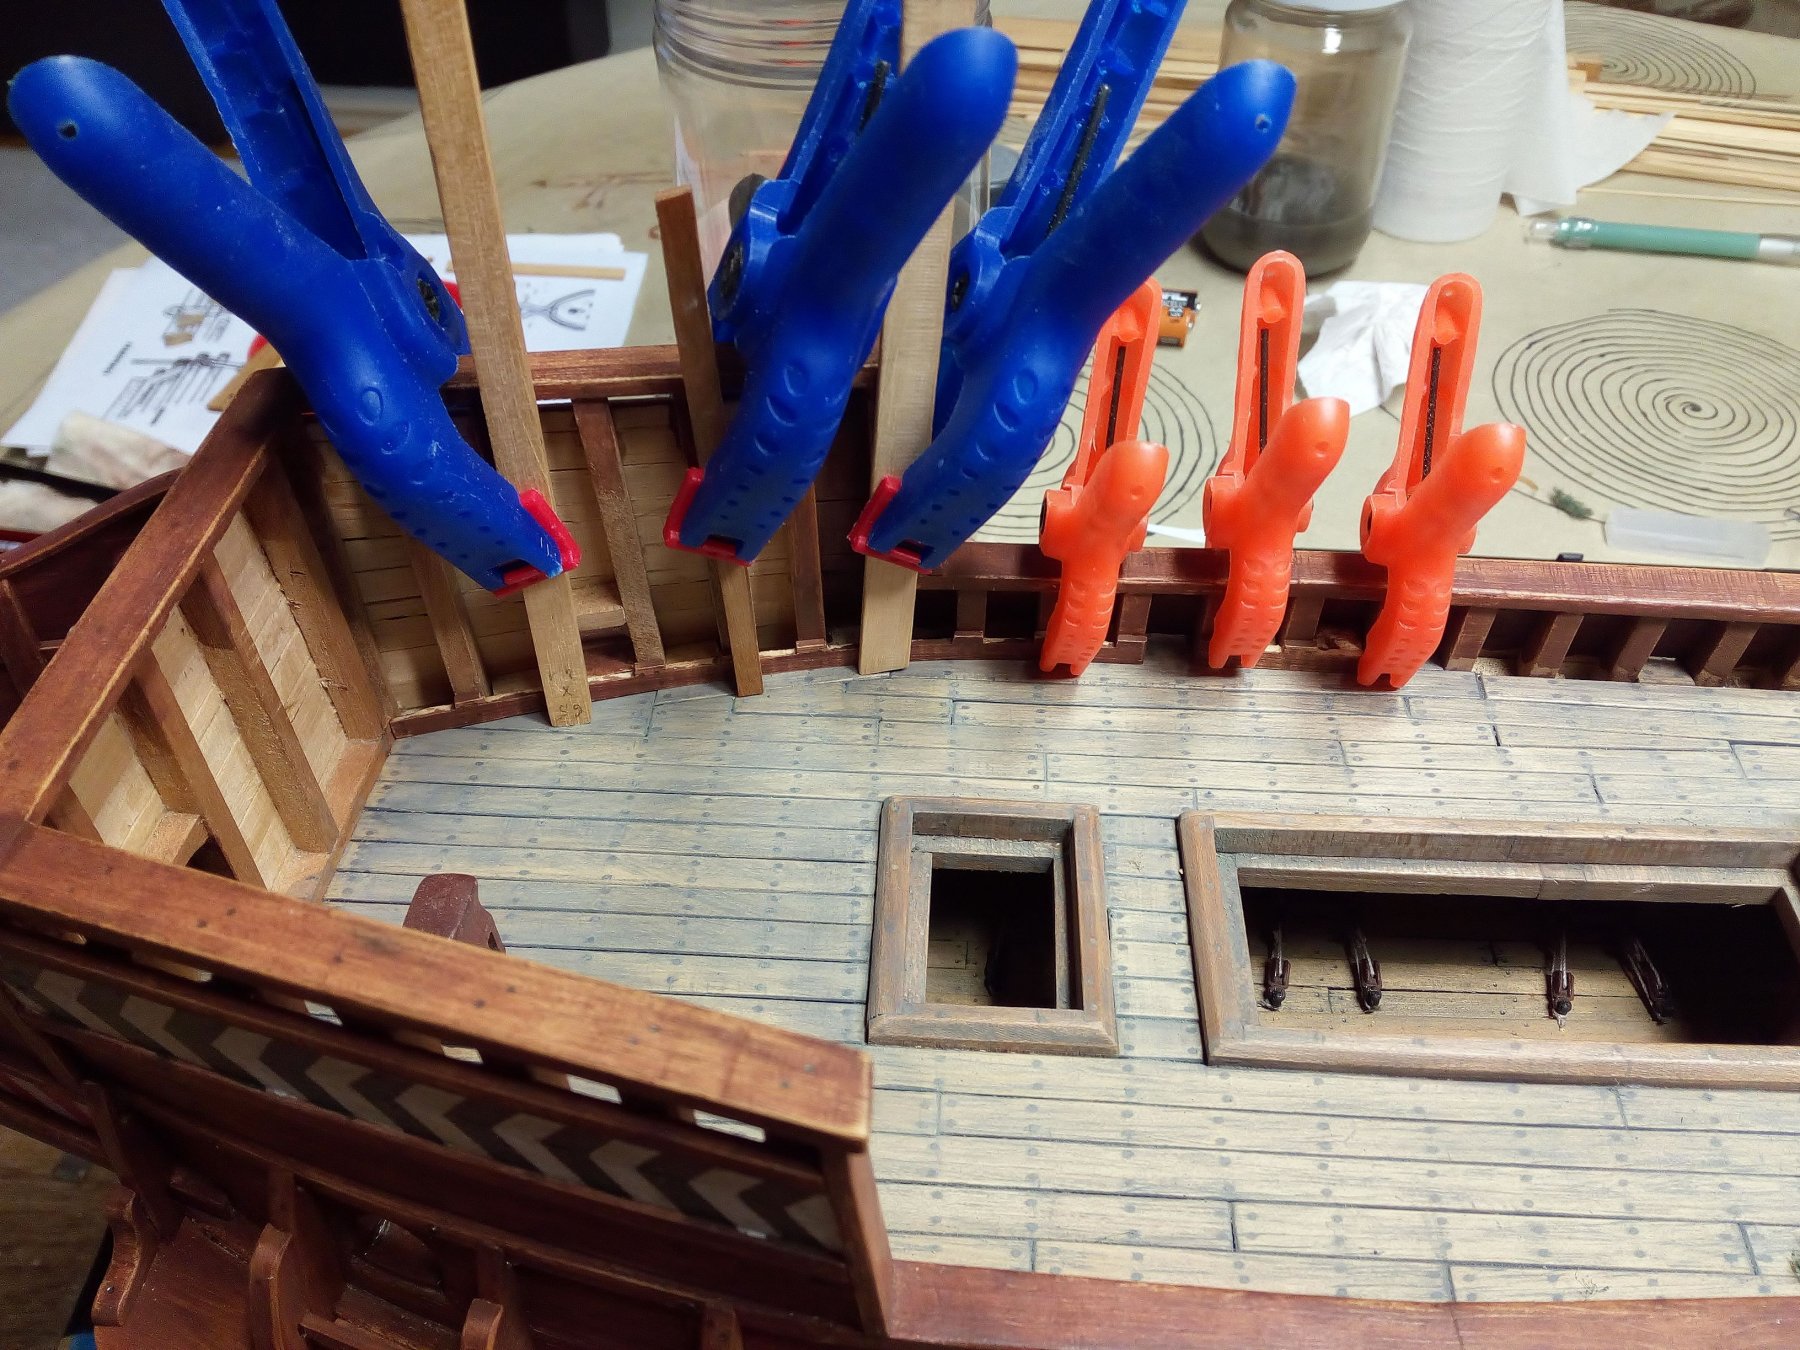
Hello, Today i started with the installation of a waterway on this deck. With the following models as examples : Batavia replica and the san Juan whaler. First I paint the inside painting (had to do this much earlier, that would have worked easier) All parts are first painted and detailed before assembling. Fillerblocks are used to make the horizontal parts easier to glue. In the meantime, a second (plastic) shipyard has unexpectedly been started up. This is why this shipyard sometimes has a delay. This was going to be something quick and easy. But has become something like a semi scratch. Thanks for following


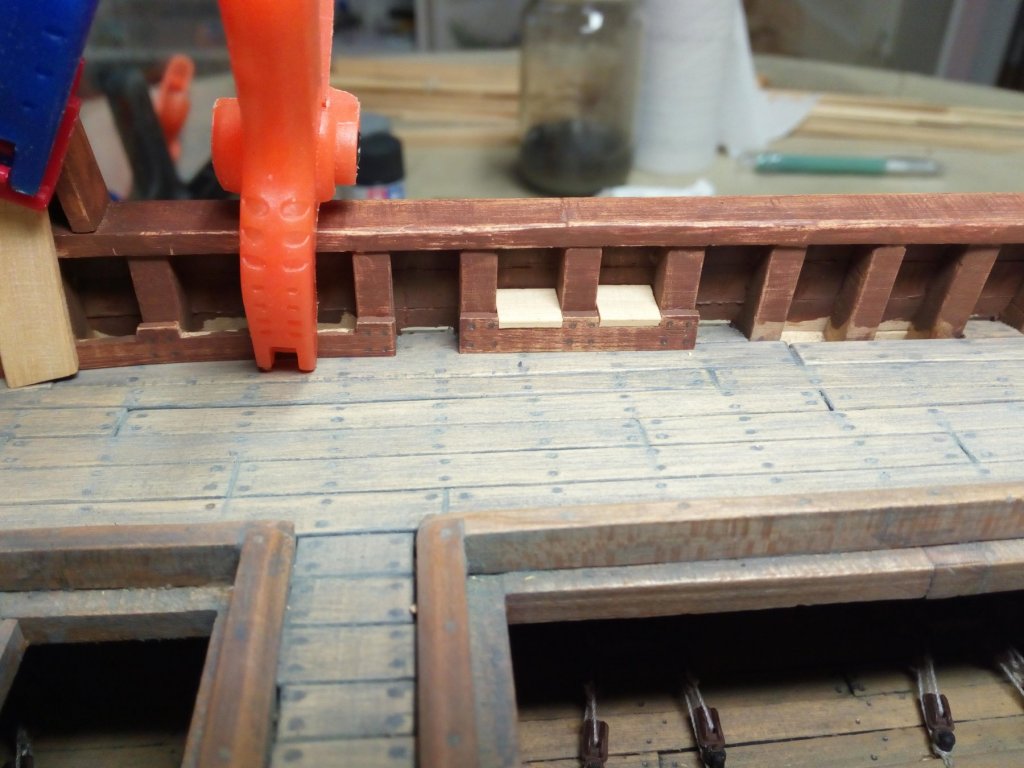
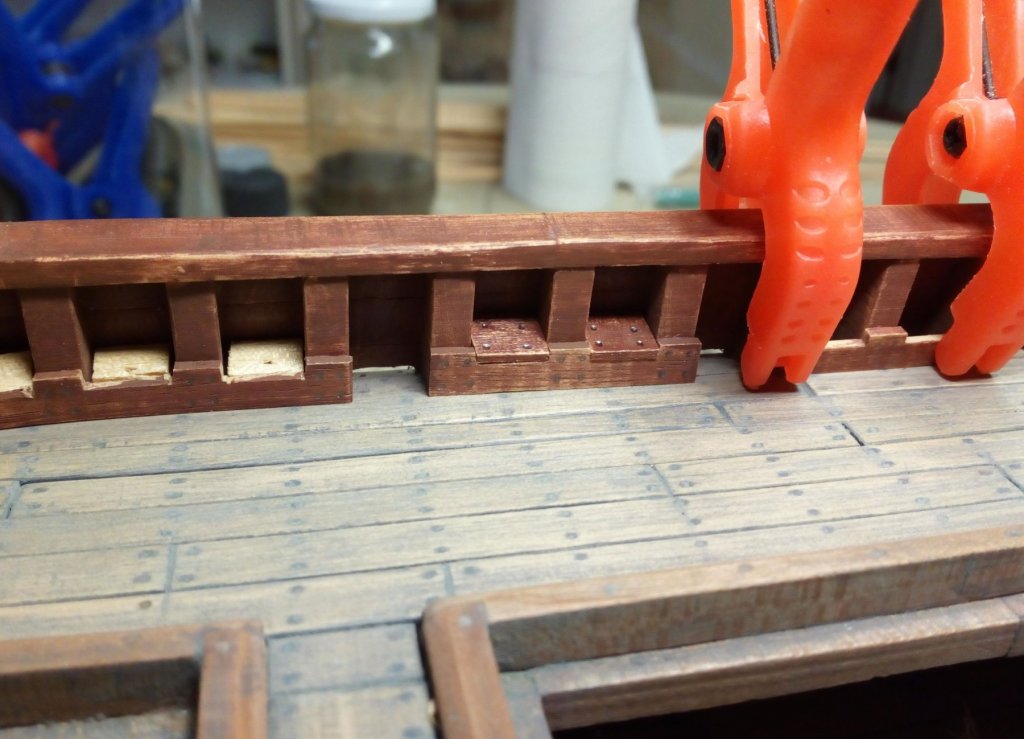
- 756 replies
-
- 10
-
-
- galleon
- golden hind
- (and 2 more)
-
We once visited the Tirpitz muzeum in Alta norway. On the site of this museum there is an interesting film with a Tirpitz in grey color and various other color schemes https://www.tirpitz-museum.no/#home
-
Hello, and welcome to MSW. Greetings from Belgium
-
Very nicely done.
-
Looks great. Enjoy the Stella Artois, you've earned it.
- 2,699 replies
-
- 3
-
-
- heller
- soleil royal
- (and 9 more)
-
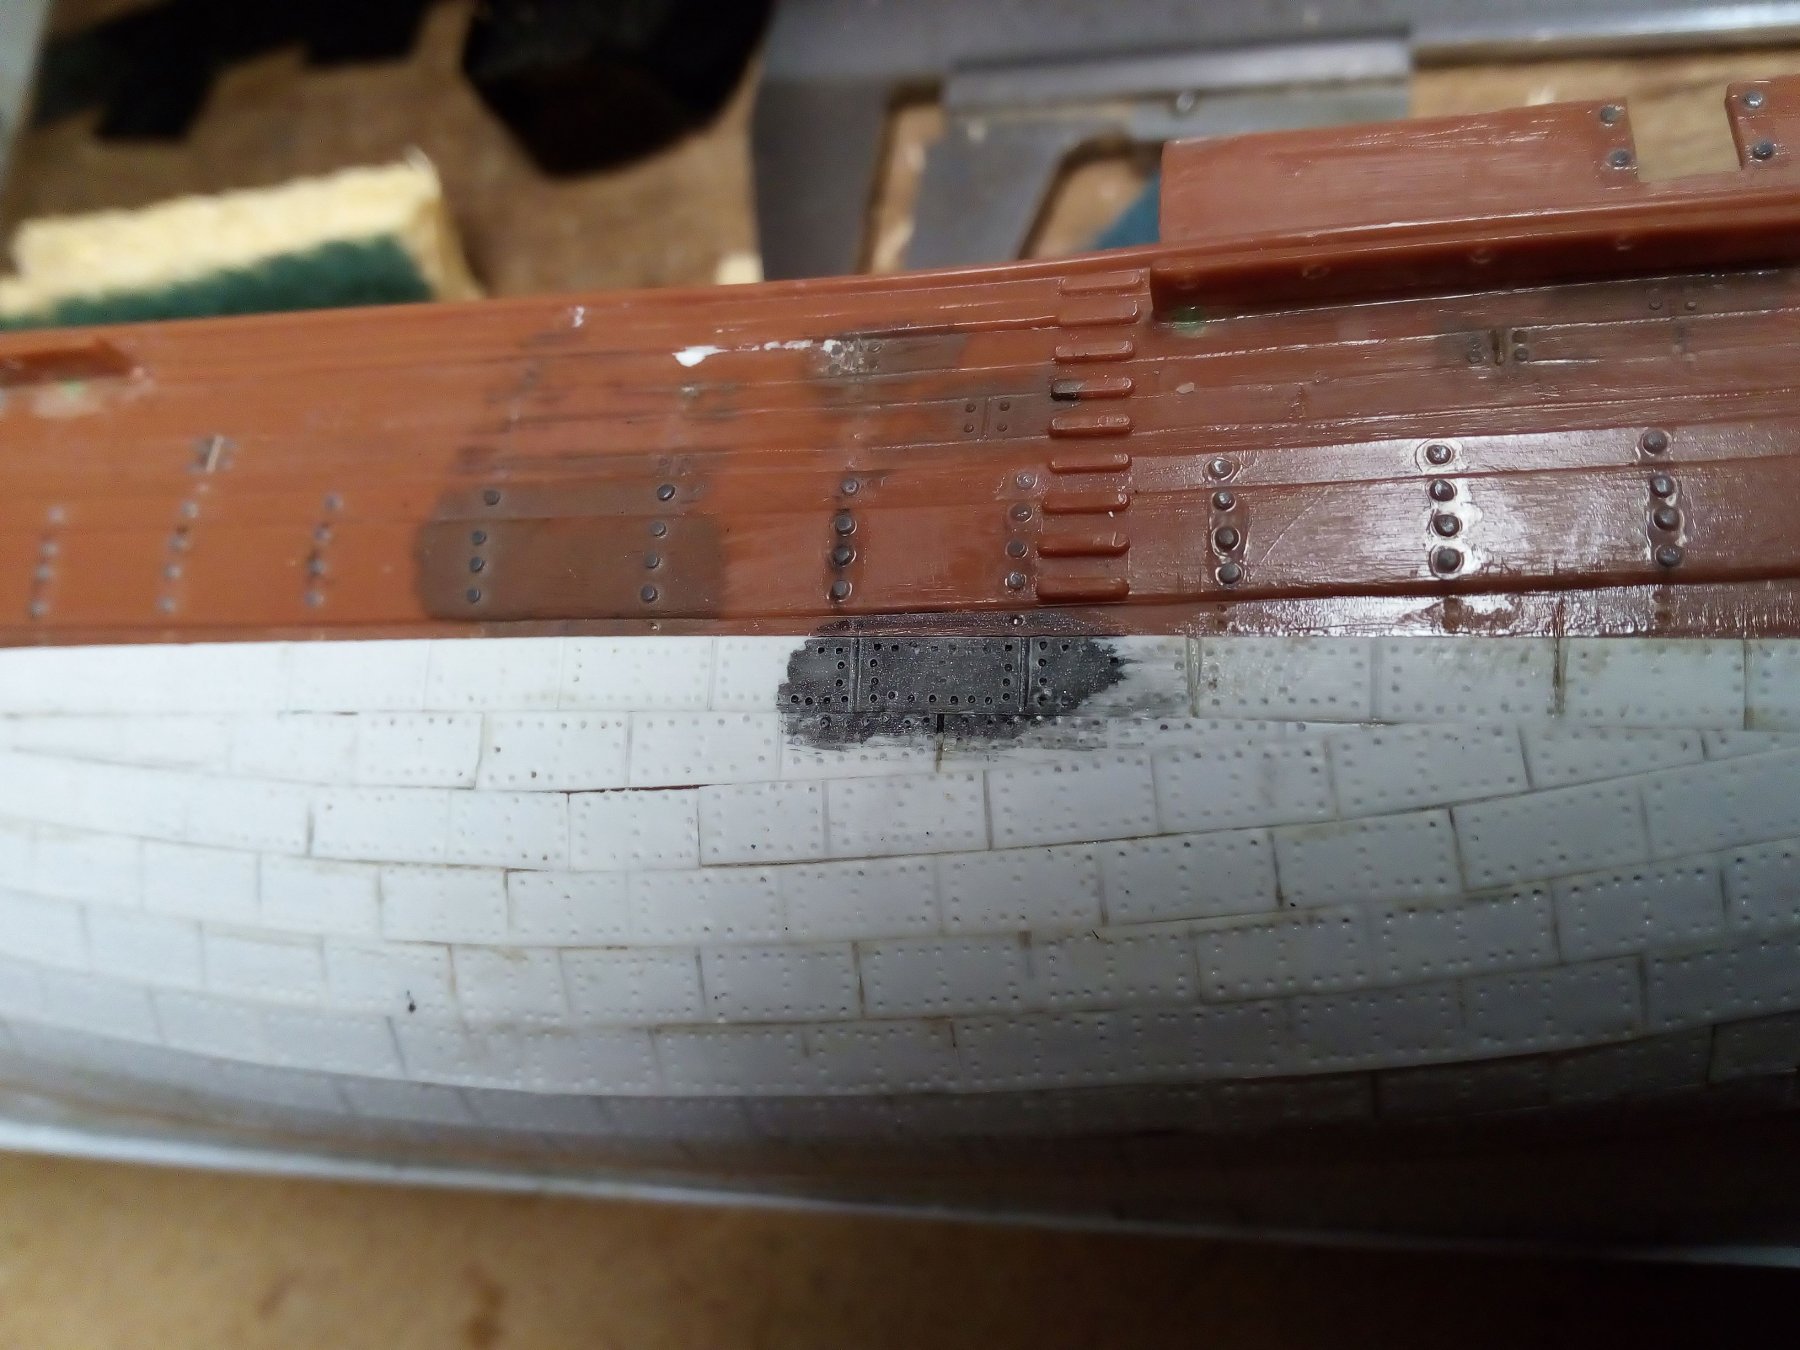
Thanks. I used sheet of 0.2mm thickness. Too thick for this scale, of course. But the result is not that bad. .
-
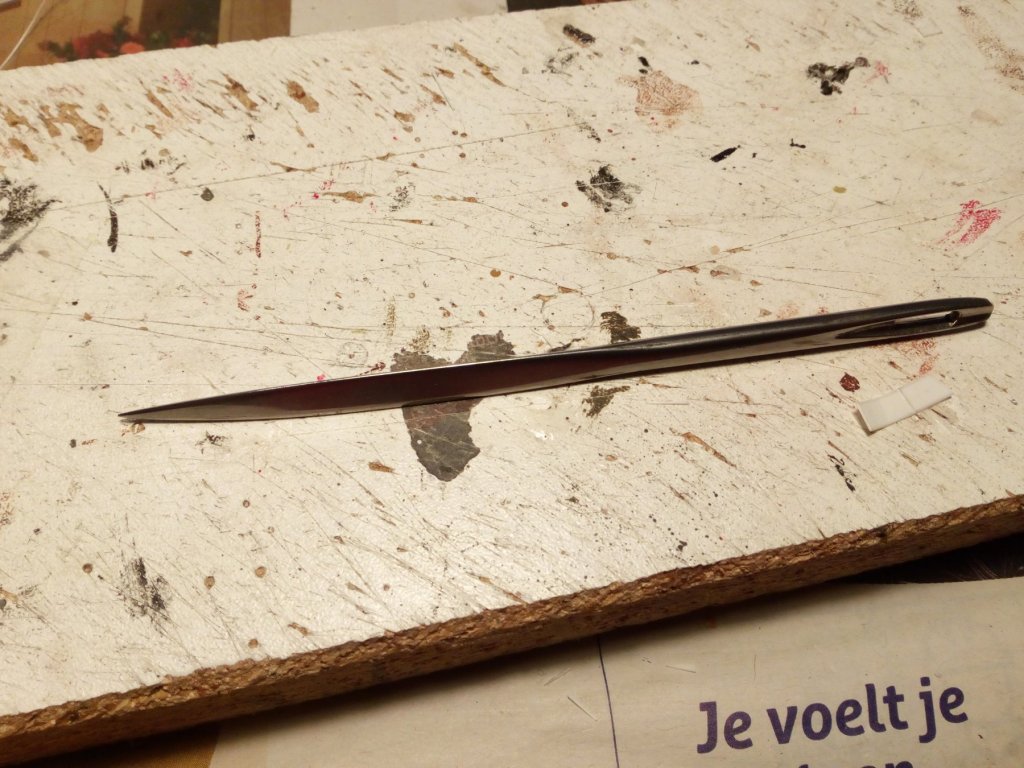
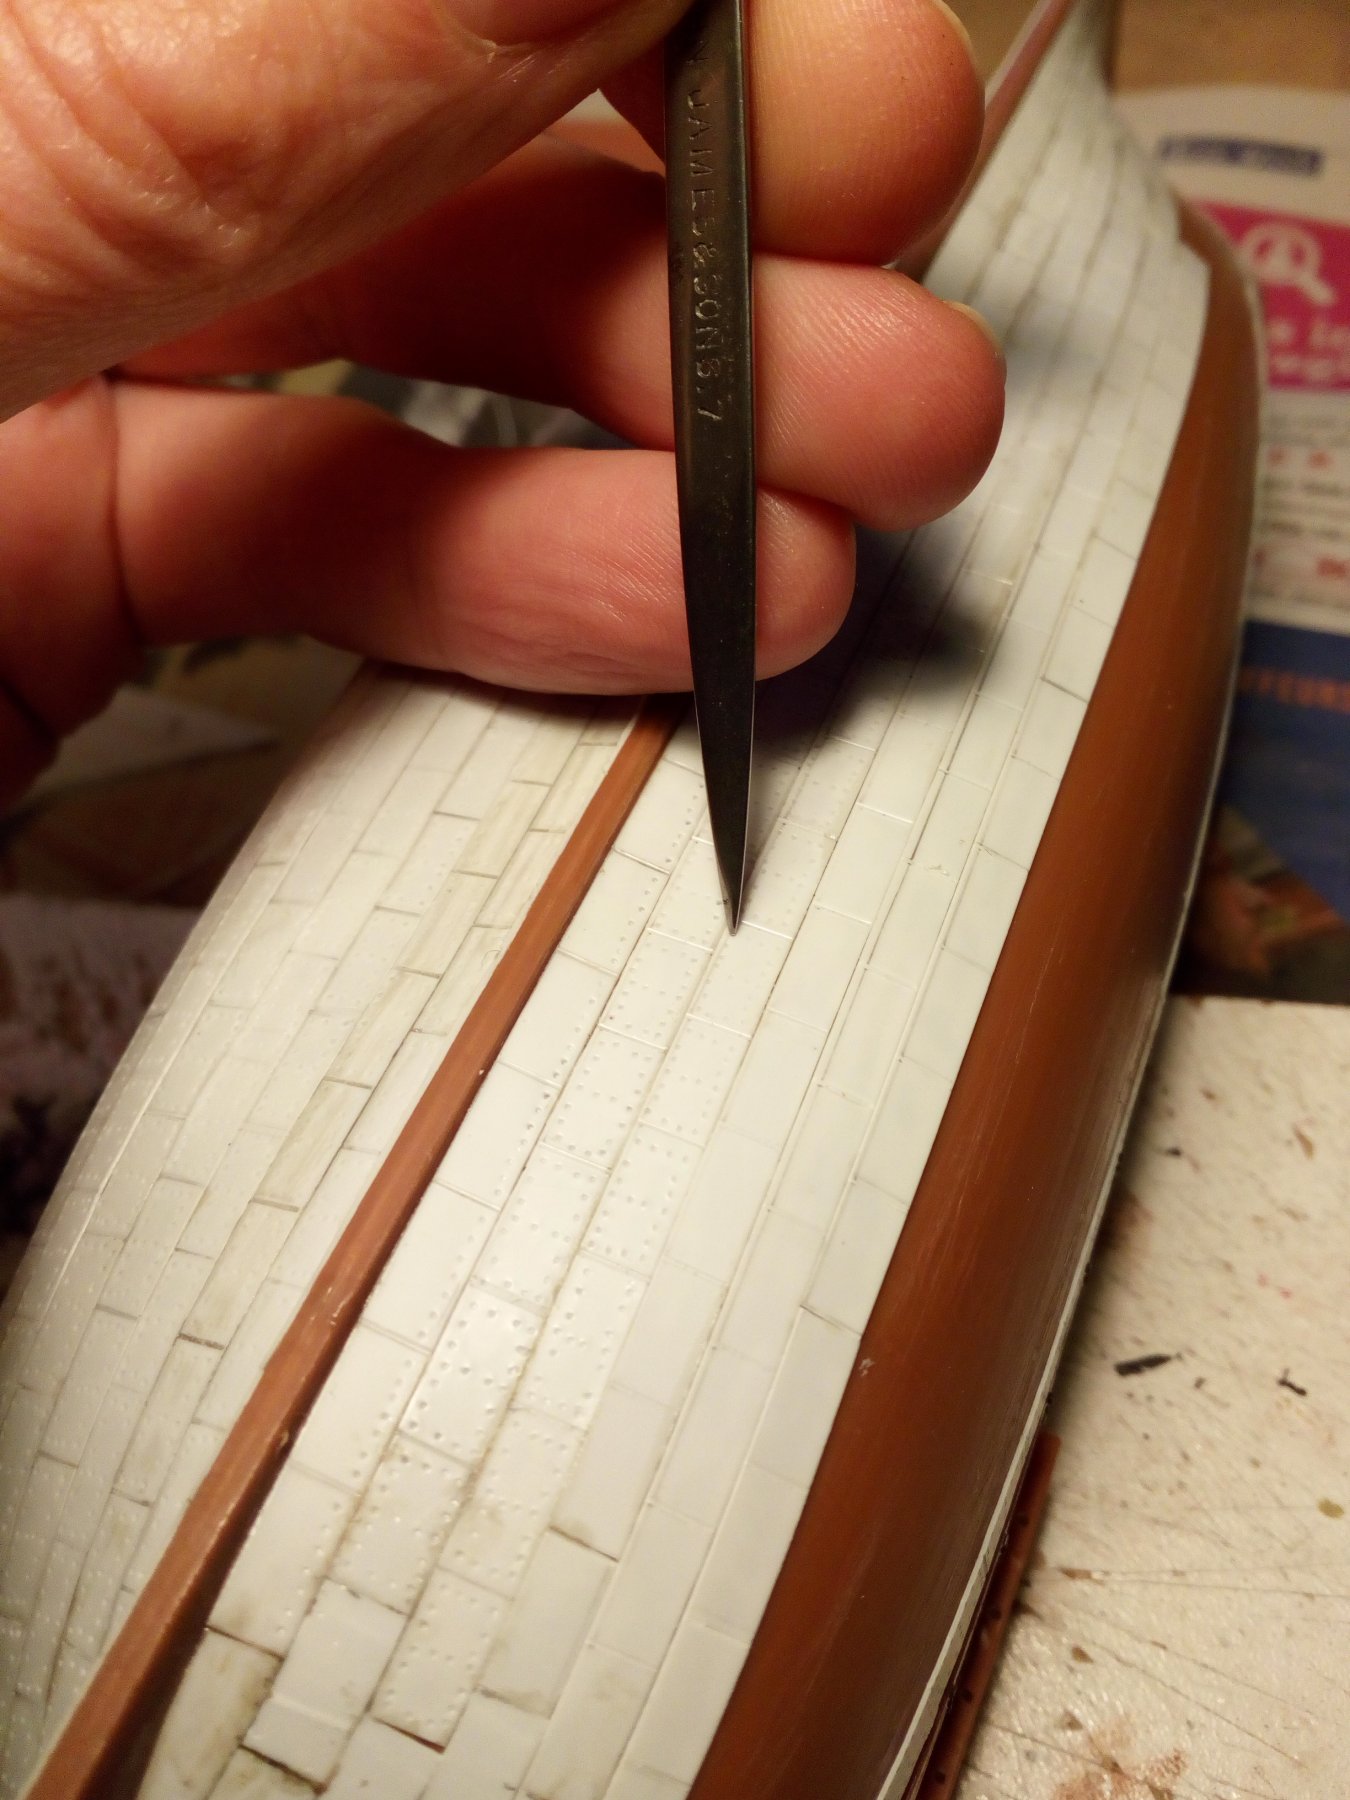
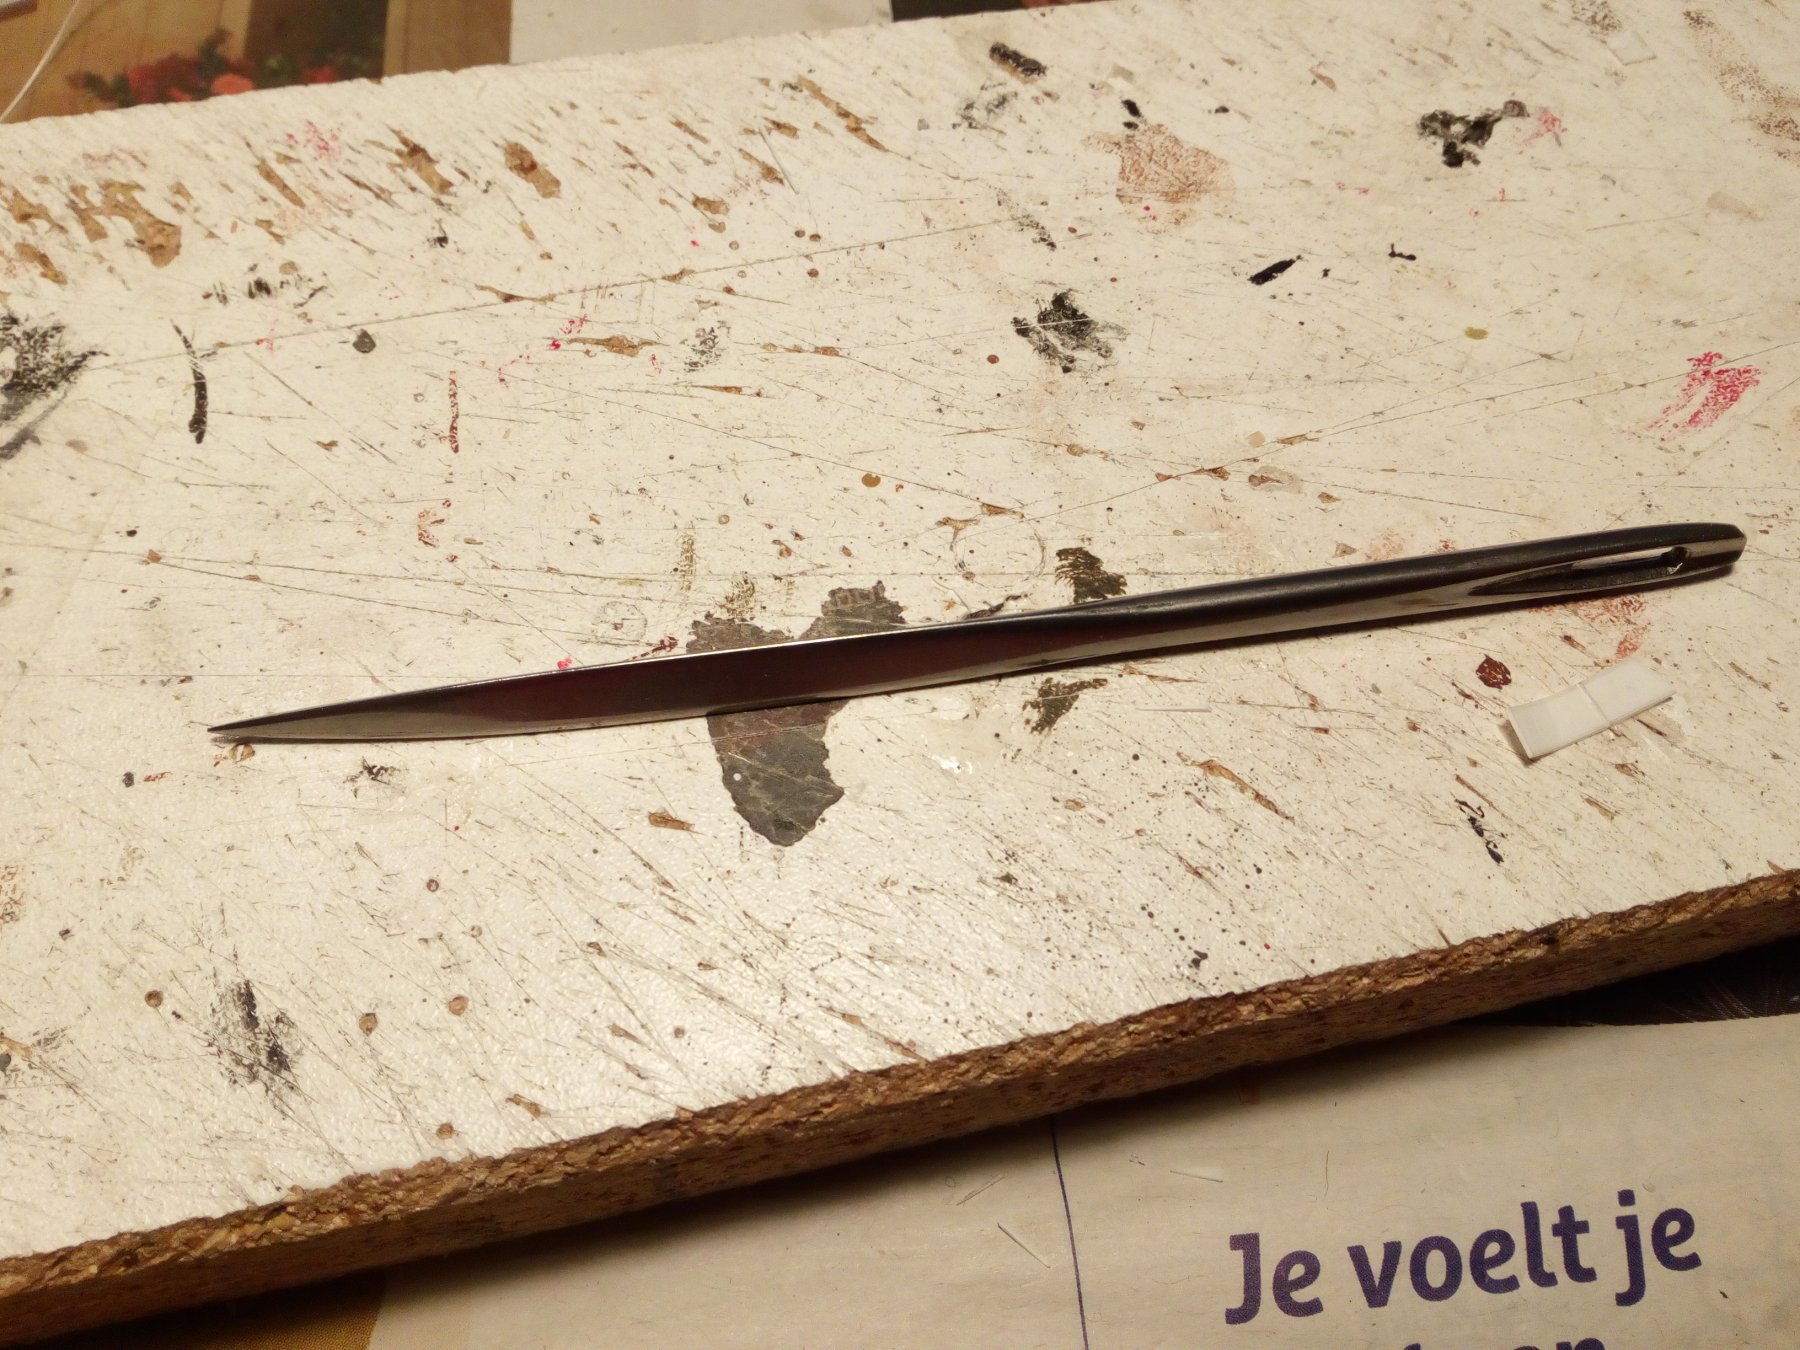
The copper sheeting has been slightly sanded. Now I have started to apply imitation nails. I use a large steel needle for this. Work in progres, still much to do and new hinges must also be made for the rudder. Thanks for following

.thumb.jpg.899a429b75385d42ebd53bc783453fb5.jpg)
- 173 replies
-
- 10
-


.jpg.180c2b214b6c6cba4f1876a9218a5ad8.jpg)