RGL
-
Posts
5,539 -
Joined
-
Last visited
Content Type
Profiles
Forums
Gallery
Events
Everything posted by RGL
-
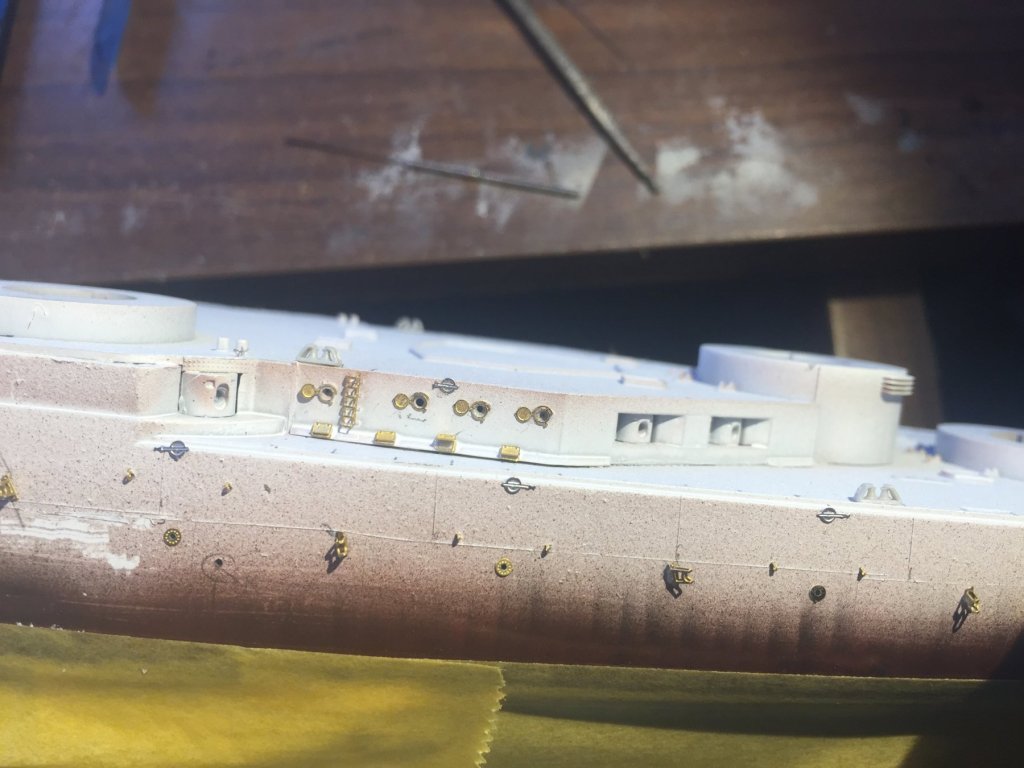
 So, already knocking two pulleys off, the forward 88mm gun doors which the kit makes no reference to but every photo existing shows.
-
So, about 4 hours work and the port side is done. Brackets, hull fittings, rings, ladders, pulleys etc.

-
HMCSS Victoria 1855 by BANYAN - 1:72
RGL replied to BANYAN's topic in - Build logs for subjects built 1851 - 1900
Happy Xmas Pat- 1,013 replies
-
- 4
-

-
- gun dispatch vessel
- victoria
- (and 2 more)
-
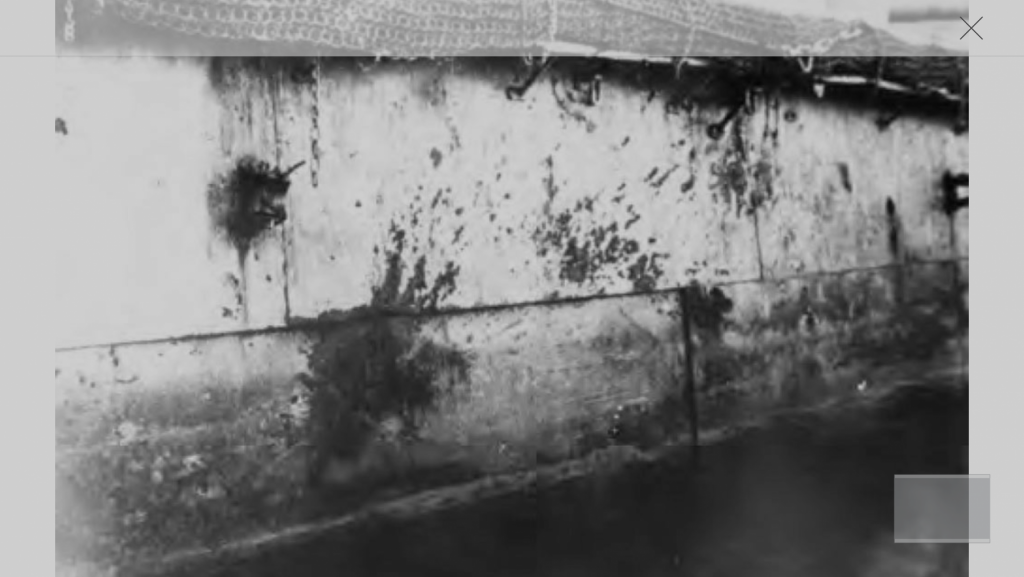
Now, question to those of you that know boats, this open source photo shows alge on a hull. How long would it take to get this kind of build up?

-
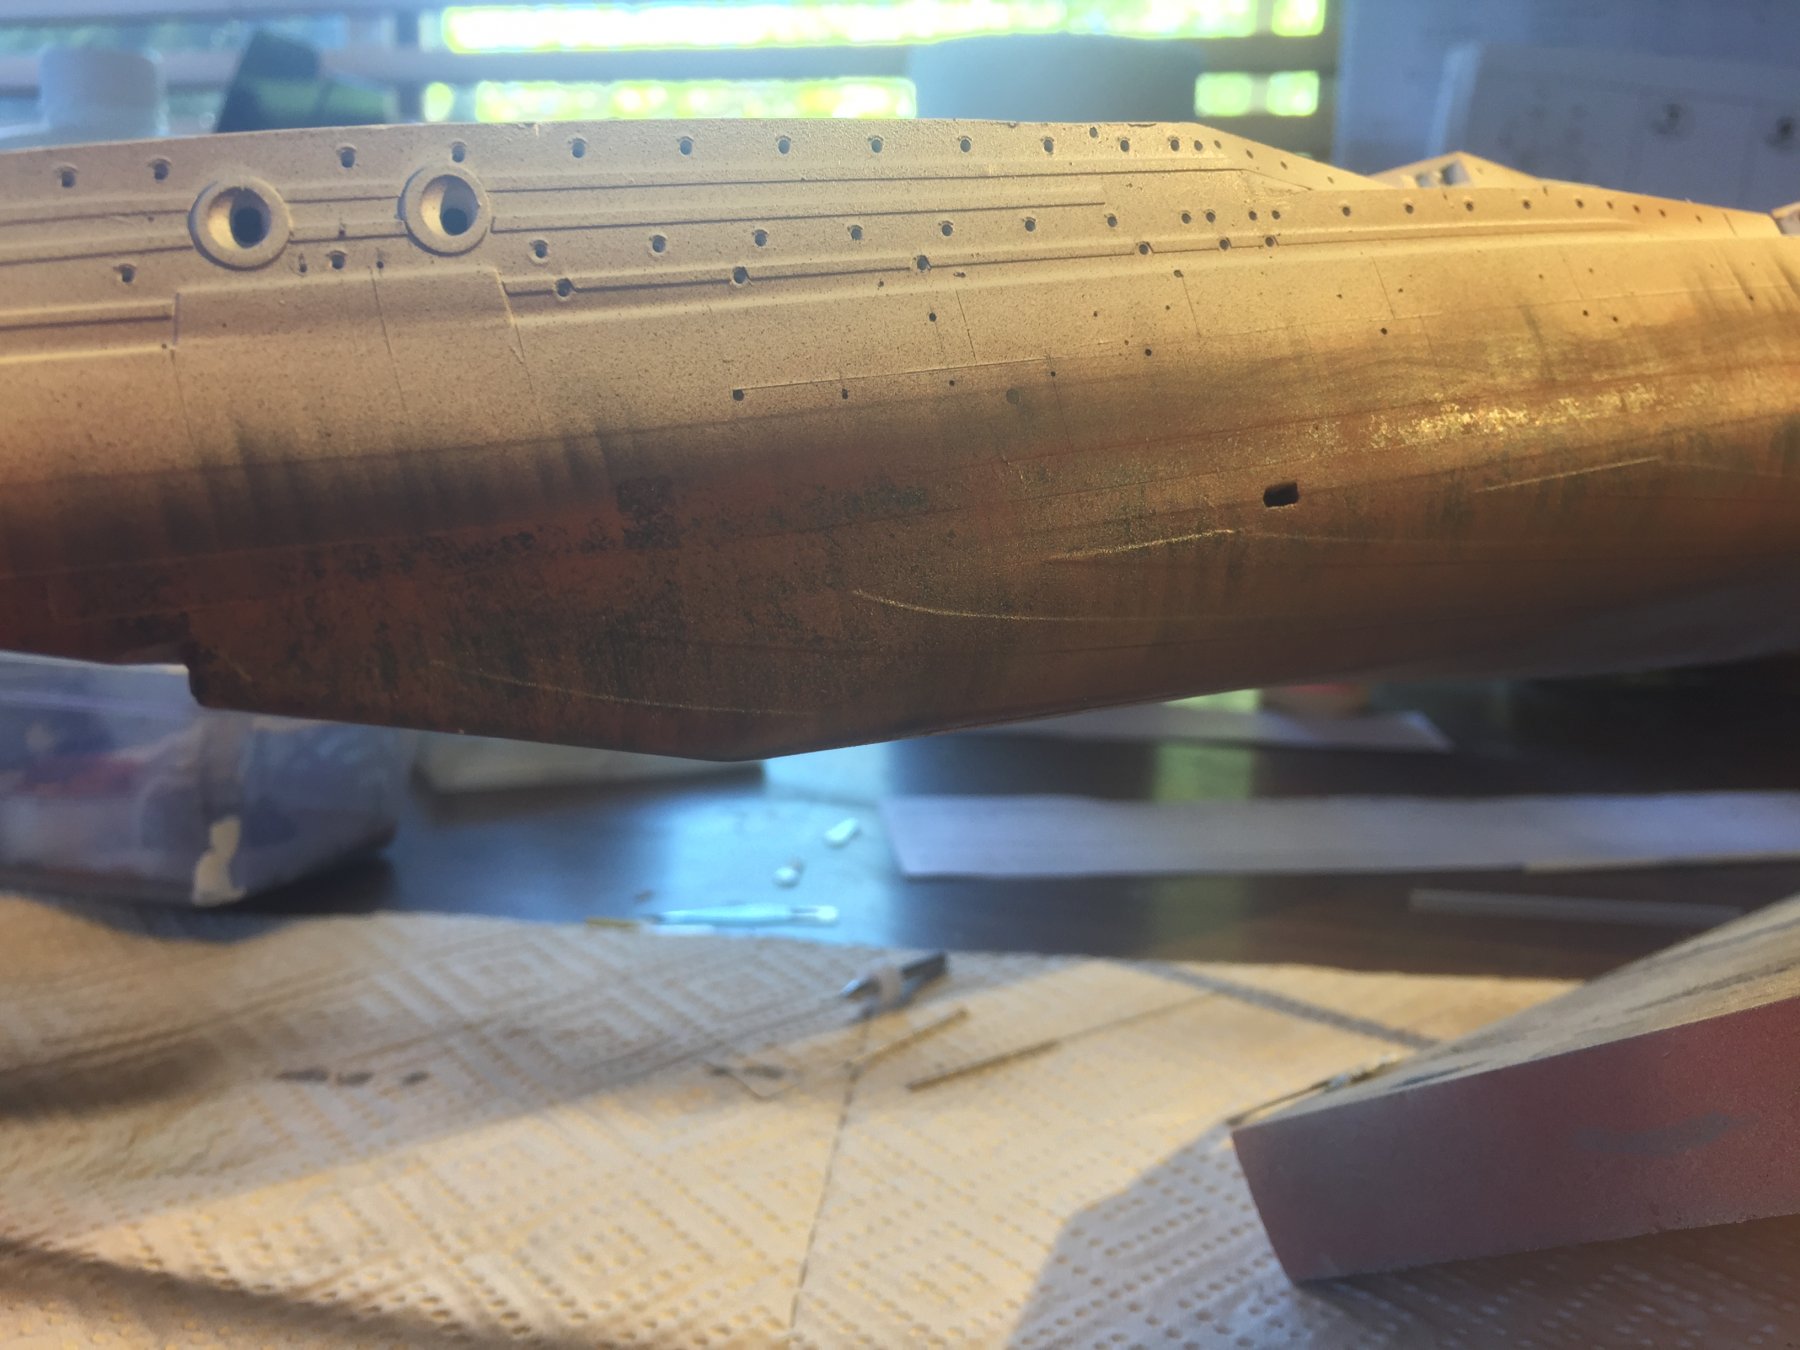
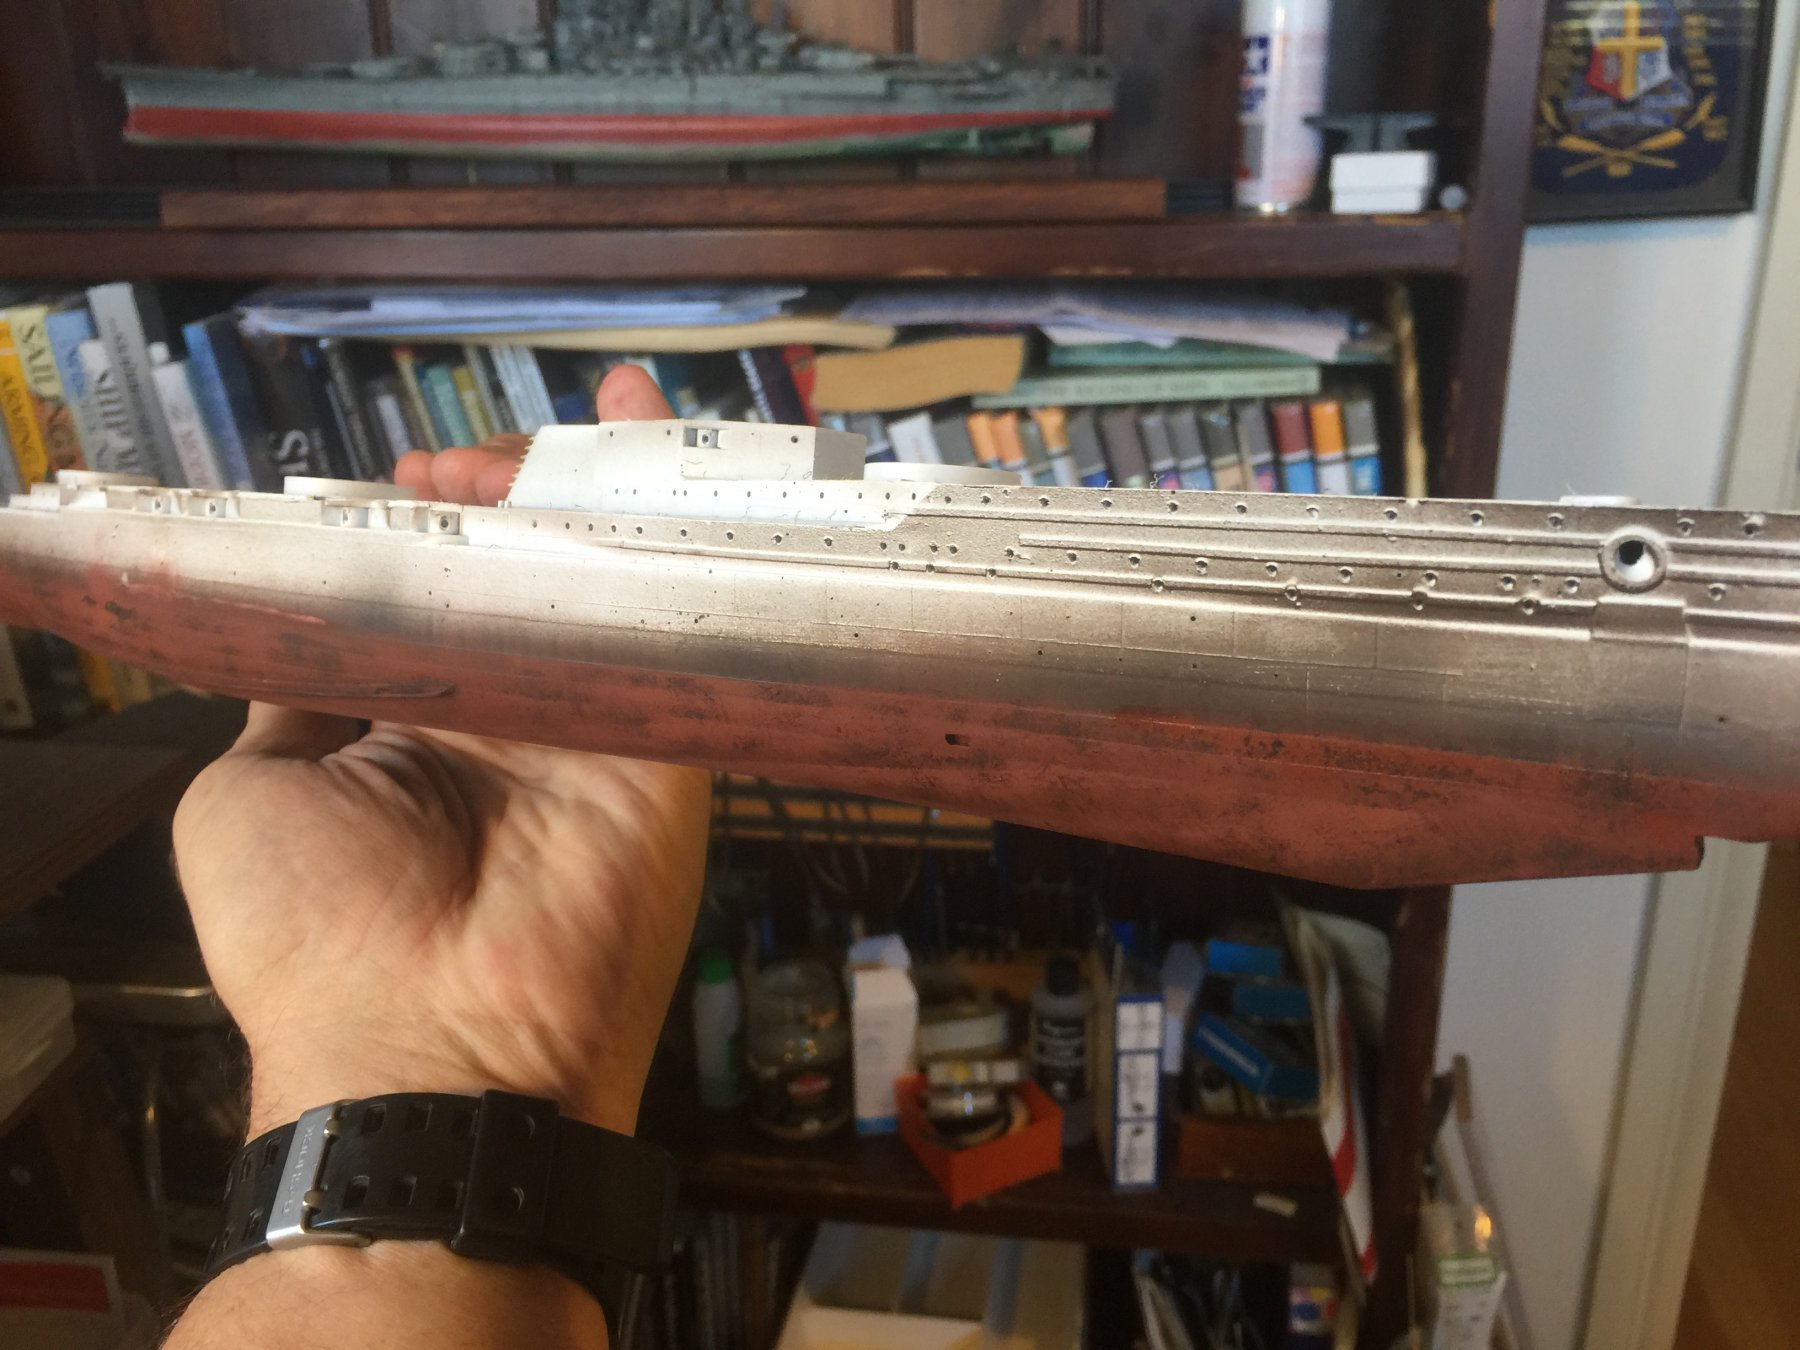
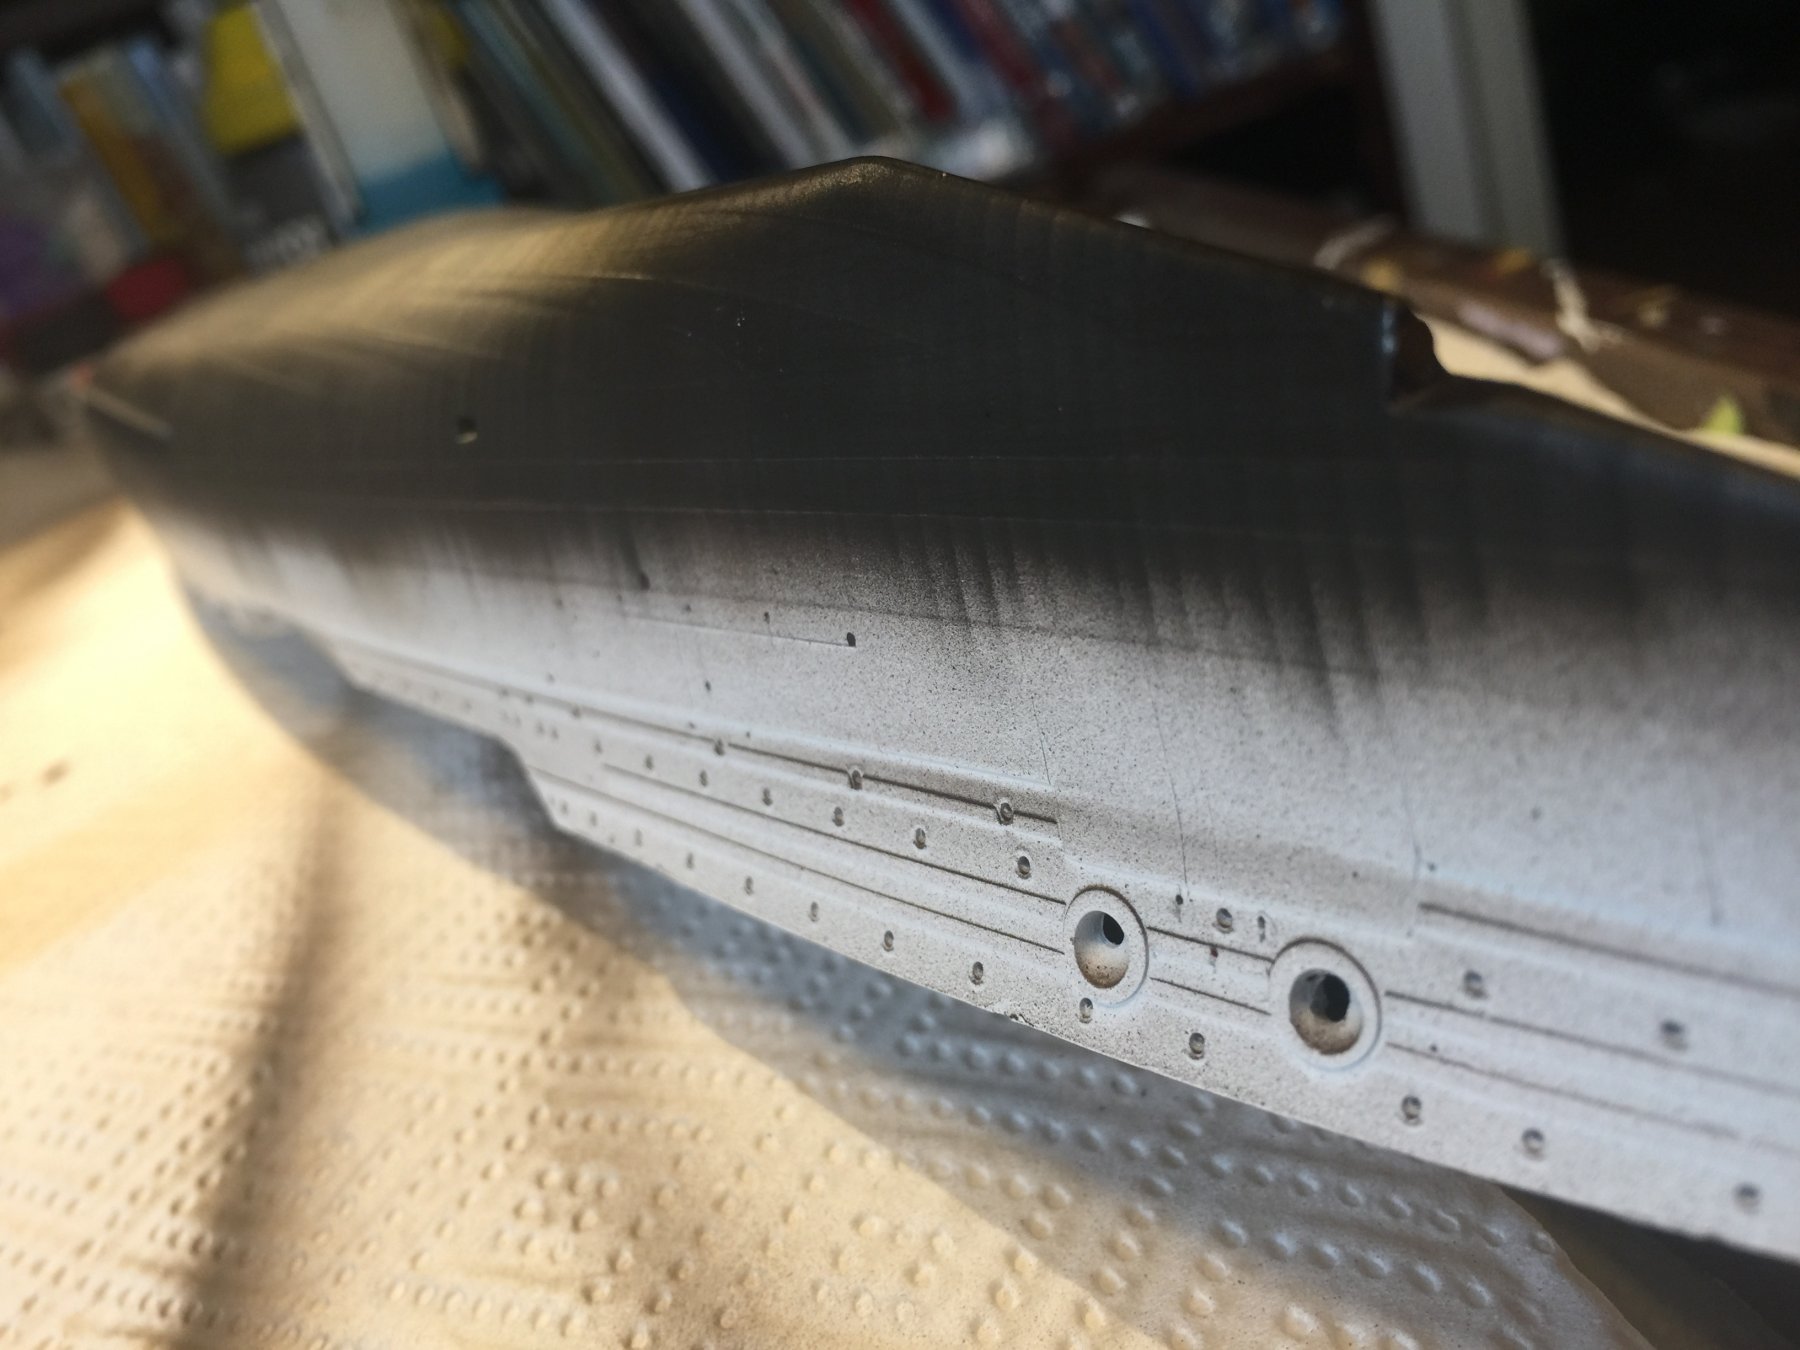
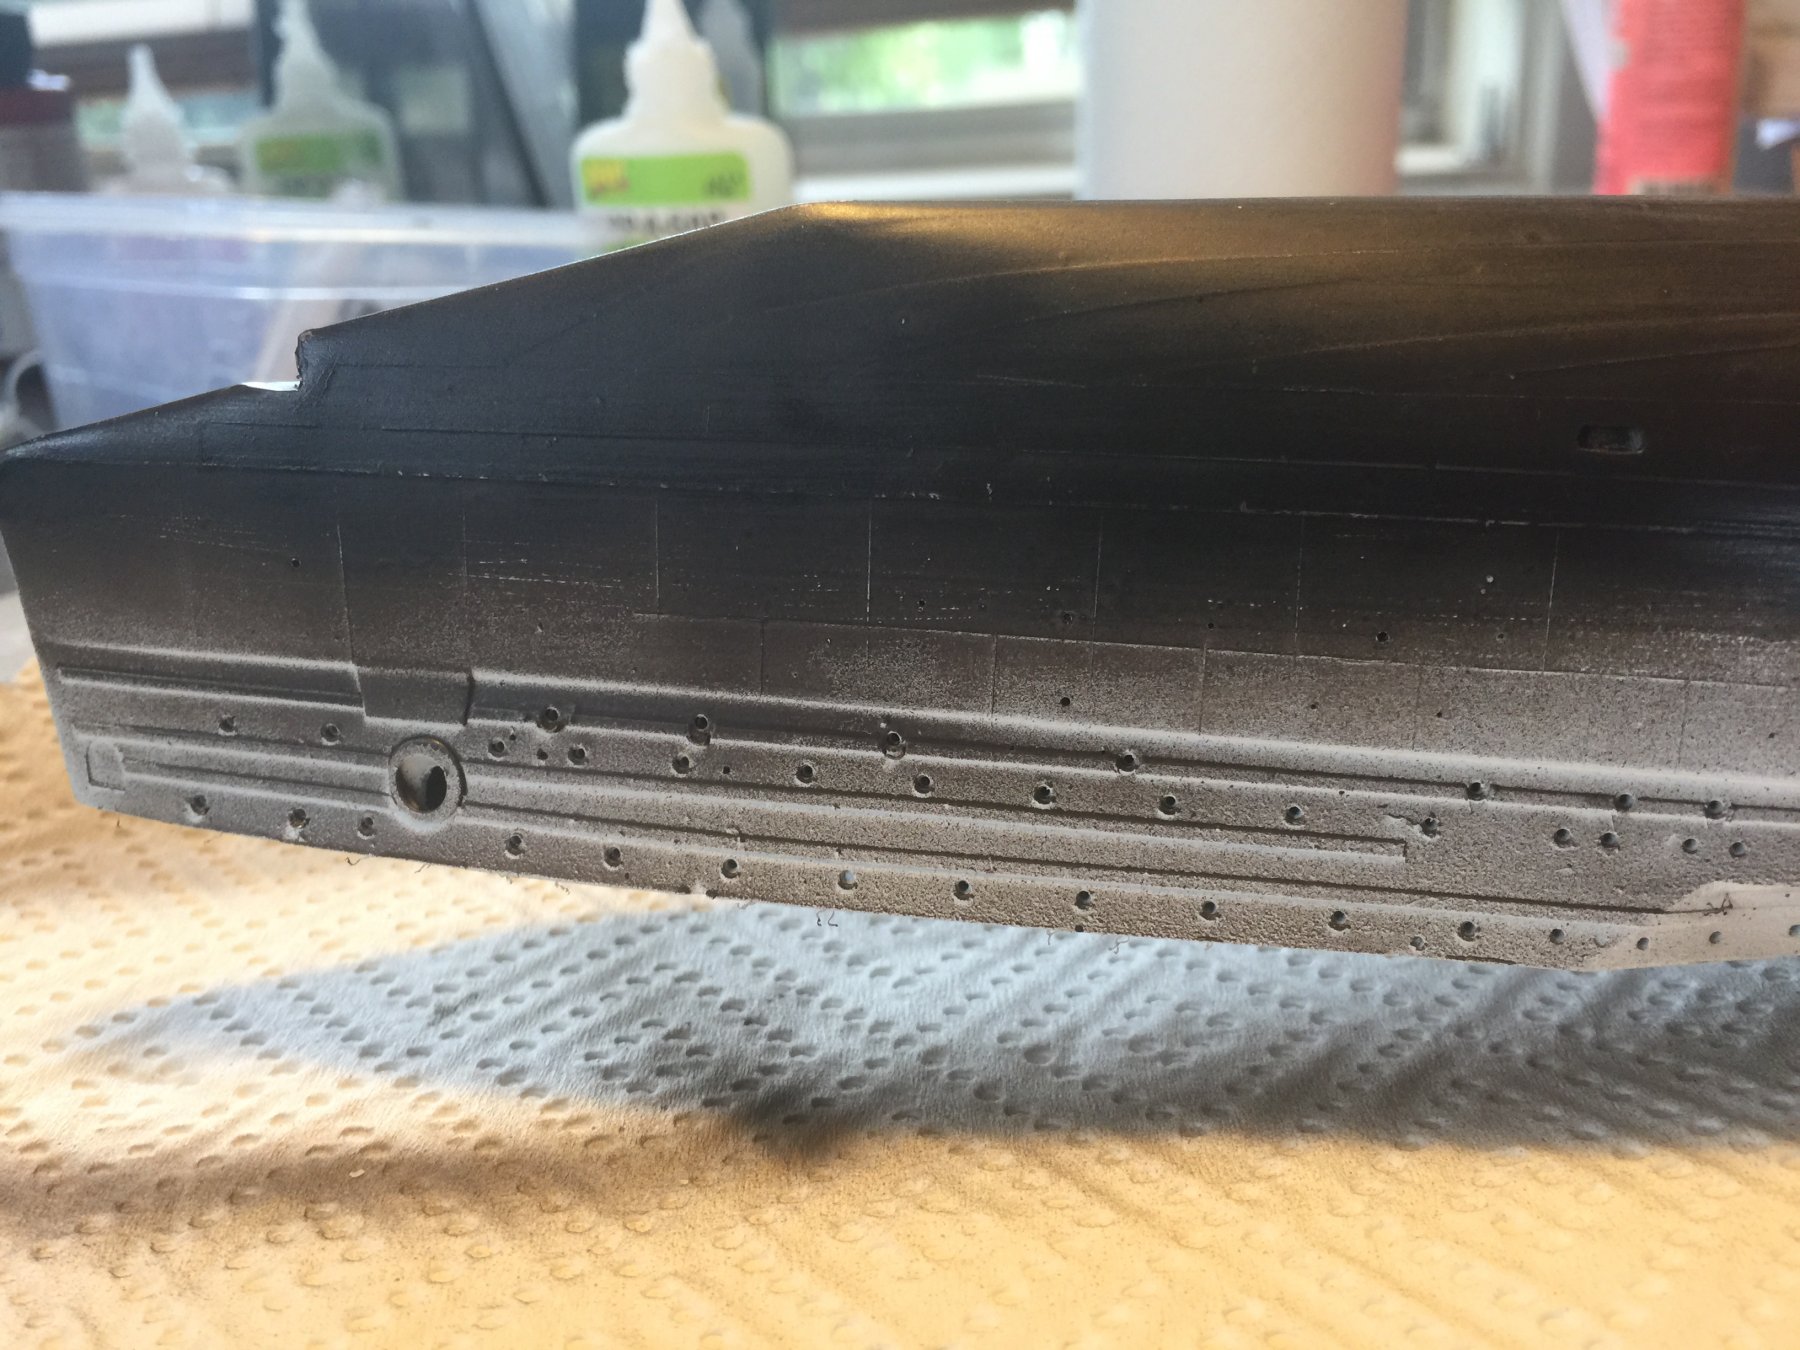
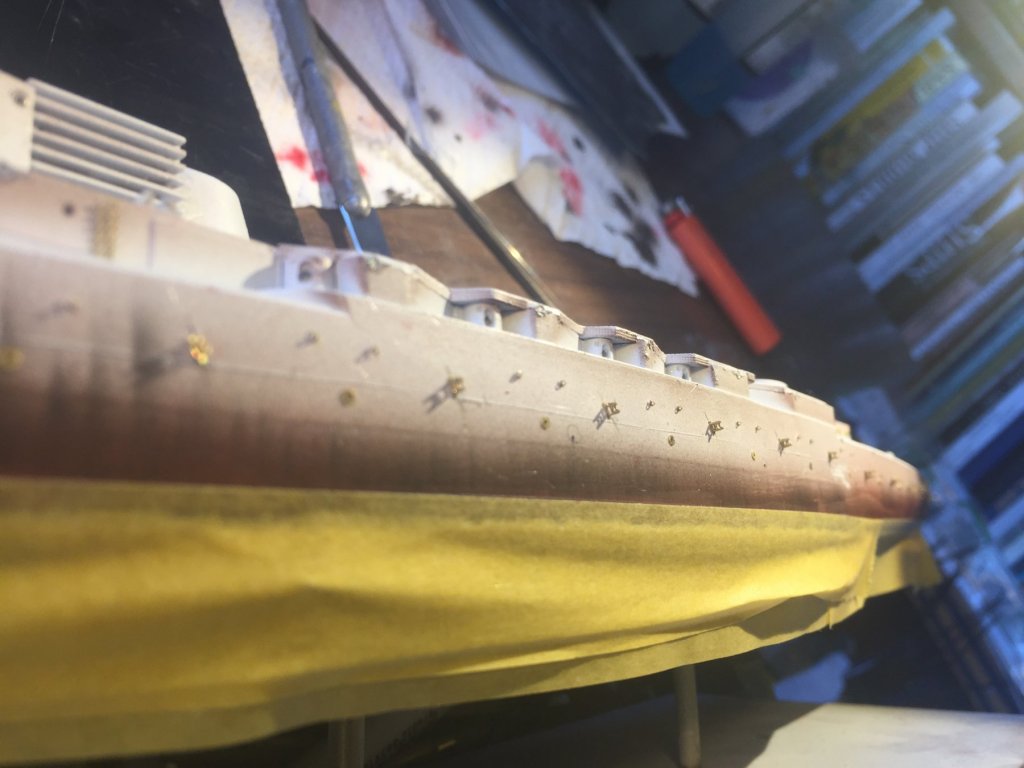
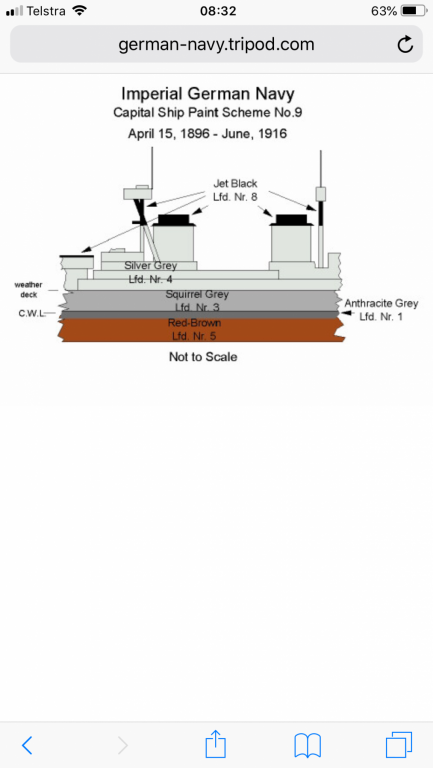
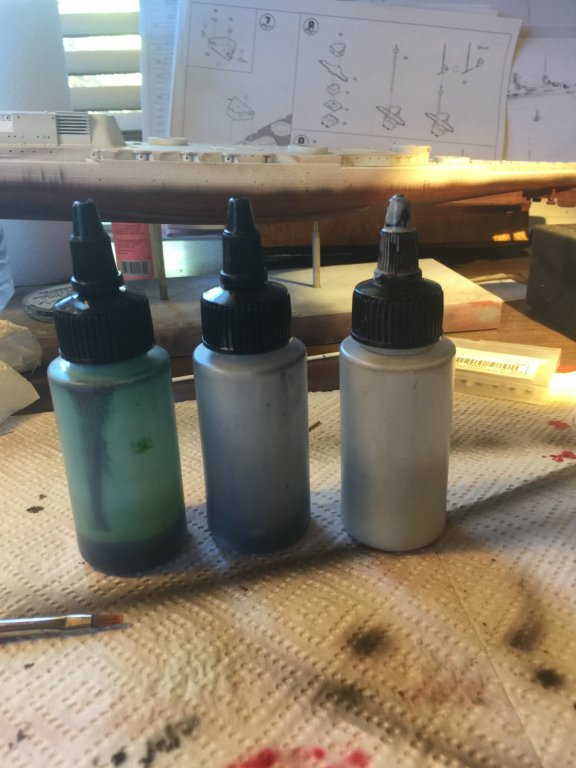
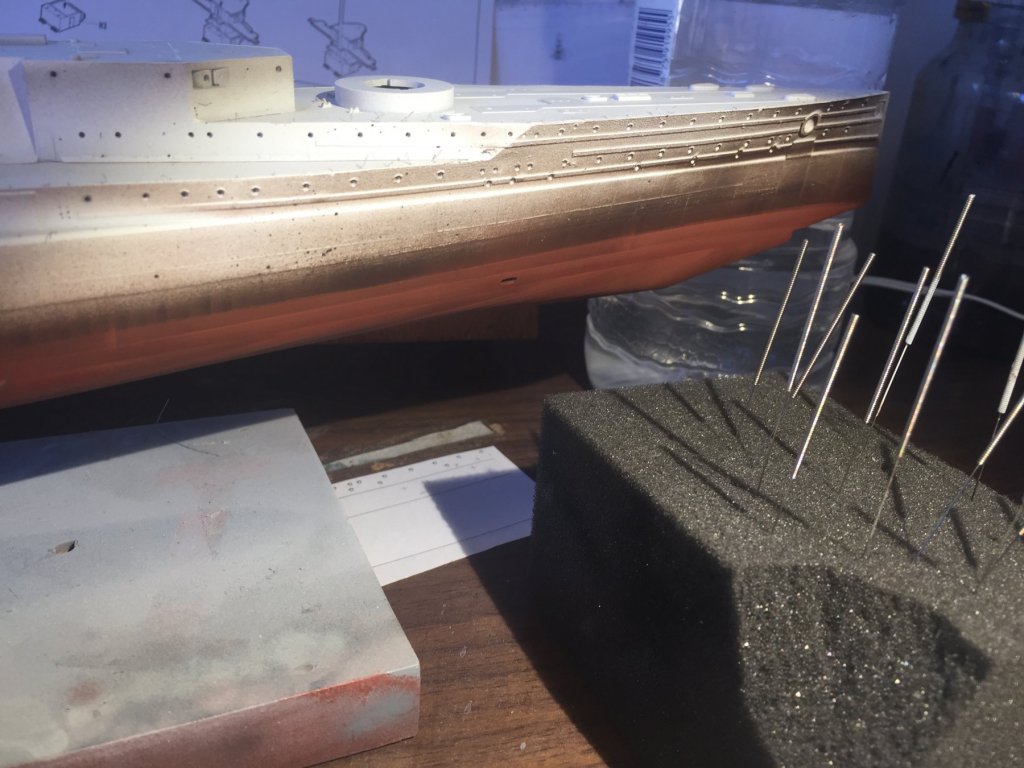
Now, the three sisters of grunge, grey black and green. Using very filter light grey to overspray, then diluted black to draw in the ribs, a light grey overspray again to tone it down. There will be a large dark grey bootstrap which I intend to almost rub off (all the references show it rubs off easily) then I can add a salt and green alge coat.


-
Thanks OC. Now, next step, ruining a perfectly good paint job, chipping time. Grunge time next. .

- 540 replies
-
- 11
-
-
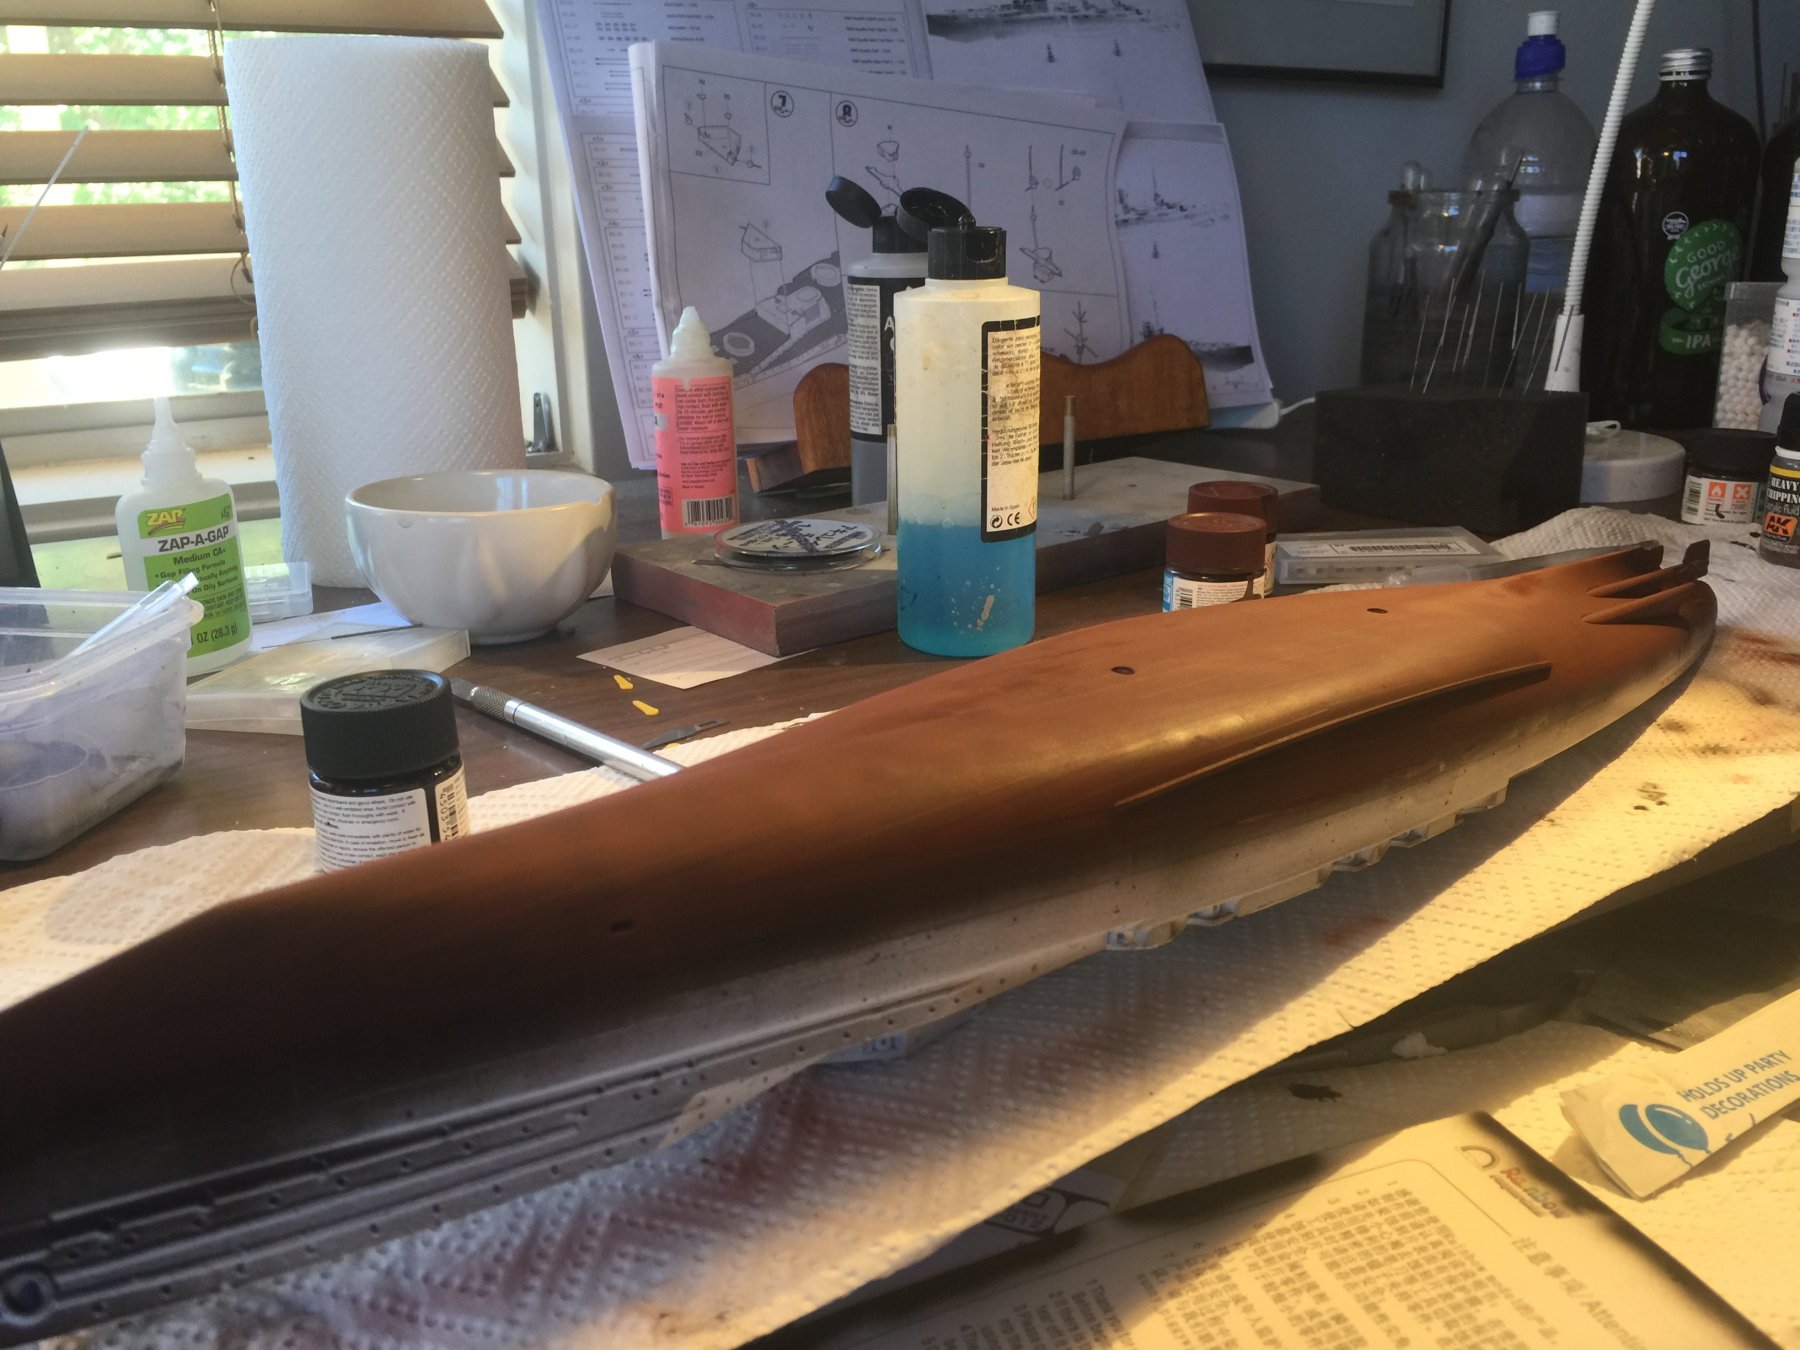
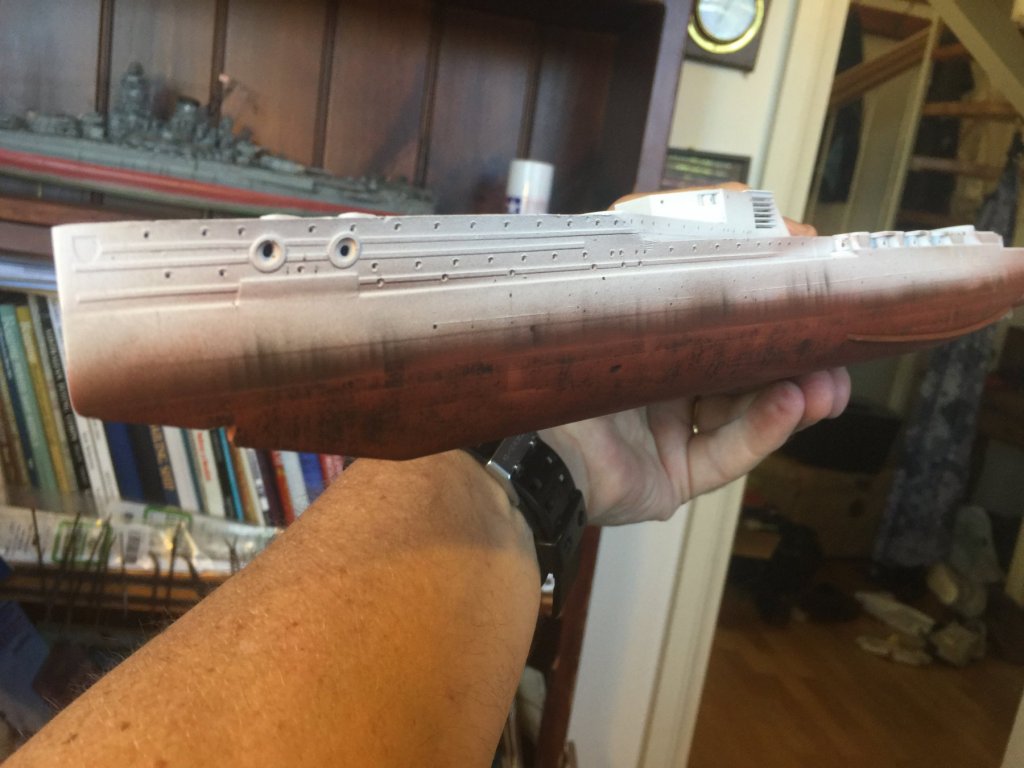
So, a couple of coats of chipping fluid then a base overcoat if Red Brown, and a highlight coat with Raw Sienna to bring up the highlights of the panels below the waterline.

- 540 replies
-
- 10
-
-
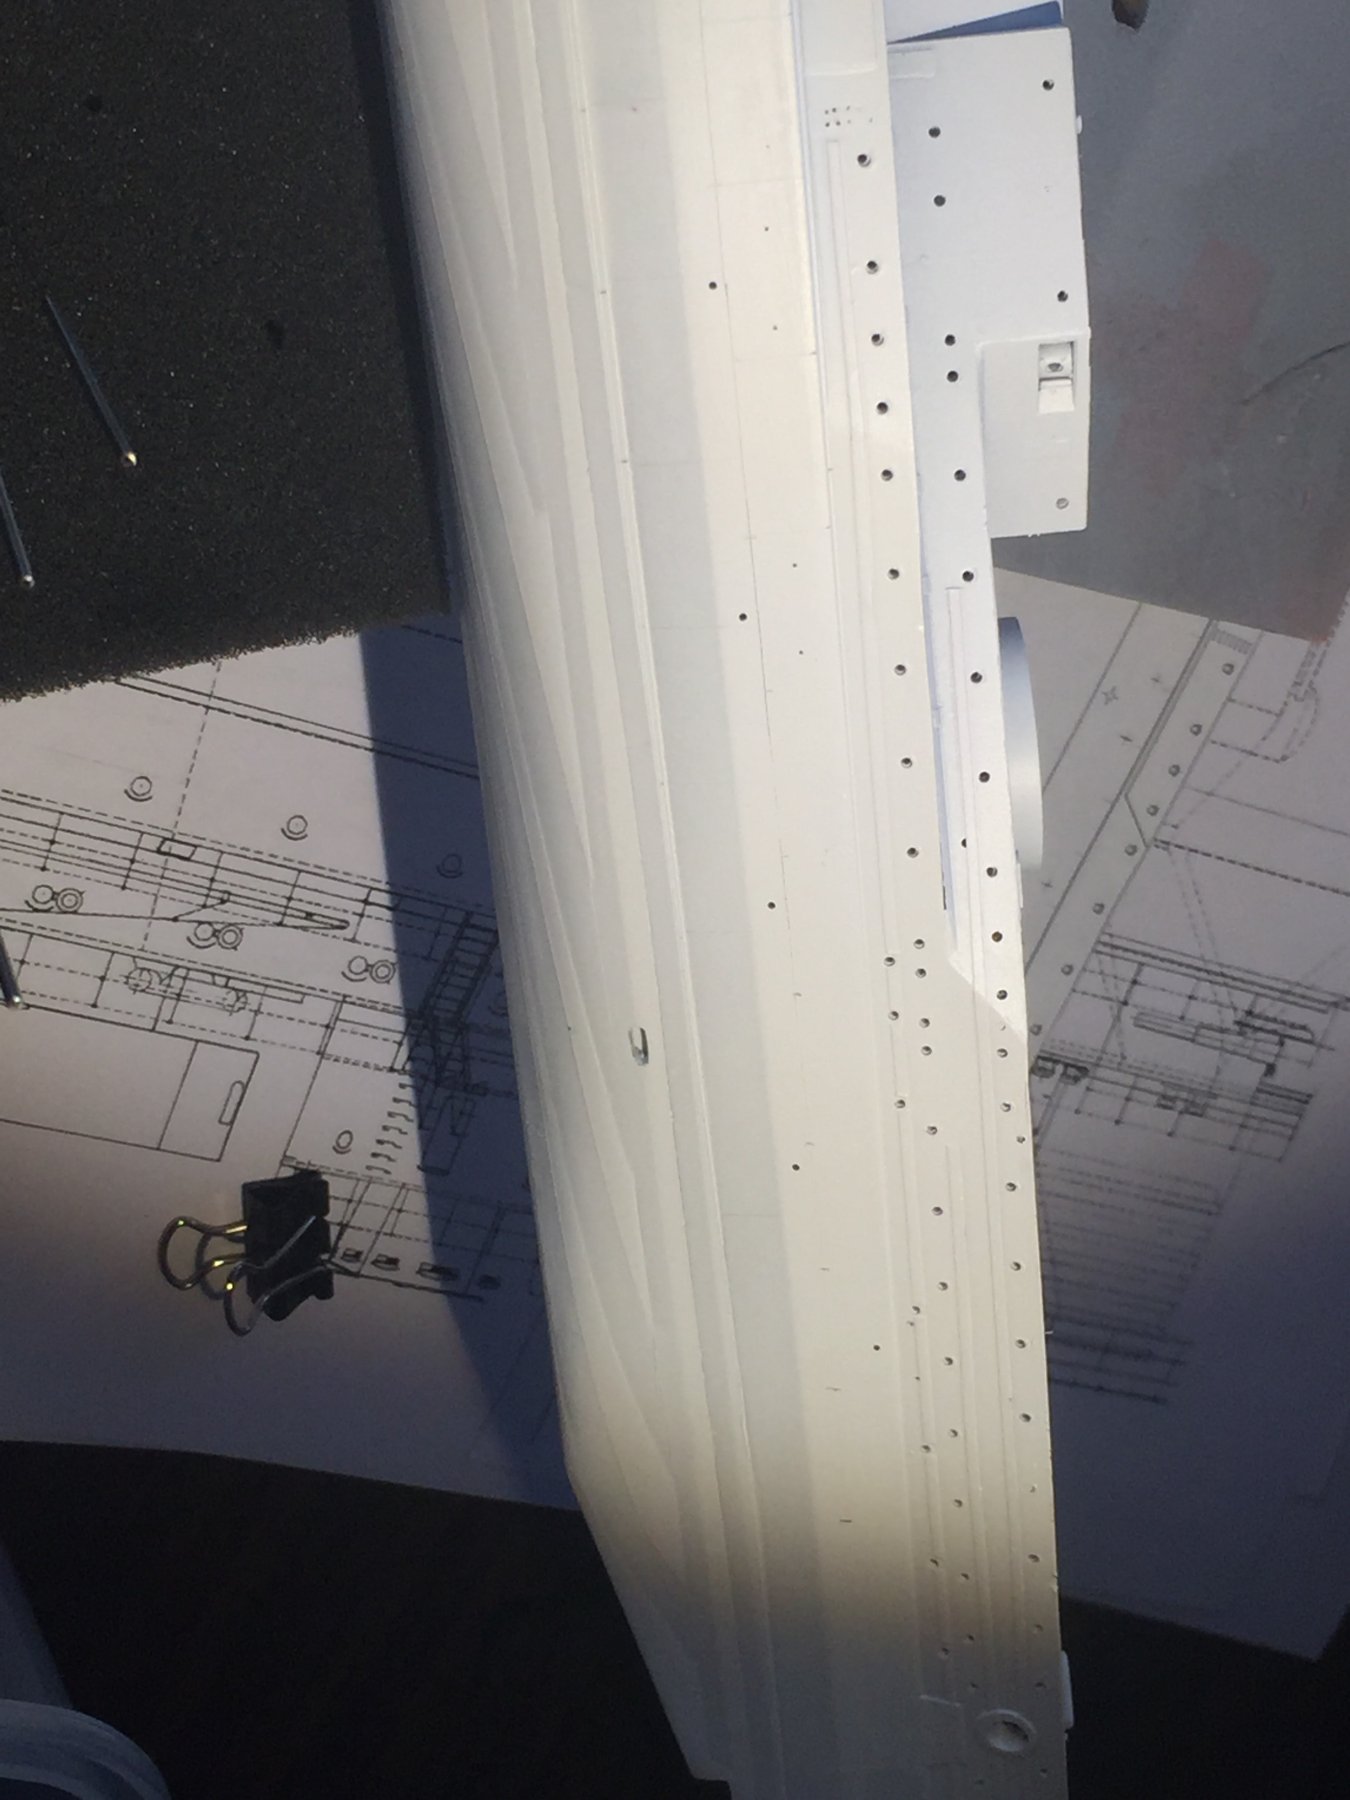
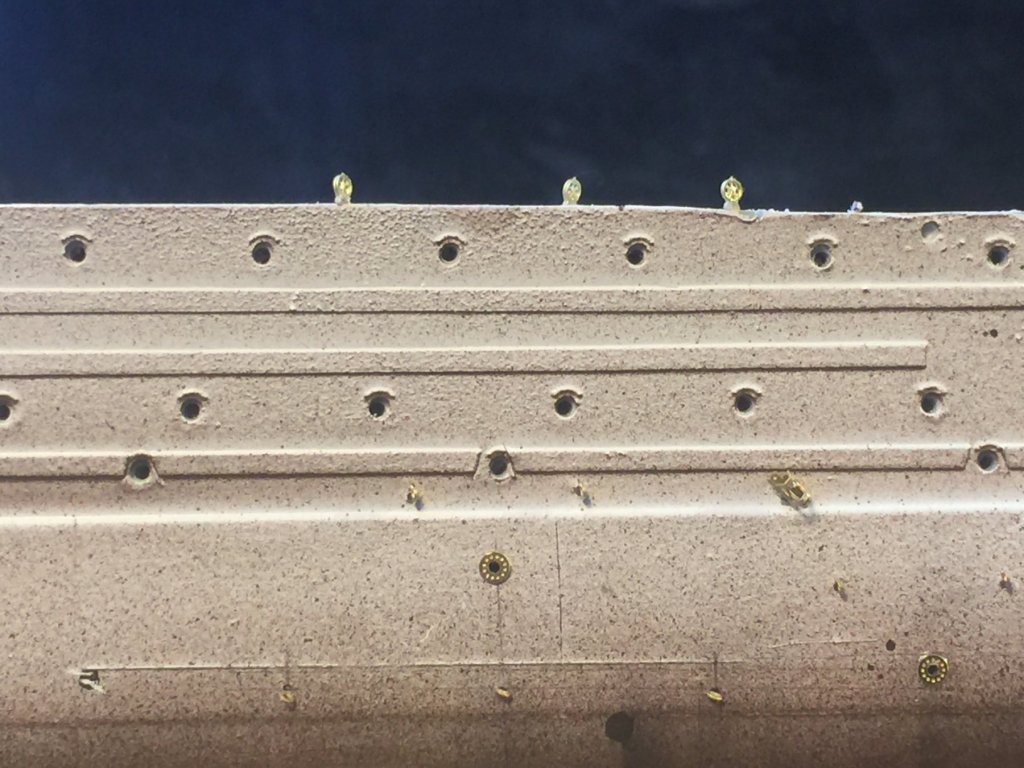
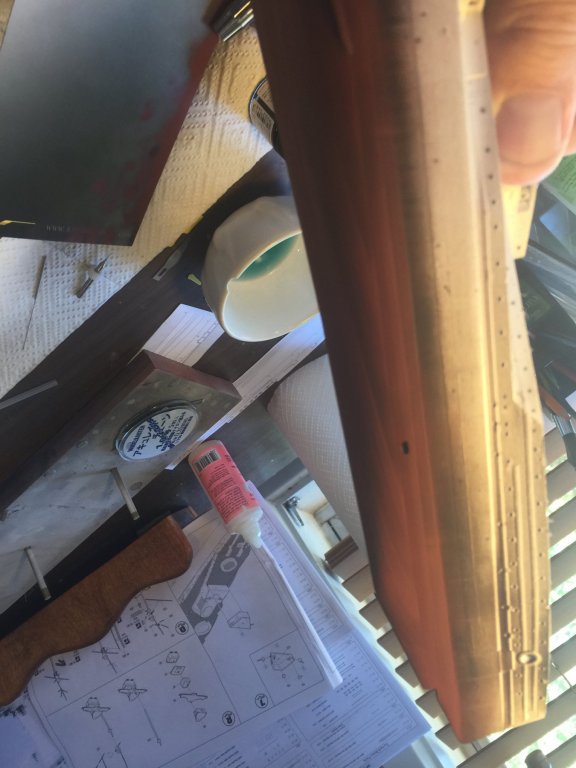
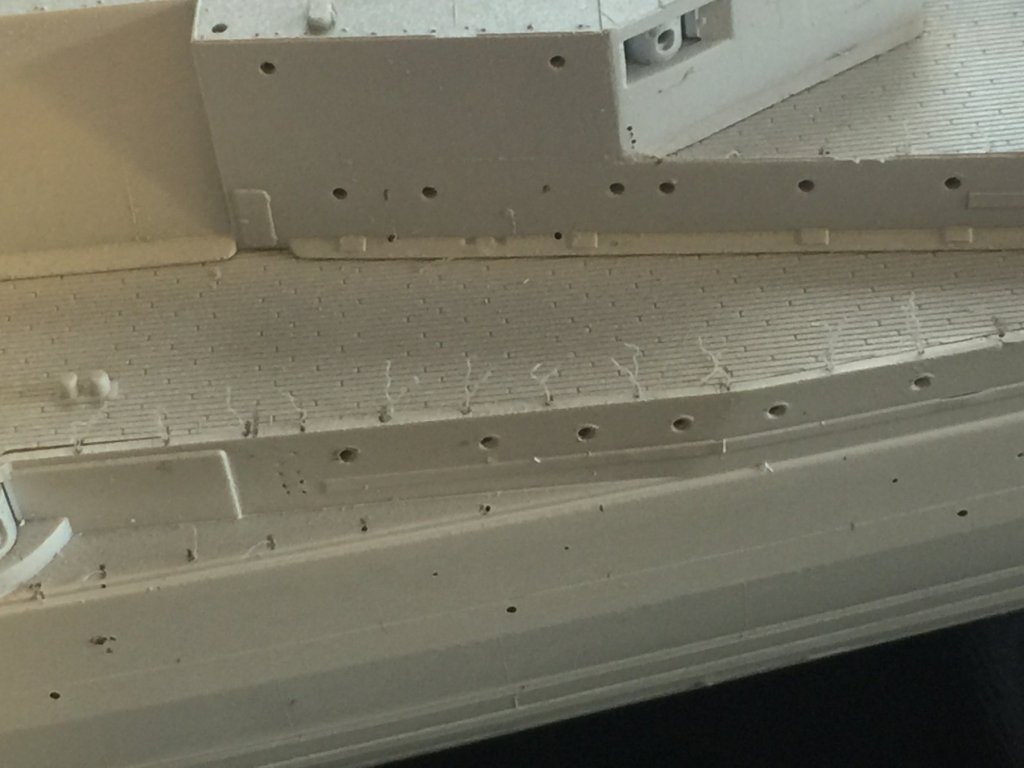
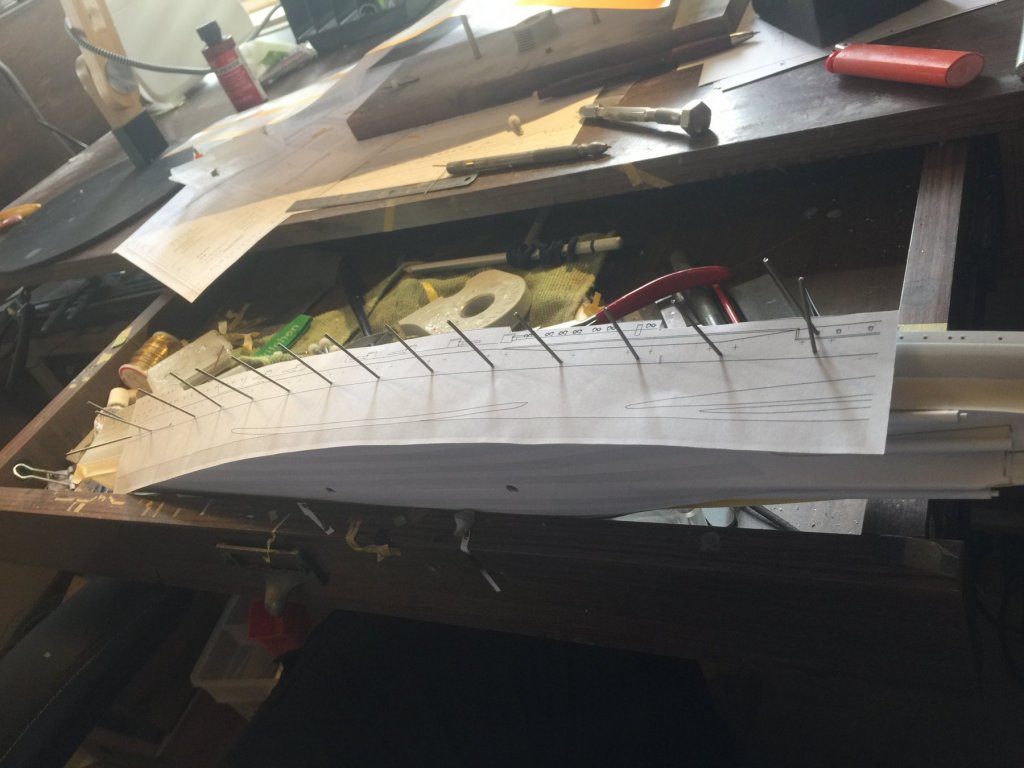
Unfortunately at .3mm it’s a slow manual engineering job. Anyway, I’ve now drilled every hole in the hull. There’s a lot of brass to go above the waterline. If I tape over brass that has gone on top of primer it will be pulled off when I remove it after painting the lower hull. So, time to paint the lower hull.
-
Not really, my HMB endeavour had about 5000 treenails, but I could drill the wood with a Demel, this is with a Pin Vise. I left the curly wurlies as you call them Cog so I could see where I was up to as I was watching a German TV series at the time and unlike you I have to read the subtitles
-
I’ll sort that out. Over 400 x 0.3mm holes so far, probably 20 to go for rigging blocks. I might paint the lower hull next.
-
Cut a tiny length of card that you can lay on the deck. It will give you a backdrop and help you see the hole that you have to put the rigging through.
-
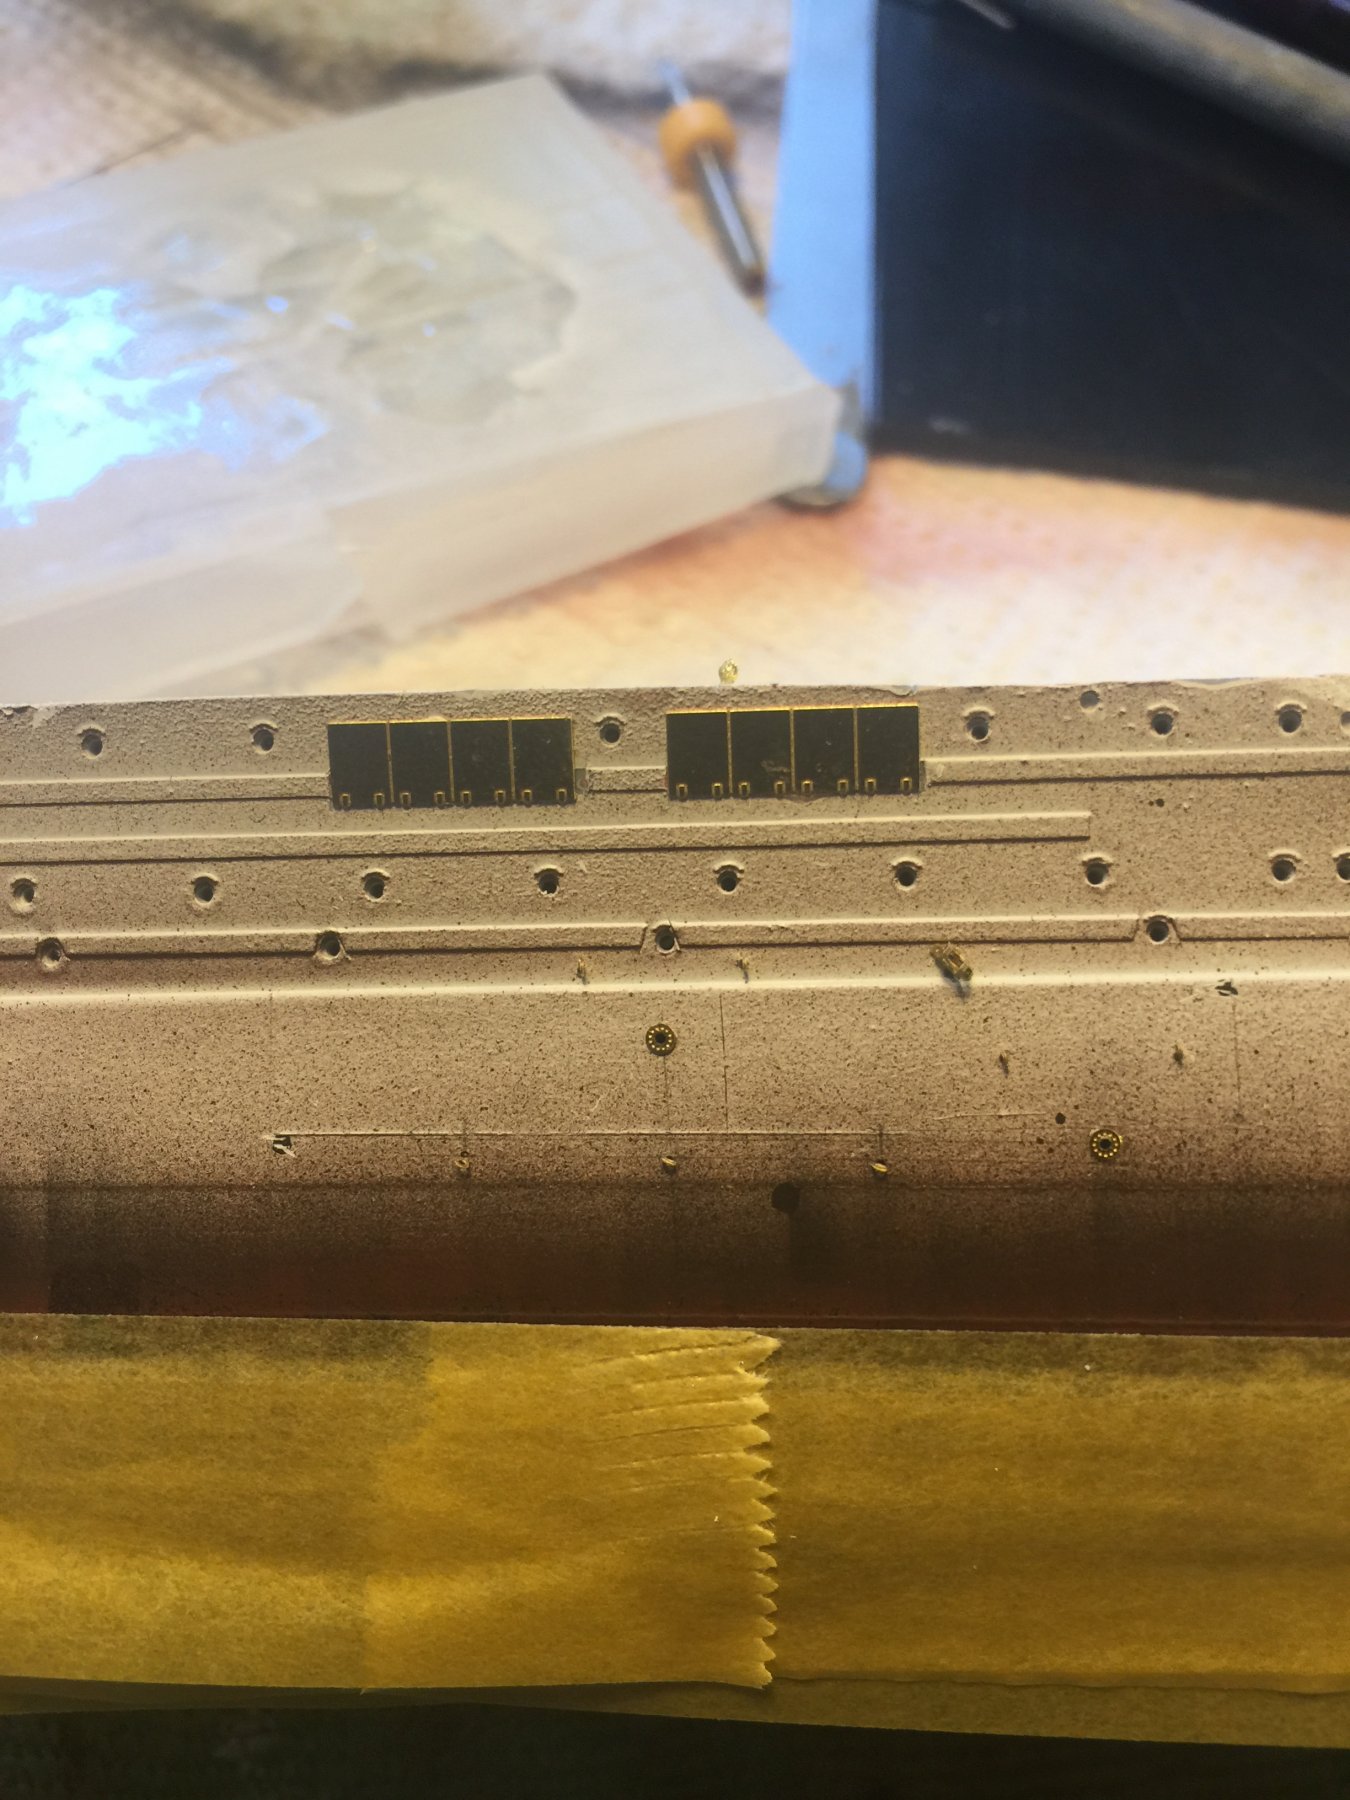
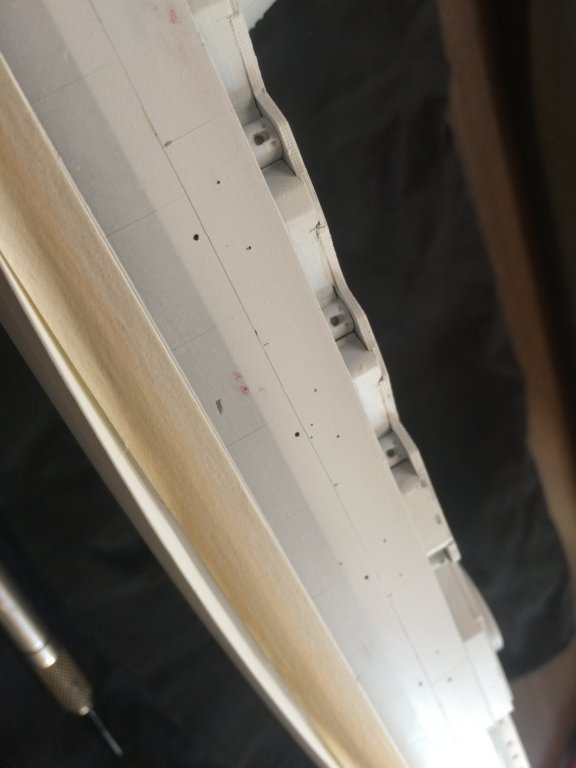
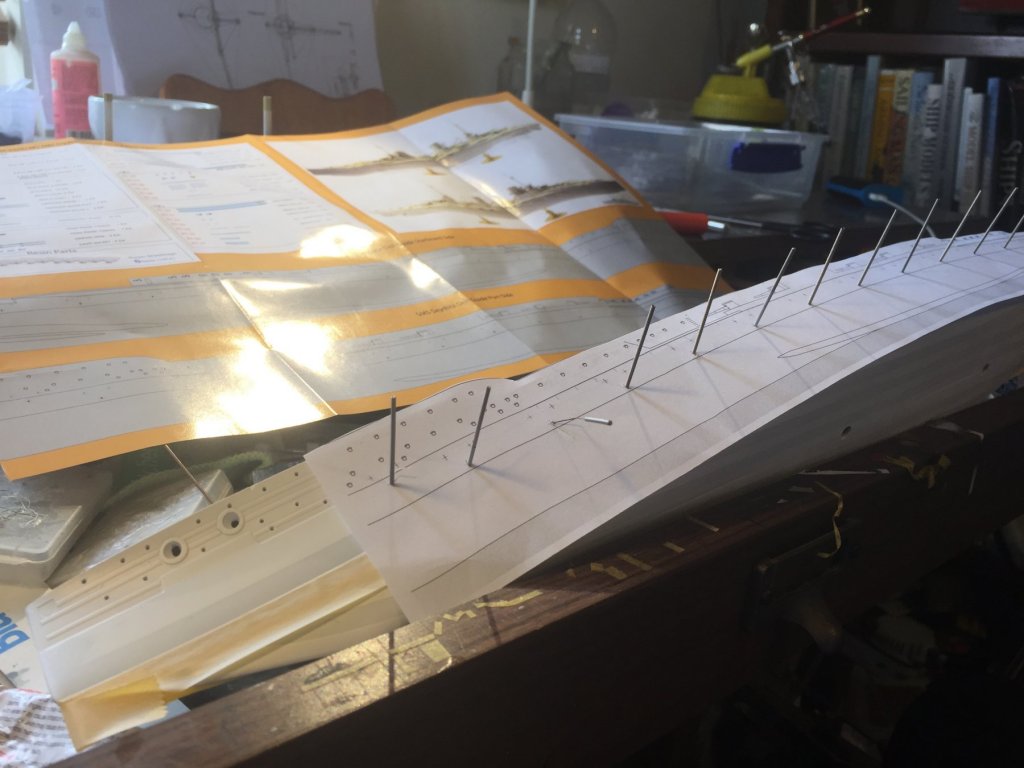
Portholes were done ages ago. The 30 torpedo booms require a 0.5mm hole, each boom requires two 0.3mm holes for rigging. The hull also requires multiple rings for rigging blocks. Next is the holes for the stanchions.
-
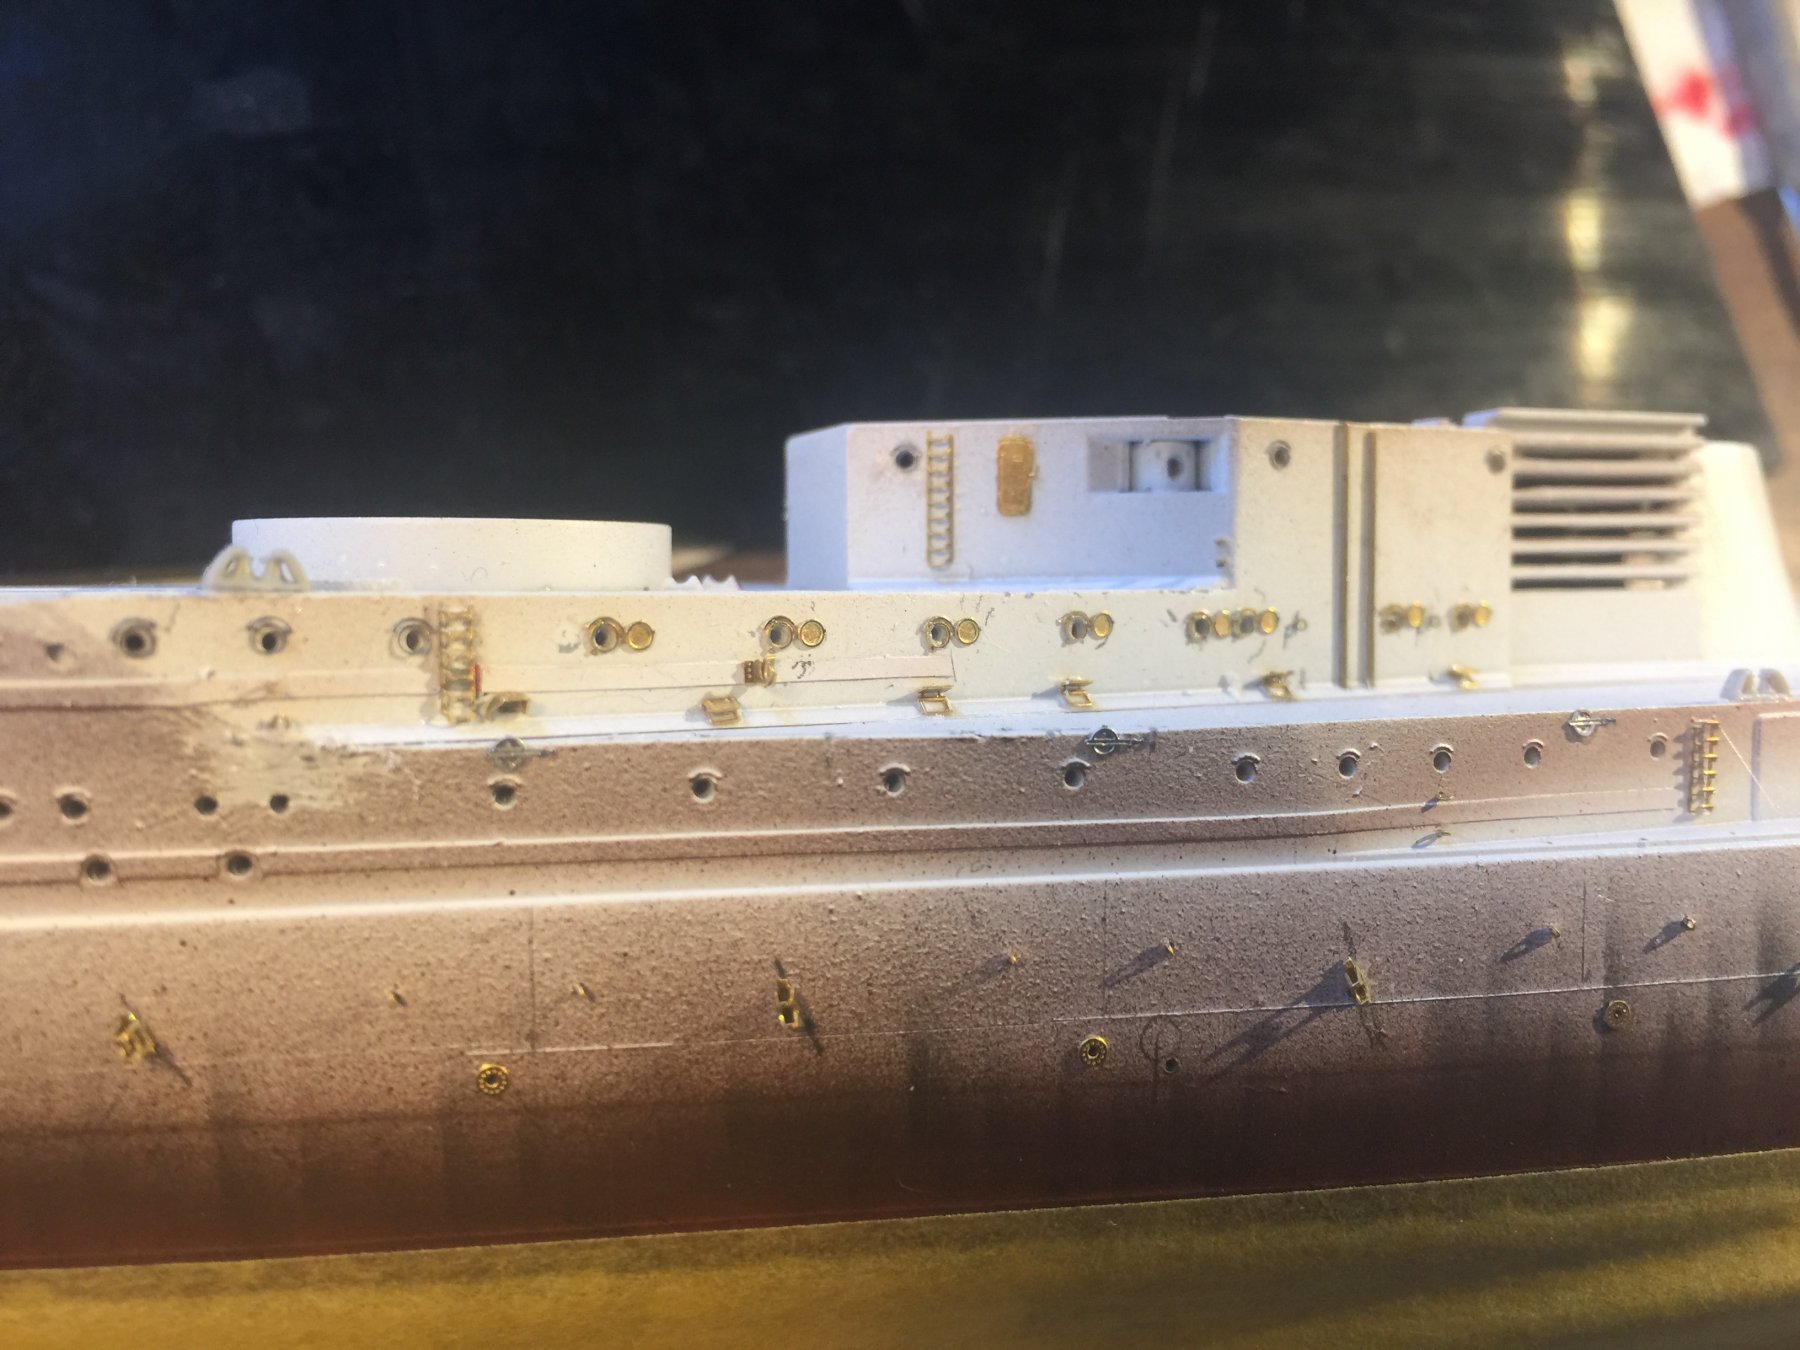
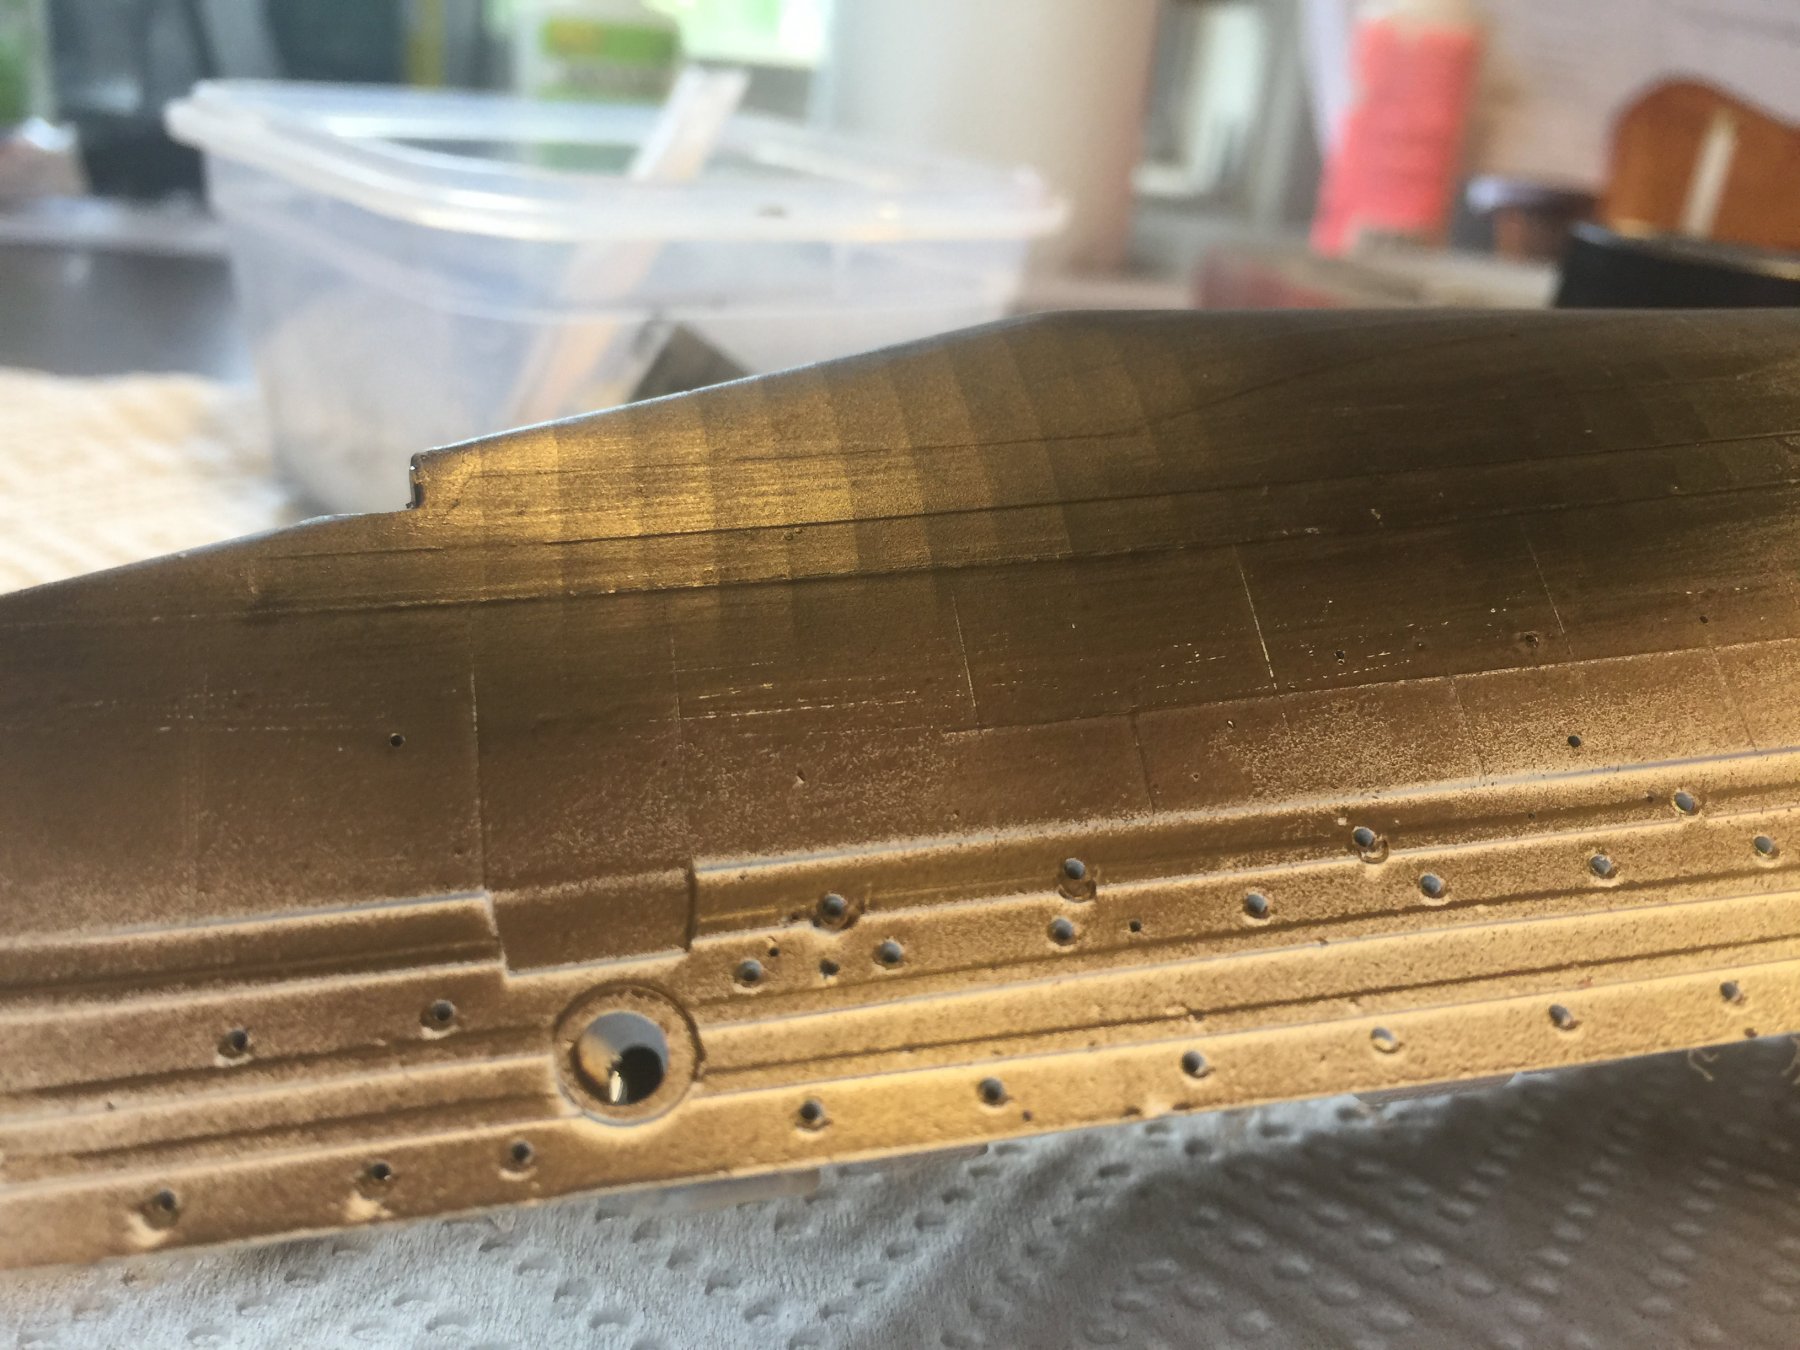
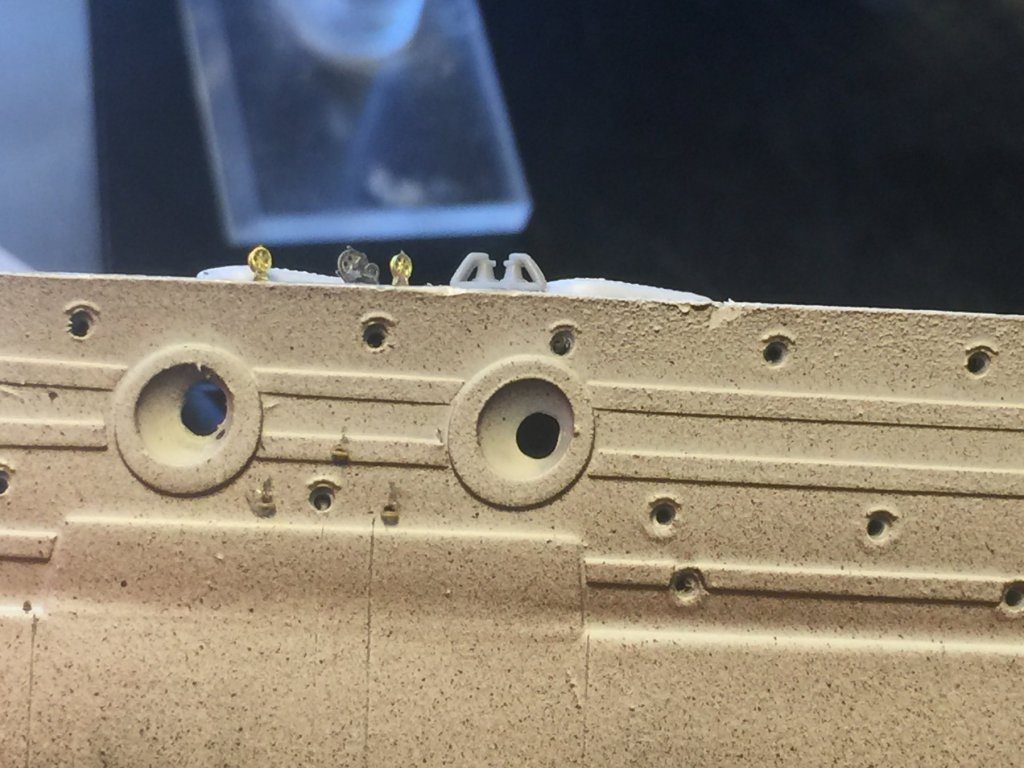
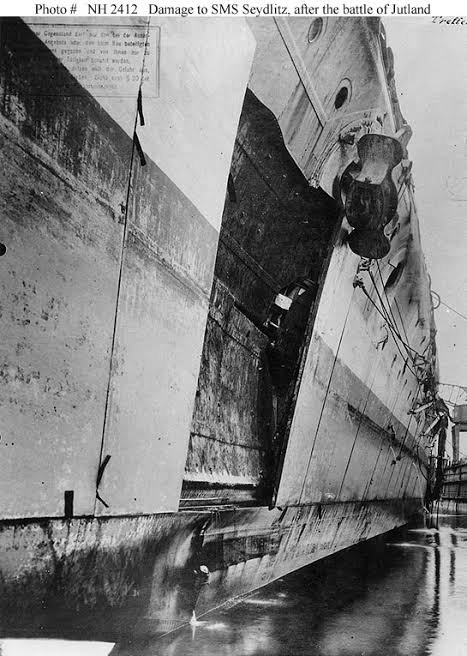
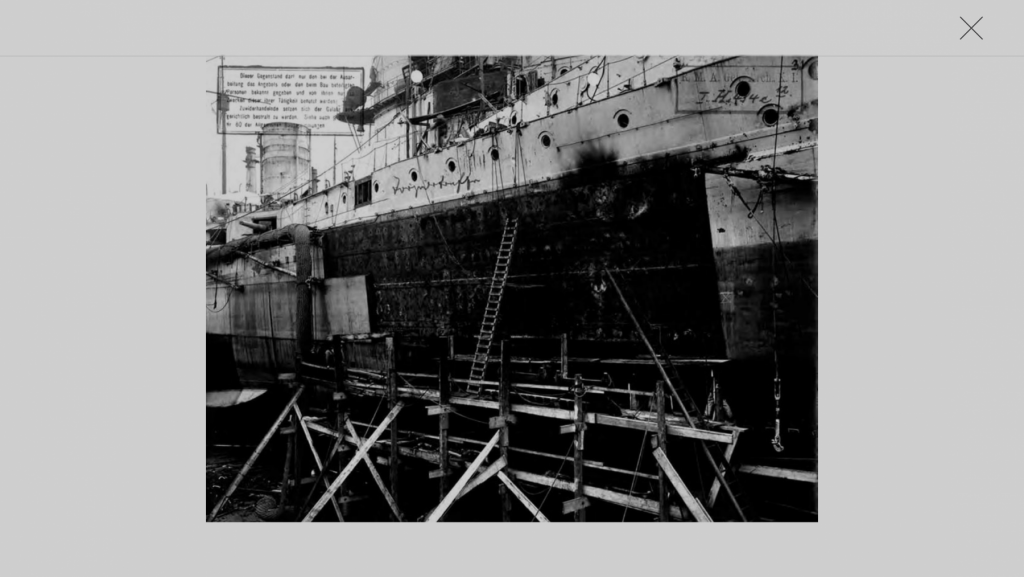
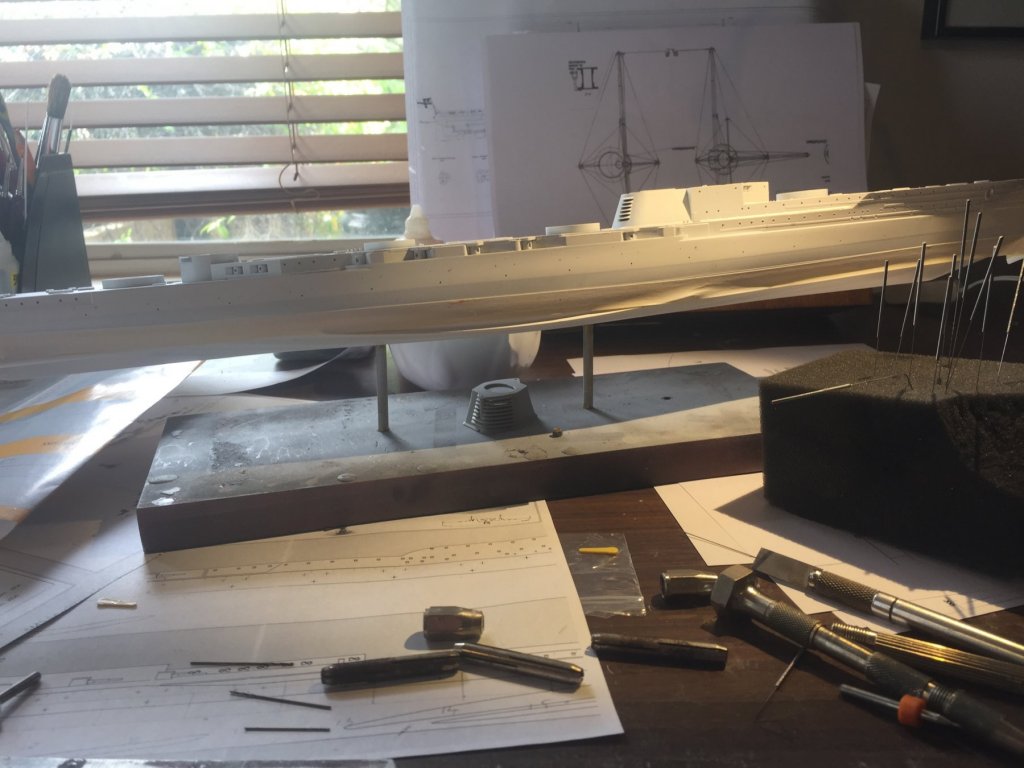
The primer coats are fairly thick (multiple oversprays. As you know, there is a lot of brass to go on the hull so I was never going to add it first otherwise the detail would go. The scribing of the panels gives me a guide a guide when I paint (modulation panels) that I can use for chipping on the edges etc. that way my mistakes on this build wont have to be yours. The armour panels are very stark close up as the ship was ship was in Dock after Dogger Bank where it was absolutely pounded which would have moved them and burnt off paint
-
So, whilst I await more drill bits as I need to put in a whole lotta holes for scuttles and rigging blocks to run the netting.

- 540 replies
-
- 10
-
-
From a distance, yes, but close up there are lots af armour panels. I’ve lightly etched them in with a #11 blade.
-
So, using the template from the instructions, I’ve drilled the holes for the torpedo net booms. 2 things, the scale in the instructions are out. Regardless you’ll have to use them as the torpedo nets will be the same scale. The port side side template is also different to the kits placement of the hull cannons and alignment. Finally, the rubbish carbide .3mm drill bits will not cut into plastic as apparently they are for cleaning printer nozzles. I need to find a decent source.
-
Found it, I’m sure Mr K does not mind. http://www.shipmodels.info/mws_forum/viewtopic.php?f=60&t=163104&hilit=Yamato
- 140 replies
-
- 5
-
-
- the sullivans
- trumpeter
- (and 2 more)
-
I hyperlinked his build on that site on my Yamato build. There is a fair bit of how to.
- 140 replies
-
- 8
-
-
- the sullivans
- trumpeter
- (and 2 more)
-
You will pretty much lose all PE detail unless you airbrush your top coats. Especially when you modulate your colours. There are some excellent tutorials on U-Tube by AK interactive or look at @Koppalakki masterpiece build on shipmodelworld world for his Yamato. I learnt so much from him on that build.
- 140 replies
-
- 7
-
-
- the sullivans
- trumpeter
- (and 2 more)
-
Well done mate, once you’ve done individual stanchions you’ll never go back as it looks so much better.