


RGL
-
Posts
5,419 -
Joined
-
Last visited
Content Type
Profiles
Forums
Gallery
Events
Posts posted by RGL
-
-
Nope, wise to that little trick too!
yes, the Australian ensign was not in use until the mid 60’s I’ve been told so I had to remove it
- Canute, Old Collingwood, Piet and 3 others
-
 6
6
-
Great work! Love the photos; and CA gives way all the time dammit
- lmagna, Canute, Old Collingwood and 2 others
-
5
-
Nope, they just dropped from the rafters. Or from someone taller than me.
-
-
-
Oh, someone just woke up confused
- Canute, Old Collingwood, mtaylor and 3 others
-
6
-
Ha, so many patient women (or men; we went to the stage show of Priscilla last night, marvellous).
Minus 6 her last night apparently which is exceptionally cold here in Oz.
Popeye, how far off are you? Take your time, more time to offer Cog advice of course.
- Piet, mtaylor, popeye the sailor and 4 others
-
7
-
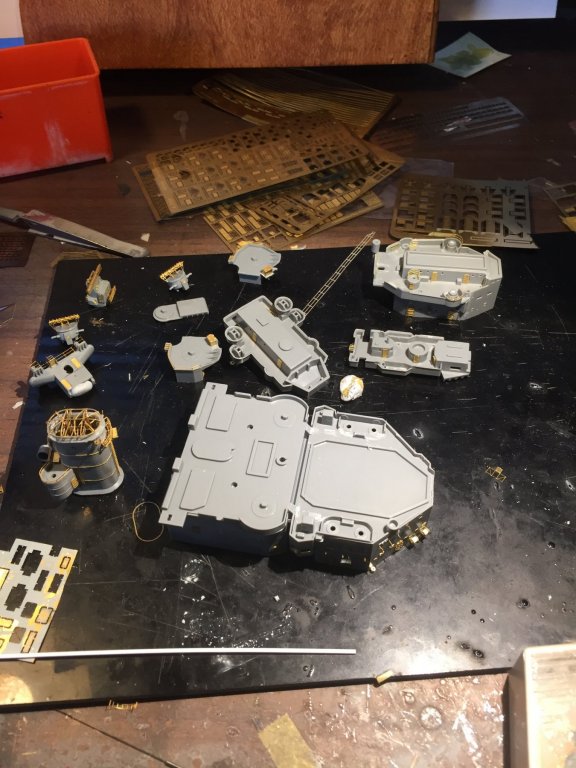
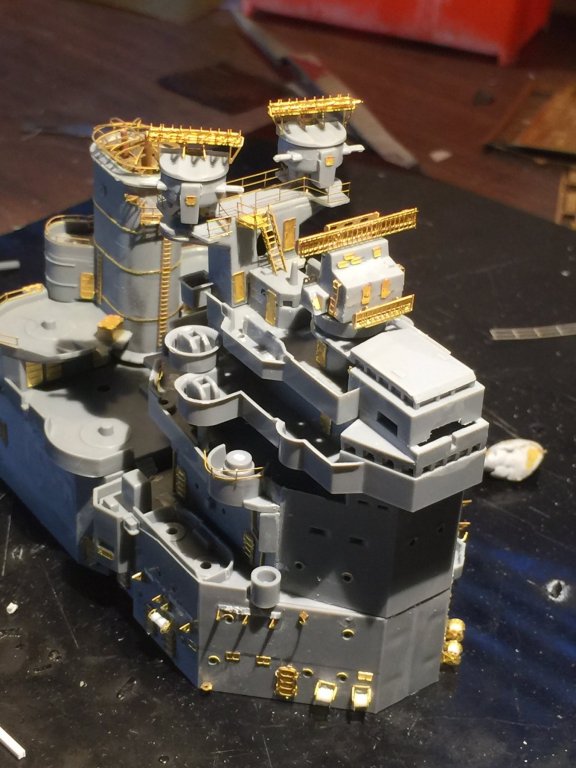
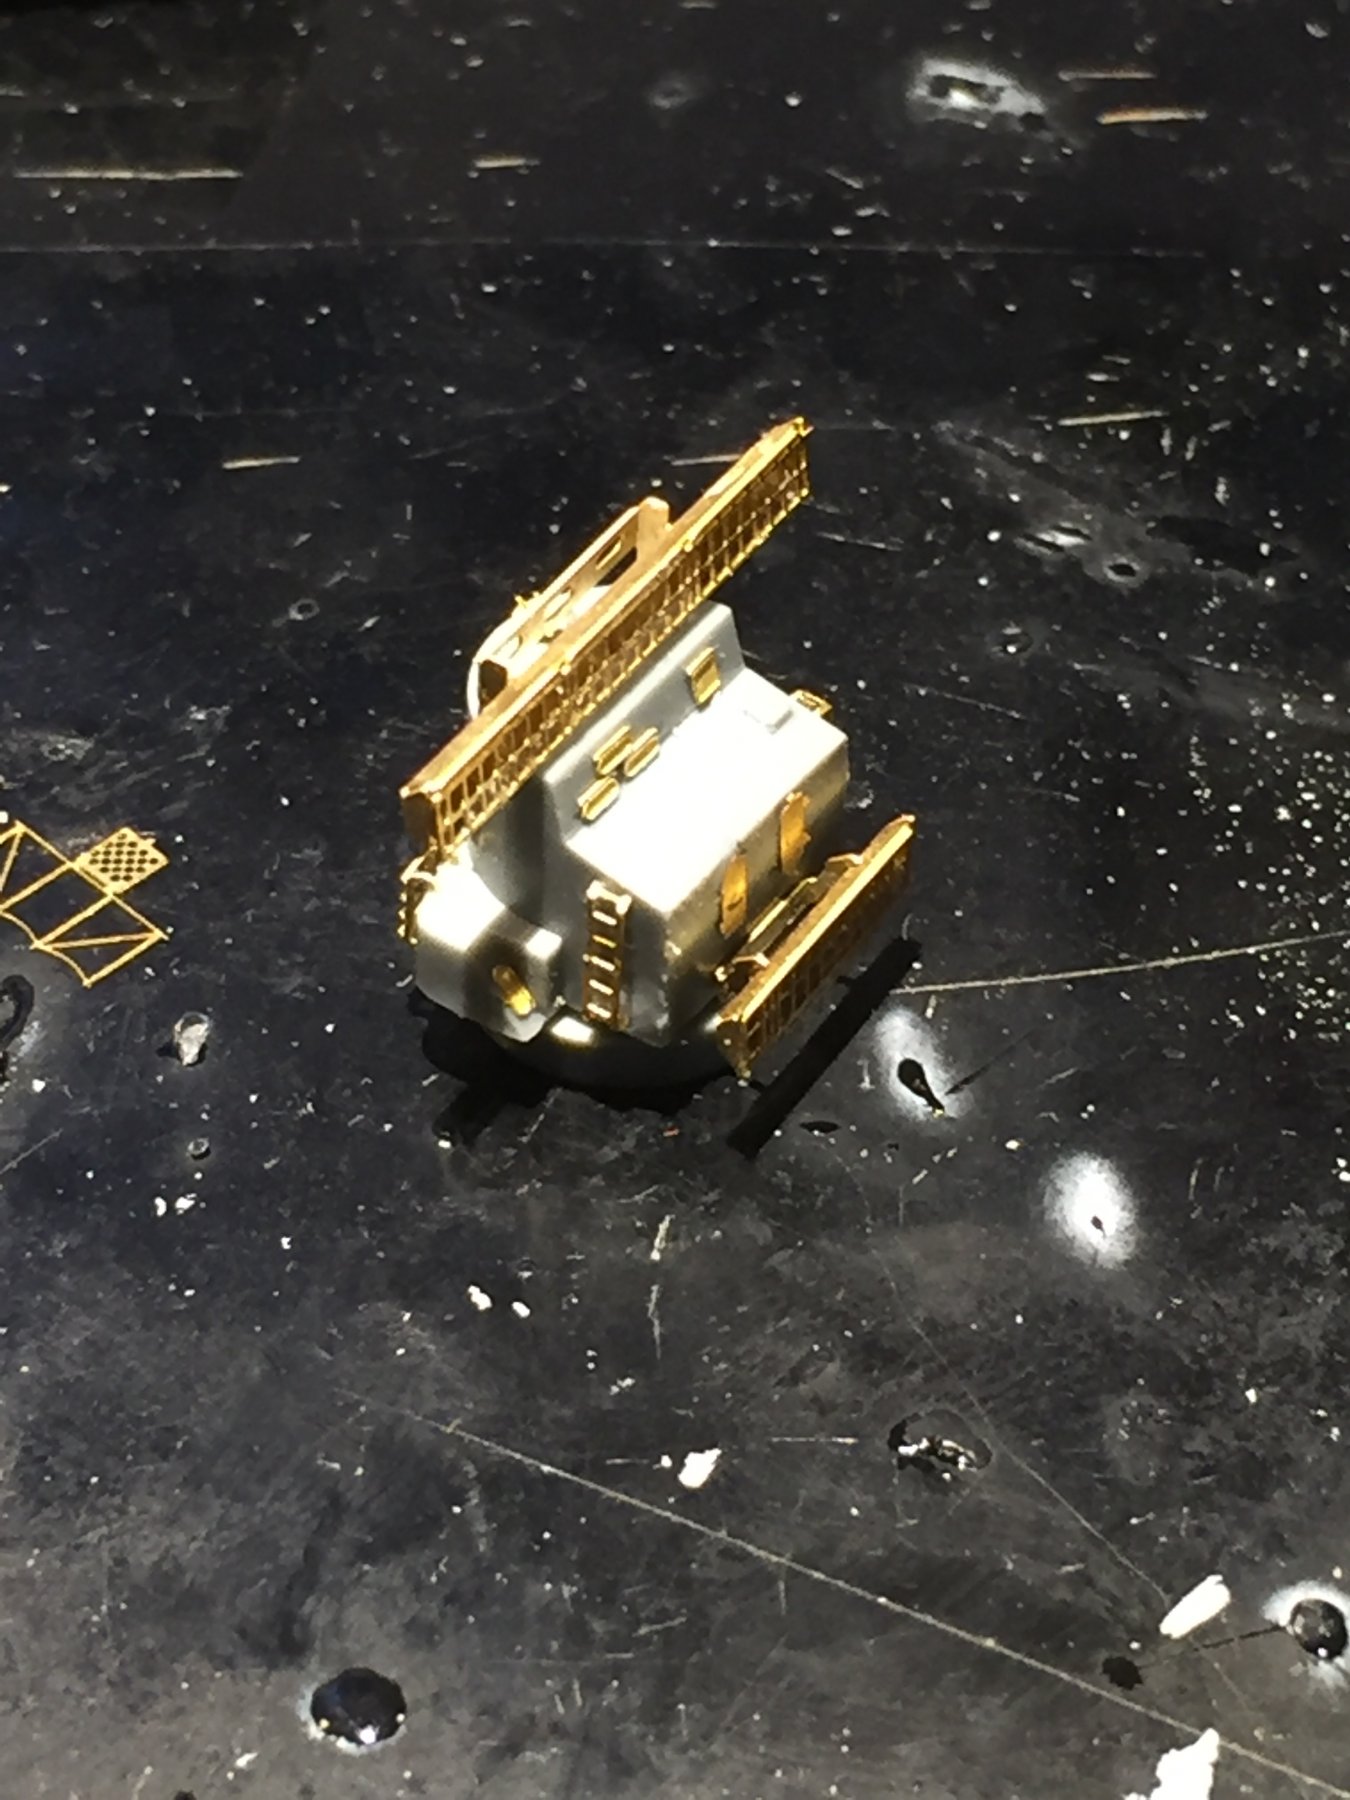
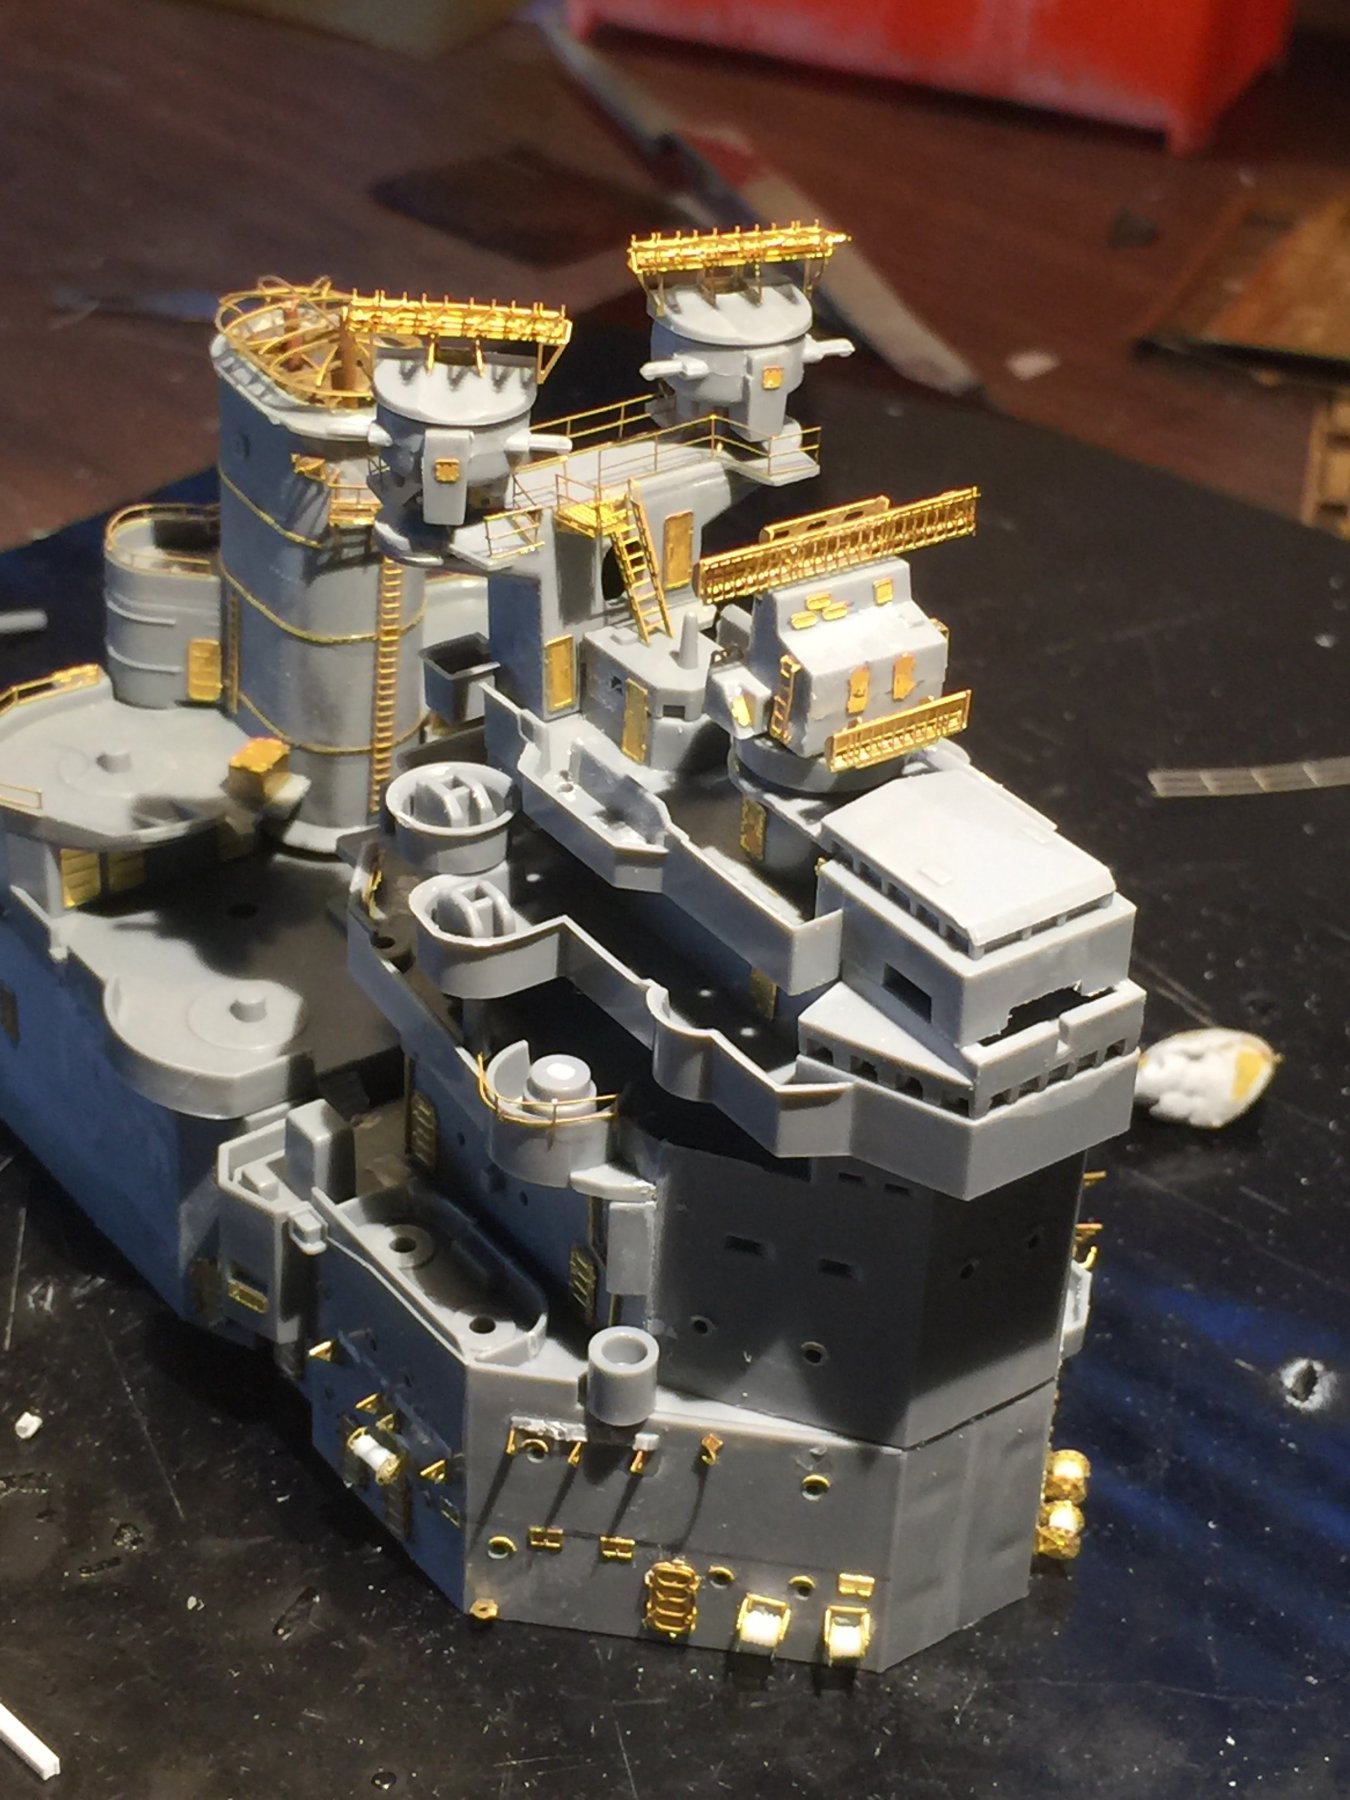
For some reason the Pontos instructions are not for the Tamiya KVG. The main gun director is a different piece to the ones used in the instructions and is about 3mm too low and both are utterly devoid of details at the front. I used the main turret lug to lift it up enough. The secondary gun directors had a radar between them in the Pontos 41 version but not in the 43 version. It also gives you some gantry that go beneath them that are on the POW but never on KGV.
Next will be the bridge facade and wind deflectors. I can’t glue it all up yet as I want to prime it then do the decks on this piece as there are binoculars, search lights, signal lamps, more MG directors, flag lockers.


-
Ah, the sensi is in the house, excellent.
- cog, popeye the sailor, Canute and 4 others
-
7
-
20, she would already be out on parole by now
- popeye the sailor, BANYAN, cog and 4 others
-
7
-
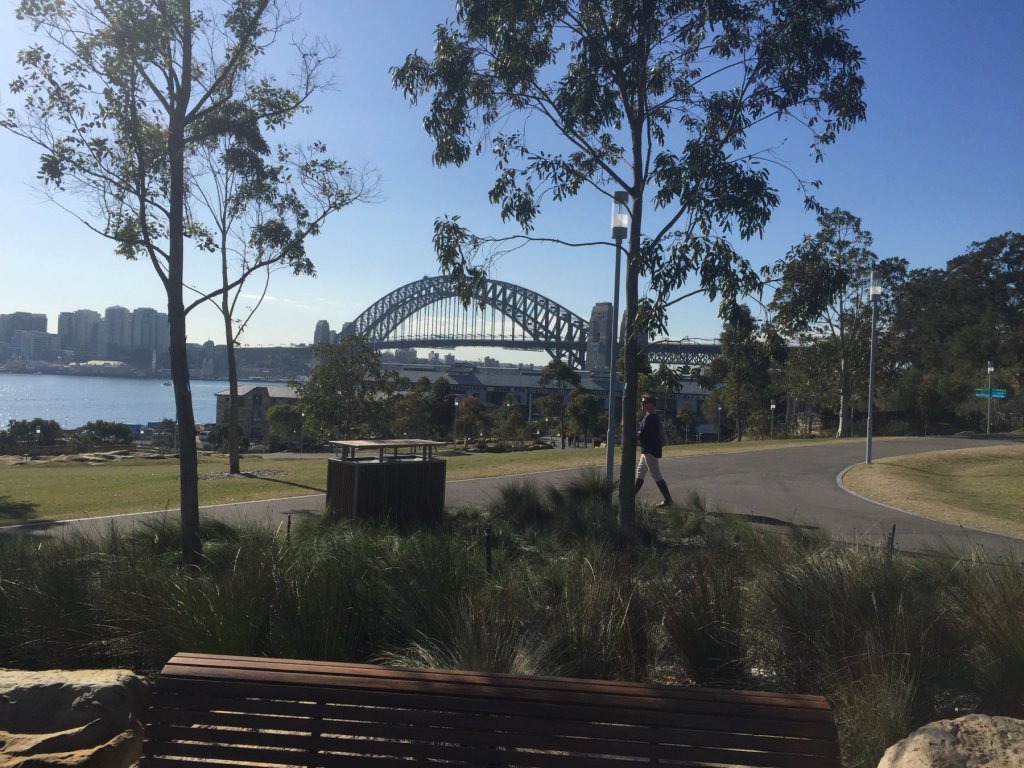
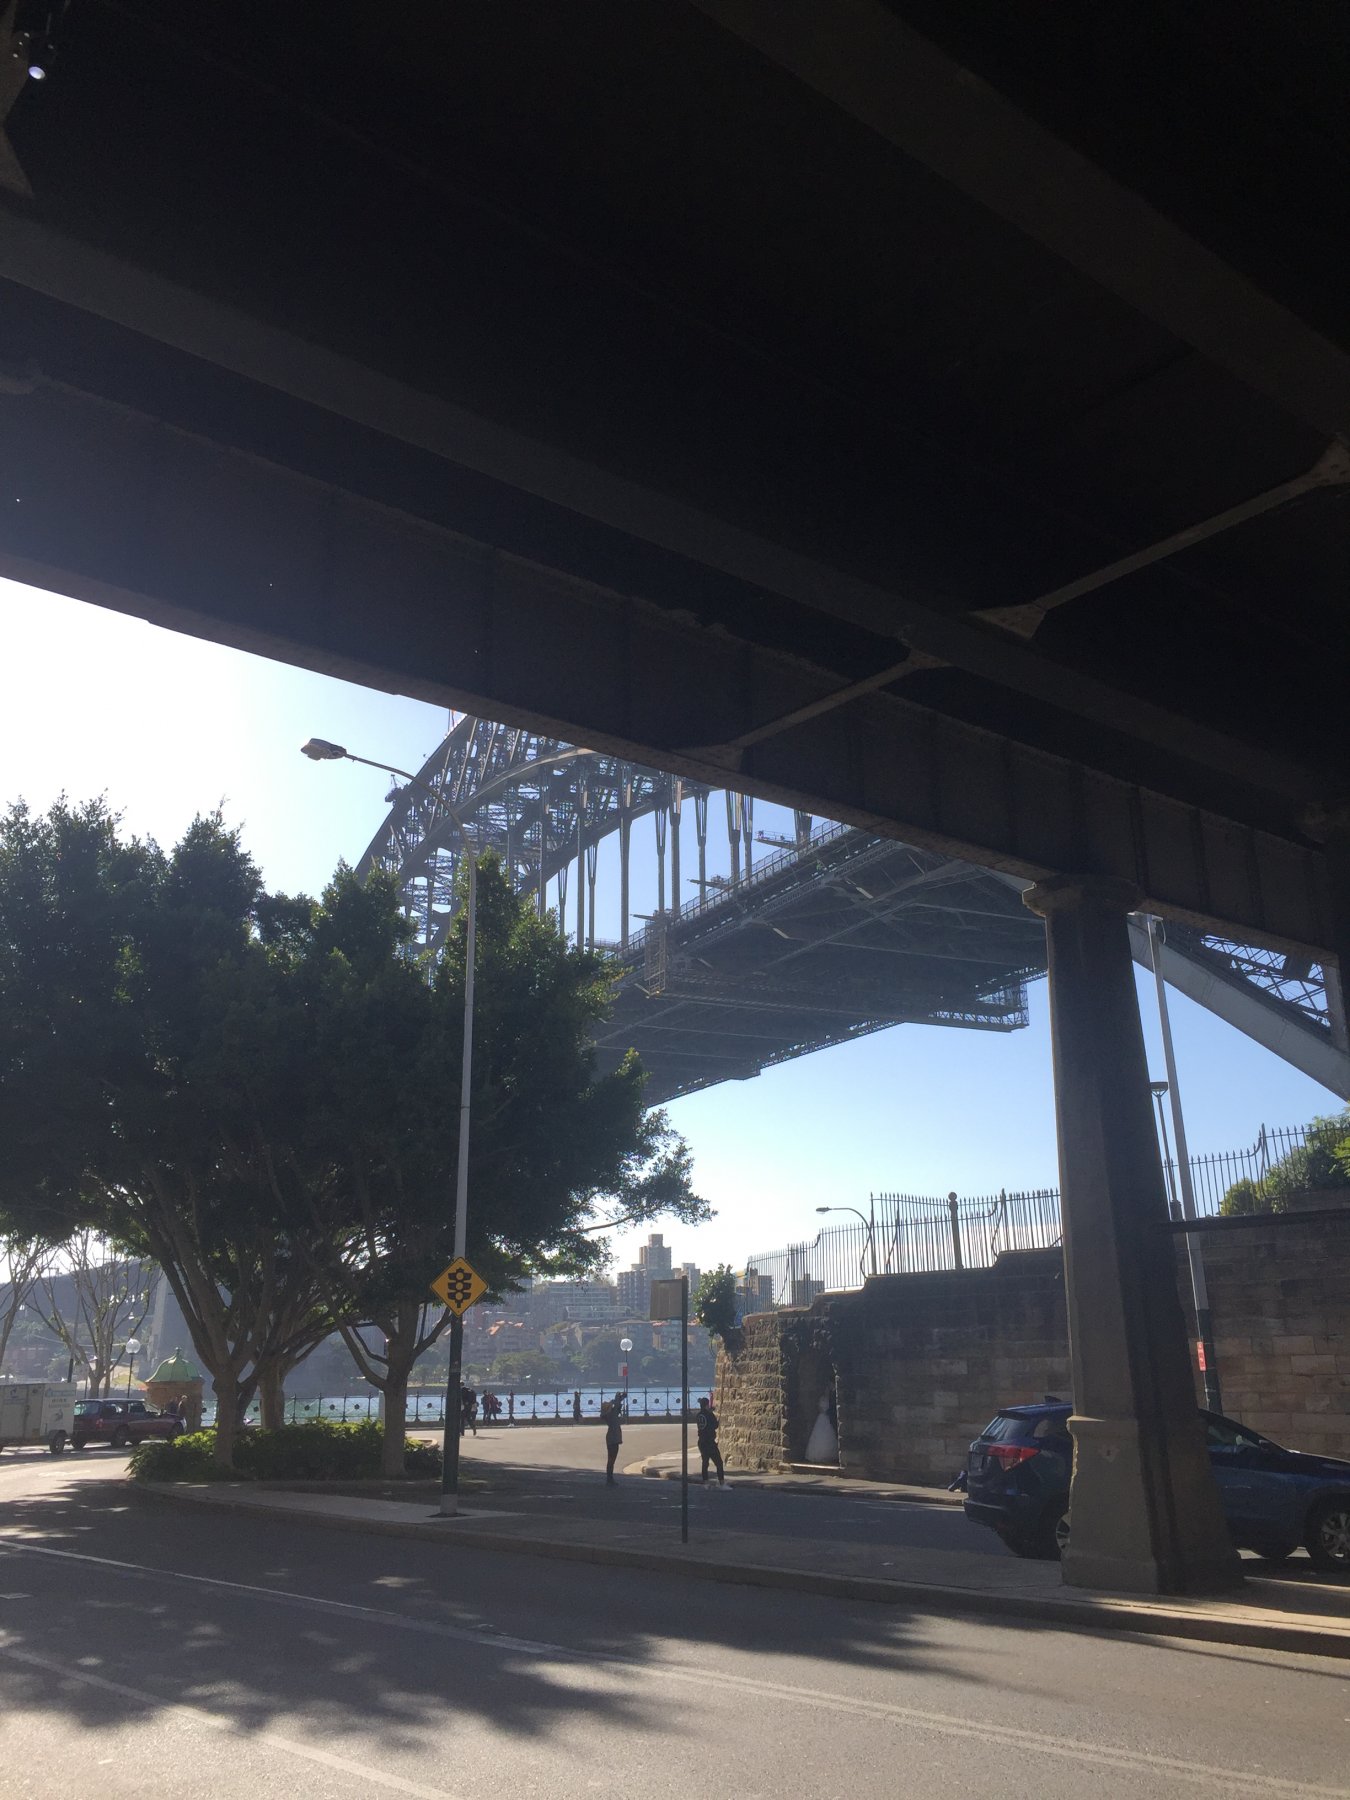
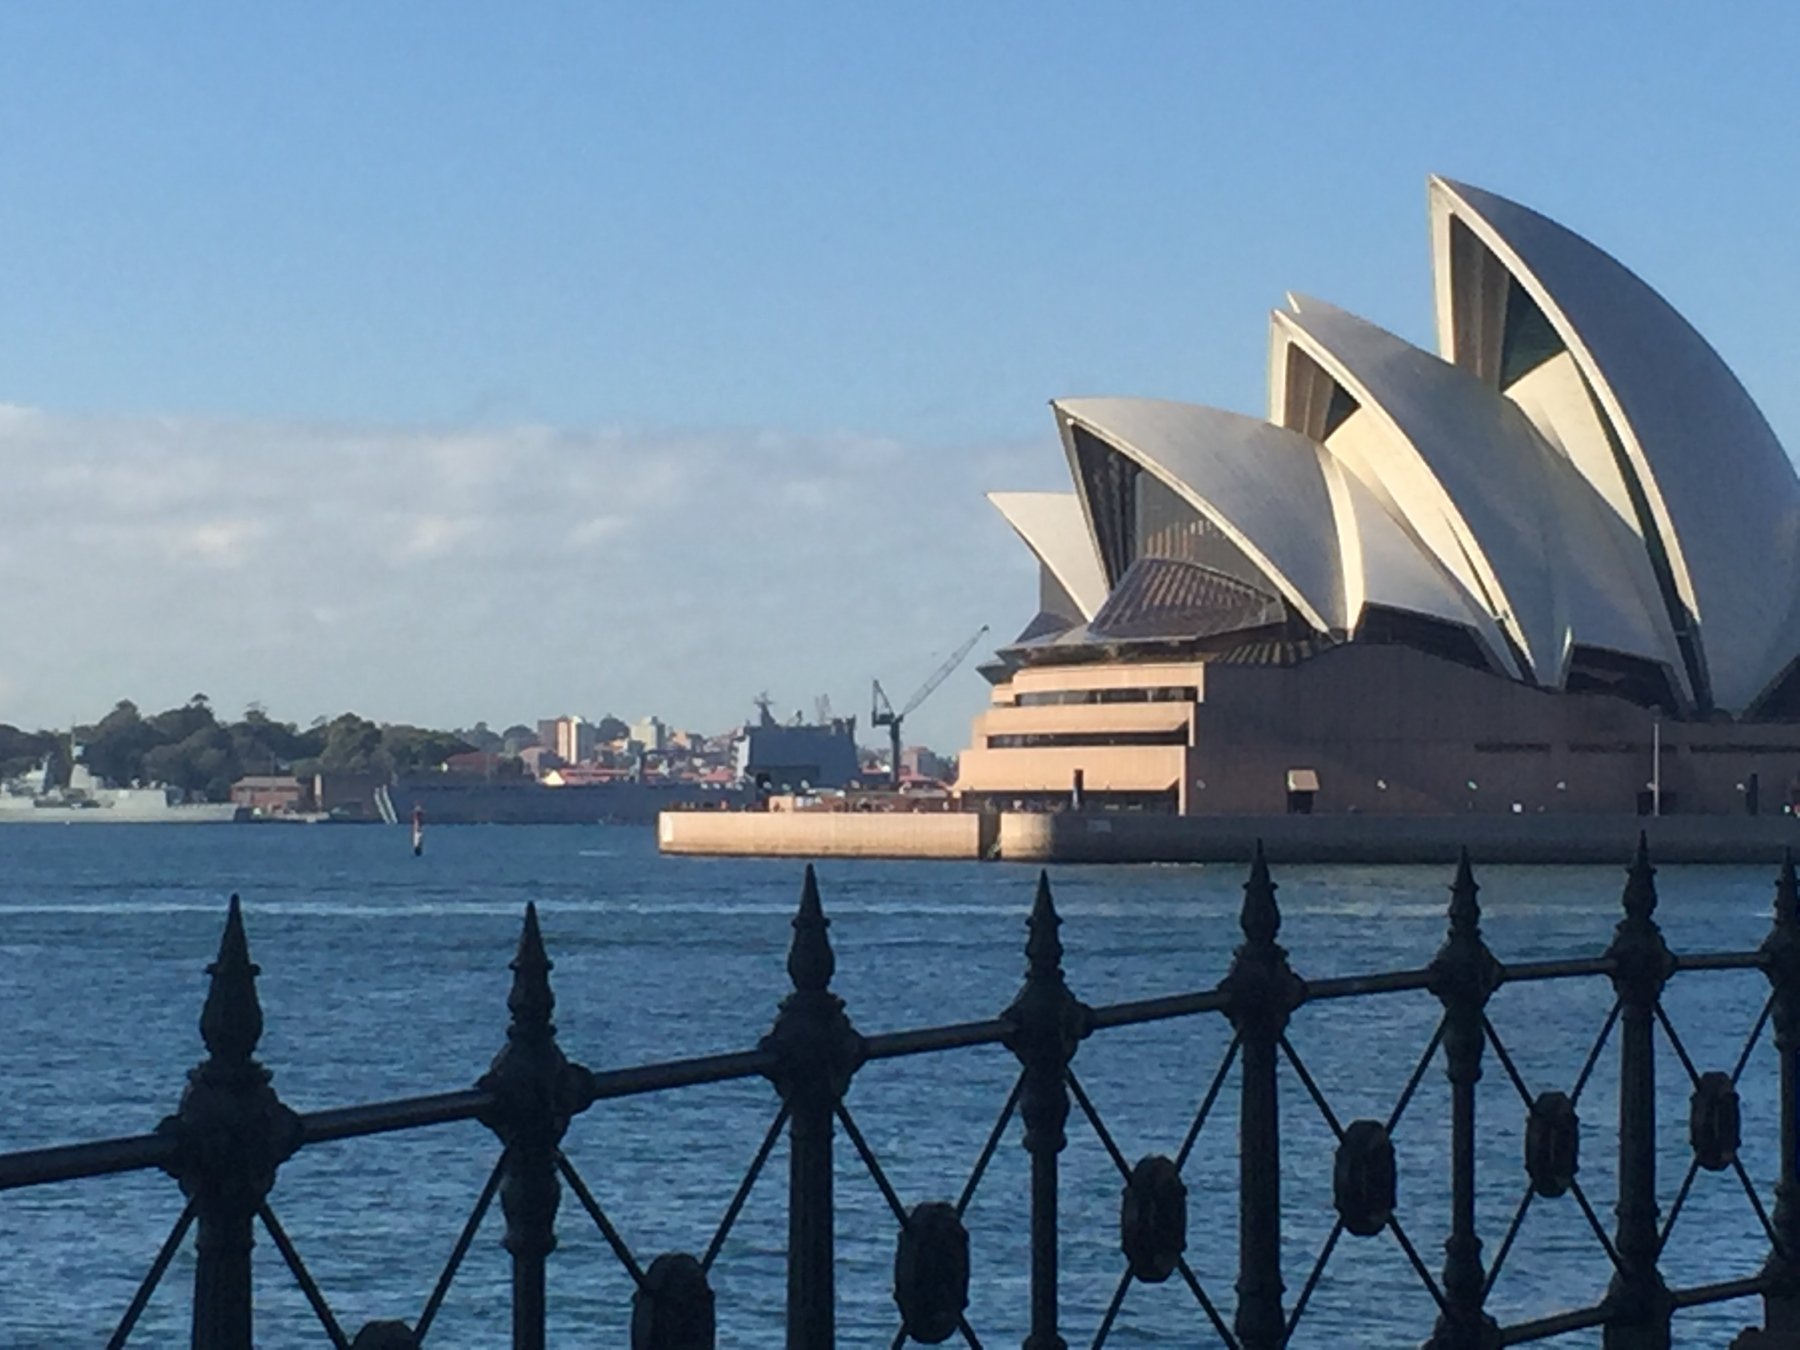
Quick 3 hour drive up the road for our wedding anniversary, I love this town, a couple of days away from the tools.


- Old Collingwood, lmagna, Piet and 7 others
-
10
-
-
-
-
It’s a good looking kit, I really like the camo designs they used, and I’m looking forward to how you weather her and the weathering between the colours
- lmagna, Canute, Old Collingwood and 3 others
-
6
-
Bloody dangerous creatures, they’ll gut you if you get too close and love to jump in front of cars. Tough buggers
-
-
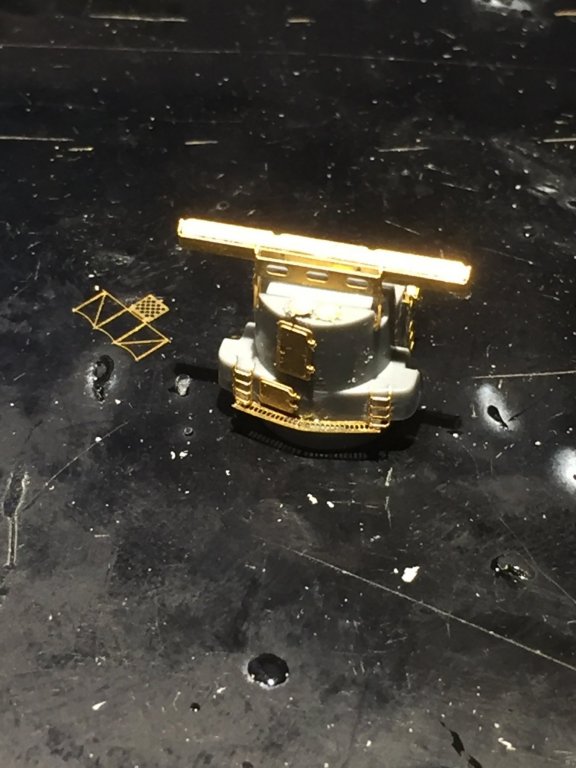
As long as you have a good set of flat noses pliers and /or a PE bender you’ll be fine. If you can do those Pom Poms so well you can do anything. When some of the PE is ludicrously small I don’t bother either.
- mtaylor, Old Collingwood, Canute and 4 others
-
7
-
-
-
Fowl is a chook. A chicken. Delicious animal.
- popeye the sailor, mtaylor, lmagna and 4 others
-
7
-
-
She just rolls her eyes at me usually
- lmagna, Piet, popeye the sailor and 4 others
-
7
-


Hr. Ms. Java 1925 by Piet - FINISHED - Pacific Cross Roads - 1:350 - PLASTIC - Light Cruiser of Royal Netherlands Navy as she was in 1942
in - Kit build logs for subjects built from 1901 - Present Day
Posted
That’s awesome