


RGL
-
Posts
5,057 -
Joined
-
Last visited
Content Type
Profiles
Forums
Gallery
Events
Posts posted by RGL
-
-
Um, I just splash some thinner in and shake the bottle, but dilute to about 50% for an overspray and hold the airbrush (.15) about 20cm off.
- Piet, hexnut, Old Collingwood and 4 others
-
 7
7
-
Ok, back to ships! Boot strap and pre shading done. Decks next
- popeye the sailor, cog, Canute and 7 others
-
10
-
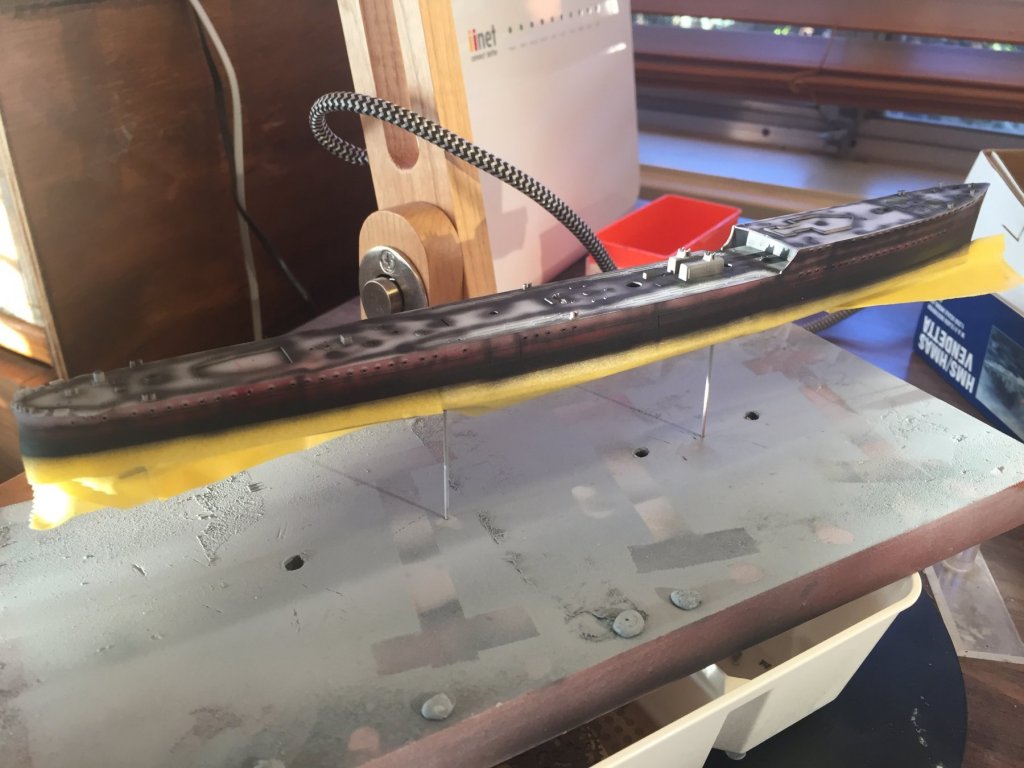
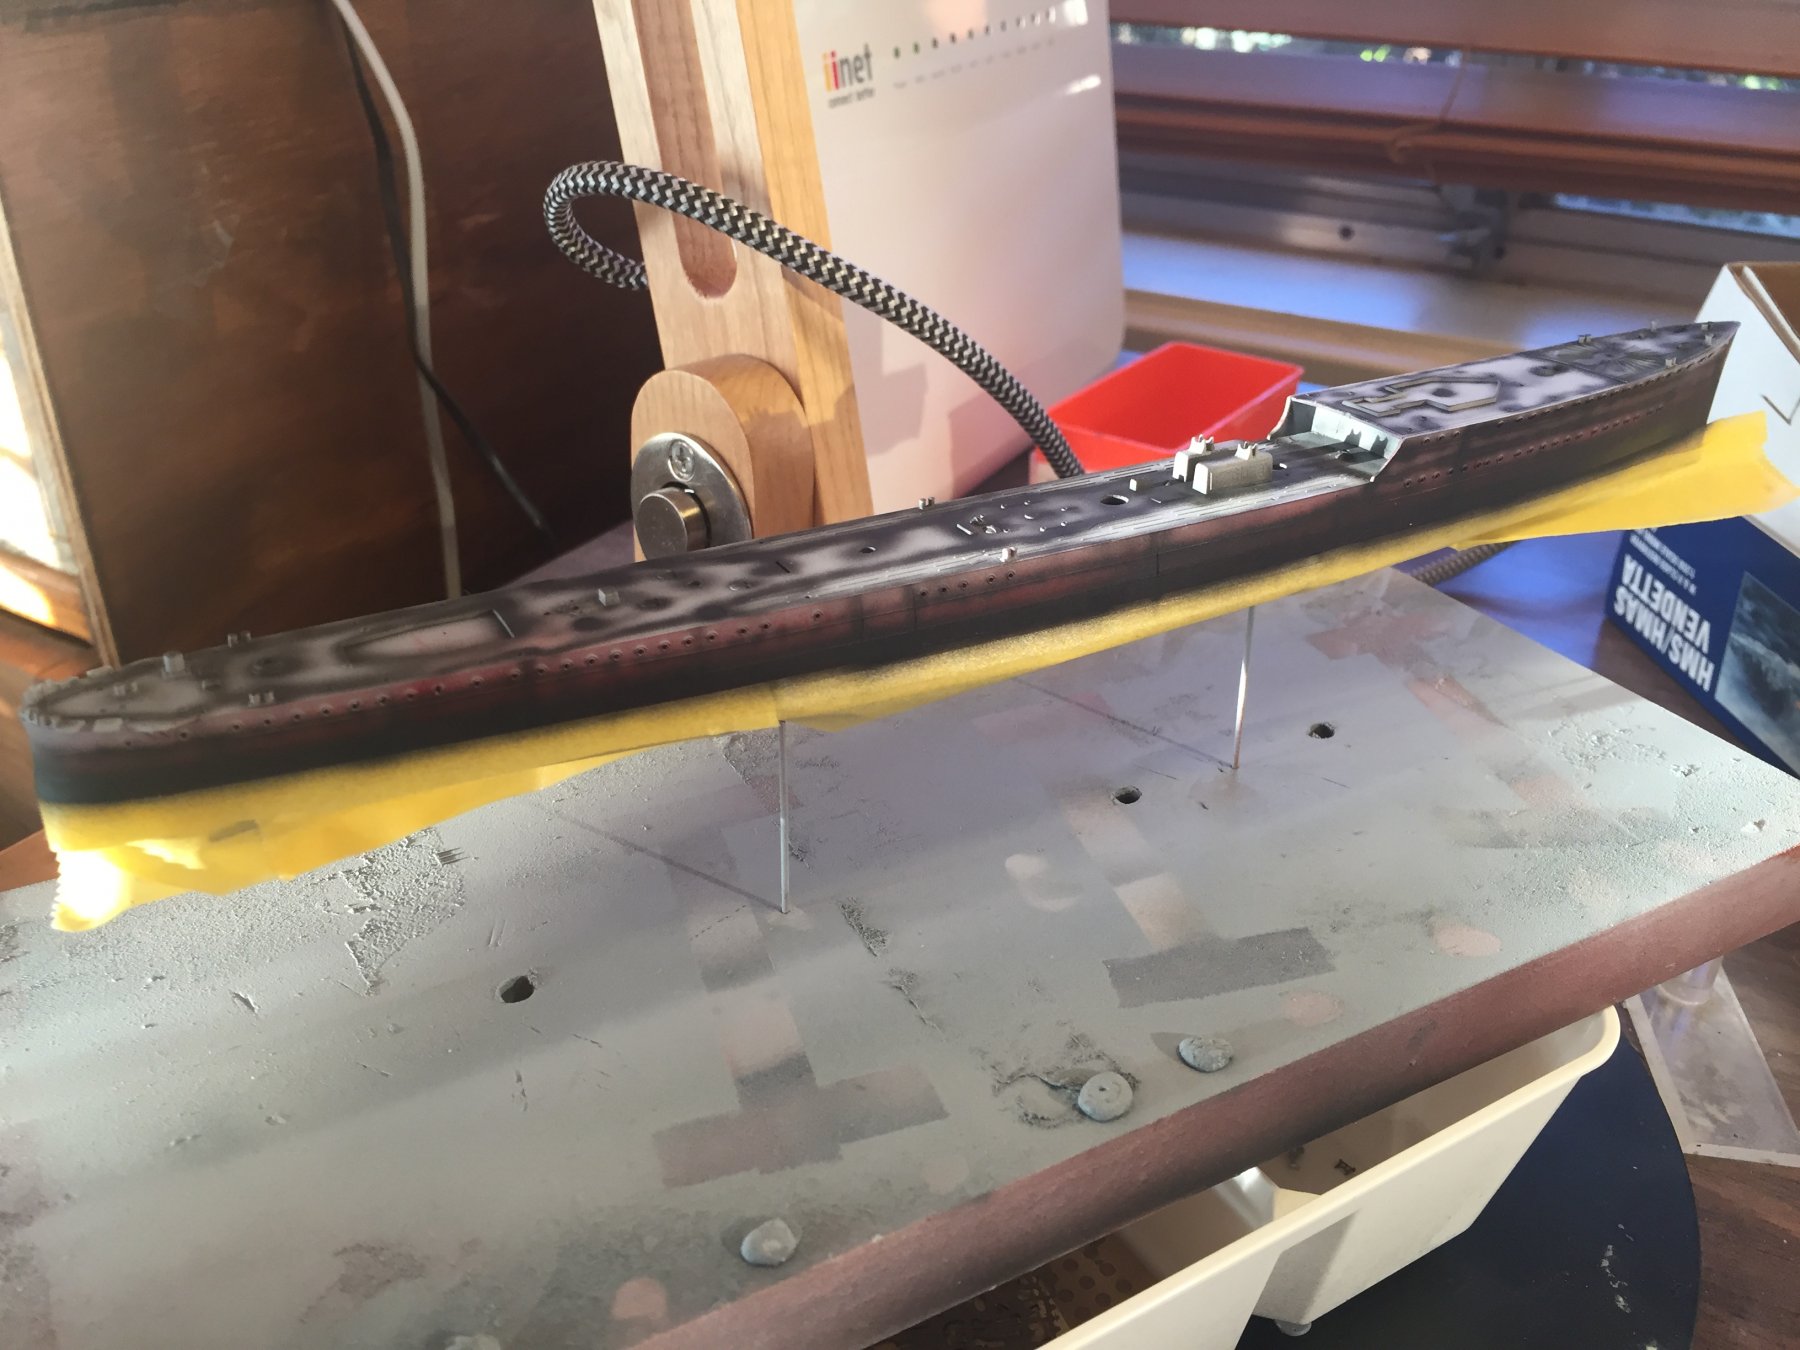
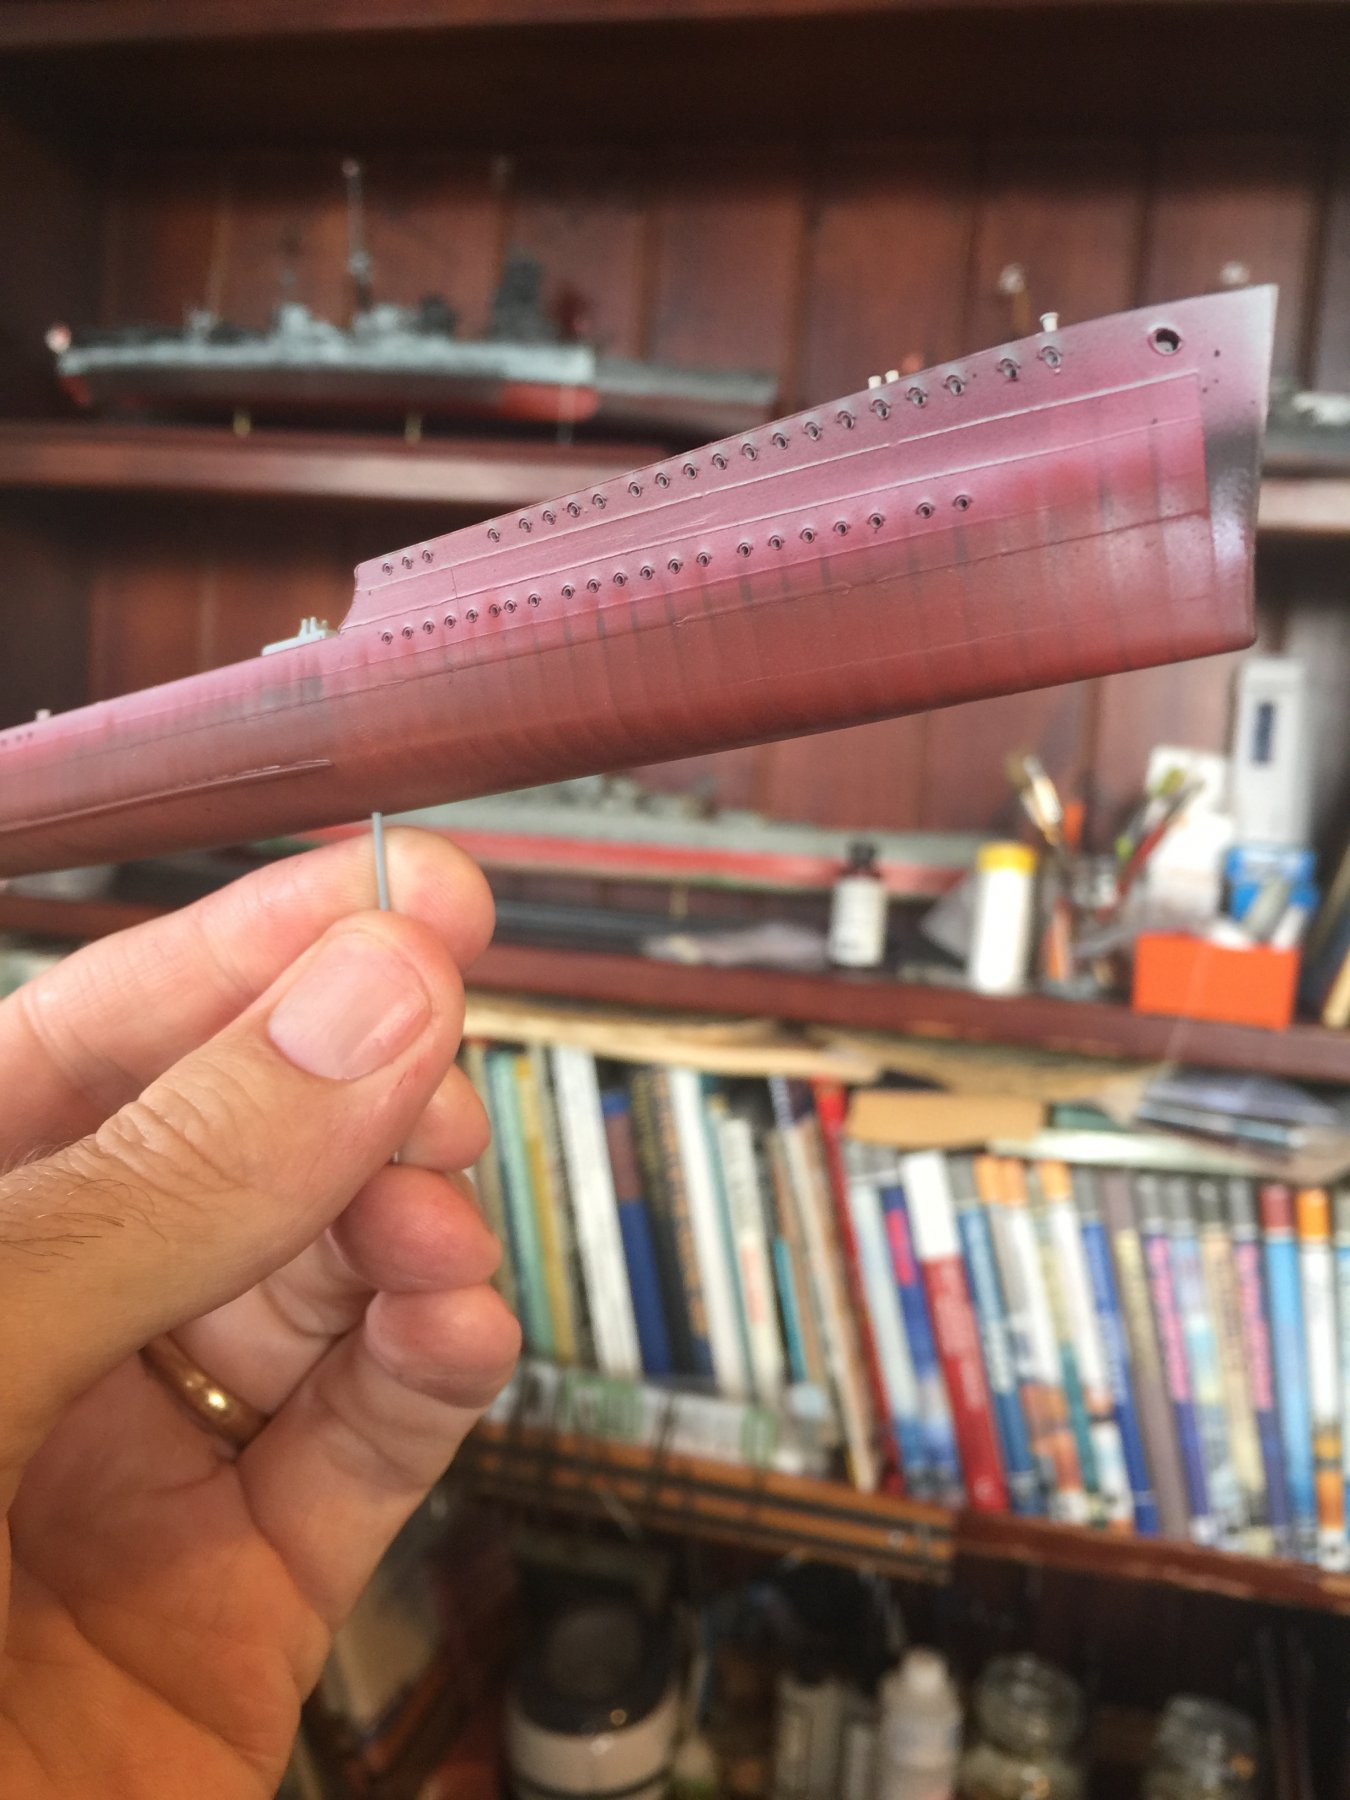
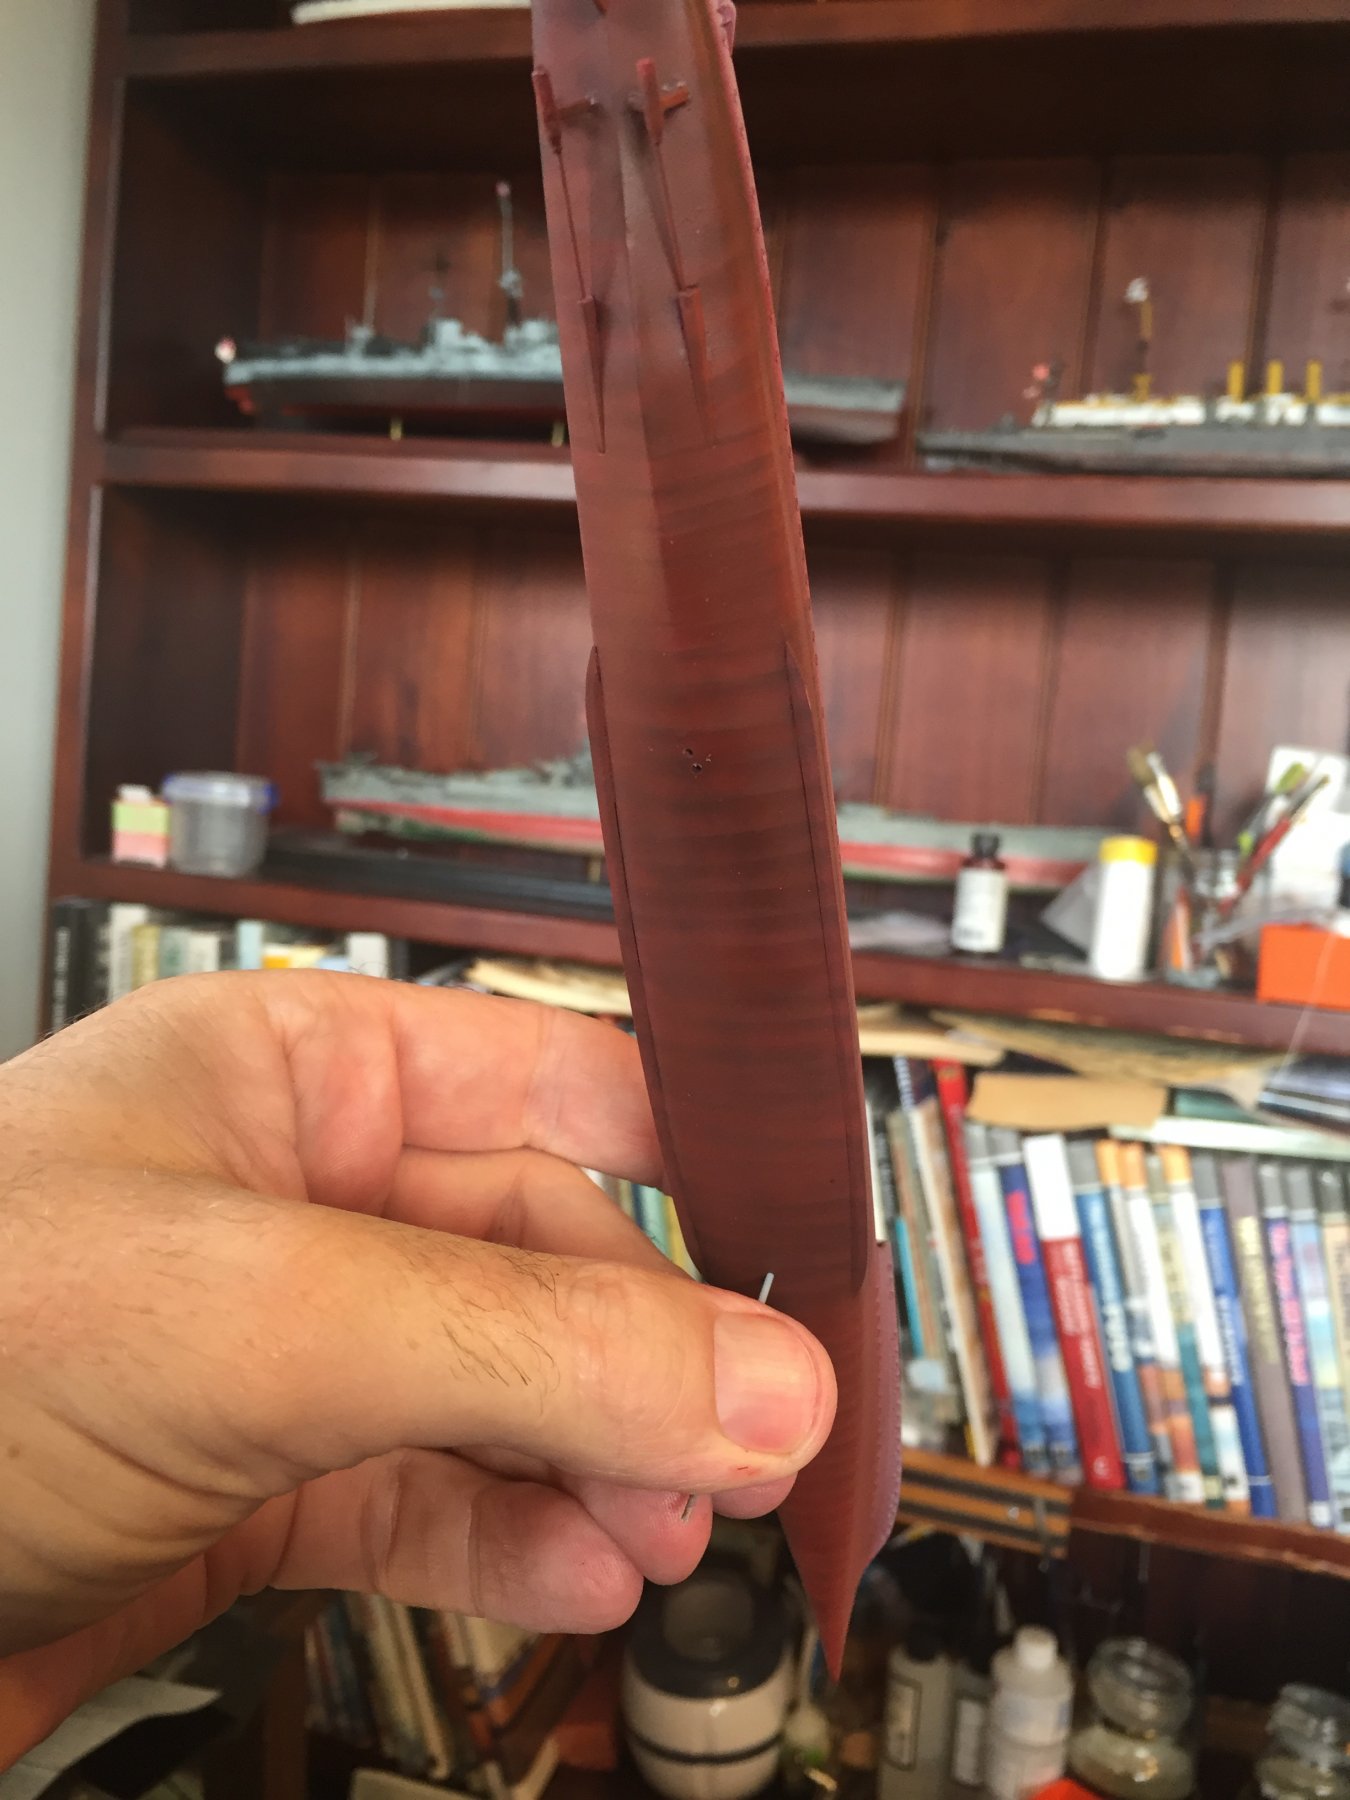
The Lowe hull done, firstly I did a black preshade for the ribs, then a dark red overcoat, then Tamiya flat red using a small piece of paper to highlight the ribs and a pinker red overspray.
Im actually happy with the depth it achieves.
I lnow it looks very red now but it’s only about a third of the hull with the bootstrap and grey hull to go.
once I’ve done that I can place depth markers then grunge time.


- Old Collingwood, DORIS, mtaylor and 6 others
-
9
-
-
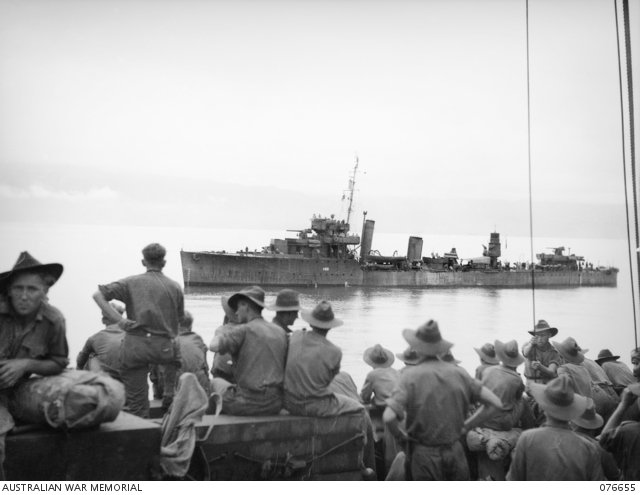
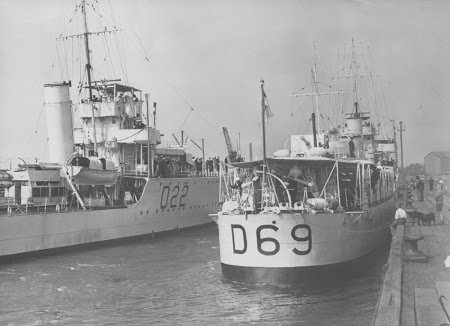
I’m looking forward to seeing the reference photos Cog. There seem to be so many variations on the one ship over a few years. The next bit is directly from the AWM;
.1944. STARBOARD SIDE VIEW OF THE DESTROYER HMAS VENDETTA (I) (I69) AFTER CONVERSION TO AN ESCORT DESTROYER. HER TORPEDO TUBES HAVE BEEN LANDED. THE 4 INCH GUN IN A POSITION HAS BEEN REPLACED BY A HEDGEHOG ANTI SUBMARINE MORTAR. THE LOW ANGLE 4 INCH GUNS IN B AND Y POSITIONS HAVE BEEN REPLACED 4 INCH MARK V GUNS ON HIGH ANGLE MARK III MOUNTINGS. THE 12 POUNDER AA GUN FORMERLY MOUNTED ABAFT THE FUNNEL HAS BEEN REPLACED BY A 20MM OERLIKON AA GUN. SINGLE OERLIKON GUNS HAVE BEEN FITTED IN THE BRIDGE WINGS AND ANOTHER AFT. TWO SINGLE 2 POUNDER AA GUNS ARE MOUNTED IN PLACE OF THE AFTER TORPEDO TUBES. NOTE THE DEPTH CHARGE THROWERS NEAR THE AFTER SUPERSTRUCTURE. A TYPE 272 SURFACE SEARCH RADAR IS MOUNTED ON THE SEARCHLIGHT PLATFORM. HER PENNANT NUMBER, FORMERLY PAINTED IN LARGE DARK LETTERS, HAS BEEN REPAINTED IN SMALLER WHITE ONES. (NAVAL HISTORICAL COLLECTION)
- Canute, hexnut, popeye the sailor and 5 others
-
8
-
If you go the the Australian War Memorial website you can enter the name Ventetta and there is a video of her in her final fit out bombarding some Japanese chaps.
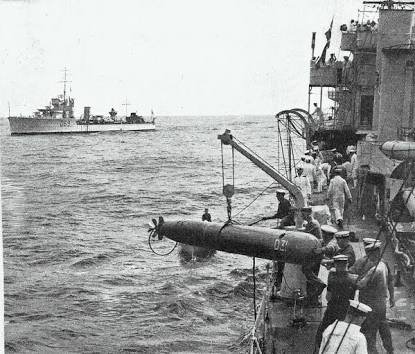
the depth charge chuckers appeared to be put beside the after torpedo tubes (which were later unshiped), it appeared they were just dropped off the stern prior to that.
As to the the height of the mast I just matched up to what the kits size was.
The machine gubs seem to vary over time particularly when you have a look at the video.
-
-
I’m seeing all the vibrant colours and thinking of the original ‘Lost In Space’.
Cameras are a horrible and unjust critic really.
- cog, popeye the sailor, lmagna and 3 others
-
6
-
Yes, out of hibernation. Not even grumpy! Just awaiting Cog’s research.
wondering if I can do chipping techniques at this scale......
exposed ribs like she needs a feed..
rusted edges on the side panels...
i noticed they have completely missed a large bollard which just sits forward of the capstan, it’s on the plans and the V class ships.
Needs shell holders on the railings
needs to dave scuppers drilled out
-
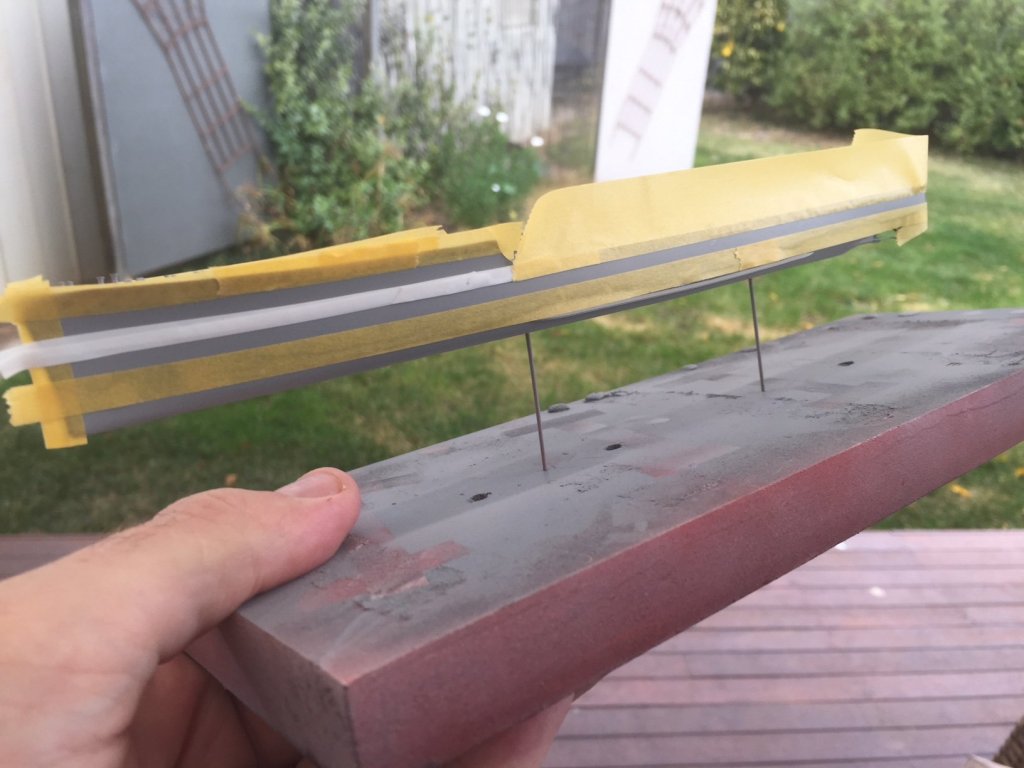
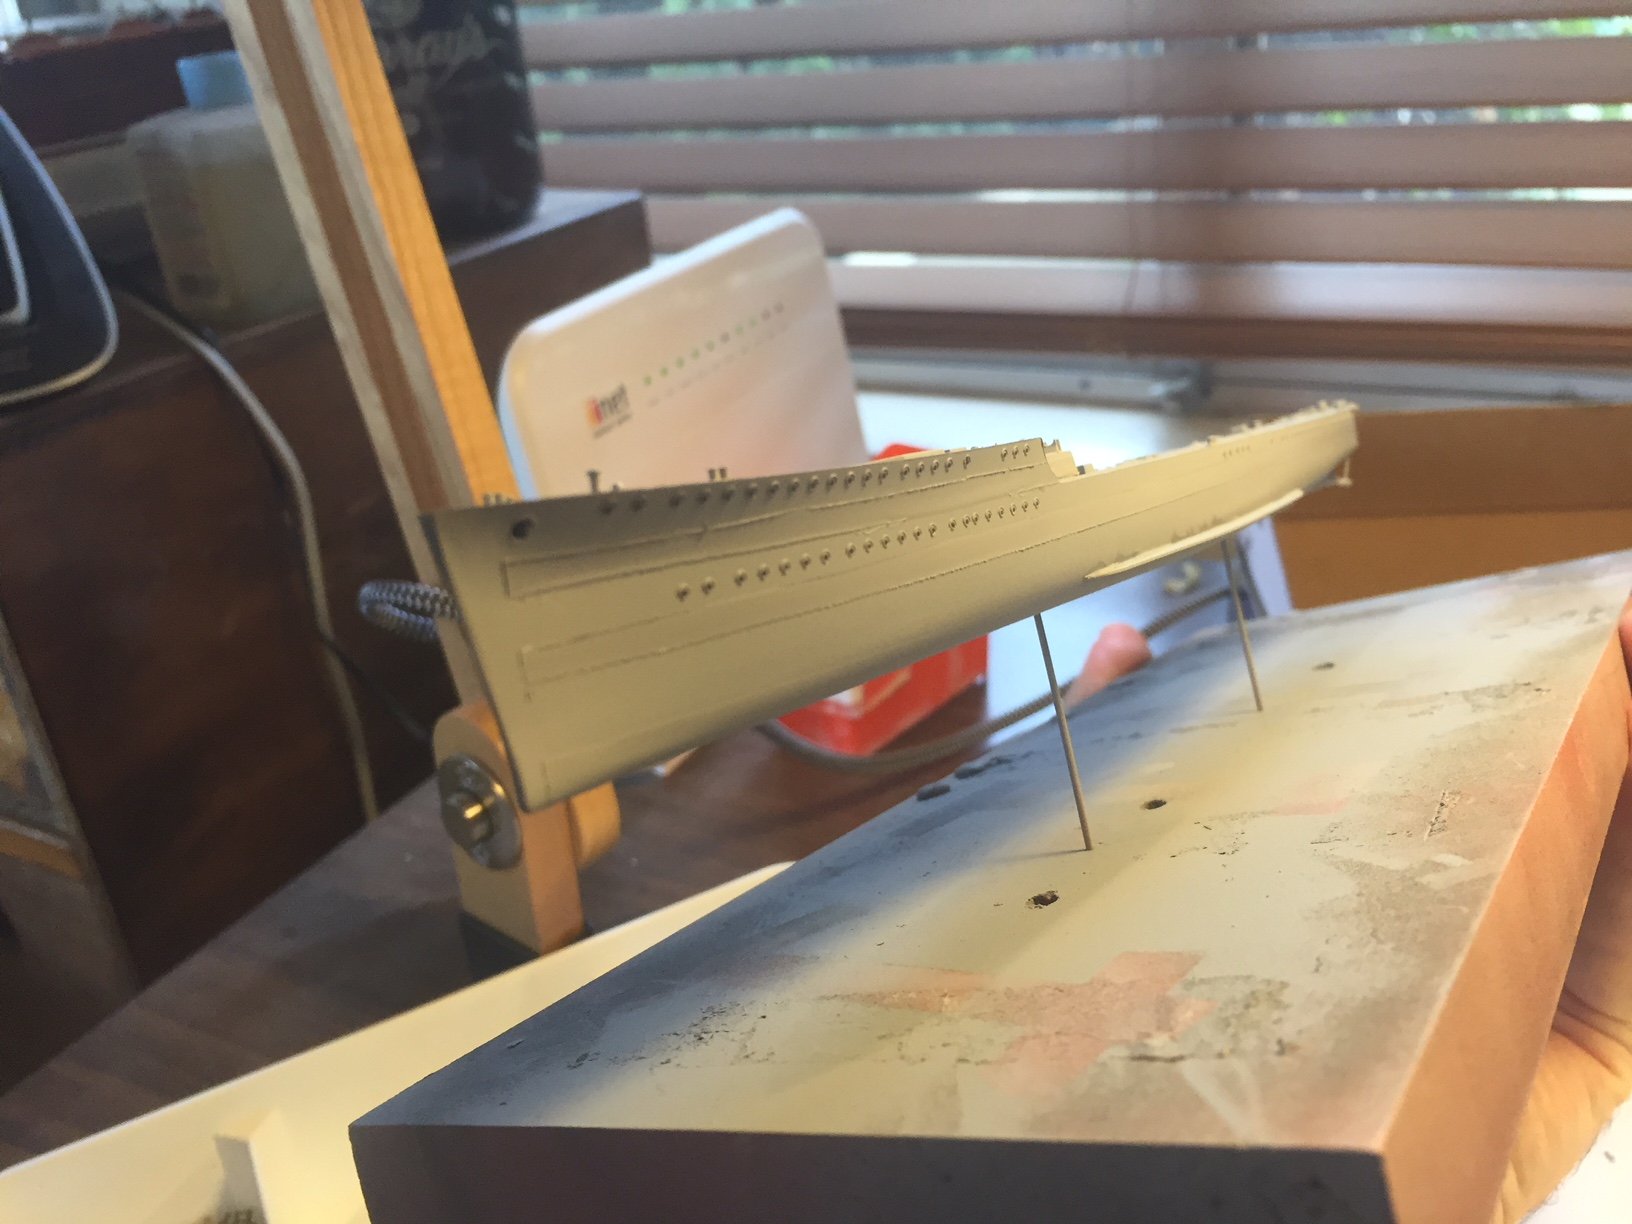
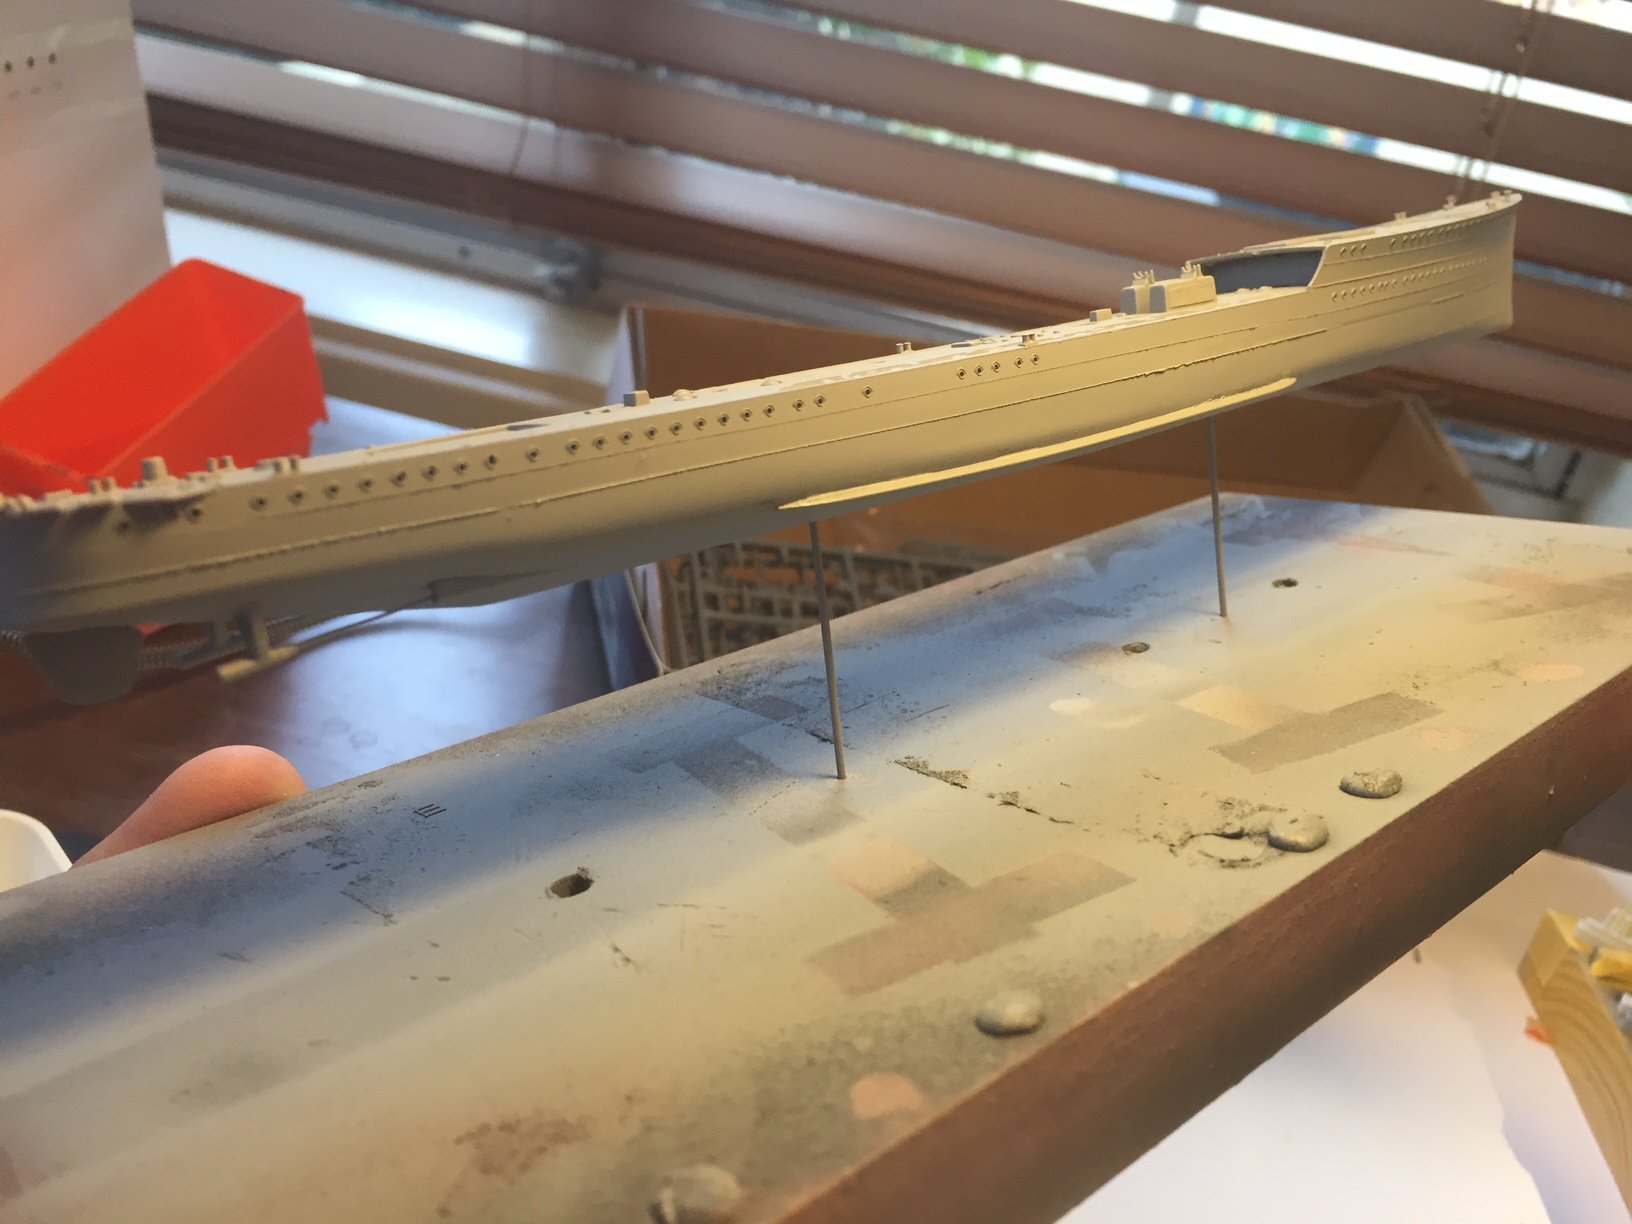
The Kits hull is very smooth, unlike its instructions and the real thing. Using the same technique I did with Isuzu, I used several oversprays of rattle can primer as it's quick and dries very quickly. I'll use some fine sandpaper tomorrow to even the edges out and etch in the rest of the panels.
The boot strap sits exactly below the last line. One I've done that I can start some pre shading.


-
Thanks folks, you know that Cog picks on me.......
- Old Collingwood, Canute, Piet and 4 others
-
7
-
-
-
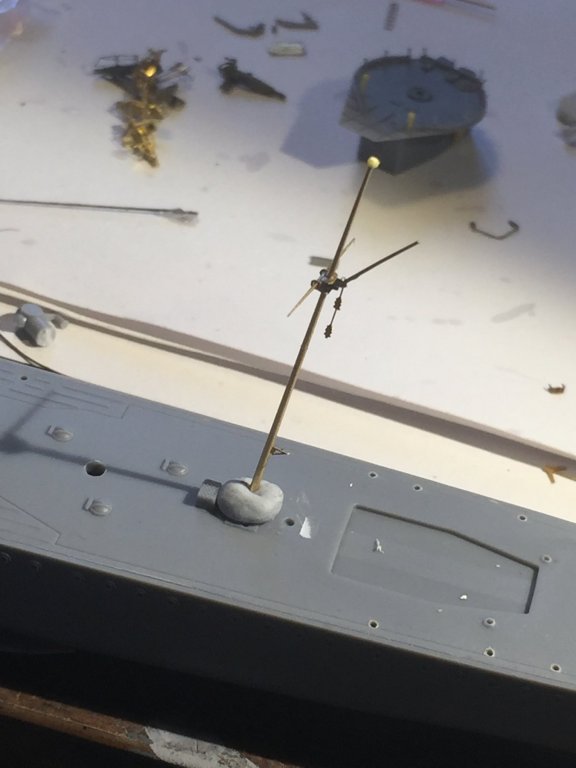
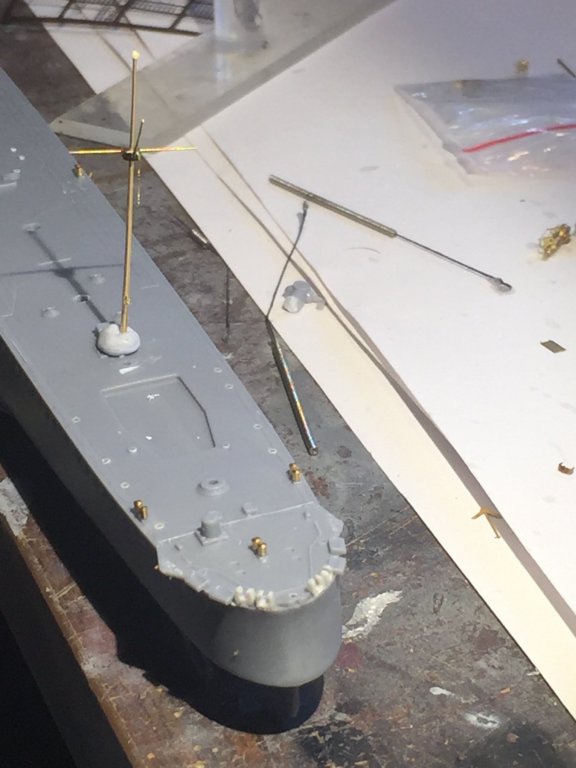
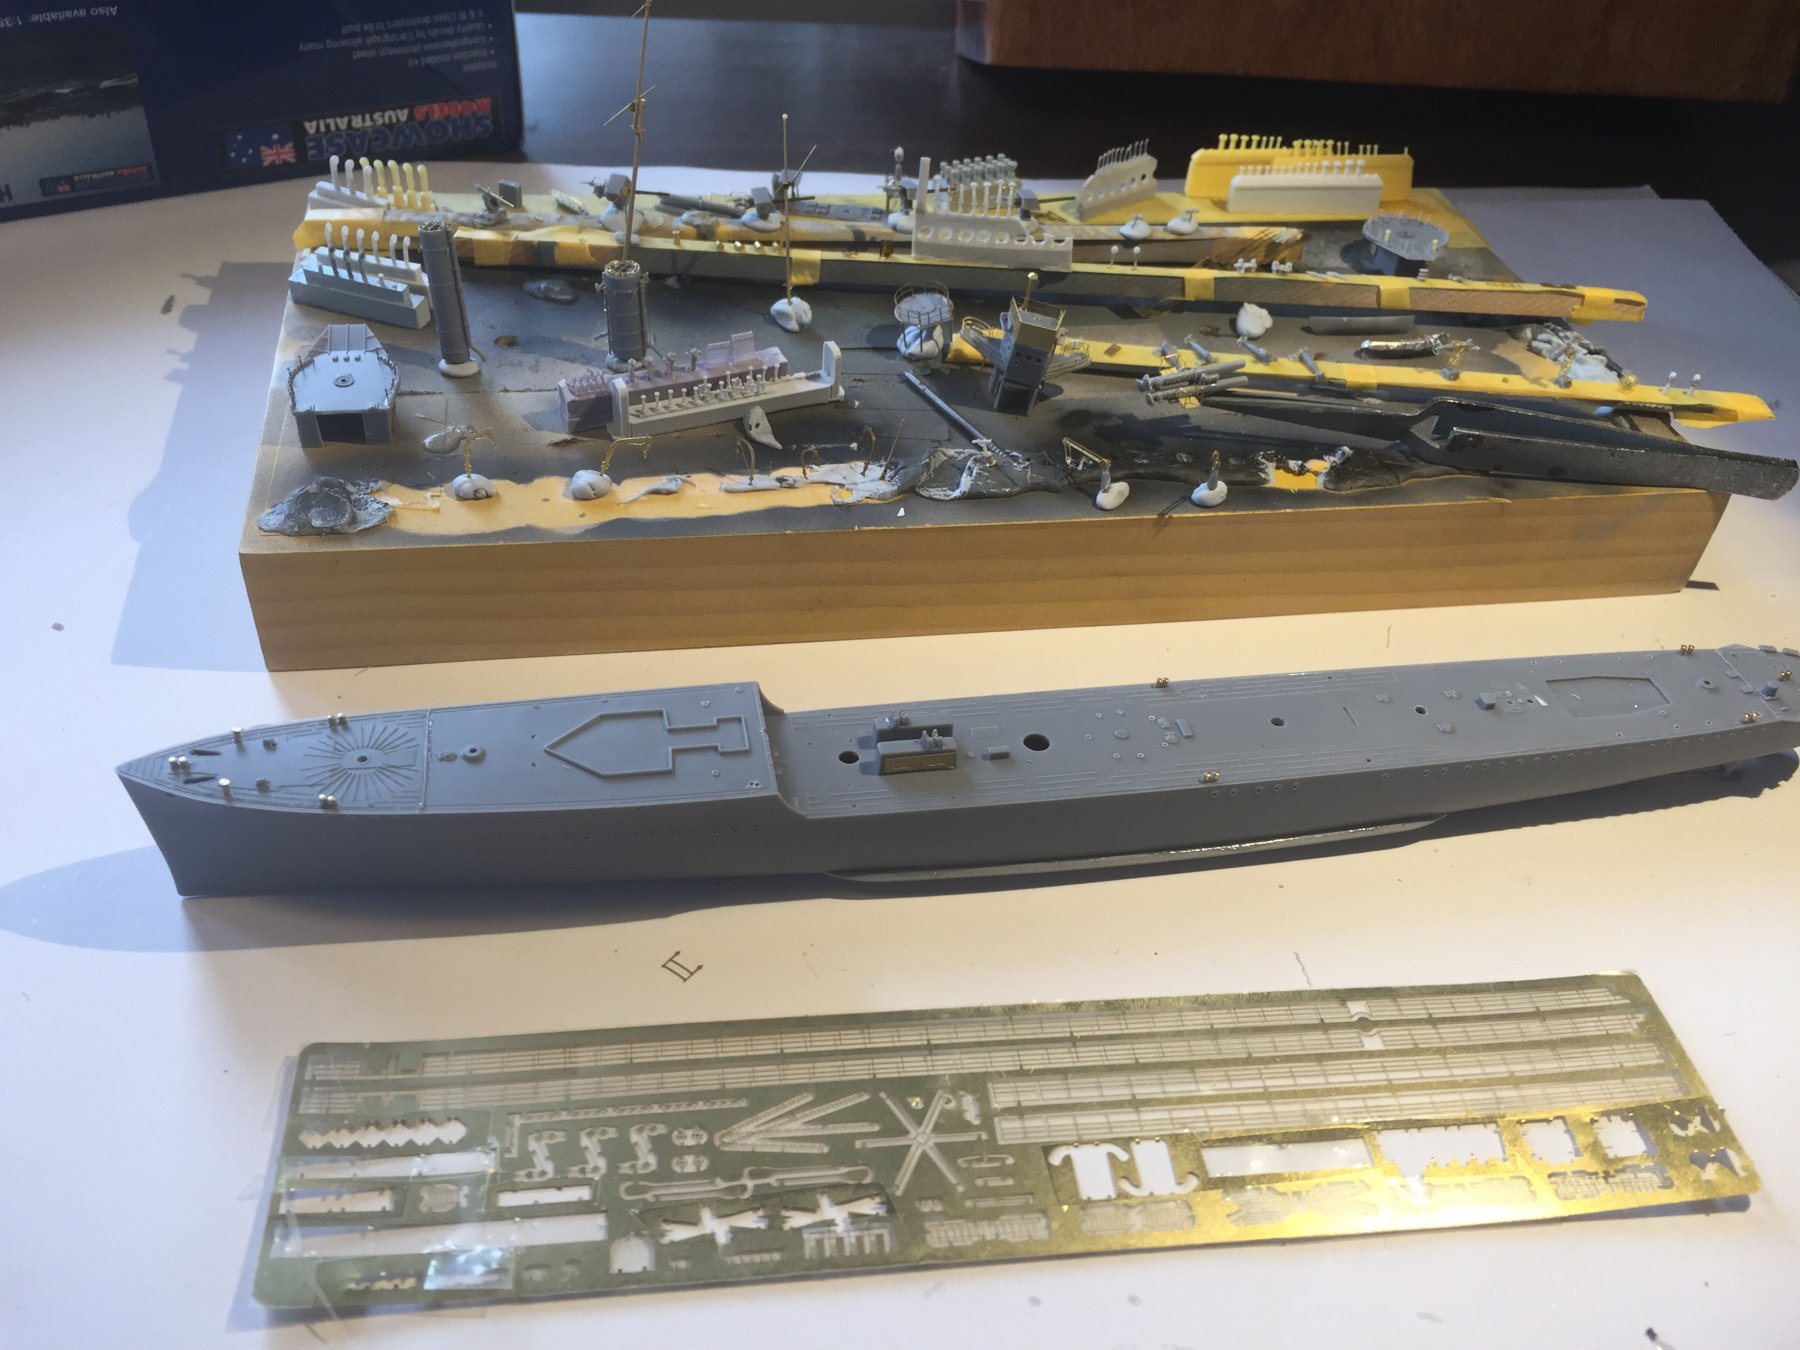
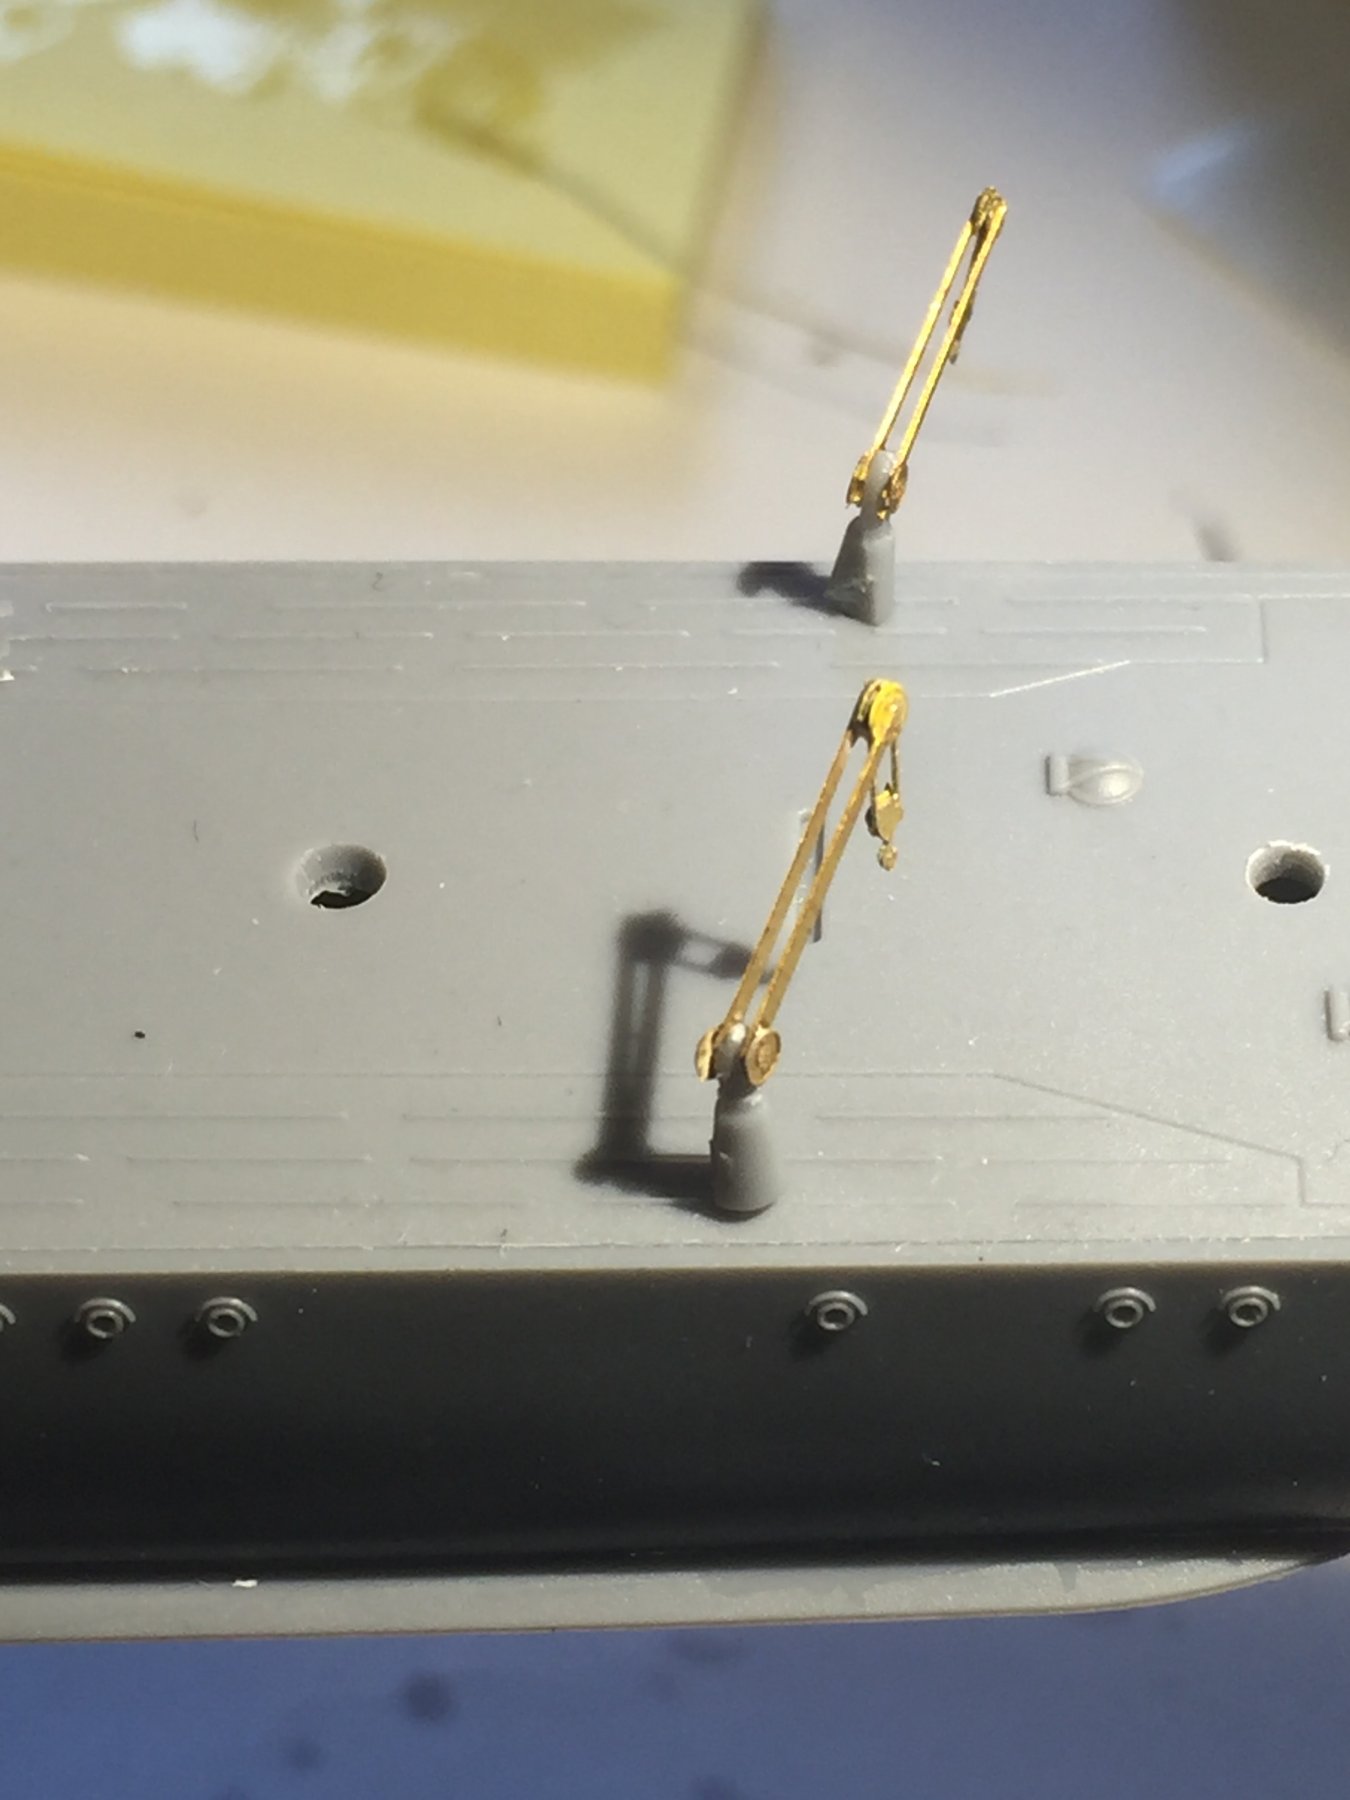
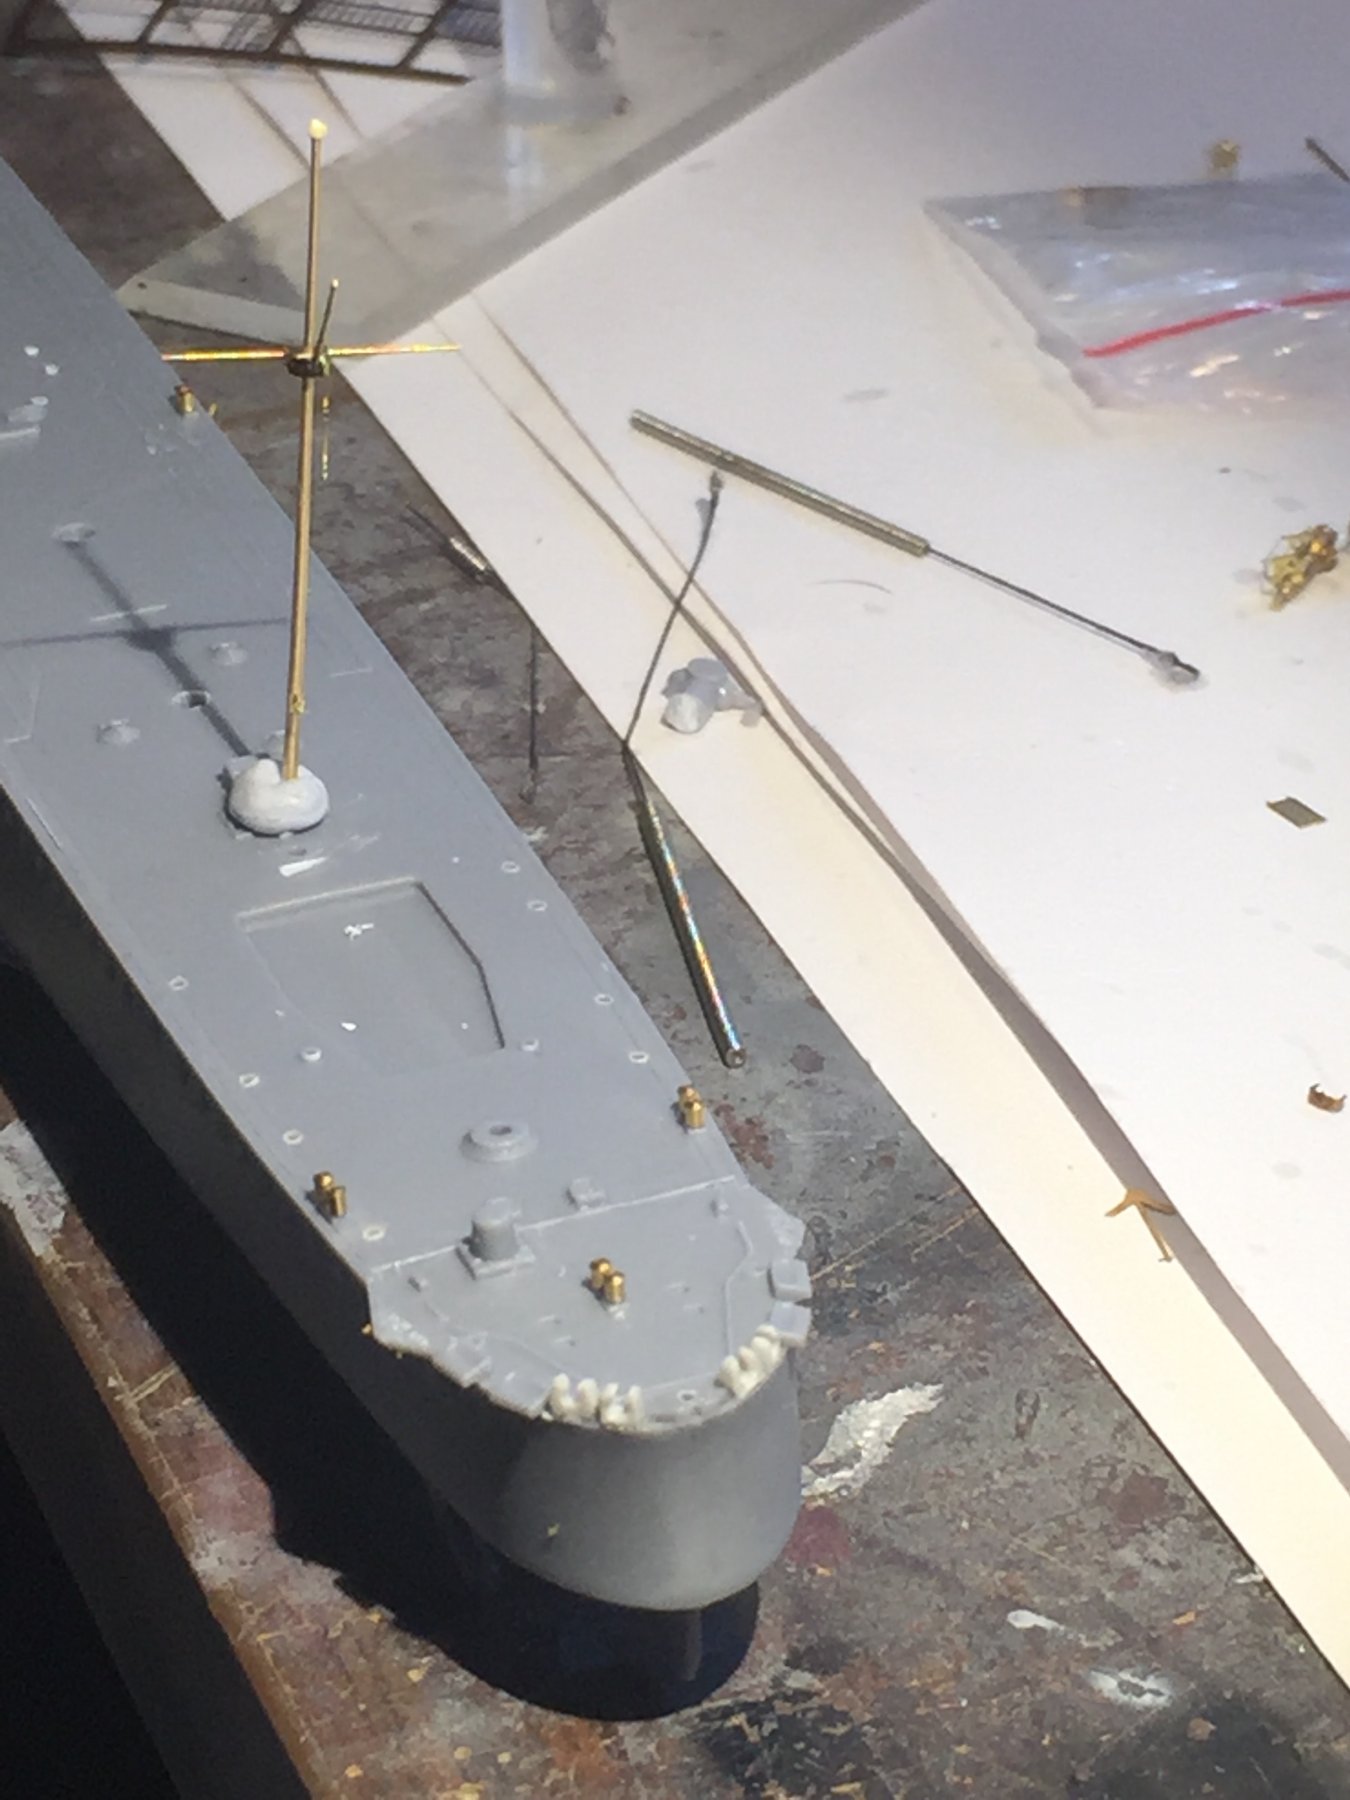
I’m awaiting the new paravane cranes and some carley floats, so I bit the bullet and rebuilt the main mast as the real thing is different to the plans. I also added some fairleads to the stern which are required for the paravane anyways.
- hexnut, John Allen, CDW and 7 others
-
10
-
I always drill out the port holes as I find they fill up with paint otherwise.
You can build the deck housings and dry fit them to the deck to ensure they fit flush.
I take an am opposite approach to Carl in that I like to fit the deck first as I think it gives a stable hull and I can fix any gaps before priming. It also saves a lot of handling afterwards.
I also like to set up the support stand by drilling through the hull. If you’re not using a kit specific PE set you’re only looking to fit gaps and replace pieces. Destroyers are soo much smaller than battleships.
-
I’m not sure what you meant about the horizontals and verticals?
-
Hmm, not even thinking about colours yet, playingaround with the binnacles and telegraphs, scratch built a sepahamore and jury rigged a range finder.
I found a new new photo for reference which shows me I need to rebuild the mast mast and add a few bitts on the stern.
- popeye the sailor, mtaylor, cog and 5 others
-
8
-
-
-
The plans are pretty much 1917, and England handed her to Australia in the 1930’s where she then went through various refits during ww2.
If you open the drawing on page 1 it will have the date.
-
No idea, it had to cover everything I imagine
- popeye the sailor, Piet, Canute and 3 others
-
6
-
-
I’m on nightshift, then it has to arrive, I have to build it. The pressure!!
- DaveRow, popeye the sailor, lmagna and 4 others
-
7
-


HMAS Vendetta 1925 by cog, popeye the sailor, and RGL - FINISHED - Showcase Models -1/350 - PLASTIC
in - Kit build logs for subjects built from 1901 - Present Day
Posted
It’s not me, it’s a few hundred clicks south of me. Anyway, if his name is Taylor his nickname must be Squizzy