RGL
-
Posts
5,547 -
Joined
-
Last visited
Content Type
Profiles
Forums
Gallery
Events
Everything posted by RGL
-
 Cog, mine's in the mail, but it's got a bit further to go. The new new kit has separate bower anchors but North star models has some if you want to fix them greg
 -
Just fantastic Dave
-
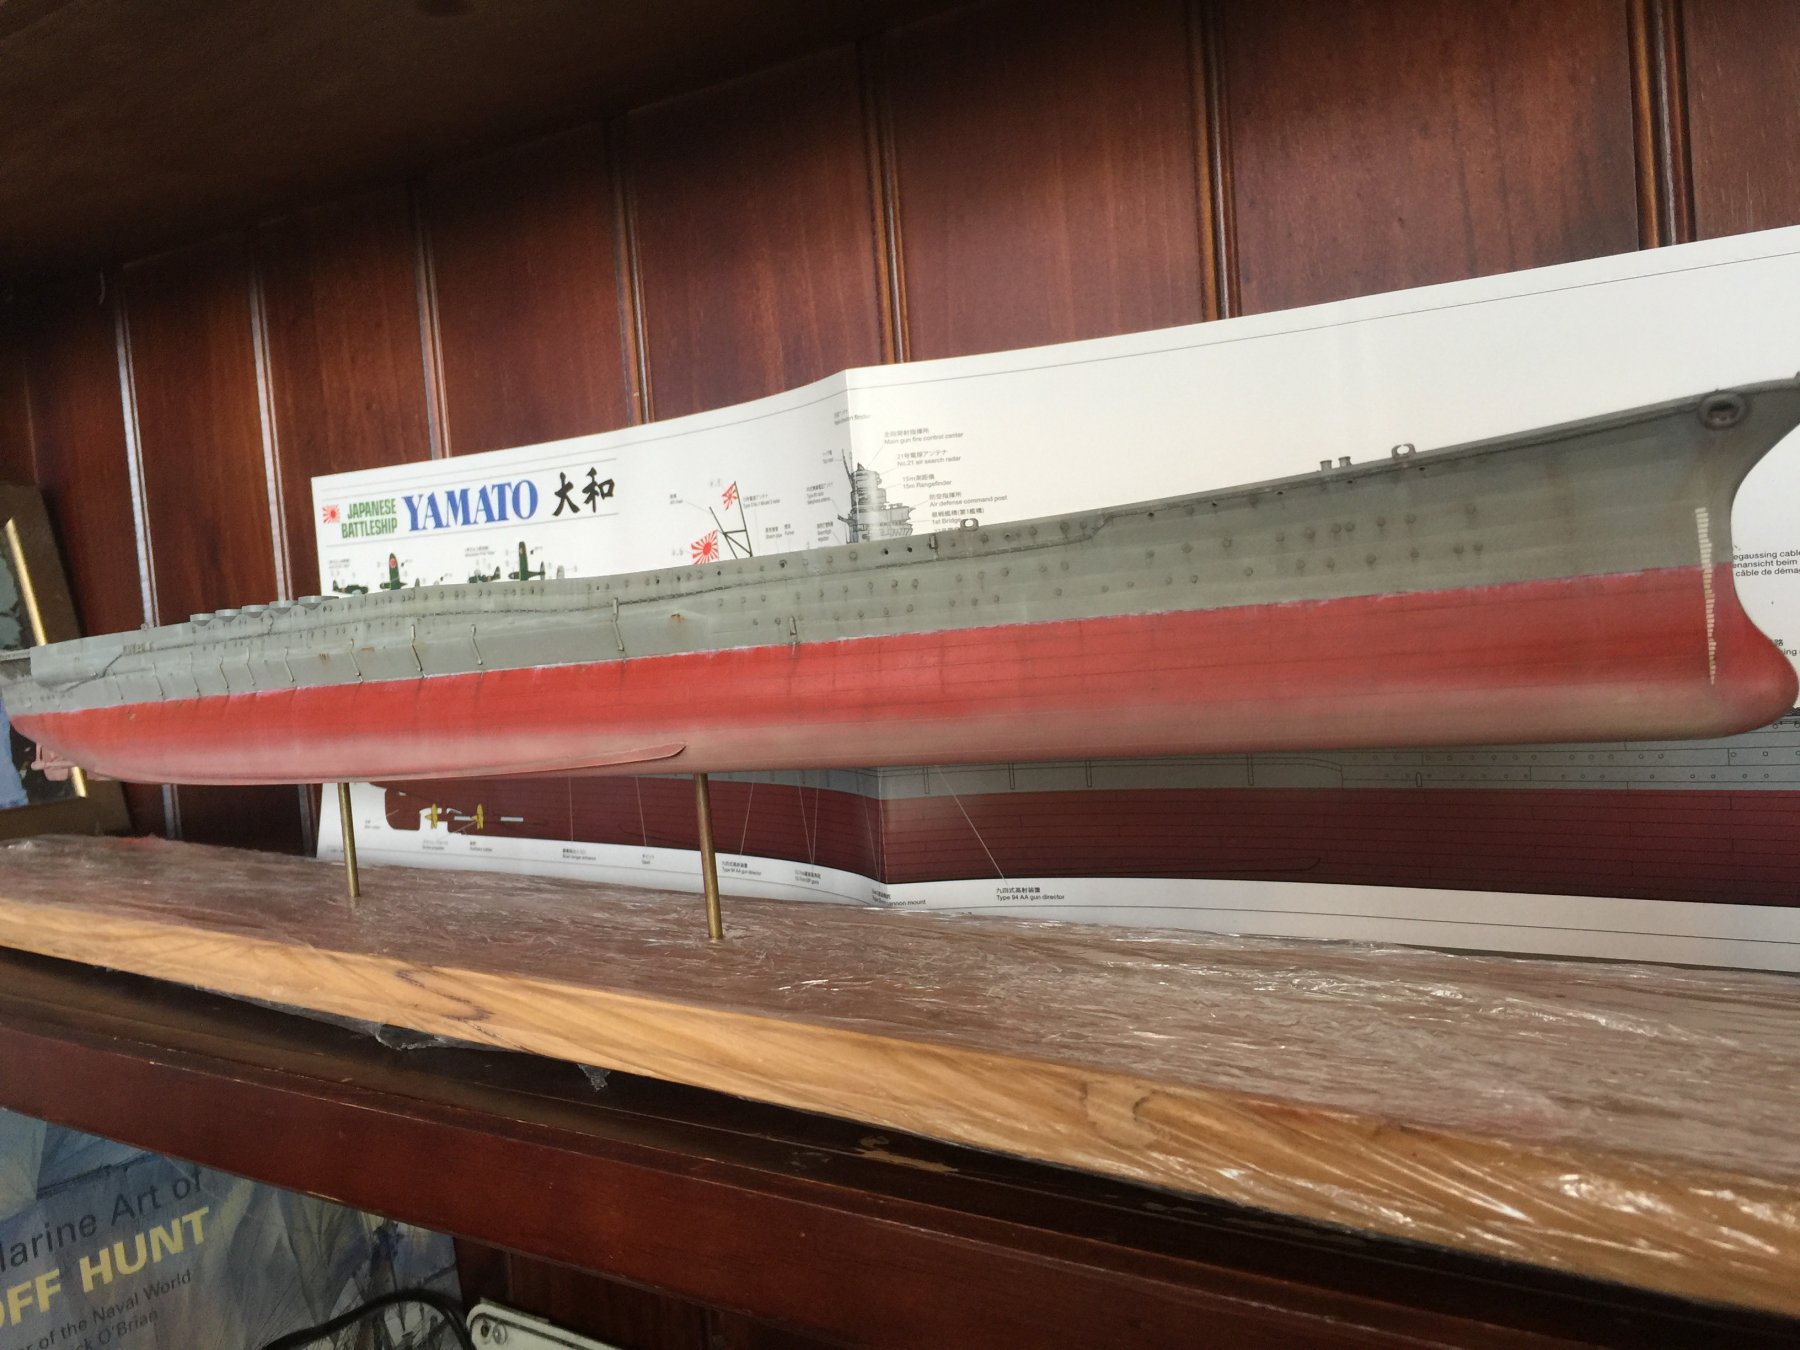
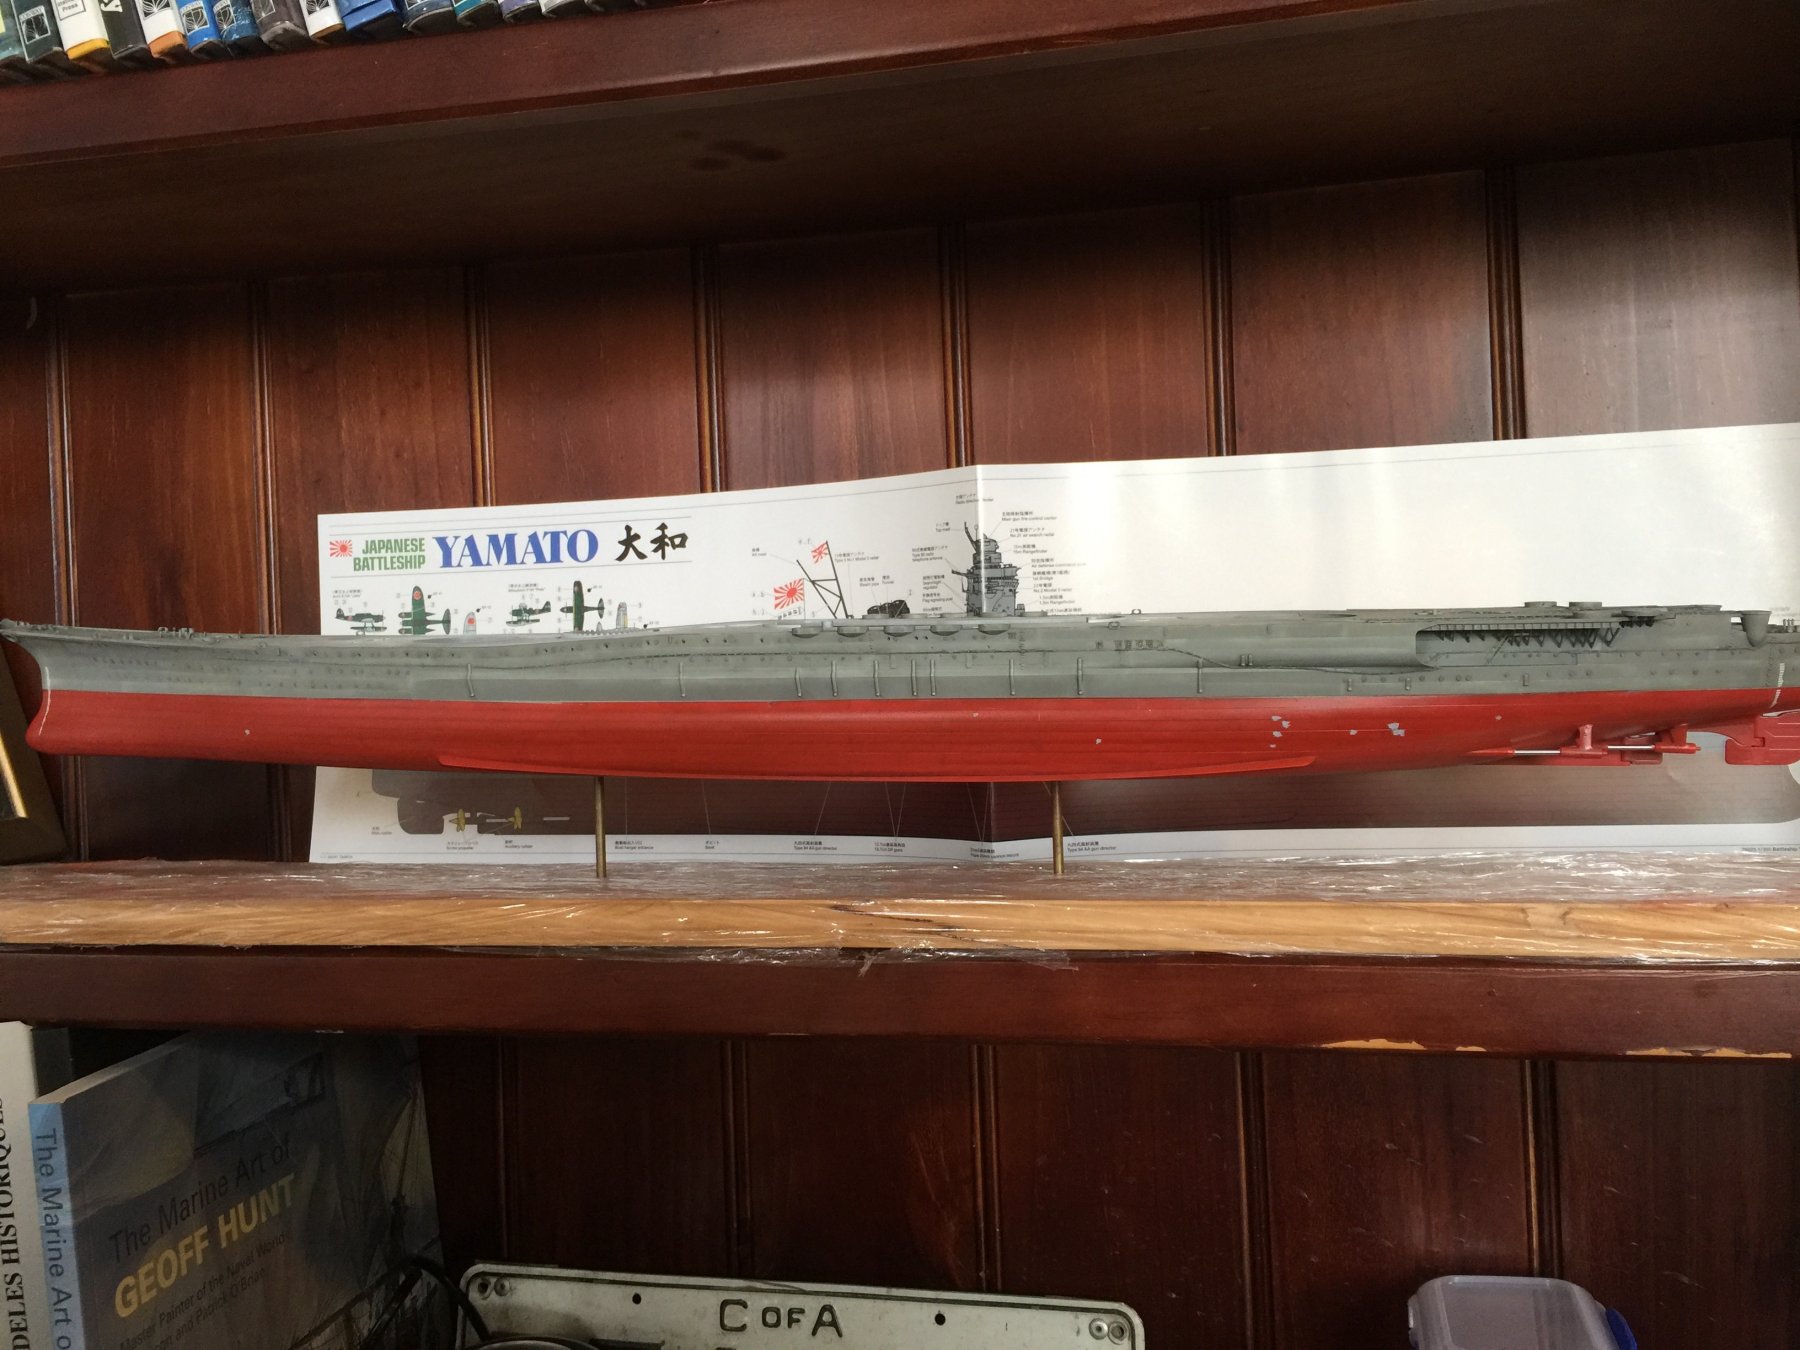
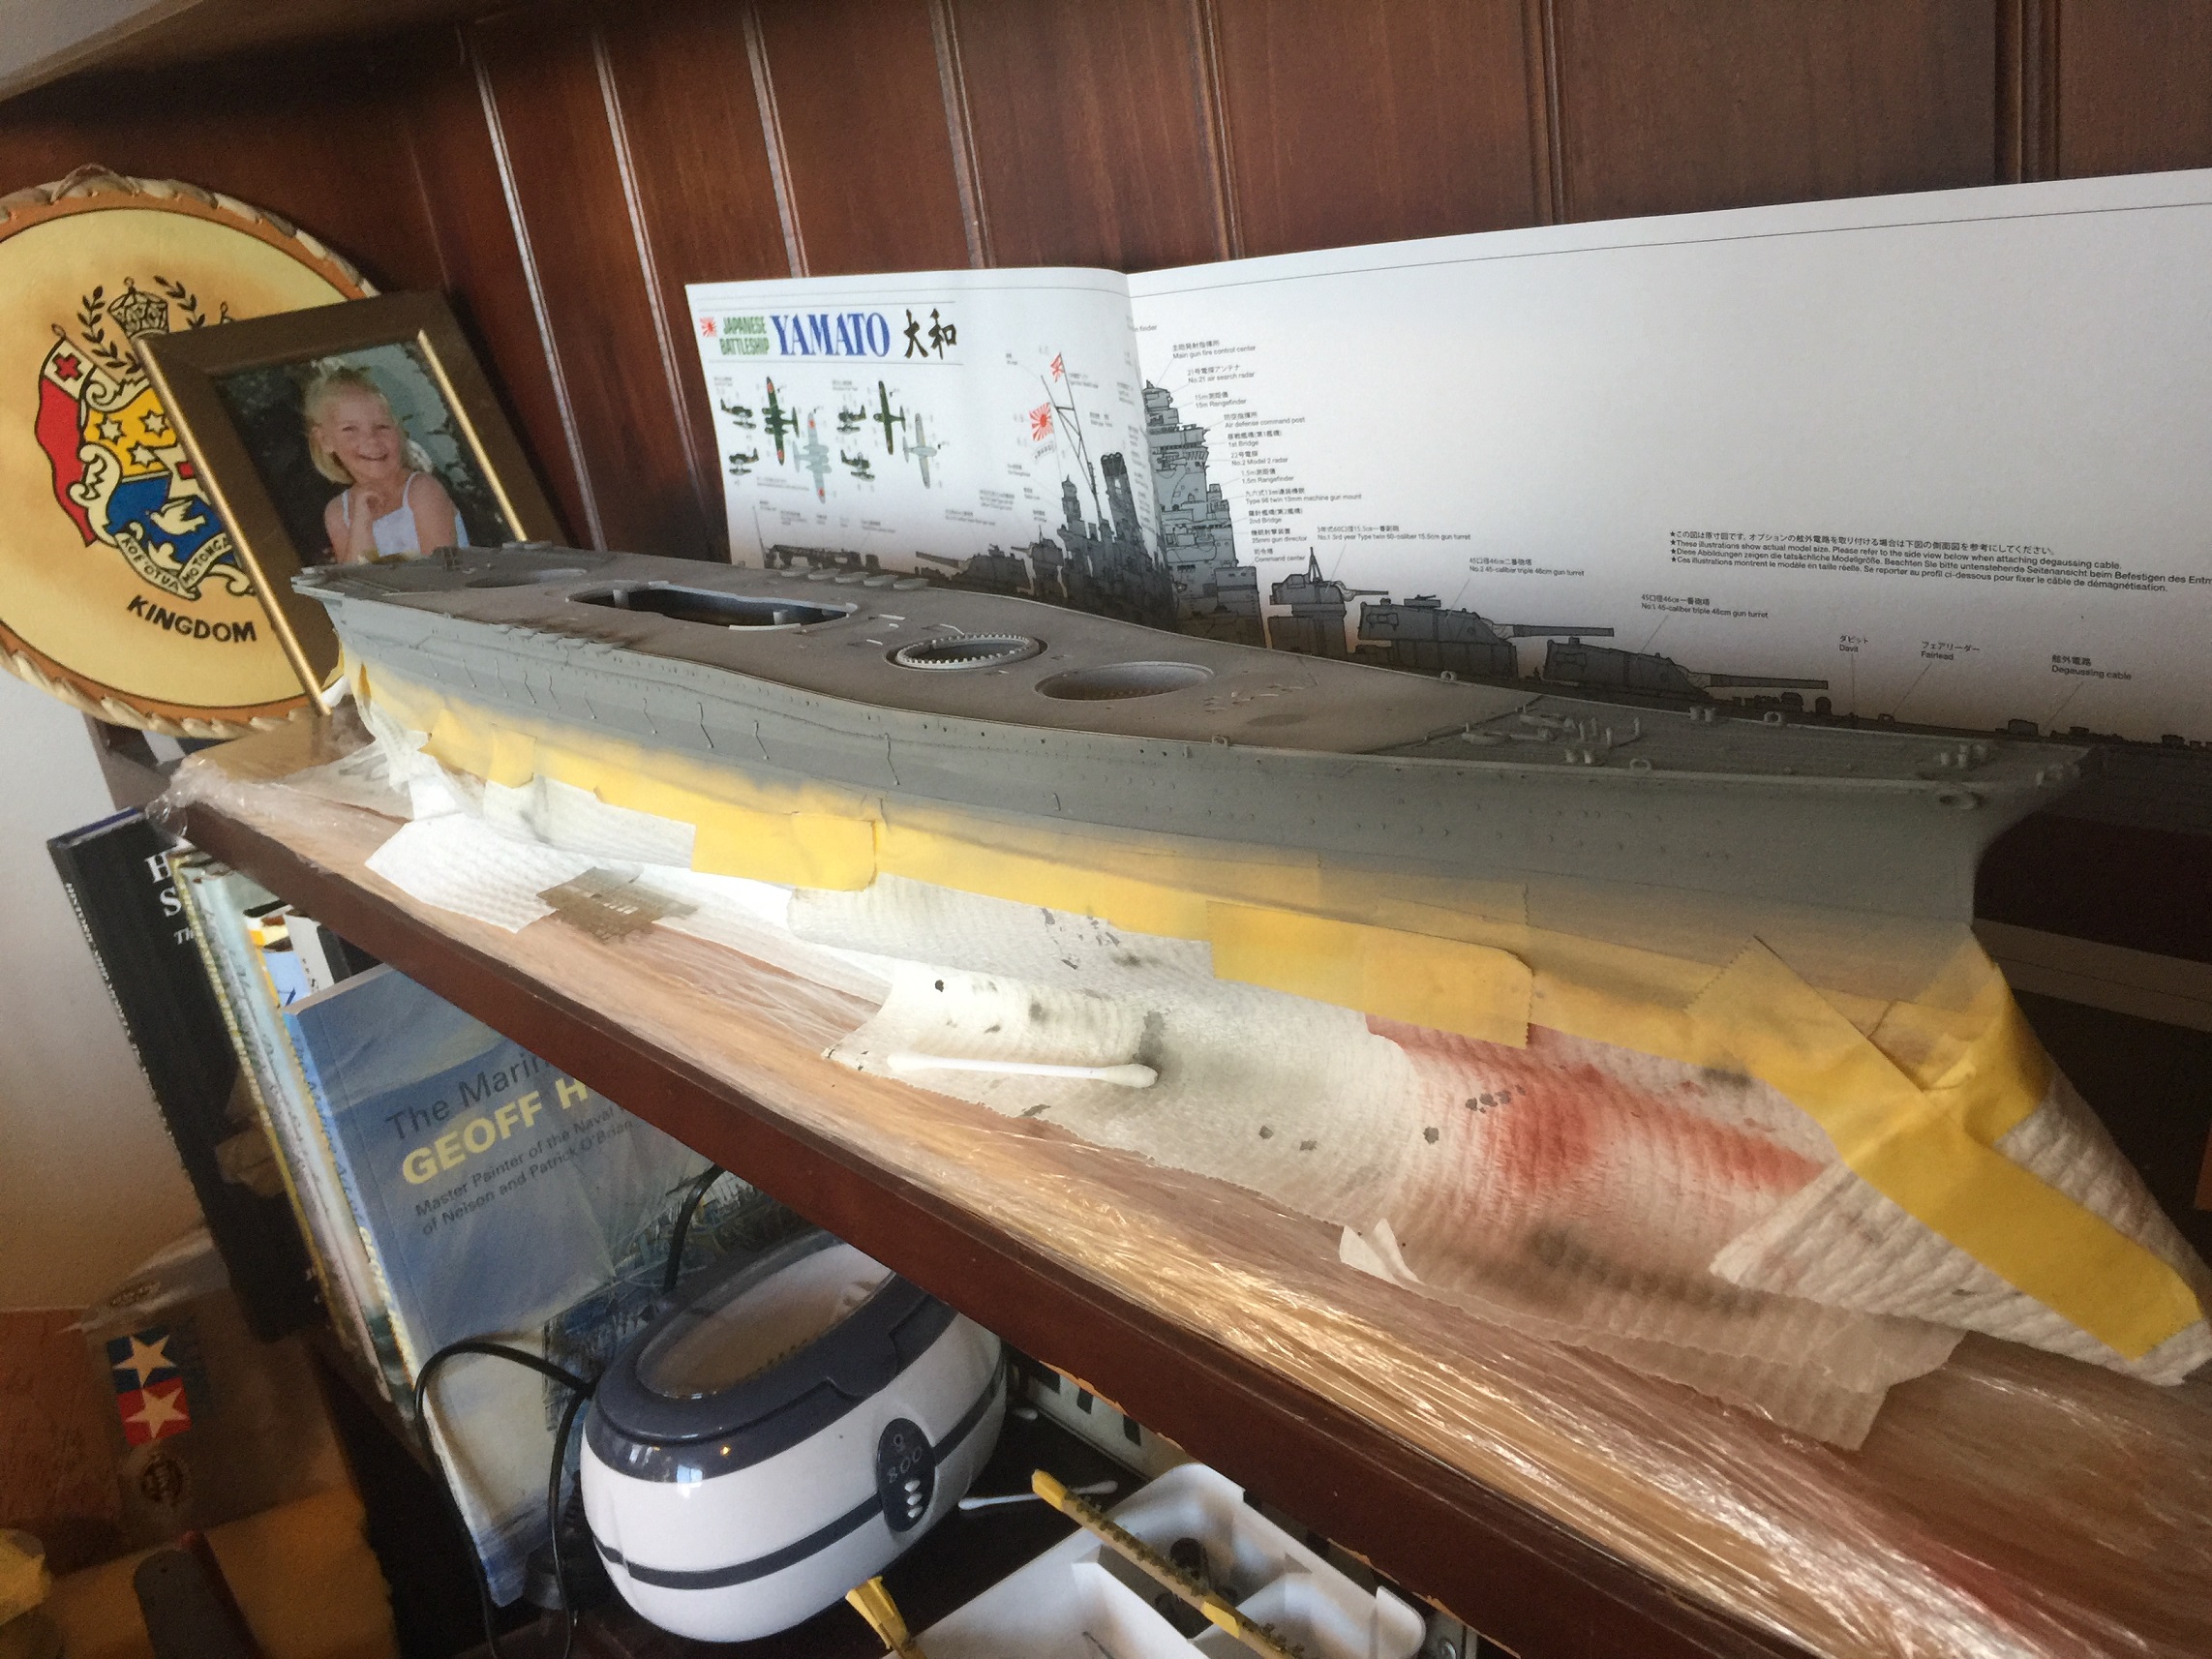
I'm really not going to get much done over the next few weeks due to work and kids sport, but!!!! Amazon UK has now released and posted the new AOTS Yamato book to me here in Oz, so, the drum roll begins as to what is now wrong with the kit. I have also also ordered some more aftermarket PE, being Davits for the side of the hull as I just don't like the kit ones. I am putting off doing belaying points points for rigging on the superstructure as I want to see if there is something more difinative.
-
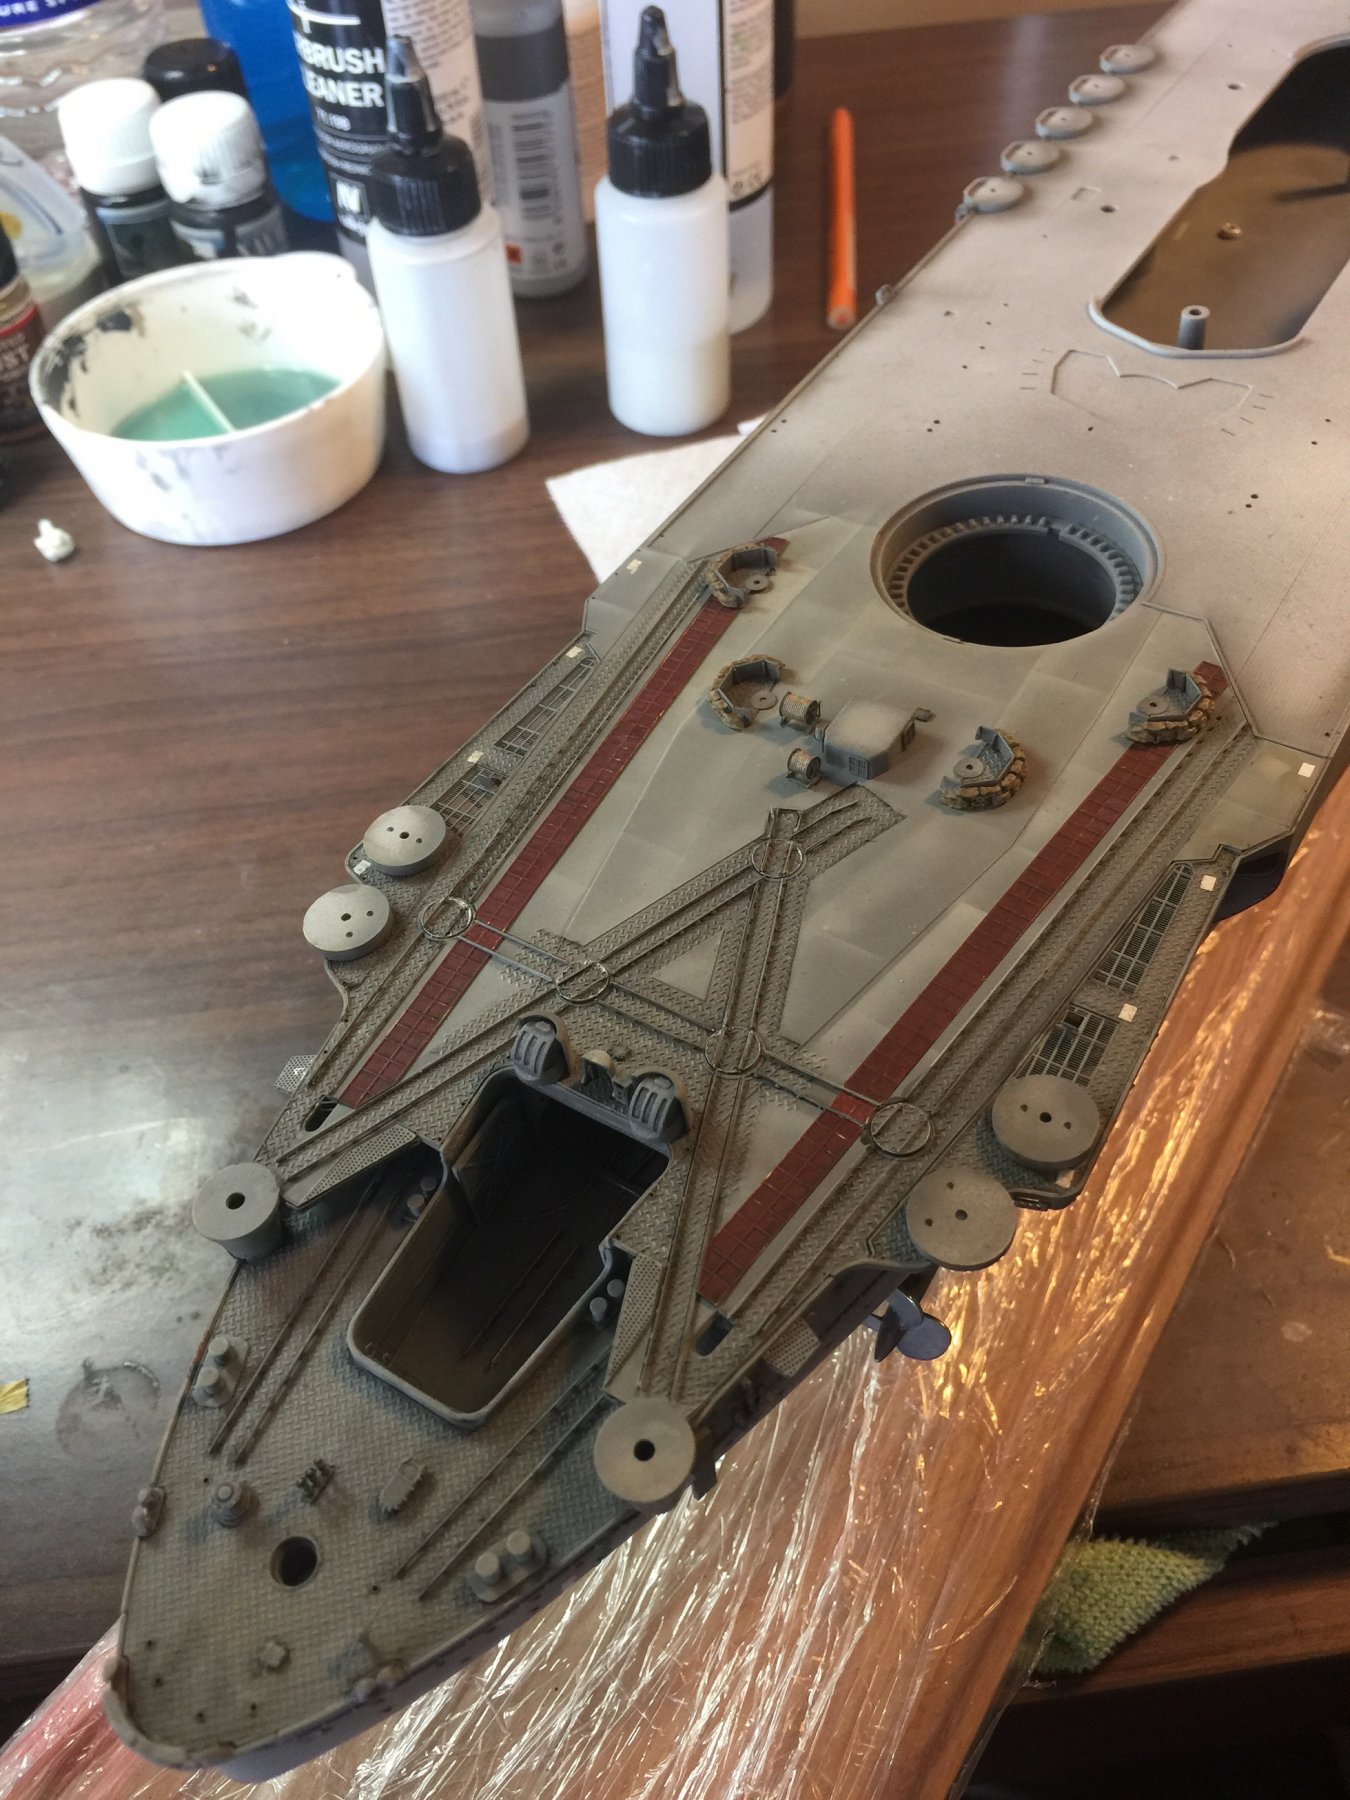
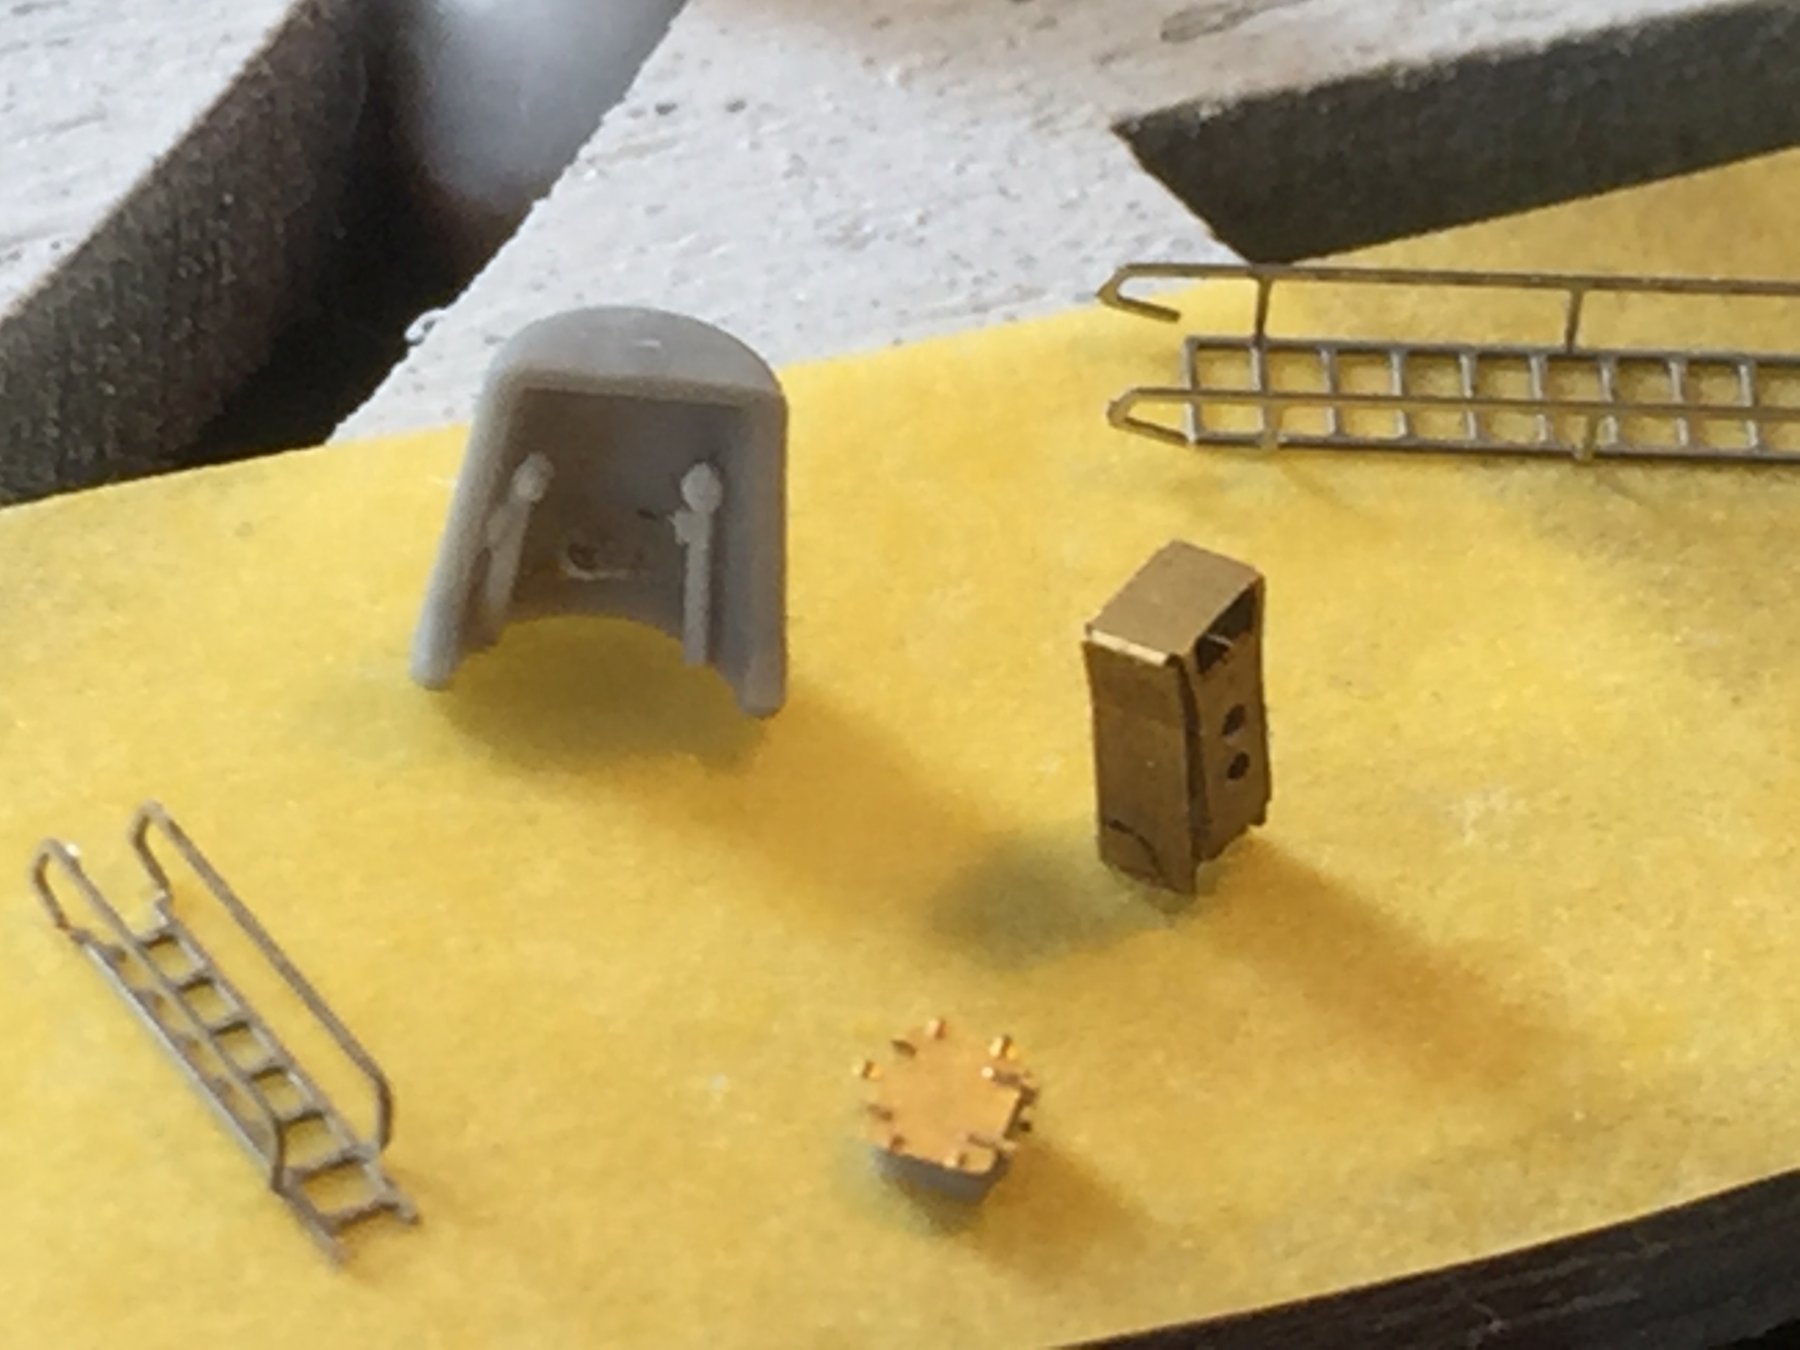
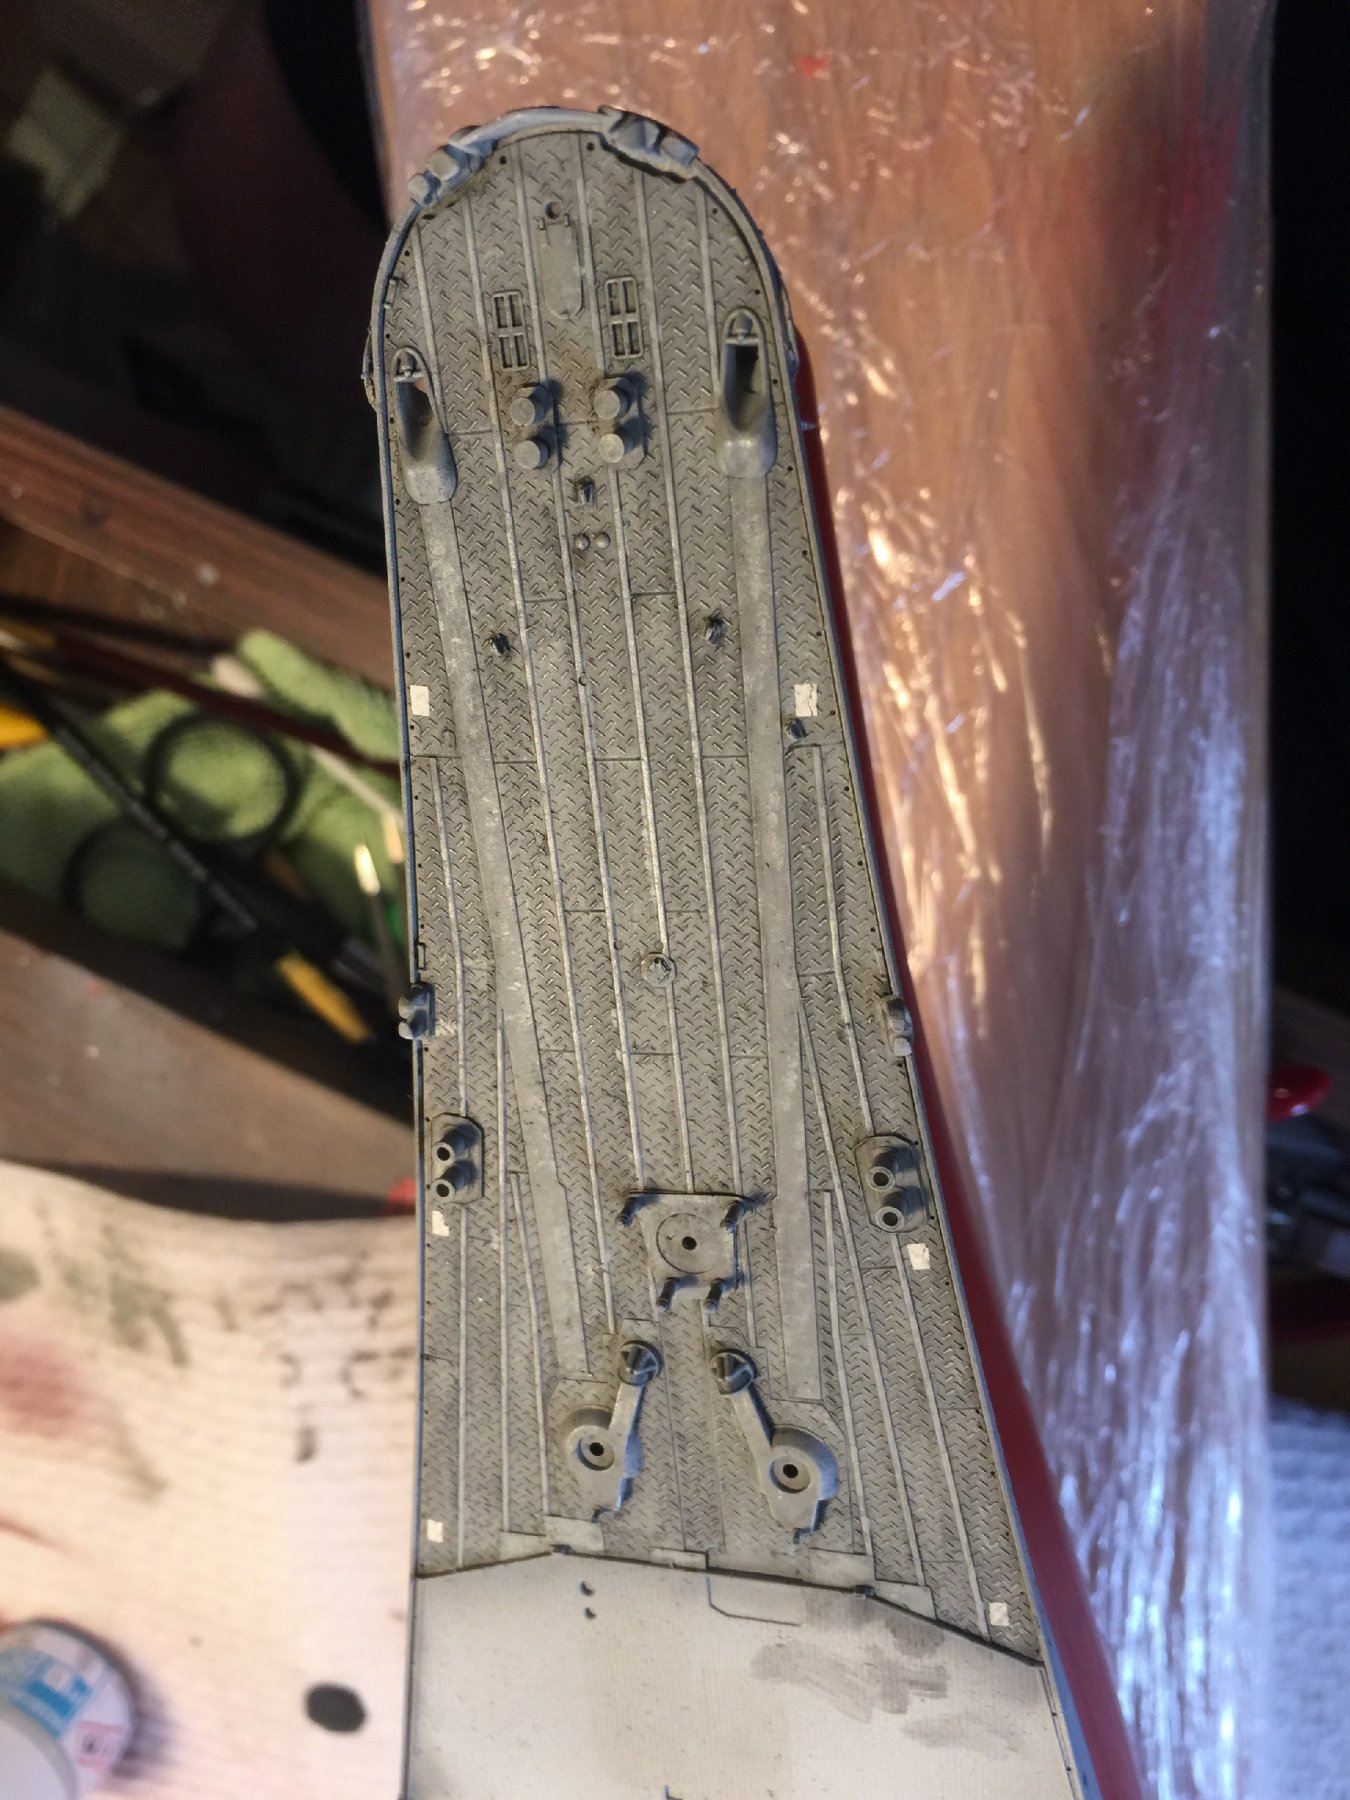
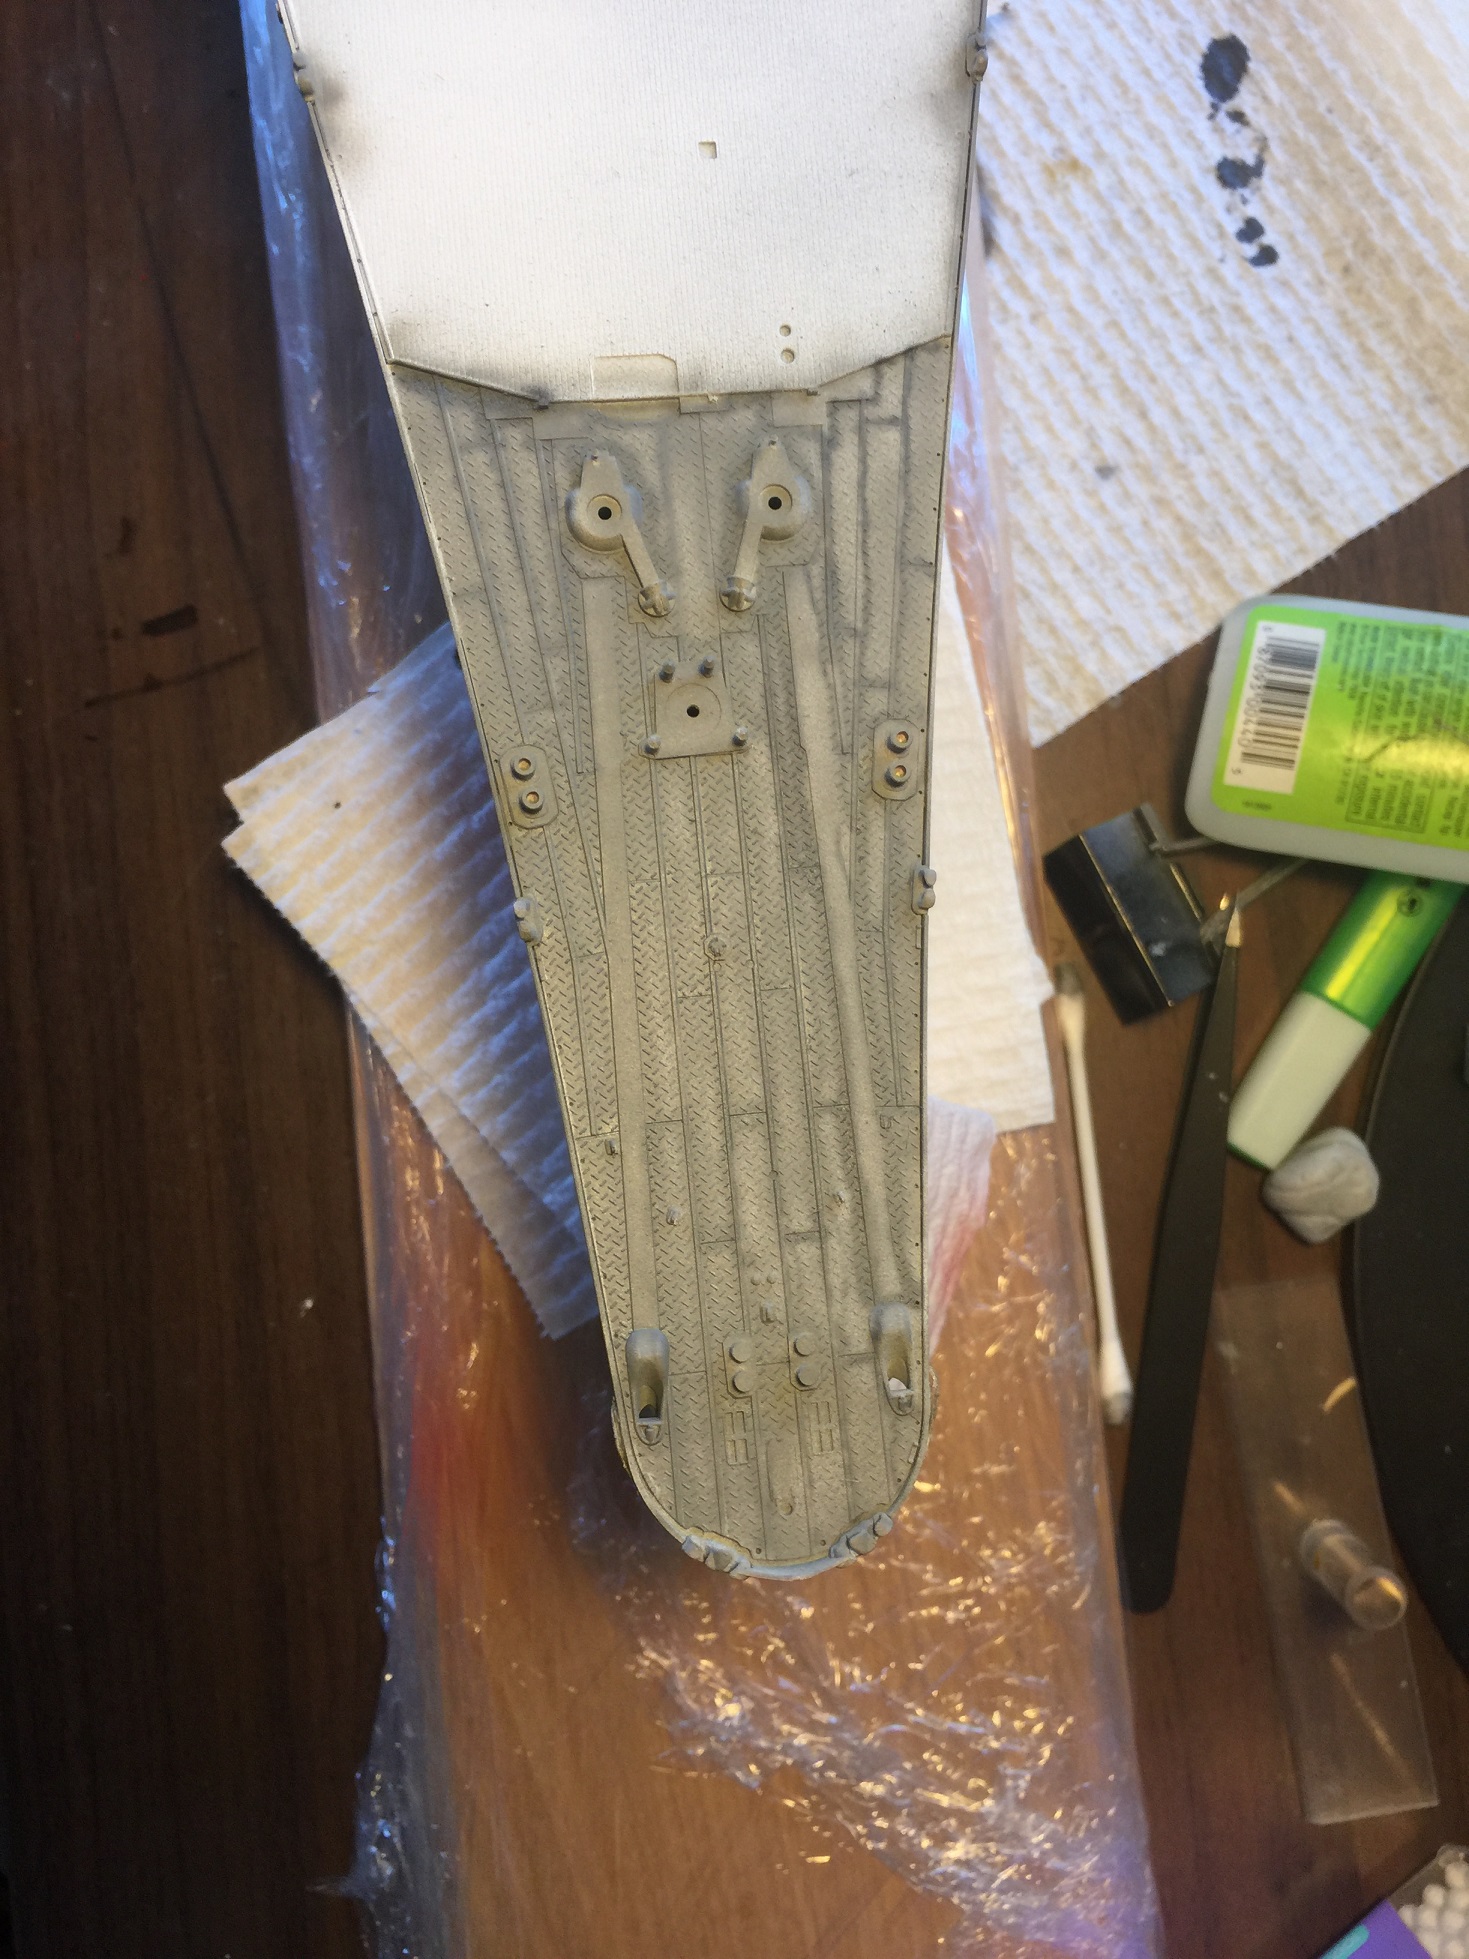
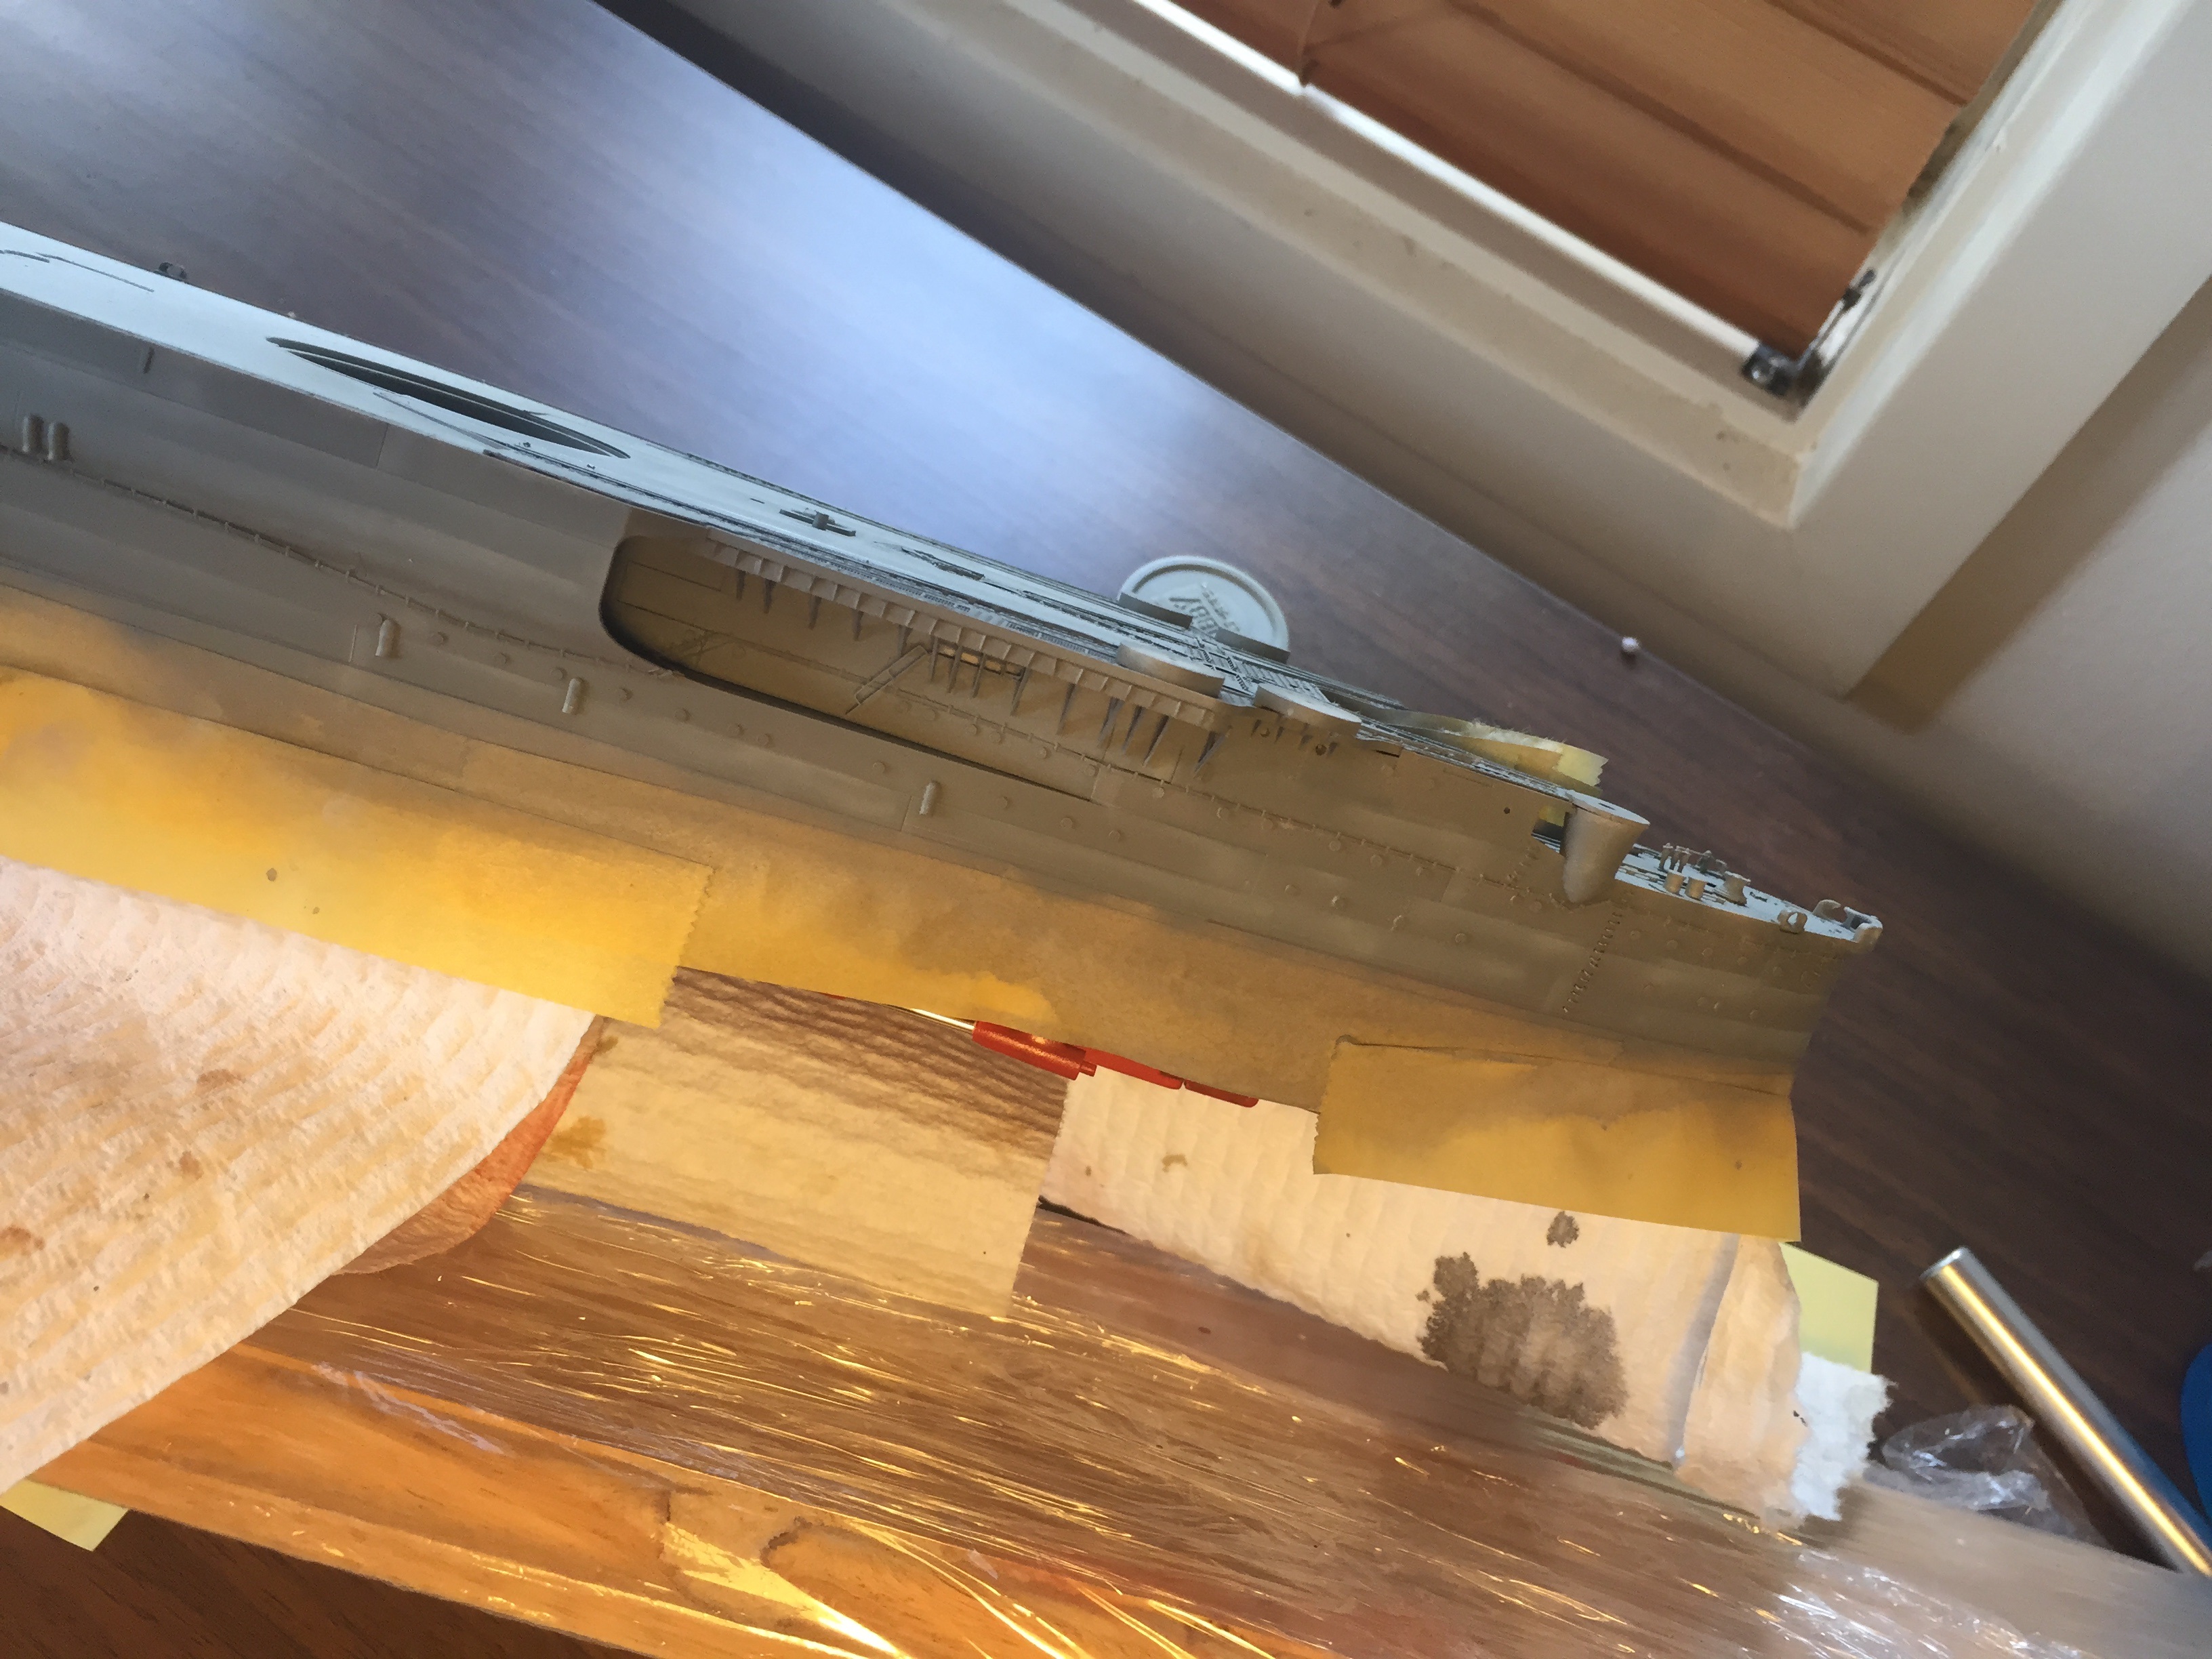
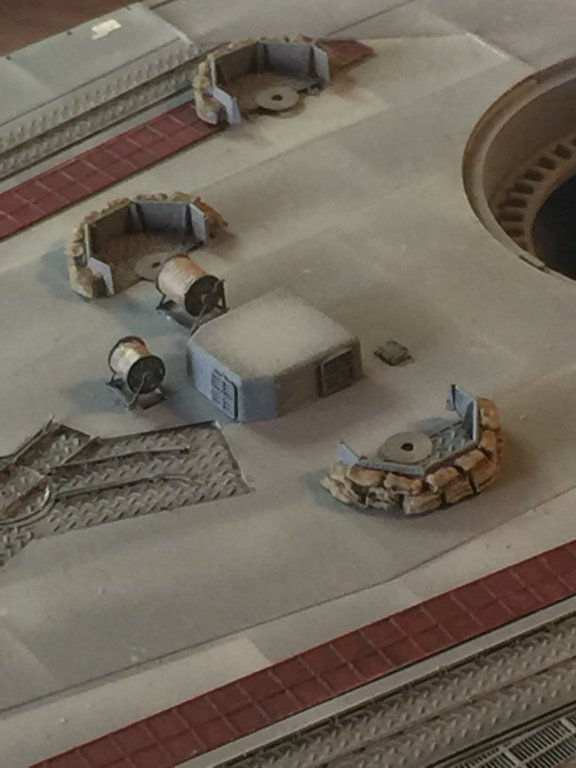
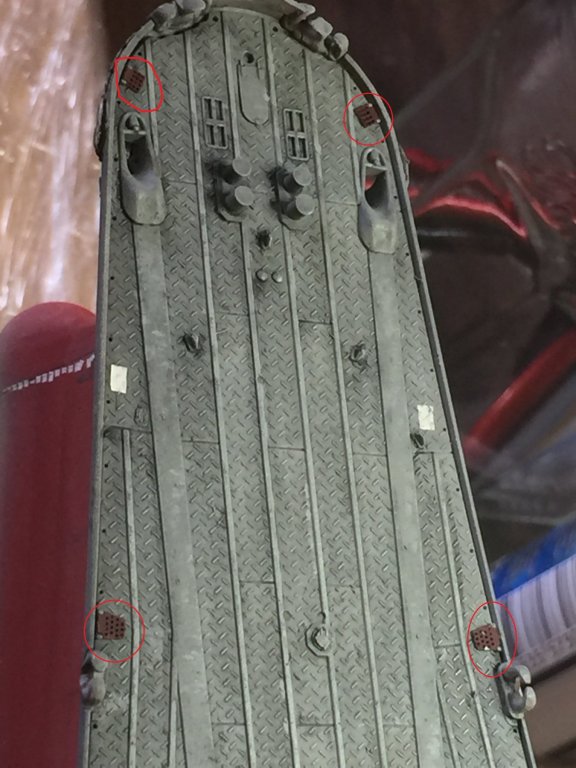
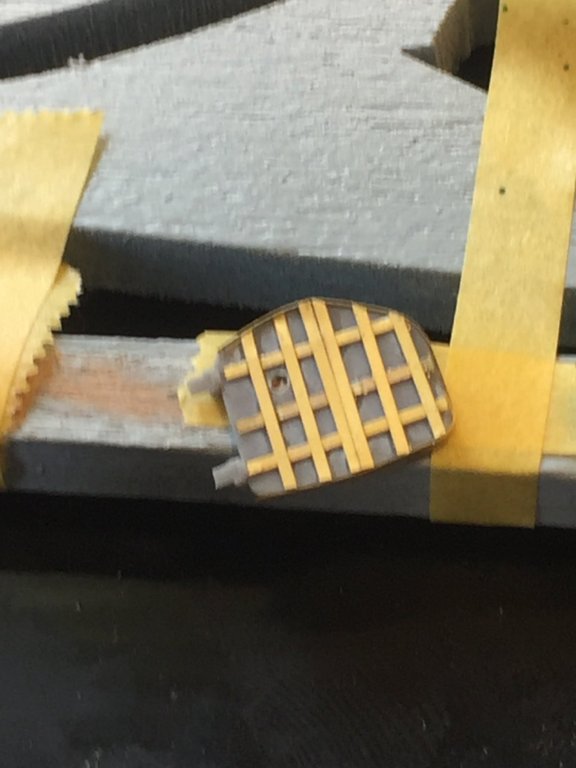
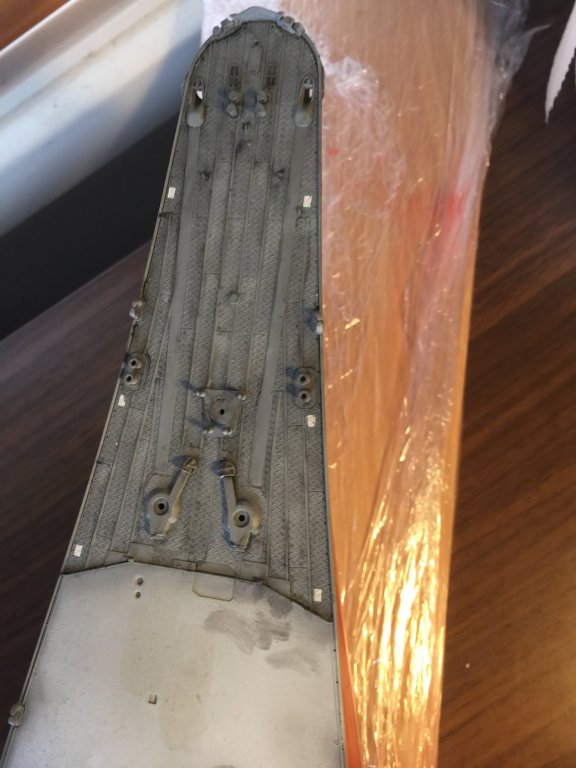
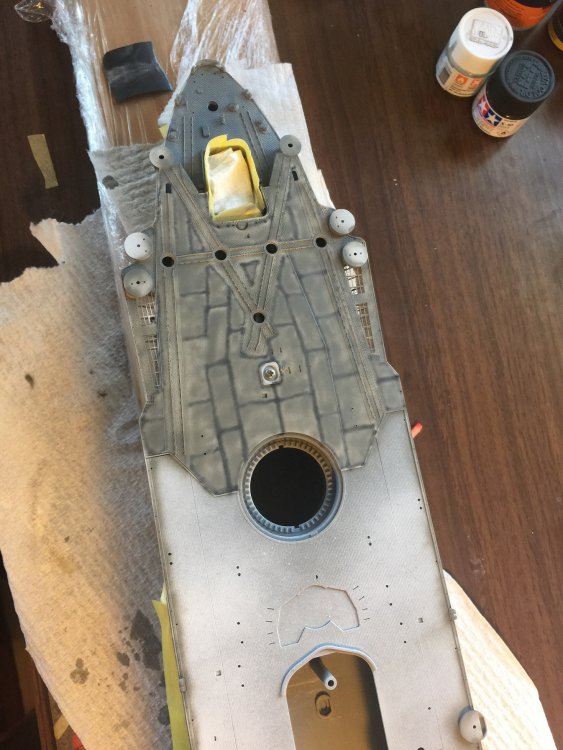
Now the rear aircraft deck with machine gun controllers, anchors, and the lino strips used for the aircraft and the gun pits. Once weathered, I will sand back the brass strips that hold back the lino. Also the boat hangar door with some added strips.


- 743 replies
-
- 19
-

-
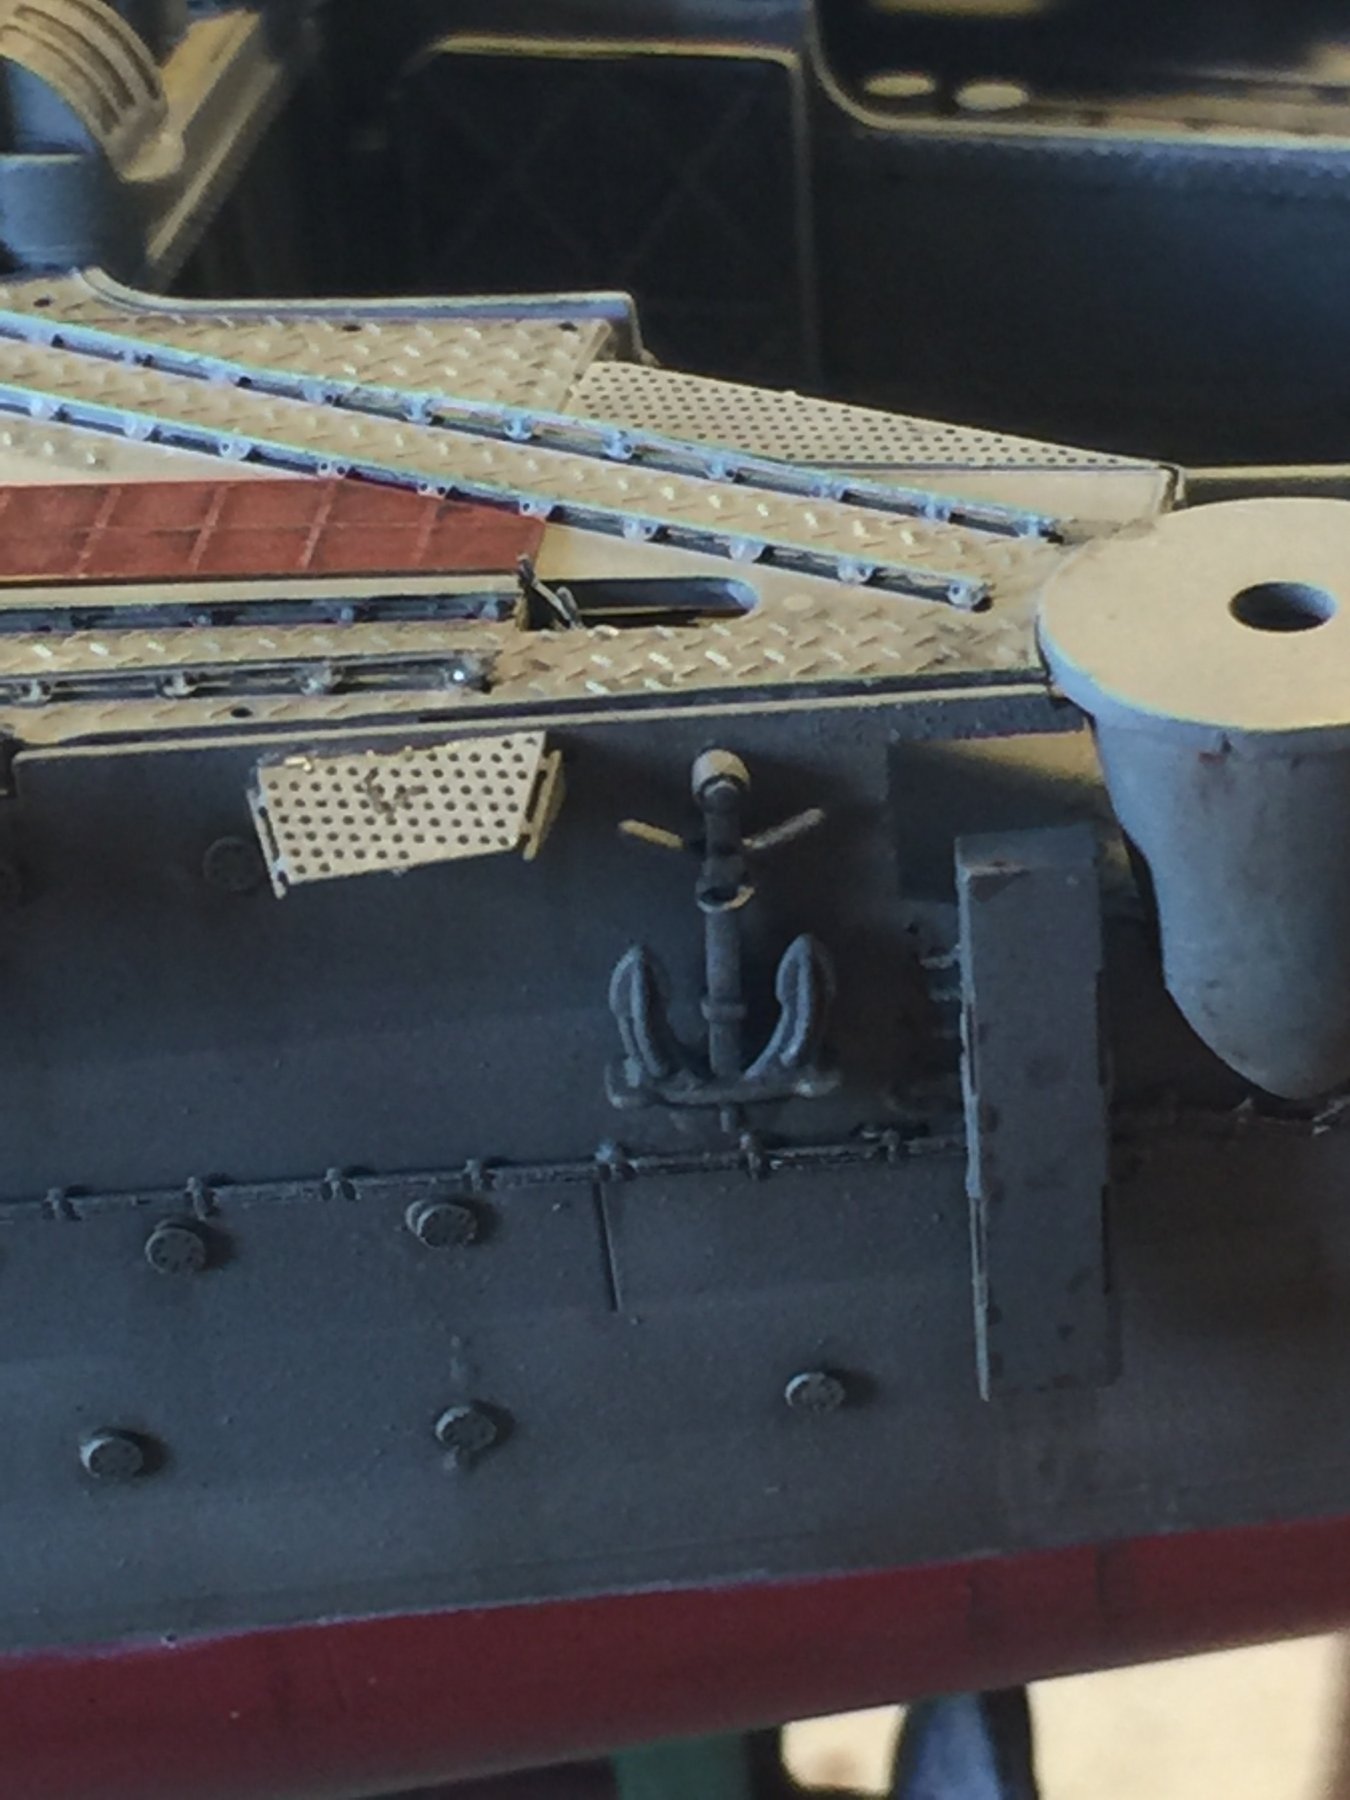
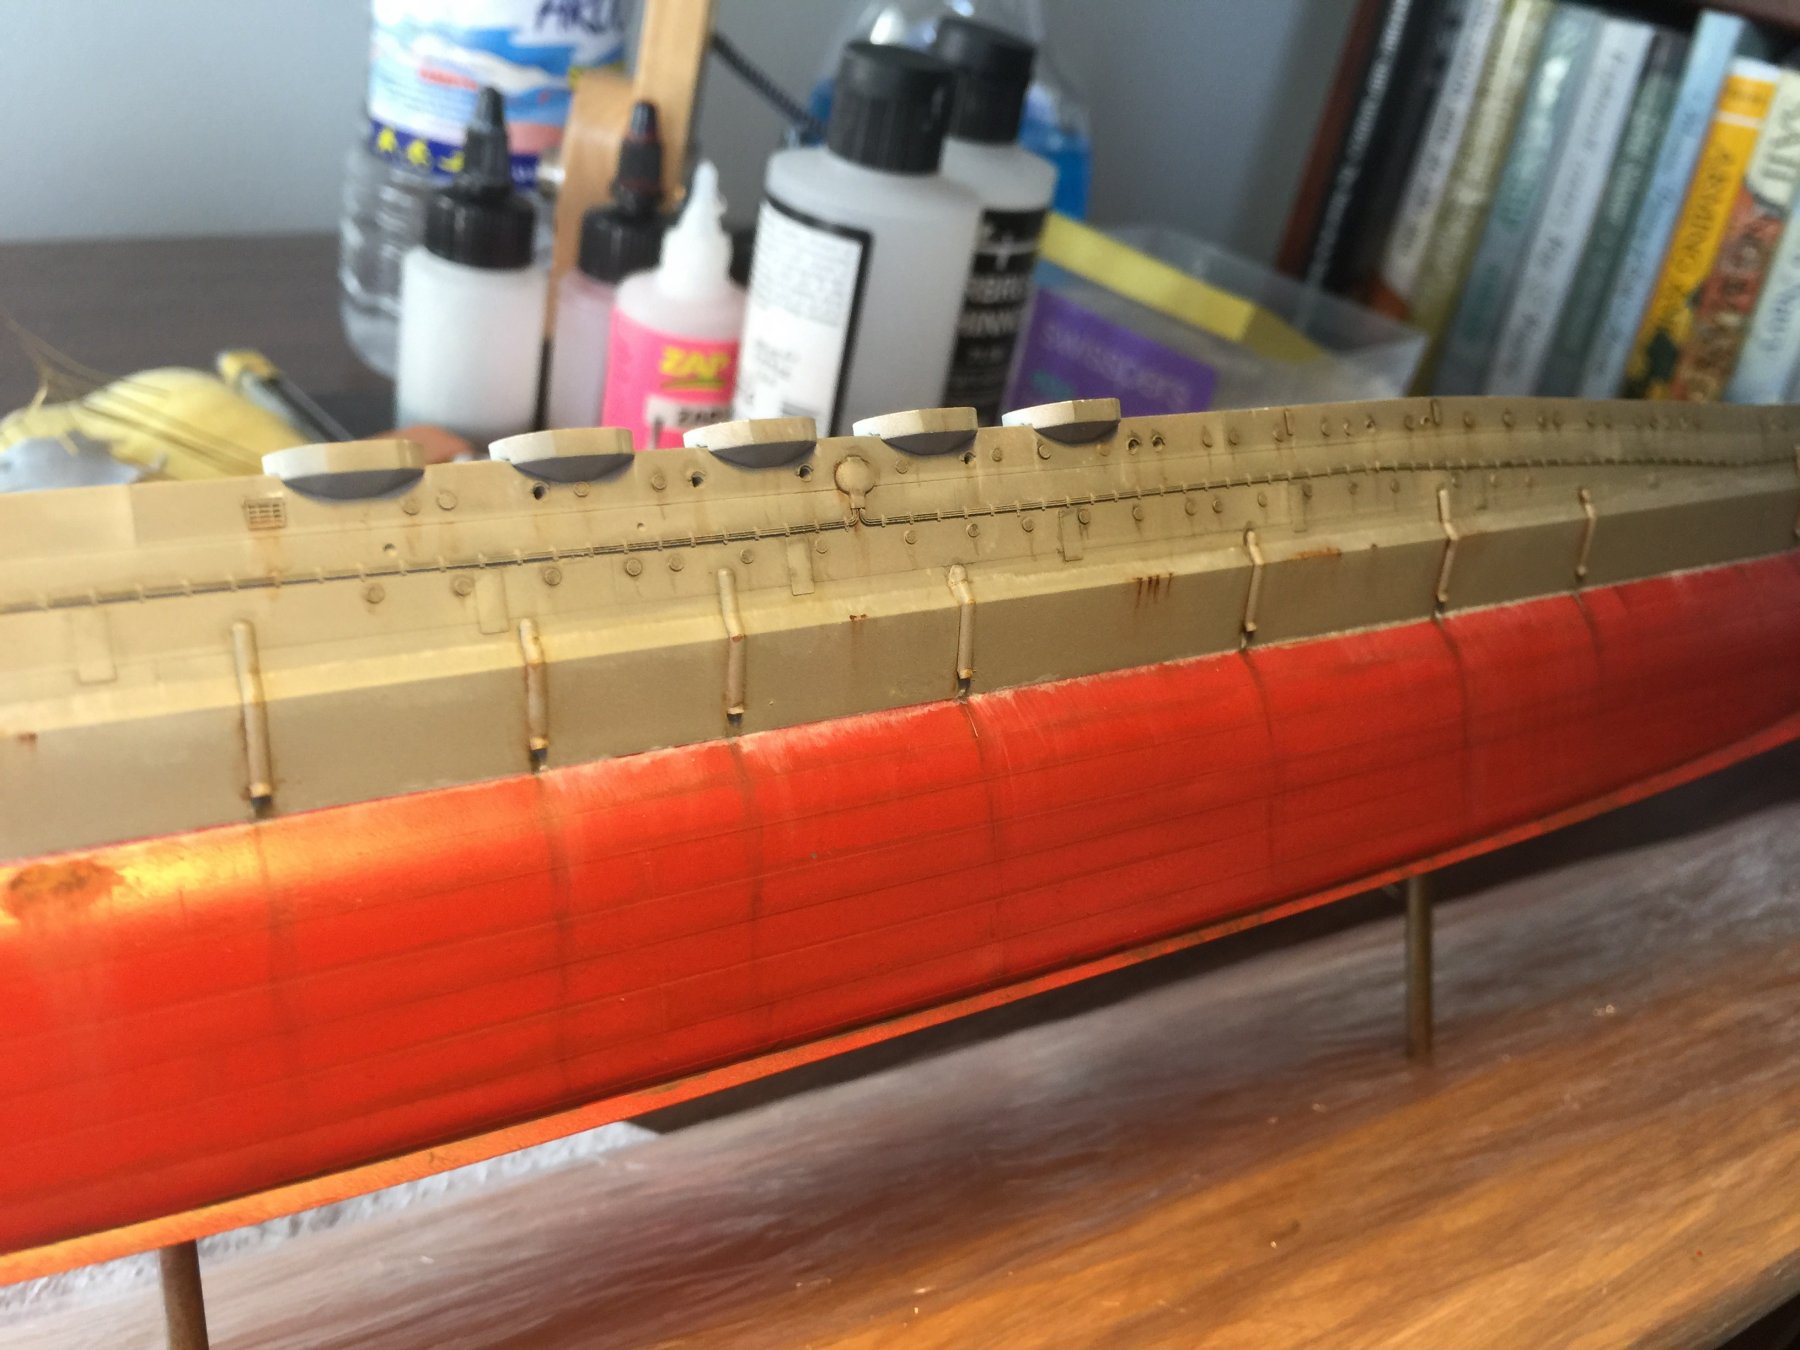
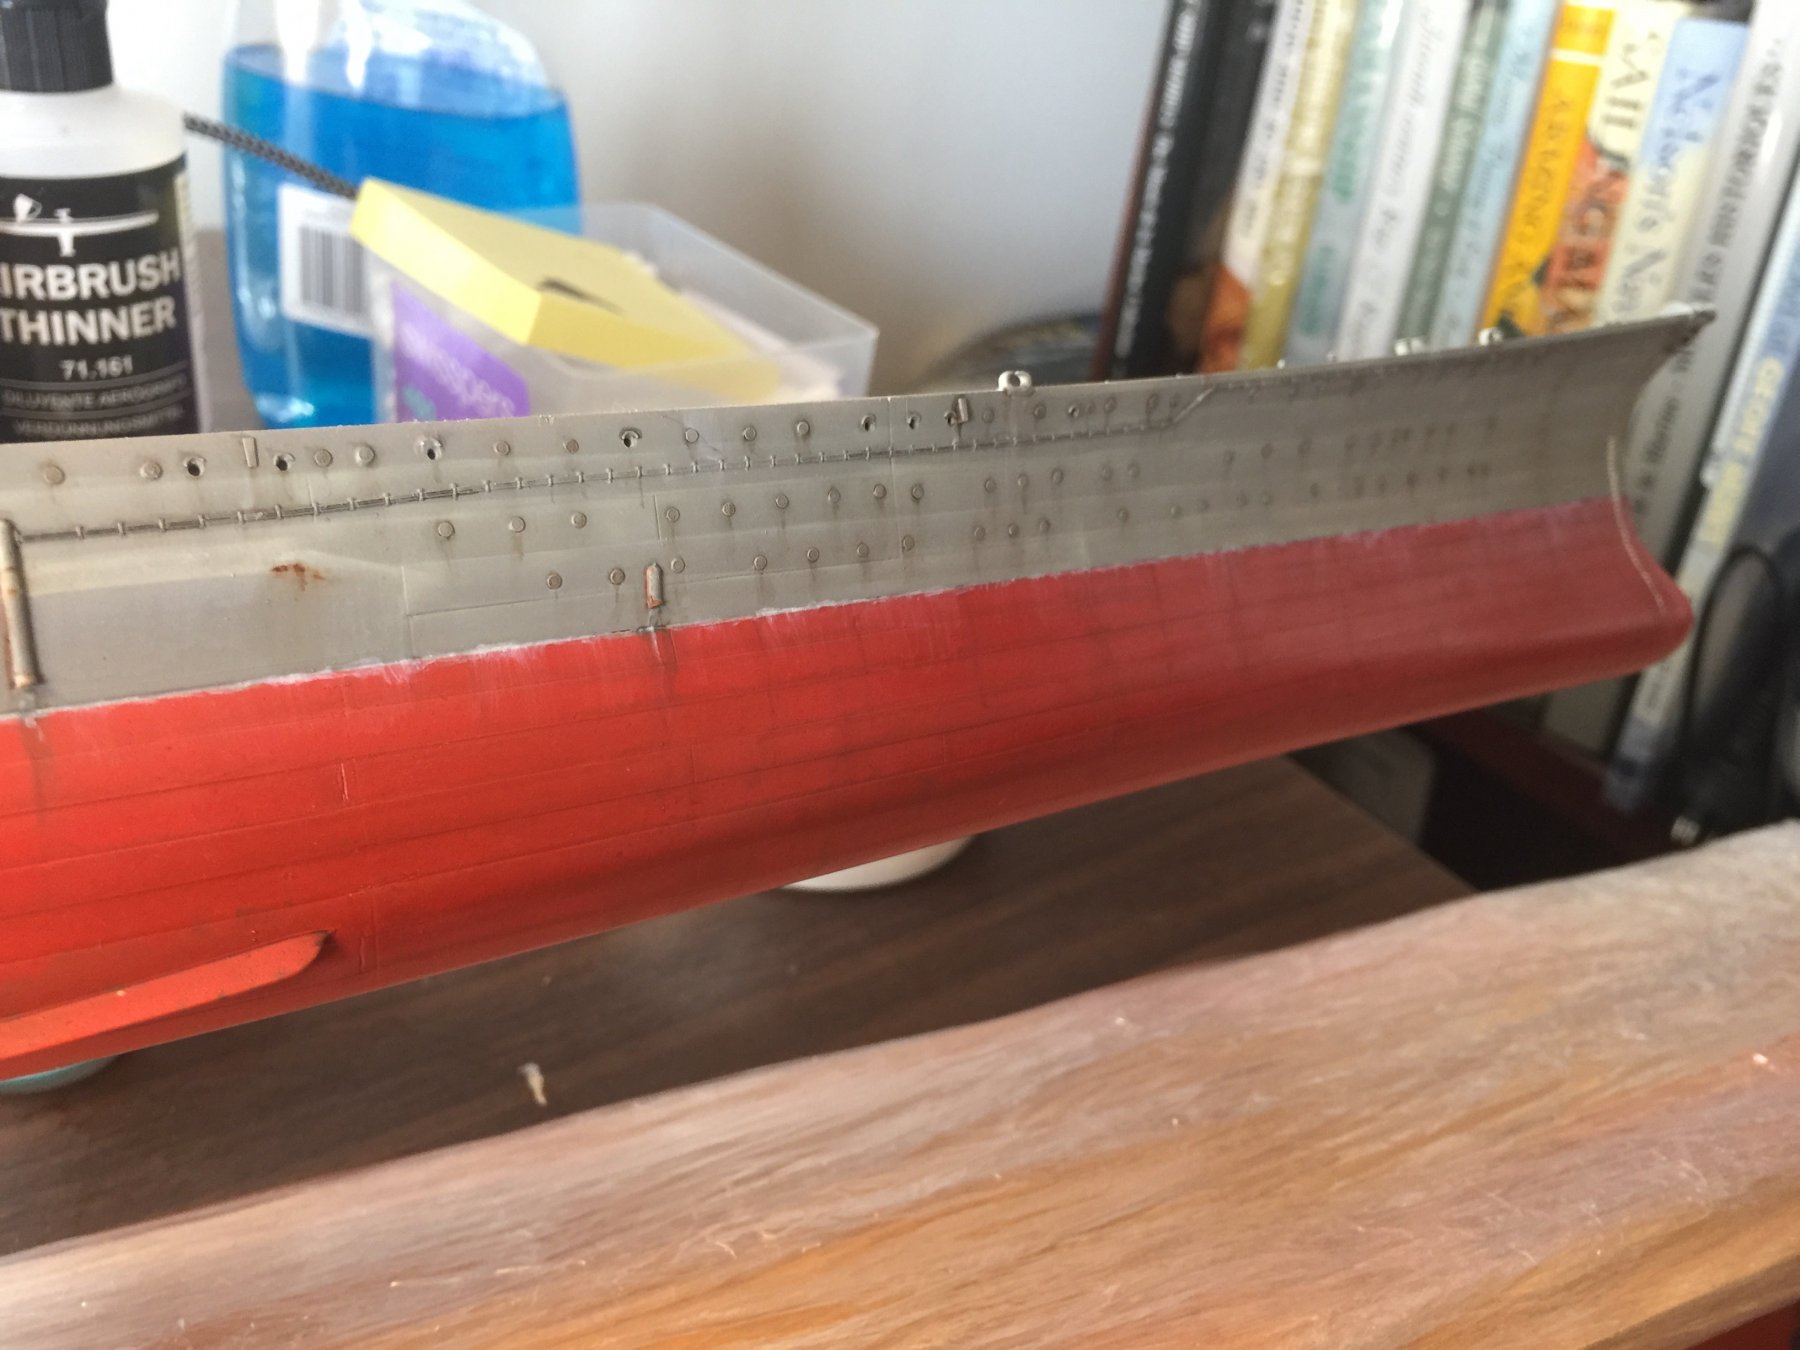
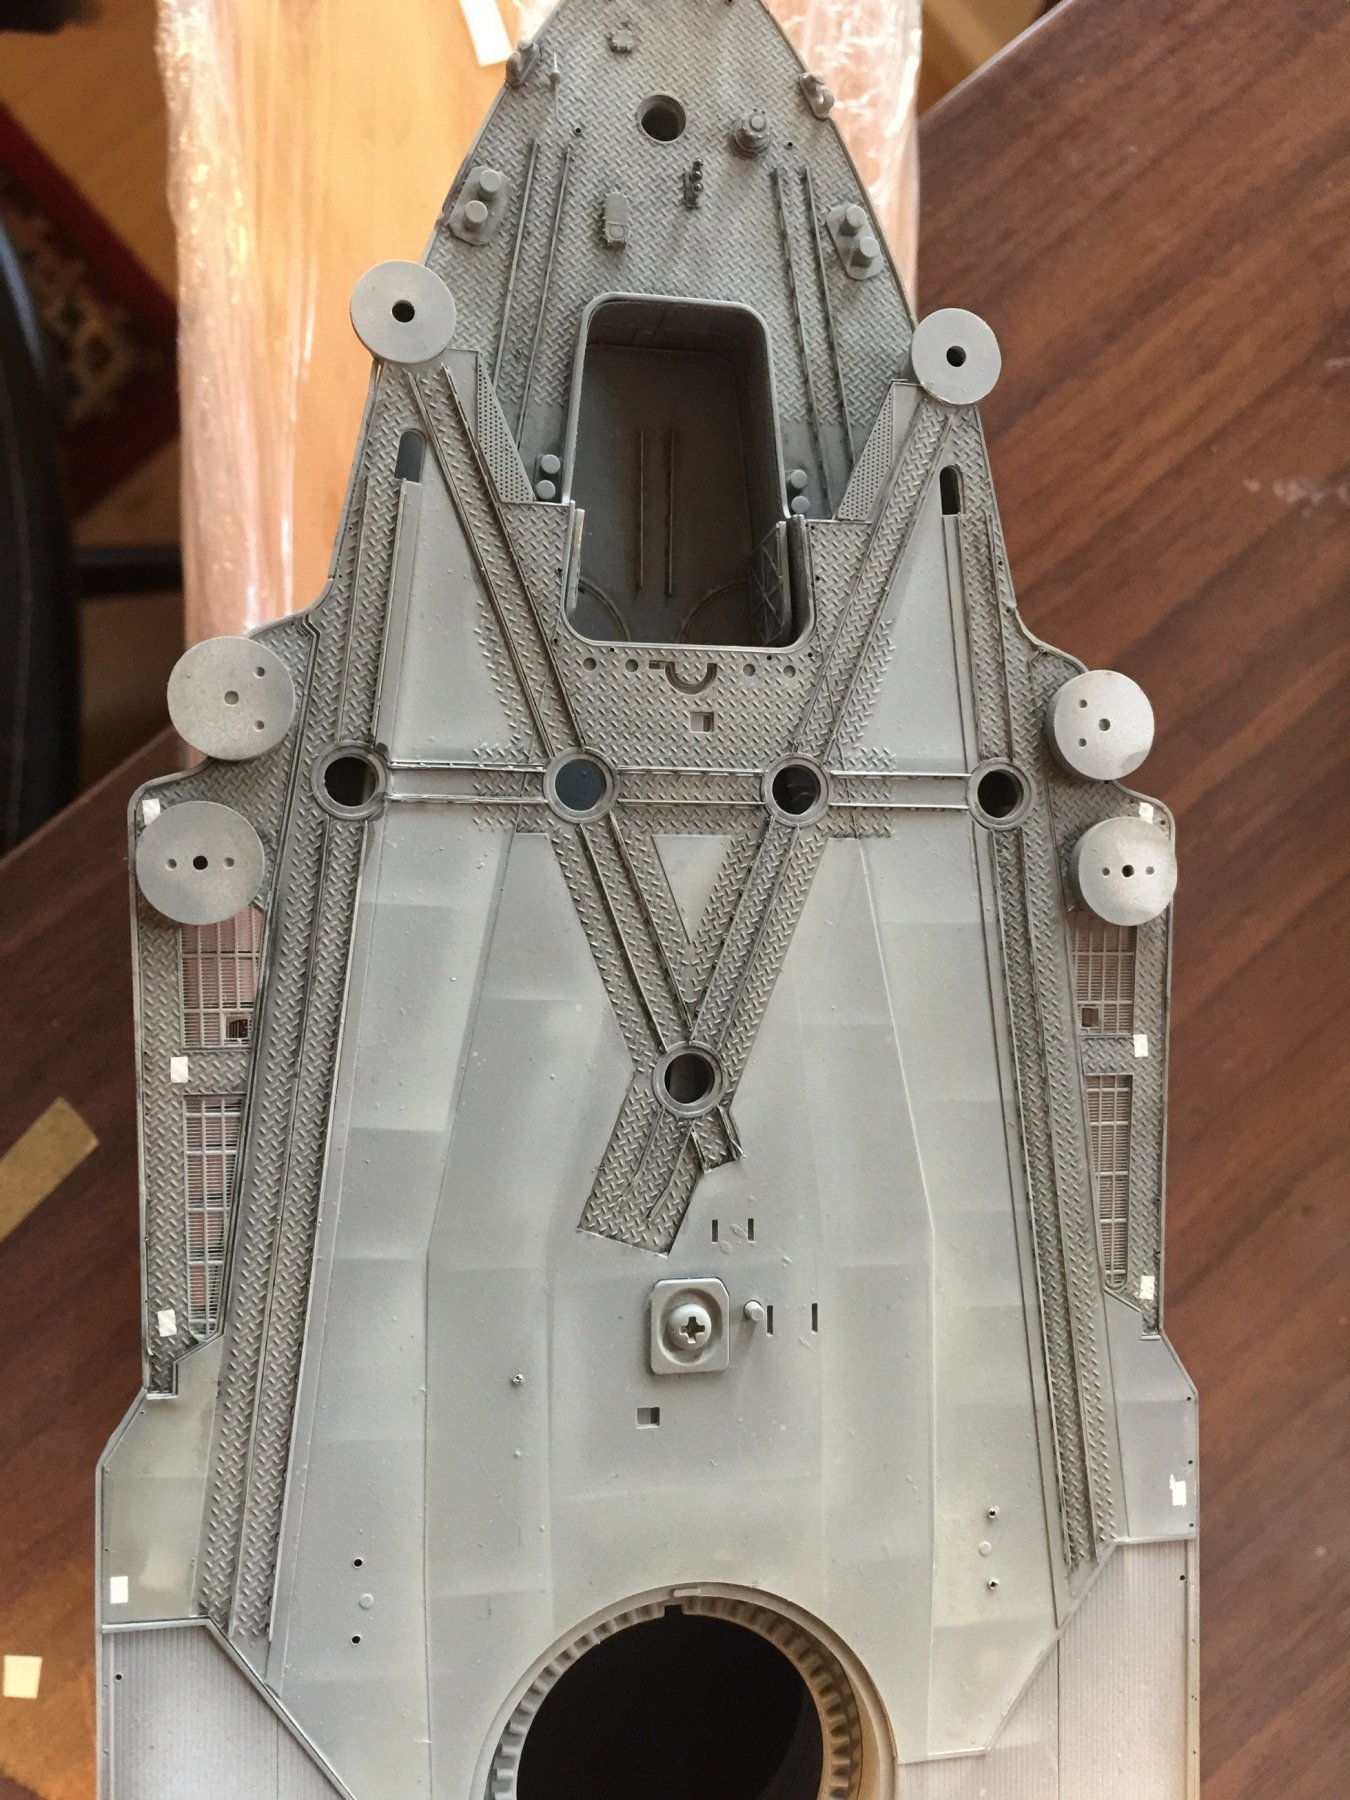
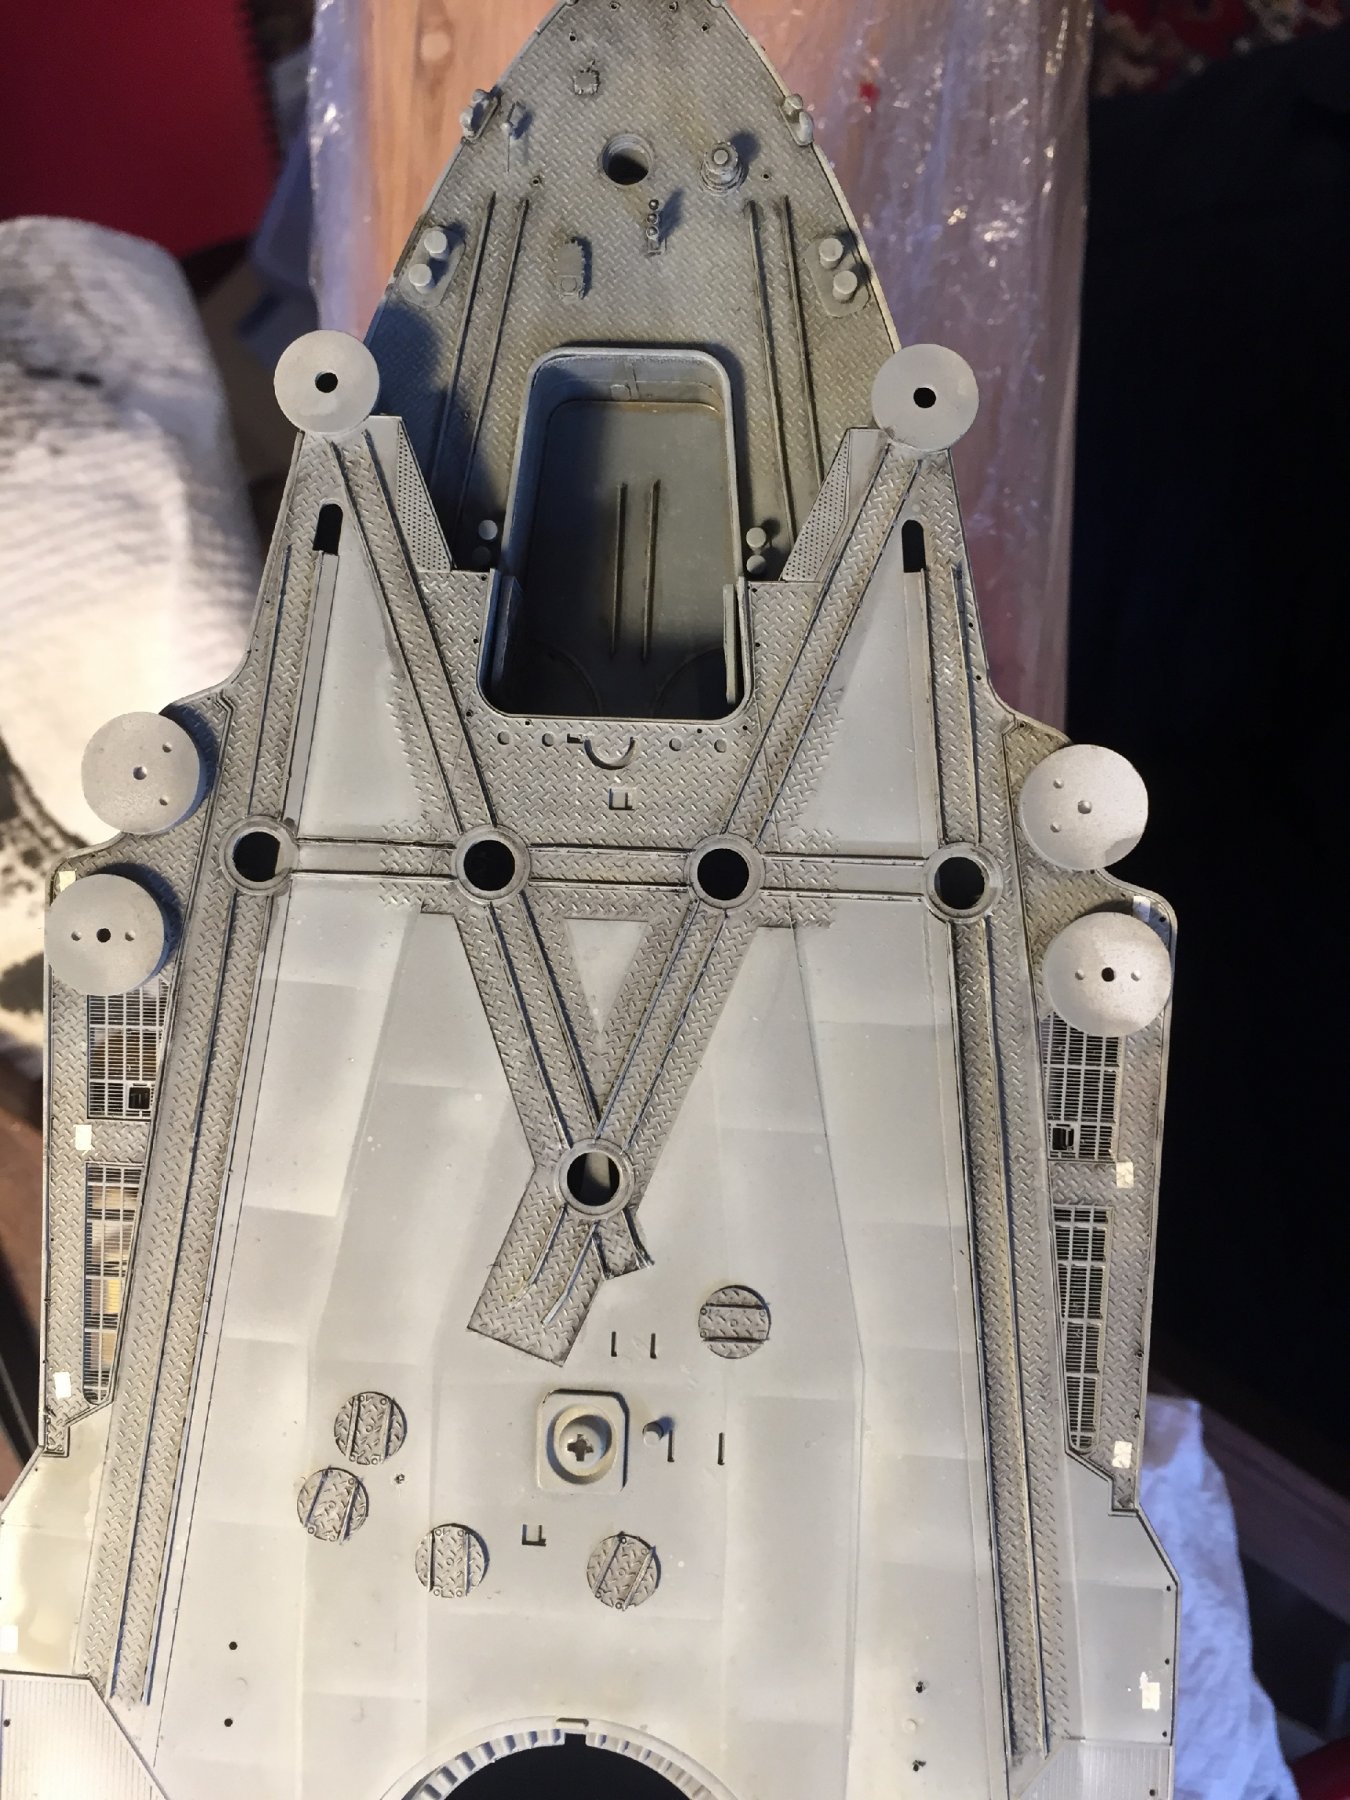
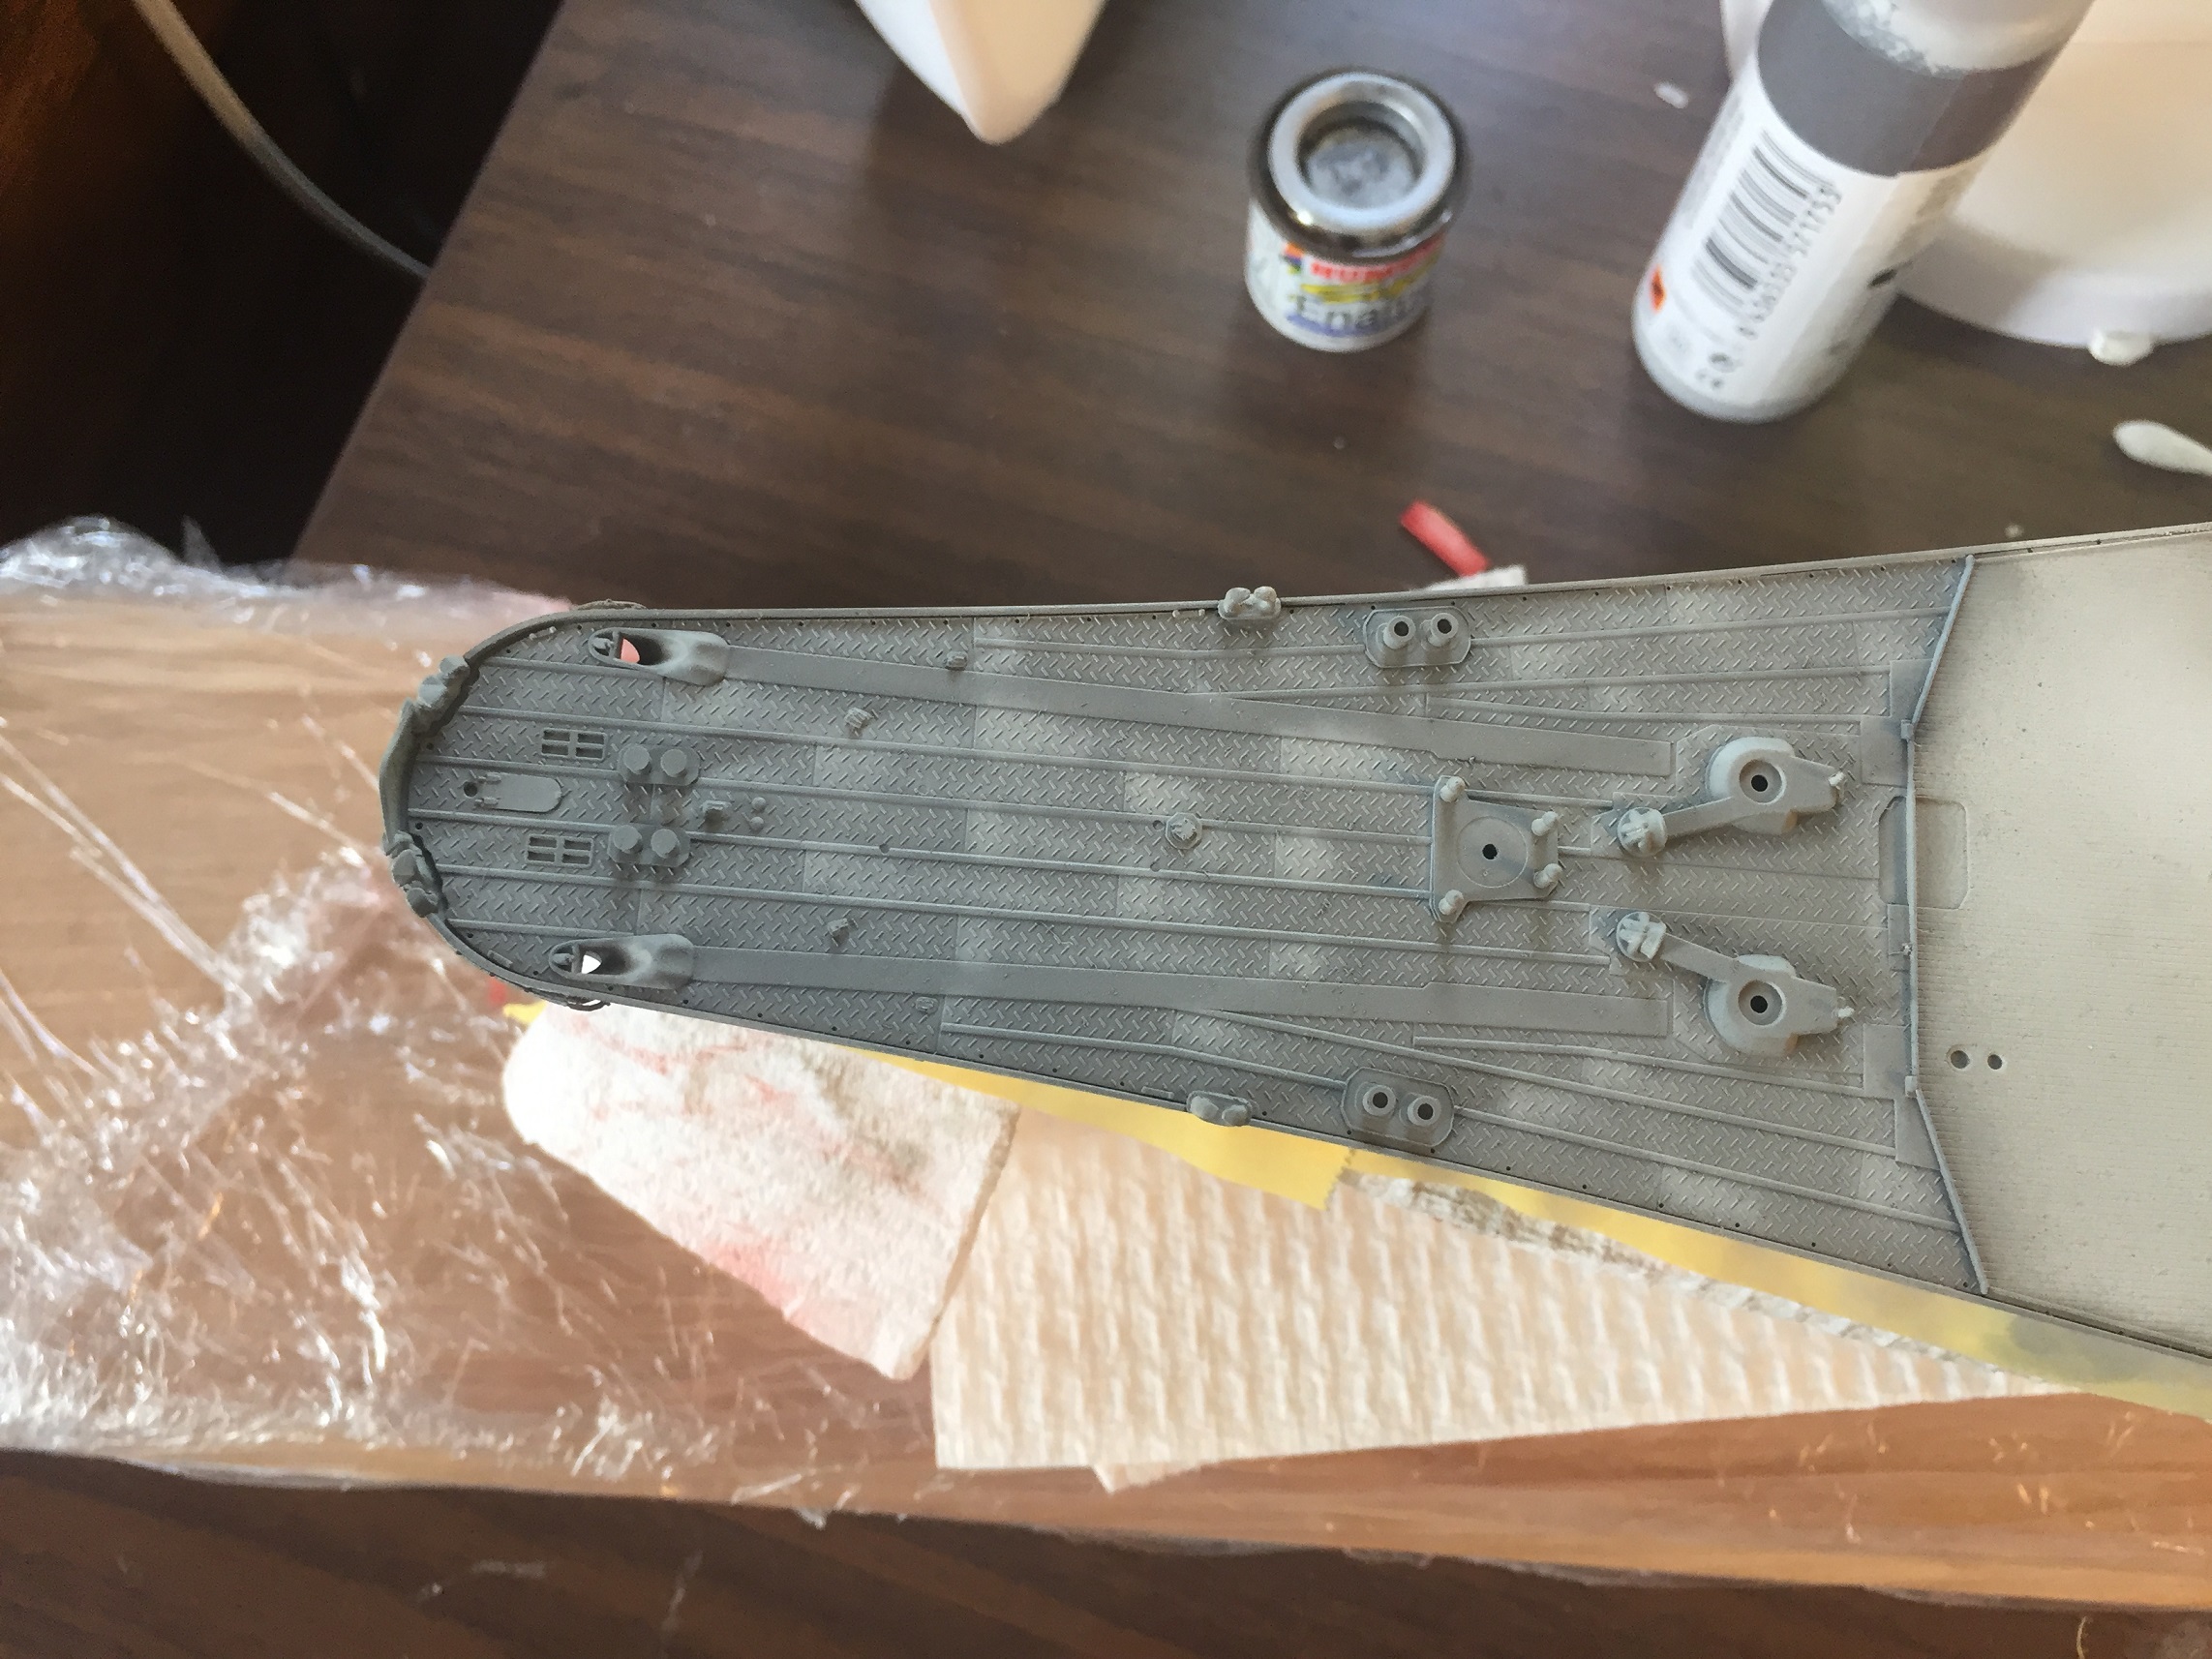
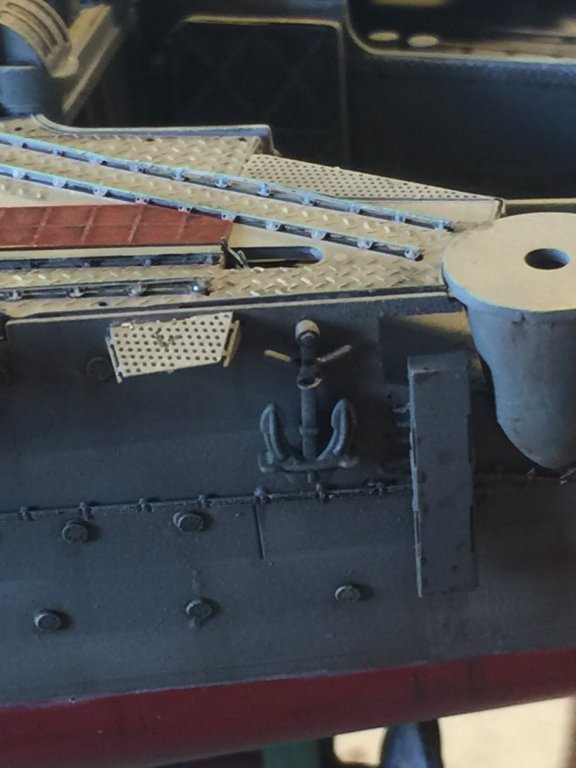
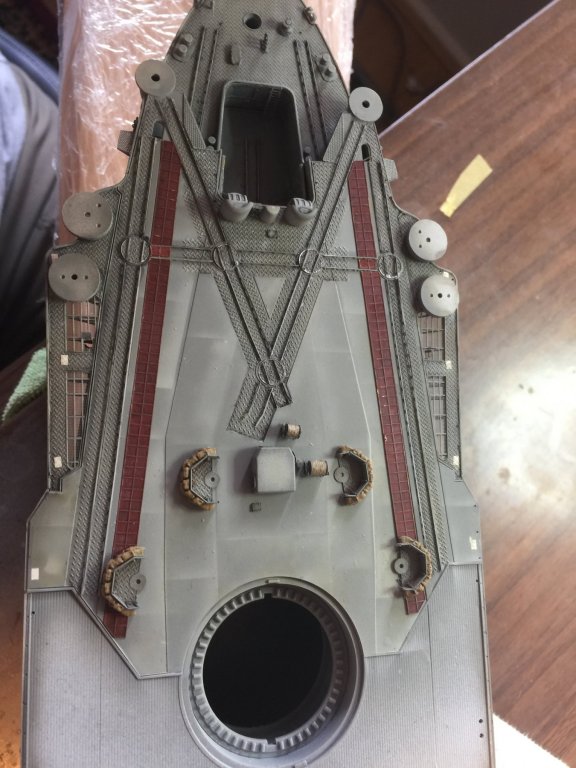
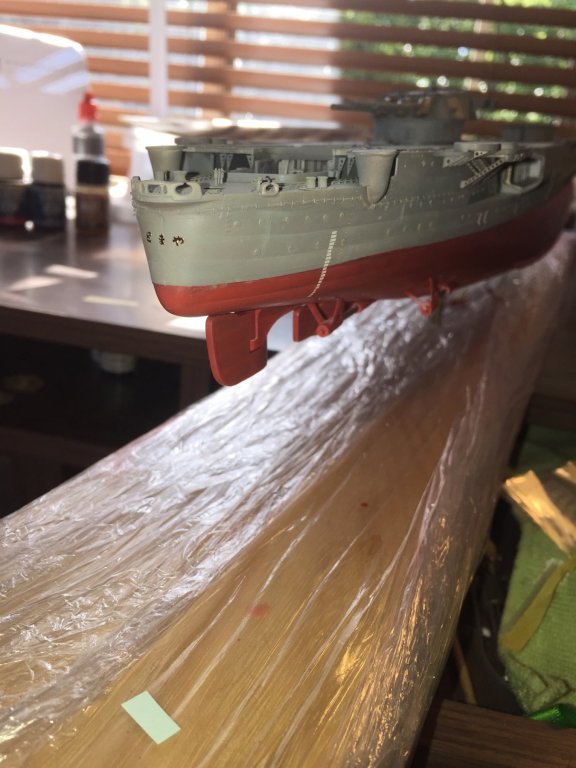
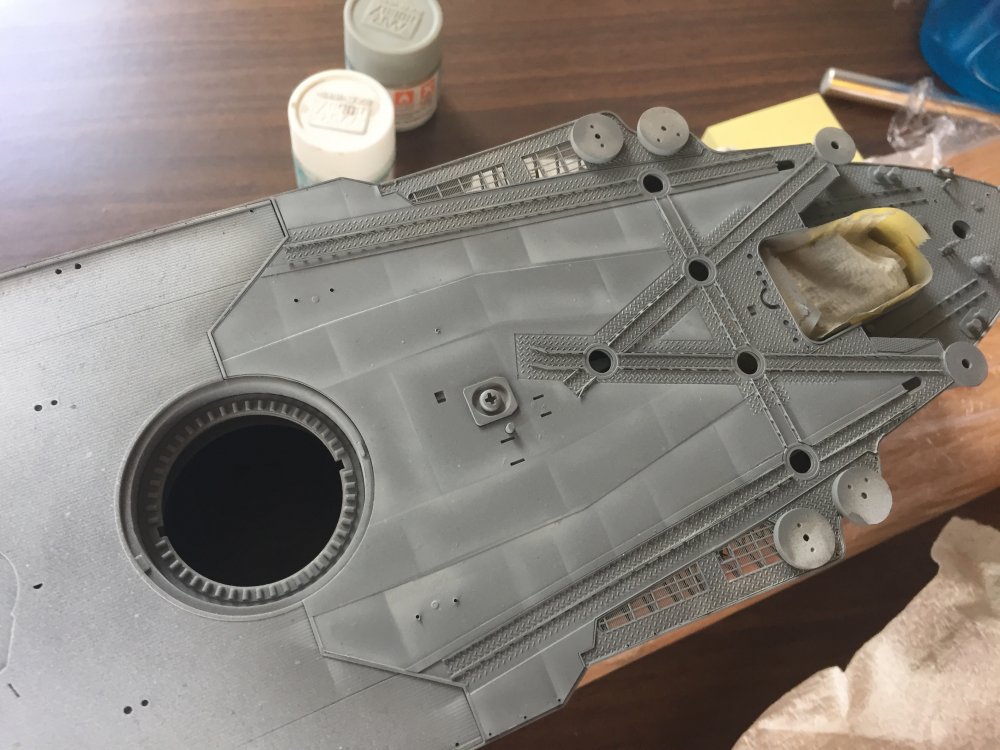
The front of the ship, with the aftermarket capstans and the kit included leadsman's platforms. This has not yet been properly weathered.

- 743 replies
-
- 16
-
-
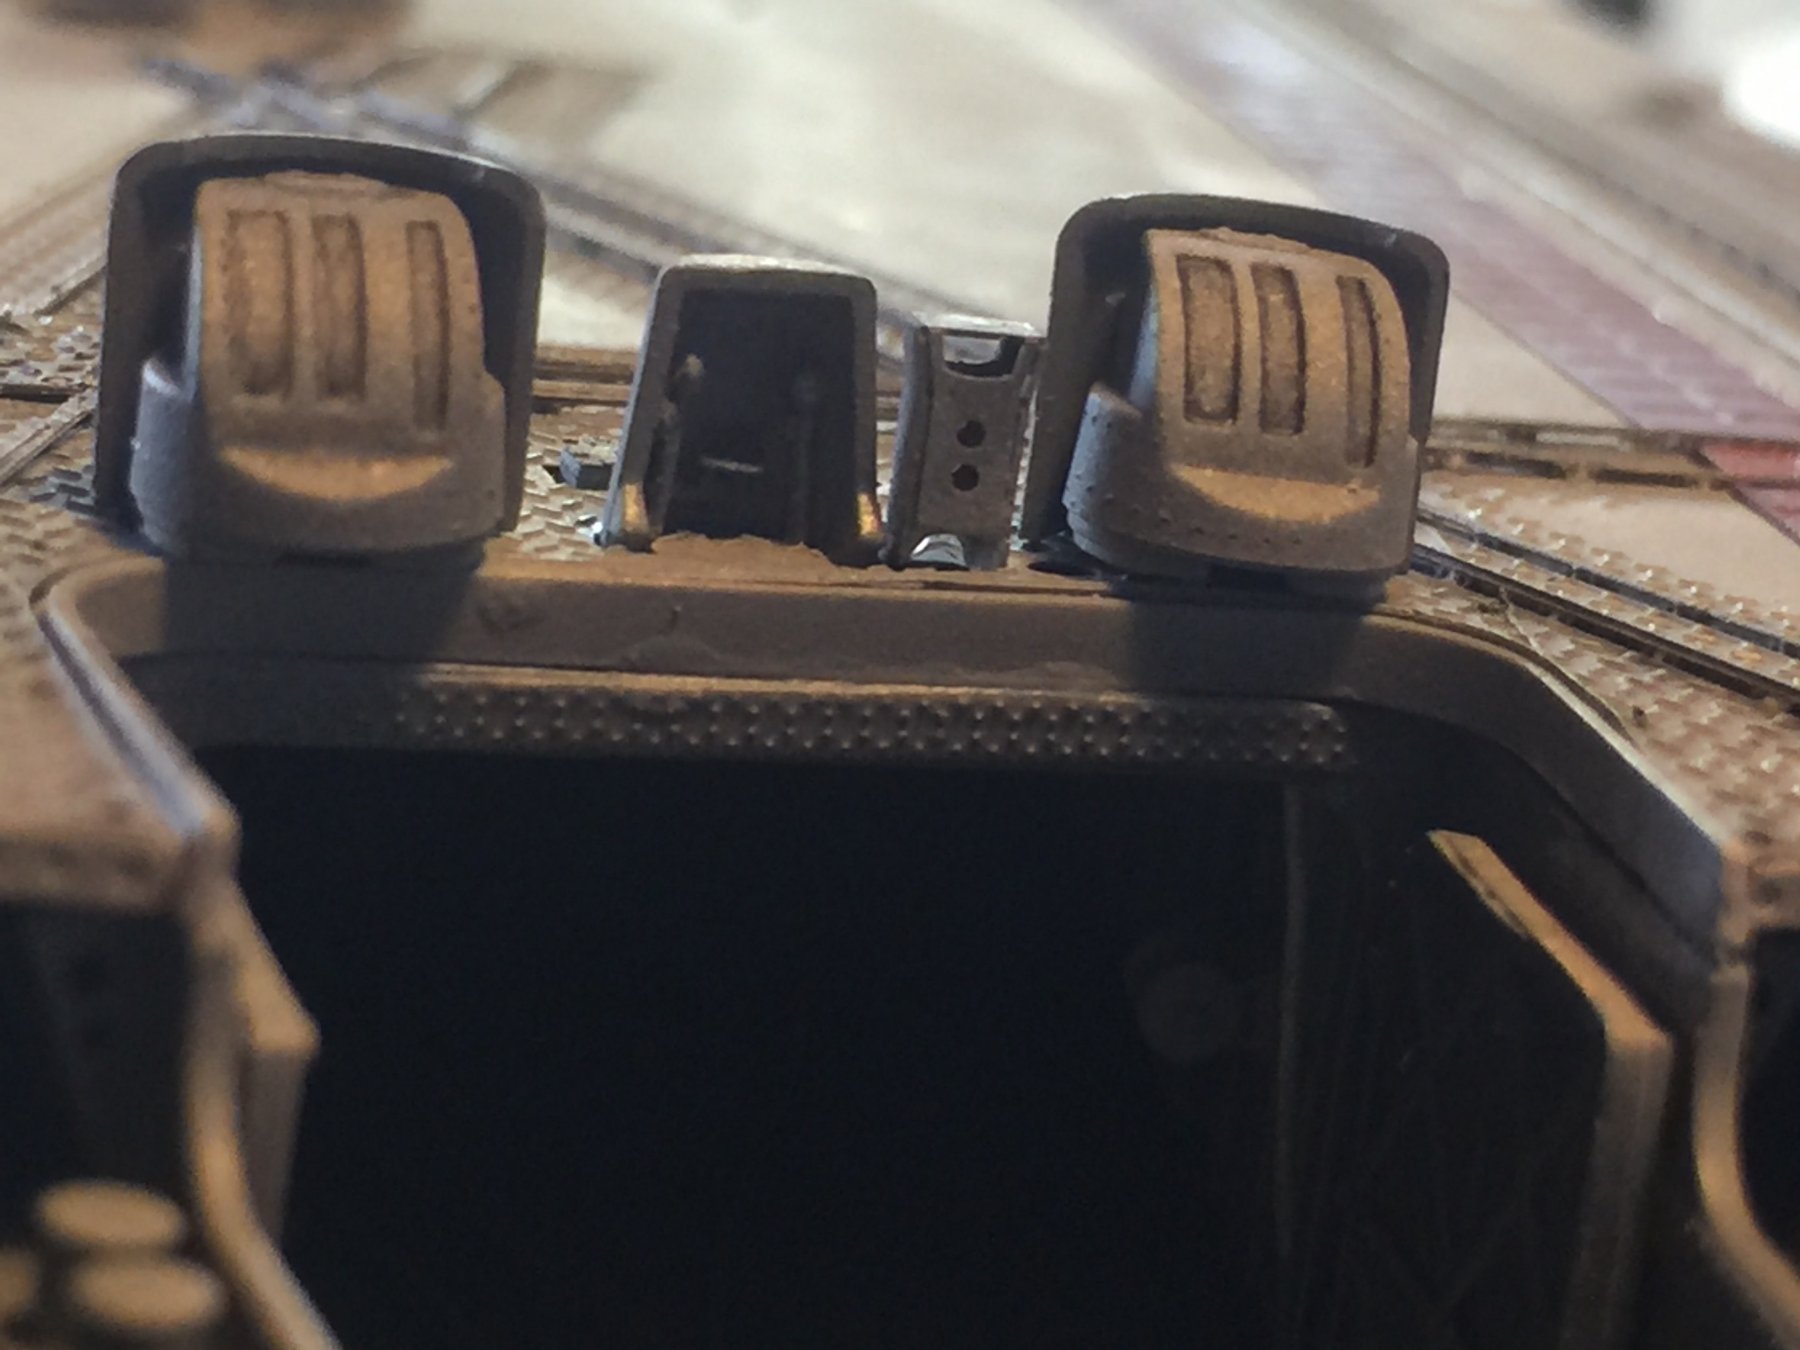
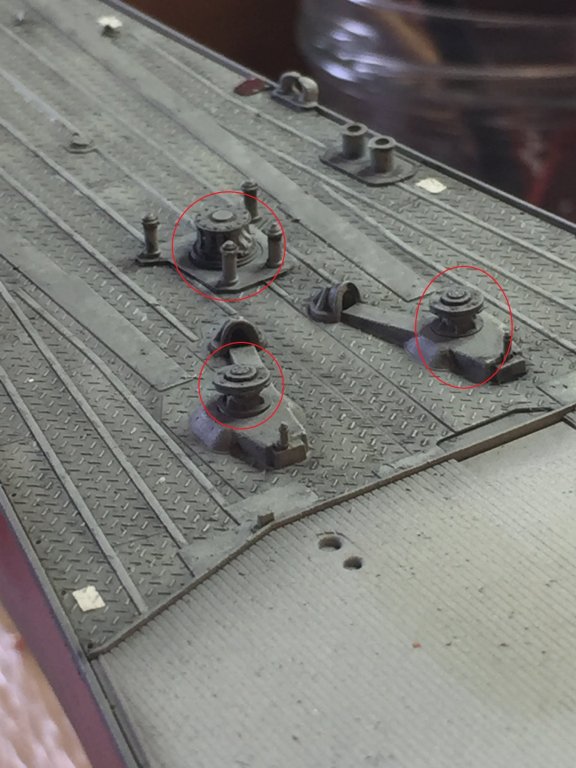
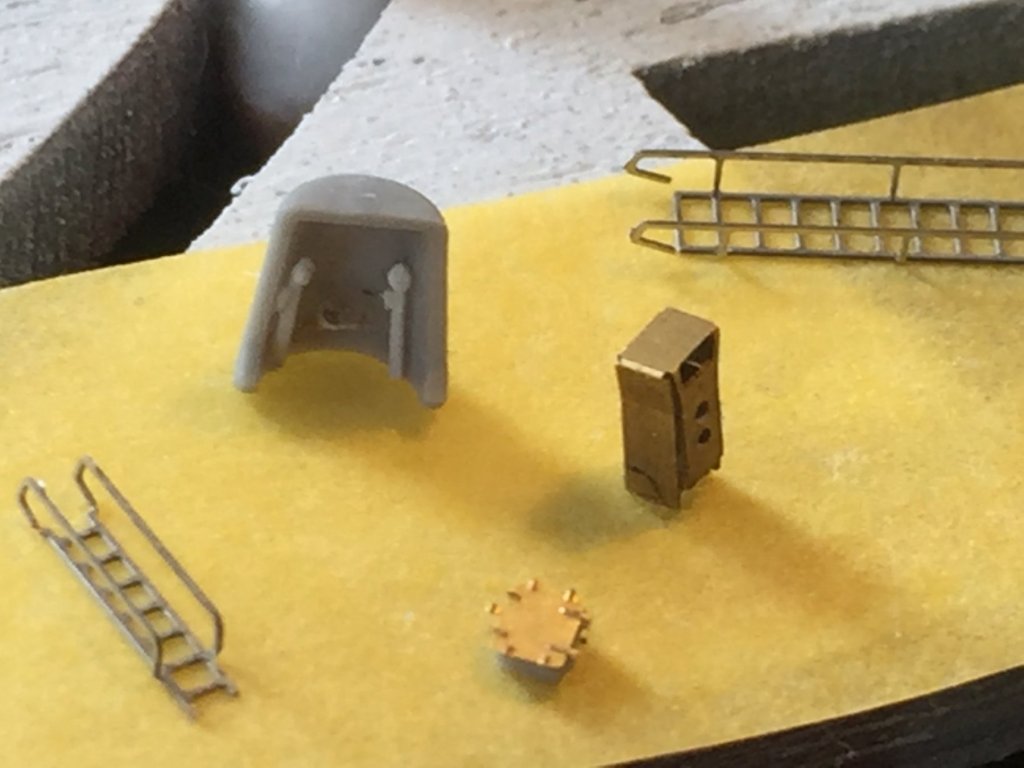
So many little pieces to paint for the rear flight deck! I have value added to the boat hangar doors as well as adding some voice pipes and seats to the crane controller which had no detail at all.
- 743 replies
-
- 13
-
-
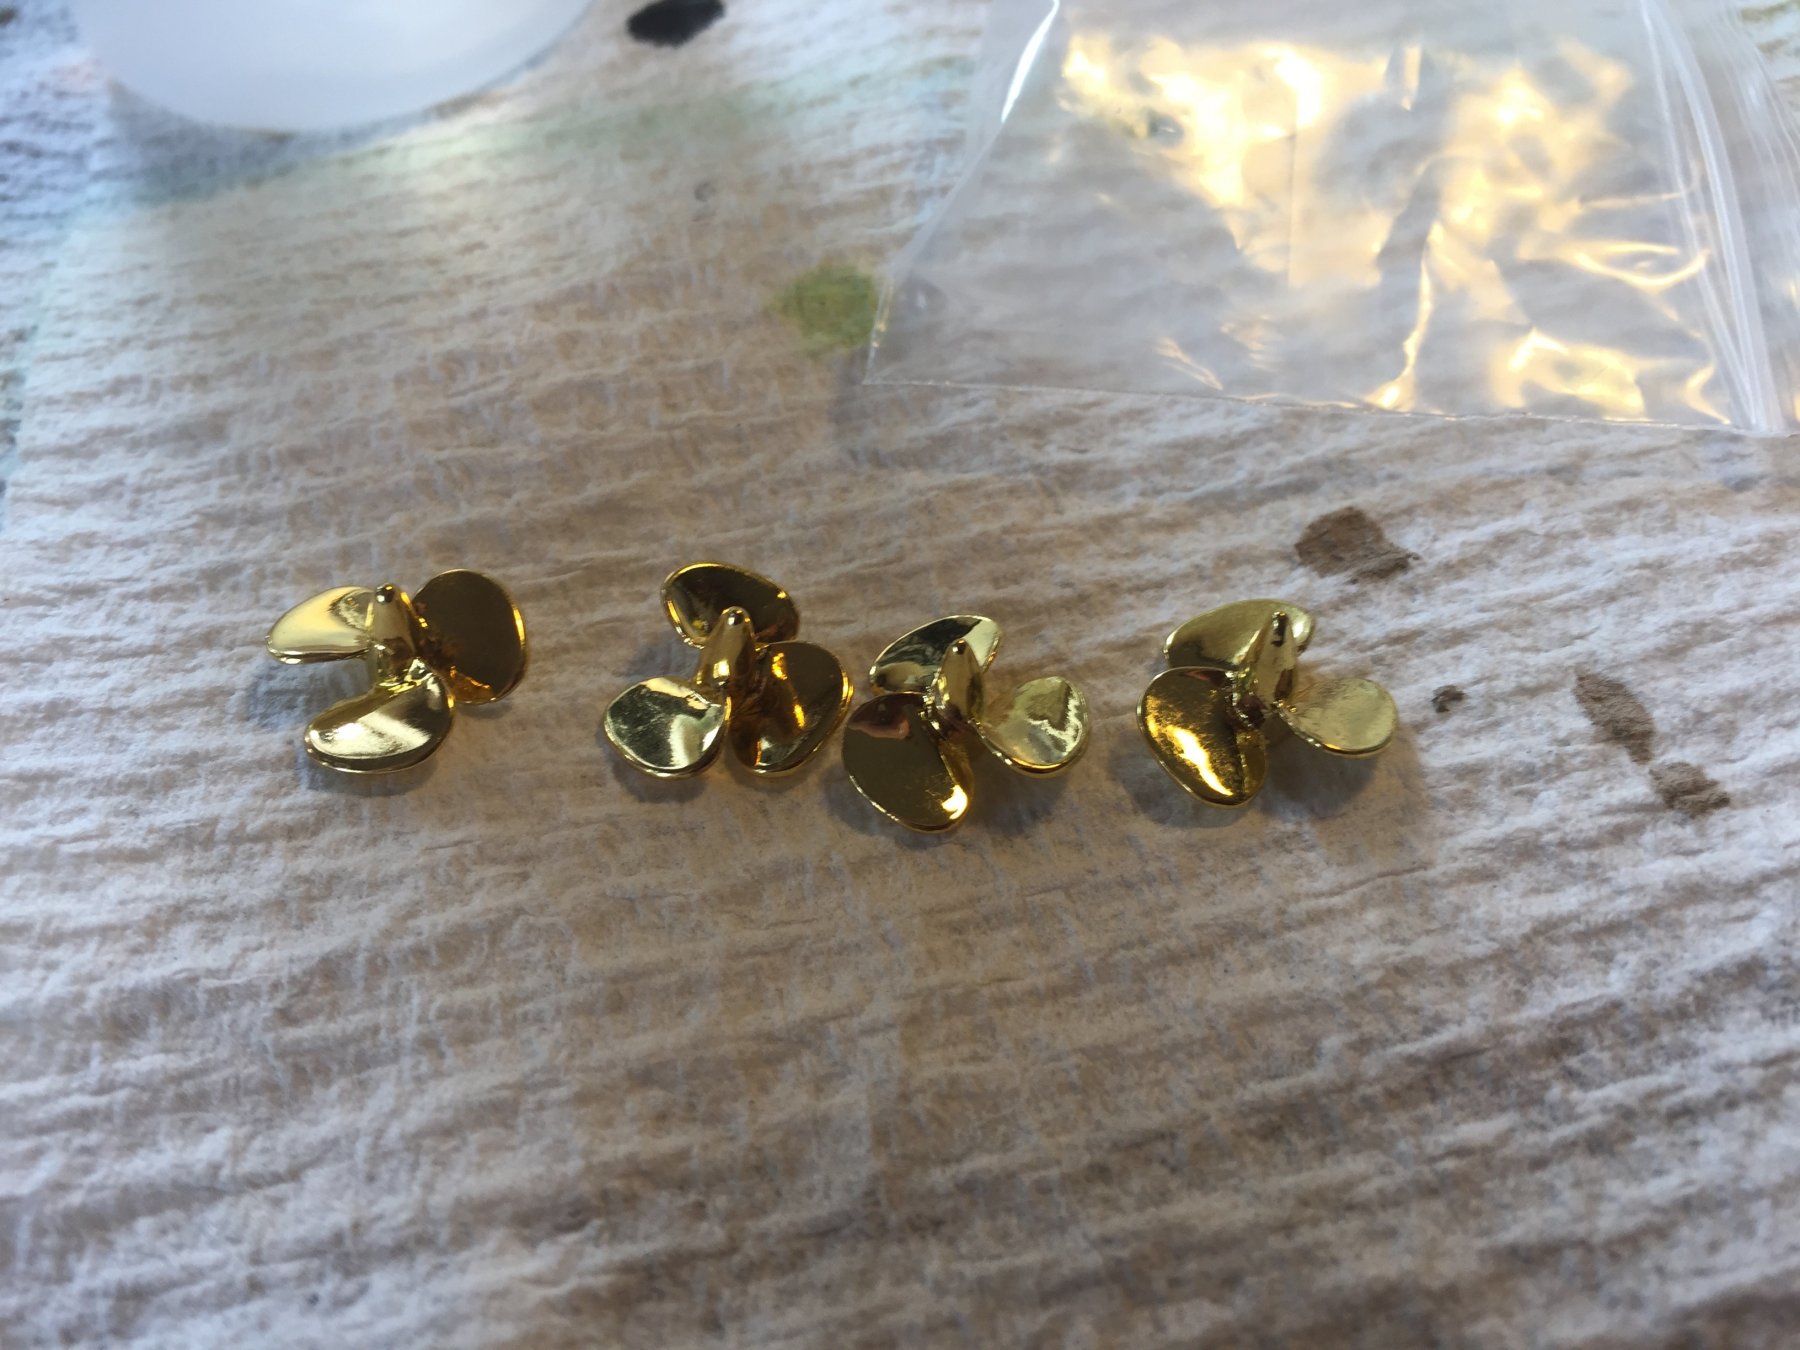
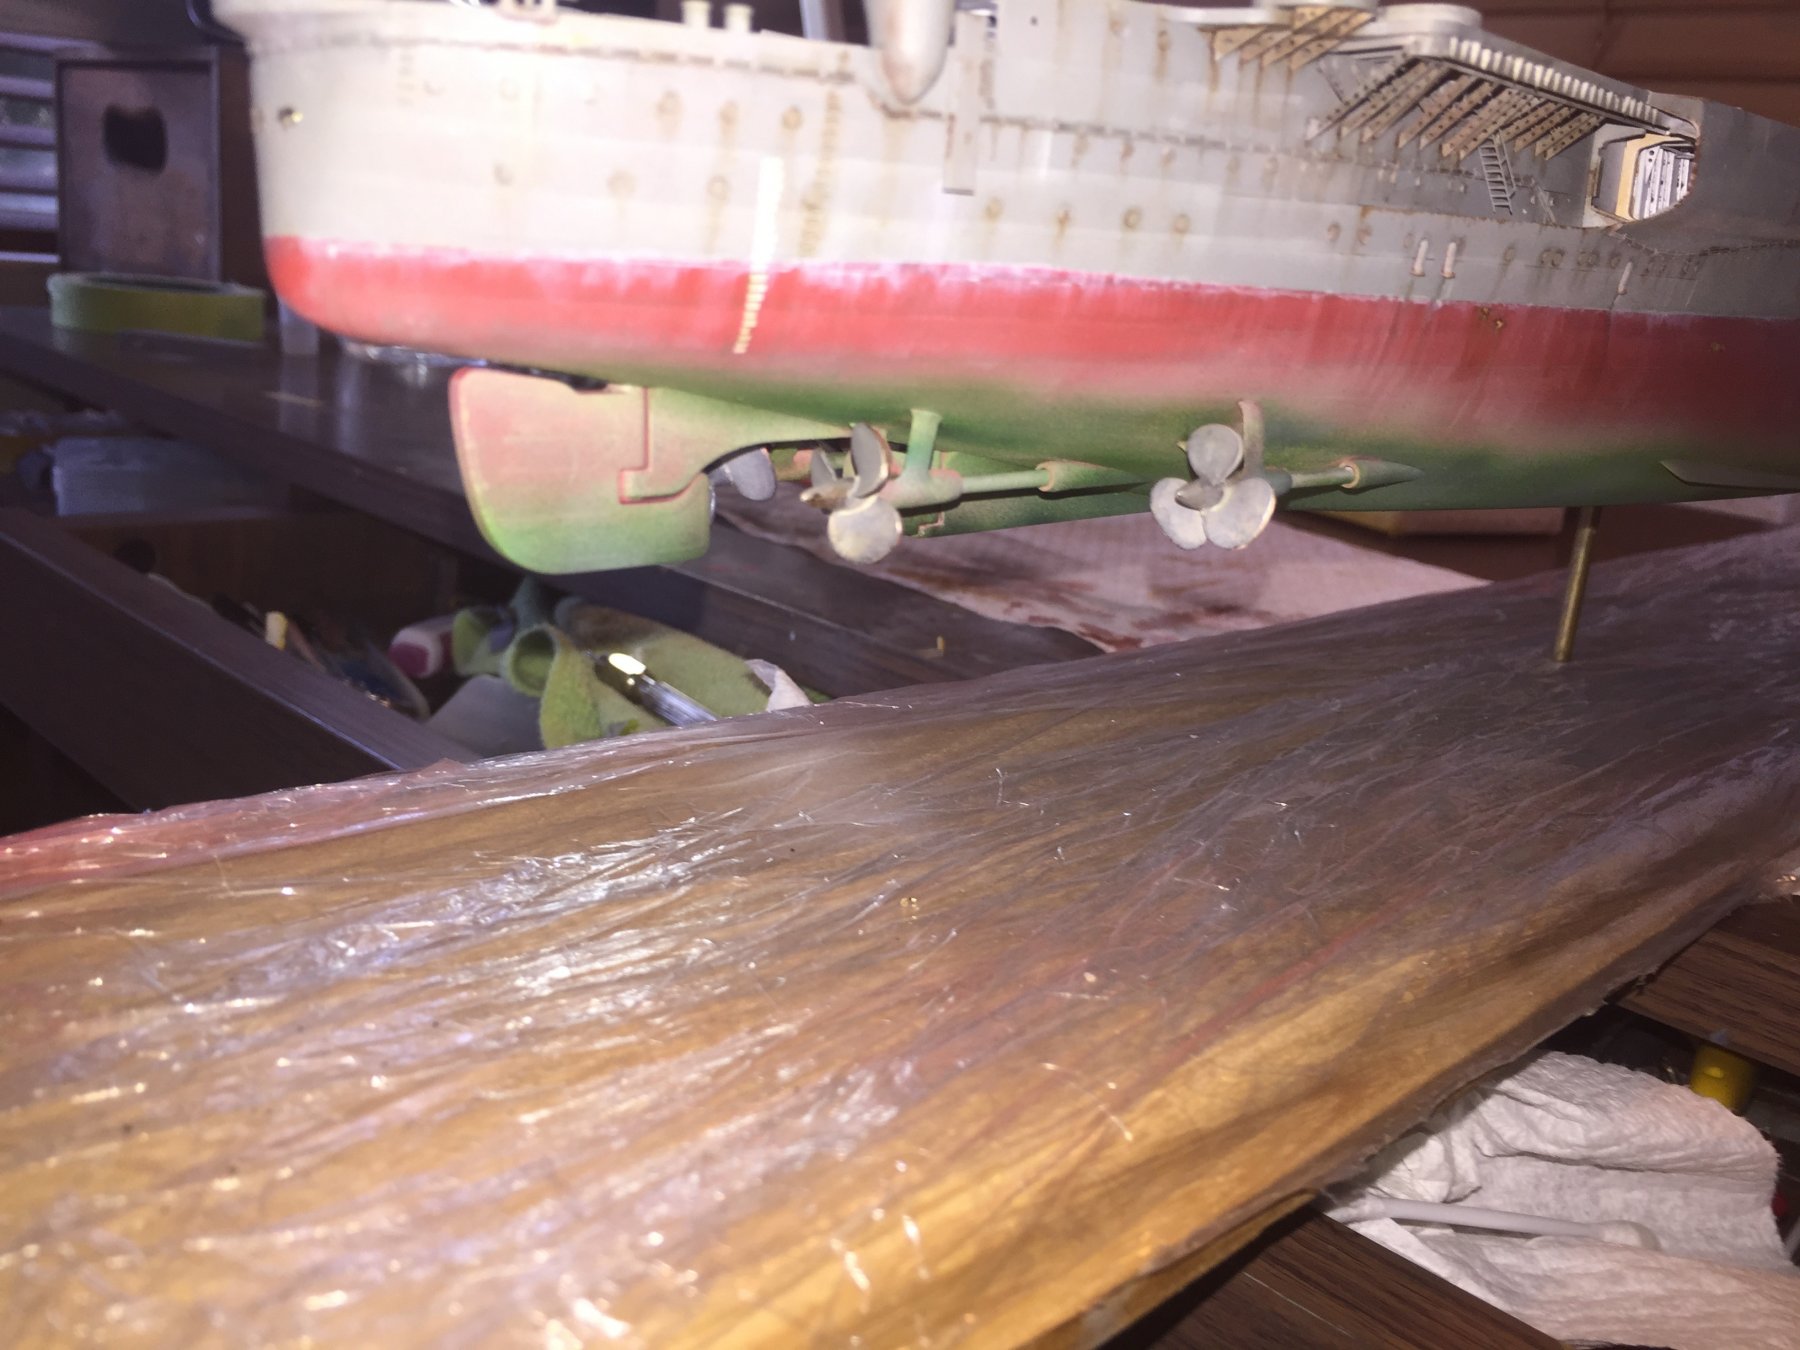
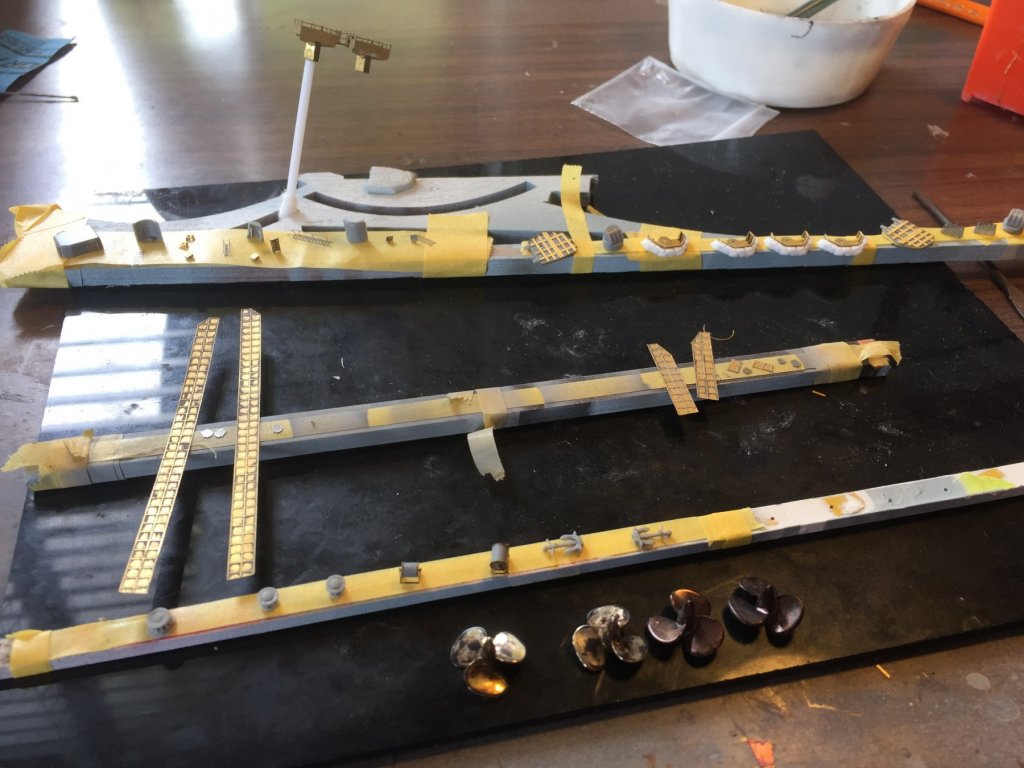
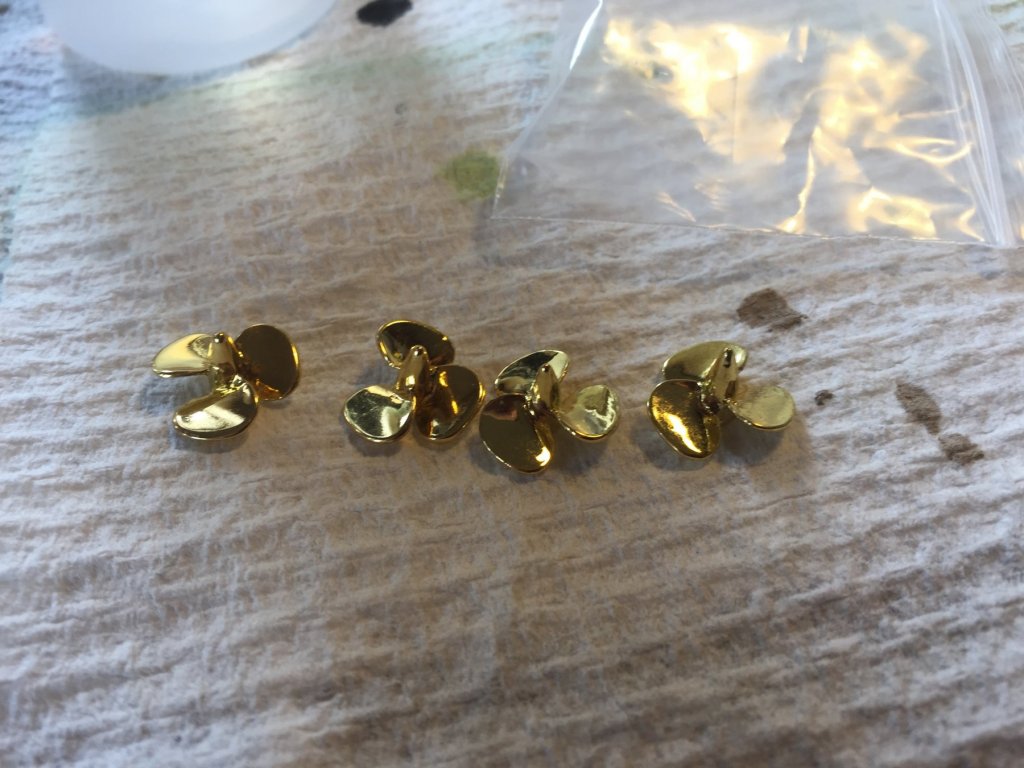
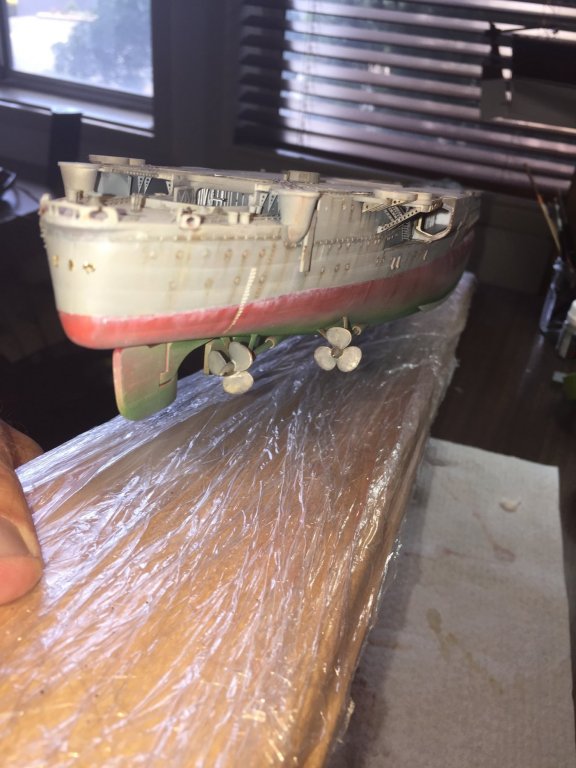
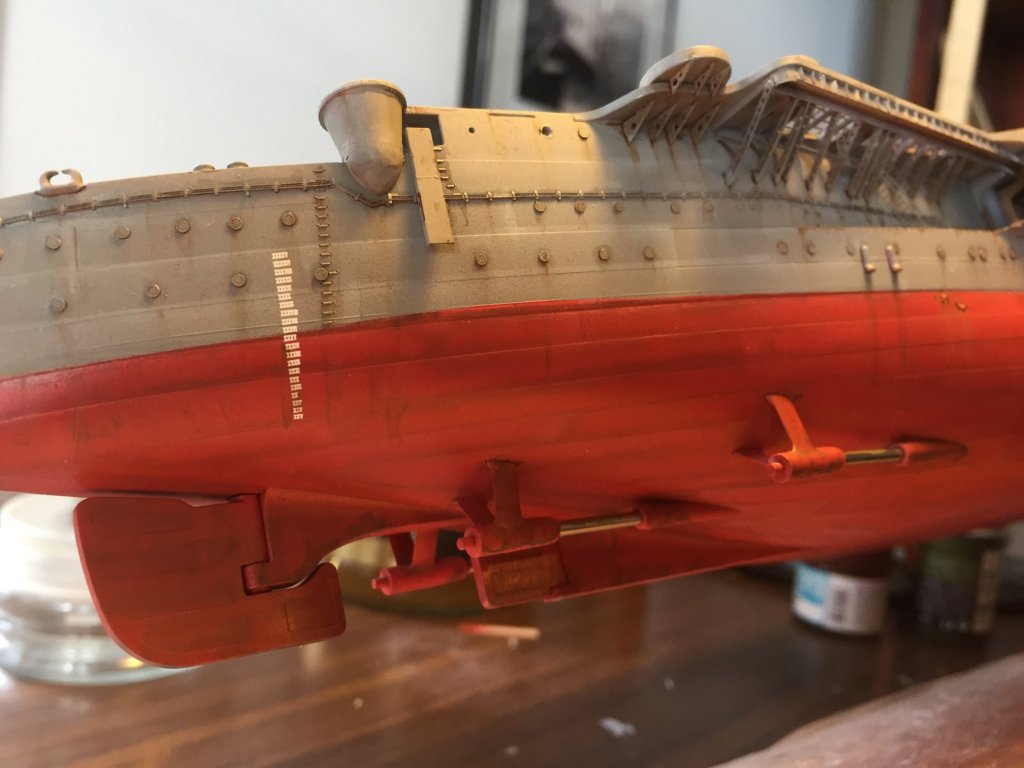
I dulled down the green a tad, the the shiny brass props which would look a bit silly glowing under the grunge, so I used some blacken it and a light grey overspray.


- 743 replies
-
- 17
-
-
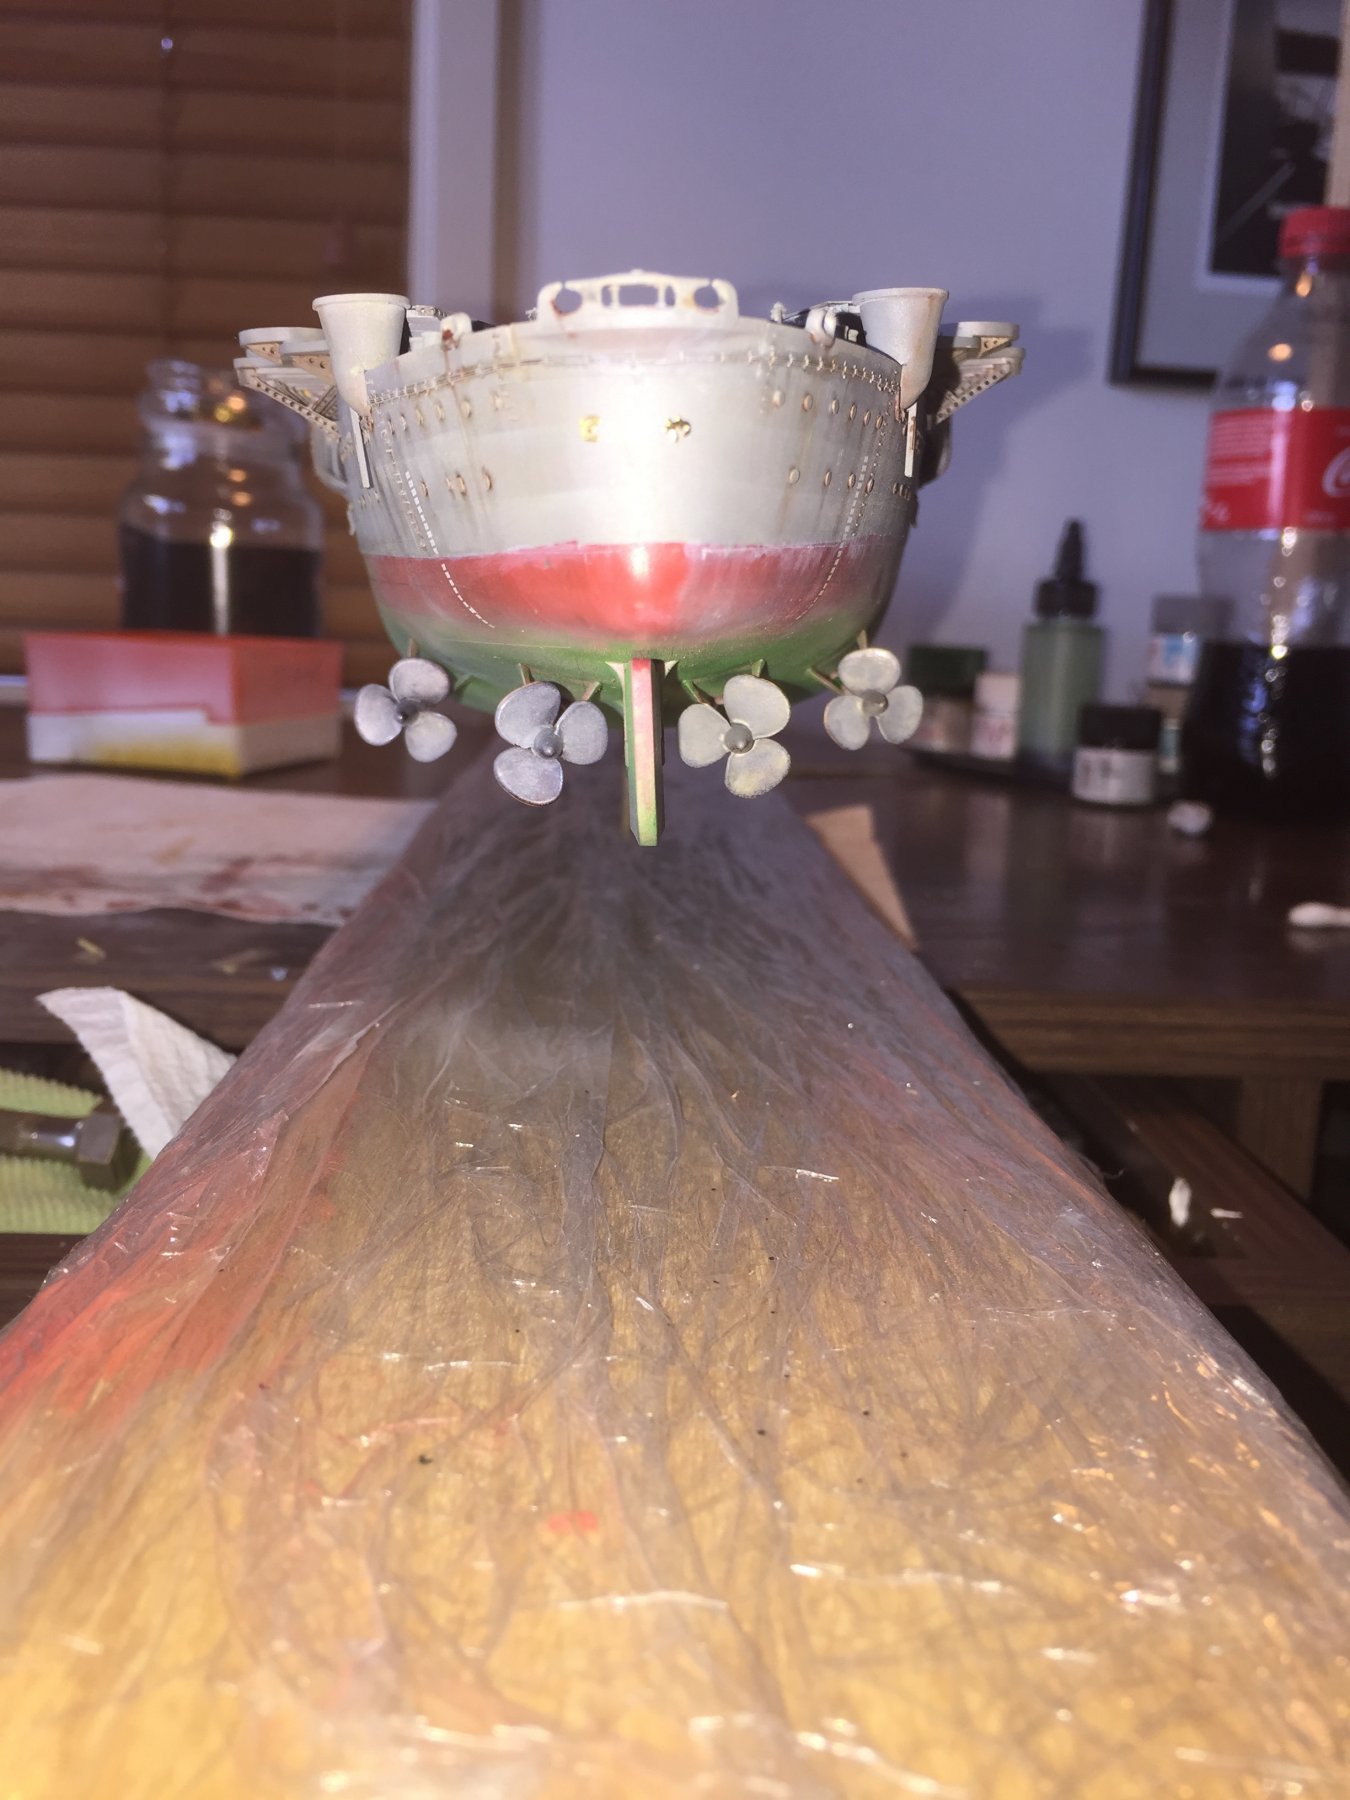
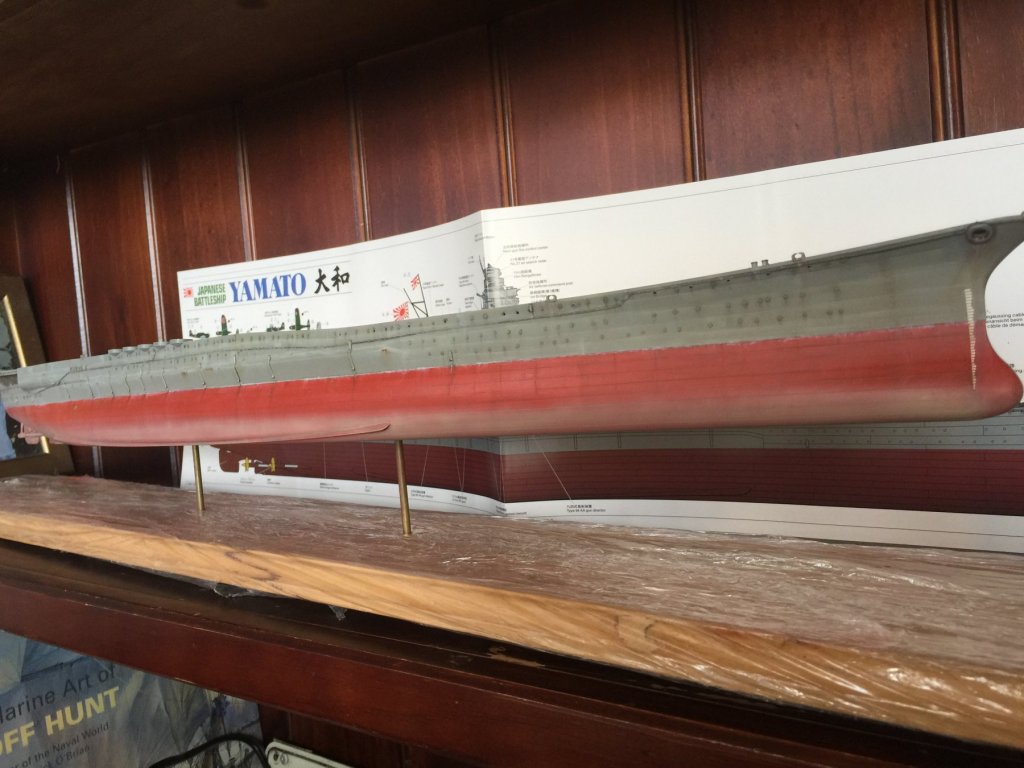
Green grunge next, using Tamiya clear green oversprayed. I will given it a diluted black wash to dull it down and add some texture. The final step will be putting the 4 propellers into some blackening agent to dull them down as well. When I finally put the model on its' base I will cut the brass rods right down so it will sit about an inch off the base so the underside will not be so obvious. Yes Mr Rabbit the kit is huge. Painting these large areas is challenging to say the least, as you never know how much to put in the airbrush. It also makes it hard to photograph. I'm somewhat satisfied with my first attempt at weathering to date.
- 743 replies
-
- 14
-
-
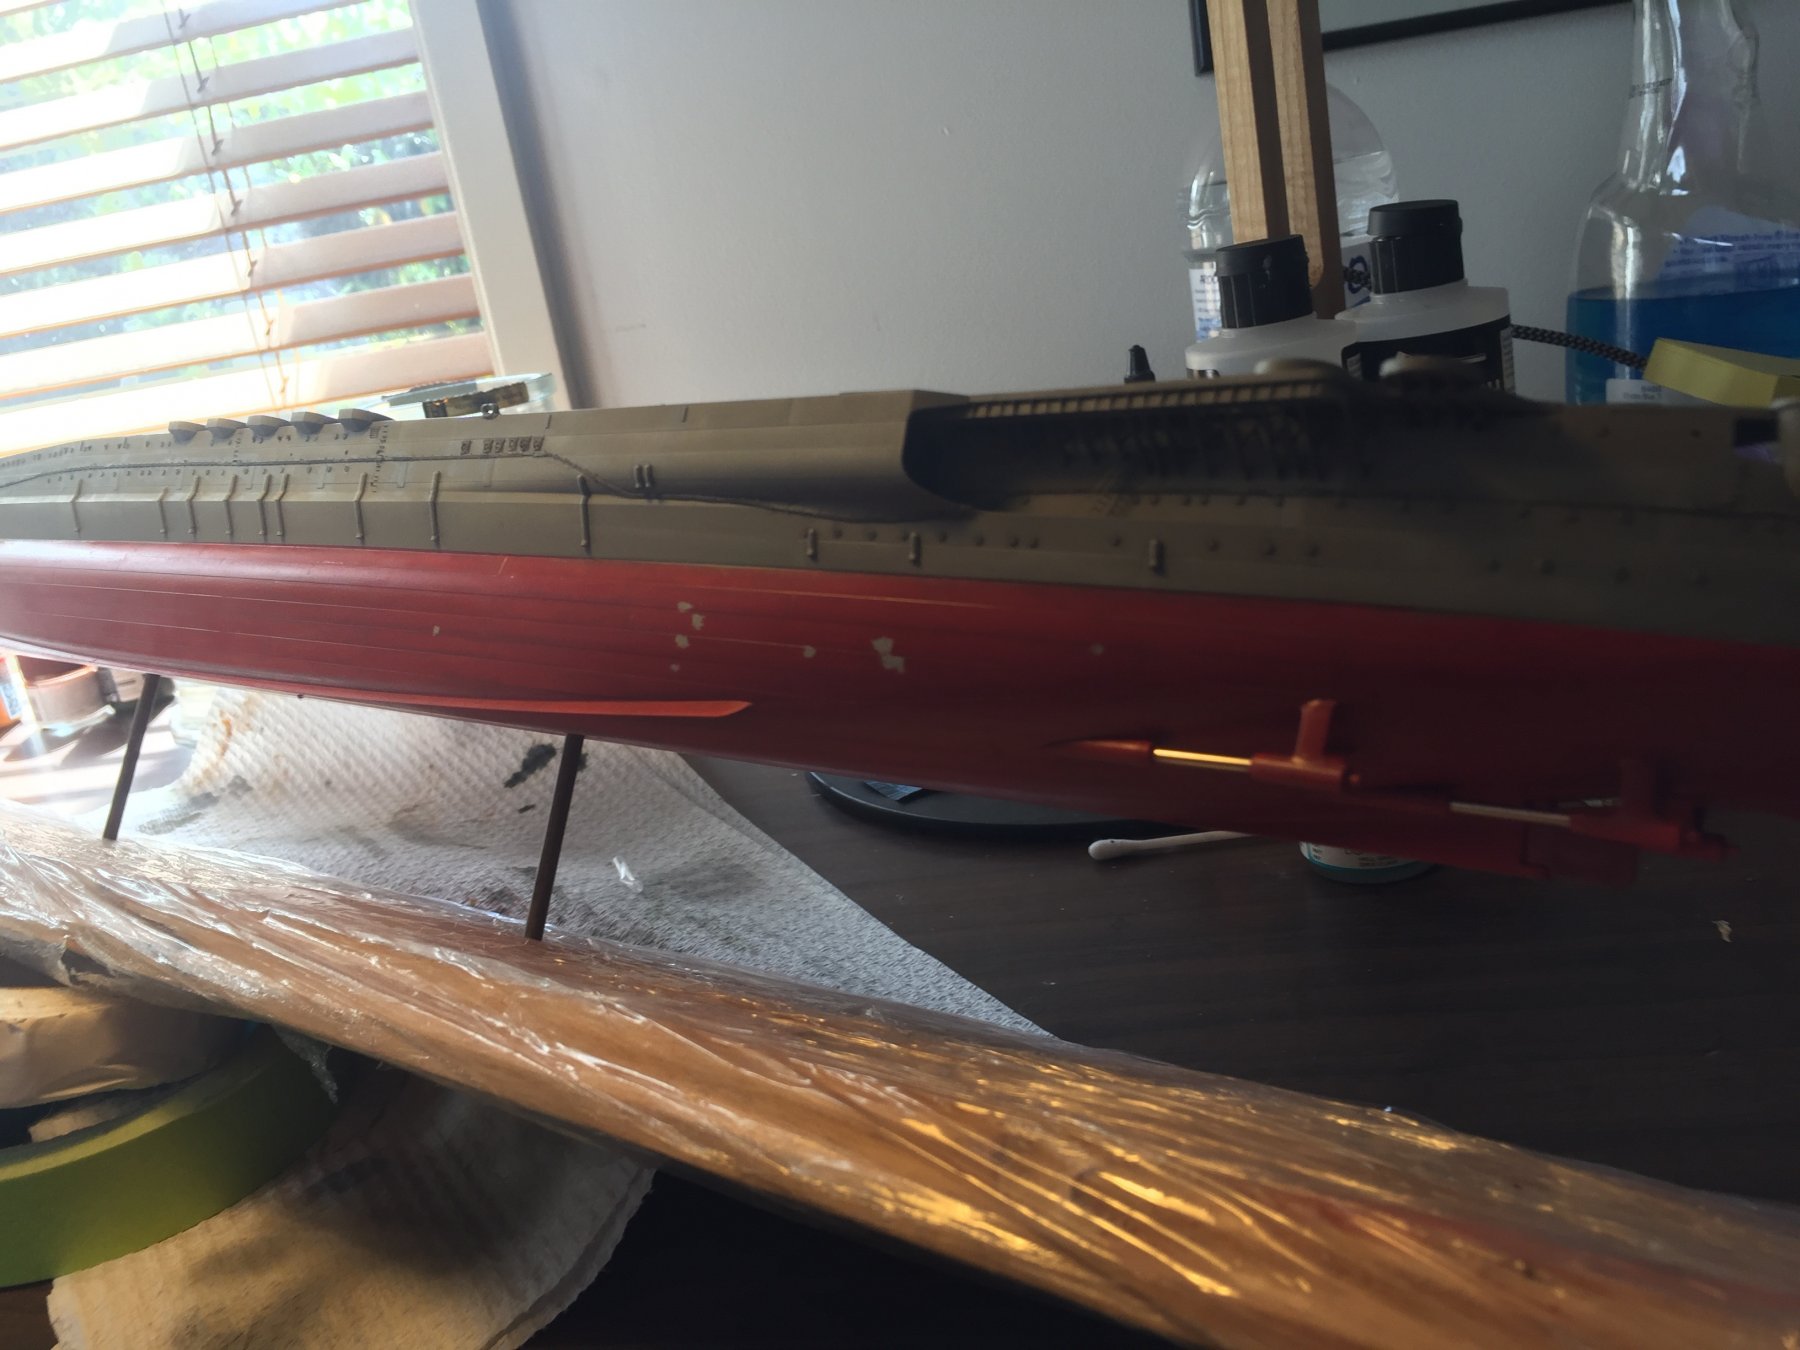
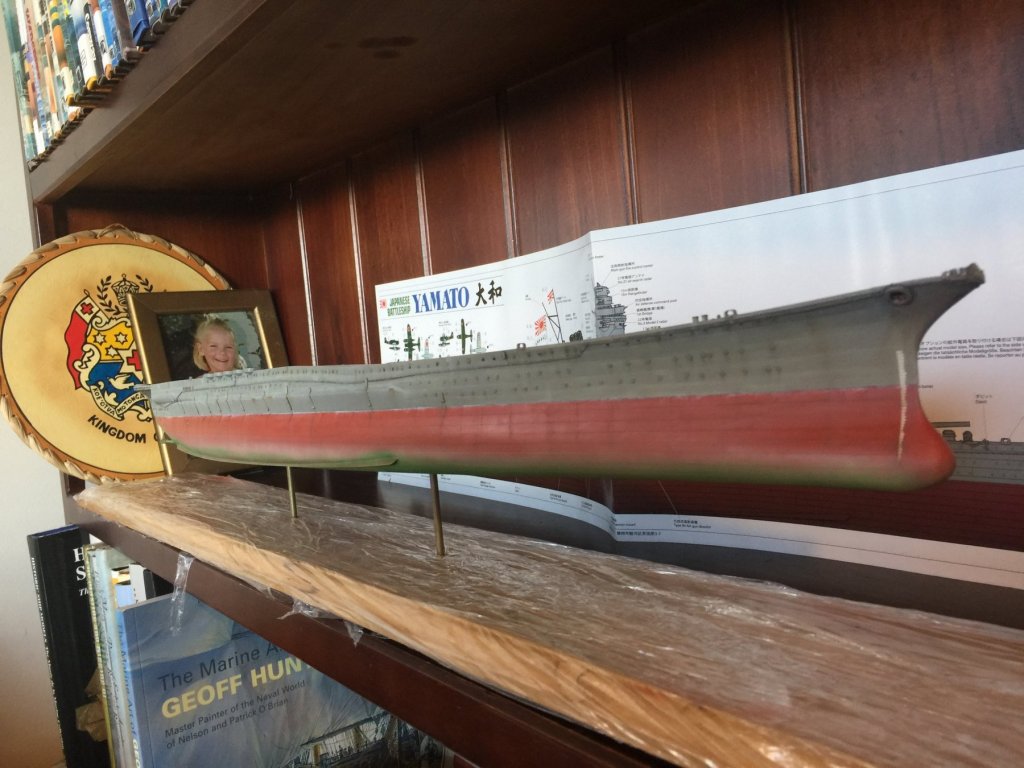
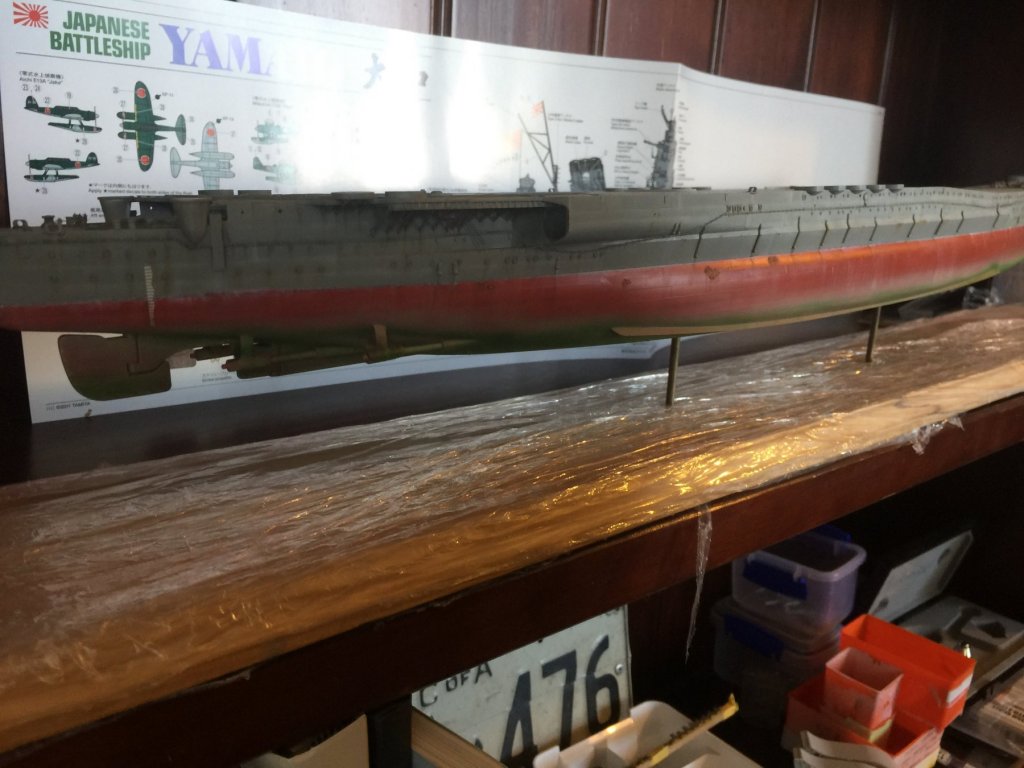
Grunge coat, I have added a light coat off buff the bottom of the hull, next will be some clear green to represent even more hull grunge. I have tried to remove a lot of the salt, but I suspect when I give the hull a clear coat even more will go.
- 743 replies
-
- 13
-
-
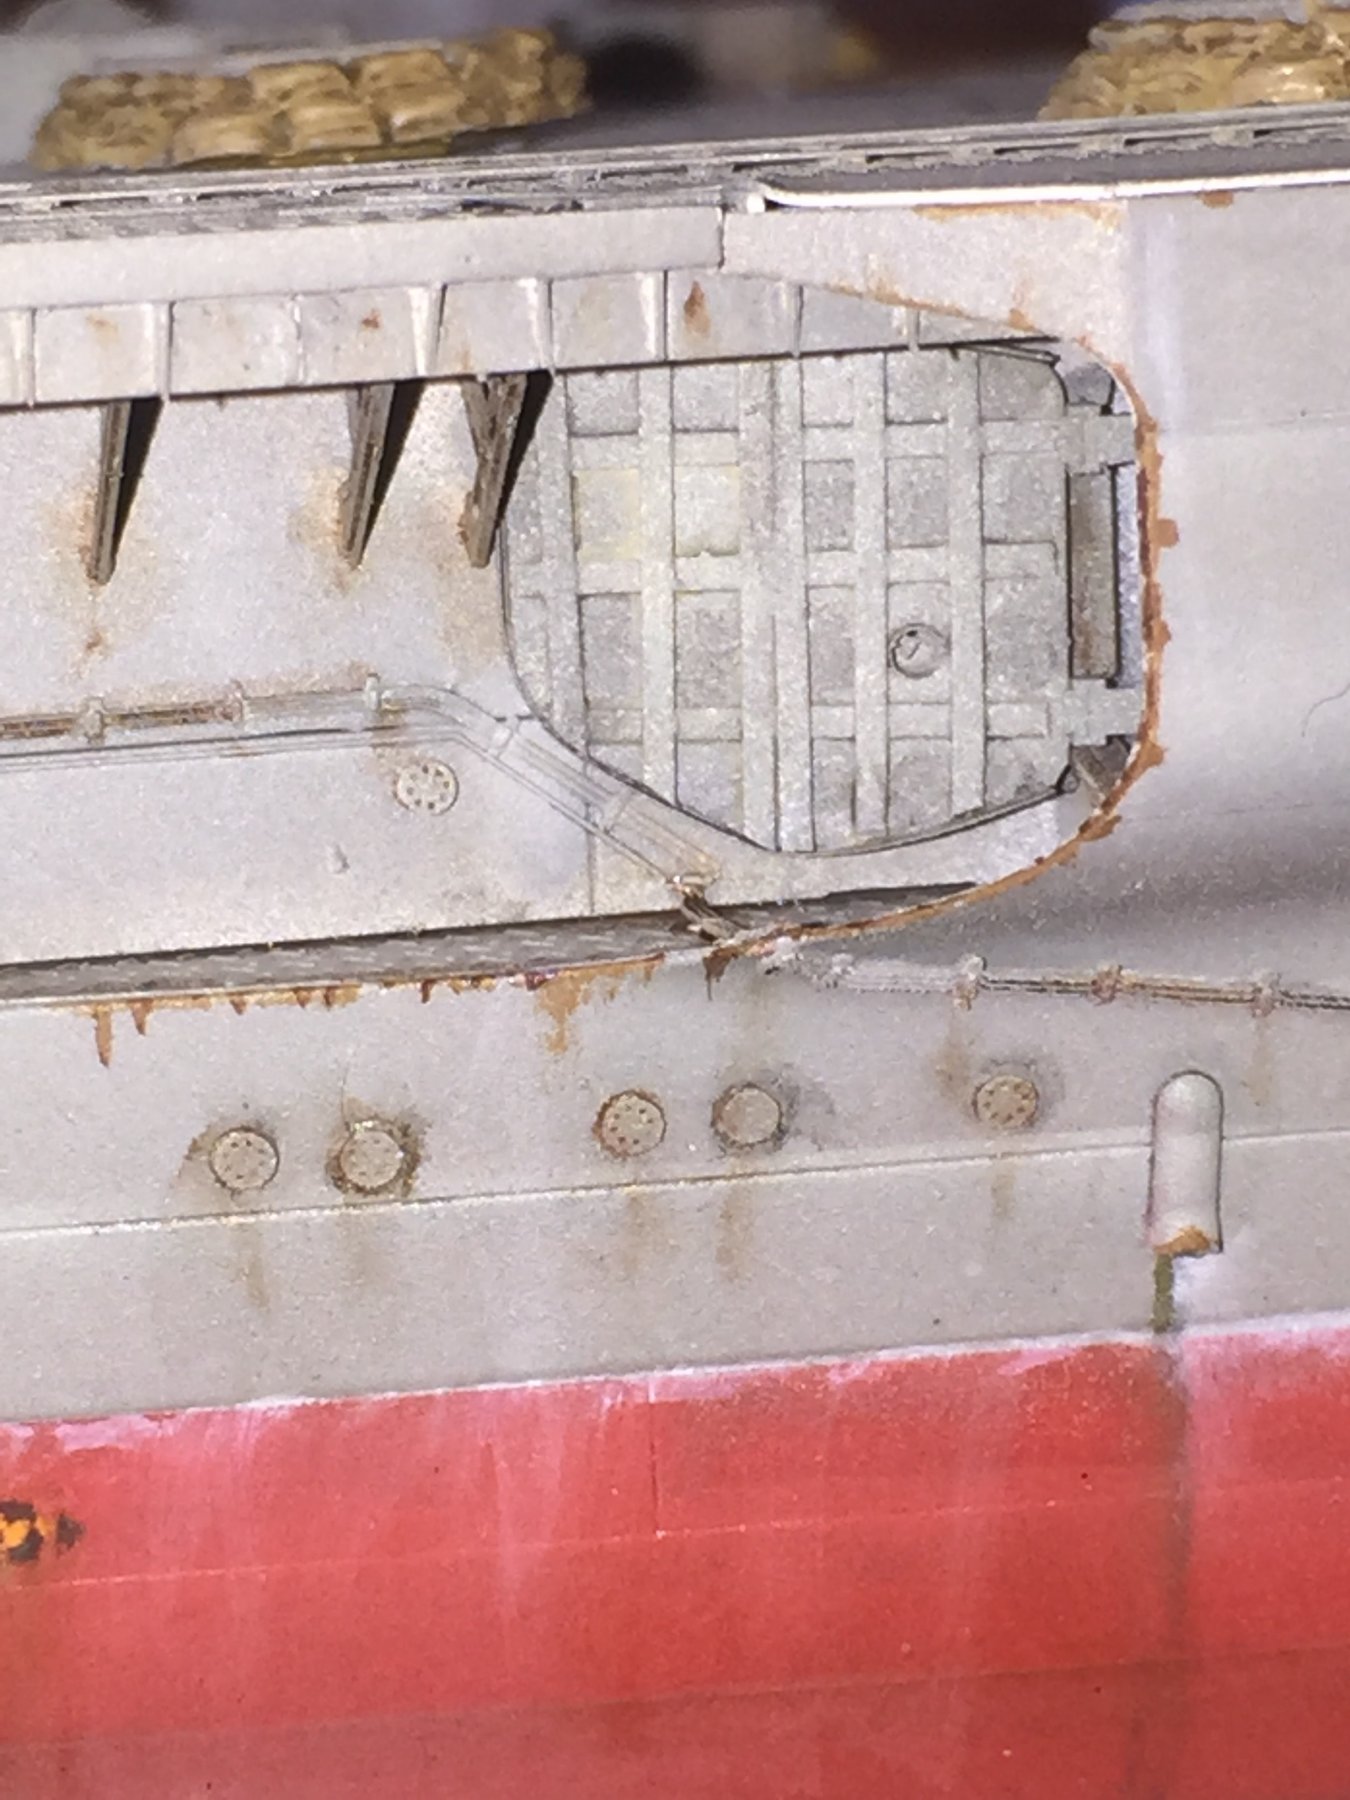
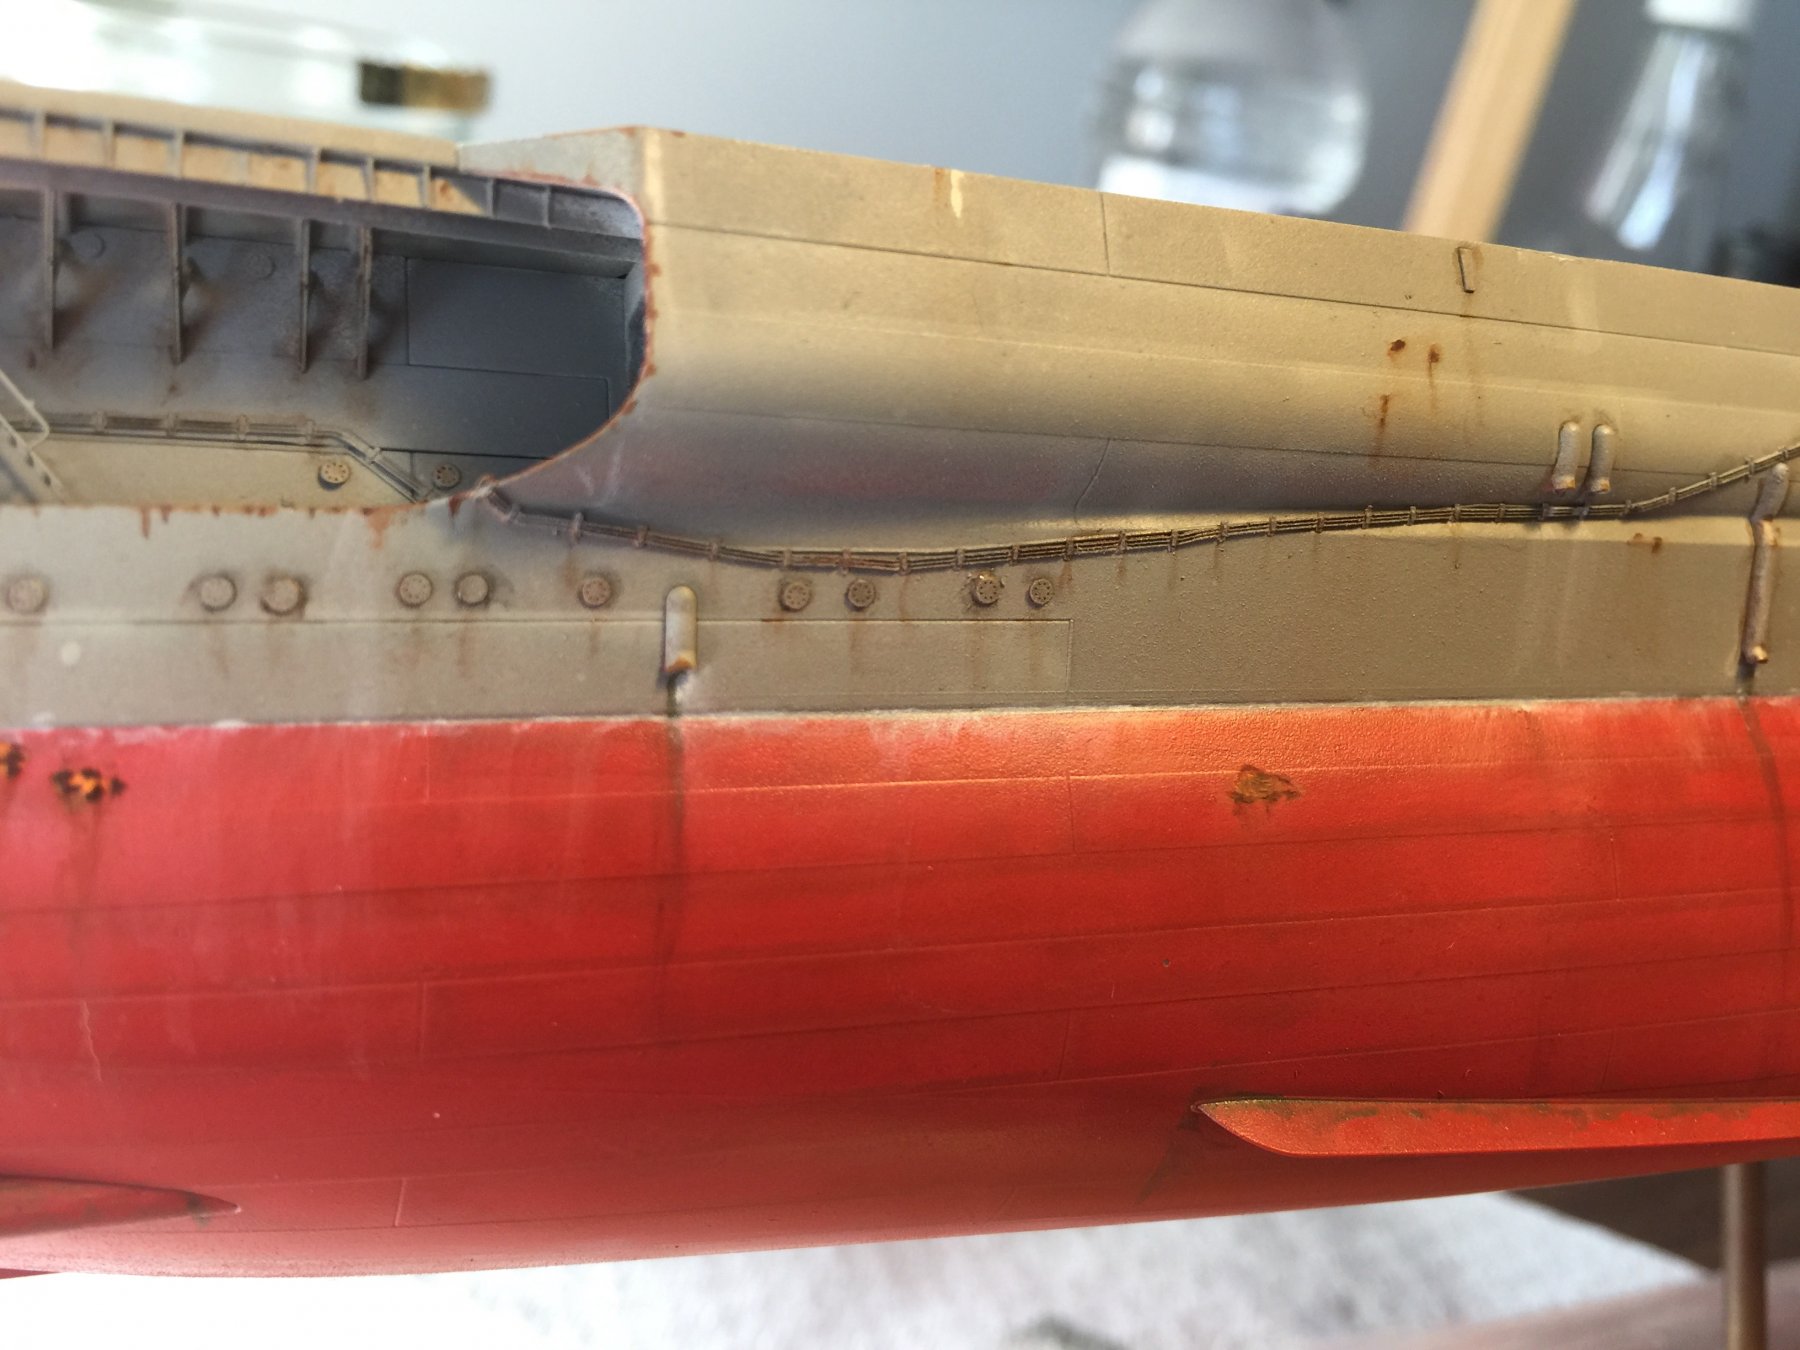
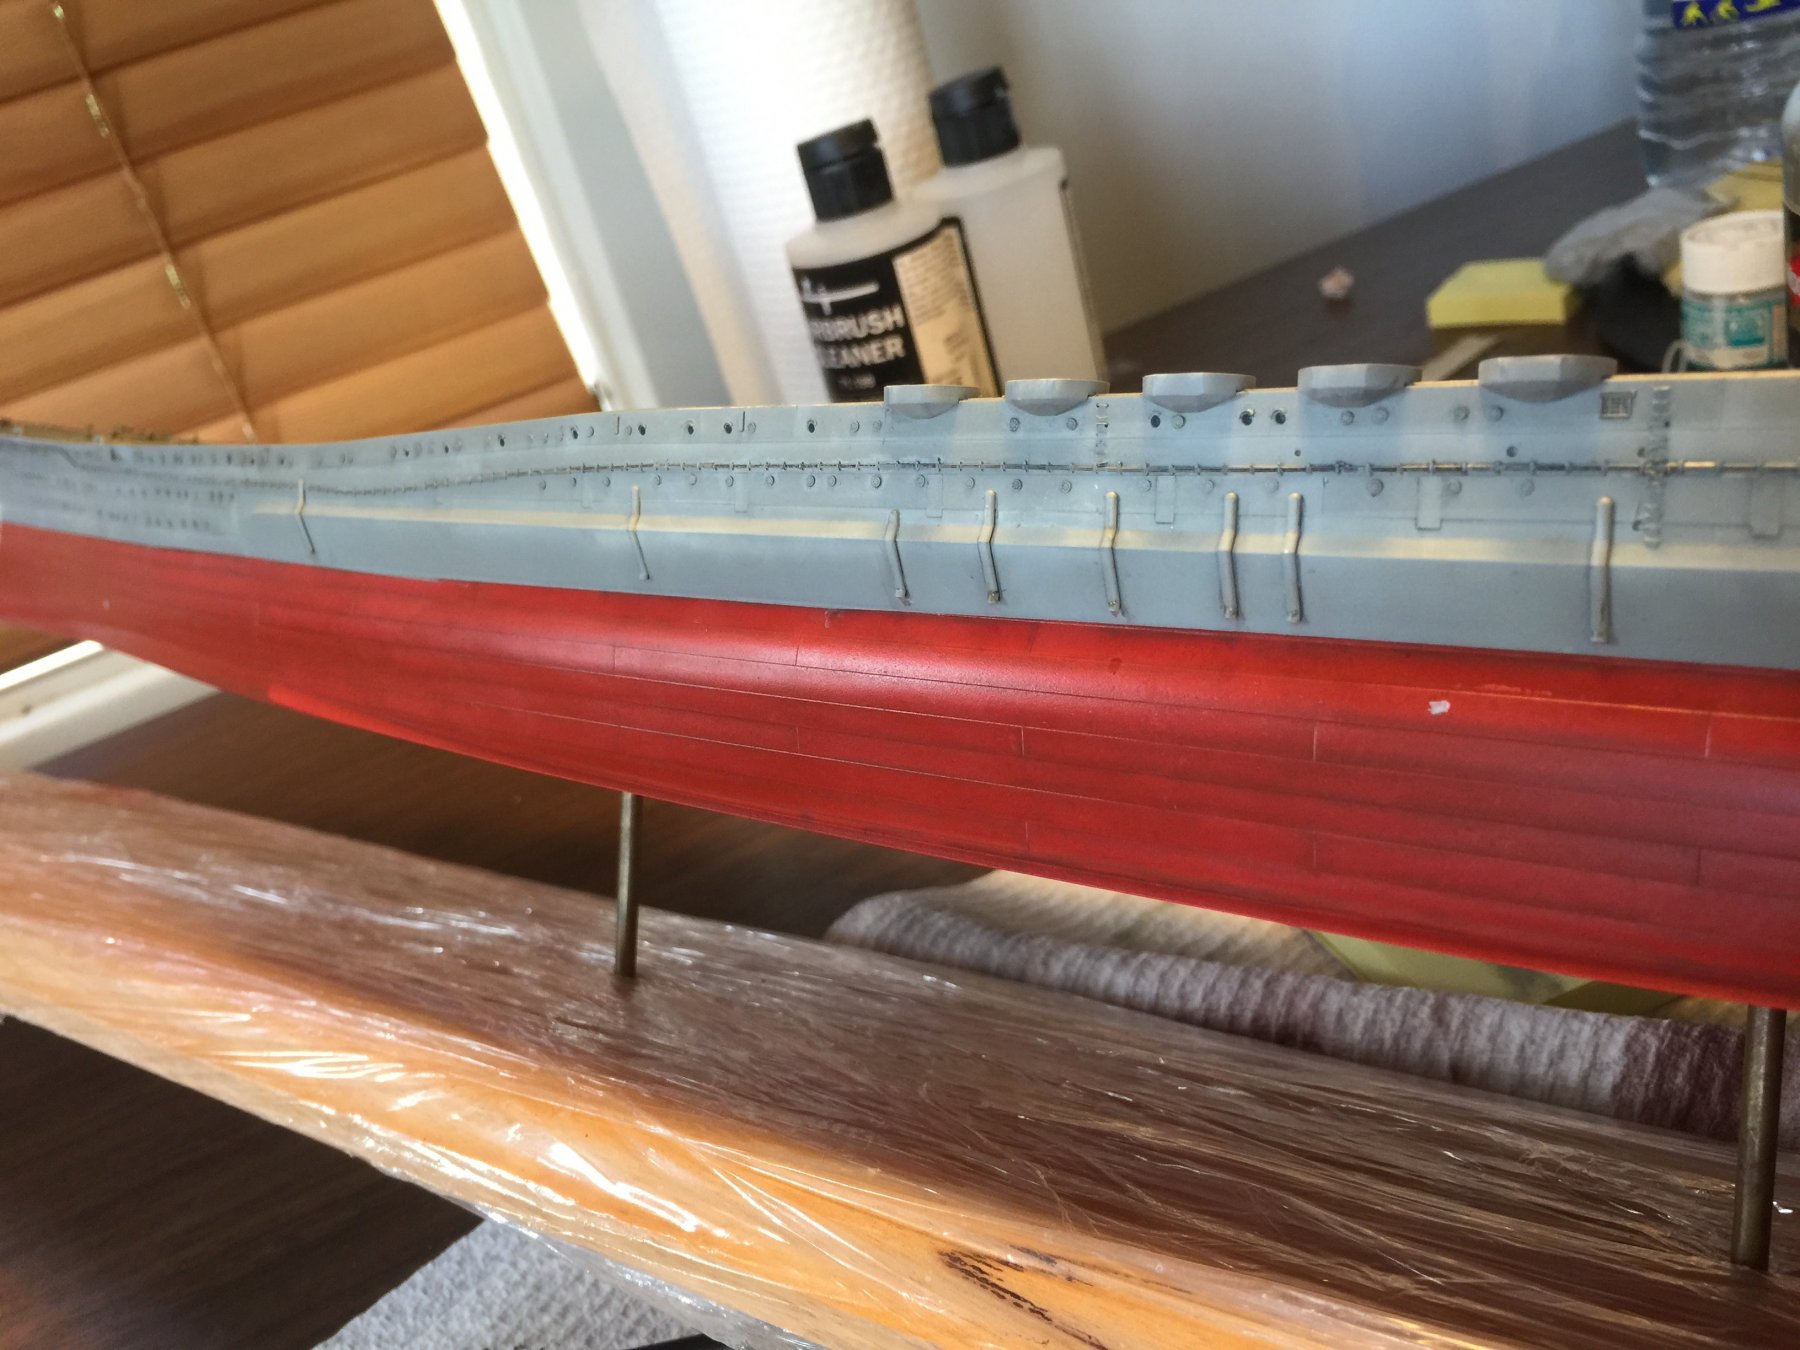
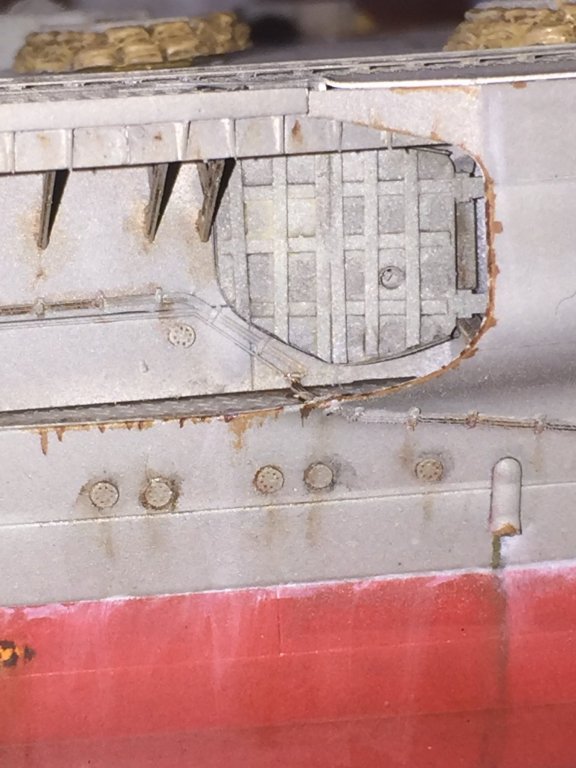
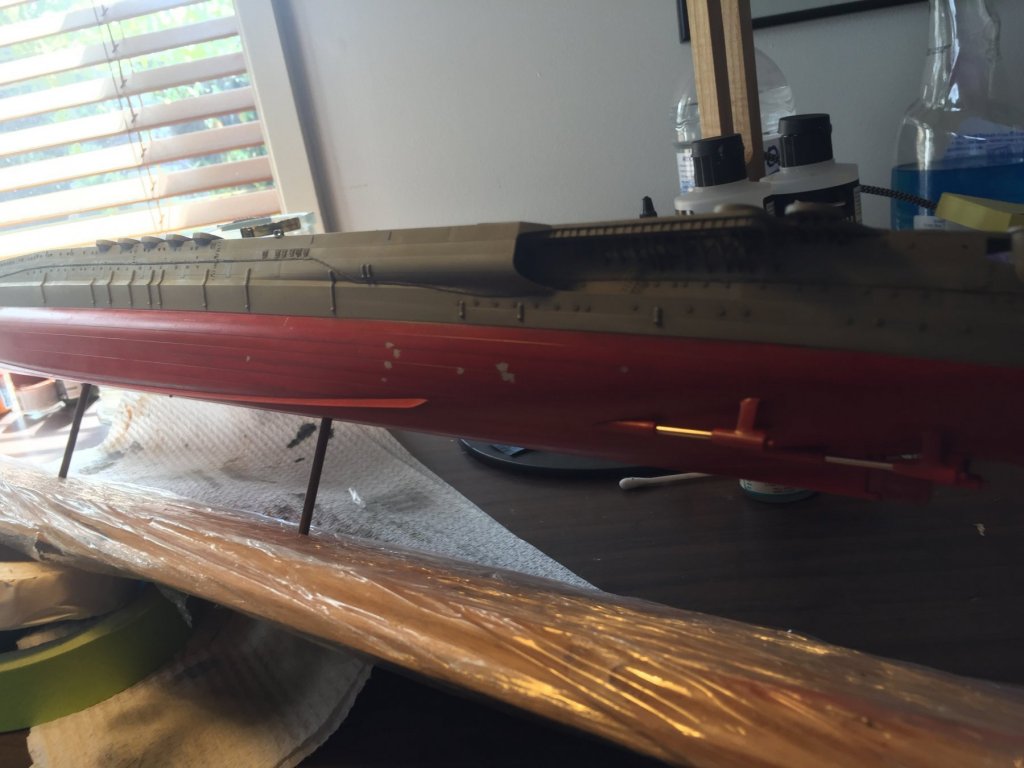
Thanks Pat. The second last step on the hull base is salt. I have done a salt line on the waterline, as well as from the scuppers and beneath the hawsers and along the centre armour belt. The Starboard side is not done, next is the Port side which I won't get to till next week. Thoughts for improvements? Once that is done back to the airbrush.


- 743 replies
-
- 14
-
-
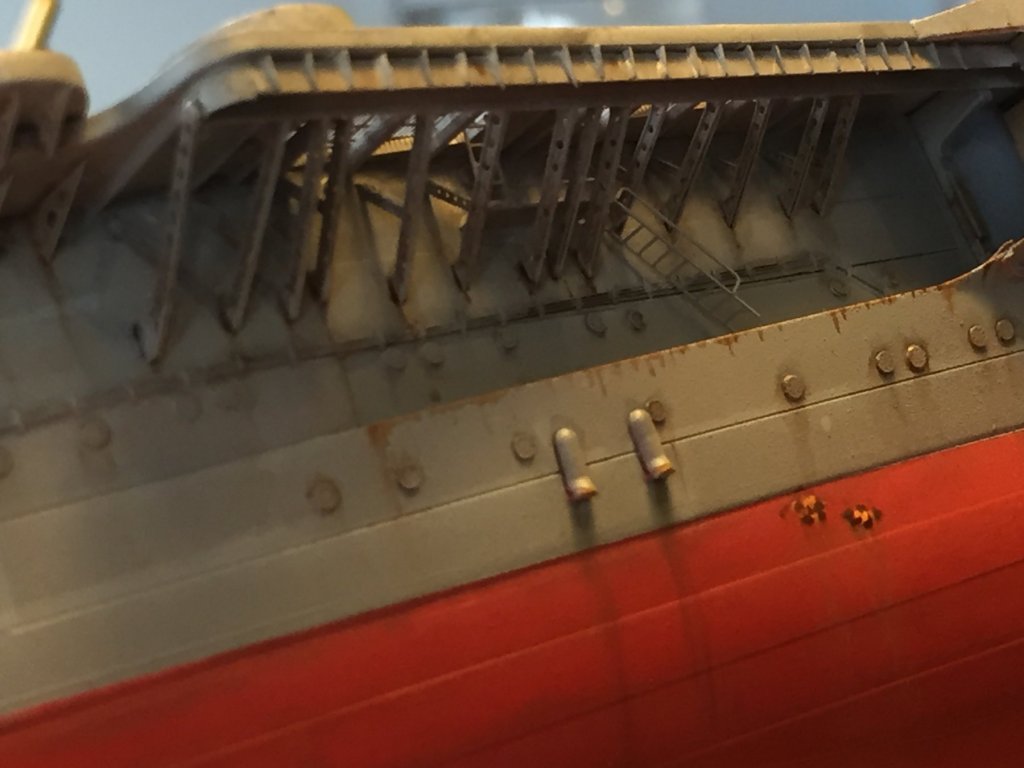
Thanks chris, does it accumulate on the hull near the breakwaters? Anywhere else? Being a landlubber I can only go off very old photos.
-
Pat, how much salt sticked to warships and what would the main place be on the upper works would it streak?
-
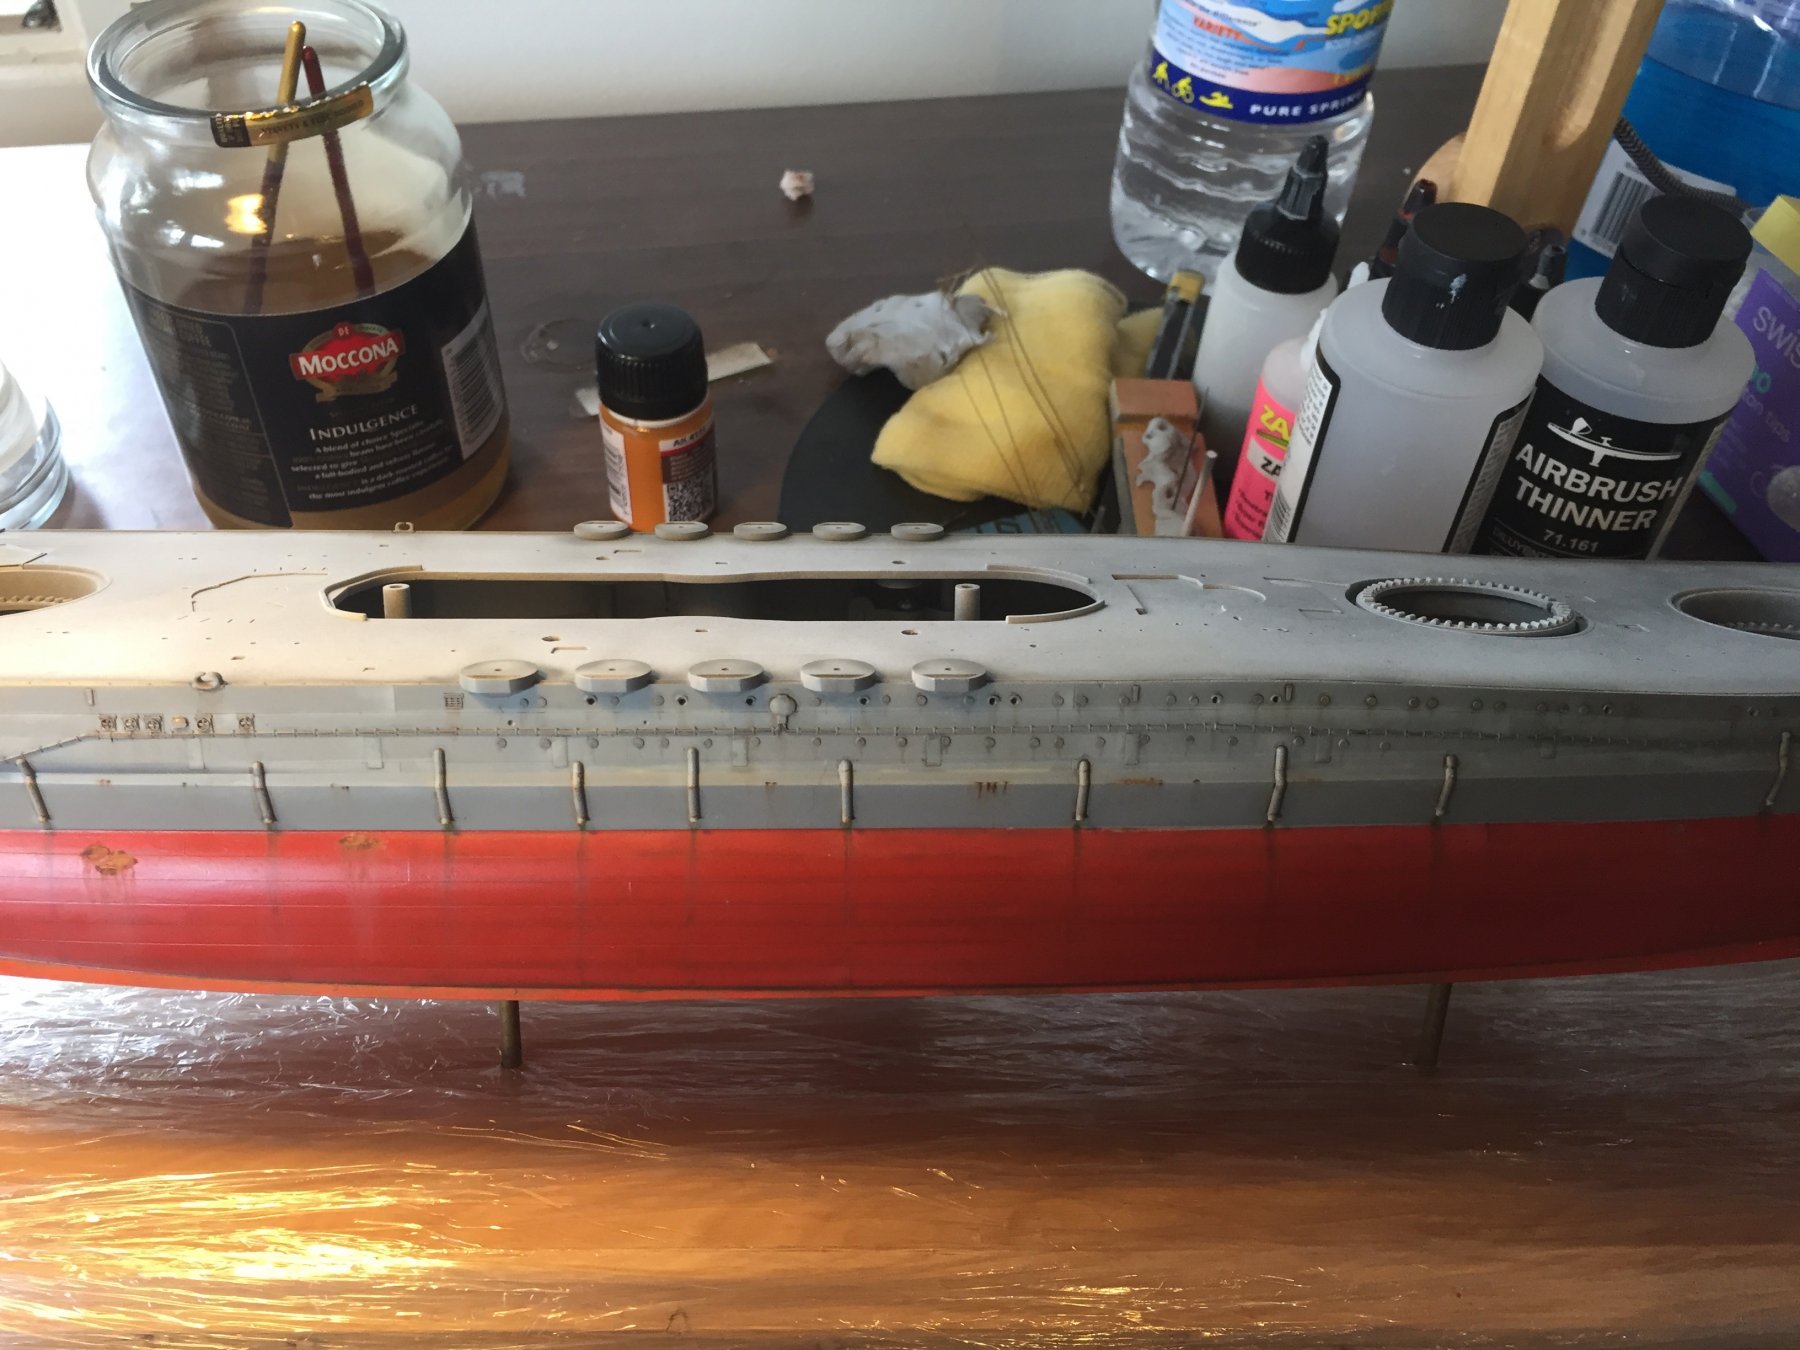
Weathering time! I've never tried this before, and as there is so much detail on the hull, I want to get the hull weathering done first so I can airbrush a grunge coat on the bottom then leave it on the stand to work on. I have used (so far) rust/green slime, with salt then a grunge coat underneath. Half the hull done after a full day. You can see the bits where the paint came off as I removed the tape an I have used a light and a dark rust product.
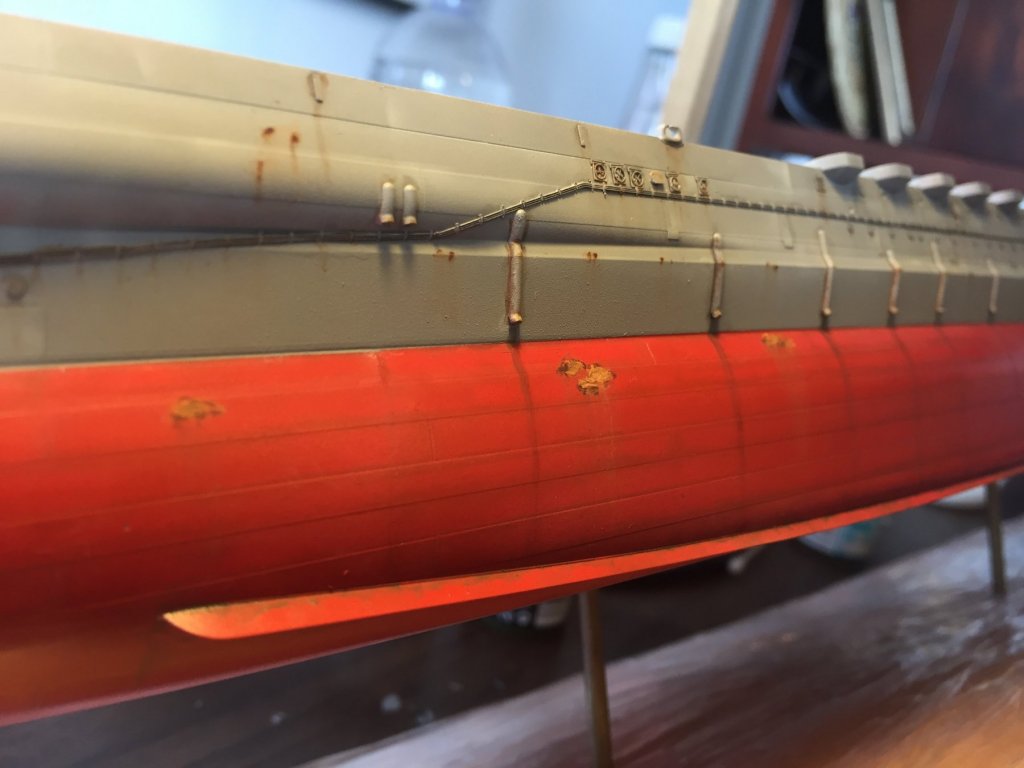


- 743 replies
-
- 15
-
-
No idea Cog, I've just gone off some other models and the old AOTS, so too late for me now I suppose as I won't get the new AOTS till April. I'm happy with the progress to date.
-
Next is the foredeck, wash added, then drybrushed to bring out detail. Once it sets I can start on rust, chipping and grime etc. The rear aircraft deck next, same thing. Eventually I will drybrush the railings silver to show wear.


- 743 replies
-
- 17
-
-
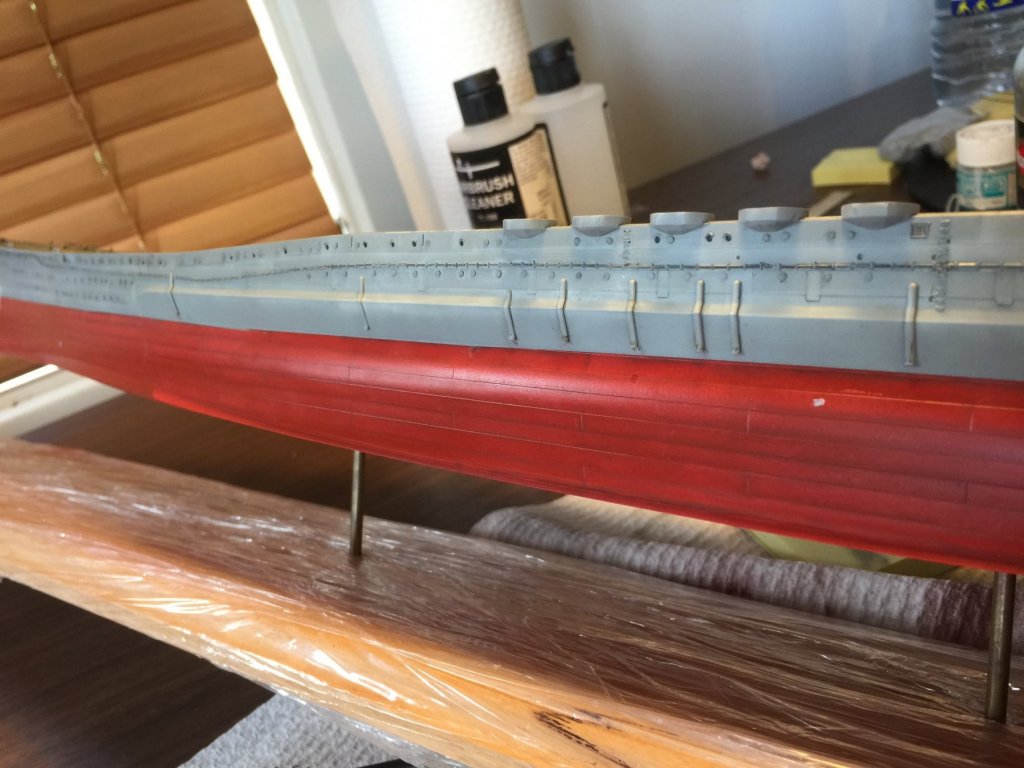
To make the hull a little less bland, I have started the washes, covering the degausing cable and deadlights. I intend to drybrush over the next to bring out the detail.

- 743 replies
-
- 13
-
-
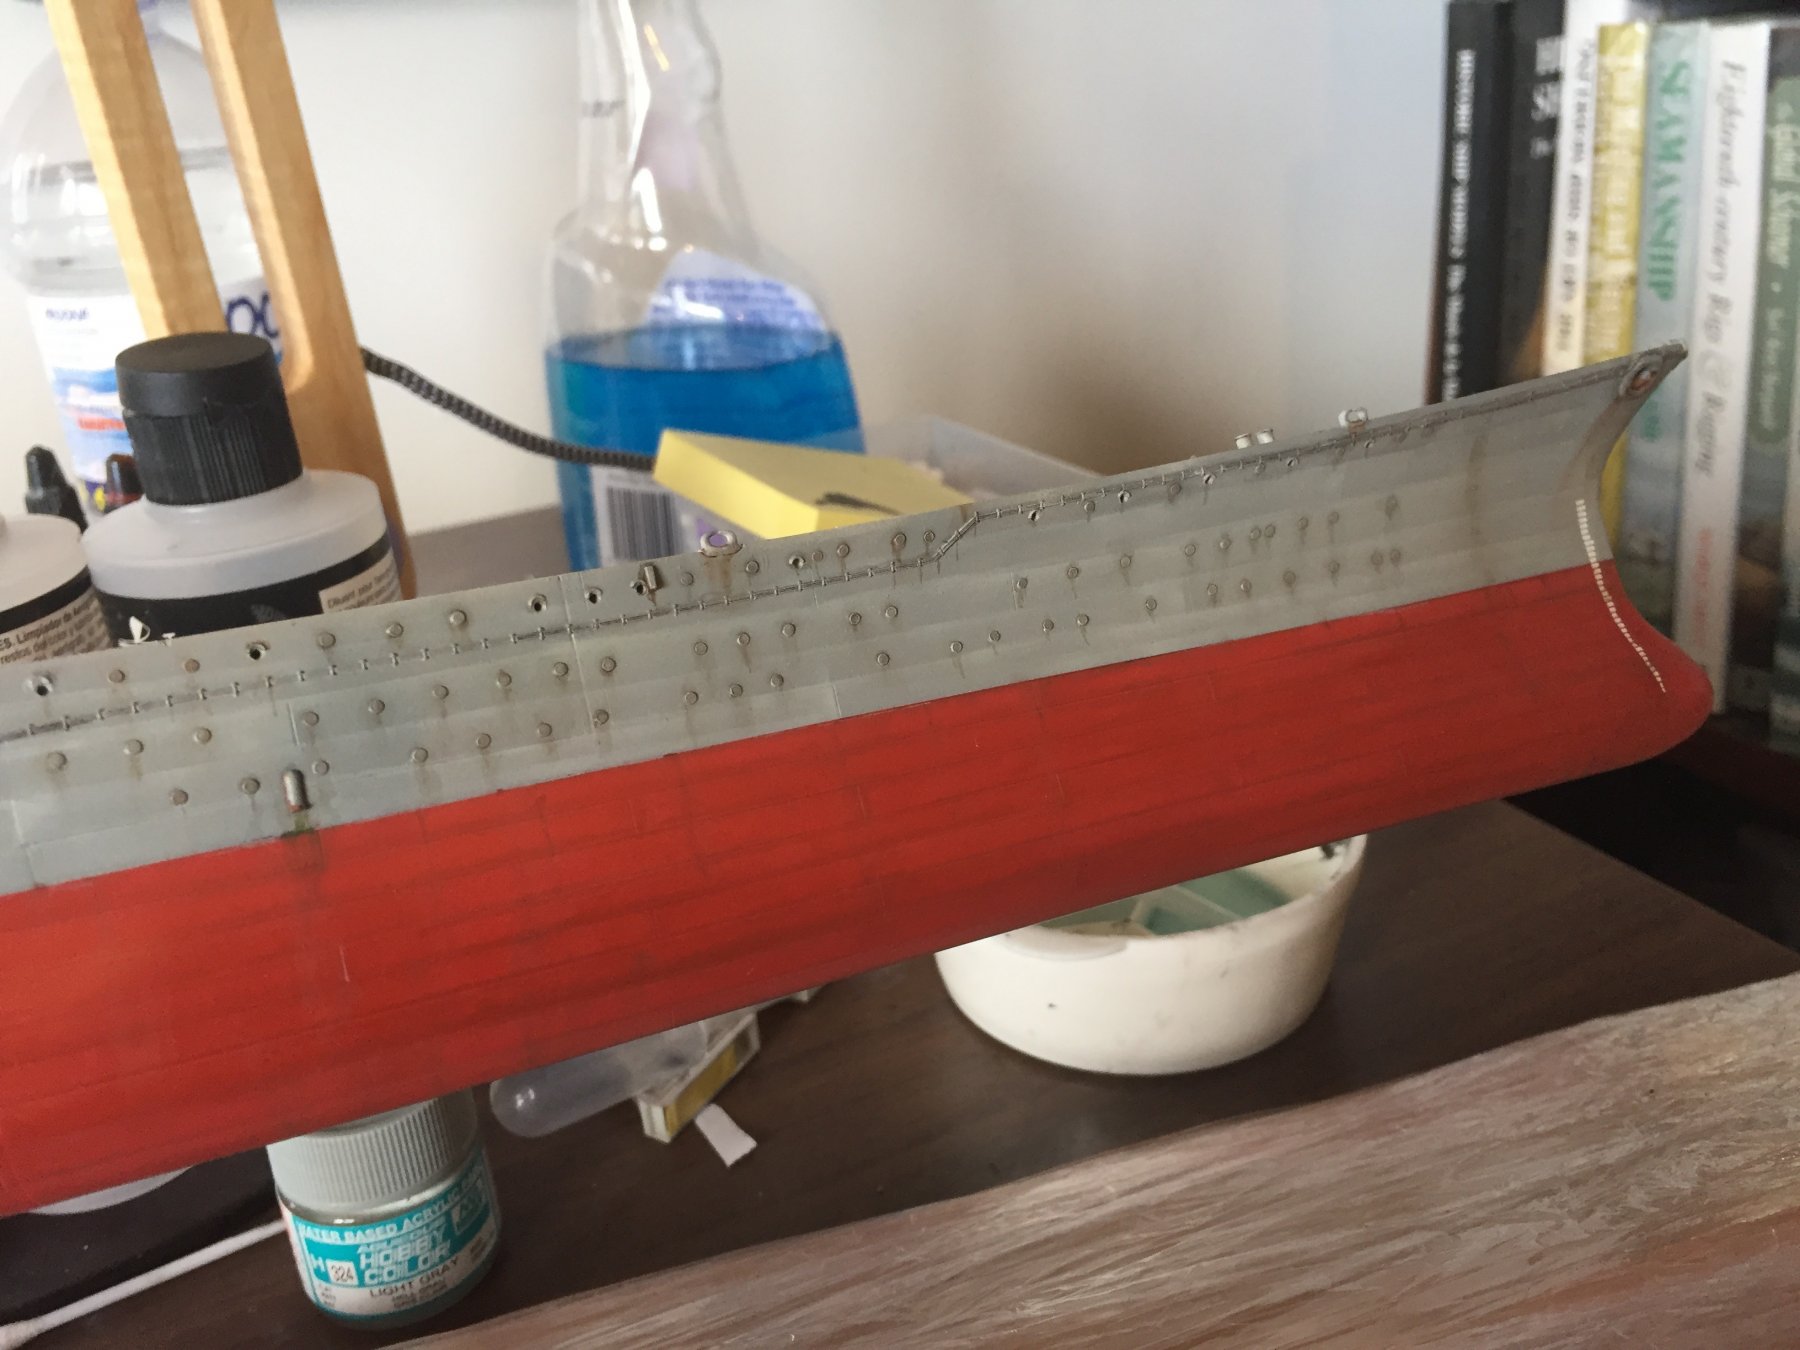
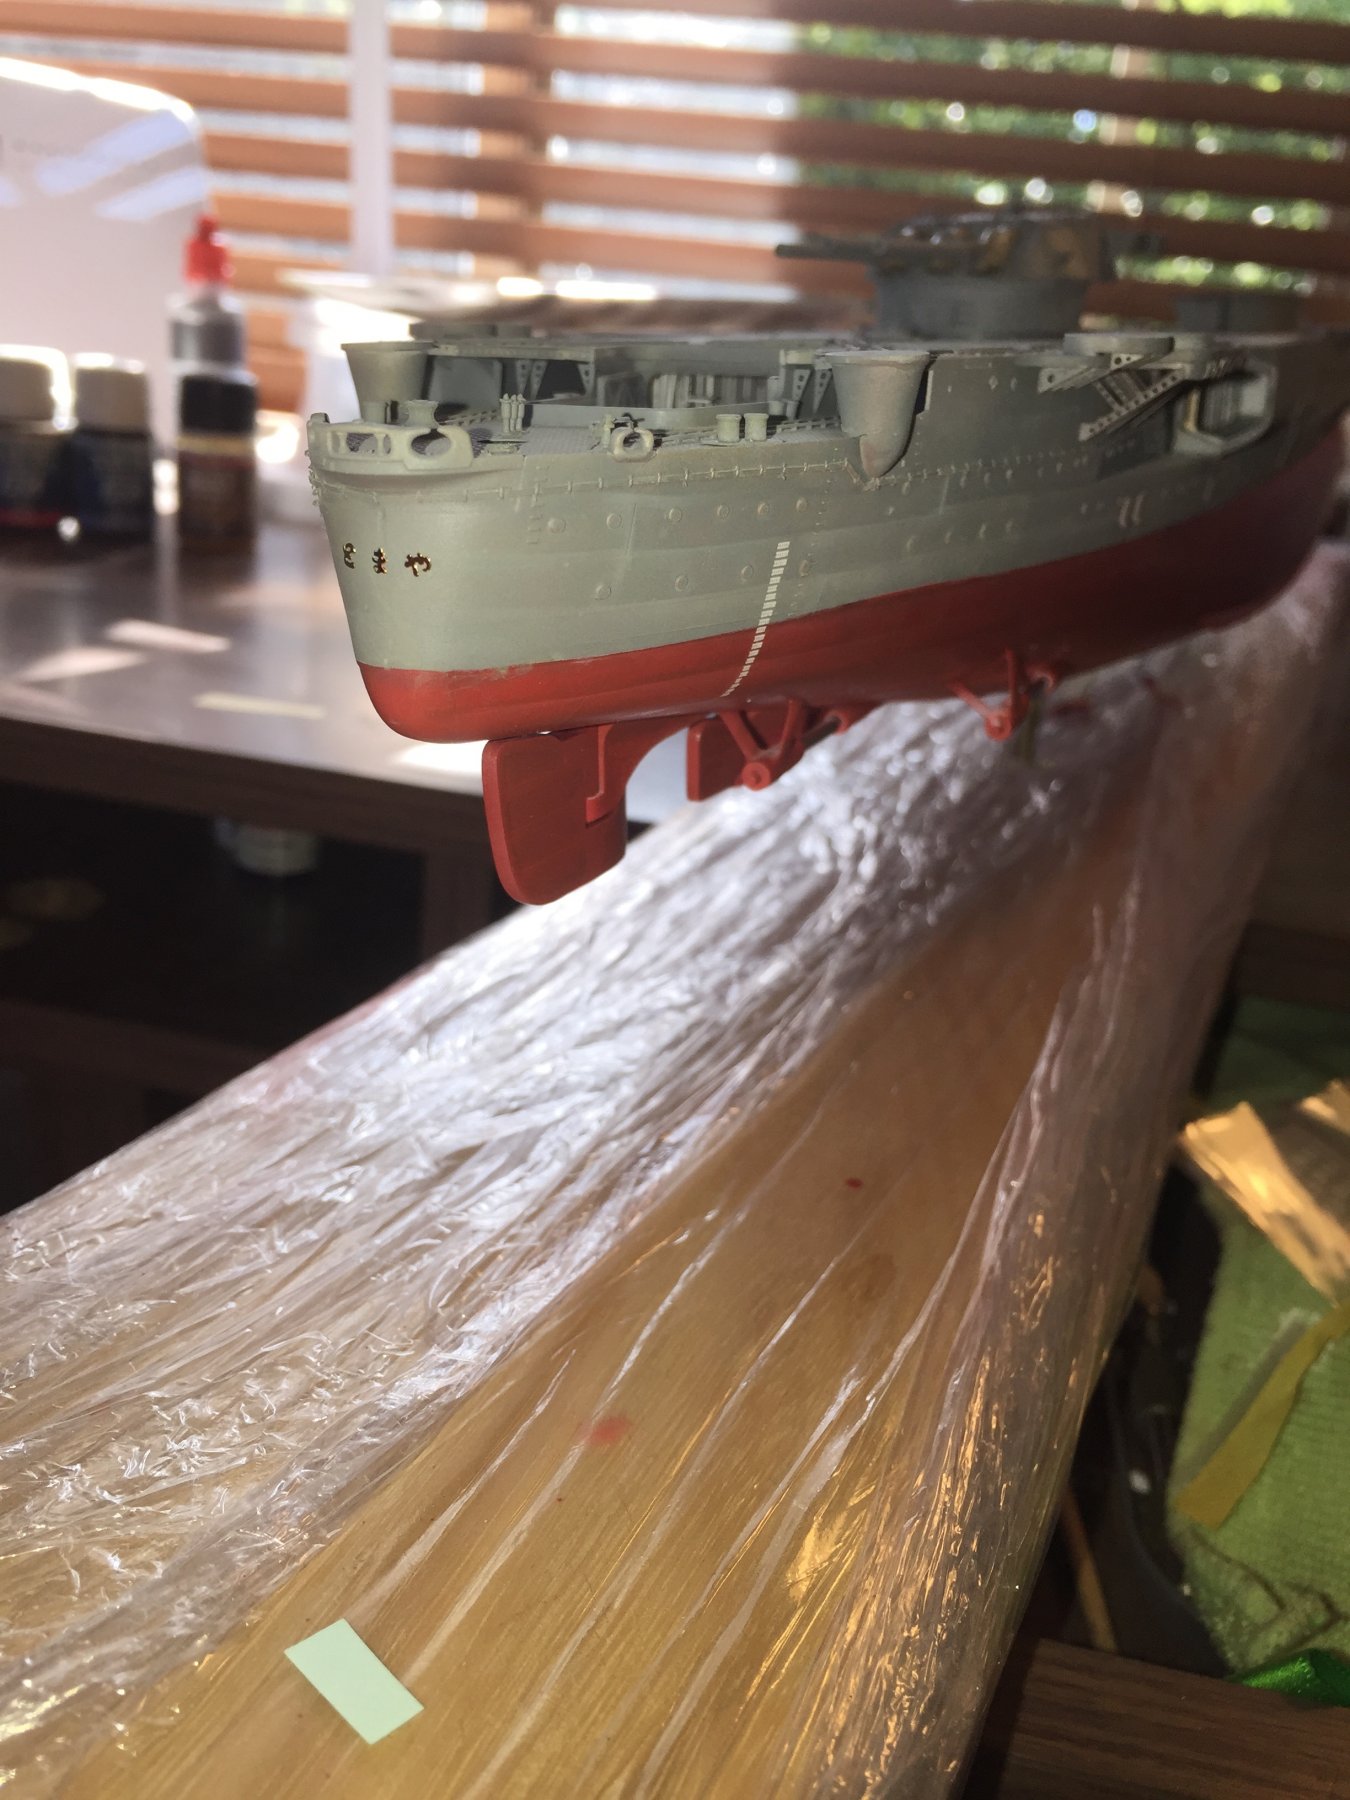
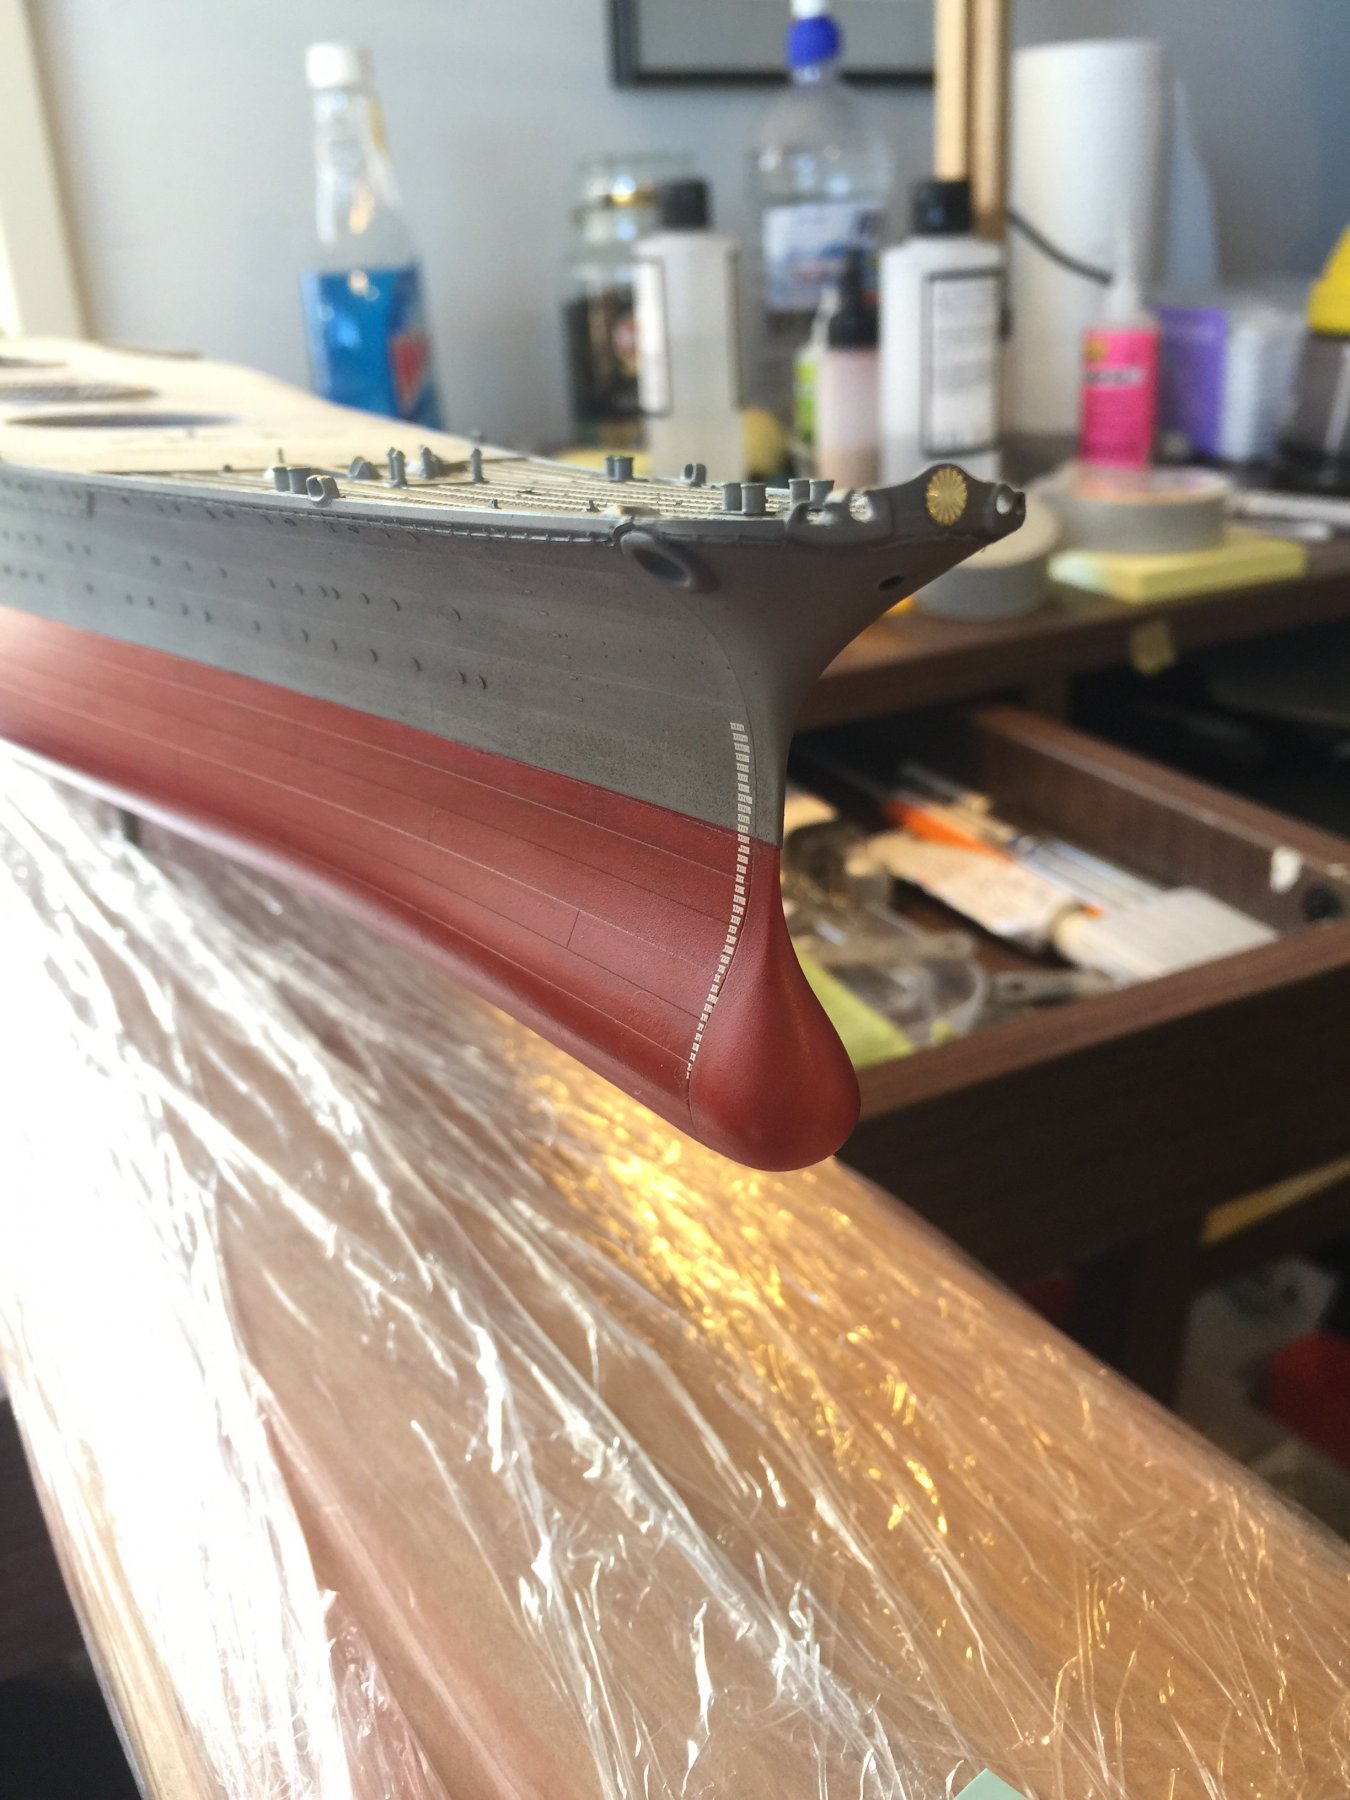
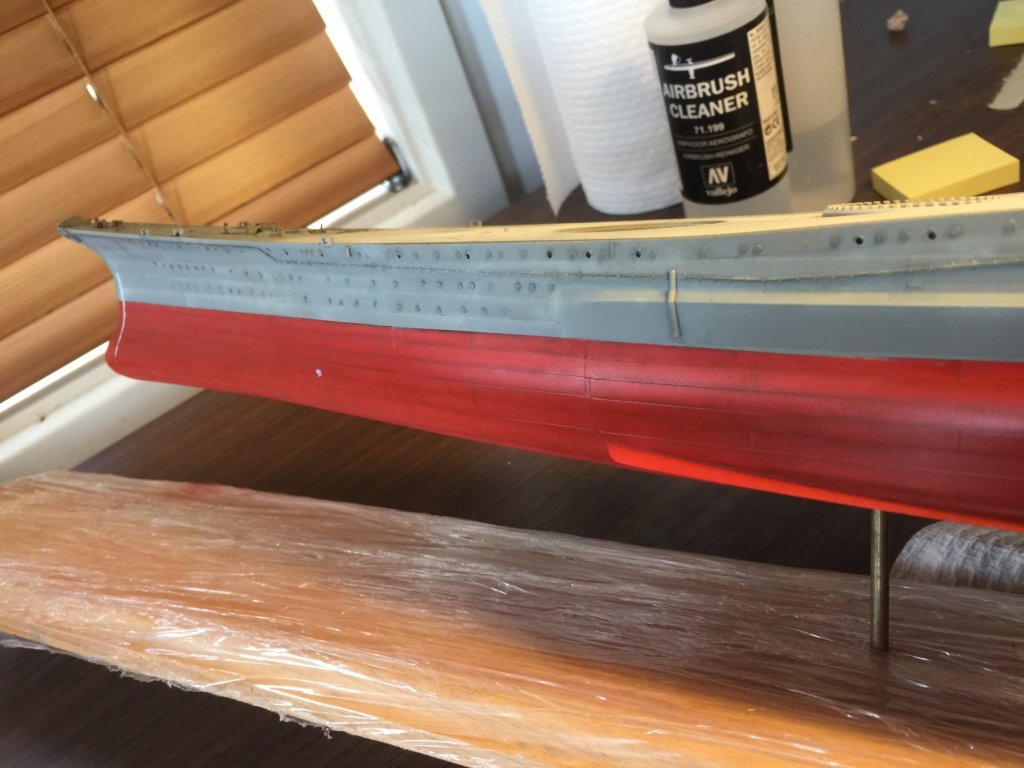
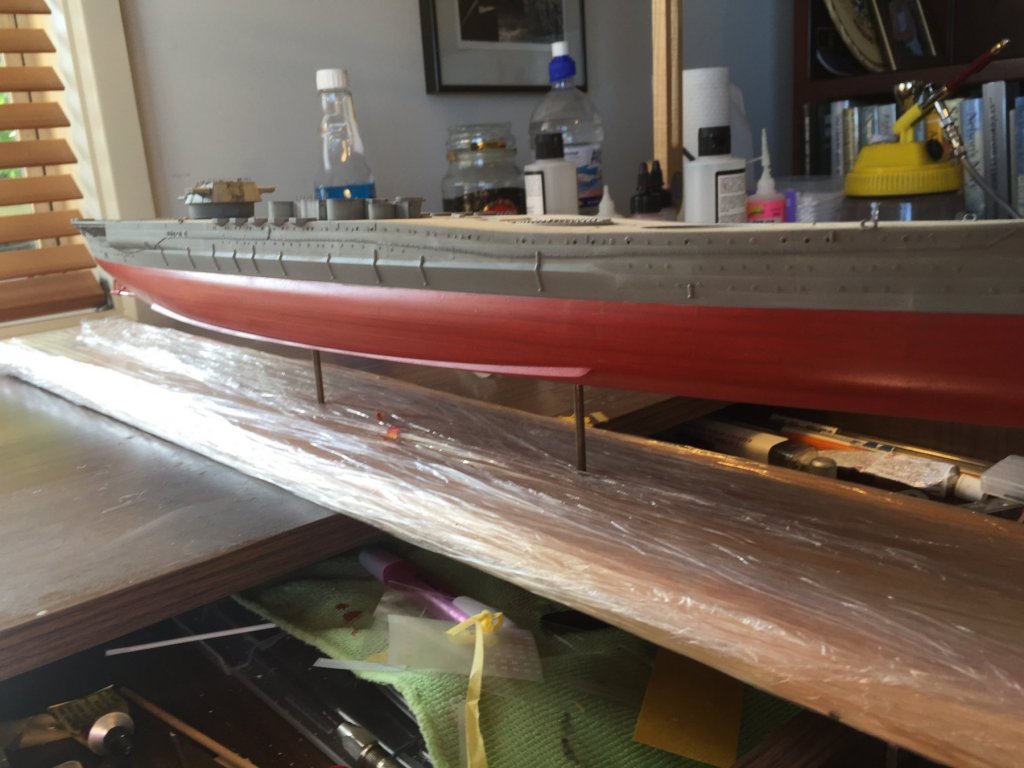
The base colour is done! I removed the masking tape and have a few chips on the lower hull, but I intend to make them rust spots anyway. I have added the hull depth markers and the ships name and crest on the bow. Next will be to paint the scuppers then start the weathering. I'm not sure if I'm happy with the paintwork yet on the upper hull, but I'm expecting the weathering and washes to bring it to life.

- 743 replies
-
- 19
-
-
Well done on the tripod mast, it's a lot of eye strain and fiddly work, looks very strait.
-
I'm in, trying to figure out how to follow the rabbit down the hole after the upgrade.
- 44 replies
-
- 2
-
-
- schnellboot s-100
- revell
- (and 2 more)
-
I'm getting better at it slowly, still can't do a strait horizontal line, vertical is fine. So much work to go.
-
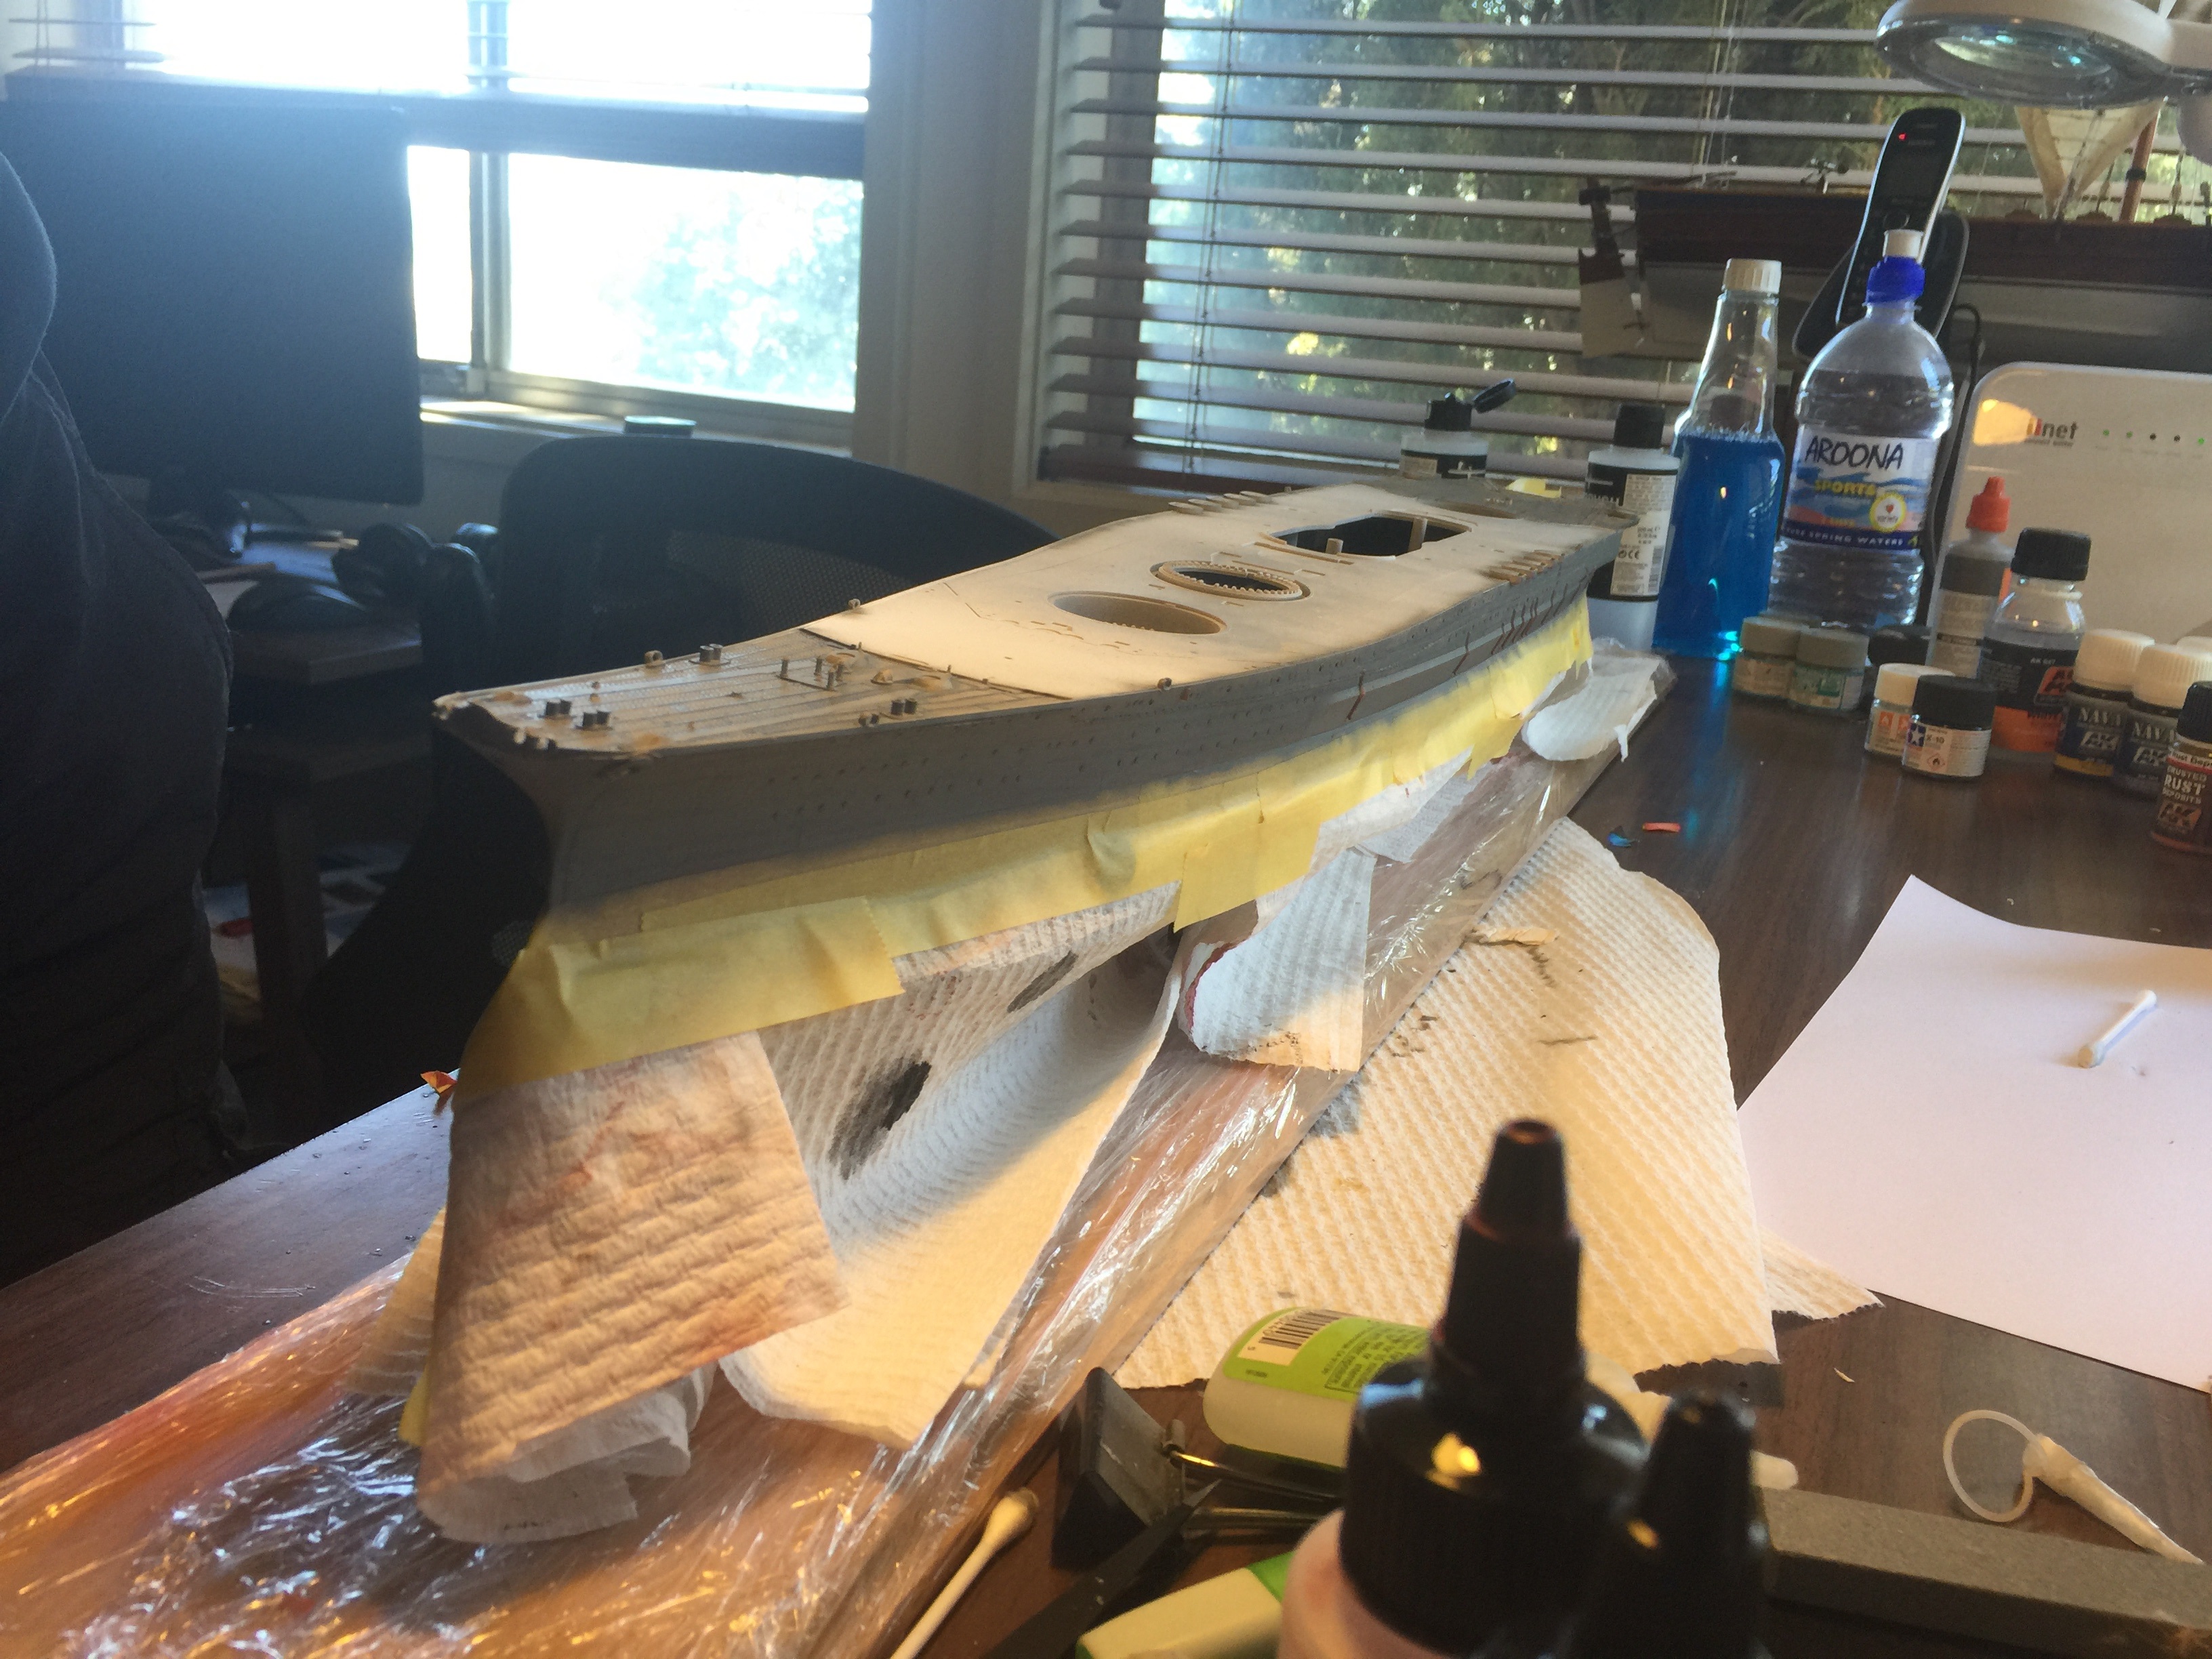
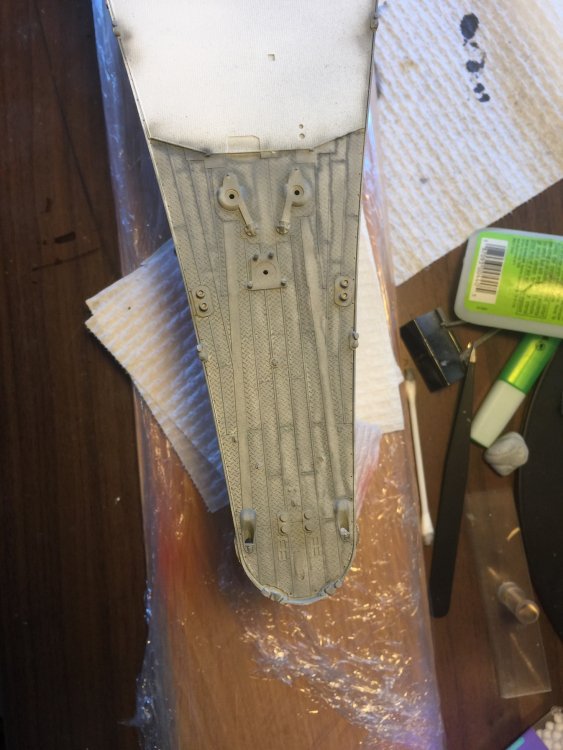
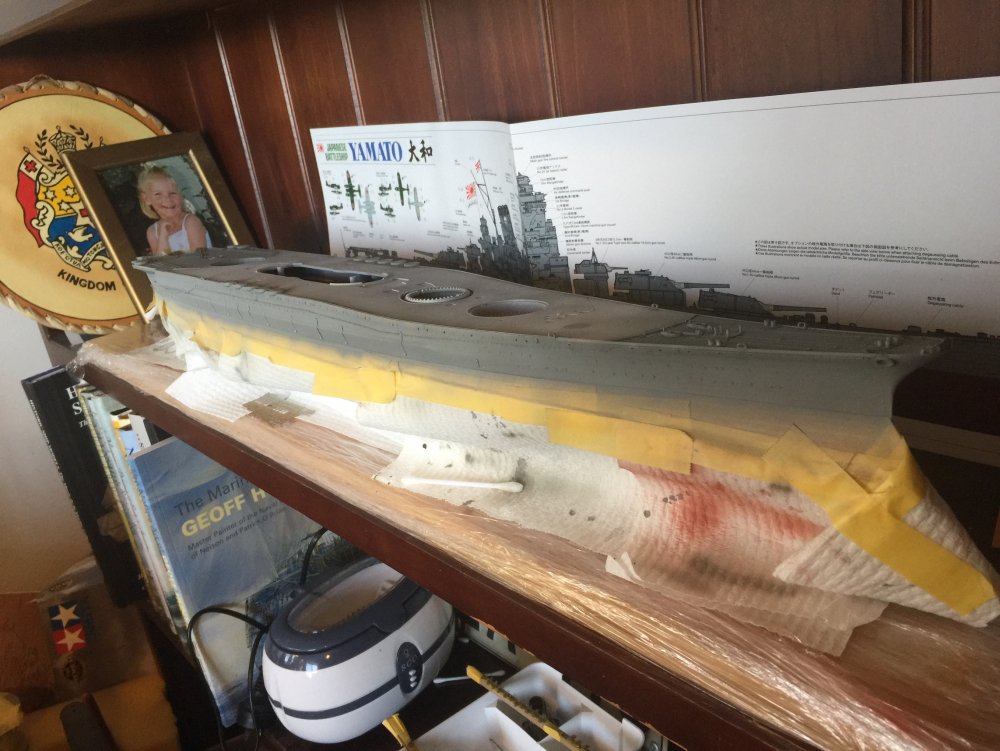
Moving on with the hull, preshading, base grey, lighter grey along the plate lines, the rear flight deck which was concrete. I have subsequently done a 90% diluted overspray with The same light grey which is a 50/50 white grey mix to take off the sharp edges and diffuse the colour. I won't get back to her till next week now when I will add a grey filter. Once that sets I will remove the masking skirts and add the depth marker decals. Then the weathering begins.


- 743 replies
-
- 18
-