RGL
-
Posts
5,563 -
Joined
-
Last visited
Content Type
Profiles
Forums
Gallery
Events
Everything posted by RGL
-
 I don't think I will subscribe though Jorgen, I have been playing around with primers today, and I think for the large areas I will probably just use the old Tamiya rattle can to prime the really large areas and then the airbrush for the smaller ones. I have done a 50/50 on the trial hull of the Yamato with Tamiya/Vajello. I will then try panel lines tomorrow
 -
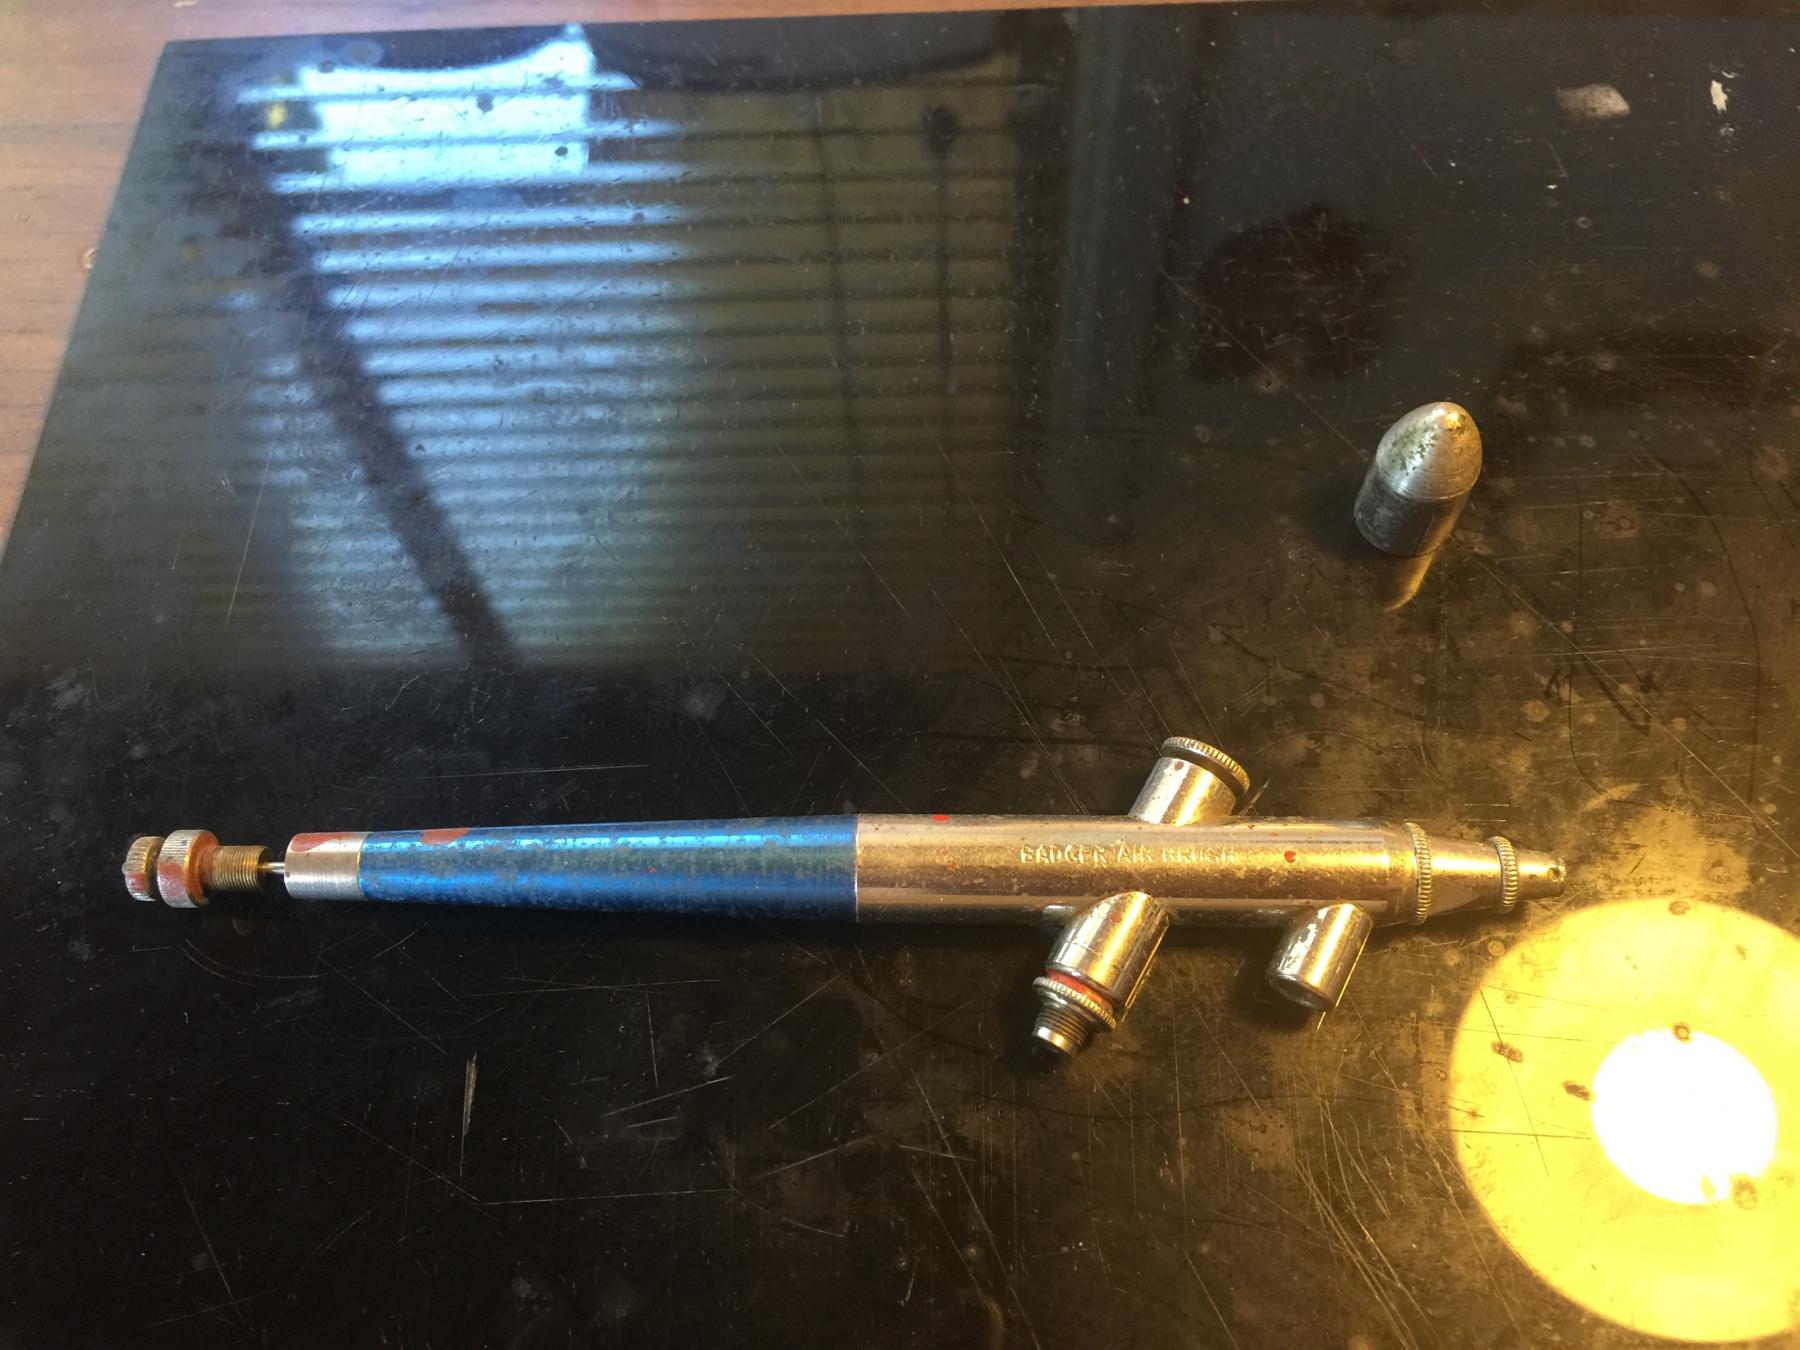
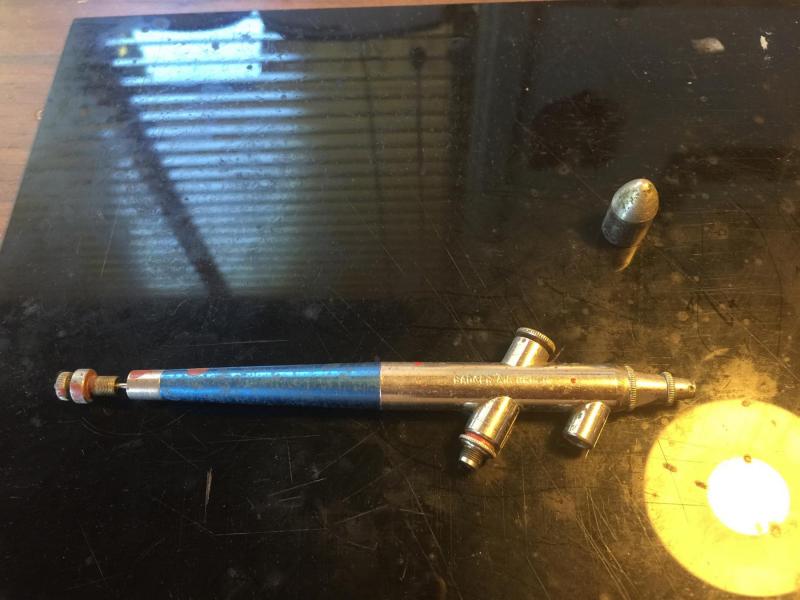
All good cog, my compressor arrived today, I got a package including an airbrush cleaner and a Sparmax airbrush for the same price as the same compressor from other stores here in Oz from Hobby Tools Australia, arrived in Canberra from Victoria in three days (over a weekend), about the distance of you Country Cog. Took me an hour but I've got the compressor figured out in respect of PSI. I do like the Tamiya rattle can primer for big areas but will try the AK for the small bits.
-
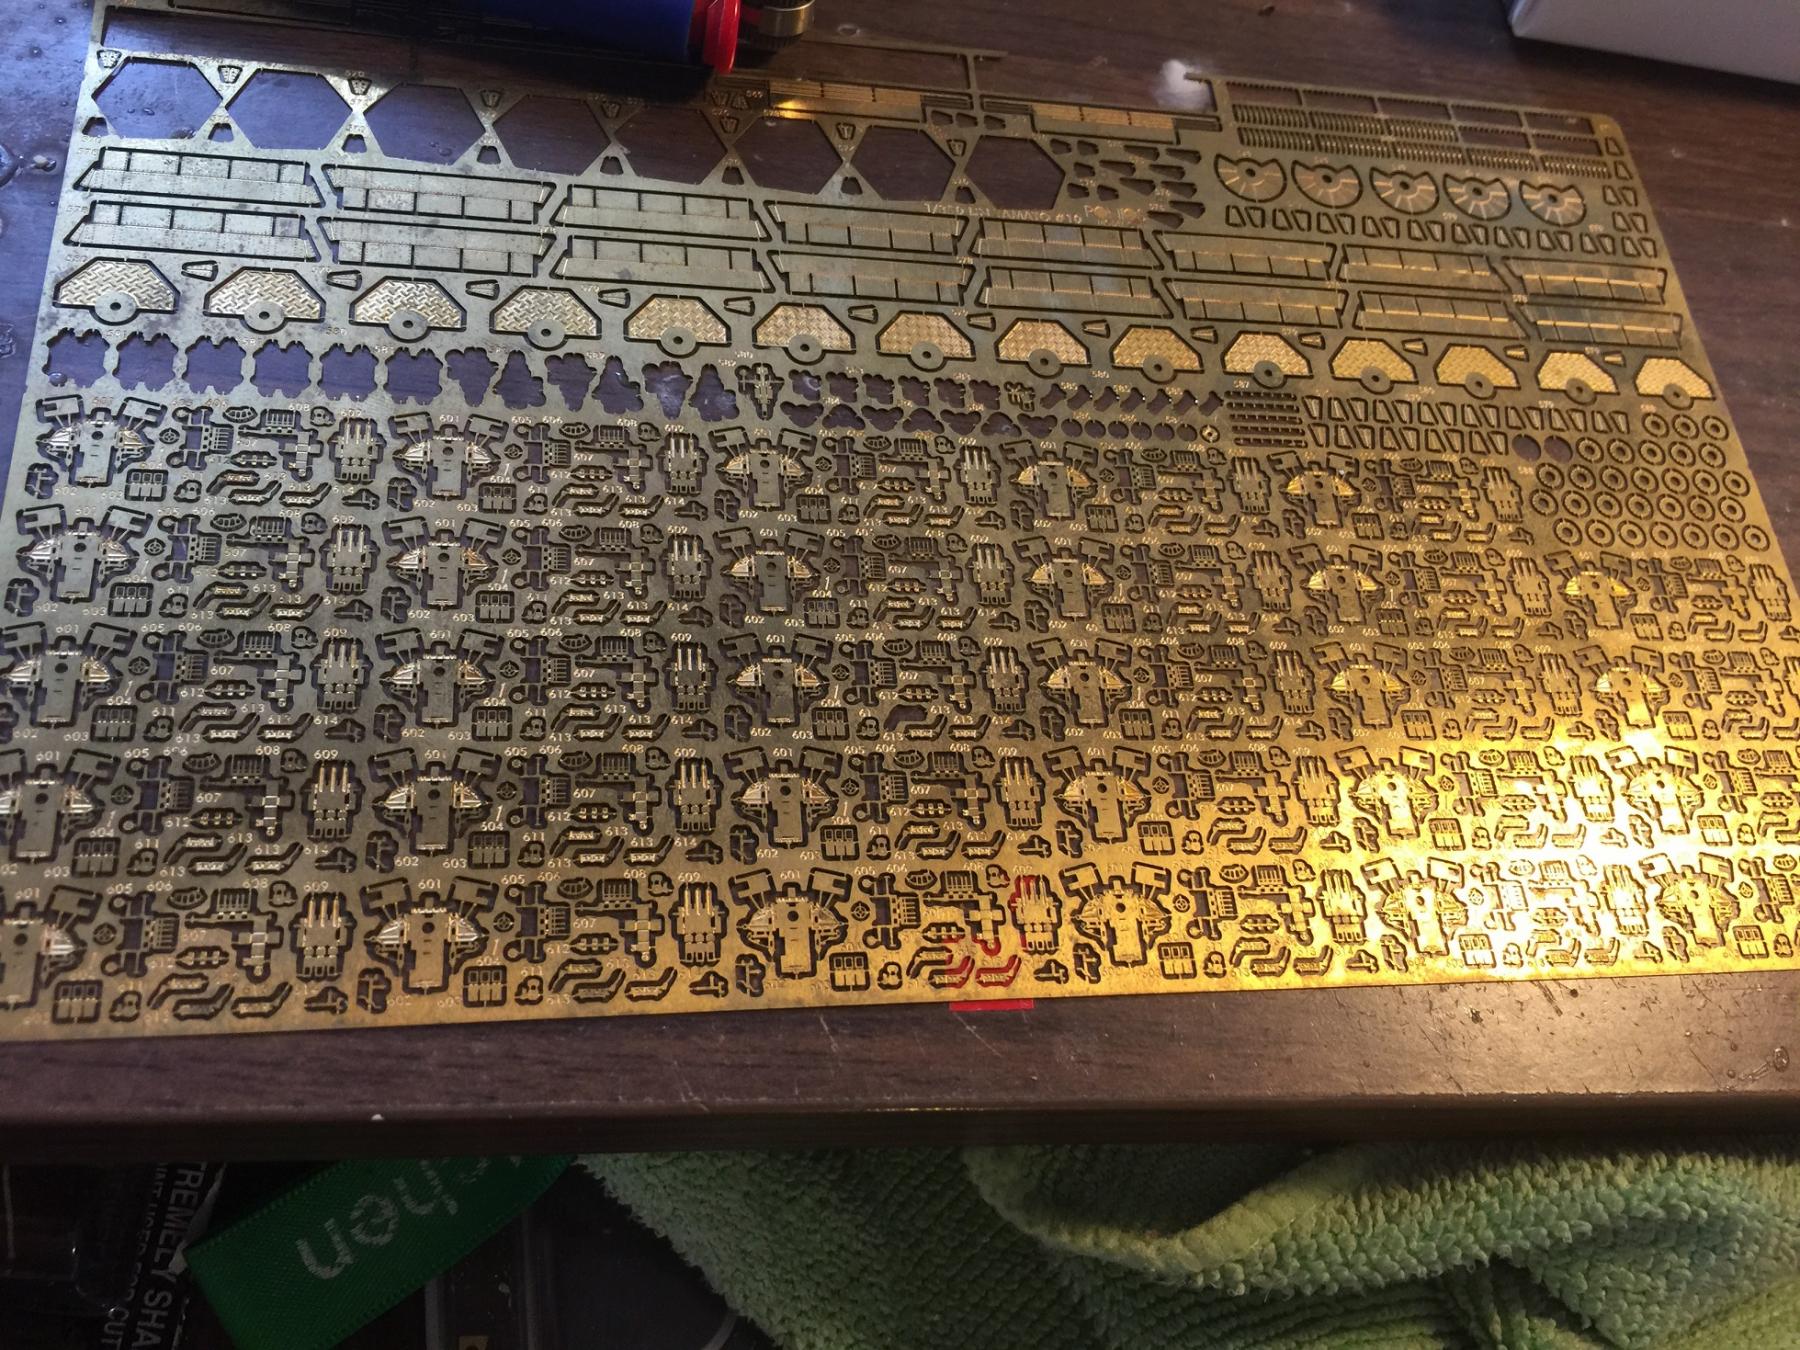
Cog, I've done all the pure etch stuff now at least. Where I live it is probably too cold to airbrush for at least 3 months of the year, but every day is in the high 30's at the moment so that's OK. It only gets to the minus 4's here in winter at night but never humid. Robin, I will probably use Grunze or Vajello but Banyan has given me some good ideas, and there is so much out there on the net. It's been a big investment so lucky I worked nearly every public holiday over Xmas.
-
Thanks Mr Bunny, I intend on keeping Banyan as my go to man for trouble shooting. He is a wealth of knowledge on paints as well. It's been 30 years since I've used one, and a chap has done an amazing job on this kit on the model ship forum which I will try to replicate as much as I can. As such, I won't have much to post for a while till I get this right(ish). Finishing off those 25mm's did my head in.
-
Yes mate, Banyan has been giving me a heap of advice on this, I realise I have a lot to learn. It should be fun.
-
So, the kit goes away for a while. Back in the 1980's I had one of these, worked fine. Now to re learn the skill. I intend to start painting up bits of the old tool to learn modulation and filtering, before any paint goes on the new kit. This should be fun. It's amazing how much there is on Utube for tanks and planes, nothing on ships.
- 743 replies
-
- 19
-

-
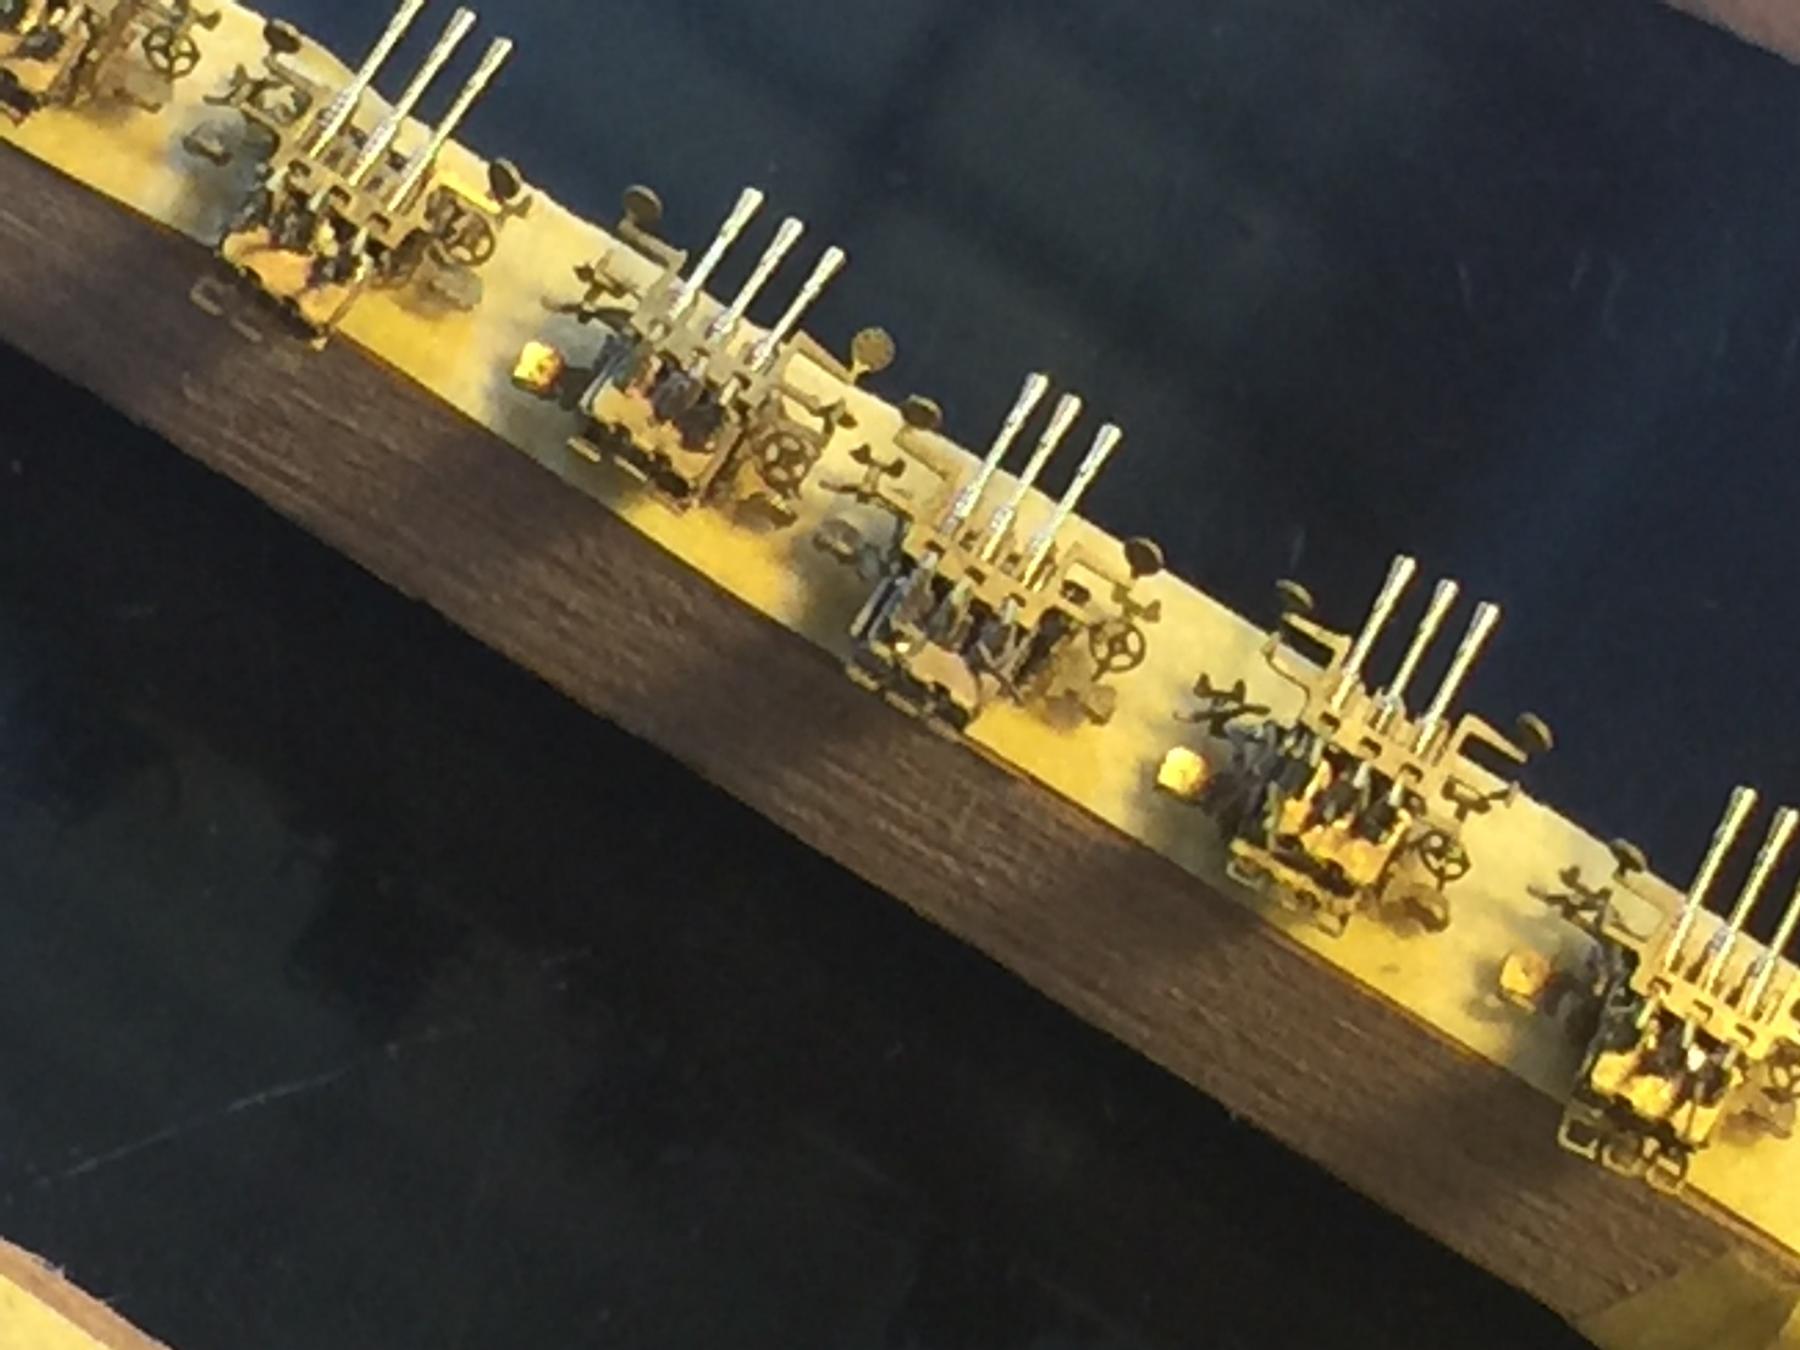
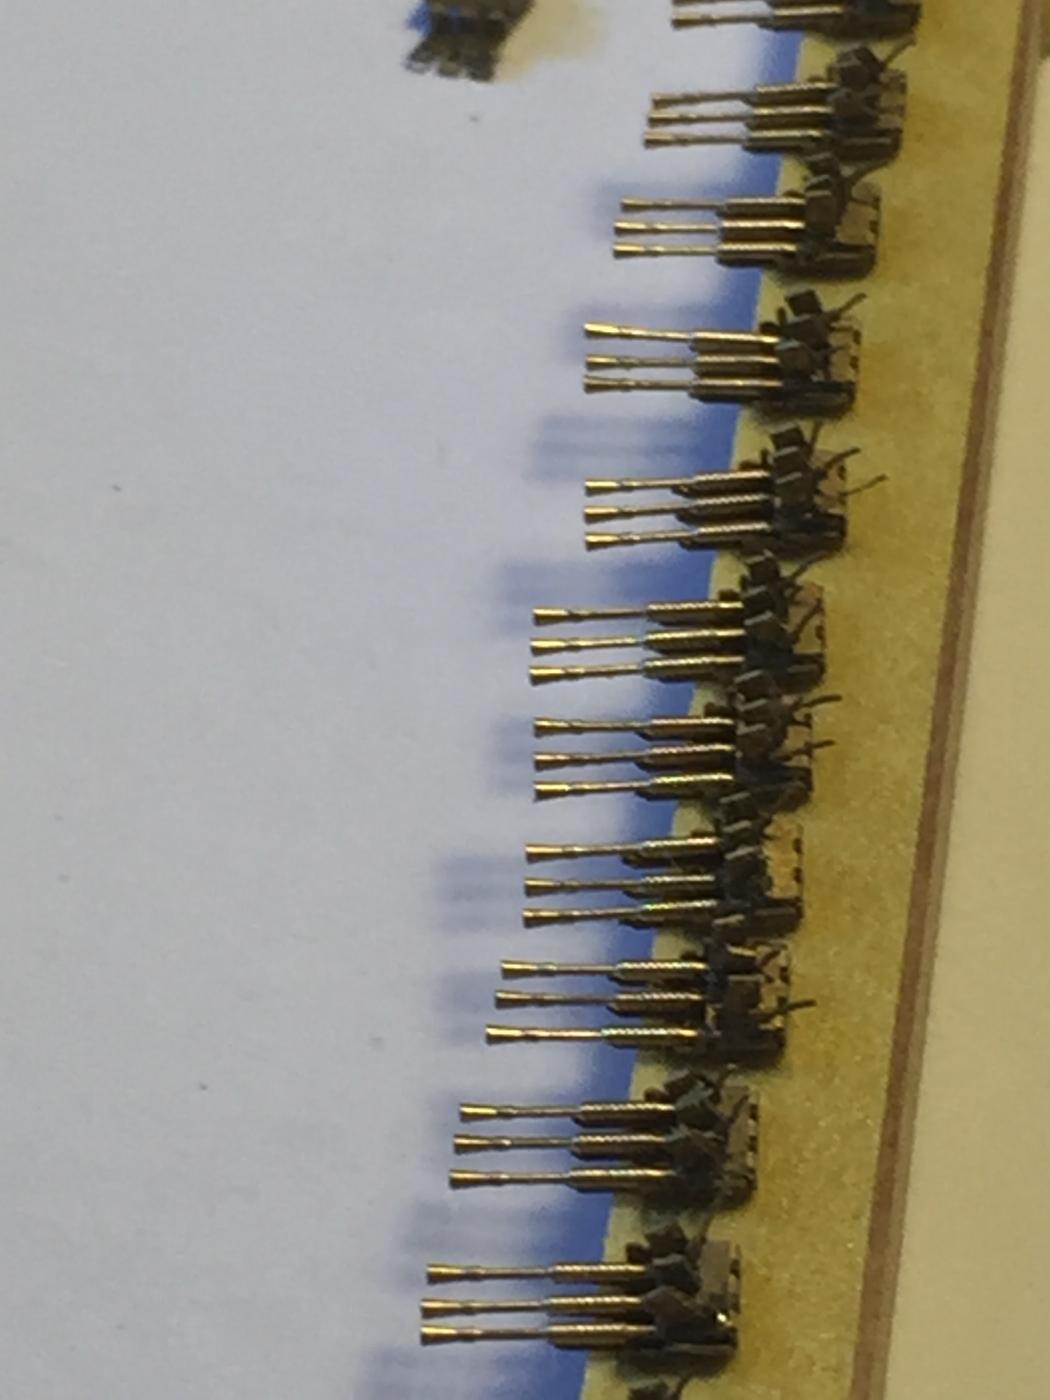
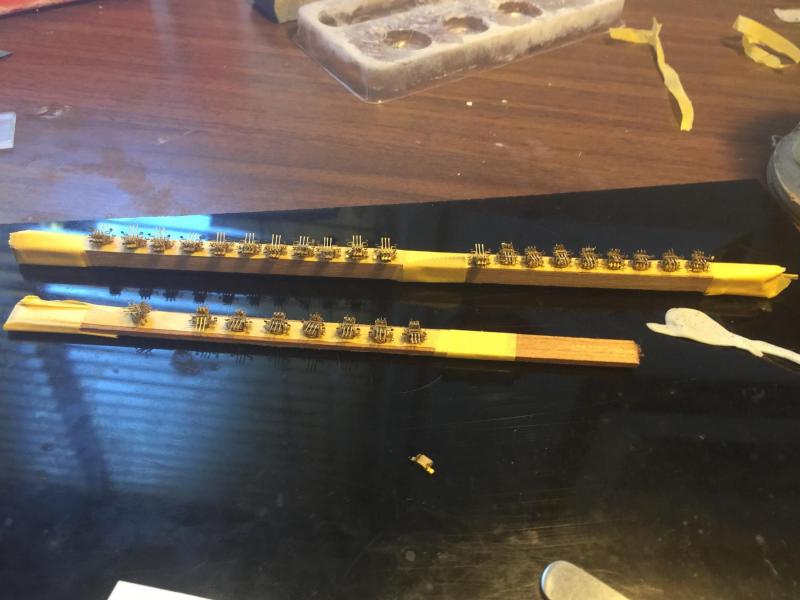
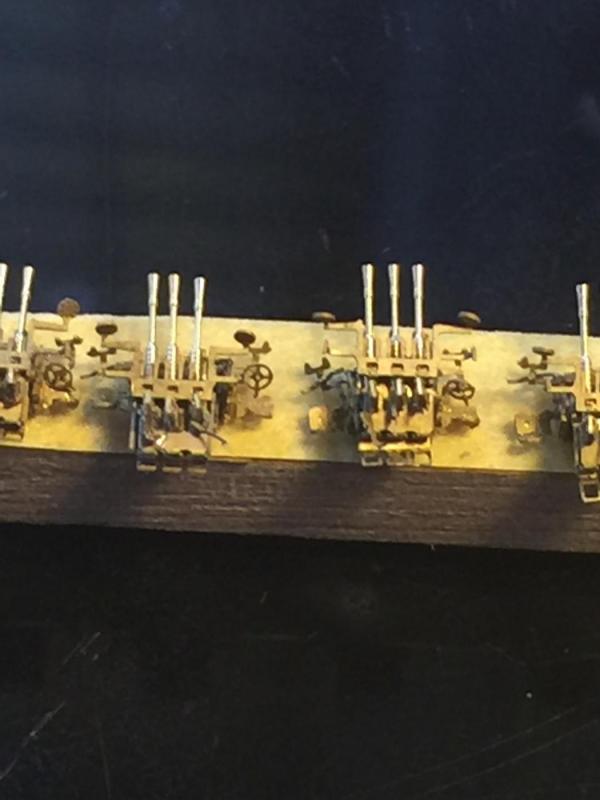
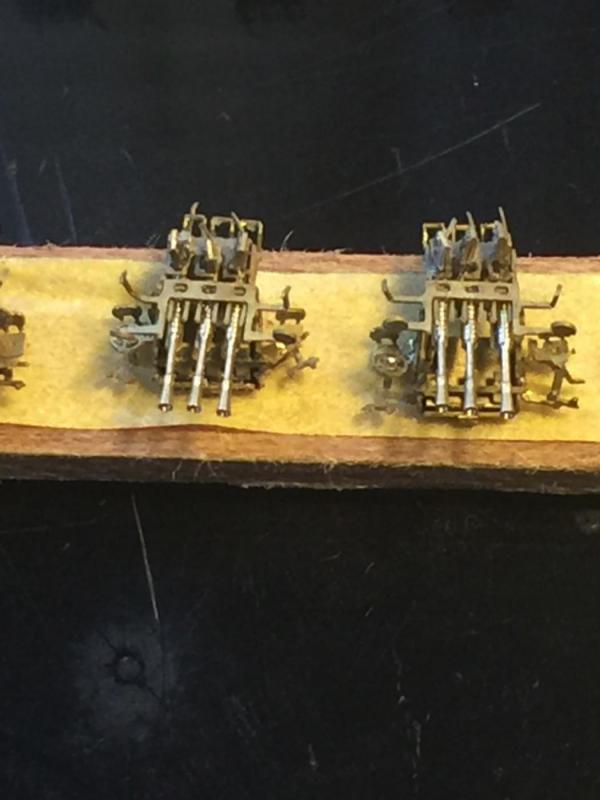
So, 27 more triple 25MM's. The bases including the seats and windage levers. Plonk the barrels on. Finished and I'm just a bit over these things.


- 743 replies
-
- 24
-
-
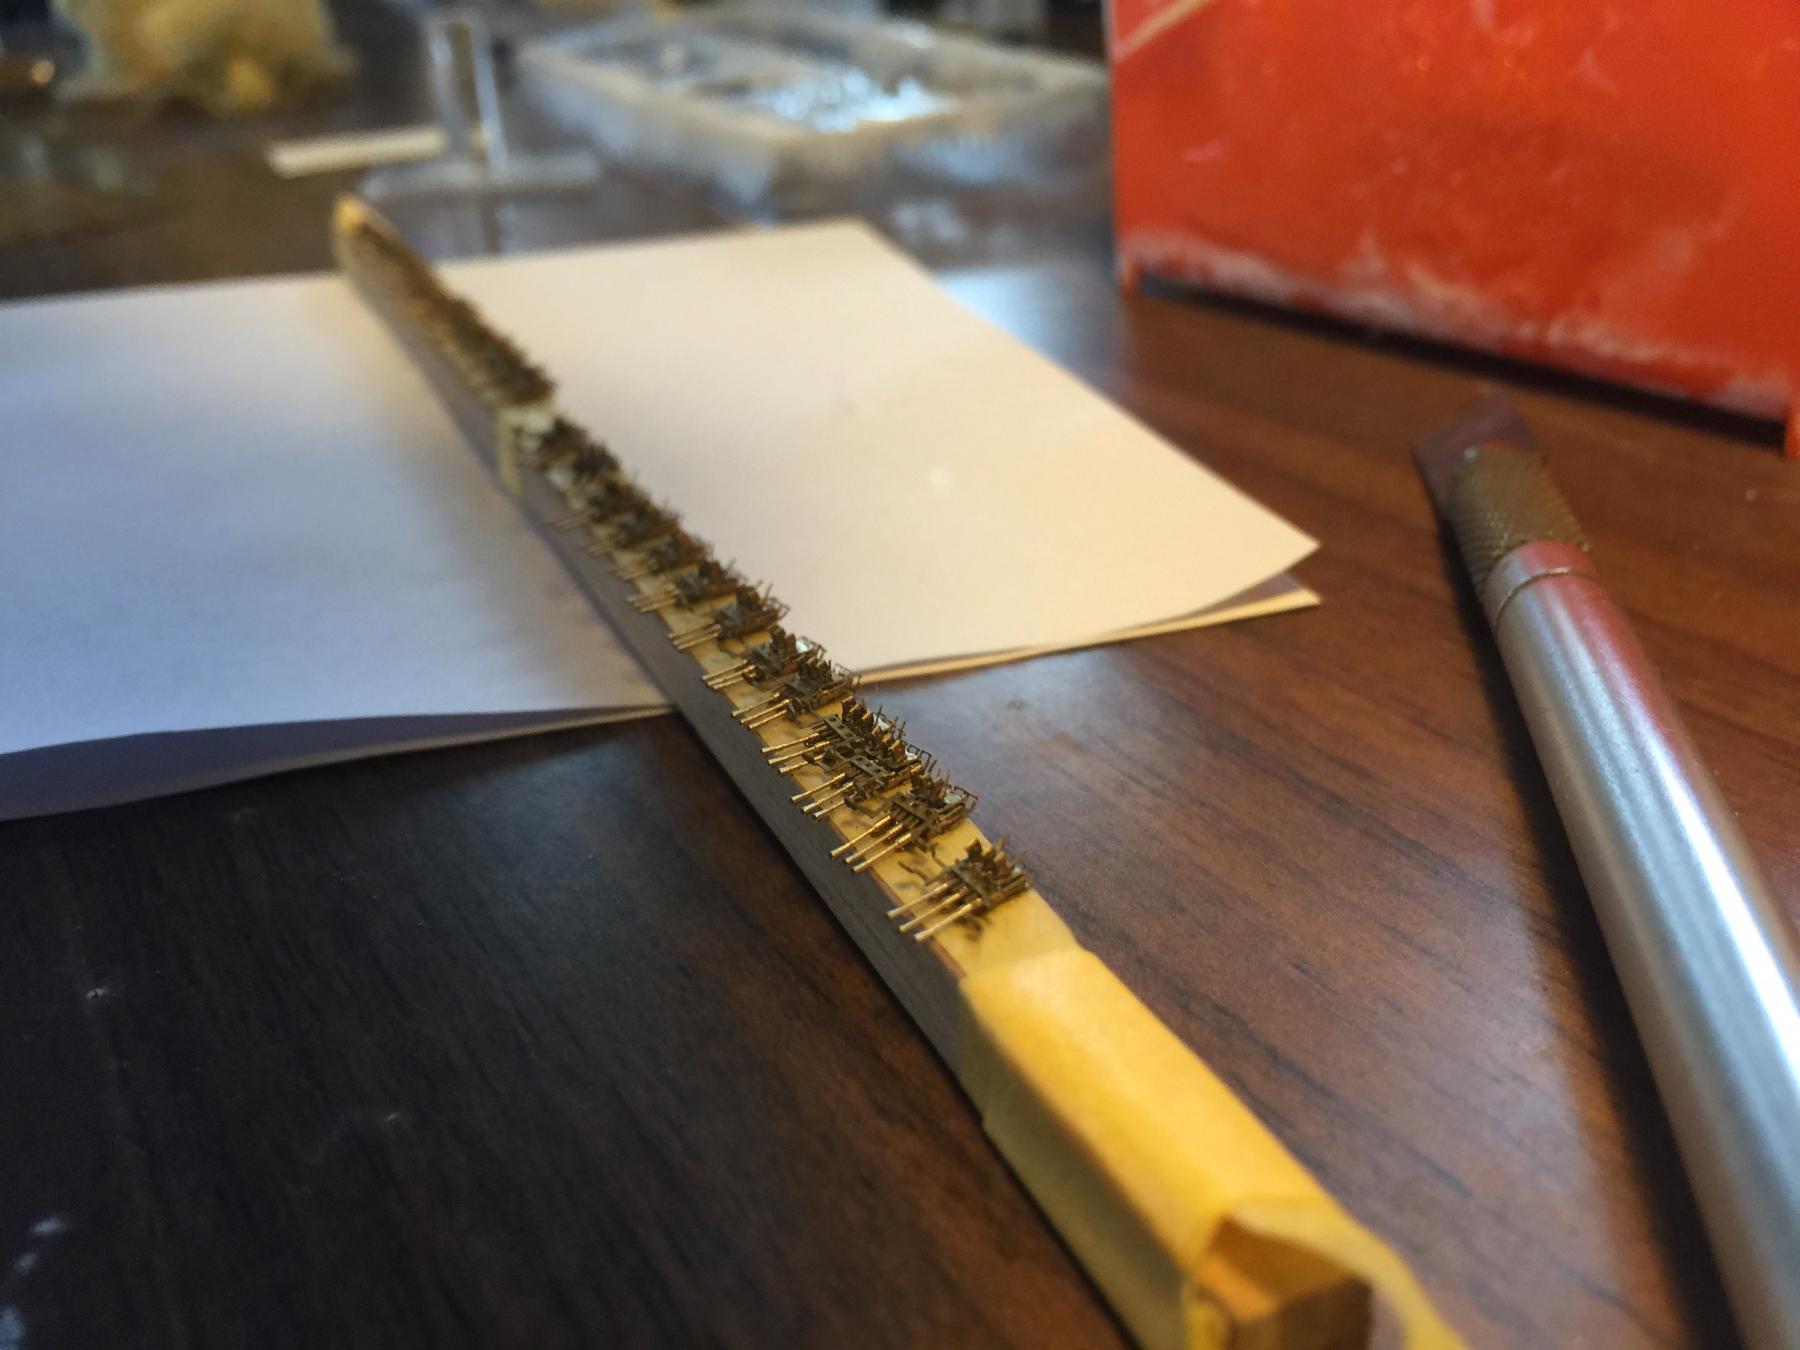
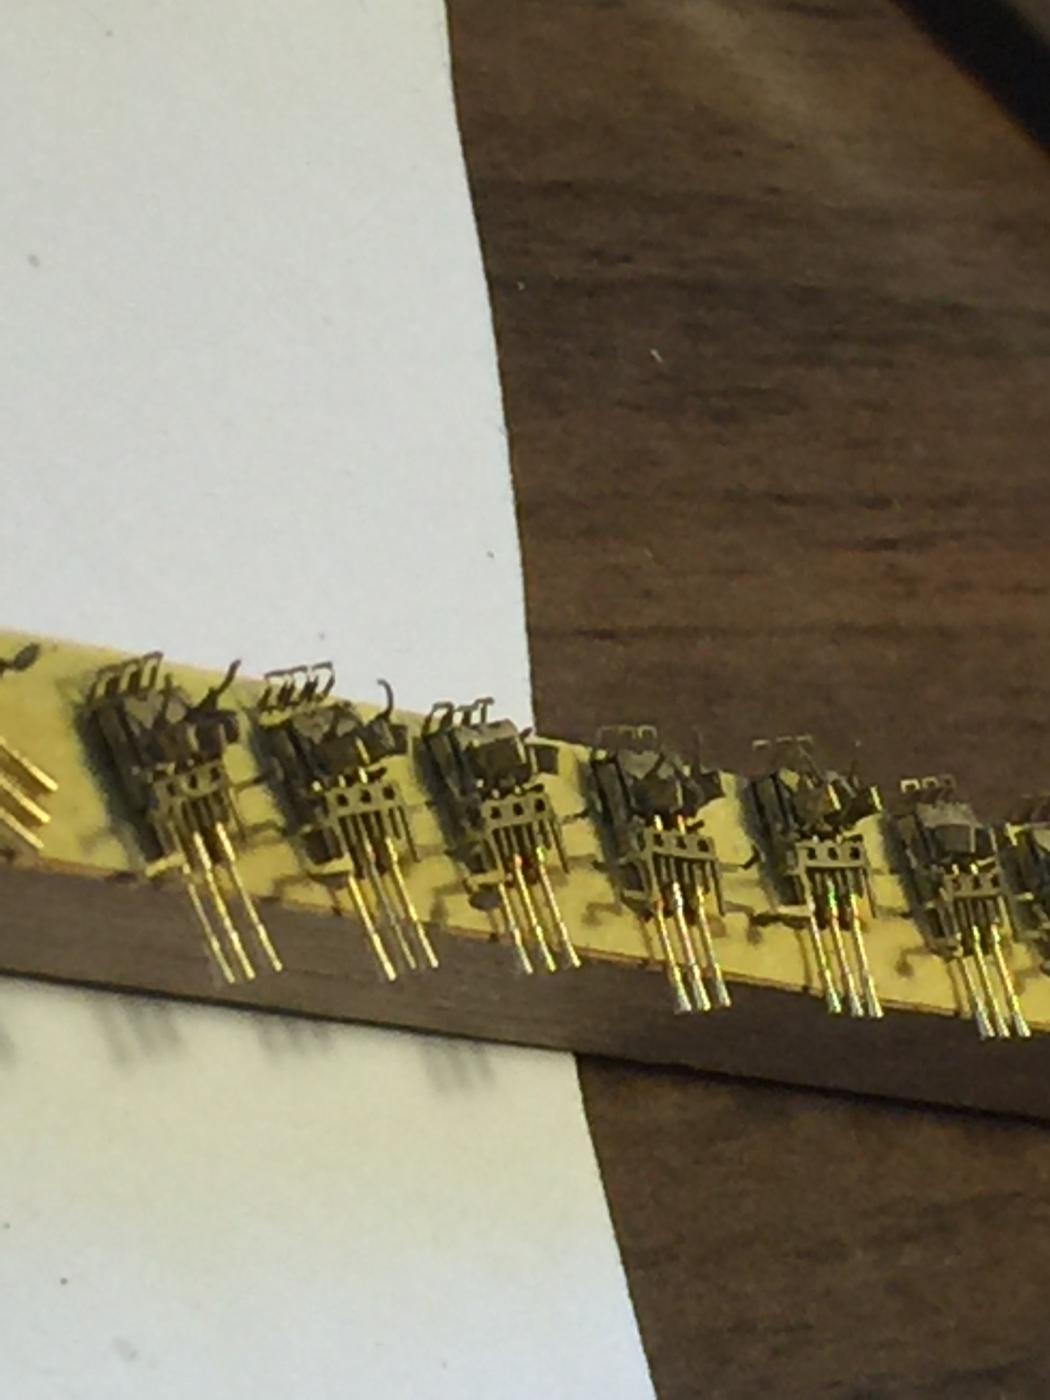
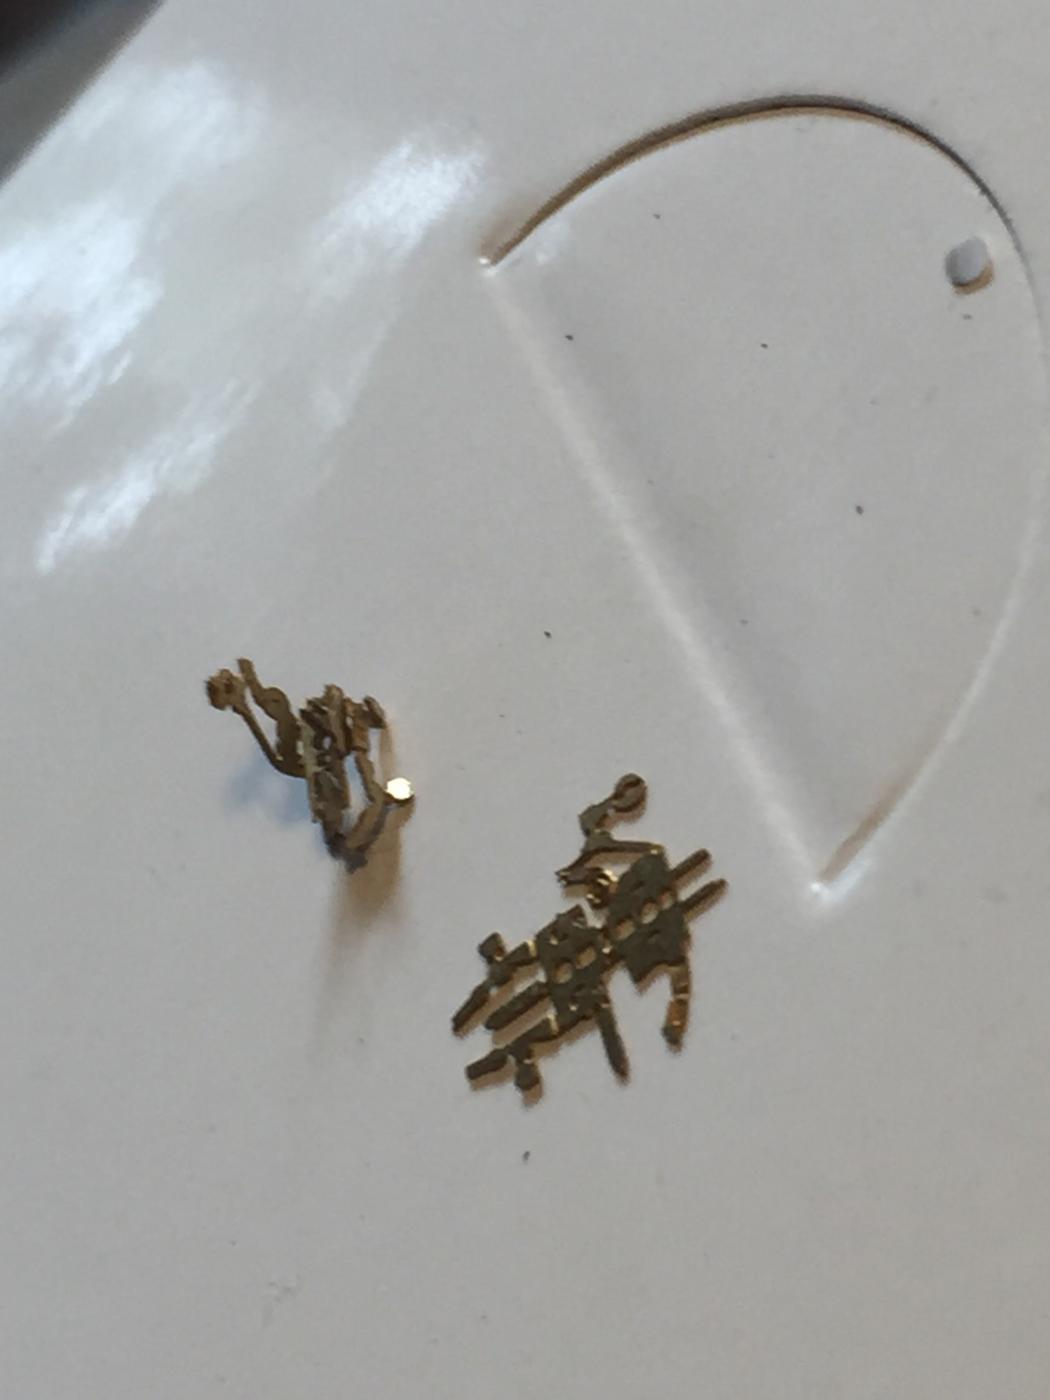
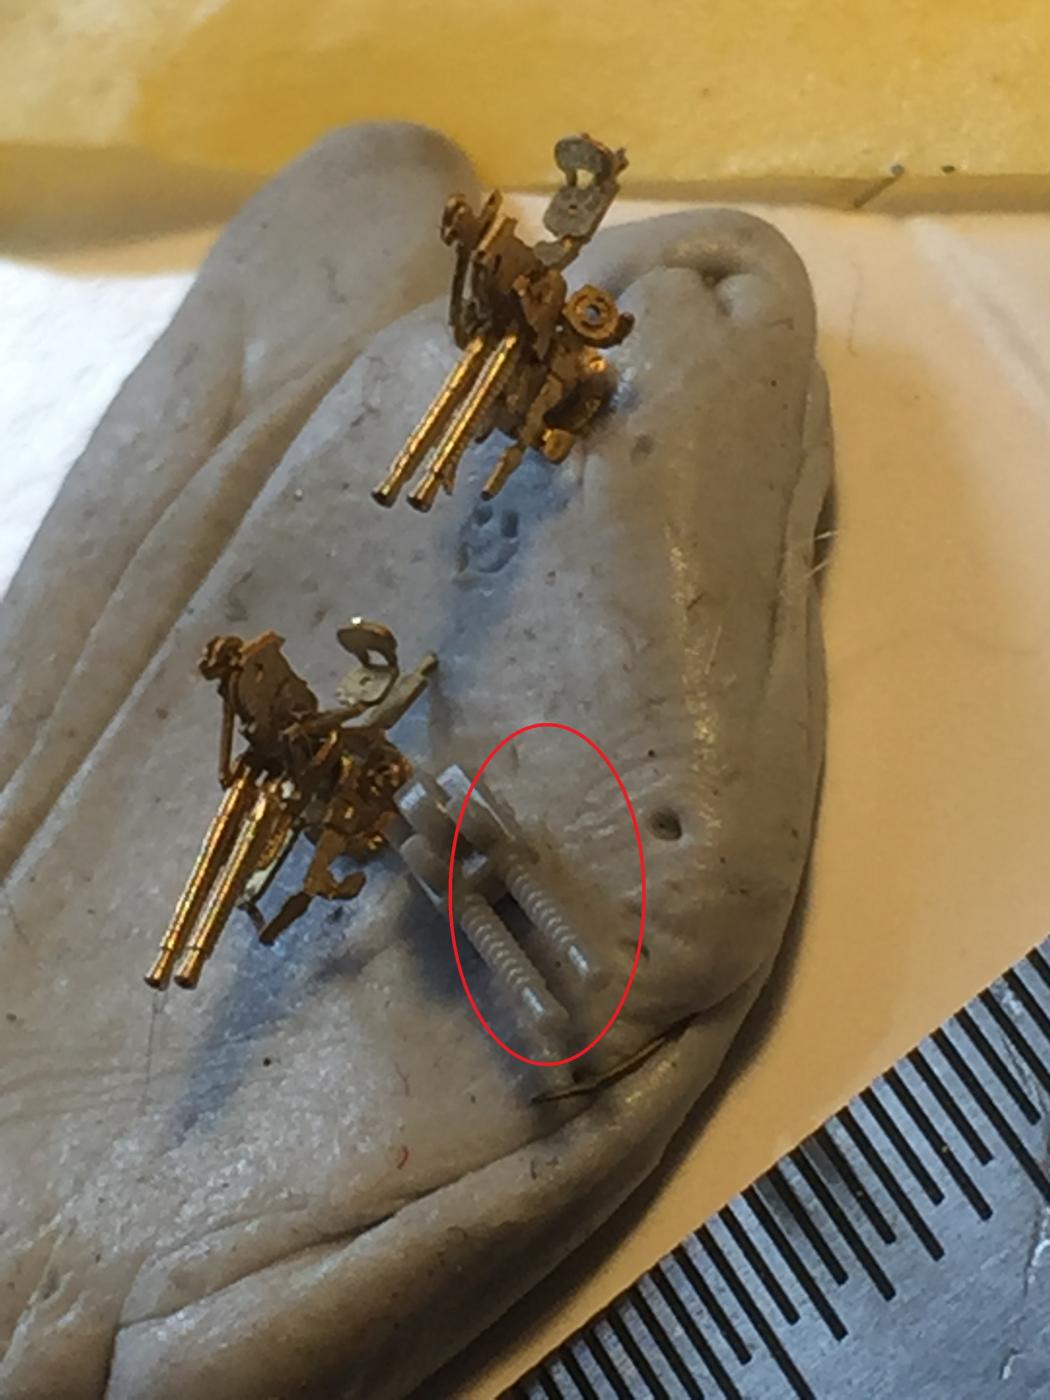
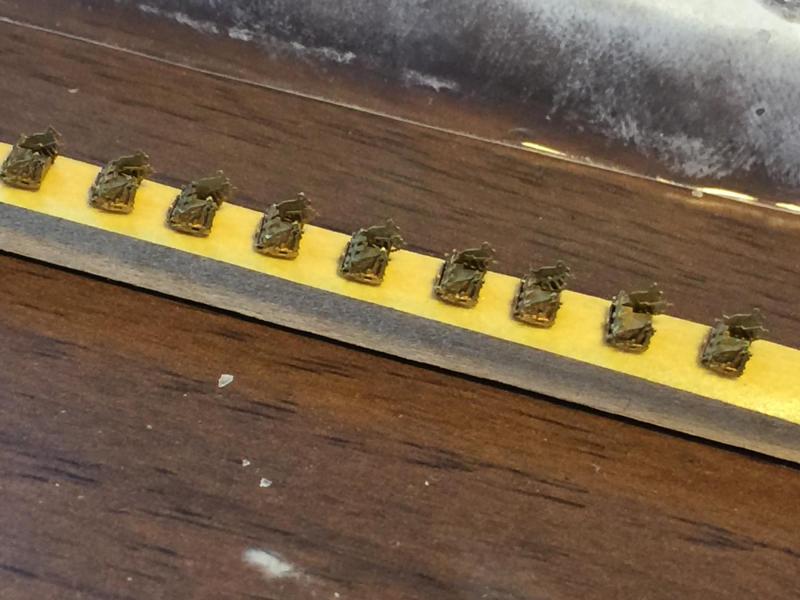
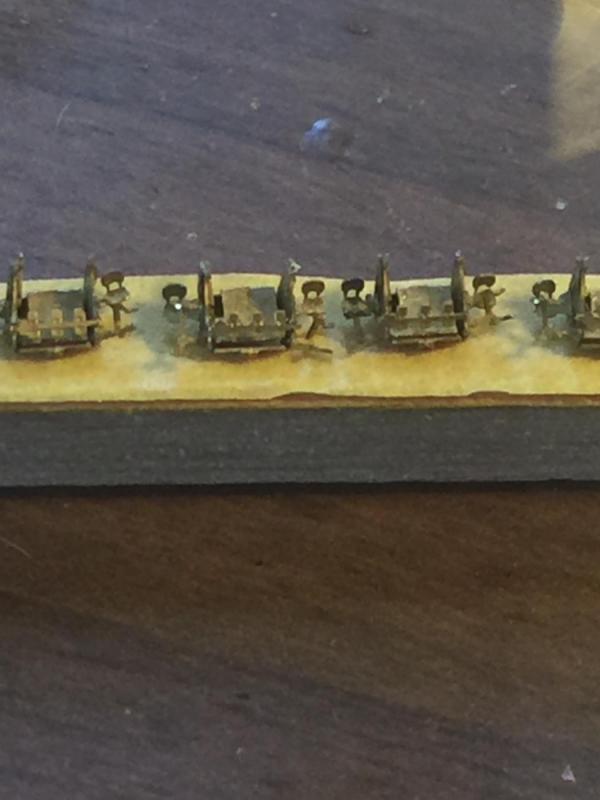
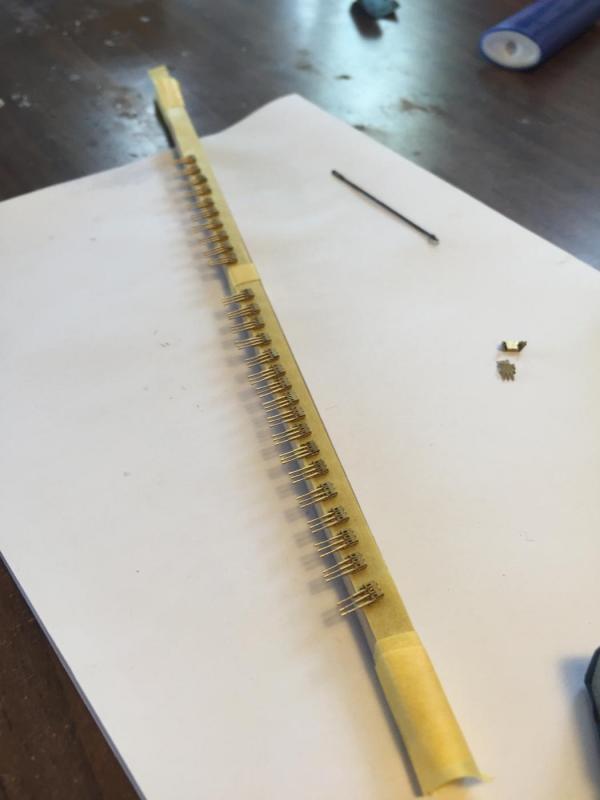
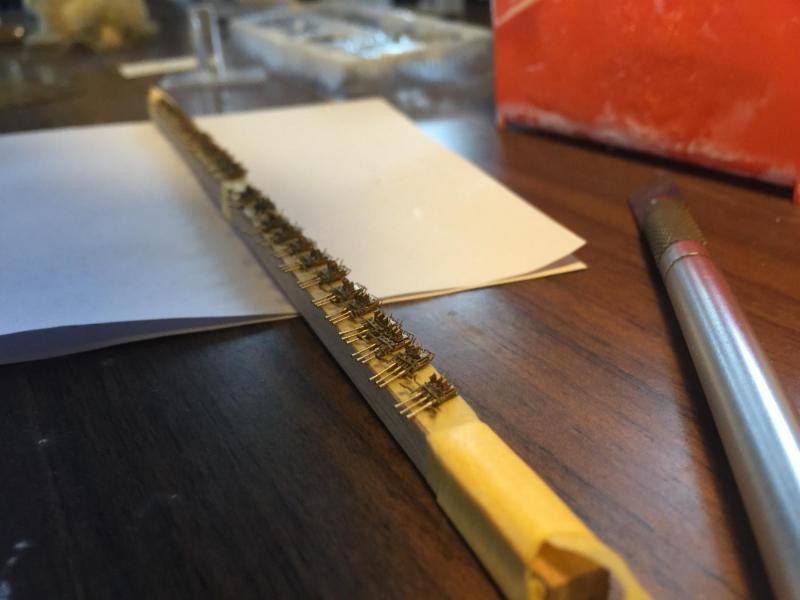
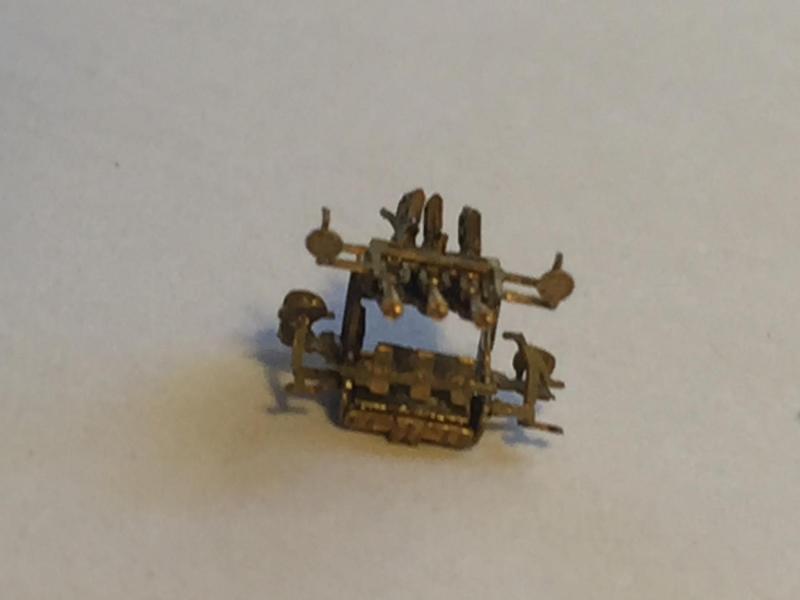
After a few days off due to illness, the 25mm triple mass production continues. For ease of application they are laid out on masking tape and the barrels added. Then the magazines folded and placed in blue tack facing the right way for application. Then the sights and rear handles added. Whilst the alignment is not perfect, they are soo tiny it is not really noticeable with the naked eye.


- 743 replies
-
- 17
-
-
Just gently tap on the bit you have glued down with the tweezer head, if it falls off then it will fall off late and you'll lose the piece. I find about 10% of all assemblies do this as the glue has not been put on correctly. Better to fix it then than when it's on the model.
-
I think that's one of the hardest things you'll have to do Cog, whilst I could see it, alignment at that size is a nightmare. Then you have to tap every assembly to make sure it's stuck down properly.
-
Try it on a piece off offcut brass fret, burns for about a second then the glue is gone. I'm not poo pooing the acetone idea, as I was not aware of it, just when you are repeatedly dipping into the glue it is a bit quicker
-
The thing is with tweezers I find that if any CA gets on them they have to be polished back as CA builds up in layers making them useless.
-
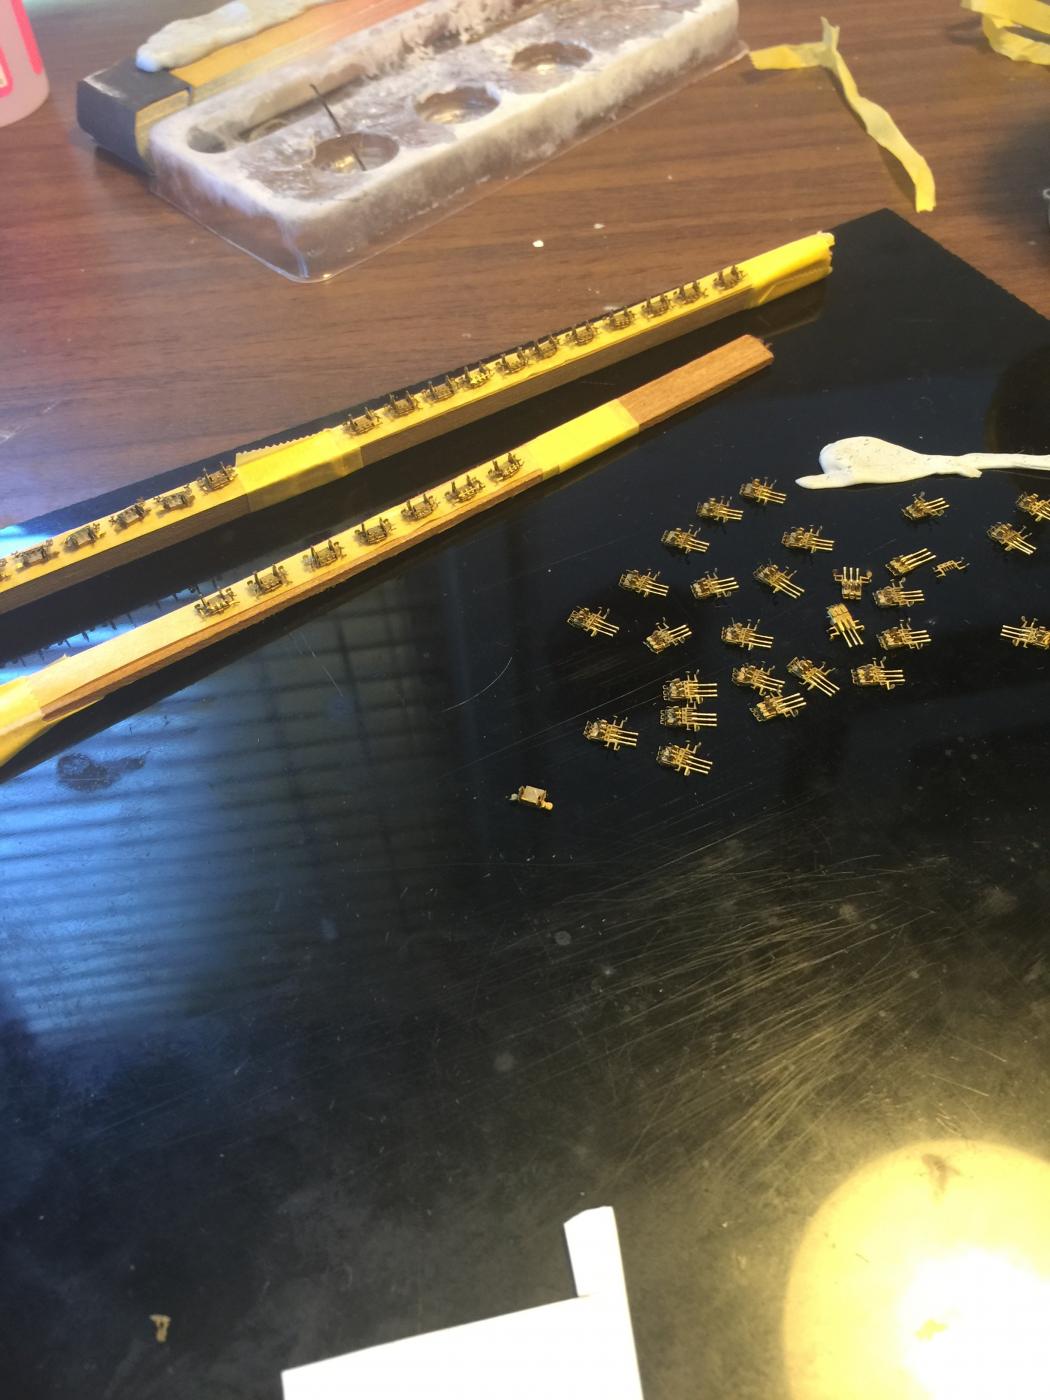
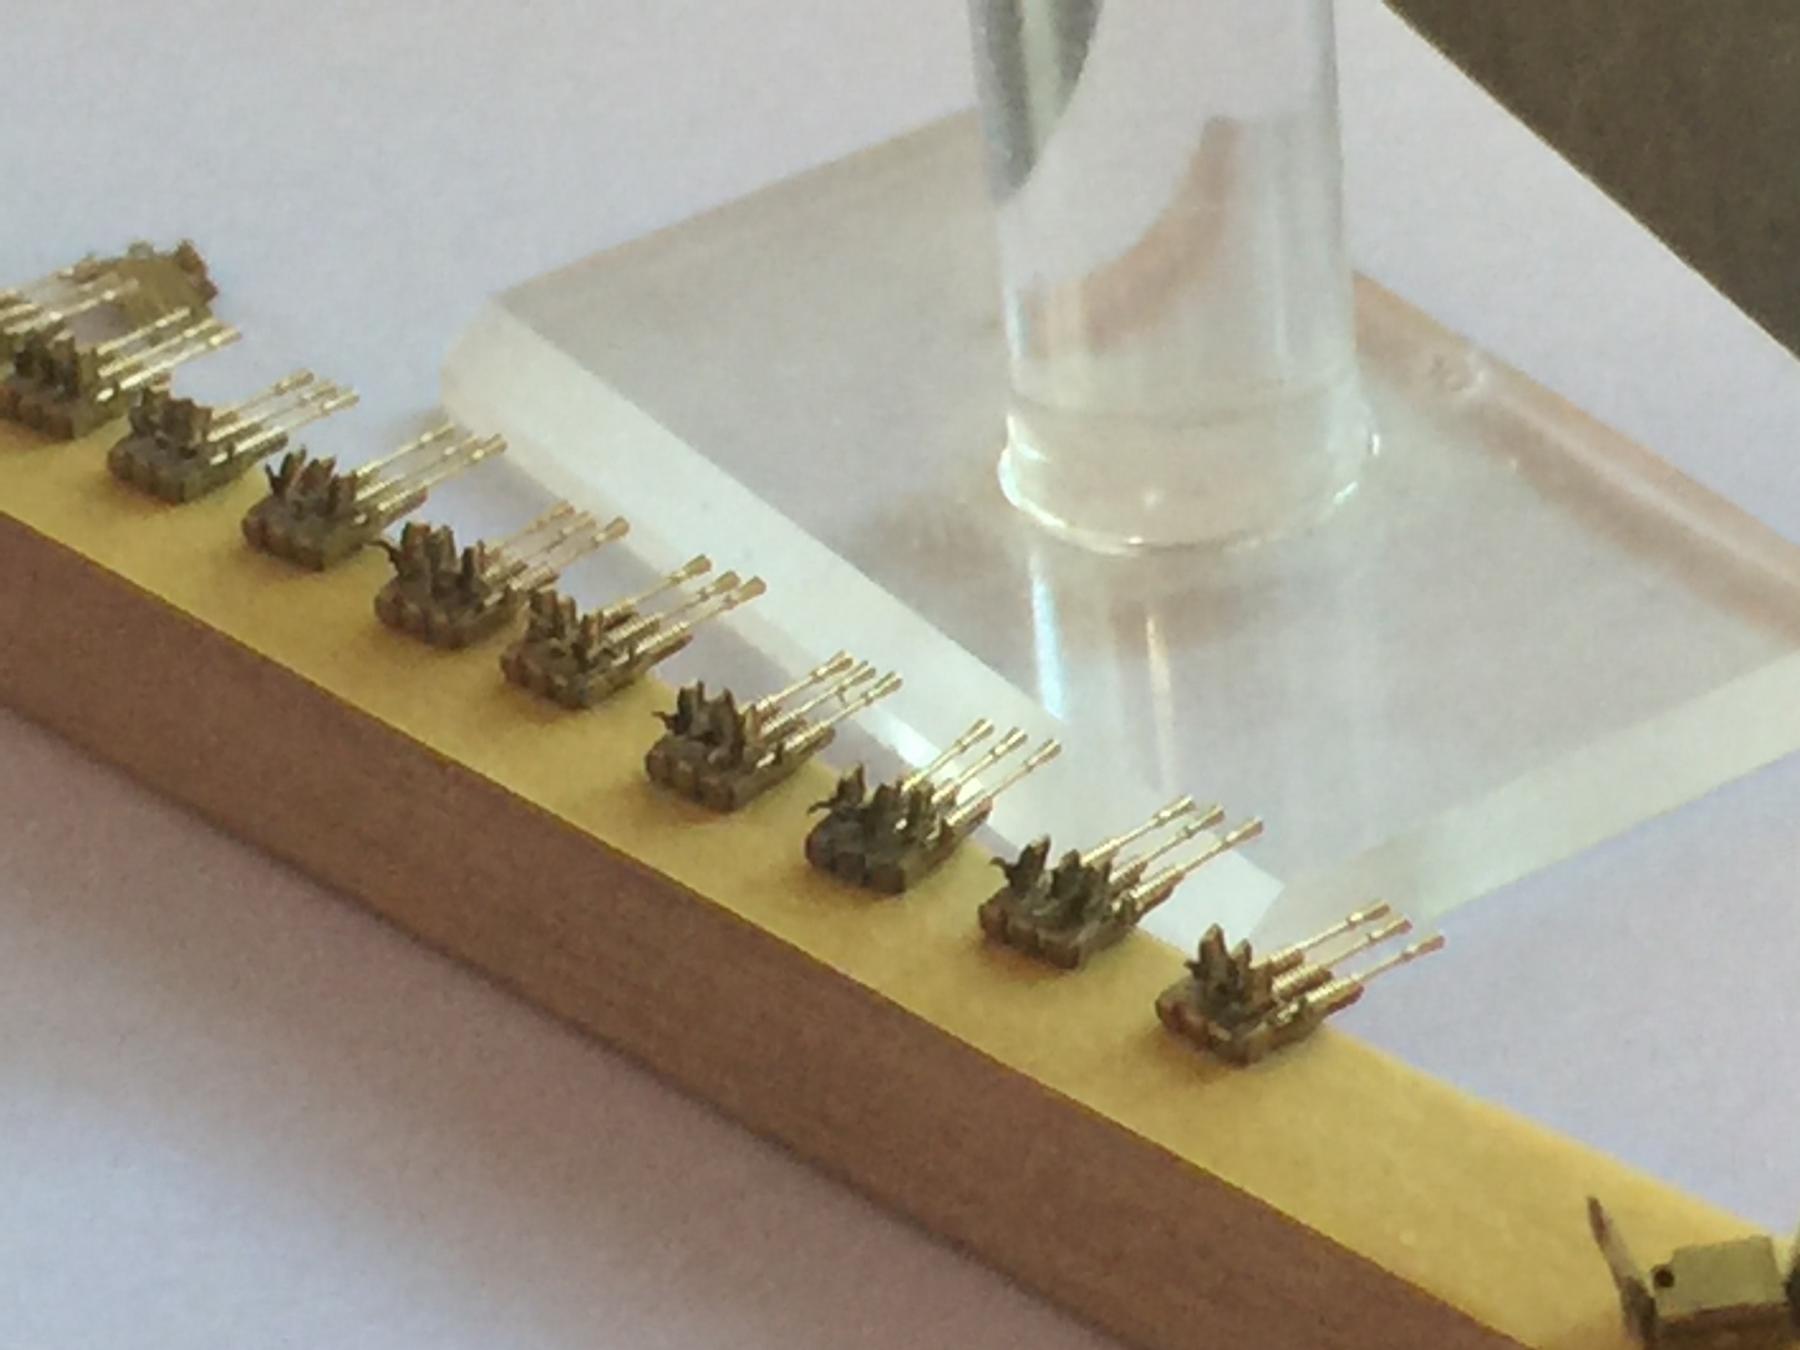
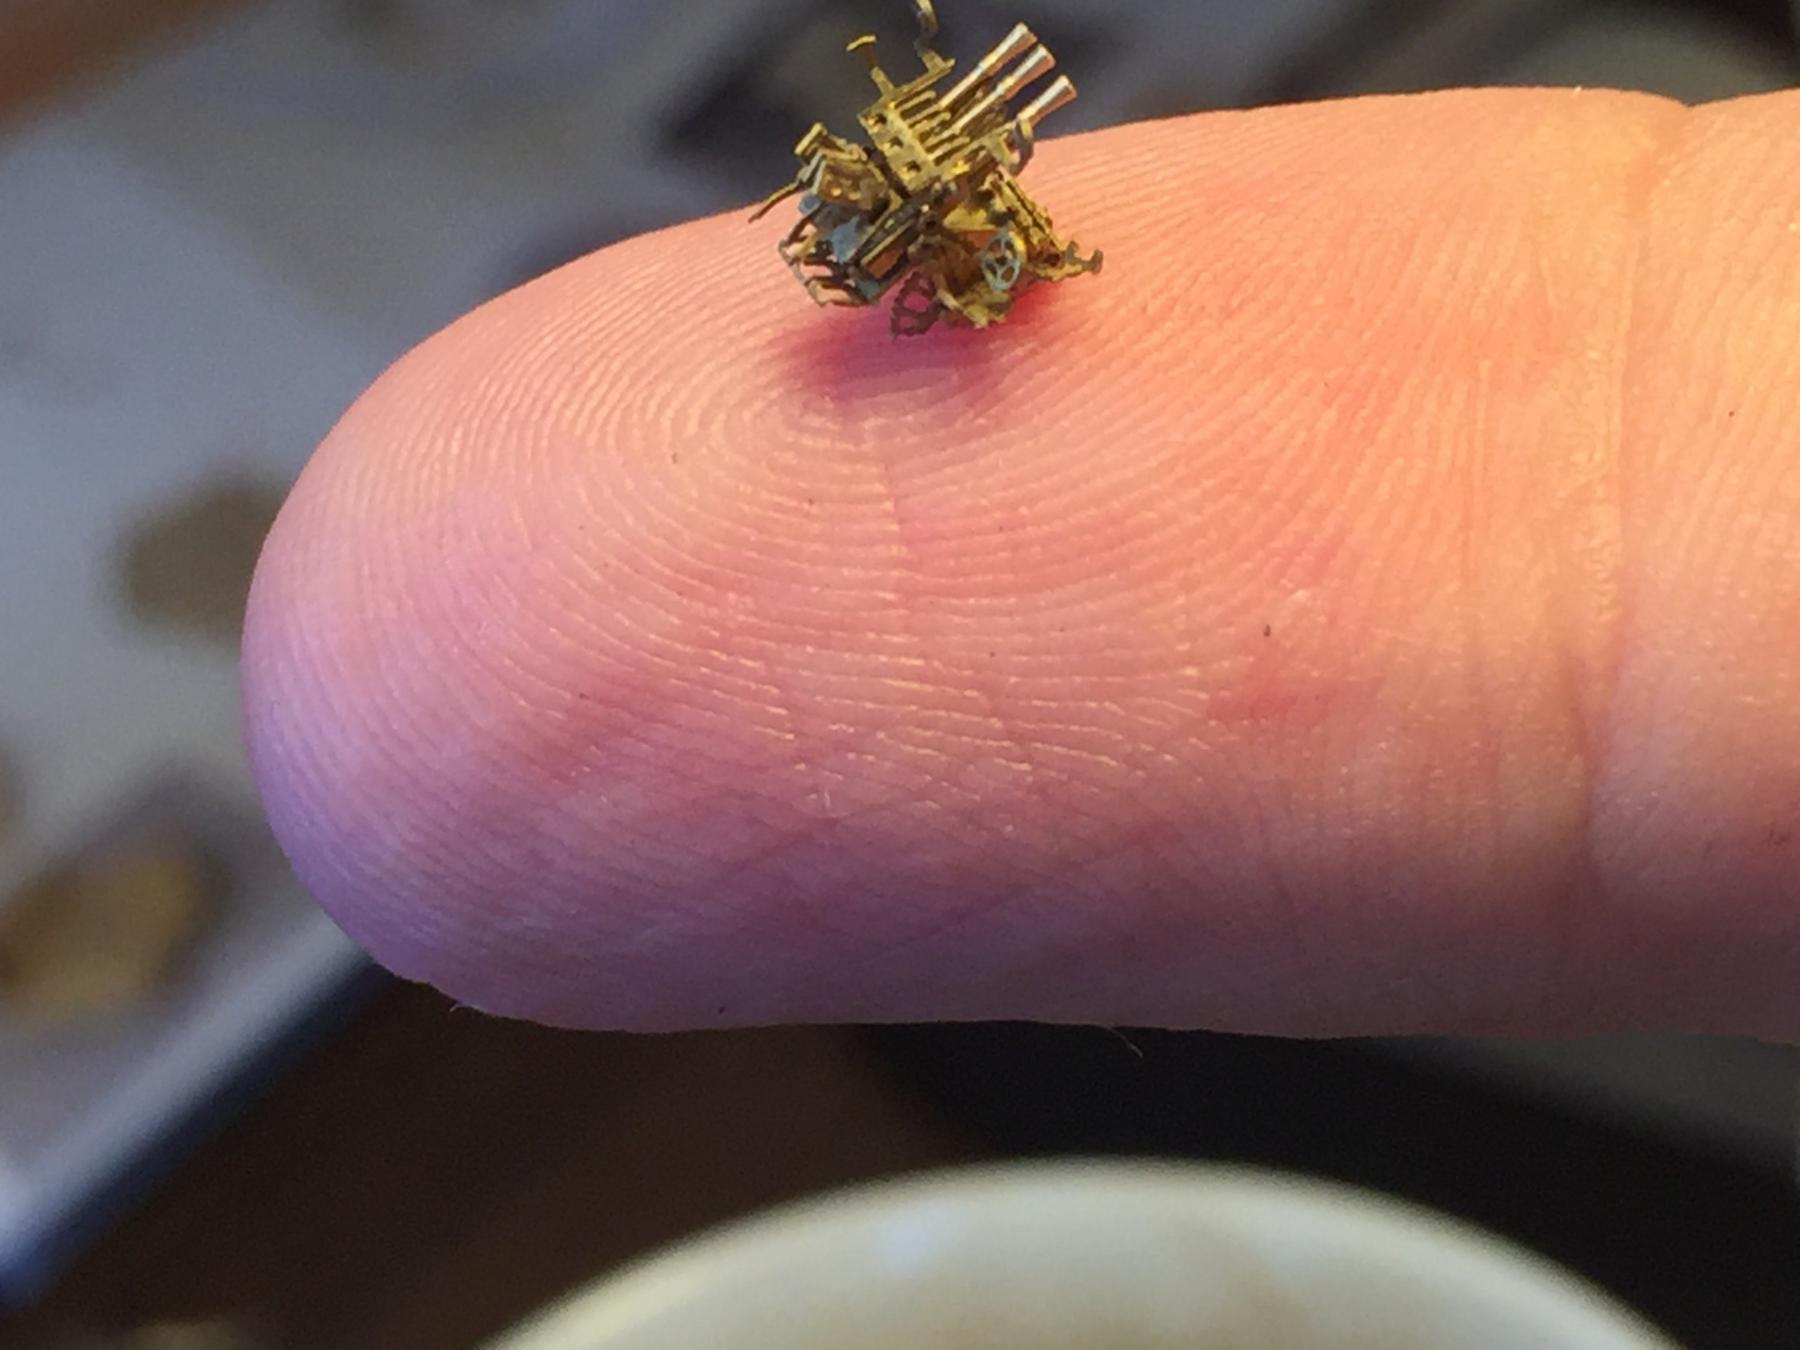
Thanks all, slight miscalculation, there are actually 28 triple 25mm guns, so that's 76 barrels to insert, and 76 x 2mm magazines to fold and insert. Just completed that aspect and somewhat cross eyed. Still, easier than stropping blocks.
-
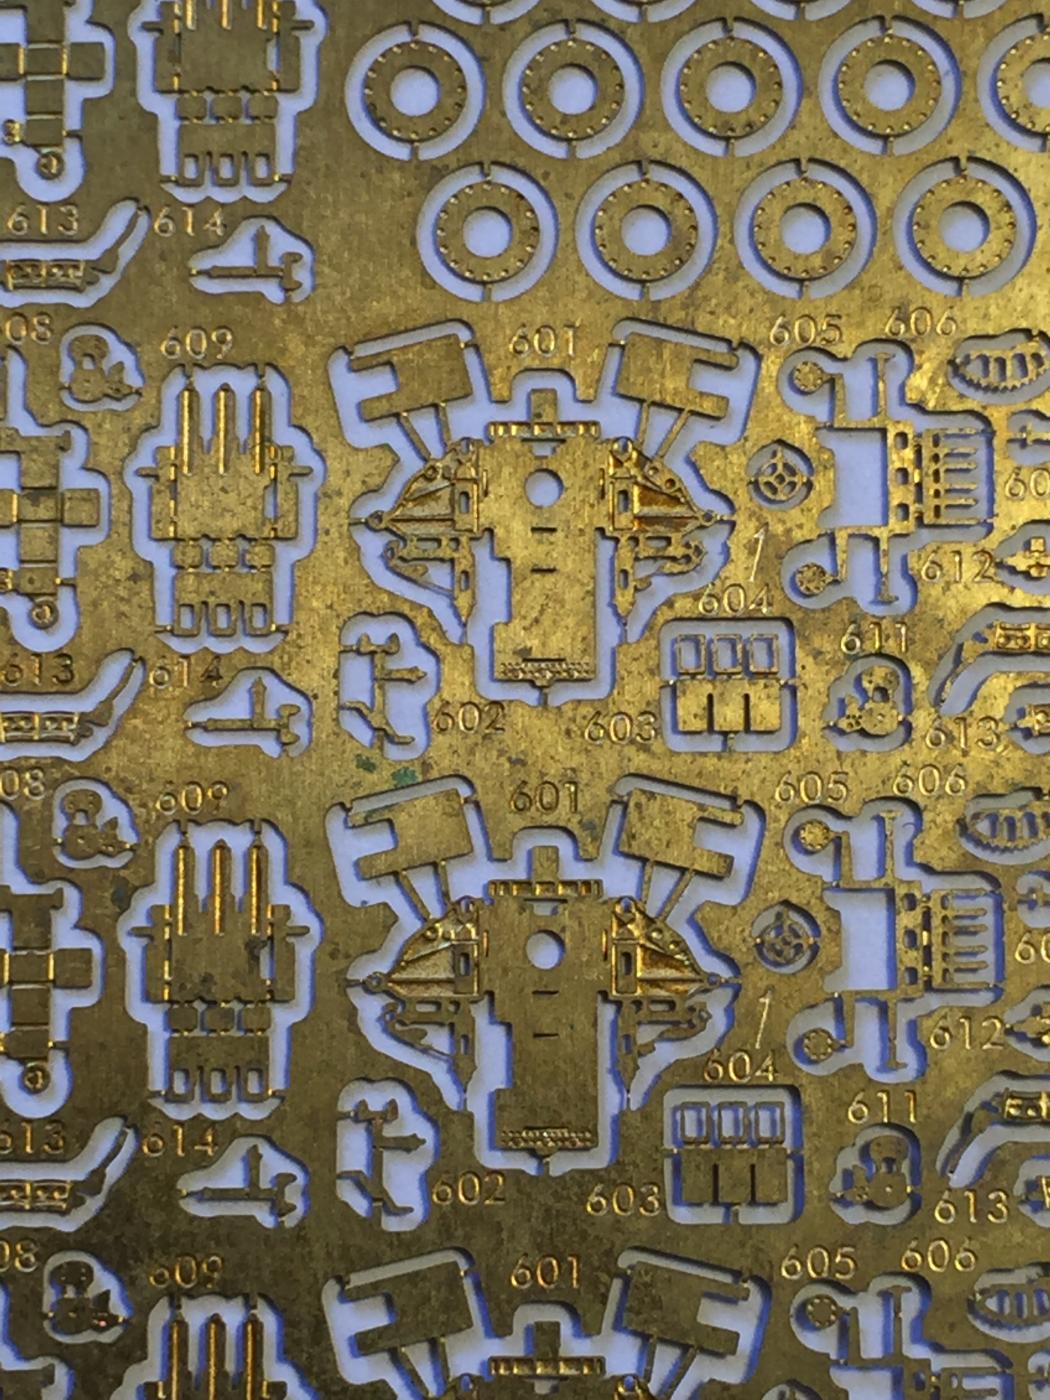
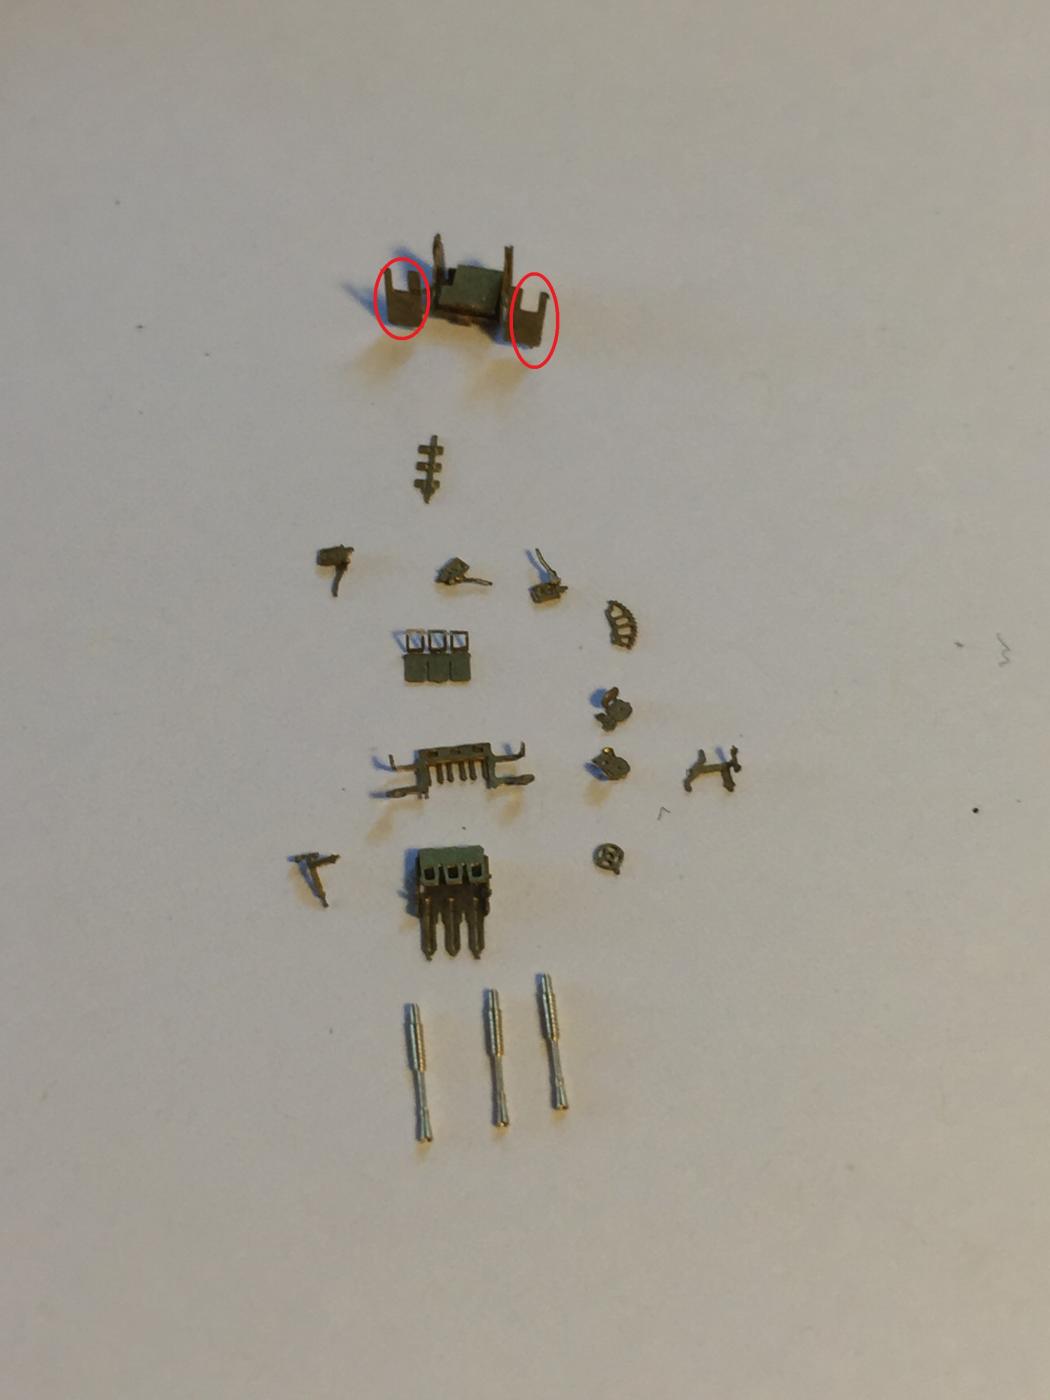
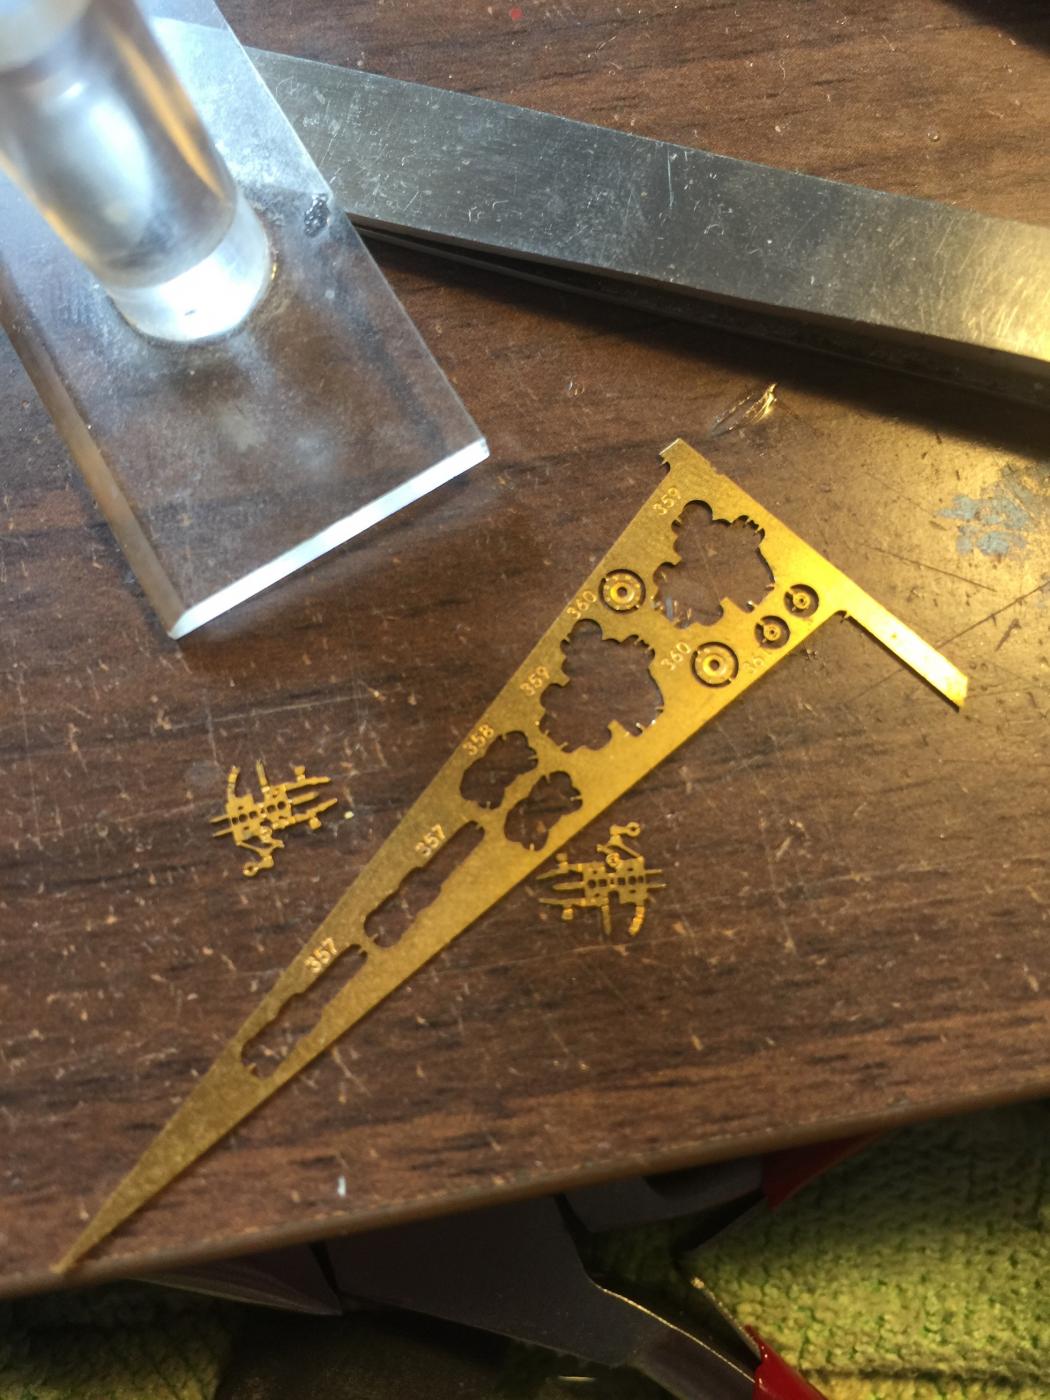
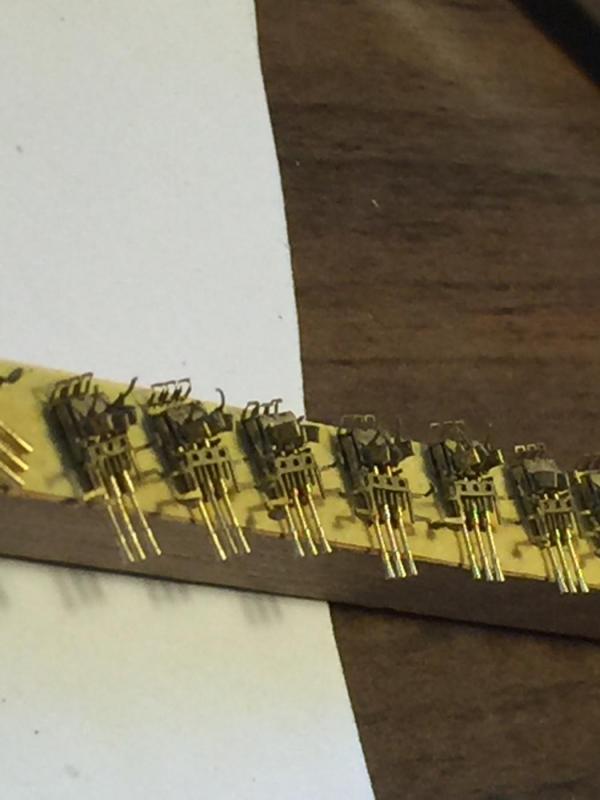
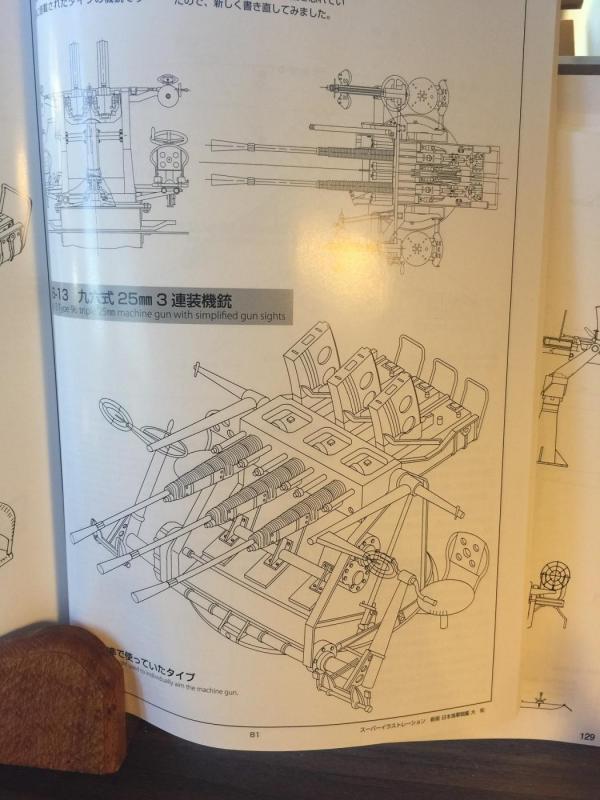
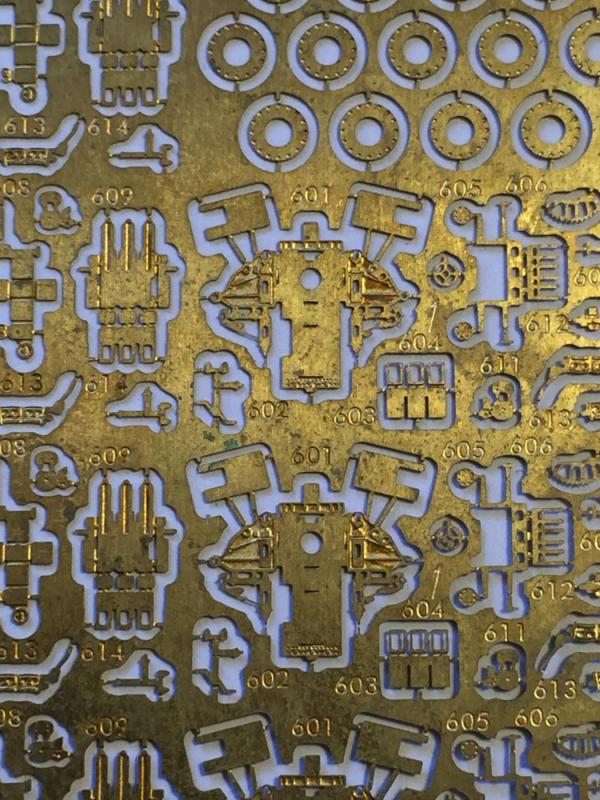
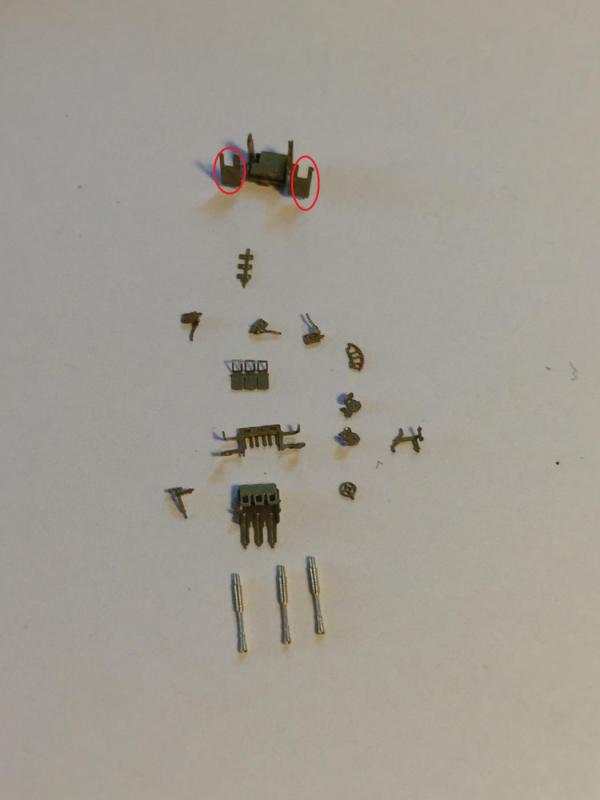
Next is the 25mm triple guns. The Pontos kit provides 29 guns mounts, and the model requires 24. So I spent the afternoon and this morning working of the first draft so to speak to see how it goes together. Not as hard as the smaller guns, but still fiddly, the final product is very rough and now I know what to do it will improve. The gun shields come off as they are not on the real ship and I expect they are required for the Mushasi, and there are two options for the sights, which the reference material says were simple iron sights in 1944/45. . As I have spares, there are a few more ideas I want to try for ease of construction, the only thing is to have enough barrels I will probably have to pull the draft apart and burn it to get the glue off. This is going to take a while.


- 743 replies
-
- 19
-
-
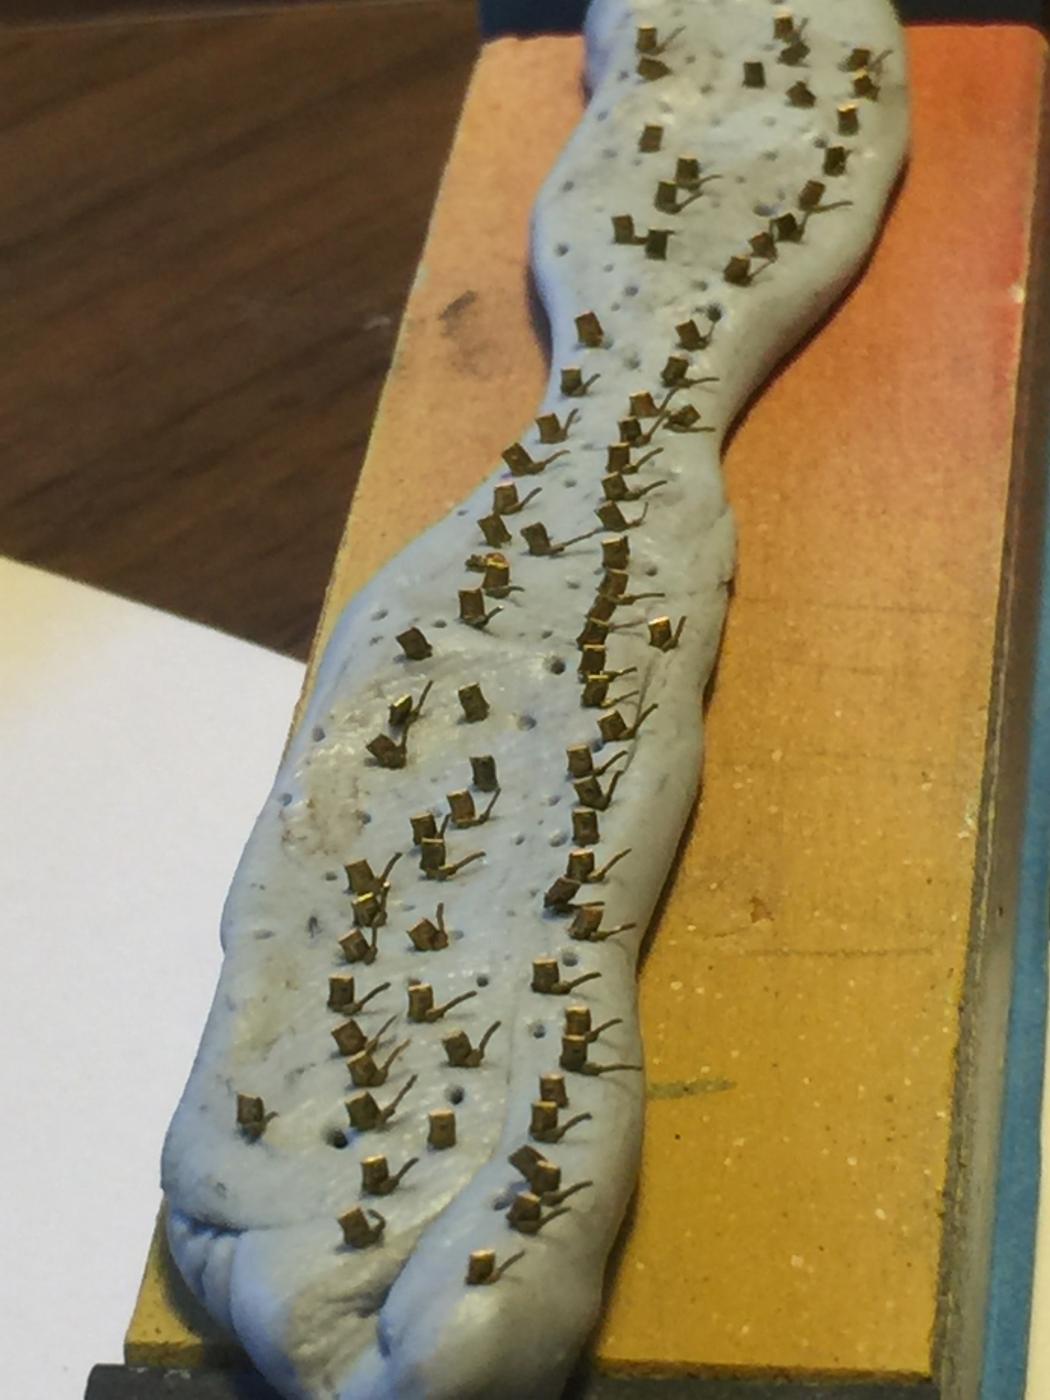
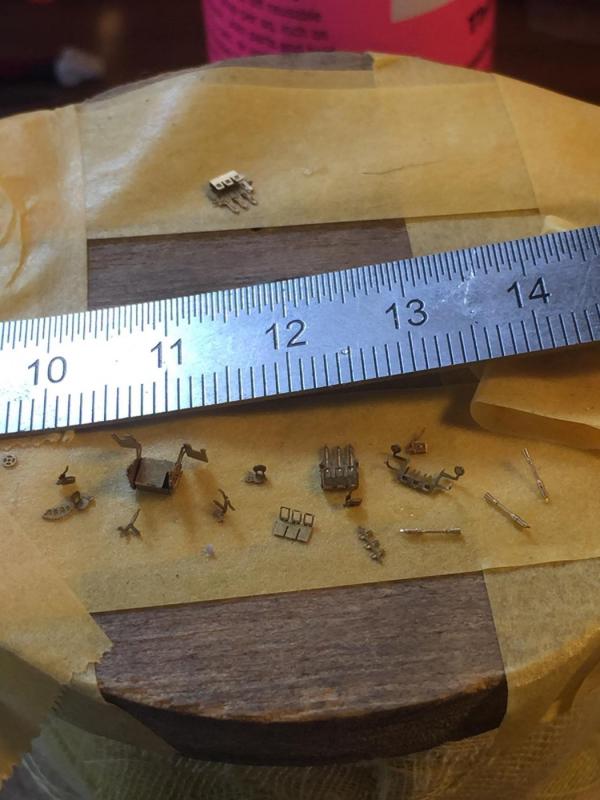
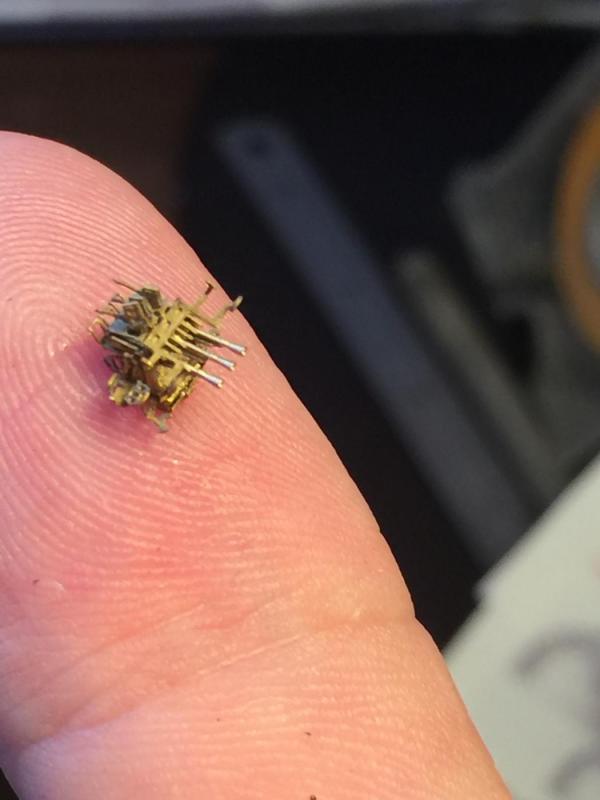
I am limited with my photography with my phone, my job once sent me on a course but it was all about not being seen by the subject. Needless to say my eyes are going with the scale and I've got great near sighted vision. The triple 25mm's are a lot easier but there are 26 of them, I did up the first draught this afternoon without glue and they're quite easy. Can someone please recommend the very best brand of tweezers they know of? Tamiya is too big, and there must be something out there that can handle 1mm pieces without sending them into orbit. I have one excellent pair but open to suggestions
-
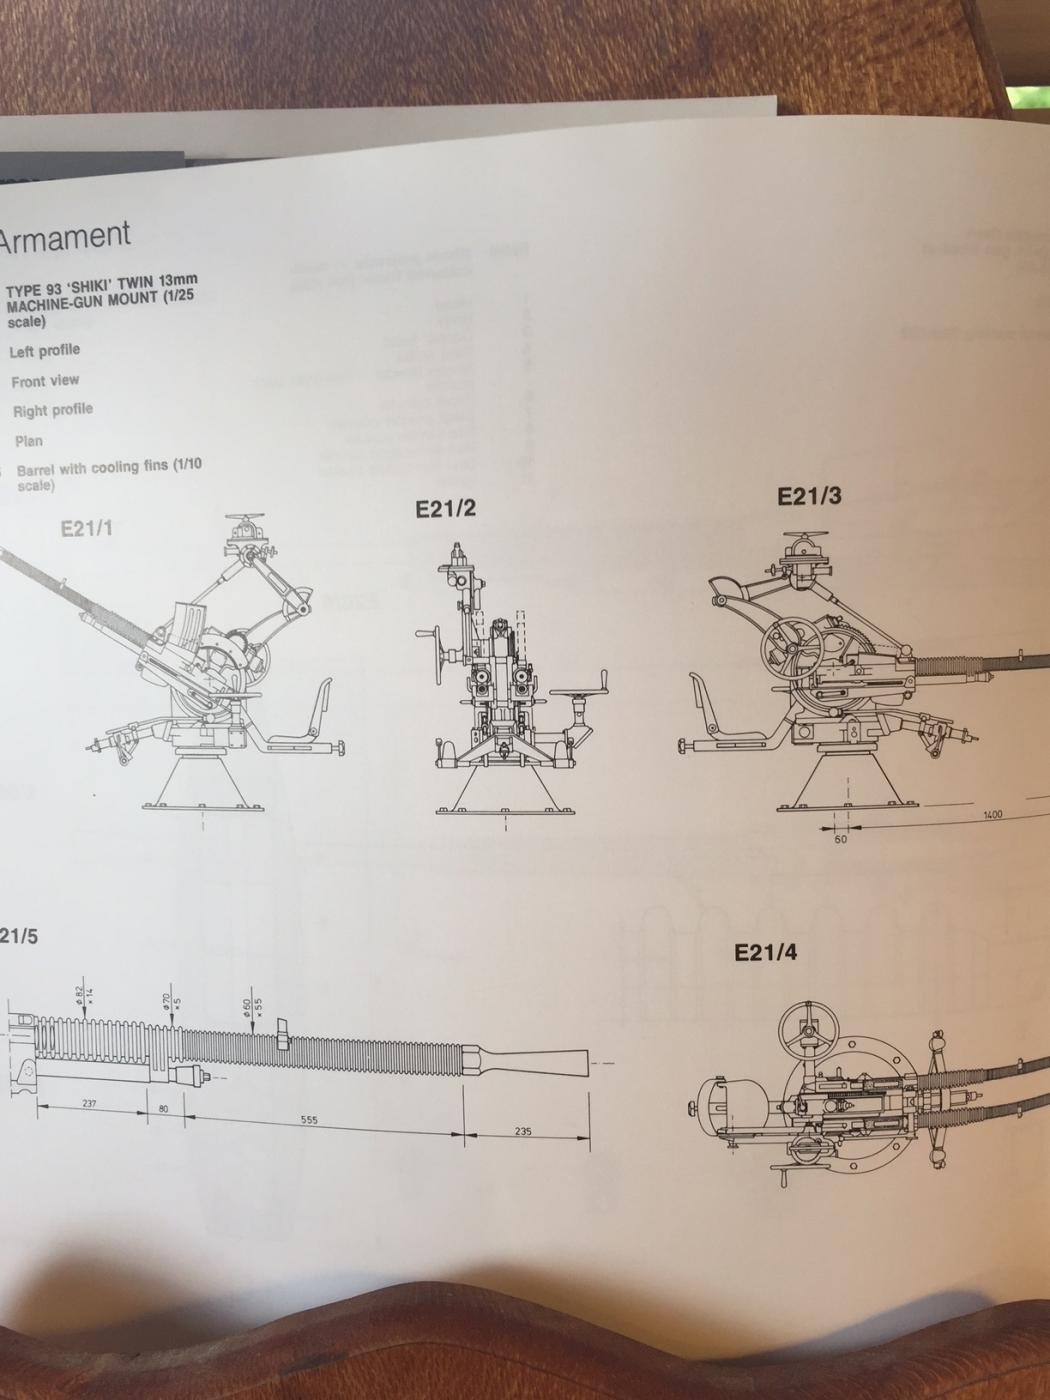
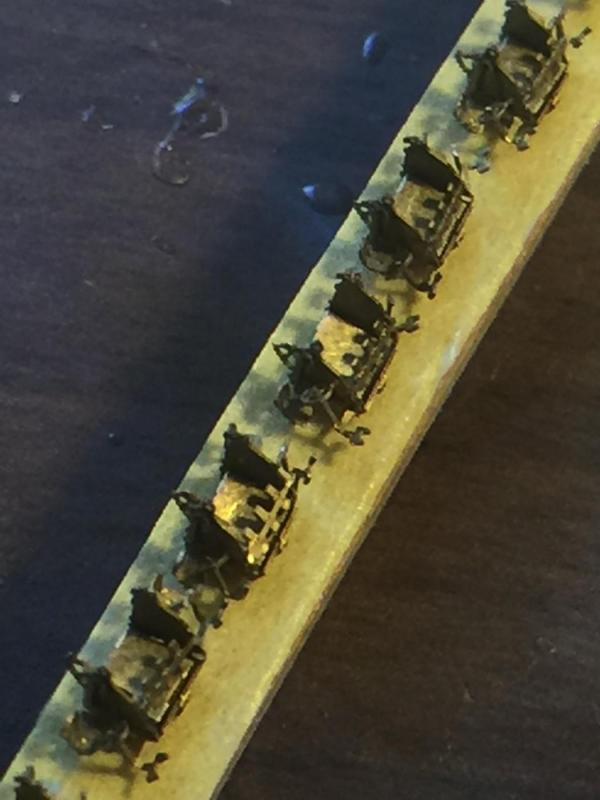
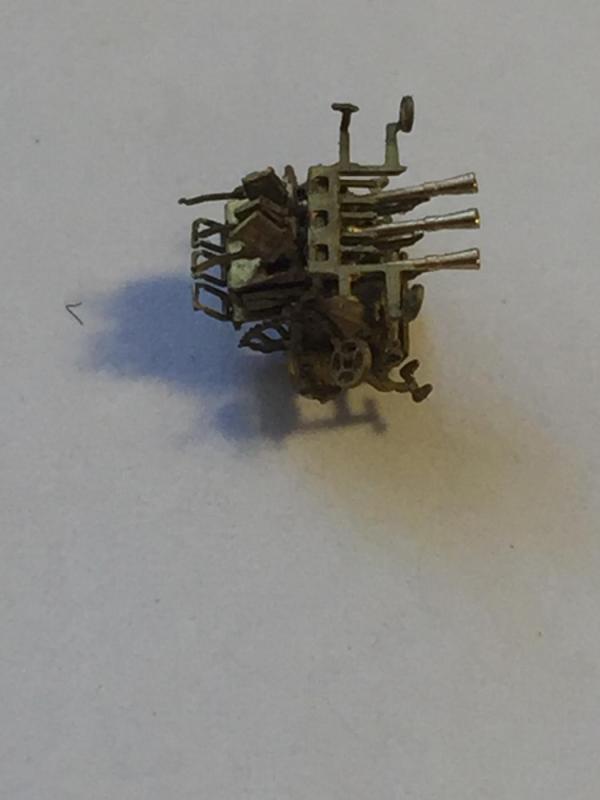
Next is the two 13mm machine guns that go on the tower. Thank god there are only two as they are flat out the smallest things ever with a lot of bending and very tiny barrels which are hard to align. You can see the Tamiya offering in the last photo.


- 743 replies
-
- 15
-
-
Cog, the answer is no, I also have the old tool which I bought second hand to practice painting, and the new tool does not need them as the detail is a lot better. The time spent in making the corrections would be saved with the new tool. Mr Taylor, Nothing is impossible but at this scale you use such tiny dabs of glue, they are very fragile and break very easily, not to mention that if you bend some etch the wrong way then bend it back they snap off. The designers have to be engineers to make it all work, and still do it economically. My biggest issue is the instructions seem to make perfect sense once you have finished making an assembly. I dare say it is the language barrier as well and lack of decent photos. I would be happy for Pontos to give me free stuff and I would do their instructions for them. There is a fantastic build on another site which I have been following,and the bloke from Pontos seems to drop in and out of their forum in the way of marketing his wares. Working rigging blocks on a tall ship are feasible but given the amount of crew they require, not possible for the single modeller to represent. If I hadn't made some wooden ships first I would never have the patience to do this one.
-
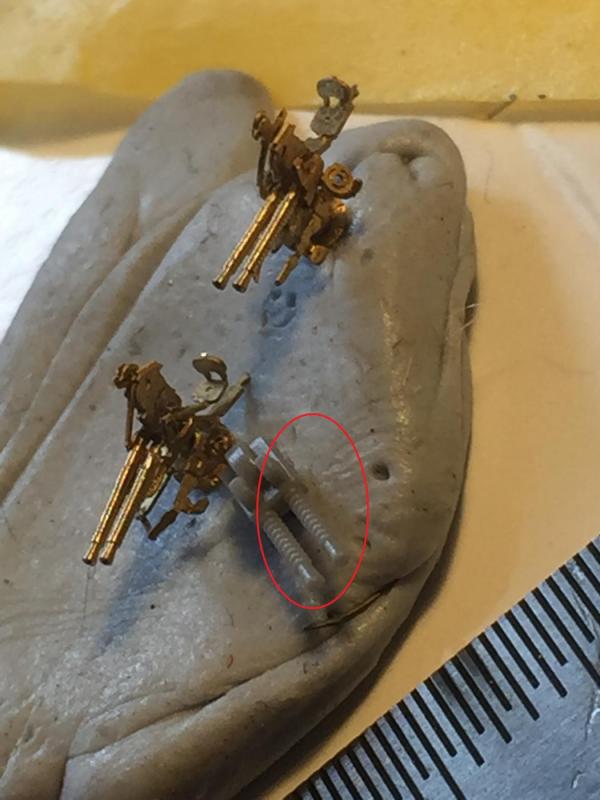
Just drilled a hole to make them sit flush. I have a few ideas for you when you get to these.