RGL
-
Posts
5,546 -
Joined
-
Last visited
Content Type
Profiles
Forums
Gallery
Events
Everything posted by RGL
-
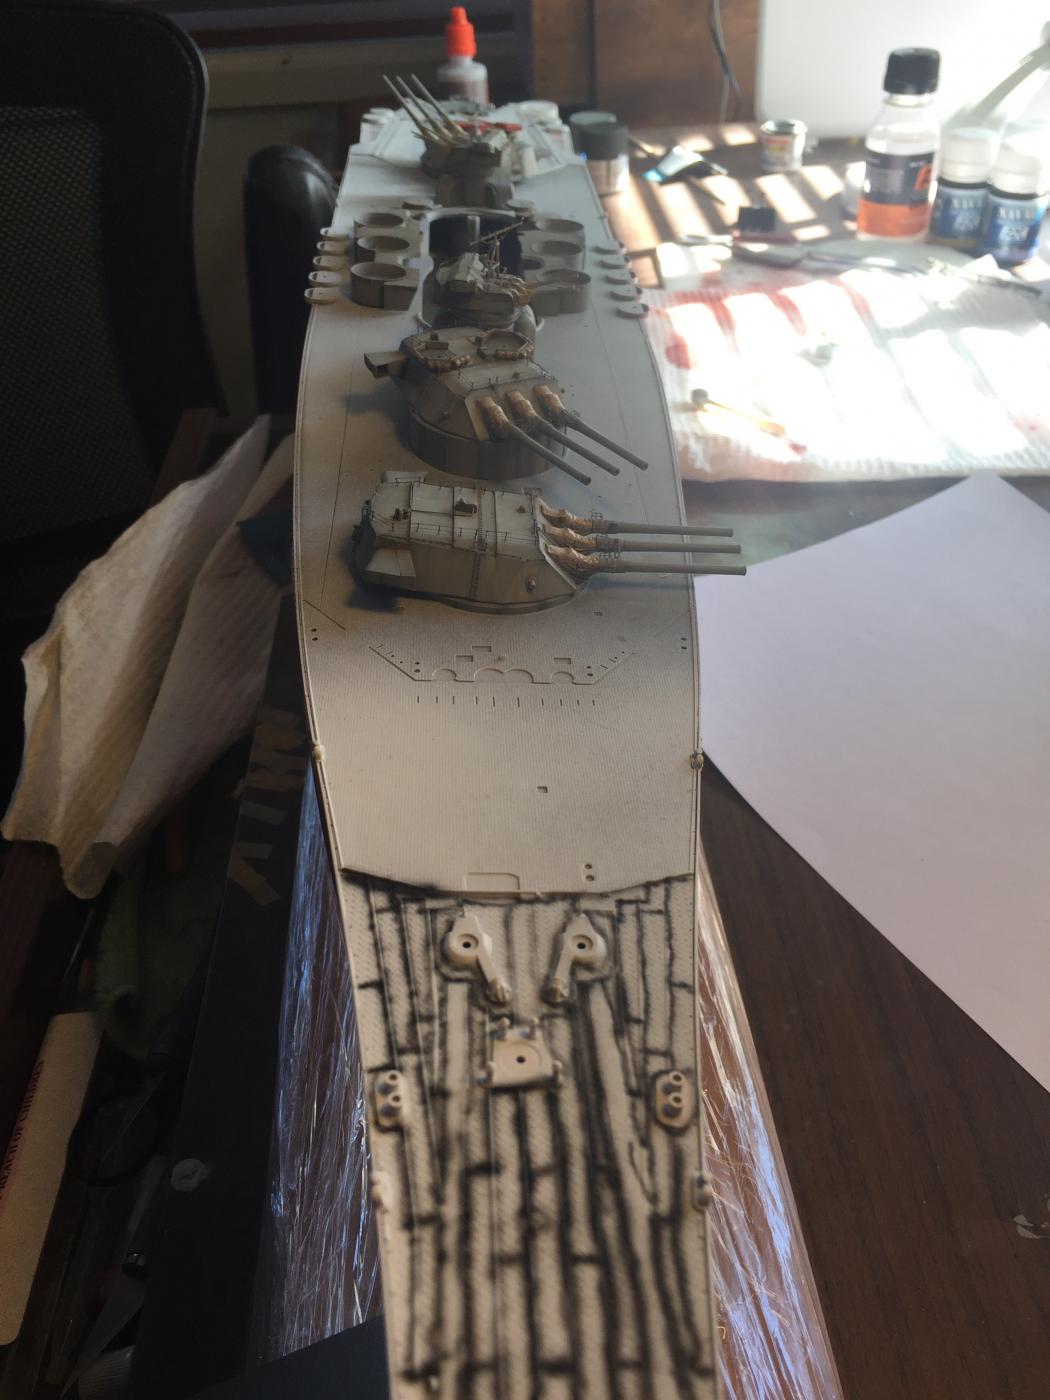
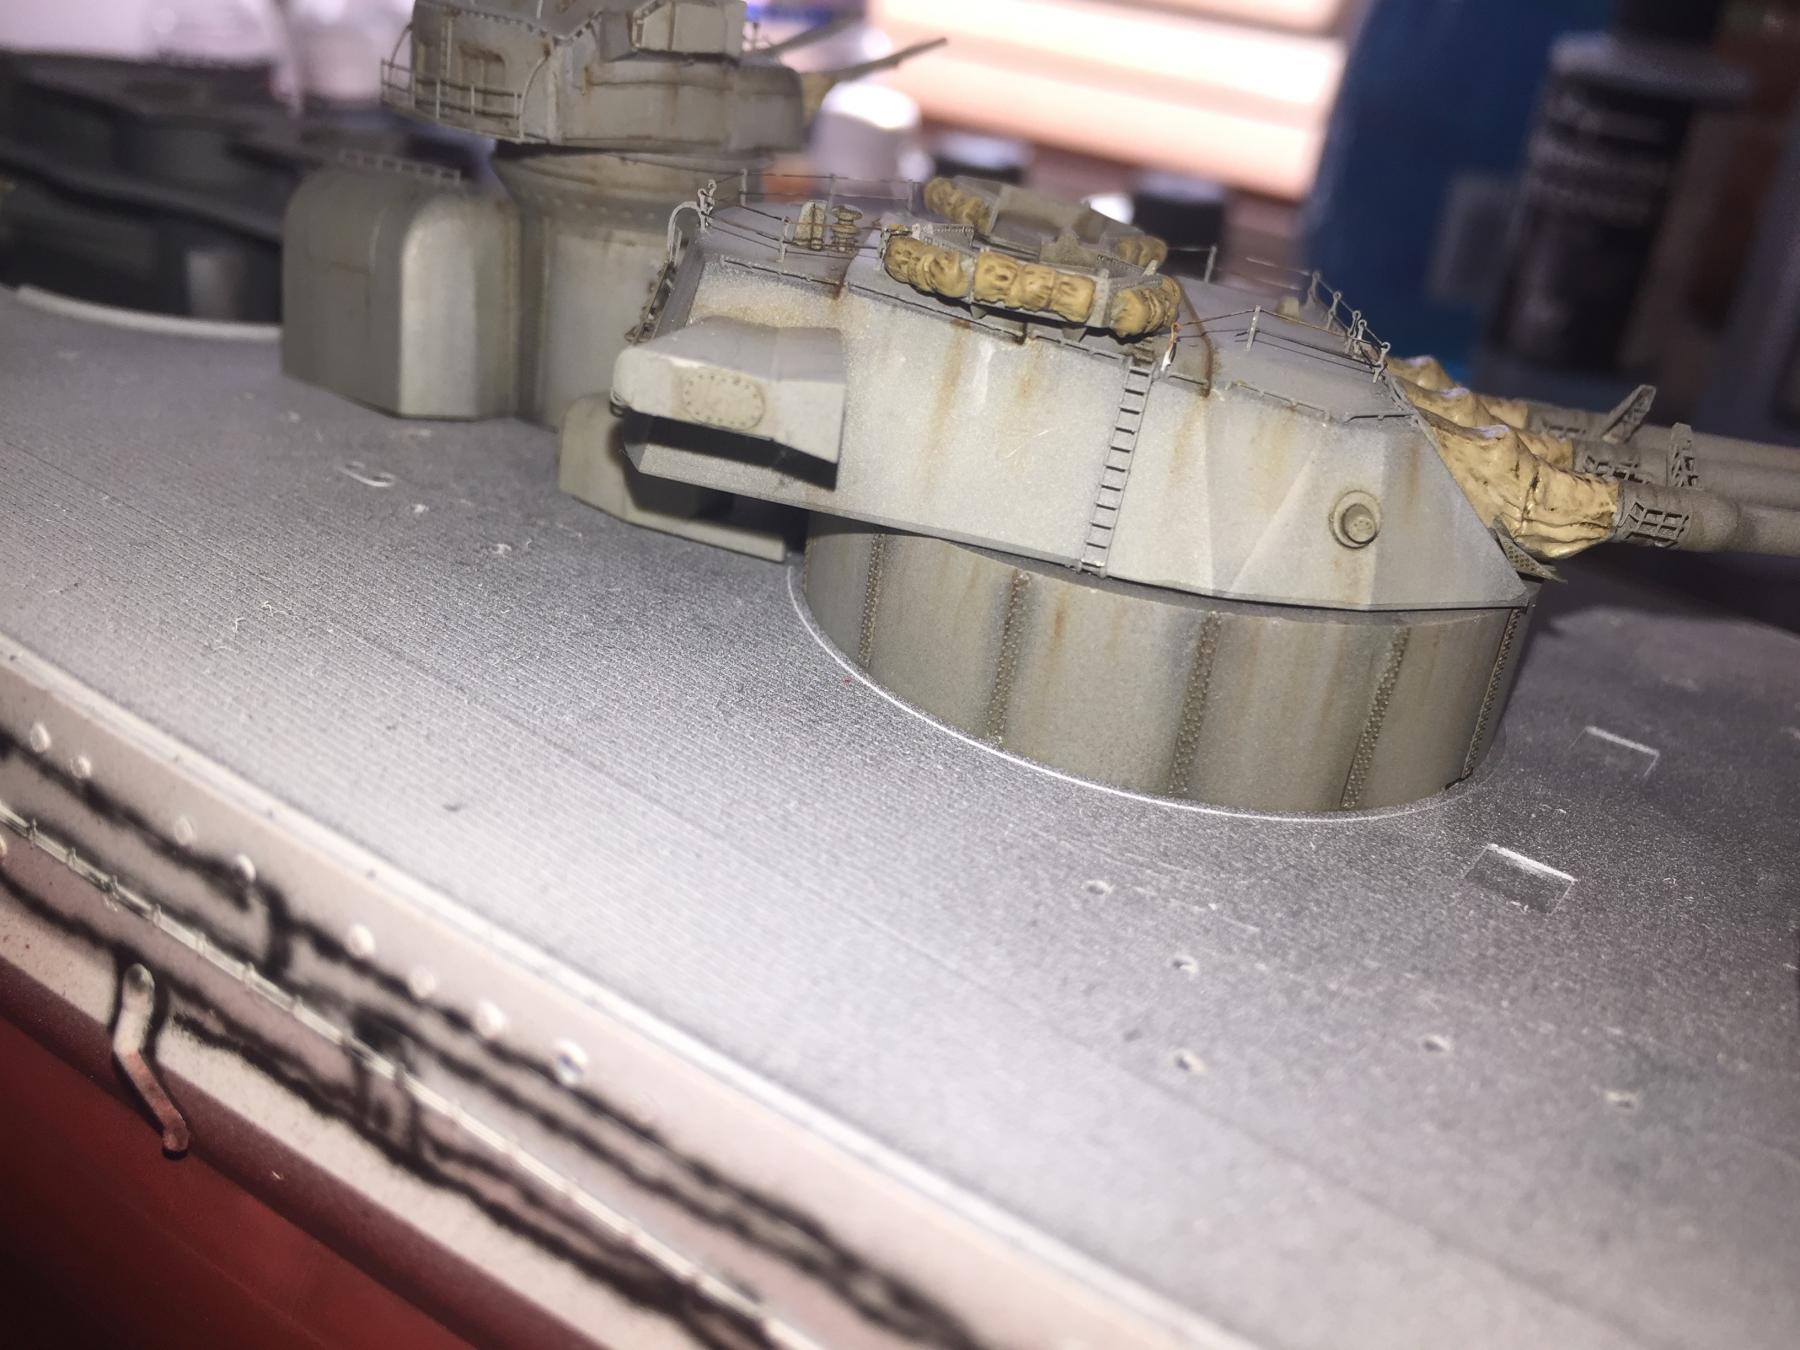
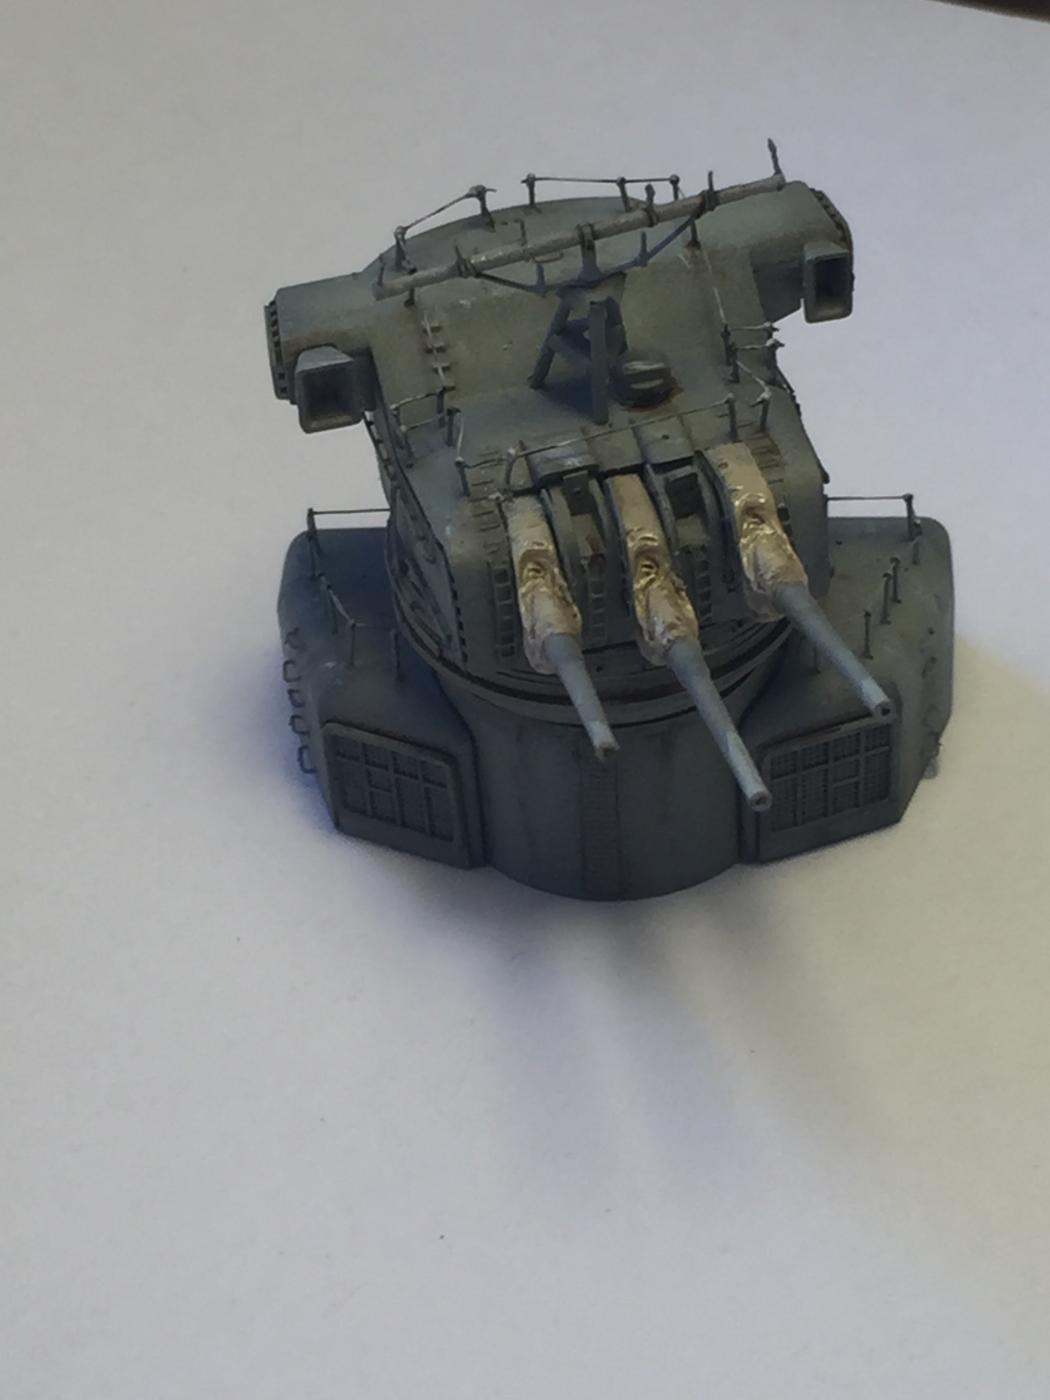
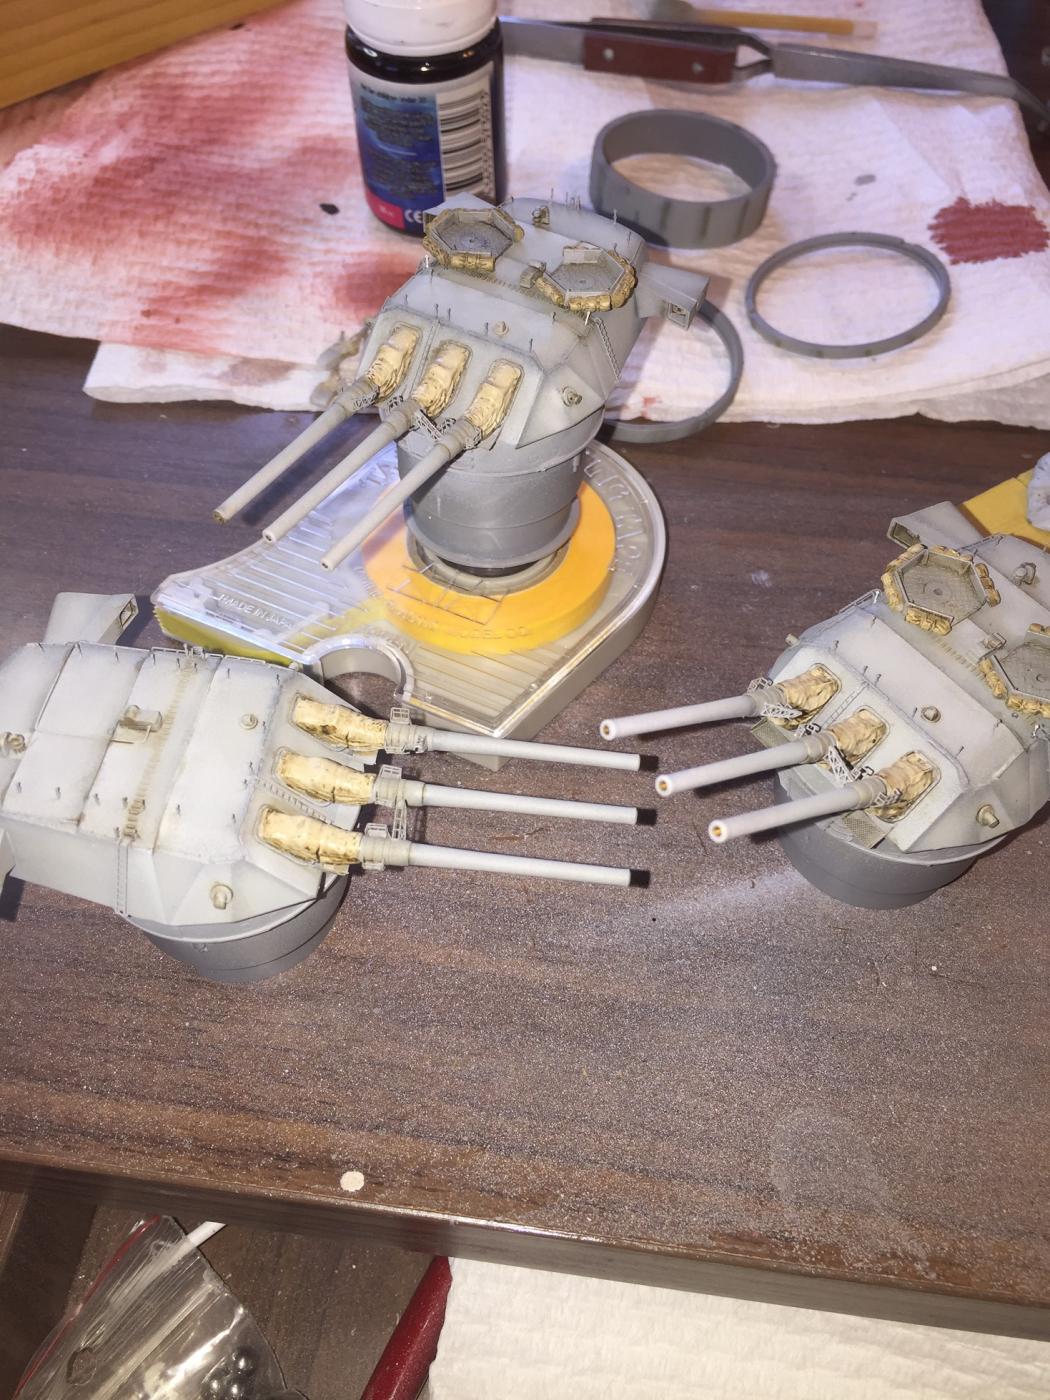
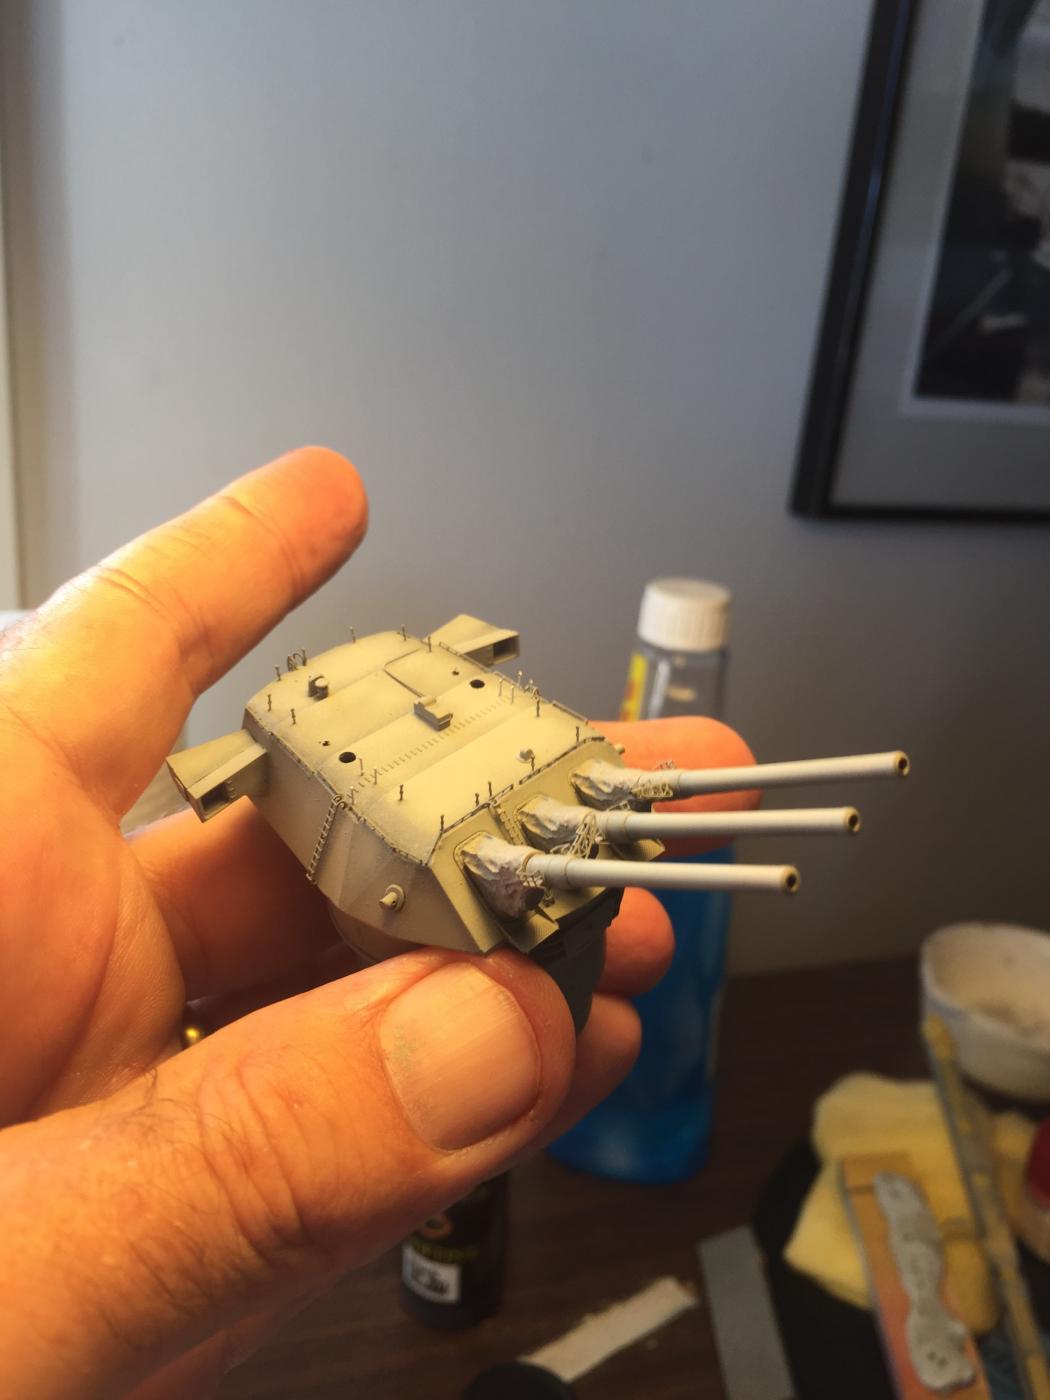
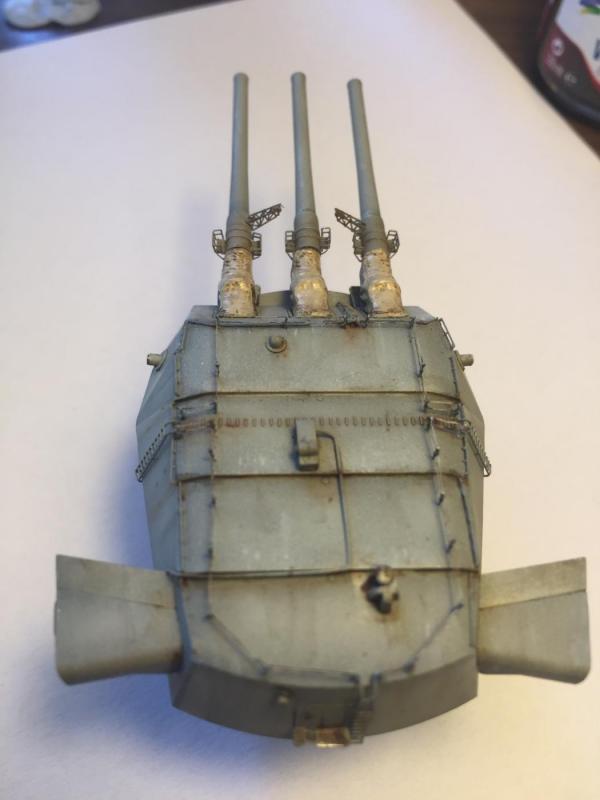
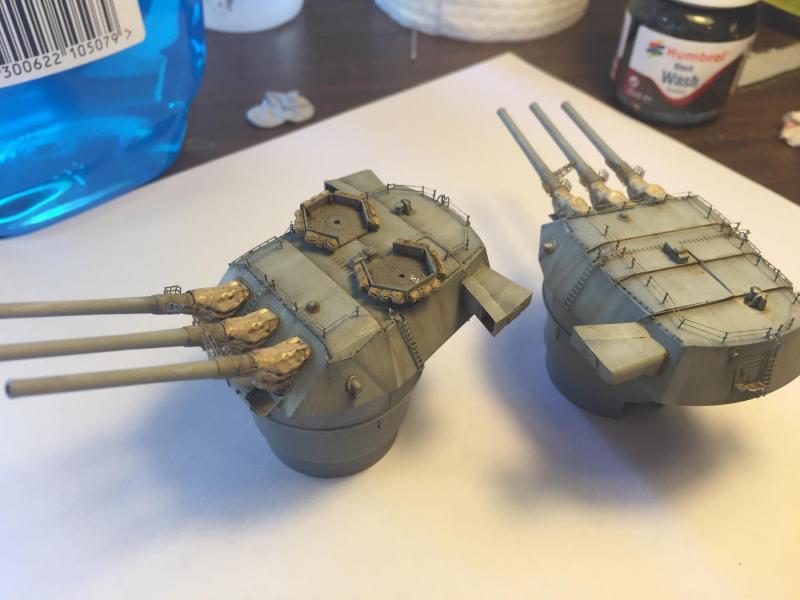
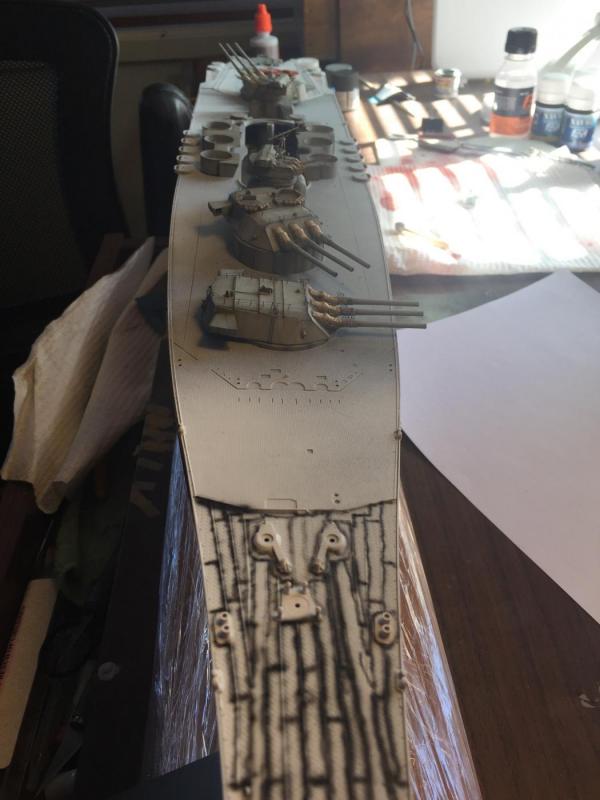
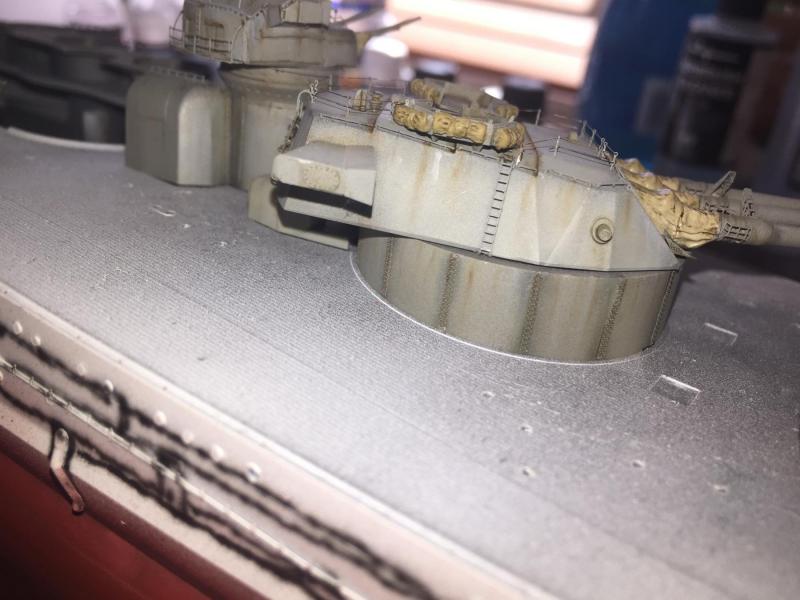
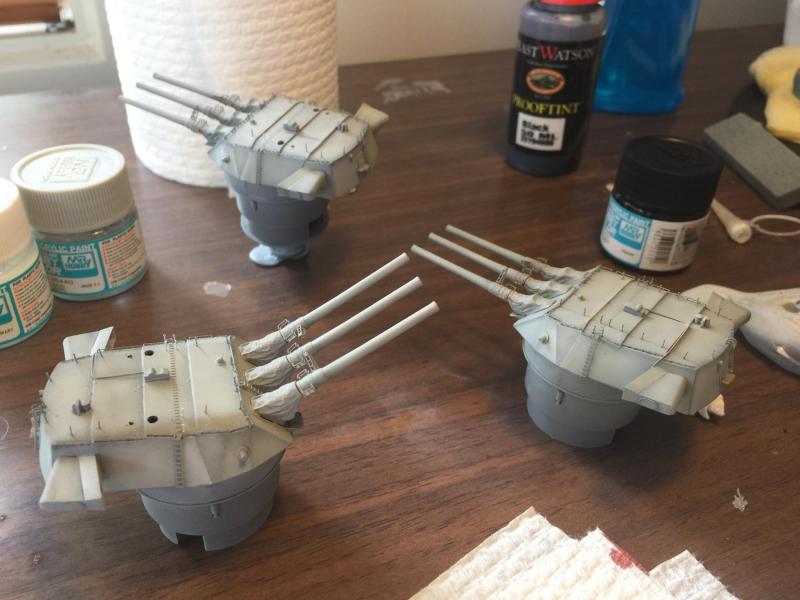
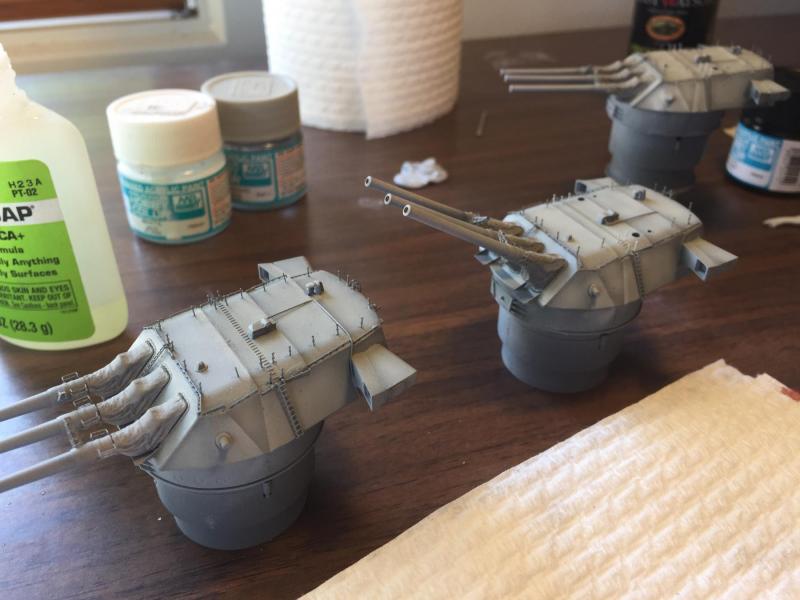
 Next, completing the main guns. It took me 2 days to rig the railings which I lightly painted with grey and rust. I have added rust, grime and salt streaks to each gun. Then a dry fit to the hull, looks a bit stark but I'm happy.


- 743 replies
-
- 15
-

-
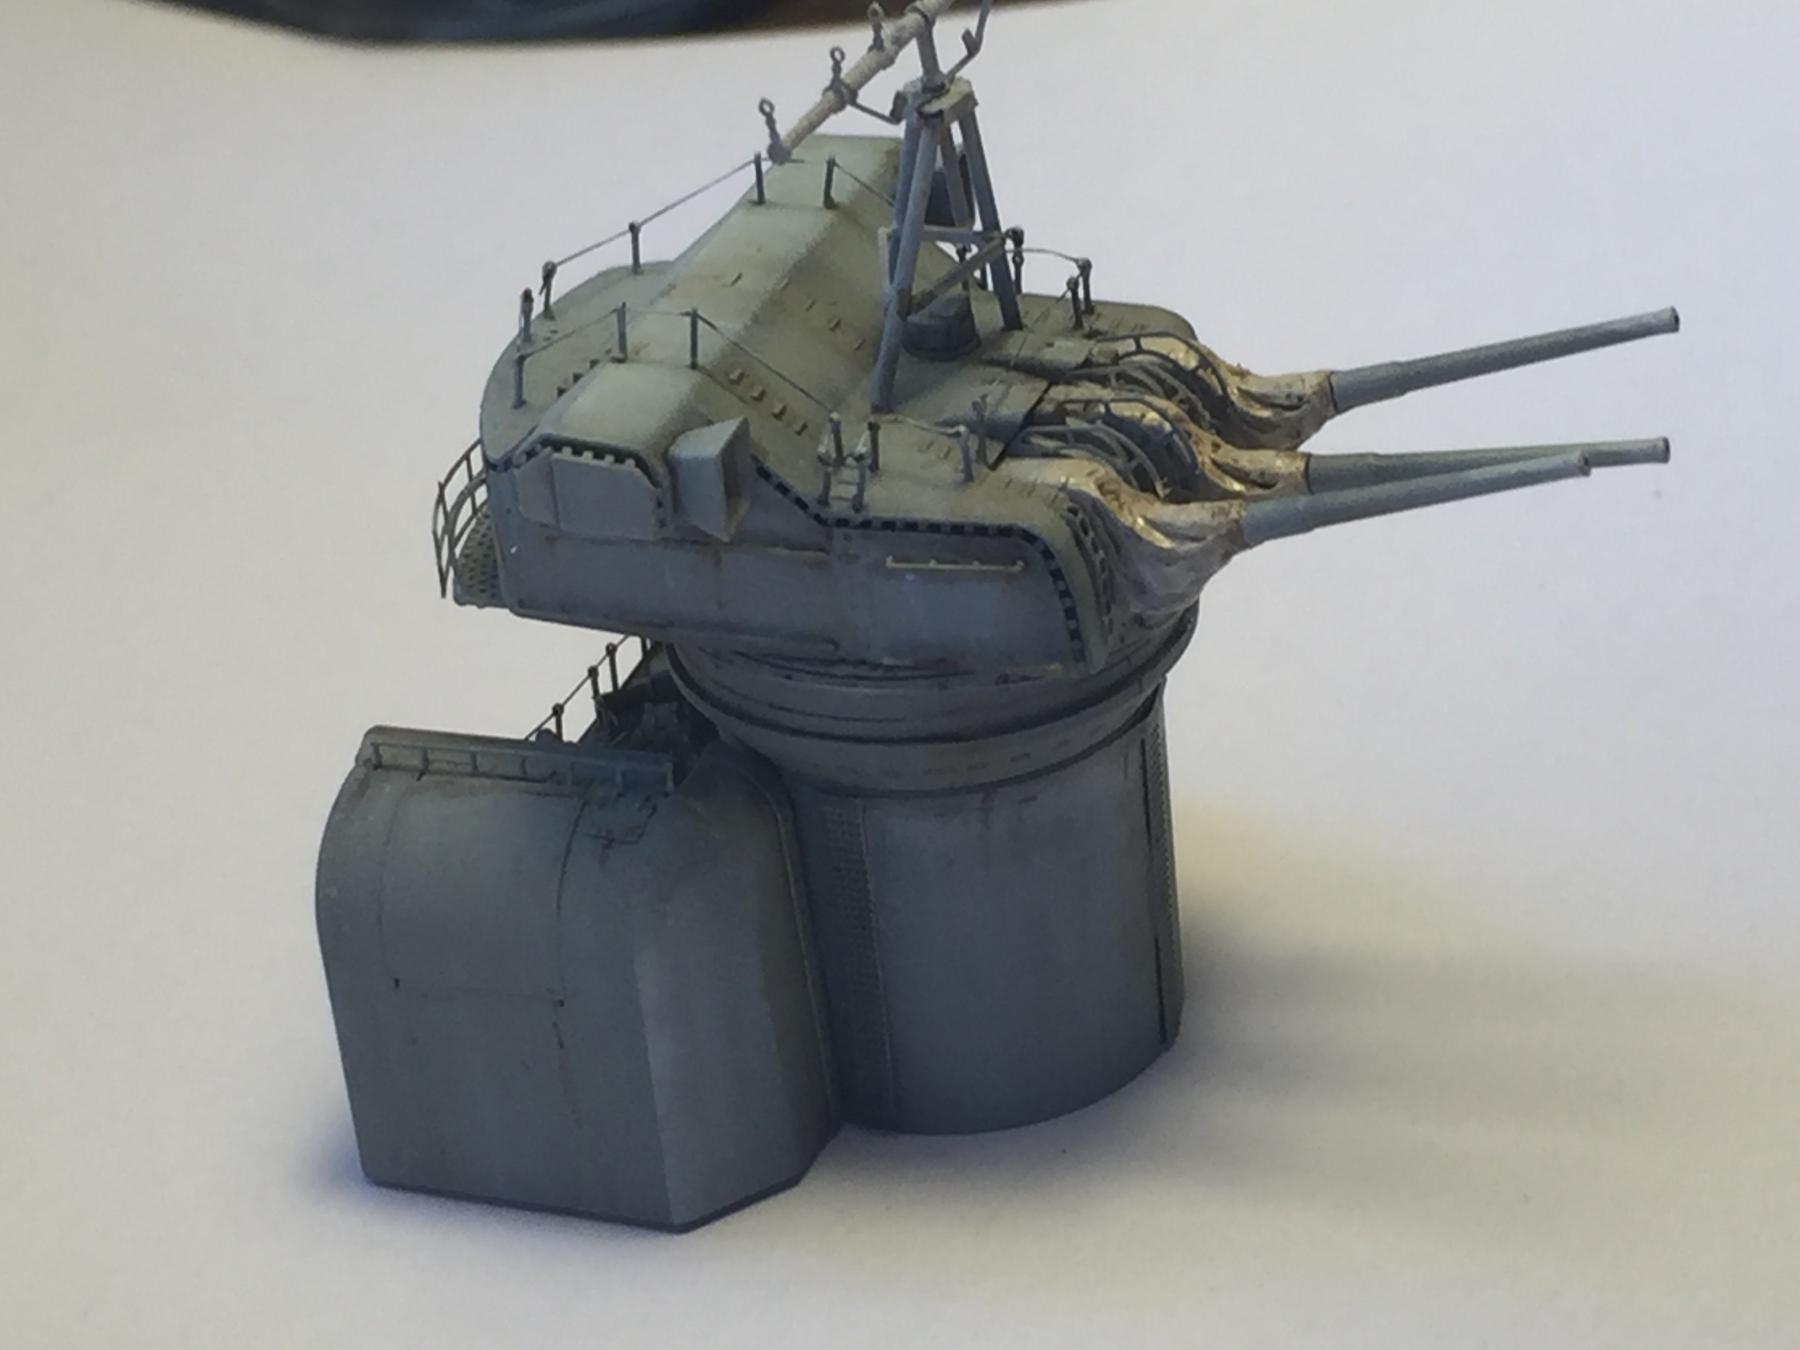
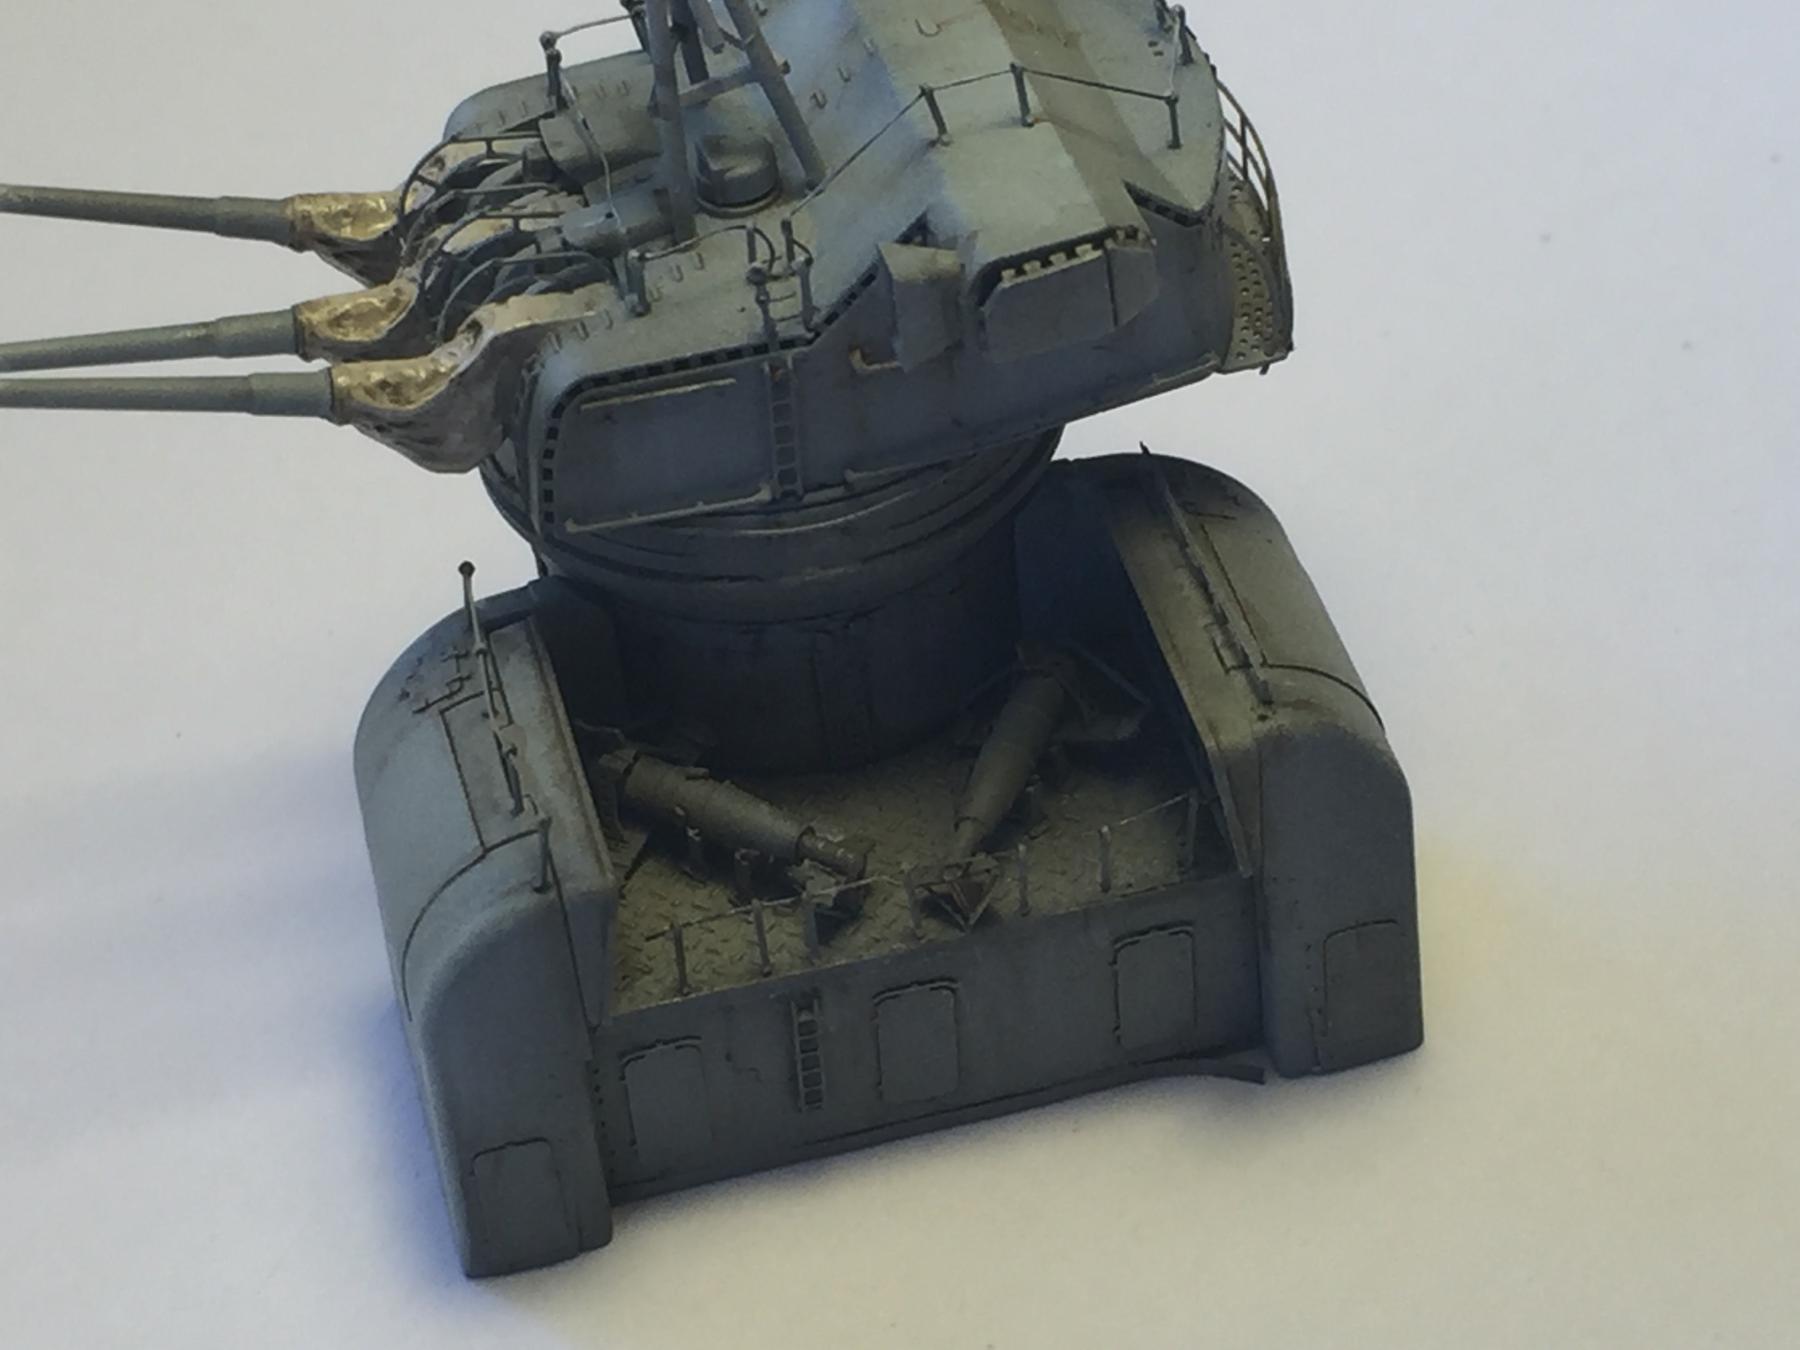
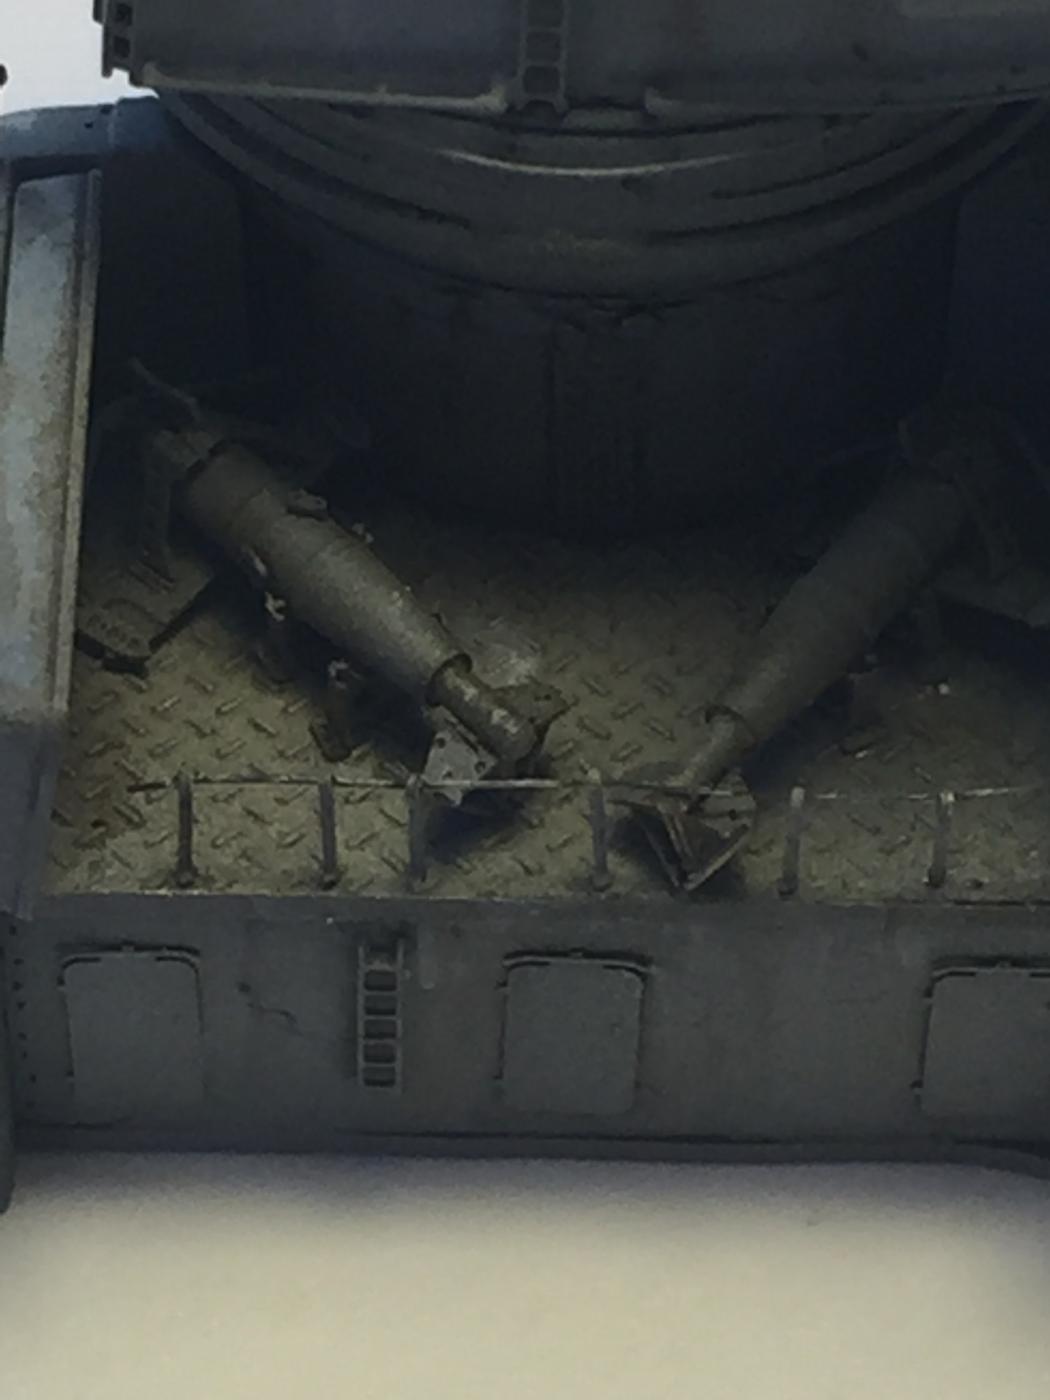
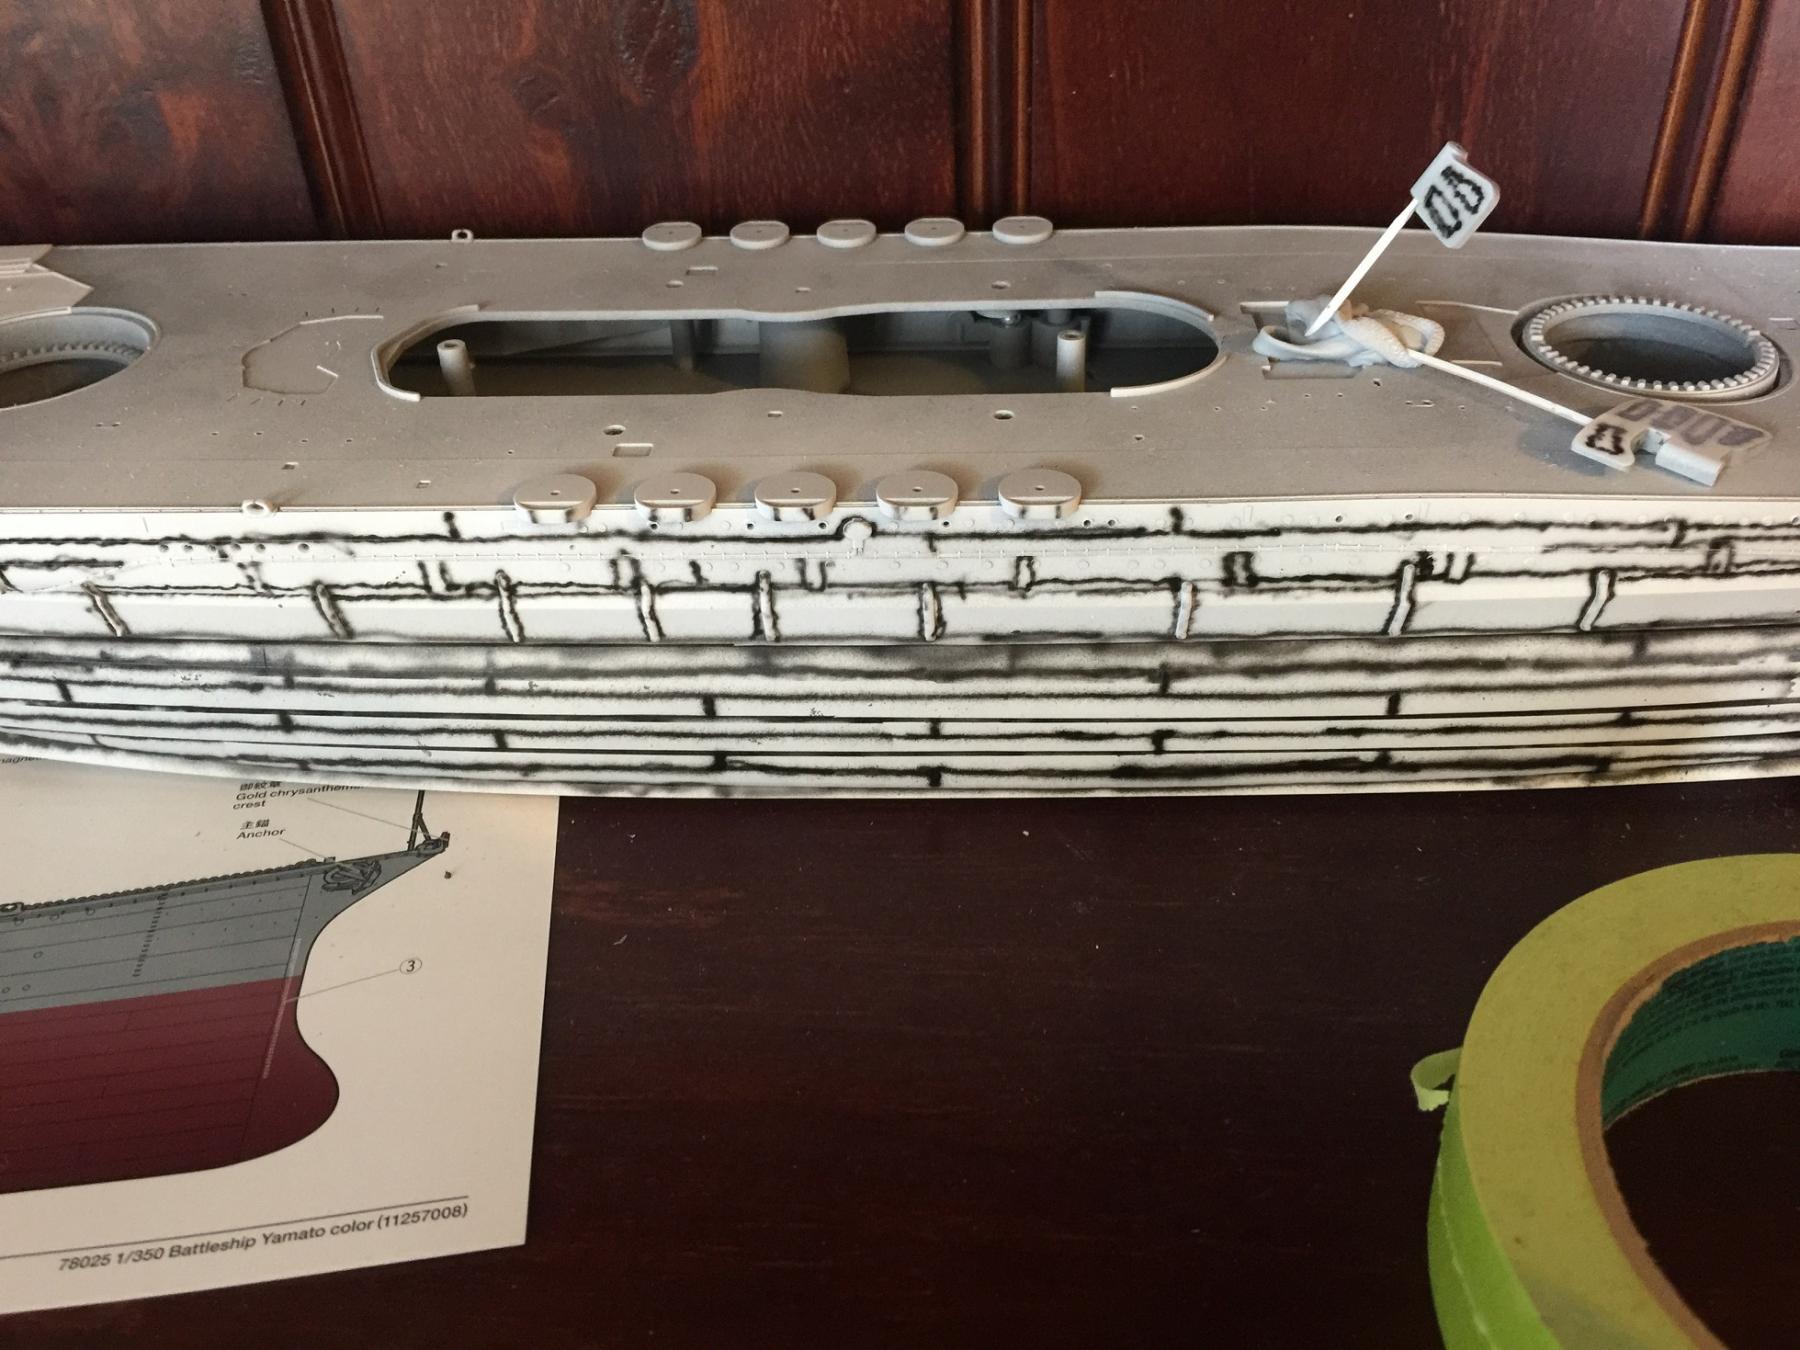
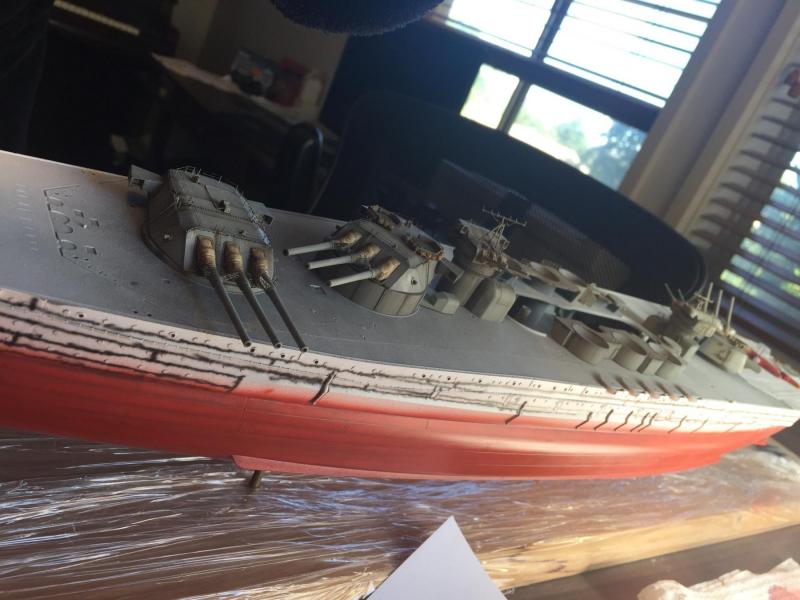
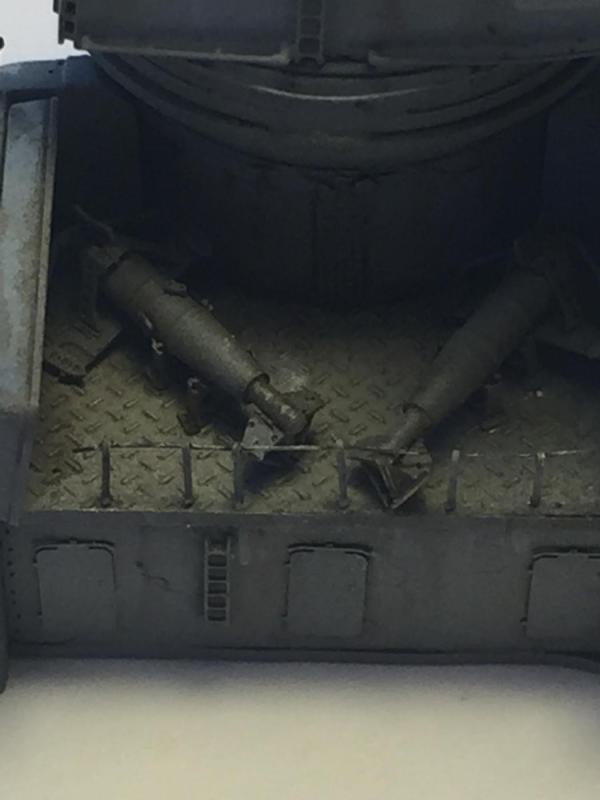
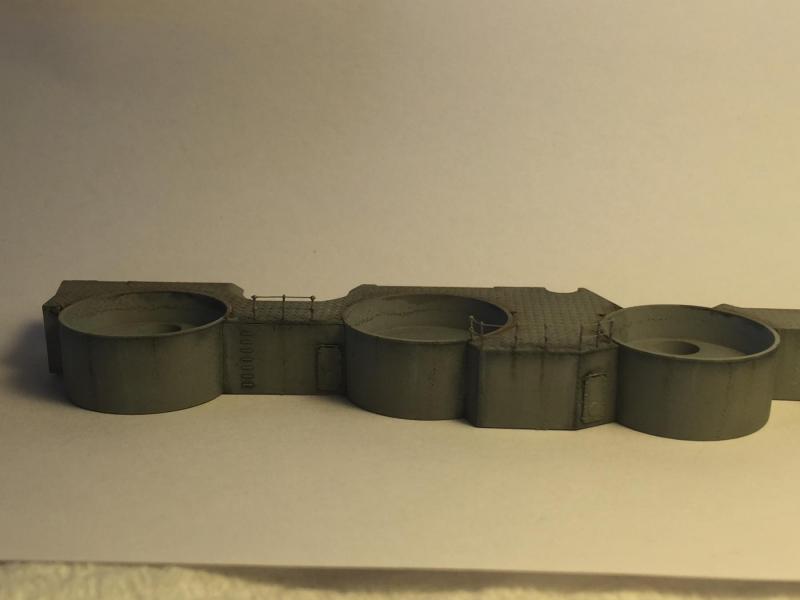
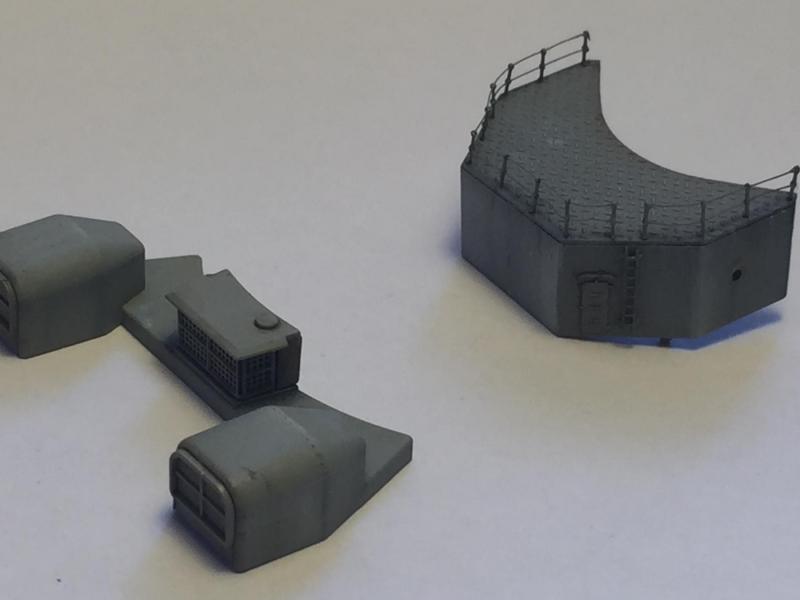
As previously stated, whilst waiting on the lower hull to set, I've done up the secondary and main guns. This mean doing up the railings using ezline and adding rust, grime and salt streaks. Behind the forward turret are two paravanes, and the reference material is a bit vague here as some say there are paravanes n the aft secondary turret as well, but they don't fit so I have omitted them and may place them on the deck later. The next pieces are the sides for the main superstructure, the vents that go behind main turret two and a platform that will sit behind the main bridge superstructure.


- 743 replies
-
- 14
-
-
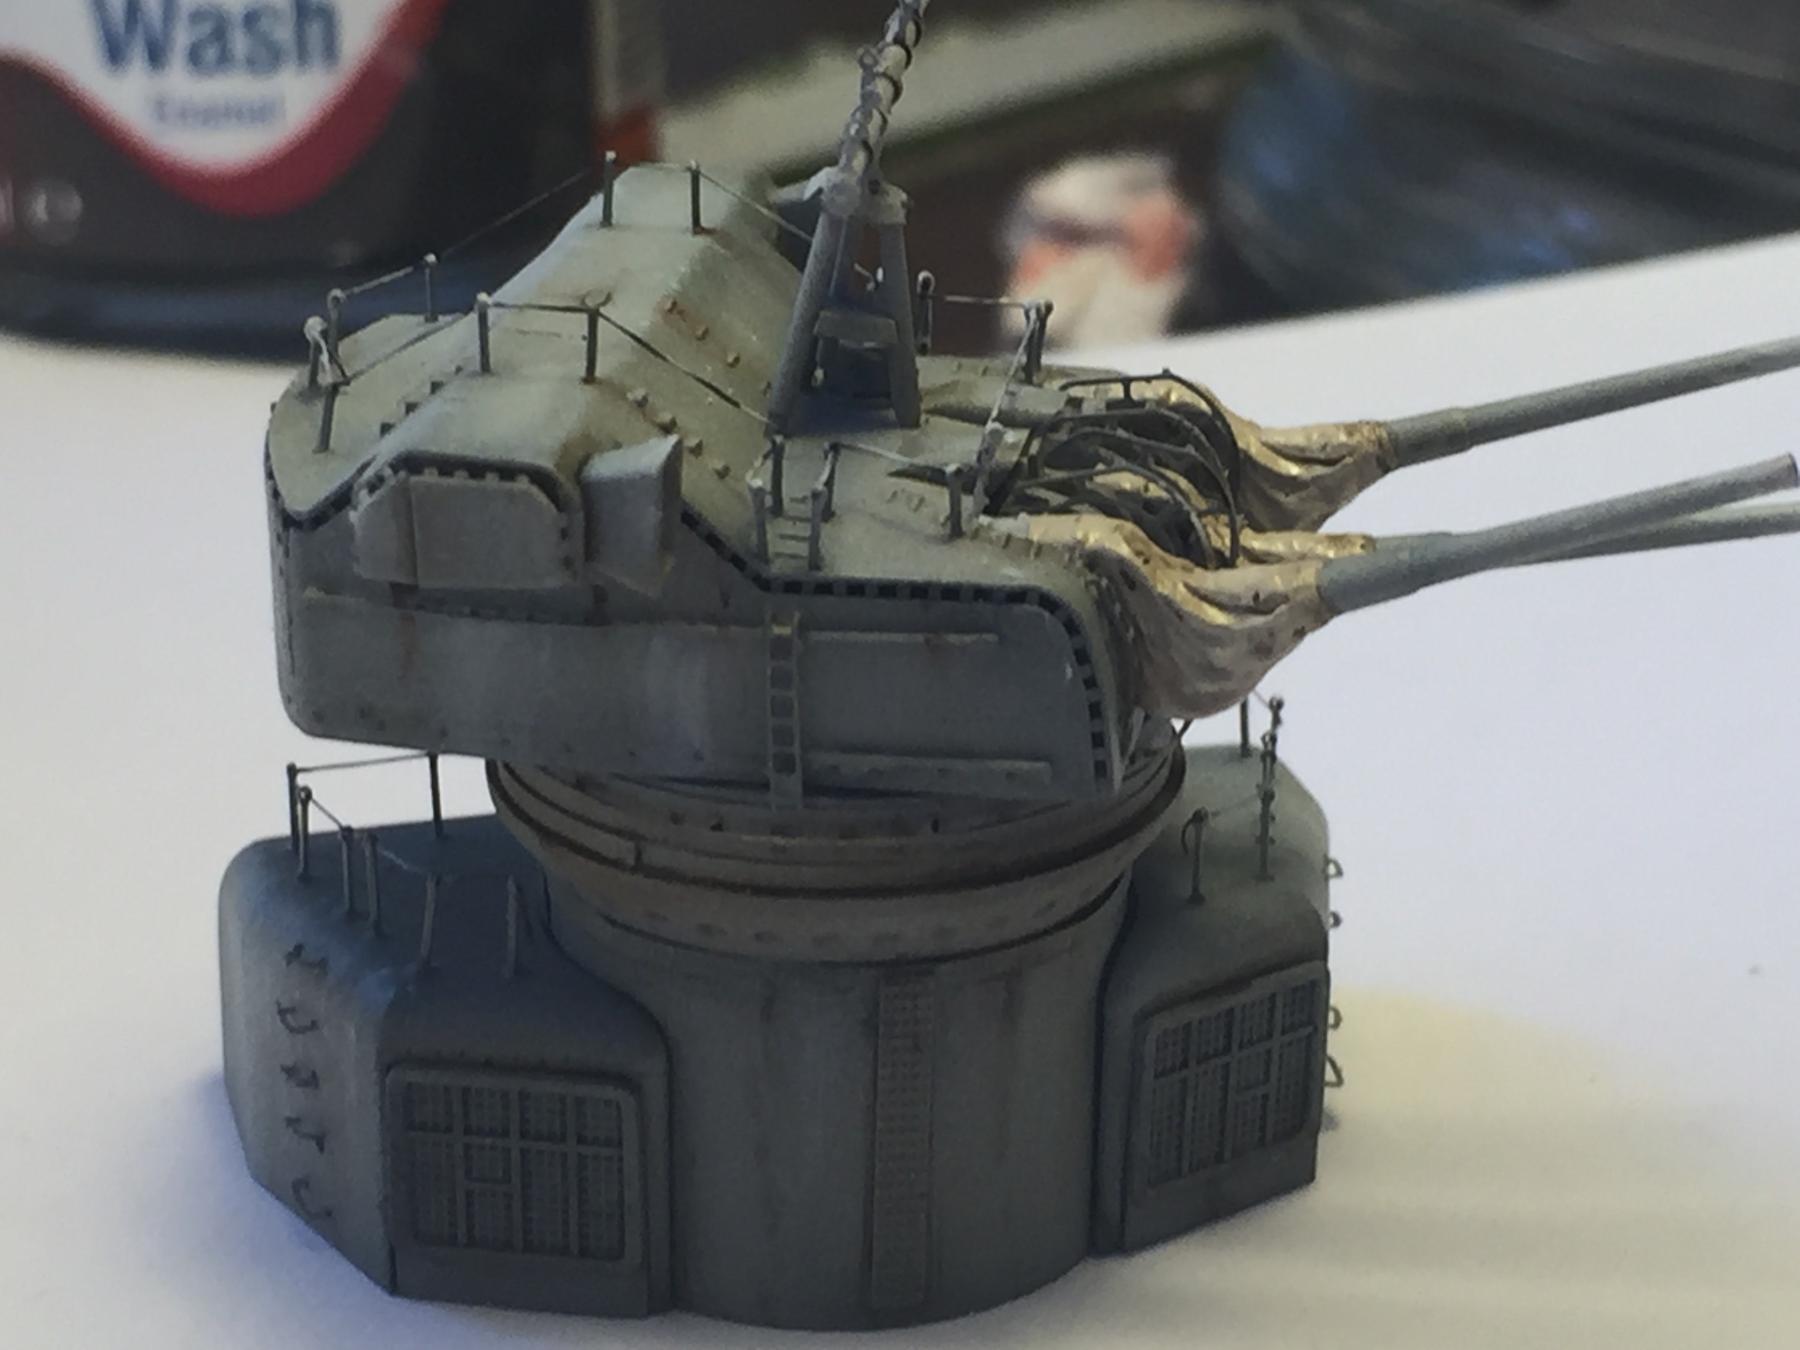
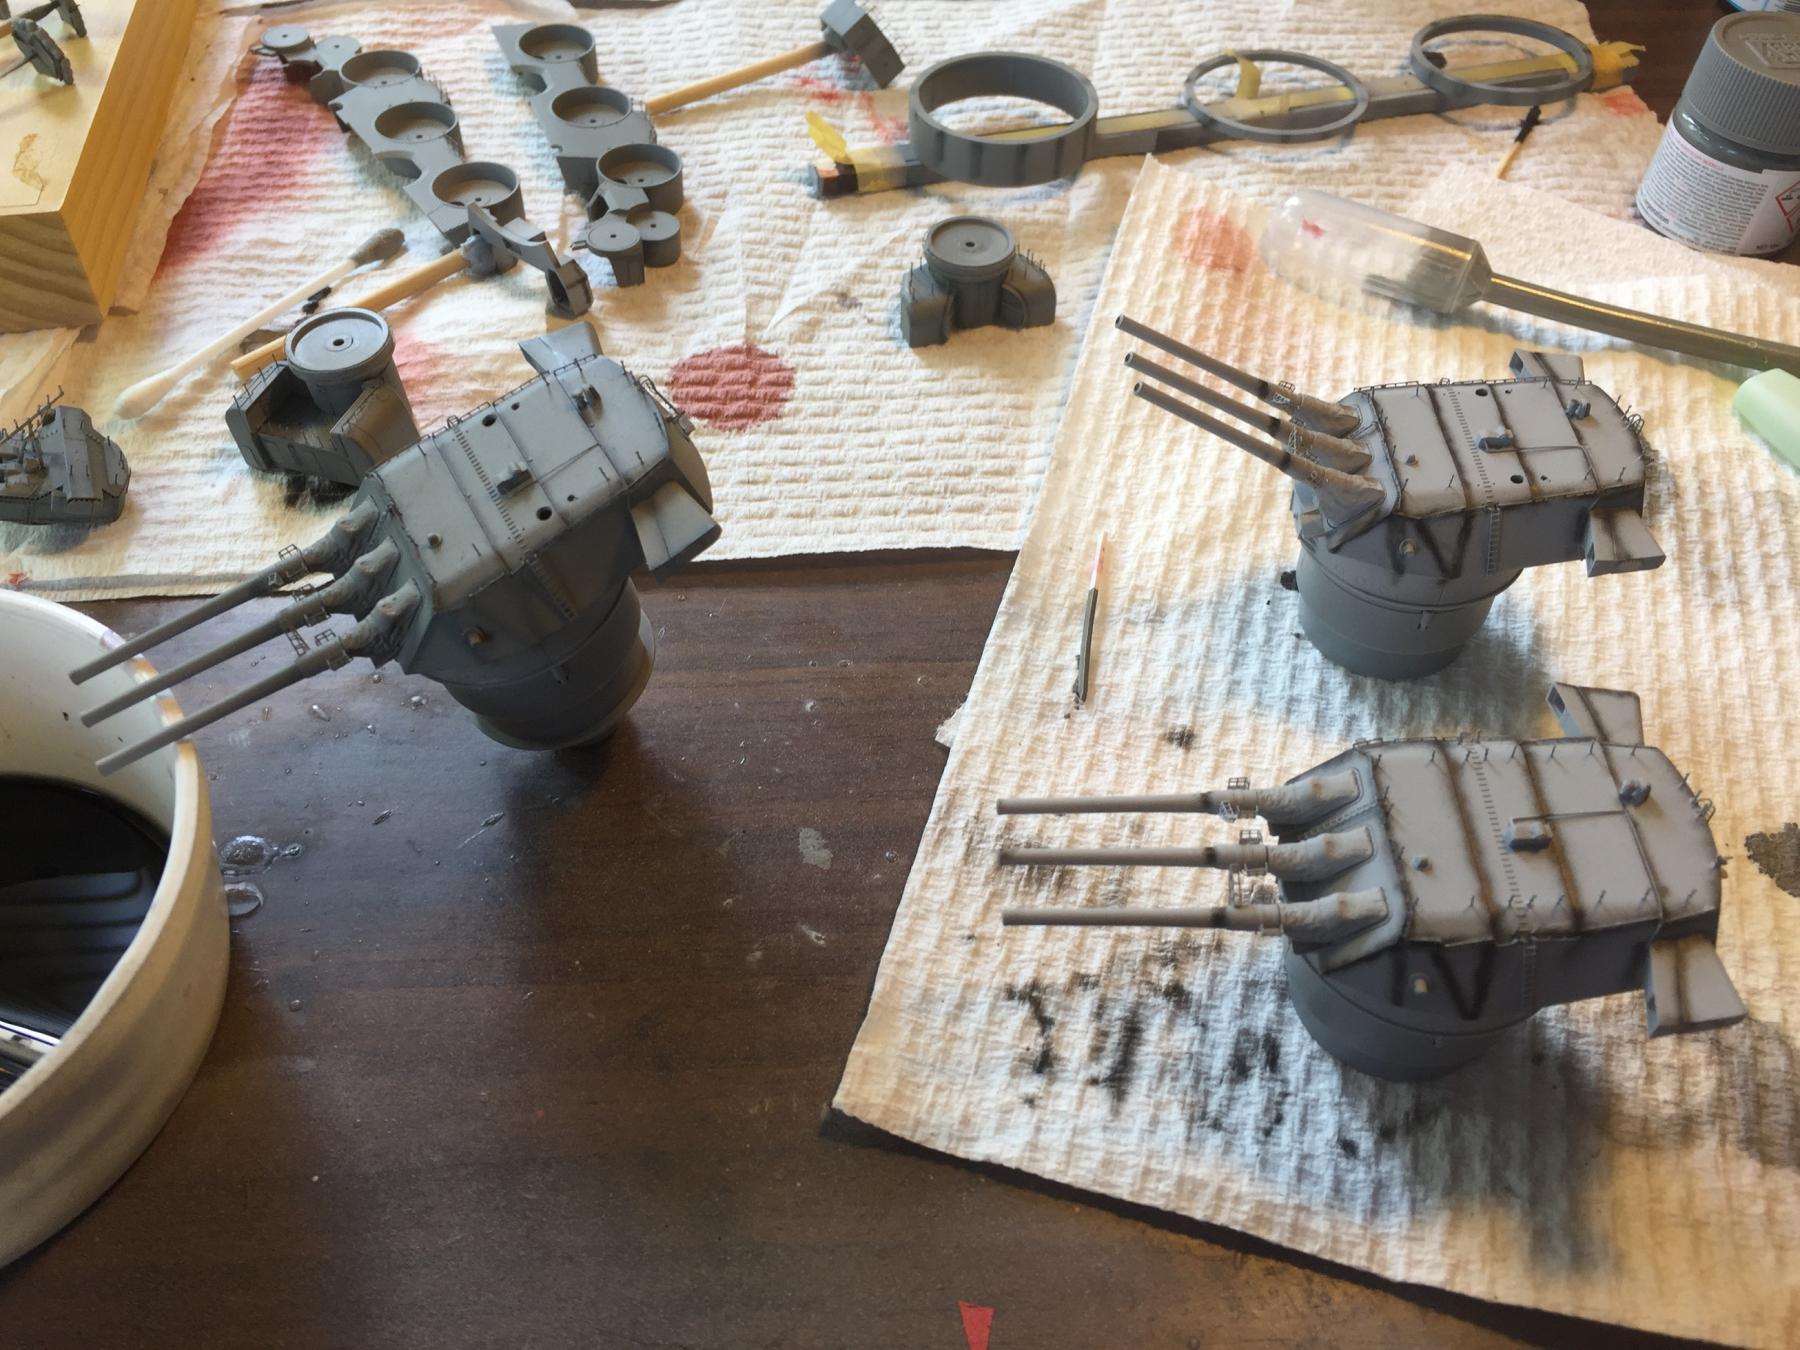
Banyan, only used a light wash so far, grime and rust then salt to go. Once that's done I can add the railings then park them. I'm working on the secondary guns at the same time plus a few other bits and pieces. Your advice on the airbrush has been invaluable to me. It's such a big kit, it takes a lot of paint. My trigger application has improved a lot, bit like my normal work tools, gentle application with the centre of the index finger gets the most accurate results without flinching.
-
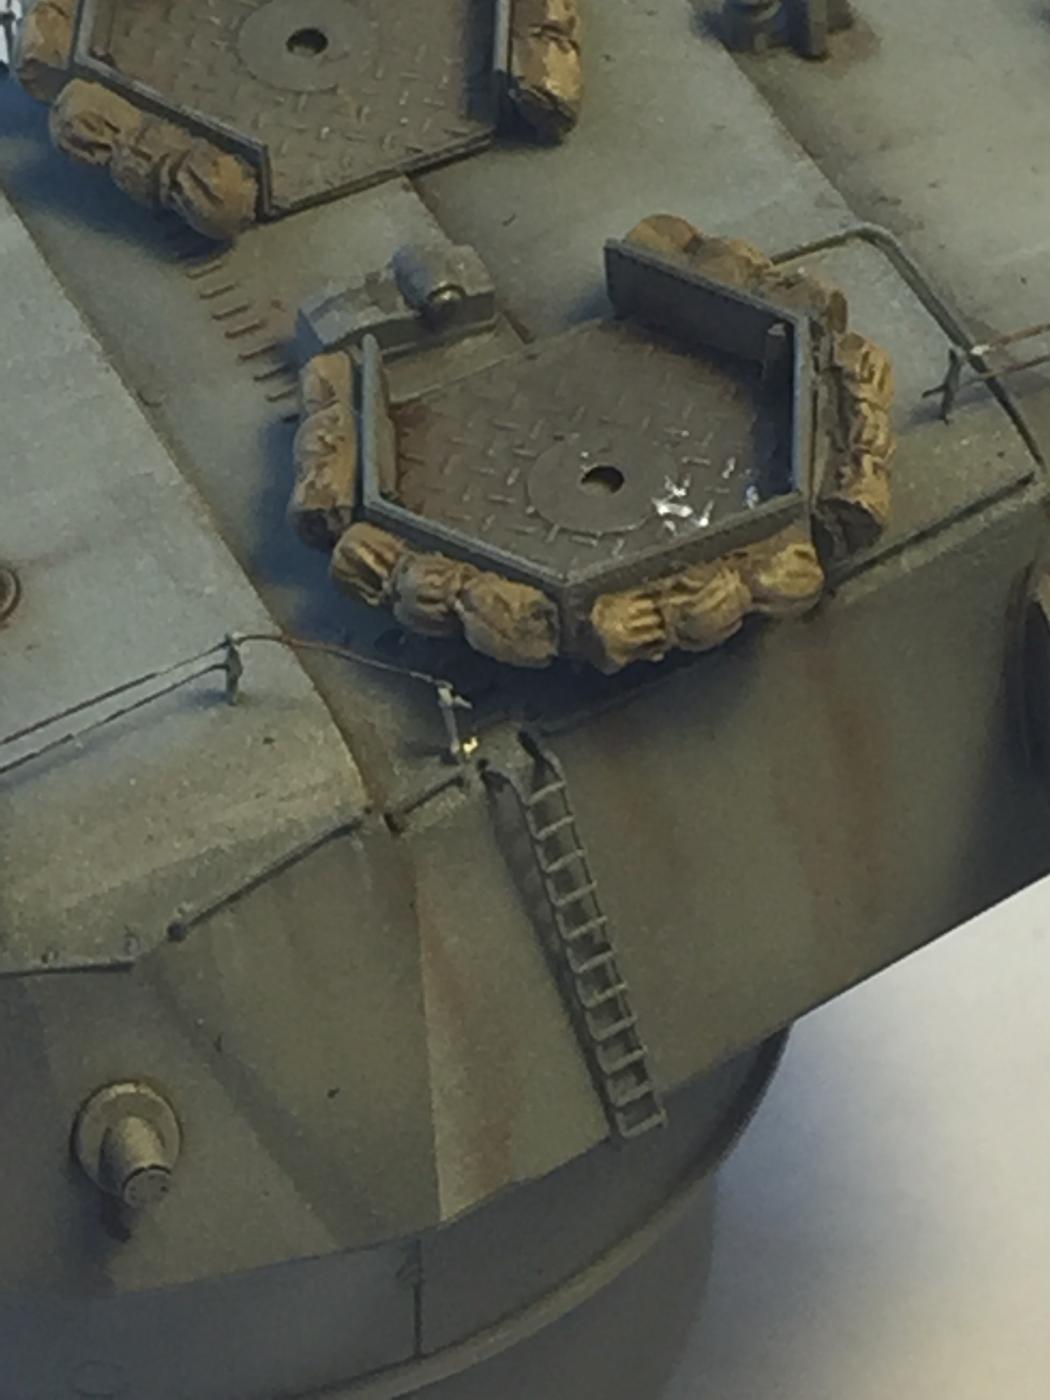
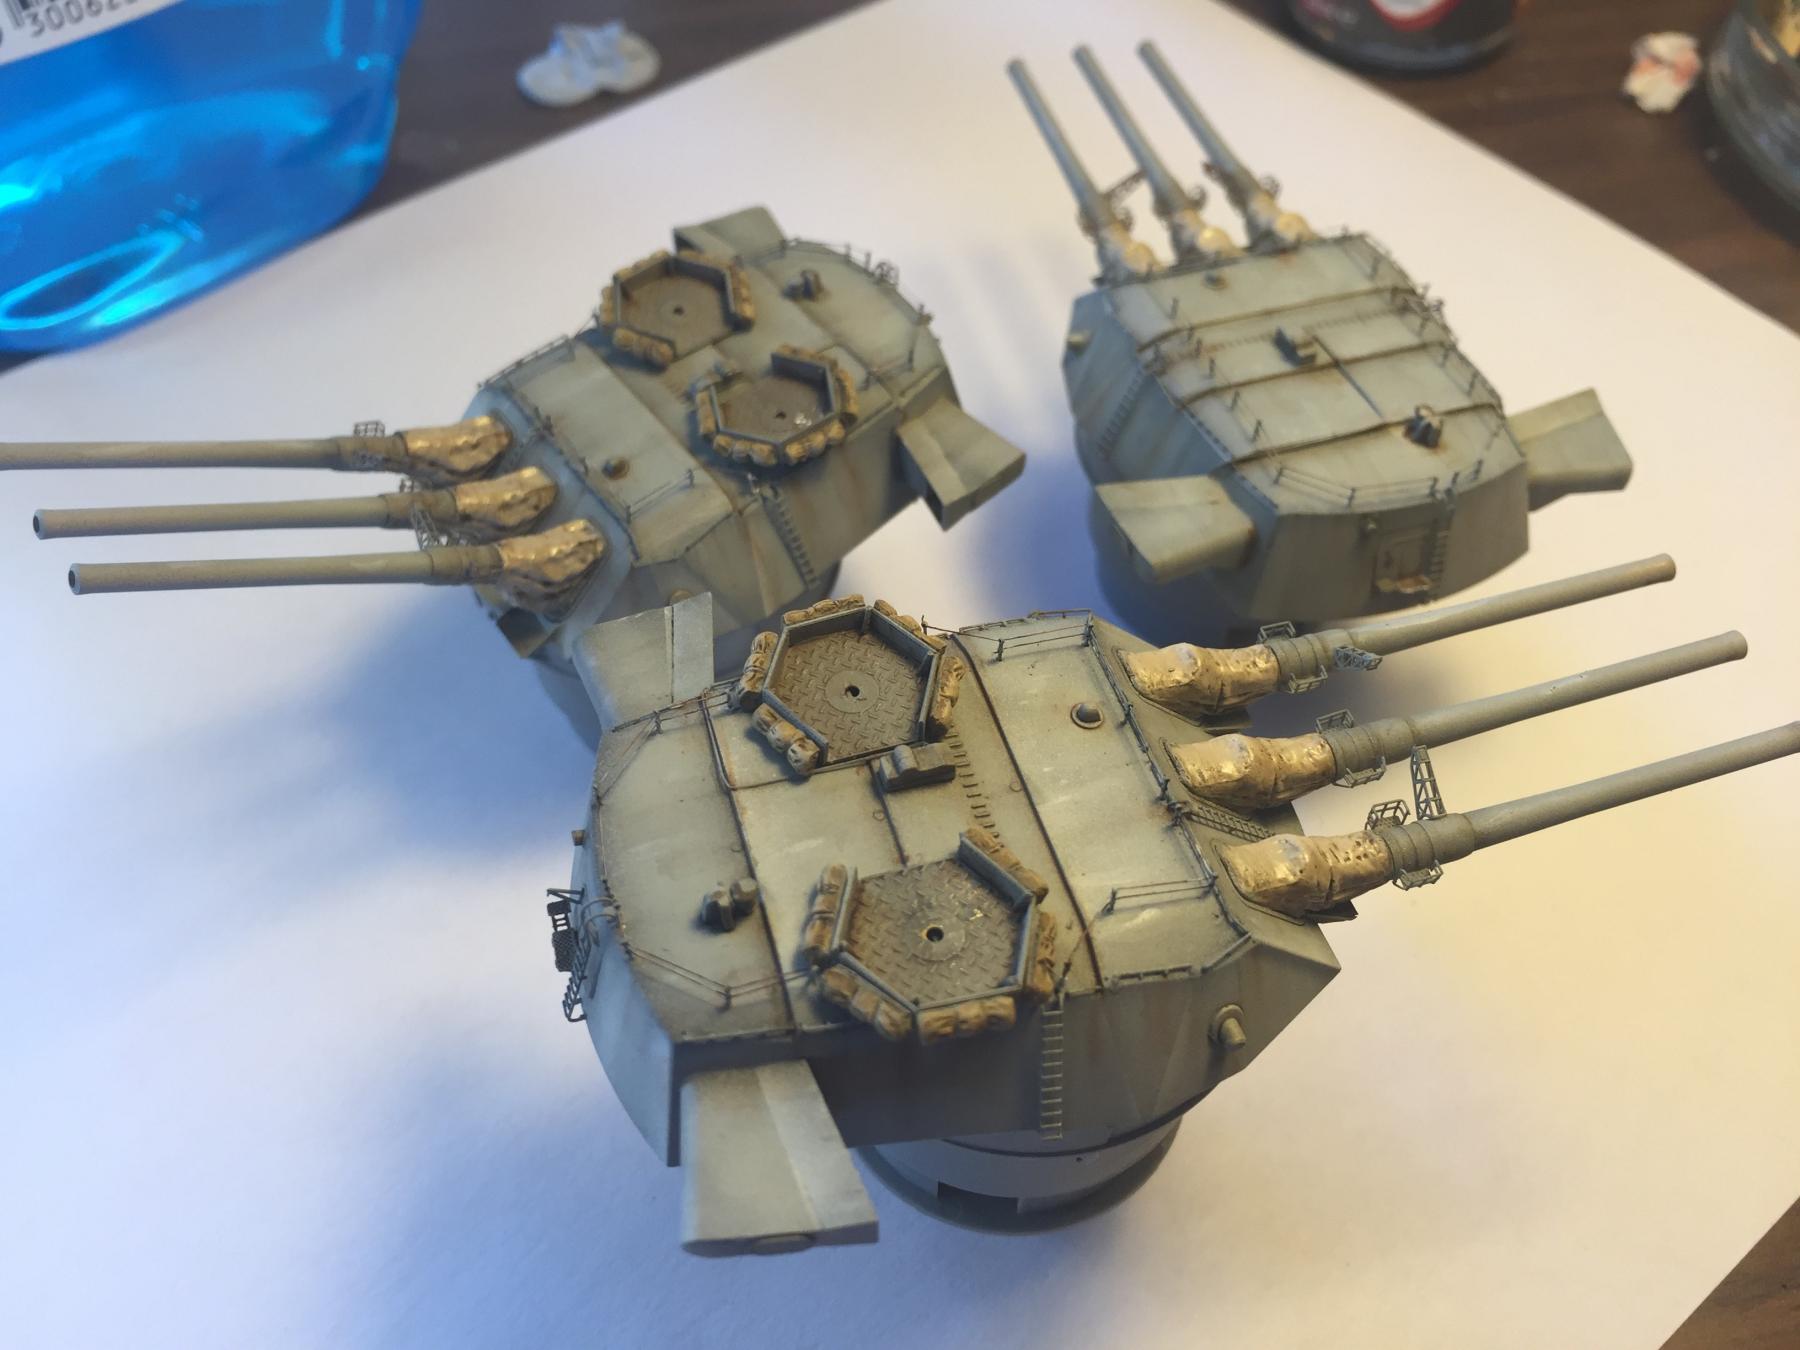
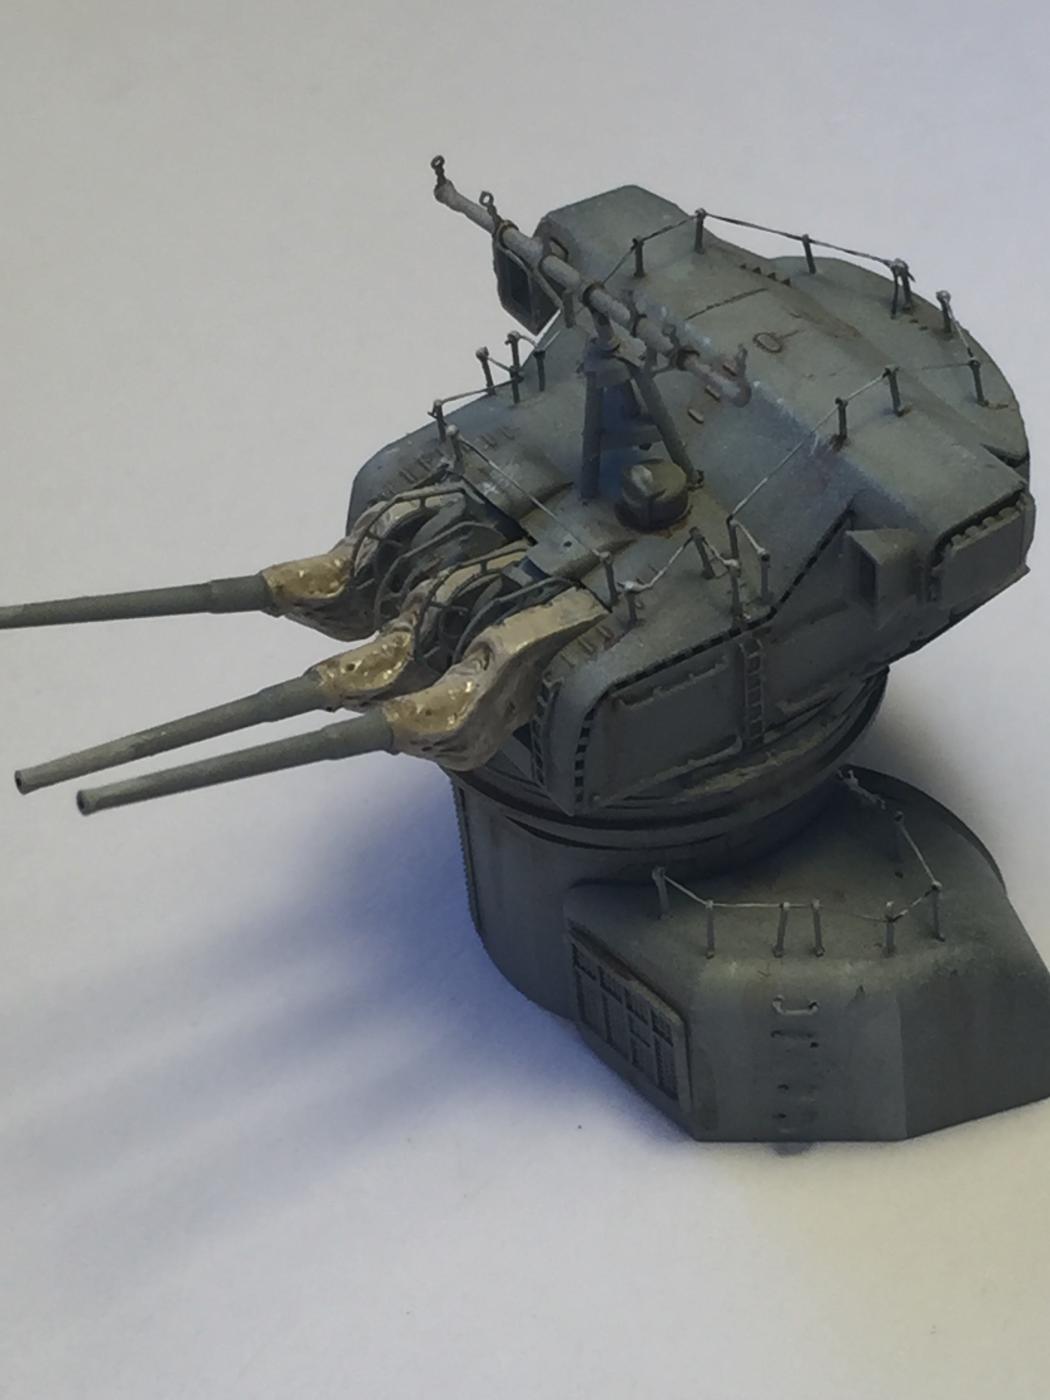
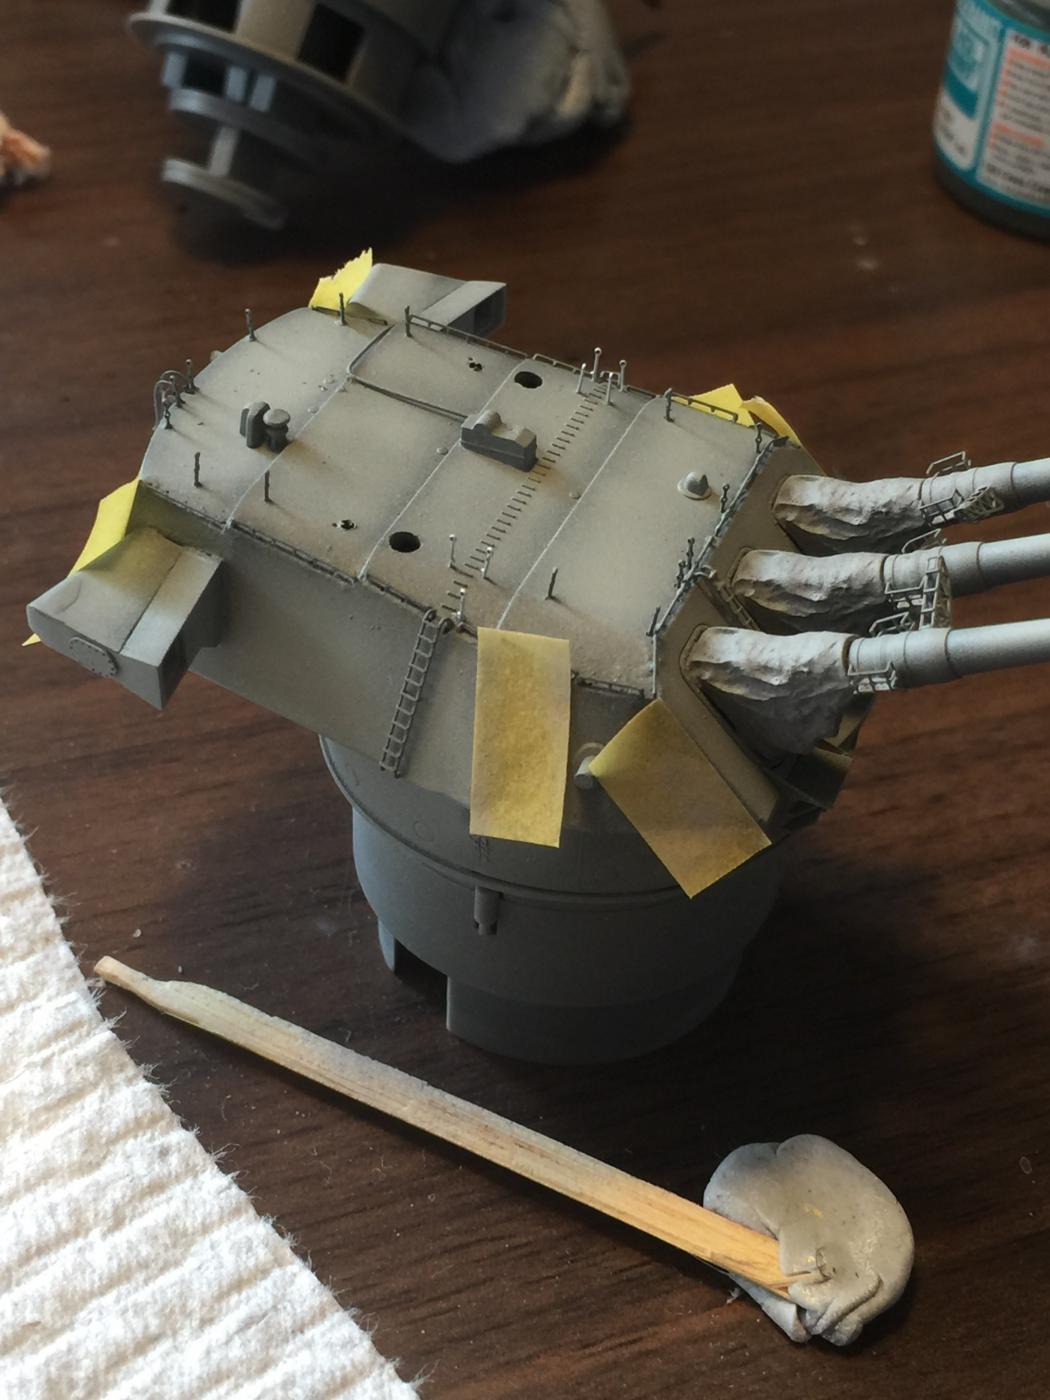
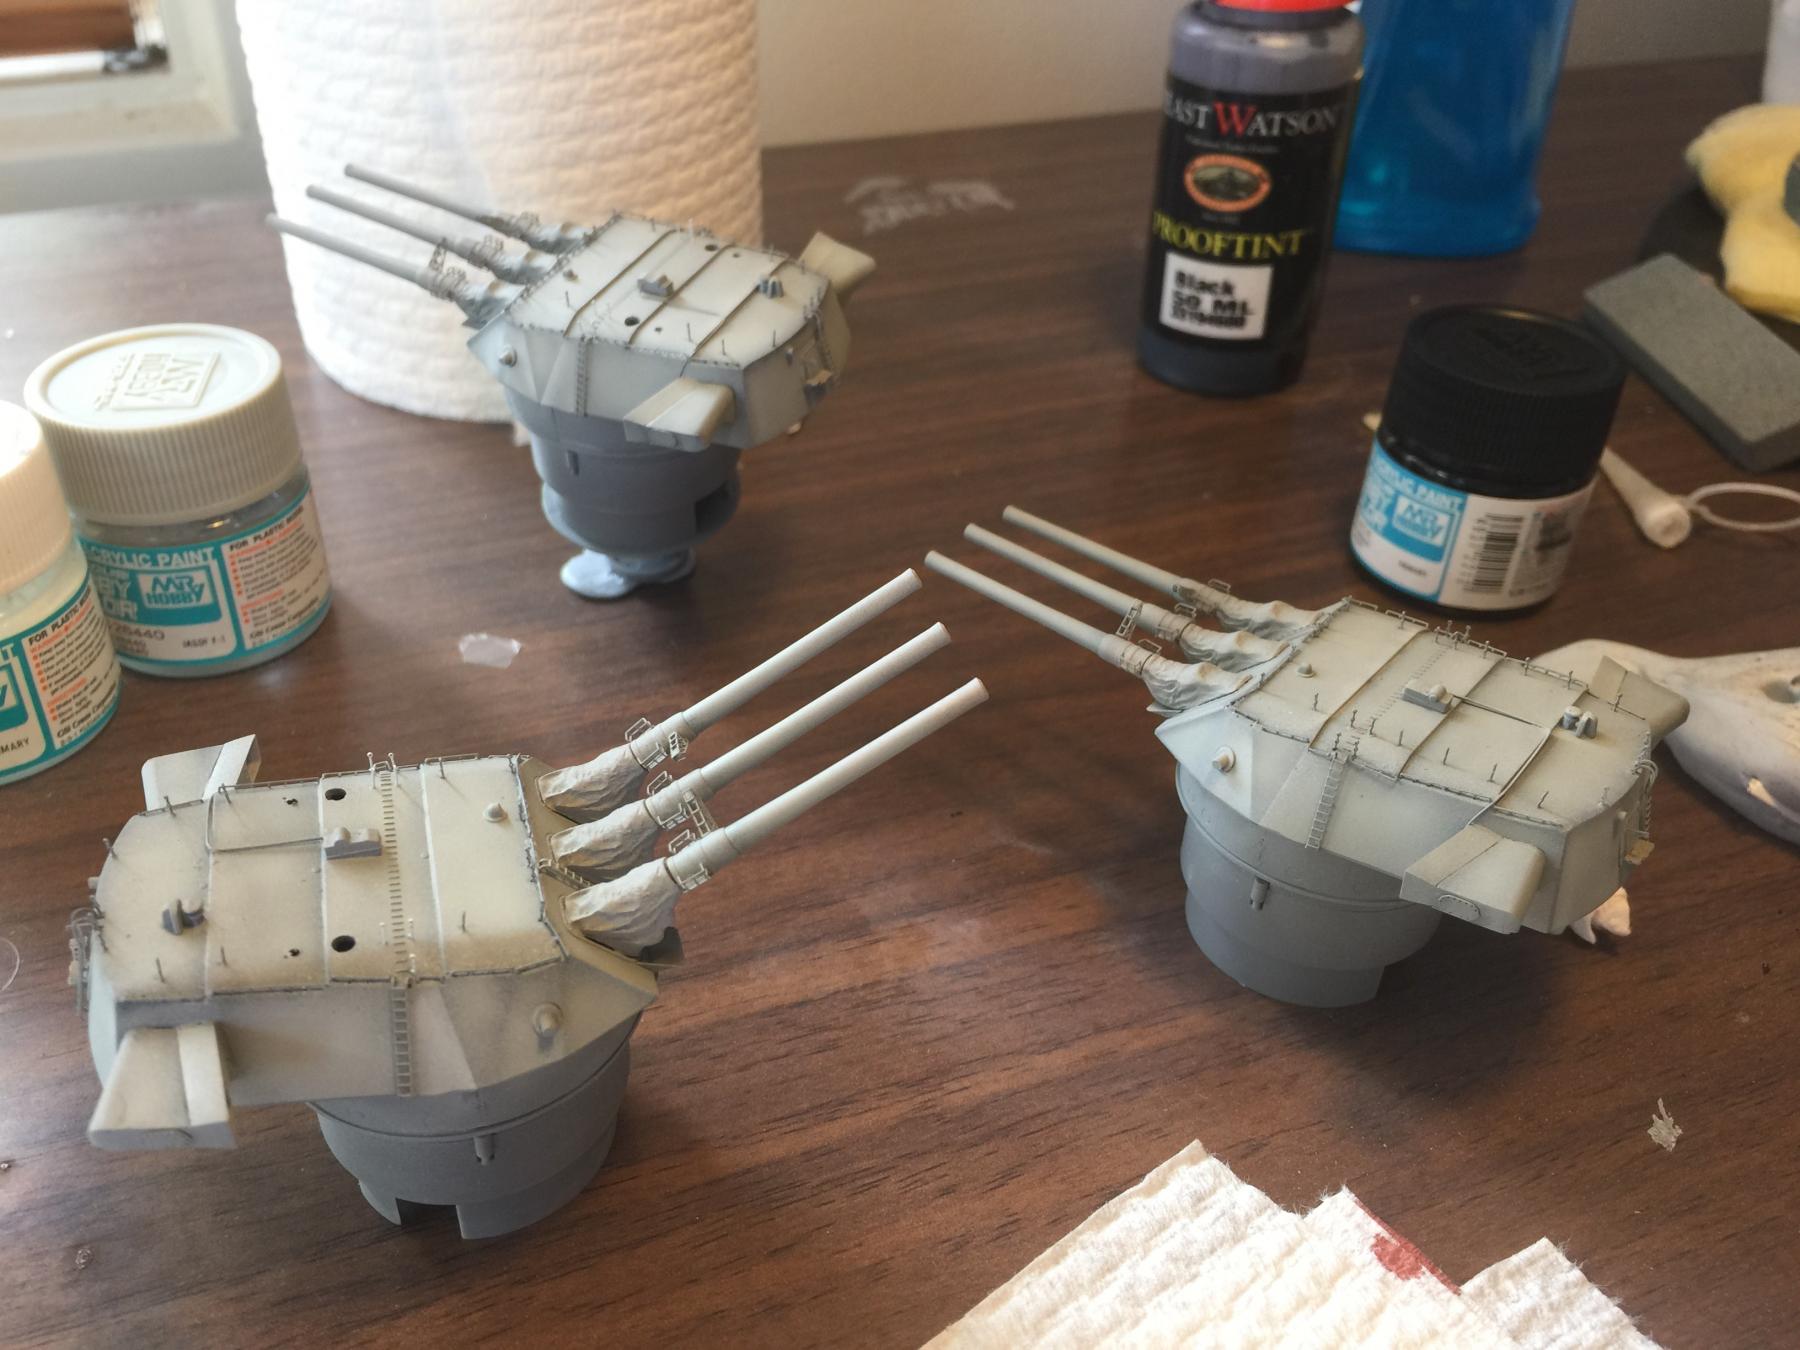
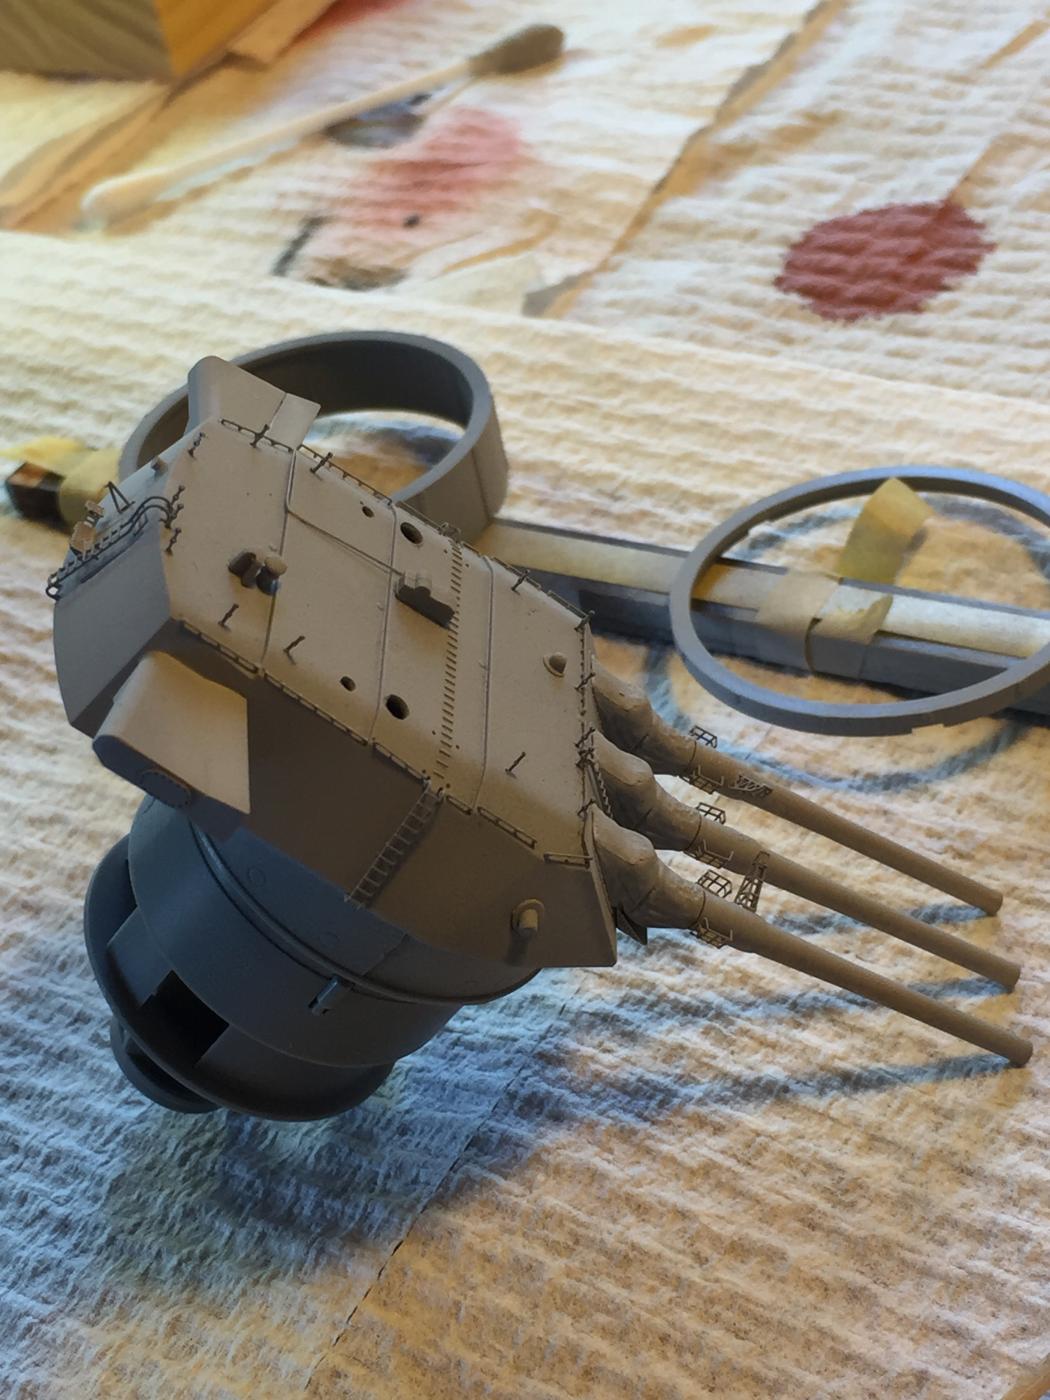
A little more work on the main guns, the blast bags completed and painted, the gun tubs added and the first wash applied to bring out detail before weathering.


- 743 replies
-
- 21
-
-
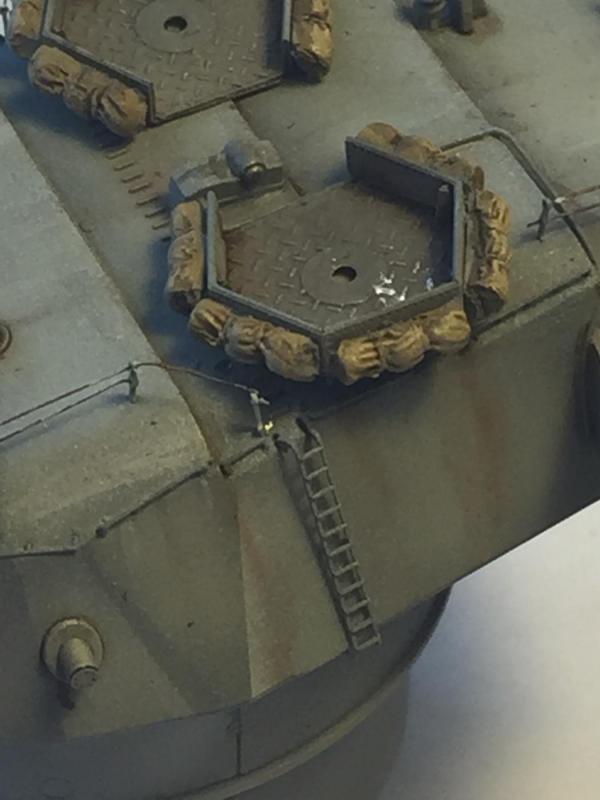
I expect the trusses hold the bottom of the blast bags and the wings are range finders.
-
Public domain?
-
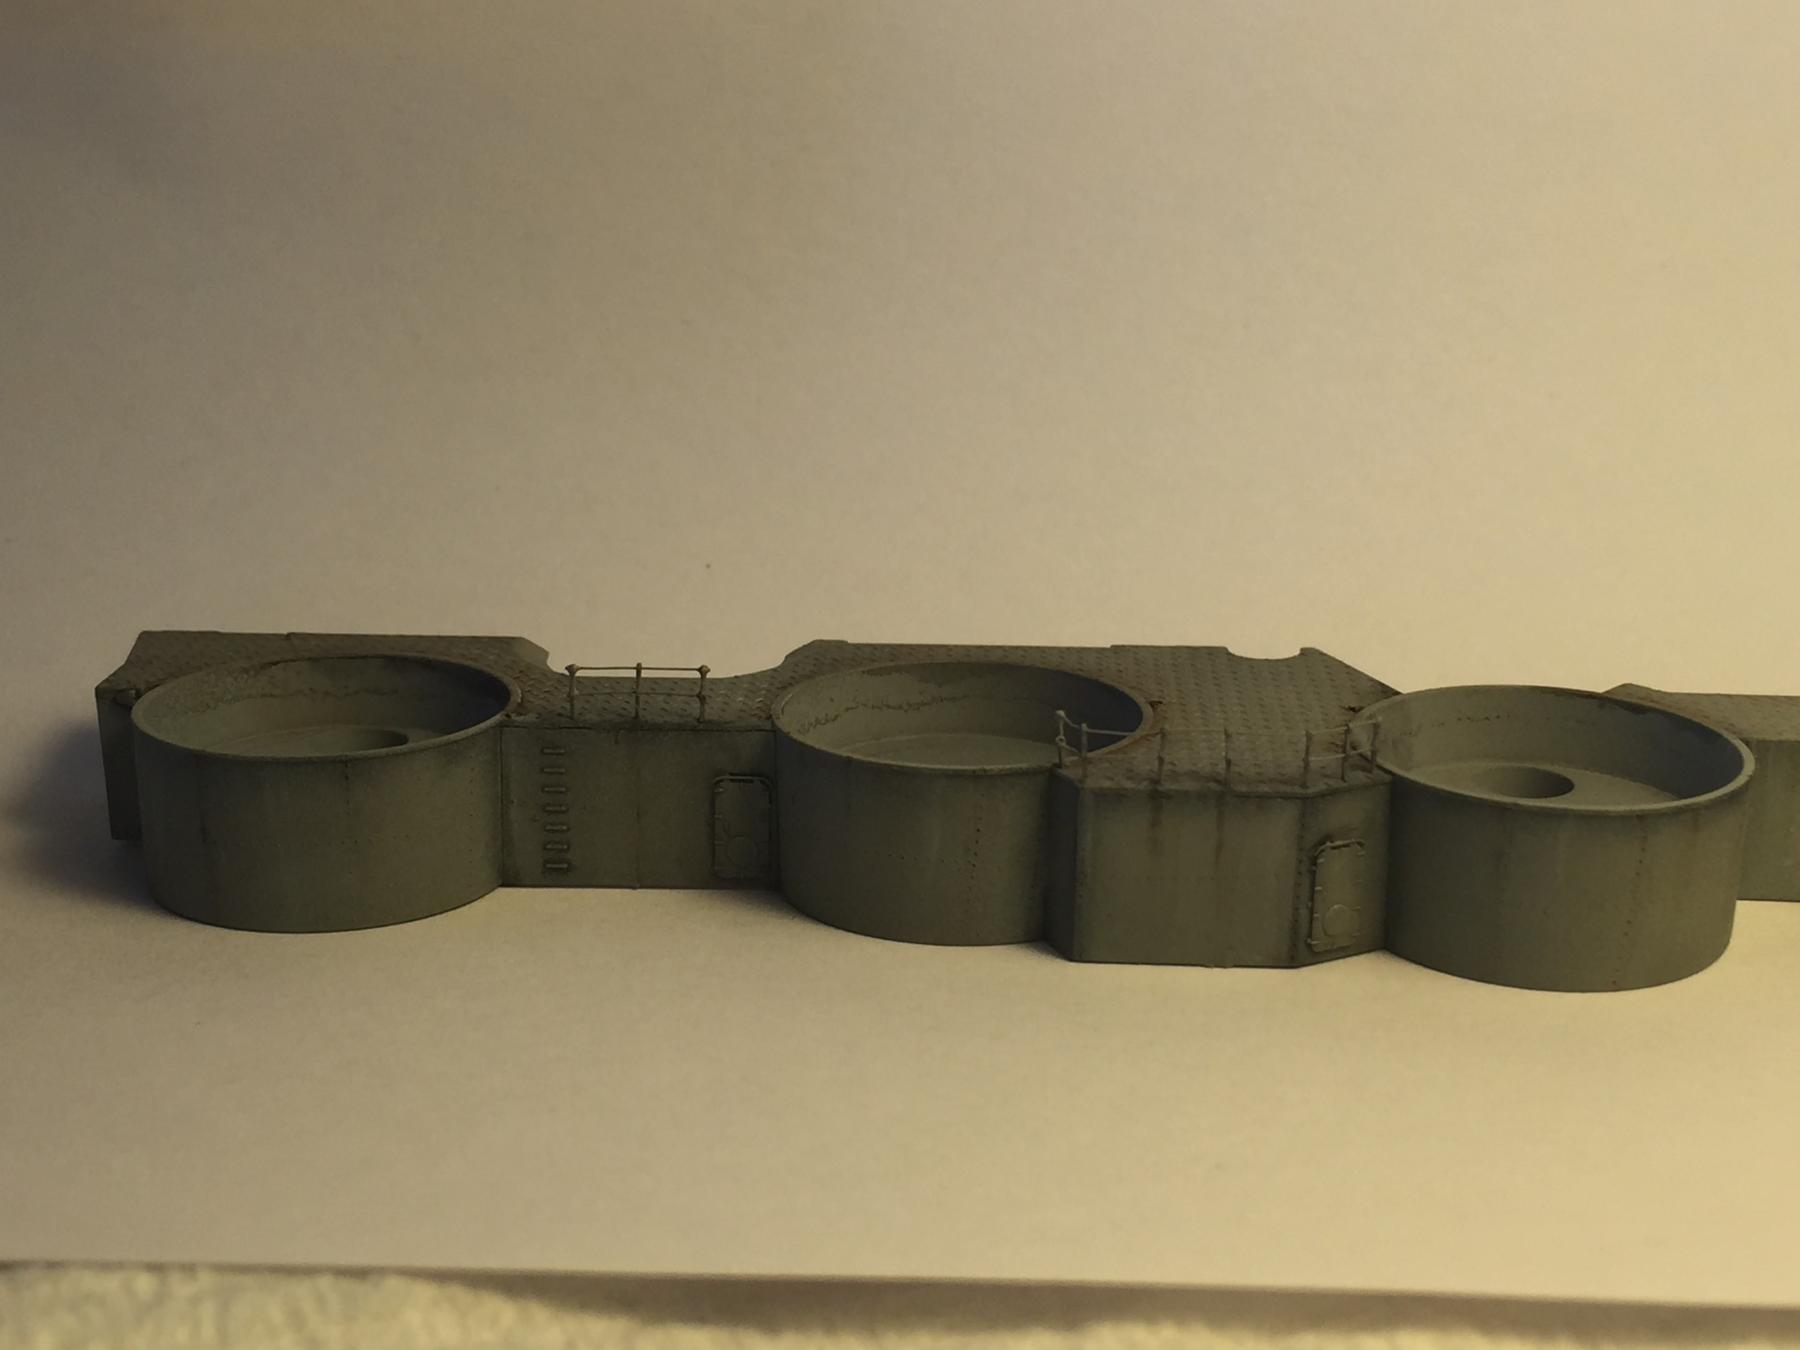
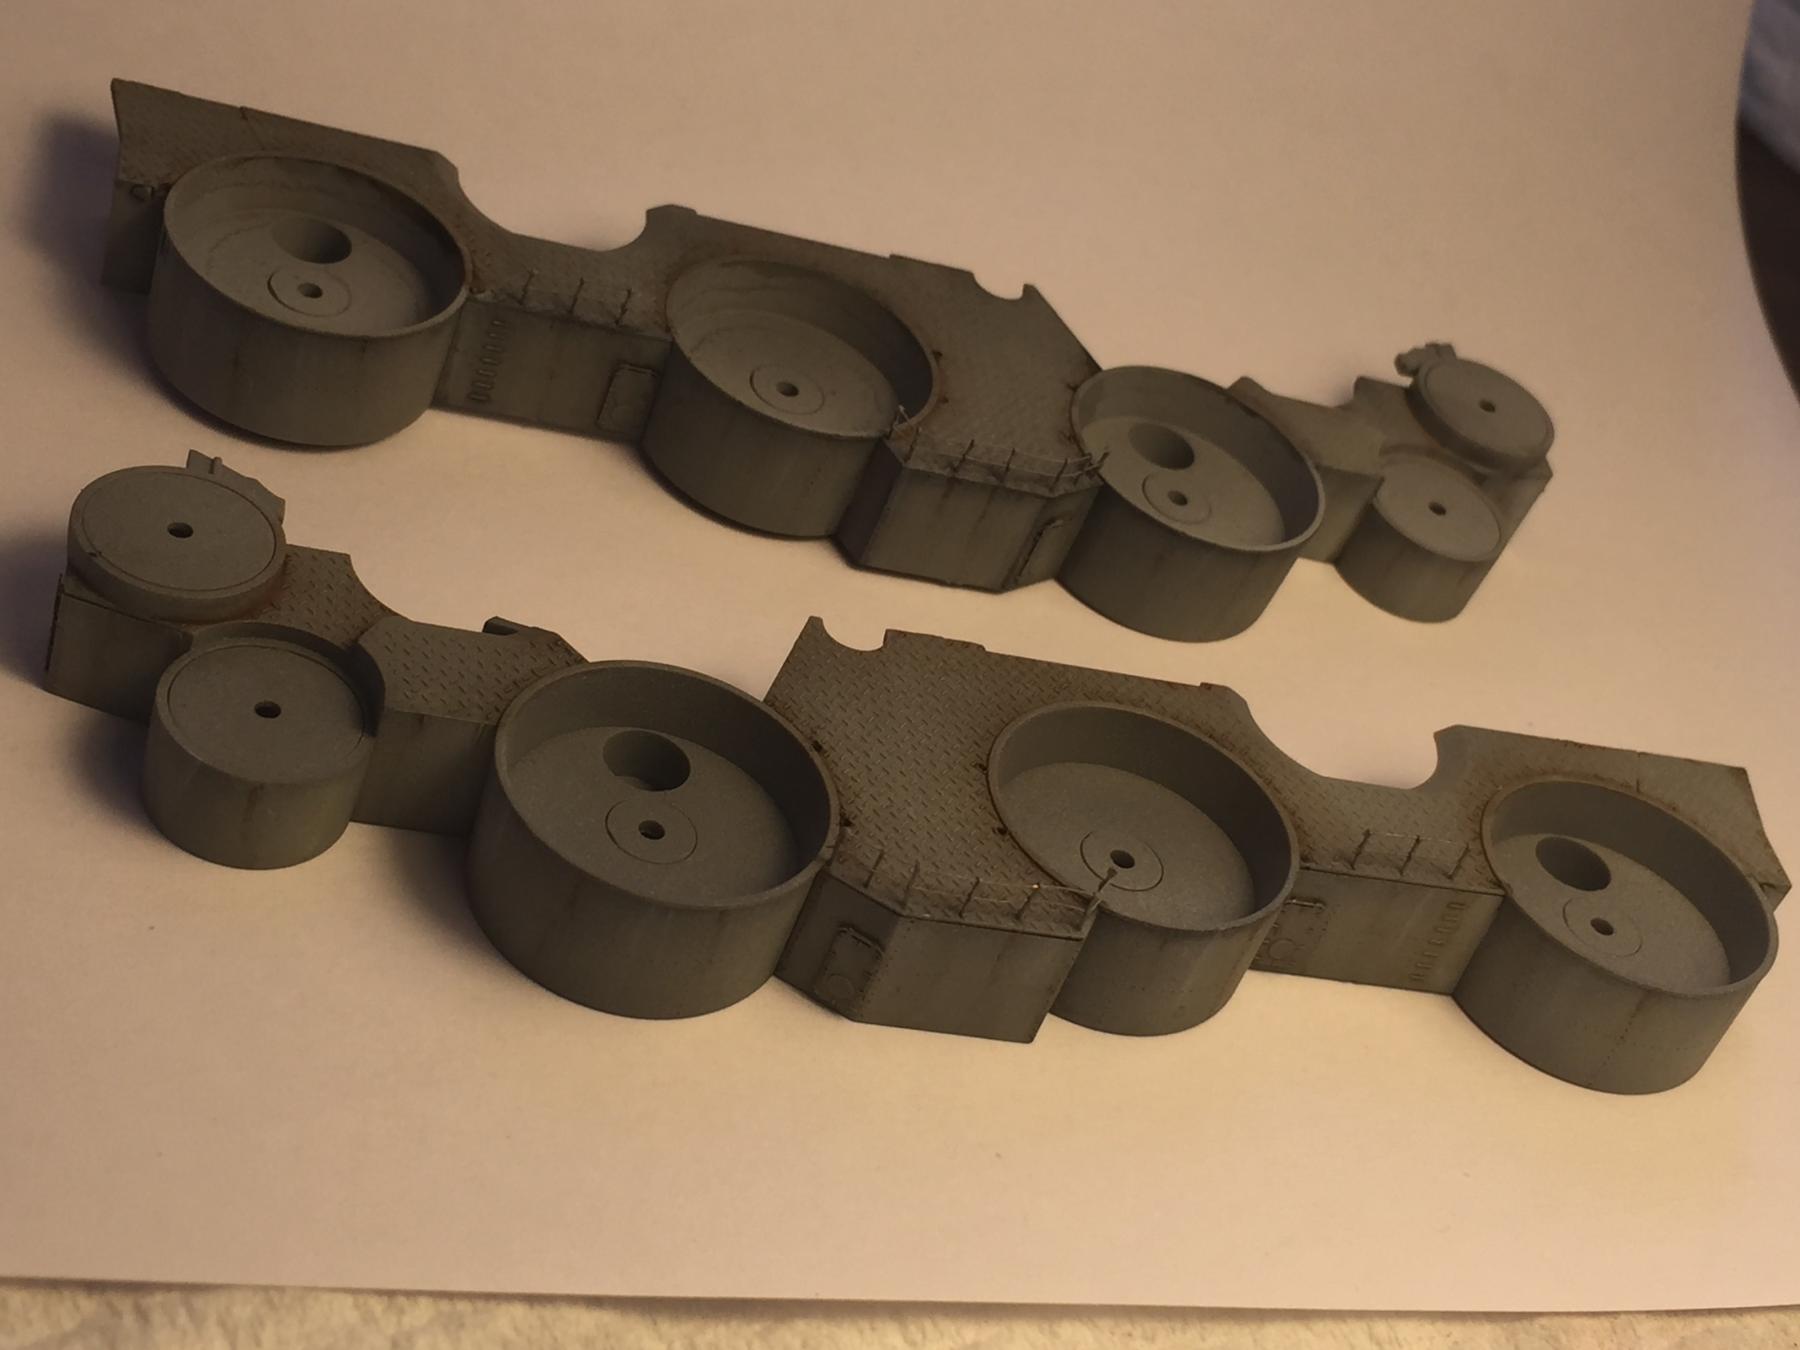
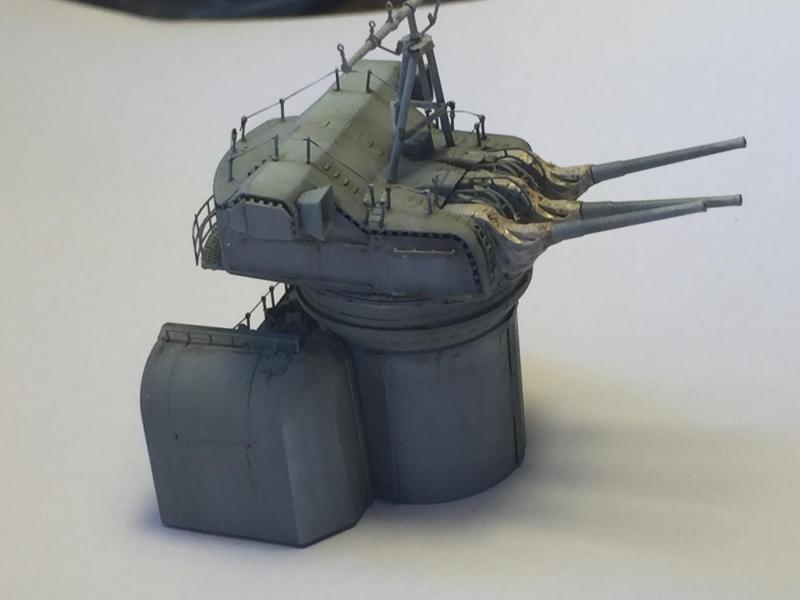
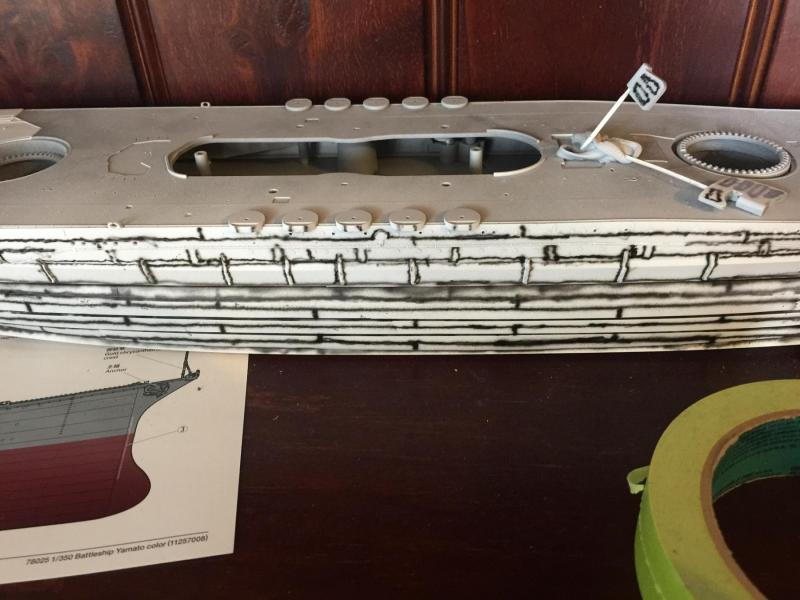
Moving on with the mains guns whilst the hull sets, after the primer coat, some pre shading then filling it in and overspraying. Then a lighter highlight Then masking to bring up sharp edges with 50/50 mix of light grey and white Finally a grey filter added to tone it down. next will be the blast bags and gun tubs, then washes and weathering.


- 743 replies
-
- 26
-
-
I used the .4mm for the hull overspray but the .15 for the primer as there as so many little bits, and I thinned the AK primer by about 20-% continually cleaning the nozzle. Worked fine.
-
I did think about that, and it took several hours with a piece of paper and the airbrush, but it creates a shadow effect which I'm after. I will eventually add grunge to the base of the hull, rust, grime, salt and slime lines as well for weathering so a lot to go yet to dull it down. I'm loving the H&S airbrush at the moment as it's a bit of a scalpel and with the thinned paint it dries quickly and you don't lose any detail. The handrails on top of the guns did not even have their eyelets clogged which a rattle can will do.
-
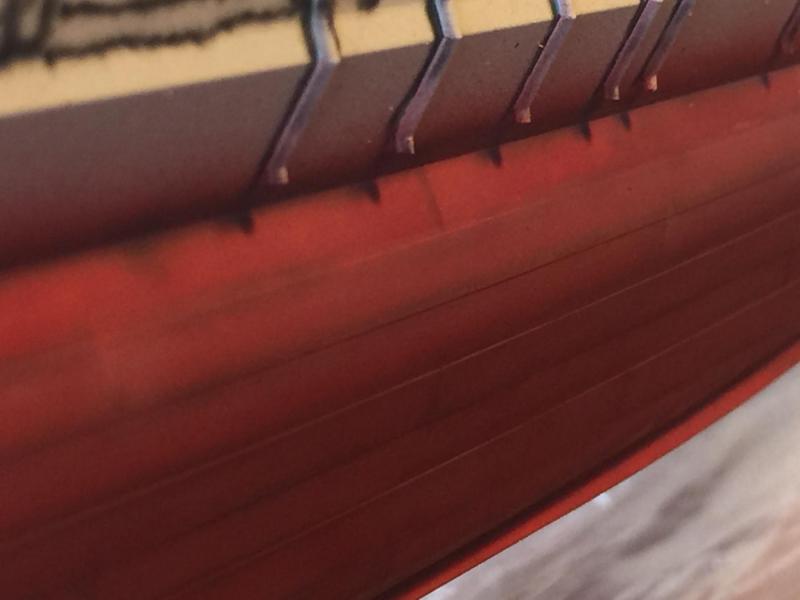
Yes OC the armour belts are raised by about .1mm or scribed. The guns are huge even in this scale.
-
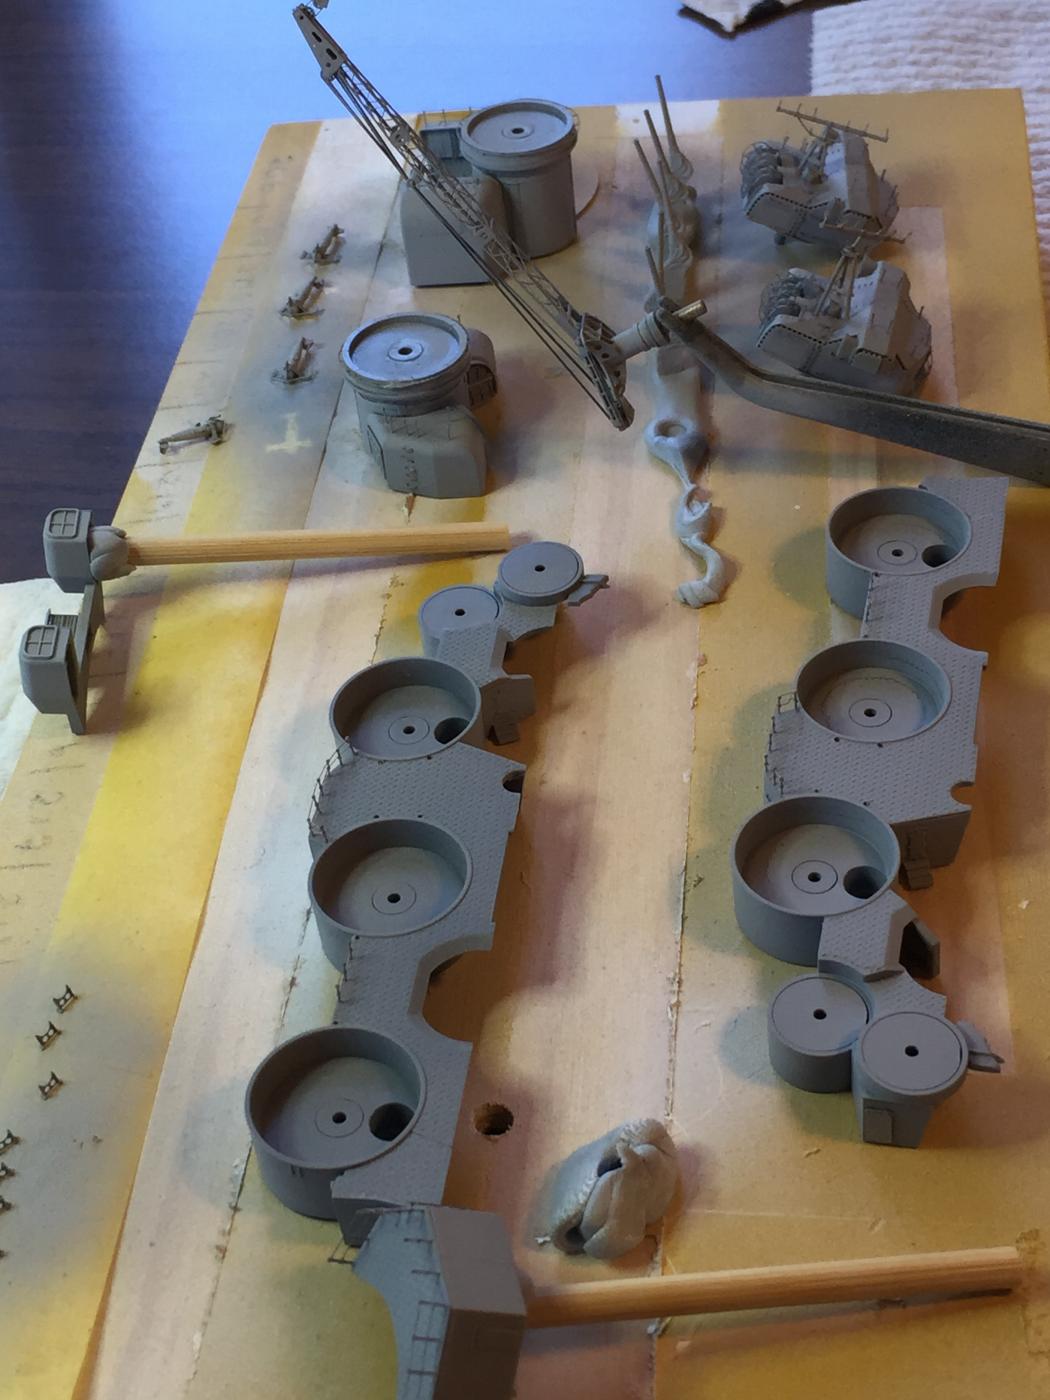
Progress, Main guns primed, and a few other bits and pieces.Now to wait 24 hours and I can start preshading.


- 743 replies
-
- 14
-
-
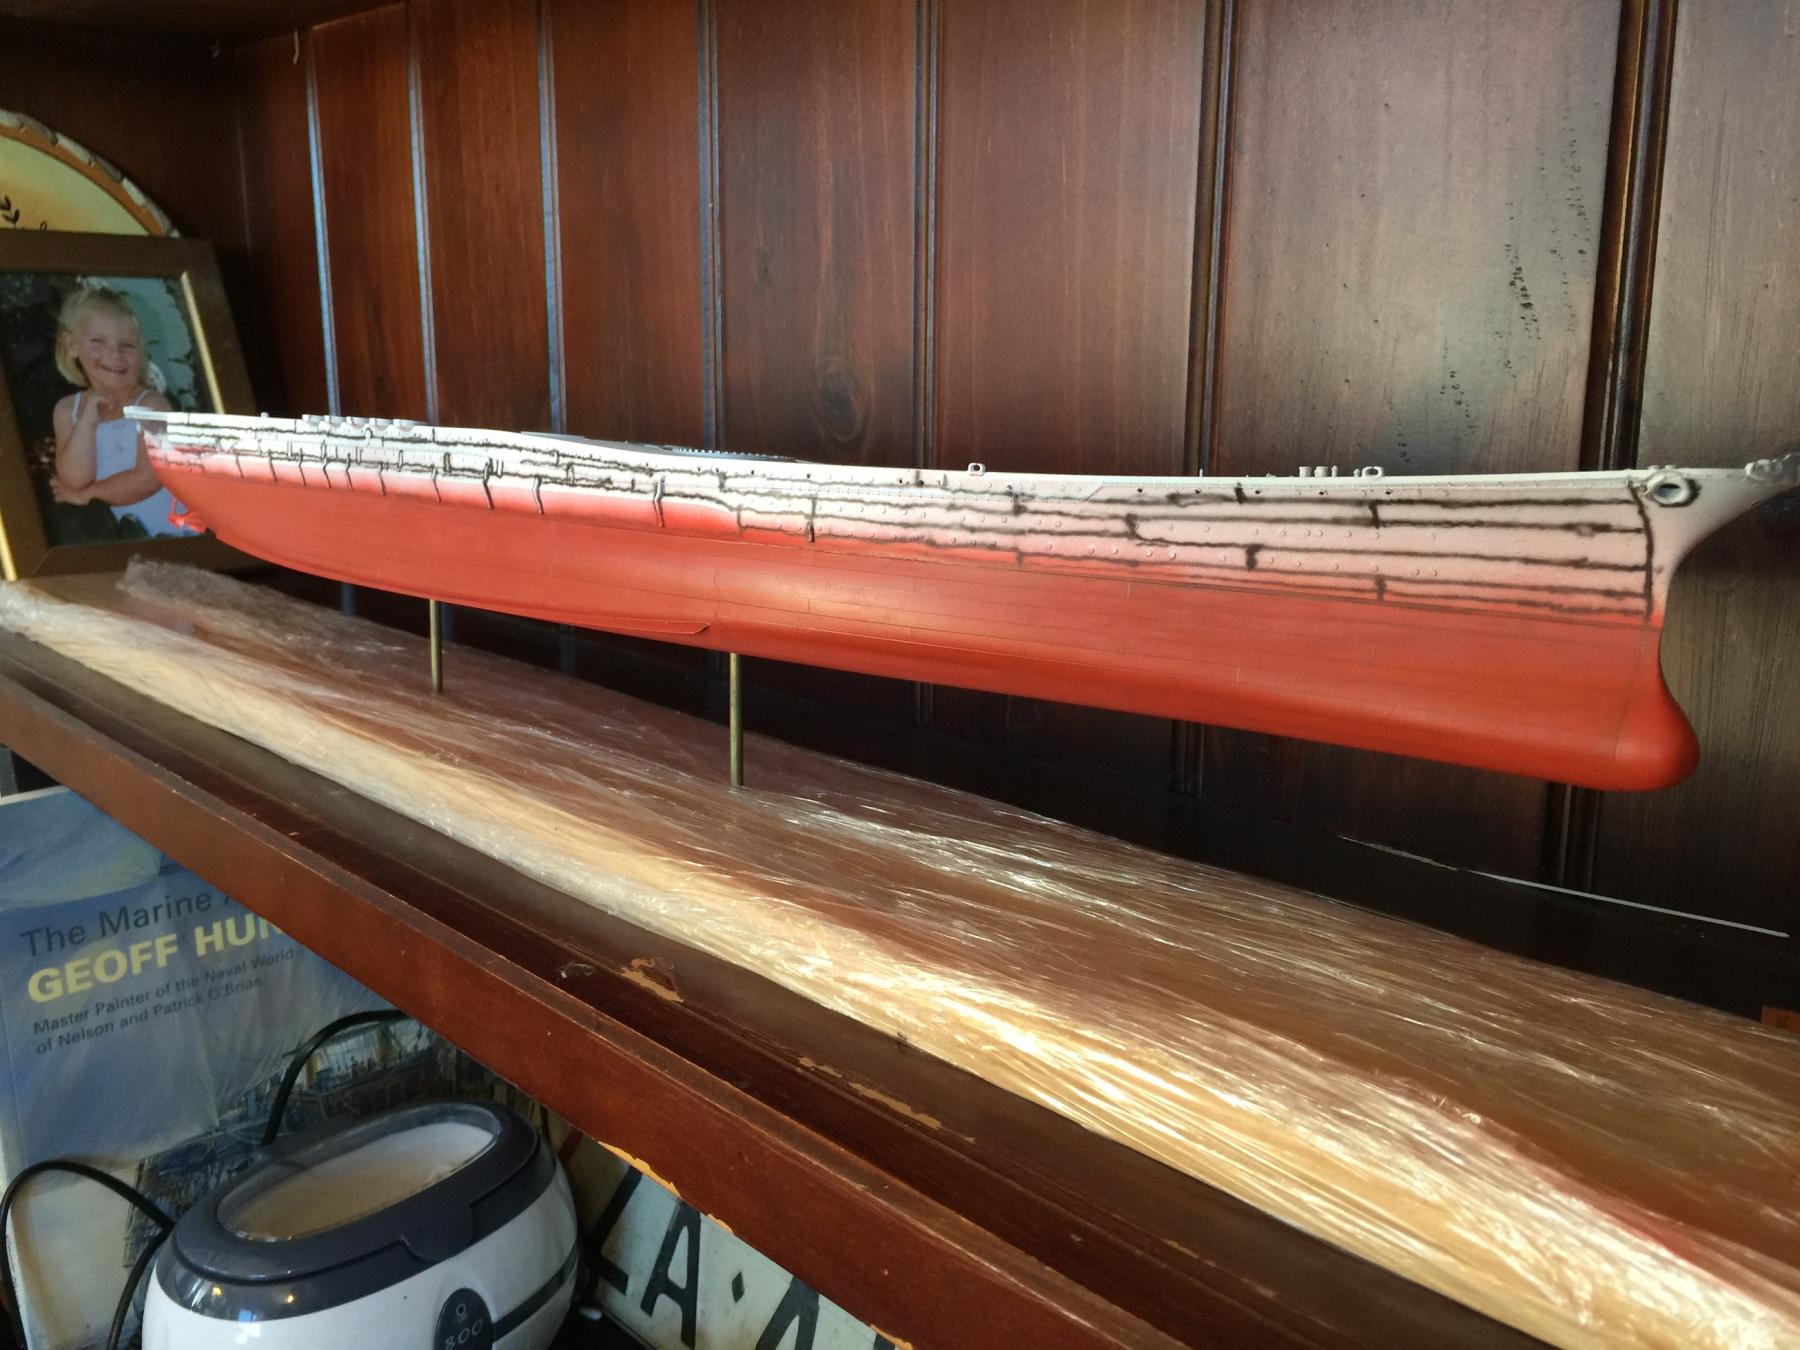
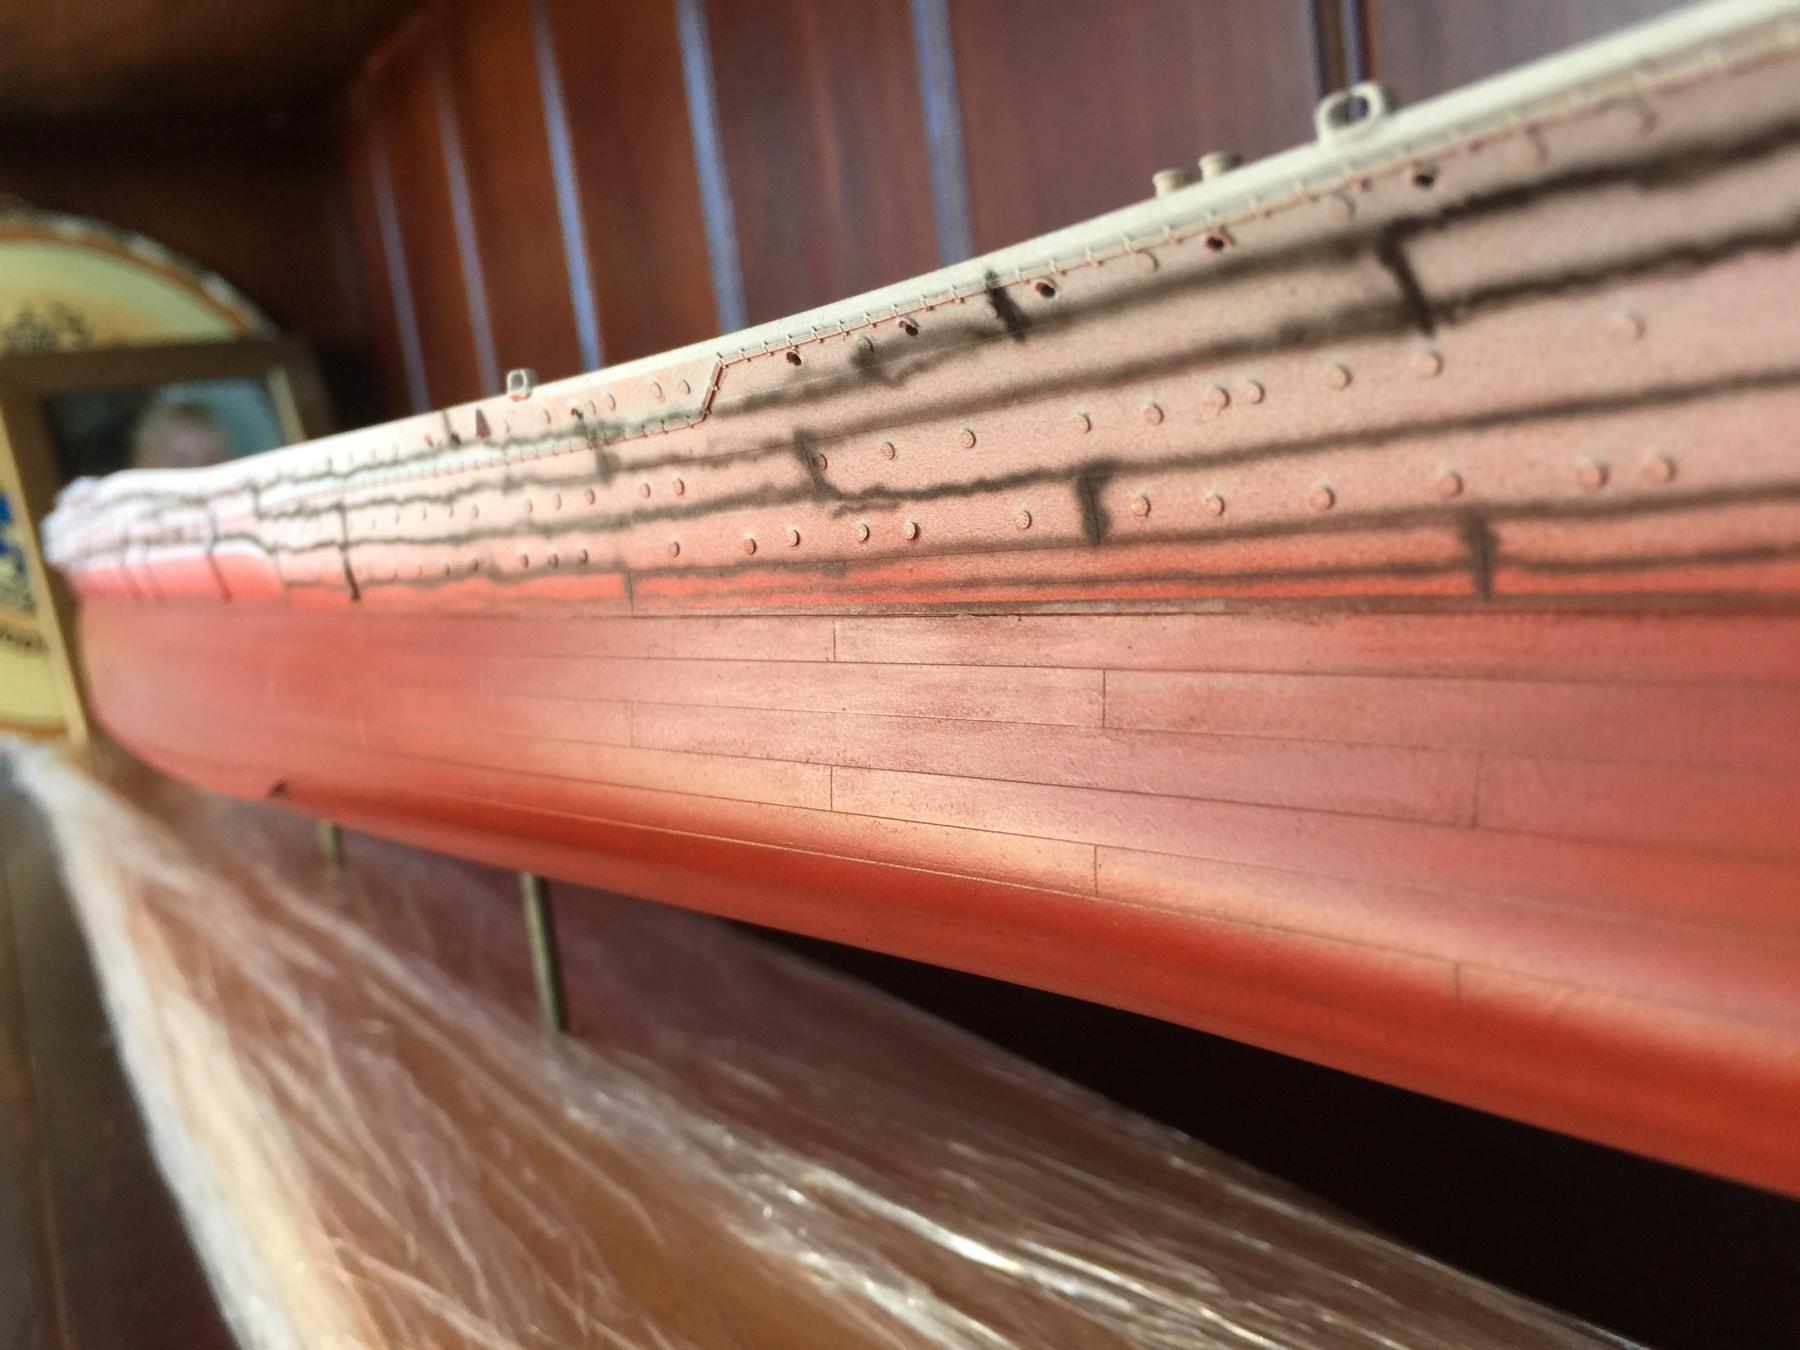
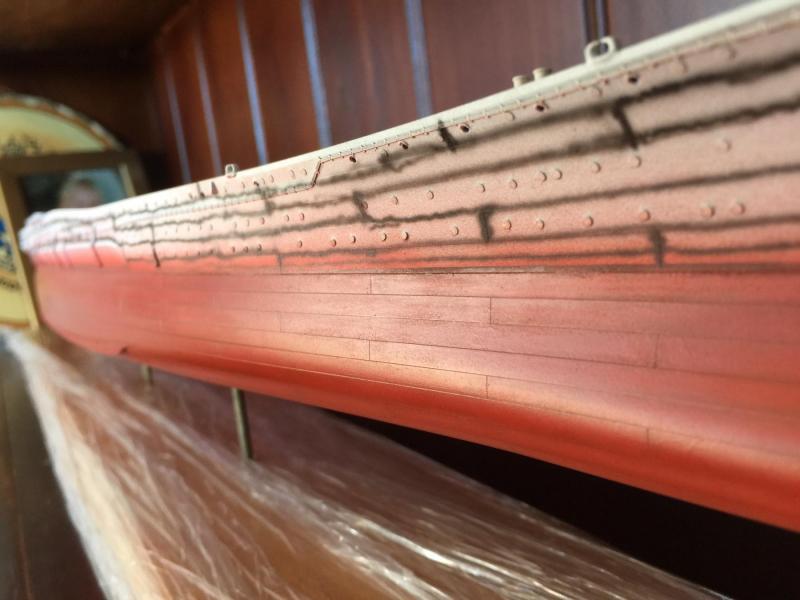
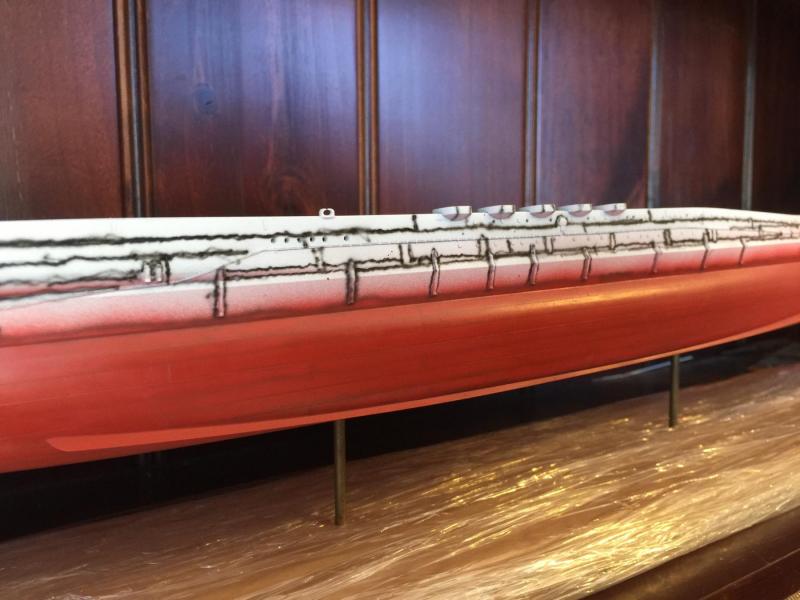
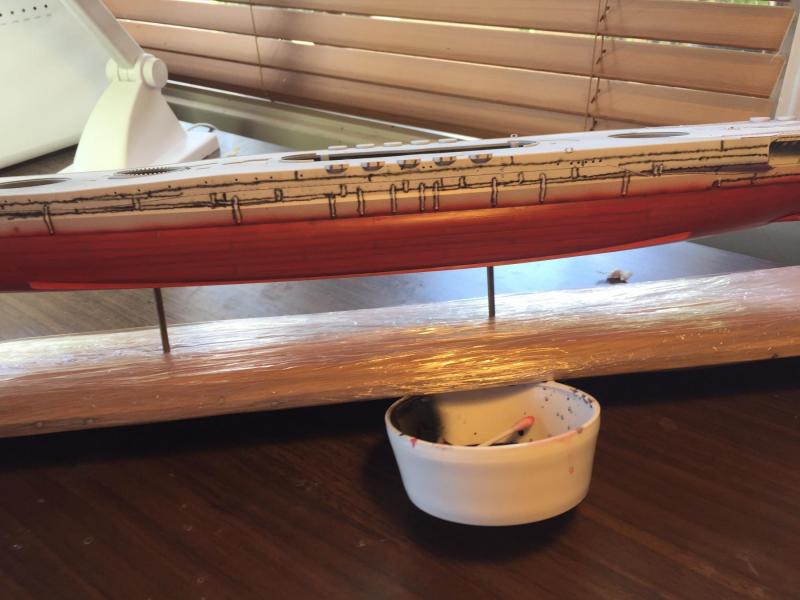
This morning I oversprayed the hull with a 60% diluted Raw Sienna colour to mute the preshading lines and darken the hull, which really makes the whole effect much more subtle. The ship is not in dock for a week to dry whilst I start priming other things such as the guns.

- 743 replies
-
- 11
-
-
Good, I was supposed to go to a regatta is Sydney where it was 44 but it got cancelled so I have a few days of quality desk time. It only got to 40 degrees here. The airbrush work is improving and I'm a lot more comfortable for the practice with it.
-
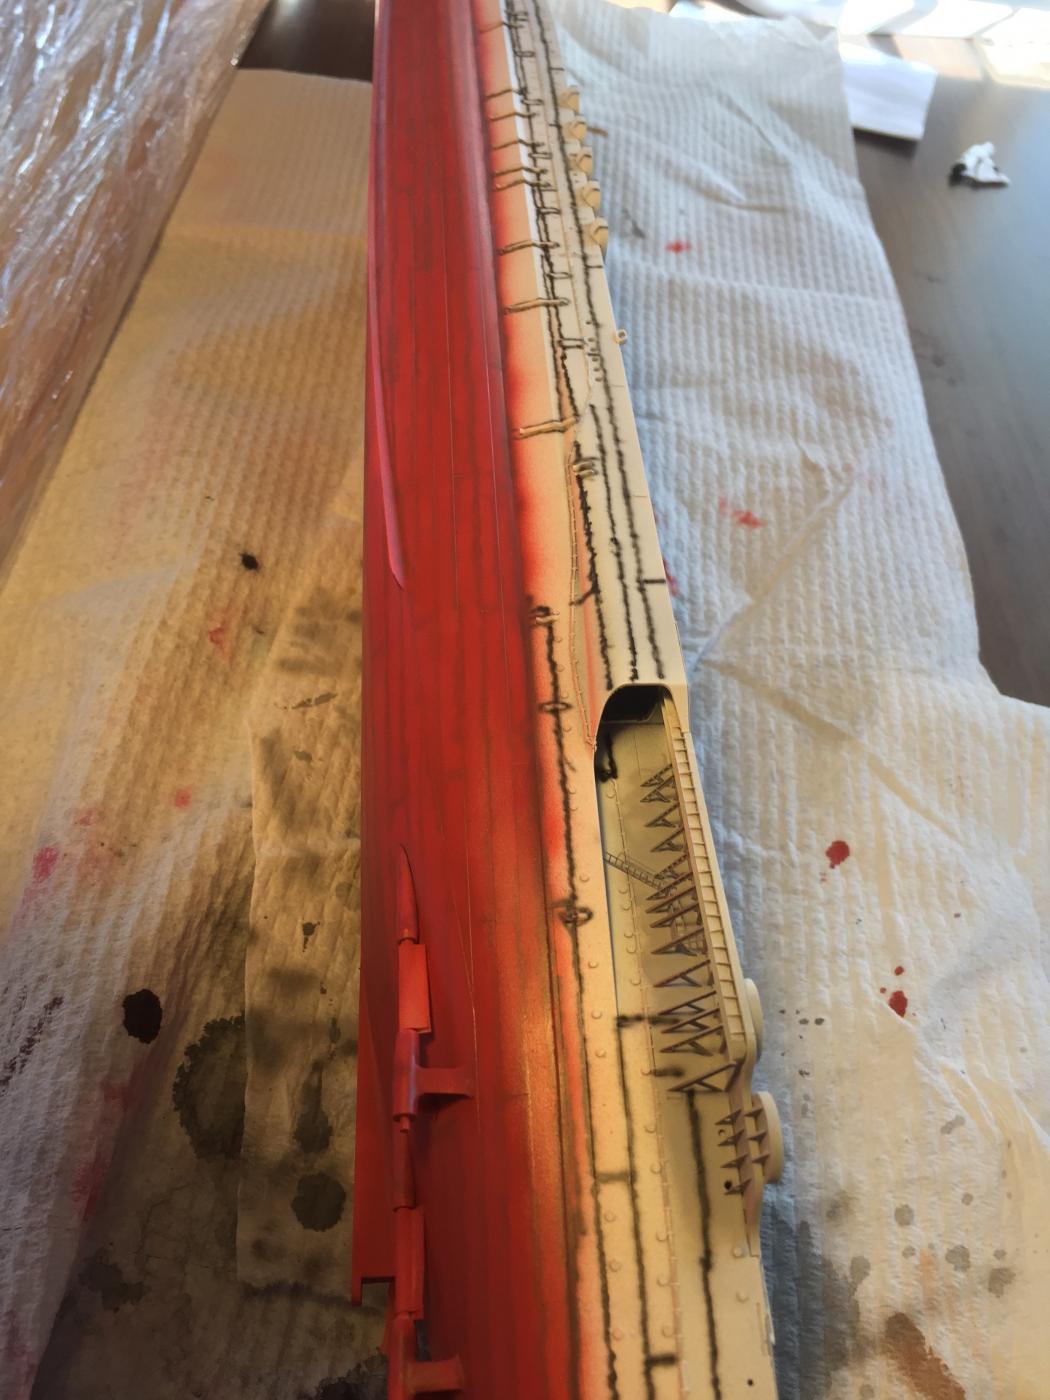
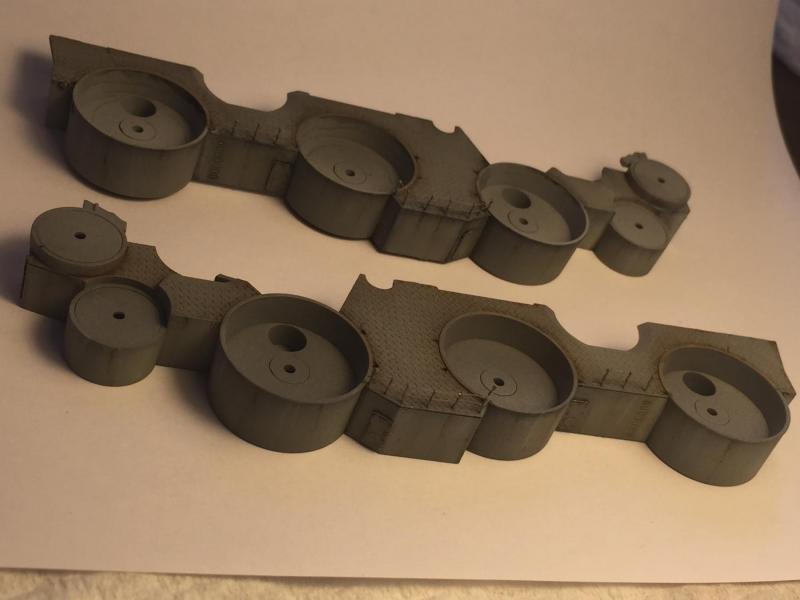
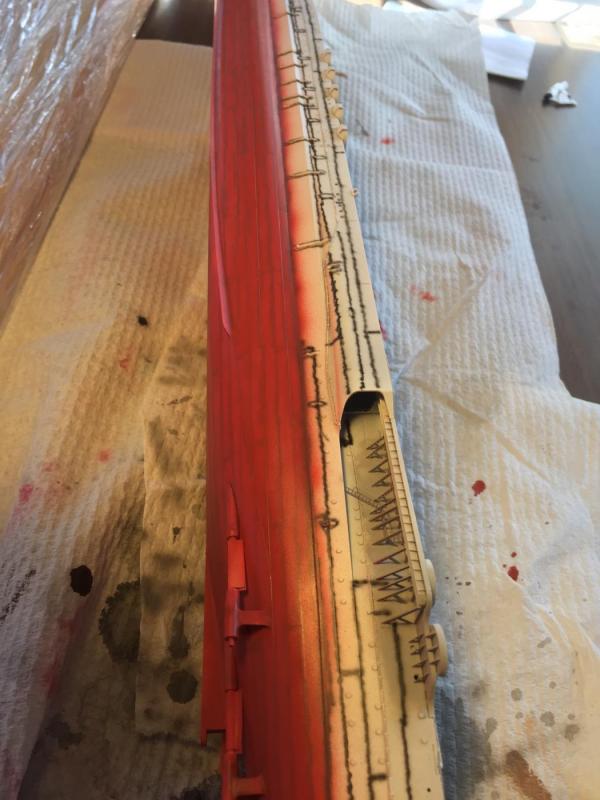
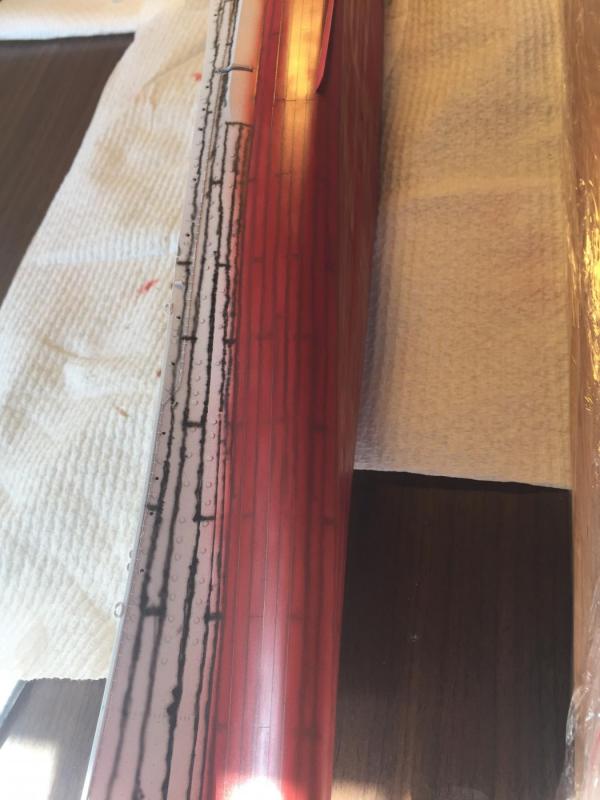
Ok, now I've painted all the squares, i filled in all the spaces with red, then oversprayed the hull with more red. That's the thing with red, it's soo translucent, Then I highlighted all the panels with a lighter red, toning down the back preshading. It actually looks a lot better in real life as the iphone camera does notcut it.. I intend to do a filter over the top then some very light dry brushing to really highlight the panels. I did not do the ribbed version as I previously explained it does not make sense. Then I can move upwards to do the upper hull after I leave it for a week to dry to I can mask it safely. Then the weathering....
- 743 replies
-
- 14
-
-
No mate, I could only build the one type of each ship! You monster would mean I'd need a bigger study and I only moved house 2 years ago. Having the wooden base makes you a purist!
-
One is enough.
-
This is going to take up a LOT of space
-
It is a shell hit, it's obviously the same thickness but not the real thing I suppose. The particular piece of armor tested was the 26-inch frontal armor for one of the Shinano’s 18-inch turrets located in the Kure naval yards after ww2. The Shinano was never made but it was the same class. The U.S. Navy shot it point blank with a 16-inch shell. The resulting impact penetrated and ripped the armor apart. While this showed that a 16-inch shell could penetrate the Yamato’s armor, it’s unlikely that it would have done so at distance. This piece of armor tested by the navy is now on display at the Washington Navy yard. Reference http://www.byronhartshorn.com/