RGL
-
Posts
5,546 -
Joined
-
Last visited
Content Type
Profiles
Forums
Gallery
Events
Everything posted by RGL
-
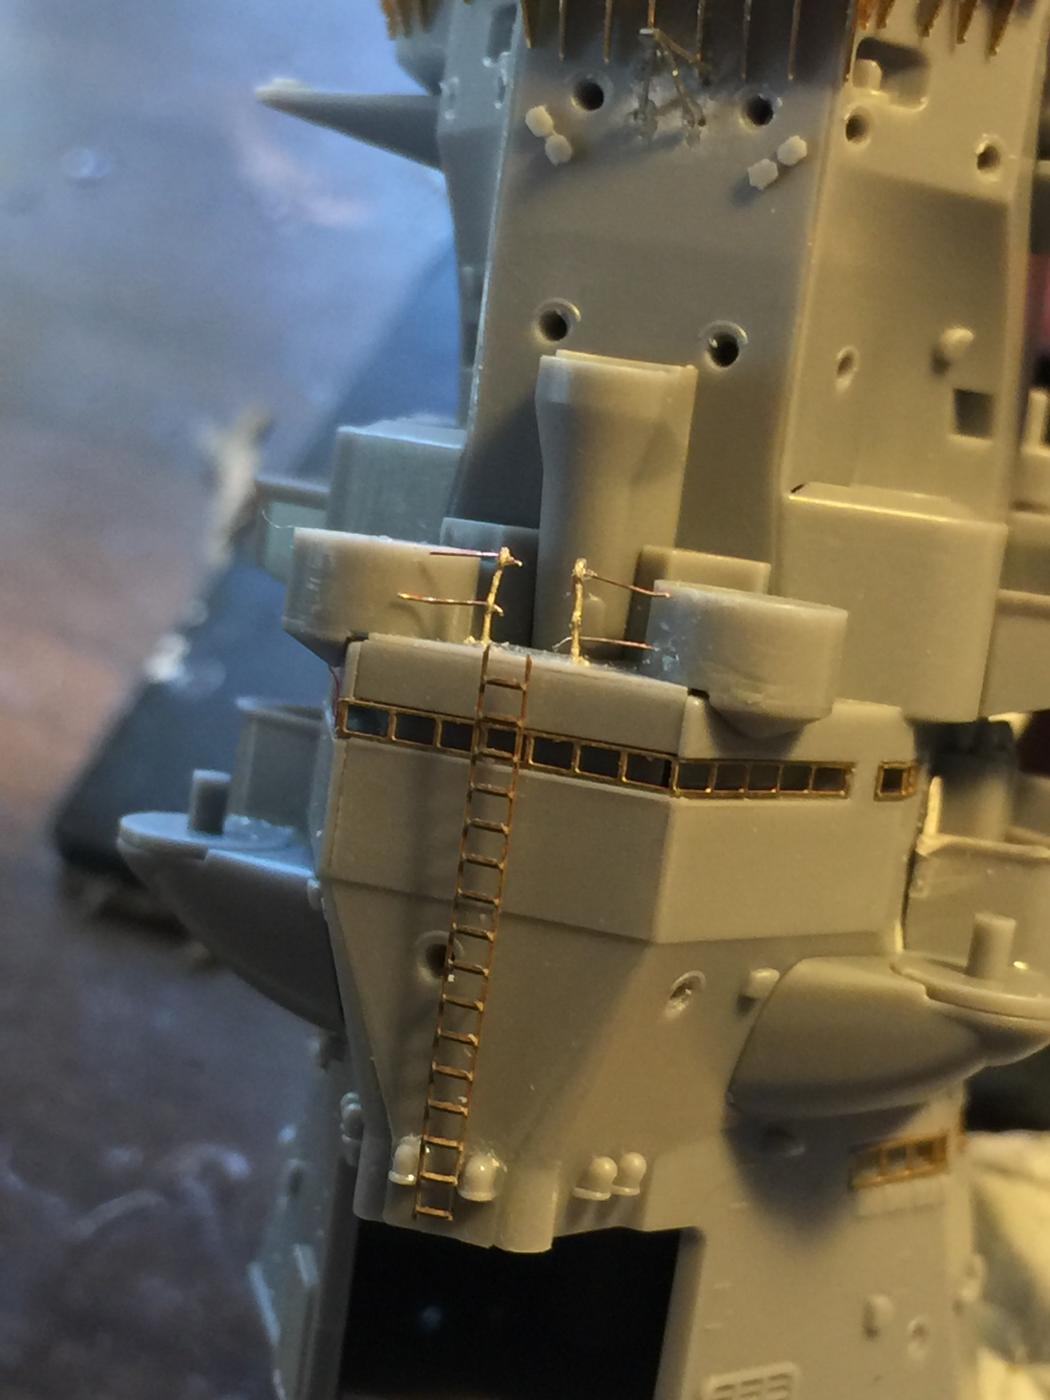
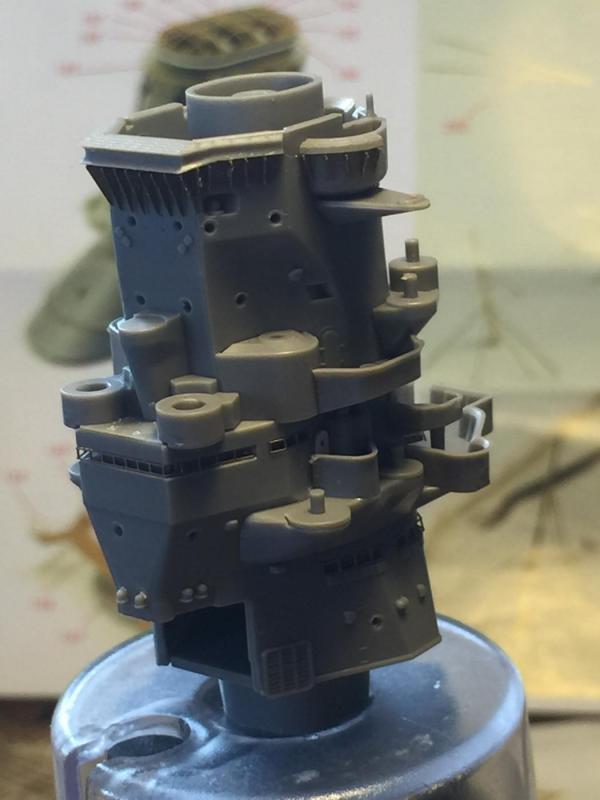
 Tamiya omit several doors at the rear of the structure and add an extra ladder which is not in the other reference material. I quite like replacing the doors as when painted it is easier to wash them and then drybrush them to bring out the fact there are doors (hatches) not lumps. Finally the front adding the first of the Tamiya individual stanchions and a ladder from spares. There are a multitude of range finders etc to be added yet but they will be painted off kit.
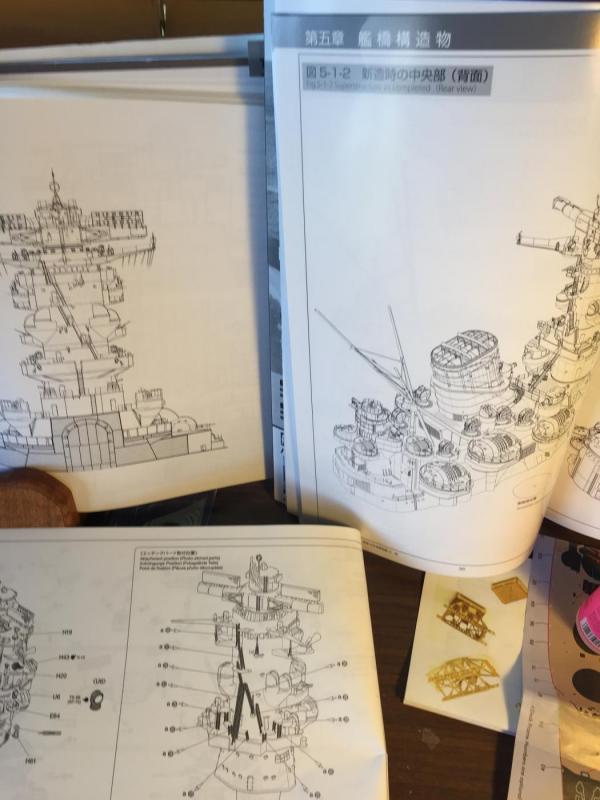


- 743 replies
-
- 23
-

-
I've been pottering away on it but a lot of work not worth a post, lots of dry fitting, coaching my sons rowing year, plus work.
-
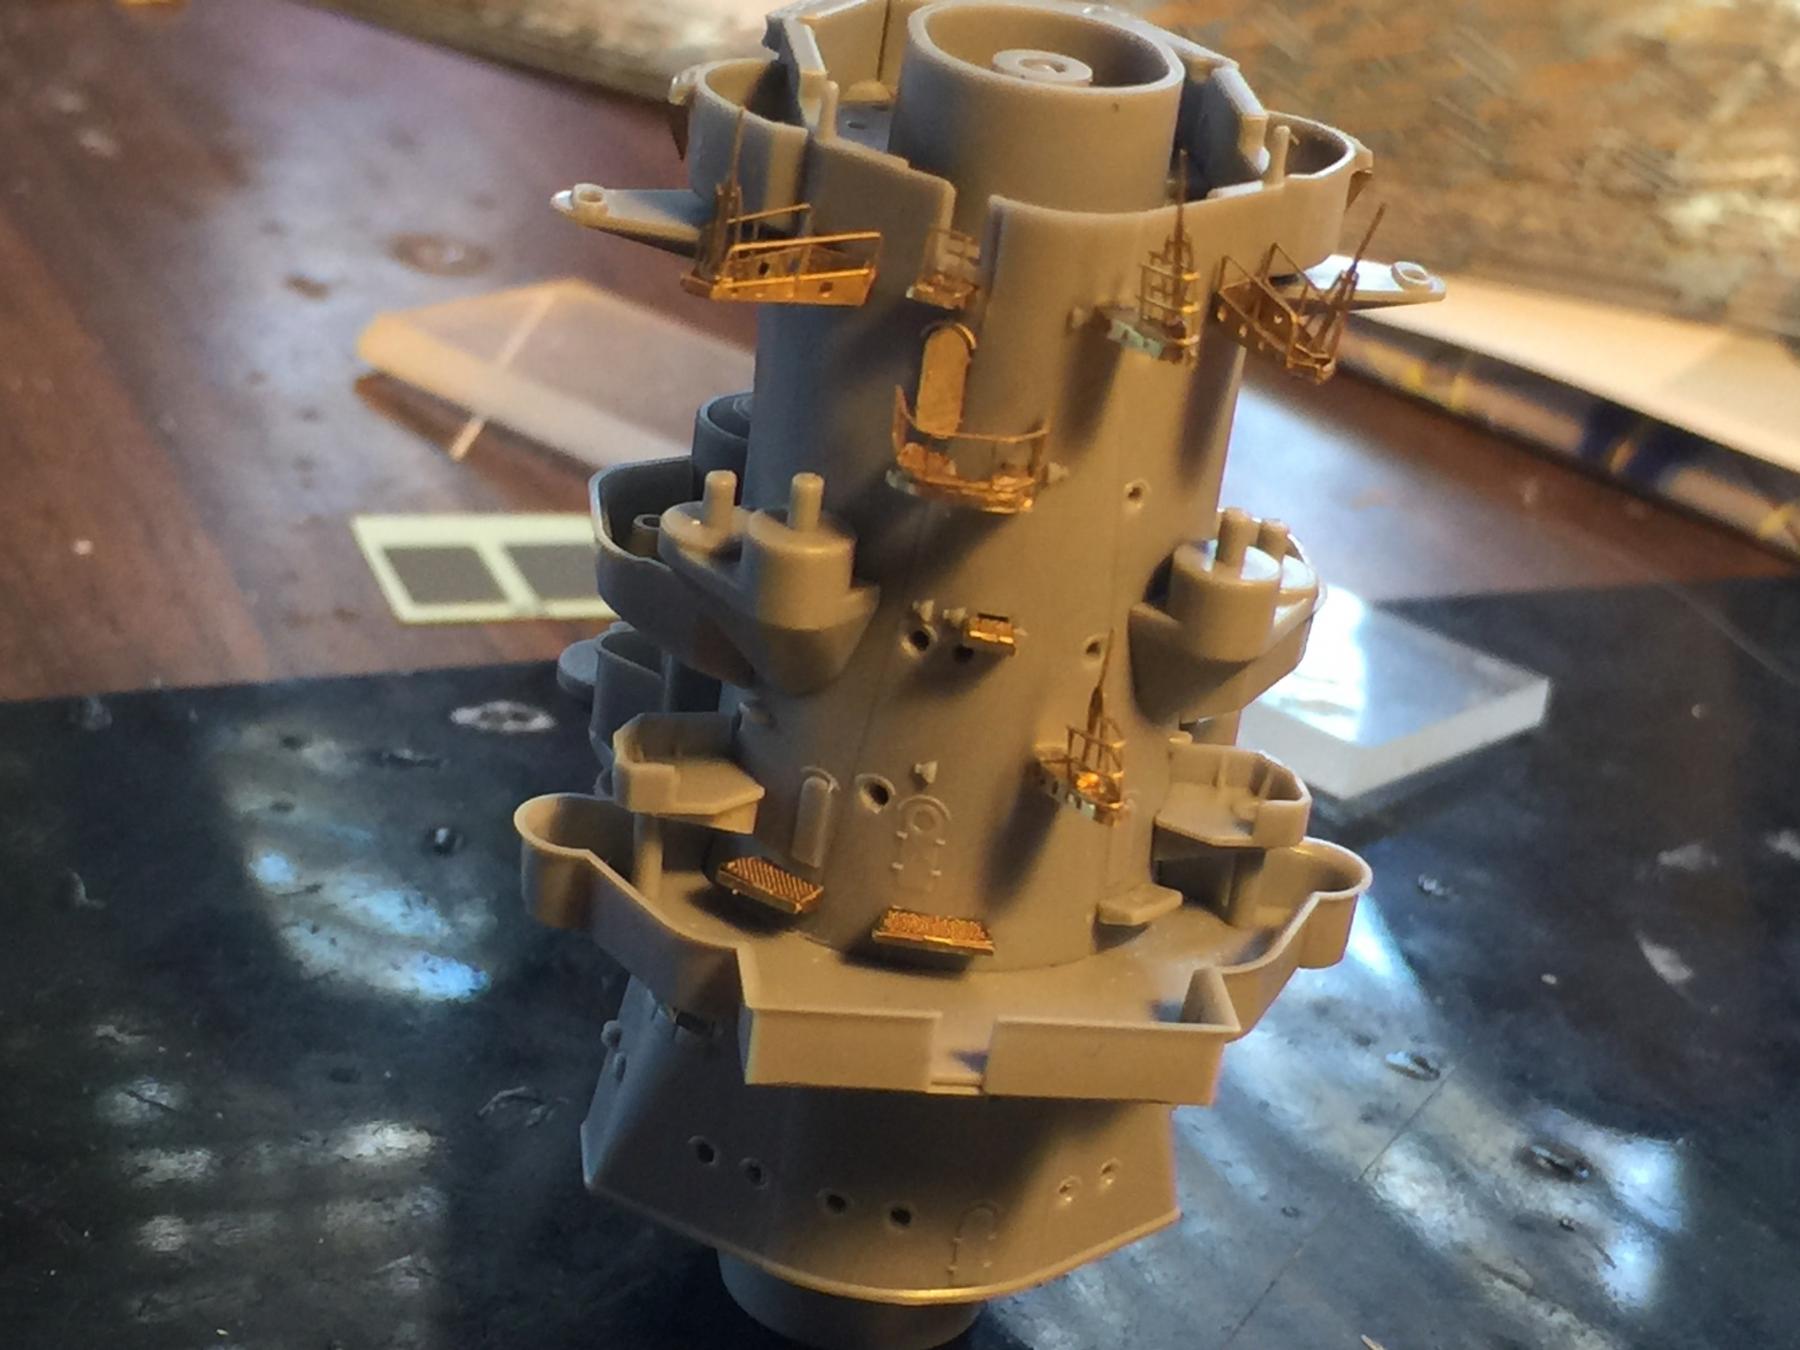
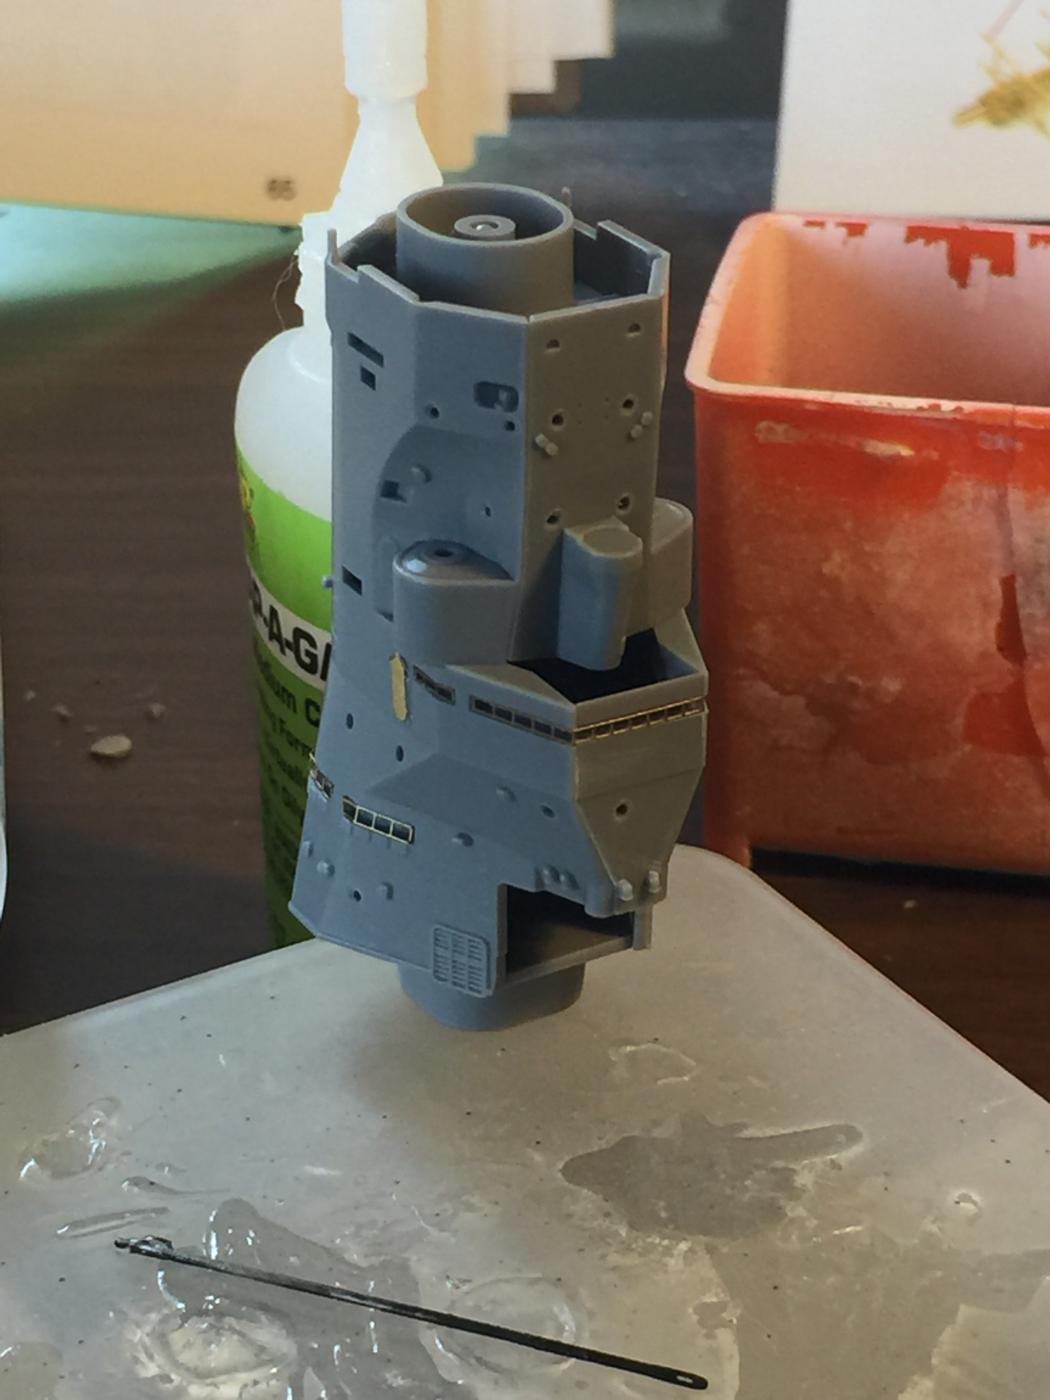
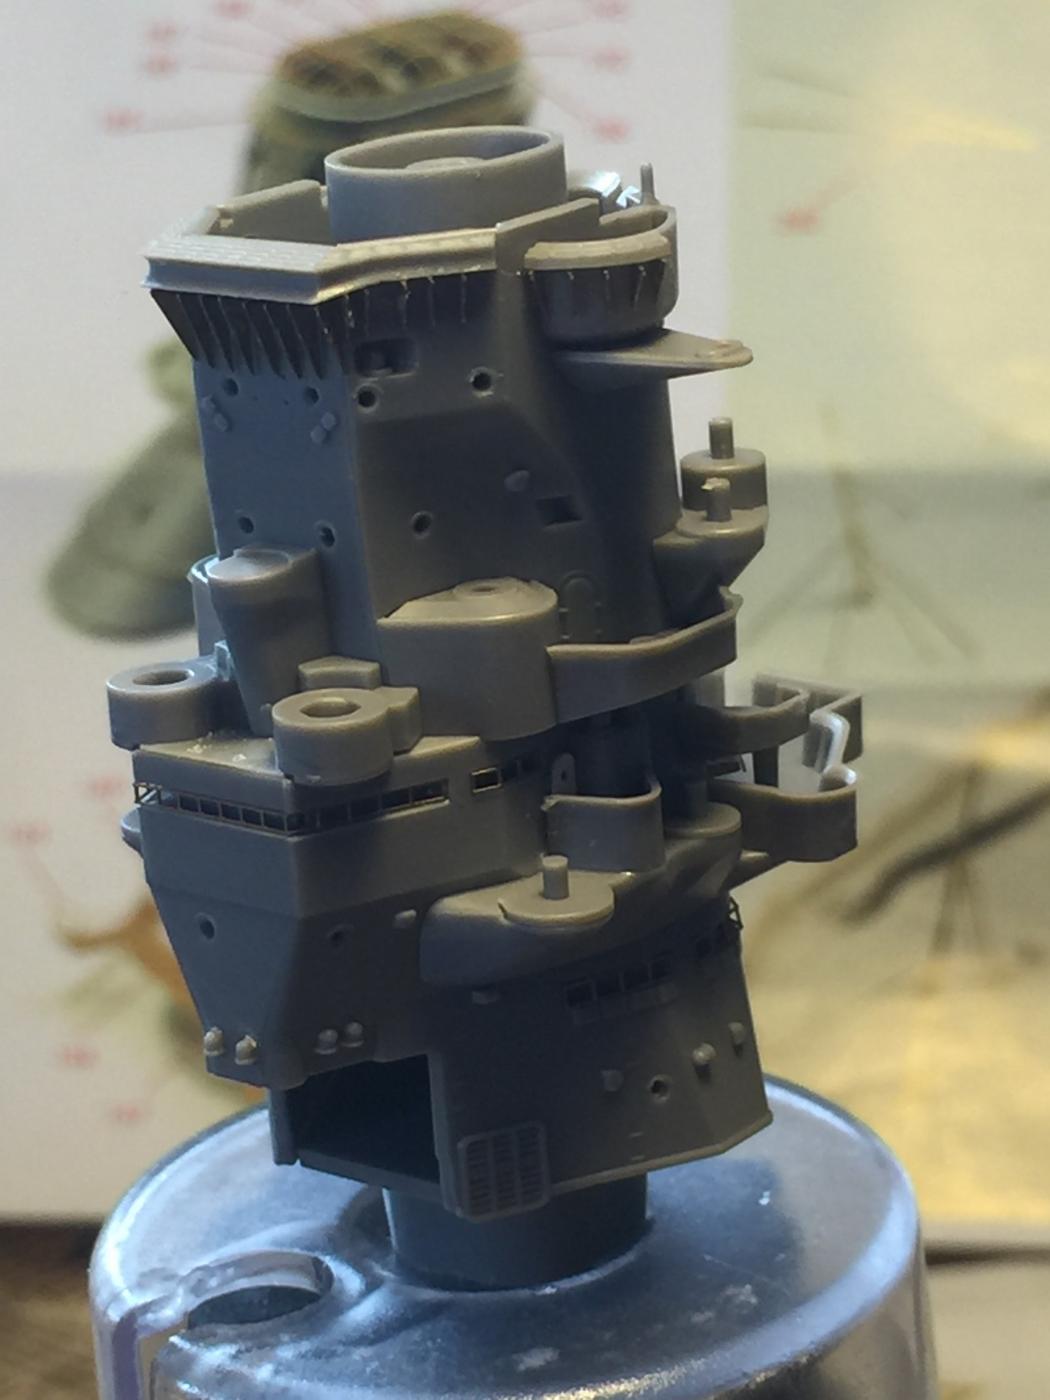
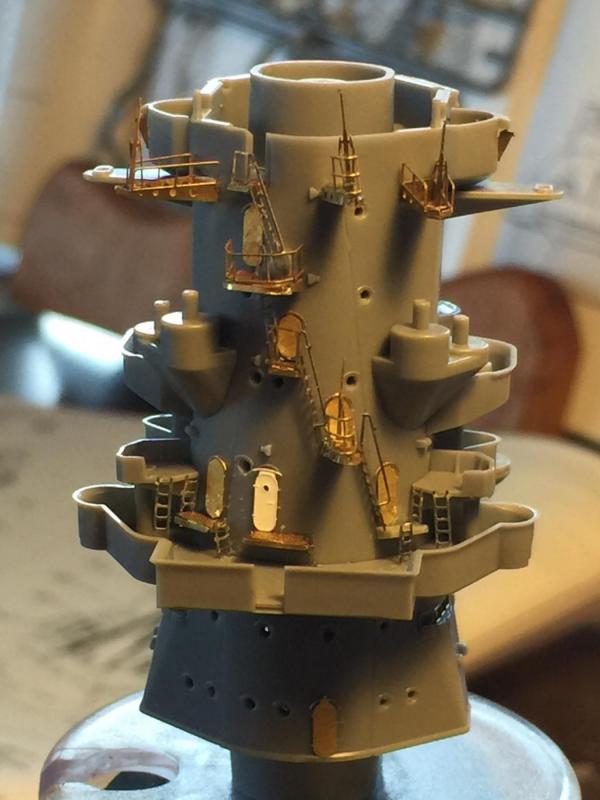
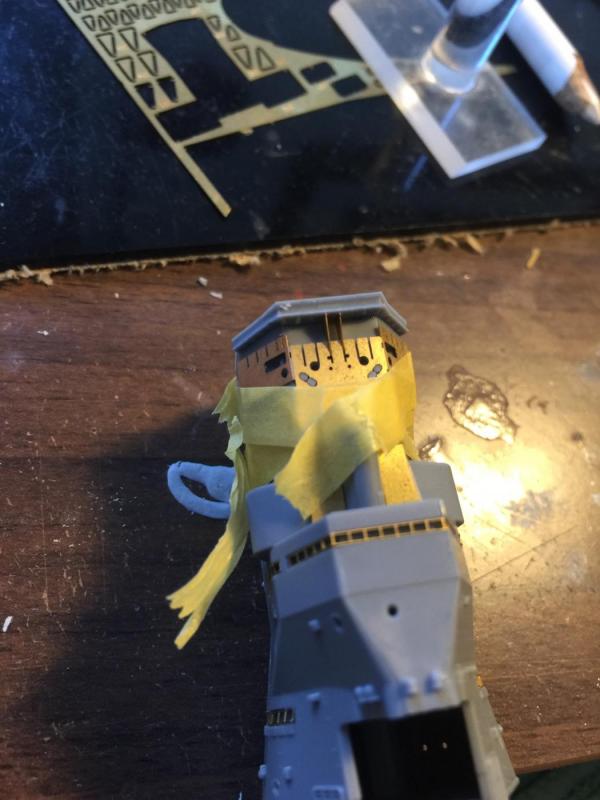
Slowly moving on, the main tower pagoda. The support struts below the bridge are replaced with etch and a template is provided. This is taking a fair while, not because it's overly hard, just that the instructions require a lot of interpretation. There is a major flaw in the rear of this that will have to be rectified. I have drilled out all the portholes but left the ringols as they are sufficient. I will also replace all the doors.

- 743 replies
-
- 15
-
-
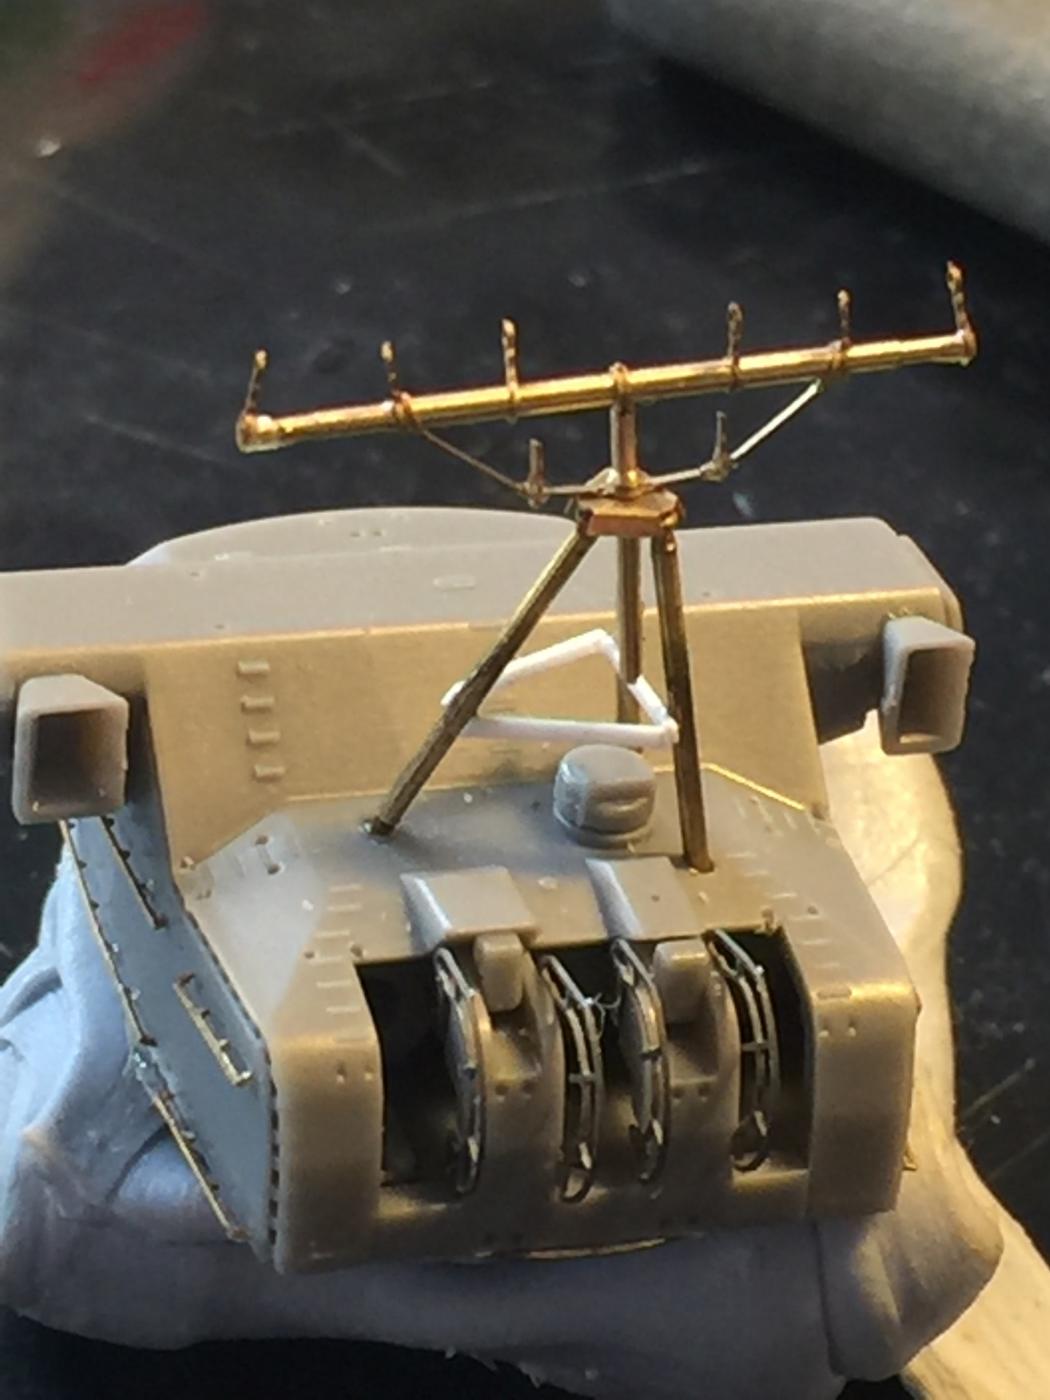
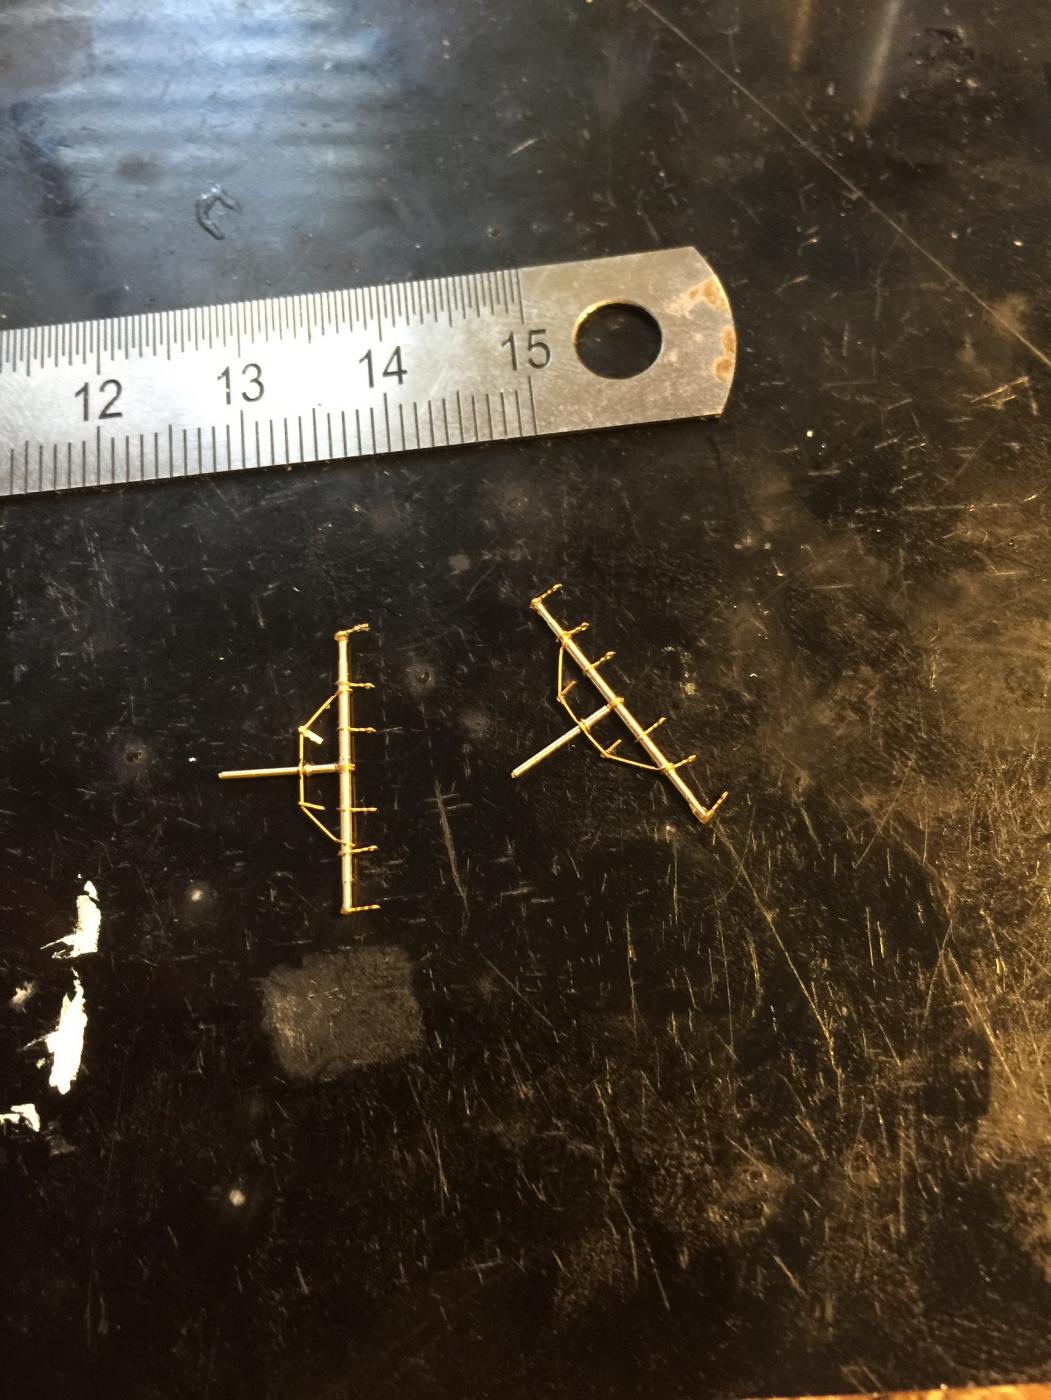
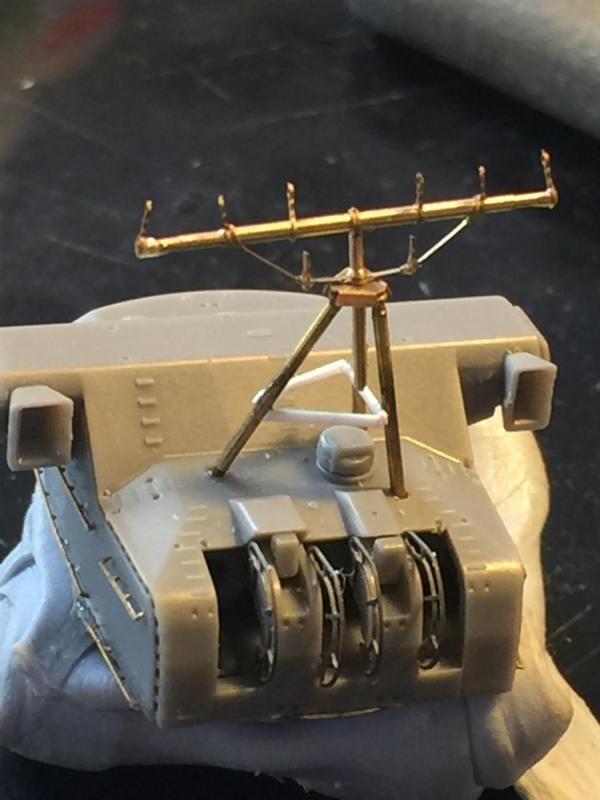
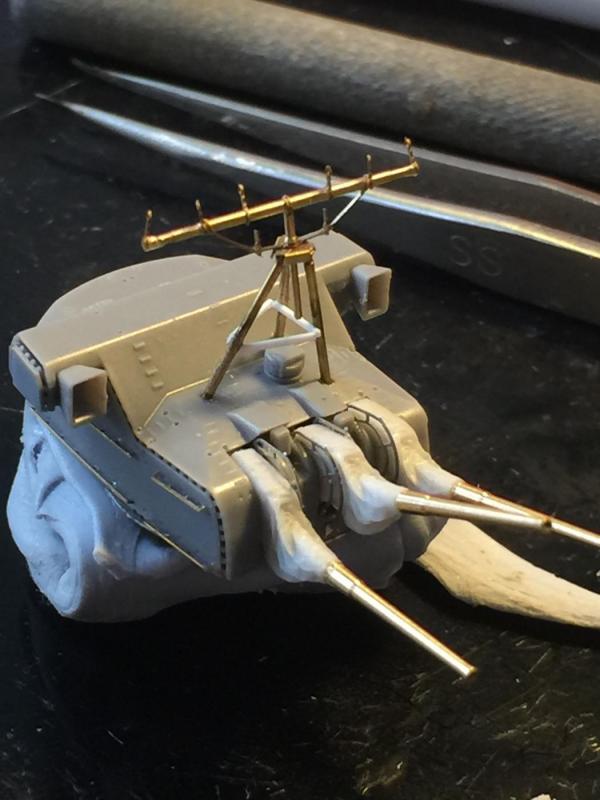
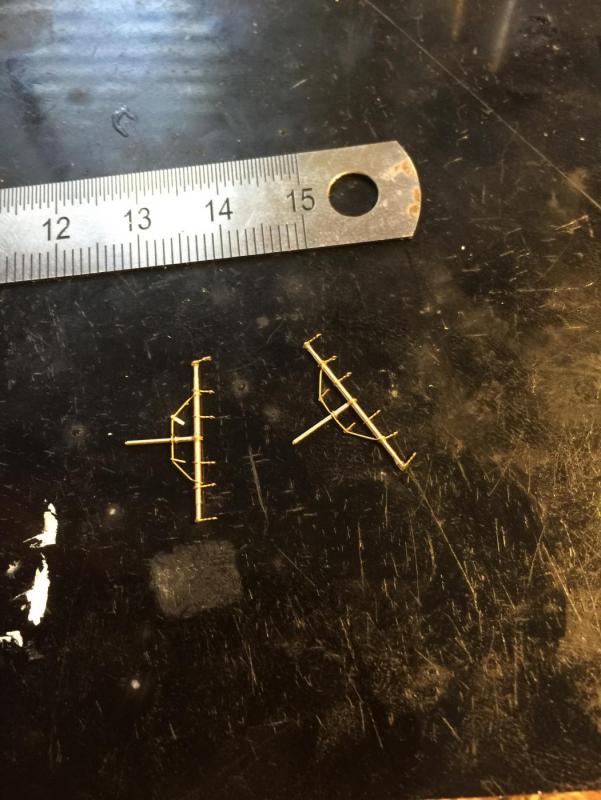
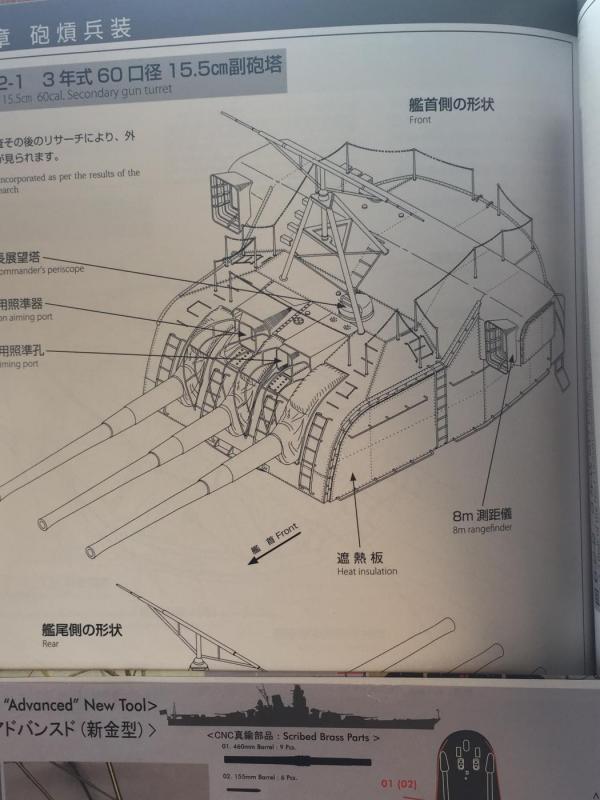
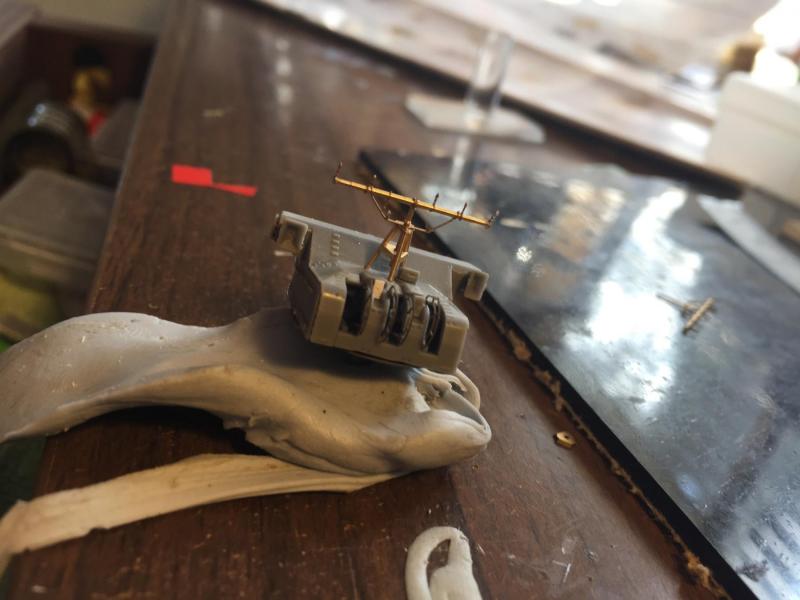
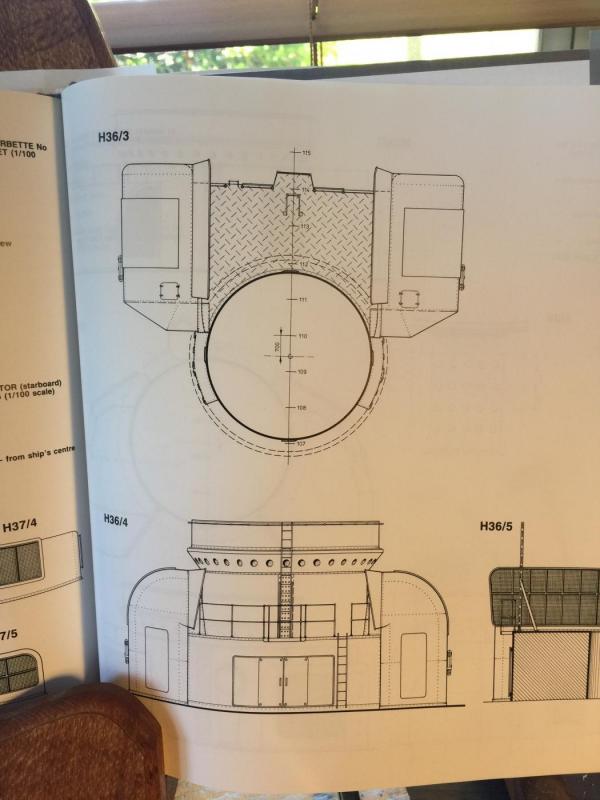
Now the secondary turrets. Thinking these are 15.5cm, they are tiny compared to the big guns. The array on top will be rigged up much later in the build but they stay stationary when the turret rotates. but their tripod configuration is different and much more tricky on the forward turret. Again the barrels and blast bags are replaced, I have left off the ladders and stanchions again but placed the handrails.
- 743 replies
-
- 20
-
-
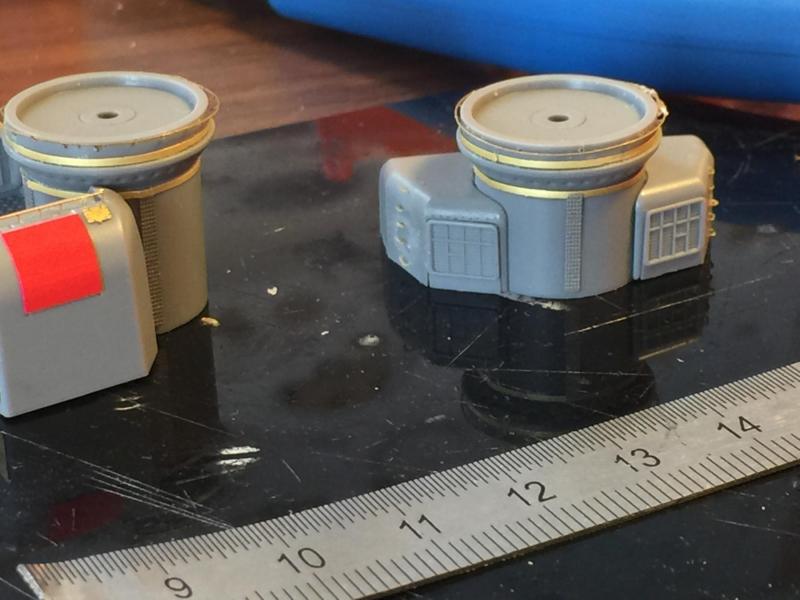
Ok, the new book arrived, an Tamiya was correct after all (to a point). Different handrail configurations and you can see the old book on the right which mirrors the AOTS.; The aft secondary gun mount was fairly simple, add some step ladders, hand rails and extra rivet strips, and of course another ventilator intake which for some unknown reason was completely omitted. A simple bit of PE layering plus a plastic strip cowl edge. When painted it won't looks so bad and when on it the kit it will hardly be seen.

- 743 replies
-
- 15
-
-
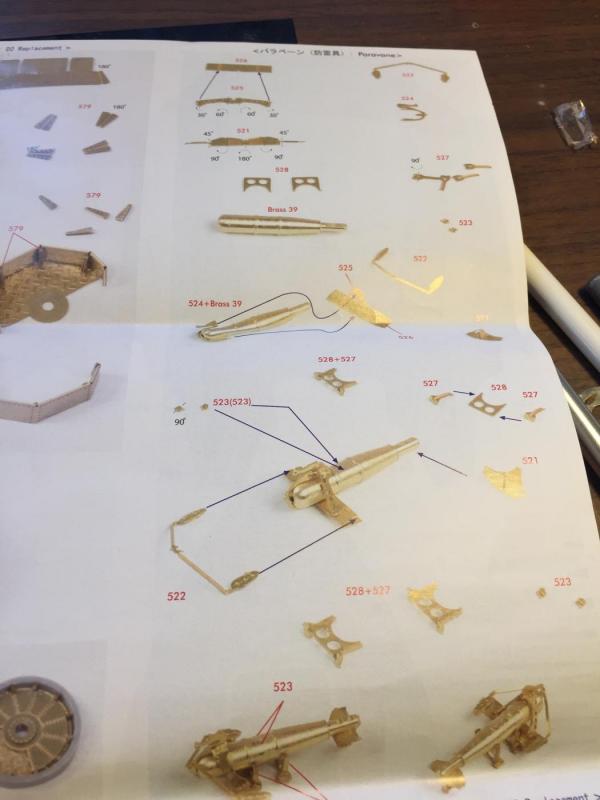
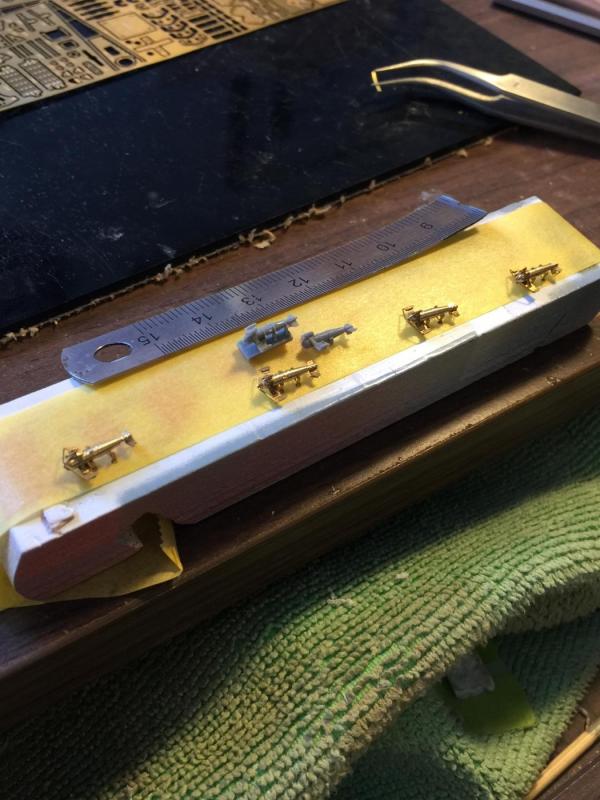
OC no problems at all, that's how we learn, it should be a free flow of knowledge. The instructions from Tamiya have the Paravanes sitting on the rear ramp of the secondary gun turret superstructure but I just don't see how you'd get them down as I imagine they're fairly heavy. The reference material is fairly guesswork but the Japanese have just st re released their Model Art line drawings based on "new research" from the submersible on the wreck. I have ordered it and yet to see what difference there is. I understand the Japanese destroyed all records of this class of ship so the real sailors on this forum have a lot of common sense to offer.
-
It said a magazine, are they heavy things? I just don't know how they would get them from the storage spots on the base of the secondary turrets to the side of the ship.
-
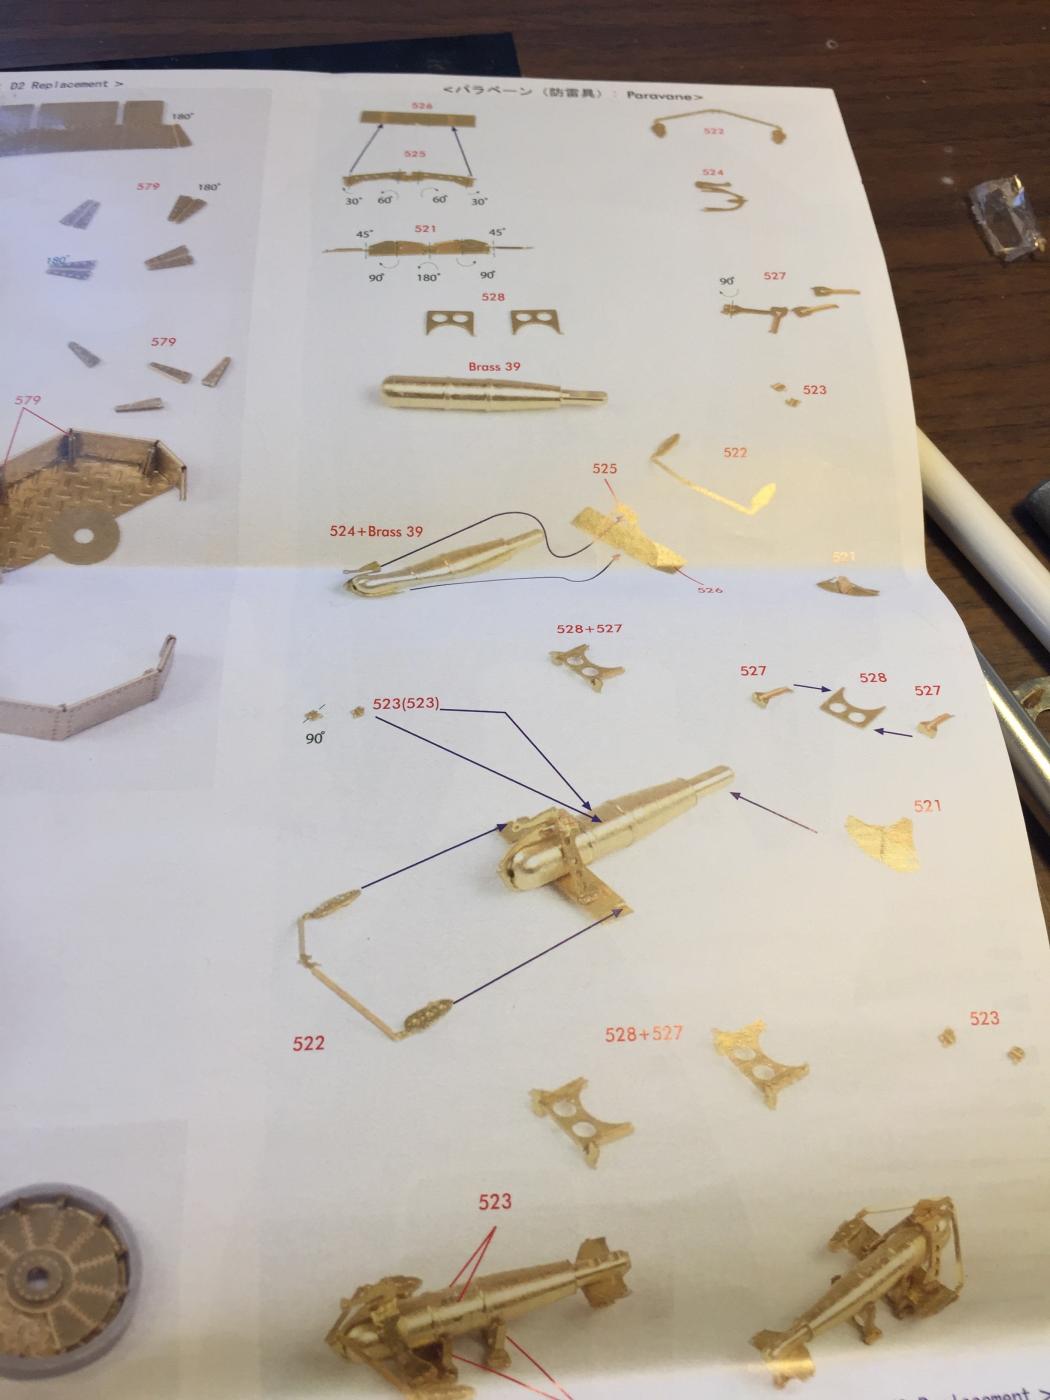
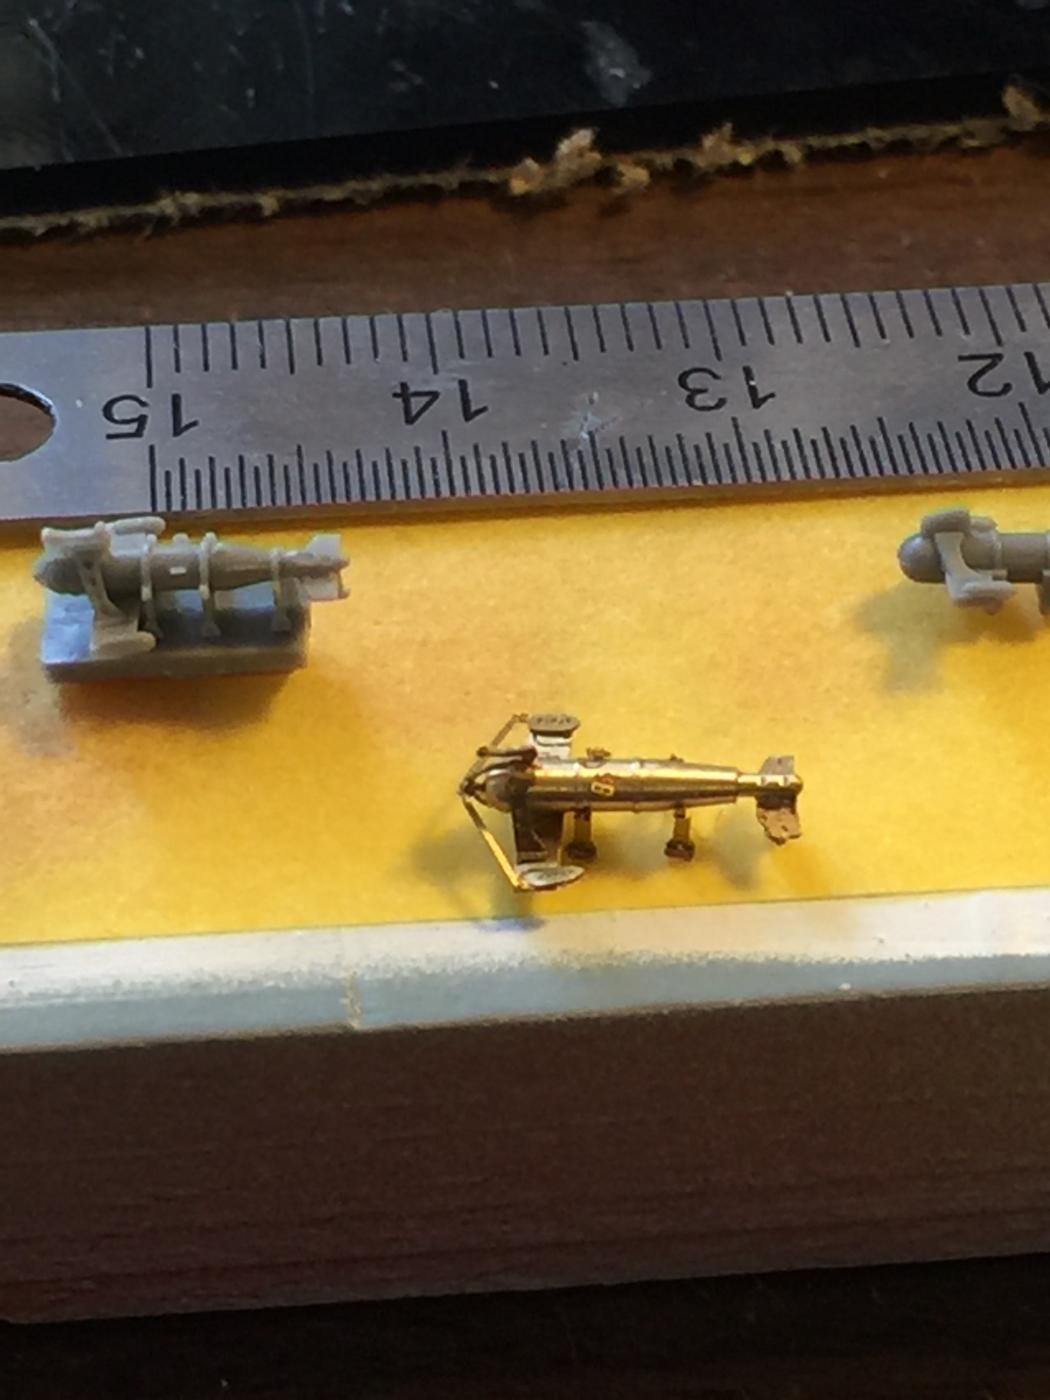
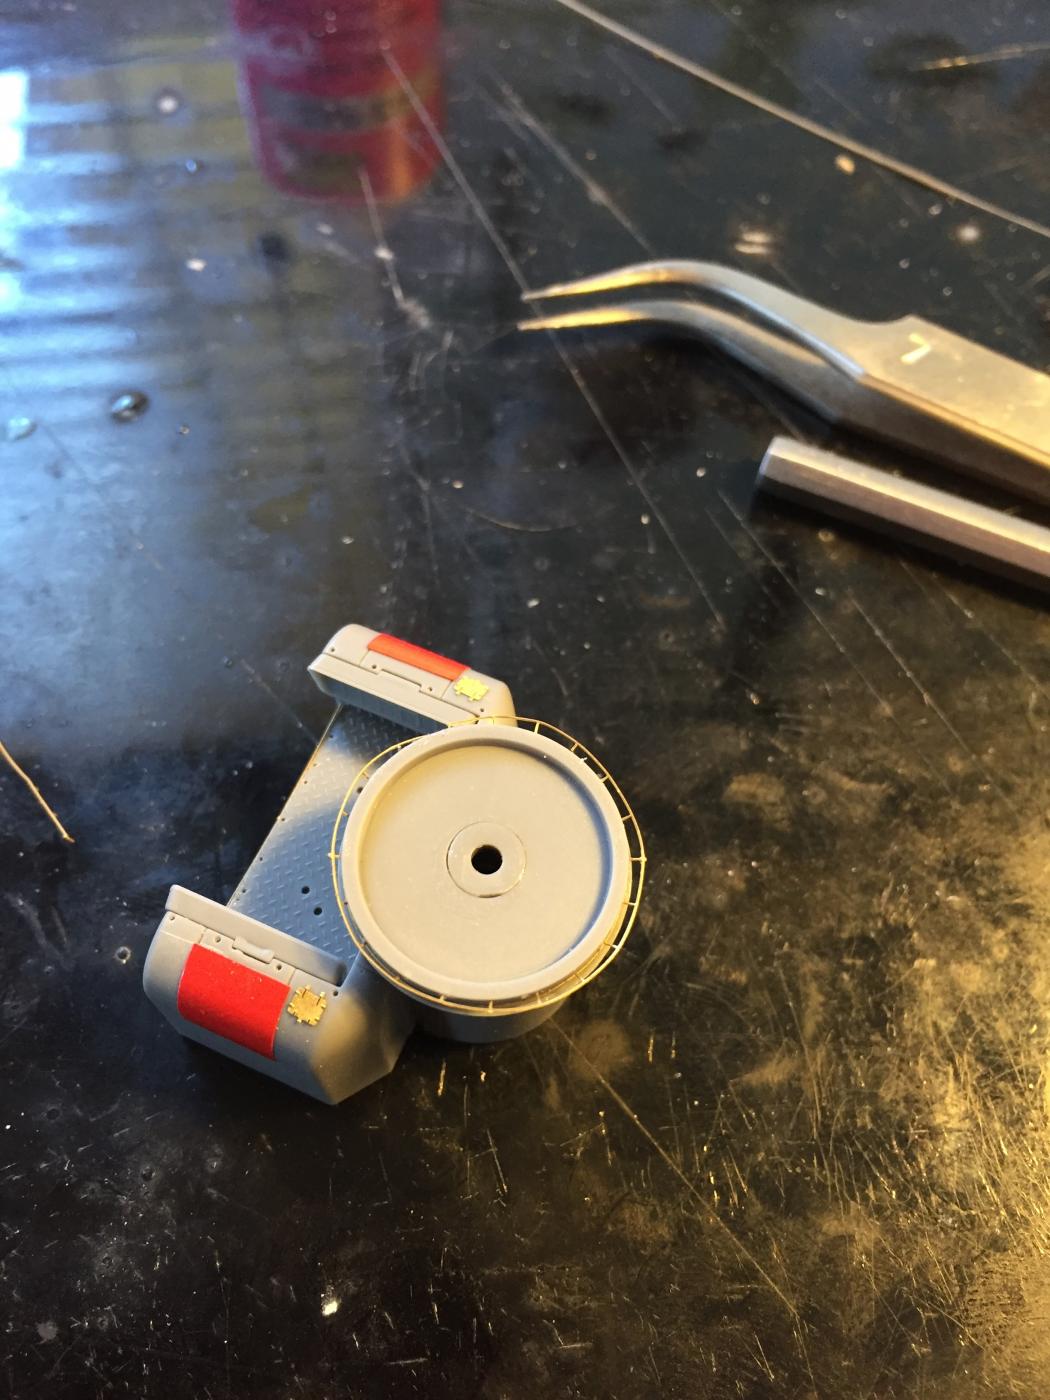
Next are the paravanes. The kit ones are basic, then the resin ones that got thrown in with the deck equipment are nice, but the Pontos ones are amazing. They come with a complete set of extras for the carpet monster, of which I lost none.

- 743 replies
-
- 17
-
-
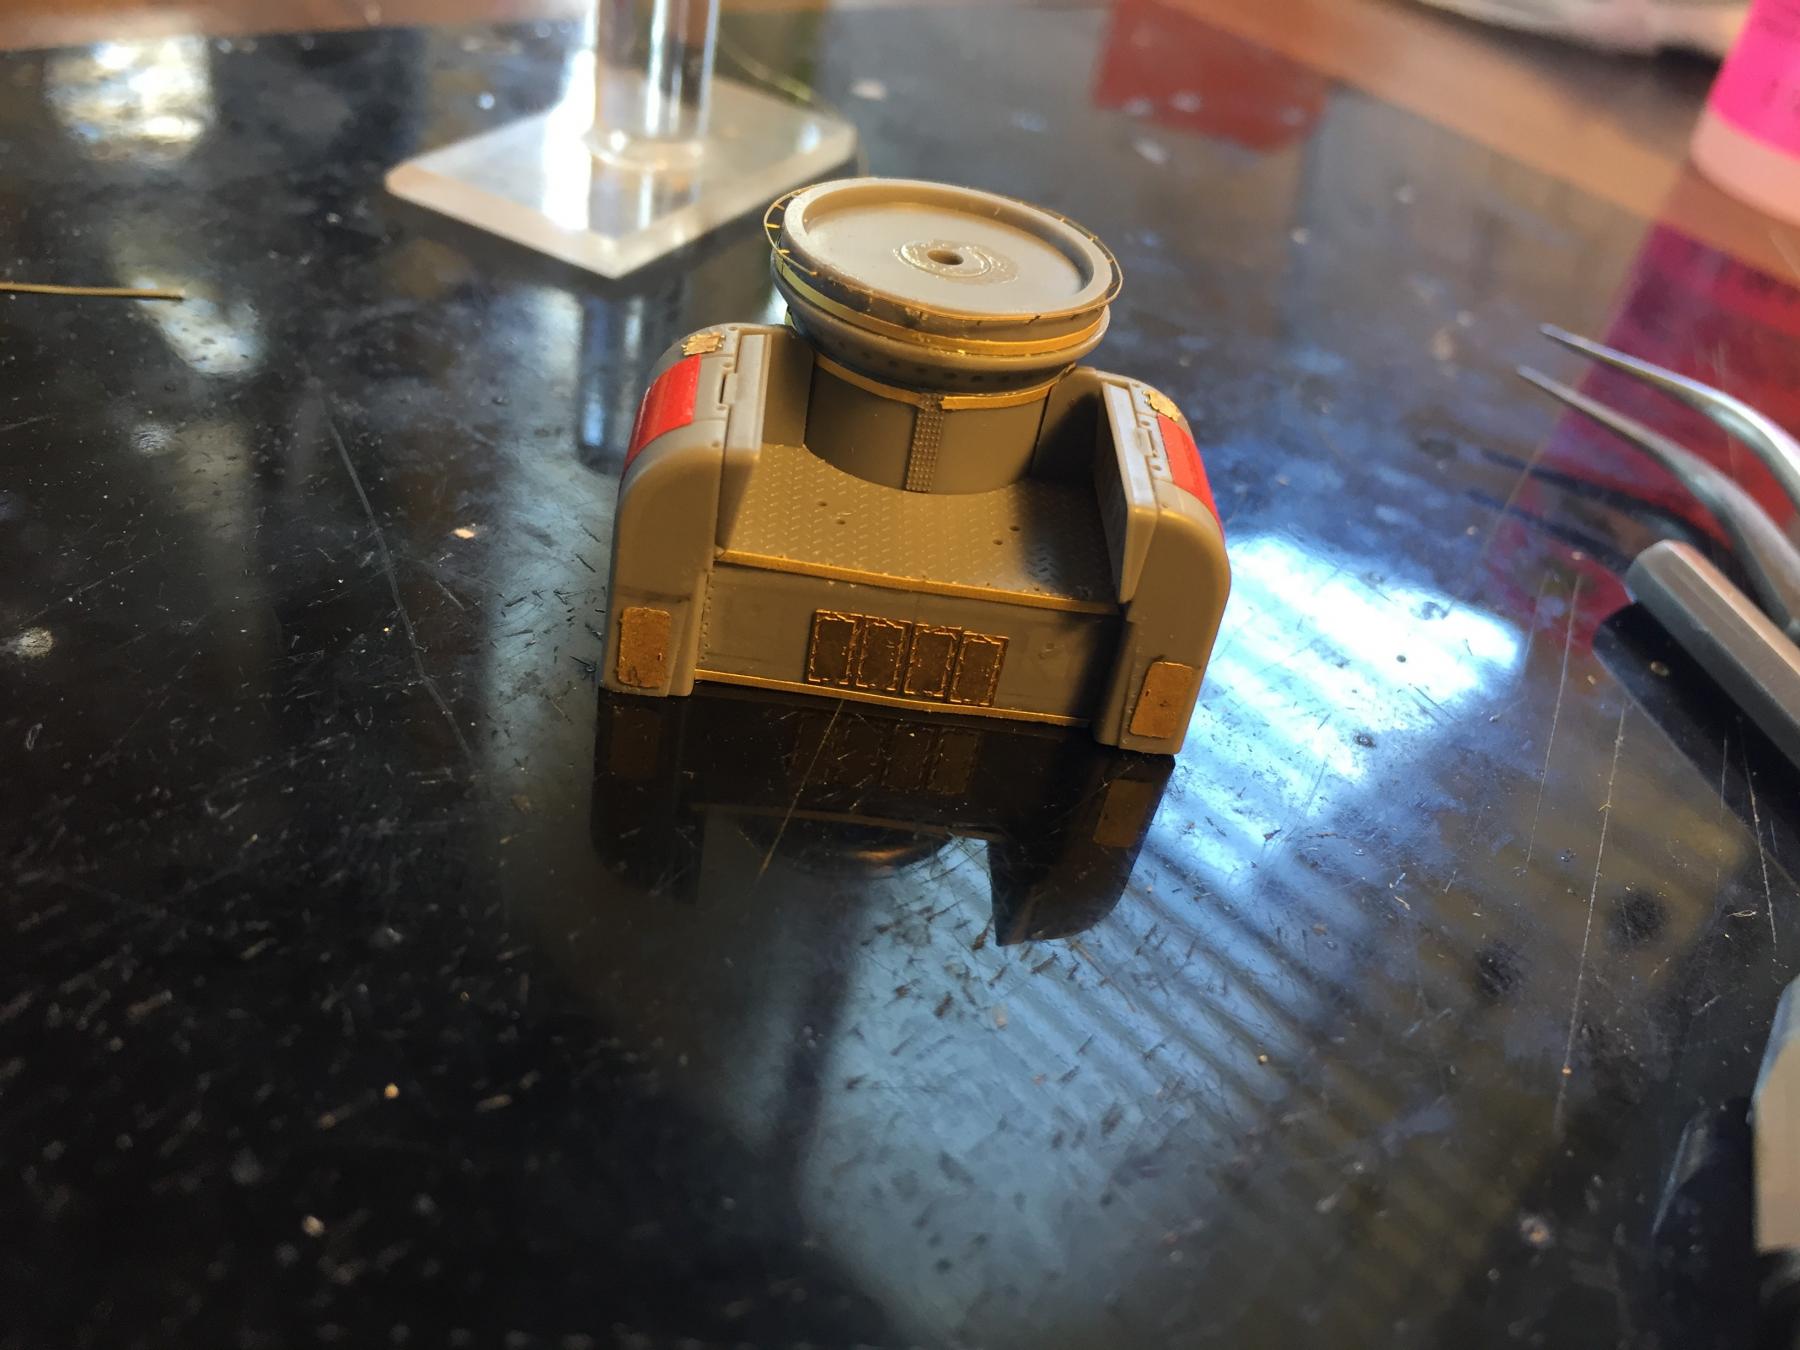
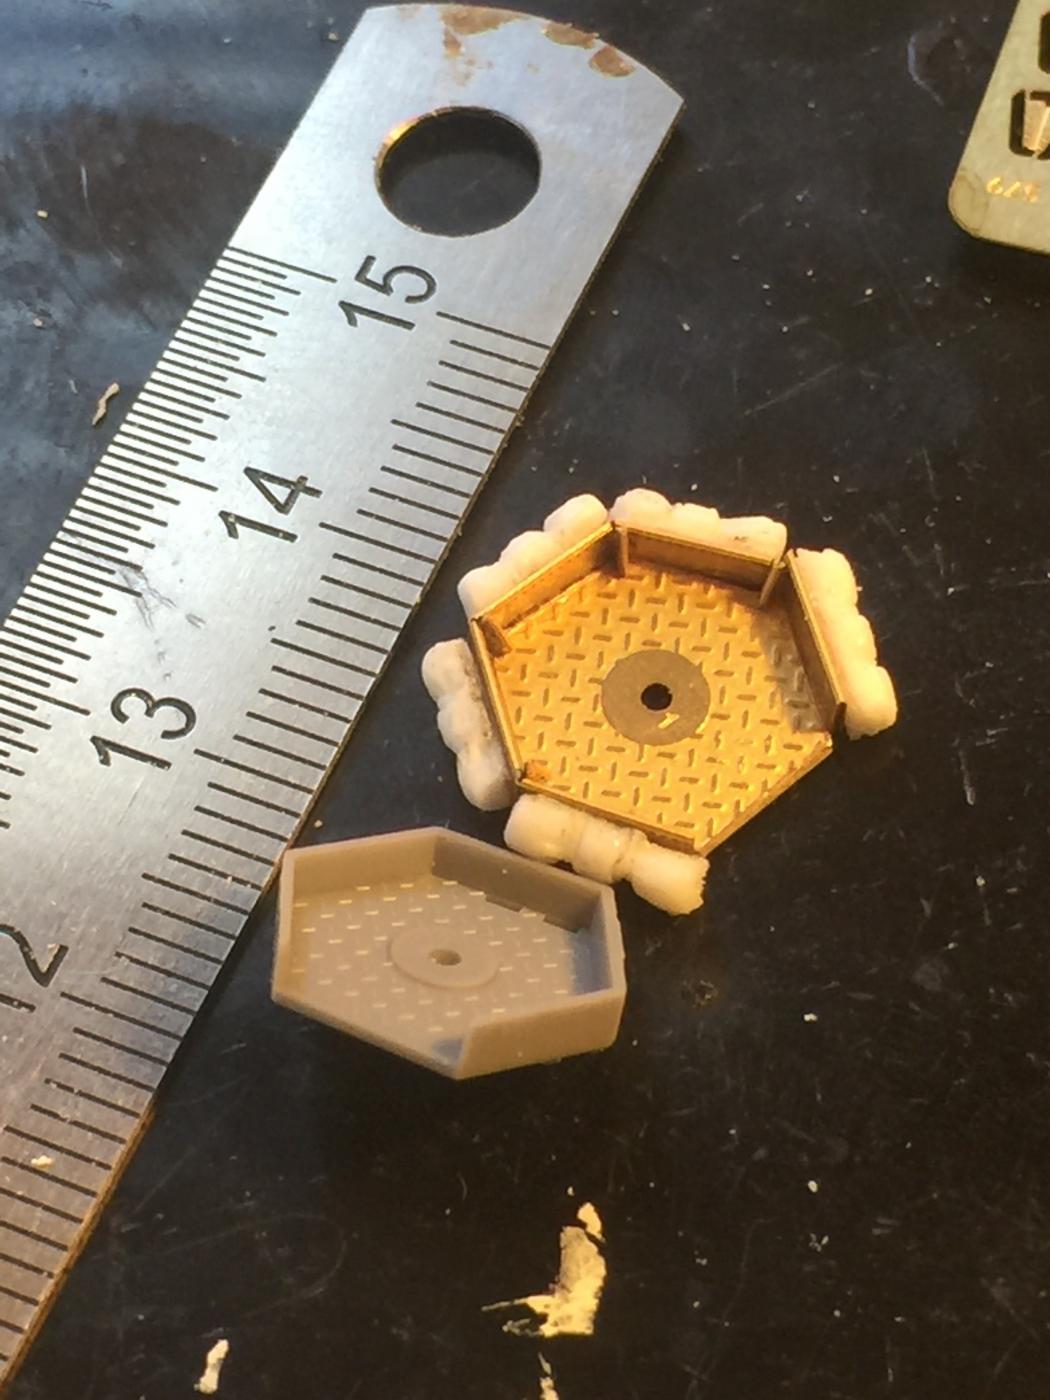
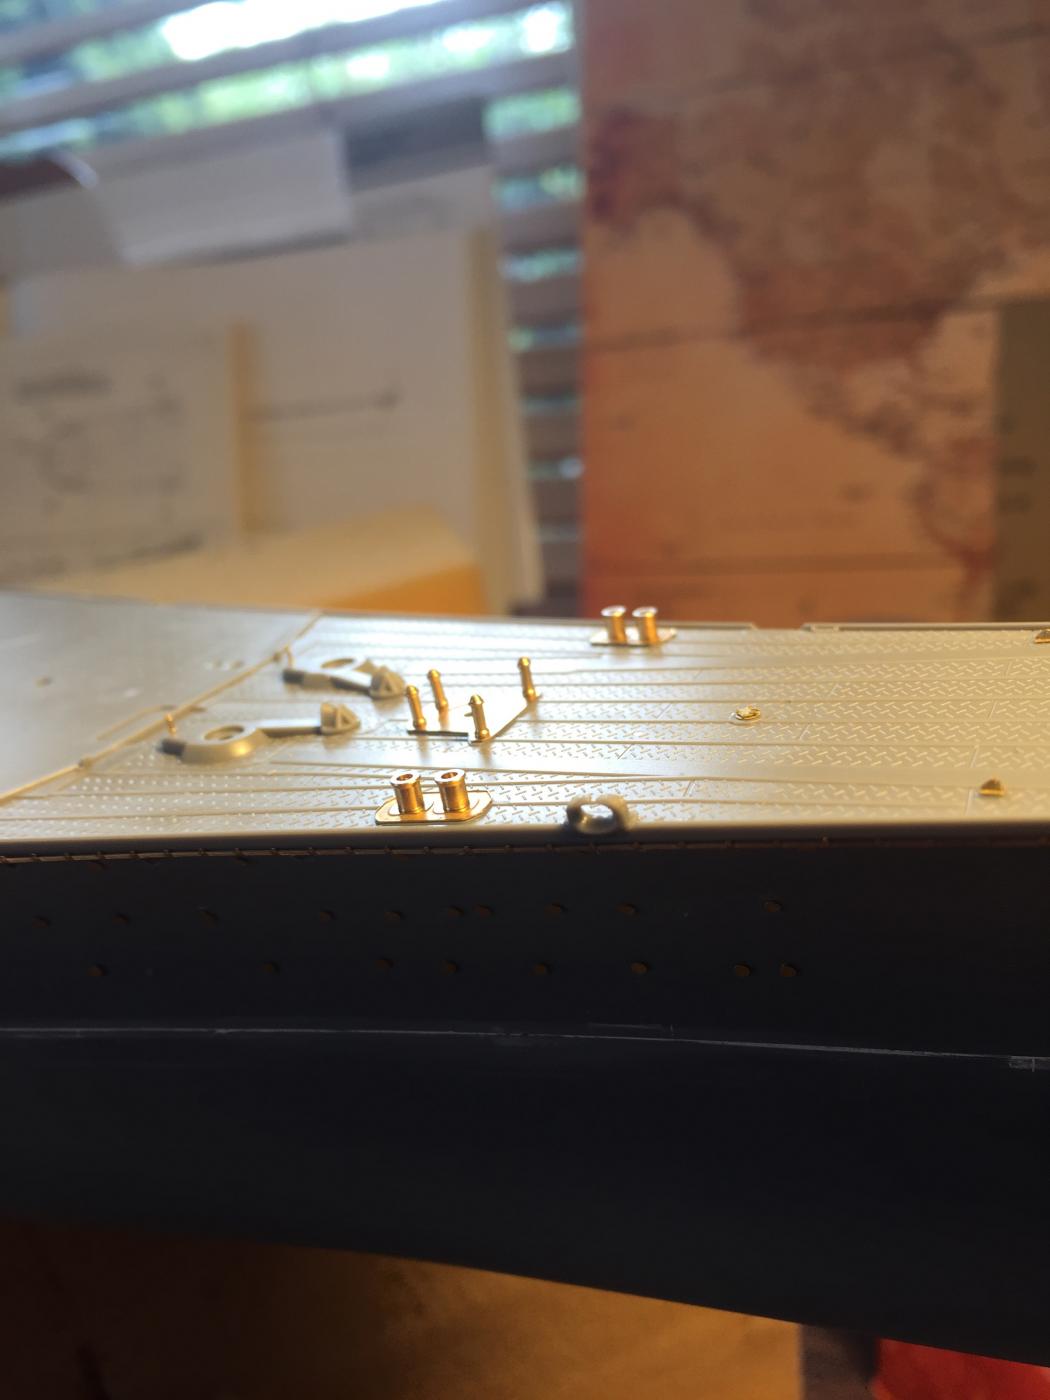
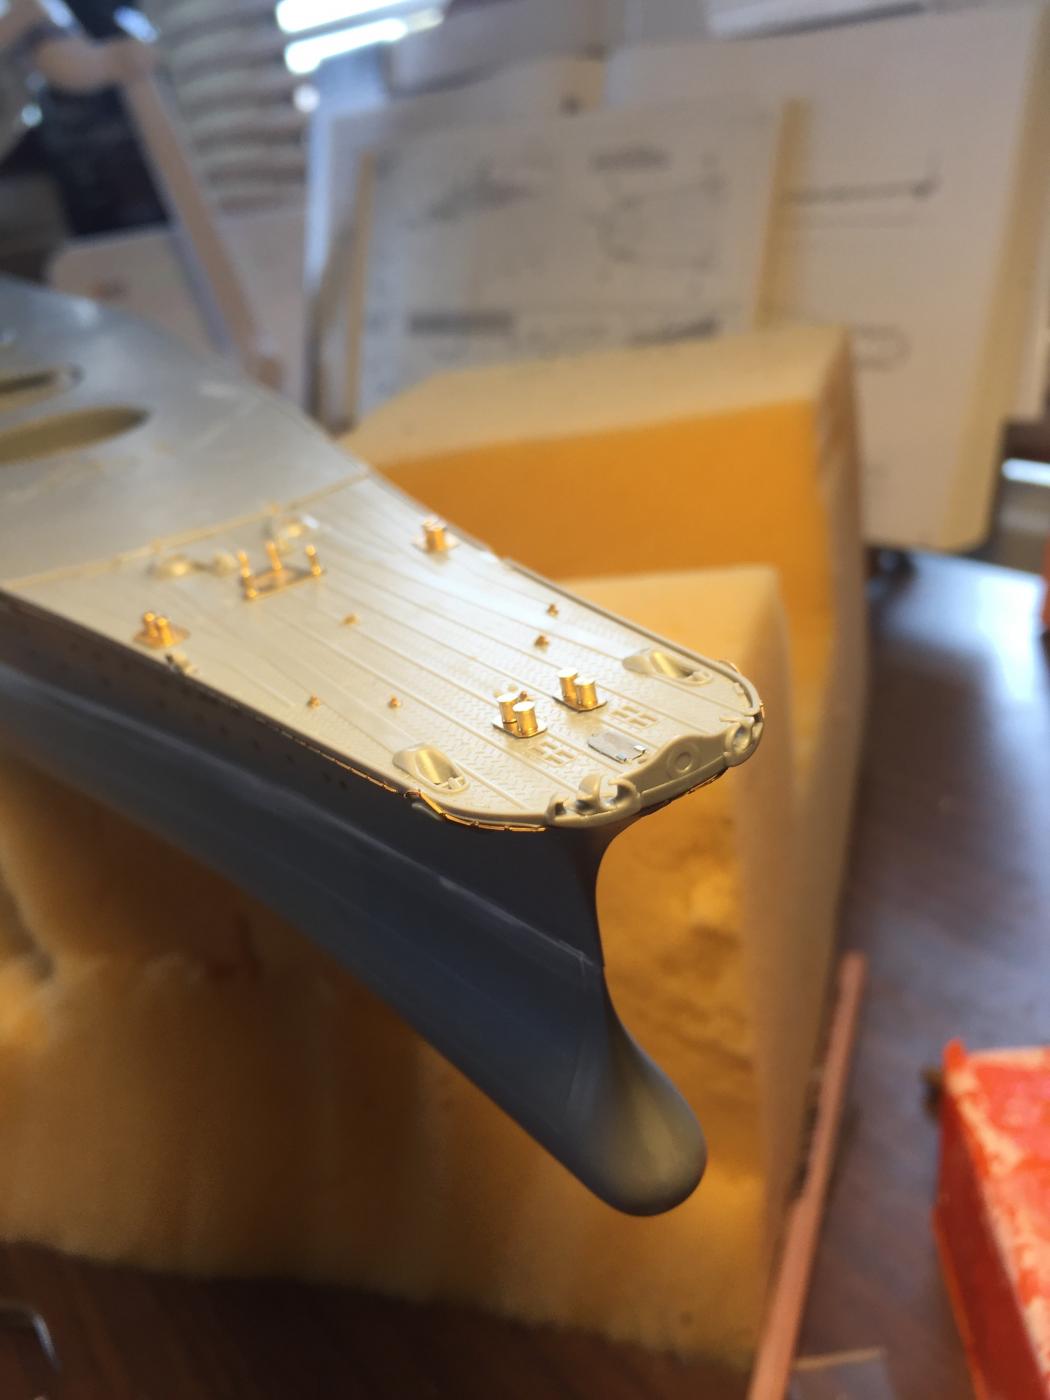
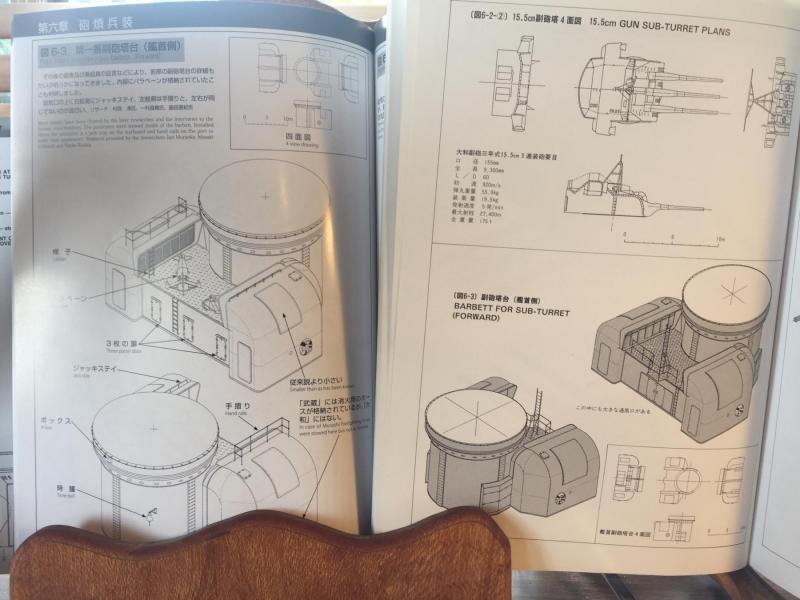
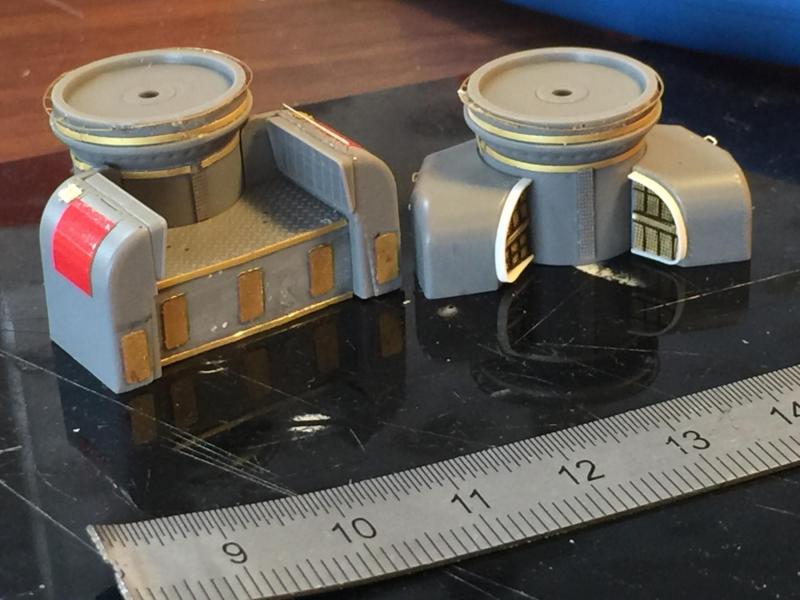
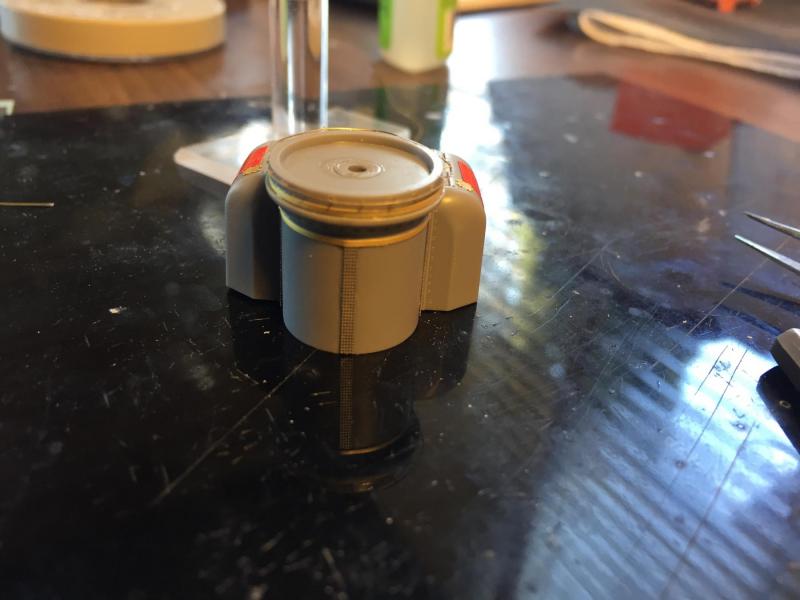
The secondary guns come with large superstructure, and the AOTS and the Tamiya instructions differ. According to Tamiya this is where the Paravanes are stored, but the AOTS states they are in closed magazines, which I expect the quad doors are for. The door and the ladder configuration is different between the kit and reference, so I went with the reference and sanded down the door and will move the ladders and again add stanchions later. I have also included extra rivet strips and handrails around the bottom of the turret ring from a set of cut down hand rails from spares. The red things are a panel that is included by Tamiya as a decal, and there are two hatches no mentioned by tamiya. When painted it won't matter.


- 743 replies
-
- 12
-
-
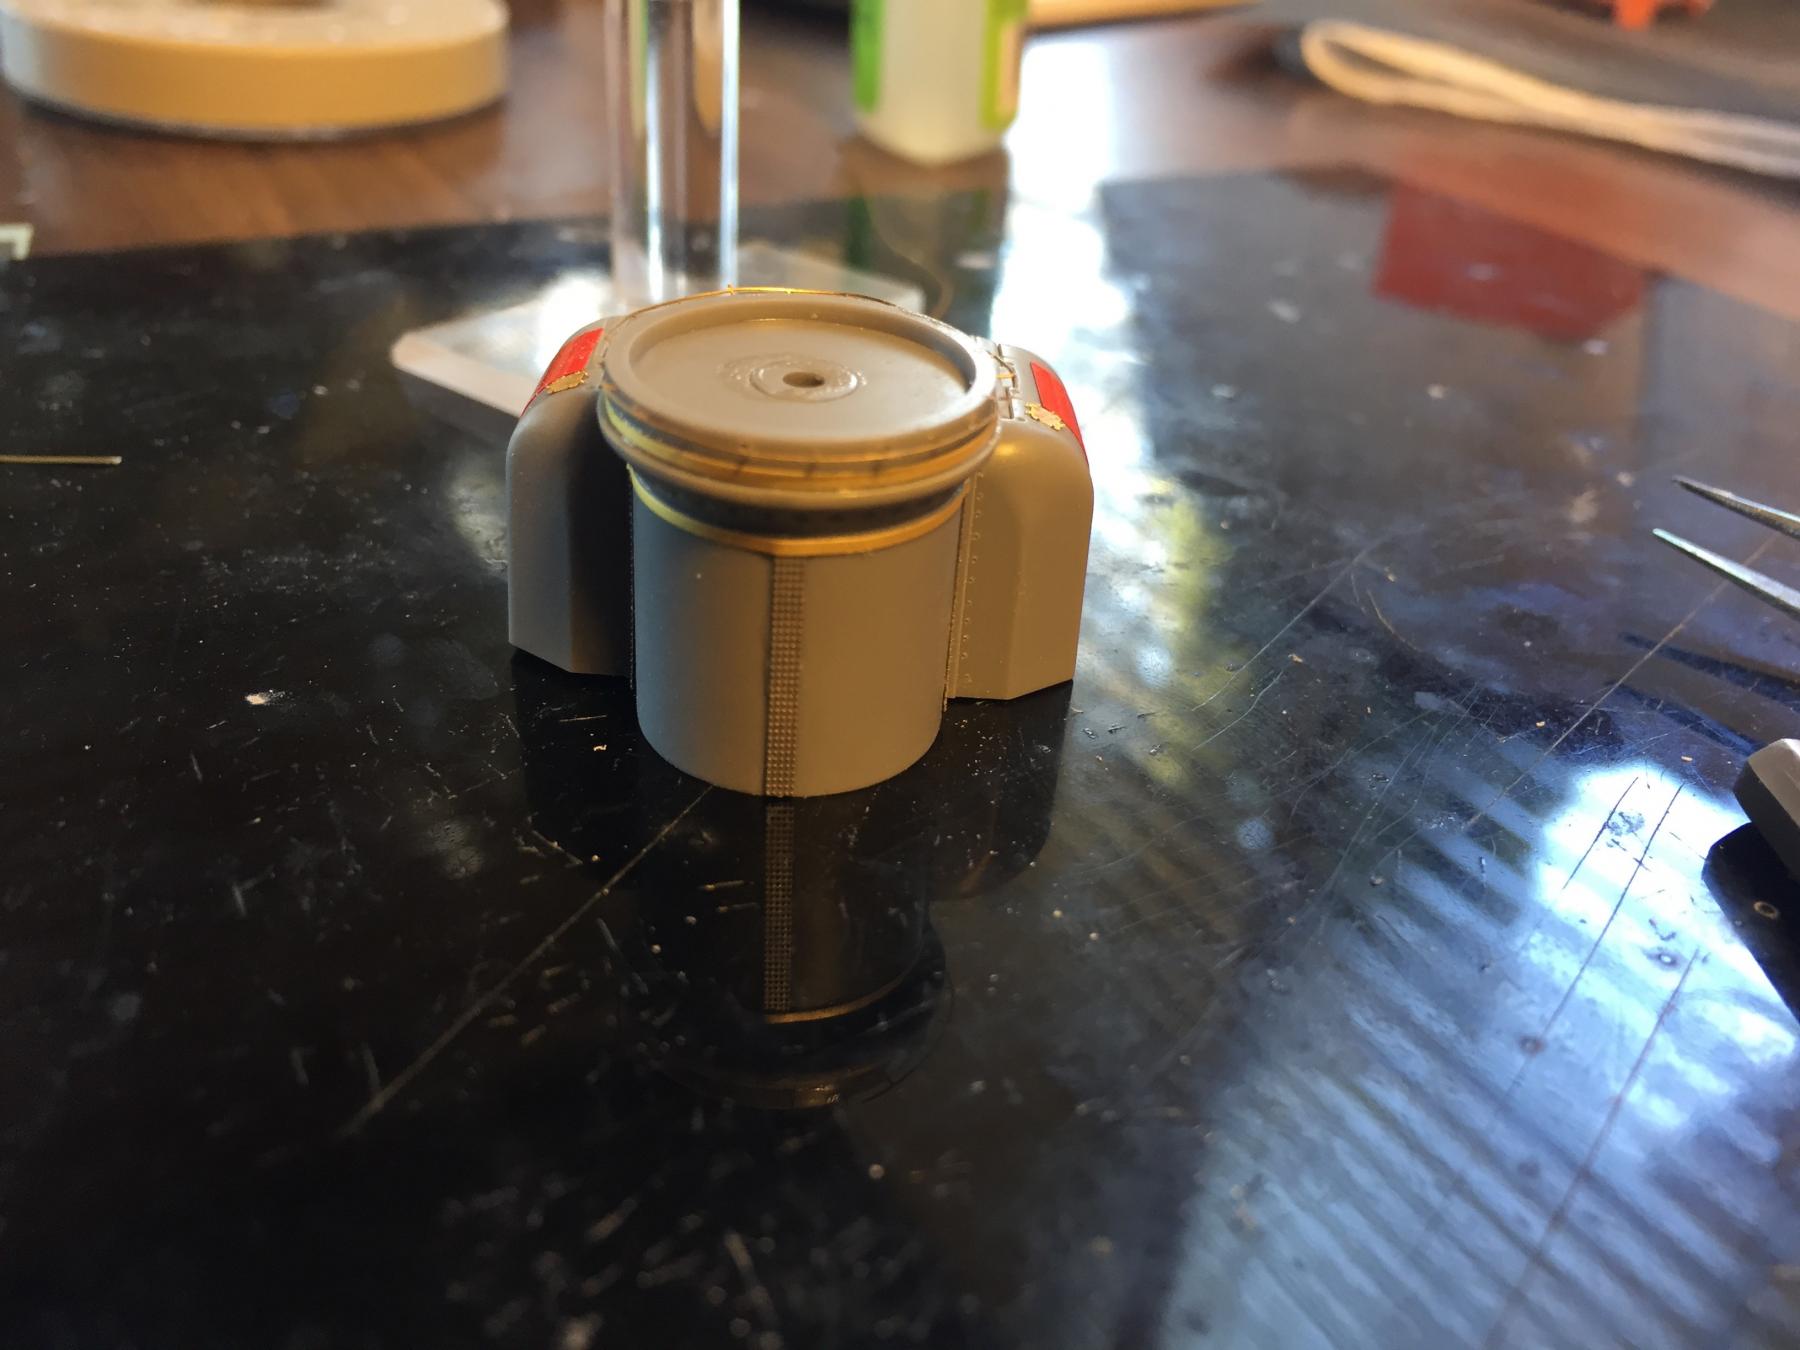
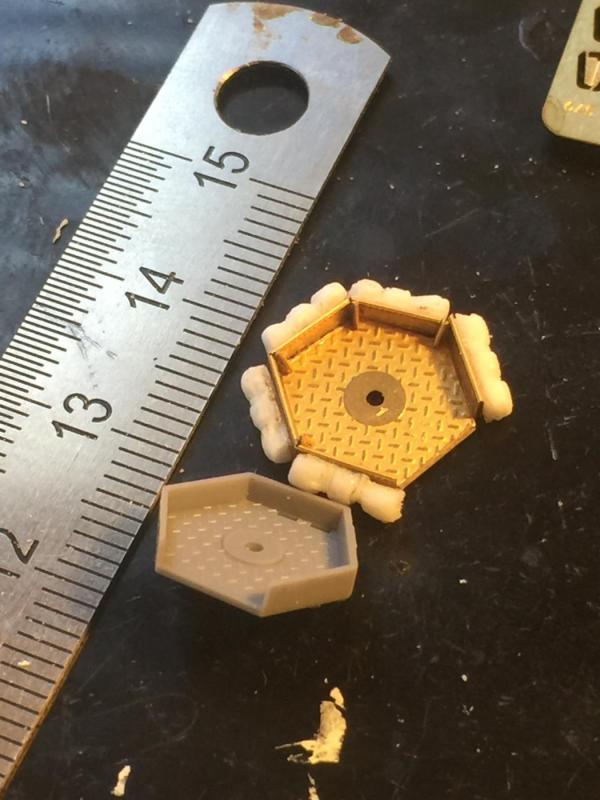
Its a matter of access Cog, I don't want t lose detail under paint. I did up the gun tubs that go on top of the main guns. The Tamiya piece is 1 piece. The pontos is 14pieces.
- 743 replies
-
- 18
-
-
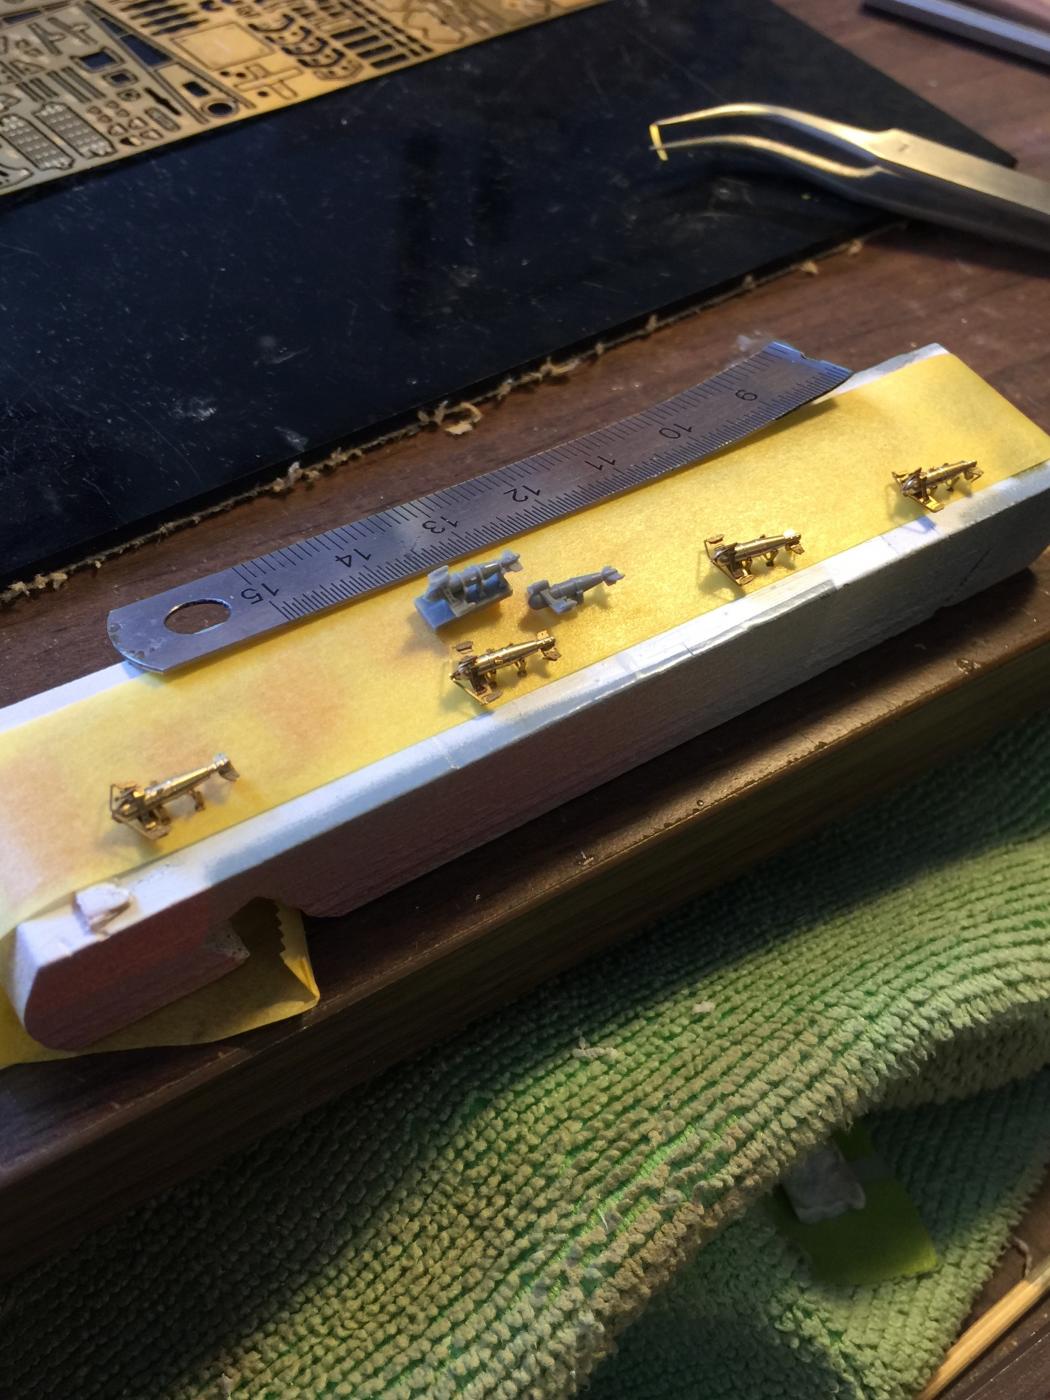
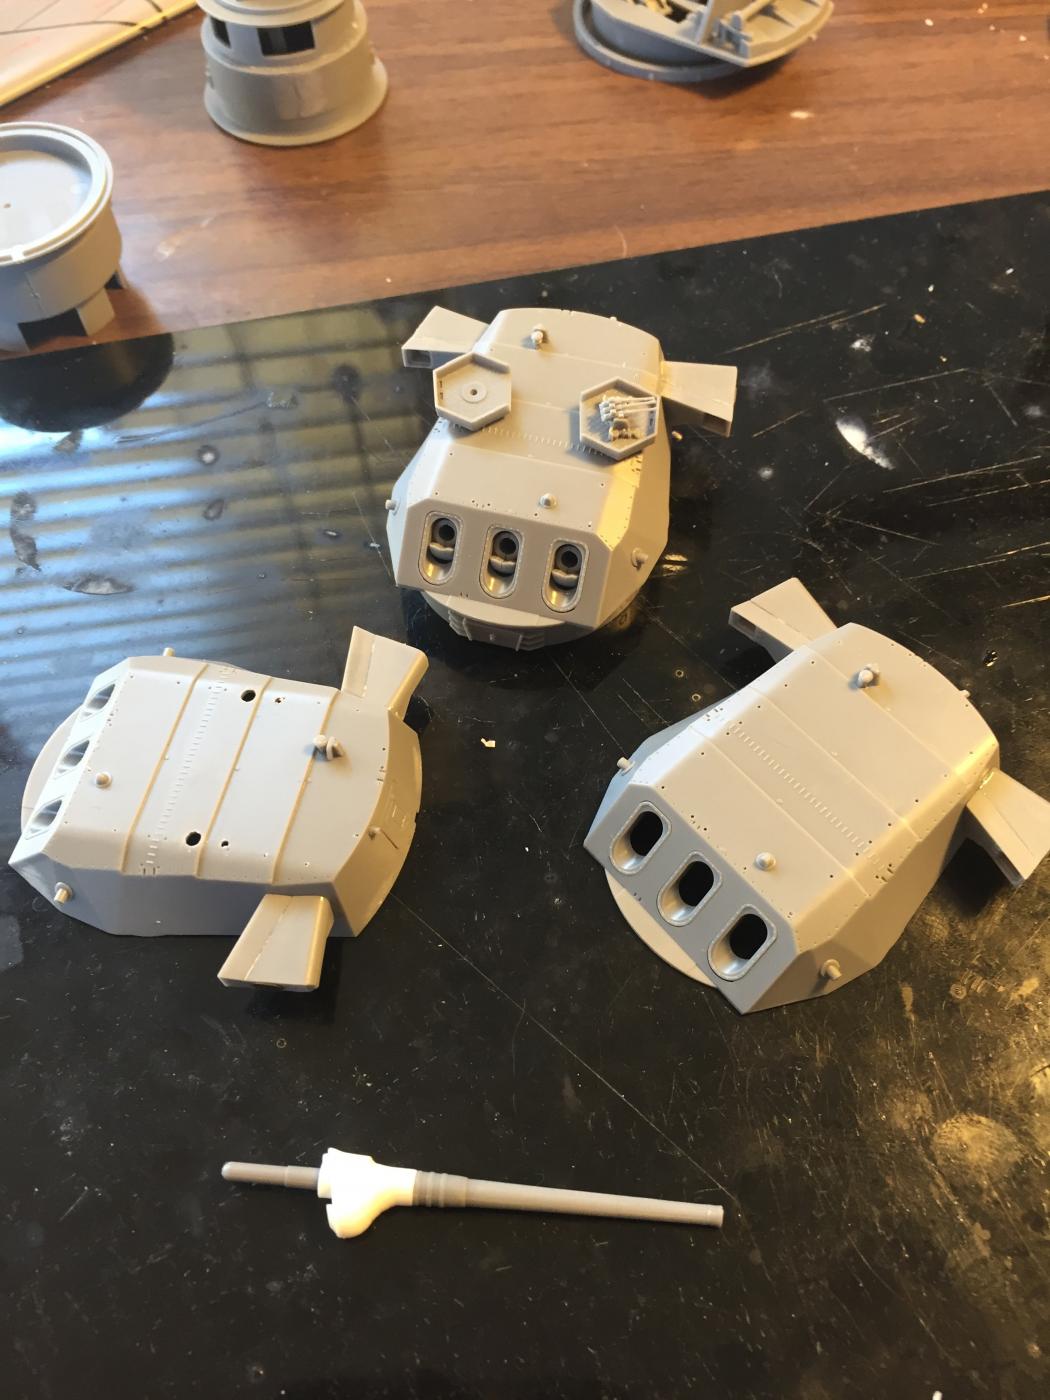
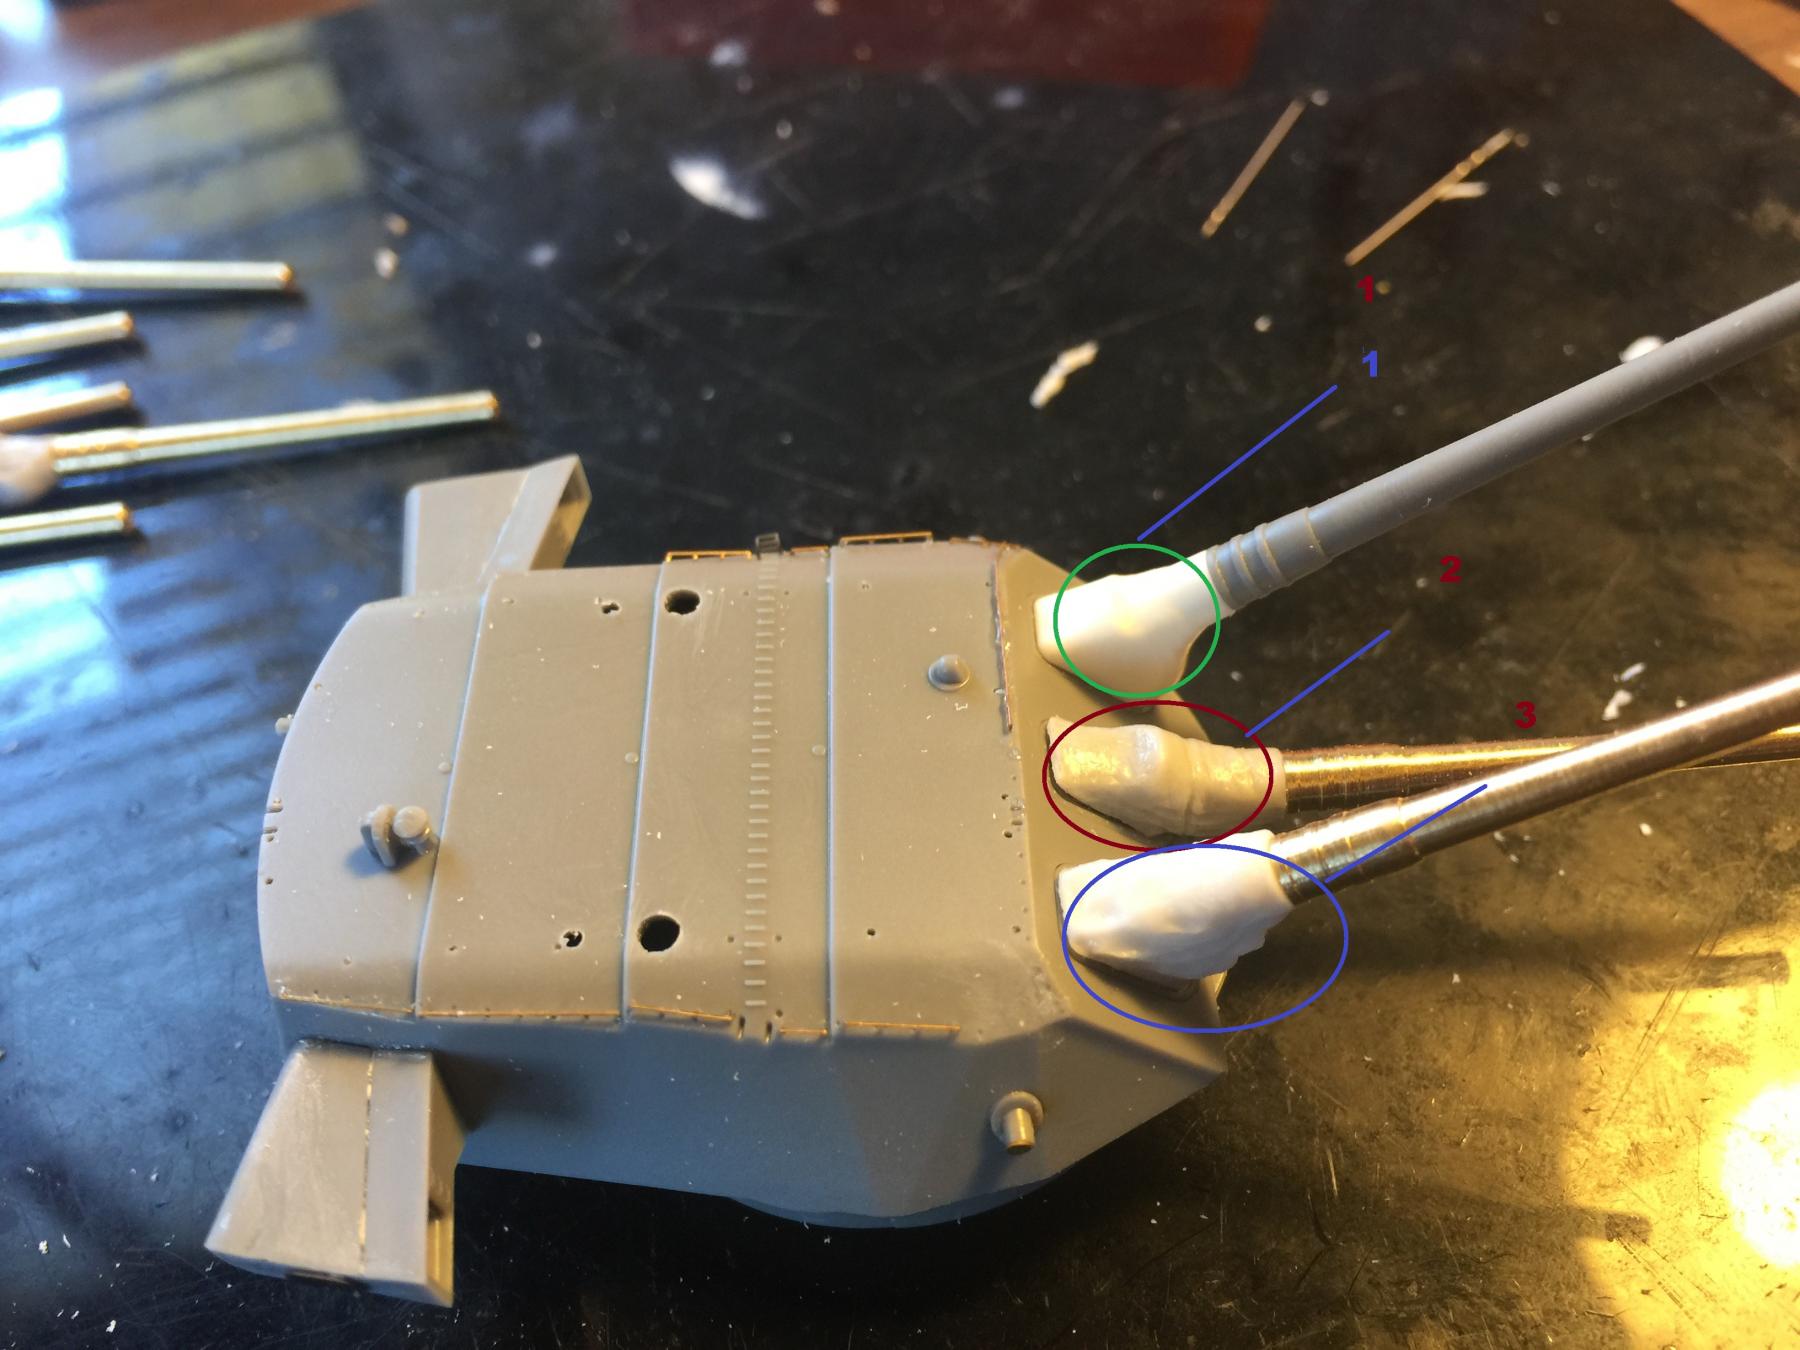
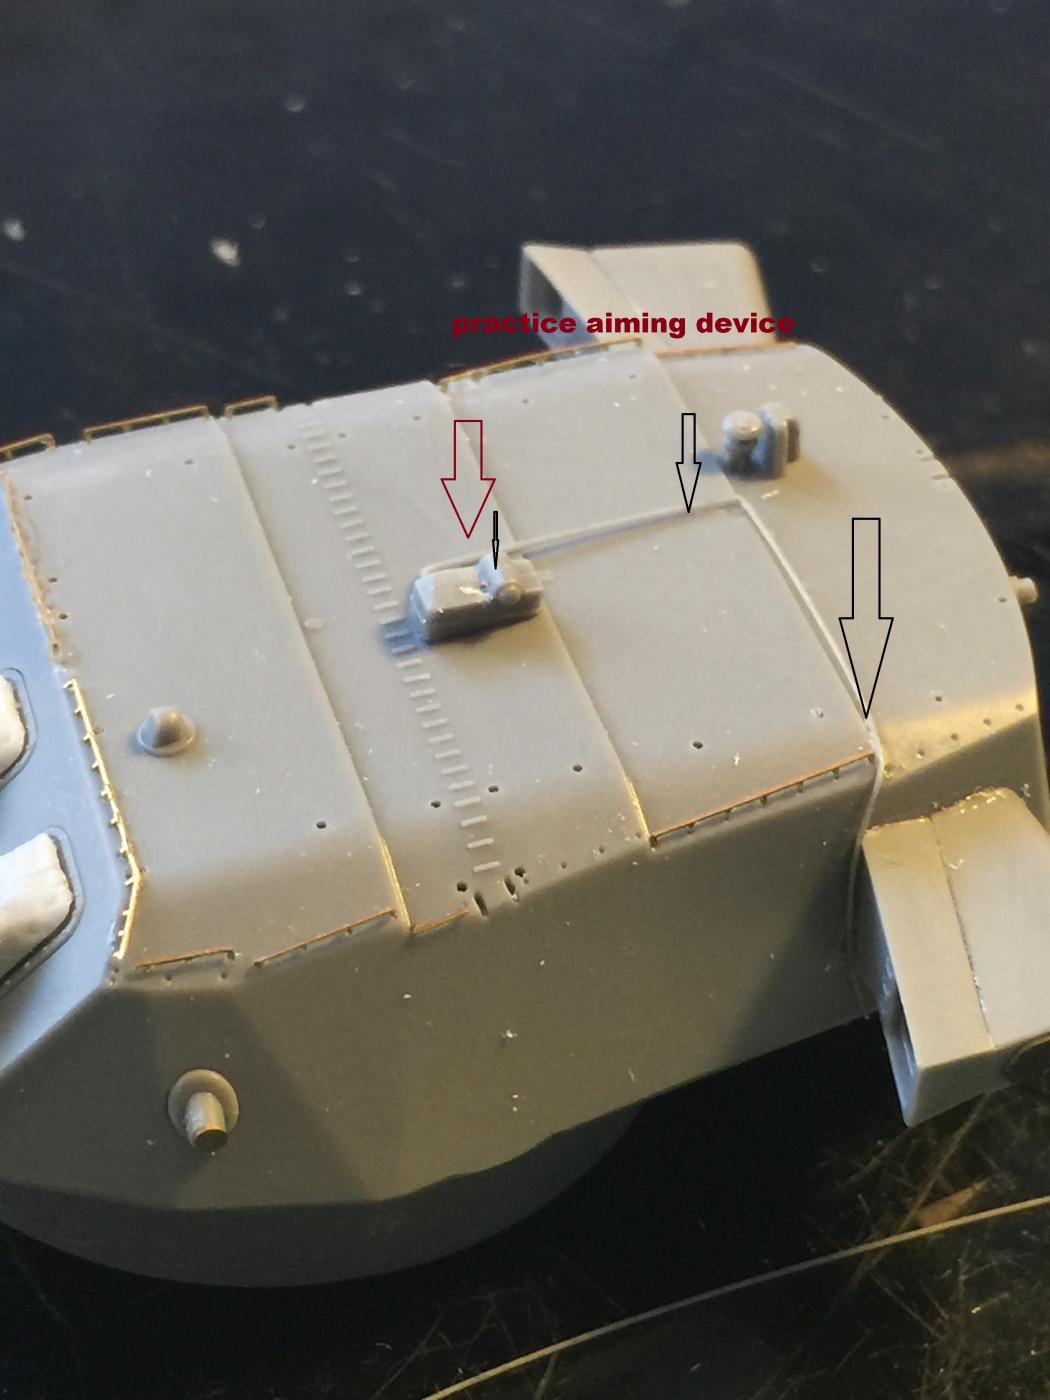
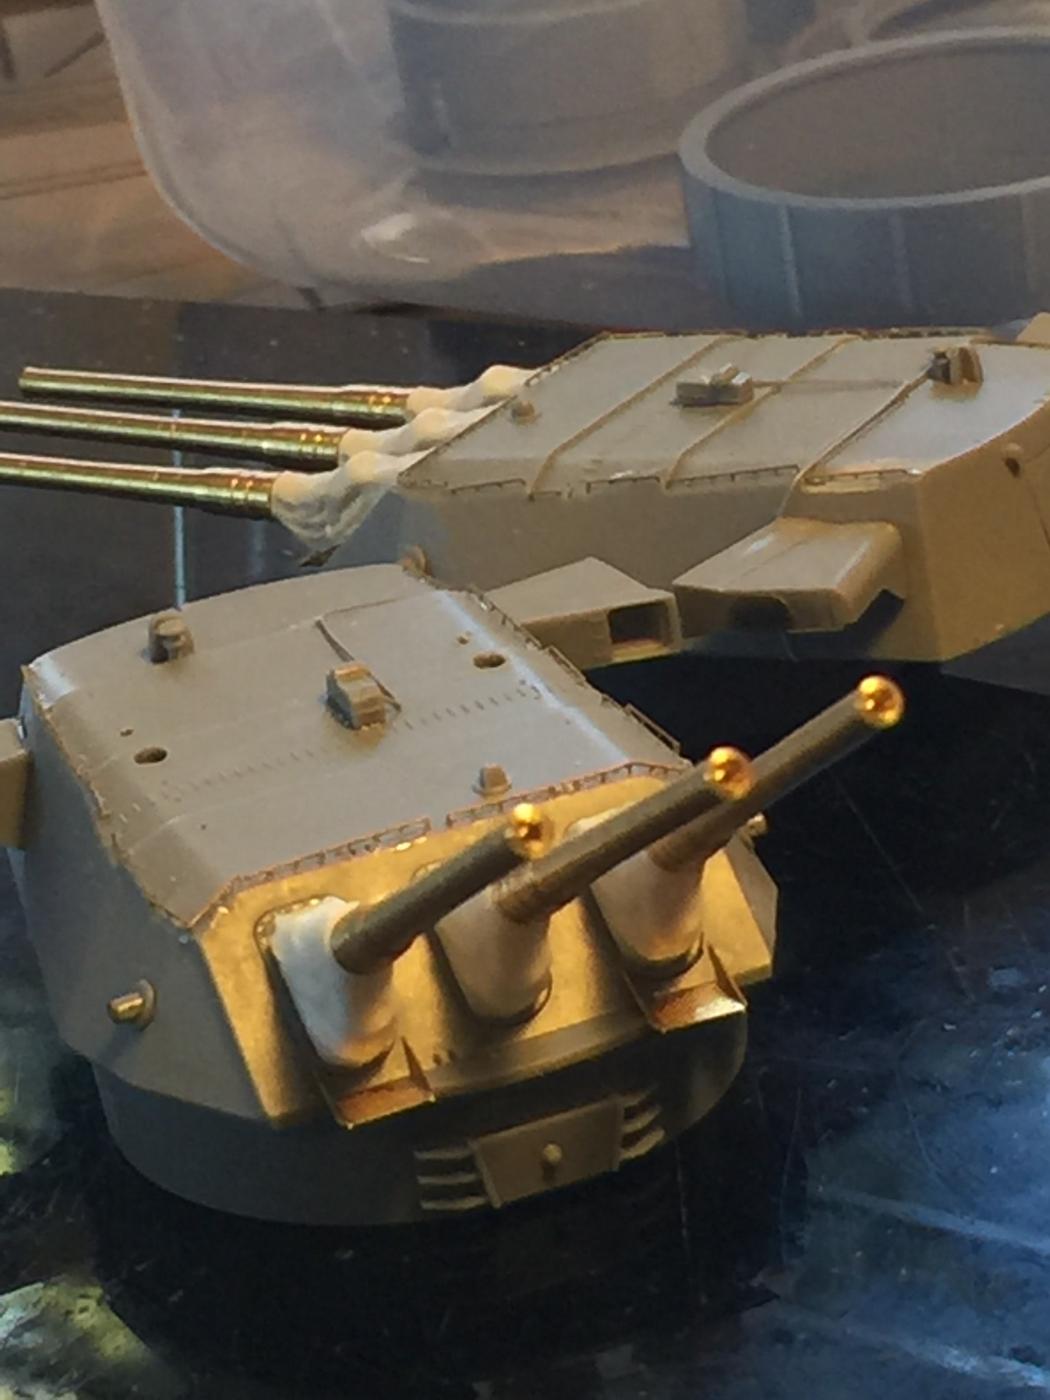
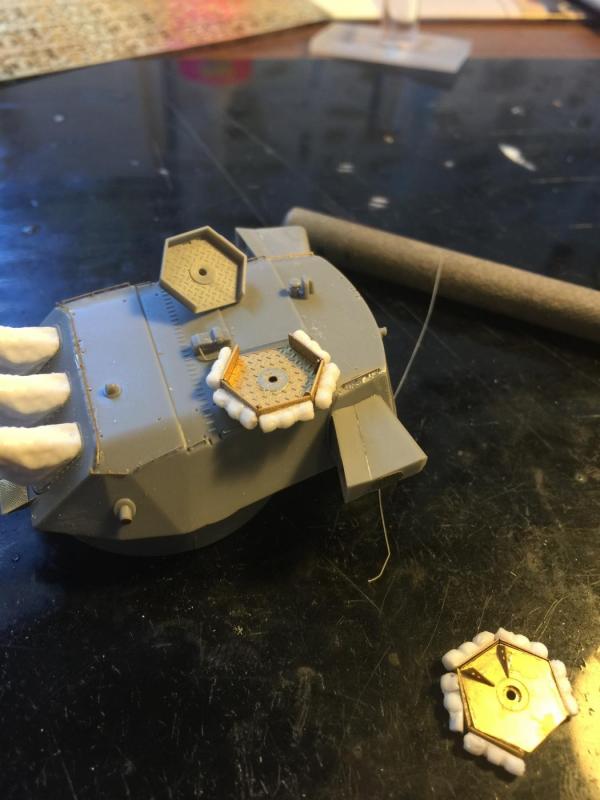
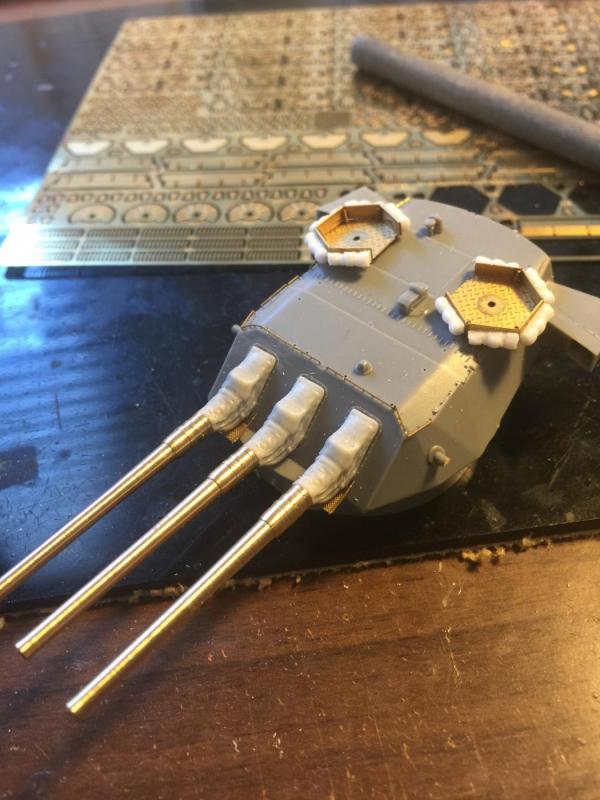
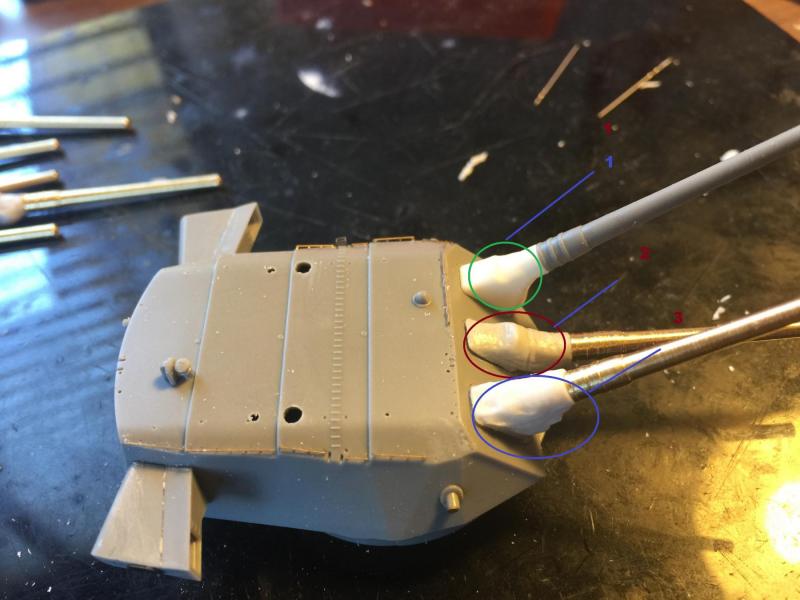
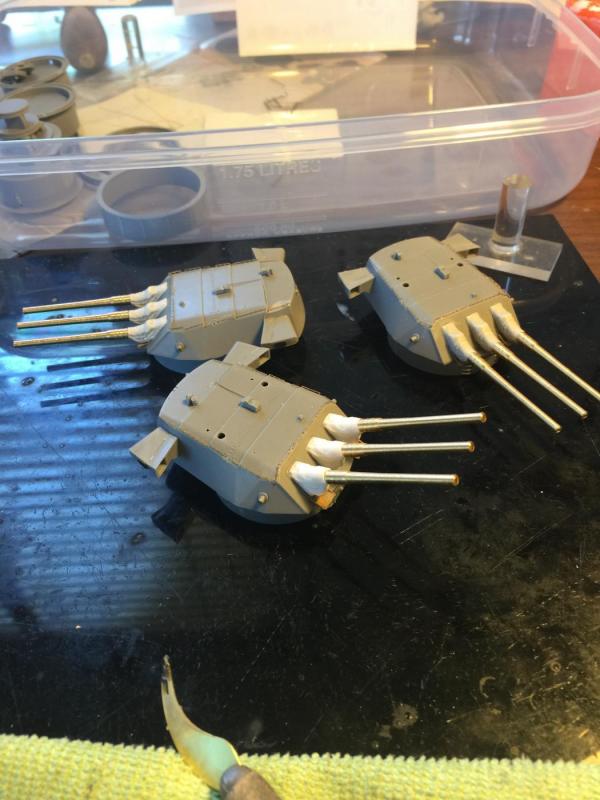
Moving on to something different, the main guns. Lots of internal (irrelevant) detail, and Tamiya provides some etch as well. Goes together very simply. The kit supplied AA guns on the roof will be replaced with Pontos. There is a heap of detail I will not add until after painting, such as ladders, stanchions, AA guns, but first up I had to add the exercise aiming device which is provided by Tamiya but not referred to in the instructions but in every other reference book. I used stretched sprue as the cables. The handrails were an absolute nightmare as they are 1mm high, and were a full days work to add then 50% of them full off. Luckily Pontos gives you extras. The blast bags, there are some provided with the kit, but are very bland. 1 is the tamiya barrel and blast bag, 2 and 3 are the pontos provided bags being elevated and flat. For anyone building this kit, there are lots of extra provided if you stuff up, but the secret is to drill out the front of the bag, the widen the back end as much as possible so the barrels will slide into the breach and allow you to keep the base of the bags within the correct area on the hull piece. There is a heap of detail to go, but I will not even cut the off the fret until I am ready to paint. The local supermarket's cheap tupperware is now their home for a while.


- 743 replies
-
- 16
-
-
I slide out the drawer to my desk and put a tea towel on it. Yes, some pieces occasionally go off but it saves a LOT of them.
- 743 replies
-
- 10
-
-
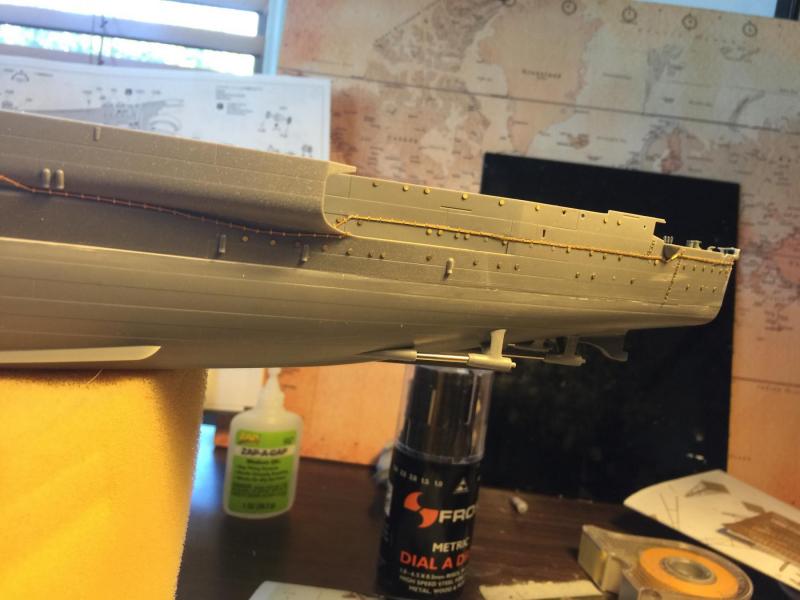
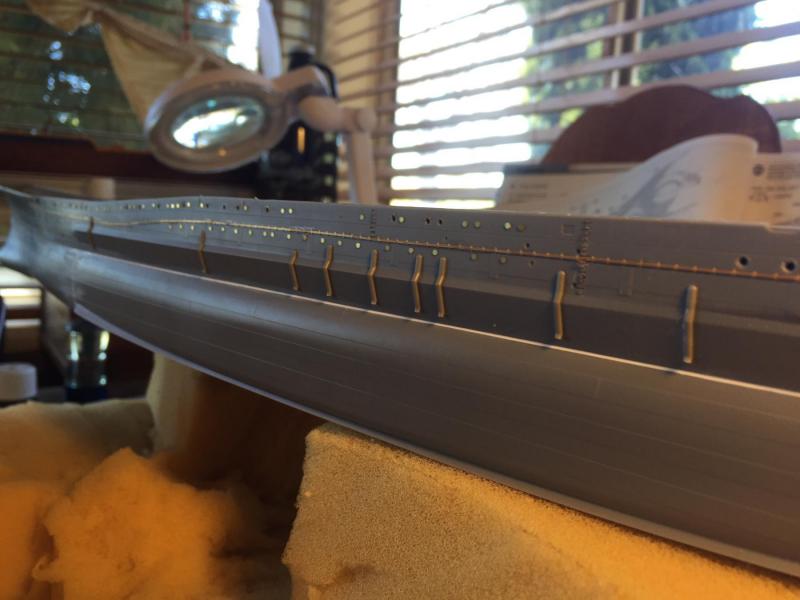
Next is applying the forcastle so I can add the fairleads. Once that is complete I can replaced the deadlights that fell off and a couple of eyelets, then it is ready for painting, but I will start off other stuff first. Back to work this afternoon so delays expected.


- 743 replies
-
- 20
-
-
As you can see I have also added the kits supplied scupper pipes and replaced the two big ones from the Pontos set. I have not attached these yet as they will get in the road of the painting.

- 743 replies
-
- 17
-
-
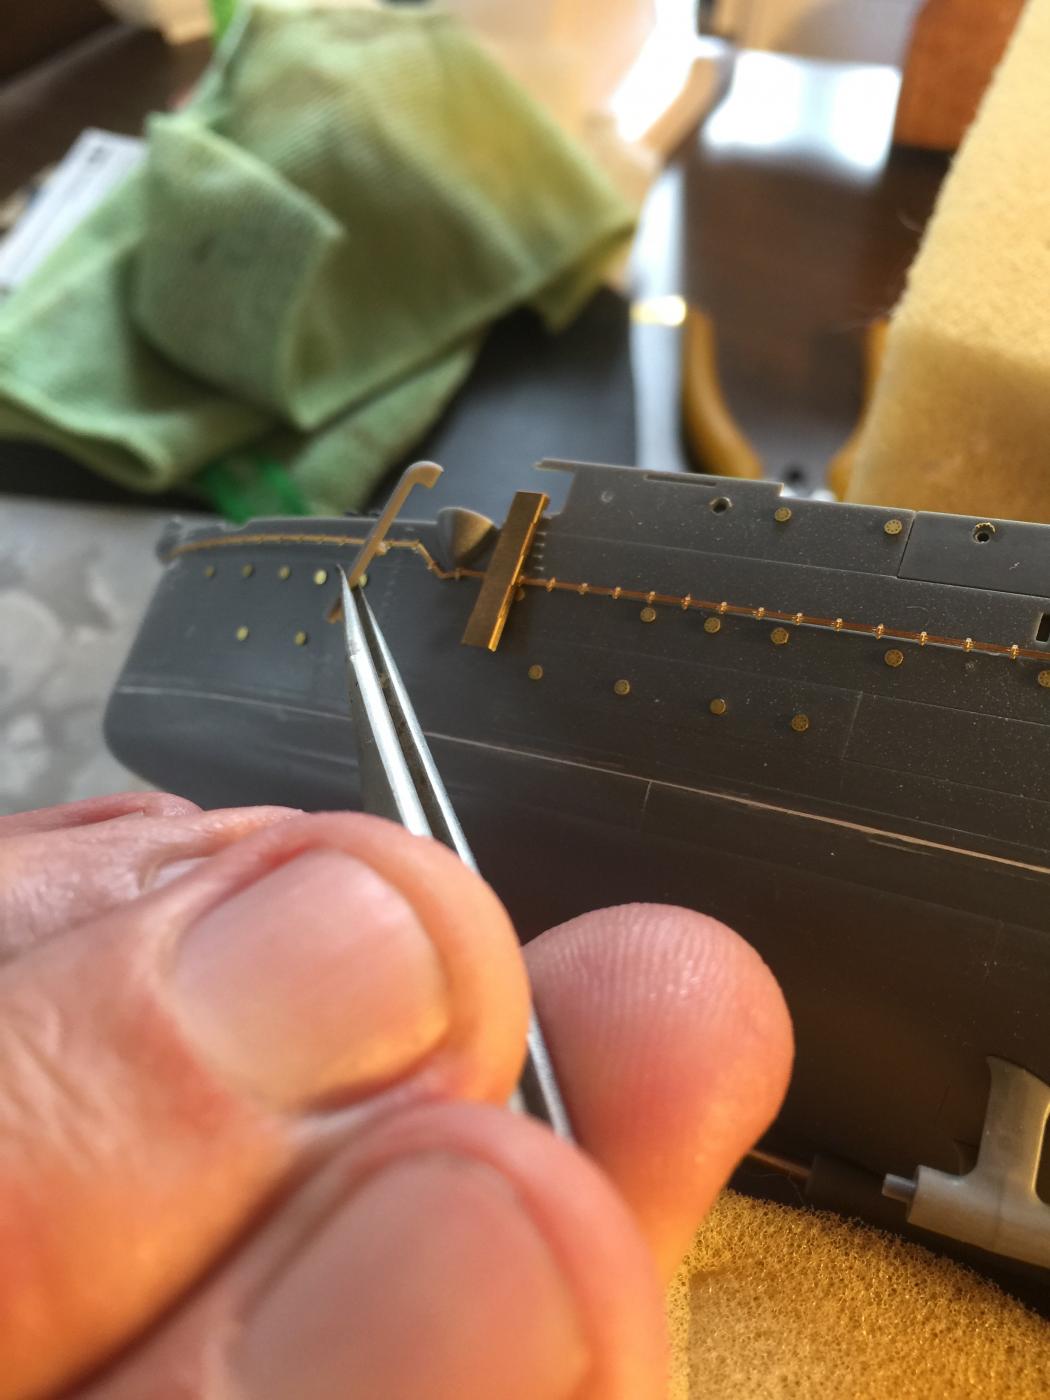
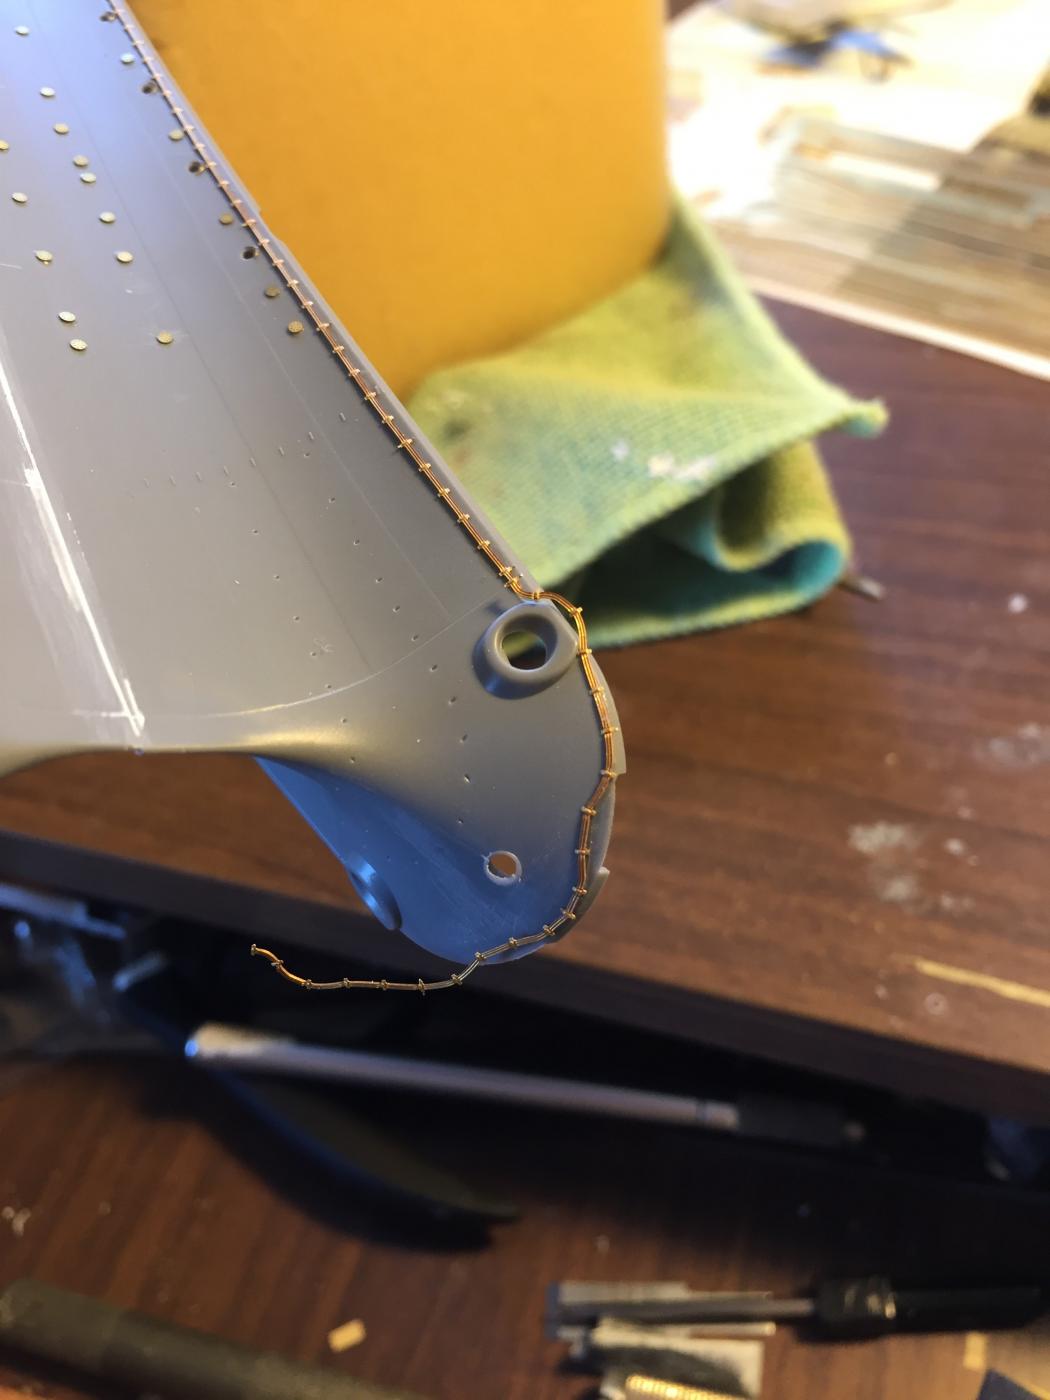
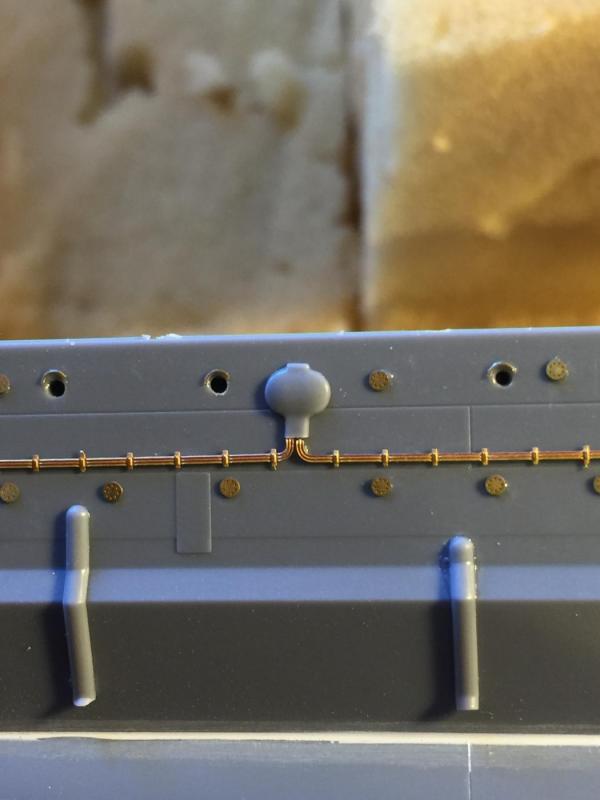
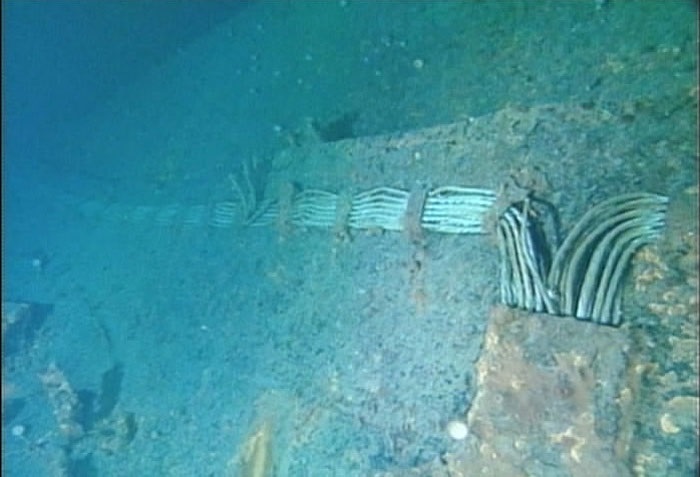
Moving along with the hull, I have placed the degausing cables. You are given two options, one closed and one open. I used the open one as it looks better and I suspect Tamiya got the idea from the photos of the wreck but I suspect the keyboard warriors are correct when they say the covers have rusted off. Still, looks nice.. So all up there is about a metre of it, which at 1/350 is a lot.

- 743 replies
-
- 18
-