RGL
-
Posts
5,567 -
Joined
-
Last visited
Content Type
Profiles
Forums
Gallery
Events
Everything posted by RGL
-
 Really nice work, lovely clean lines.
 -
I reckon there will be a lot of other builds around. Generally where I get my inspiration from, Russia & Poland seem to have a huge community, use google translate for the words, cut and paste in a search engine and go to images. Probably telling you how to suck eggs tho!
-
If you are so inclined, you can use a very fine pencil (like a clutch pencil) to put treenails in. I did it on mine and it came up quite well.
-
I reckon if you've spent the $ on the upgrades you should. Not a biggie, and run an LED through the baseboard up through the supports (use some hollow brass rod) into the hull. There is a lot of imagination you could use there, even if you make the flight deck removable.
-
Go to the Northstar models website (Dr Google it), they are in the Ukraine and have some very useful stuff. Their eyelets and turnbuckles are very nice, I suggest you get 2, 1 to blacken and 1 to paint.
- 342 replies
-
- 5
-

-
- dreadnought
- zvezda
- (and 2 more)
-
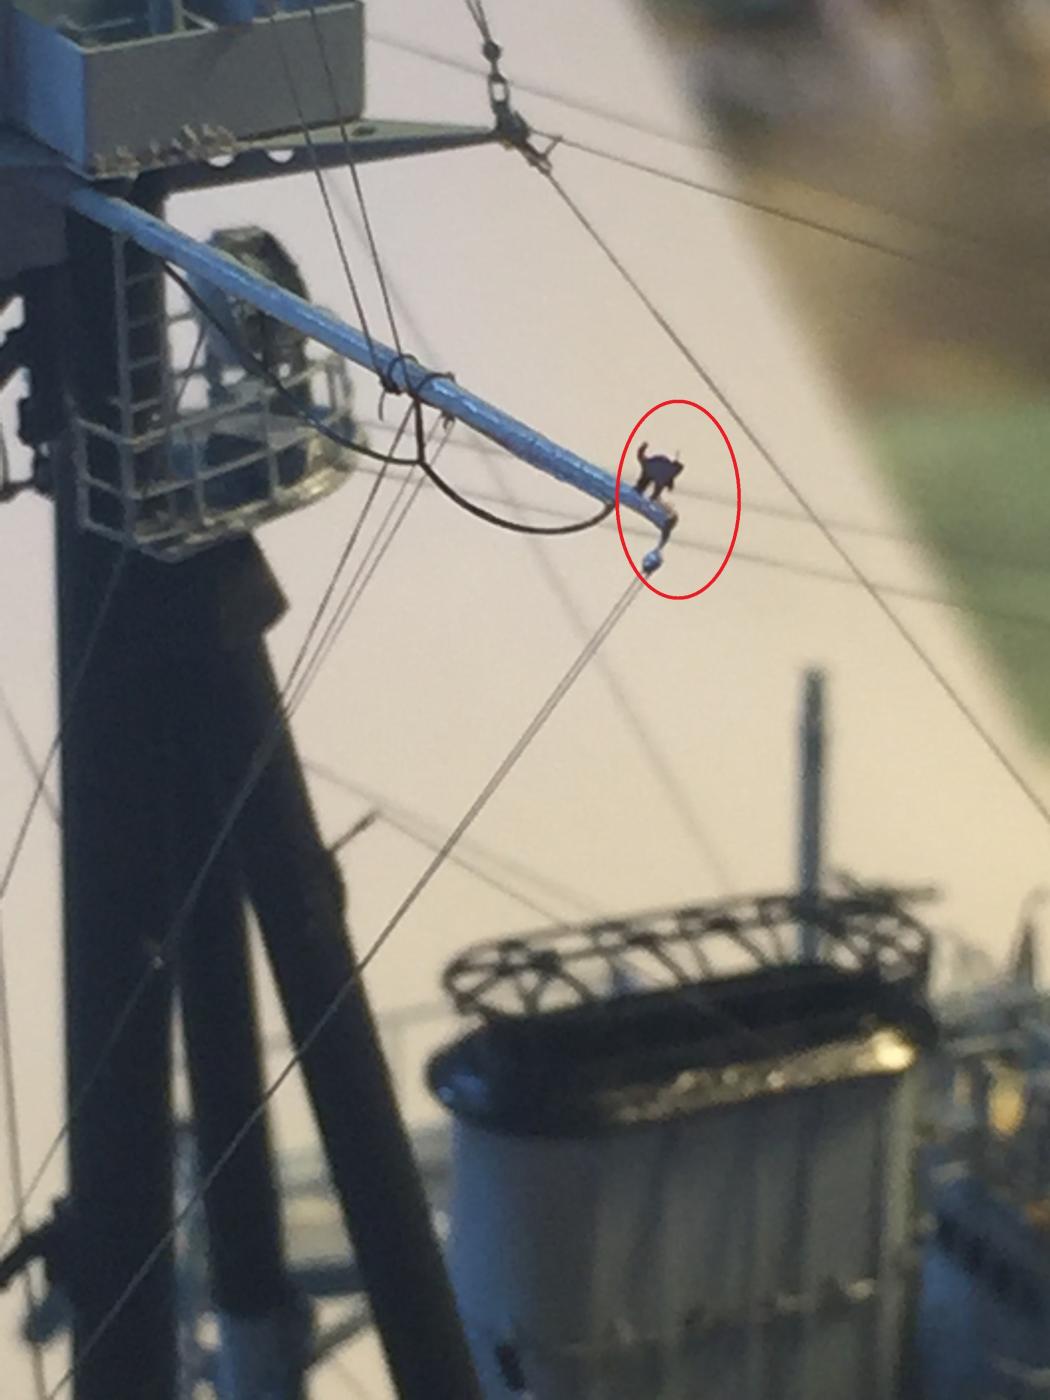
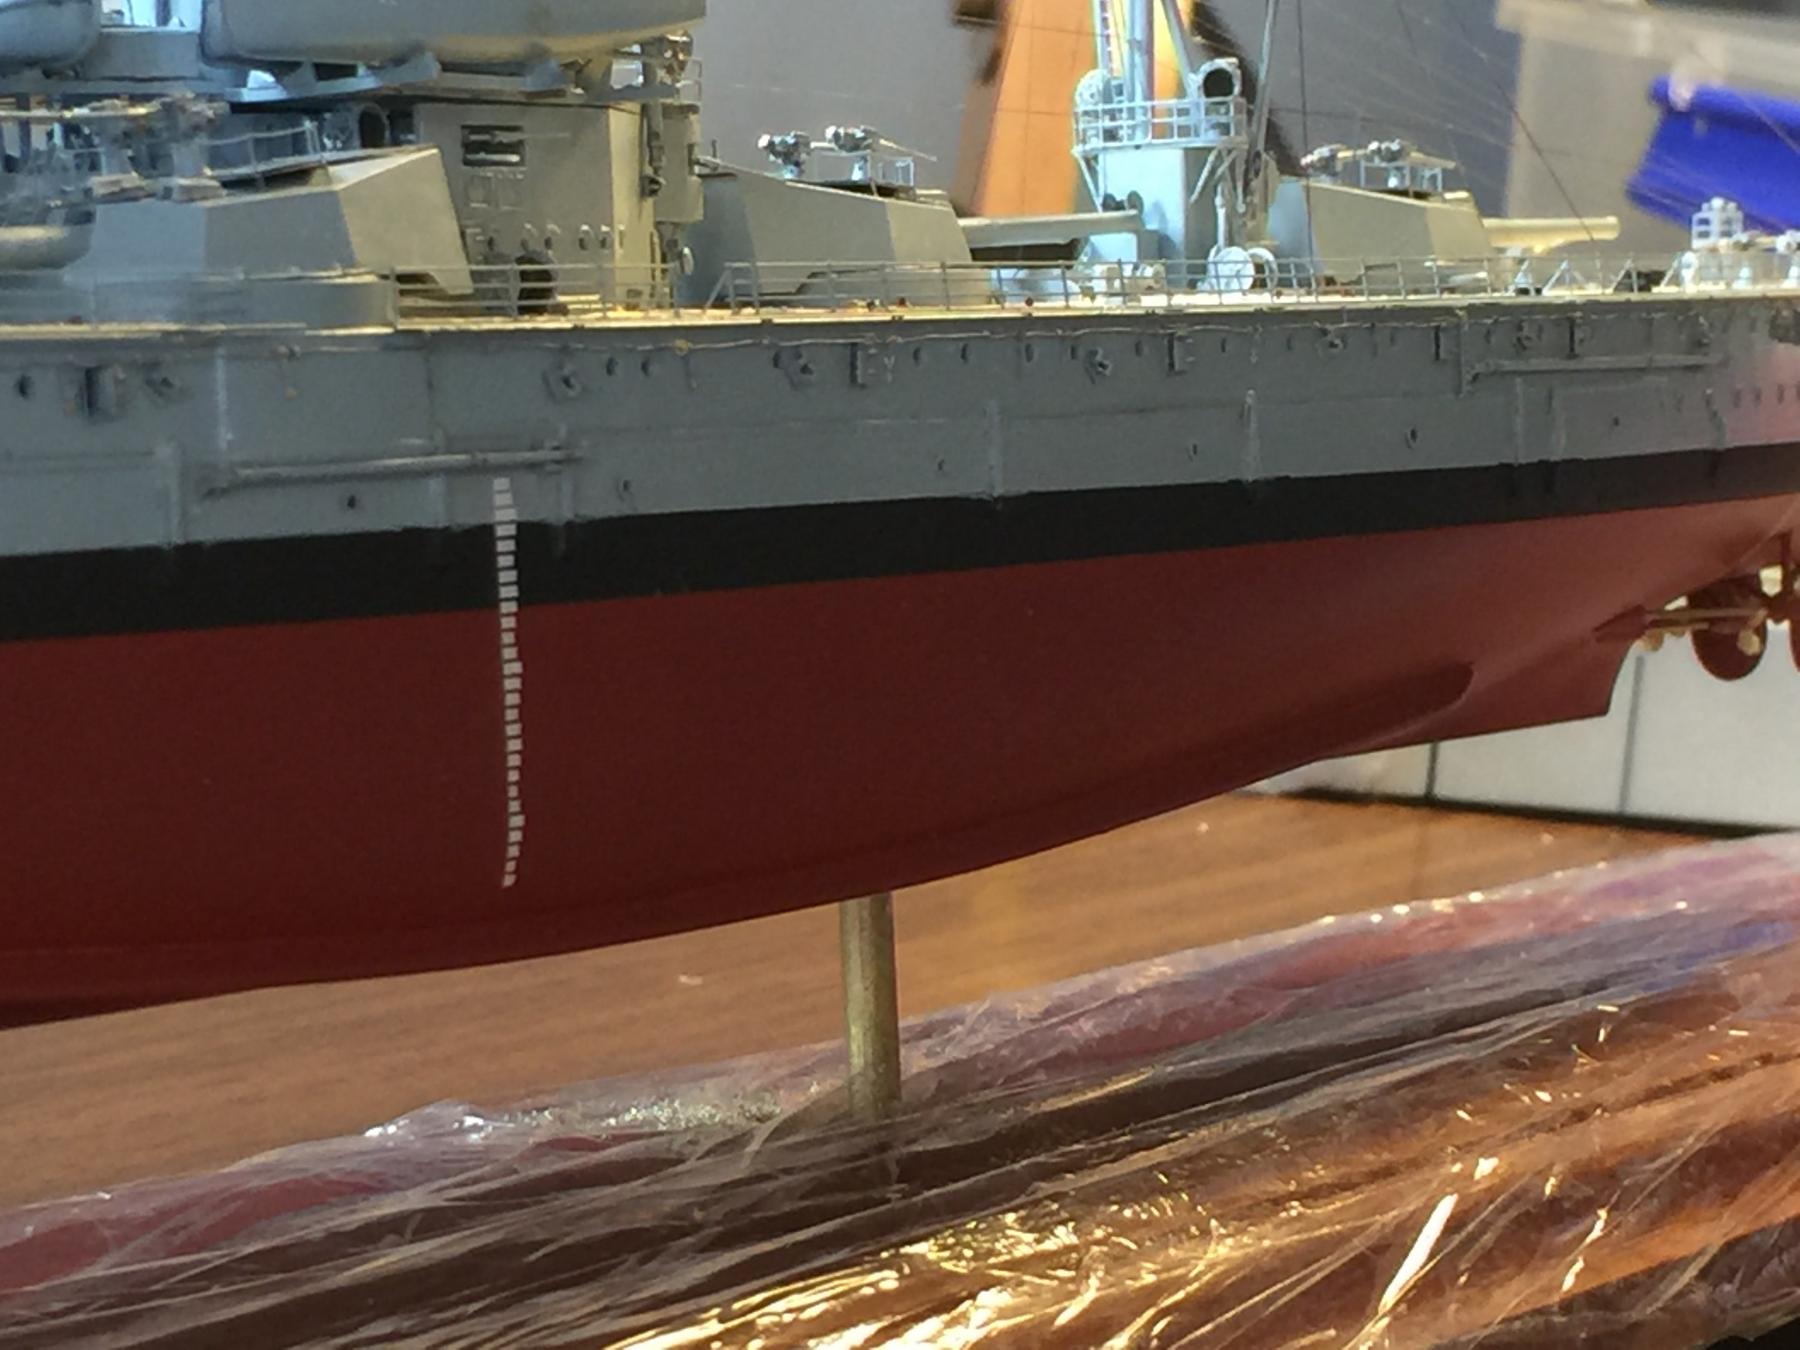
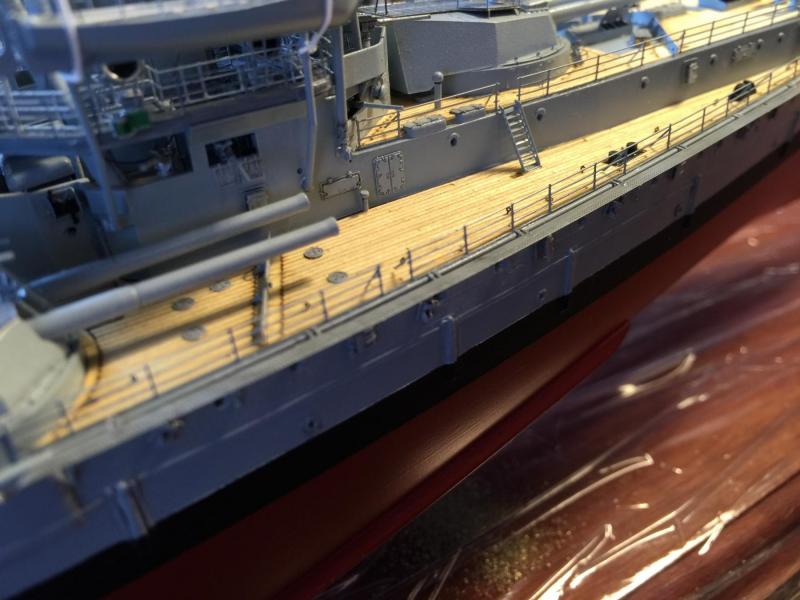
It's only about 1mm wide, so it does take much of a change of camera angle to miss it, so you did well to pick it anyway. Work is in the road at the moment anyway. Dayshift kills me.
- 342 replies
-
- 4
-
-
- dreadnought
- zvezda
- (and 2 more)
-
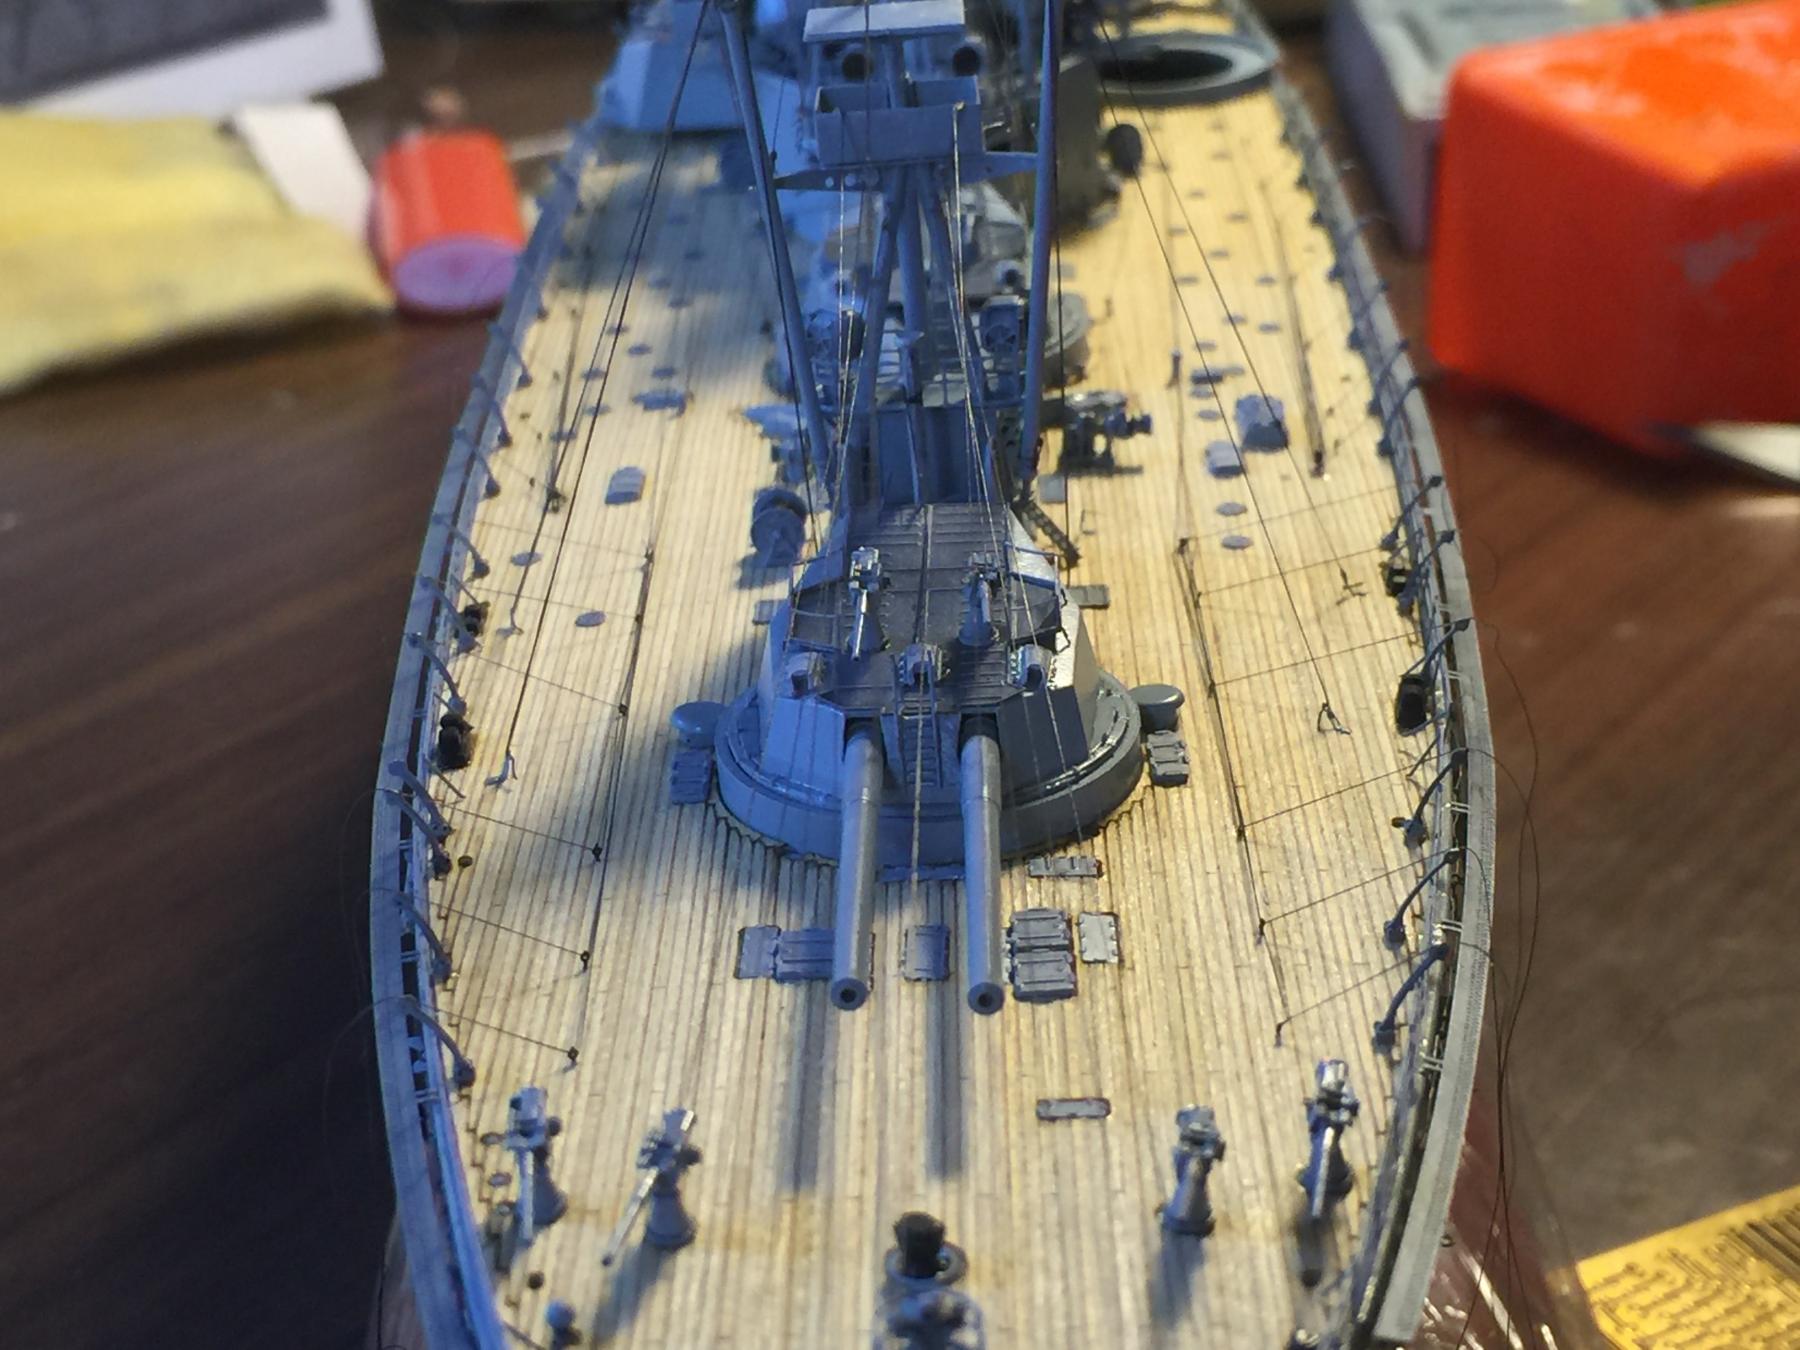
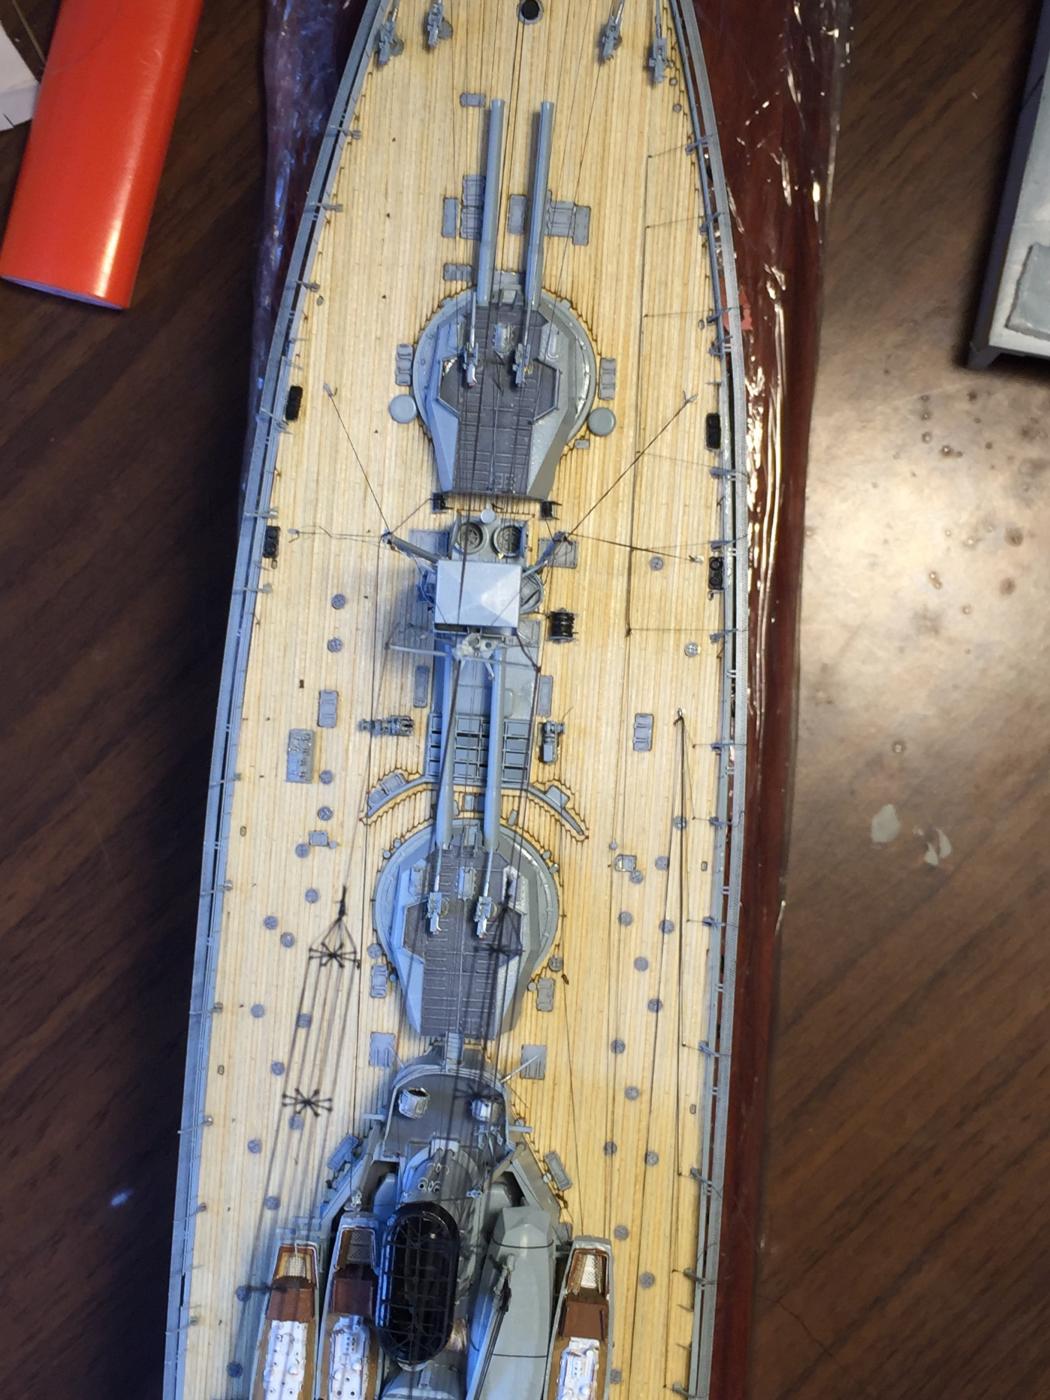
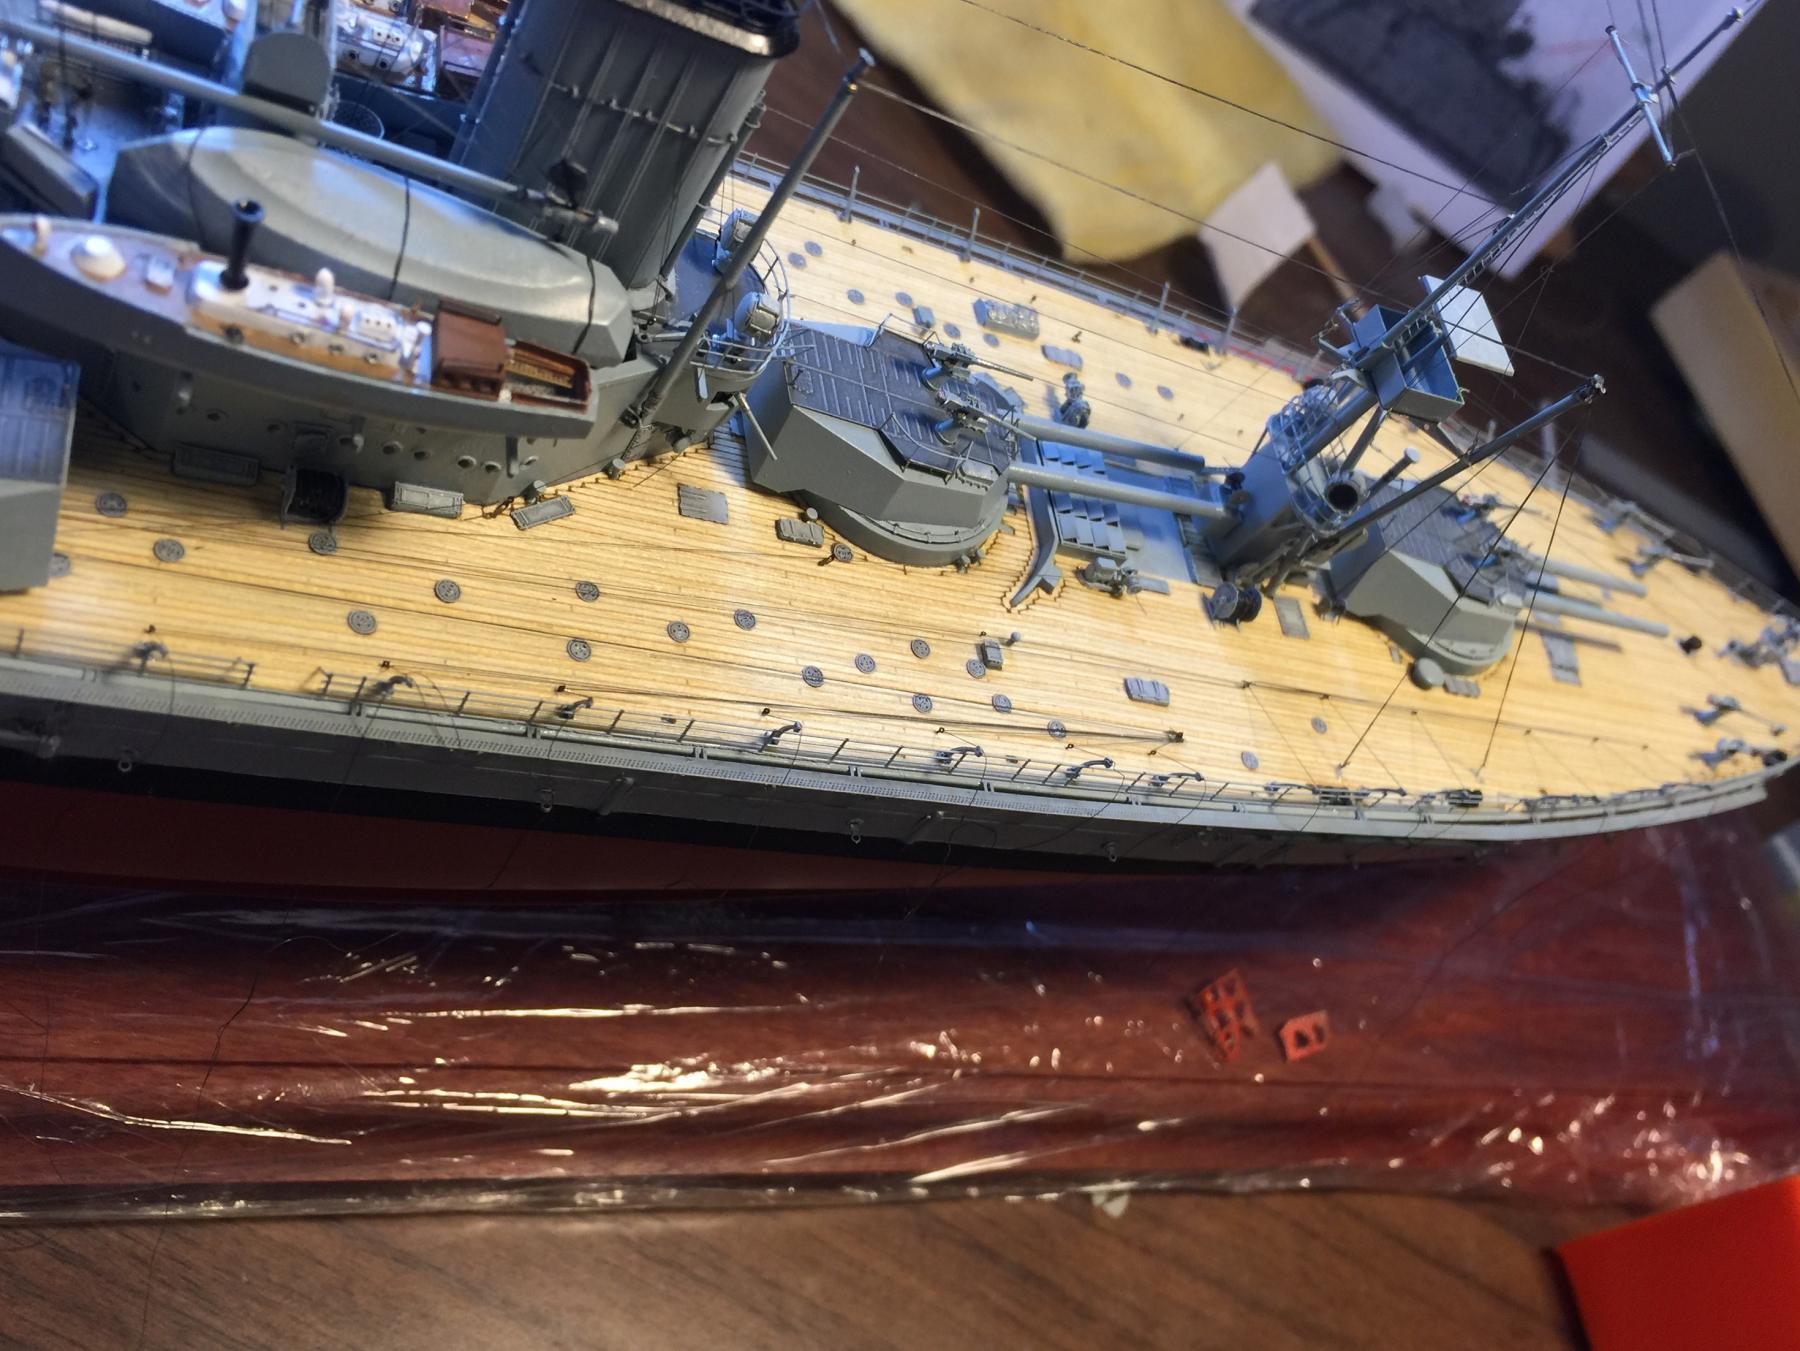
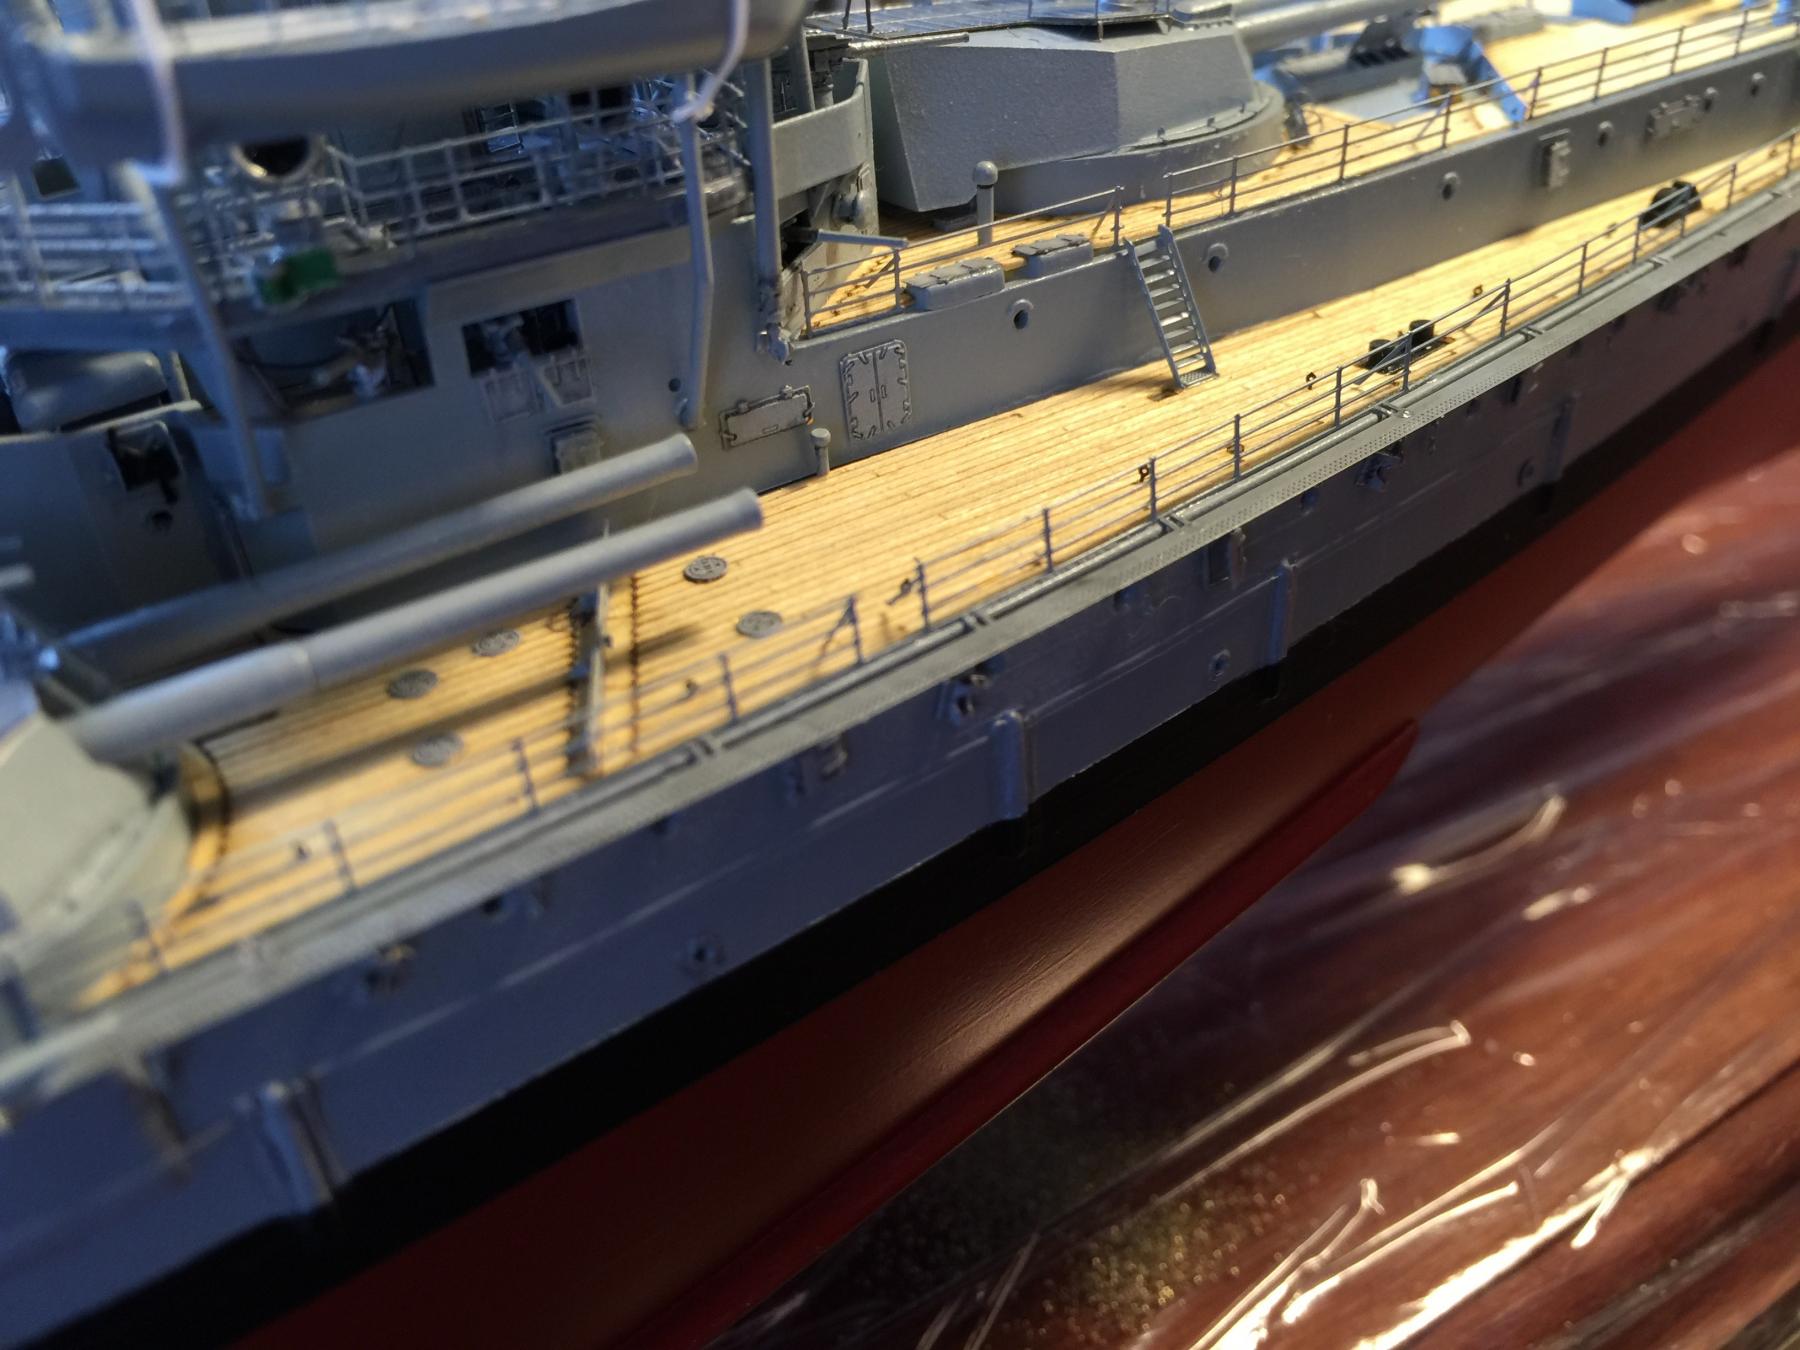
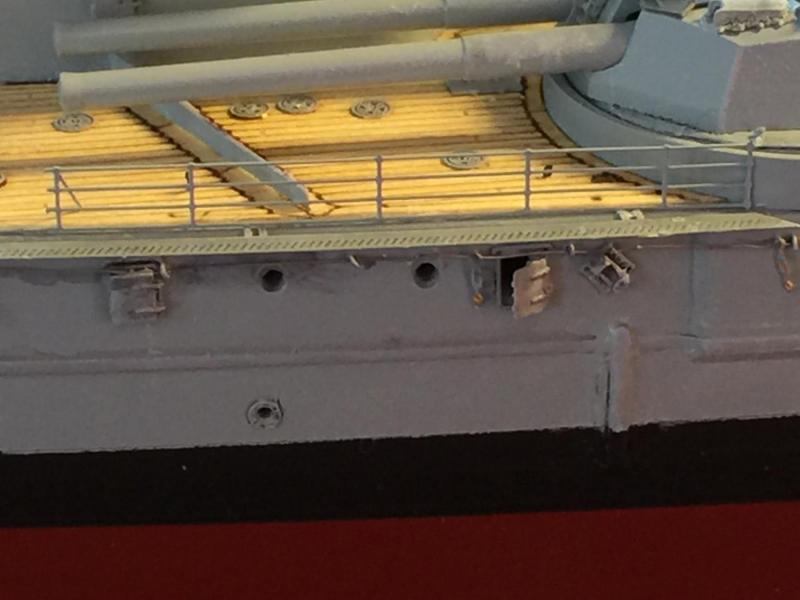
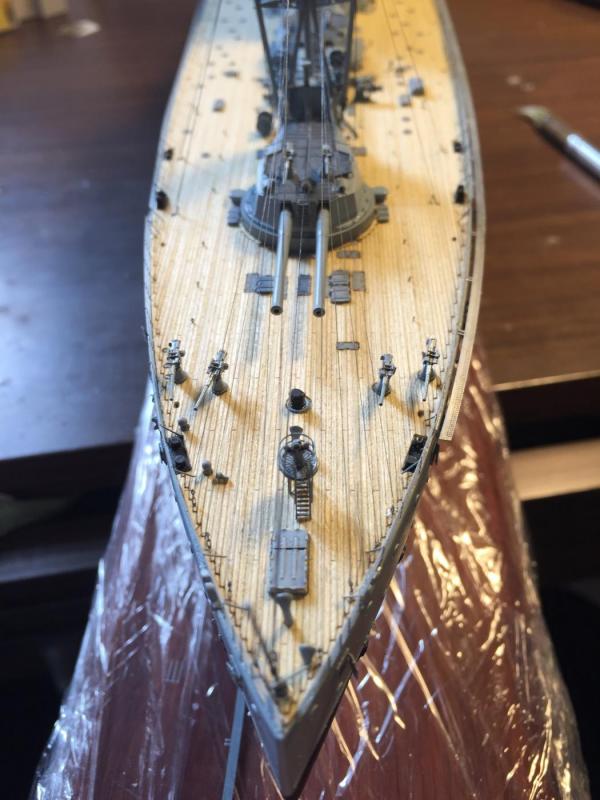
It may just be the fit of the stick on deck, as it does not align perfectly at the bow and stern. The handrails have not yet been added in this photo and may conceal this? I must admit I have not noticed.
- 342 replies
-
- 5
-
-
- dreadnought
- zvezda
- (and 2 more)
-
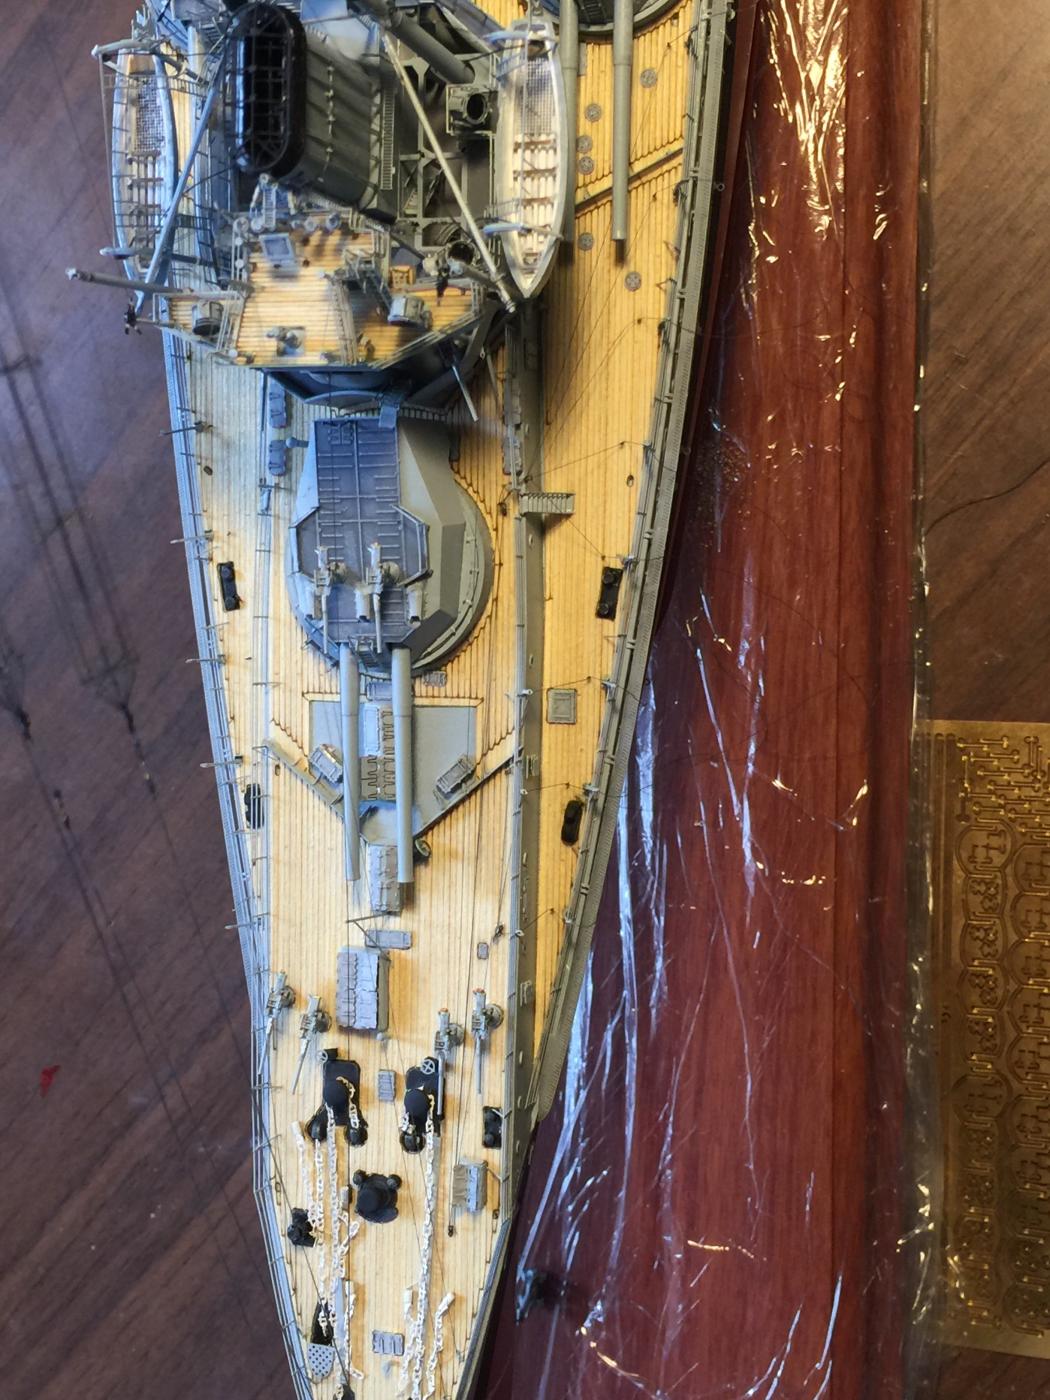
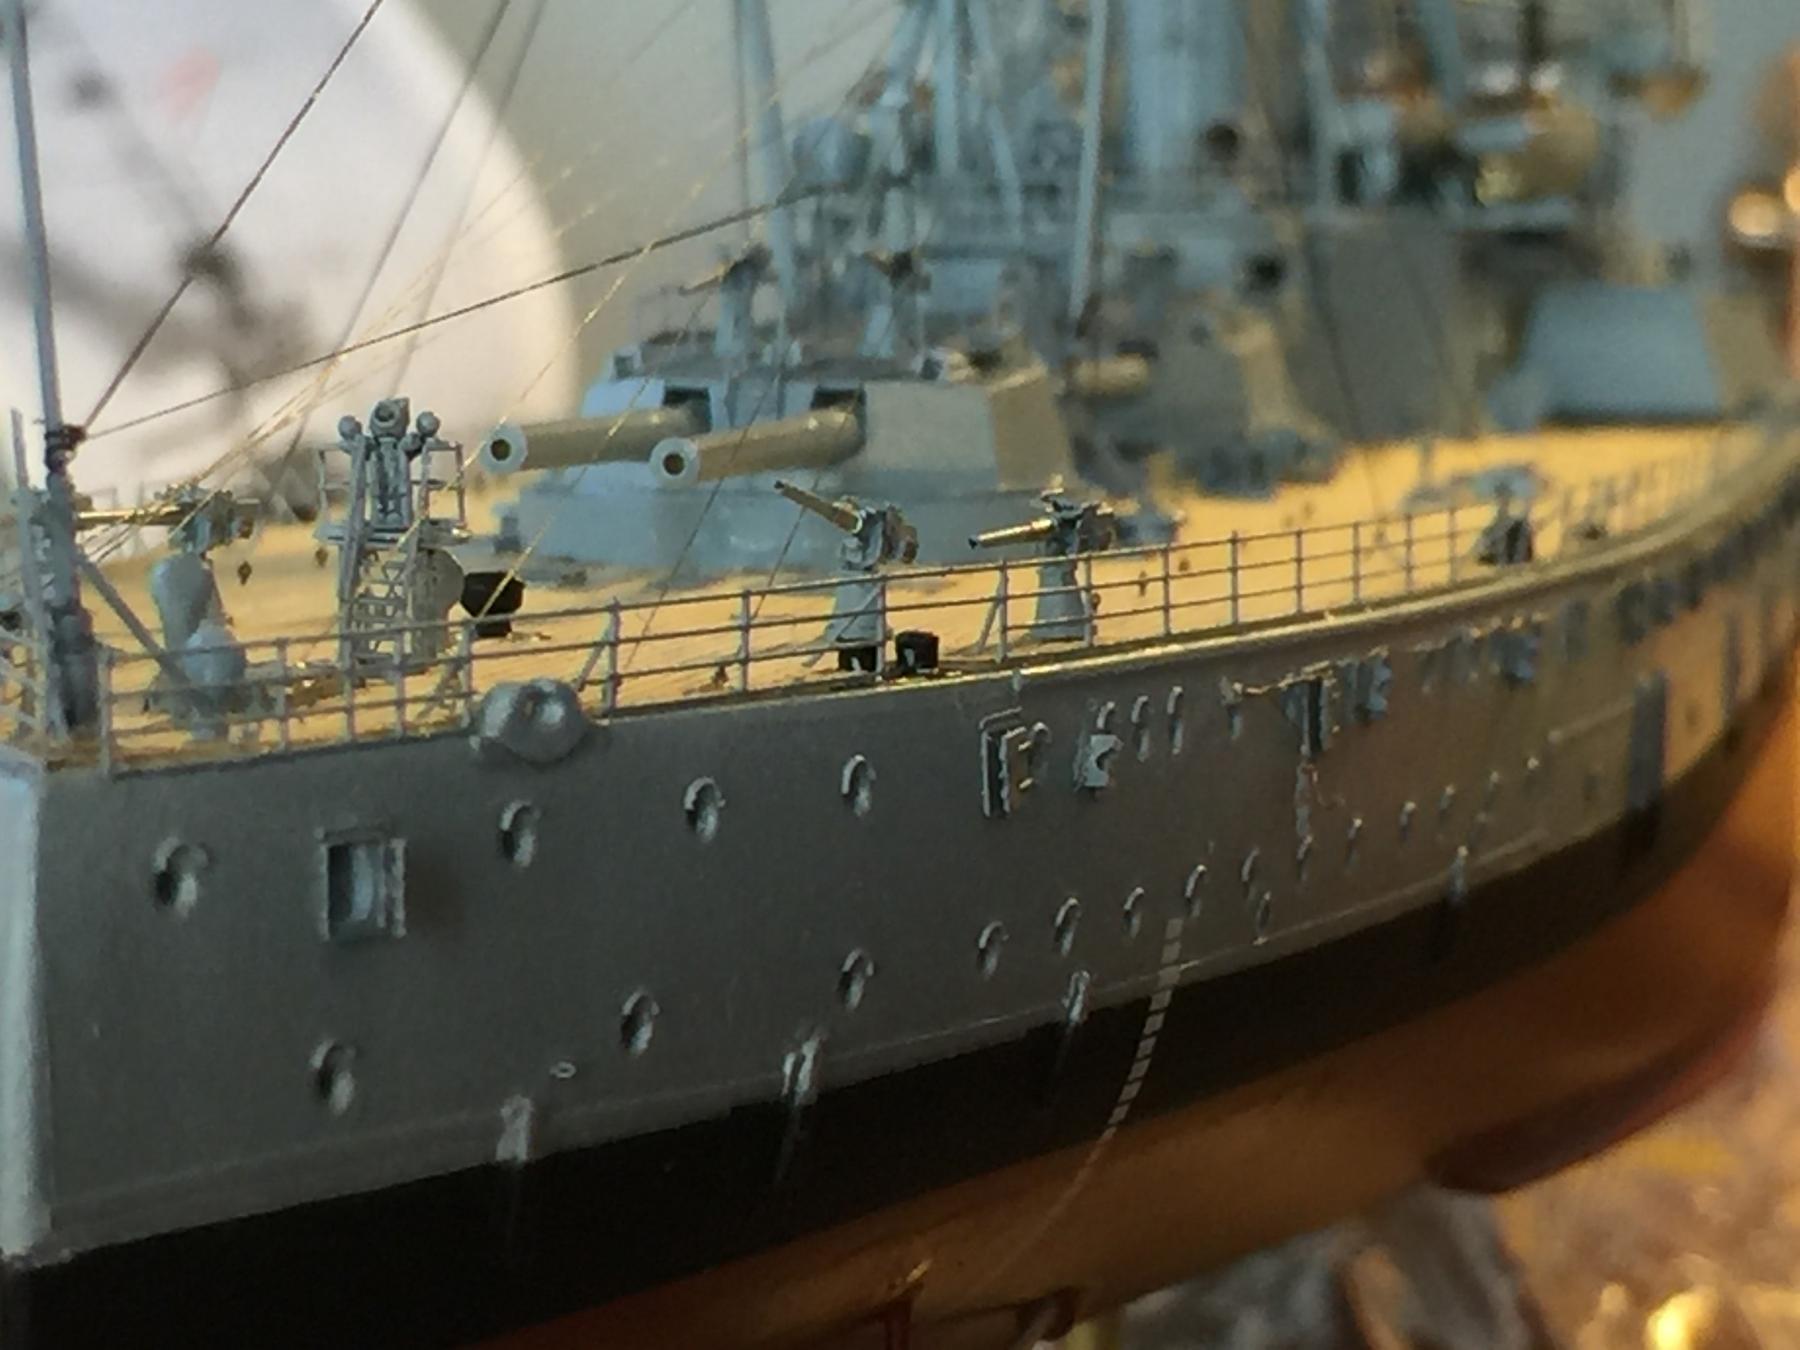
I think you mean the torpedo net shelves? They have been added, this photo is just to show how they jut out from the hull. If not, there is a good chance I've missed something!
- 342 replies
-
- 4
-
-
- dreadnought
- zvezda
- (and 2 more)
-
Bugger, this is a whole new world. I reckon I've got about a month to go on this one, then a whole garden to weed and mulch plus my sideline of rowing coaching in summer. The next build will be a lot slower but bigger. I want to get this airbrush thingy sorted plus figuring out a compressor too.
- 342 replies
-
- 5
-
-
- dreadnought
- zvezda
- (and 2 more)
-
So, considering a poor airbrush ruins work, what's the verdict?
- 342 replies
-
- 2
-
-
- dreadnought
- zvezda
- (and 2 more)
-
I have no idea where to start, internet research I expect, then shop for the cheapest price.
- 342 replies
-
- 5
-
-
- dreadnought
- zvezda
- (and 2 more)
-
Thanks gents, I'll leave the talented to the scratch builders, I have several of Jean Boudriot's books (who recently passed), that is talent. I use Tamiya rattle cans mostly for the big stuff, then washes and drybrushing. My next project is huge and I think the time has come to buy an airbrush.
- 342 replies
-
- 6
-
-
- dreadnought
- zvezda
- (and 2 more)
-
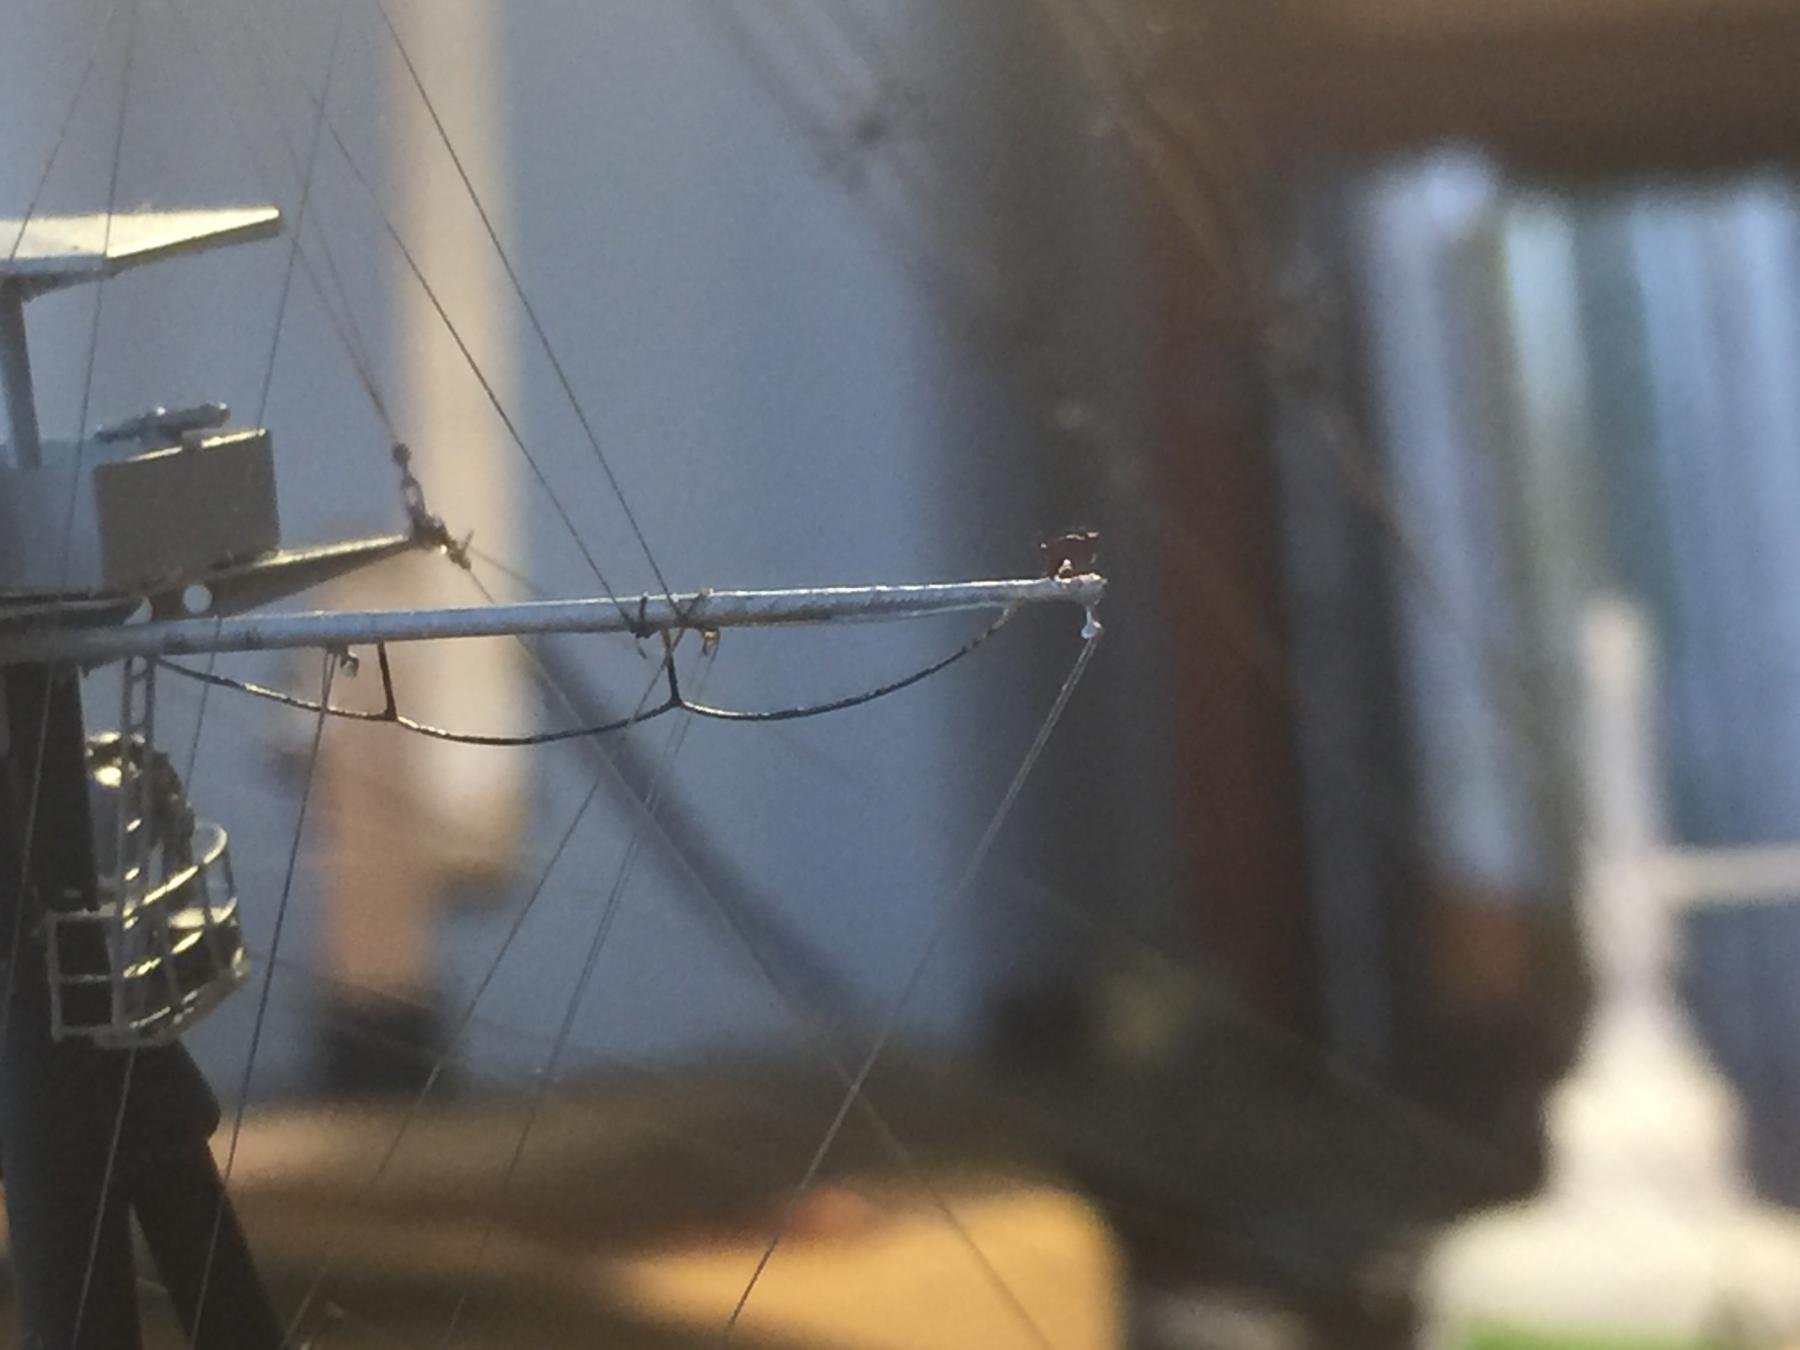
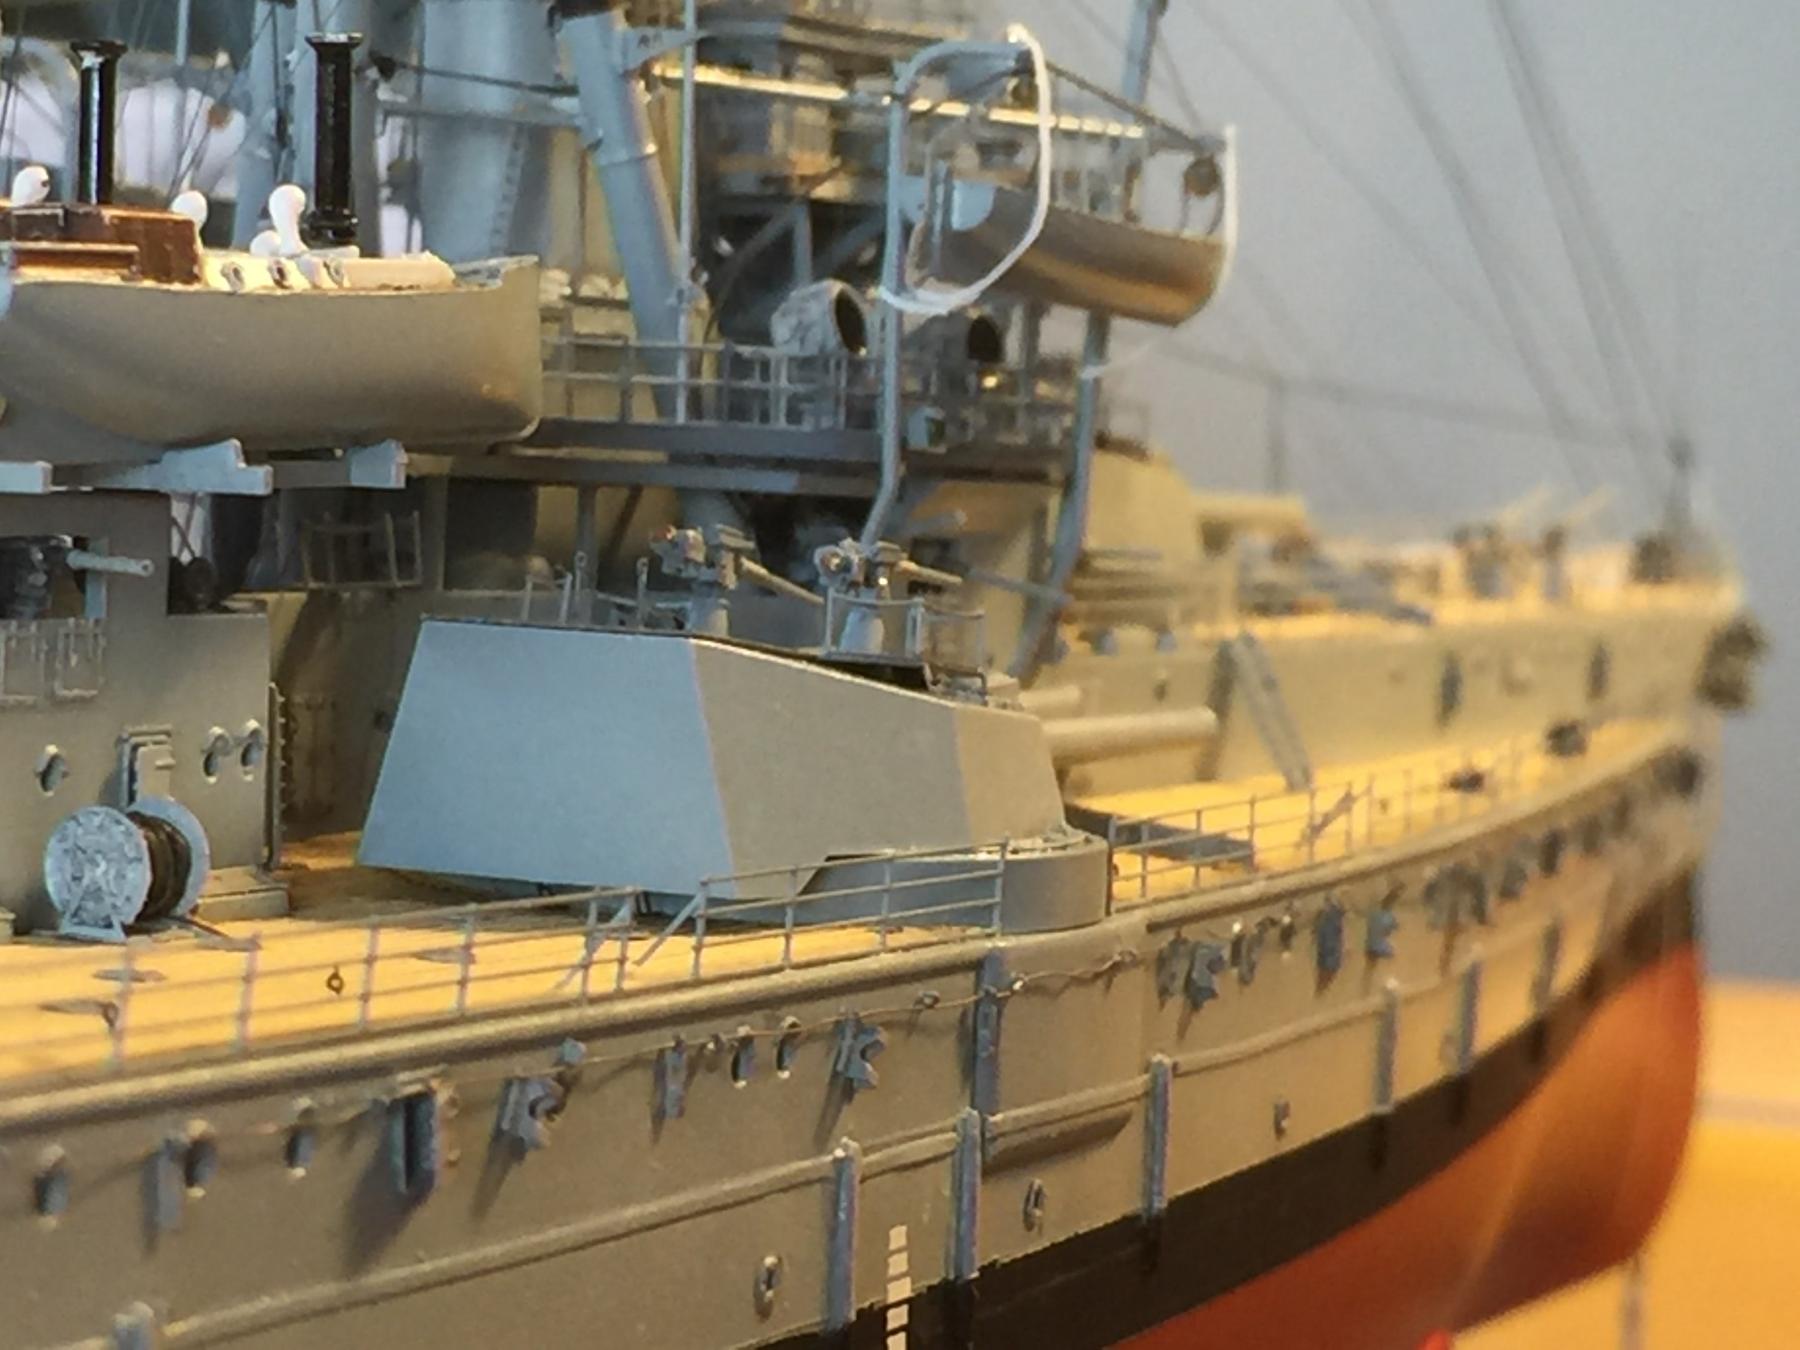
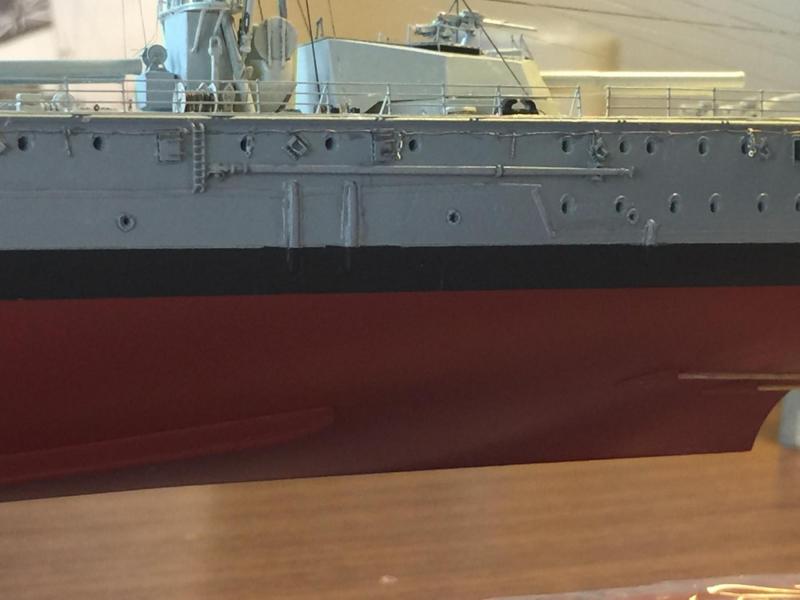
As a massive exercise in futility, I have commenced rigging the inboard parts of the torpedo net booms. I have completed the port side using tiny eyelets as rigging blocks (they don't Kate them this small), running as described in the AOTS to the deck winches. I have not found anyone else stupid enough to do this method yet at this scale. I have lines running everywhere down the sides of the ship that will eventually be attached to the torpedo nets. Running alongside the hull you will notice a wire, rigged through eyelets, there are two turnbuckles attached for each boom to the wire. I had to use wire as the elastic rope will stretch away from the hull and look silly (or uneven, same thing). When the nets finally go on there is more rigging required which I just can't do yet. Photos to follow.
- 342 replies
-
- 6
-
-
- dreadnought
- zvezda
- (and 2 more)
-
Looking at the collection of paints you have in the background, I reckon you know what you're doing. 30cm at 1/700 is massive, I've seen some of the detail kits for this ship at 1/350 and it's very complex so you've got some work ahead of you.
-
Amazingly I've had to add lots of extras as well, both the pontos & Flyhawk upgrade sets, extra doors, rigging pieces, spares from other frets. I'm not good enough to scratch build at this scale.
- 342 replies
-
- 4
-
-
- dreadnought
- zvezda
- (and 2 more)
-
The answer is a really good set of tweezers. And a back roller.
- 342 replies
-
- 5
-
-
- dreadnought
- zvezda
- (and 2 more)
-
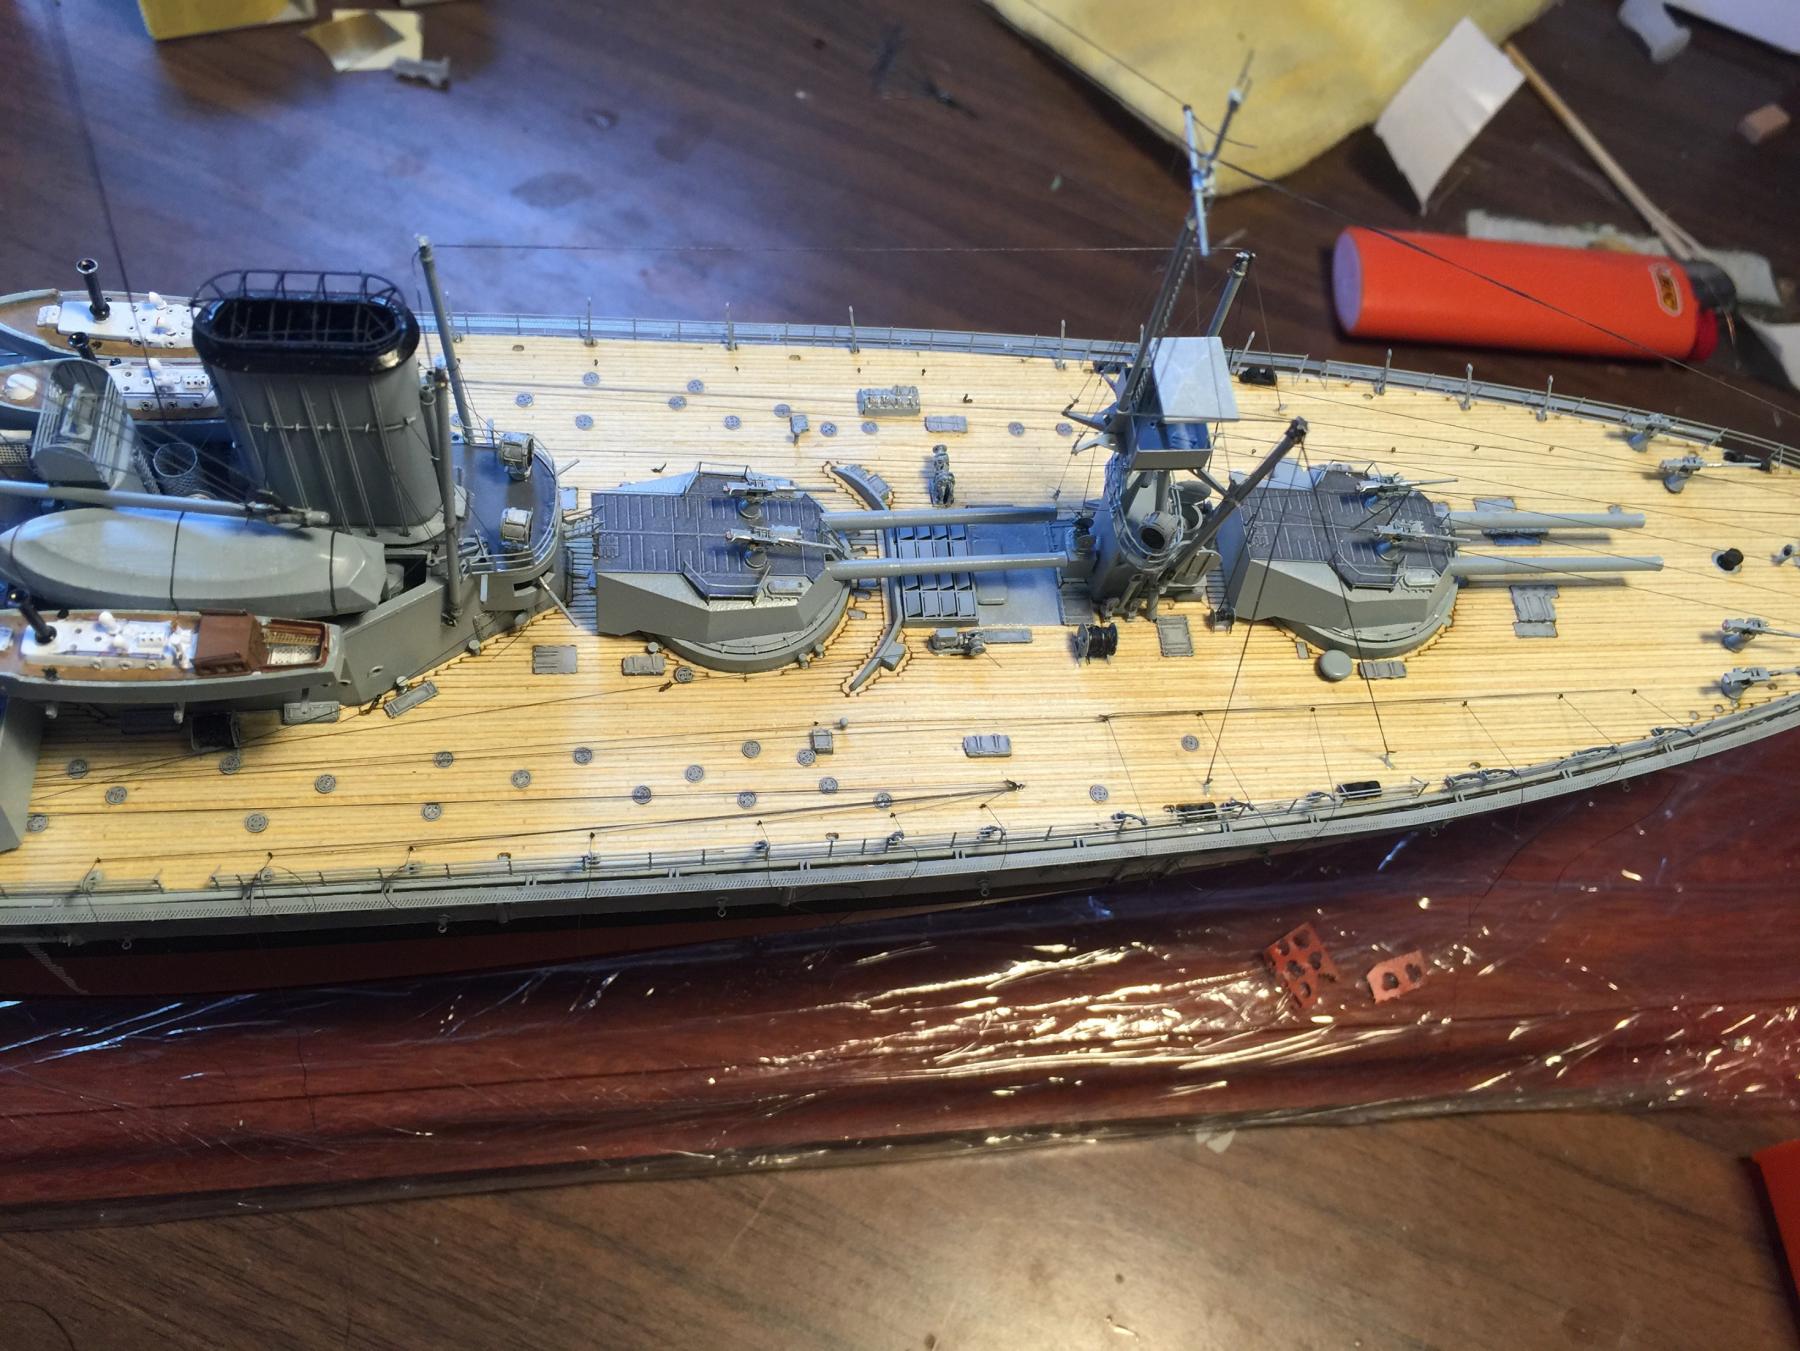
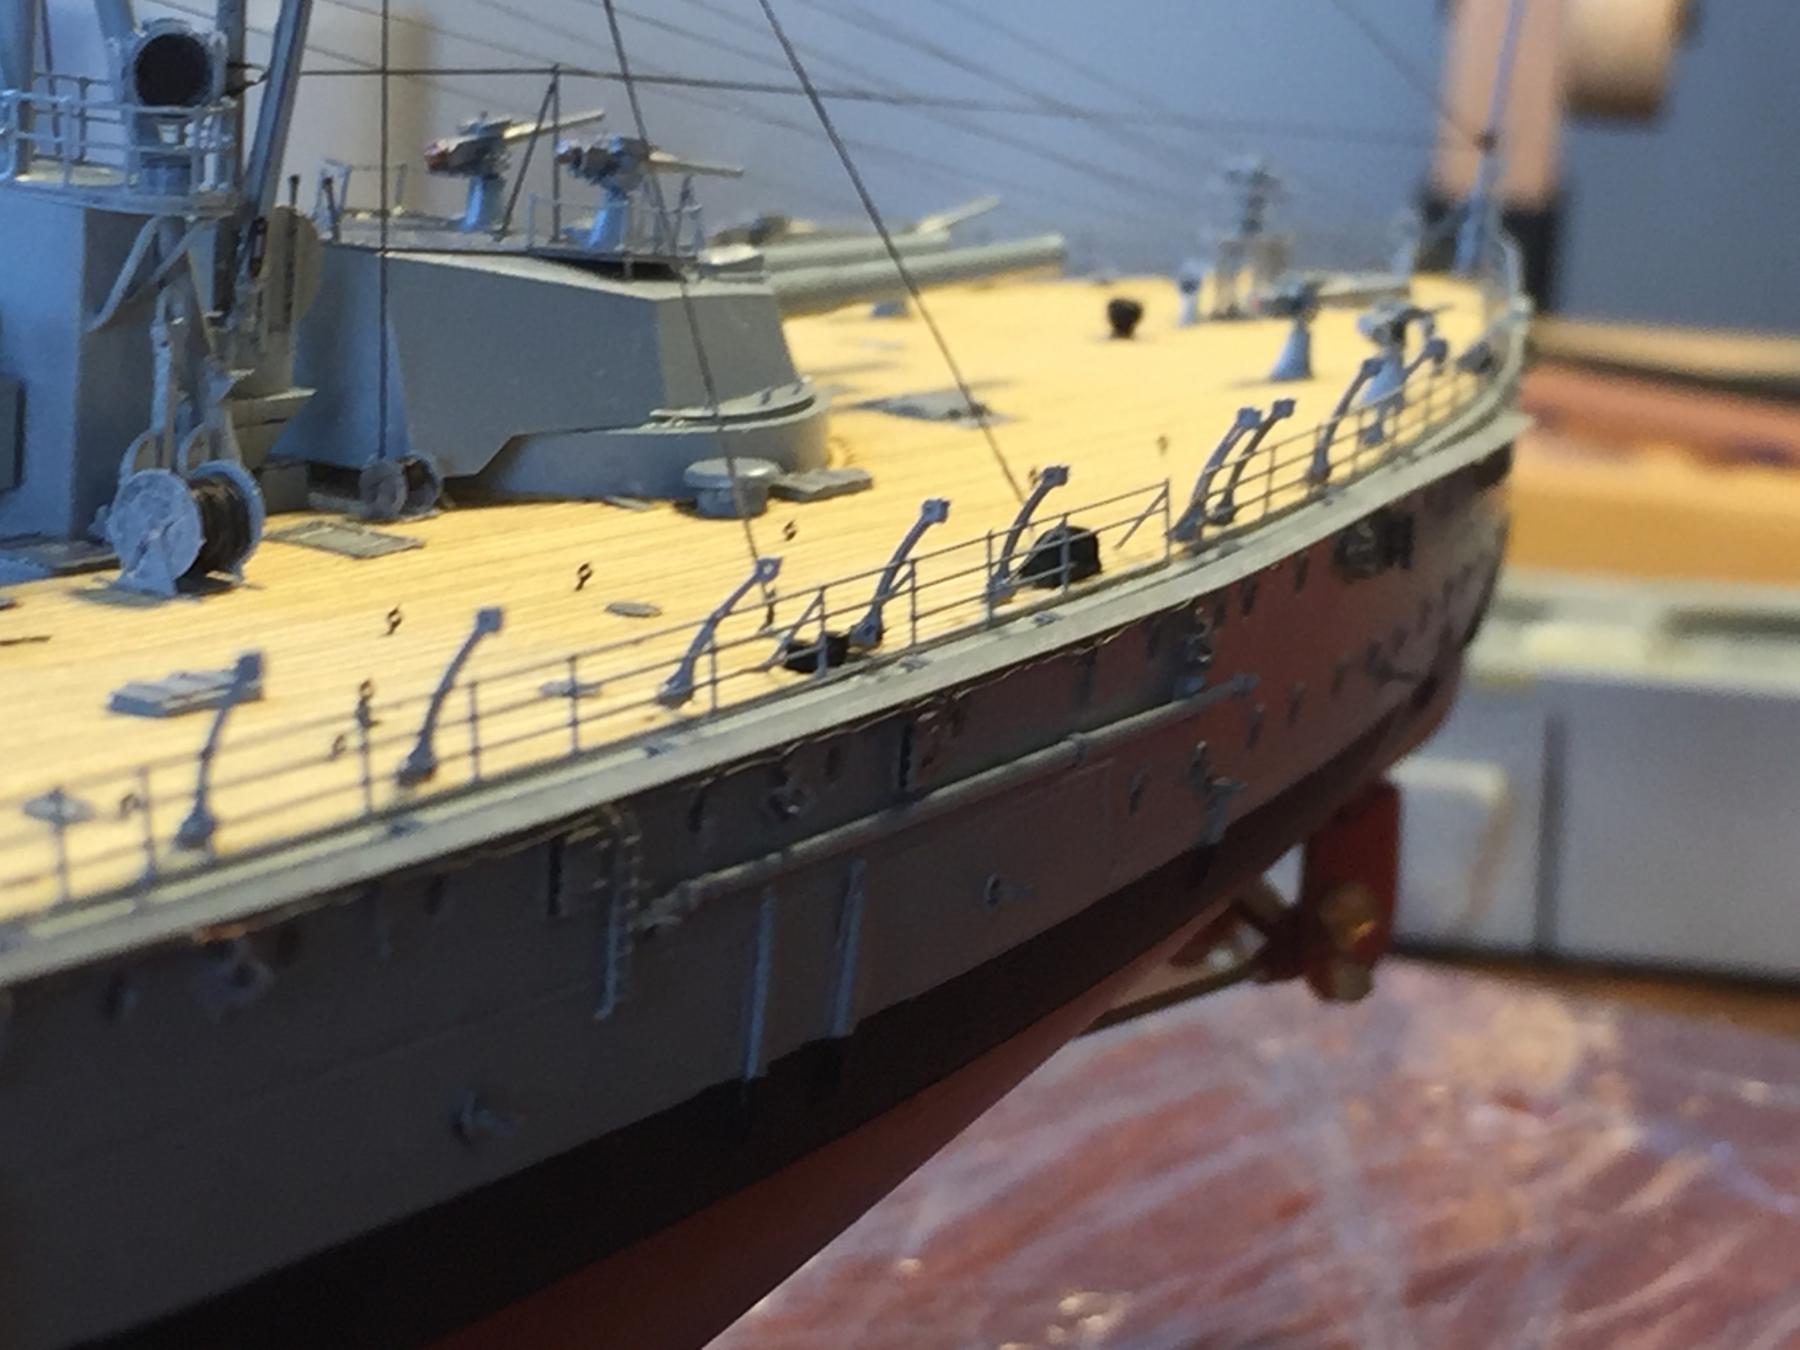
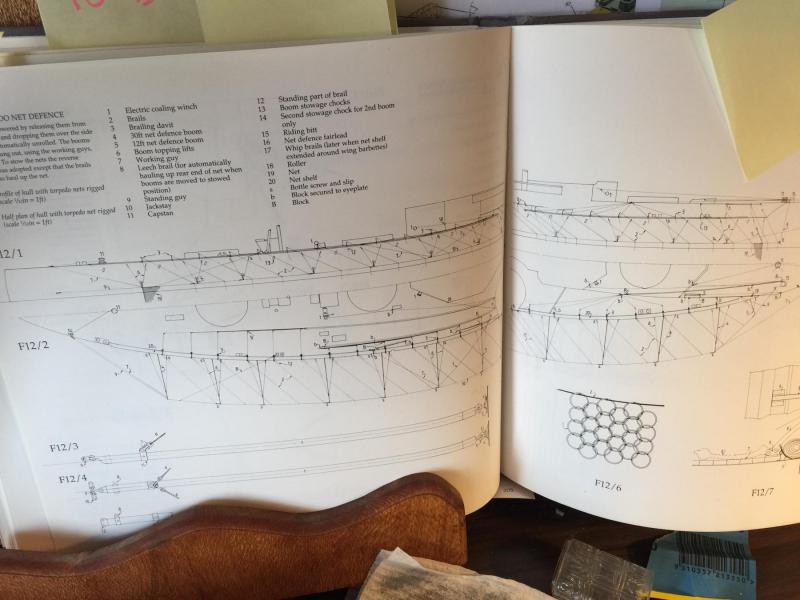
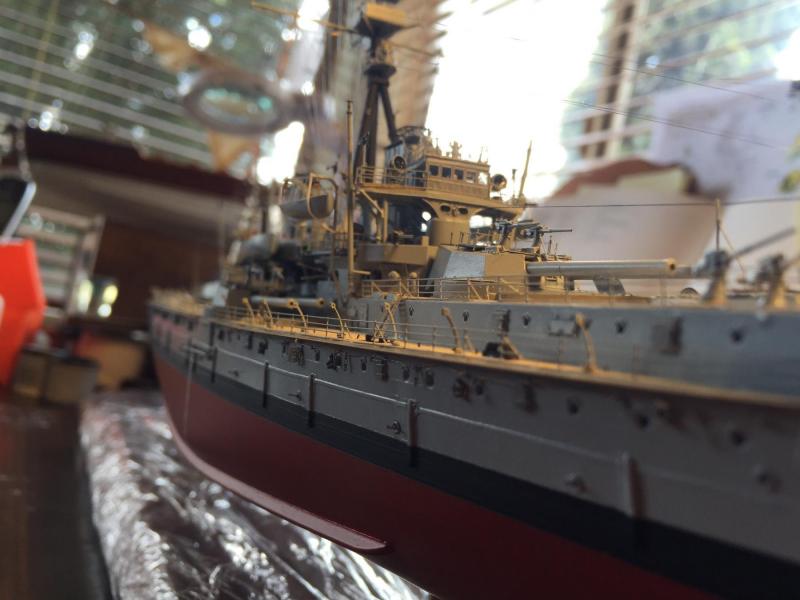
Moving along, Pontos has a fairly elaborate set up for the torpedo nets. The AOTS book shows the rigging lines for them, which I shall now have to interpret to get correct. The shelves on the gunwales hold the nets when stowed, but as they will be deployed, they stand out and are frustrating to place. I have added the eyelets for the booms and the boat booms. Finally the net davits, from which I will run the onboard rigging first before I set the booms and nets, again working inboard to outboard, then I can add the awning stanchions, the davits the last of the rigging and the flags, and the ships cats, before the final stage of adding the booms and nets.


- 342 replies
-
- 16
-
-
- dreadnought
- zvezda
- (and 2 more)
-
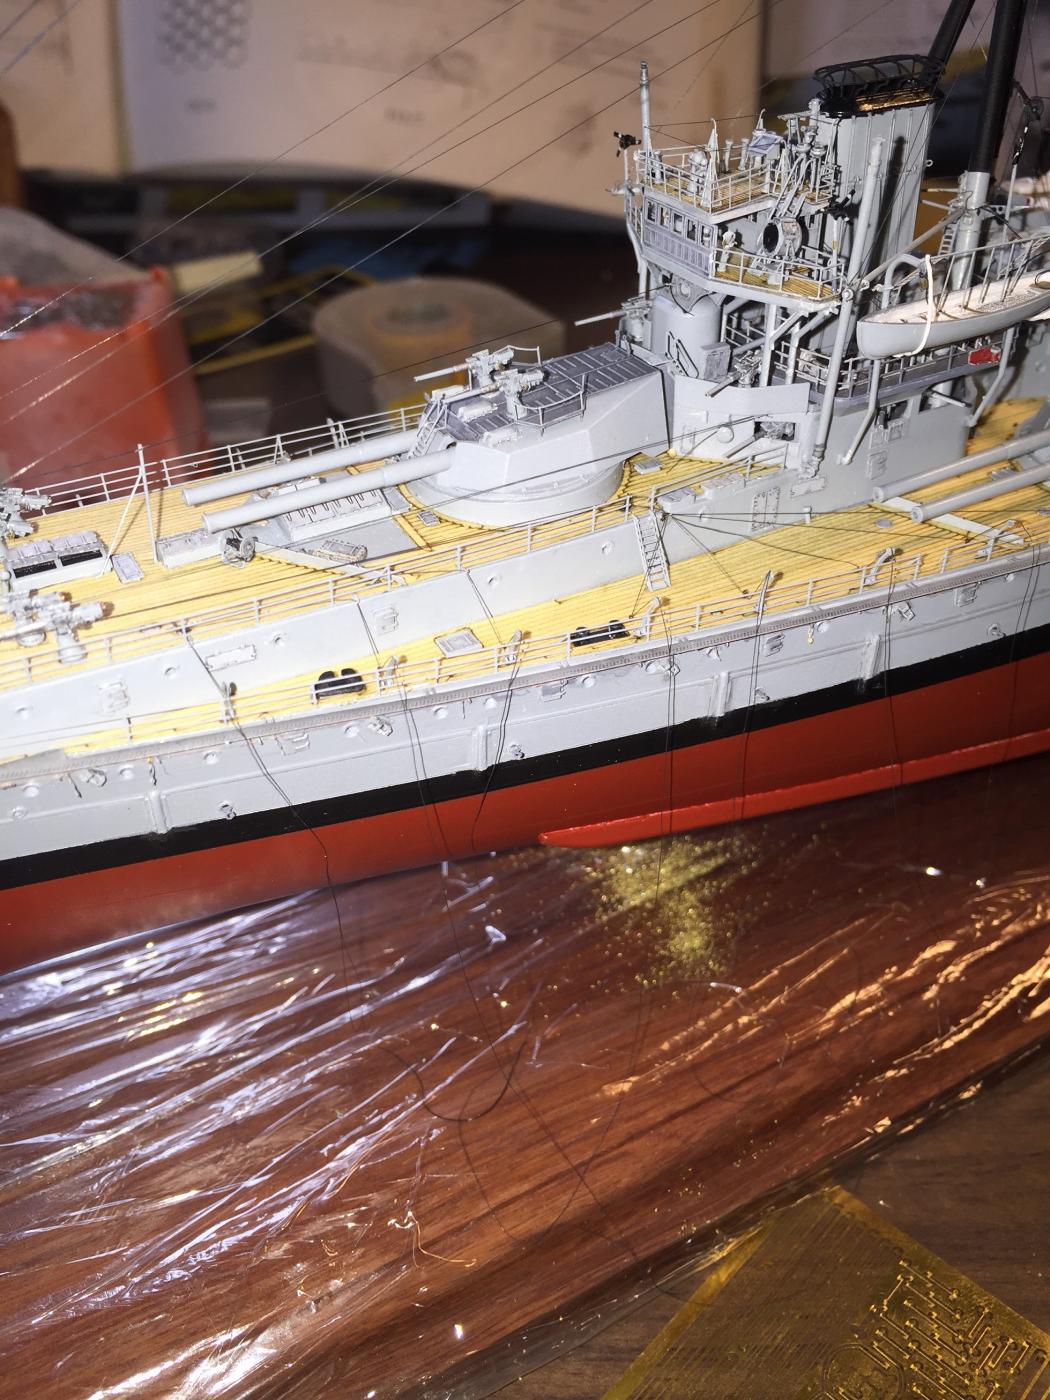
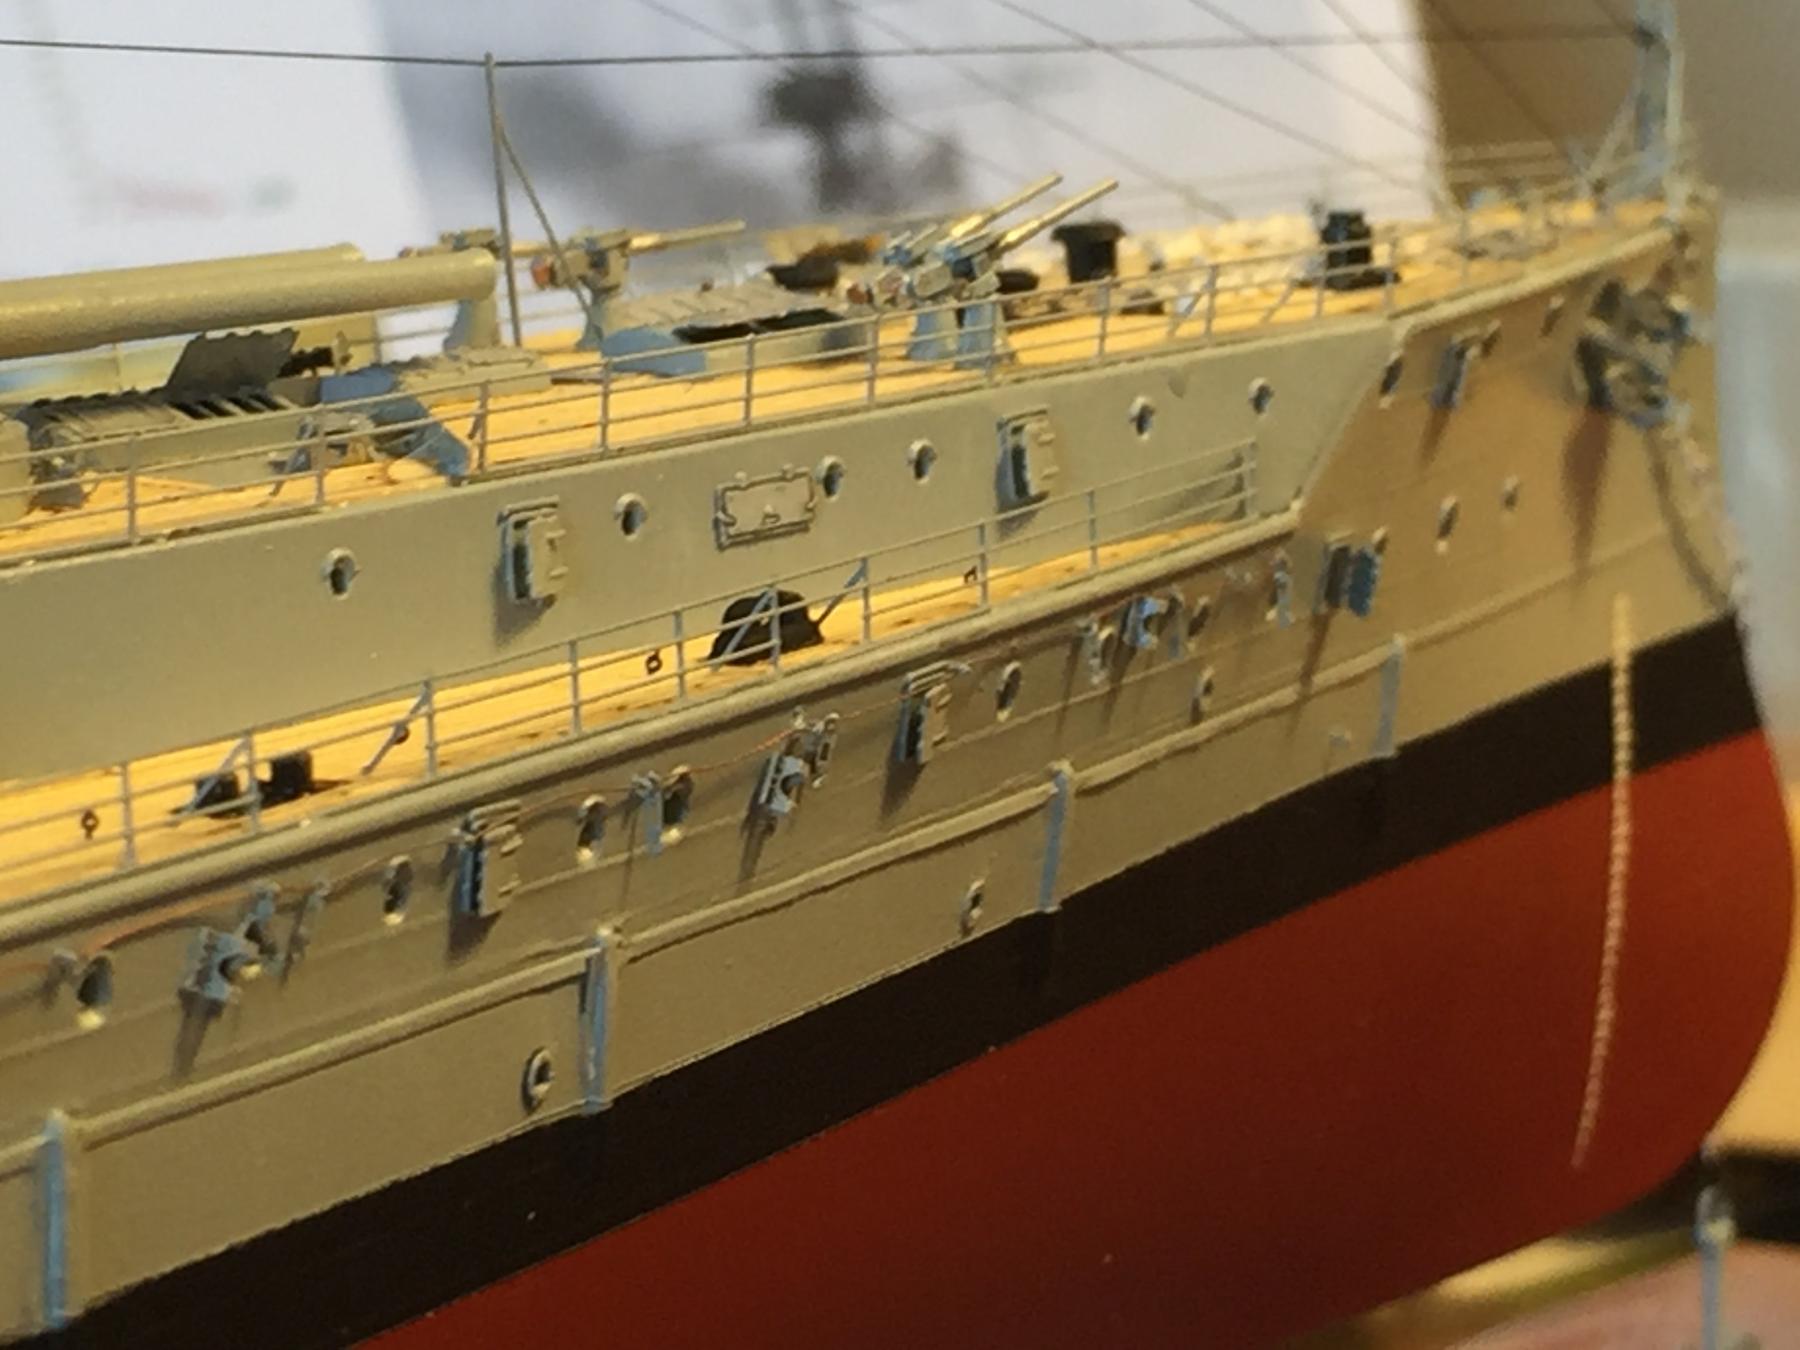
The Pontos rails were very nice, so why not, as they have very nice braces. The next one will be individual stanchions again. So, what should it be? Borindino? Mikasa? Yamato?
- 342 replies
-
- 7
-
-
- dreadnought
- zvezda
- (and 2 more)
-
Things should move along quickly now. This is the first time I've actually used rails for a ship, as I usually do individual stanchions.


- 342 replies
-
- 21
-
-
- dreadnought
- zvezda
- (and 2 more)