DONATION DRIVE - SUPPORT MSW - DO YOUR PART TO KEEP THIS GREAT FORUM GOING!
×


RGL
-
Posts
5,539 -
Joined
-
Last visited
Content Type
Profiles
Forums
Gallery
Events
Everything posted by RGL
-
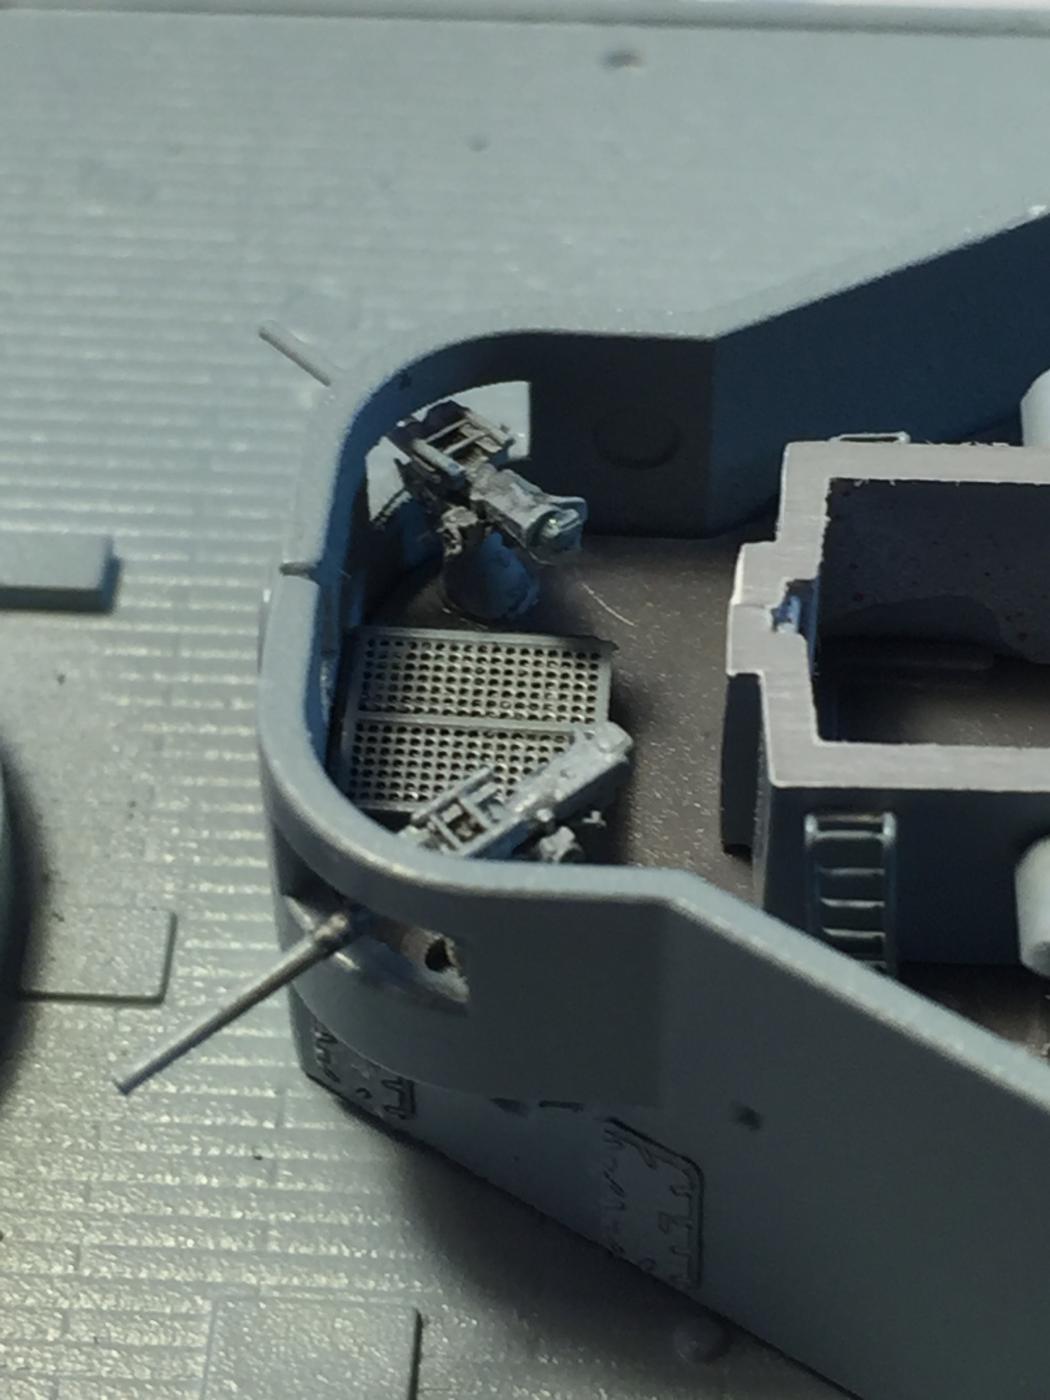
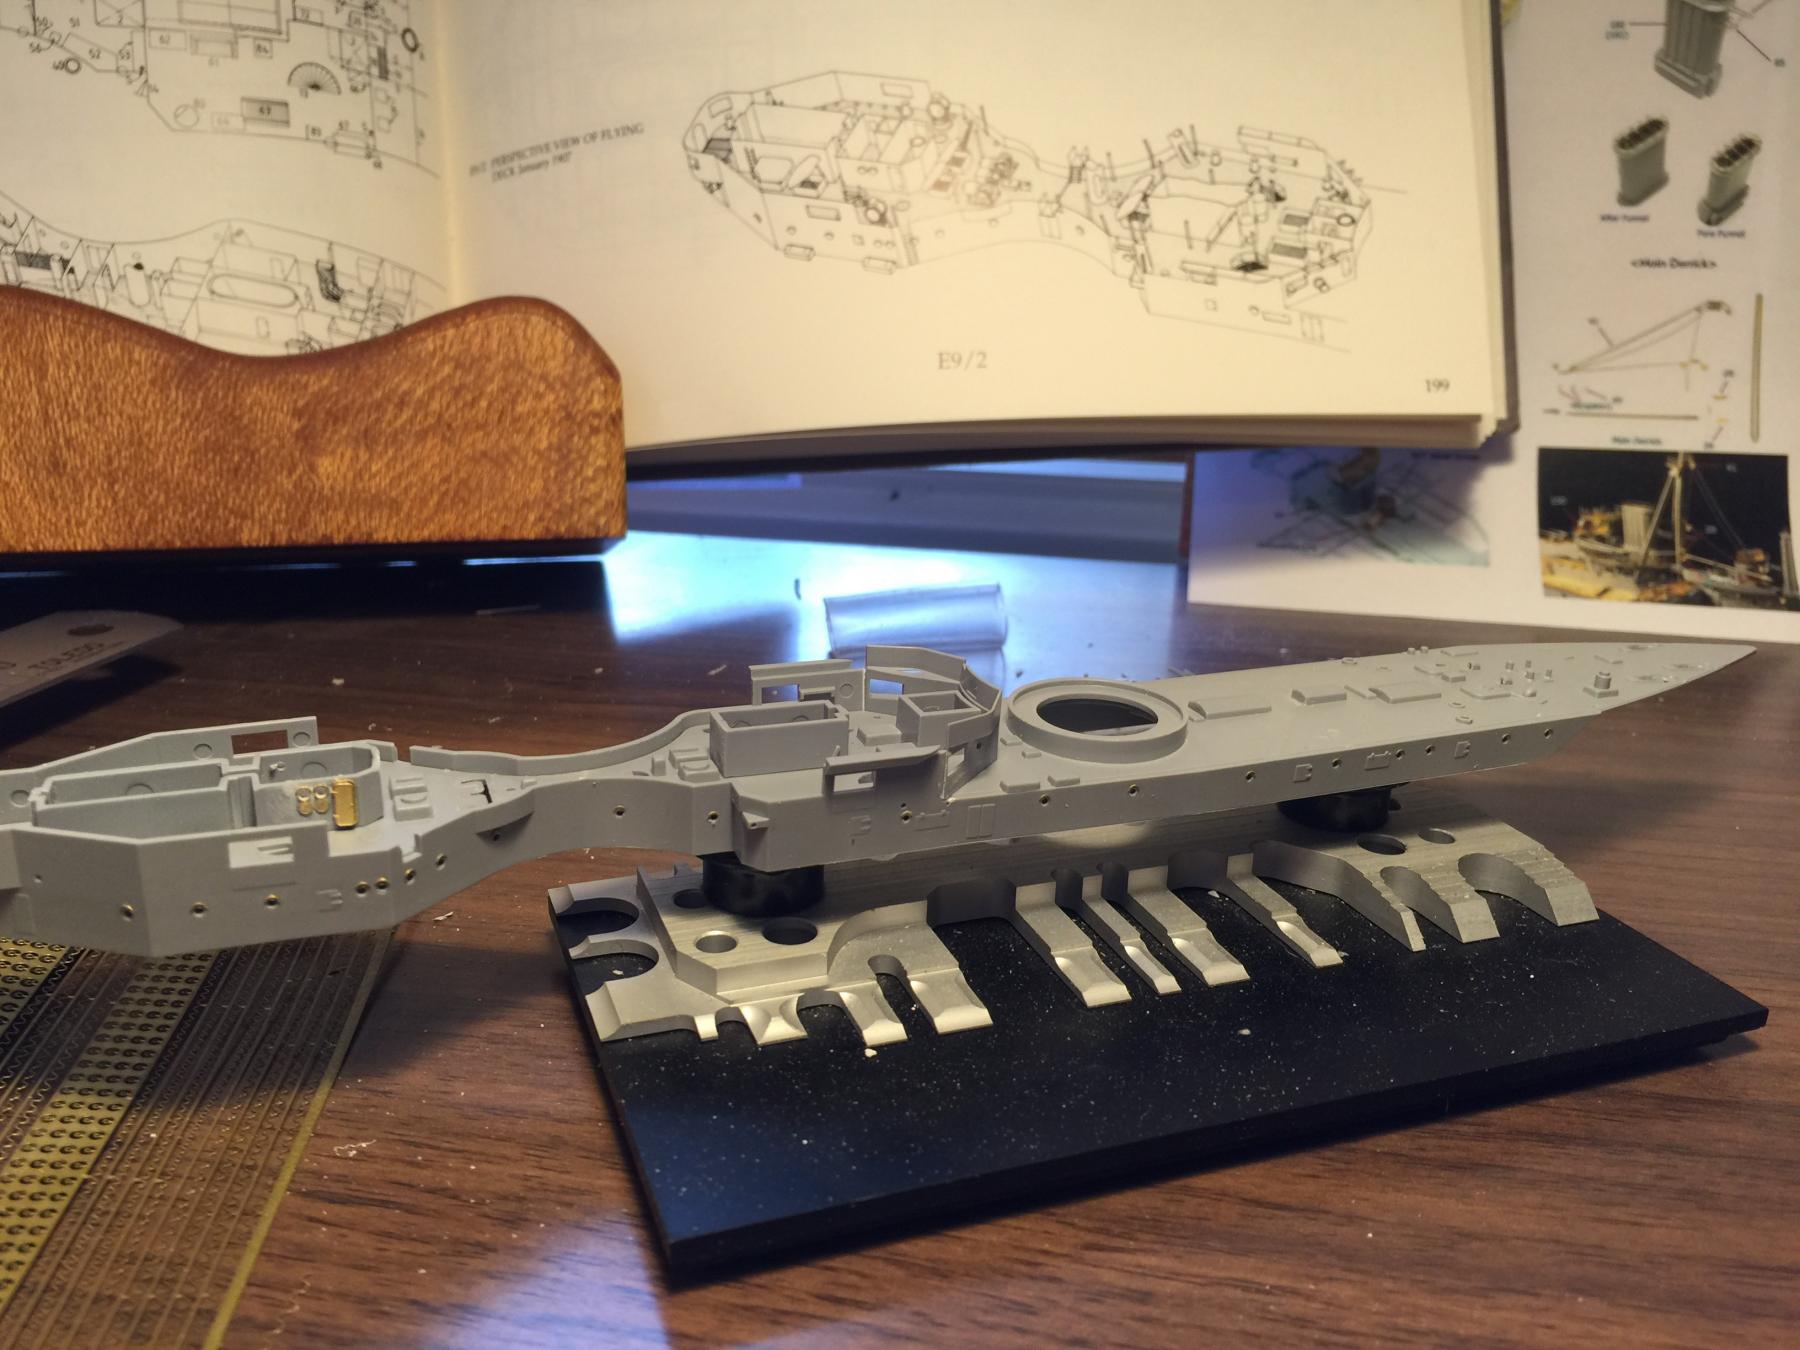
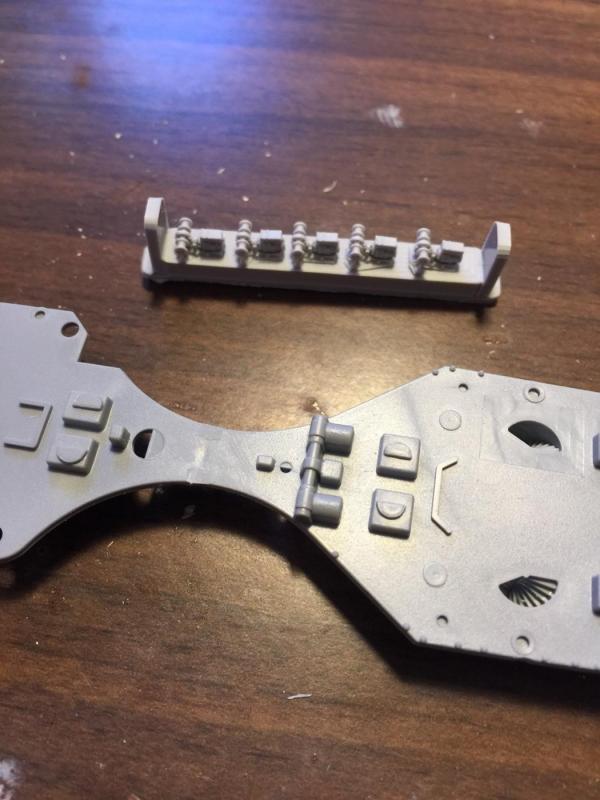
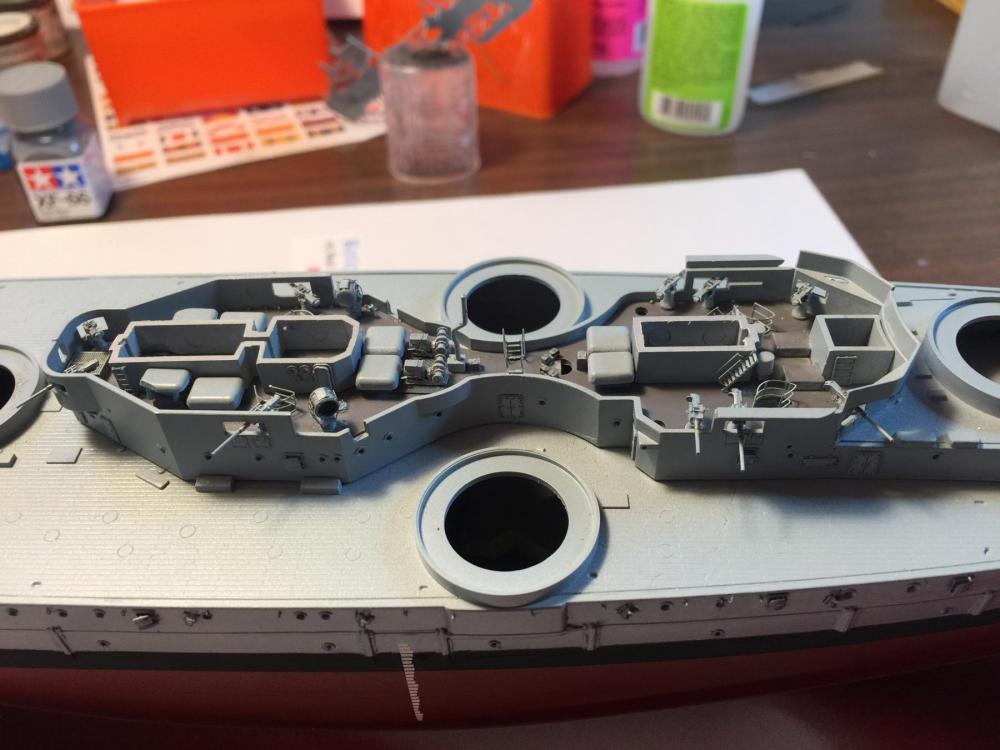
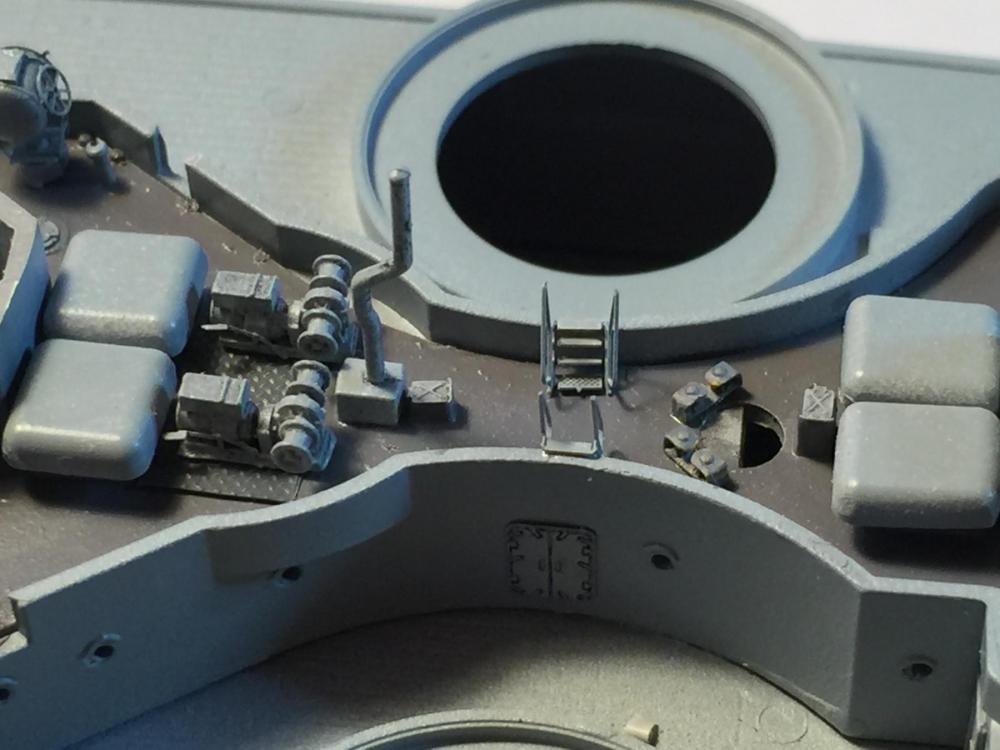
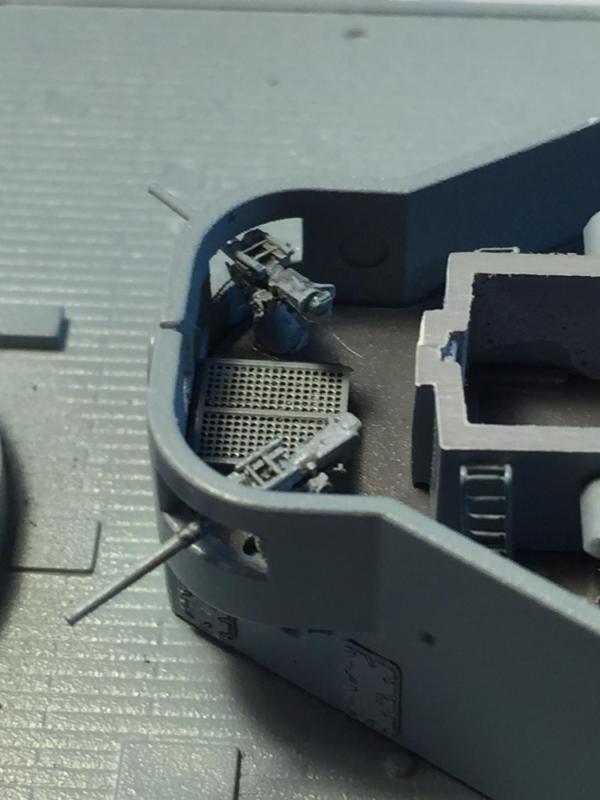
 As this part of the kit is fairly well covered up by the boat deck, not a great deal of detail was included. I replaced the search lights, added a front grill, cut off and replaced the winches, added fairleads and ladders. Grey is such a boring colour after the other kits.


- 342 replies
-
- 16
-

-
- dreadnought
- zvezda
- (and 2 more)
-
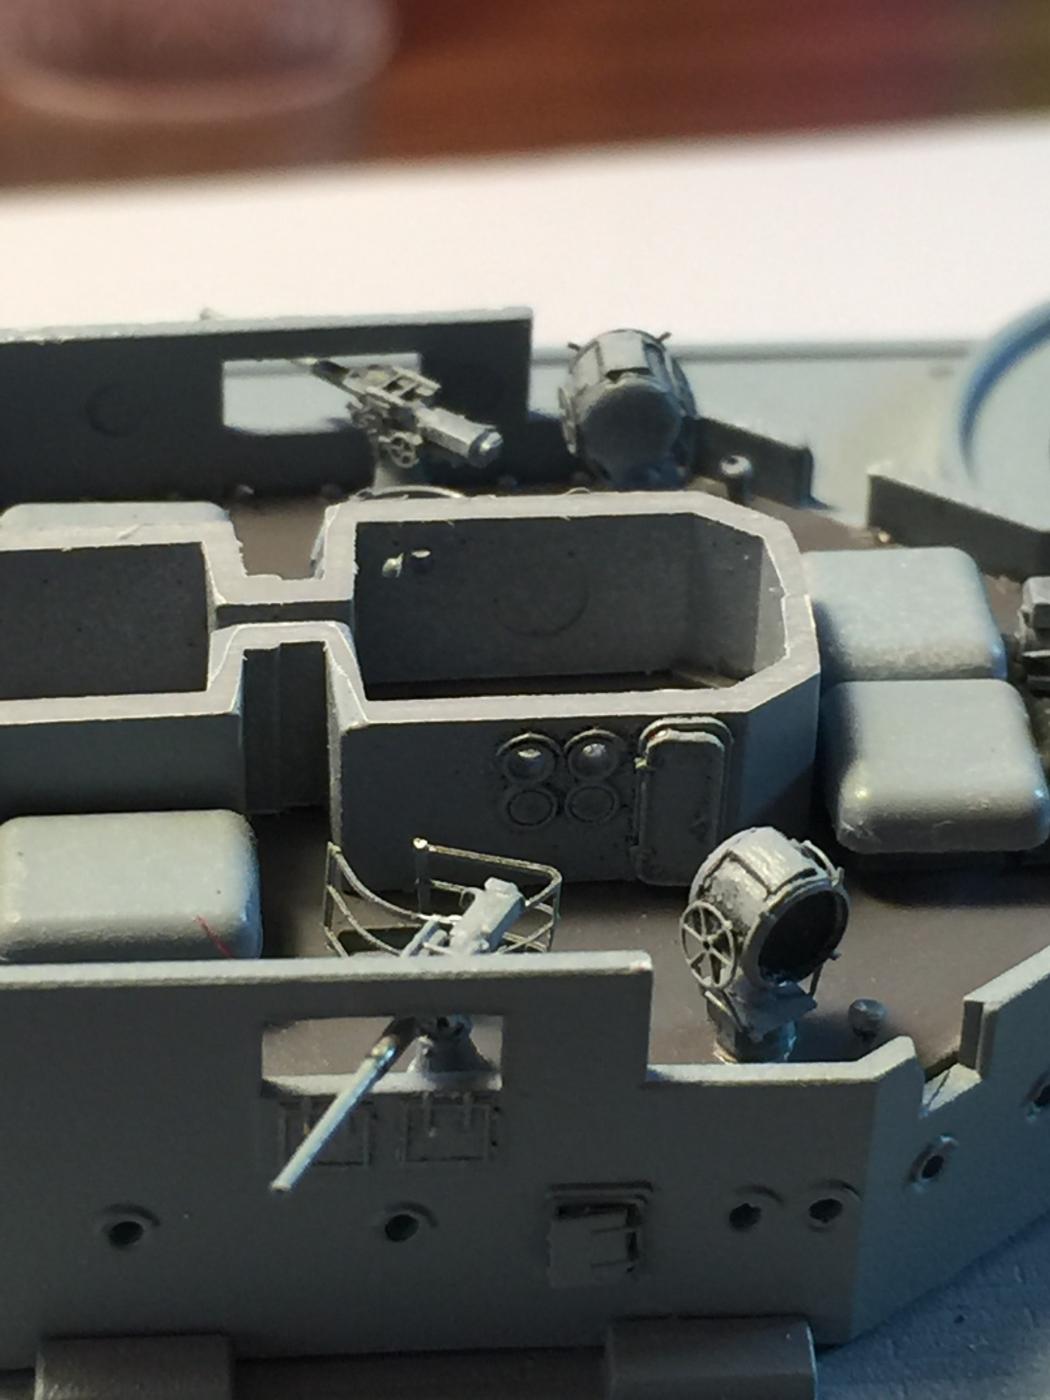
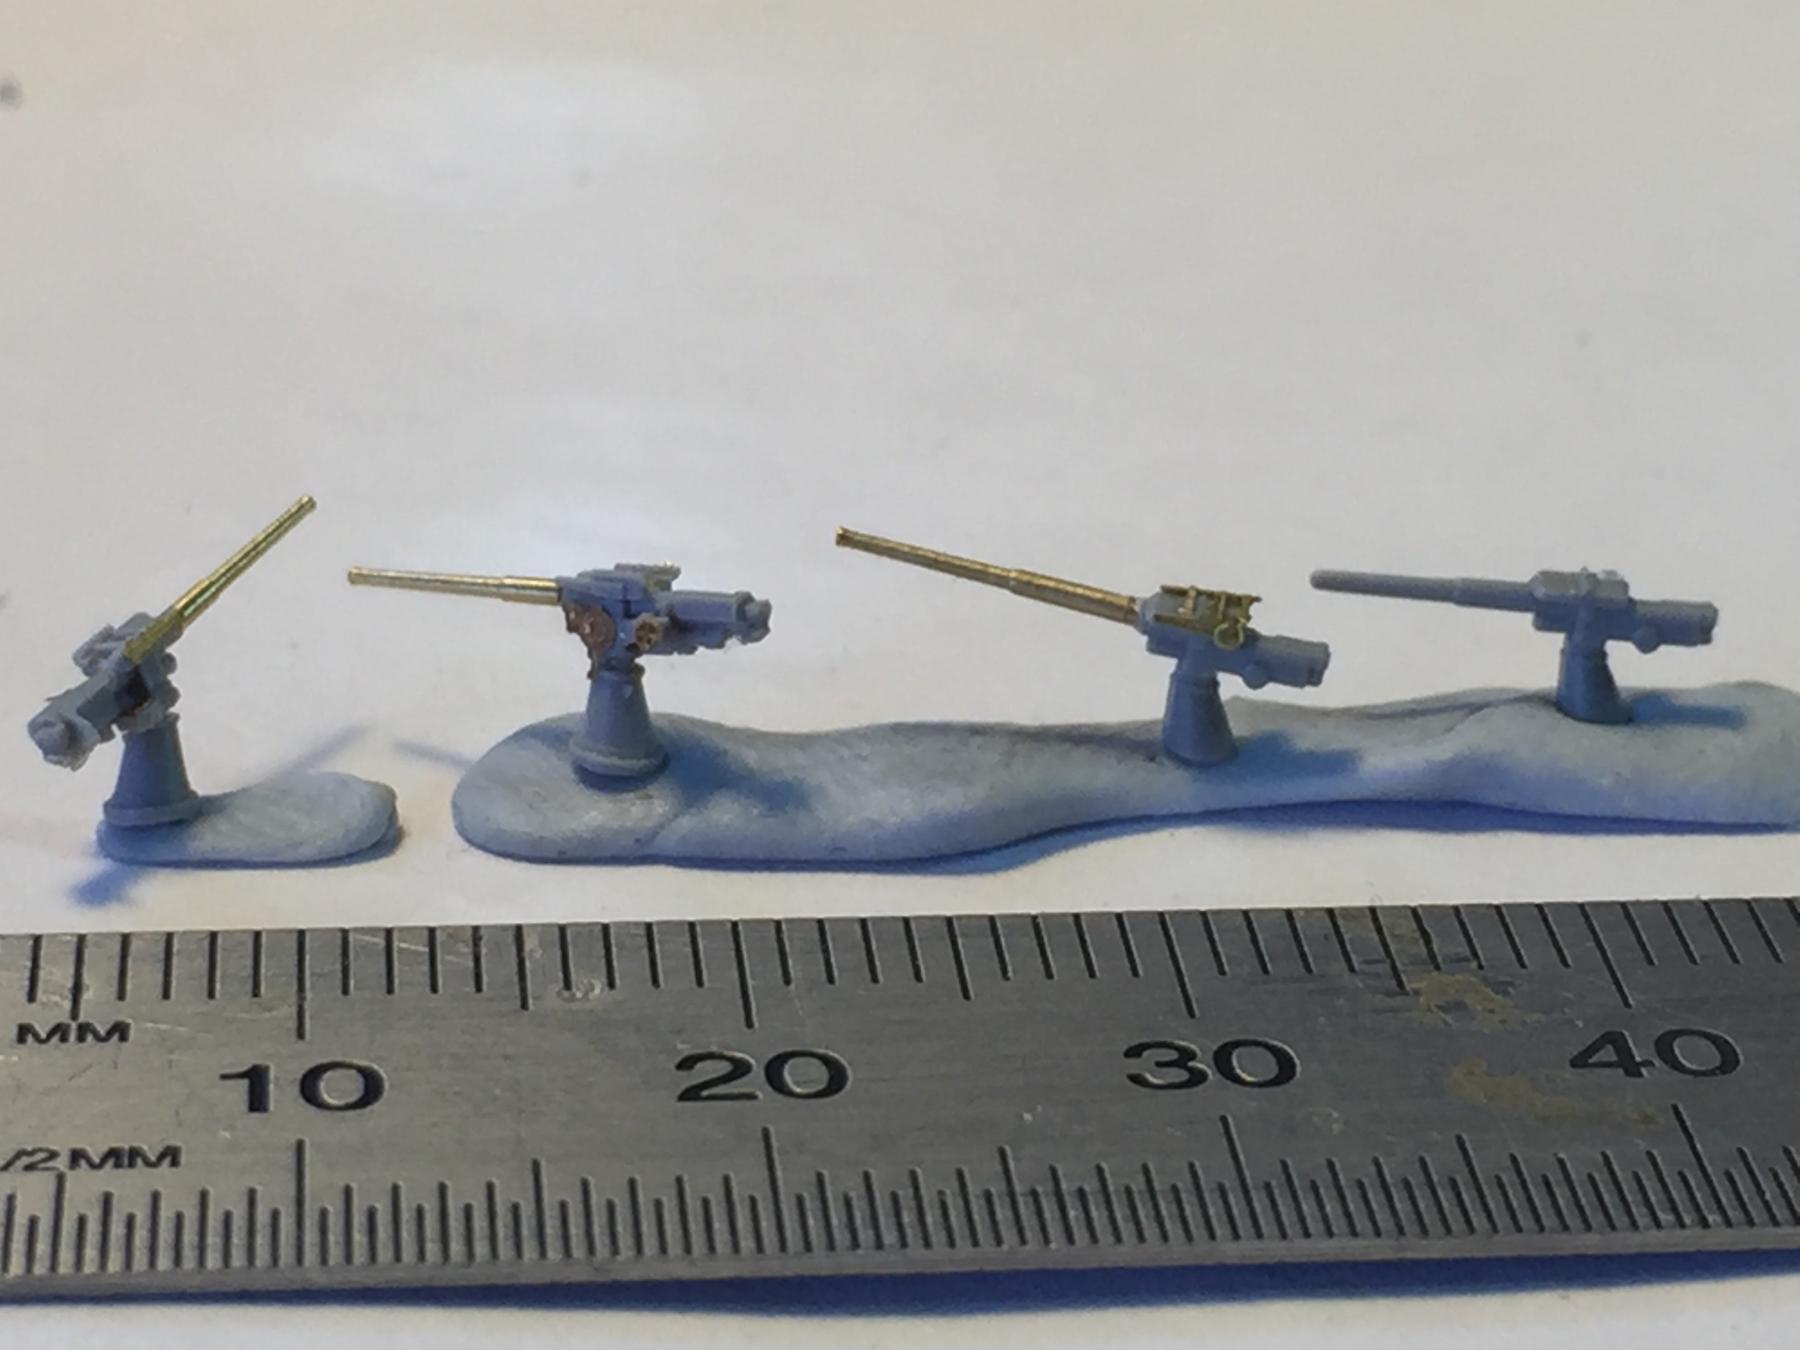
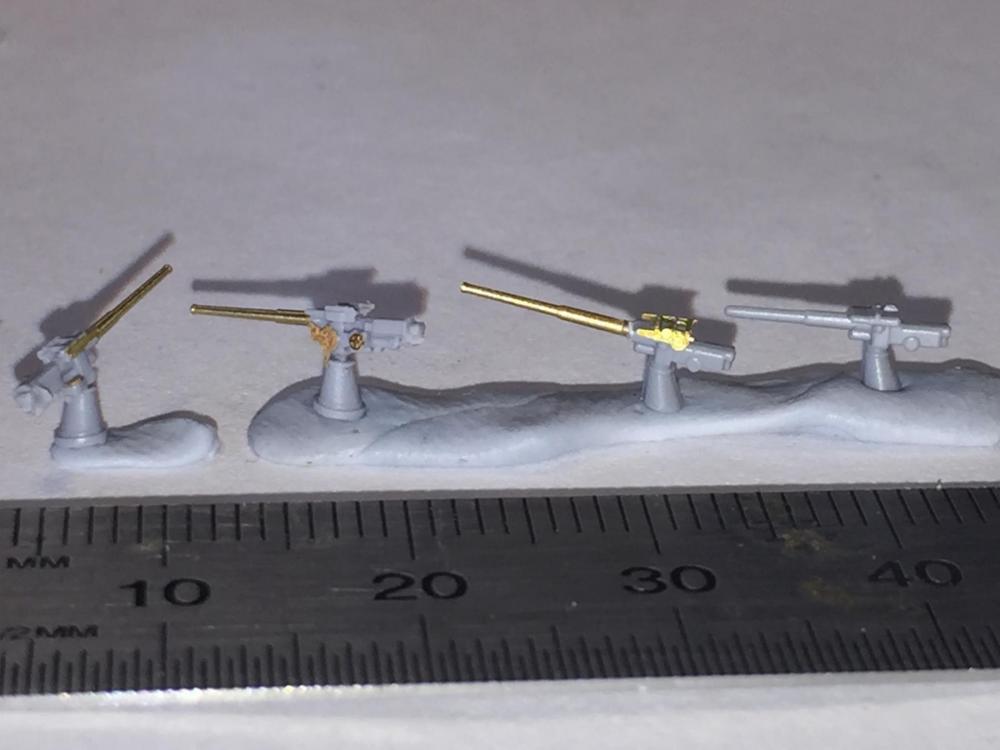
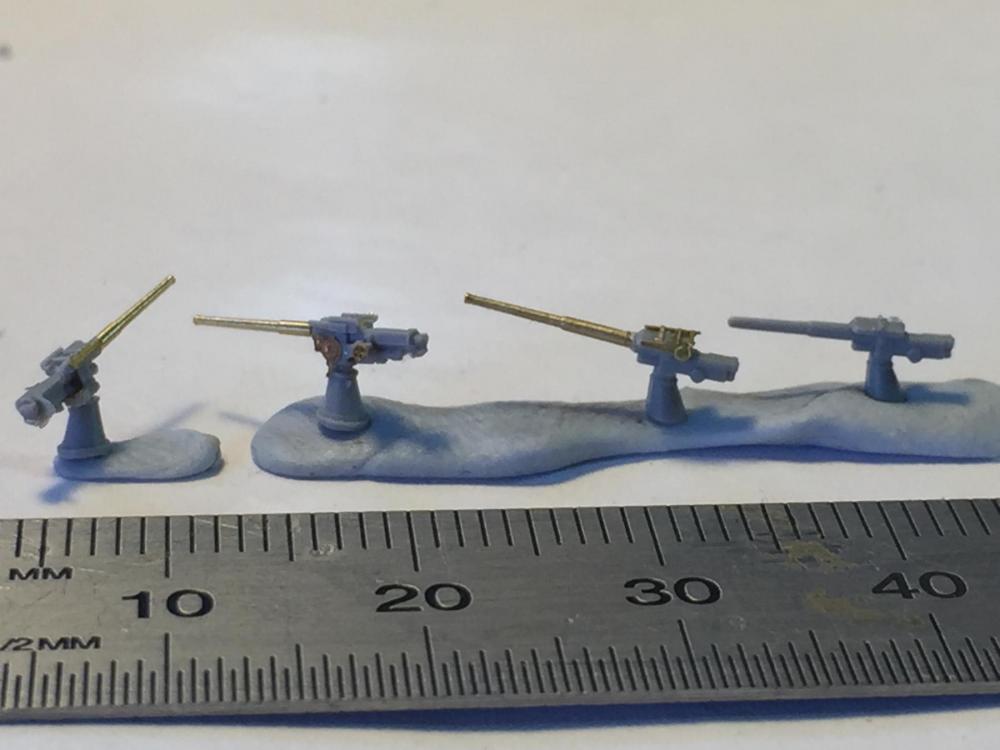
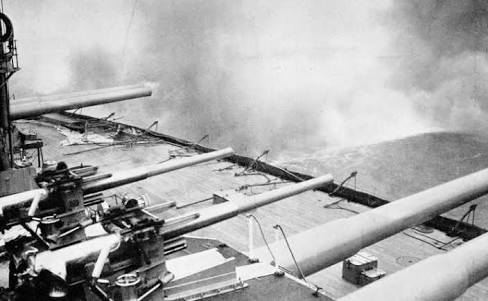
Next is off to the flying bridge . The first of the guns have to be added, namely 10 12 pounders. The unpainted bits are, from left to right, North Star with the Pontos barrels, then the kit supplied with the Flyhawk barrels (which are 3mm longer, then just the kit one. The kit one is not bad, but just not detailed. The photo shows the real thing and the upper area of the barrel is almost silver, I tried gunmetal but it was just too dark.
- 342 replies
-
- 9
-
-
- dreadnought
- zvezda
- (and 2 more)
-
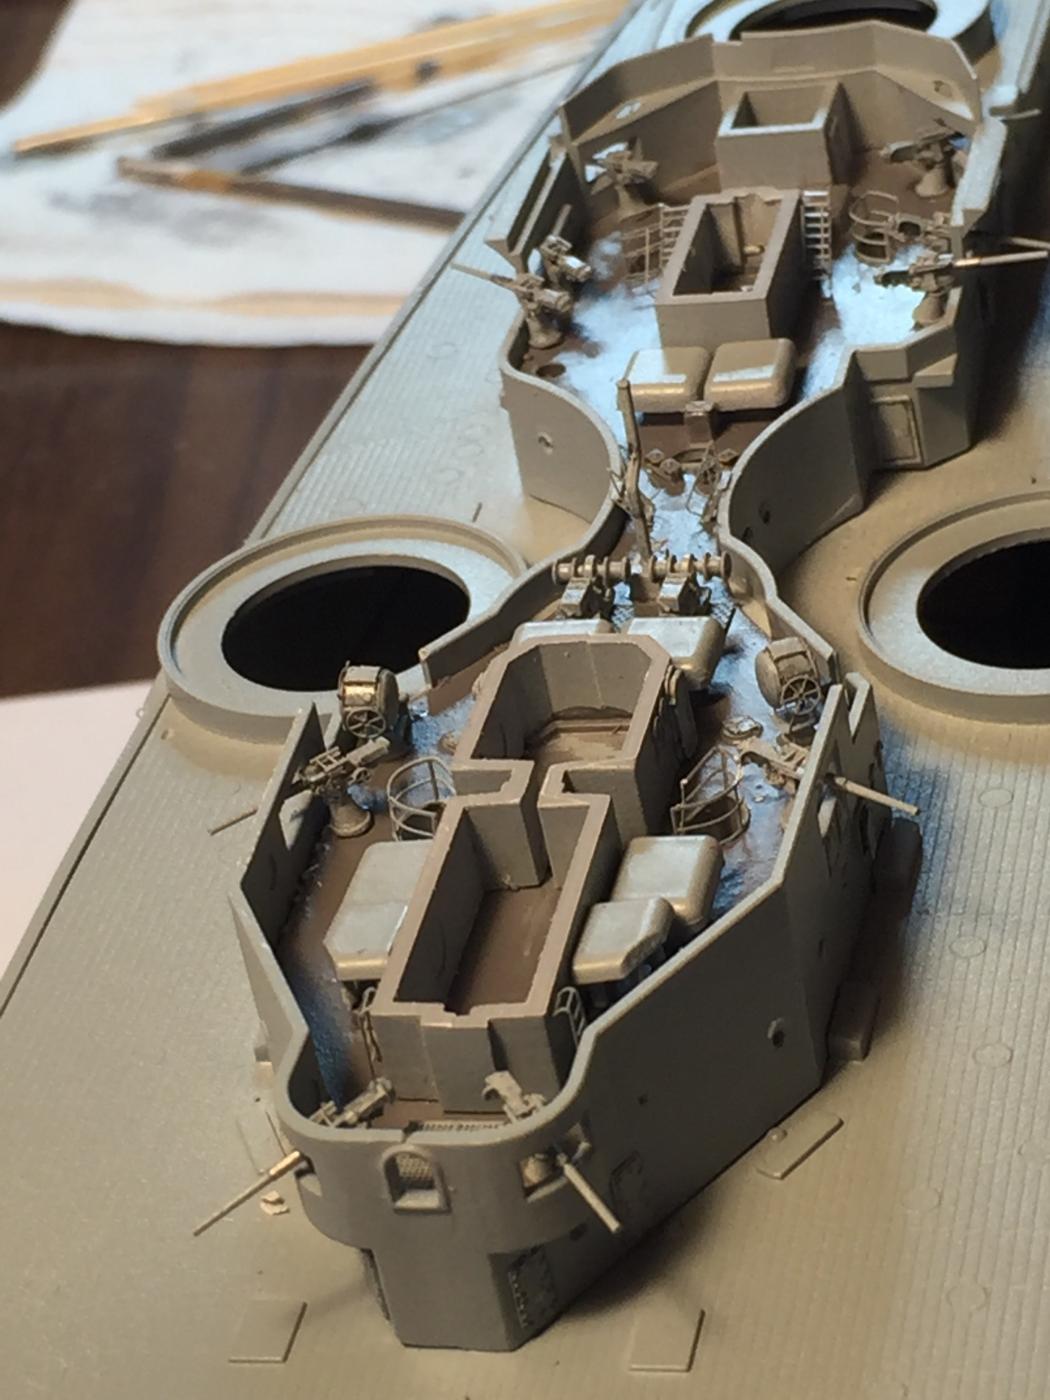
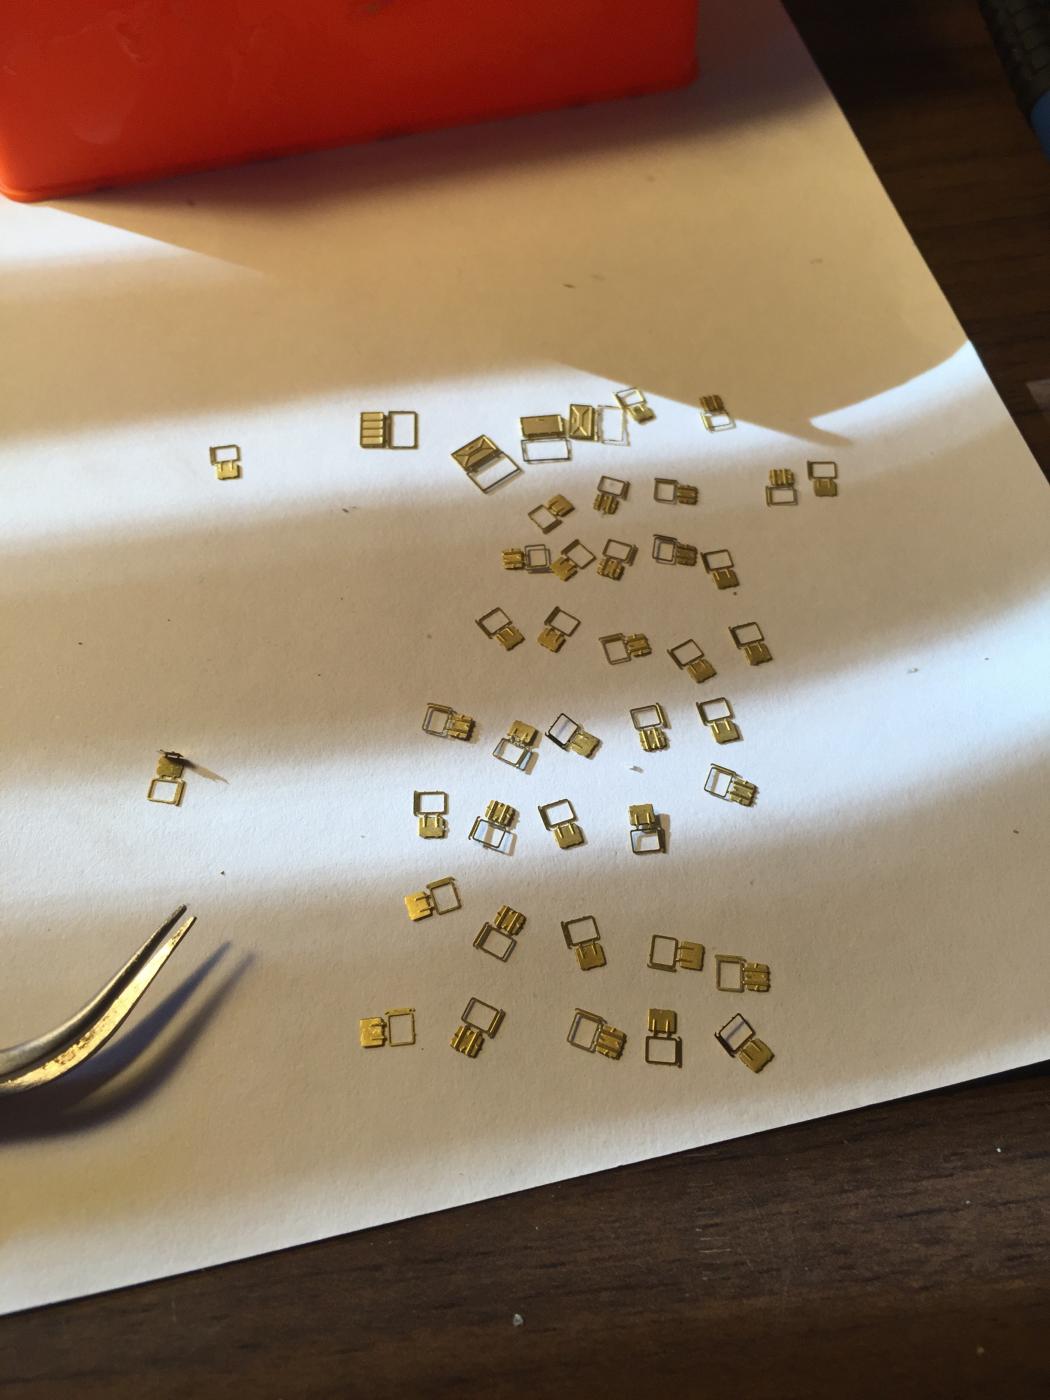
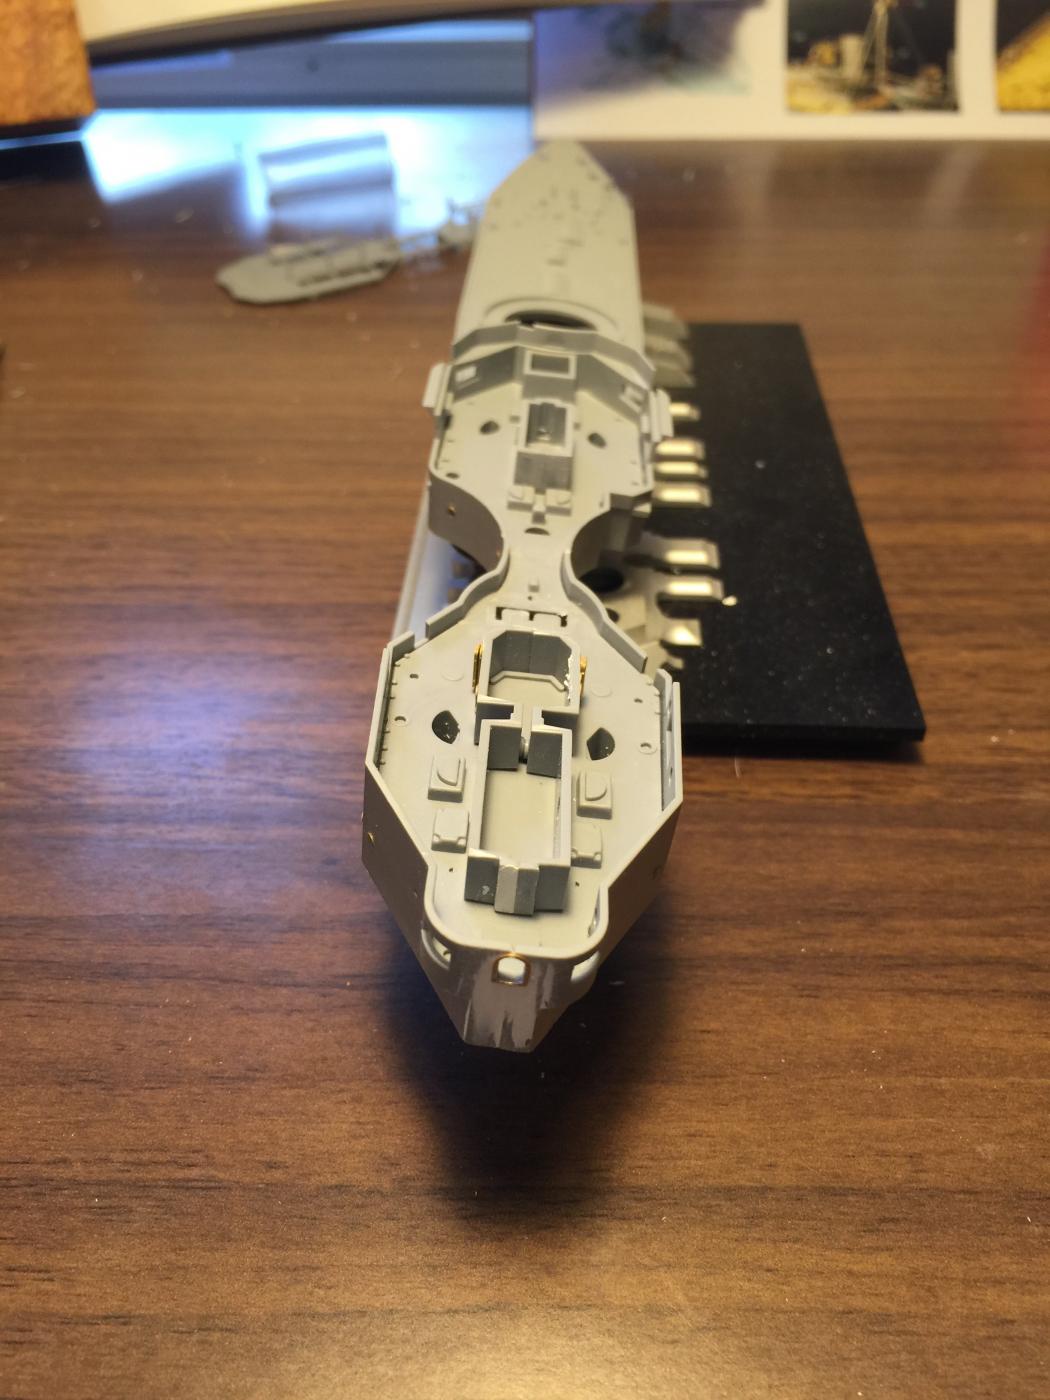
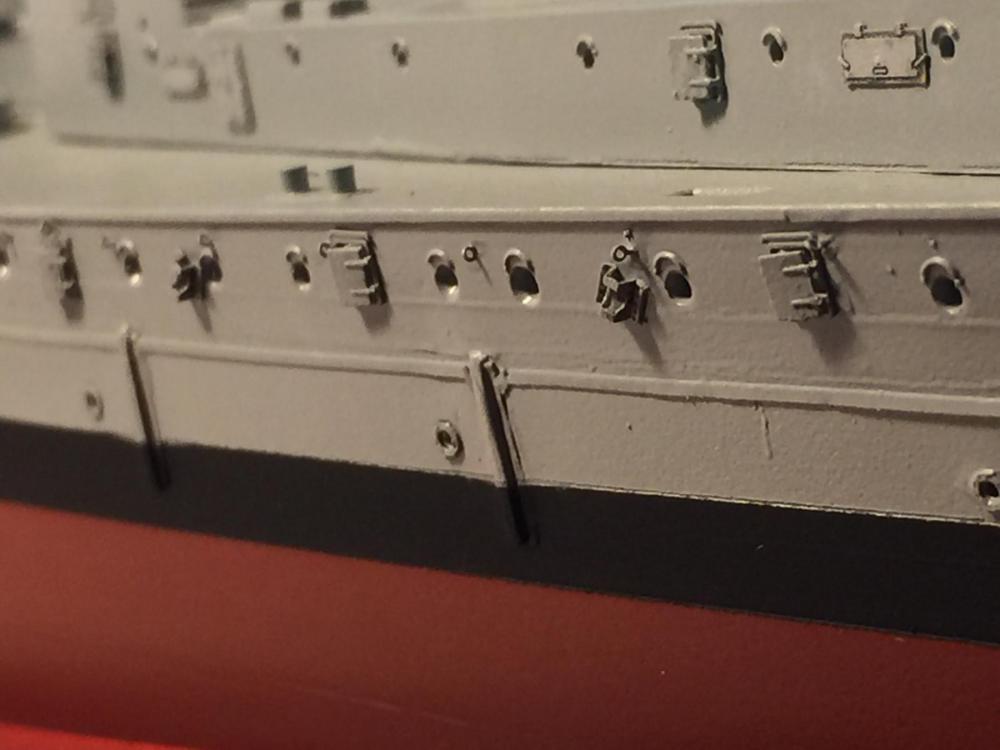
Ok, a heap of photo etch cut and painted off hull, .then added today. The brackets for the torpedo net booms, multiple side hatches (which for some reason Pontos chose to ignore) and a bit of dry brushing


- 342 replies
-
- 19
-
-
- dreadnought
- zvezda
- (and 2 more)
-
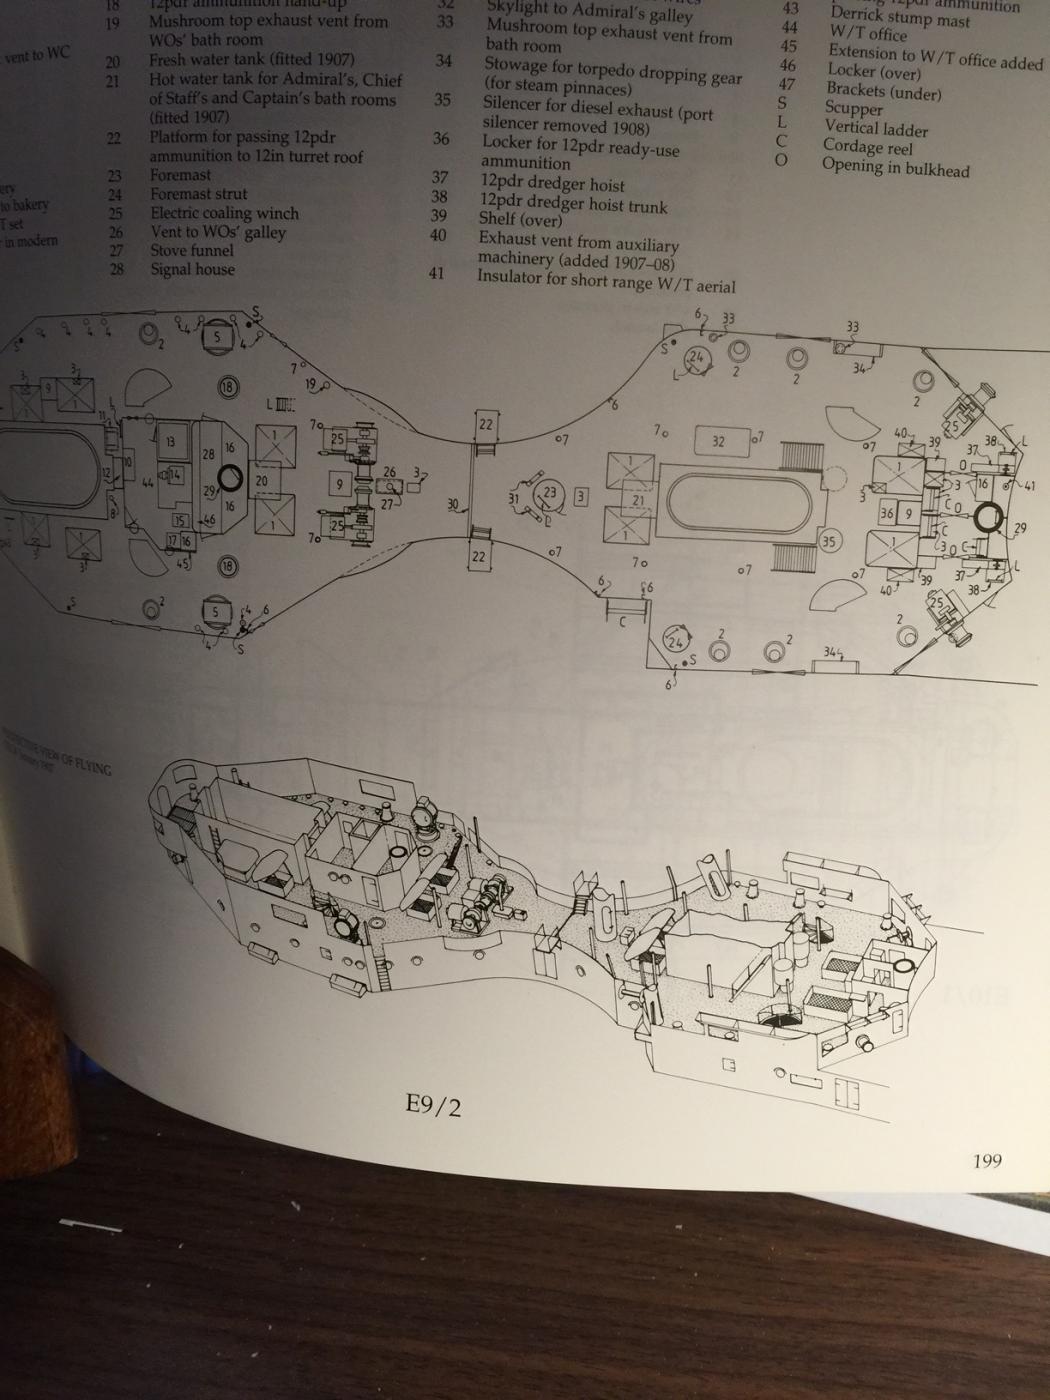
I had a look at the AOTS, and whilst it is there, it does not say what it is, but I would expect it is a strengthening piece maybe for ramming subs or if it went aground.
-
I'll probably leave it as is. Given there is no detail, there is very little to work with. I don't want to weather it apart from bringing up detail and leave it as a builders model. Weathering is like being a little bit pregnant, you are or you aren't. This would have been a filthy ship given the times, and to do it properly it would be covered in streaks. Your thoughts?
- 342 replies
-
- 4
-
-
- dreadnought
- zvezda
- (and 2 more)
-
I believe Jim! The problem is to change them now will destroy the entire assembly!!!!when the model is complete, and the nets are slung out, it will hopefully not be so noticeable. They are about 7mm is diameter.
- 342 replies
-
- 7
-
-
- dreadnought
- zvezda
- (and 2 more)
-
Just to prove your point someone will drag one out from obscurity now. I can believe there are so few photos.
- 342 replies
-
- 3
-
-
- dreadnought
- zvezda
- (and 2 more)
-
Yes mate, and harder to hide sins, but needs far less skill.
- 342 replies
-
- 5
-
-
- dreadnought
- zvezda
- (and 2 more)
-
Bugger! As they are glued on any removal now would be catastrophic! The only reference available is in the AOTS book, no photos exist. But I have learnt sonething new at least!
- 342 replies
-
- 6
-
-
- dreadnought
- zvezda
- (and 2 more)
-
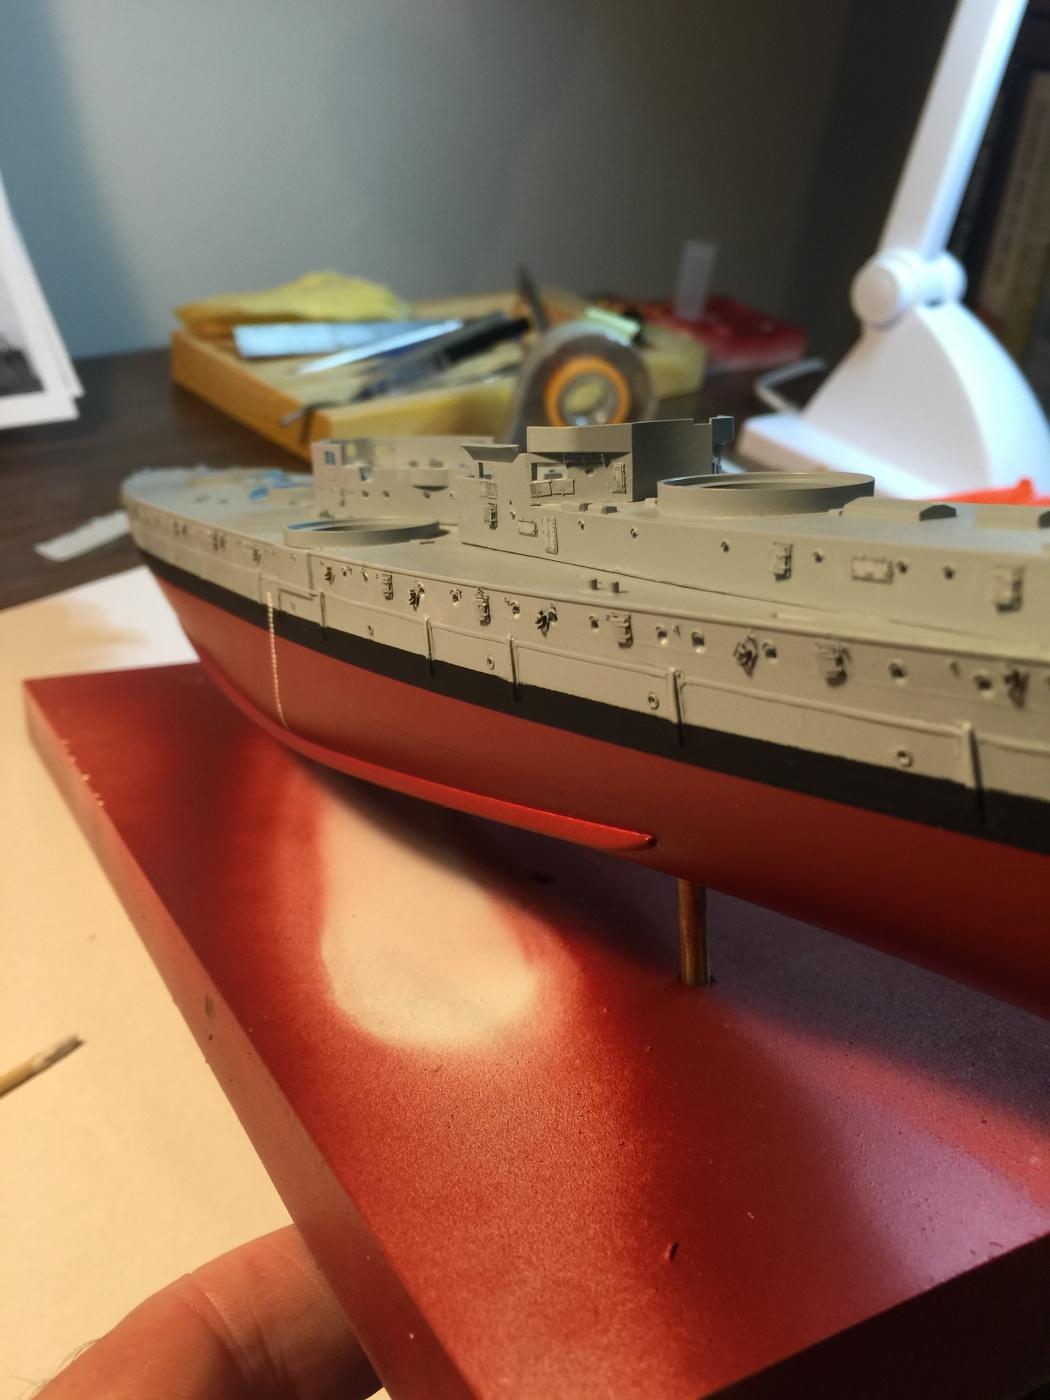
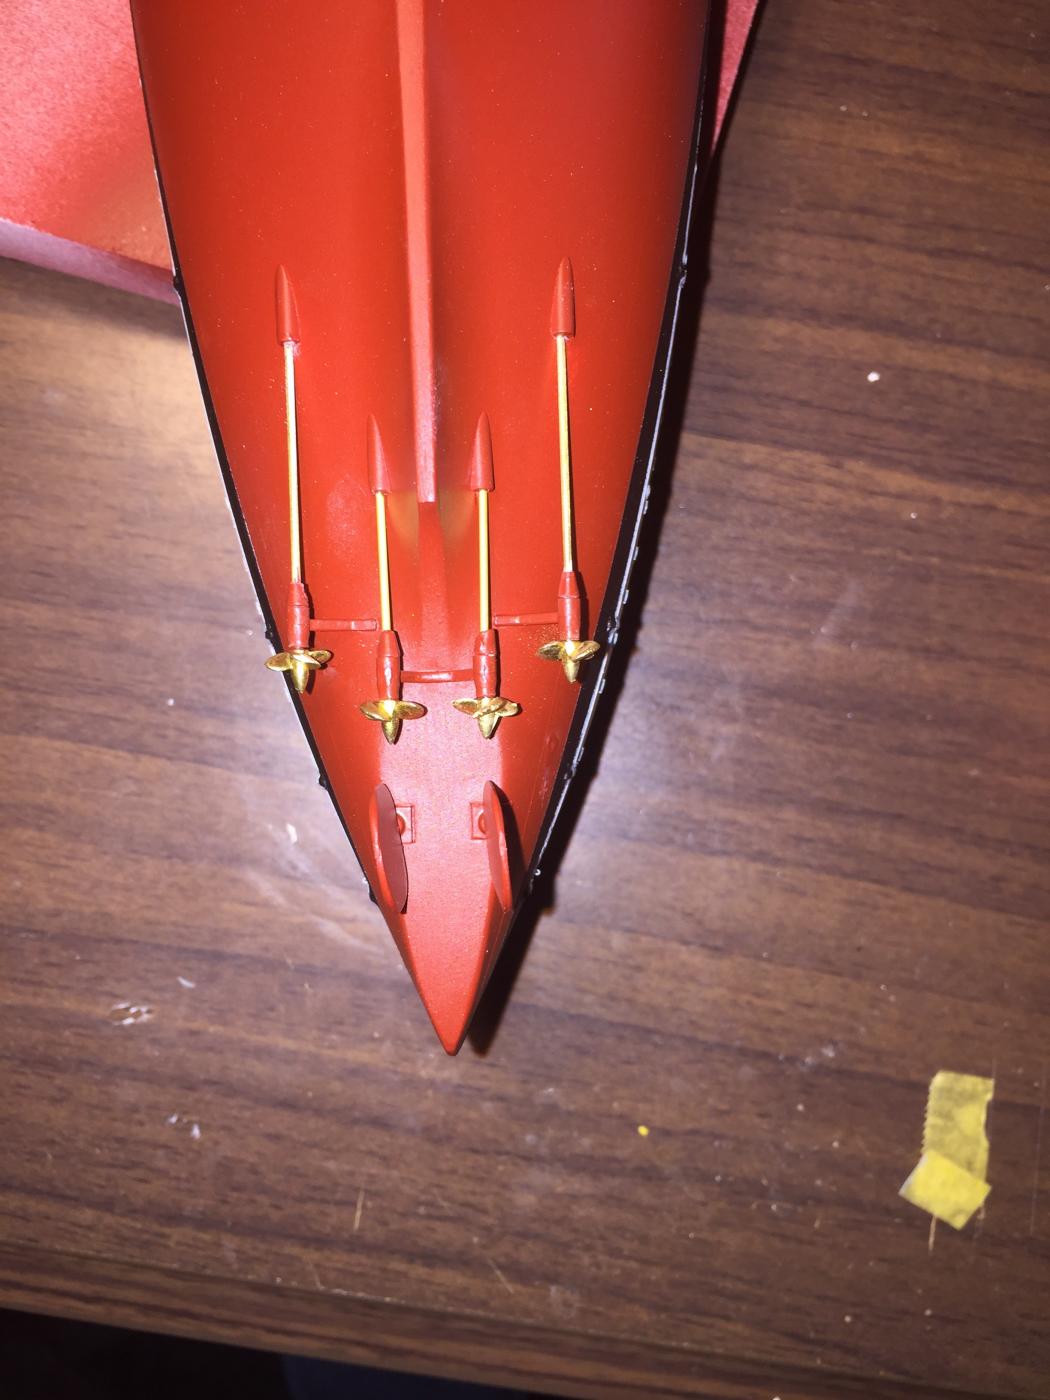
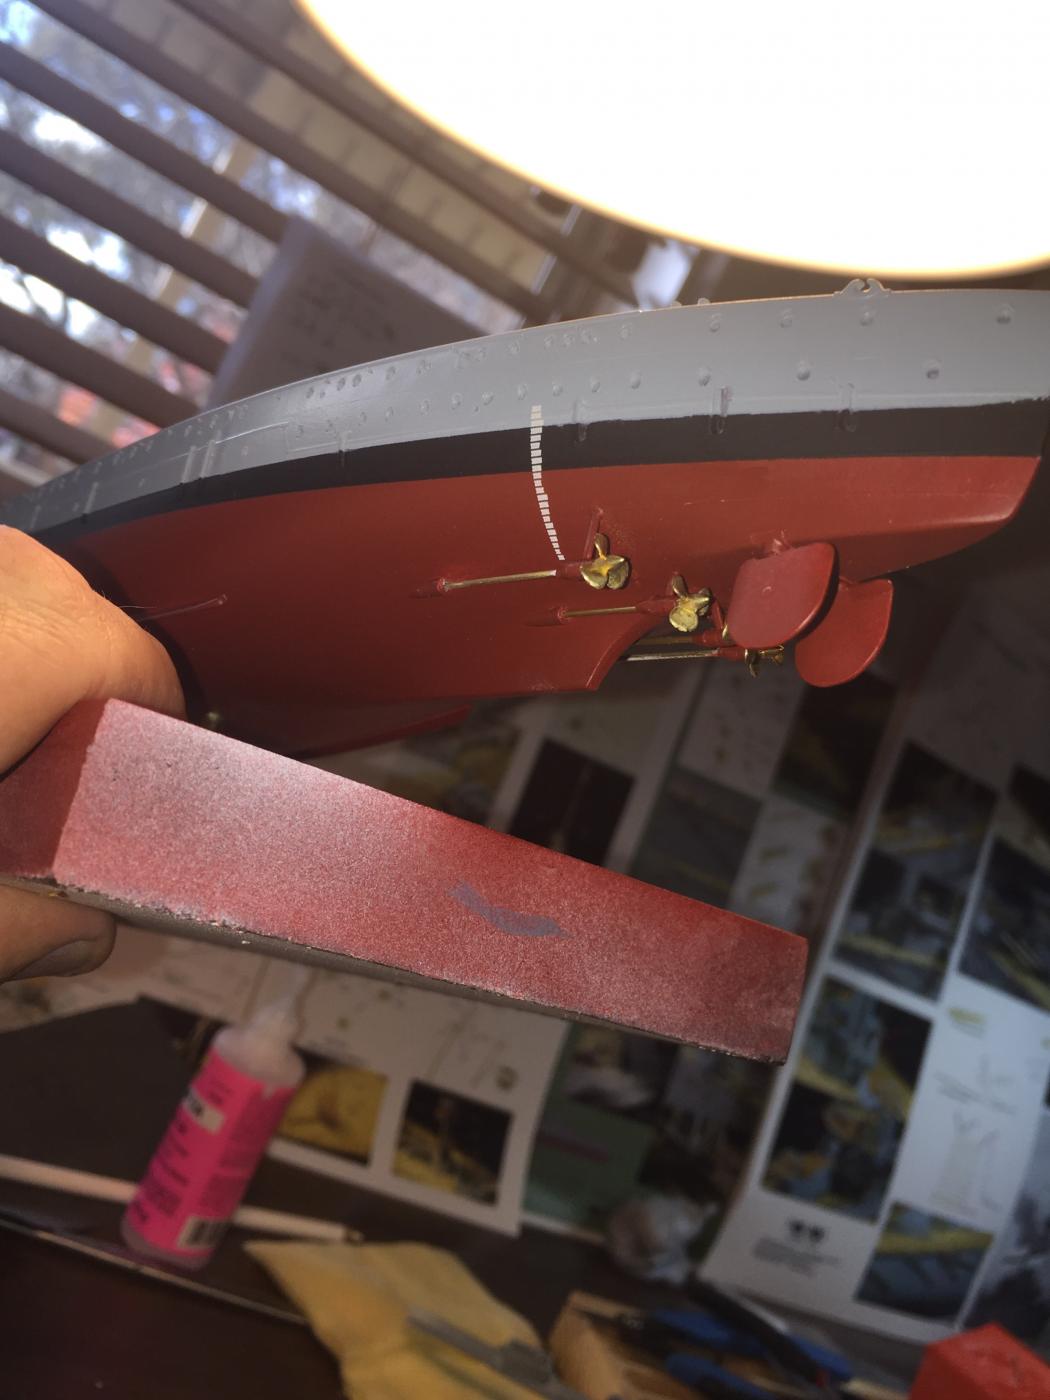
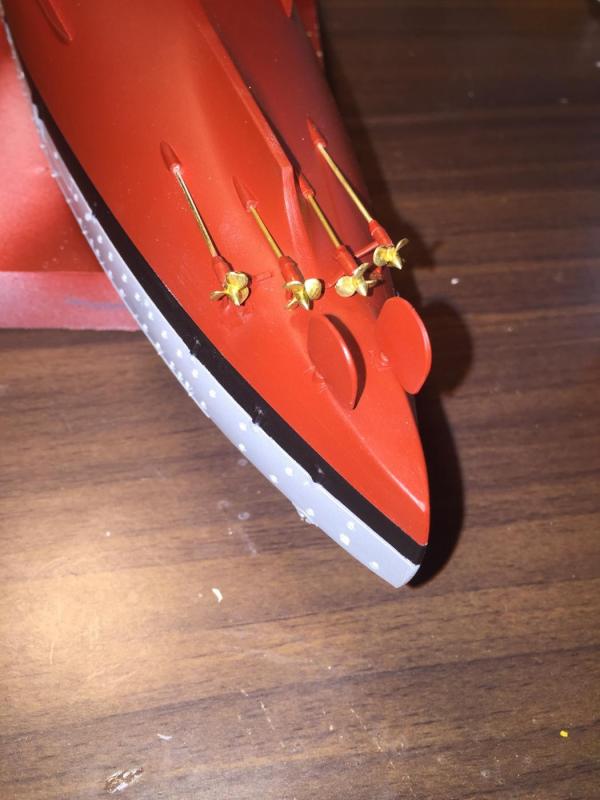
The screw and shafts complete. I used some lovely G Factor brass ones specific to this kit. I then placed on the depth markers. These are dry transfers which I have never used before but after a quick look on the internet on how to use them (no instructions were provided) they went on very easily. If you loom closely at the tird phot you can see the .3mm rings for the torpedo boom rigging. This is now my Monday morning so back to the grind.


- 342 replies
-
- 15
-
-
- dreadnought
- zvezda
- (and 2 more)
-
Ha, it is called a guess of paint, the closest I could find in a rattle can. I won't do any dry brushing until I've added the multiple hatches etch. I'm following your lead and doing the screws next
- 342 replies
-
- 8
-
-
- dreadnought
- zvezda
- (and 2 more)
-
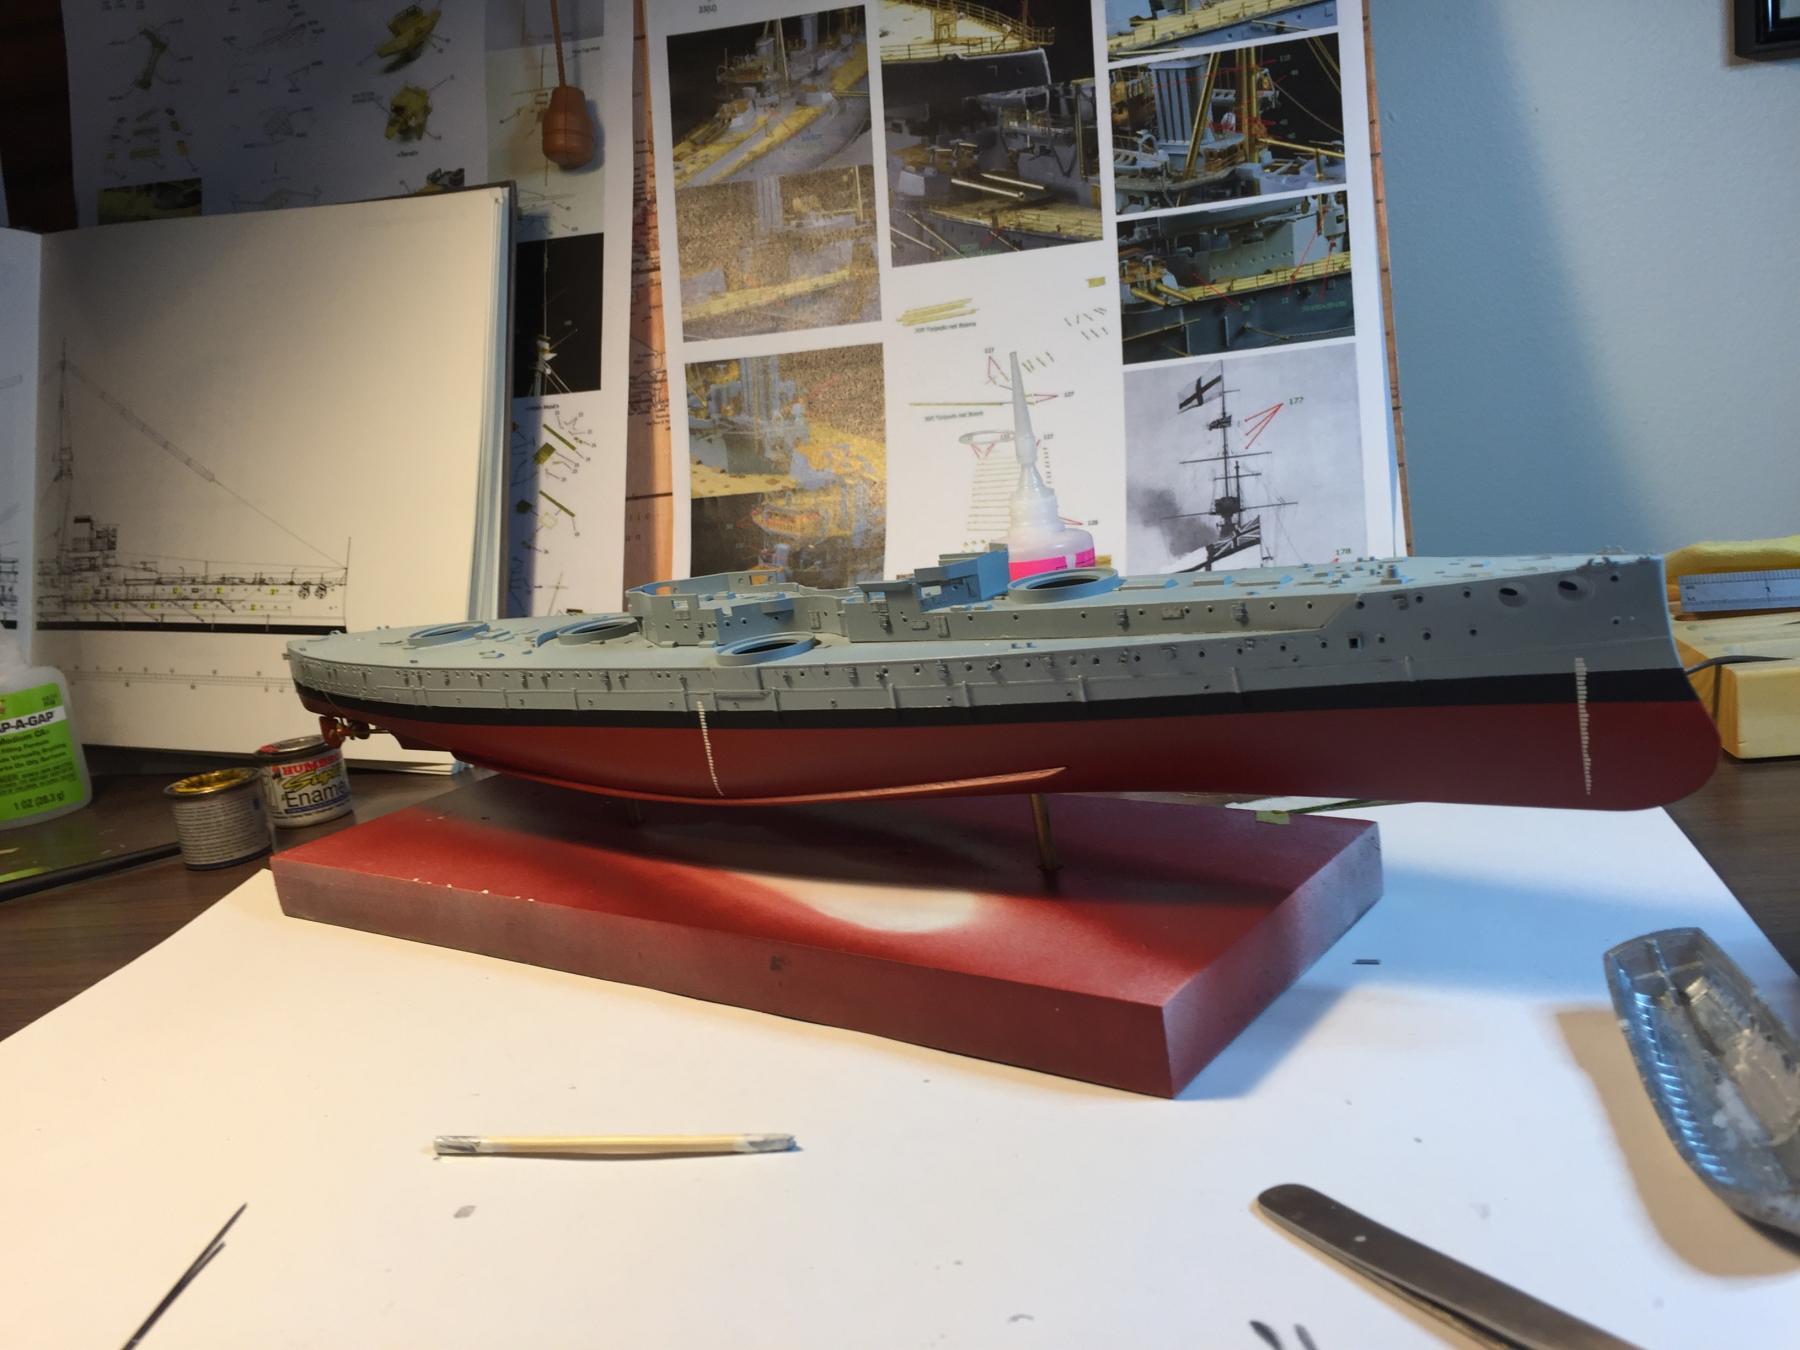
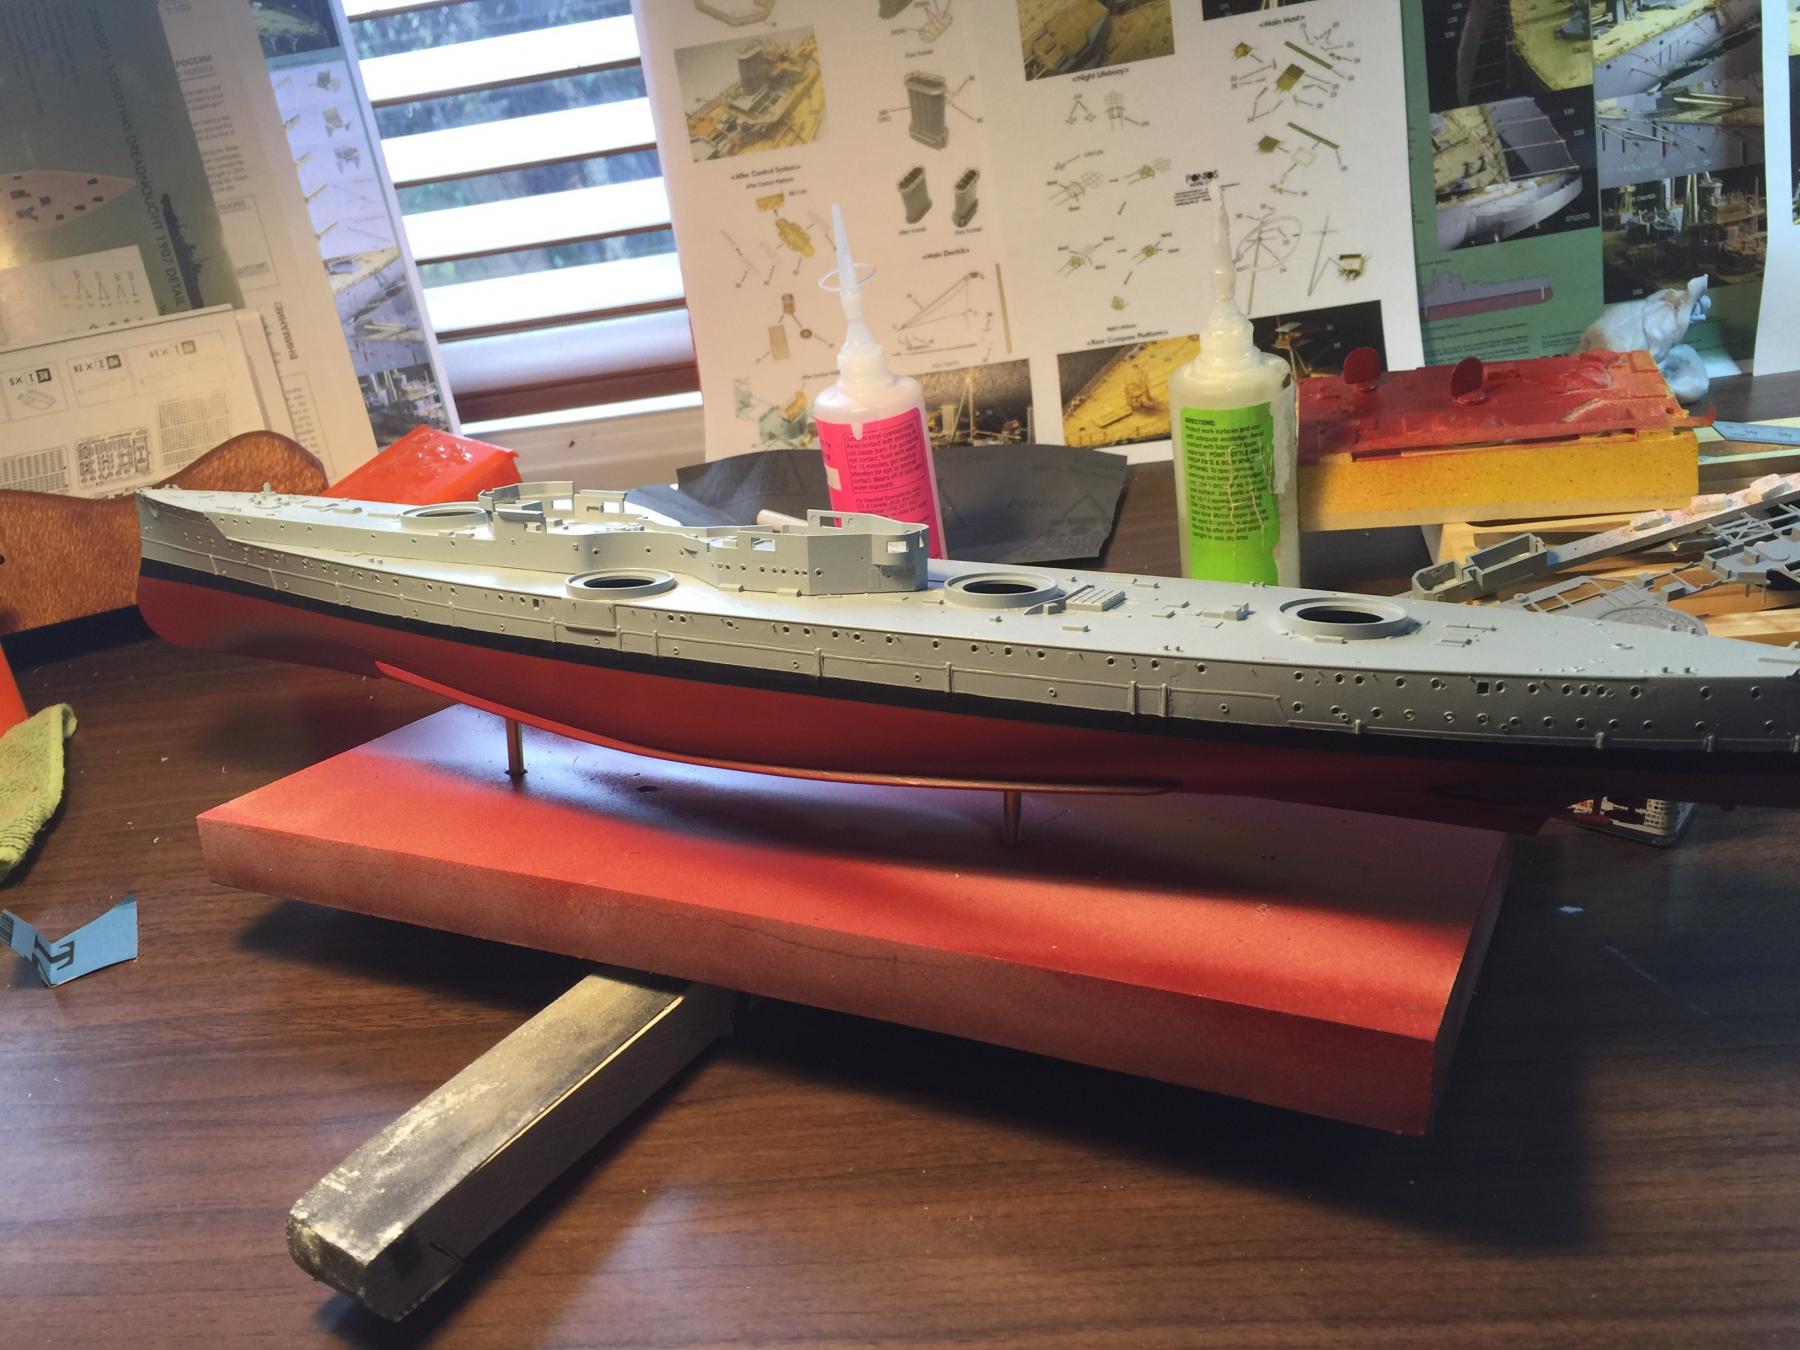
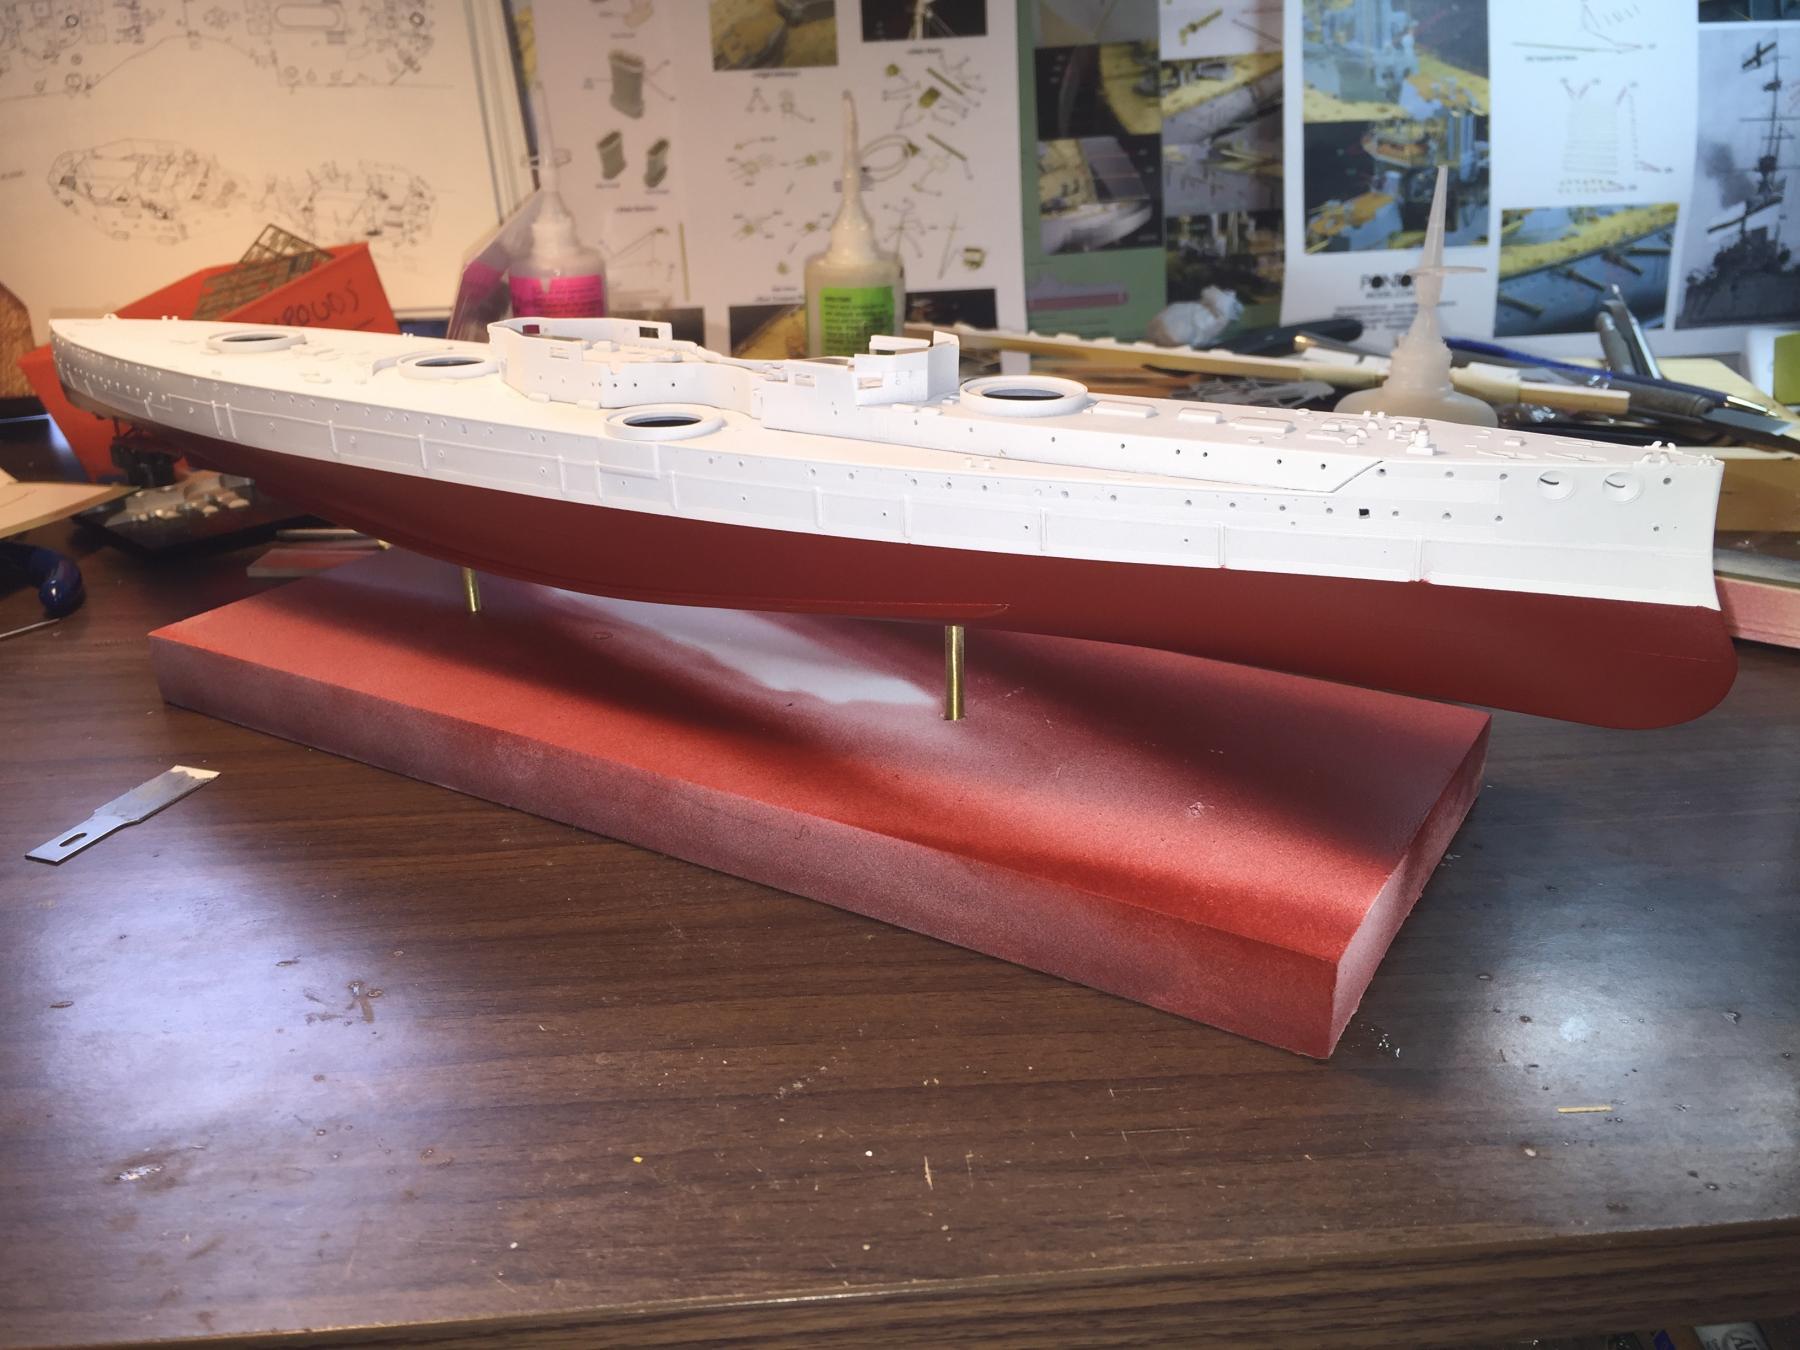
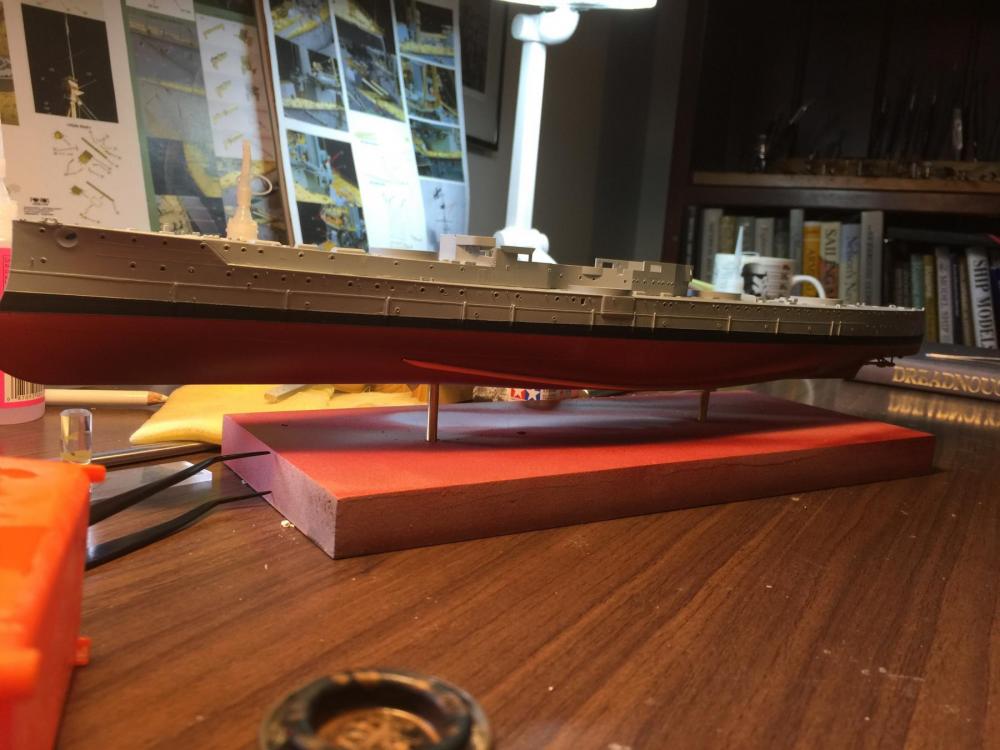
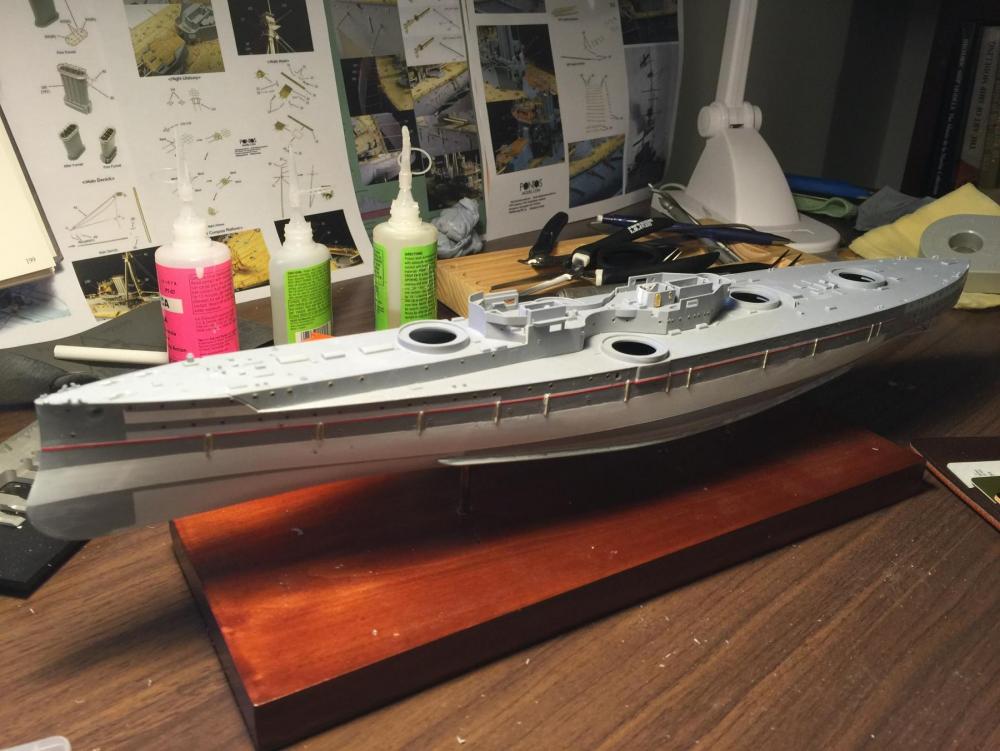
The basic hull is now complete, lots of details to go, but the main painting is done. The armor bands came up OK.
- 342 replies
-
- 17
-
-
- dreadnought
- zvezda
- (and 2 more)
-
There is a heap of plastic models and aftermarket coming out in 1/200 at the moment, OK if you have poor eyesight and lots of space I suppose. I often wonder what the kids will do with mine when I'm gone! The Endeavor would look good anywhere, the plastic ones are a matter of choice I suppose, so will end up in a bin.
- 342 replies
-
- 5
-
-
- dreadnought
- zvezda
- (and 2 more)
-
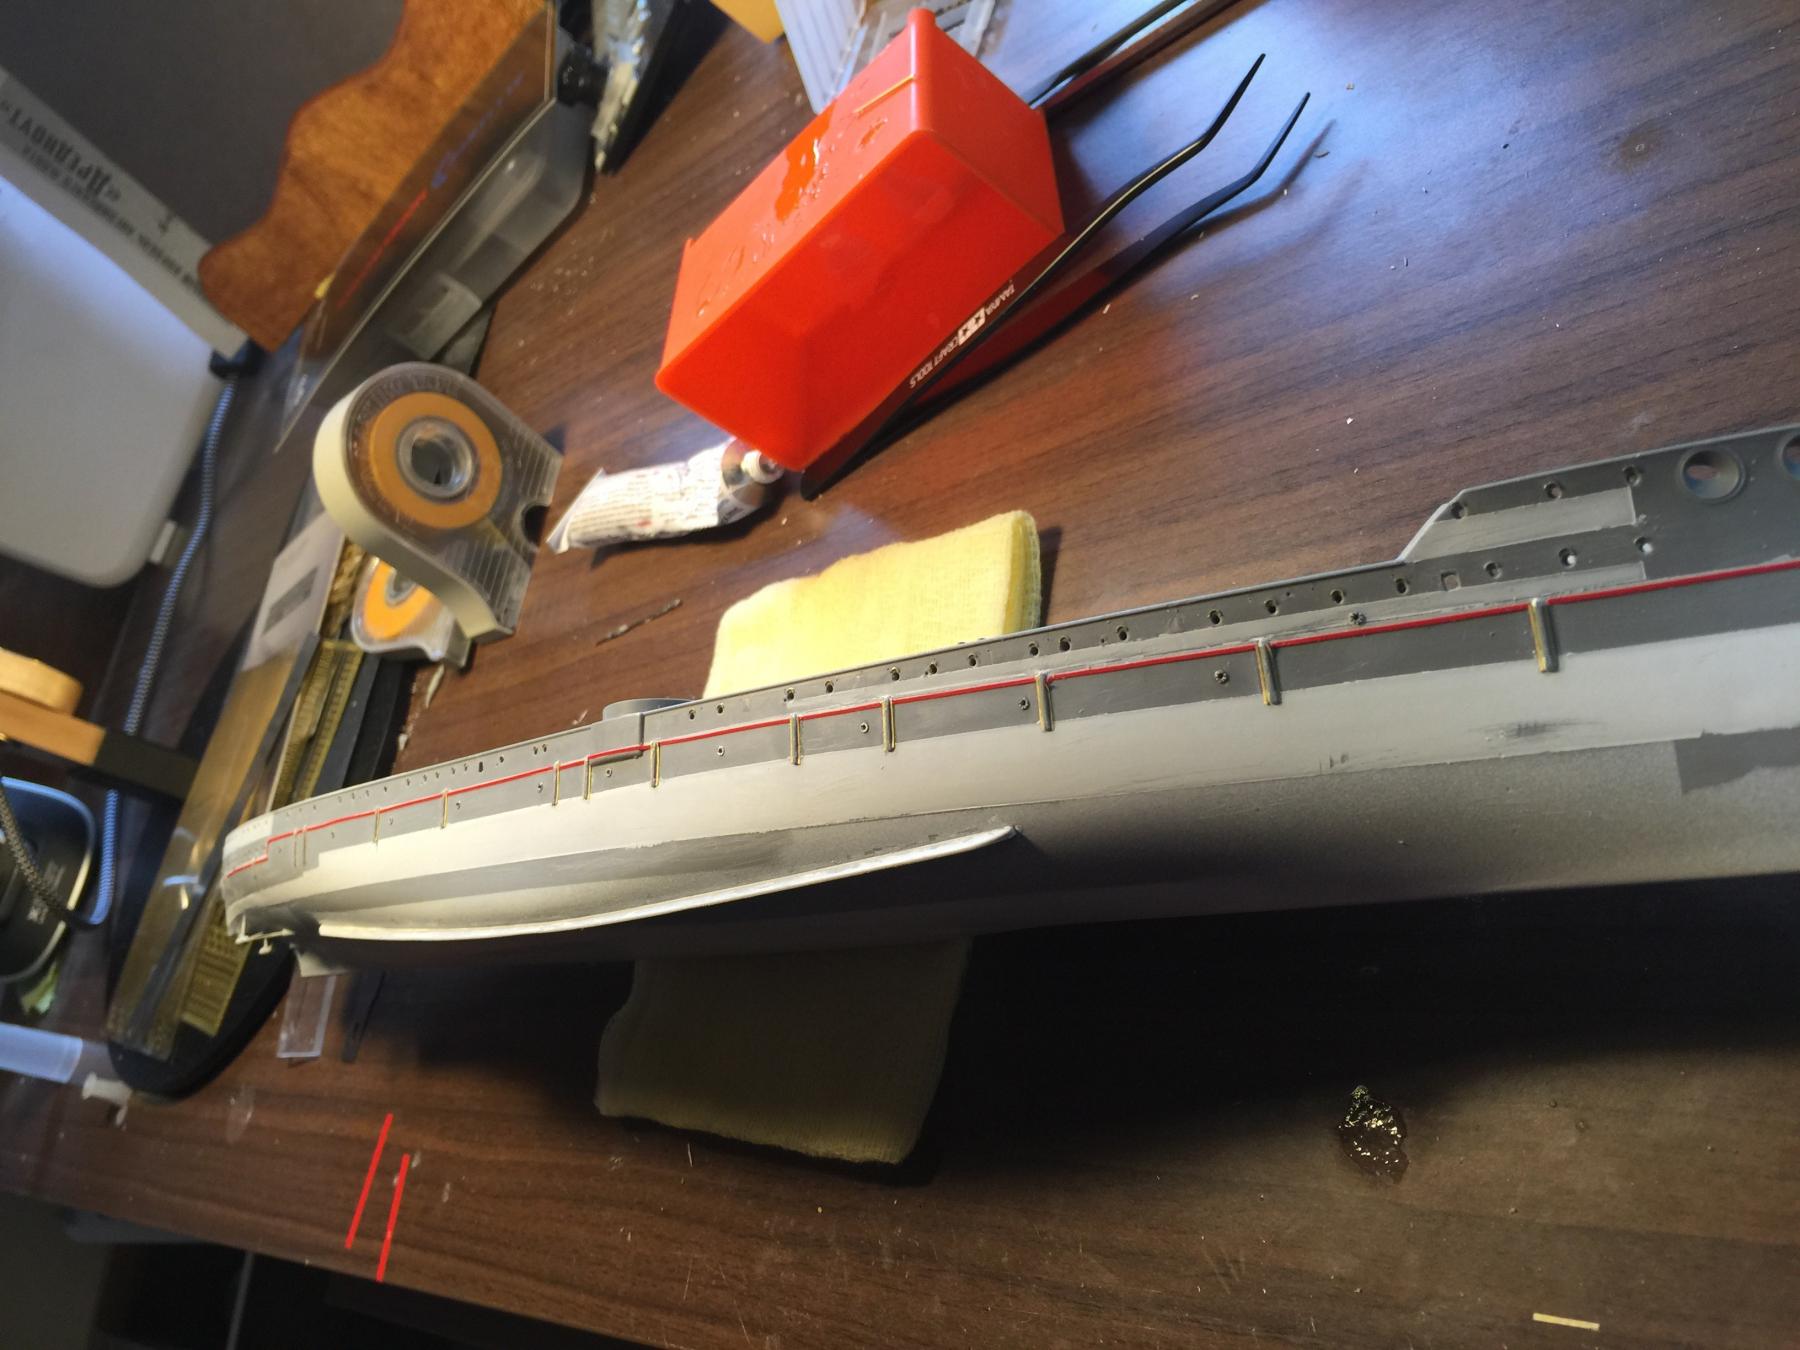
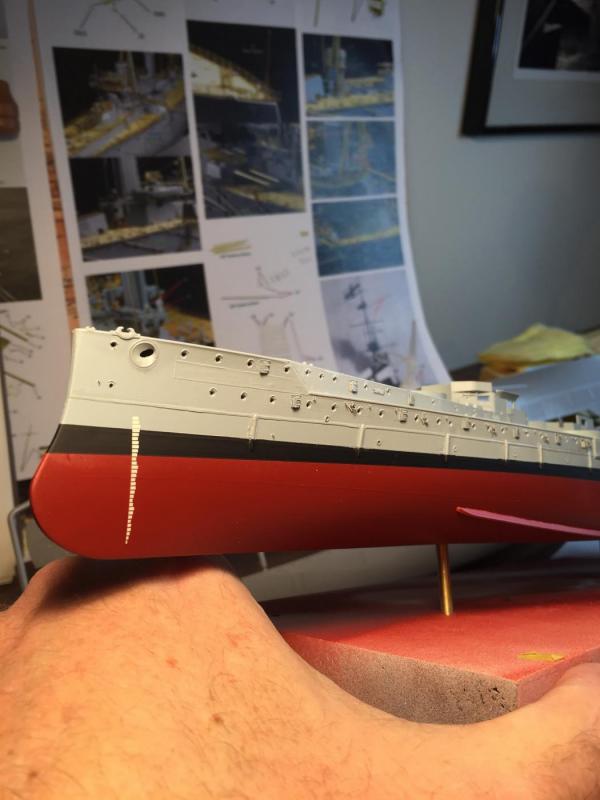
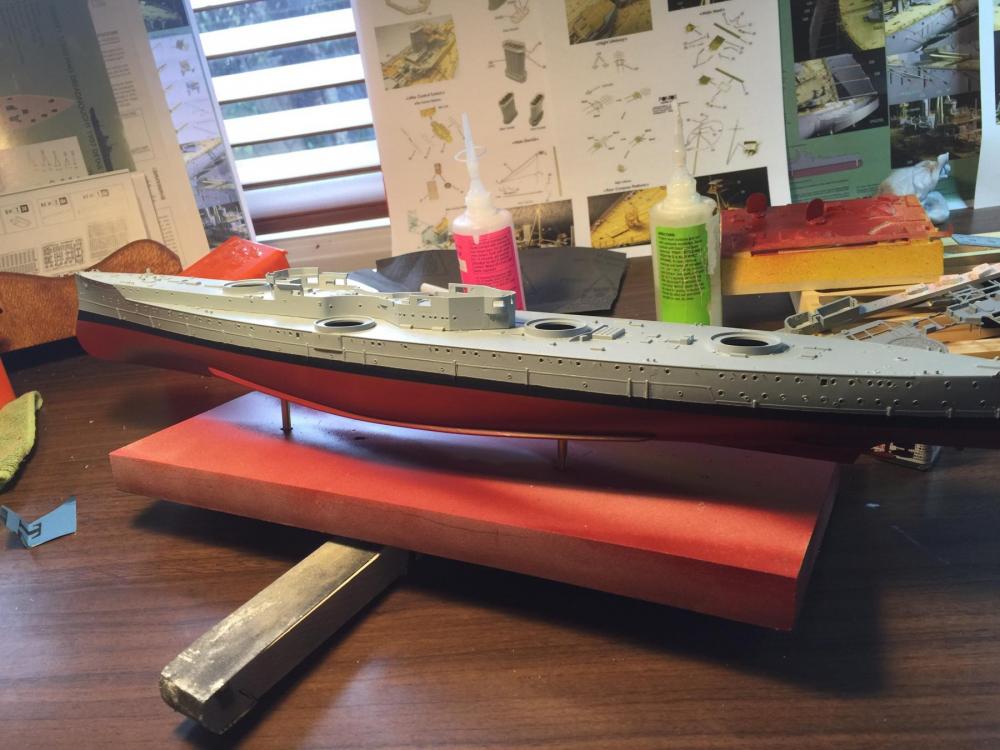
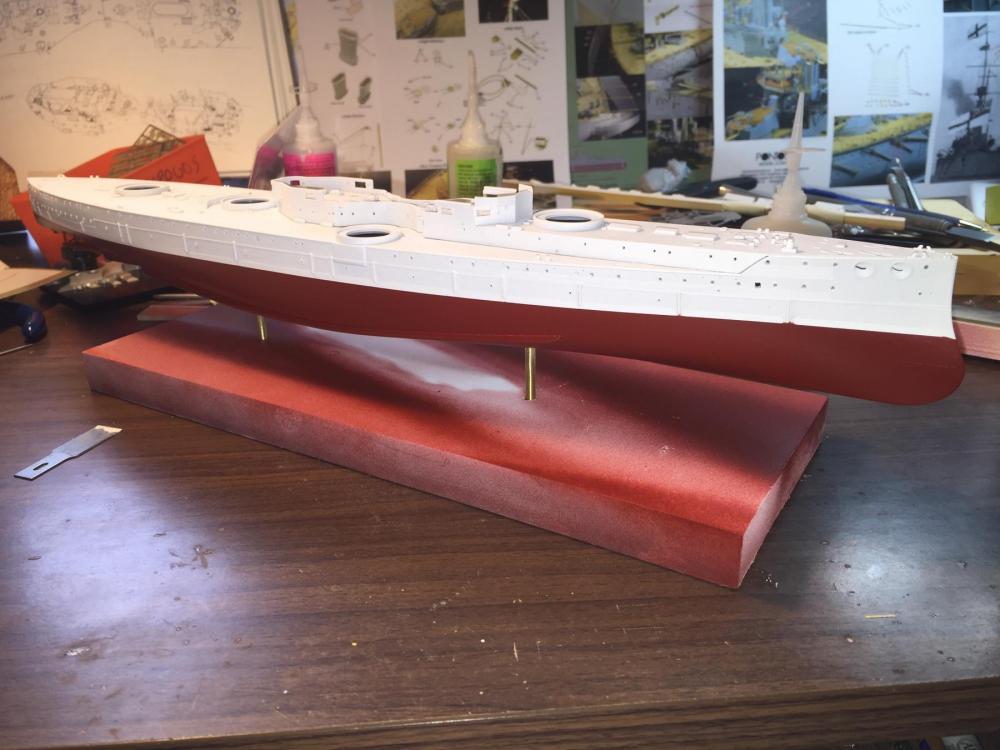
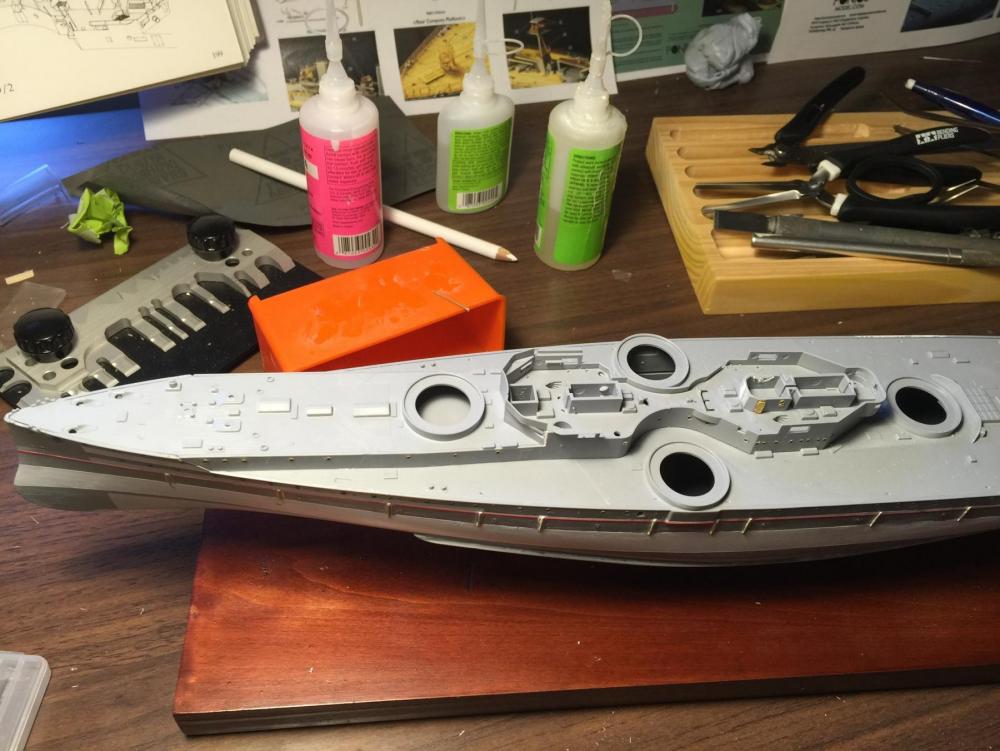
Moving along! Primer coat done and the armor belts came up OK. then the bottom of the hull. I want to leave it about 12 hours before I do the black band and upper hull. Over all I'm pretty happy so far. Before I do the grey top I want to add around 100 or eyelets to the side of the hull for the torpedo net boom rigging. They are so small I wont prime them as they will just fill up with paint.

- 342 replies
-
- 16
-
-
- dreadnought
- zvezda
- (and 2 more)
-
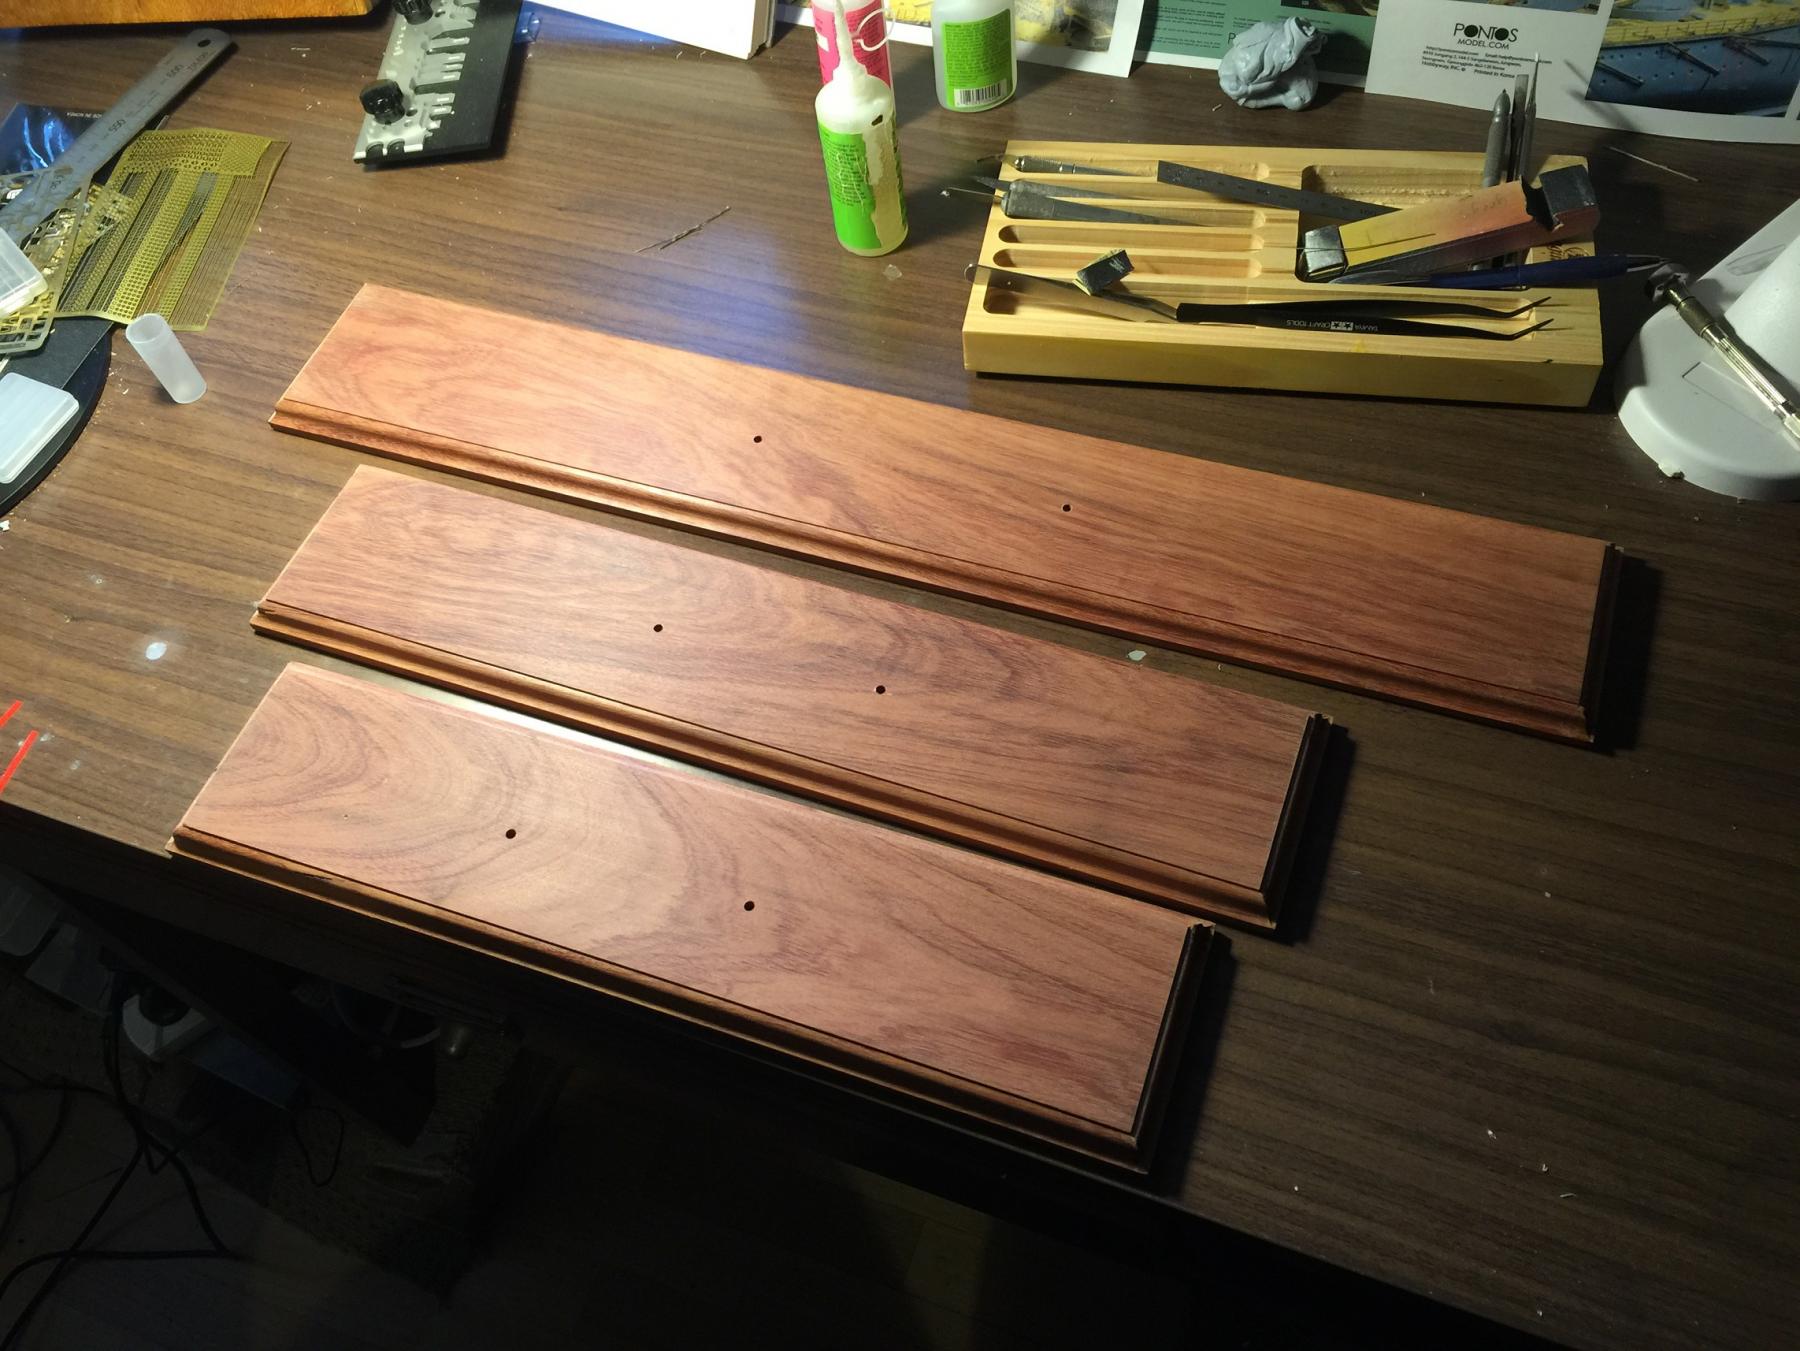
As an aside, a mate did up some baseboards in Jarra which I will use tongue oil on and wax afterwards so i can finally add the Emden and Varyag to the "digital graveyard" of the complete kits section

- 342 replies
-
- 13
-
-
- dreadnought
- zvezda
- (and 2 more)
-
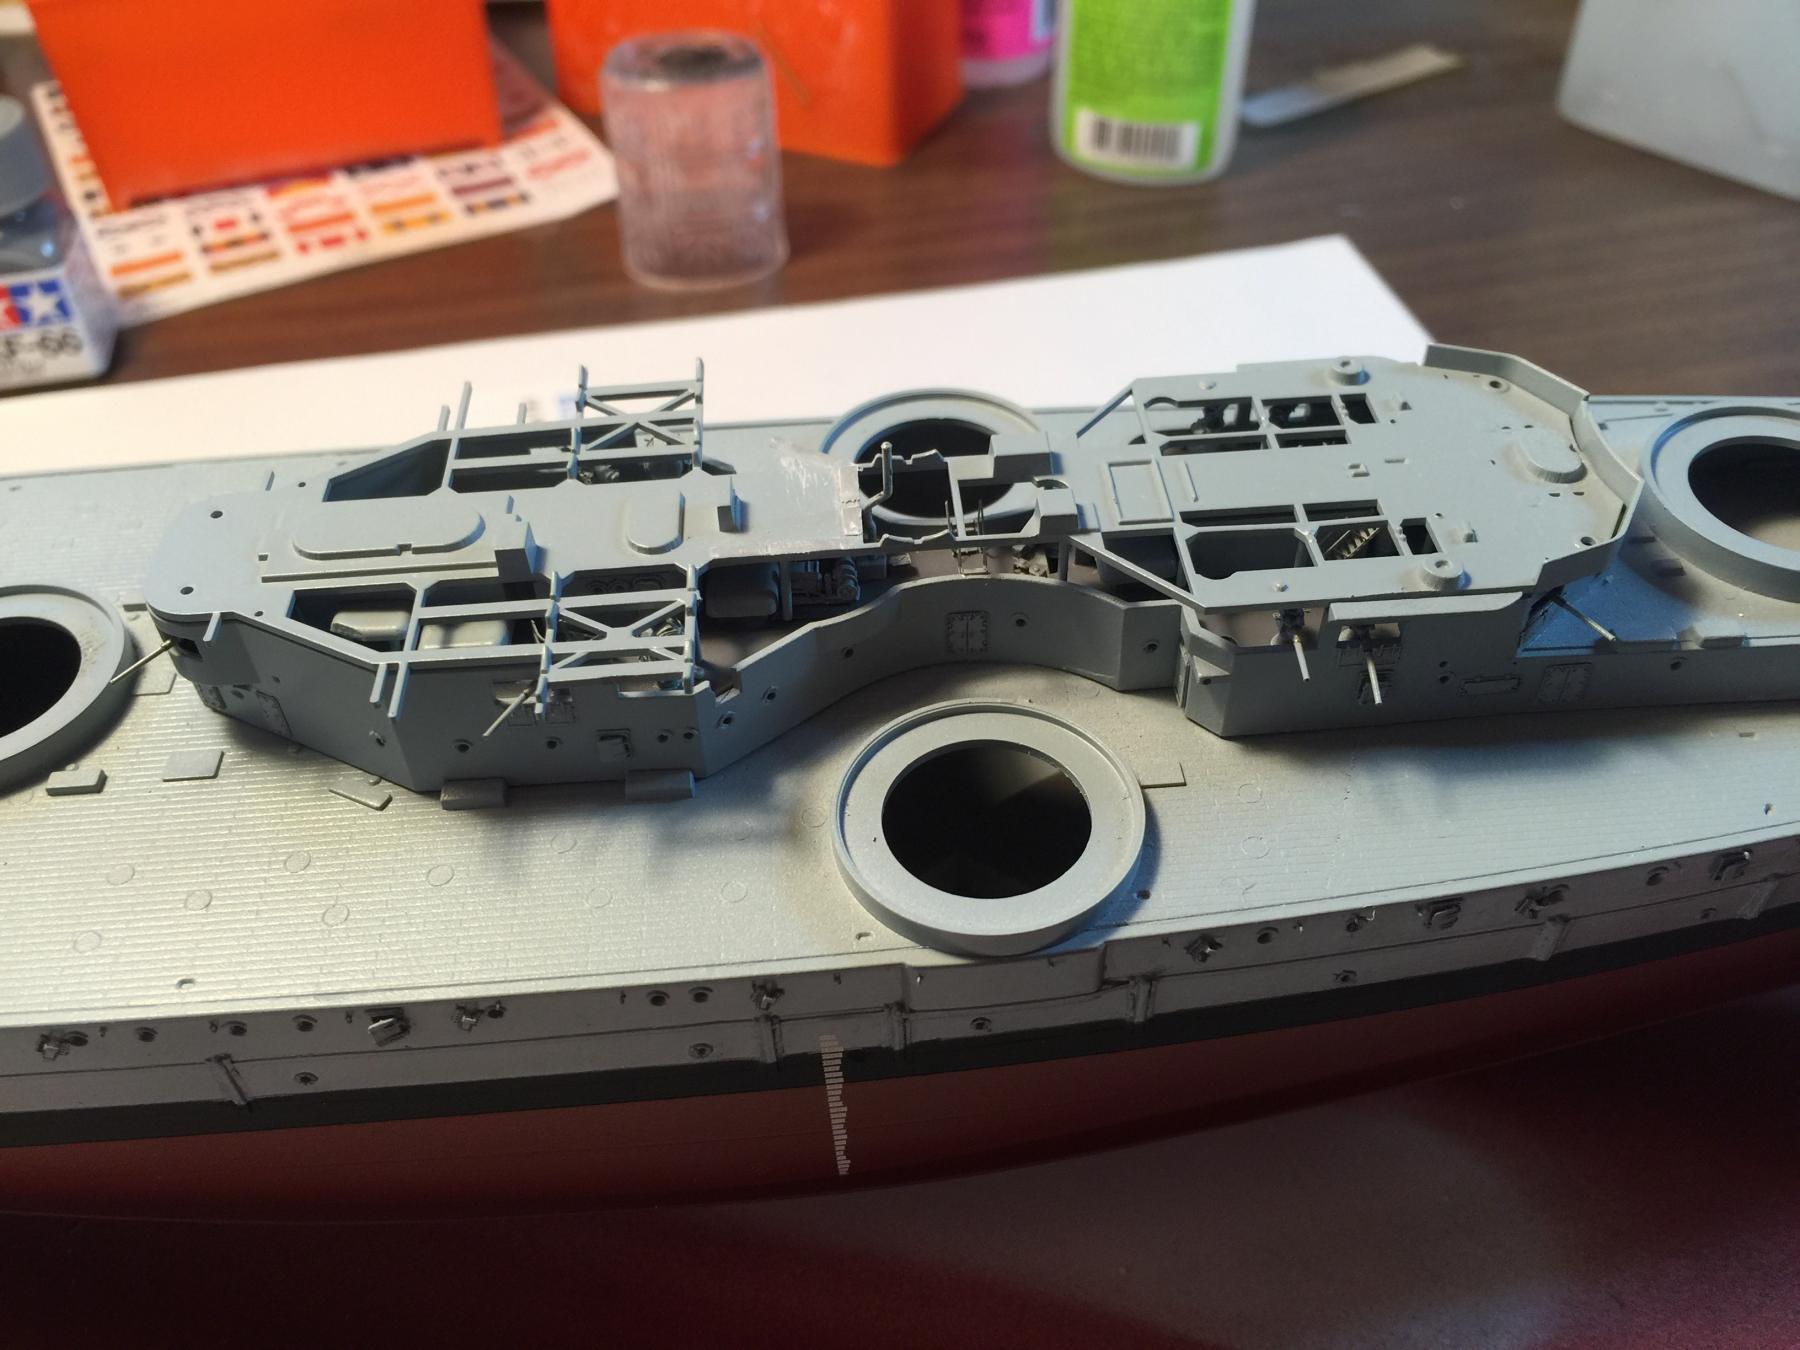
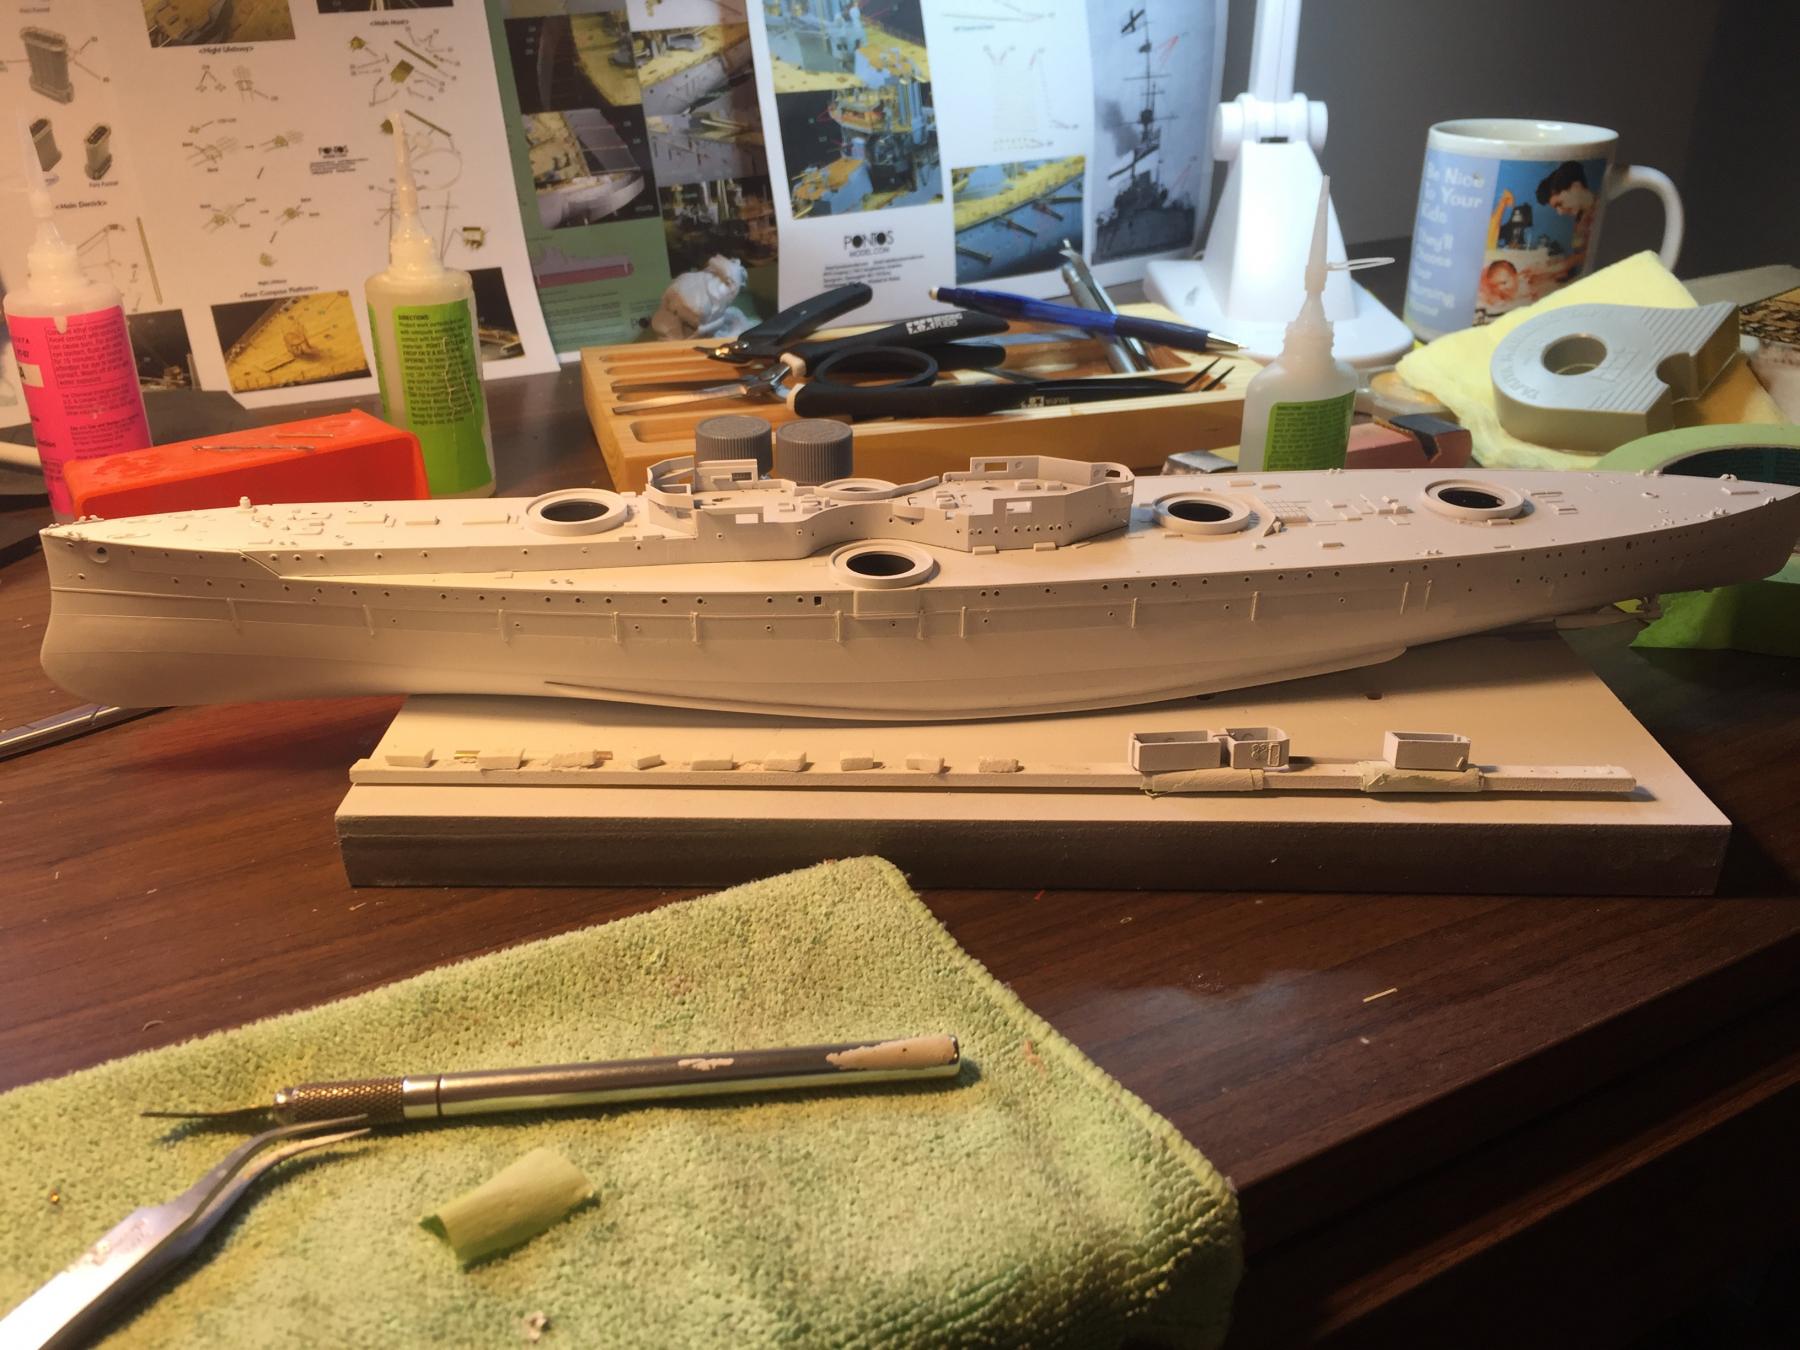
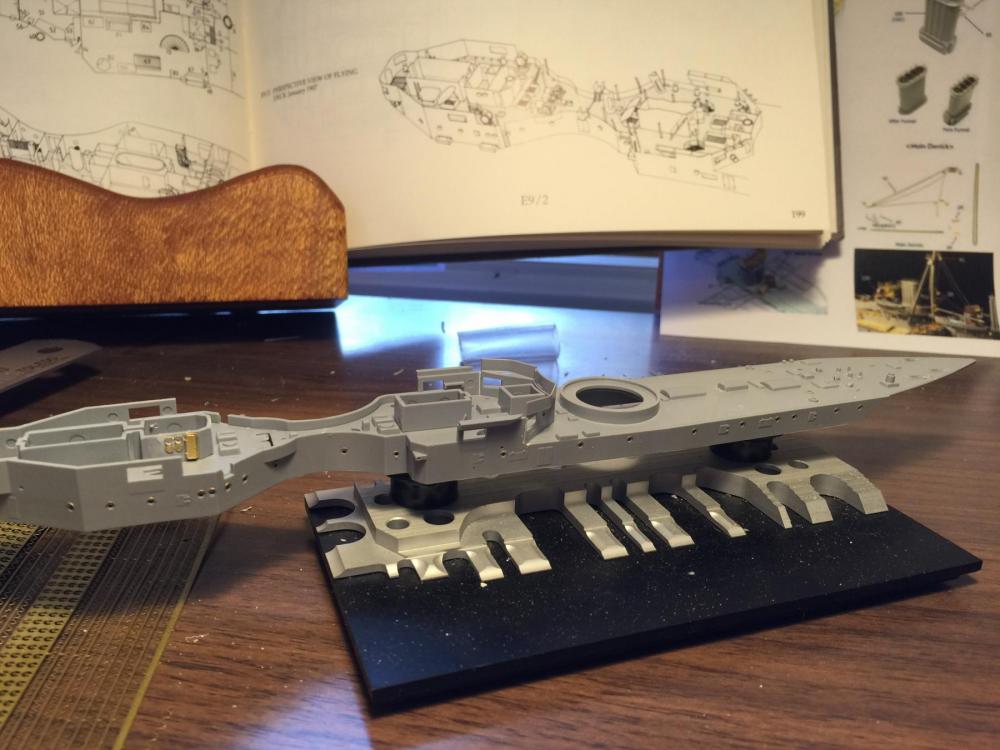
Ok, the flybridge (I suppose), does not sit well, and I wanted to join it before I painted. All the molded hatches have been shaved and will be added with etch afterwards. Major step as far as I'm concerned. Primer coat next.

- 342 replies
-
- 13
-
-
- dreadnought
- zvezda
- (and 2 more)
-
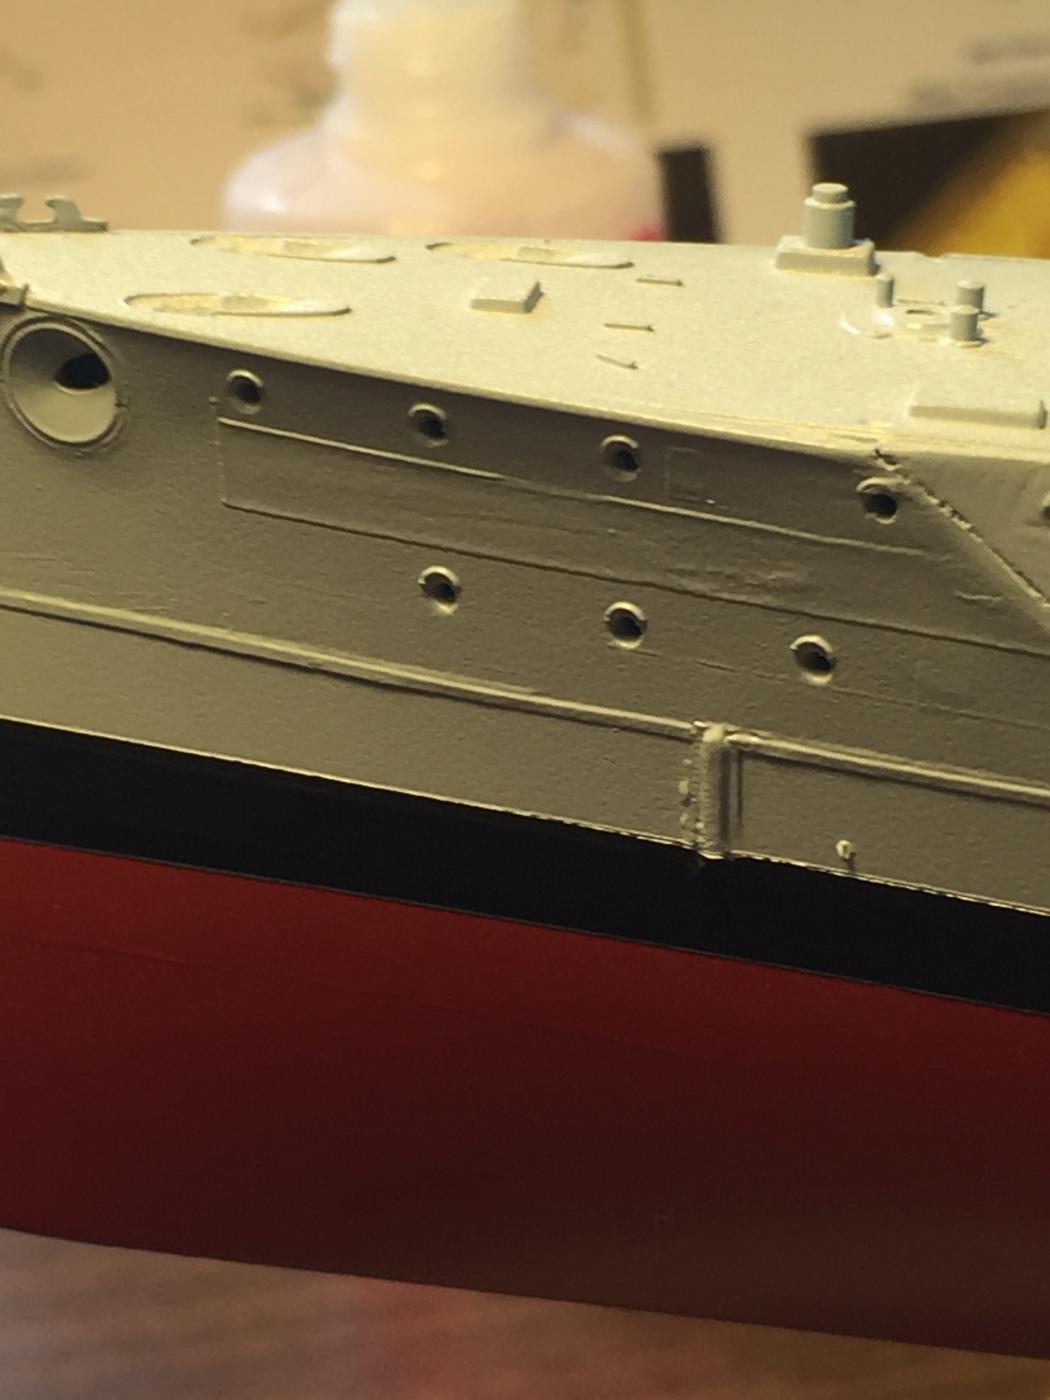
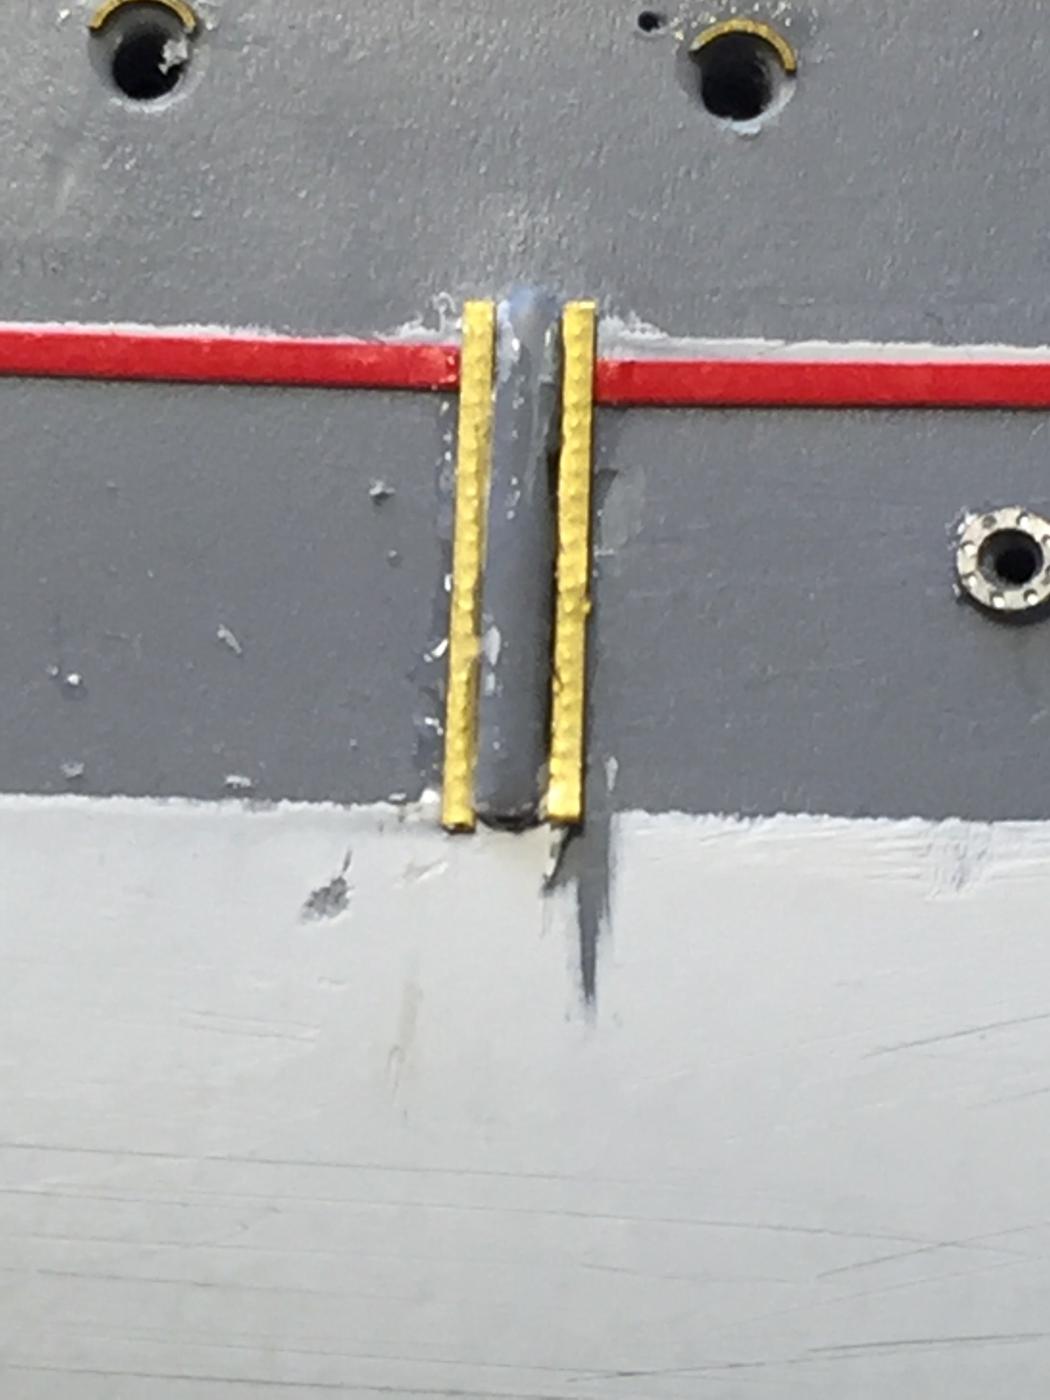
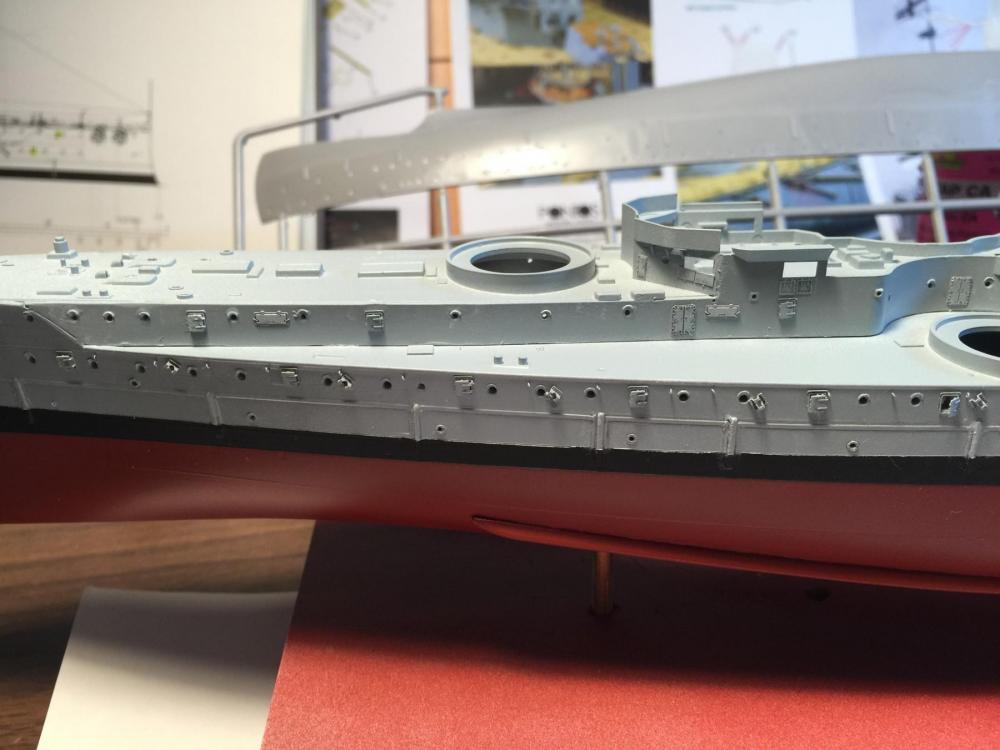
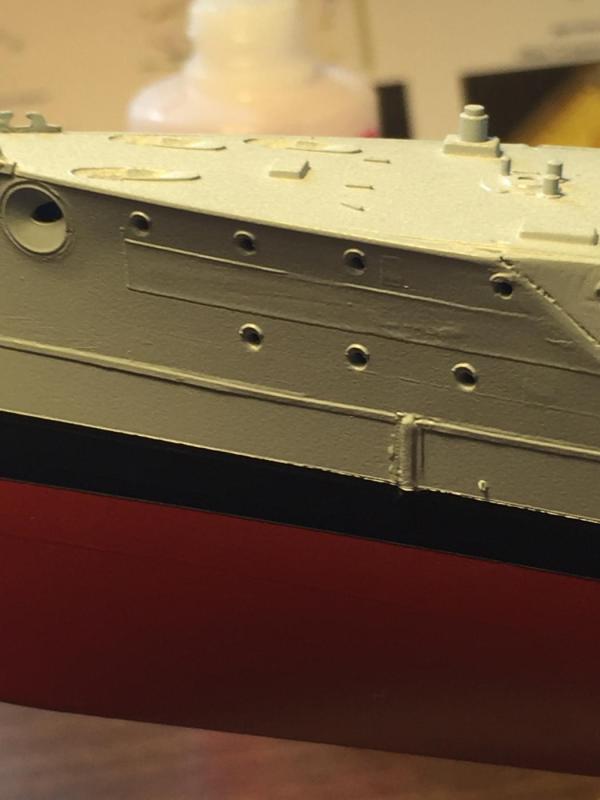
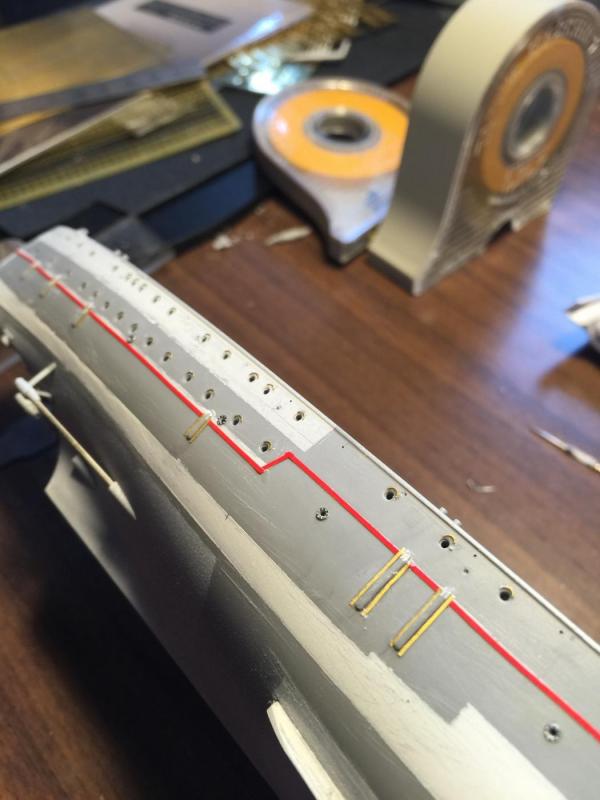
Moving along with the hull, 120 porthole eyebrows added, and strips along the strengthening bars with microscopic rivets in them (you can see these on the original photos) as well as the flanges for the torpedo booms. Looks messy but it is yet to have its first proper primer coat.


- 342 replies
-
- 11
-
-
- dreadnought
- zvezda
- (and 2 more)
-
That's not good mate, as I say to the bride, I don't go out drinking, I hate golf, I'm not mad about football, it's my meditation time.