RGL
-
Posts
5,550 -
Joined
-
Last visited
Content Type
Profiles
Forums
Gallery
Events
Everything posted by RGL
-
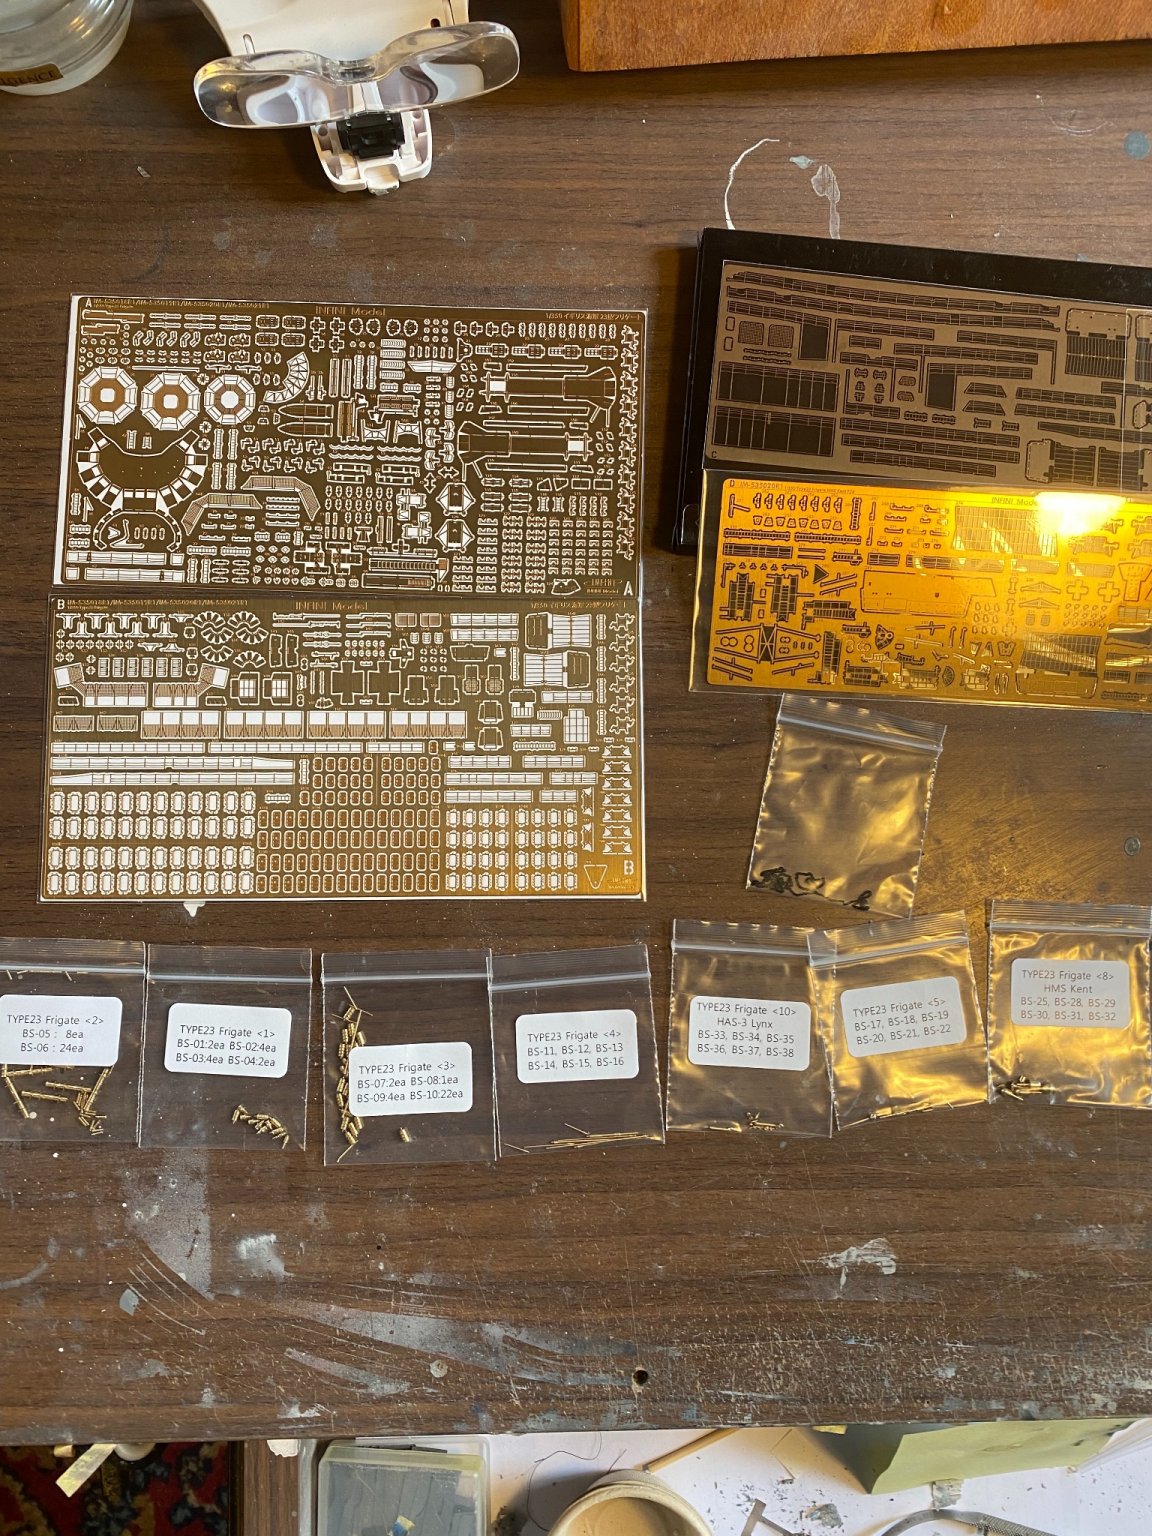
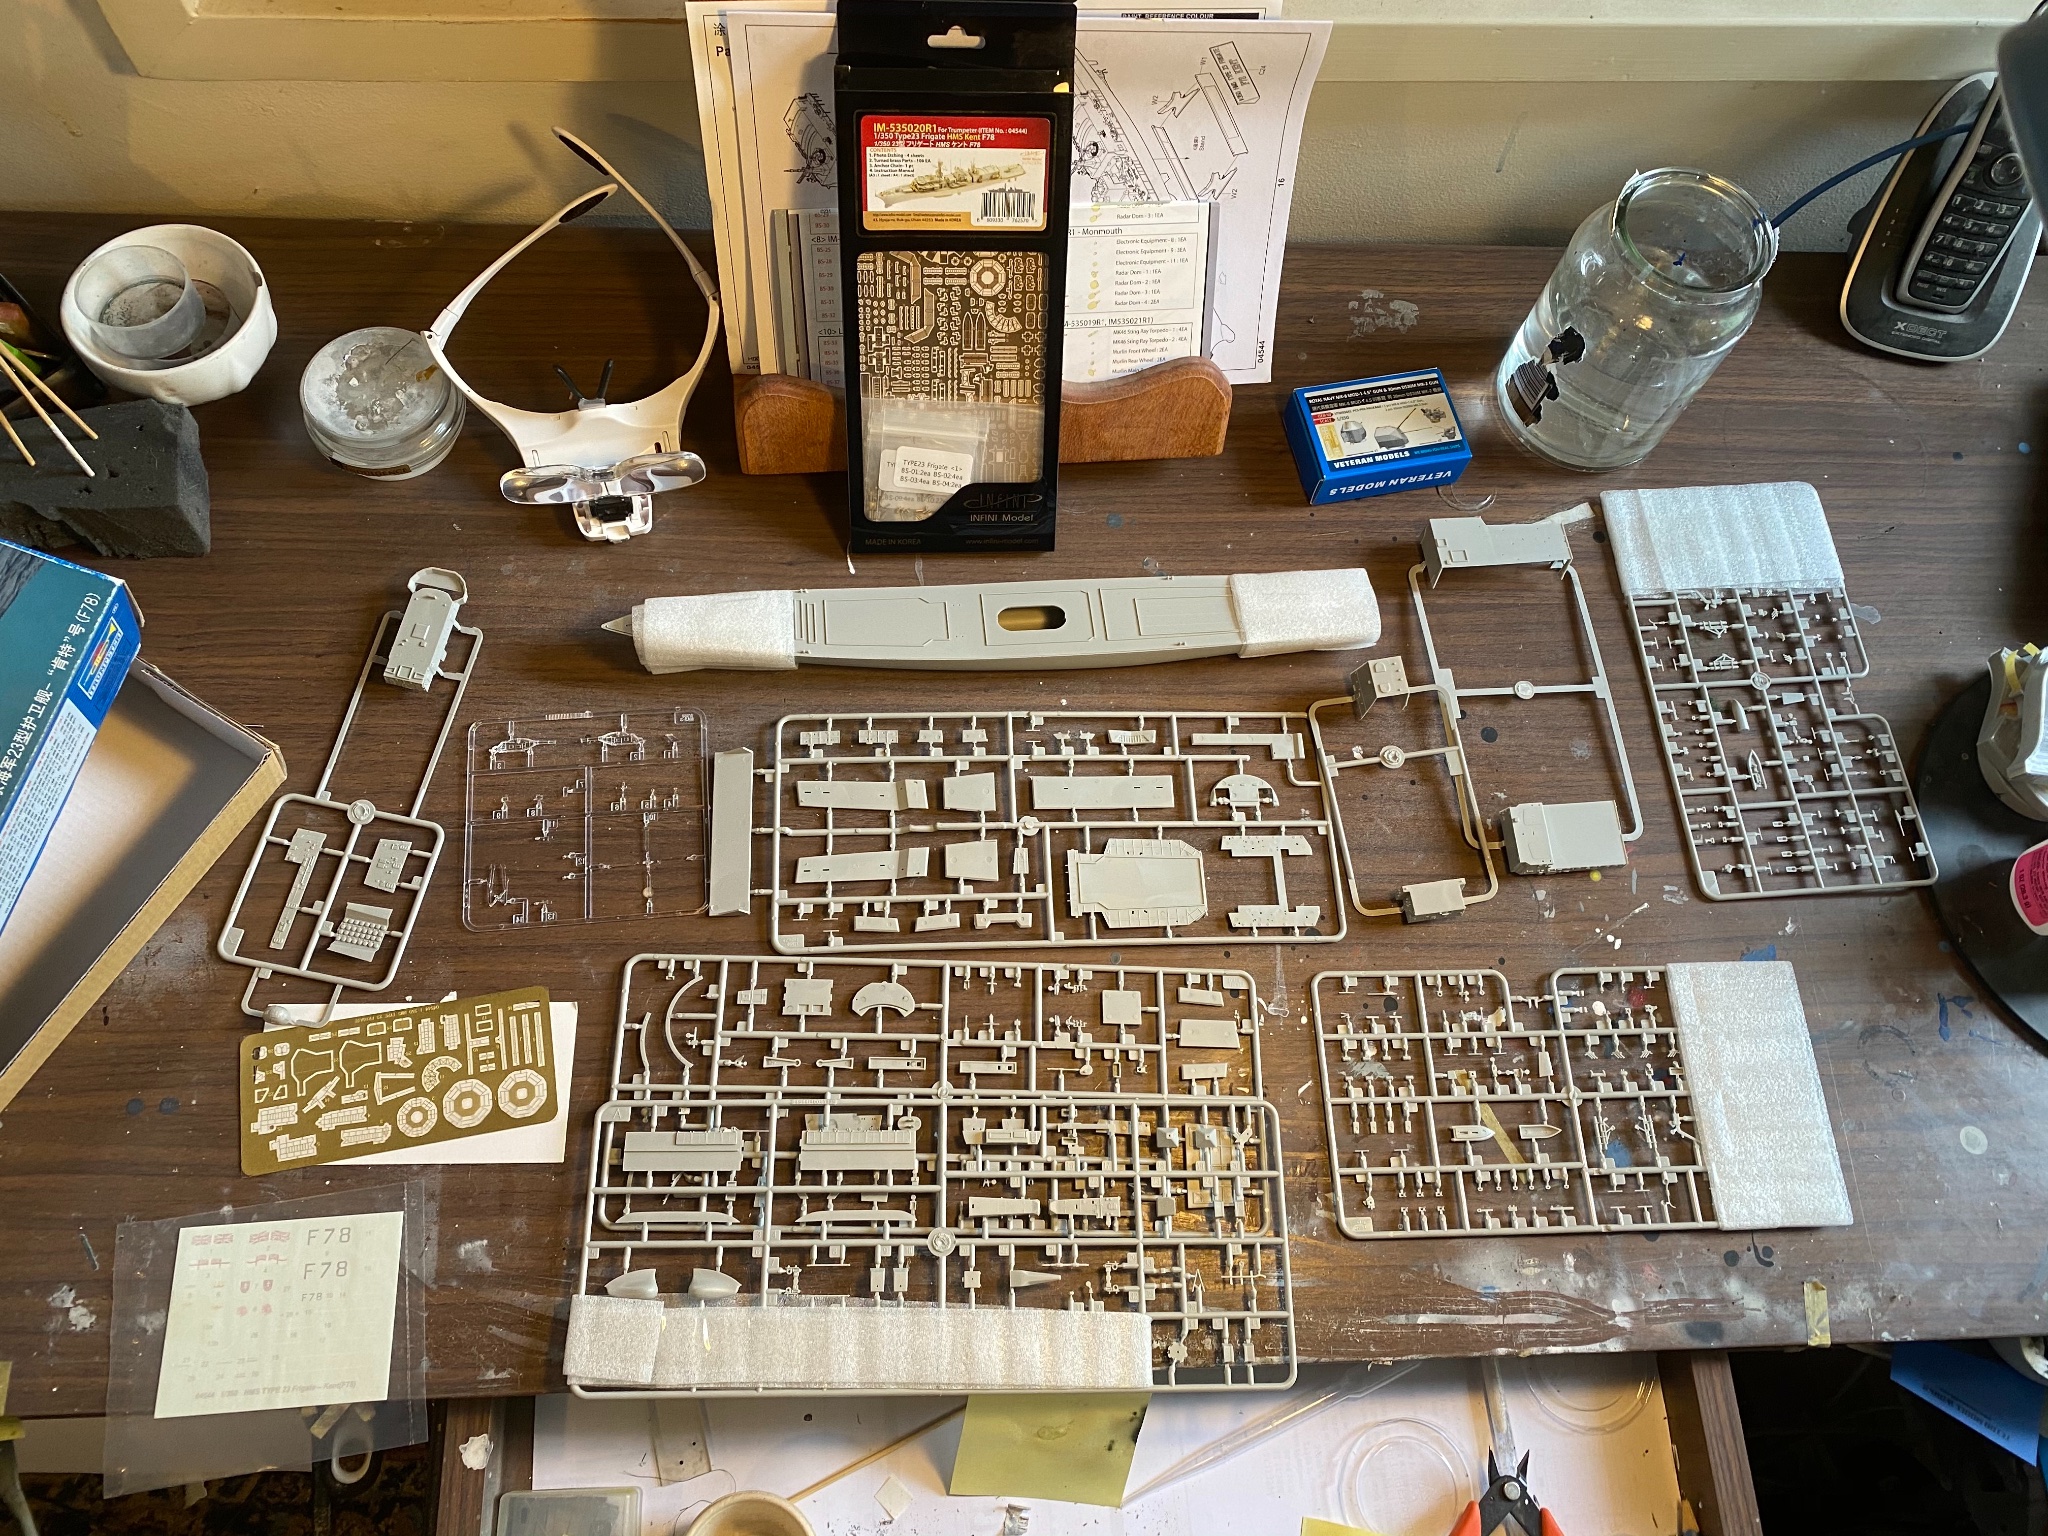
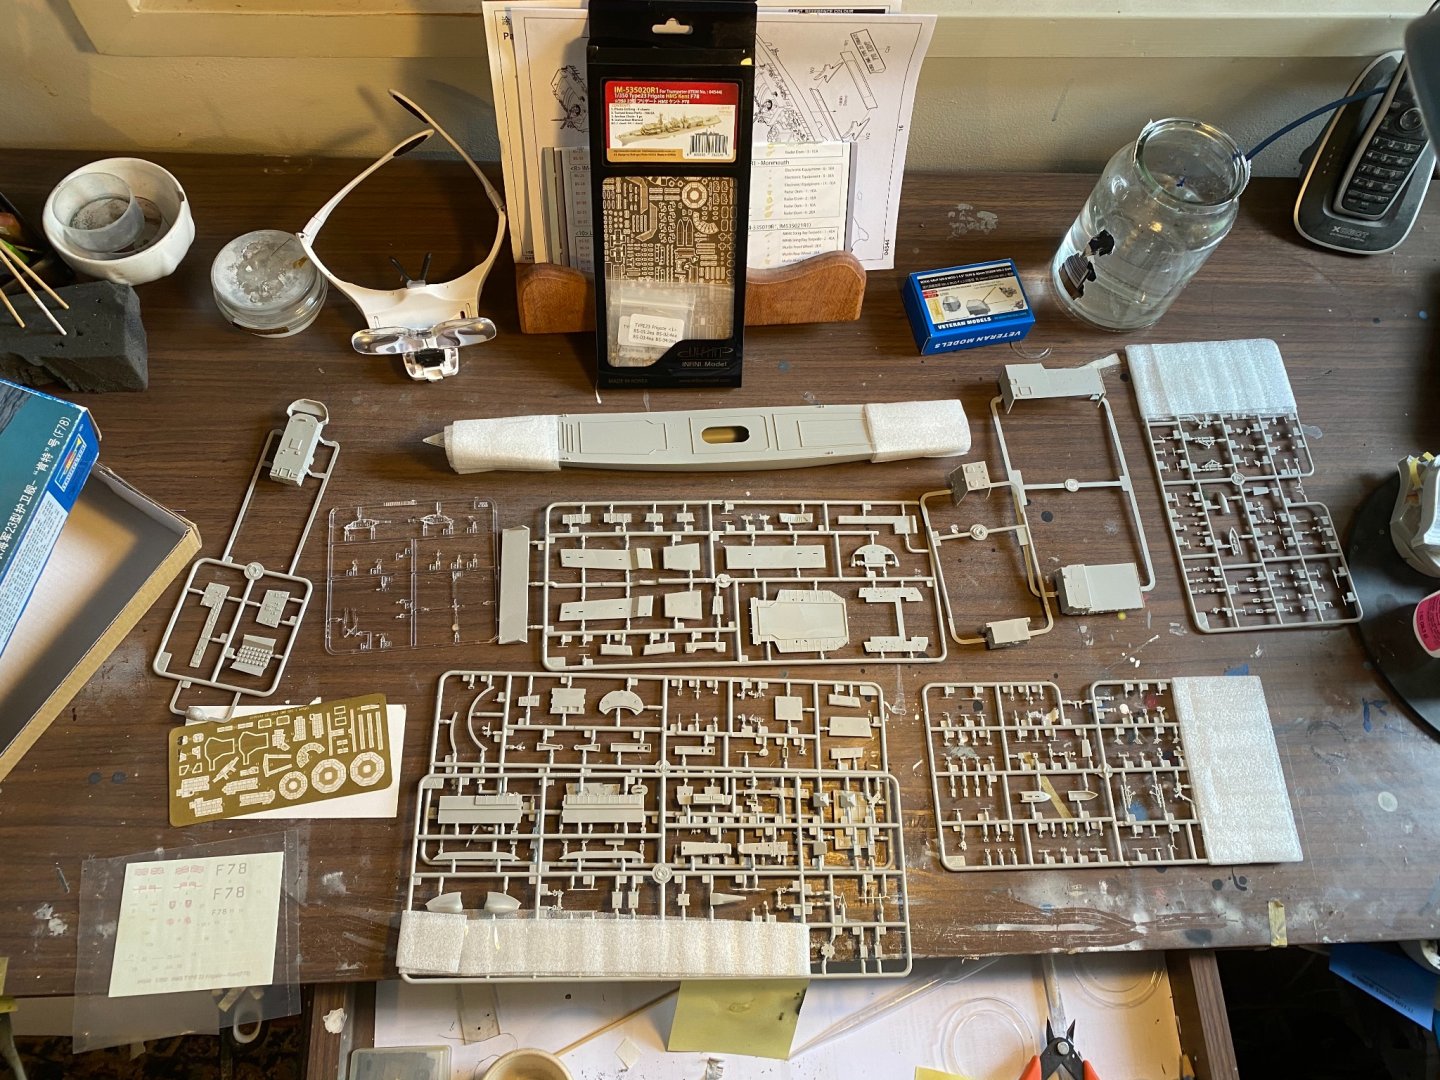
 So part 2 of the HMS Kent build. The modern one. It won’t be in its most current configuration as the Radar is not available. The Infini upgrade set is as usual absolutely excellent. tje nice thing about a modern ship is there is a lot of photos open source on Facebook.
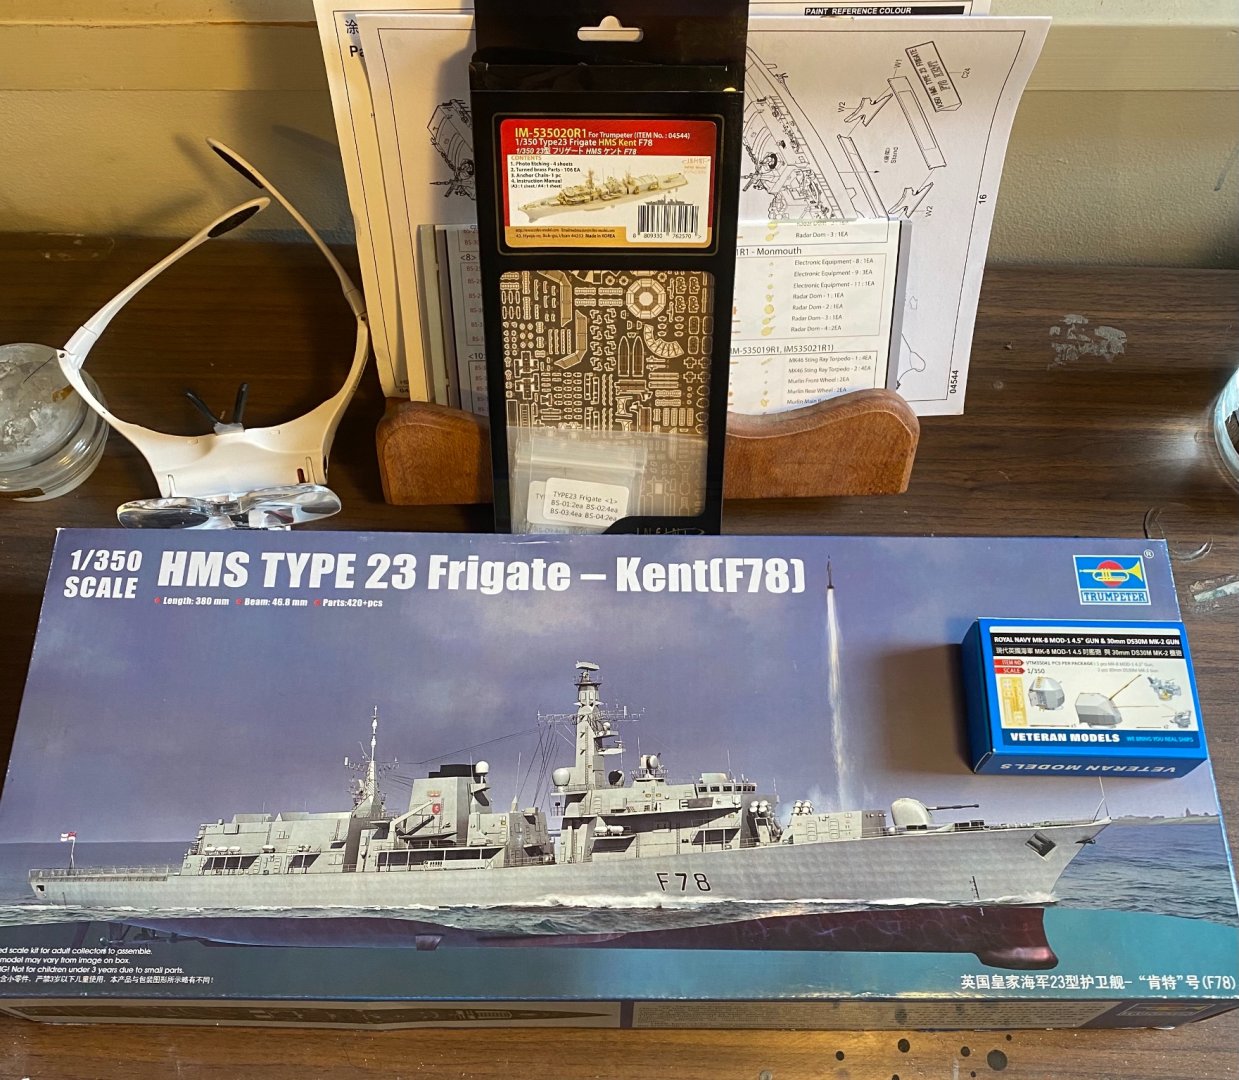
-
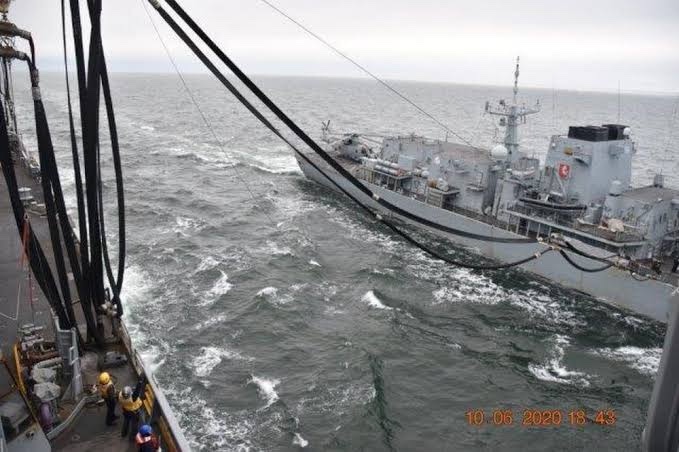
The top of the hangar deck seems to change over the years. Need to figure that but out. Lots of really good high definition photos on the internet of her though.
-
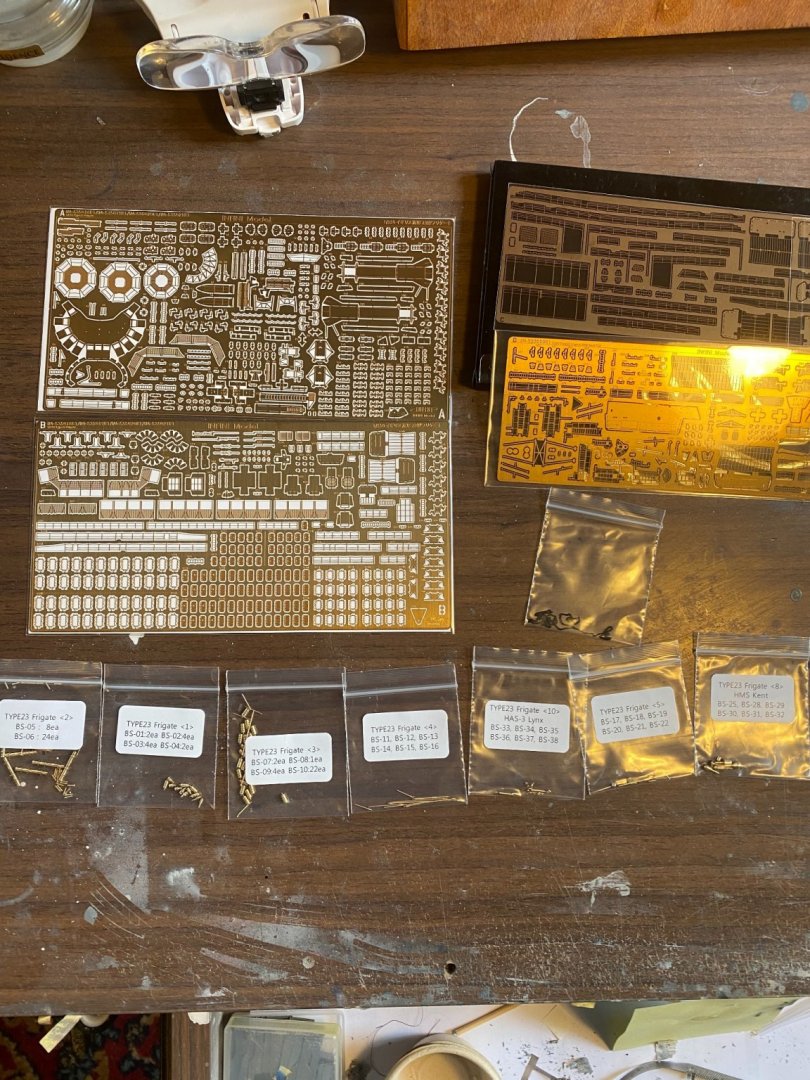
Probably that the Hull came out the way I wanted. I saw a CGI mock up of her on World or Warships (not interested in the game, but the computer work is good), and as usual I’m less than impressed with the Eduard photoetch compared to what Pontos etc etc do.
-
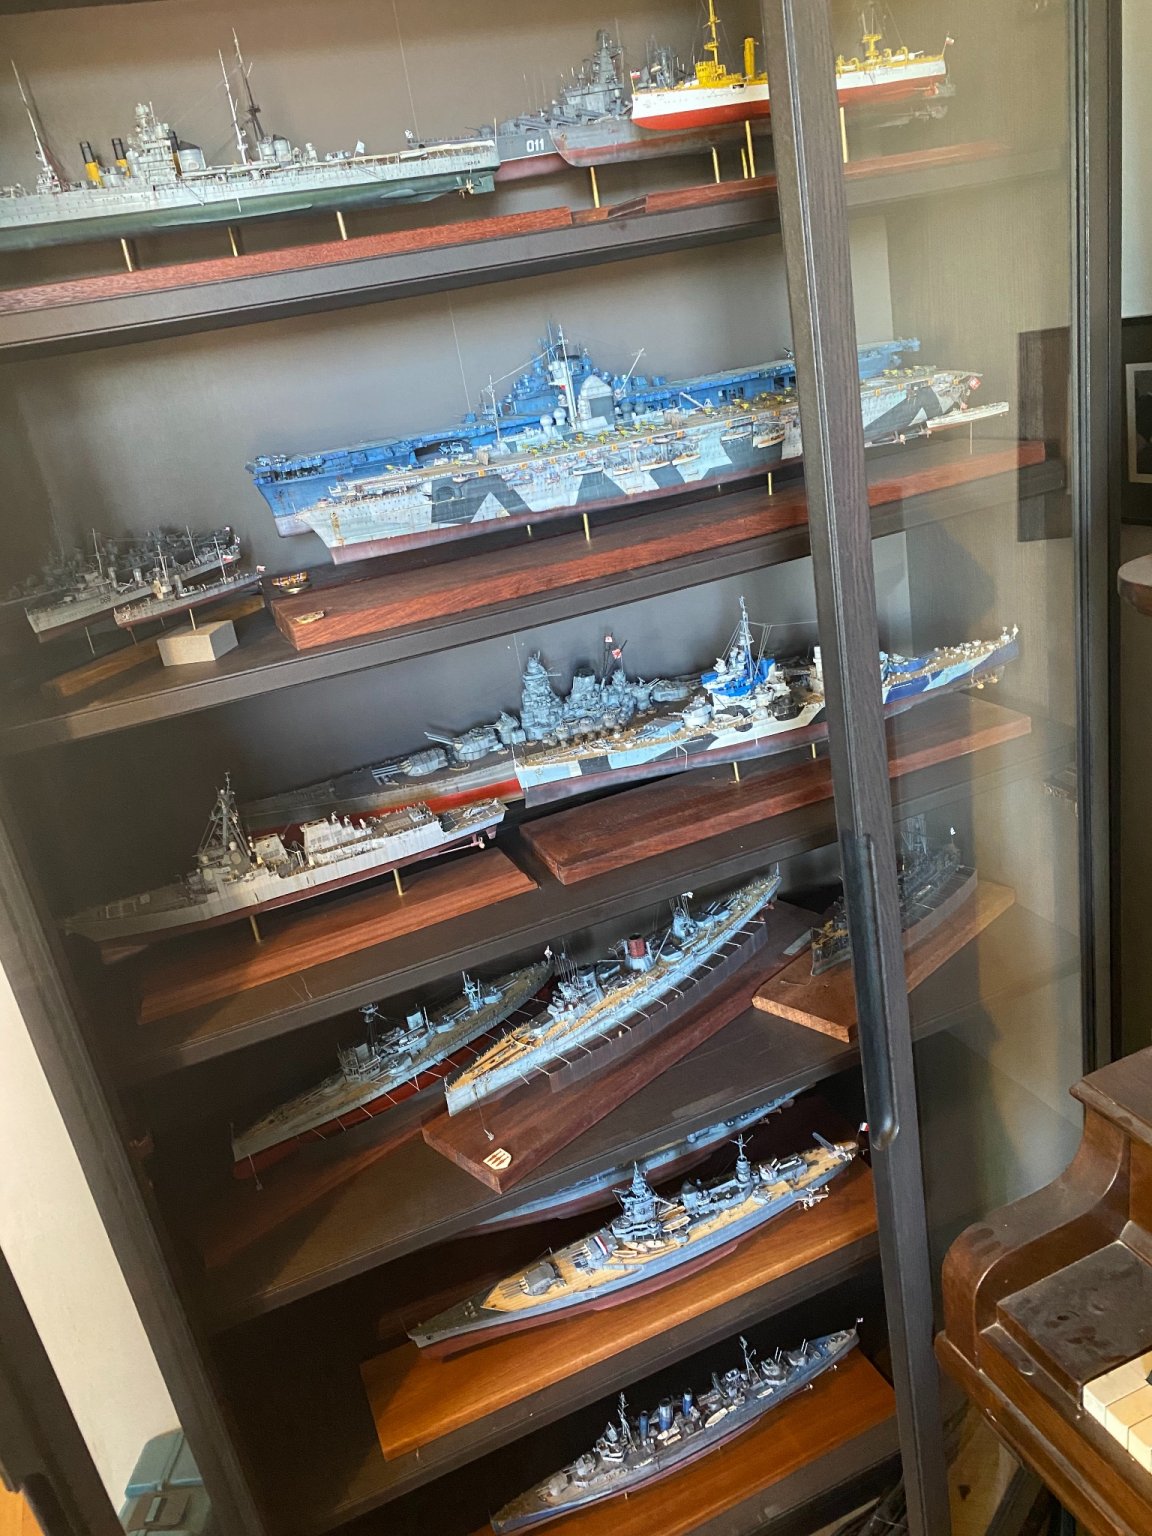
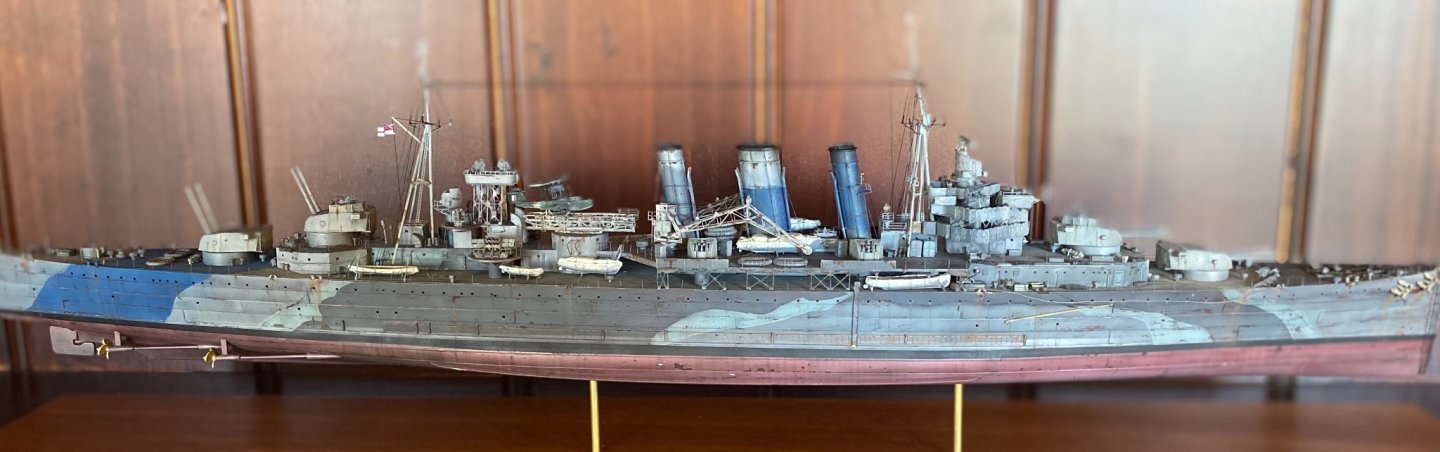
And I’m done! I’ll add some photos to the gallery. Off to the digital graveyard FullSizeRender.mov IMG_4567.MOV

- 128 replies
-
- 21
-

-
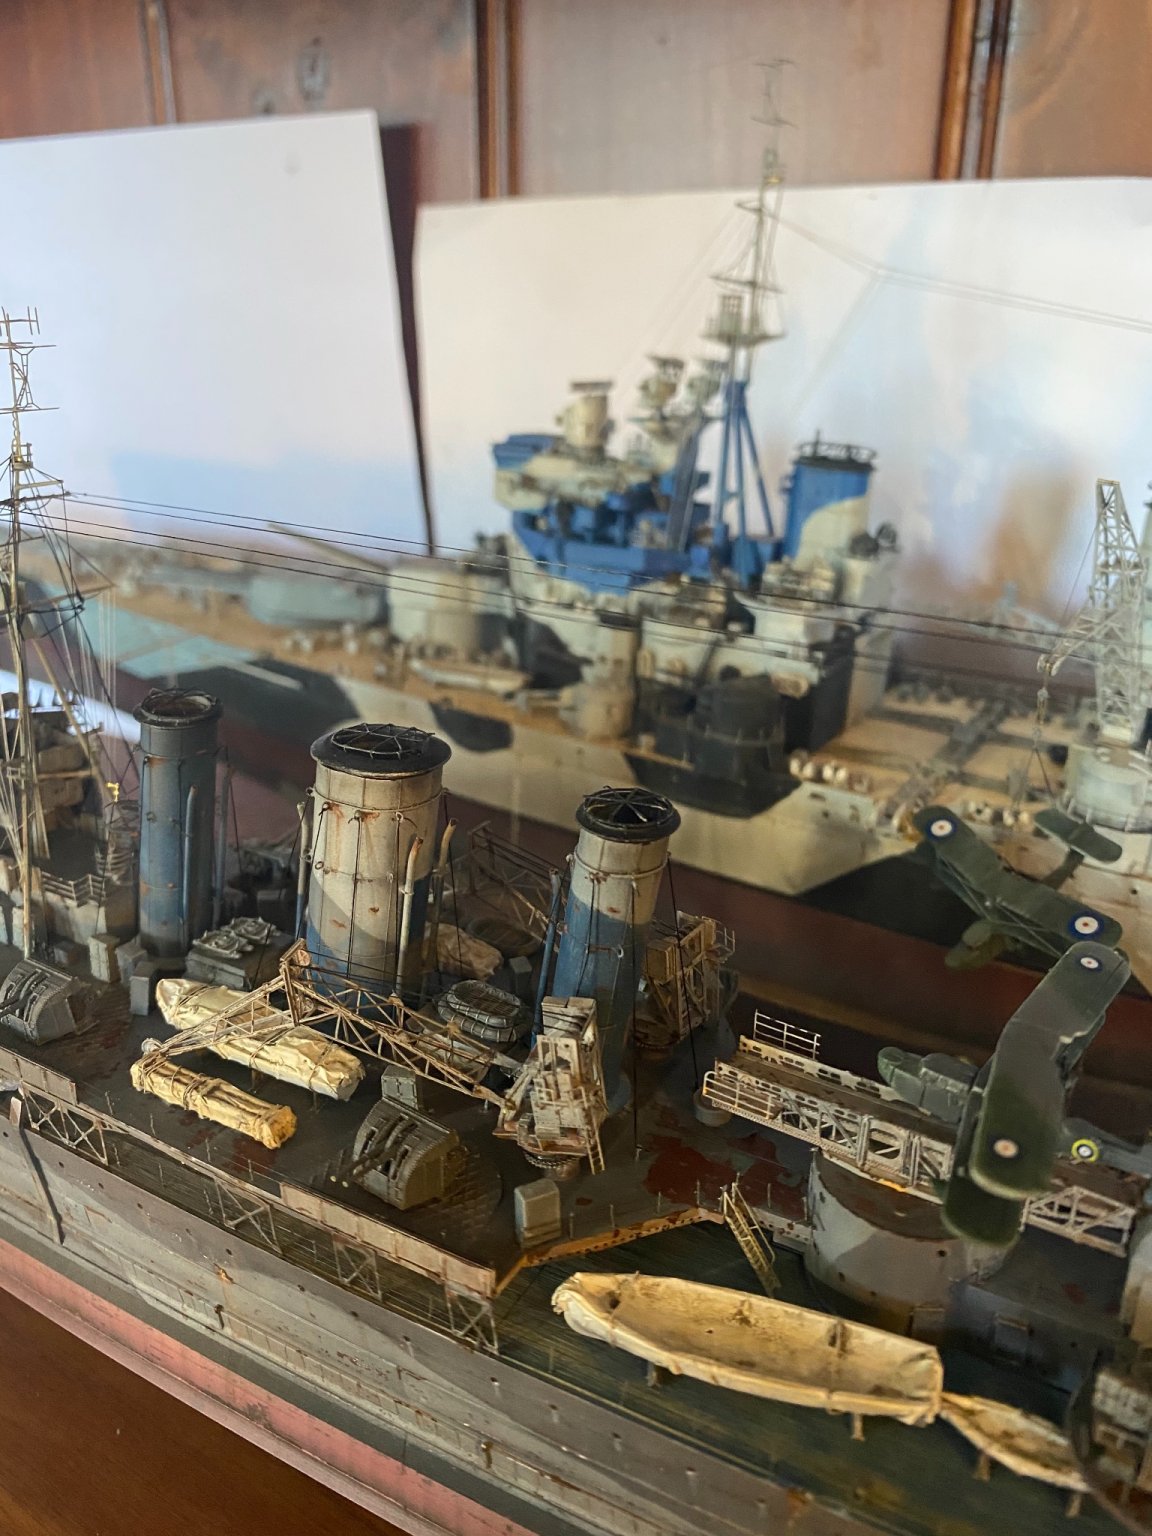
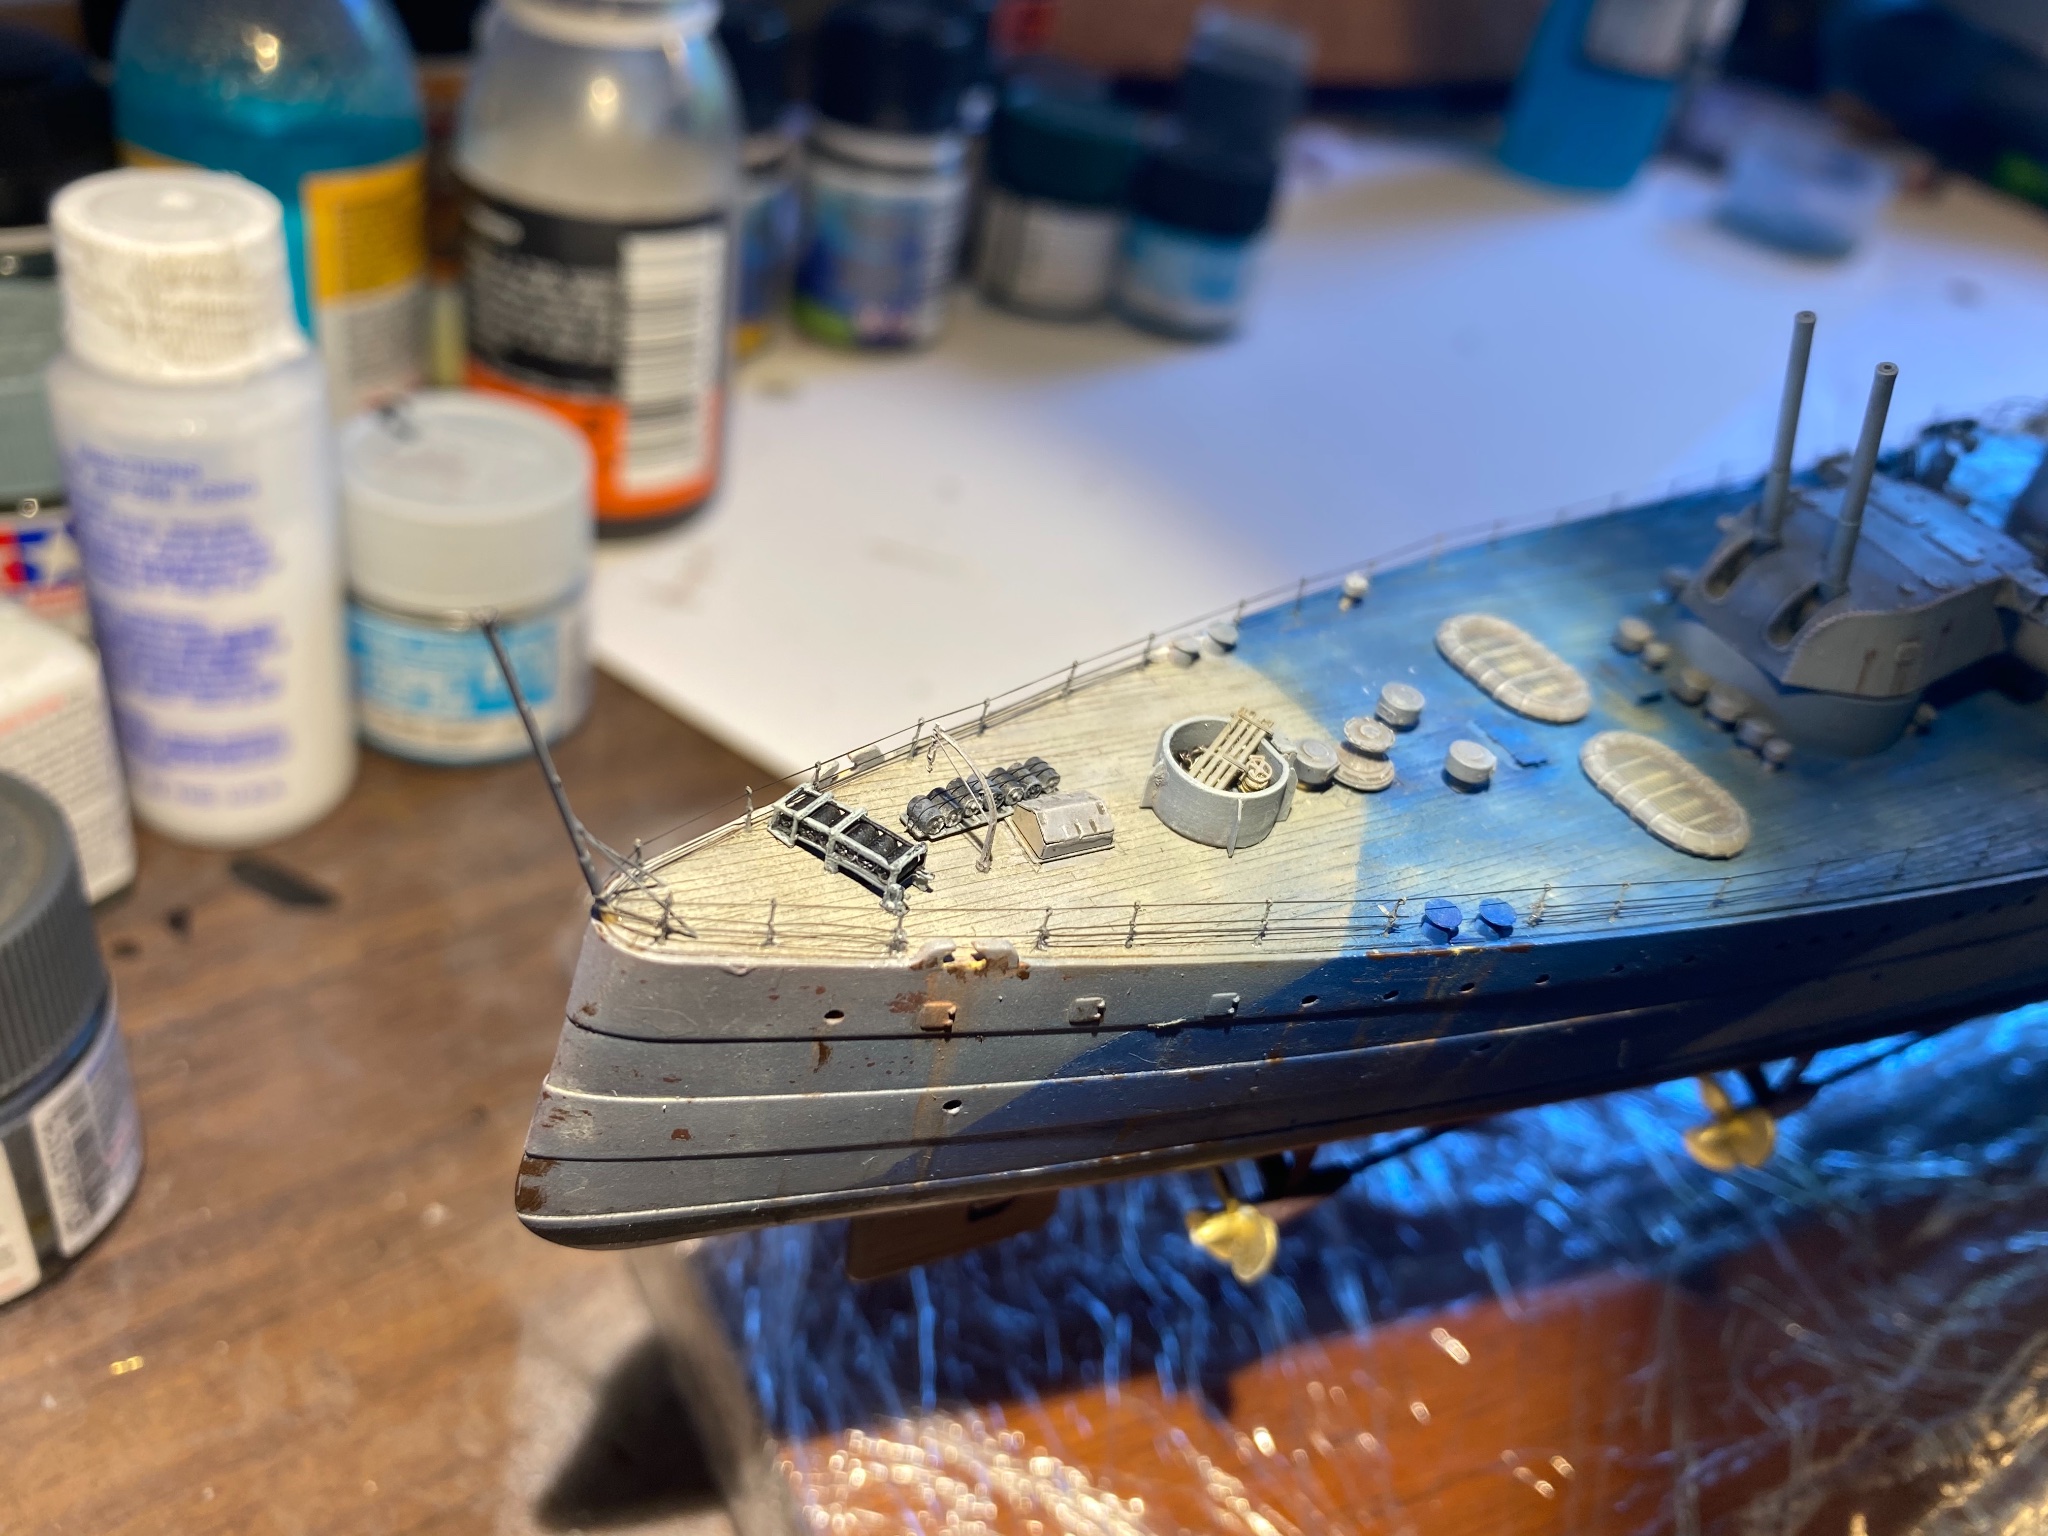
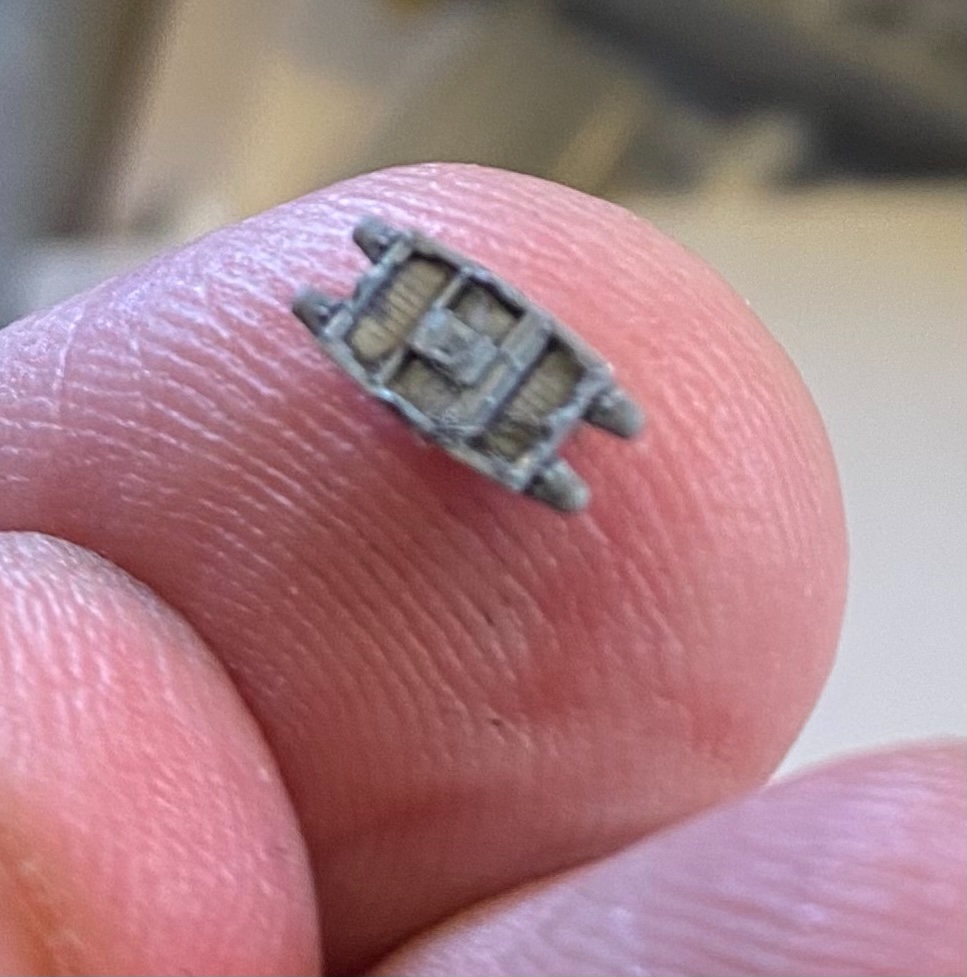
So, hours of work and I got half the main deck done with railings. RN ships have three Rails, can’t even see them from a distance but still to me more accurate than the Pe ones

- 128 replies
-
- 10
-
-
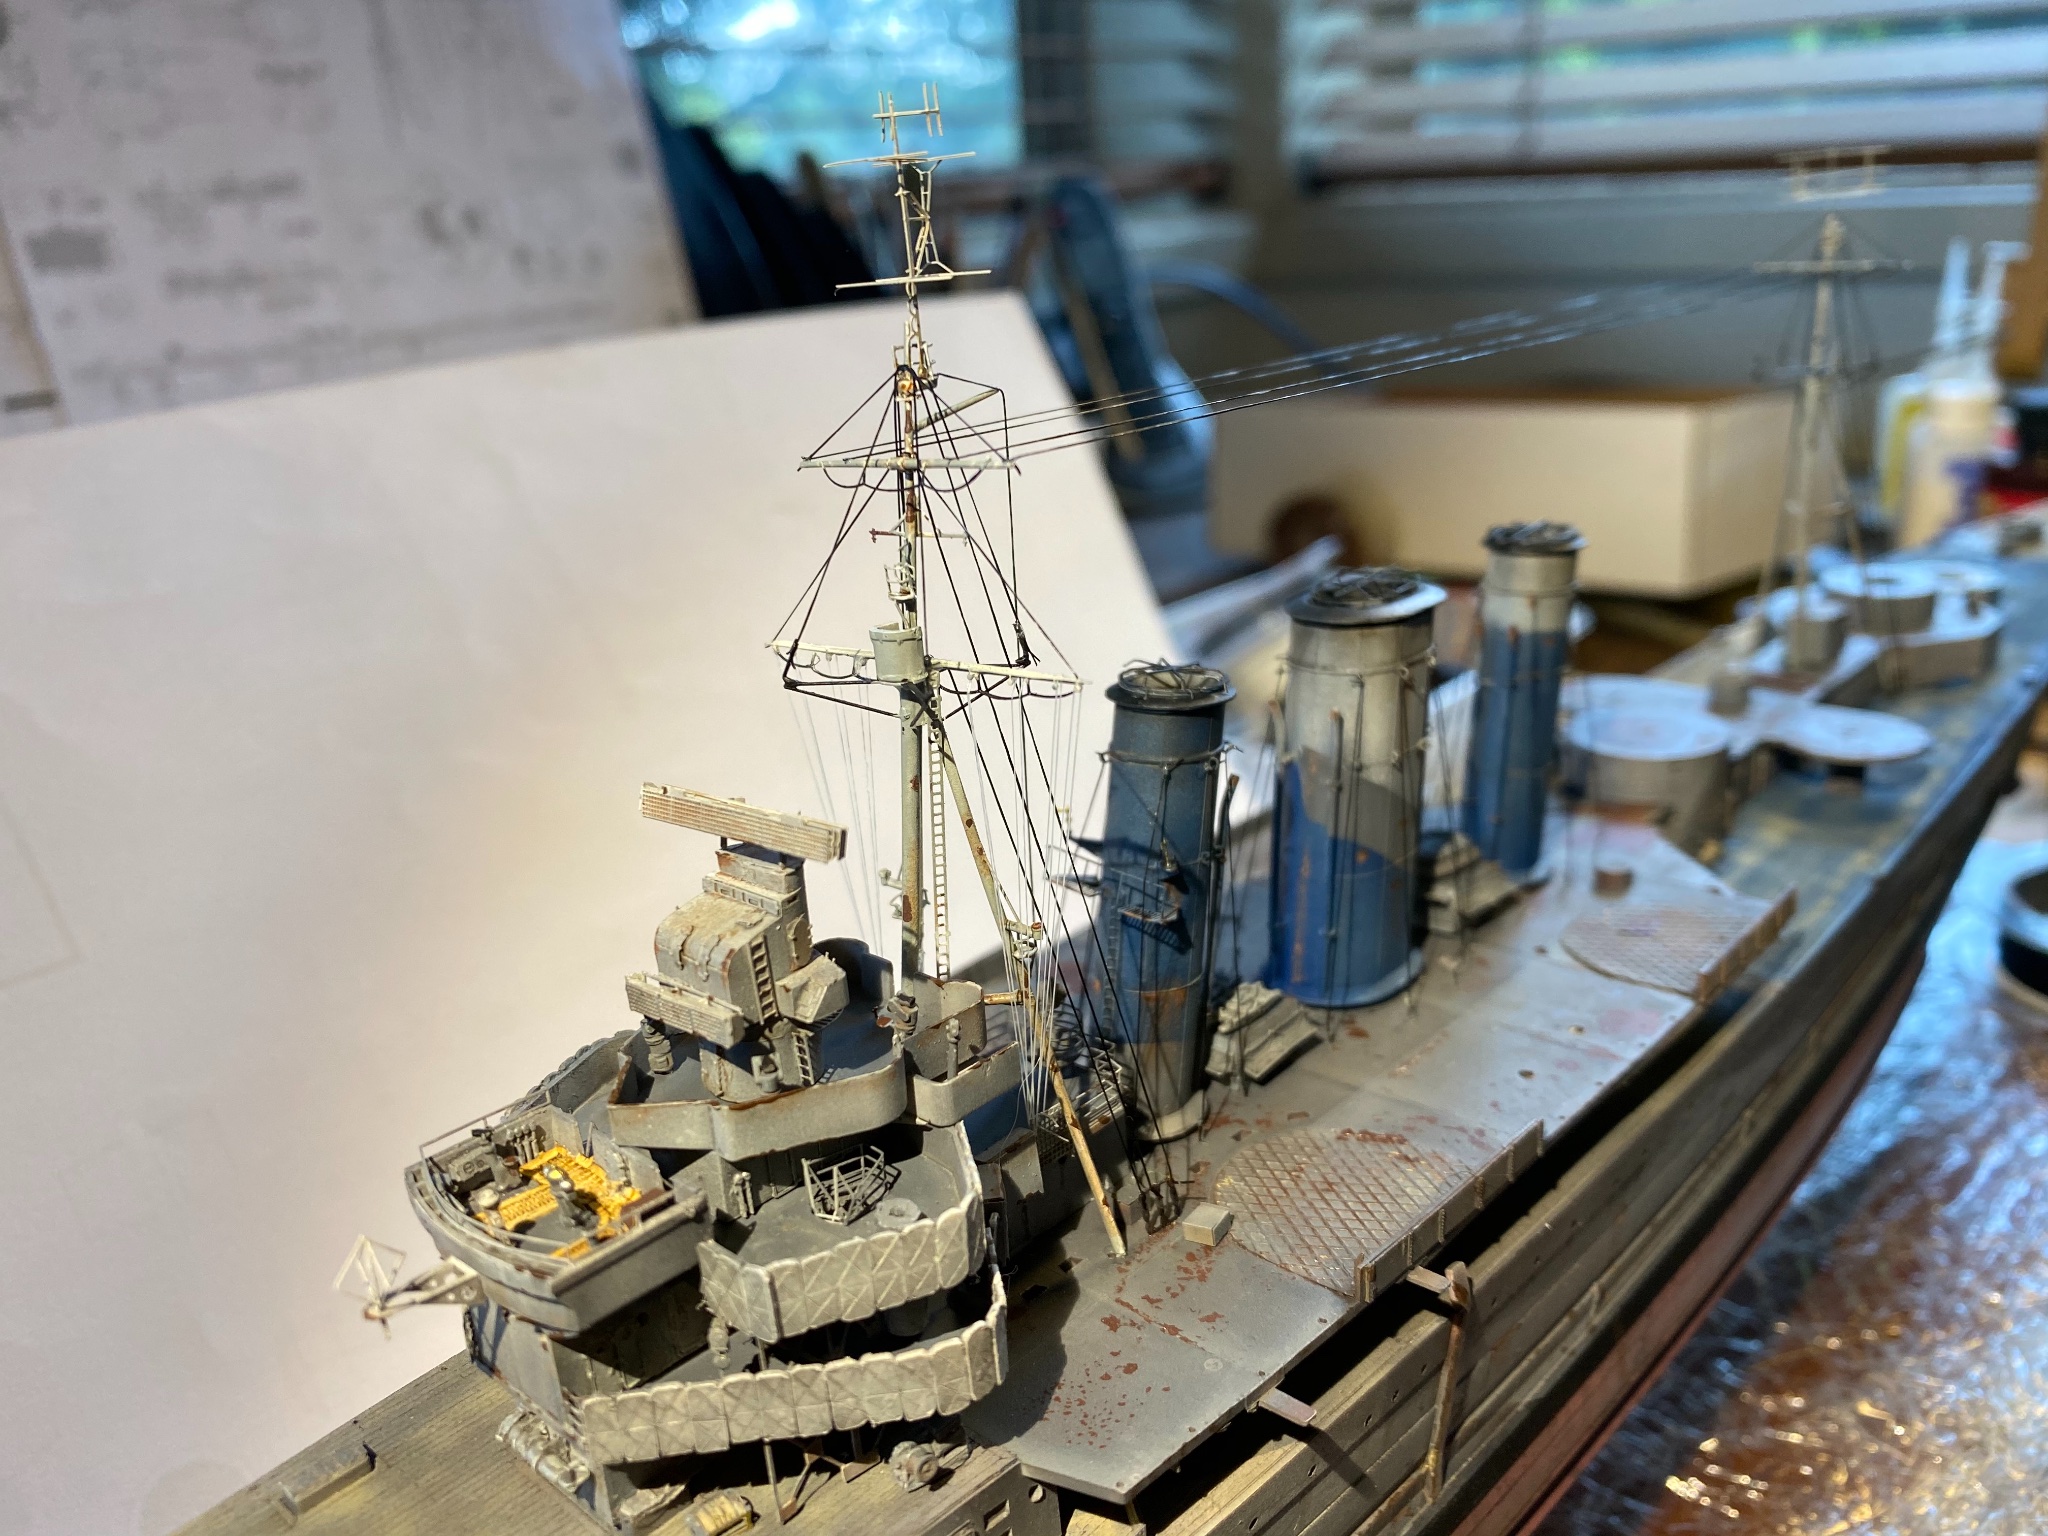
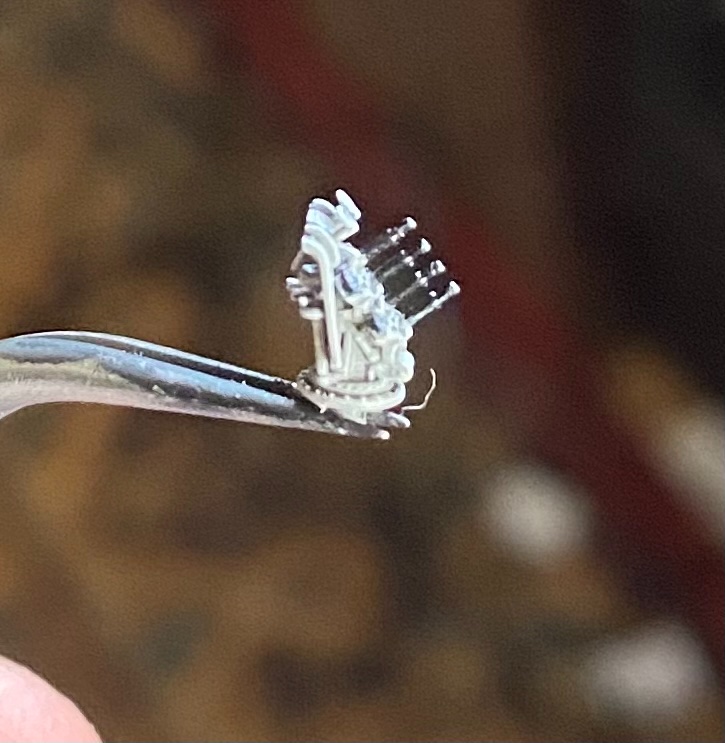
I have quite a few diameters of rigging line. Done are so damn tiny you can hardly see them. I just wish they did a grey scale colour or even rust. whilst the 3D printing is perfect it becomes a bit like lego in that you just have to put it on the ship. The only real skill then is painting it properly. eyes don’t have a zoom feature though, and when looked at from a yard away you can’t really tell.
-
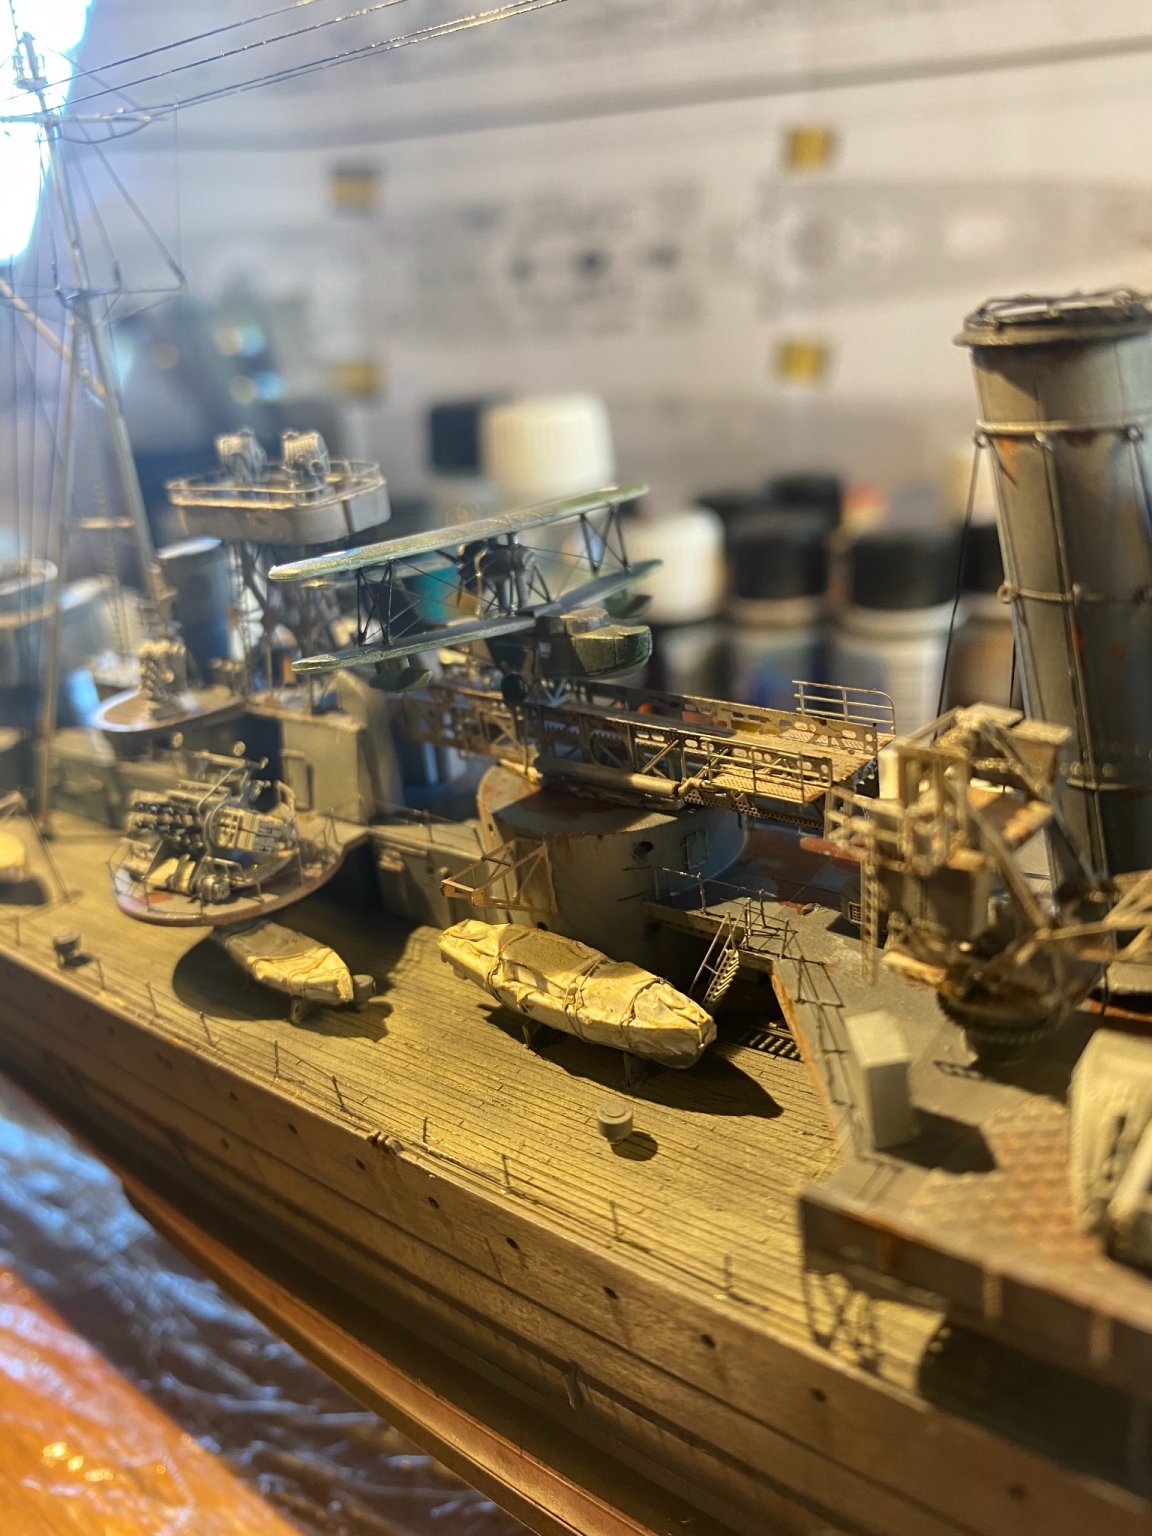
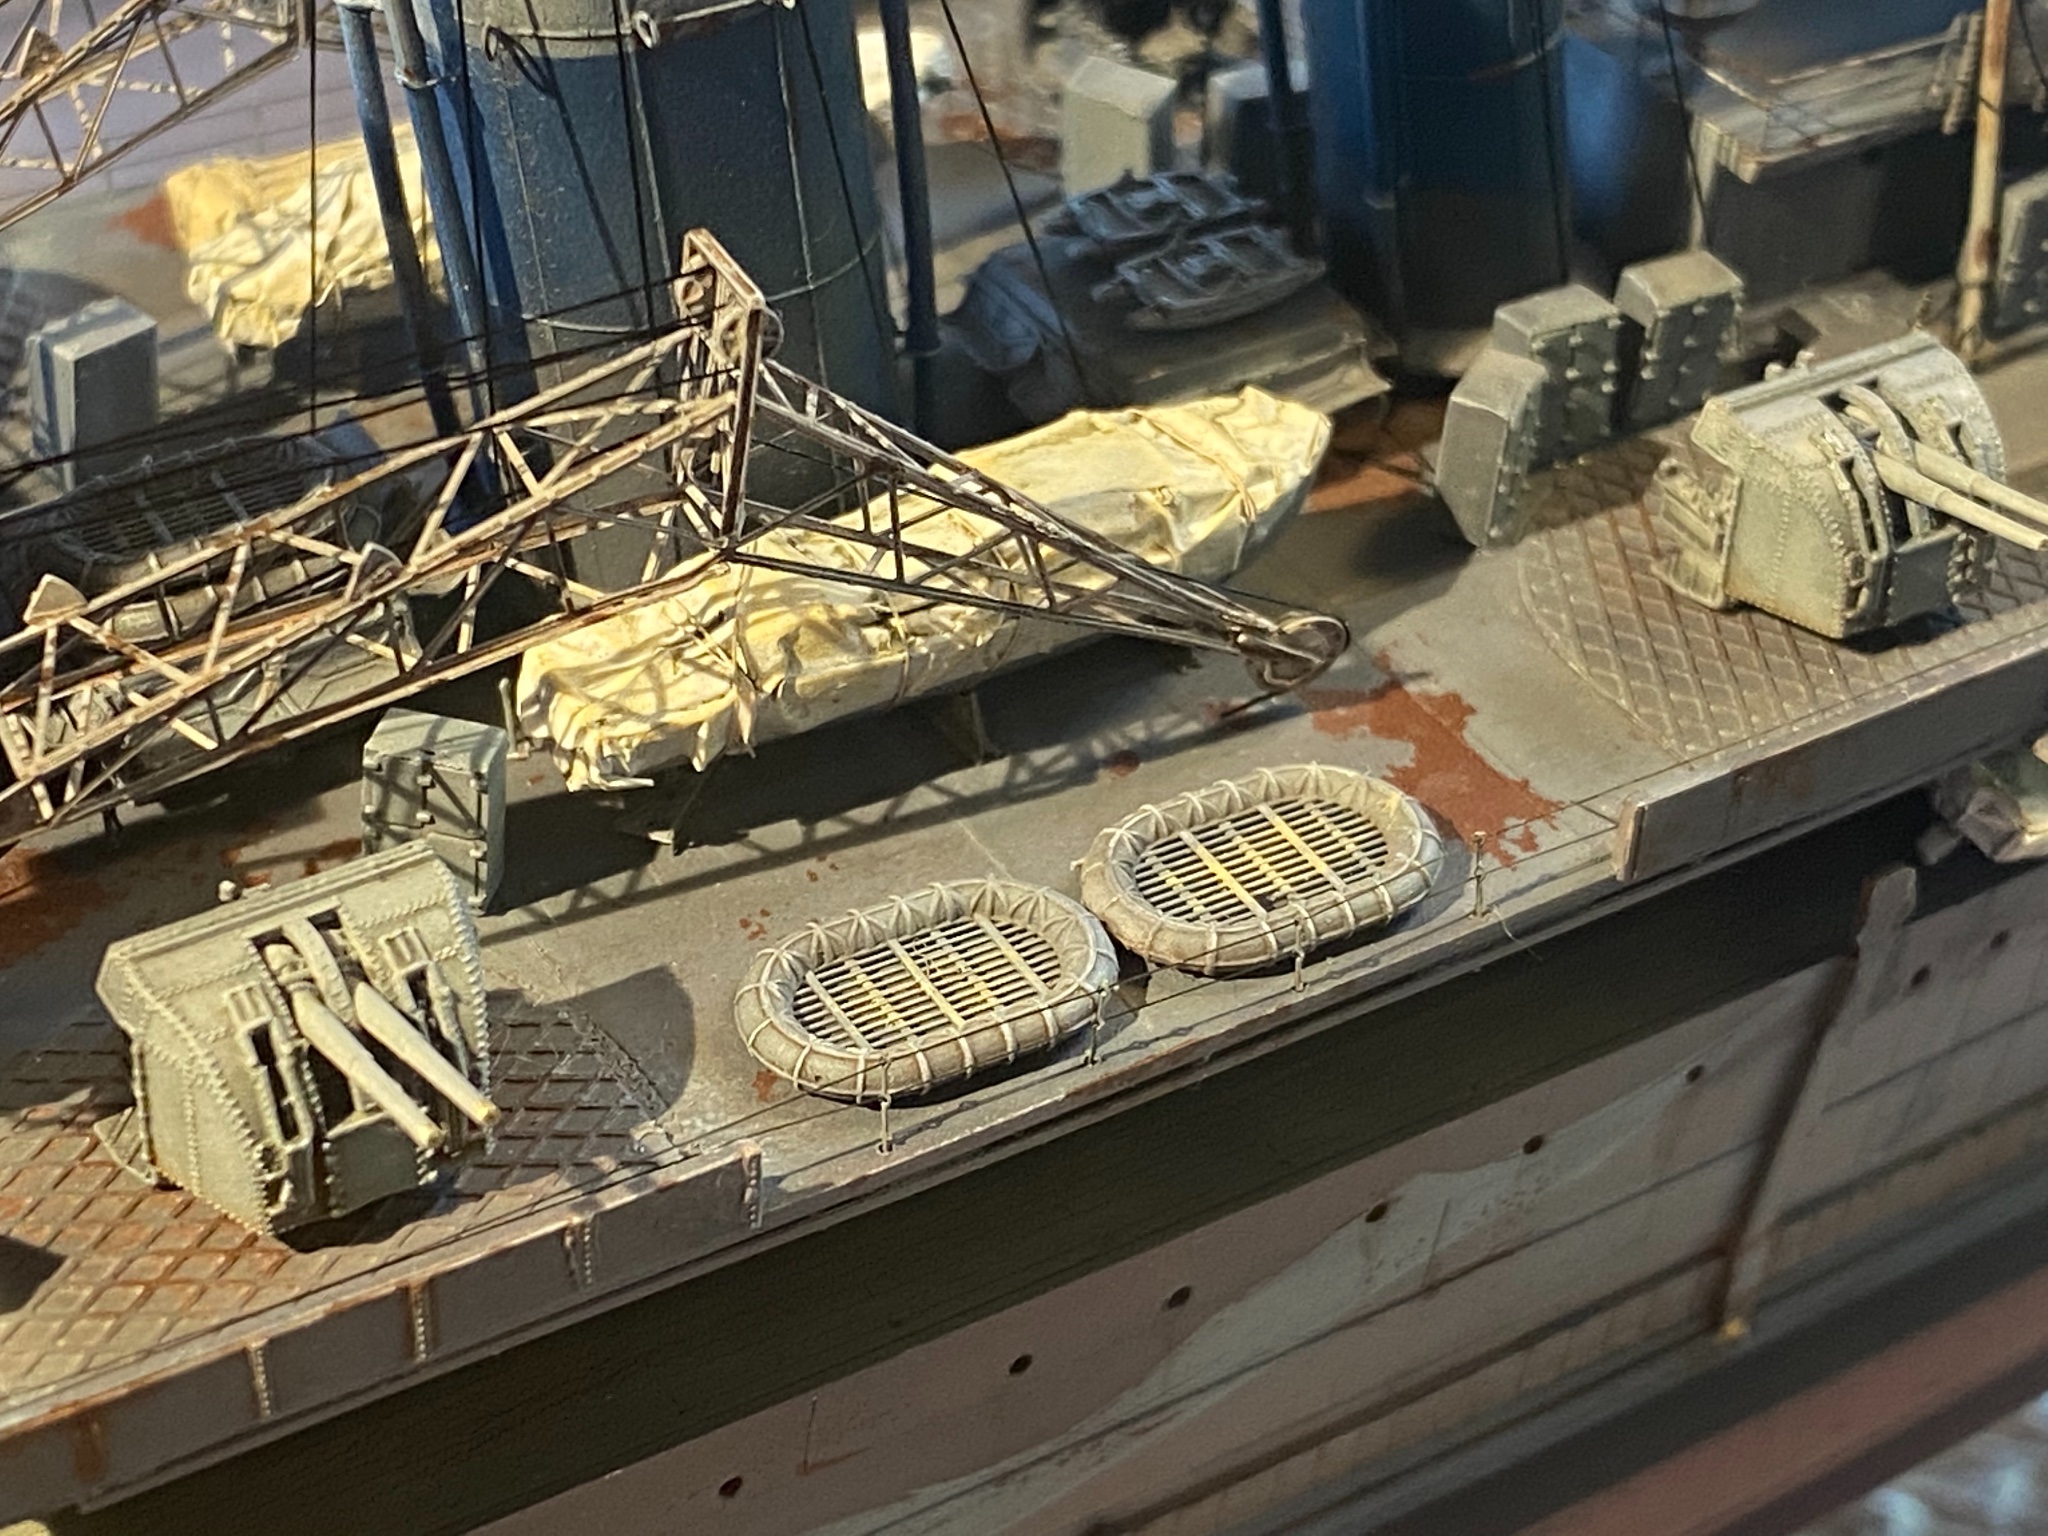
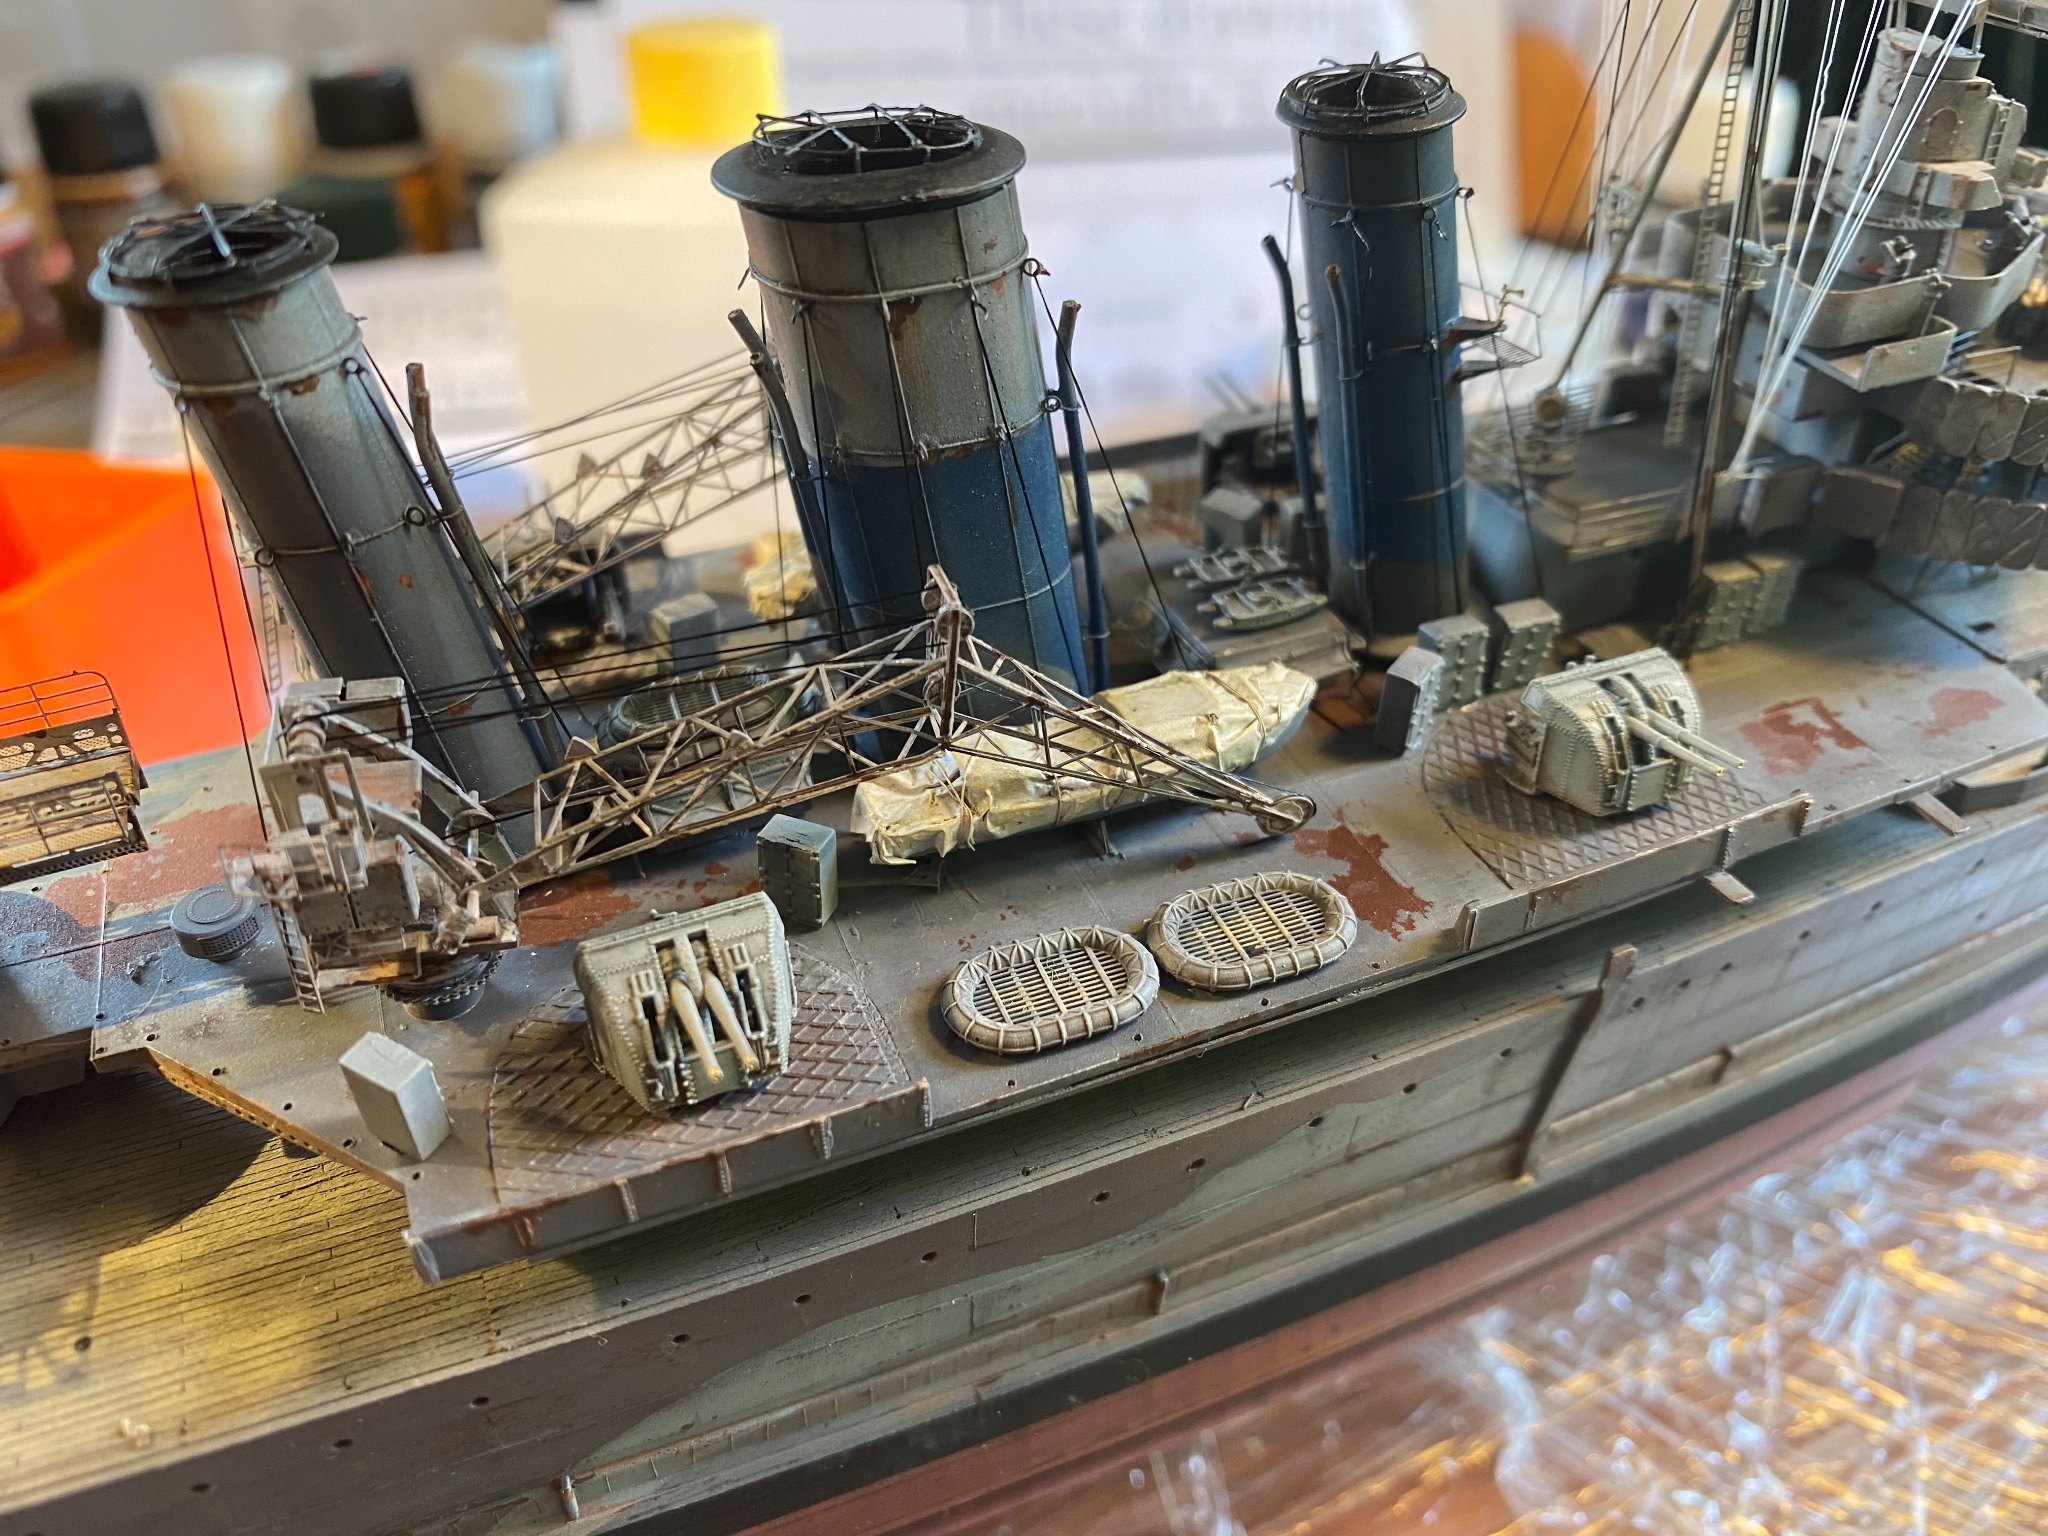
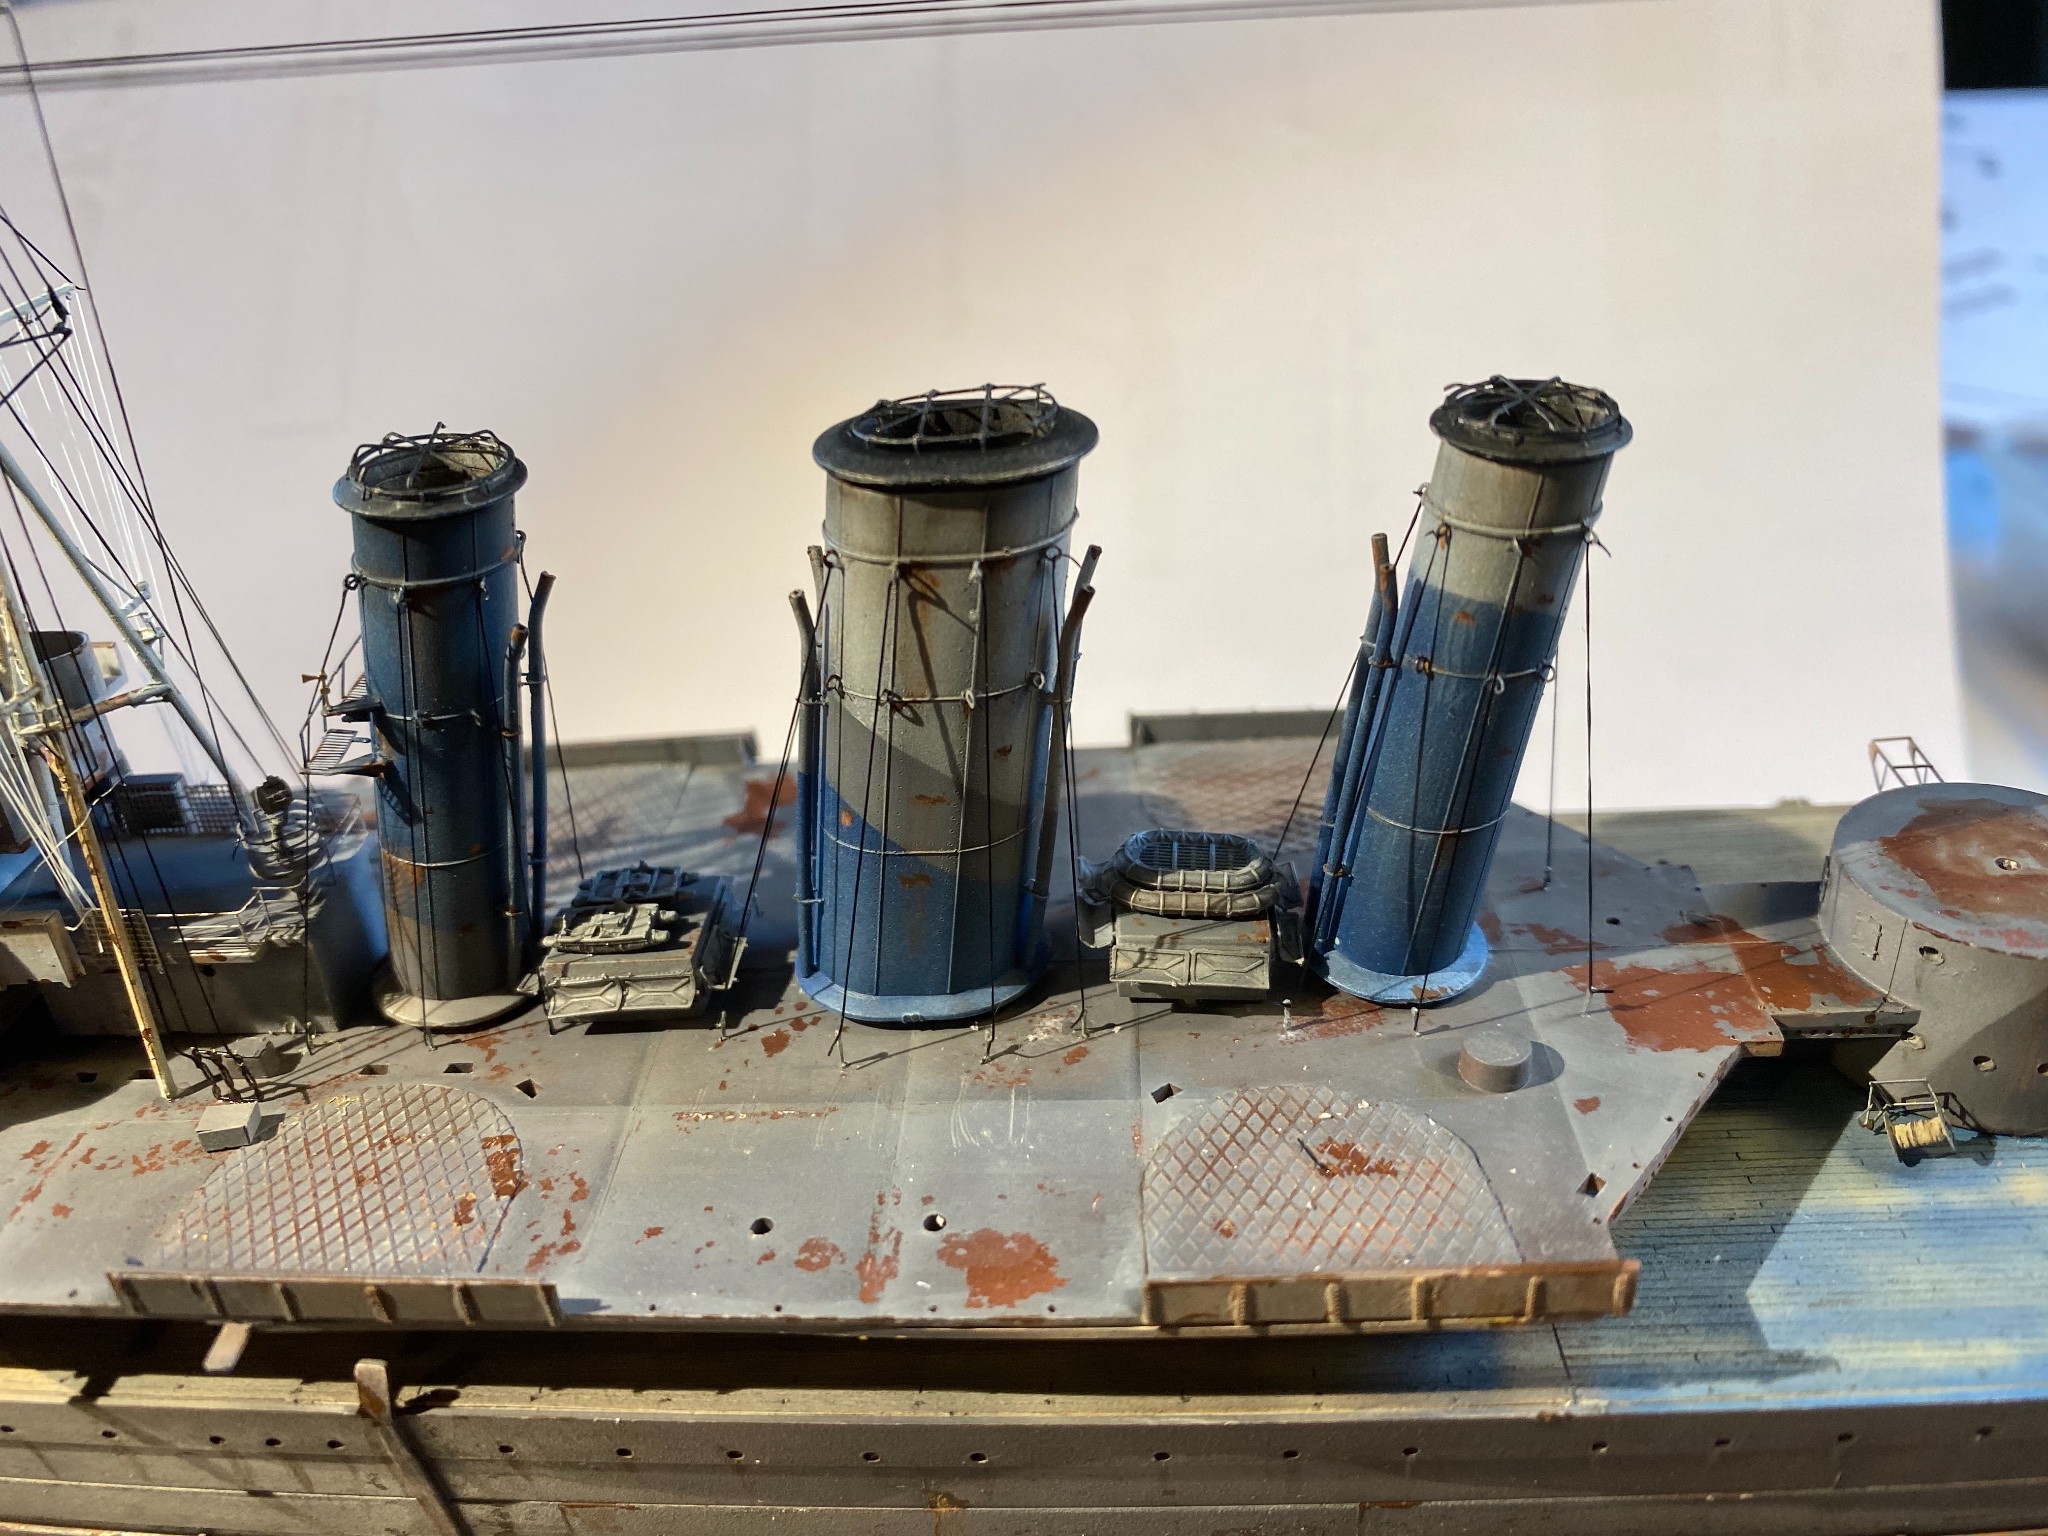
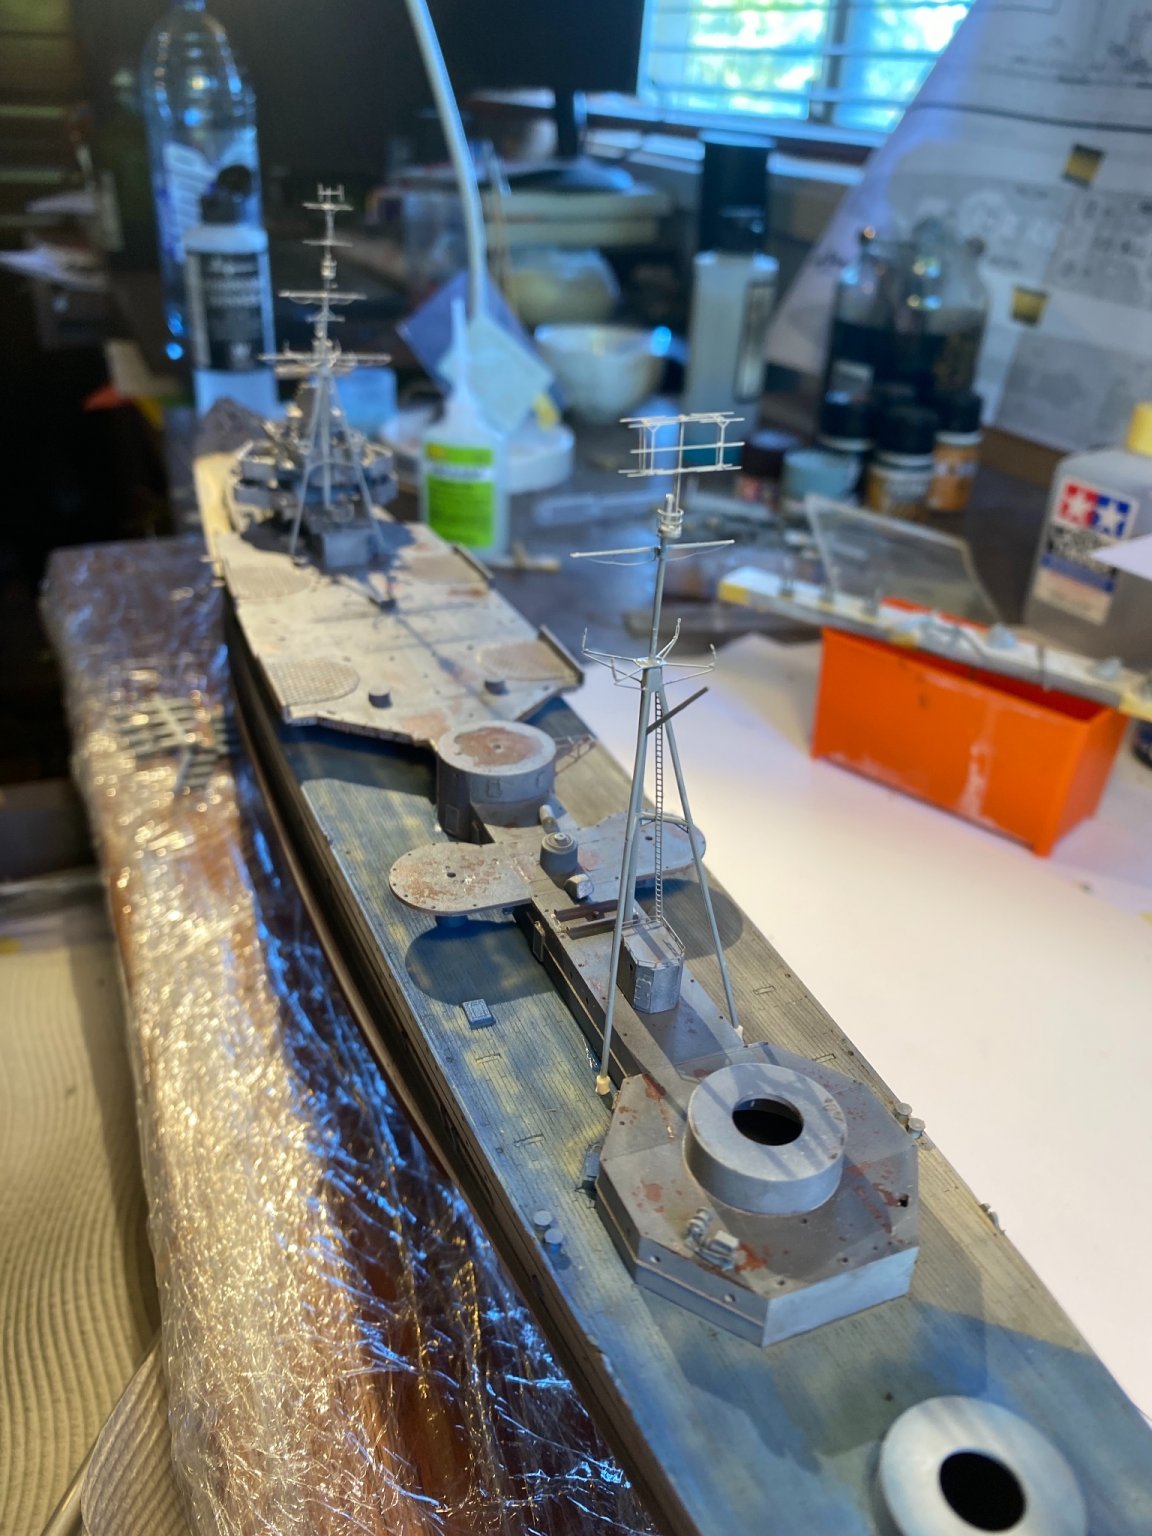
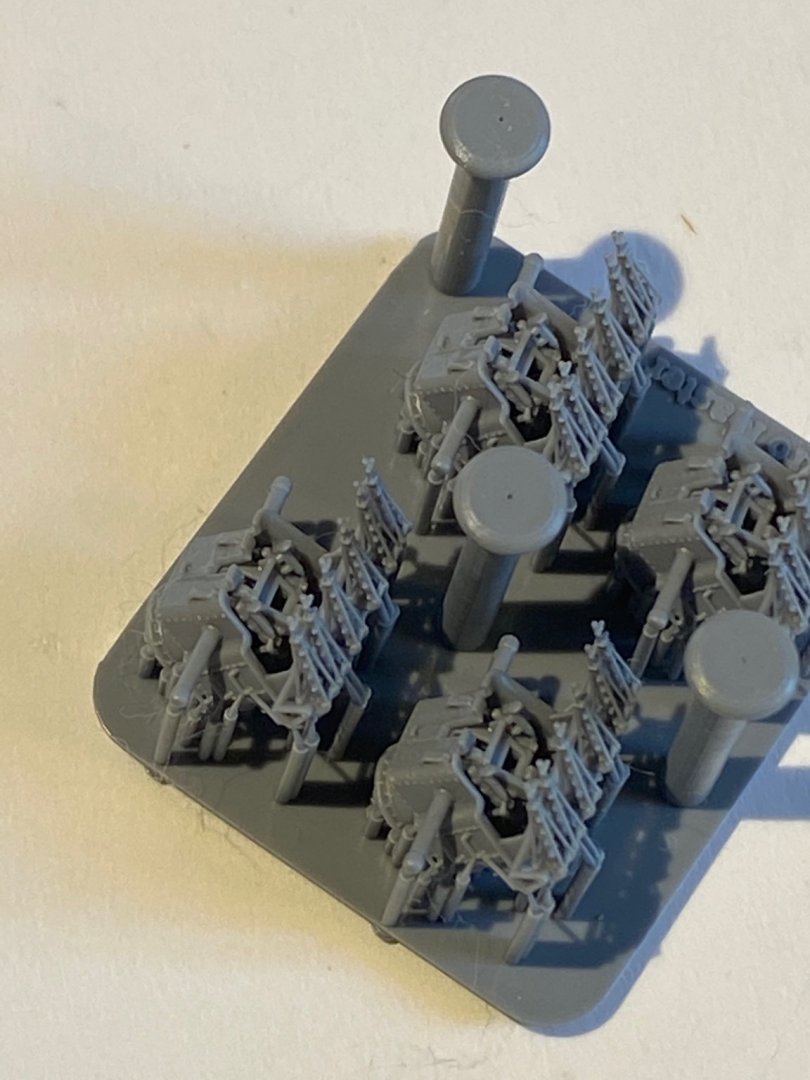
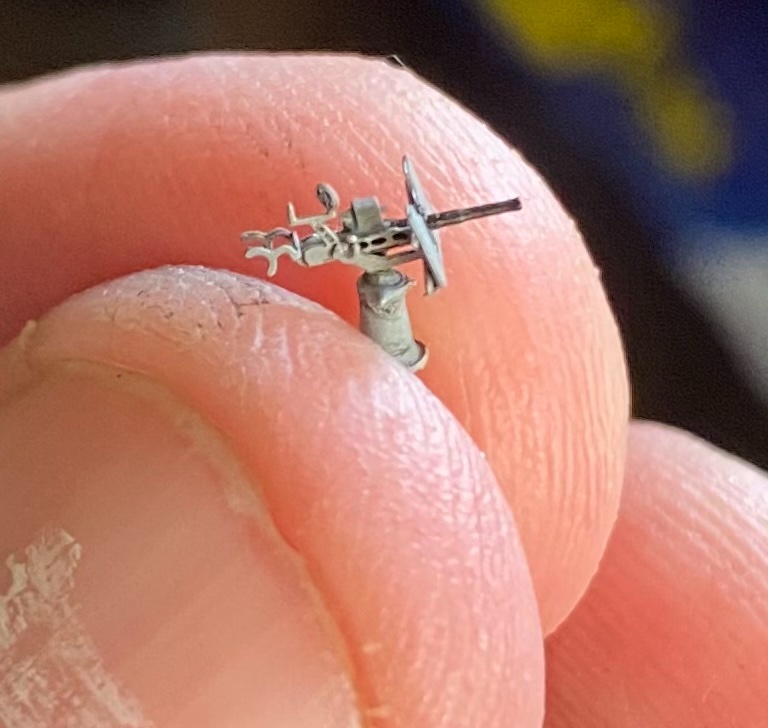
and hot off the printing press from NZ, the final pieces have arrived, some extra depth charges for the rear deck and the high altitude gun director
- 128 replies
-
- 10
-
-
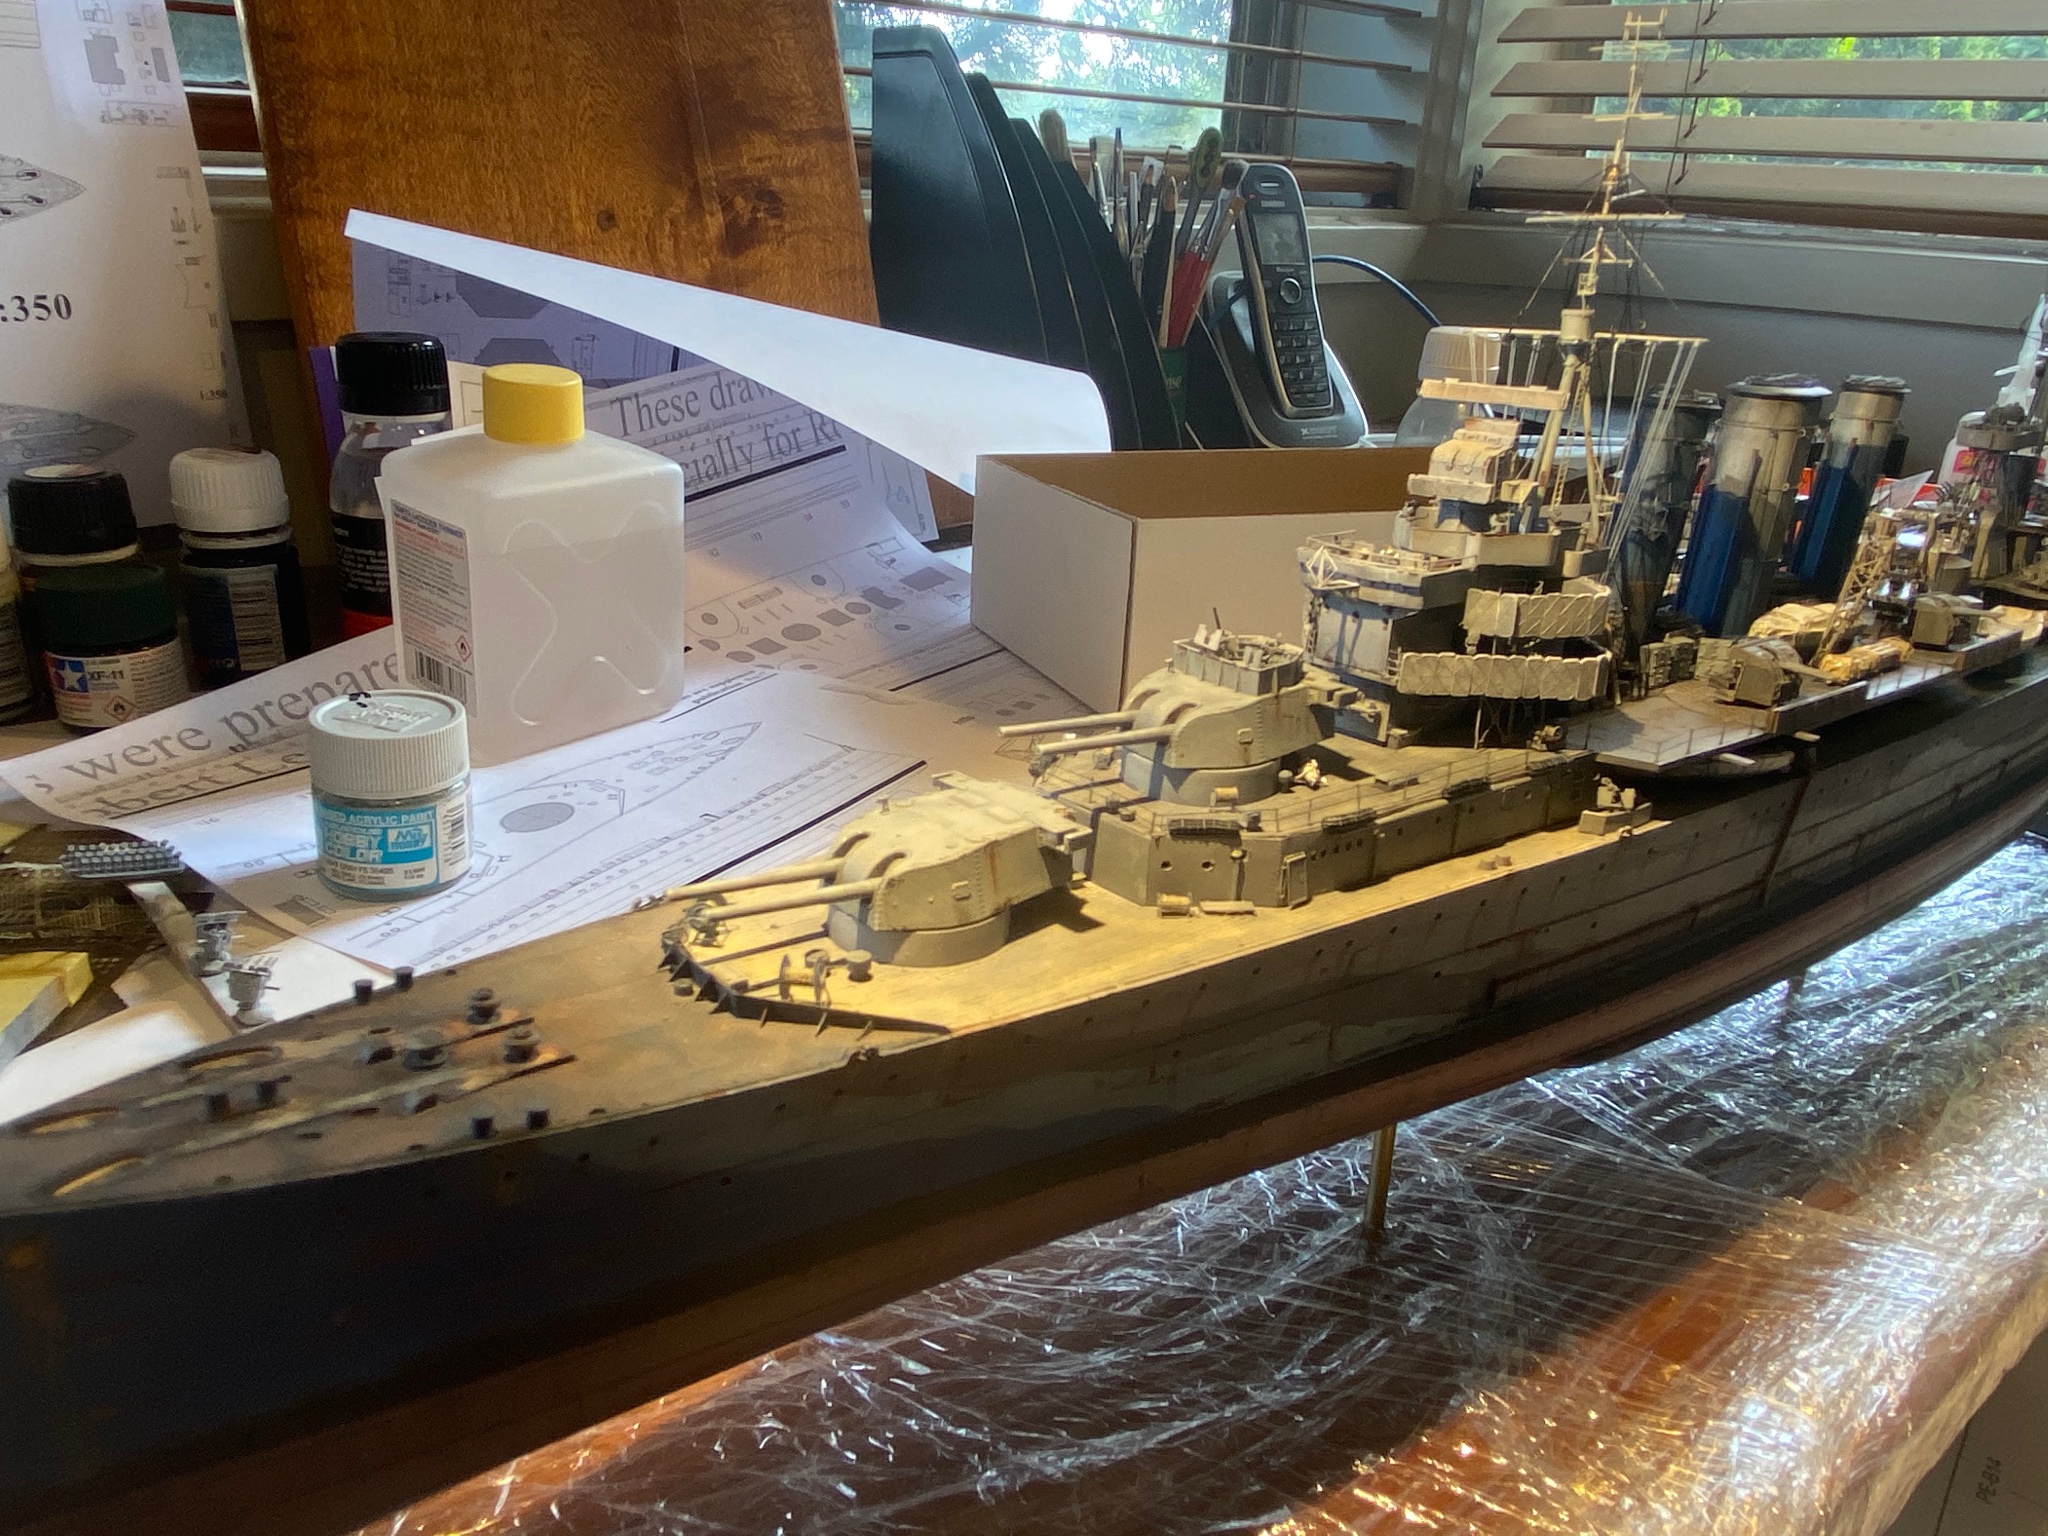
I can now start the infill, adding the prepainted bits. I’ll have to add the stanchions and rigging on this first level before I can go to the main deck.


- 128 replies
-
- 12
-
-
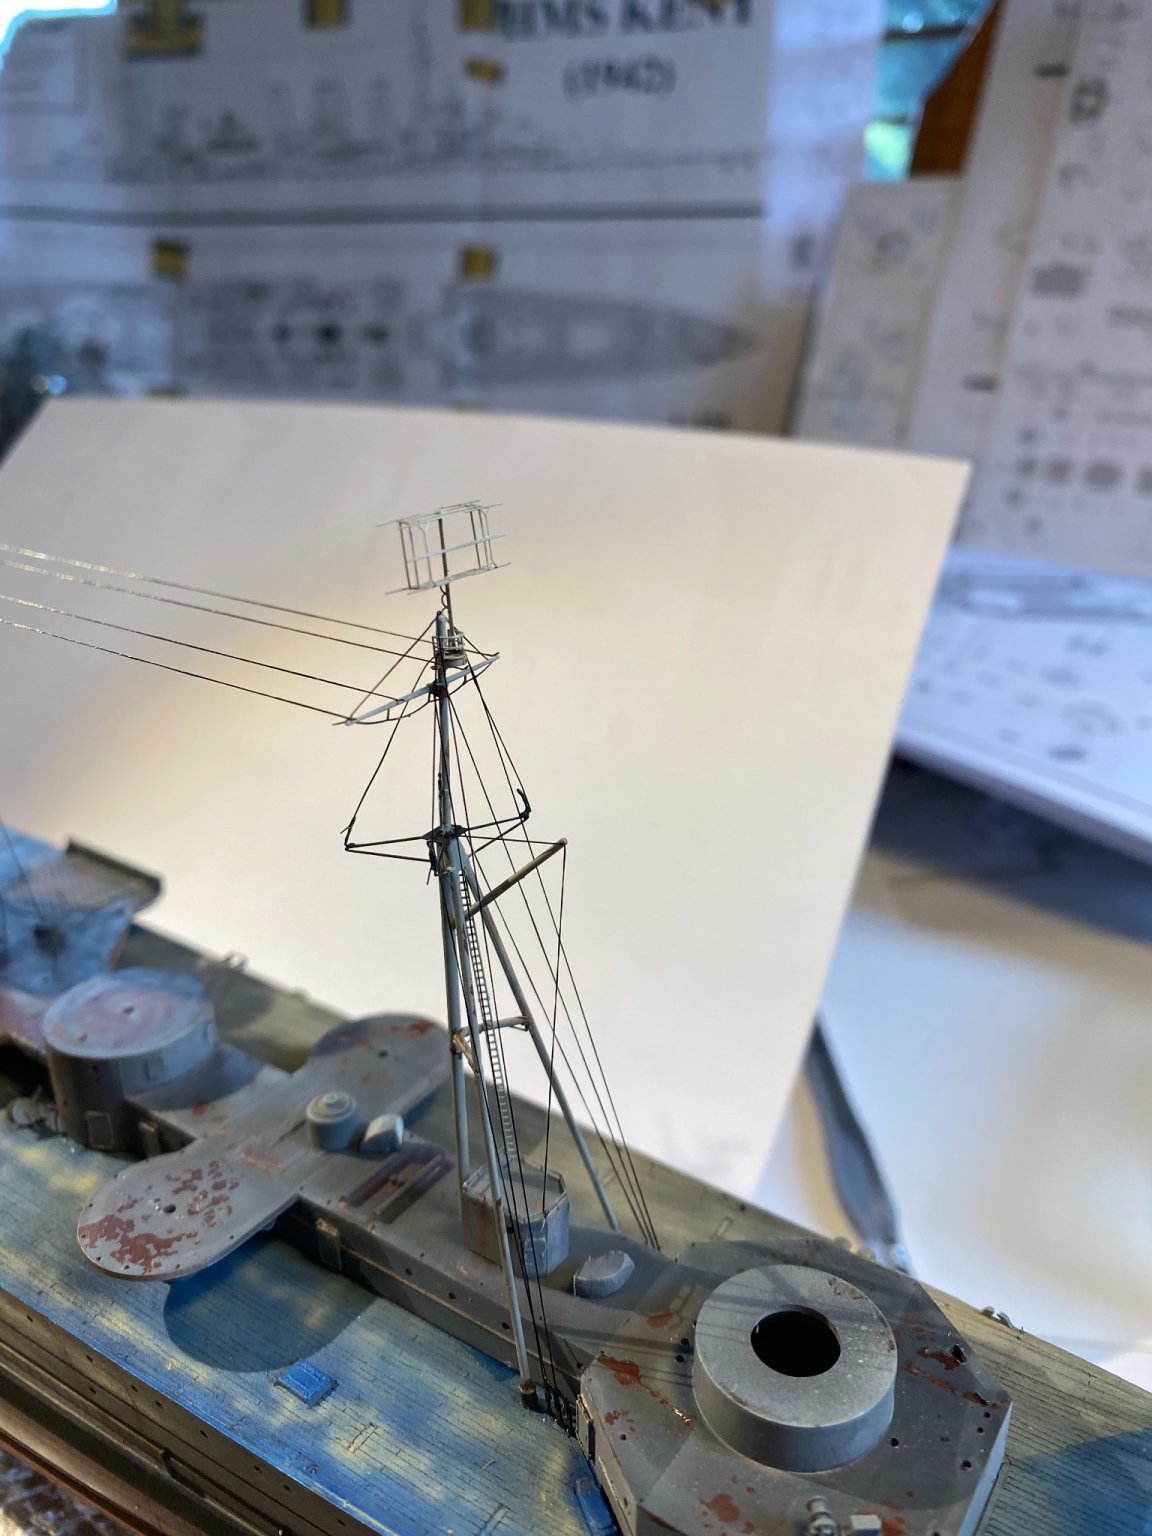
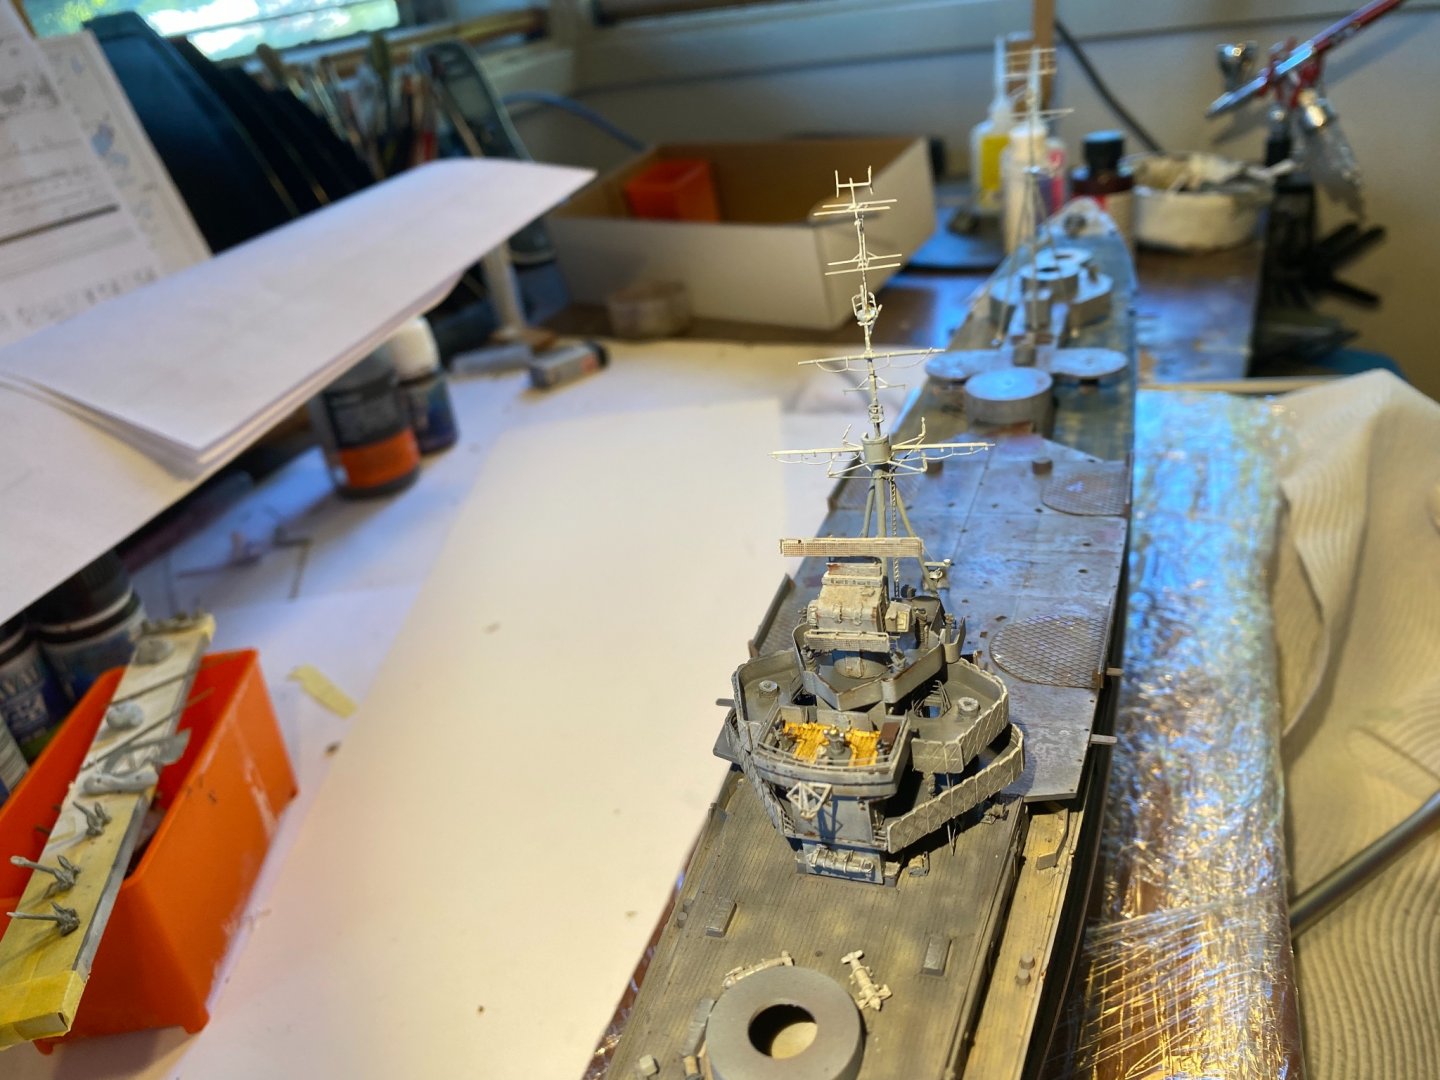
So some glueing today. The masts are like spaghetti, soft plastic with strange angles on them. they’ll need some weathering then stays and rigging, then I can put the funnels on and their rigging, and it will come together quickly.

- 128 replies
-
- 11
-
-
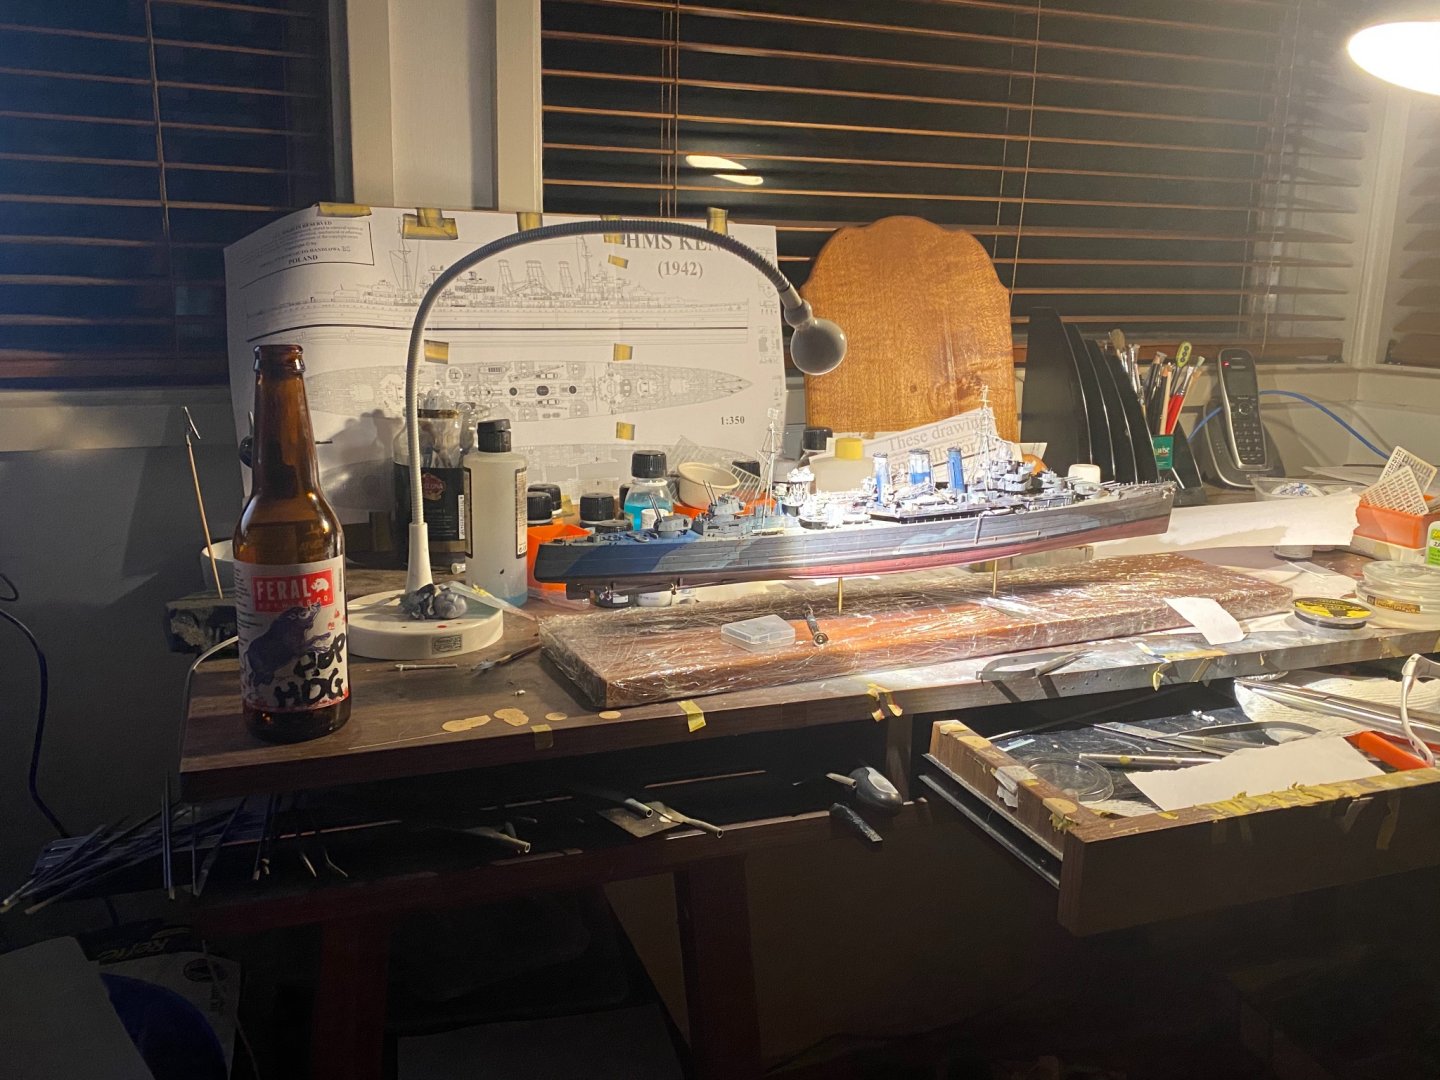
Thanks all. so nearly there. 2 days work to make up the masts. The horrible thing about plastic masts is how they will hold up under the tension of riggings! A bit of brass to replace. No stays referenced in any of the plans but the photos have them. Non tall ship modellers miss this stuff all the time. so ladders and the seaplane plus the stanchions to go. Once painted, I can start rigging then throw it all together

- 128 replies
-
- 10
-
-
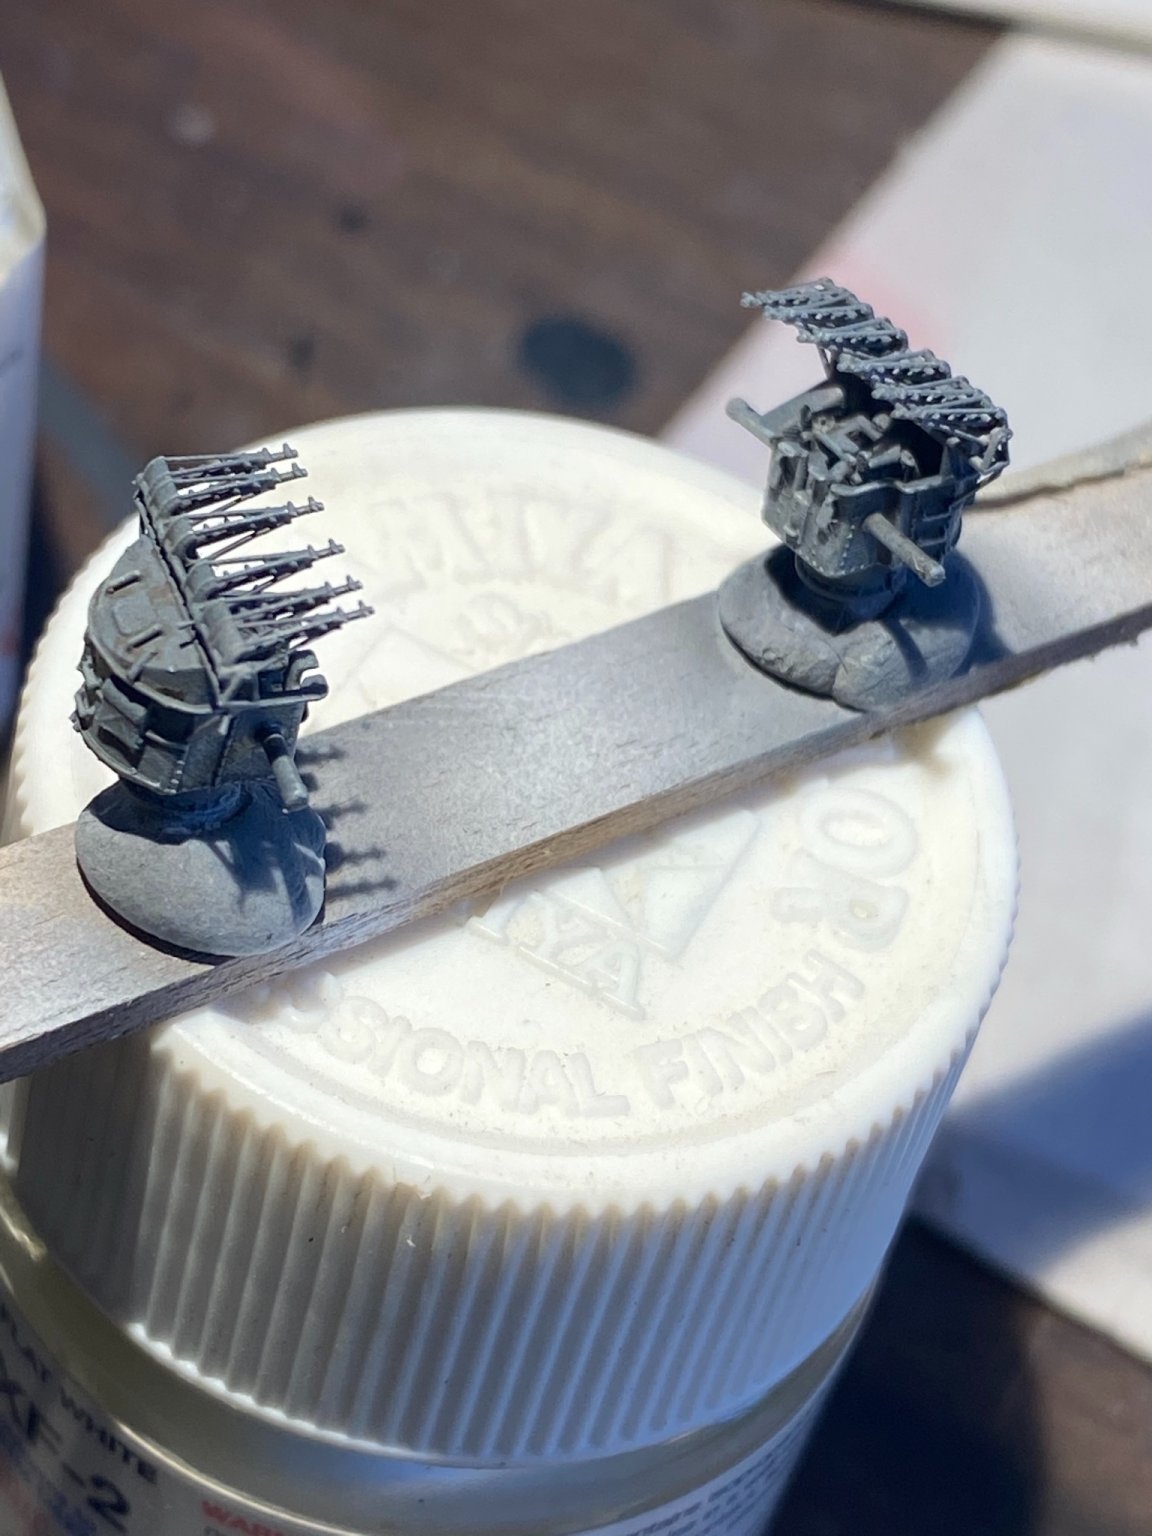
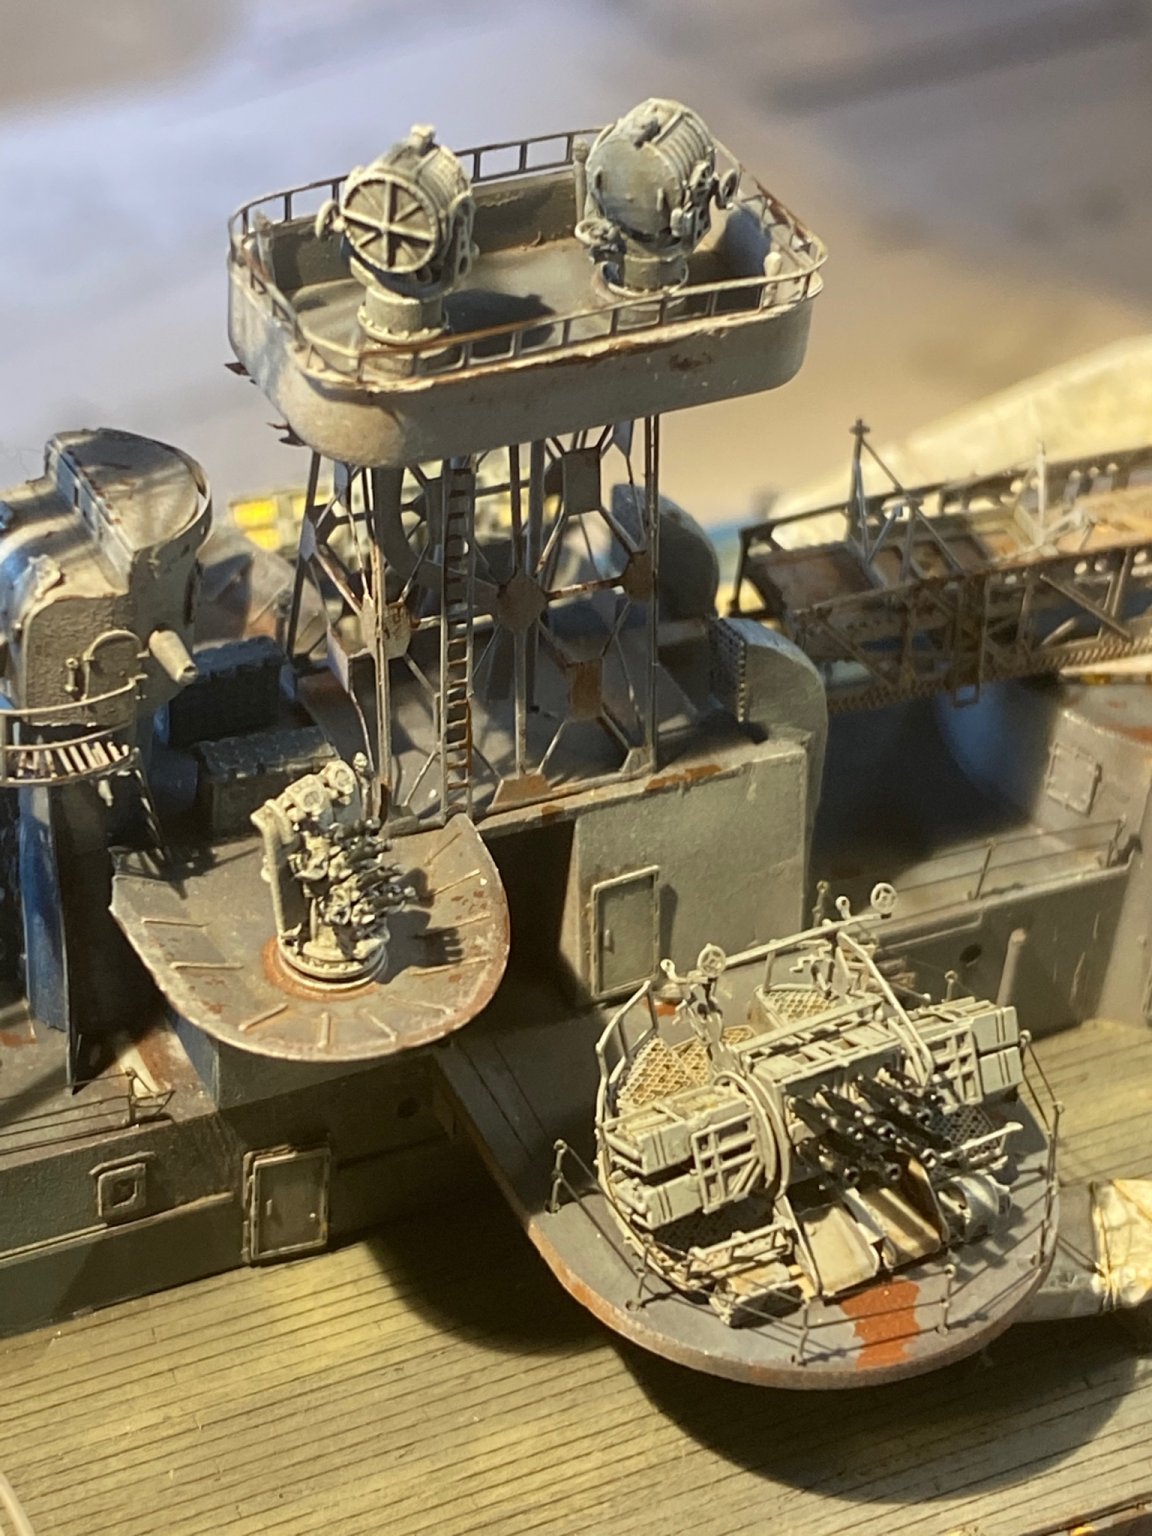
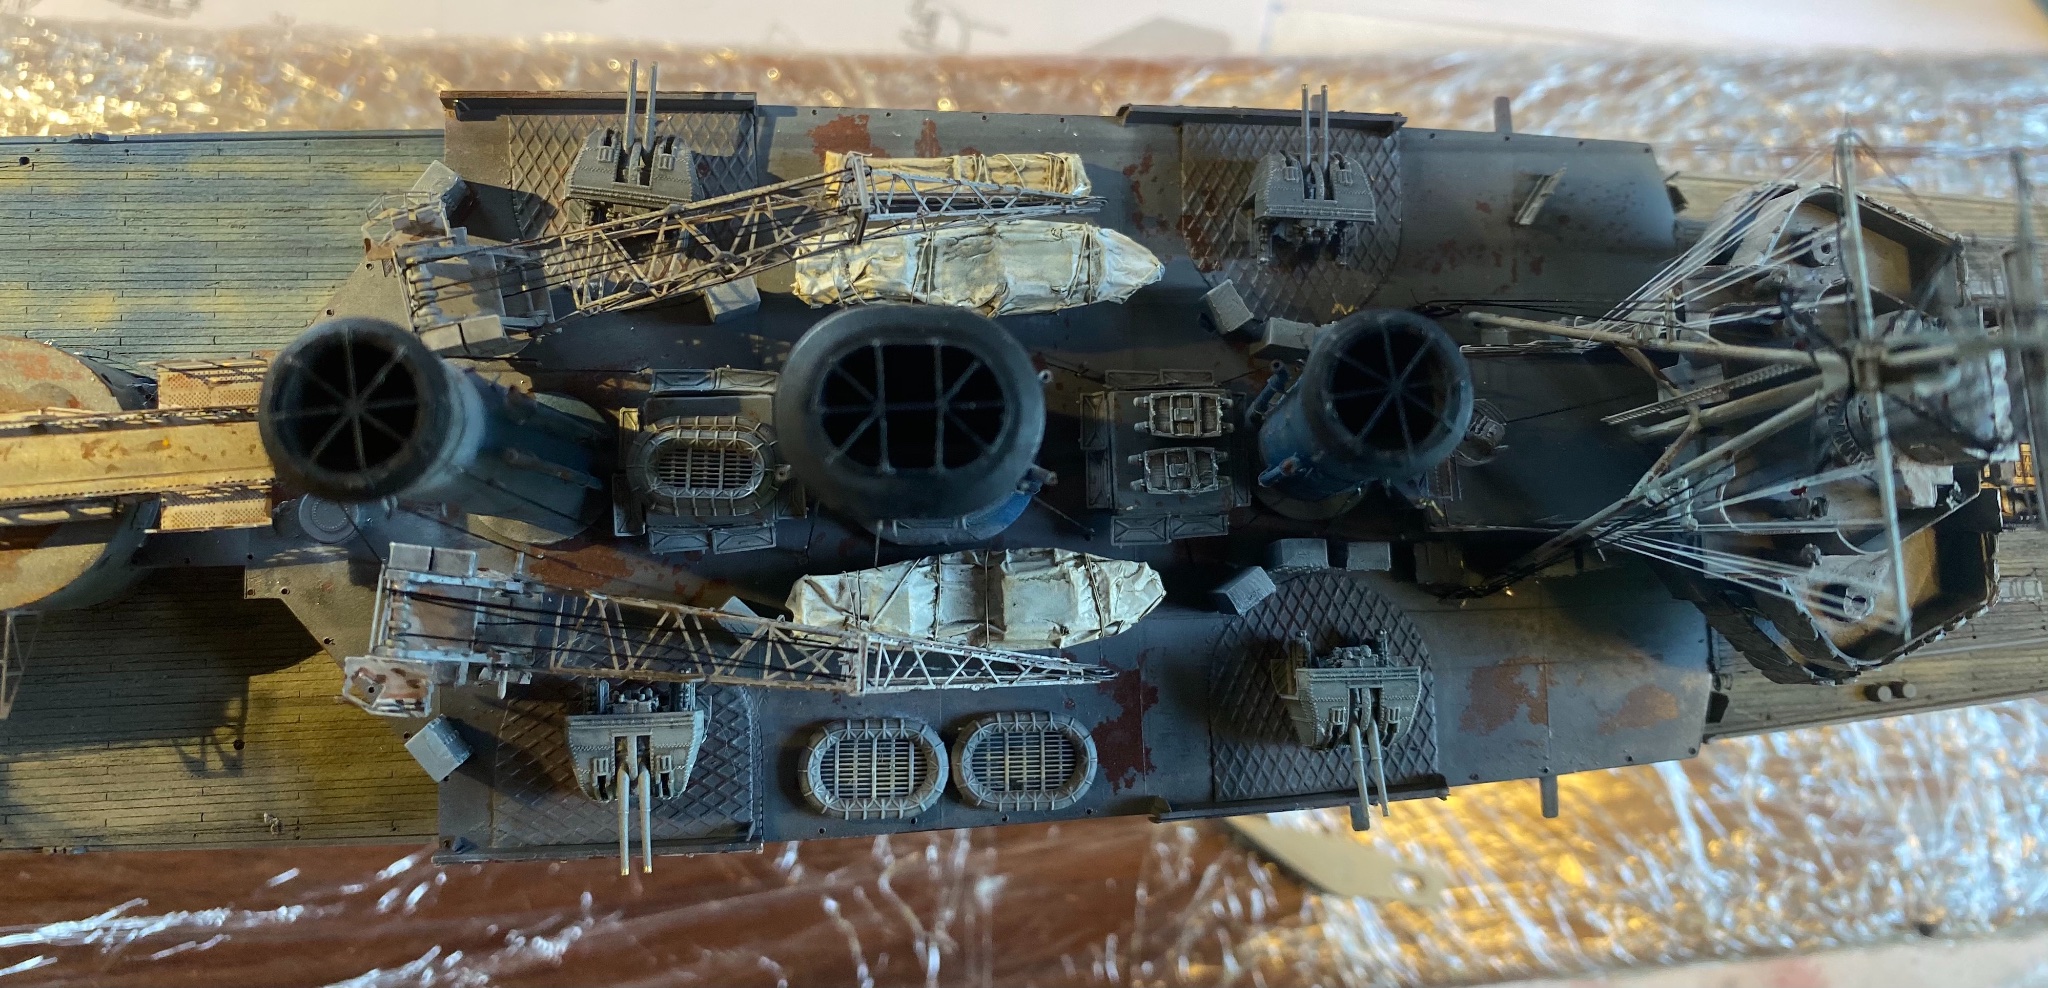
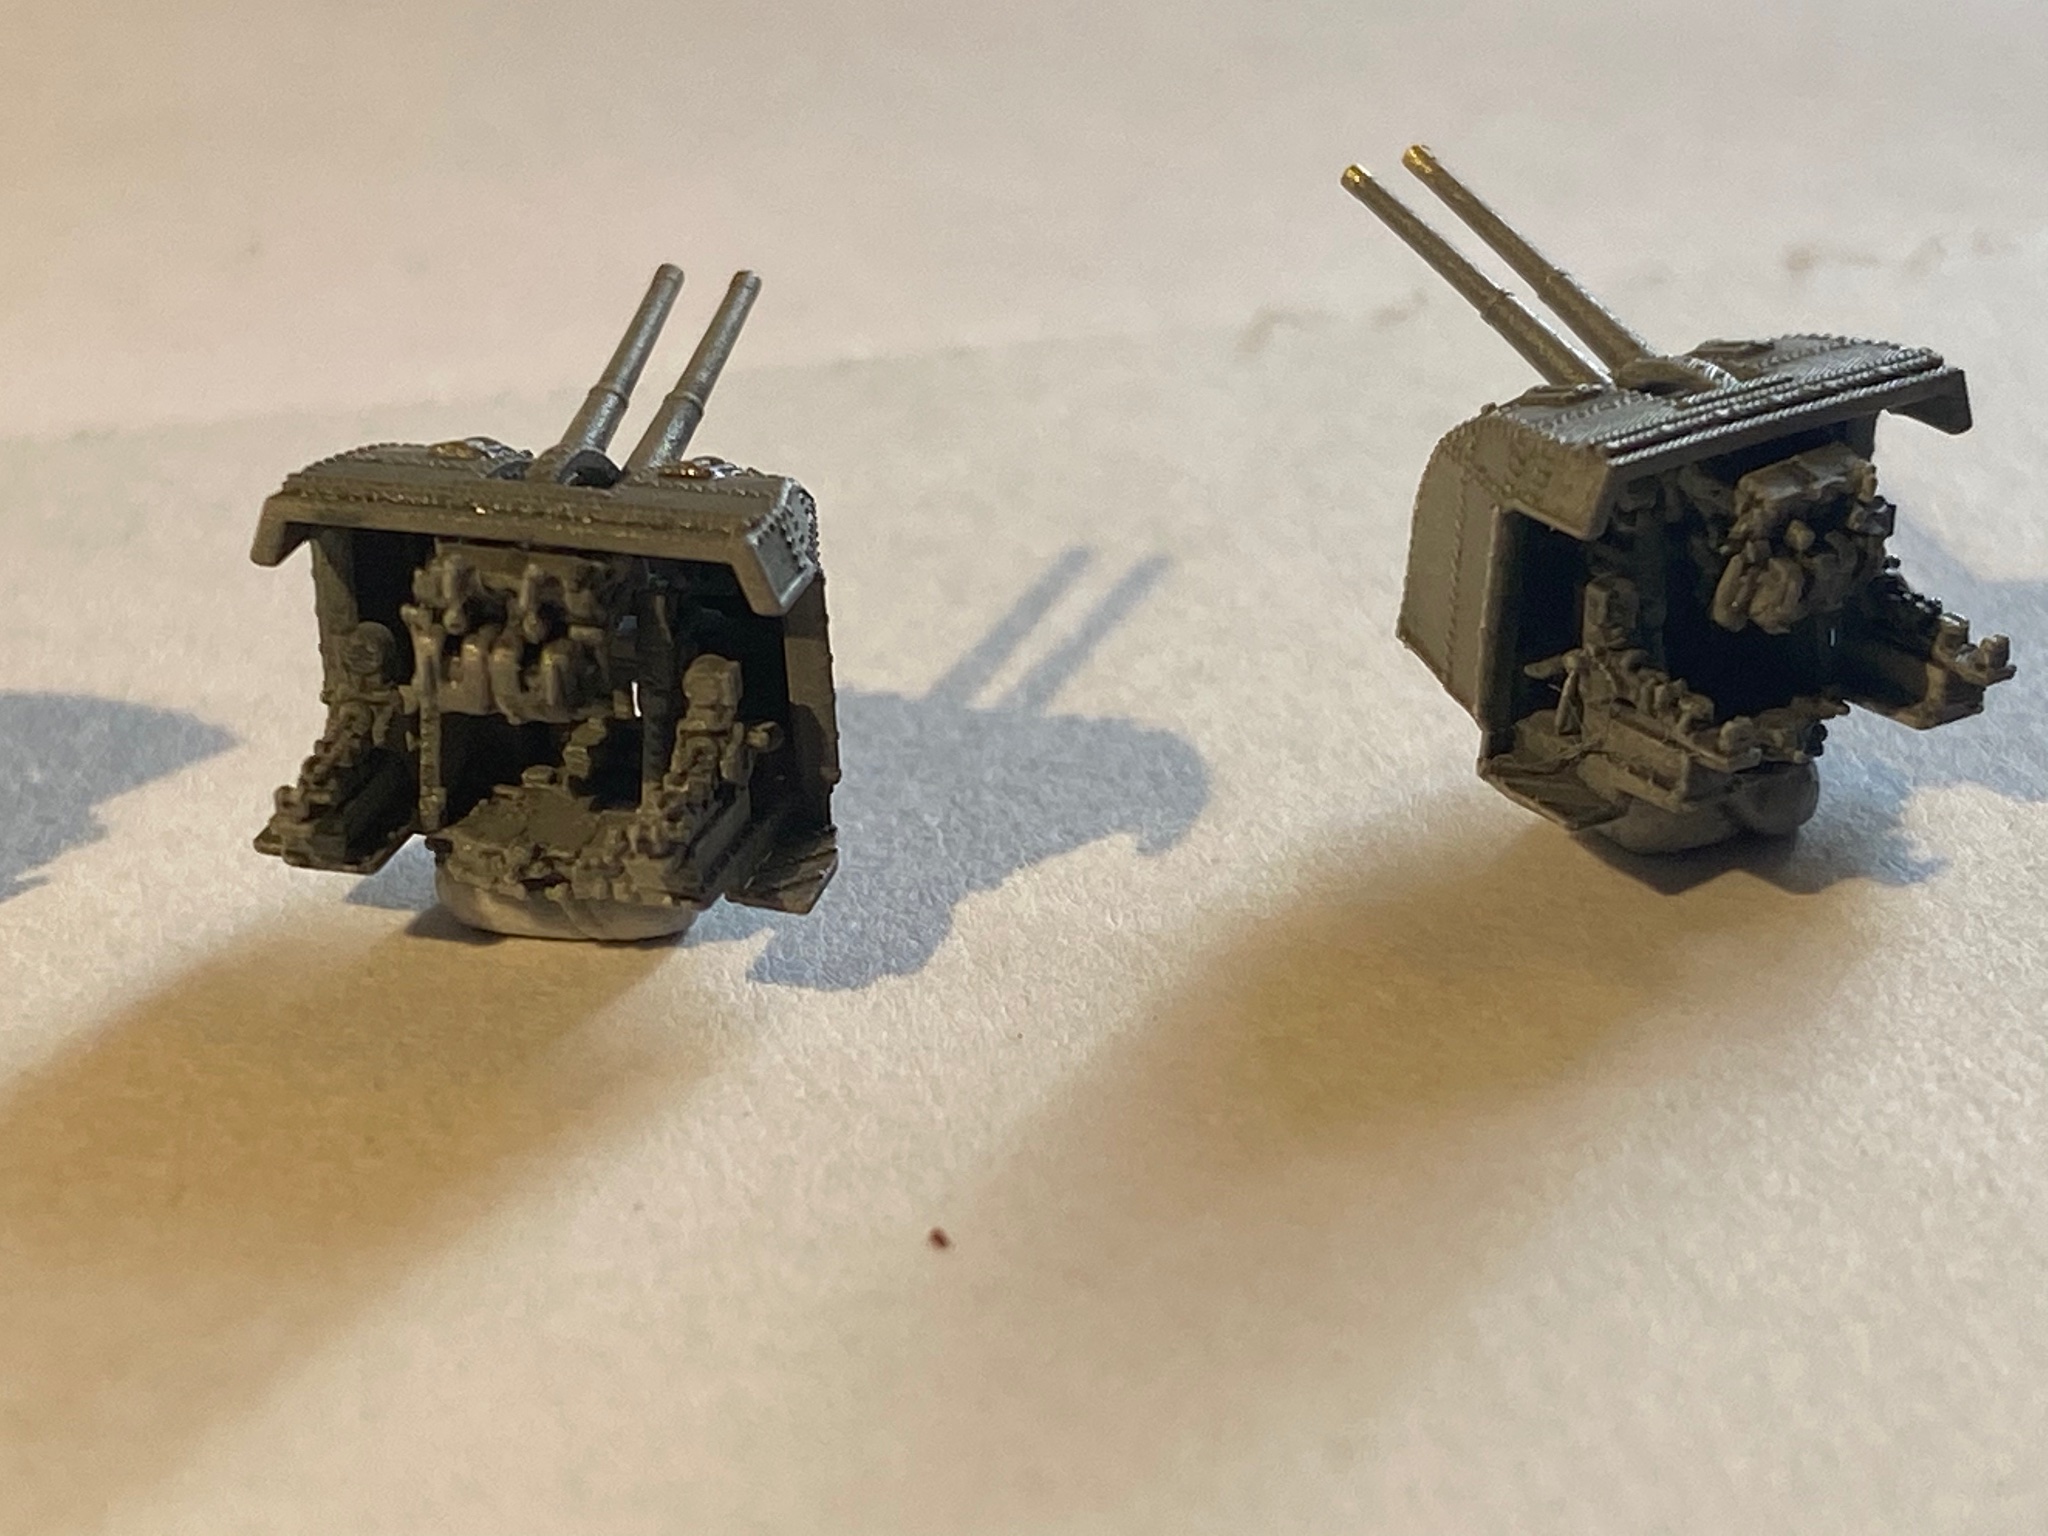
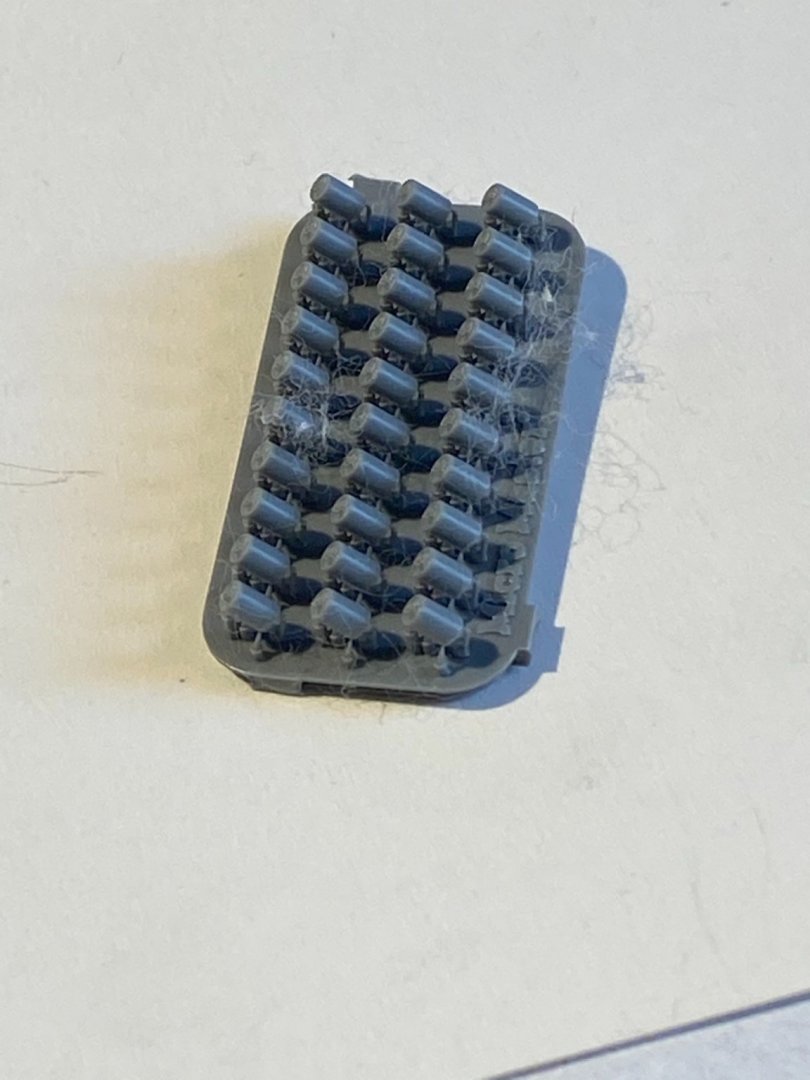
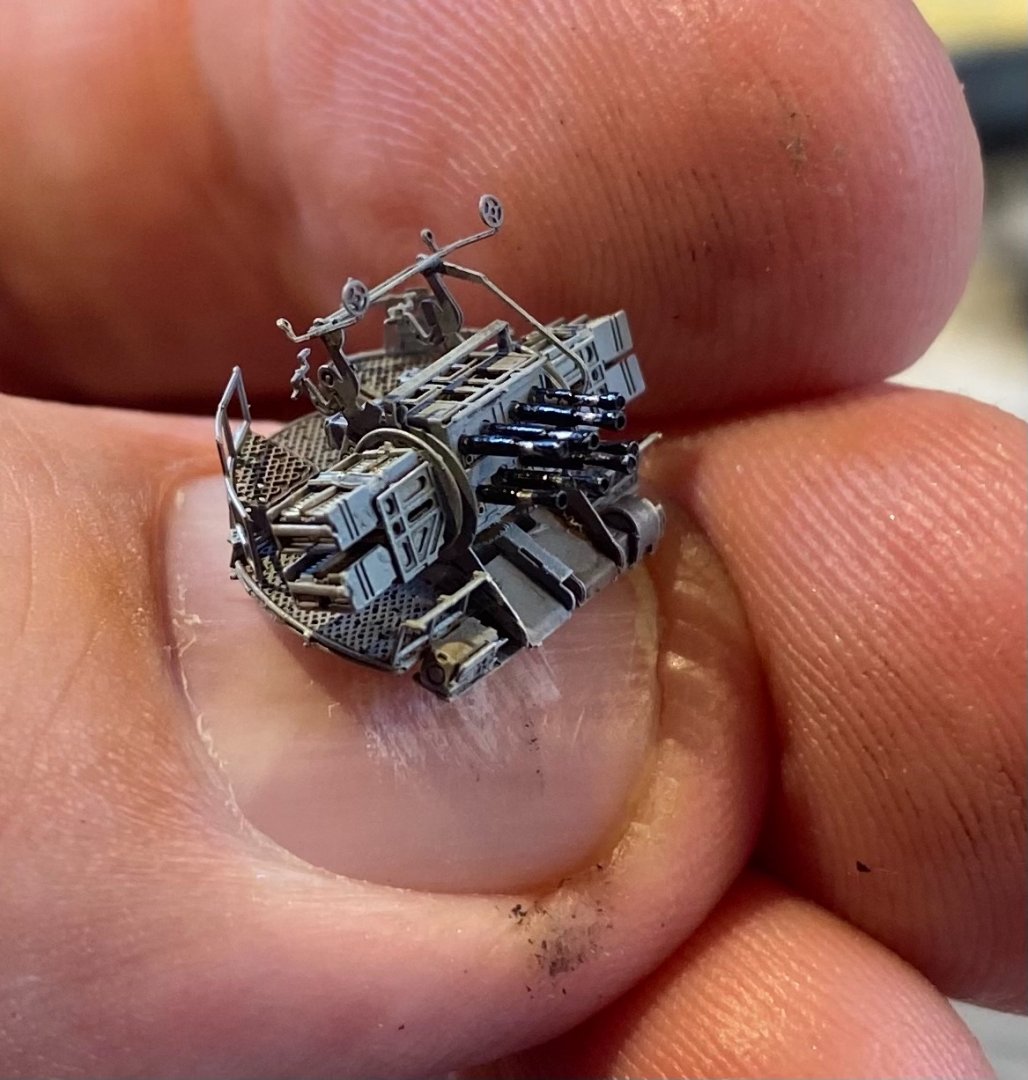
Lots of small things finally getting painted, the 20mm the quad Vickers the Octuplet Pom Pom the balsa raft the 36” spotlight

- 128 replies
-
- 12
-
-
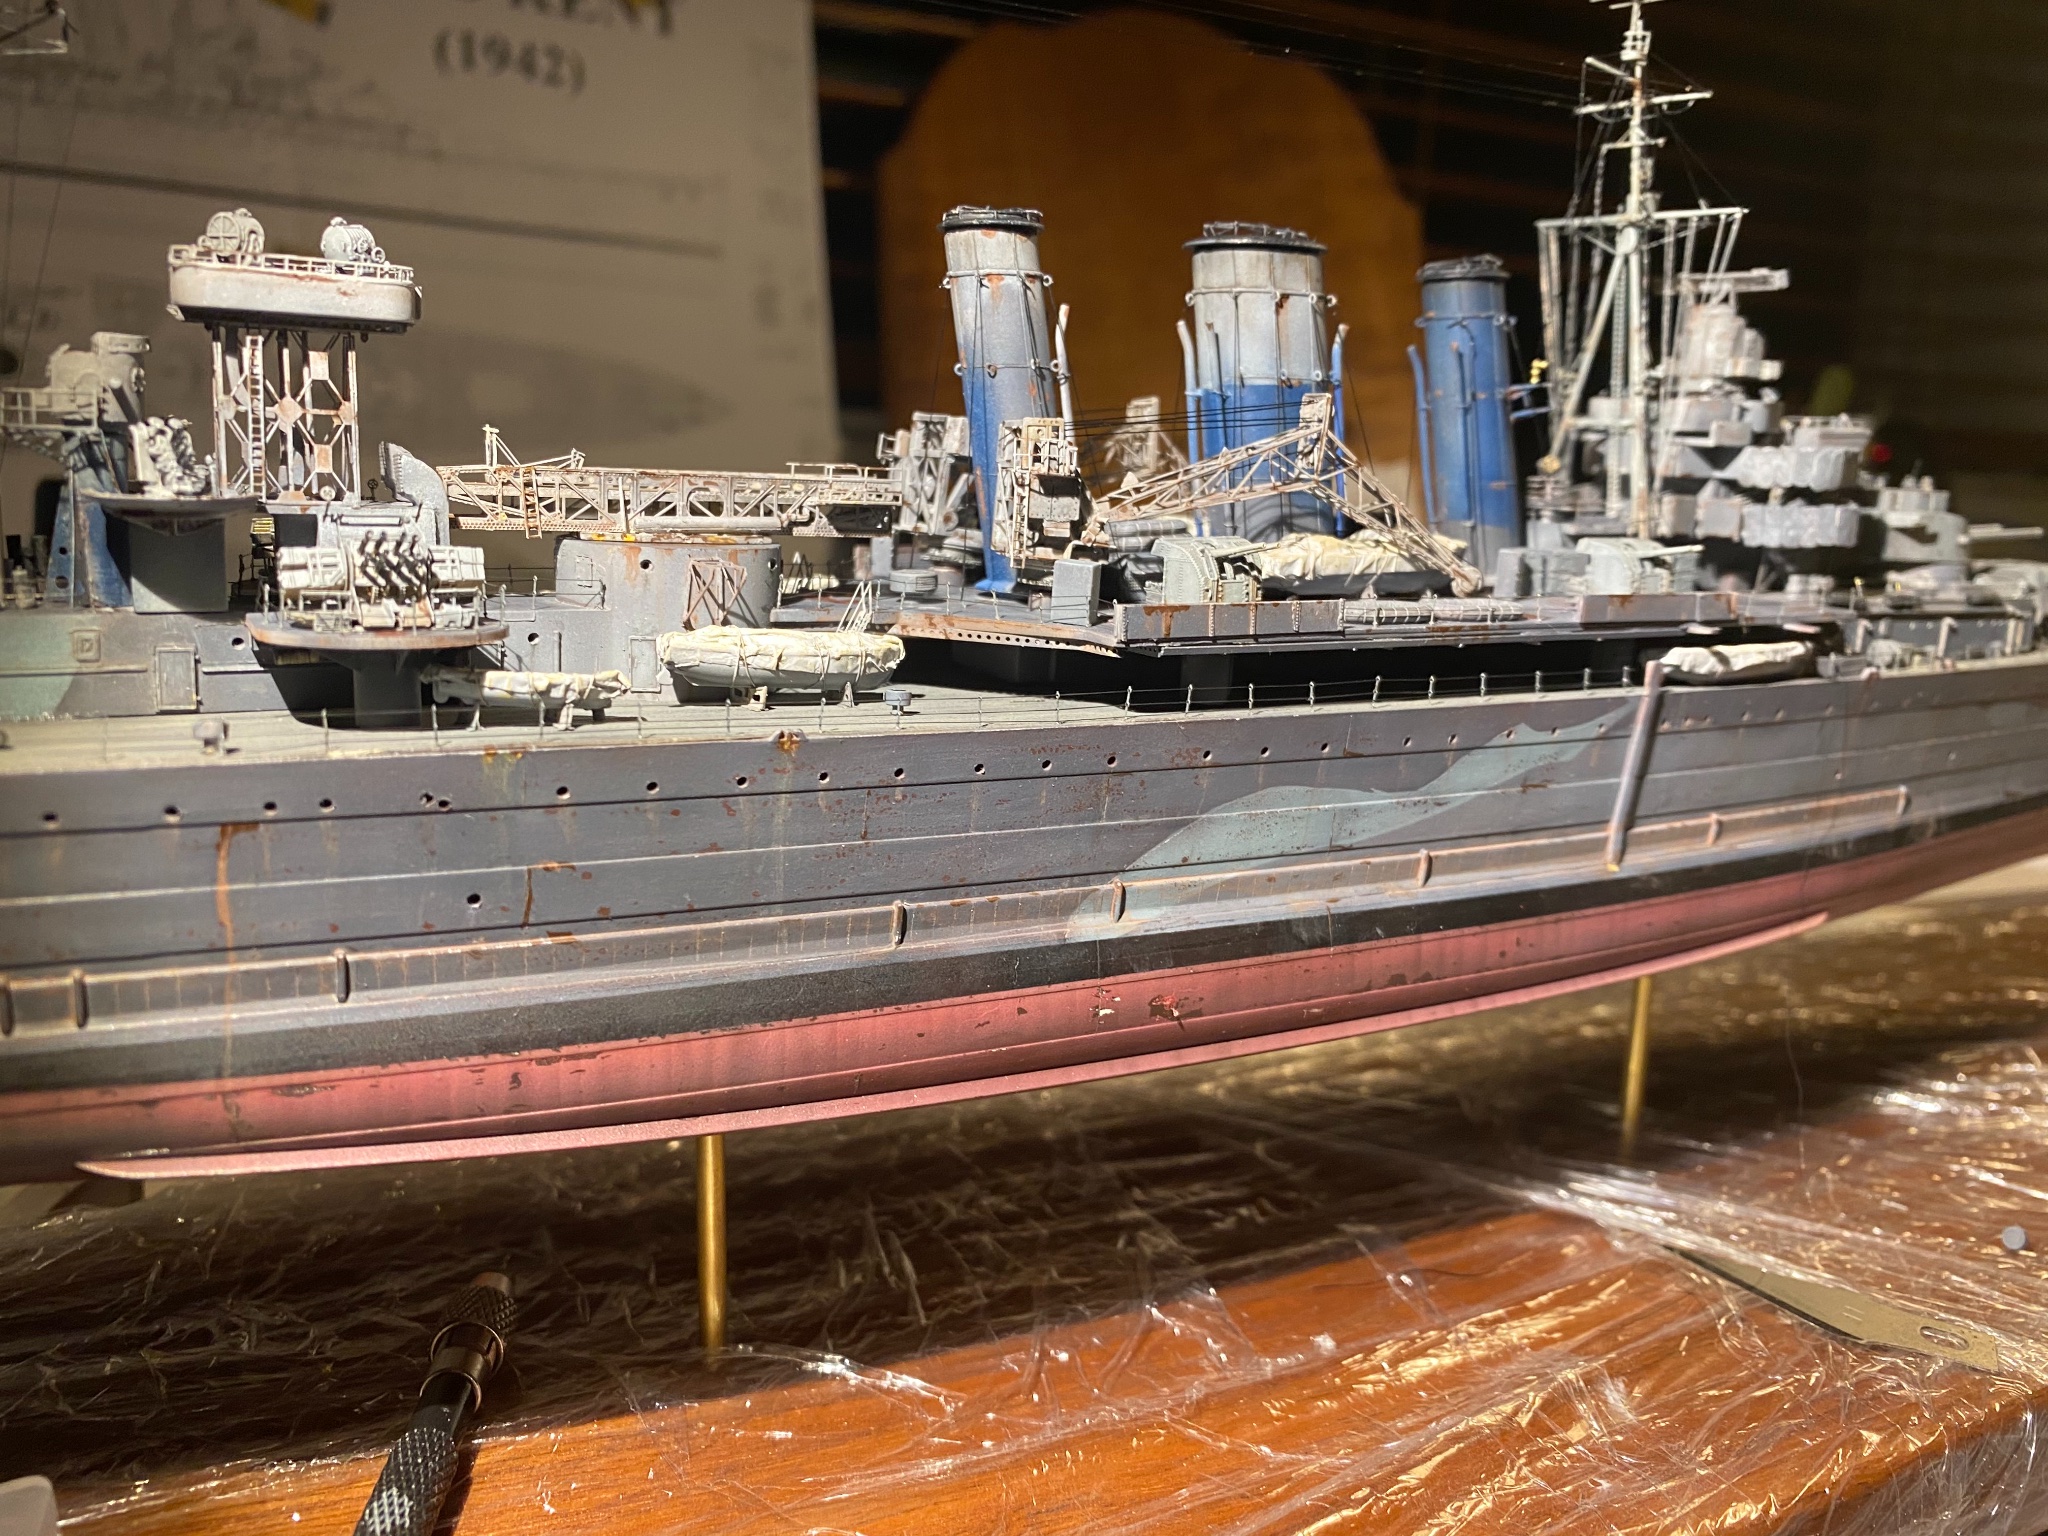
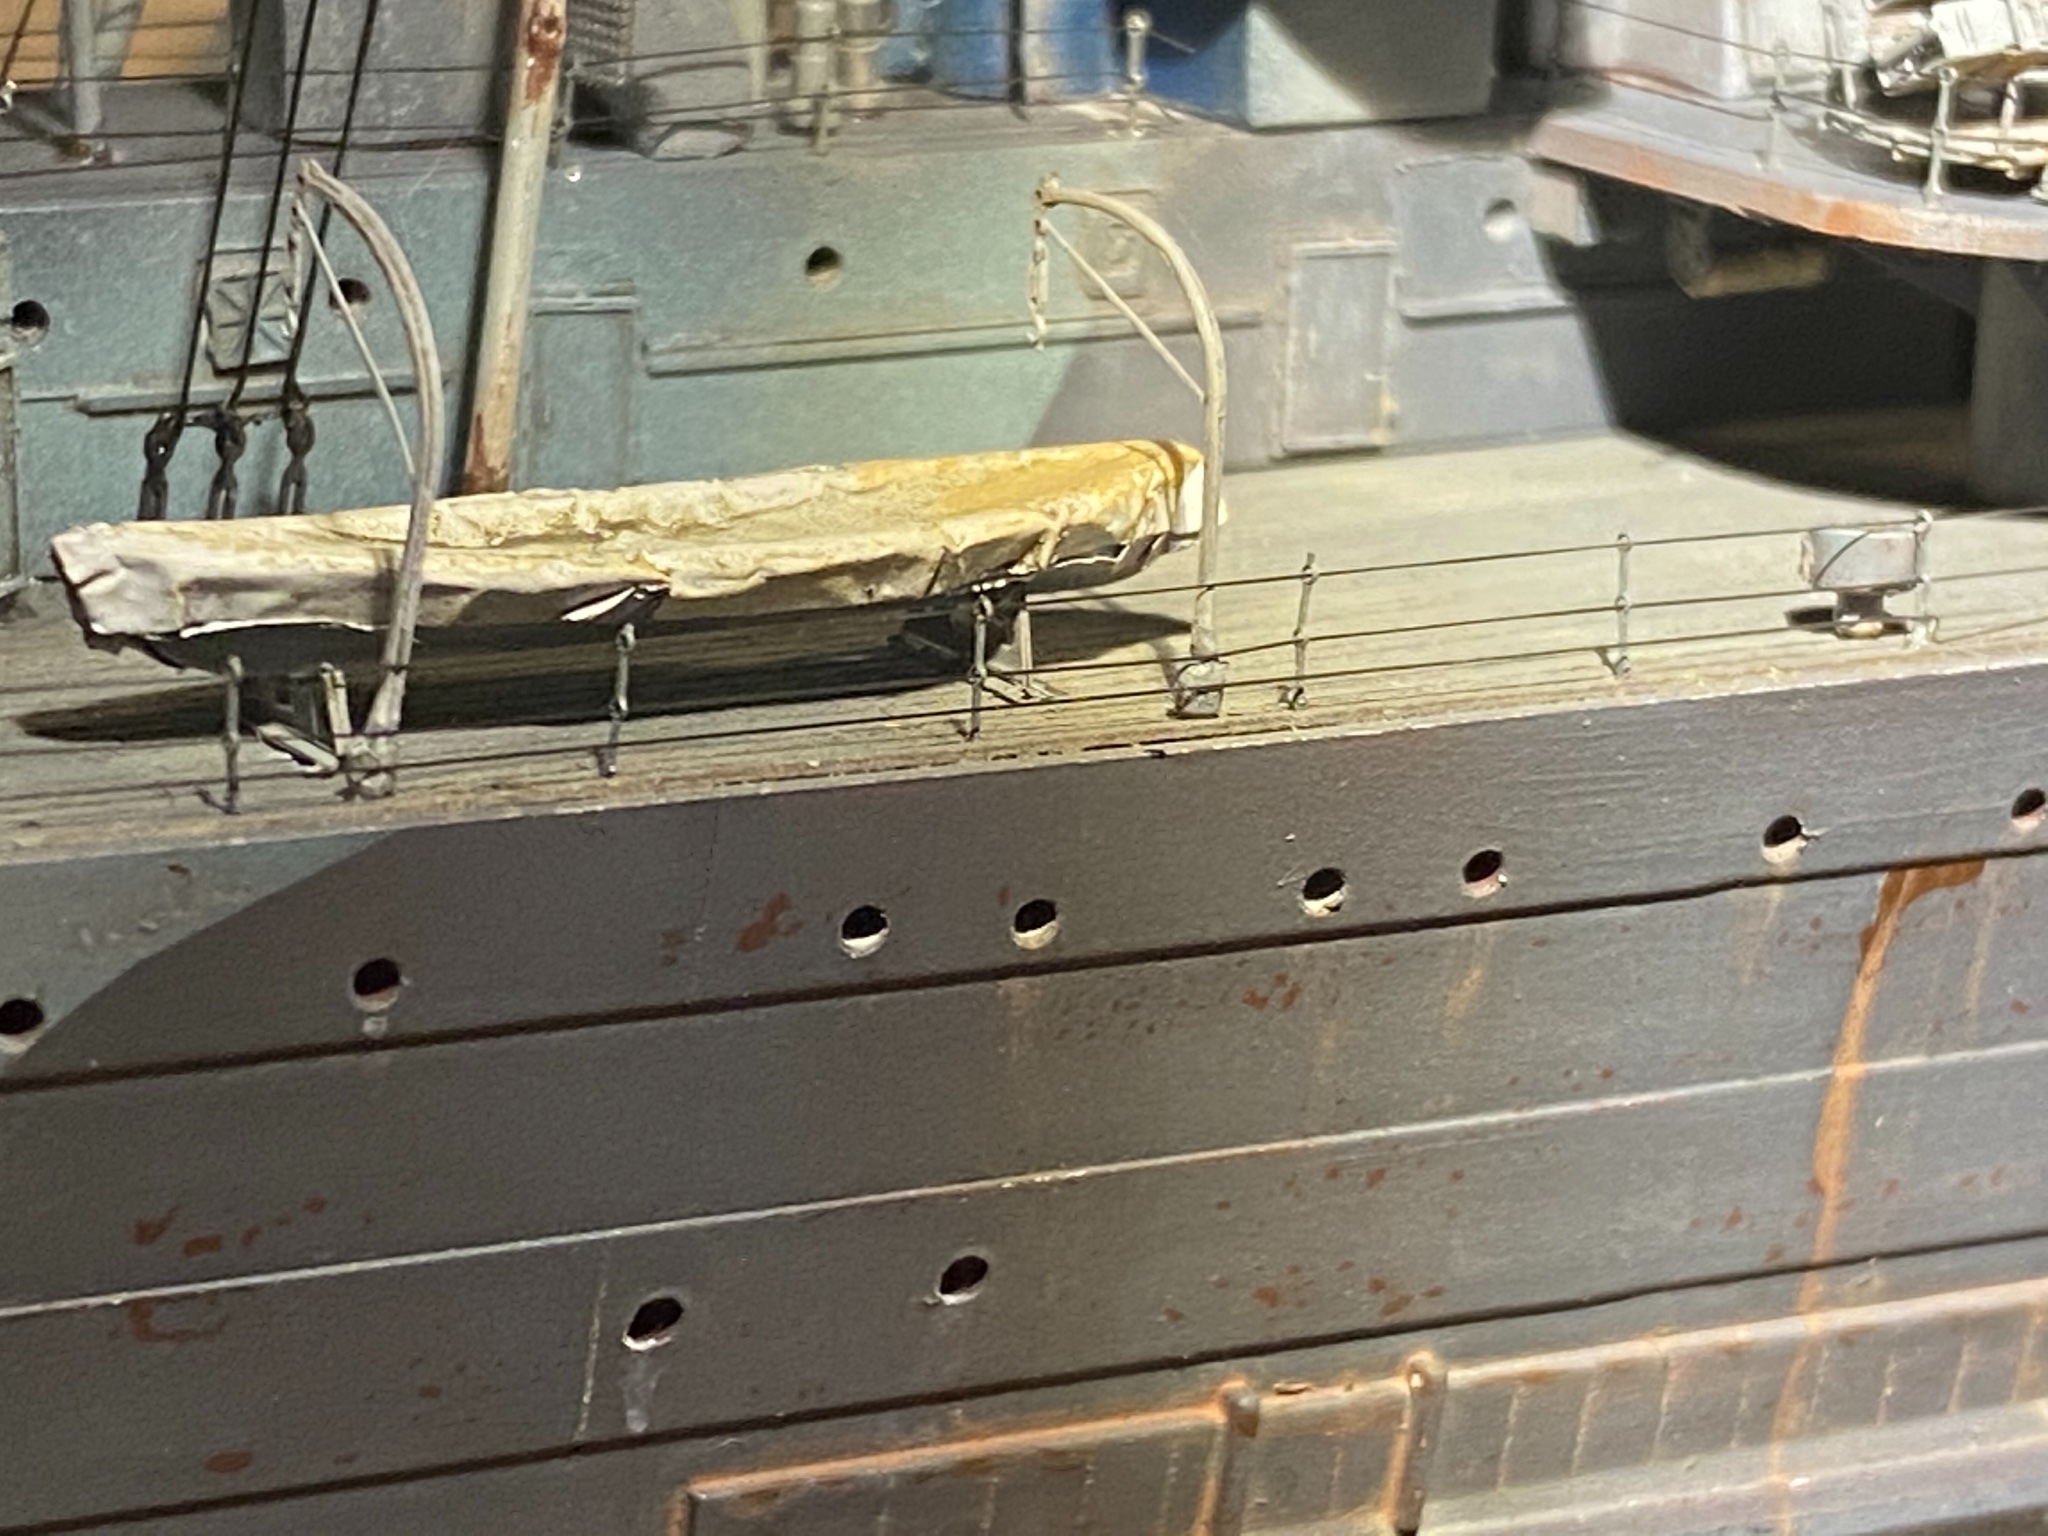
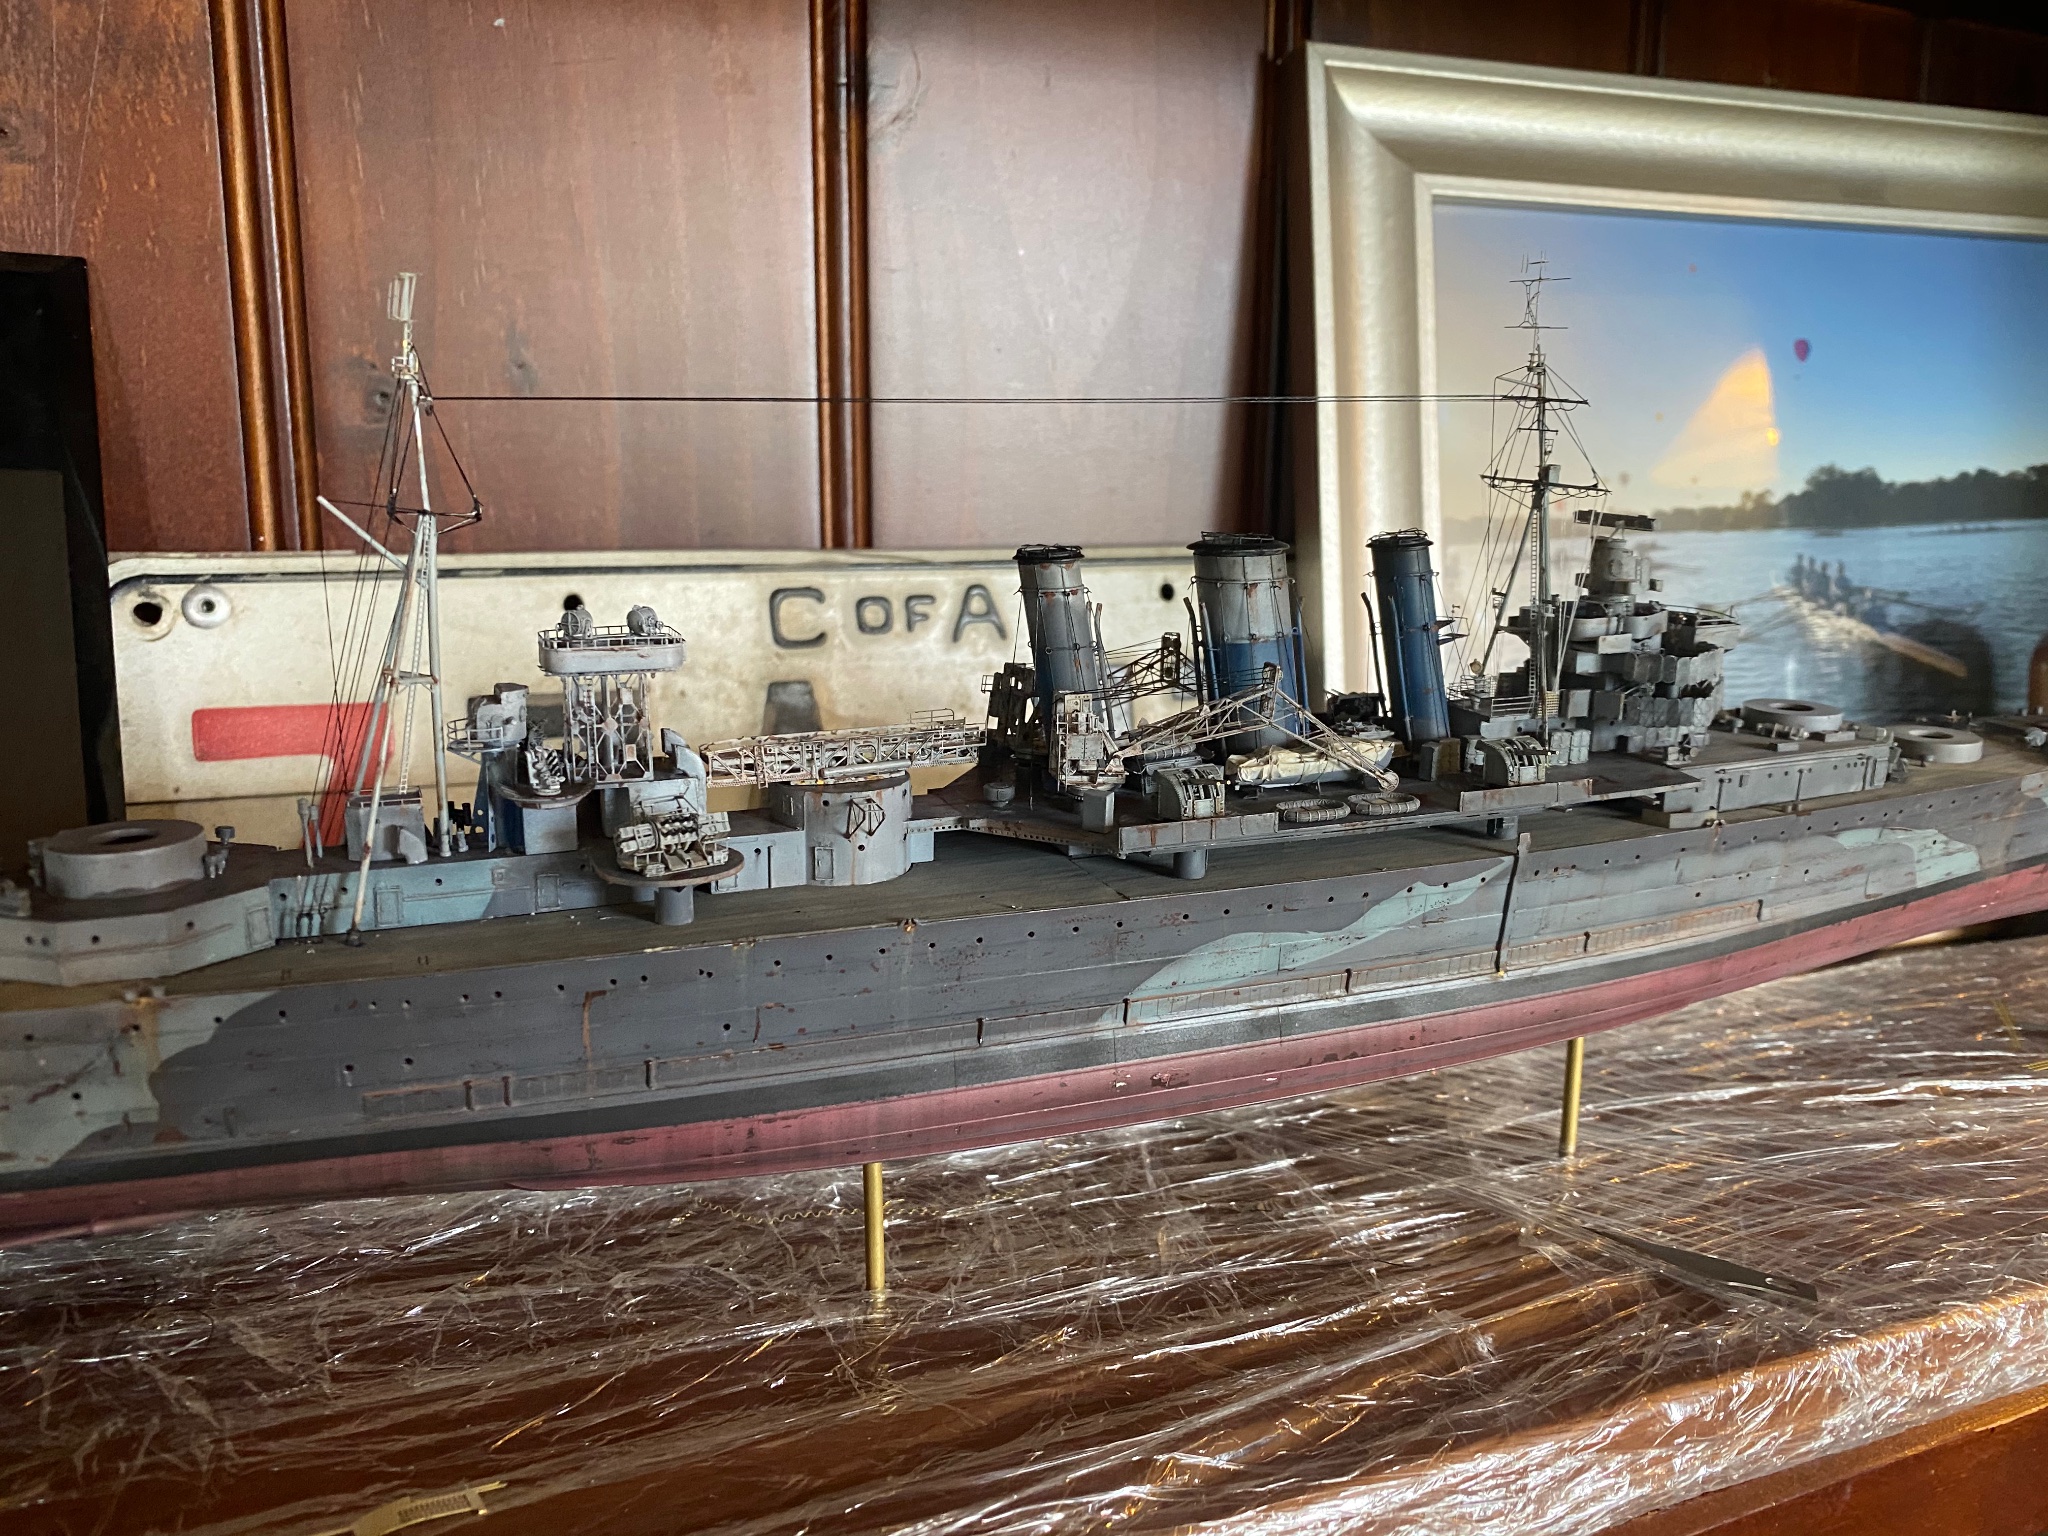
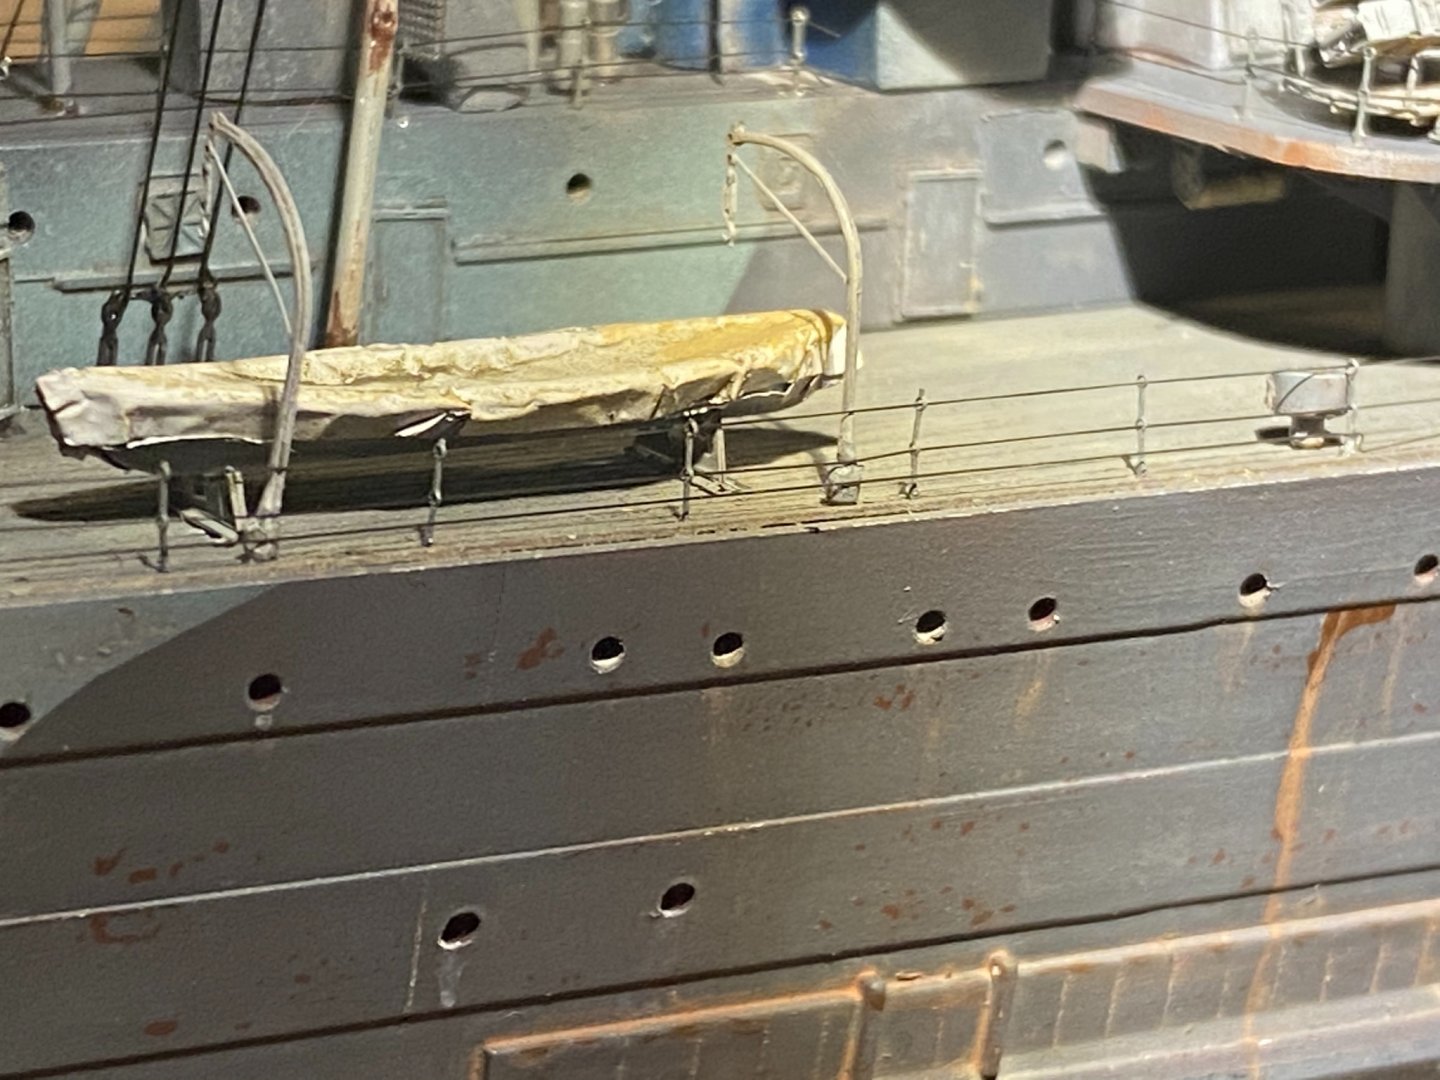
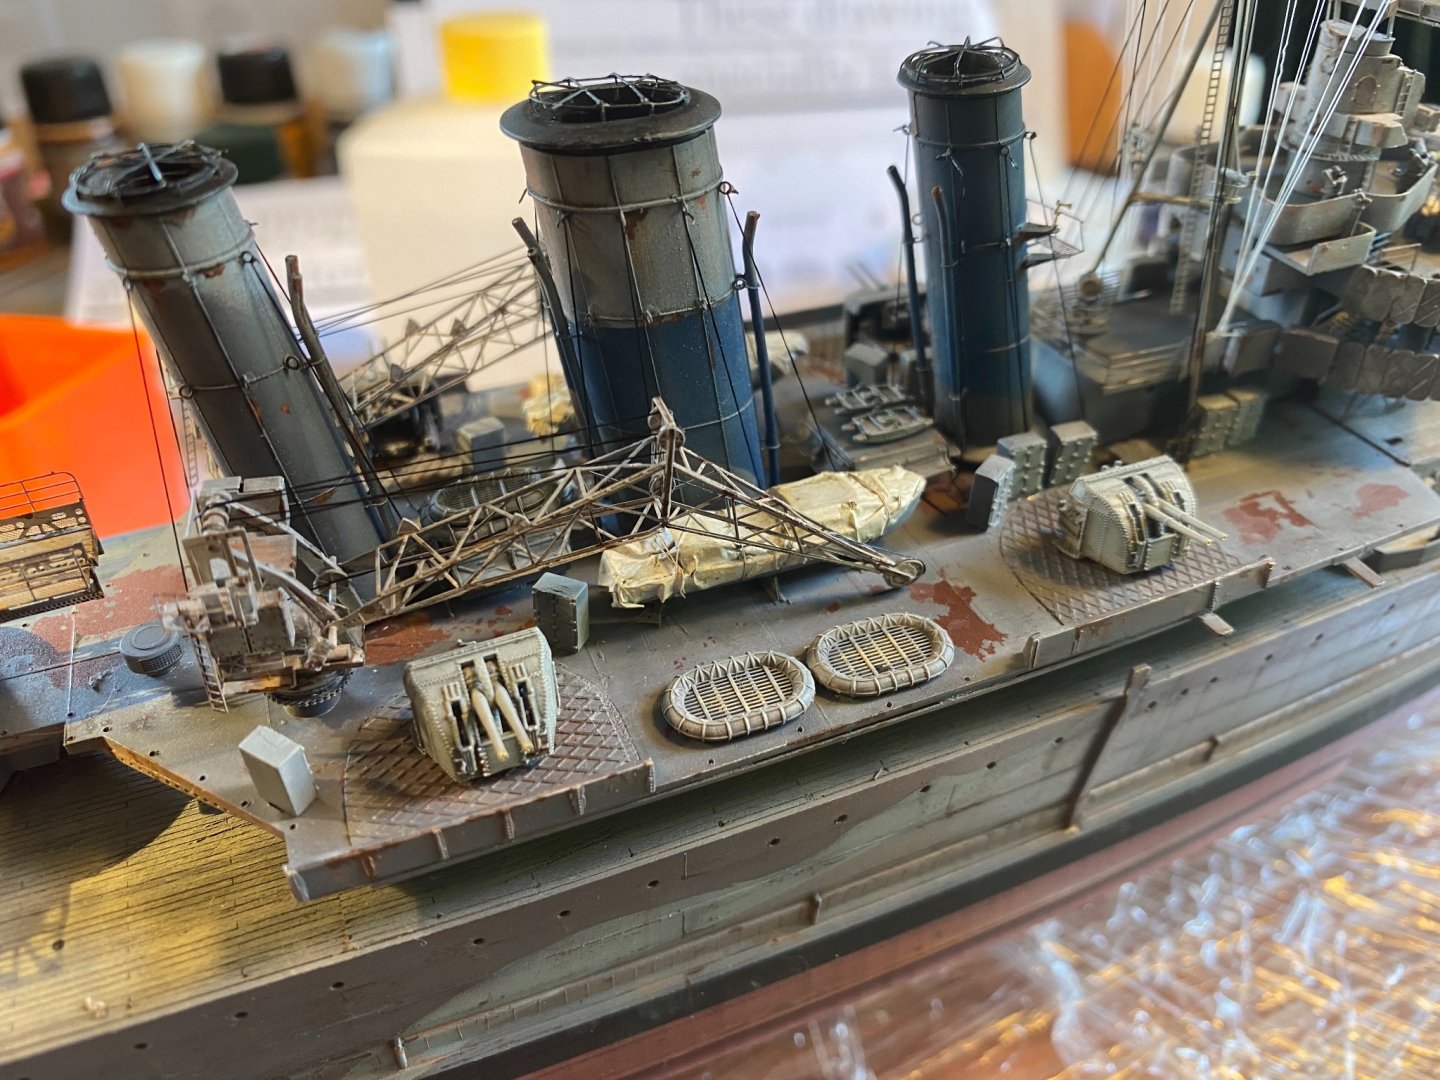
Aaaaand done, I used a few washes to bring out the highlights, then a dry brush to white to hit the night points on the rivets etc. Then some streaking grime, then some dark brown to represent chipped rust points, then some streaked rust from those points. i know someone is going to say “they would never let it get that bad” but I don’t know boats.

- 128 replies
-
- 10
-
-
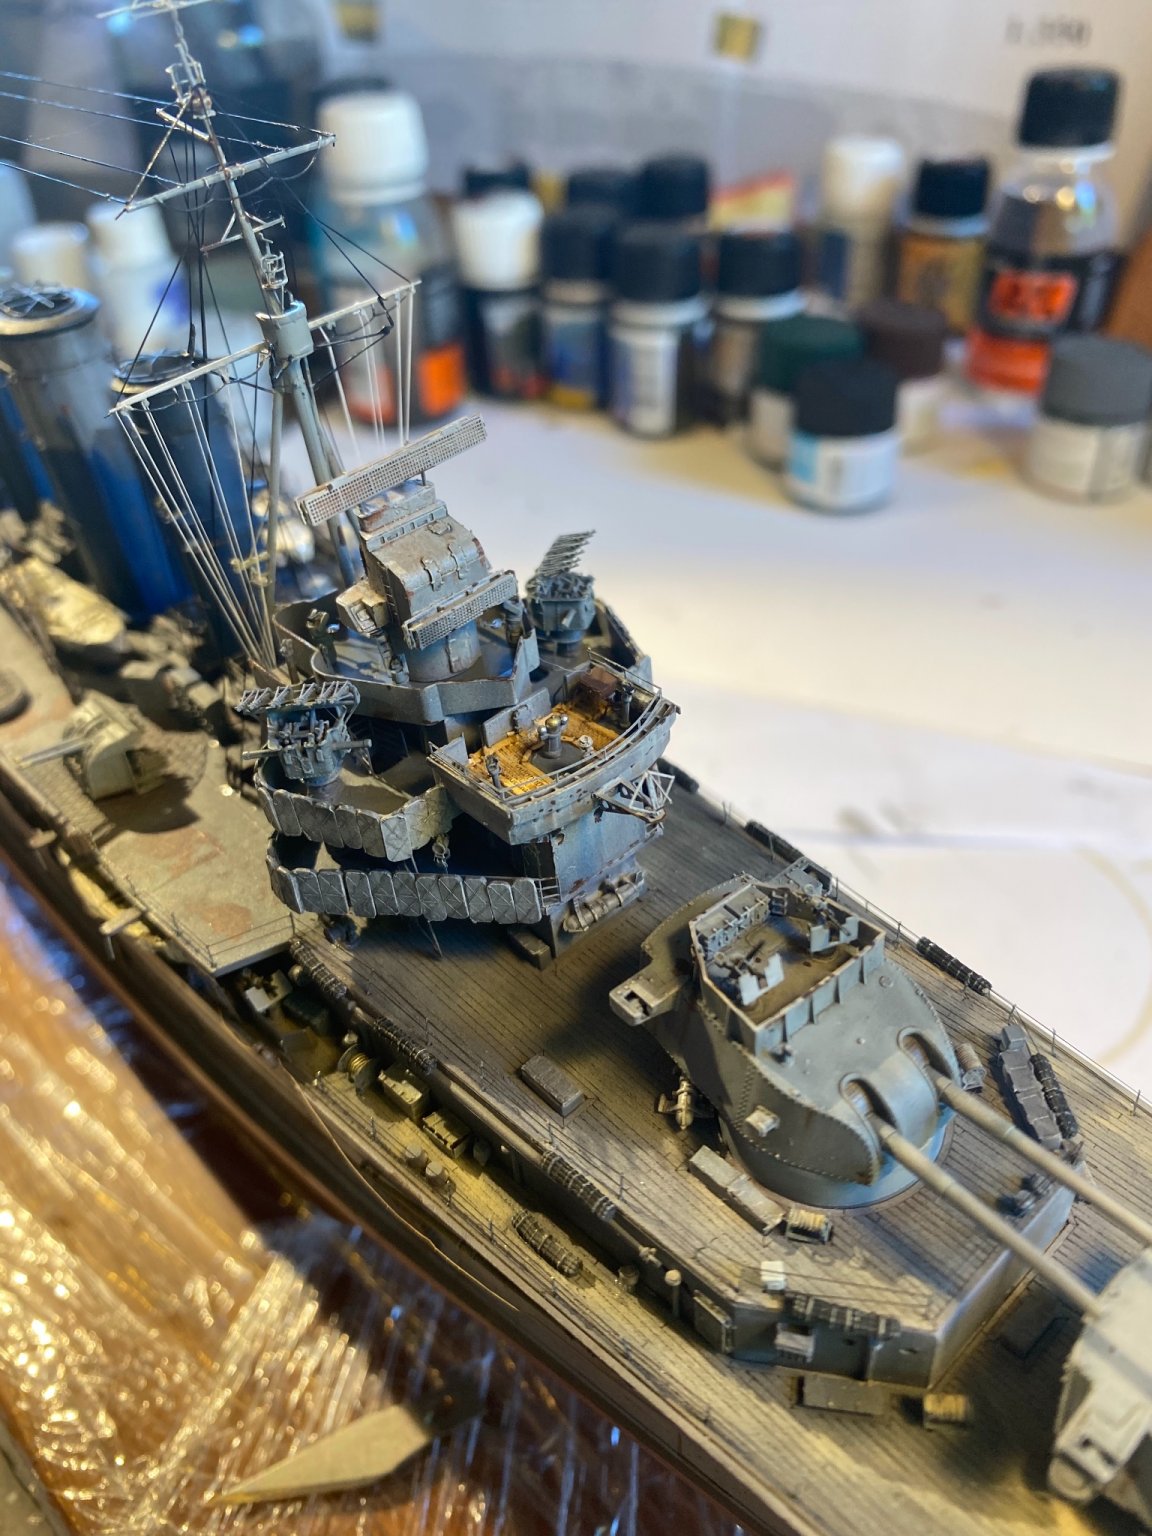
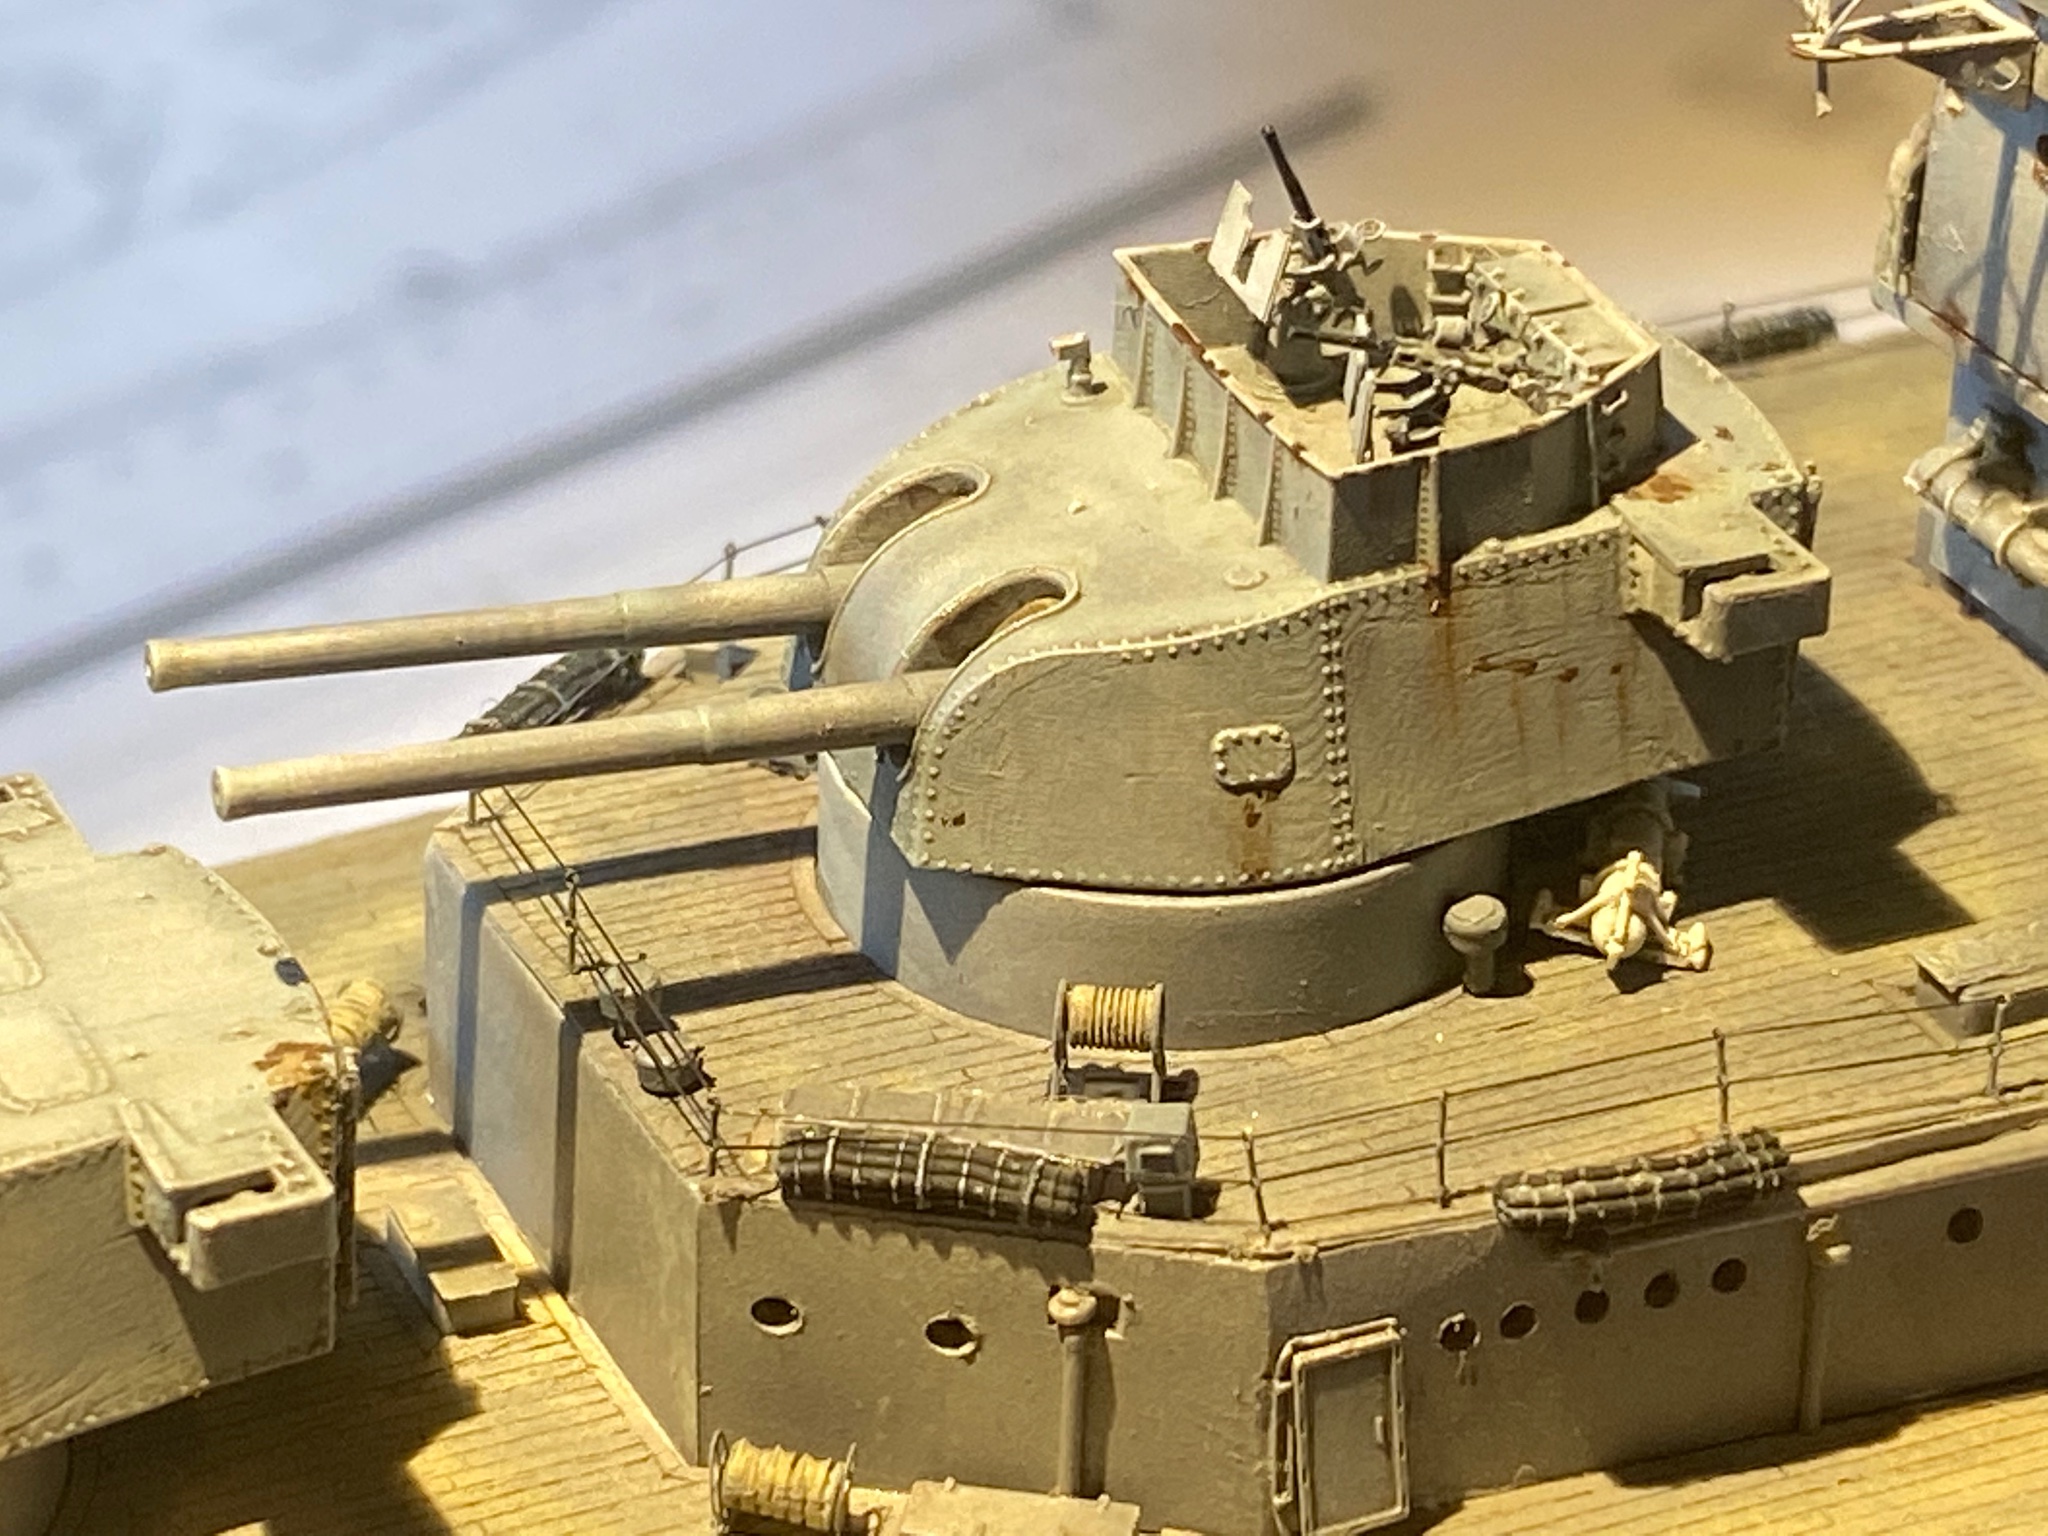
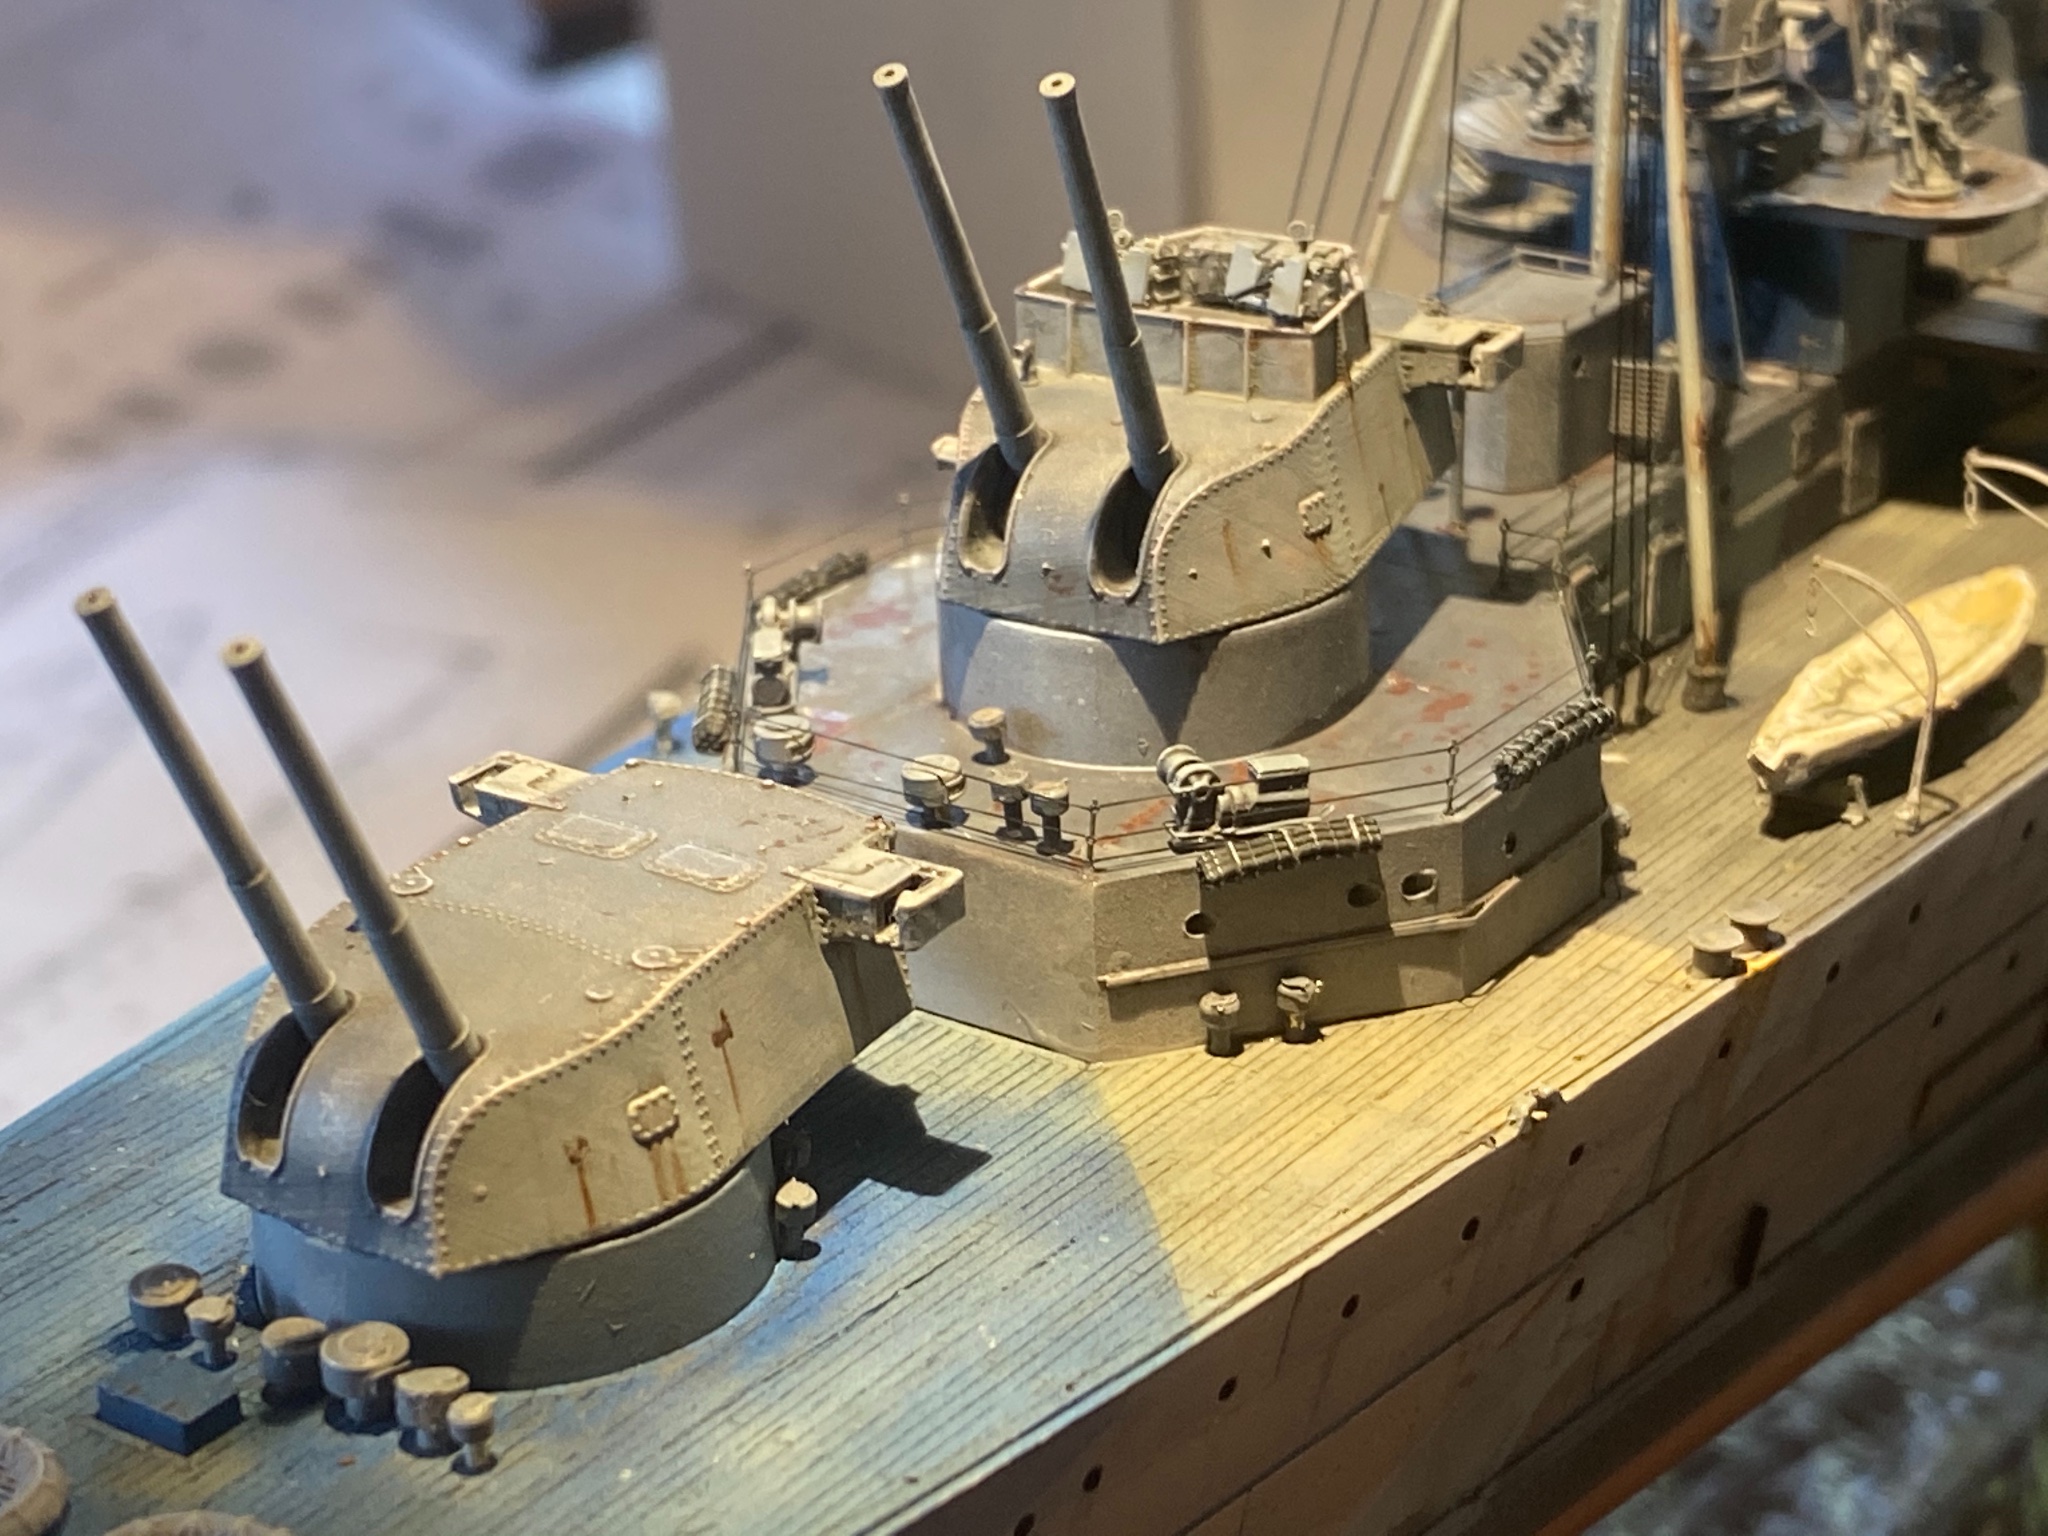
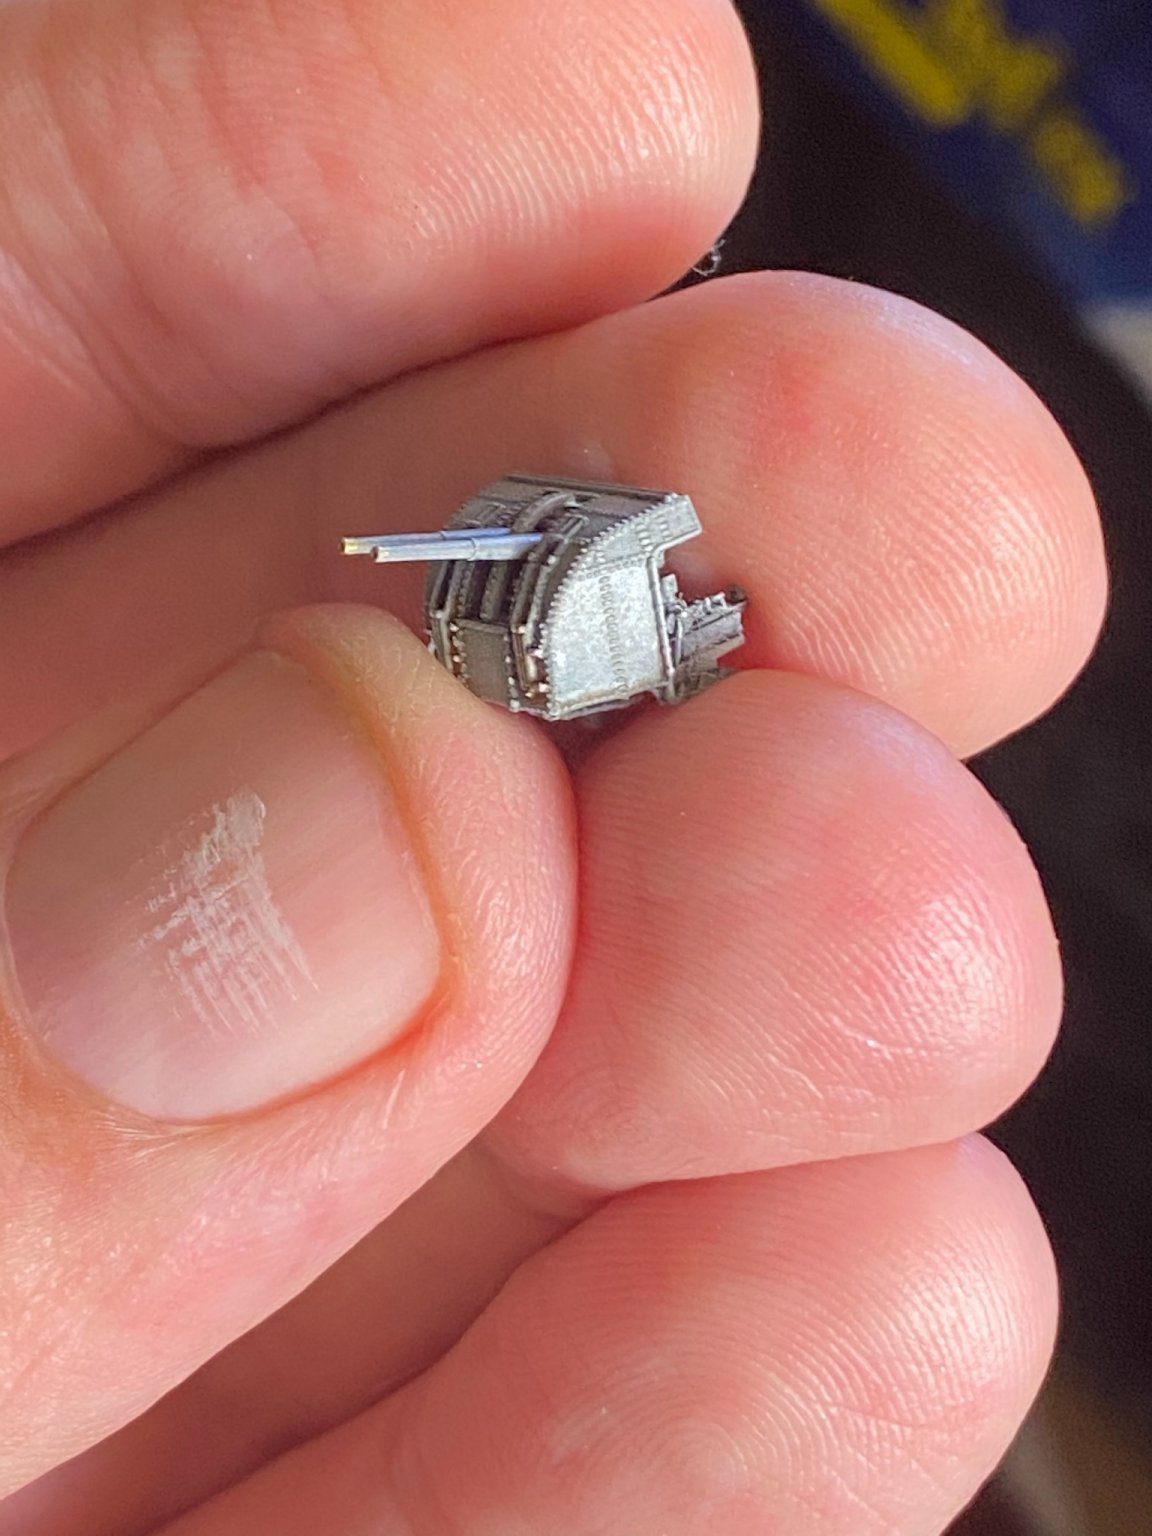
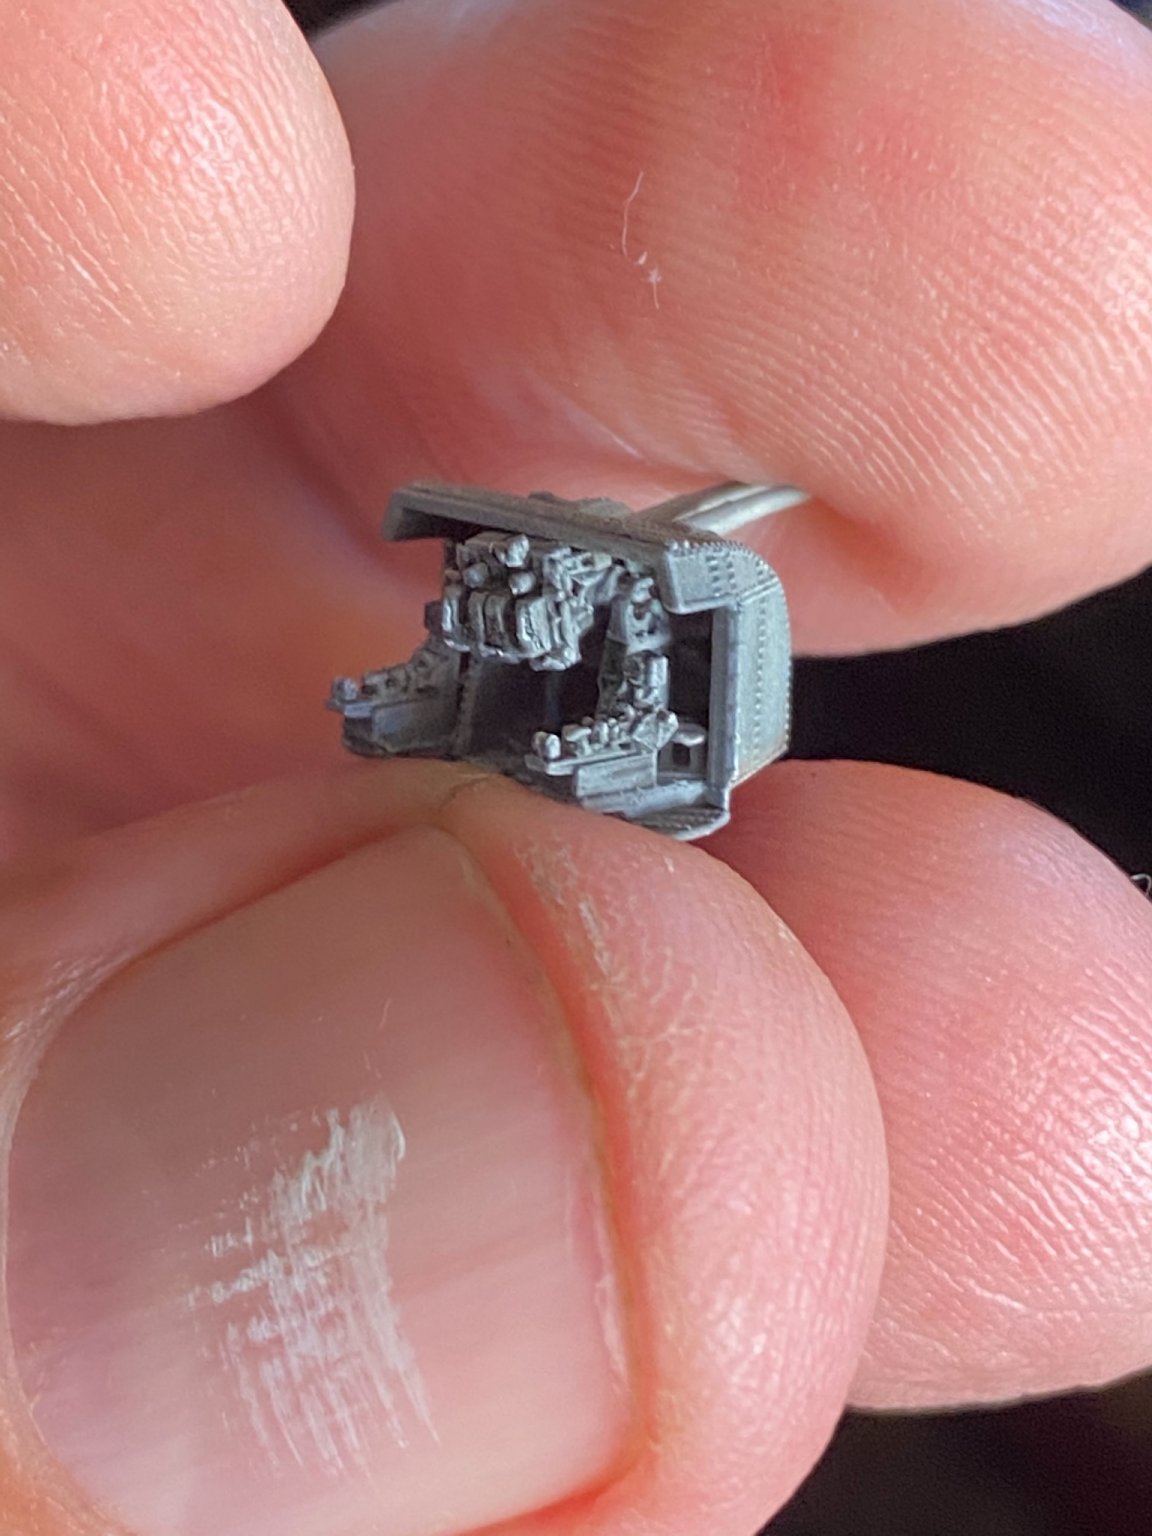
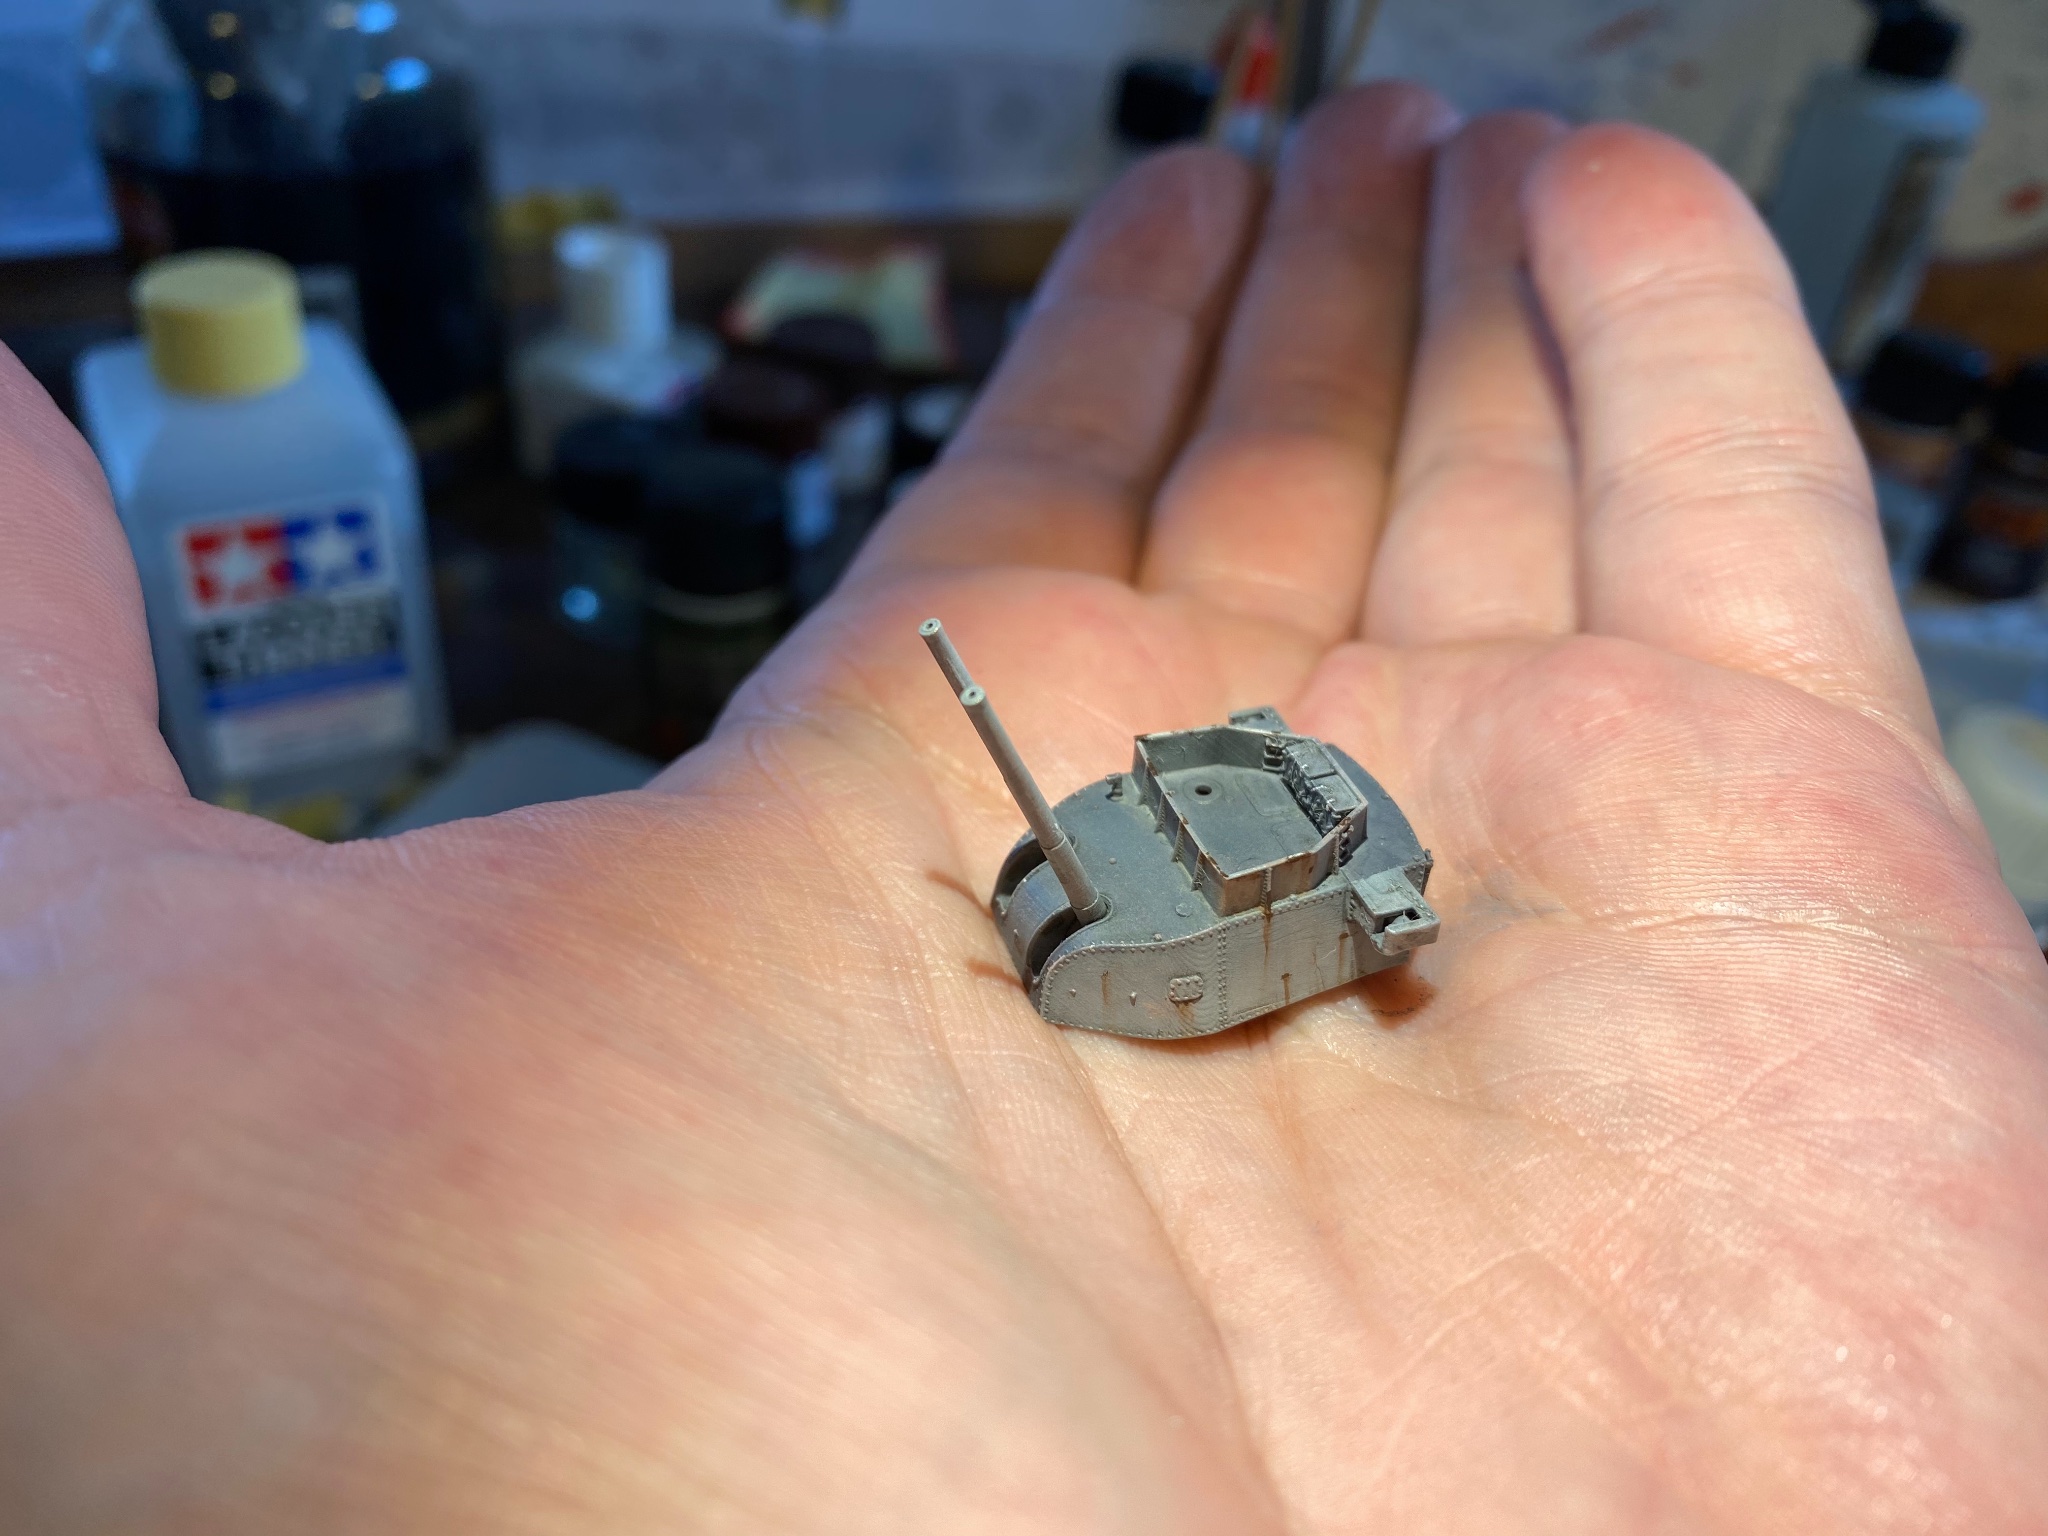
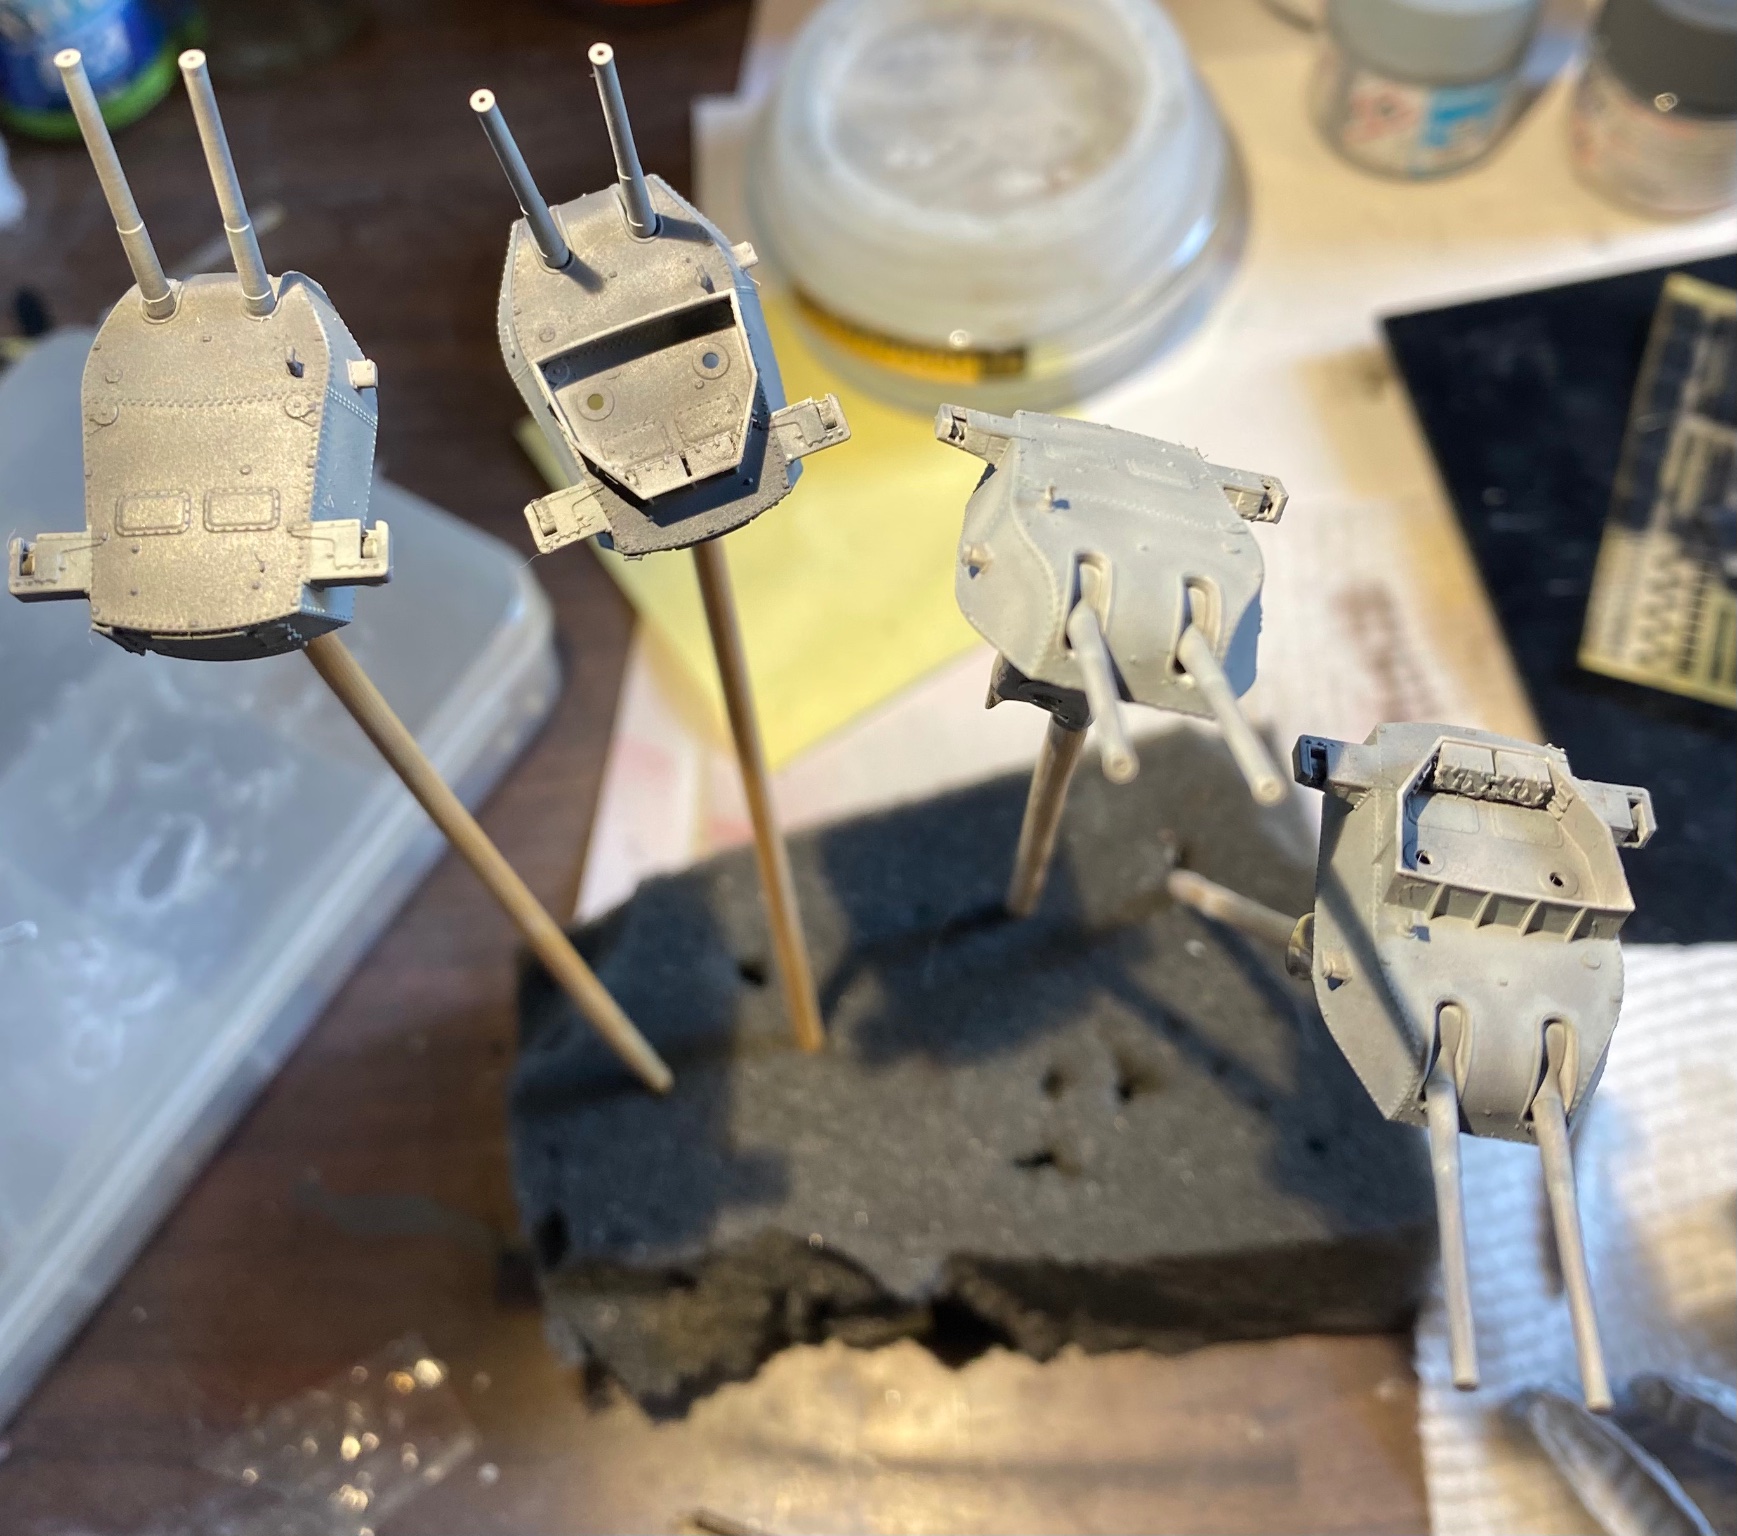
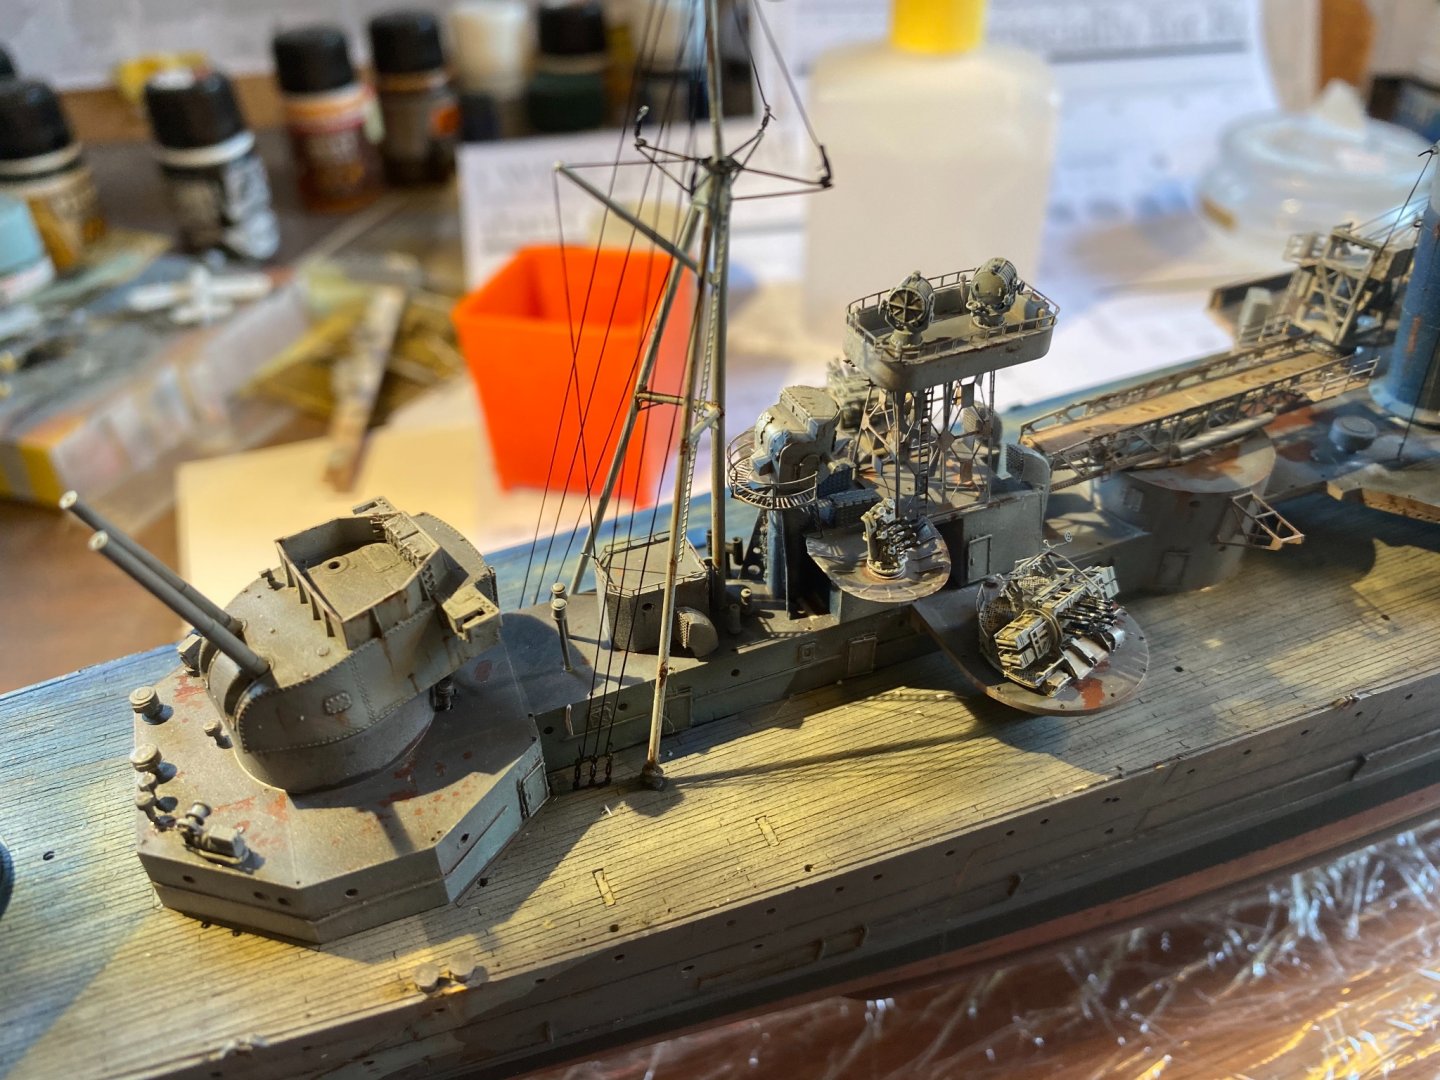
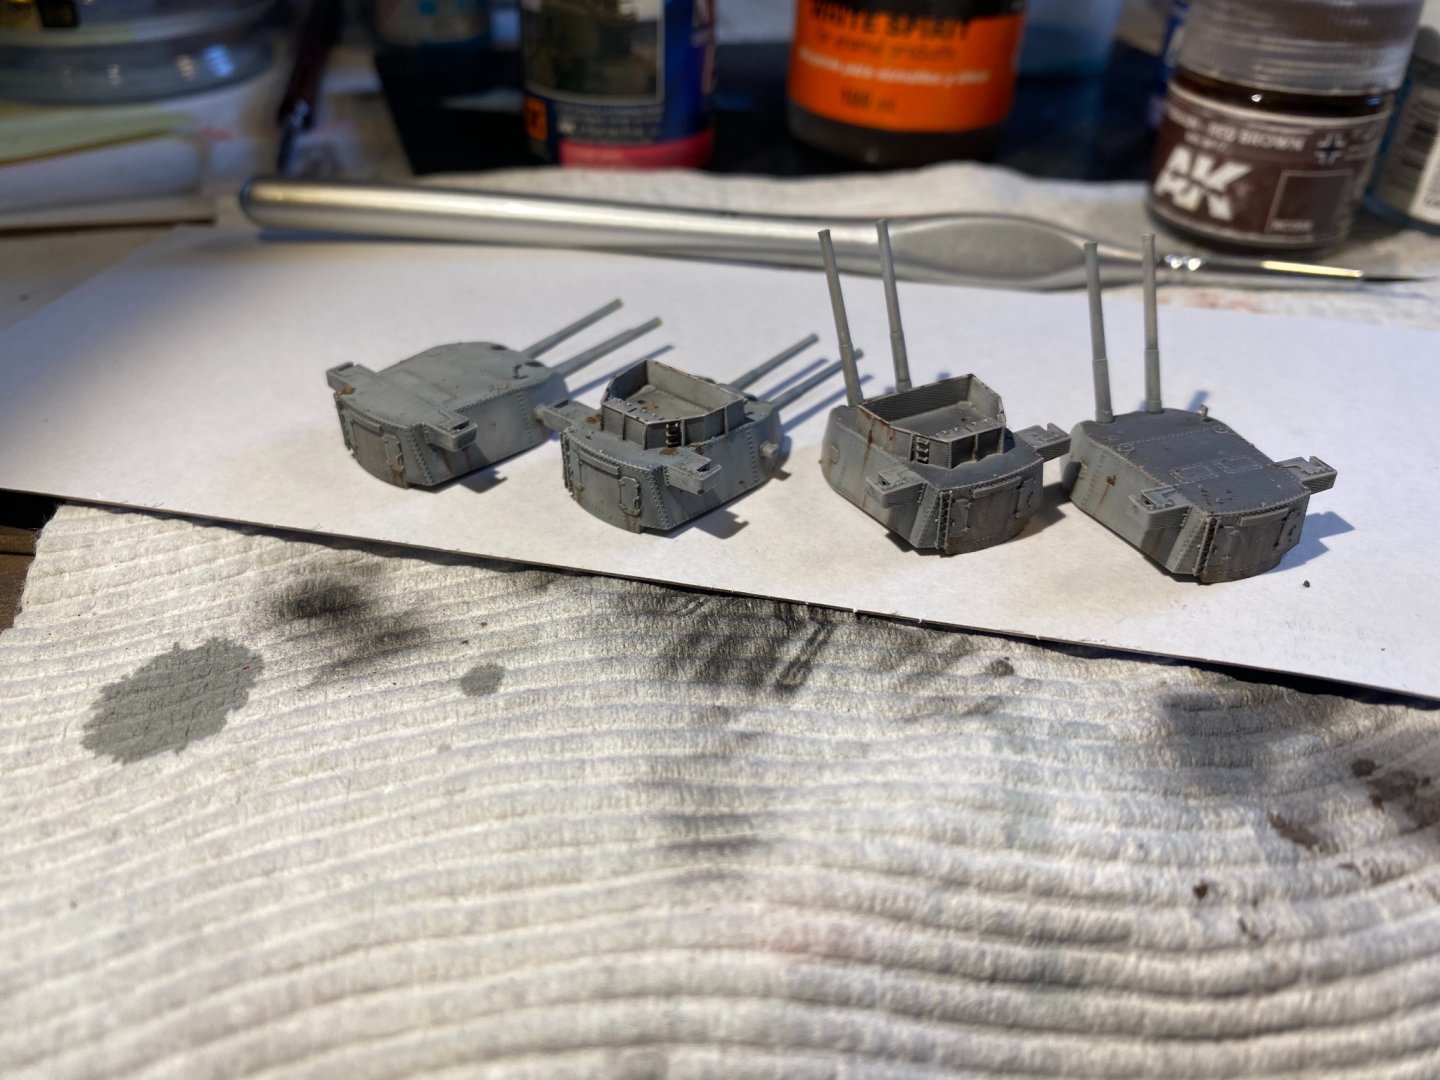
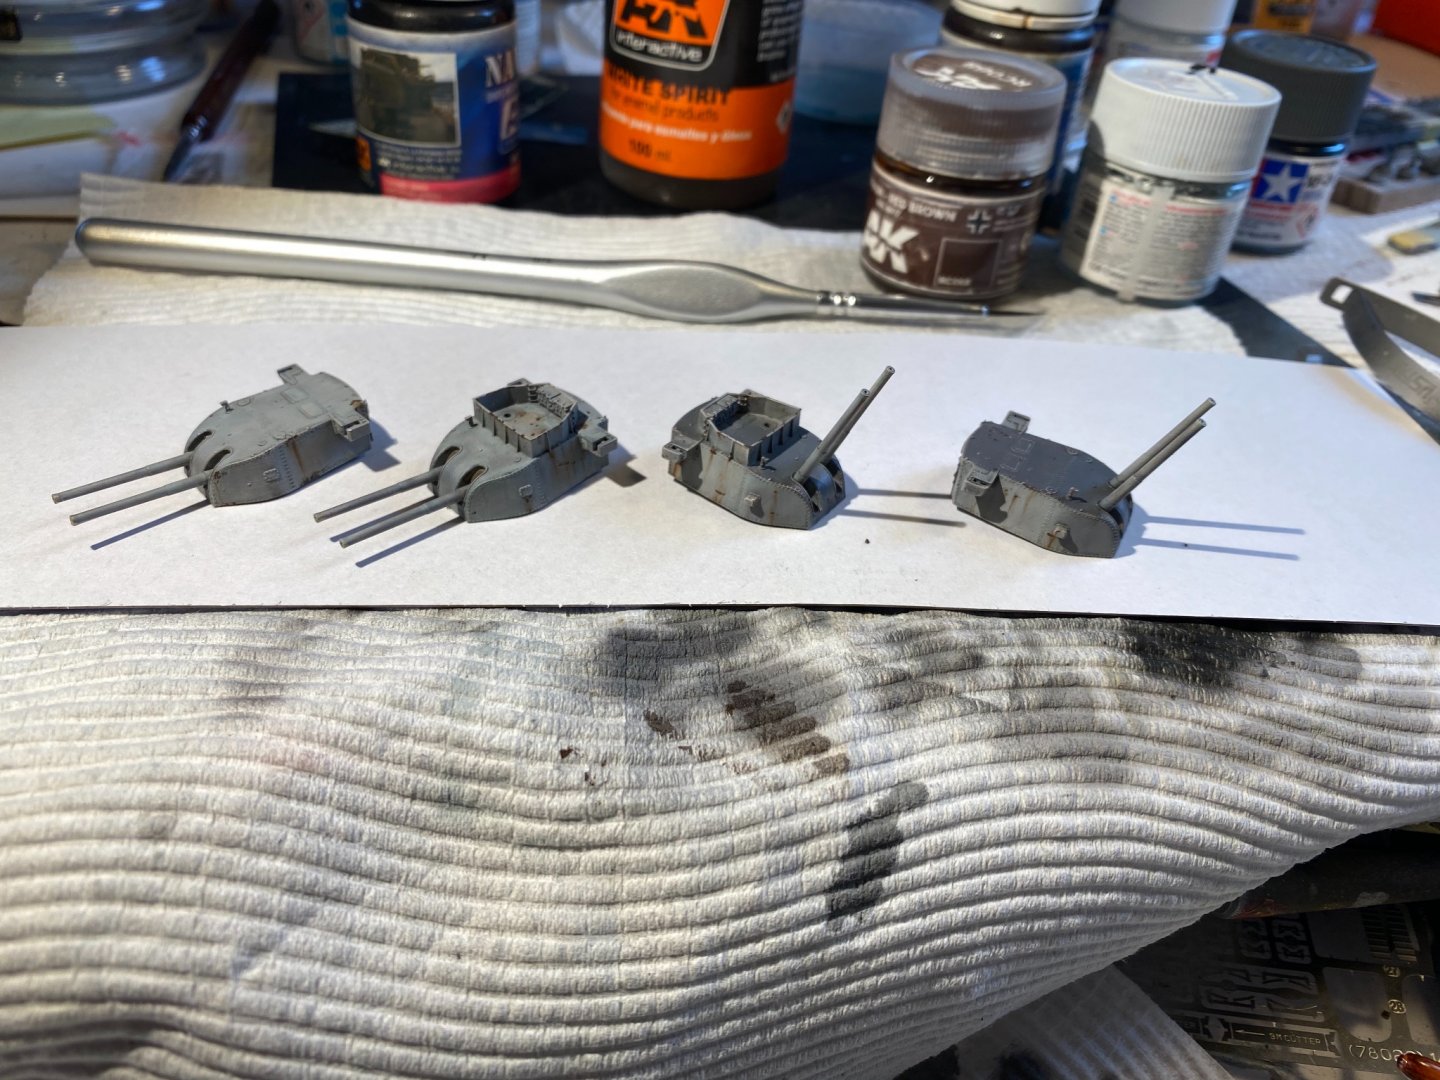
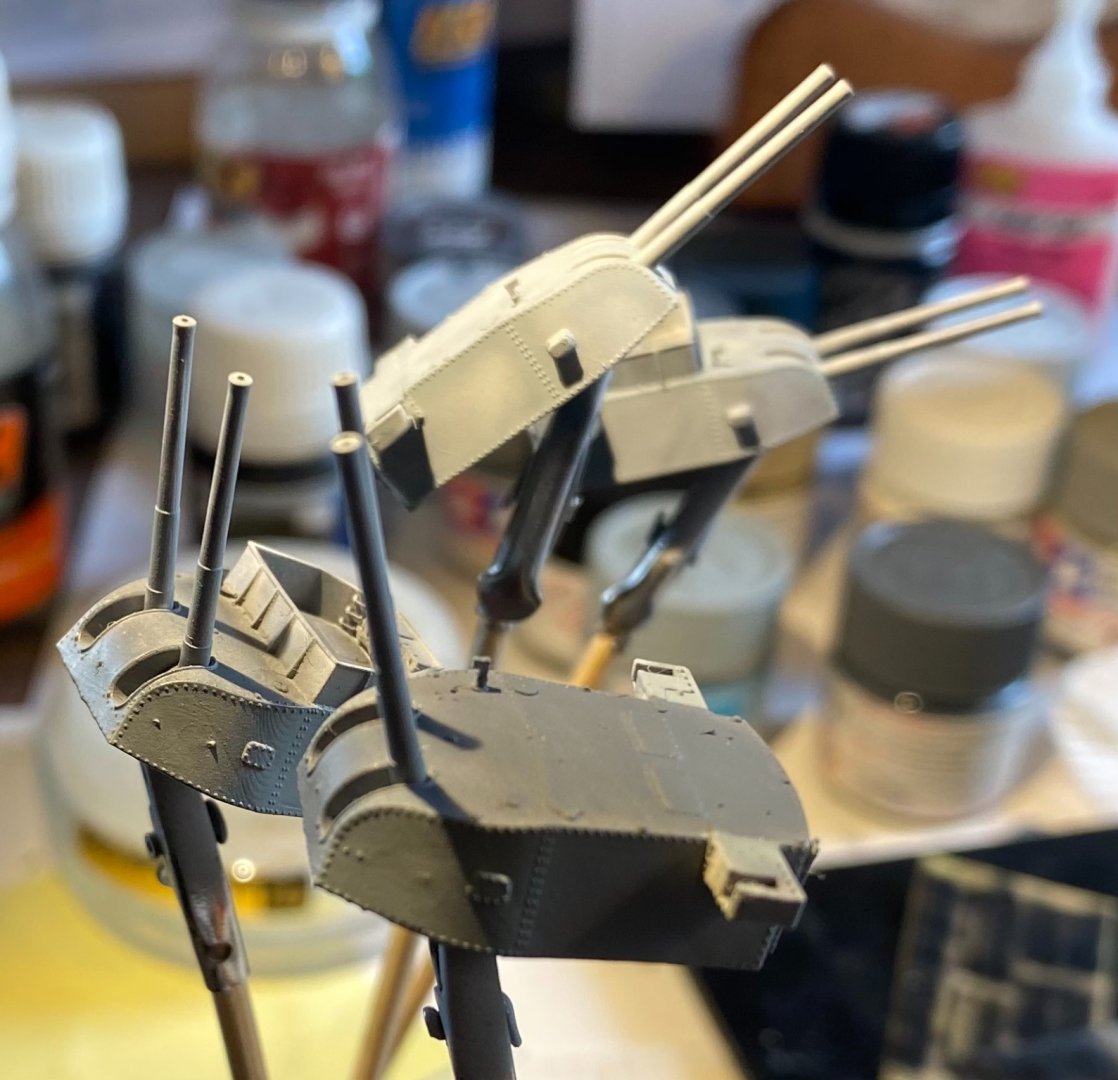
The main 8” guns painted, primer, dark grey, light grey then a medium grey overspray. A blue filter was then added over the top. Washes and weathering next.

-
Ok, I found it on the internets; where pray tell my learned friends, did you find it? looking for sources here....