Hubac's Historian
-
Posts
2,950 -
Joined
-
Last visited
Content Type
Profiles
Forums
Gallery
Events
Everything posted by Hubac's Historian
-
 Great solutions to vexing problems. I really like the distress wash you applied to the veneer deck. I was wondering how you would approach that. Regarding the beakhead doors, my main thought is that these doors existed to resist the punching seaways.
 -
It is interesting, though, that no stern chase ports are represented.
-
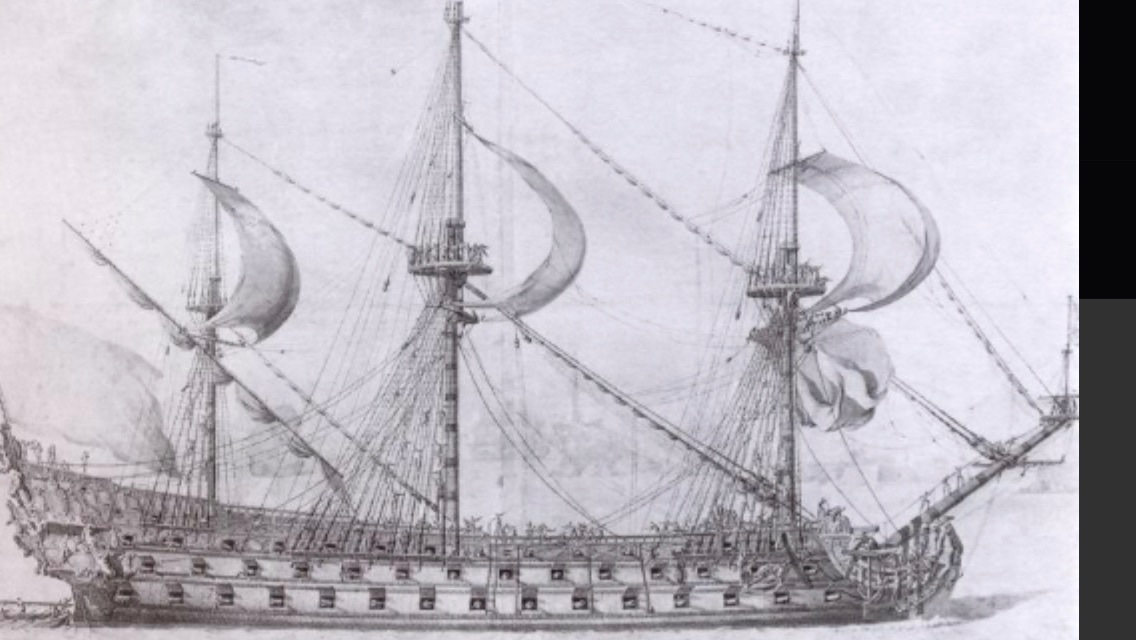
I will say that this kit has to be the strongest basis for making a French 17th C. warship model. Of course, you have done very much to improve it, but it is nonetheless impressive. Very clean paint work!
-
C’est magnifique! Tres Belle! I love the black and whites, but can’t wait to see color. Would you say your blue, which I also like very much, is more of a Prussian Blue? Might that be a sneak peak for SR?
-
Good afternoon, Bill!
-
I am not making any claims, Friend. I am postulating a guess. That is all. I’m not sure that the answer you are seeking is out there in the recorded cannon. I personally couldn’t tell you, though, because I have not invested any time or energy into researching that problem. You seem to have quite a problem with Ab Hoving. I will tell you that I certainly know who he is. He has done far more than most to bring light and understanding to this time period where knowledge was spoken from one generation to the next, and perfected through the doing of the thing. I don’t know who you are, though. You seem to be searching for absolutes in a time that was more art than science.
-
Perhaps drawings made after the build were part of a larger effort to document and re-produce successful designs.
-
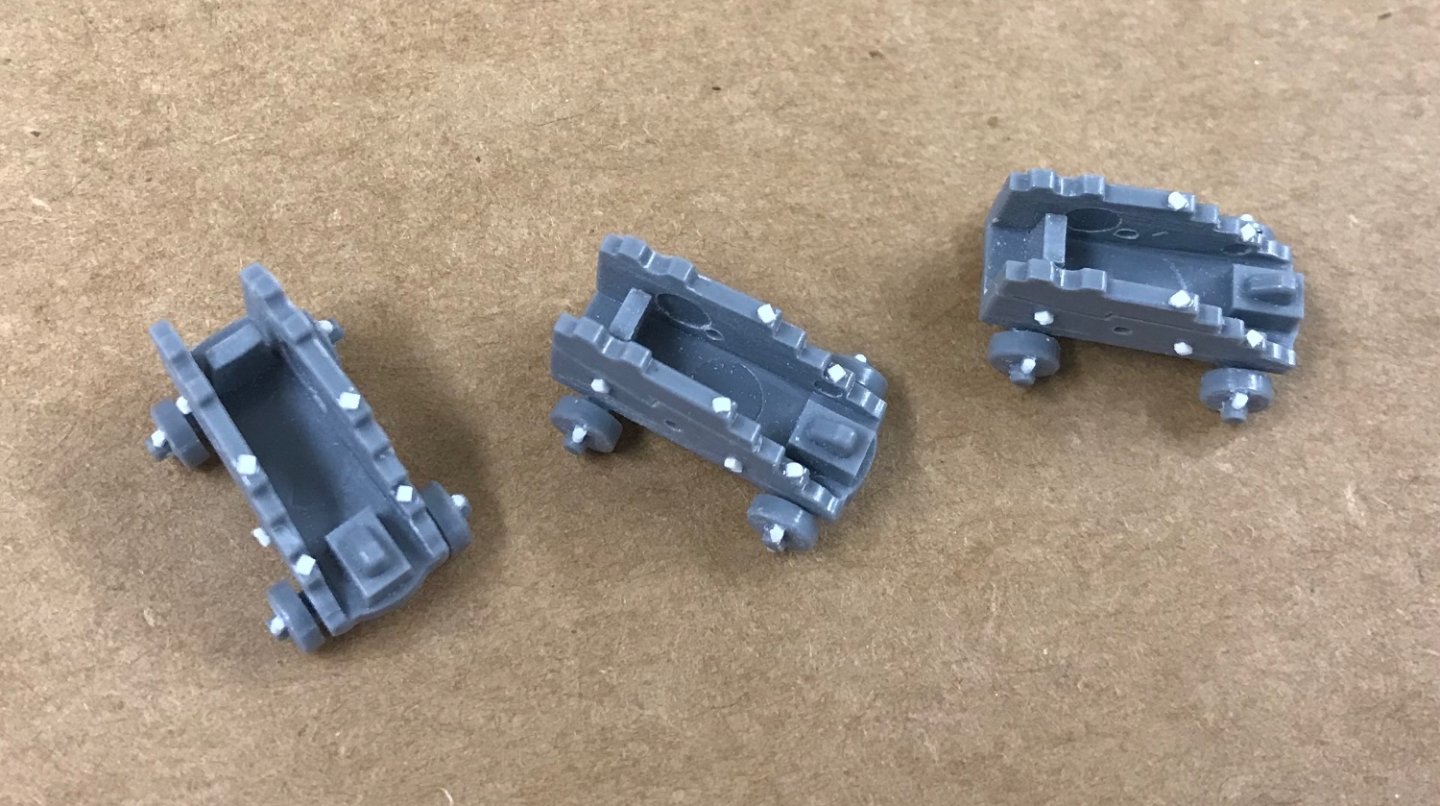
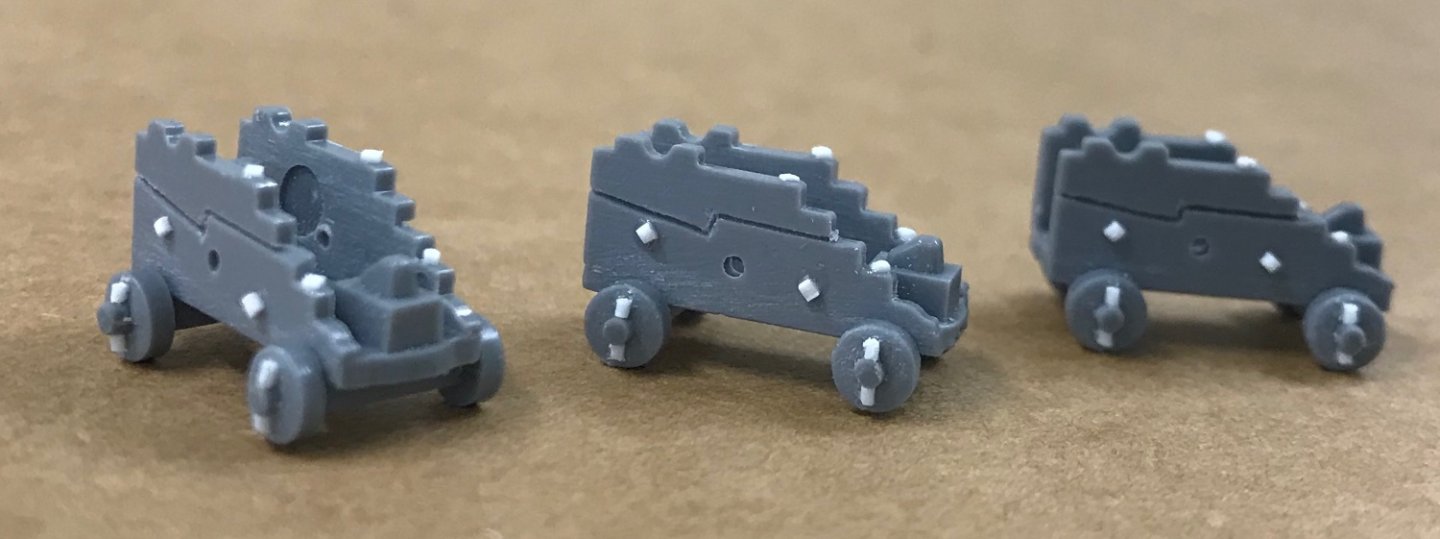
The “cascabel” to set on the “quoin.” The incorrect trunnion location is not something I have considered. Fortunately, I have not painted my visible deck guns, yet, so I can move these. Doing so is a tremendous improvement. One other fiction that was pointed out to me is where the trunnions rest on the carriages. Heller represents a short raised block, onto which the trunnions rest, and over which there would be cap squares. In reality, such a small block of wood would never resist the tremendous recoil forces of firing a gun. Instead, the trunnions should be set into a continuous top edge of each cheek, that is only stepped on its aft edge. I have not decided what, if anything, I plan to do about this, as I have already painted my carriages. I could fill-in a little bit before and after the short blocks and that would be an improvement that doesn’t alter the height of the gun above deck. At some point, in the future, I will decide whether that extra effort is worth it to me.
- 1,503 replies
-
- 1
-

-
- Le Soleil Royal
- Heller
- (and 1 more)
-
Incroyable!
-
As far as I know, that is correct for French ships of the period: The Louis Quinze mode of circa 1710.

- 1,503 replies
-
- 1
-
-
- Le Soleil Royal
- Heller
- (and 1 more)
-
🐎🐎🐎 and 🥃🥃 Two things any self-respecting Kentuckian can not do without 😉
-
Laphroaig is one that I could never adapt my palate to. The peat-i-ness of the Islays is a little much for me.
-
My favorite from that distillery is the Glenmorangie Sherry Cask 🥃
-
I’m enjoying a little blended scotch, myself - CHEERS!🥃
-
Marsalv, did you solder your chain segments? If so, how do you manage to keep the soldered connection so minimal and low-profile?
- 589 replies
-
- 2
-
-
- le gros ventre
- cargo
- (and 1 more)
-
What the builder above did is a little bit better, in terms of pattern, but it is still out of scale. As to whether it is worth the effort to go much smaller and represent many more bolt heads - I think that is a very individual choice; for me, adding these small custom modifications is what makes the hobby fun and interesting. I will easily spend absurd amounts of time on the smallest things. I can’t even tell you how many hours I’ve put into making my headrails and headrail support structure. For me, the rewards are in figuring out how to go about making something, and then enjoying the finished result. The time spent is almost irrelevant. To other builders, though, it just feels like tedium. That choice is entirely up to you.
- 1,503 replies
-
- 3
-
-
- Le Soleil Royal
- Heller
- (and 1 more)
-
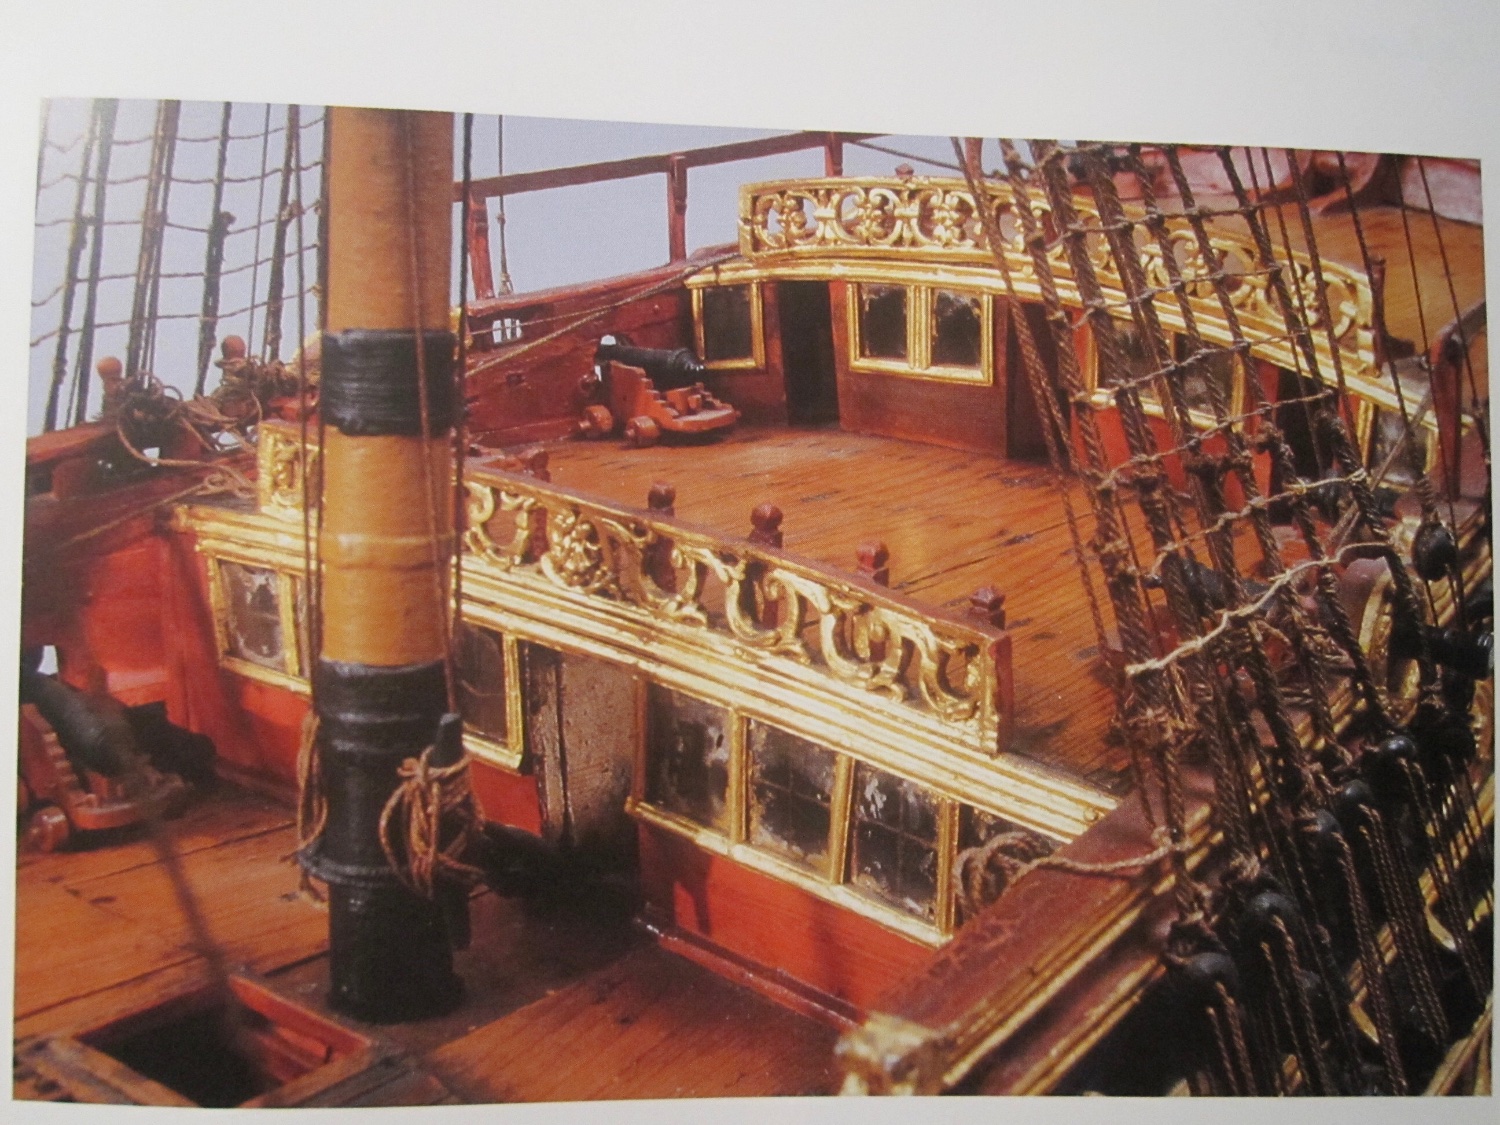
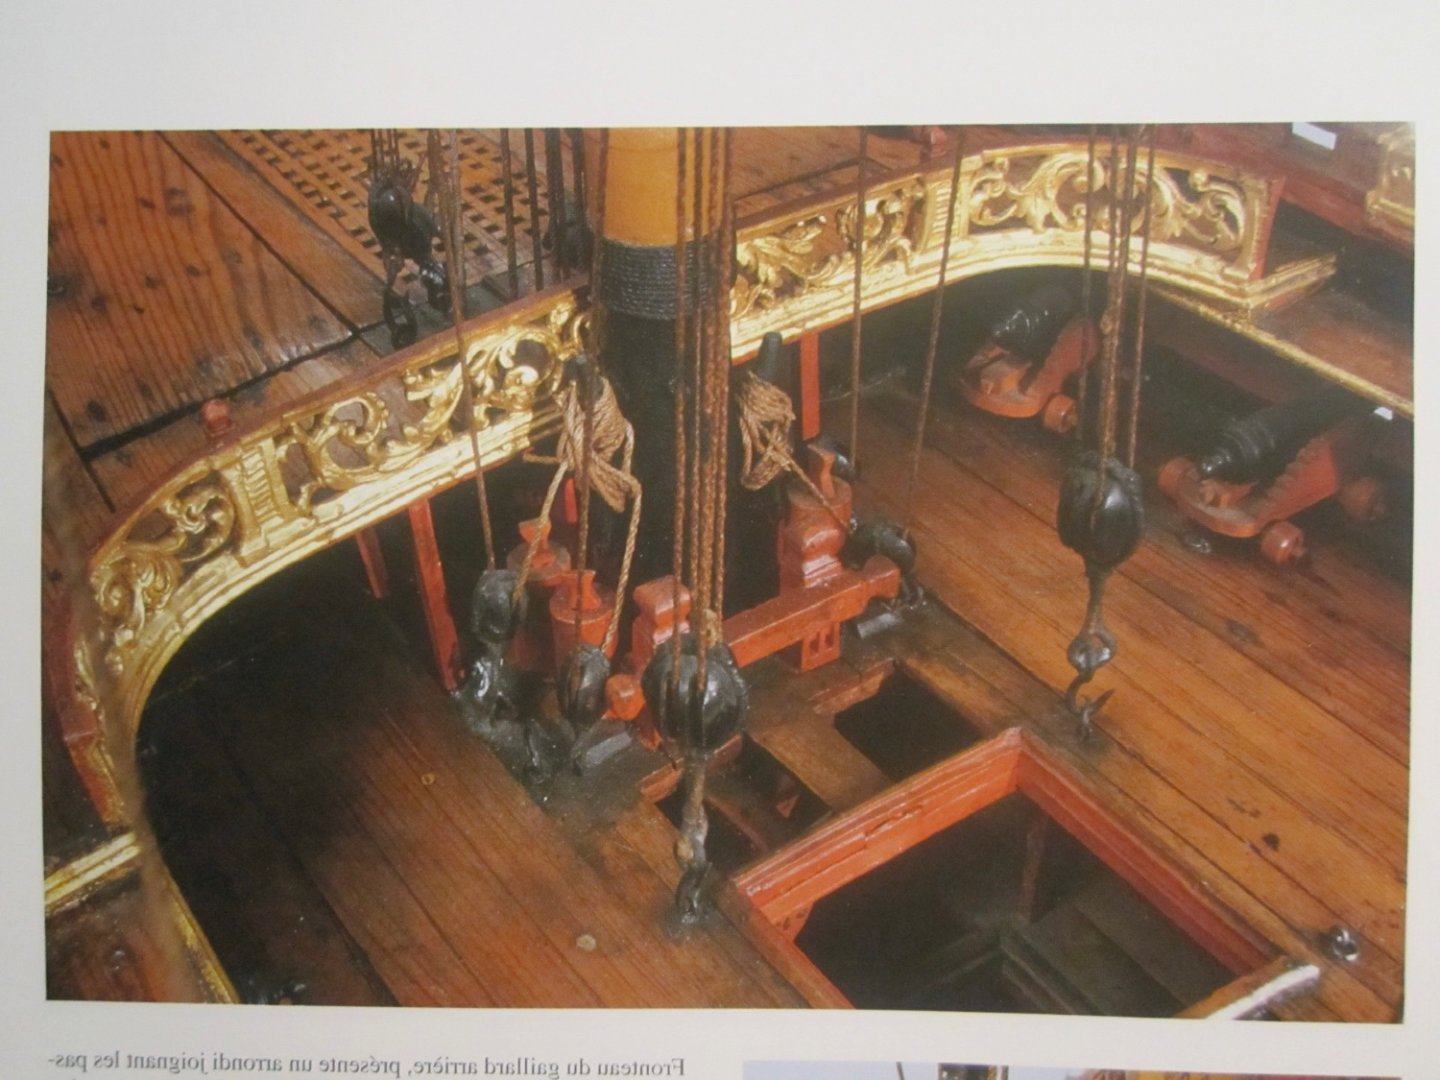
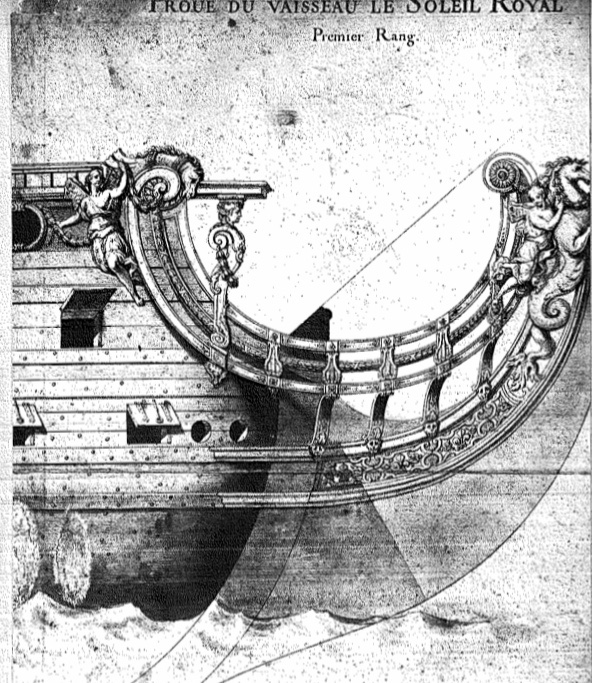
Hi Bill, Your paint looks really great! The wale bolting, on the other hand, does not look so good. Generally, I don’t like to levy harsh critiques, but I feel compelled to speak up, here. The primary issue, here, is that the scale is much too large; at that scale, it would be better to not do the bolting at all. When I did this, I used very fine styrene rod (.020): https://evergreenscalemodels.com/products/218-020-5mm-od-rod Also, the layout matters. Although it is not critically important to change it, Heller represents butt joints on the wales, which is a complete fiction. These large structural timbers would have been scarfed together with, approximately 4’ long scarf joints. The bolting pattern, though, should be alternating top and bottom (zigzag), and closely spaced. If you zoom-in on this Puget drawing of the Royal Louis, you can even see this: Or, perhaps better seen on the Berain drawing of the SR: I don’t mean to be a rivet-counter, Bill, but scale does matter, here.
-
The continuity between levels, as you noted, is greatly improved, and it really makes a difference in one’s perception of the thing. It is also pretty remarkable how much metal you had to remove from the upper finishing, in order to make that look suitably low-profile.
-
The anchor lining stands proud of the hull planking, but is flush with the wales, wherever it crosses a wale. It is only on the lower main wale that the lining extends forward to the stem.
-
Yes, precisely. That photo was from pretty early in the build. One of the nice things, before I painted the model, was to see all of the modifications as they were mostly made from white styrene. Part of me wishes I could see the current status of the model without any paint whatsoever.
-
I think Henry is right, that this line represents the anchor lining. However, it doesn’t really follow the path or sweep of the anchor flukes during the catting process. I added an anchor lining because it was a relatively easy modification. As was pointed out to me, back then, the space between the lower main wales, from the aft edge of the anchor lining to the stem, should also be filled flush. This is a particularity of French design.
- 1,503 replies
-
- 2
-
-
- Le Soleil Royal
- Heller
- (and 1 more)
-
This is a fascinating project, Ian. I will enjoy watching your design evolution. All the best, Marc
- 502 replies
-
- 3
-
-
- Quadrireme
- radio
- (and 1 more)
-
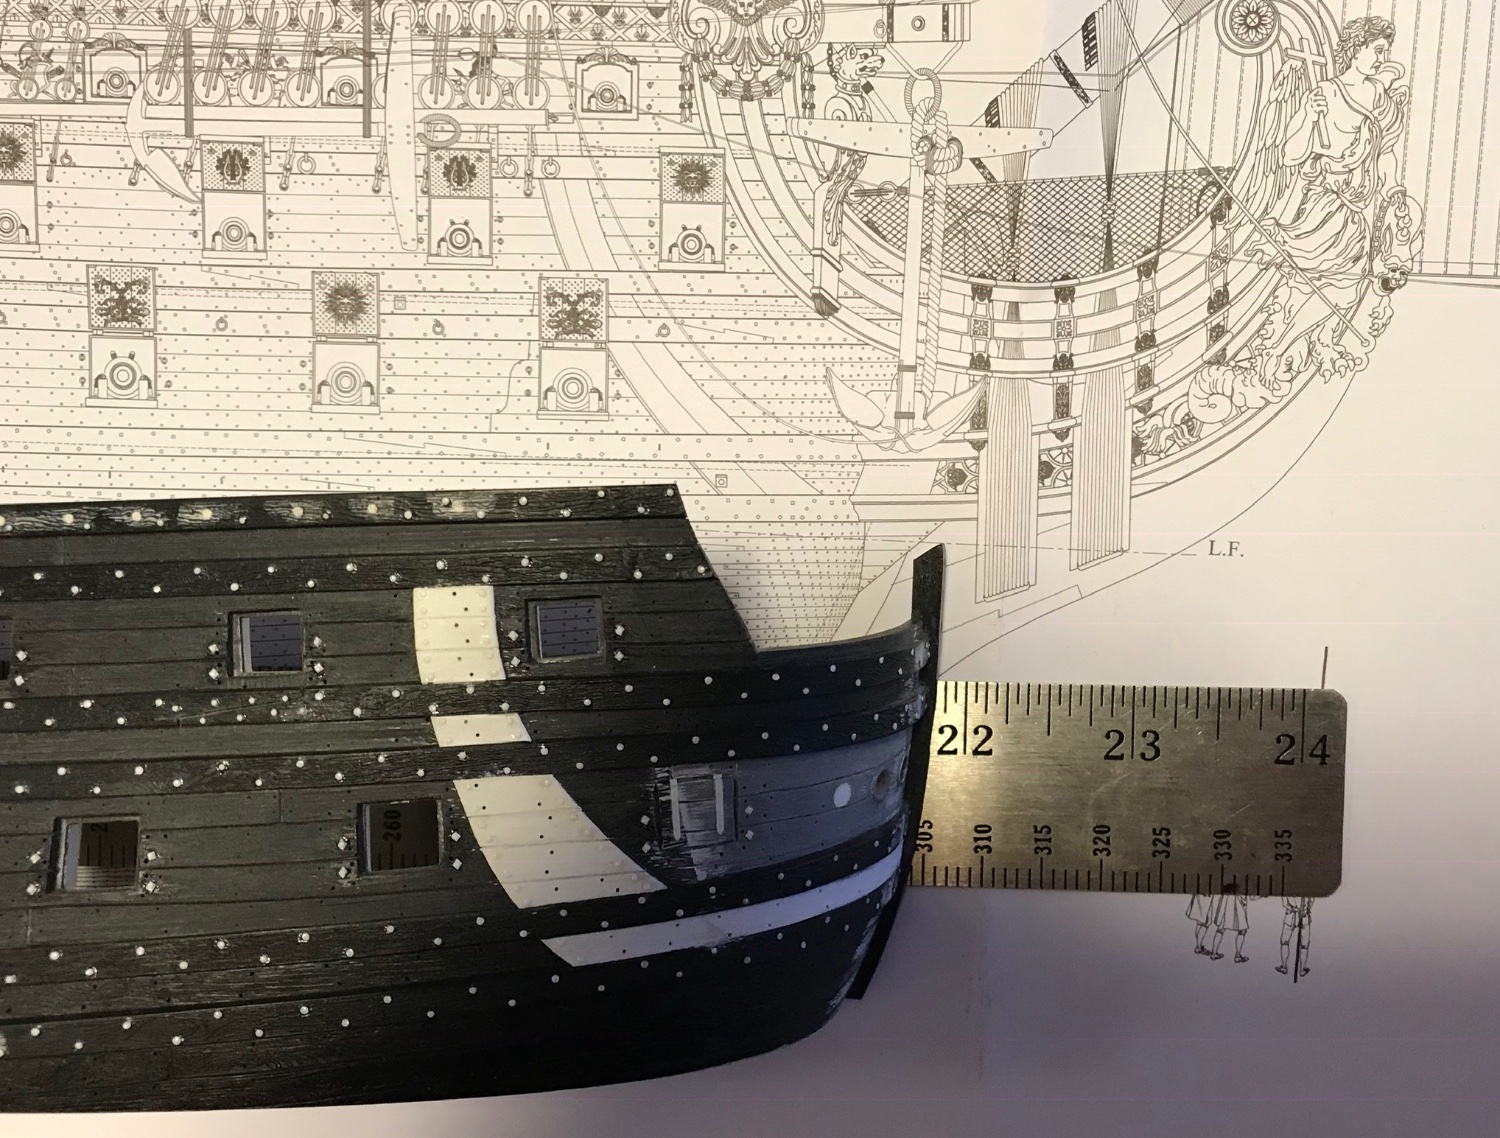
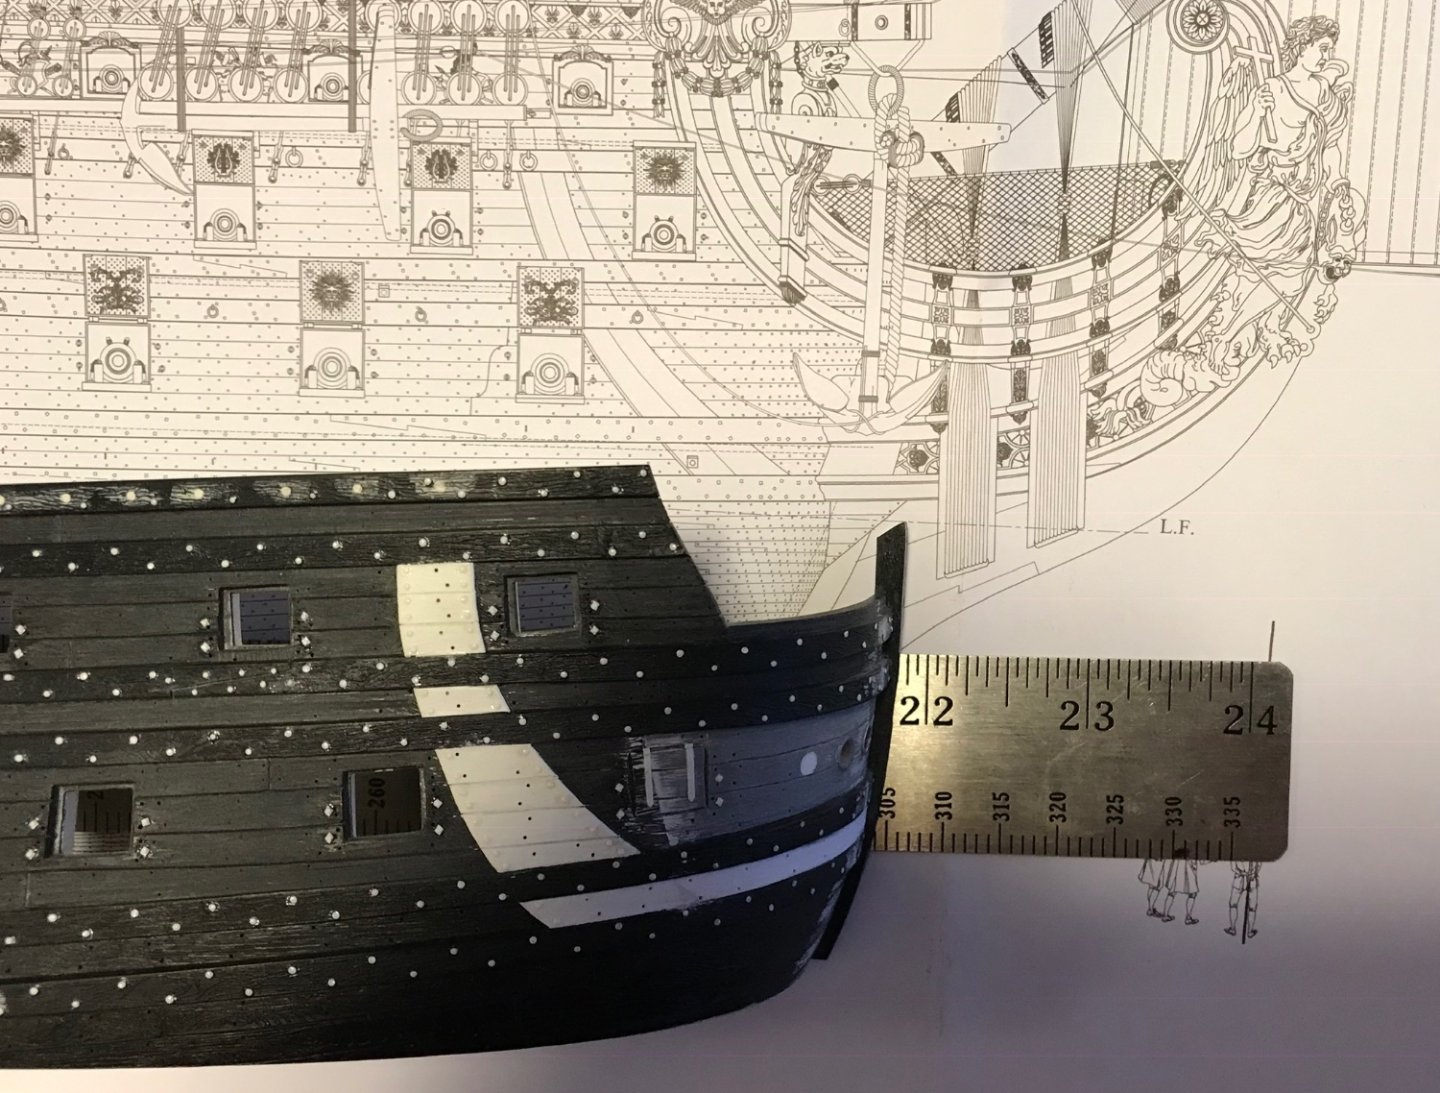
What you have done is above and beyond what most do. At this early stage of paint, it is not too late to use a little putty to fill the last traces of that joint. All you have to do, after leveling the filler, is re-scribe the plank seams, and spray a little touch-up paint. That’s totally above and beyond, but if you are planning to use distress washes - they will show up in that shadow of a crack. While you are it it - just as you scraped away the moulded waterline, you may choose to scrape away the vertical raised line that runs upward from the aft corner of the hawser piece. I suppose it is intended as a marker for where the headrails line up, but it doesn’t really need to be there.
- 1,503 replies
-
- 2
-
-
- Le Soleil Royal
- Heller
- (and 1 more)
-
Nice work with the file, Bill - a great result!