


rwiederrich
-
Posts
5,497 -
Joined
-
Last visited
Content Type
Profiles
Forums
Gallery
Events
Posts posted by rwiederrich
-
-
On 4/7/2025 at 3:39 AM, ClipperFan said:
@Rick310 I was able to download all images from the link I shared to my laptop. Since the museum has a policy about not publishing their images without permission, I didn't upload them.
As with Glory of the Seas...I will be using an image to model my likeness....and I chose this painting. I plan on modeling her exactly as depicted in the painting,
How fun.
Rob
- ClipperFan and BANYAN
-
 2
2
-
On 4/3/2025 at 11:05 AM, hof00 said:
Hi All,
Update:
Moving on with the build....
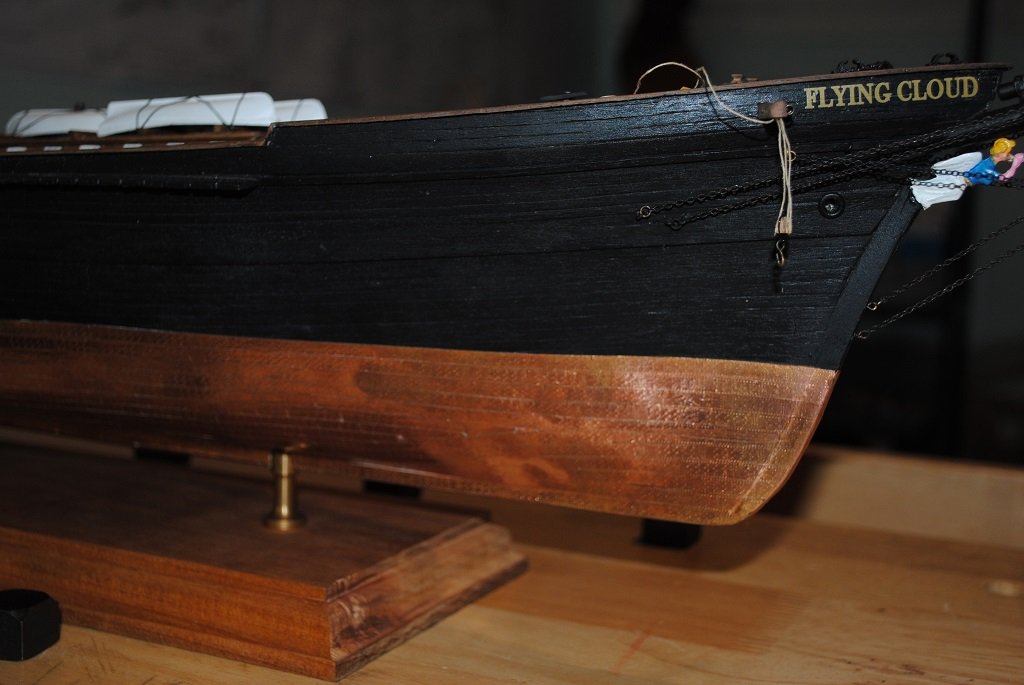
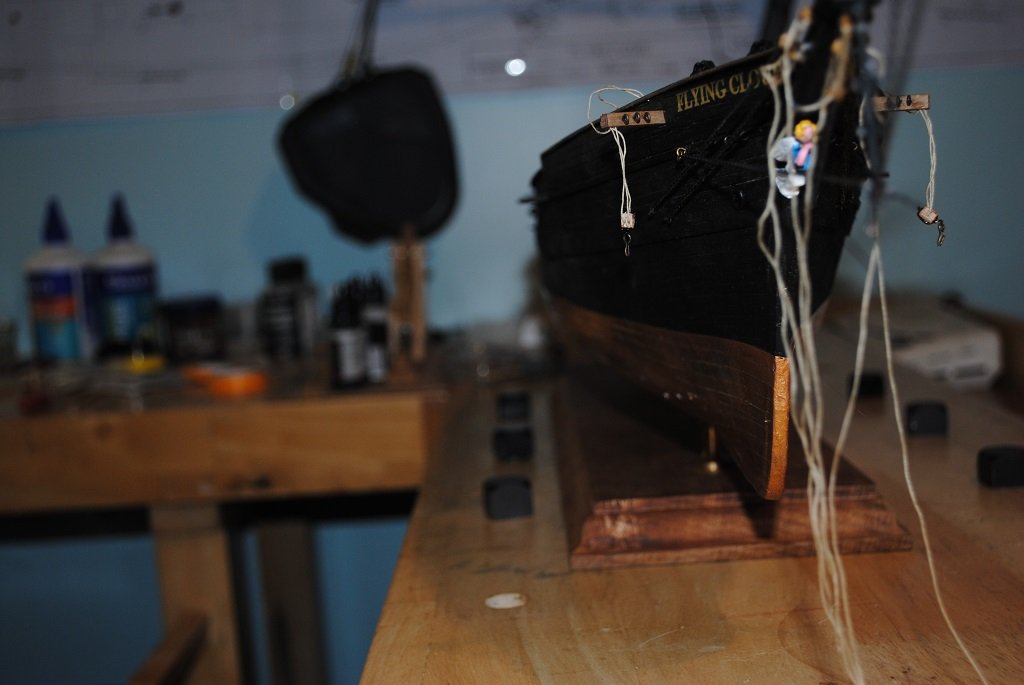
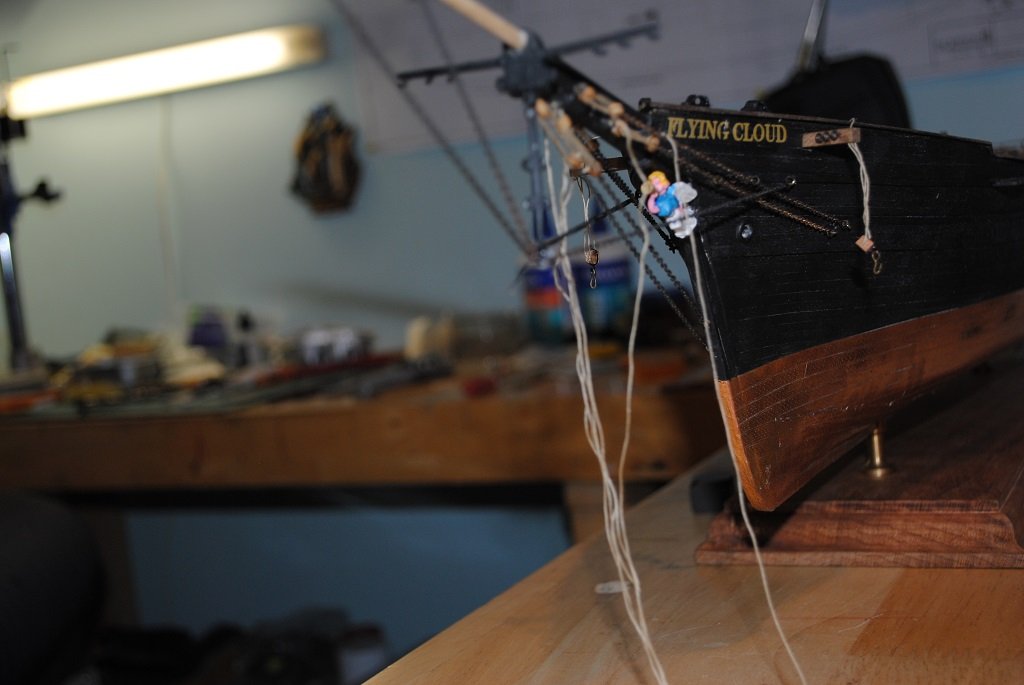
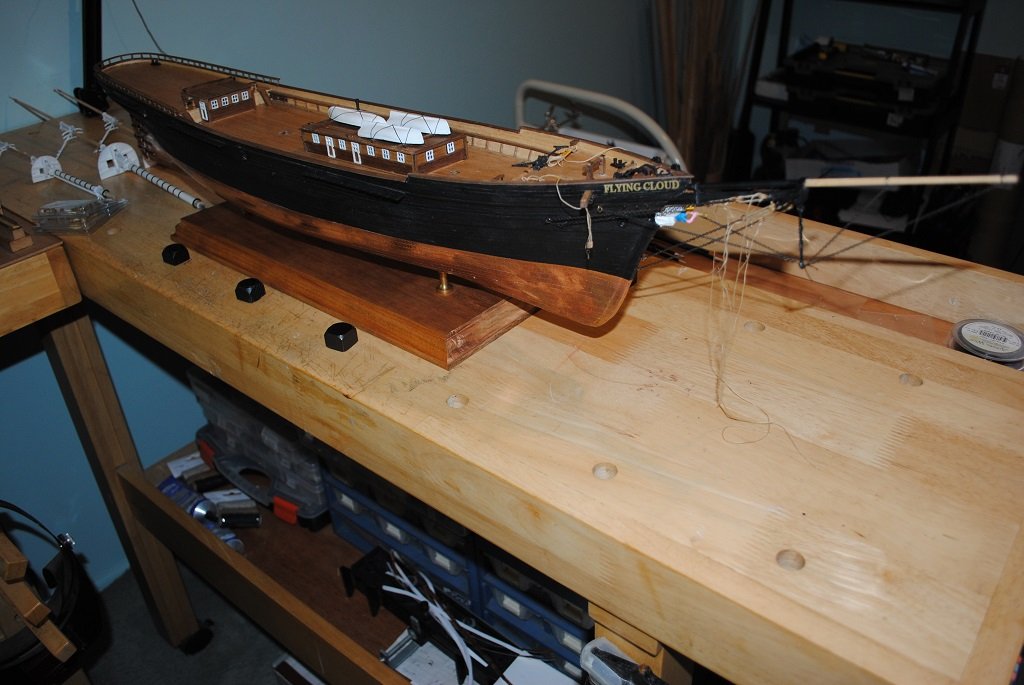
Bowsprit, Chain Stays and Shrouds installed. (I must thank @rwiederrich once again for his input and photos, assisting with placement of Shroud/Stay termination points on the Hull..) (Kit plans were very confusing and not at all logical.)
This took me two attempts, the first I just could not live with. The Rake of the Bowsprit/Jibboom was not in any way enough.
I removed everything and started over, reaming out the Bowsprit mounting hole with a rotary tool.
Second attempt I think much improved. ((The only downside, my grubby fingers on the Copper, not a huge issue, another polish will fix this.
I have not quite completed this, I have left the Deadeye Lanyards loose at the mo. to enable further tensioning and Jibboom Guys are yet to be installed.
I can now continue with installing the remainder of various Blocks/Eyebolts on the Deck followed by the remainder of Deck Furniture.
Cheers....HOF.
Photos:
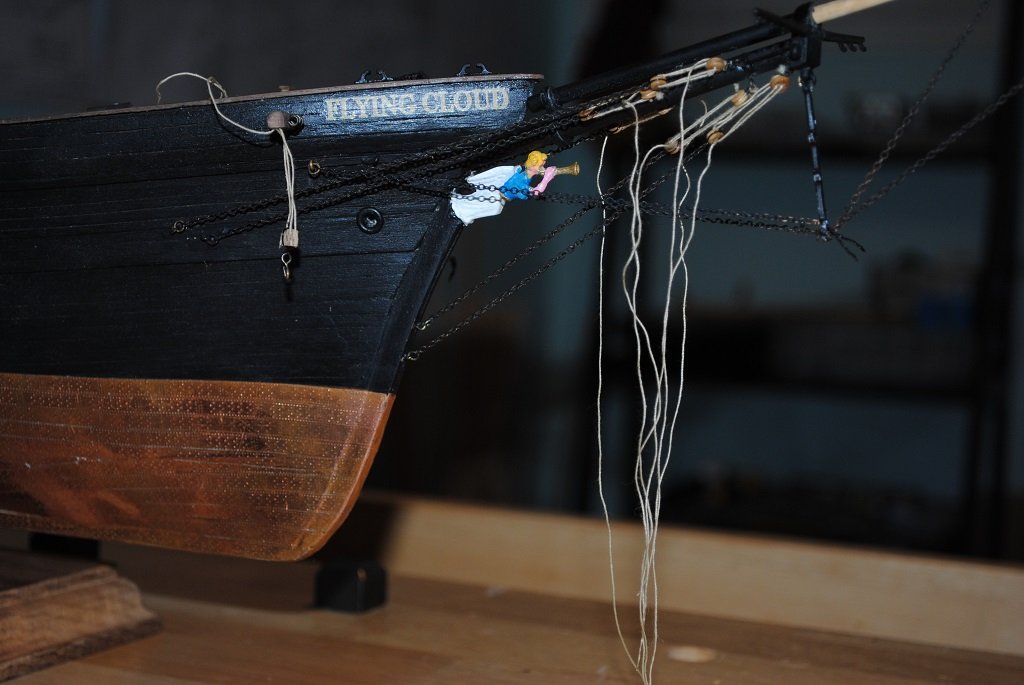
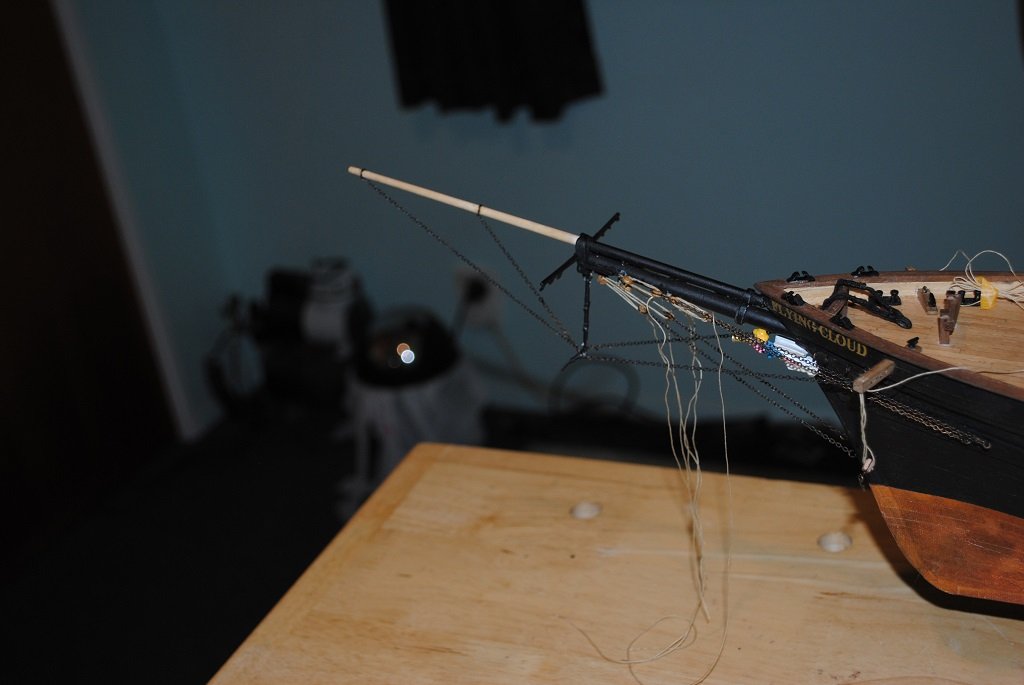
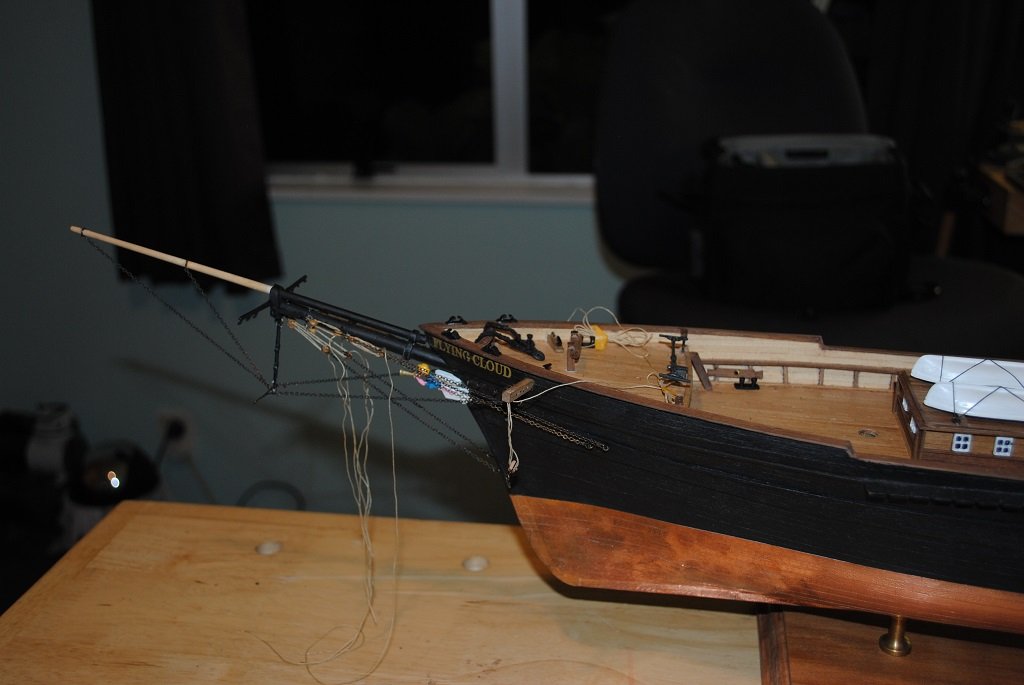
Harry...fine work, however, I don't mean to be a Debbie downer, but your chain guys, port and starboard are too long. They should terminate on the hull, just in front of the catheads. Otherwise, the anchor would become fouled in them. They are behind the Catheads and cross right under the catheads. Making raising and lowering the anchors very problematic. Do you see? Sorry.
Rob
-
It's a safe bet to keep this *running* rigging black...to represent the tarring. It had to be preserved or it would rot. Lanyards were extremely susceptible to rot...being soaked in sea water and generally tightly fit...preventing good air circulation. When the USS Constitution was recently rerigged...her naval architects chose black rigging for the lanyards , foot ropes and ratlines. If they concluded it was appropriate...you can too.
All my clipper builds are rigged with black rigging for these standing fixtures.
Rob
- Kenchington and Chuck Seiler
-
2
-
Just amazing work on those skylights.
Rob
- Ilhan Gokcay and druxey
-
2
-
Been enjoying your log....and I must say...you produce some of the finest quality work, I have seen.
Great job.
Rob
- BANYAN and Ilhan Gokcay
-
2
-
6 hours ago, Rick310 said:
Keith, George, thanks for the tip. From now on, I’m going with wire.
Rick
Sometimes Revelation is the fuel for motivation. I use steal wire, which does not abrade and is more naturally Pro typical. IMV. New ideas and material are always on the radar.
Good job everyone.
Rob
-
On 3/21/2025 at 7:31 PM, hof00 said:
Hi Rob,
I found the following:
Flying_Cloud_Bradner_rigging-side-view.graffle
I think this goes some way to solving my issues.
Onward and upward perhaps.... 🙂
Thank you for your continued assistance and awesome photo references!!
Cheers and Regards,
Harry.
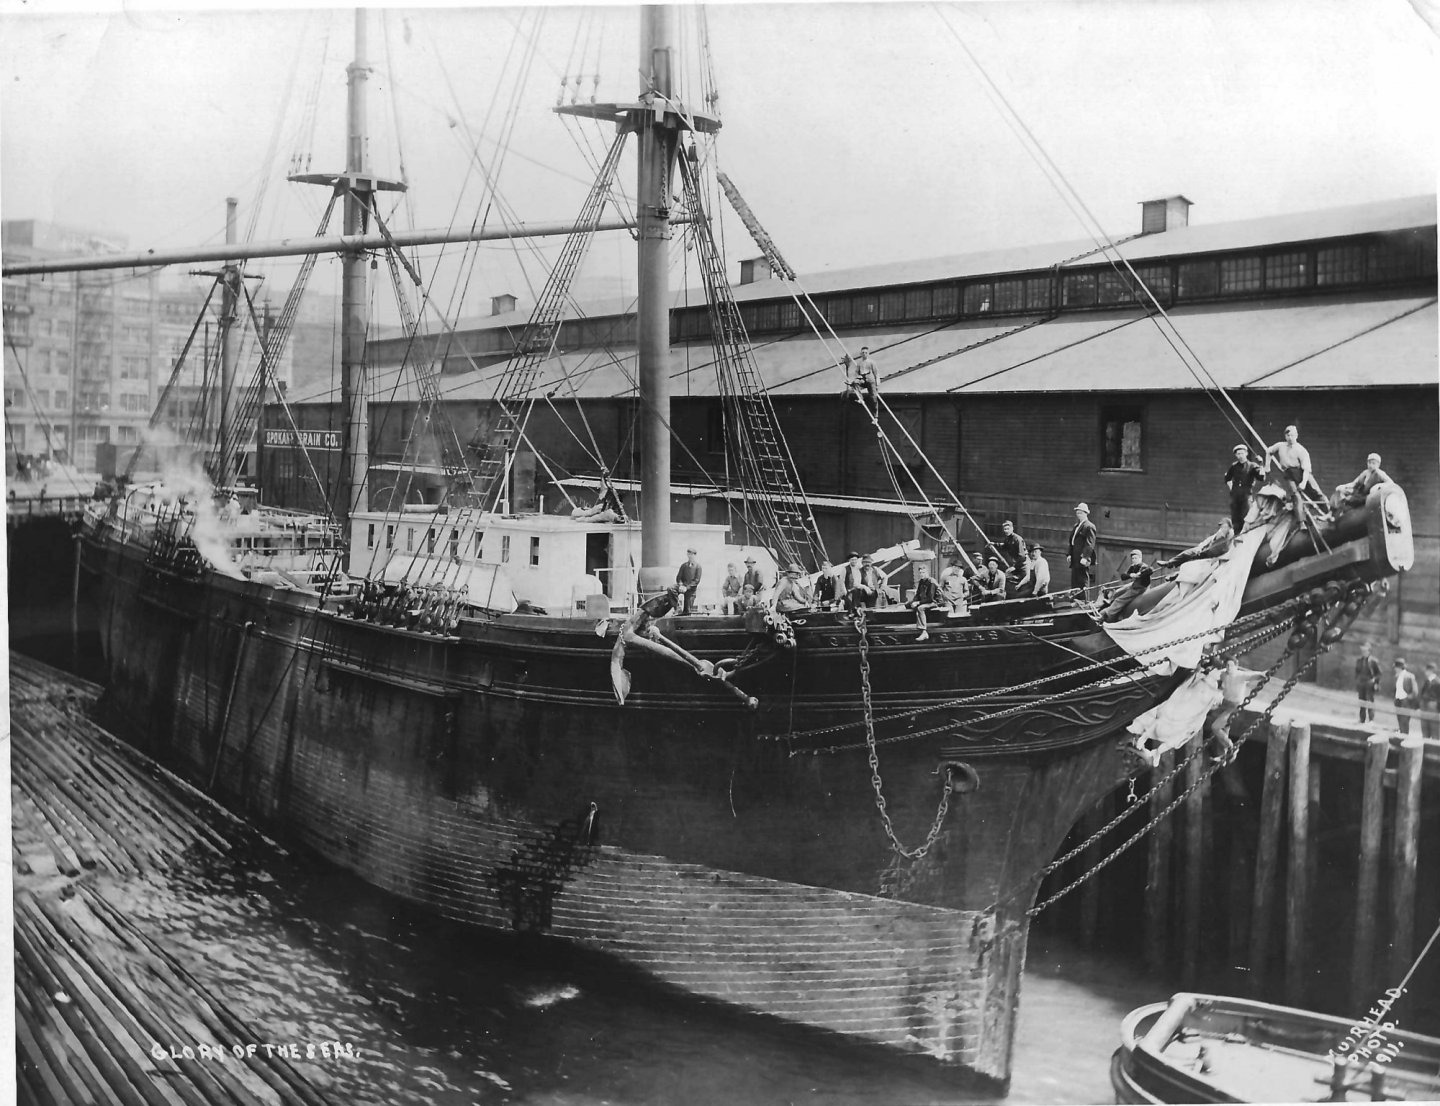
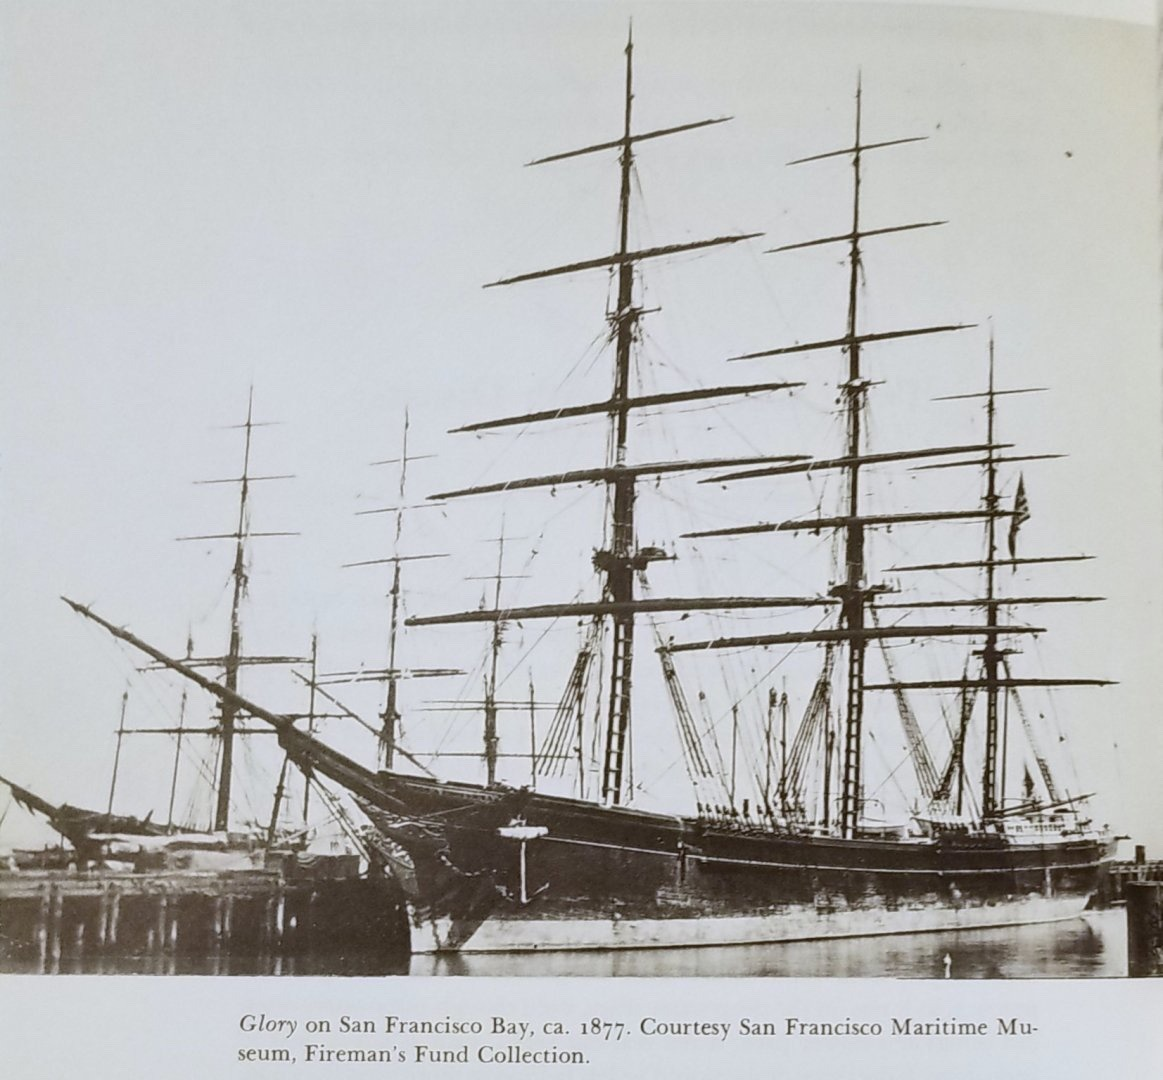
Just remember....there are no photos of Flying cloud....just models and speculation. Duncan McLean describes her hull and deck furniture the best.....however. The photos I provided of Glory of the Seas...McKay's last clipper
Must be your best option. I cannot assume he would have done things differently. These images are *EVIDENCE*.
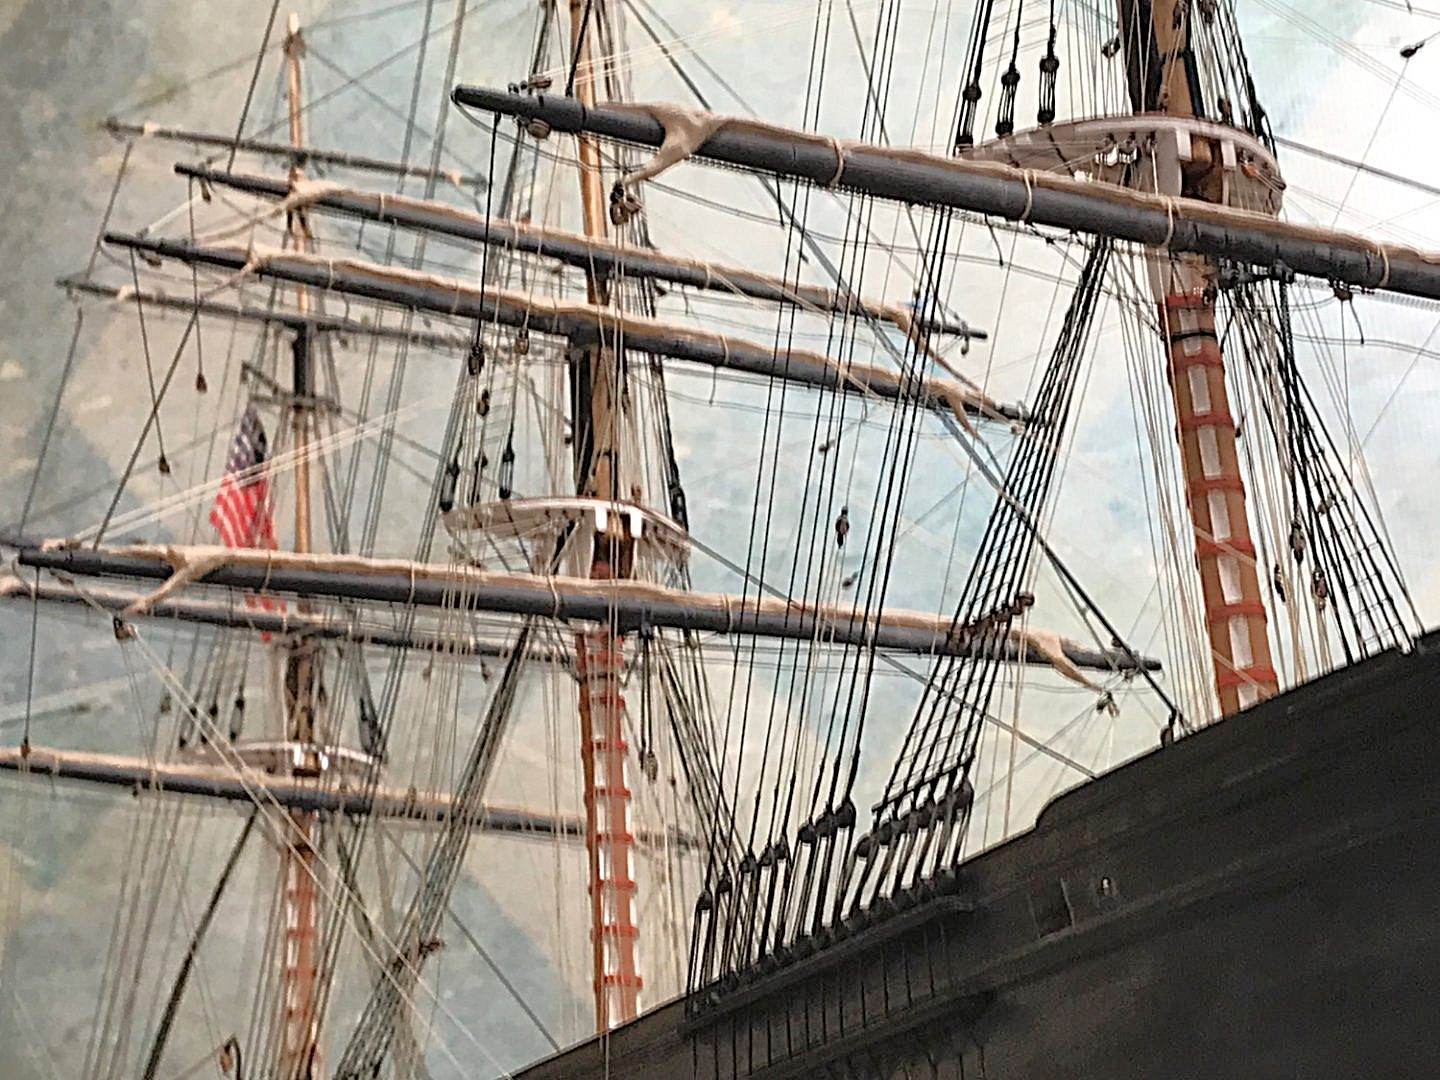
Will you be correcting the kits cutwater and stem to replicate as she was originally built. Utilizing McKay's secret *Naval Hood* design? Contemporary paintings and models clearly get her bow wrong...simply sticking the figurehead on the stem. This photograph of Glory of the Seas....depicts McKay's famous *Naval Hood*. Note the location of the figurehead...on the Hood under the bowsprit!
Drawing by Clipperfan.
Rob
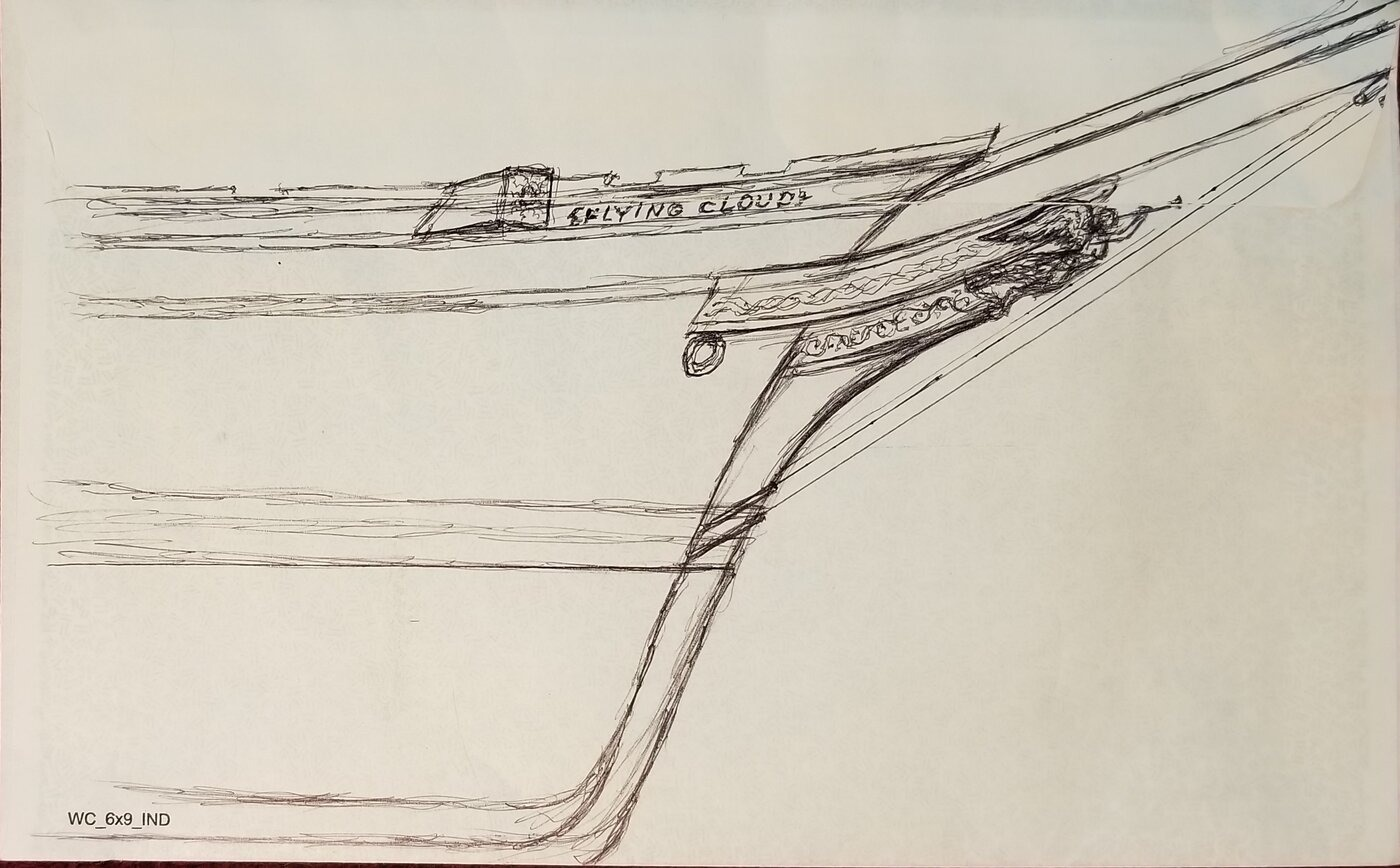
-
In this close-up of Glory of the Seas...you can clearly see the fore topmast stay pass through the Bees....and back toward the root of the bowsprit...where it terminates.
Not sure if McKay used this arrangement on Flying Cloud. She still sported single topsails. Near twenty years separates their evolutions.

-
-
-
2 hours ago, paul ron said:
my problem is i have no sails at all but im including all the rigging as if sails are coming. so all my bunts are in place, but i dont know what to do with the free ends on the spars. do i leave the bunt ropes dangeling, and how do i keep them from droping back? what do they do in real life? the ships ive seen docked without sails have no bunts or blocks on the yards.
im figuring each bunt must have a couple feet of line dangeling to be hooked to the sails when they get fitted... so in this state with no sails, i plan to make coiled hanks hanging at each block. this will also prevent the ropes from falling back.
what da ya think?
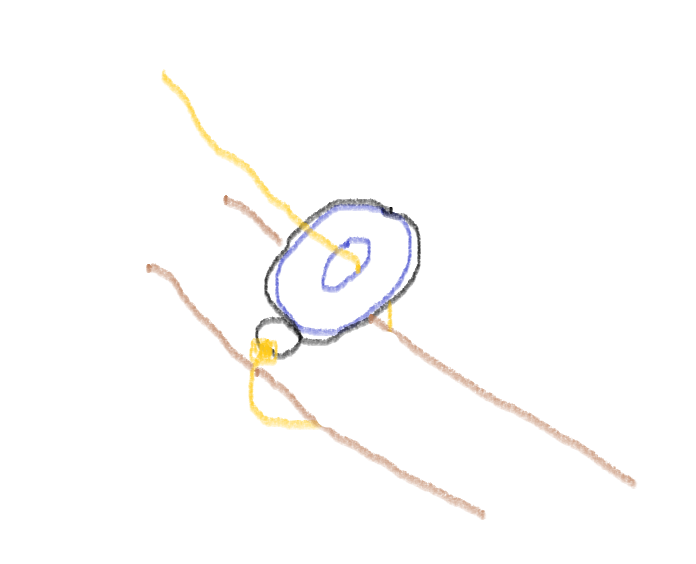
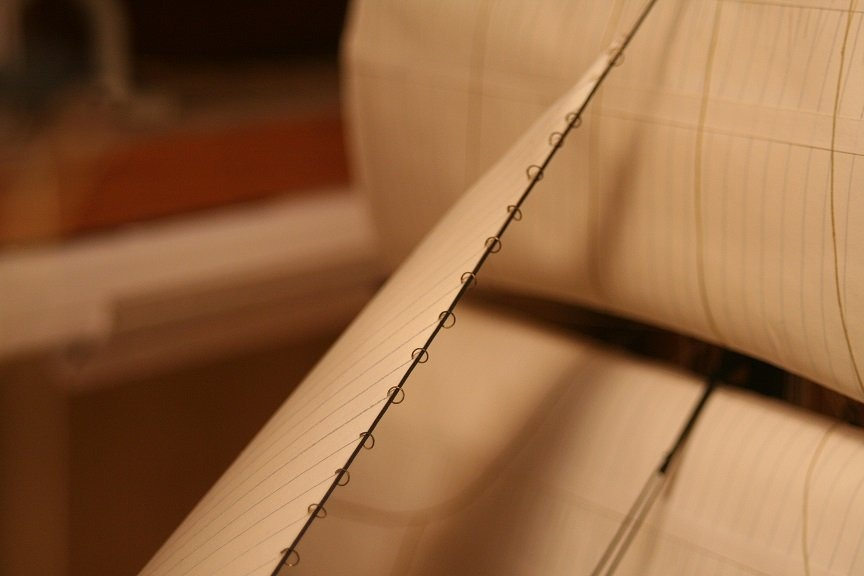
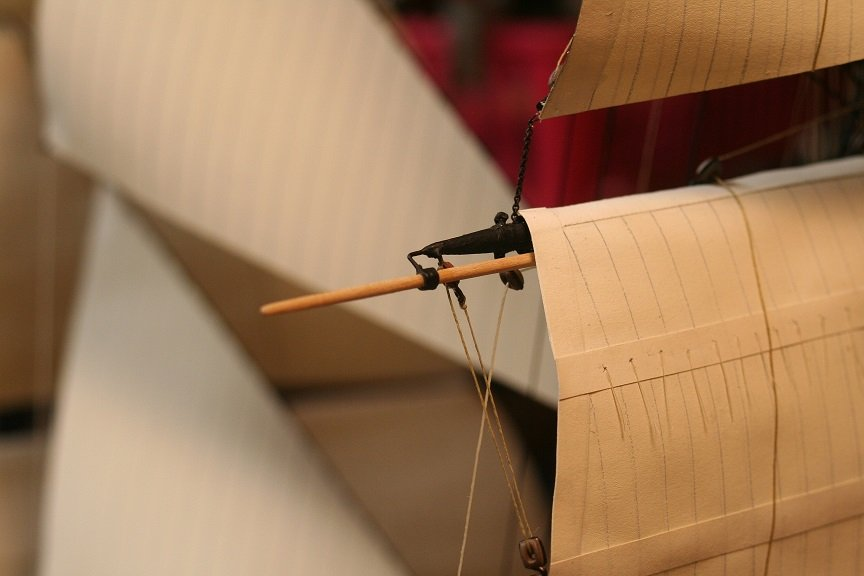
Paul...it is acceptable to simple knot the bunt at the block. (blocks are secured to the jackstays, or simply tied off at the yard) When the bunt line is in use, it is fed down the course of the sail and affixed to the rope edge of the foot of the sail. When sails are removed...you can simply knot the bunt line at the block...then finish running the line back through the top block and down to its belay point. You retain the bunt detail without the sail. Same with the clue lines. What I did once....to make it easy, was to tie the bunt off to the block eye....then wrap it around the yard, running the bunt back through the sheeve of the block snugging it up against itself and then running the line up to the top blocks
Hope this helps?
Rob
-
-
On 3/7/2025 at 5:12 AM, paul ron said:
it sure does get crowded with a full complement of rigging. ive got a similar problem with bunt lines on a clipper, flying fish 1851 1:96.
im not putting sails on, but i am trying to put her in a state of readyness, with no sails. i can belay the bunts to their pins, but what to do with the lines at the blocks on the yards? i decided on a solution of putting a bundle at each block so if sails were to be put up, the bunts are ready to be tied on.
so im watching for your solution because ill be where you are soon with the same question. 🤔
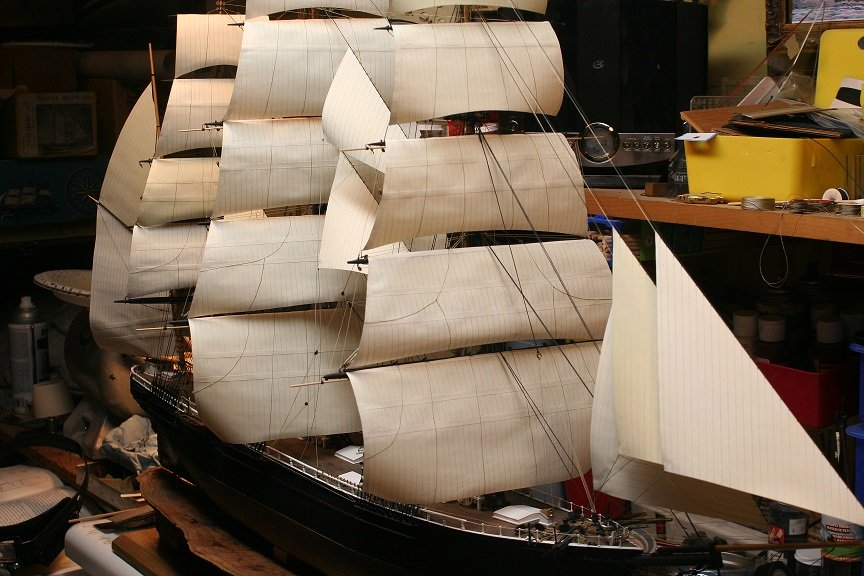
When I built my Glory of the Seas...I wanted all the rigging to be visible. Nothing was left off...cept the stunsail booms and their rigging....since they were not present during the period I was basing my build on.

-
I did the same for my Gr
 eat Republic. Once the shrouds are fixed to all the masts the easy part comes by adding the yards.
-
-
A little bump to the thread. I'm sorry I have been very inactive on this build as of late.....My daughters house purchase fell through....so she and her's are back home. I've been tackling the new roof install on my garage....so that too has held me up. And now its getting to spring...which means loads of yard work and outdoor activities. I hope to get back into the shop and organize my modeling thoughts...once again....soon.
I hope everyone is having a smooth new year and coming spring.Rob
- uscharin, Jared, FriedClams and 1 other
-
4
-
-
Wonderful work indeed.
Rob
-
12 minutes ago, Jared said:
Thanks Rob for this great tip.
You're welcome. It's not a sure fix for the skilled and motivated modeler, who has a routined propensity for damaging their own models.
 We do what we can do.....
- FriedClams, ScottRC and BANYAN
-
3
-
On 1/18/2025 at 1:33 PM, Jared said:
I am well fixed with all the small tools for rigging. Thanks. Having fragile spars being evenly supported is a must when fitting them with eye bolts and the like. More importantly knowing where both hands are at all times in relation to the pertruding mounted spars is key.
Sorry for the vary long absence . family and moving stuff around...takes time. I'm not all back together again...but getting there.
I see what you are talking about. when you drill a hole through a thin mast or yard...the point where you drilled becomes vary thin and fragile. especially along the edges on either side of the new drilled hole. this hole make the remaining material very weak and apt to breakage. What I do in this case is drill the hole.....then...fill the hole with CA glue. letting it set hard by using an accelerator. I then redrill out the hole. The Cured CA strengthens the fibers of the wood on either side of the hole by soaking into the wood fibers and aids in preventing the wood from fracturing again at this point.
Rob
-
On 12/2/2024 at 10:10 AM, Rick310 said:
Just discovered this blog, beautiful work!!
Rick
Bruce built an amazing Lightning...indeed.
Rob
-
-
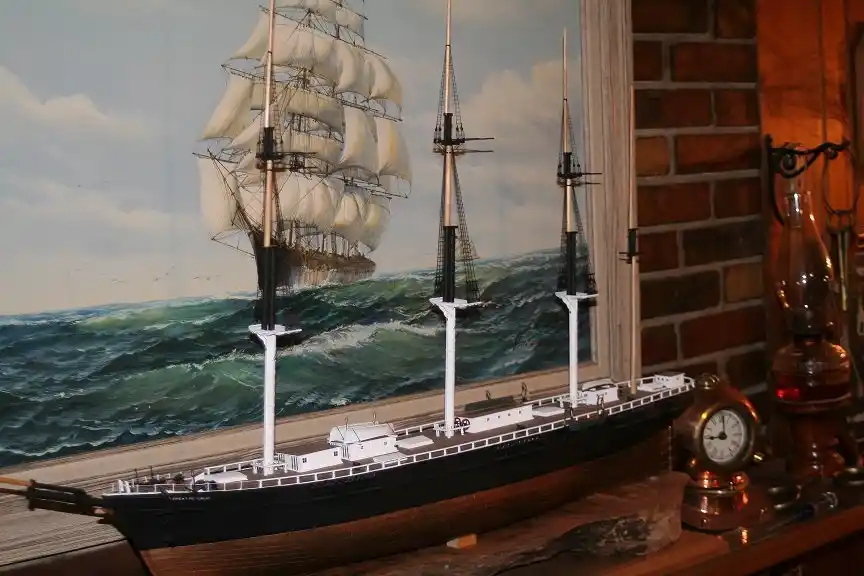
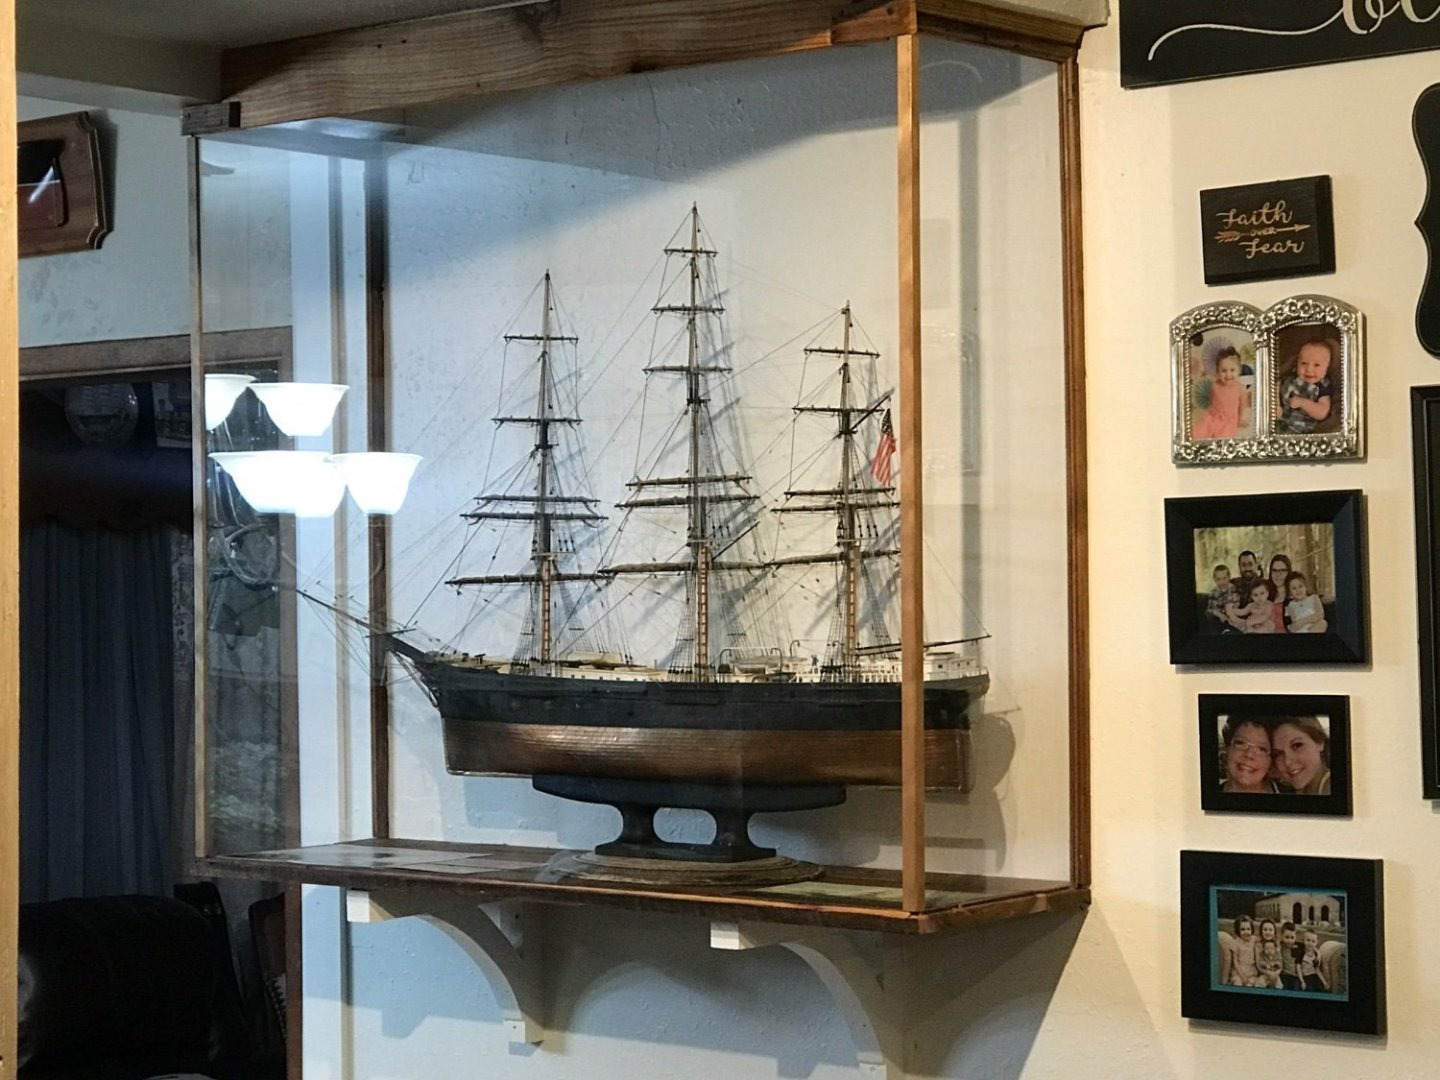
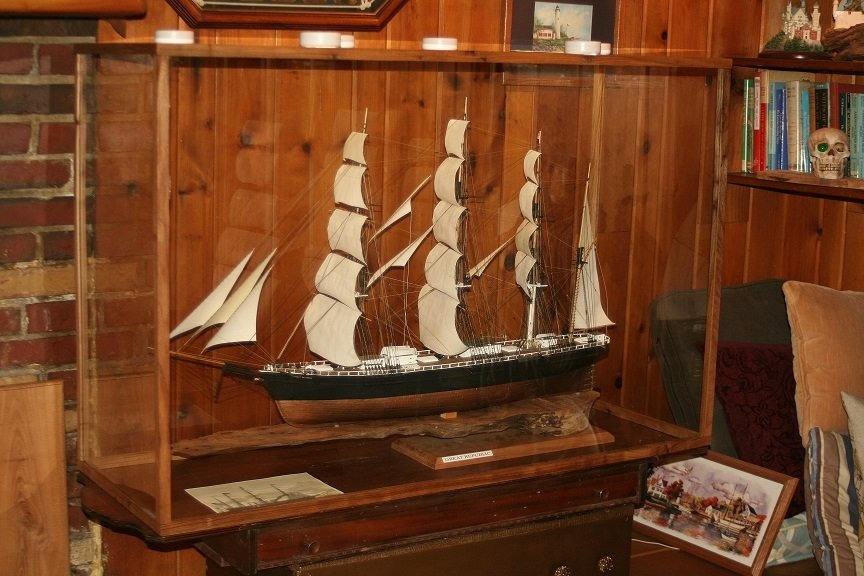
This second model I decided to build the case into the wall and ceiling....resting on custom made brackets. I used three sheets of plexiglass cut from a single 4X8 sheet.
- thibaultron, CiscoH, Ryland Craze and 4 others
-
7
-
Well I need my models protected....I have 6 grandbabies. the first case I made with glass it weighs a ton. I can disassemble the side and remove the model to flip it If I wish.
- paul ron, mtaylor, thibaultron and 2 others
-
5


Staghound 1850 by rwiederrich - 1/96 - Extreme Clipper
in - Build logs for subjects built 1851 - 1900
Posted
I think some fudging will need to take place. My initial measurments.....made the premade fixtures appear too large...but Staghound was a much smaller and sharper vessel then was Glory of the Seas...which I still have rattling around my brain. Further evaluations will happen after I get the hull planked.
Rob