HOLIDAY DONATION DRIVE - SUPPORT MSW - DO YOUR PART TO KEEP THIS GREAT FORUM GOING! (Only 36 donations so far out of 49,000 members - C'mon guys!)
×


rwiederrich
-
Posts
5,518 -
Joined
-
Last visited
Content Type
Profiles
Forums
Gallery
Events
Everything posted by rwiederrich
-
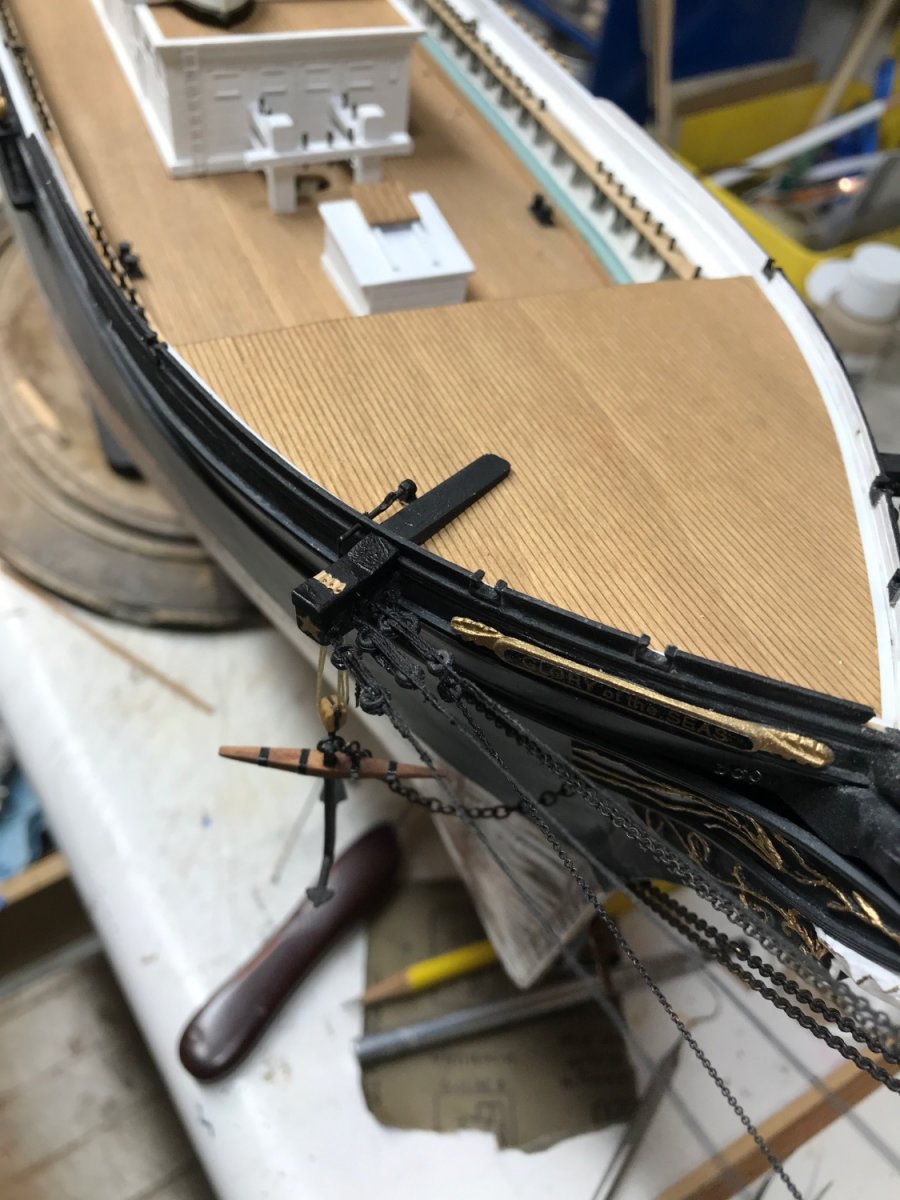
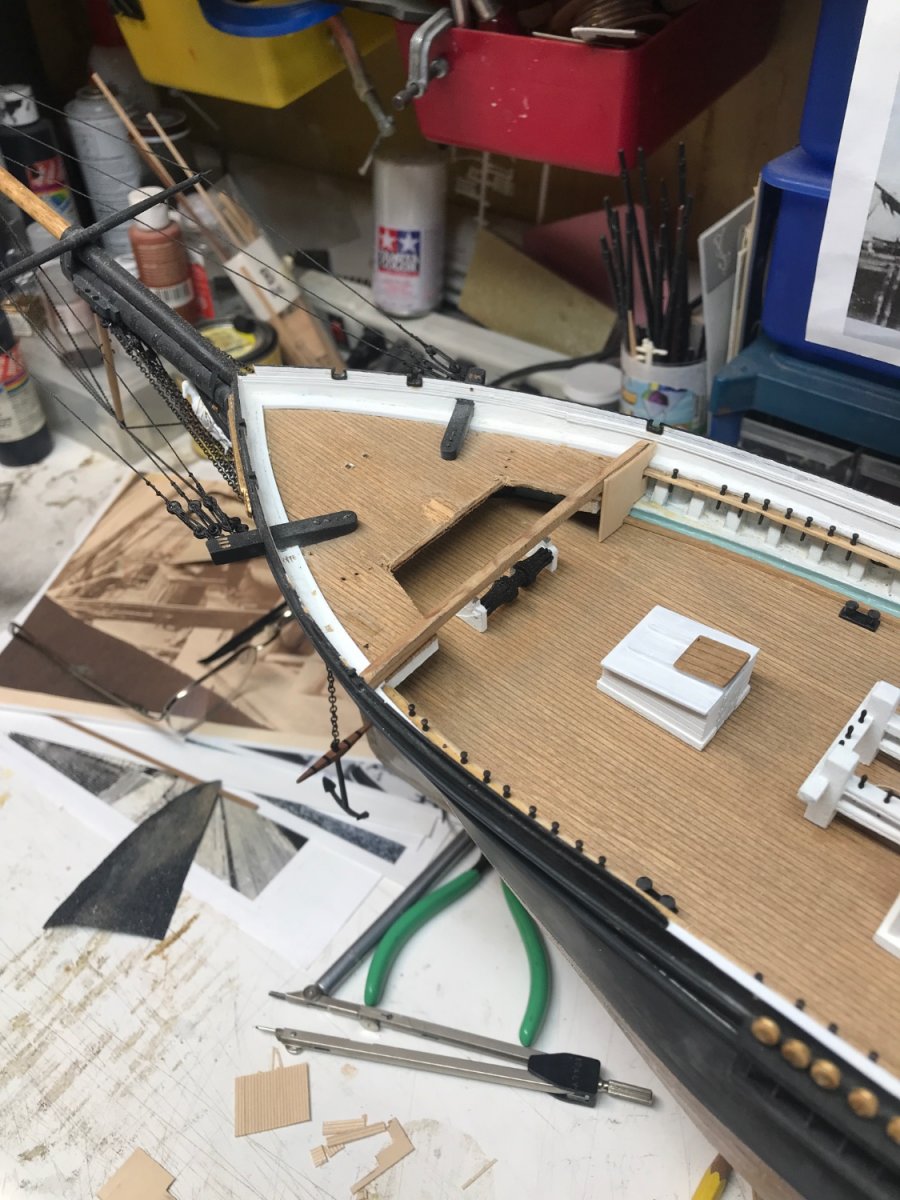
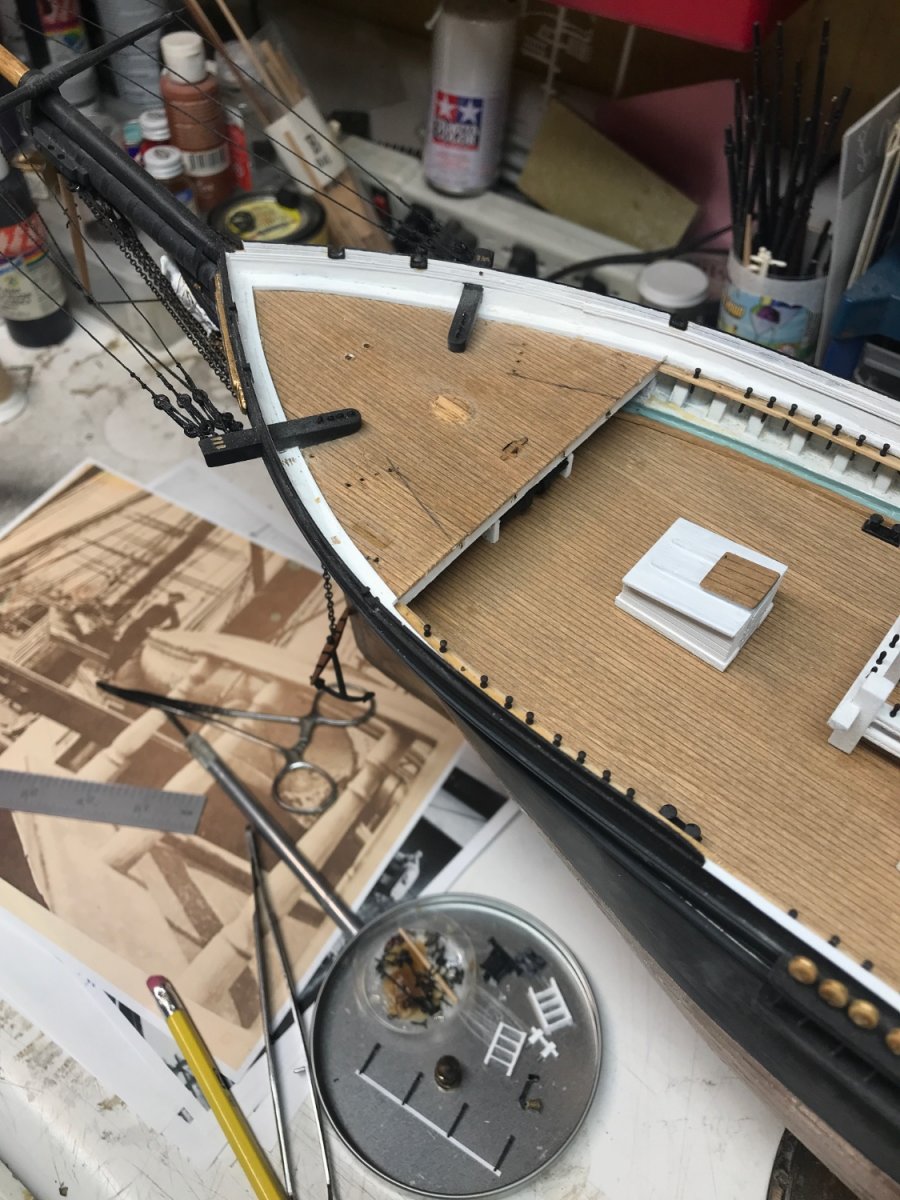
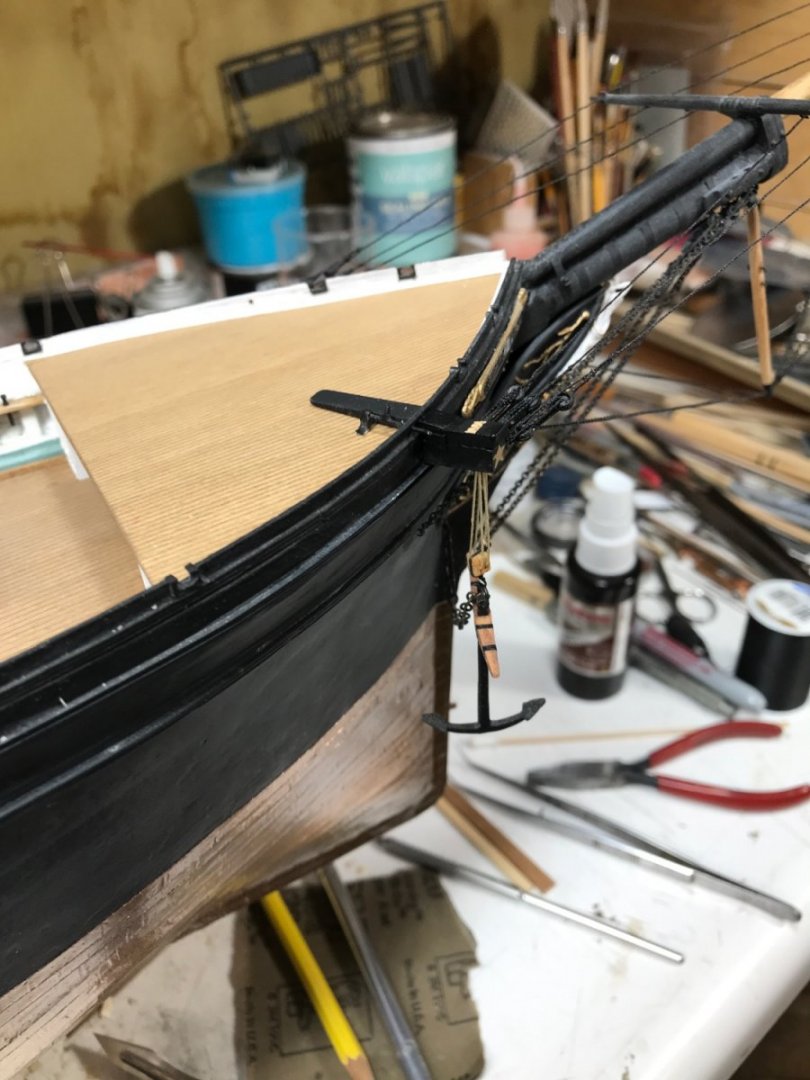
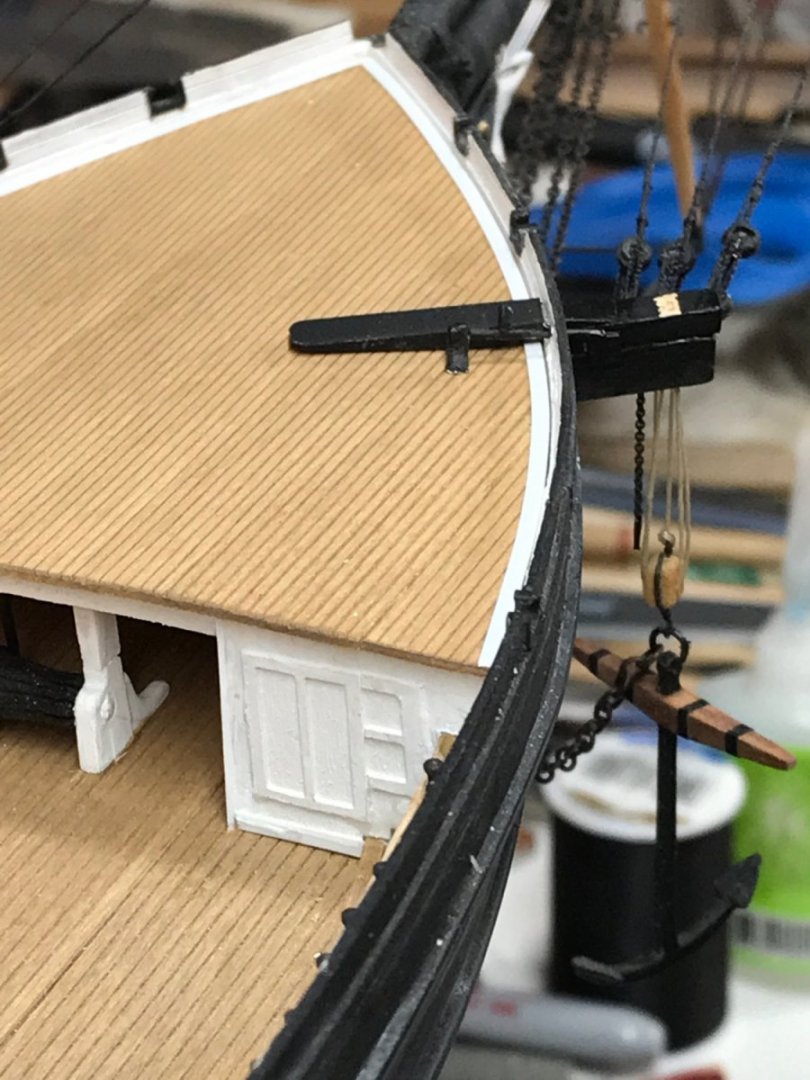
Began to add the starboard cat mods. It is clear her cats are not square, nor without equipment appendages. I’m replacing the other type of anchor release mechanism I used previously. Evidence shows she had a latch and chain mechanism. Another issue, I find, is that the bottom edge of her cathead is resting nearly on the main rail trim and the upper portion is roughly resting at the height of the splash rail edge. And with the angulation of the cathead, it would appear that very little of the body of the cathead was actually exposed on the forecastle deck. this would in essence clear the decks of unwanted structures and *tripping* hazards, that is why I reduced the exposed cat body to a thin sliver. Of course this is all based upon an educated evaluation of the existing structures in many images of Glory's catheads. I had to slightly modify this arrangement to accommodate the pre-existing catheads and their associated bullseye lanyards for the bowsprit guys/shrouds. I wasn't going to remove and remake all of those structures. Rob

- 3,560 replies
-
- 6
-

-
- clipper
- hull model
- (and 2 more)
-
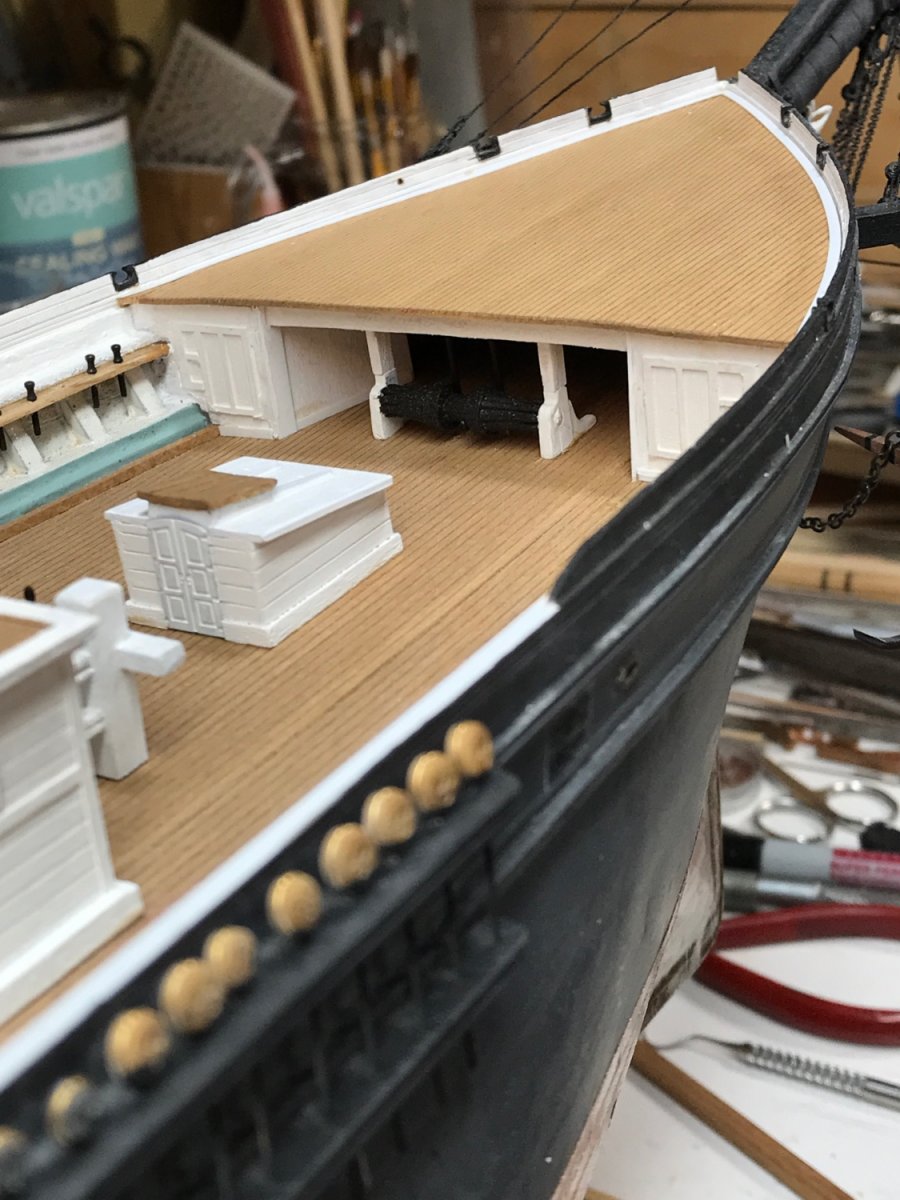
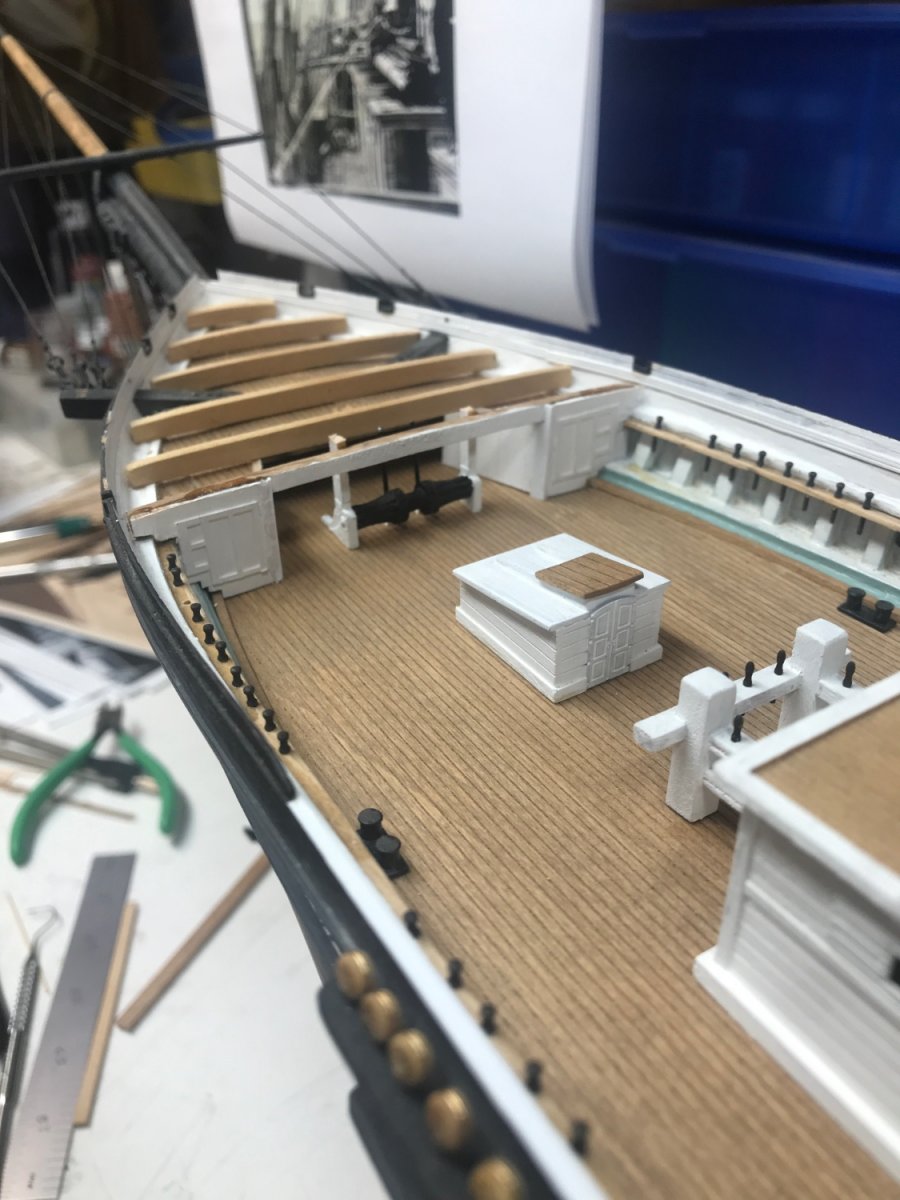
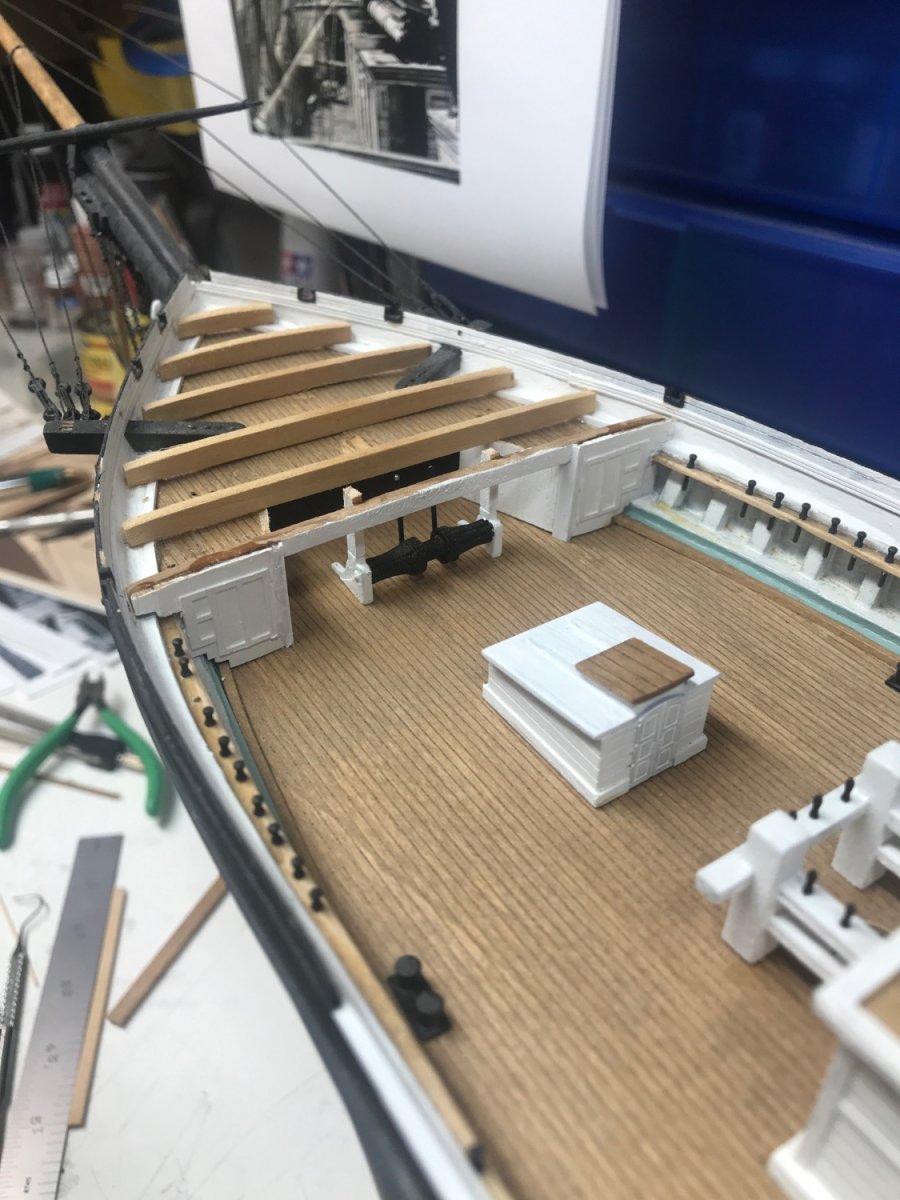
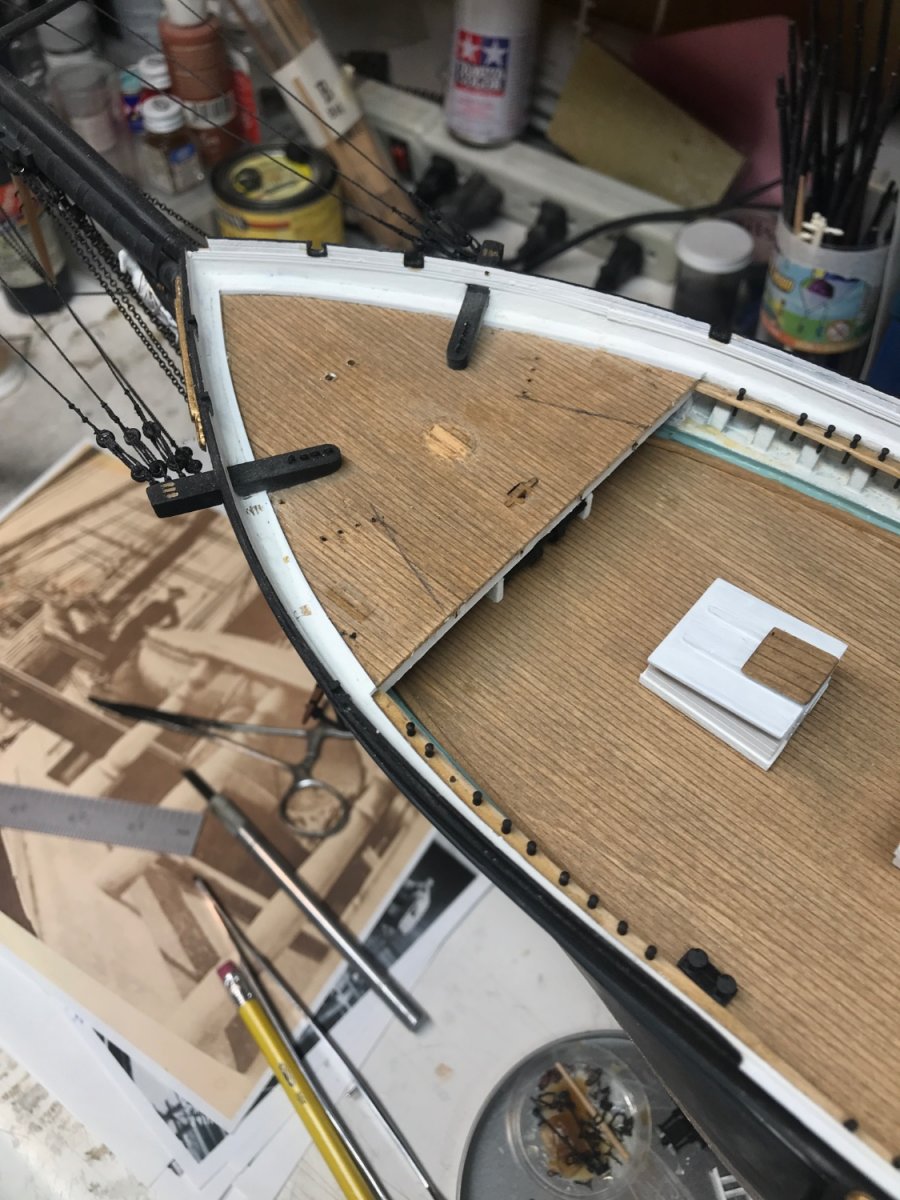
Beginning to work again on the forecastle. I’ll be laying decking soon. Rob
- 3,560 replies
-
- 5
-
-
- clipper
- hull model
- (and 2 more)
-
I’ve read this before. My own expedition was a low minus 3.3 tide on May 18 2018 were I acquired relics for my collection. Thanks for posting………. Rob
- 3,560 replies
-
- 1
-
-
- clipper
- hull model
- (and 2 more)
-
Rich…..have you considered my pm? Rob
-
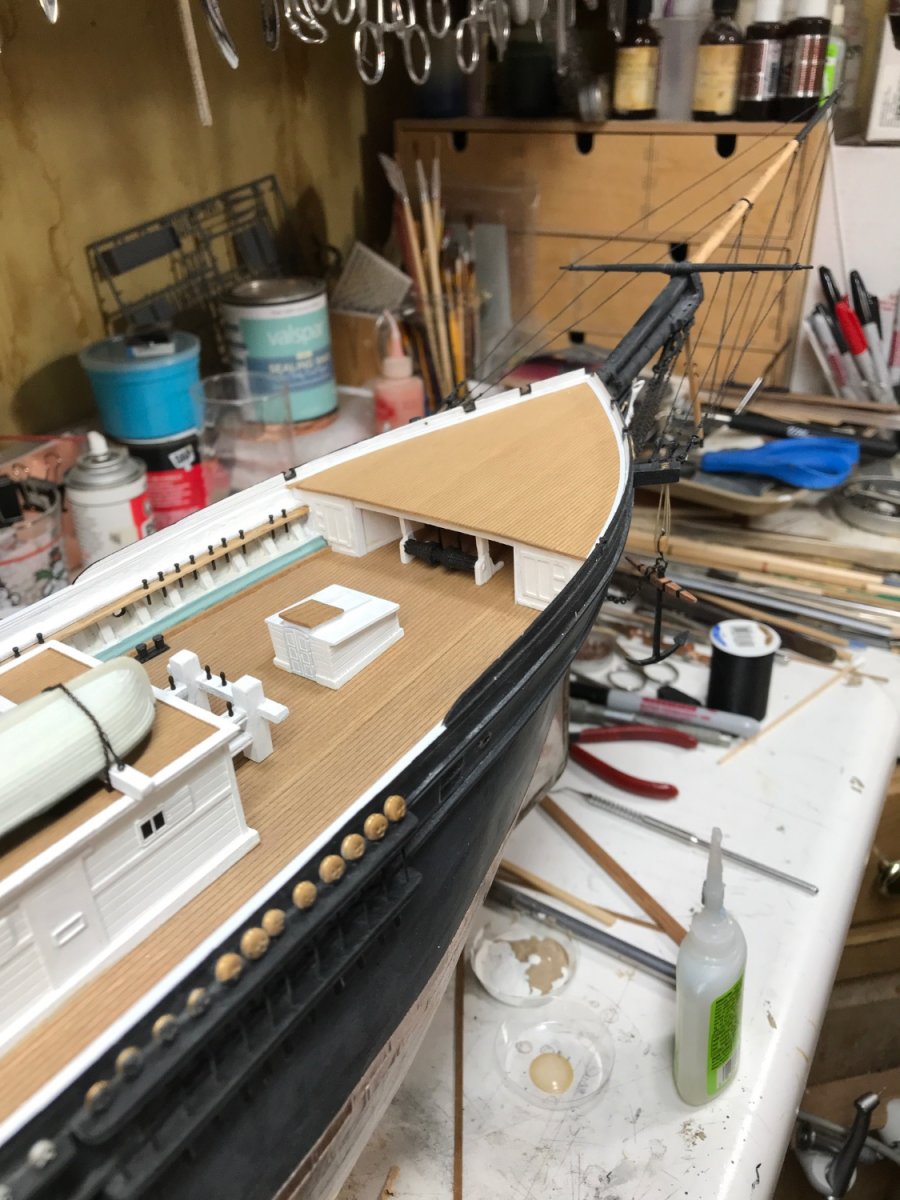
Adding the front cabin walls and overhauling the windless. Rob


- 3,560 replies
-
- 4
-
-

-
- clipper
- hull model
- (and 2 more)
-
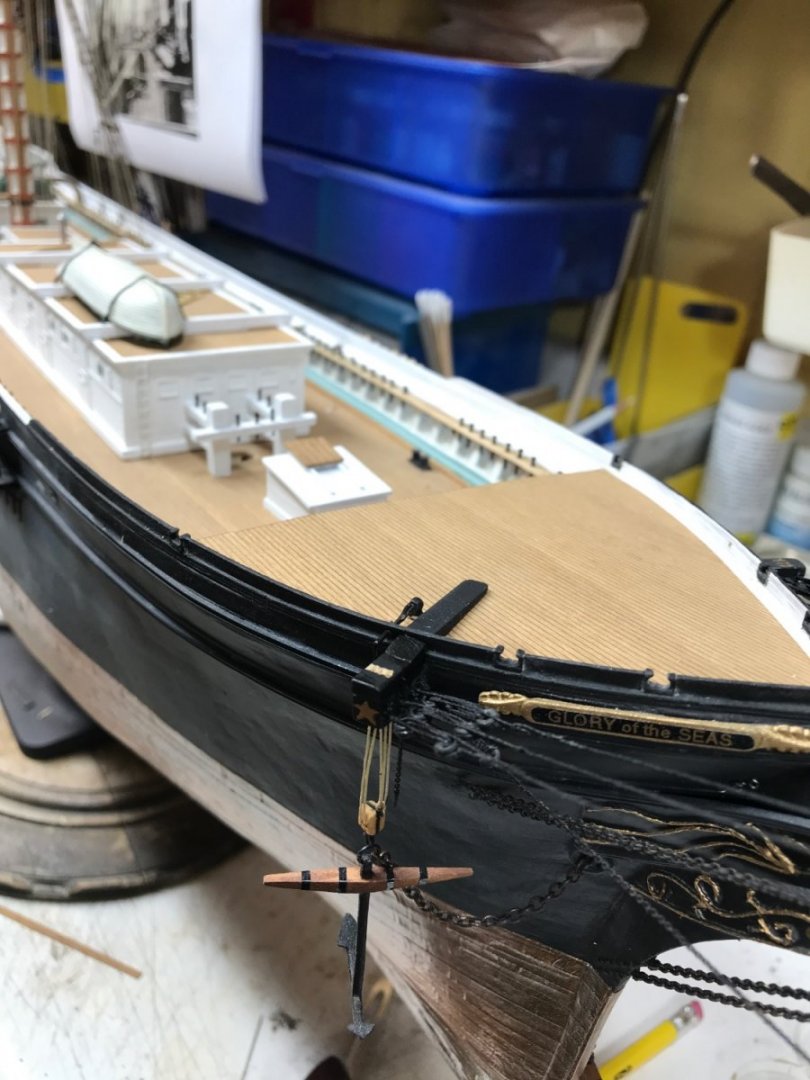
Several other images show her cat head just below the edge of the splash rail. Meaning, as you say….. very little of the cat head body will be on the forecastle decking. Hear the decking being laid. I have the paneled cabins in too and the windless rigged, but I left for a birthday party before I took an image. That will be later. Rob

- 3,560 replies
-
- 5
-
-
- clipper
- hull model
- (and 2 more)
-
Wow...time flies Rich. Congrats! Rob
-
Great job....just about the way I do it....cept I use a plier and a stainless hook in a pinvise. You'll need to make *millions* of these in various sizes...so do so as quickly and effortlessly as possible. Rob
-
Fortunately the aft wood bits are replicated at the bumpkin junction on my model. However, I am having issues with several points. I see no evidence of large wooden bits that are 3ft tall, forward or aft. However, I do see large iron chocks aft for mooring. I'm still wrestling with the notion that, "McKay spared no expense", in her construction, and by 1869, iron bits were in popular use. If I I see photographic evidence, or read of first hand accounts to the contrary, I will then humbly make alterations, until then, I am hesitant to make those corrections. It is clear....I bumbled the forecastle construction, and that I will happily amend. I'm not trying to be problematic or argumentative. Too many *Other* issues cloud the validity of the evidence. It is clear, on Earlier McKay vessels, he did, indeed use wood type bits....From what I have seen....but Glory of the Seas, was his final masterpiece and to opt out of the most modern fixtures and construction techniques....kinda flies in the face of What McKay was all about. Progressive improvements of his designs and the use of the most modern of material and industry. Rob
- 3,560 replies
-
- 2
-
-
- clipper
- hull model
- (and 2 more)
-
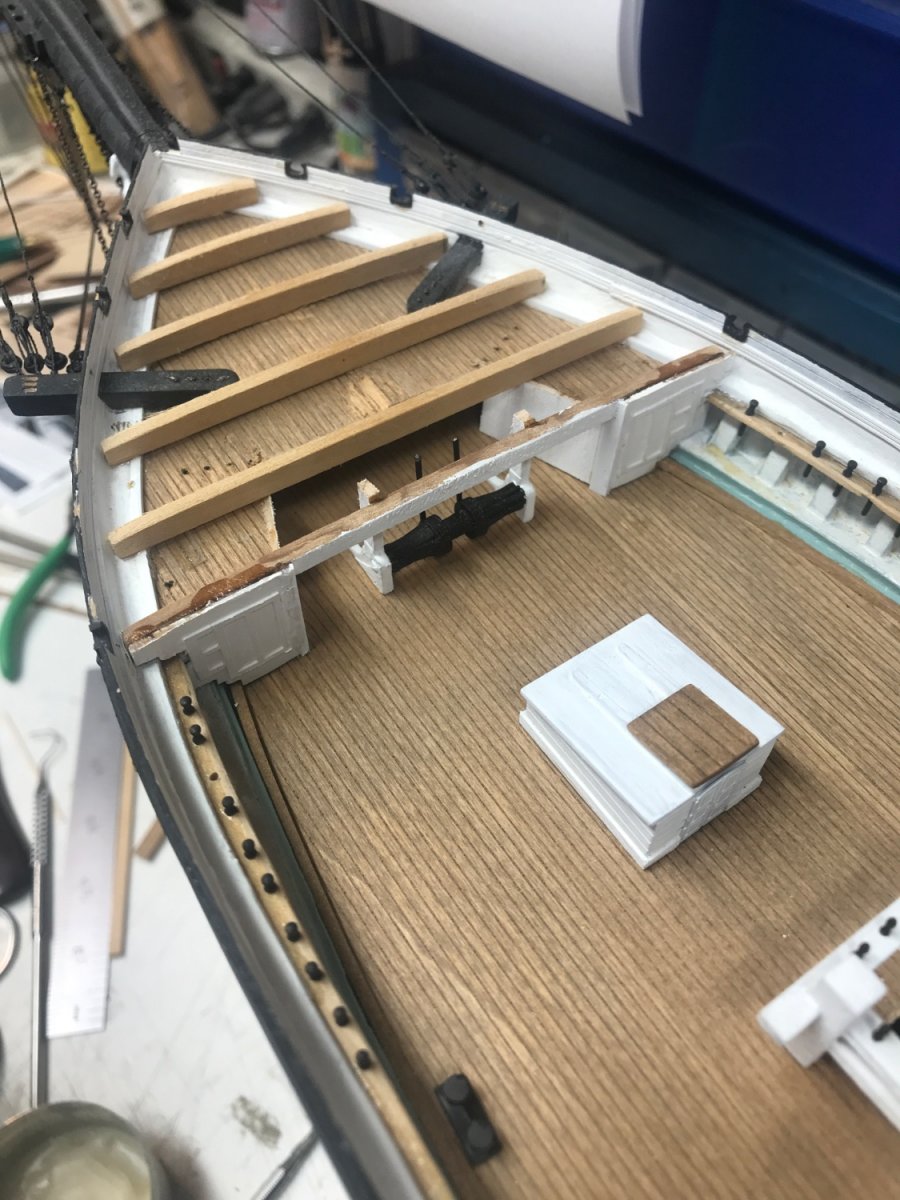
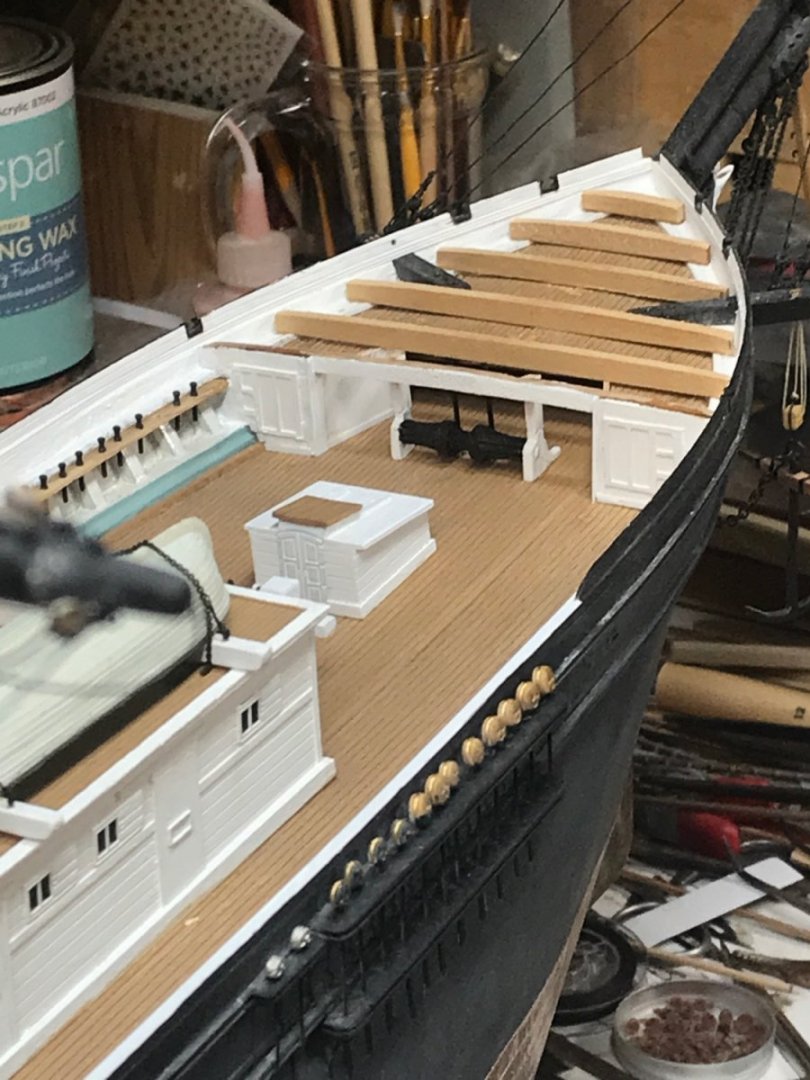
It is so clear to me now. This correction will heighten the forecastle deck(to mimic the photograph), and it will provide ample room for the addition of the store lockers, beneath. The cat heads will need alterations to fit the correction. Rob
- 3,560 replies
-
- 1
-
-
- clipper
- hull model
- (and 2 more)
-
Thanks Bob. I knew I would always regret not correcting this error. If I’m to be extremely particular about so much correct detail……..I couldn’t be a hypocrite concerning this error. You’ve always been an accuracy buff where I’m concerned and I know you wouldn’t have me act any differently. Now I can see clearly the correct forecastle deck location. As it should be. Rob
- 3,560 replies
-
- 2
-
-
- clipper
- hull model
- (and 2 more)
-
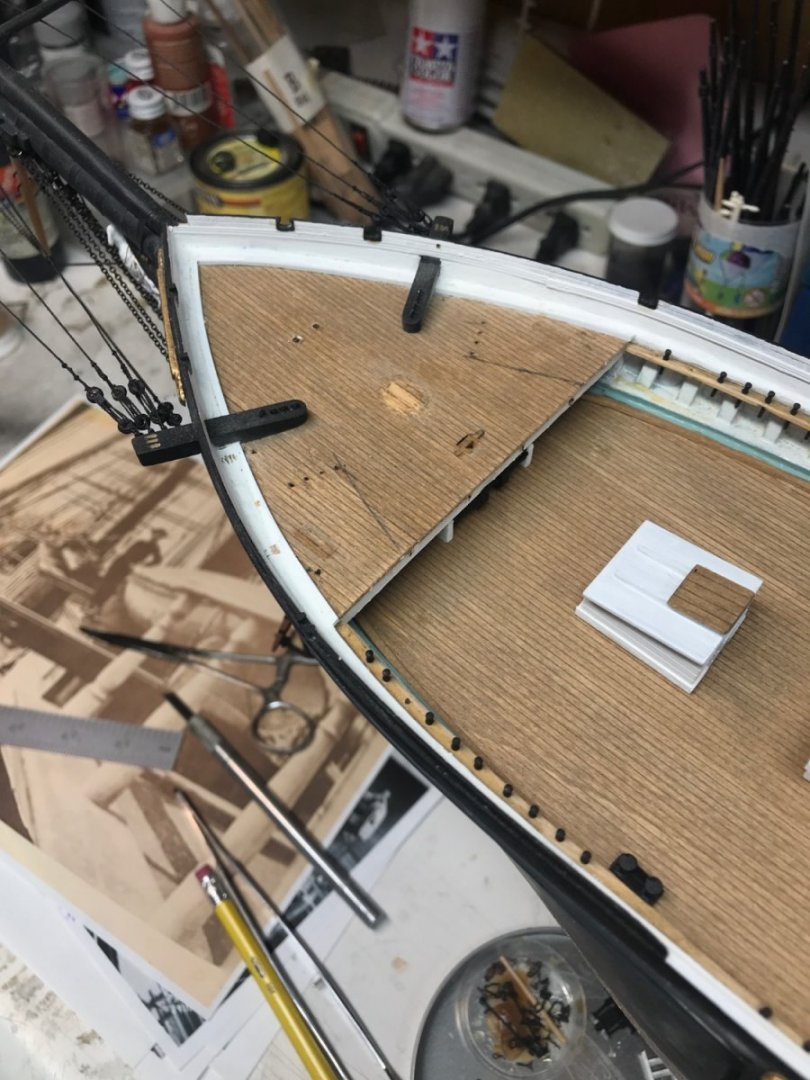
Well here we go. …….. demolition time. First to remove all the furniture and hardware.

- 3,560 replies
-
- 5
-
-
- clipper
- hull model
- (and 2 more)
-
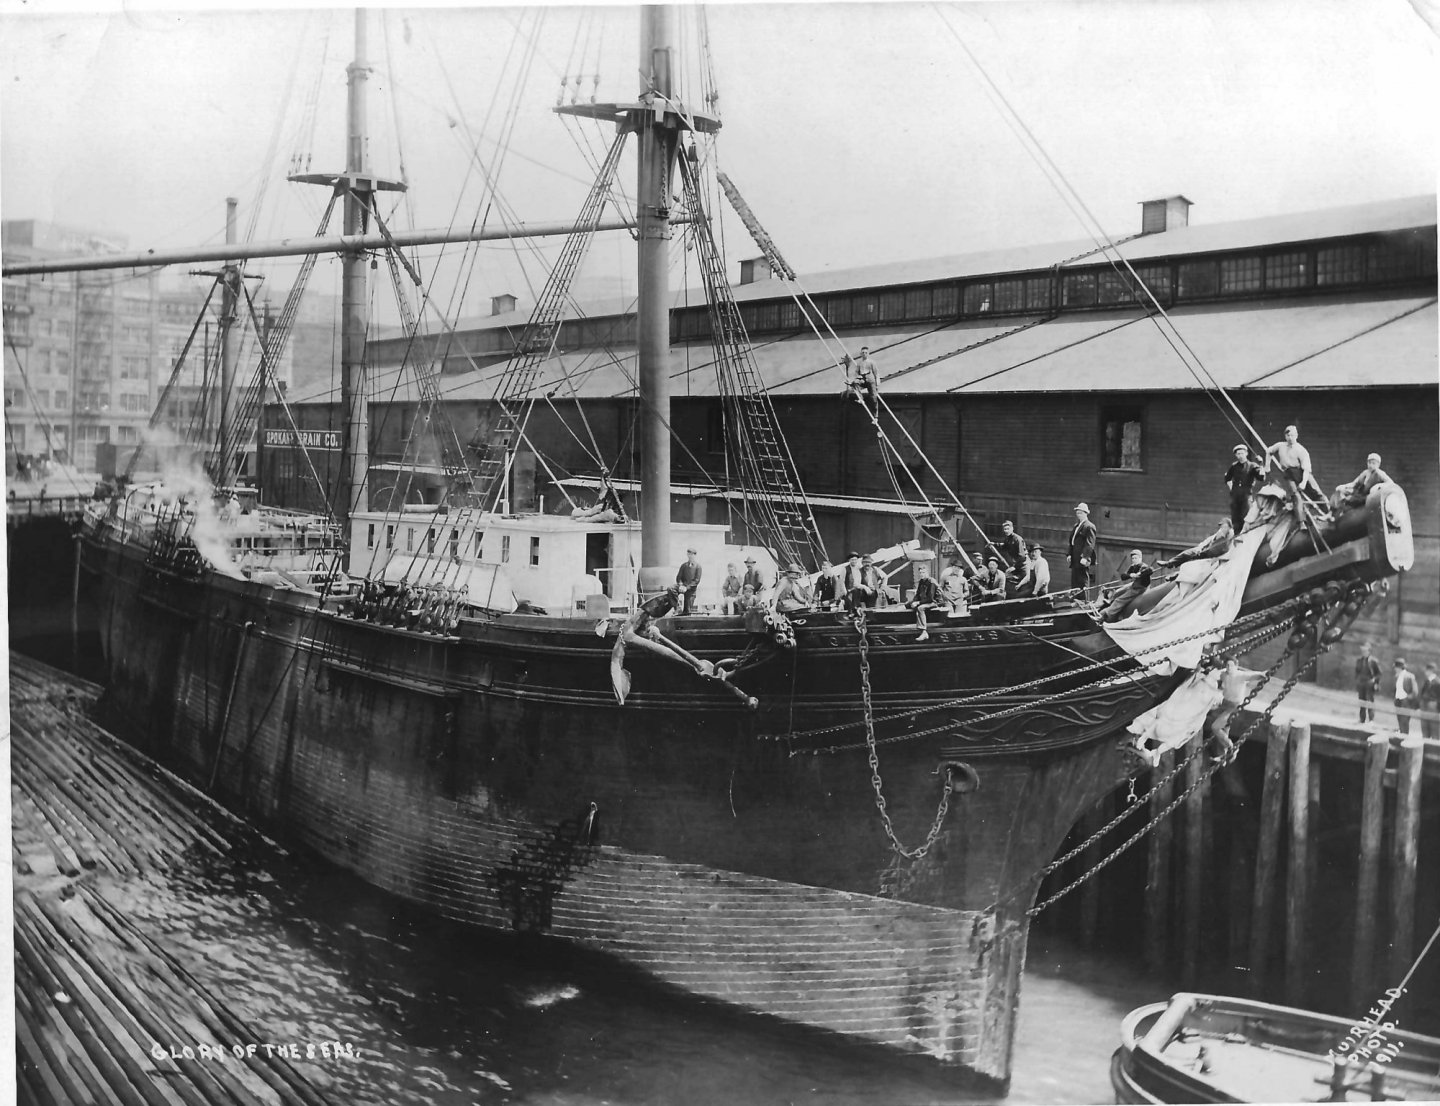
I answered this earlier but it must have gotten sent to the nether regions. I pondered this issue for years. If the sheer of the deck is equally translated to the rail, and if the rail or bulwark is 6.5ft to include the monkey rail at 18". Then the forecastle floor is located at the planksheer and its decking is somewhere around the height of the rail. If Duncan MacLean says the forecastle height was 8ft....then the extra feet must have been derived from a sunken floor in the forecastle. If the sheer of the deck is uniform with the height of the rail...then is can't be 8ft. Photographs show the rail is consistent....except for the addition of the 18" splash rail on the bow. If the Forecastle decking is at the monkey rail height, that adds an additional 18" or a foot and a half more height. This means there is only the splash rail above the forecastle deck. but external images show the cathead deeply recessed within the monkey rail. Not knowing the exact height of the forecastle deck from any good image...it was determined from external images. Knowing were internal things are by external landmarks....such as the planksheer,, rail cap and monkey rail cap. It's too late to make any changes now, but it is food for thought. UPDATE: TO BE ADDRESSED.... I'm going to edit this post with further information: Upon further review of the men standing on the forecastle deck in this image ..it is clearly apparent that the splash rail is roughly 18" above the decking...this, by noticing the man standing by the anchor and measuring the distance from the deck to his knee...where the splash rail ends. It can be concluded that the extra height of the forecastle decking can be accommodated for by raising the deck to meet the top of the monkey rail and NOT the main rail (AS WHAT I AND VLAD DID). Adding 18+ inches to the height of the forecastle deck...thus, then provides the correct space below, as shown in the photograph with the boy. With this new revelation...it appears I have no other choice, but to redo the forecastle decking and raise it to its correct location.....and at that time....add the for storage lockers too. This is a significant error correction...one that needs to be made, if total accuracy is to be achieved. I will suspend my rigging operations........and proceed directly to rectify this profound oversight in perception and construction. The catheads will also be enlarged. The image of her at pier side demonstrates large catheads. I'm going to change the anchor release mech. as well. Demolition will ensue. Rob

- 3,560 replies
-
- 4
-
-
- clipper
- hull model
- (and 2 more)
-
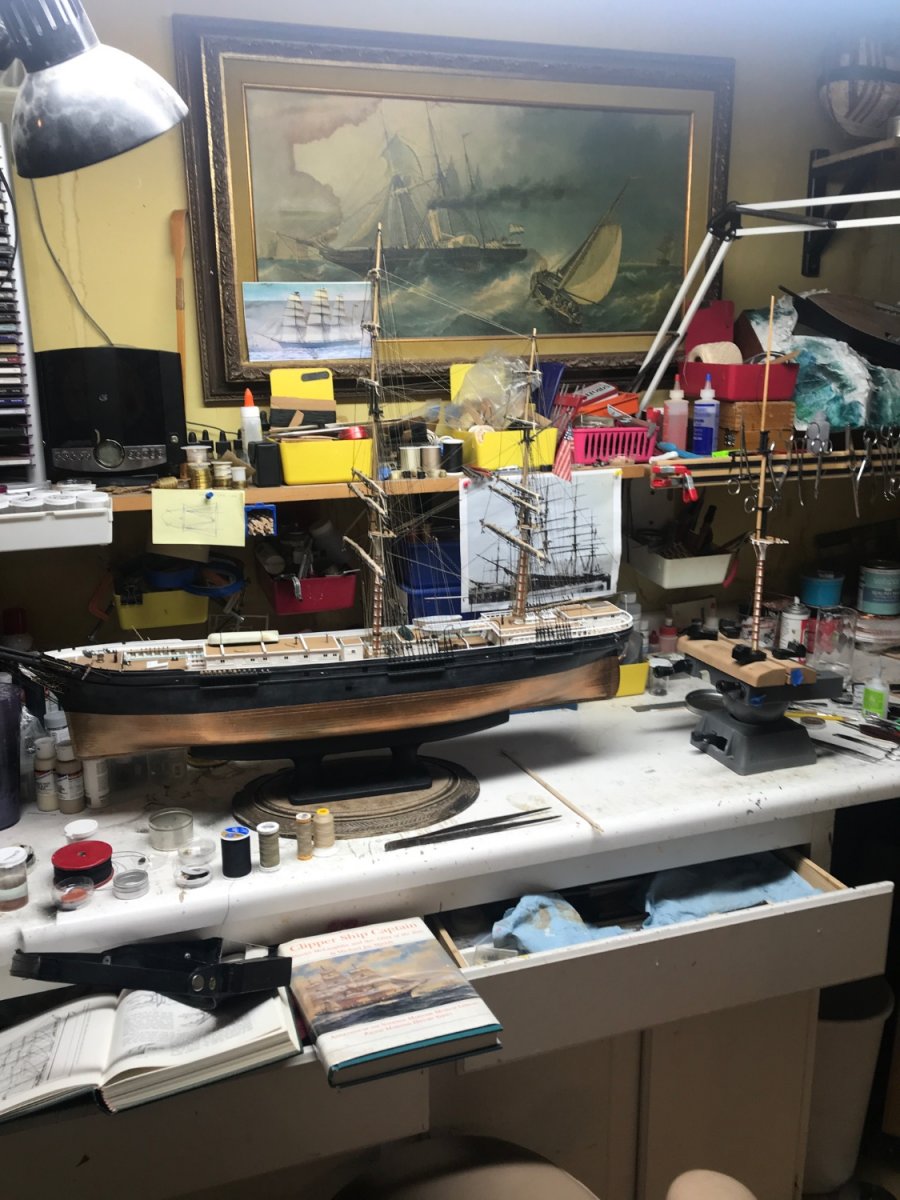
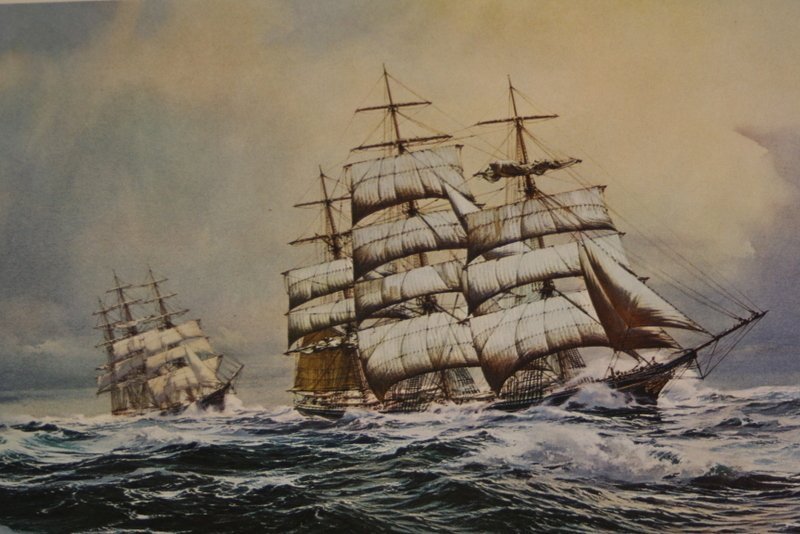
I have this booklet in my library....for the reason of that painting. I just forget who the artist is.....and more significantly though, is the drama in the paintings. The artists depicted Glory of the Seas quite well actually...and roughly during my modeling time period...too. Rob
-
Just adding these paintings to the log. Not sure of the artist. Beautiful none the less. I’ve used them before. Rob

- 3,560 replies
-
- 1
-
-
- clipper
- hull model
- (and 2 more)
-
Wonderful…….I can’t wait for a copy. I wonder if a follow up article will be in the future……..when our models are done? Or is that simply a MSW subject? I remember our first conversation about Glory, it has to be over 12 years ago by now. Rob
-
Yeah…..I have that book. Super. Rob
-
You know Rich...it's interesting how, new revelations seam to creep in...just after what we thought was the right direction, is found to be as much of an inaccuracy as any we uncovered. A wooden bit, would need deck penetration, and that would mean two 10~12" timbers would have to enter into the forecastle cabins for support below deck. This intrusion into that , already limited space, seams unnecessary. Anyway, it is what it is. Since Glory was built in 1869...during the time when ample innovations and the most modern equipment was employed.....And.....since we also know that McKay is known to have, *Spared No Expense* in her construction. I find it uncharacteristic of McKay to employ simple wood timbers for mooring bits. I've noticed several other interesting things in images. One, is....I want to know for sure what is the configuration of the Fore mast stay. In images of her being converted, the stay is actually two..coming down to their eye bolts. Next, in the image of her at San Fran in 1877, she is sporting only a single stay....MMMMMM. I know that the main(and top ) mast stay is a double....since it secured to the fore fife rail and is then paired just aft of the fore mast. What about the fore? In reviewing the image of the boy on the cabin....looking forward it became clear. The stay is *also* doubled..after it leaves its two eye bolts. Just like the main stay. In the later images of her canary refit,.....the stay was probably split to relieve tension on the mast. One reason, one must evaluate closely any rigging on her during this period of refit. Another revelation came some time ago when I was researching for other rigging anomalies. The Image of her in San Pedro....is quite historical in many aspects, but in this particular aspect...this is when she had her wood catwalk removed from atop the boys cabin. It is clearly visible, that the catwalk is removed and that one halve of its rail is being hoisted away by tackle rigged from her stays and that a space is evident n her carriage roof rail. I've found it quite important to evaluate these magnificent images....FULLY. For any and all construction and modification elements. Unfortunately.....sometimes we find them after the fact. Rob
- 3,560 replies
-
- 1
-
-
- clipper
- hull model
- (and 2 more)
-
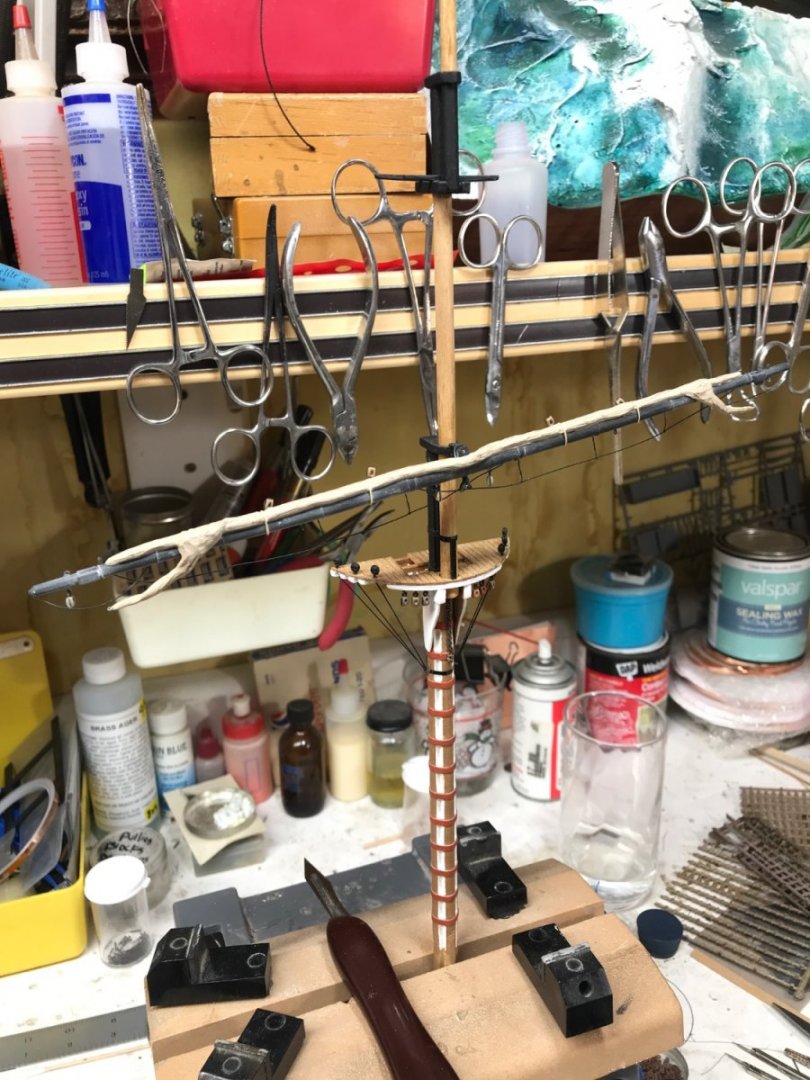
Spend some time today working on the fore lower topsail. Rob
- 3,560 replies
-
- 4
-
-
- clipper
- hull model
- (and 2 more)
-
Interesting. I still want to see pics. Glad you got her all sent out. Can’t wait. Rob
- 3,560 replies
-
- 2
-
-
- clipper
- hull model
- (and 2 more)
-
I sure want to see those pics of the wooden bits…… an I want one of the finer details and the $3 one too. I’ll pay a bro. Do you do Apple Pay? Rob
- 3,560 replies
-
- 2
-
-
- clipper
- hull model
- (and 2 more)
-
Prepping and getting ready for foremast rigging. Shrouds and rat lines are up next. Rob

- 3,560 replies
-
- 7
-
-
- clipper
- hull model
- (and 2 more)