HOLIDAY DONATION DRIVE - SUPPORT MSW - DO YOUR PART TO KEEP THIS GREAT FORUM GOING! (Only 27 donations so far out of 49,000 members - C'mon guys!)
×


rwiederrich
-
Posts
5,518 -
Joined
-
Last visited
Content Type
Profiles
Forums
Gallery
Events
Everything posted by rwiederrich
-
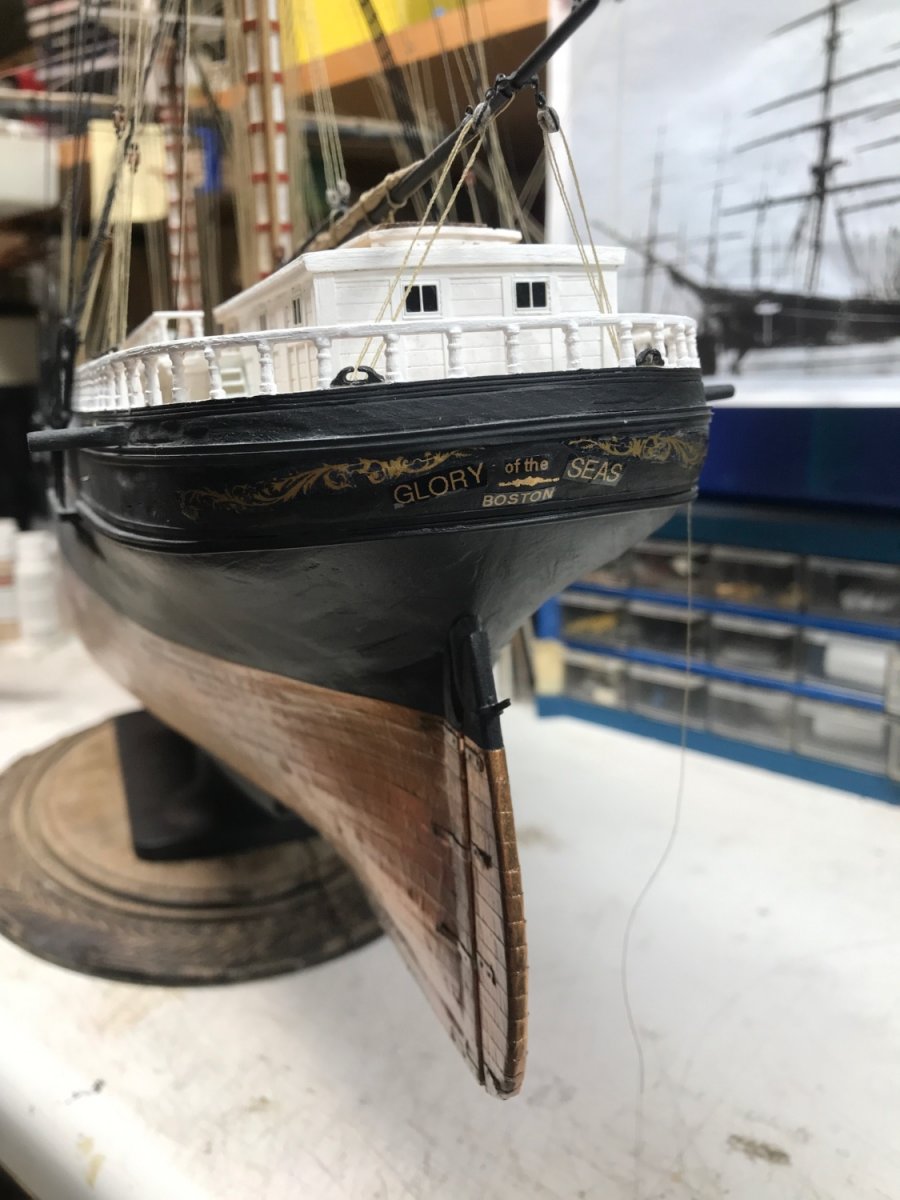
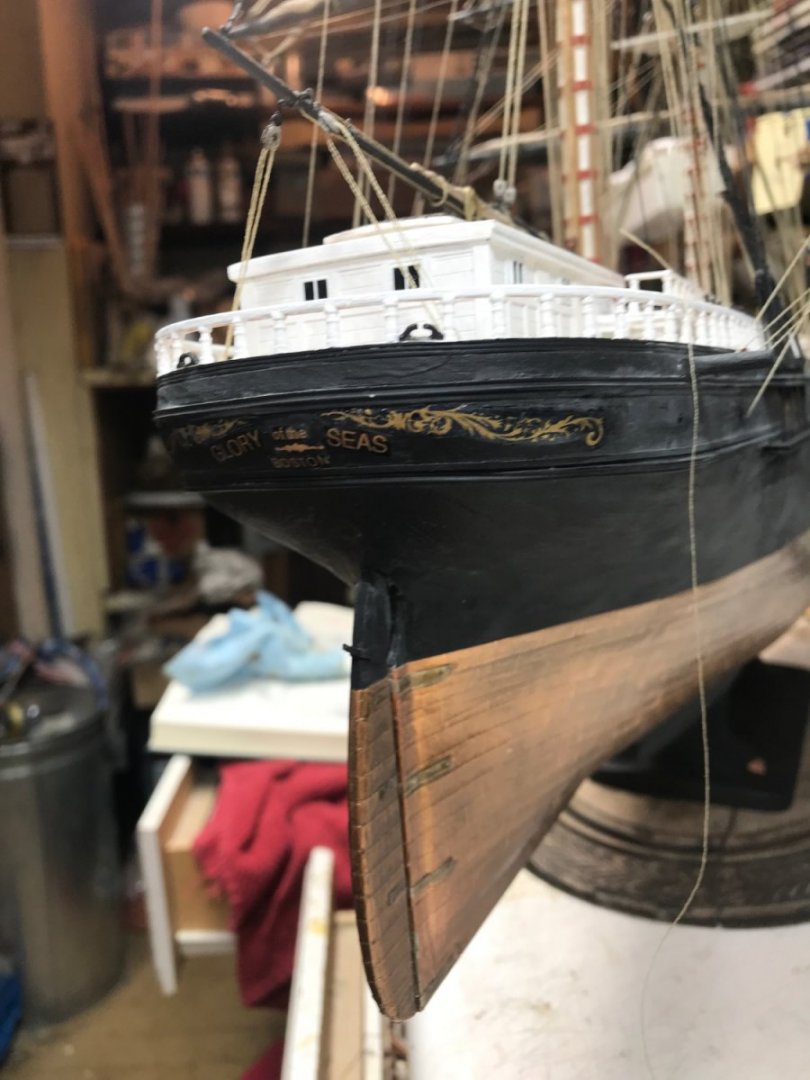
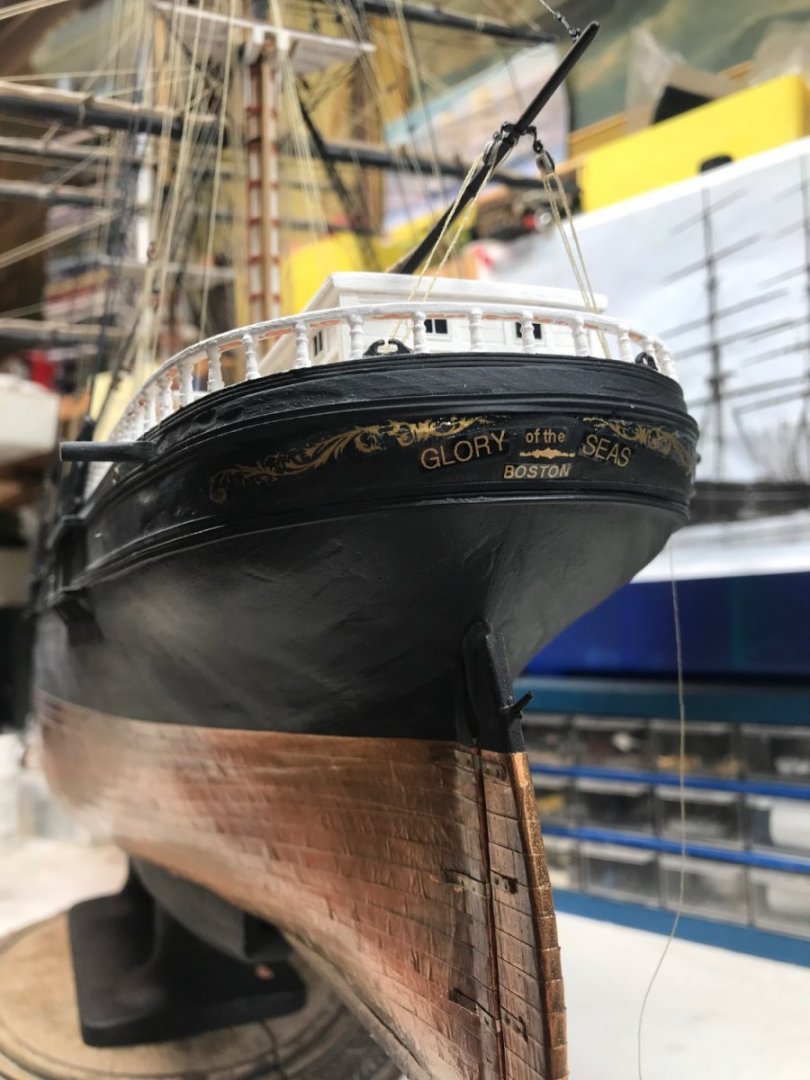
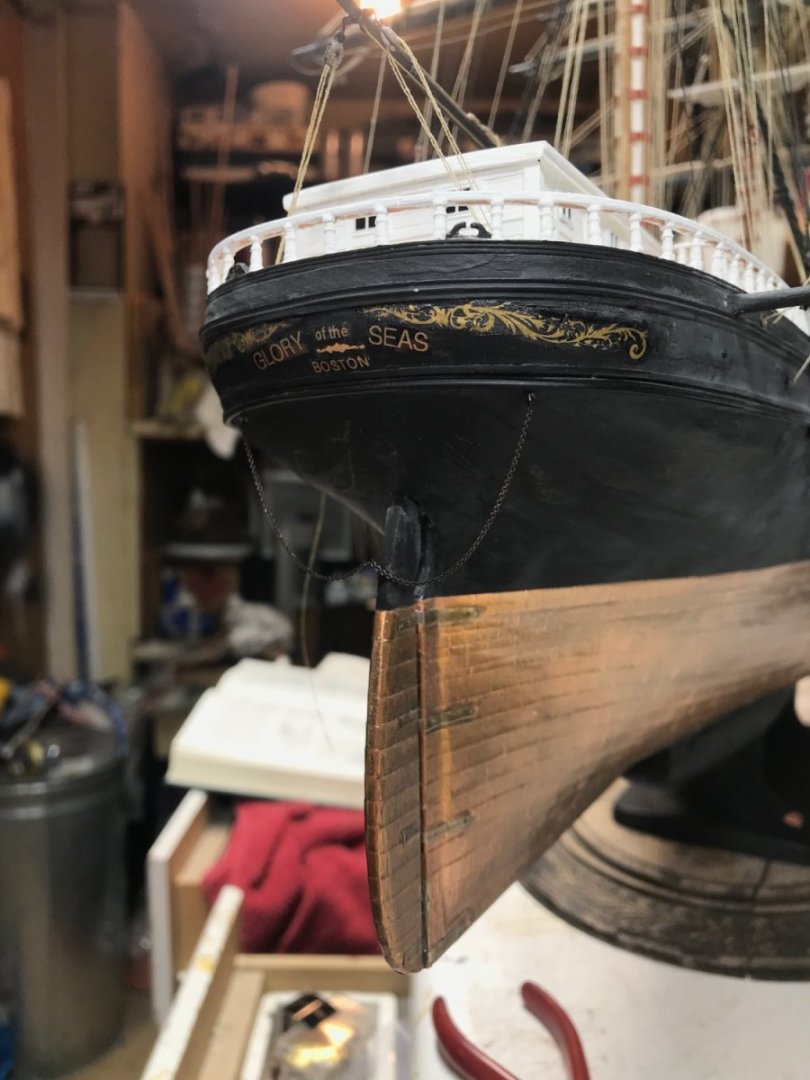
Added a little aft scroll work. And rudder chain. Rob

- 3,560 replies
-
- 5
-

-
- clipper
- hull model
- (and 2 more)
-
Man, that looks sweet. The stem angle we agreed upon is, IMV spot on. From stem to stern...Rich, she looks beautiful. Rob
- 3,560 replies
-
- 1
-
-
- clipper
- hull model
- (and 2 more)
-
As originally built, Cutty most likely had a Fish Rig. Her anchor davits came some time later....along with many more mods. Rob
- 481 replies
-
- 1
-
-
- Cutty Sark
- Revell
- (and 2 more)
-
Upon further review of this statement Banyan....I was wondering....what else is NOT Faux? Thank you for your fine compliment and continued encouragements. I would have NEVER achieved similar results with real cloth...not even with Silkspan. I had to be creative with this simulation....remembering that every aspect of this model is a simulation. The canvas on the boats(Not real canvas), the brass work(Not real iron), there is more plastics, composites, and other unorthodox materials on this model then there was ever on a real clipper. There is not one ounce of Oak, cedar, mahogany, white pine, but there is a whole lotta wood glue and CA to build a dinning room set. It's all an illusion...masterfully constructed to disguise the pirated engineering from a thousand things, both manmade and natural. I was just fortunate enough(By God's grace and blessings) to know how to combine all those elements and it turn out to be a replica of a beautiful clipper ship. We....all here, are doing the same thing....taking what, ISN'T and transforming it into what we want it to be, by skillful use of imagination(Another thing to thank God for). IMV...It's that simple. The hard part is taking all that earthly knowledge and turning it into a convincing ship model. Rob
- 3,560 replies
-
- 3
-
-
- clipper
- hull model
- (and 2 more)
-
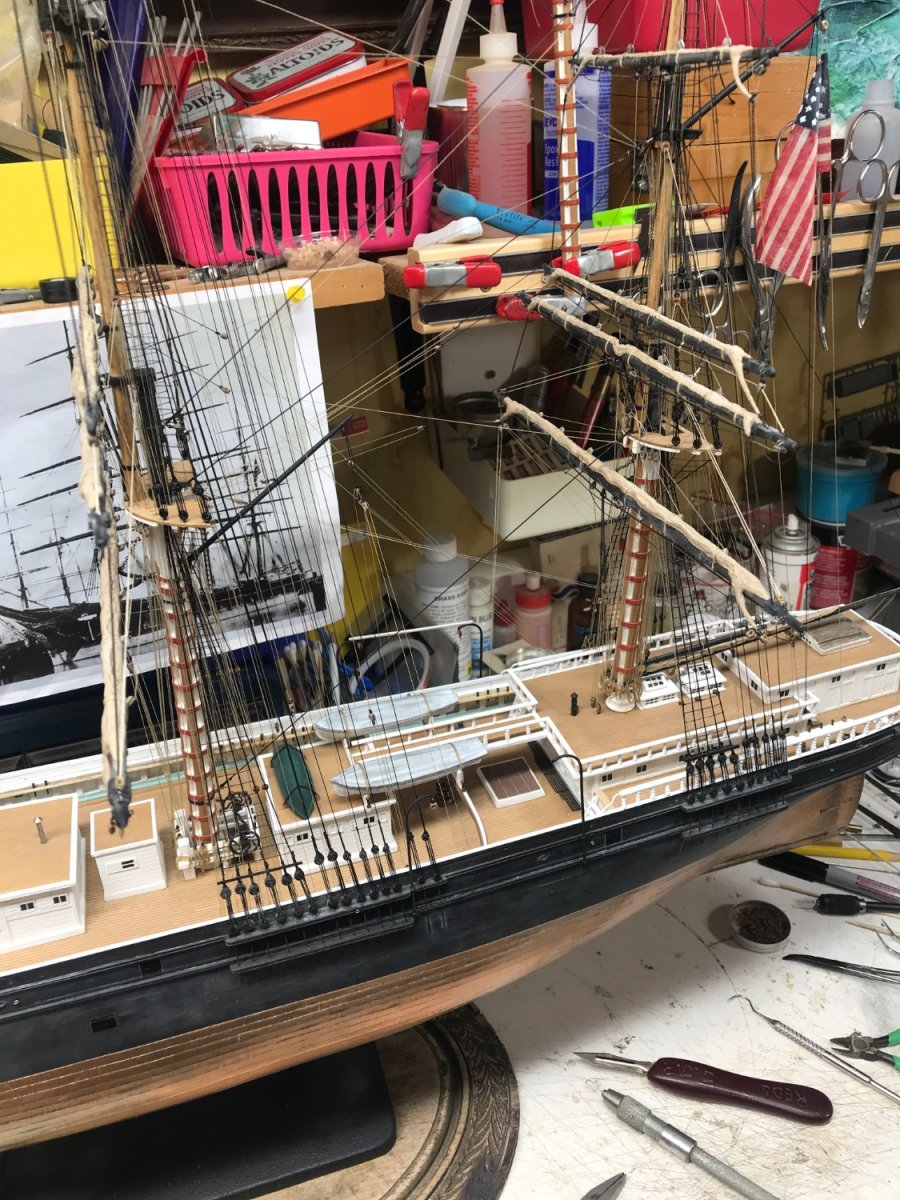
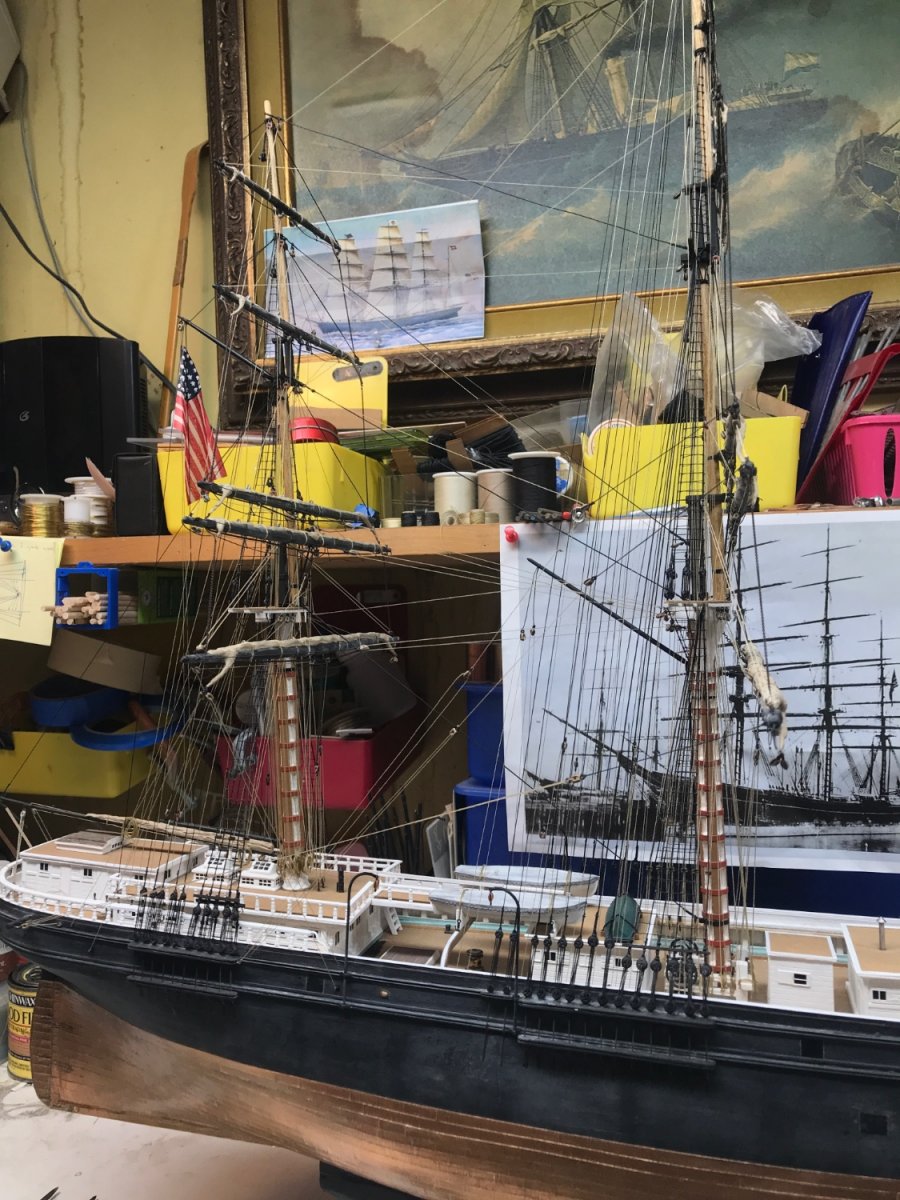
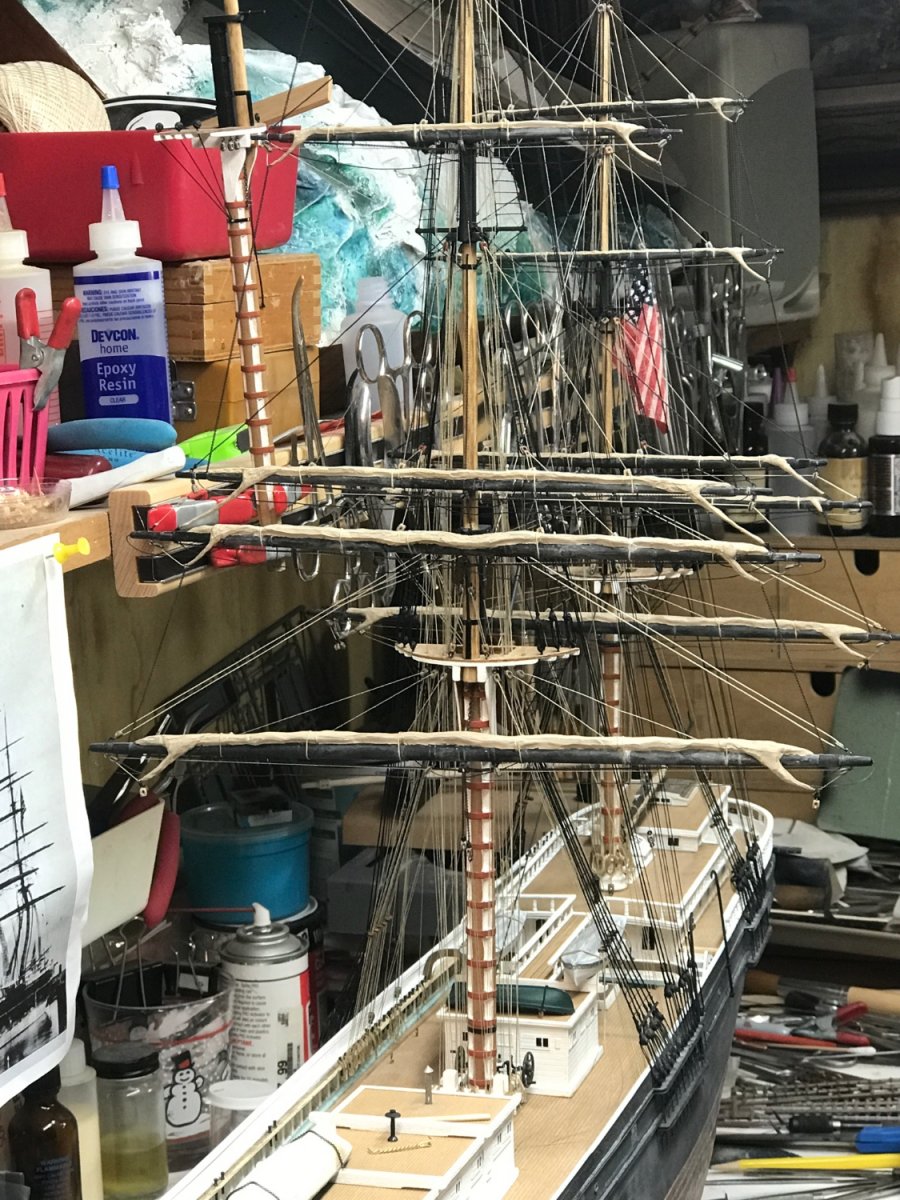
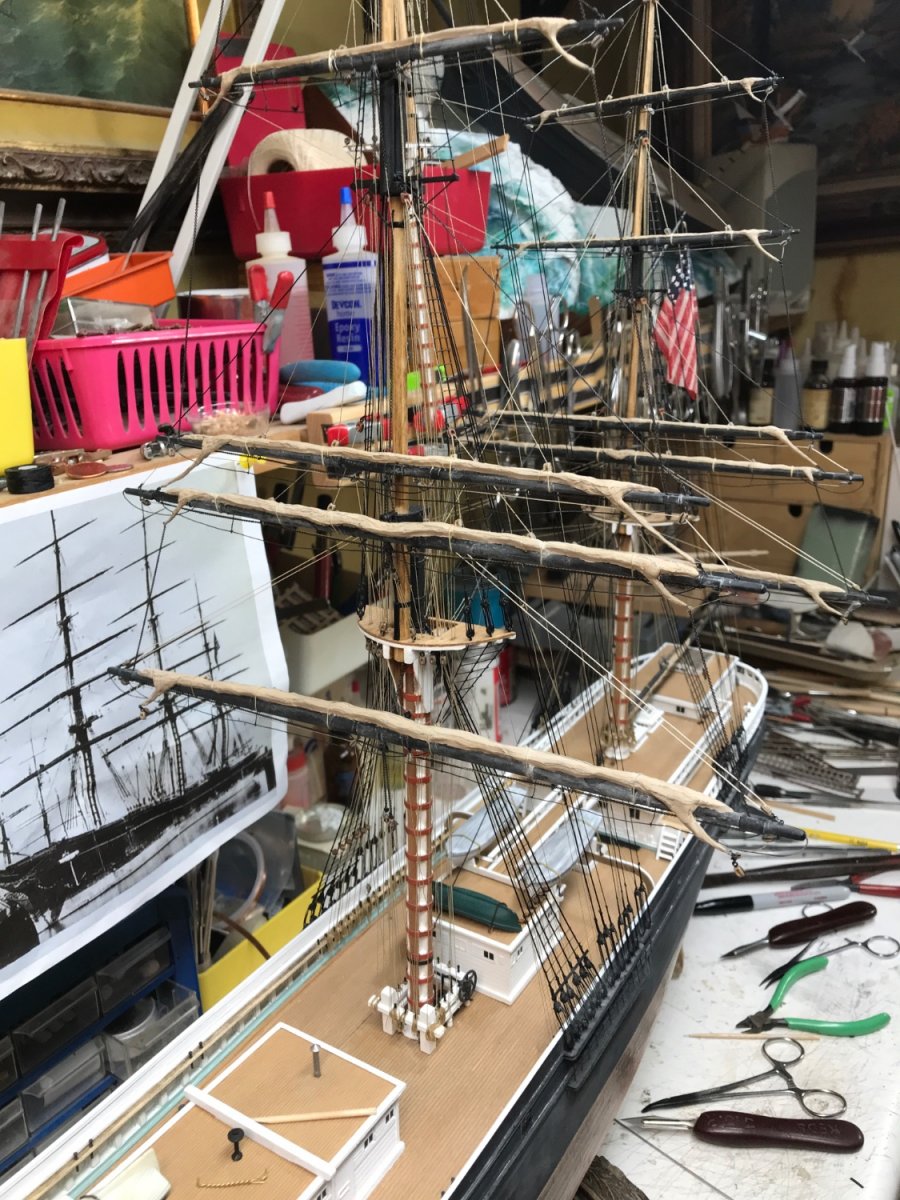
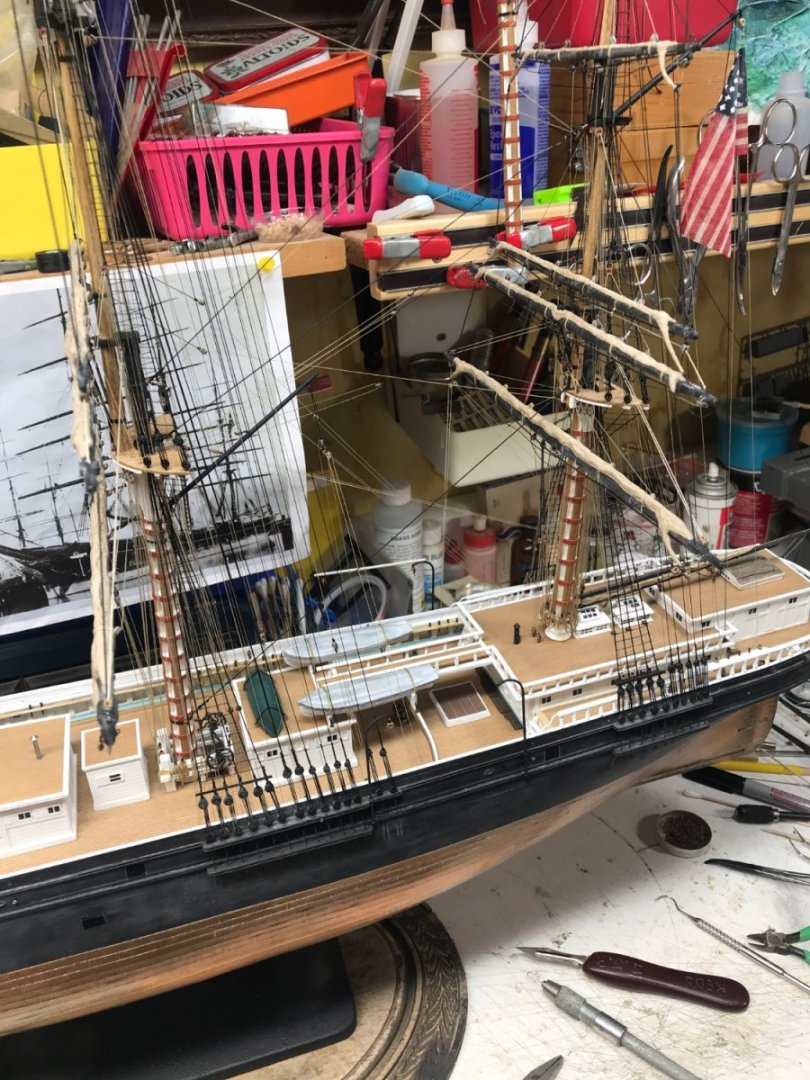
Good observation....If I were building a plastic model...I would be quite concerned with warpage. However with wood and strong construction...not too much. However.......Since, currently, all the stresses are pulling aft against the main mast....I need to be careful, not to over stress and *bend* the mast back beyond its established rake(Plus when I install one line, I then tend to slacken another...with no counter force). The tension I am putting on each line is minimal at best....just to get the un-natural *kink* out of the line. As of last night...I only added the braces for the main mast yards on the starboard side....probably against what I wanted to do, but no harm. I will most likely shift my attention to the foremast yards in the next few days.....after I touch up some minor details. I know it all appears unorthodox....cuz most begin rigging by stepping out the masts and then adding all the stays to begin the foundation of stability and rigidity. I'm moving....like I did with my Great Republic....in a more, *sub-system* methodology. Completing each mast with all its yards and rigging(mizzen first this time), then moving forward...culminating in the final rigging of the bowsprit/jibboom. Of course, I take deviations from this method, now and again, do to simplicity of construction and process of following the *Inside to outside* rule. One last note: Because we are not dealing with actual weight to stress ratios...like what would be encountered with real, large, heavy timbers...I can fudge the physics. And since its my habit to *fudge* things...I think the end result will not be effected. Rob
-
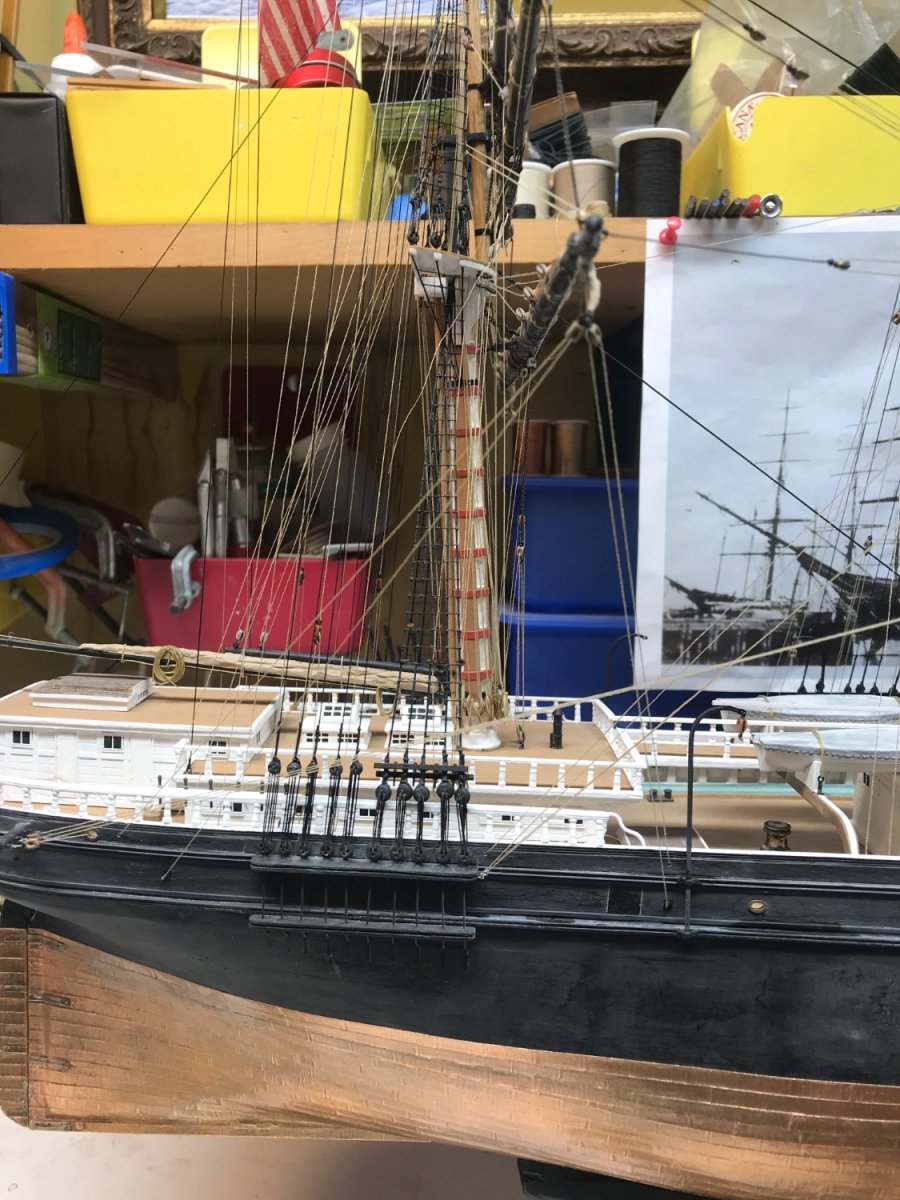
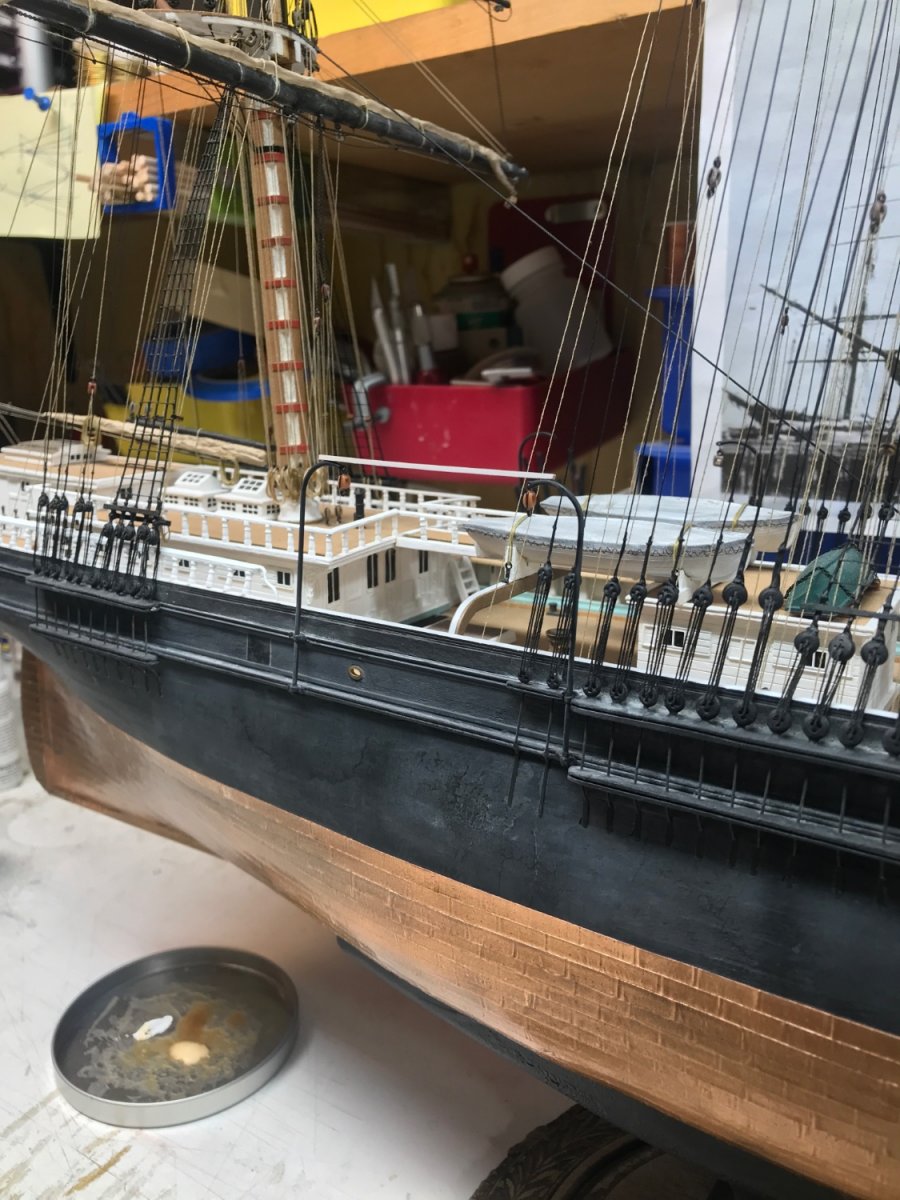
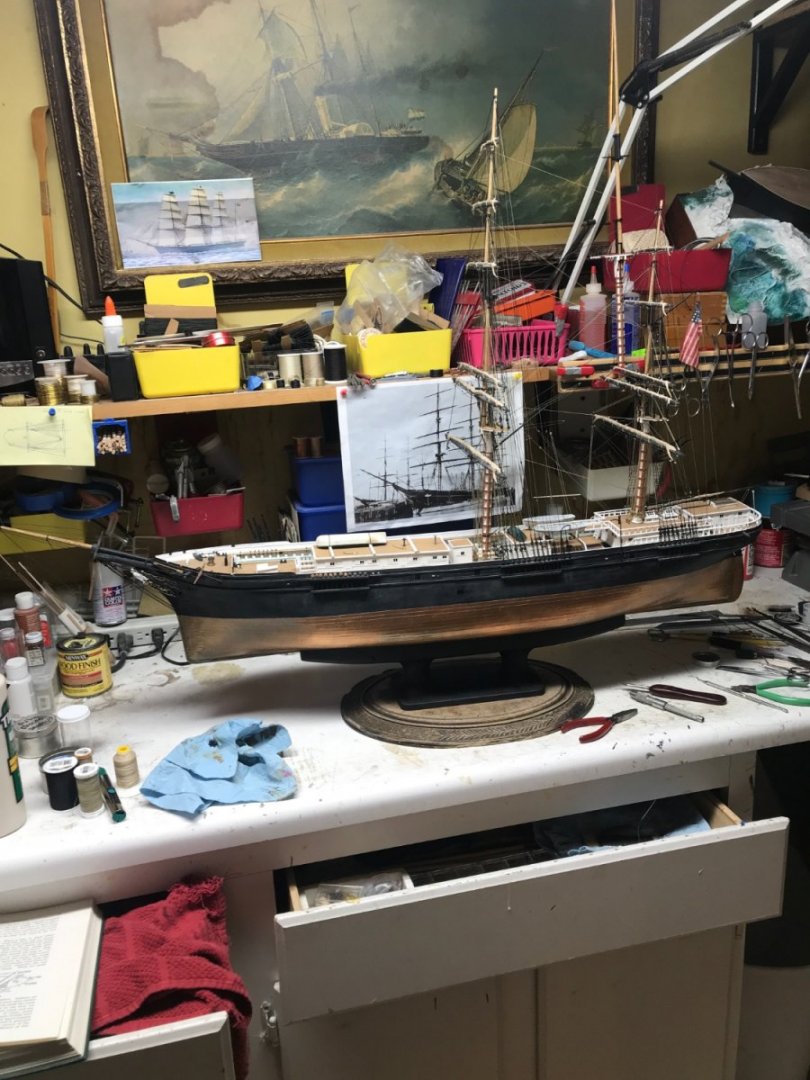
Right. I’ll probably take her out against a neutral background some day soon. All the business in the background does take away a bit. She’s in the throw’s of construction…….really not ready for a proper photo shoot. Thanks for the great interest and support. Rob
- 3,560 replies
-
- 2
-
-
- clipper
- hull model
- (and 2 more)
-
Backing away and going to bed. It’s been a long day. Rob
- 3,560 replies
-
- 6
-
-
- clipper
- hull model
- (and 2 more)
-
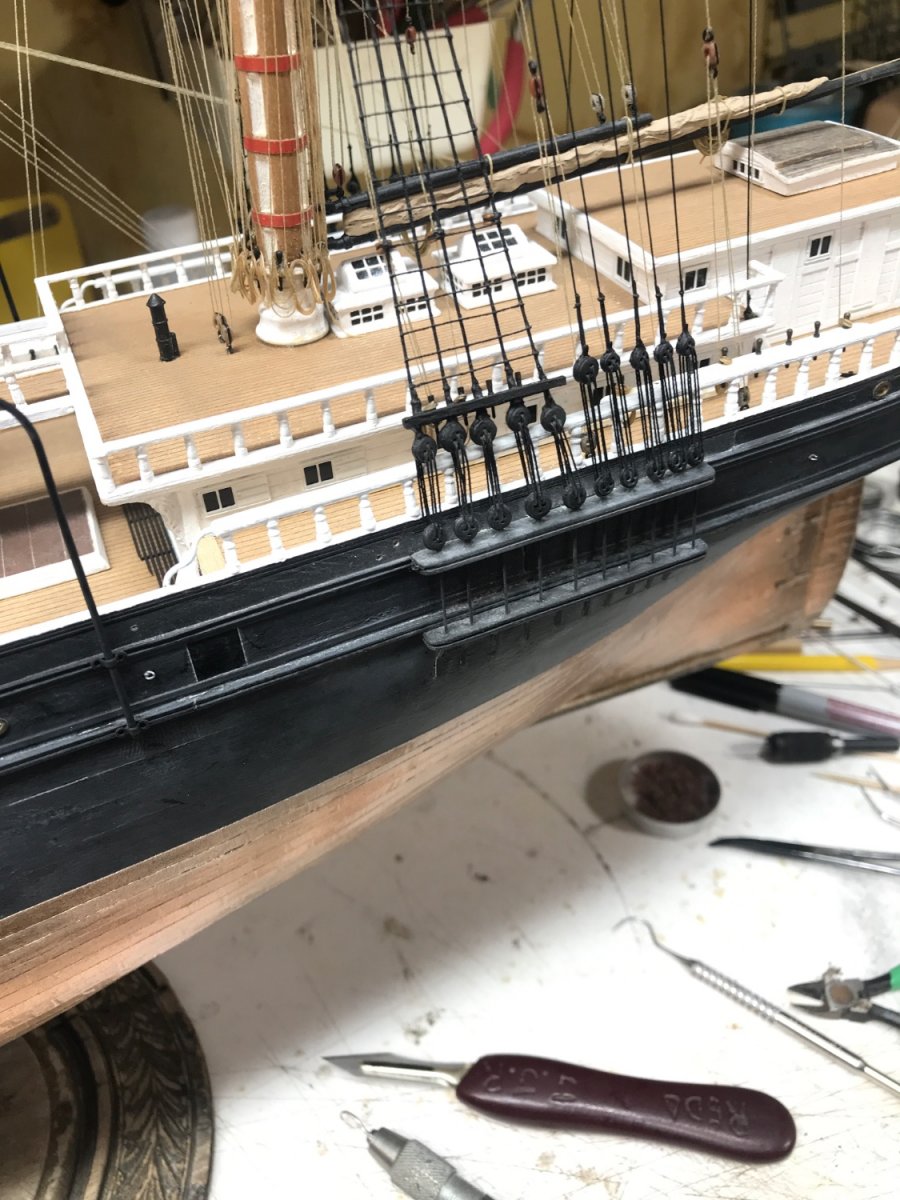
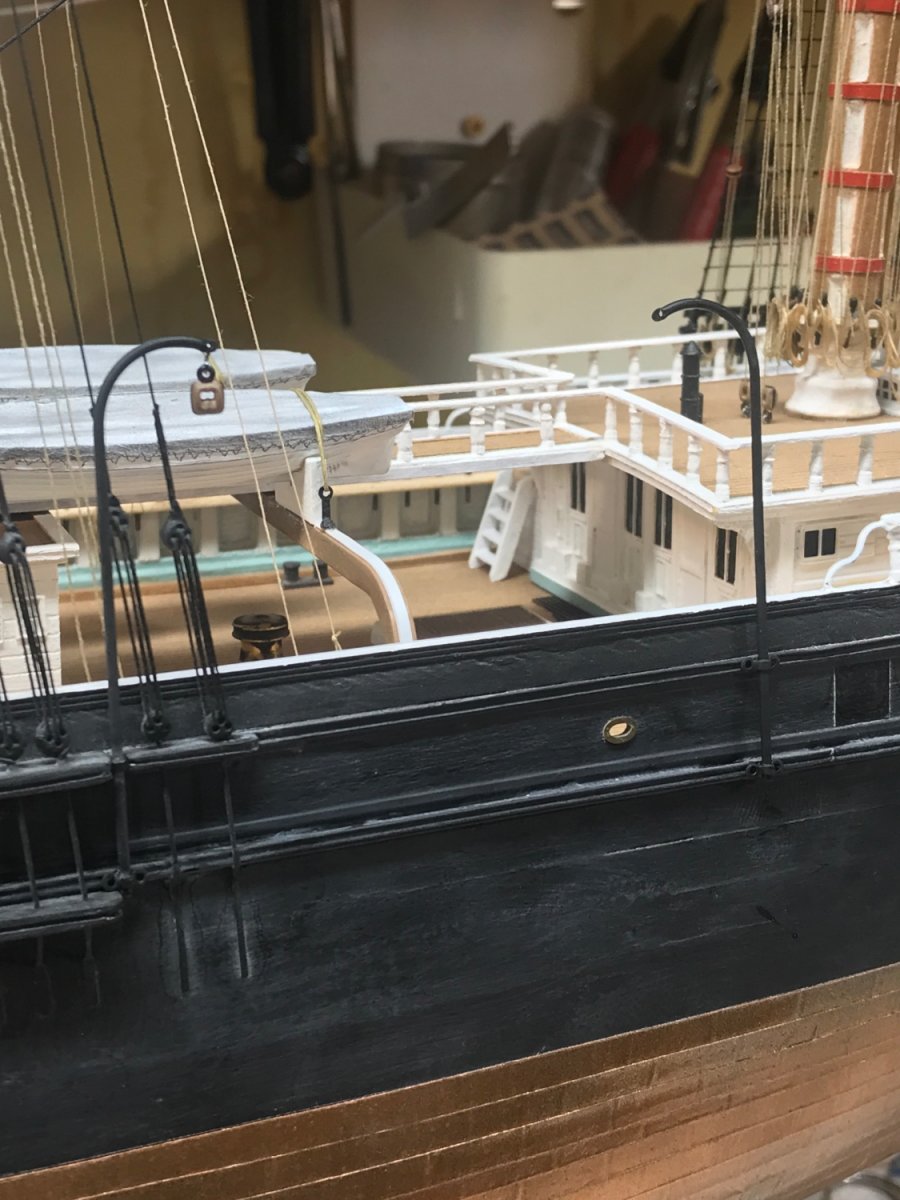
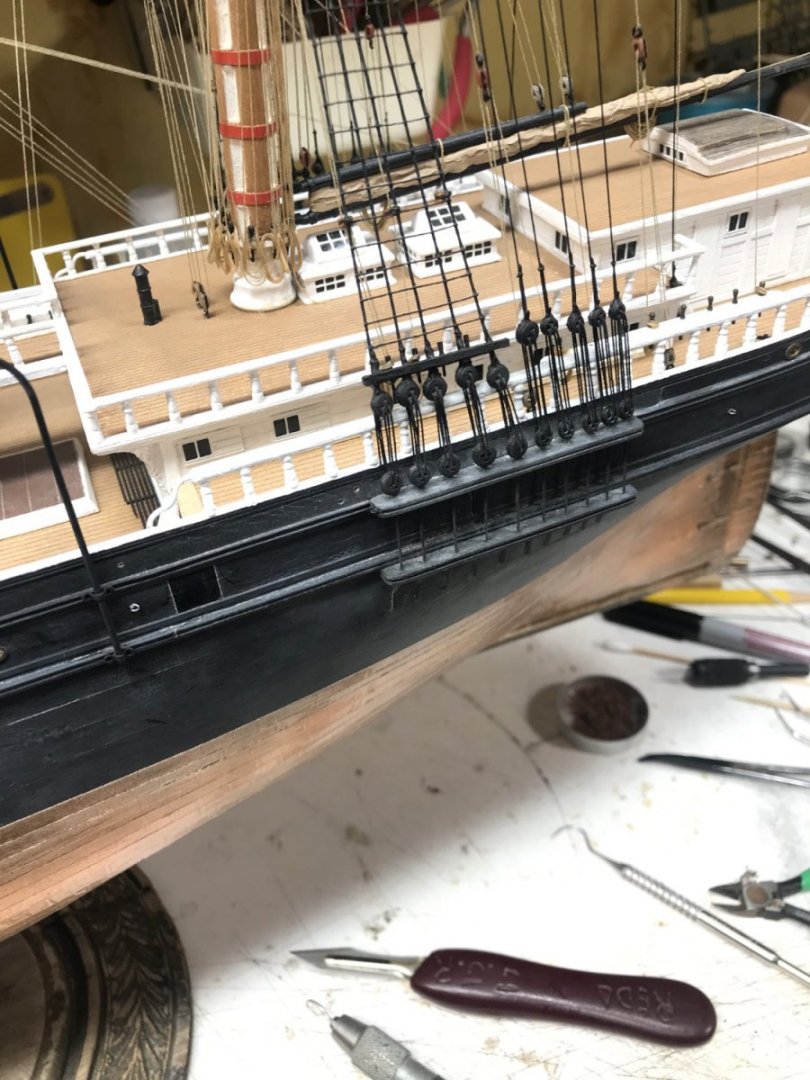
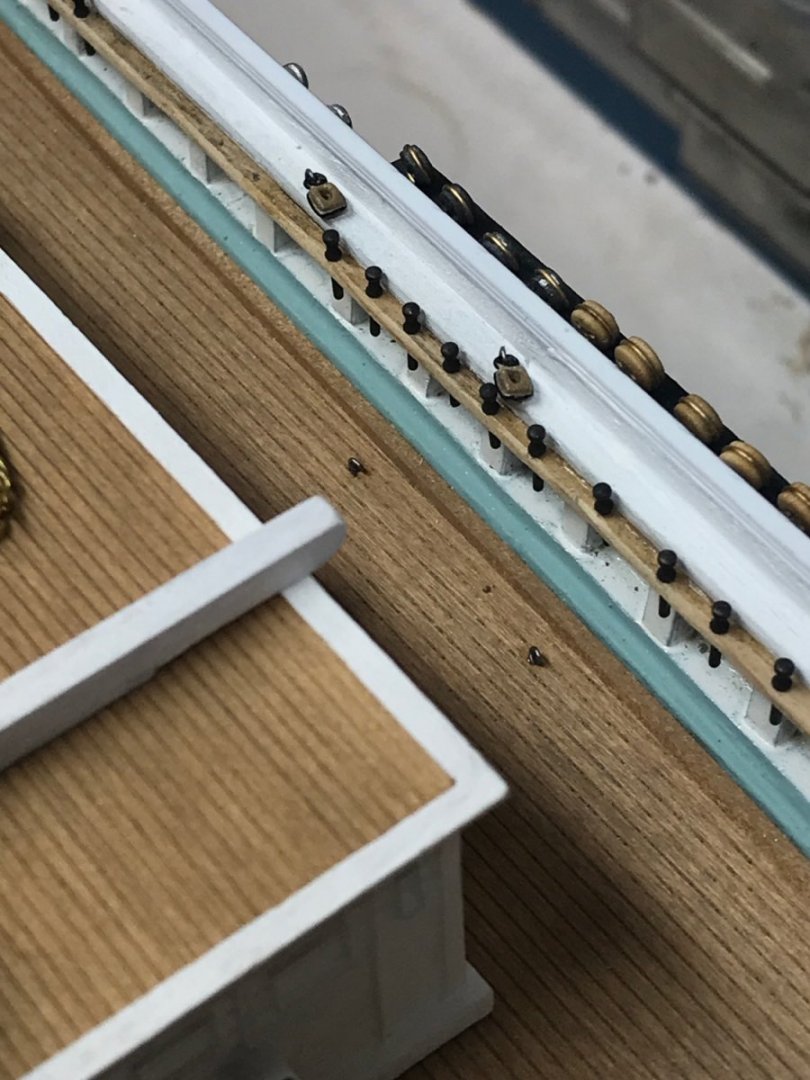
Flipped the boat and began adding fair leads in the bulwark and the eye bolts. Rob
- 3,560 replies
-
- 3
-
-
- clipper
- hull model
- (and 2 more)
-
Mizzen main sheet and tack. I’ll belay them when I flip the boat. Rob

- 3,560 replies
-
- 3
-
-
- clipper
- hull model
- (and 2 more)
-
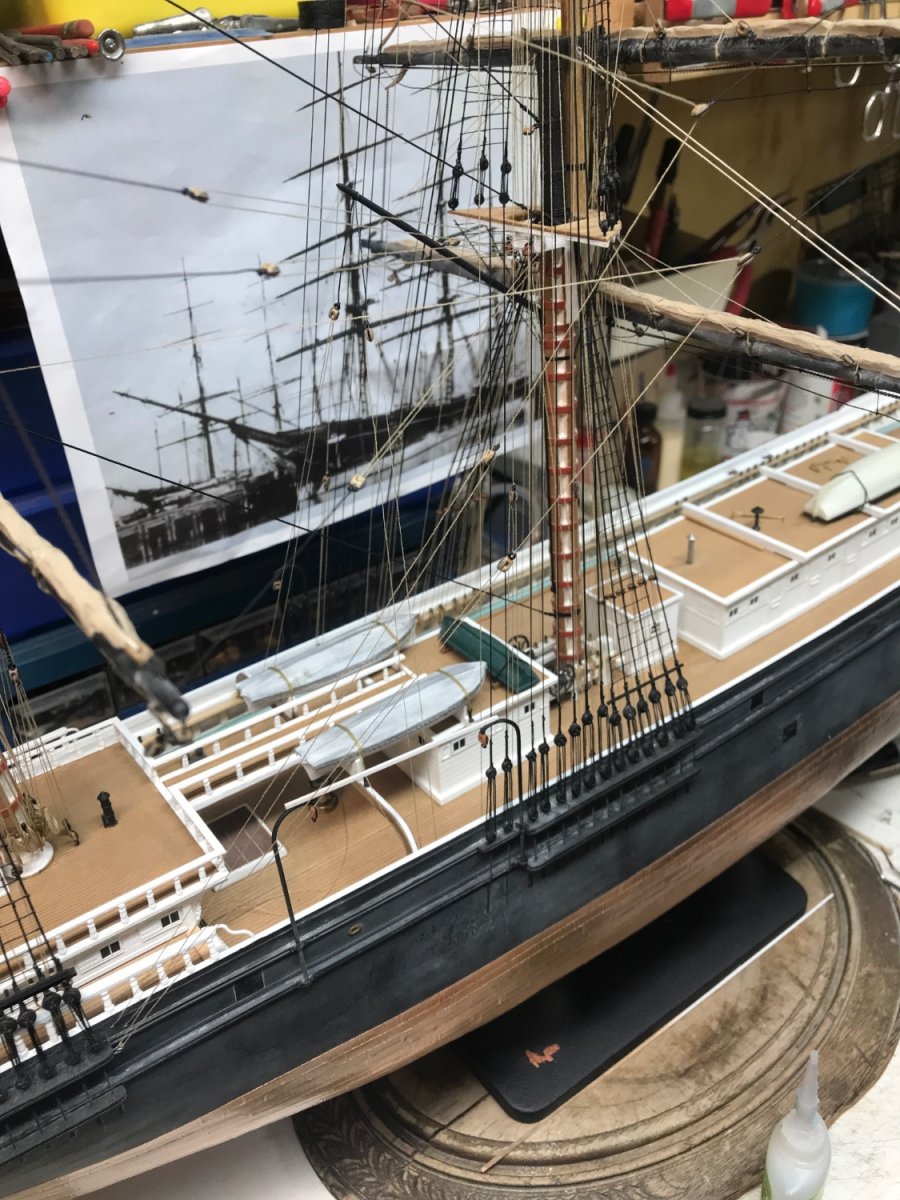
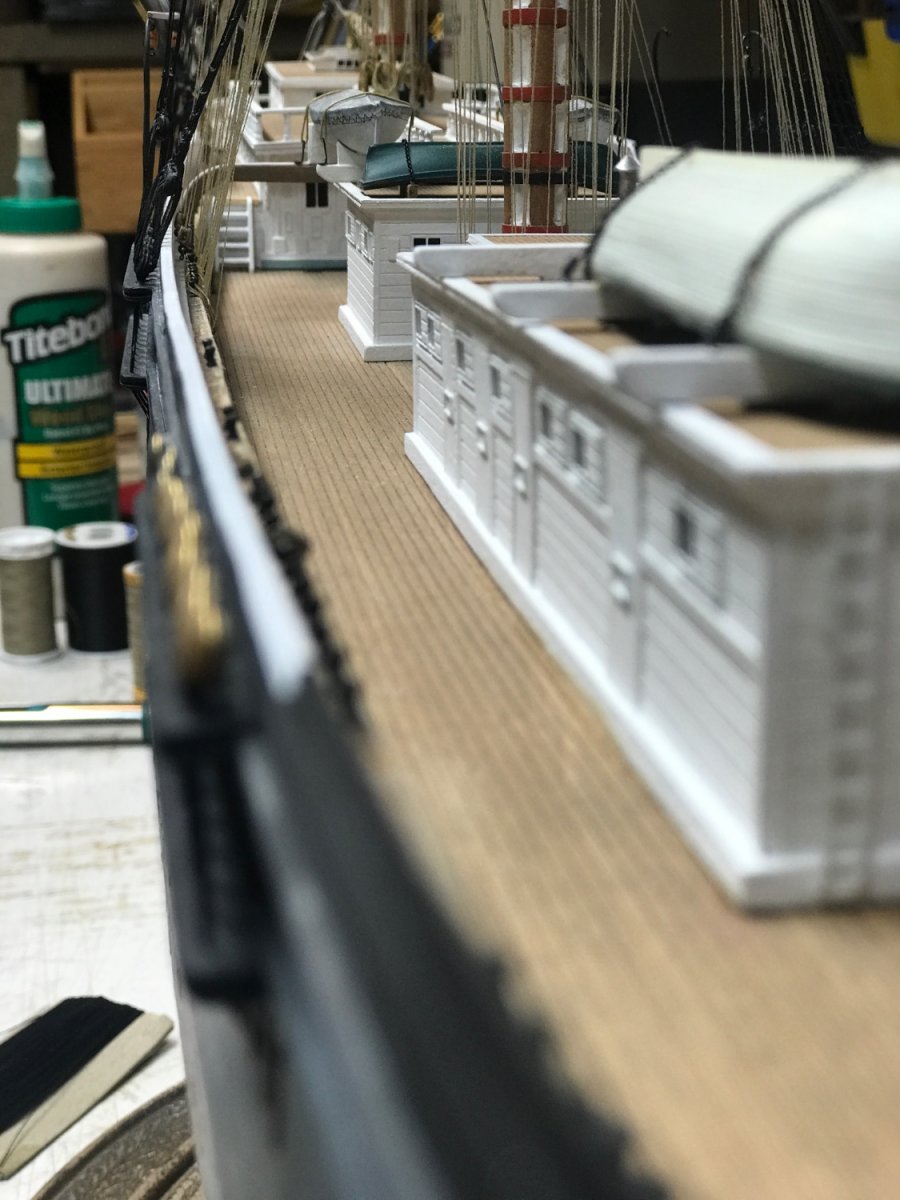
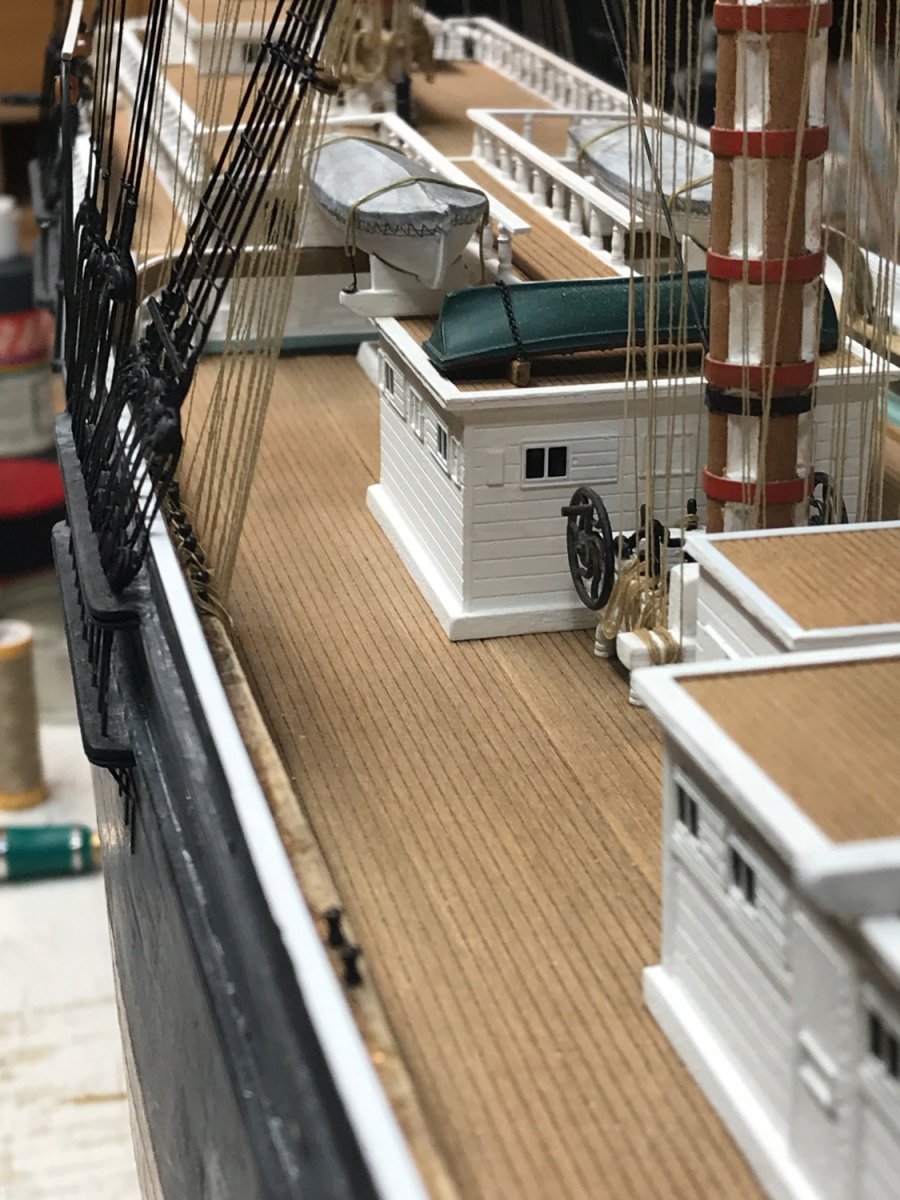
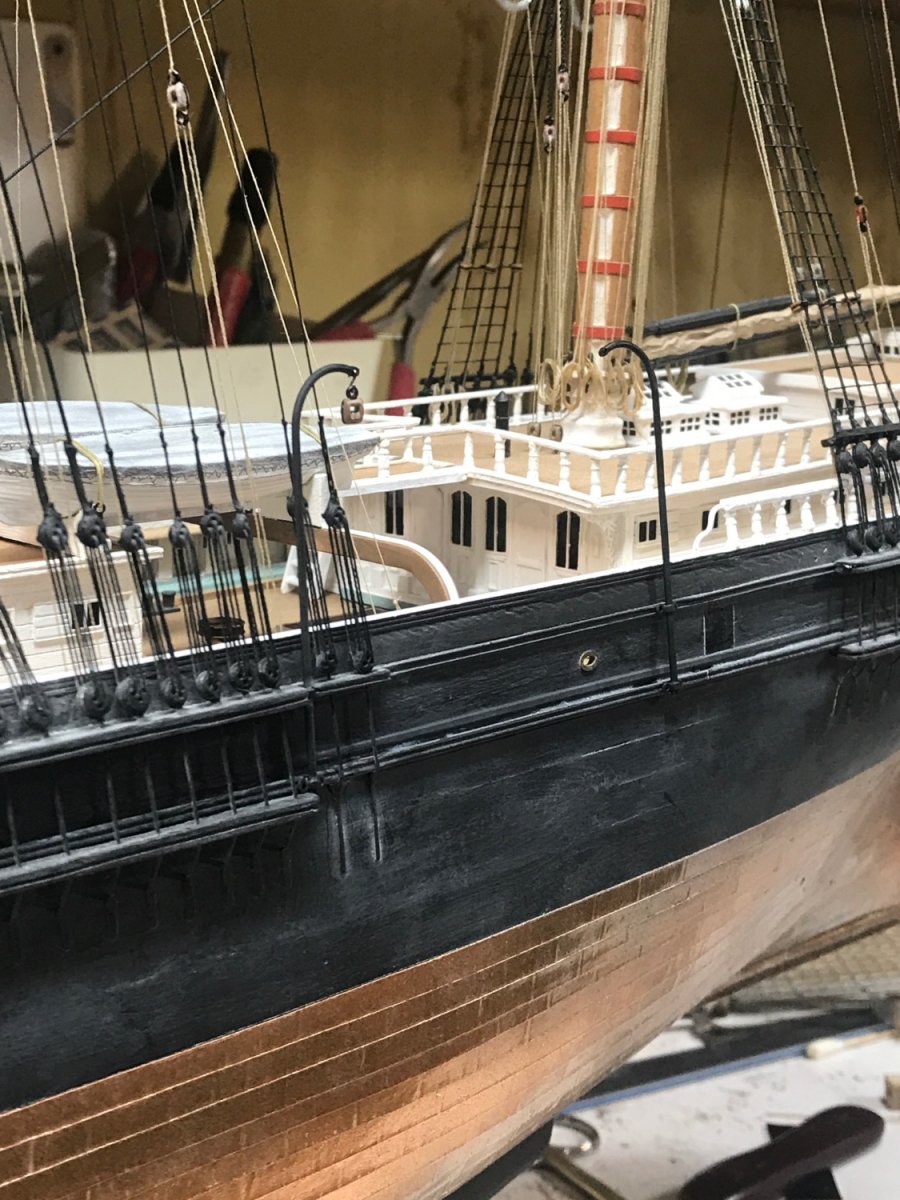
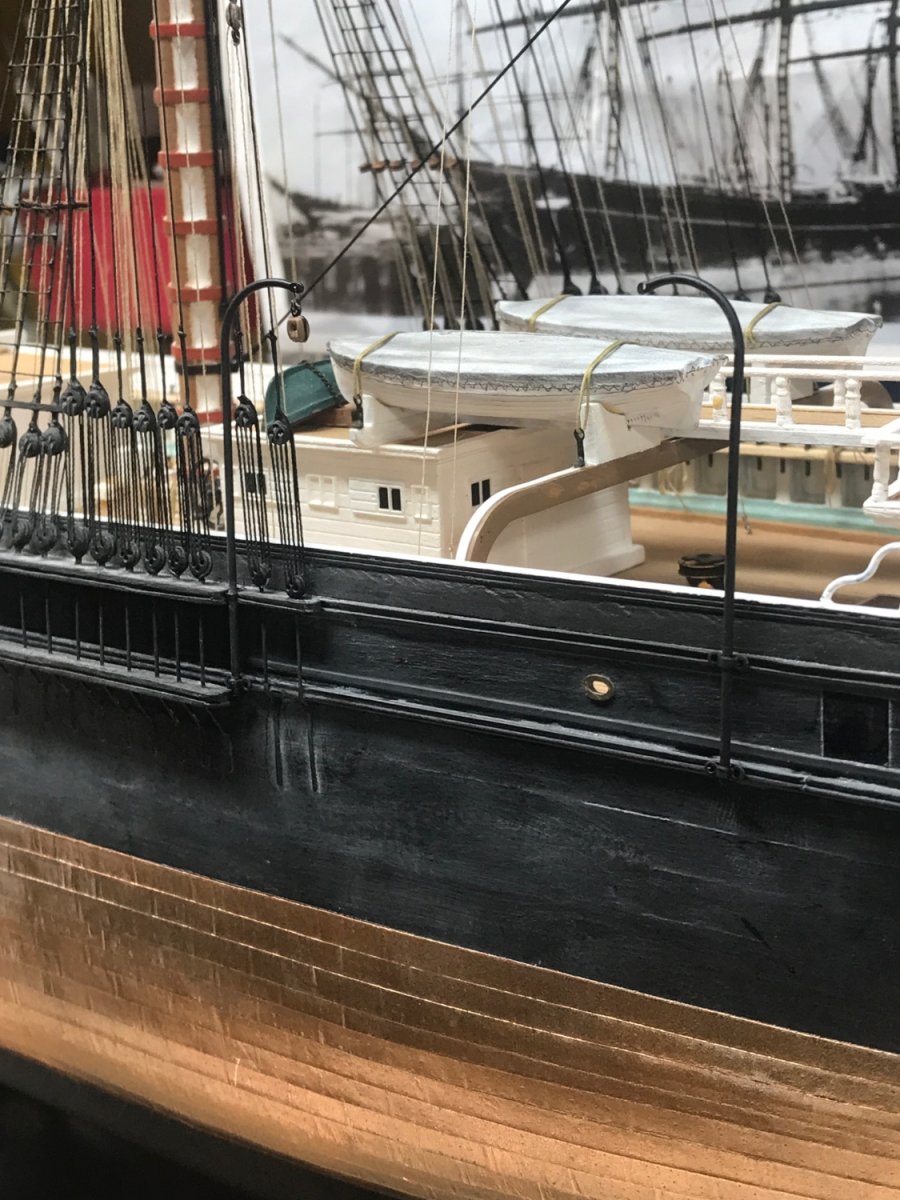
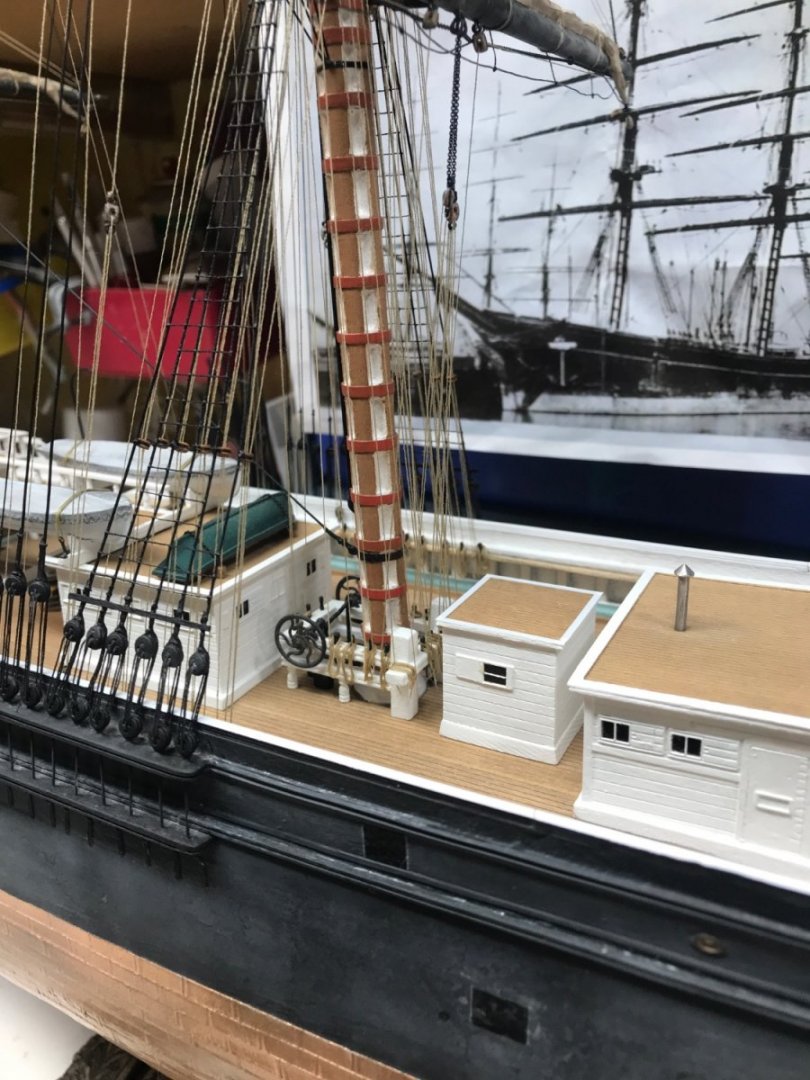
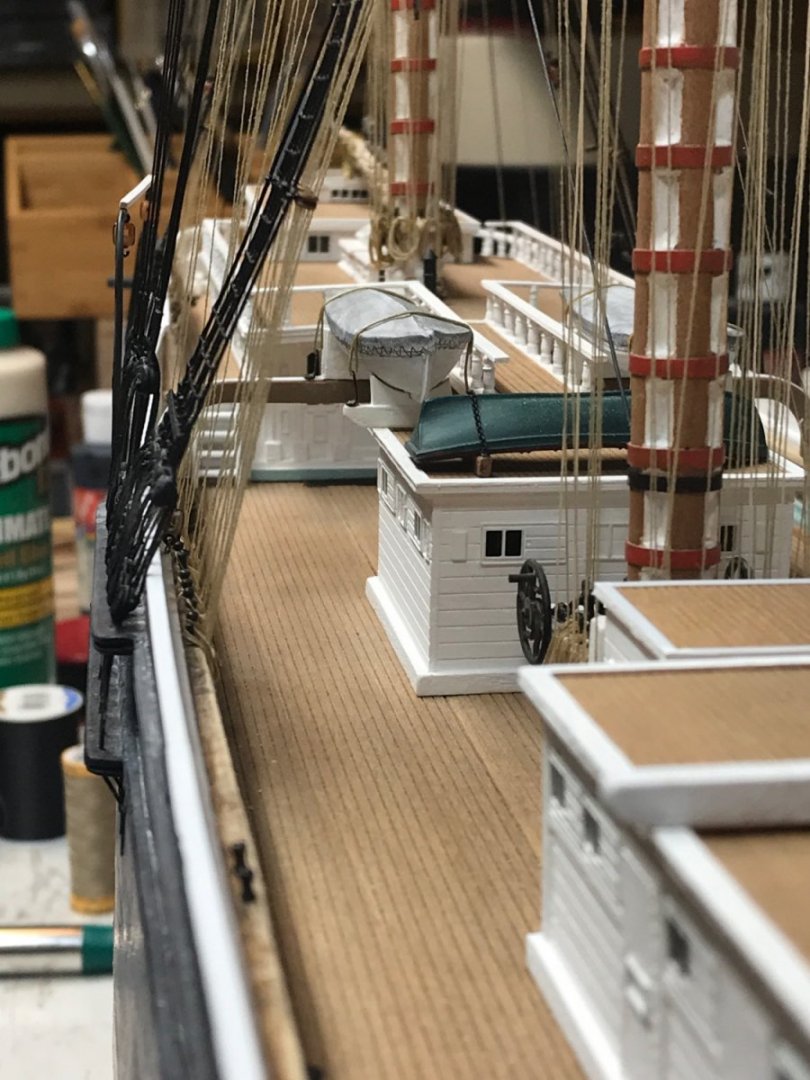
Starting to focus and add details while they still can be easily done. Adding bracing to the davits. While in port Glory stowed her davit gear…….retaining only the head double blocks. Even at sea……these items were stowed. Added the coop now and am adding lift blocks and eyebolts for the foremast. Rob

- 3,560 replies
-
- 3
-
-
- clipper
- hull model
- (and 2 more)
-
Beautiful..... In your scale that will work well....I'm sure, but in my scale I use rope not much bigger then sewing thread. That would be like braiding spider silk. Can't wait to see you use this rope on your model. Rob
-
Rope making....? That's one trail I'll never go down. I want to finish my model before I completely fossilize. I have other models to build before that inevitable day. Great work on her Rob. Rob
-
Good job...I waited to add the foot ropes to them until after I rigged the shrouds.....but adding details to the mast while it is off the hull....IMHV....is the best practice. You can move the mast around with ease and can work freely, without endangering the finished hull and its workings. Great progress. Rob
- 481 replies
-
- 1
-
-
- Cutty Sark
- Revell
- (and 2 more)
-
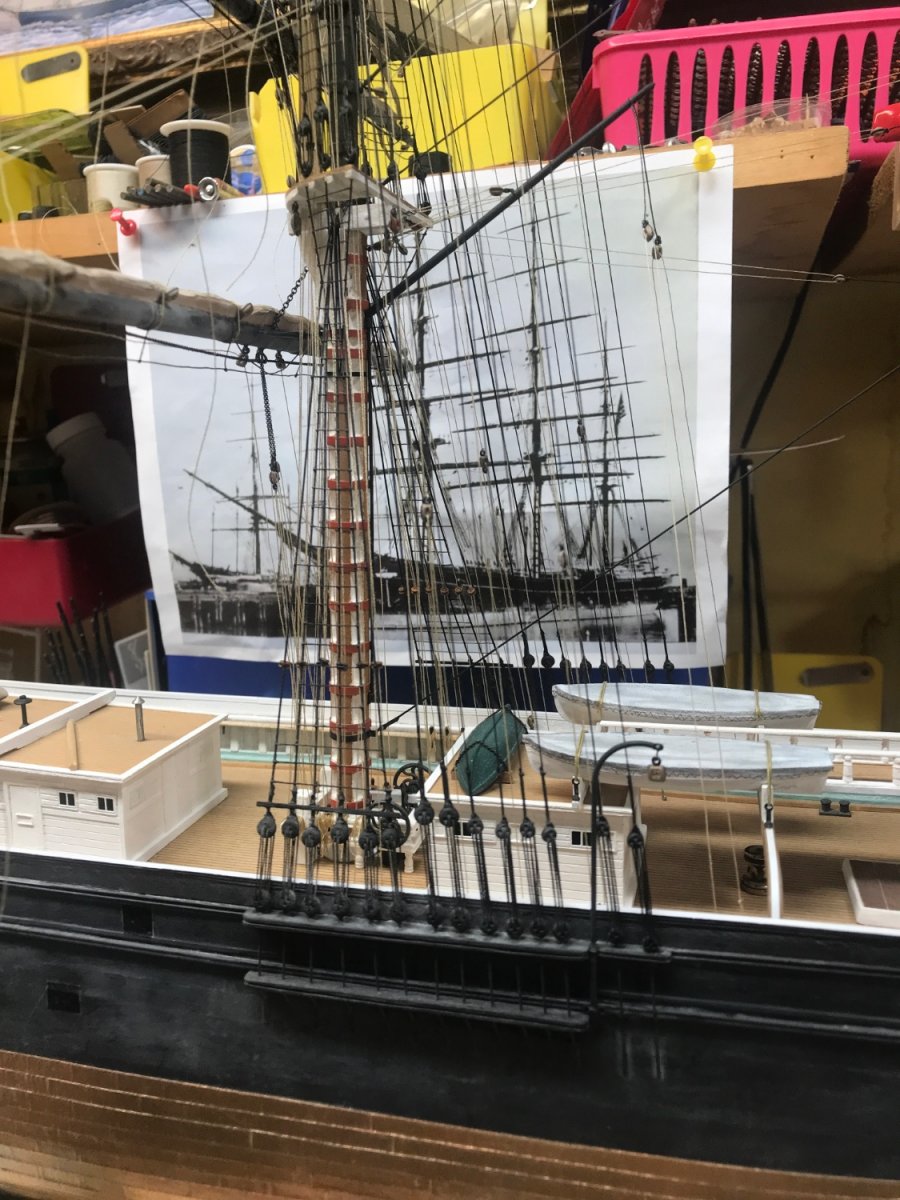
Part of my mastery is practicality. I indeed have left off the addition of these braces to lessen the stress on the mainmast…….since there is no adequate counter force that would otherwise be applied by the main mast stays. Plus the topsail yards and the main yard sheets need their sheeves prepped in the hull. I have plenty to do till I begin the yards for the fore mast. Thanks for the great support and encouragement. Rob
- 3,560 replies
-
- 3
-
-
- clipper
- hull model
- (and 2 more)
-
AND don't forget to use dark thread...or black for the lanyards. They are just as much part of the standing rigging as is the shroud above. Rob
-
Looking good Rob...protect what you can. I know, when I have to flip Glory around...I have to pick her up....leave the small shop and turn around in the next room, and then come in and place her on the bench in the opposite direction. I have so many things that can be bumped and broken....and my bowsprit is stickn out there, ripe for breaking. However, I am so diligent in the process of *flippin*, that I take my time and make sure my appendages are all accounted for before I make any moves. Your hull is quite large...larger then I had originally thought. Well done. Rob
-
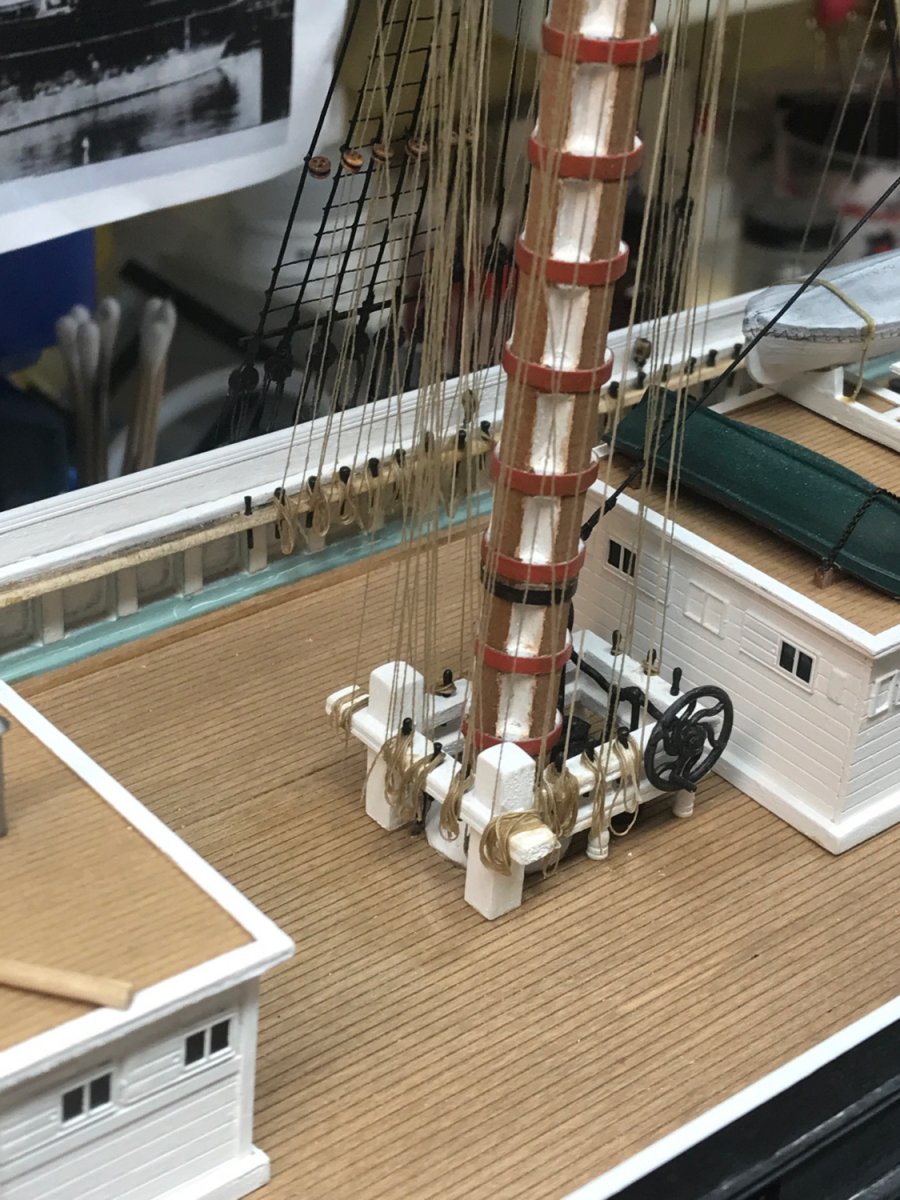
Thanks to everyone for the fine compliments...I appreciate it very much. One thing must be pointed out(well several)..... When preparing to rig, you must faithfully consider how much rigging you are up for. Standing rigging is a gimmy....... but running rigging can come in all shades of complexity. The minimalist rarely strays from lifts and braces. The biggest dilemma is making sure you comprehend the true complexity of line location, and belay points.. Having a bunt line descend down the mast from a skysail yard... must not in any way tangle, twist or interfere with any other of the lines demanding the same treatment....and then effortlessly find its appropriate belay pin on the rail. All , without entanglements. I quickly realized (AS I ALWAYS DO), that if I wanted to *fully* rig my Glory...I had to put in the homework and most of all.....visualize...with 3-D vision.....the clear unobstructed path for each line. I have on a number of frustrating occasions....had to un-belay and rerun a line that was clear of all other lines....but one.....hiding behind a shroud. Good thing I always check and recheck (from every angle)....lines before I glue them in place. It will not take long before the forest of lines becomes a structure in of themselves....this is why, within the body of your homework, you must make sure you use appropriate line size for the scale you are replicating. How many times have we seen an otherwise beautiful model being overpowered by over sized rigging lines....and them, of the wrong scale color! For my purposes, I generally use 3 sizes of line...one for lifts and downhauls for yards and the others two for sail control and top mast bracing. Rigging always has to be smaller then you think. No one hauls a yard purchase the size of a baseball bat......that would be a main mast shroud. I just wanted to help those, thinking, or beginning rigging on their own models. 3 things I want to leave you....1: Use the appropriate size cable for your rigging (Smaller is better). 2: Use the appropriate color, Greyish tan is best, (deadeye lanyards are NOT running rigging...stop using tan cord) 3: Rig as much as you are comfortable with(but if you put that much effort into your hull build...why stop there, challenge yourself, you'll be a better modeler because of it). Rob
- 3,560 replies
-
- 4
-
-

-
- clipper
- hull model
- (and 2 more)
-
Finished the port lift…….now I’ll add a few rope coils and then fig the bunt lines. Rob

- 3,560 replies
-
- 6
-
-
- clipper
- hull model
- (and 2 more)