lb0190
-
Posts
686 -
Joined
-
Last visited
Content Type
Profiles
Forums
Gallery
Events
Everything posted by lb0190
-
 Hi Augie, She looks impressive! You mentioned you seized the 0.018" Morope at the eye rings. What did you use and what size was the seizing thread?
 -
Hi Mark, OK, now I see the bow stem issue you mentioned. It looks pretty minor and if you end up with a bow beard (fender) it will not be visible at all.
-
Hi Mark, Your build looks pretty. I cannot see the stern problem you mentioned, but sometimes photos make it difficult to see some details. The nice thing about the Washburn kit is ther's plenty of material thickness to sand corrections and any filler material on the hull will be covered up if you finish with fiberglass. Keep up the good work and keep in mind three steps fwd and one step back is good progress in model ship building.
-
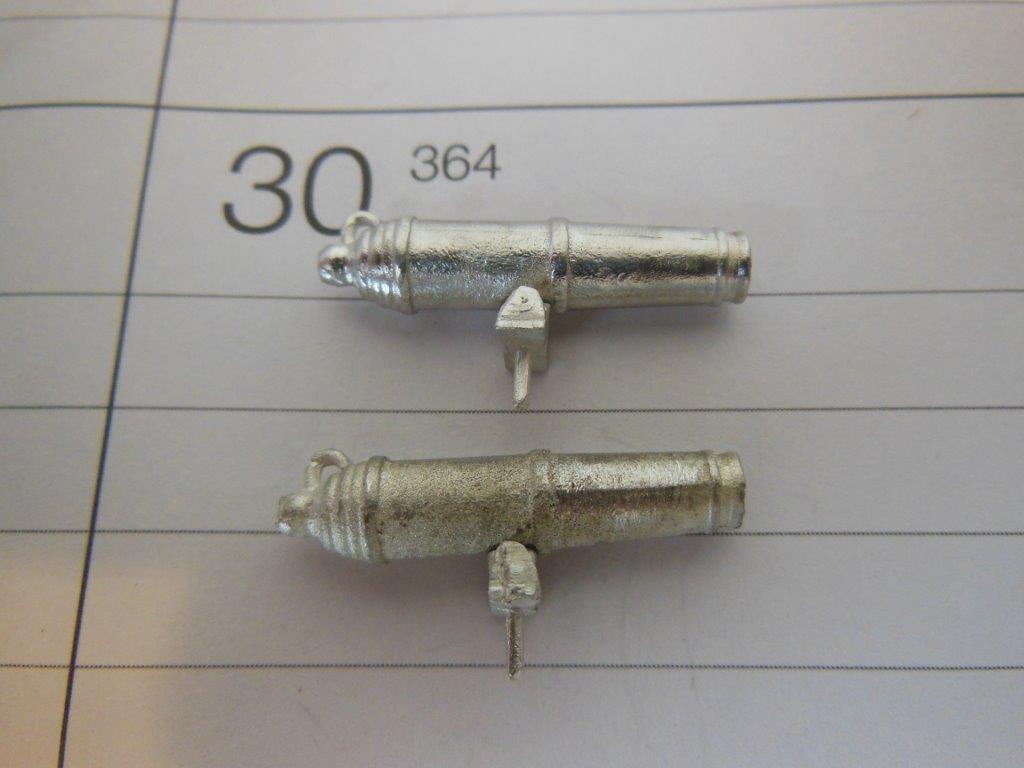
Thanks Popeye. I just finished air brushing the second coat on the carronades. The airbrush worked out pretty good and Model Expo's Cannon Black paint looks like a good color. Each gun may have a very small spot that was missed due to all of the raised areas on the gun. A small brush just barely wet should clean up the missed spots fairly easy. The Admiral is heading north for a week, so hopefully I'll have a little more time in the shipyard over the next few days.
-
Hi Sjors, Yes, lots of cannon trees. I started painting a few of them today. My confidence level of using water based acrylic on metal is not too high. Hopefully it will adhere ok.
-
Glad to hear your starting a log! It's not a big deal that you do not have any early photos. Sitting patiently waiting for your update...
-
Thanks John. That milling machine combo you had on sale sure looked nice. Right now I'm working on getting my first ham radio. Modeling tools are a close second. I sure wish that one day my list of money to burn was as long as my want list... All of the above parts have been primer coated.
-
Hey Augie. Yes they are! In addition to the main four or five parts there is an additional seven to nine parts per gun, to make, paint and install which does not include the rigging had. I'm anxious to get the hull painted, top rail in place and furniture installed so it look like a real ship... I may get there before the end of the year.
-
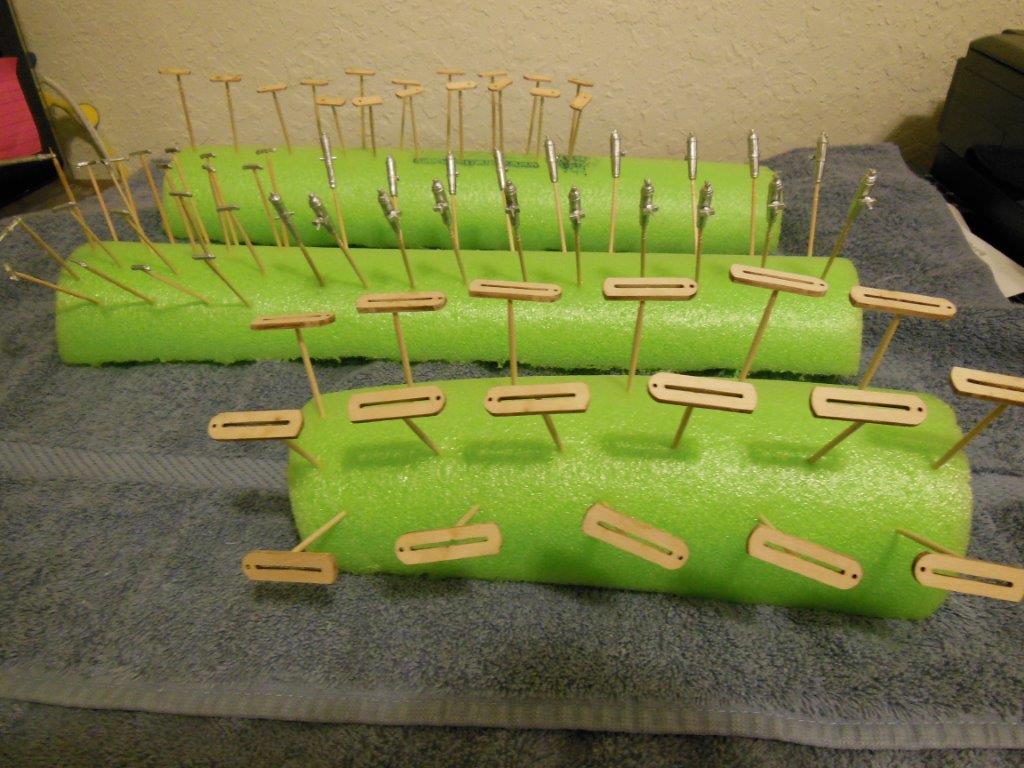
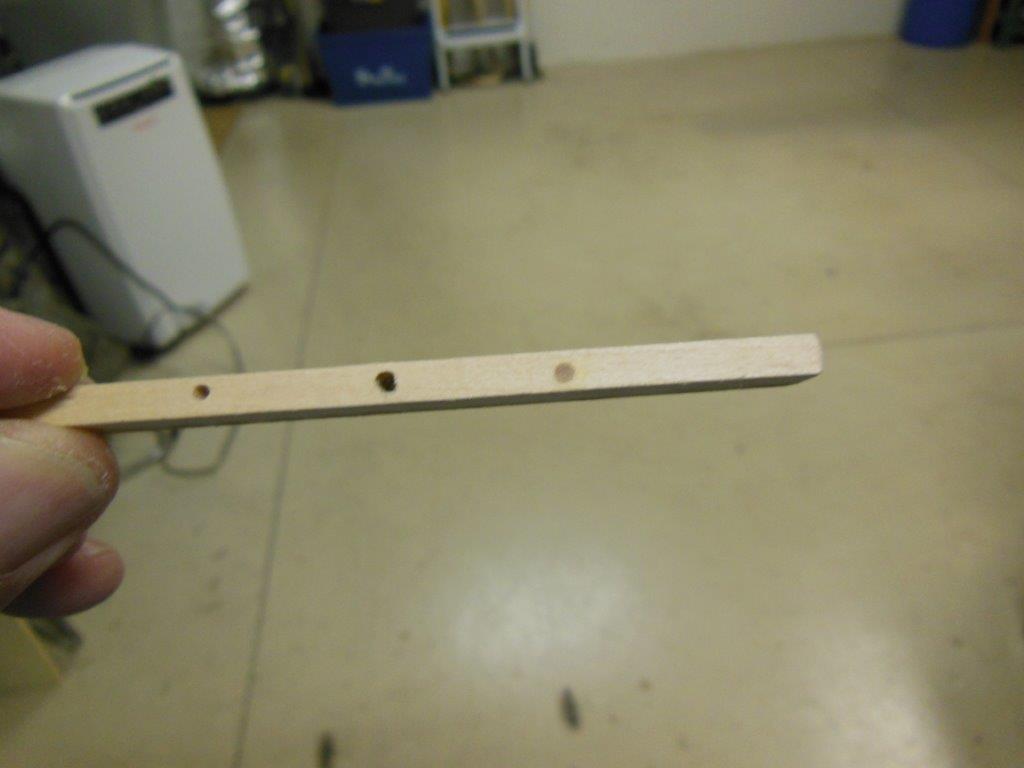
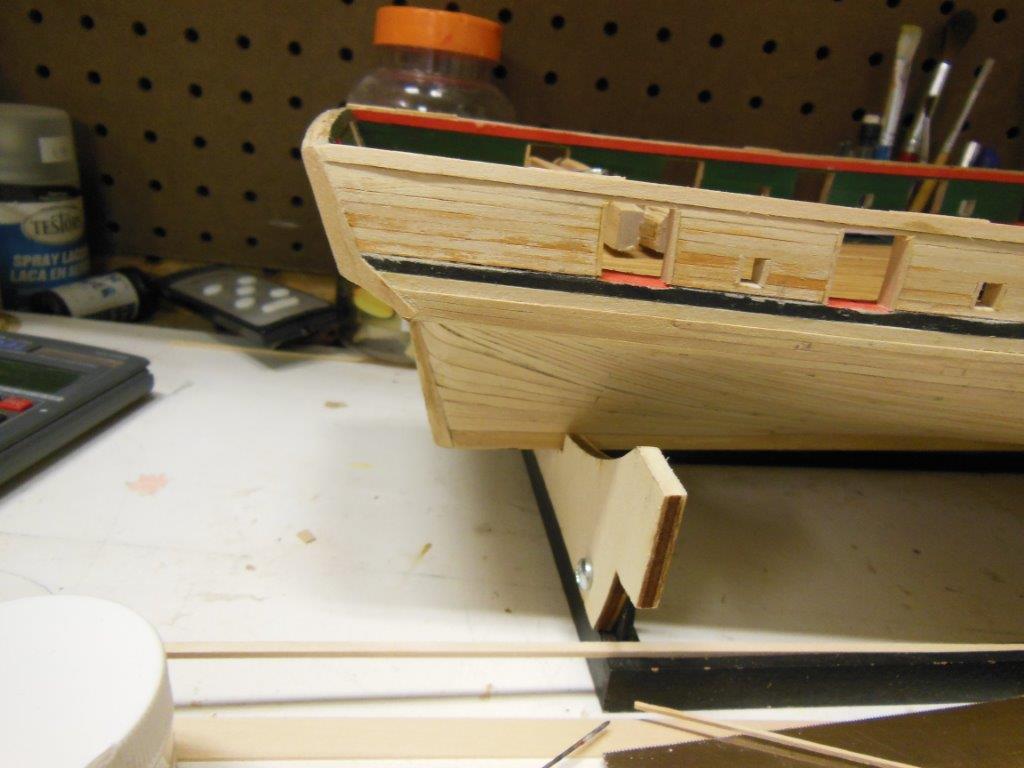
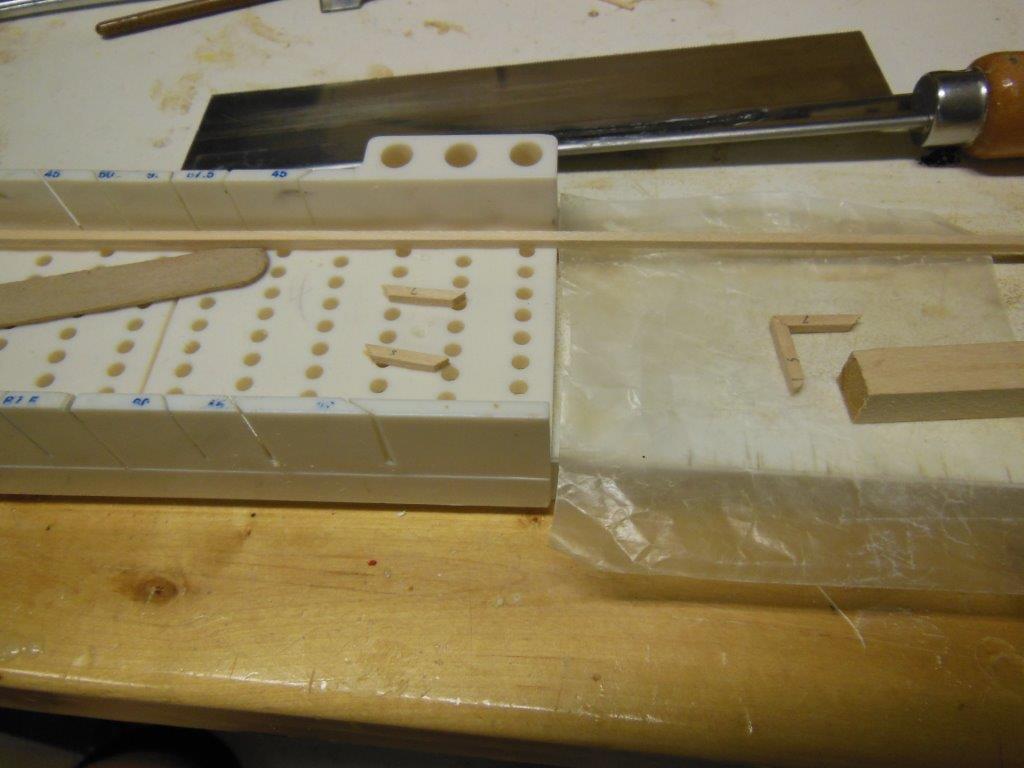
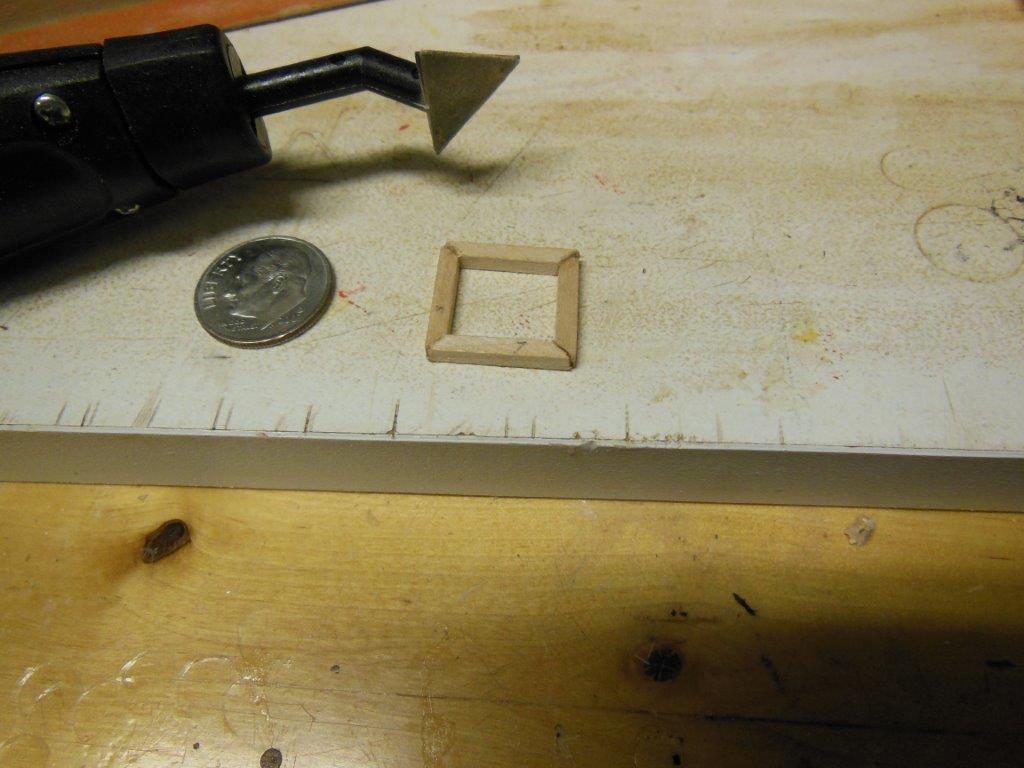
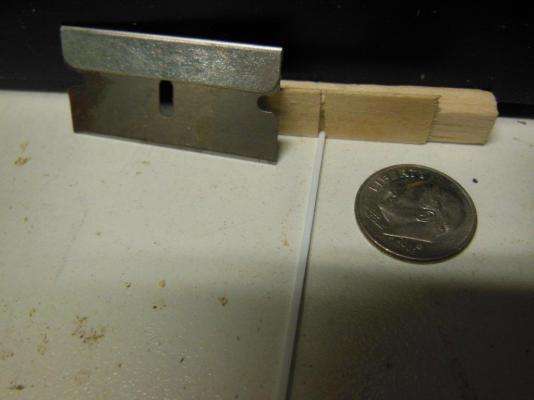
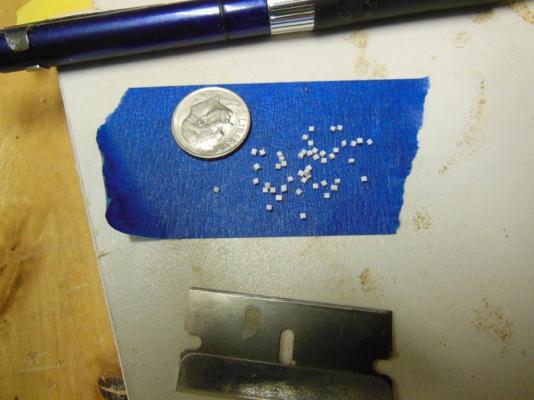
Between family holiday visits and such, I manged to get a little time in the shop (aka garage). I think I now have the needed detail items on the hull exterior. I added the ladder rungs, sheaves and the stern staff block as well as blocks for the stern boat gripes. I also tried to simulate how the gun port eyebolts were held in place with nuts showing on the exterior hull. I assumed the nuts were square and ~2” which at scale is 0.031. I found some square PVC sock at that size and just needed to make @80 of them close to the same thickness. I made a simple jig to slice off pieces that could be glued in place. Once they were on the hull, they looked too thick but the glue held on well enough to allow sanding. I still need to clean some residual material hanging from them so they look square. I think I'm ready to prime and paint the hull, but I thought I had better check the gunport height with an assembled carronade to make sure I do not need to sand them higher before I paint. I started to work on one carronade and then realized the amount of work involved so I decided I might as well form an assembly line and work on all of them at the same time. I attempted to sand off the mold split lines from each cast piece. I also noticed a yellowish coating which I polished off with a wire brush on my rotary tool. One of the pictures shows one carronade polished next to one that is not polished.The wood sled parts needed the normal sanding to get rid of the laser burn and attach points. Next I'll airbrush Model Expo primer on the white metal parts and wood sled parts followed by light sanding as needed. If everything looks good at that point, it's time to spray color followed by Model Expo clear satin which I hope is tough enough to provide protection from scratches. You can see I used toothpicks lightly glued to the parts awaiting the airbrush. I was shorted one carronade but it's my fault for not doing a bag count much earlier in the build. Model Expo is great about replacing missing or broken parts.


-
Thank you John. I hope you and yours have a great Thanksgiving! While I'm at it, I hope the holidays are are a joyful and blessed time for all of my MSW friends and families.
-
Hi John, The brass sanded down very easy using my 1" belt sander and it polished up fine. I've seen your daily specials and thought the prices were very good - better than any other place I looked at. I'm in good shape for polishing items but thank you for keeping me in mind. I'm happy to hear your new venture is starting out so well. I hope it does not impact your ship building time or enjoying retirement.
-
Thanks guys..., mission complete! It was much more difficult in my head.
-
Thanks John, I was not sure of the process or what to expect on a finish. Now I need to work up the courage to start sanding on them. FYI: I added one more photo on my previous post showing the keel pins sanded down.
-
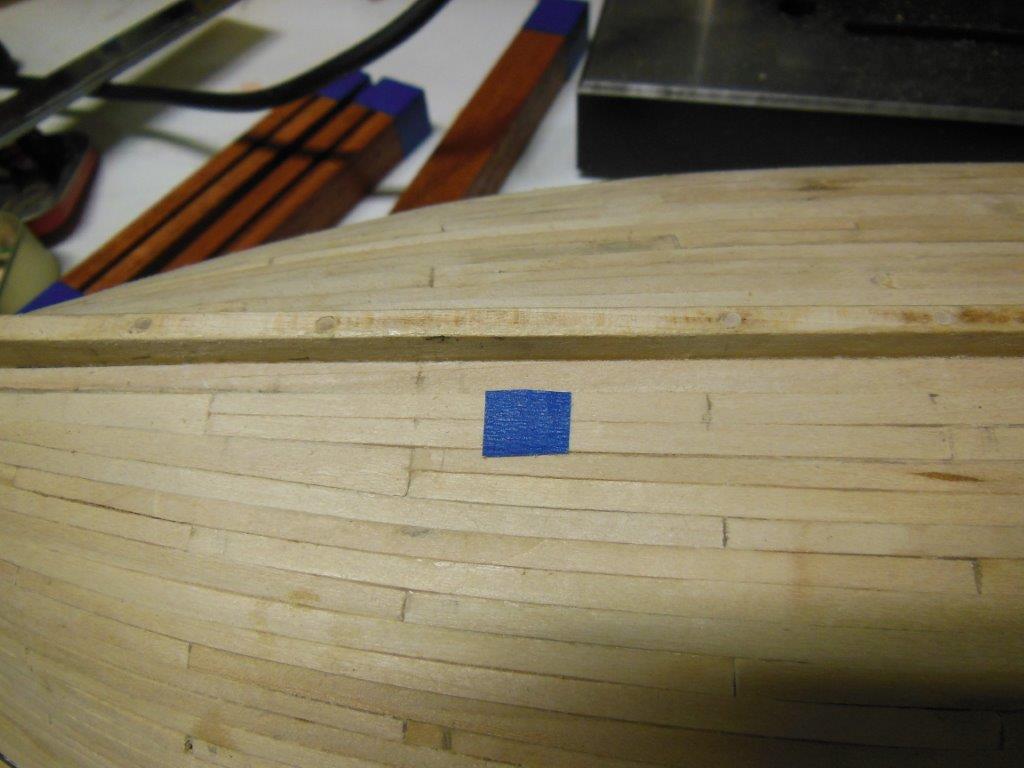
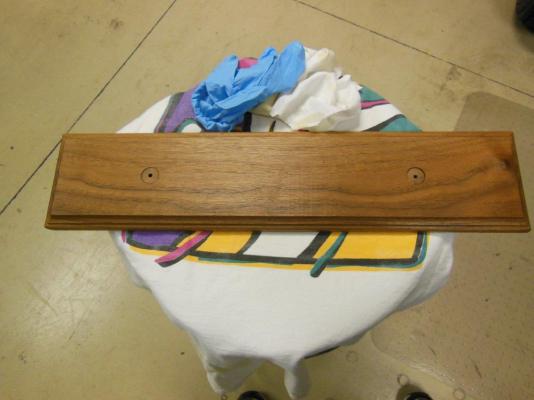
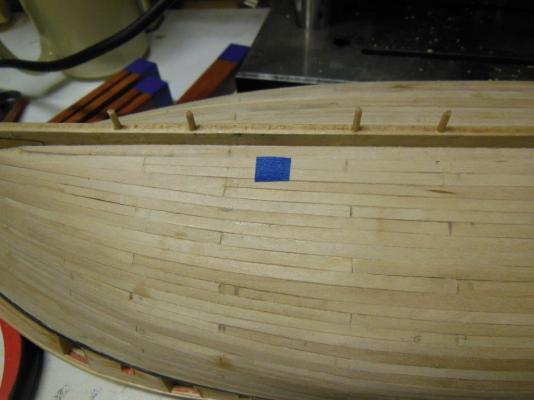
I've been sanding and working on paint nicks, anchor chafing blocks and other areas that needed cleaned up. My pedestals came in so I switched to prepping the hull and board for mounting. The mount board has been lightly sanded, slightly counter sunk for the pedestals as well as screw heads and coated twice with wipe-on-poly. I was worried about the stress this type mount may place on the glued joint between the center keel and the keel pieces. The instructions said to glue and pin this assembly but since my initial plans were to use a cradle and not having a drill press at the time, I skipped the pinning. Fast fwd to the present, pinning is needed so holes were drilled in a test sample along with a hole for the mount screw to make sure I would not split the keel. The test piece (picture 2357) worked out fine so I pinned the keel in nines places. The blue tape marks where the mount screw hole will be located. The aft pedestal sits slightly lower so the ships waterline sits level - I hope There is one more decision to make regarding the pedestals, the slot legs are too long which means I need to grind them down or use a spacer. I'm not sure which way I'll go at this time. I'm concerned grinding them (my preferred choice) may look rough and the wood spacer may look out of place. Has anyone used their sander to grind brass pedestals down - if yes how did it work out for you?


-
Thank you Adam. I definitely lost six months or so of building this year, but I'm finally getting to the point where I get to work on the details of the ship. My pedestal mounts have shipped and I should be painting the hull within a week or so.
-
Thank you Frank!
-
Hi Bob, It's good to hear from you. I agree with you on the top rail showing the final look. I started working on it this morning and it's not as bad as I thought. I may get by with only having to sand the high spots and maybe a little basa lite filler at the stern corners. Take care.... Larry
-
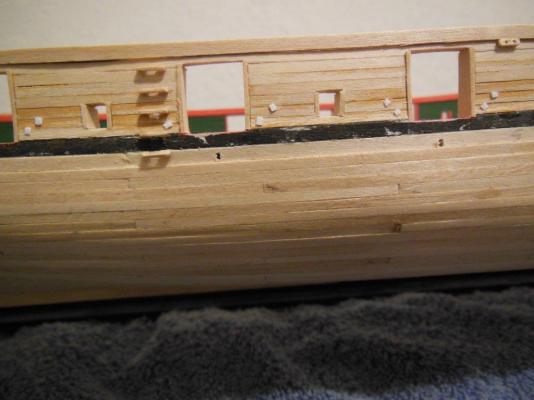
Hi Augie, I made the cradle supports and just did not like the look that well, even though it looks very nice on Patrick's ship. I though about reducing the amount of wood but after a lot of waffling, I ordered two brass pedestals from Model Expo. Update Sideboards are complete on all gun/sweep ports. I filed on the laser cut rudder to where it looks like a rudder and I also added the remaining fashion piece. My next step is to figure out how to fix a problem that has been staring me in the face for a while. I'll wait until after I paint the hull before I install the main rail, but I need to fix the mount surface the rail attaches to before I paint. Both sides near the bow are not even which would result in the rail sitting at an angle. It looks like I need to add wood or sand, but doing it so it does not look like a repair is the difficult part. It's not a lot of of vertical offset between the inner and outer wall but enough to be a challenge for me.
-
Hi Augie, Yes, I will place her in a case. Below is a link to Patrick's Niagara showing the cradle he made and shared the design which I will duplicate. I was thinking I could use two pins (~1/8" wood dowels) on adjacent corners to keep it from slipping from the cradle. I just do not know if the hull planking (1/16" thick planks) is strong enough to hold it without breaking, if bumped. I did coat the inside of the hull with epoxy. Your thoughts? http://modelshipworld.com/index.php/topic/69-niagara-by-patrickmil-model-shipways-wood-pob-164th-completed/
-
Thanks John and J. I'm now good with how it looks, but that photo looks awesome! As a quick update, I completed the gunport end boards on the PORT side but I was a little smarter this time. I painted the boards other than where I trim the outside edge. I started working on the port sweep port end boards last night. I've also started working on my mount board and cradle. My mount board is walnut but I could not find any 1/4" walnut locally to make the cradle. I did find some red oak which I'll stain or paint. I'm debating on if I should pin the ship to the cradle or let it sit free.
-
John, Thanks for taking time to do the research. I'll keep it the way it is and see how it looks painted.
-
Hi John and Augie, Oooooops, I obviously did not see that error...lol, but its corrected now. That's a good idea on using sandpaper. I'll give it a try. Bulky is a good description for the fashion piece, but it's pretty close to the print, I'll re-measure to make sure. Thanks for looking in and for the advice.
-
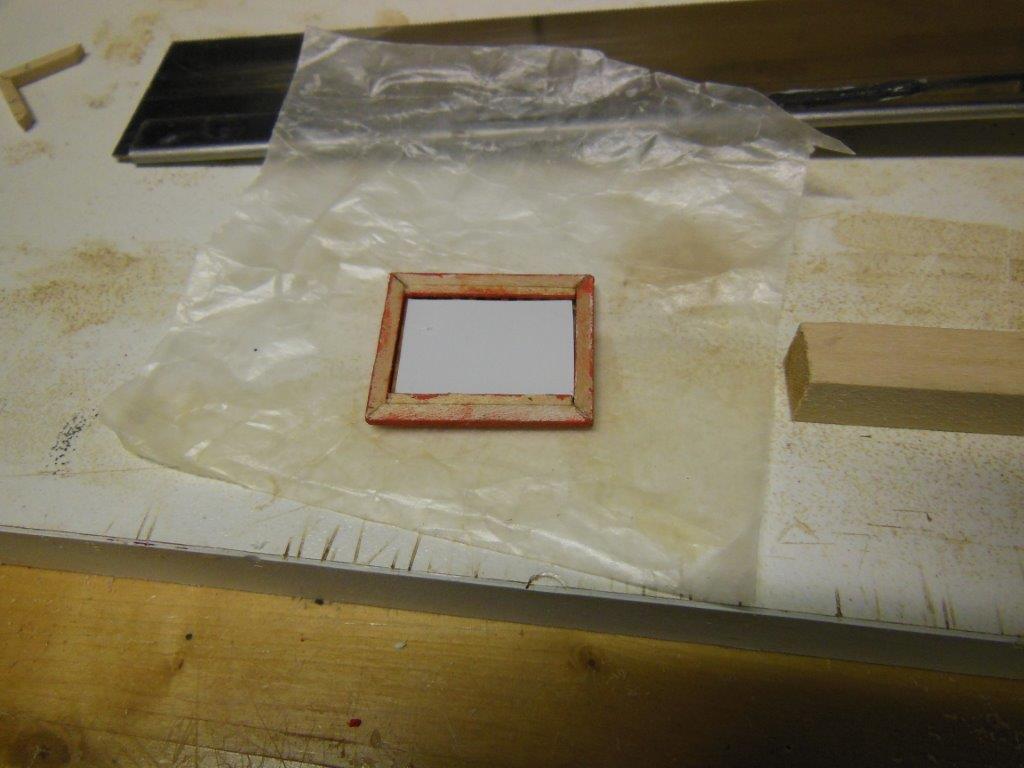
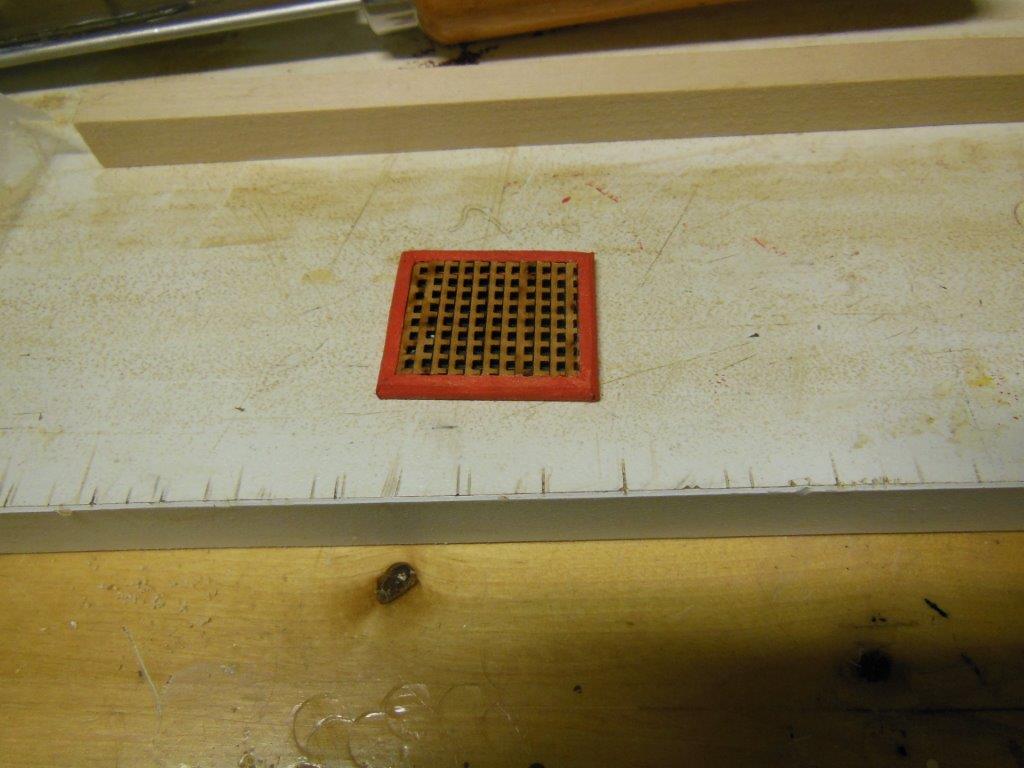
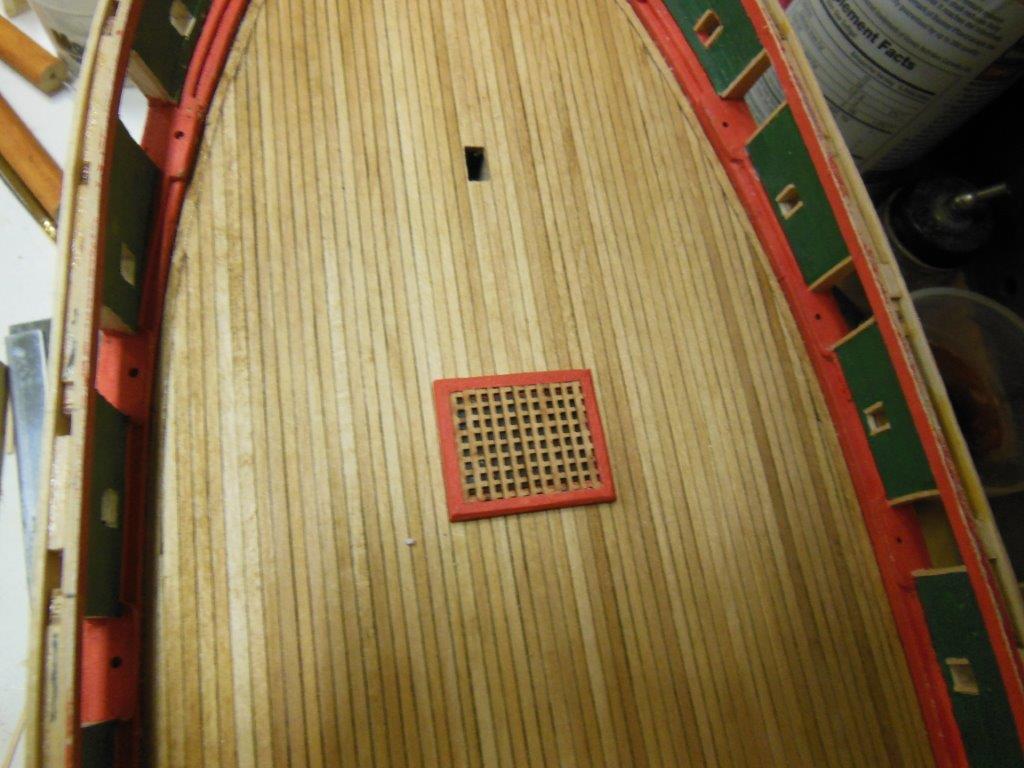
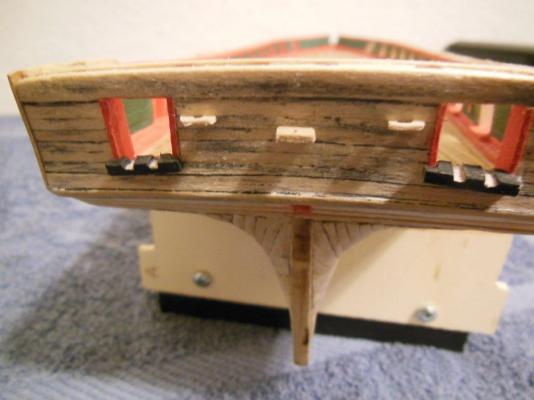
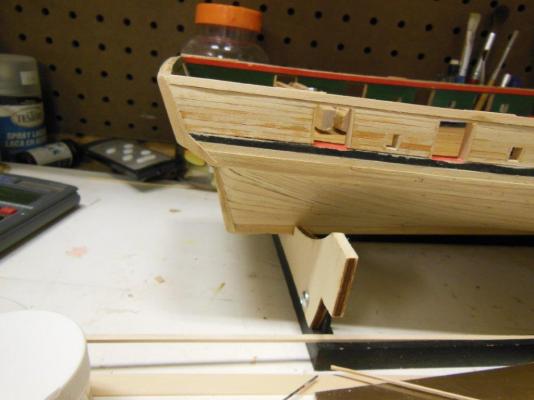
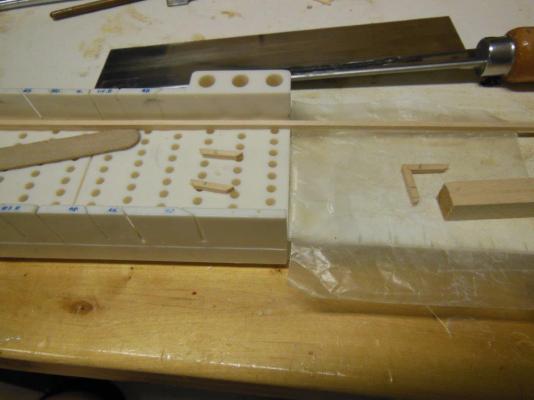
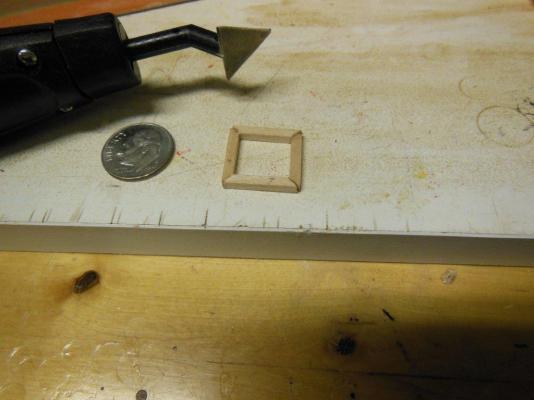
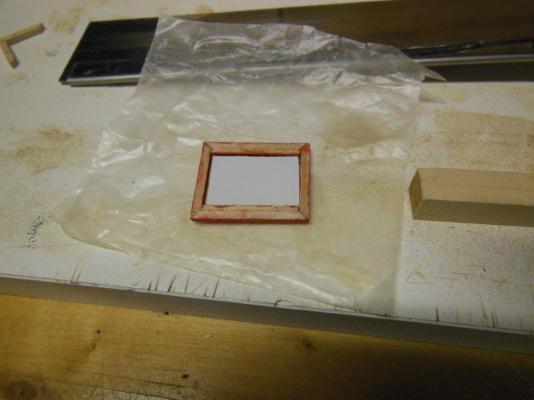
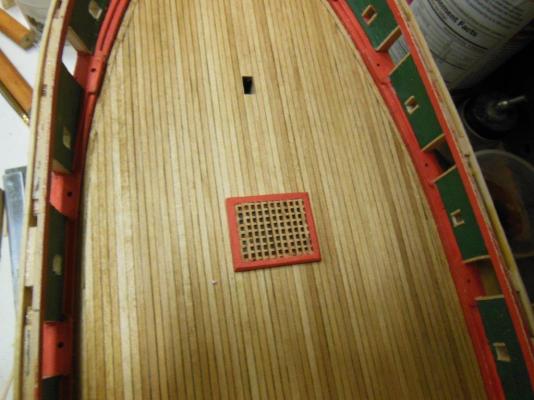
Below is a picture showing the starboard fashion piece at the stern. It just does not look right to me but other than being made of one piece of wood and no paint, I cannot put my finger on what looks incorrect. Any input would be appreciated. As of right now, I'll do a little sanding and paint as-is... I also made one hatch grate with a second one currently in the paint shop. Since I ( I mean the Captain) made a last minute change in plans not to plank around the hatches I had to make sure the planks were not visible when looking through the grates, so I simply glued black paper on the bottom of the grates. I also tried to bend the wood just a bit, frame to match the camber (?) of the deck so it sits tight to the deck planks on all sides.

-
Hi John, Thanks for the compliment. I've been busy (at a very slow pace) installing the end planks on the gun/sweep ports and other exterior hull trim. It's almost time for a photo update... I'm not real happy with how the fashion piece looks. I think it's too wide, but I'll post a photo soon and get some feedback before doing anything drastic. Your site is looking good and it's nice to have another ship building forum to read and learn from.