king derelict
Members-
Posts
3,250 -
Joined
-
Last visited
Content Type
Profiles
Forums
Gallery
Events
Everything posted by king derelict
-
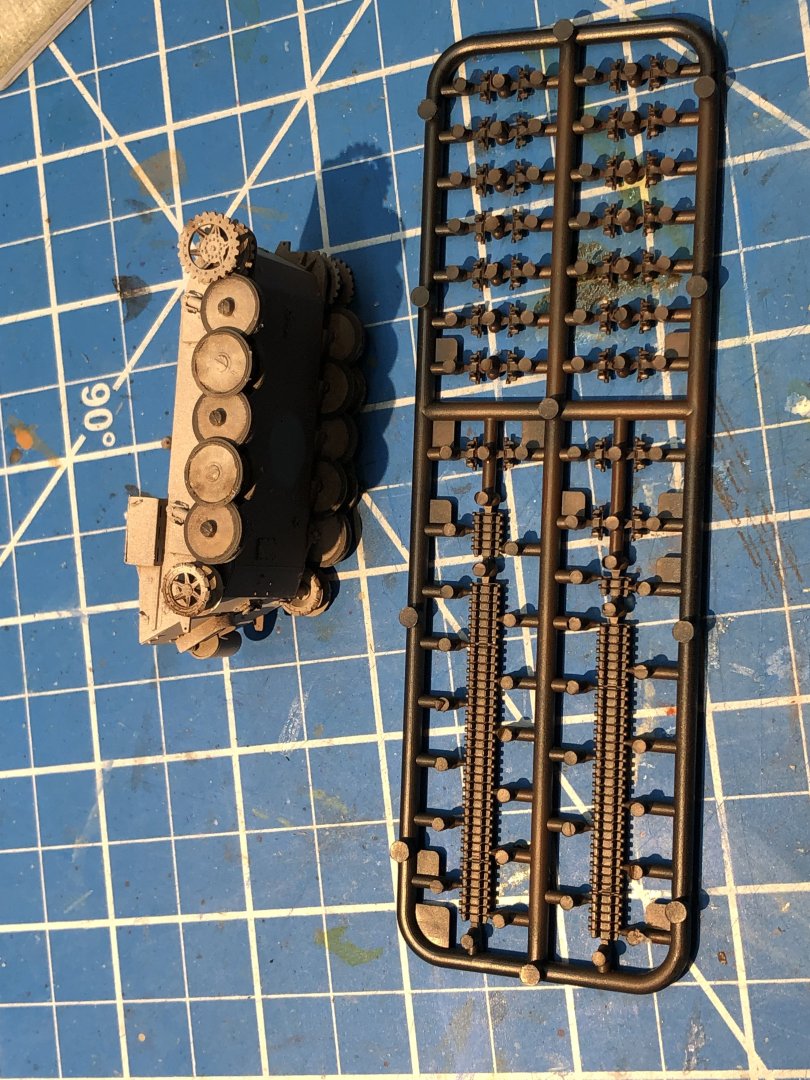
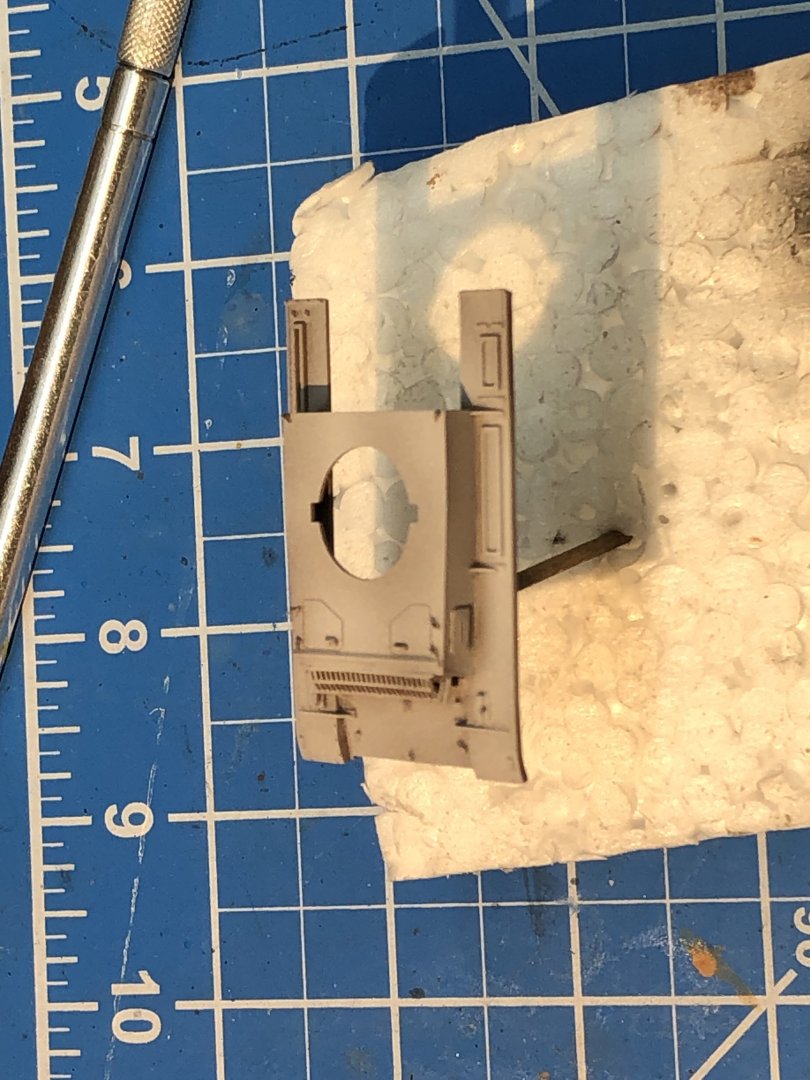
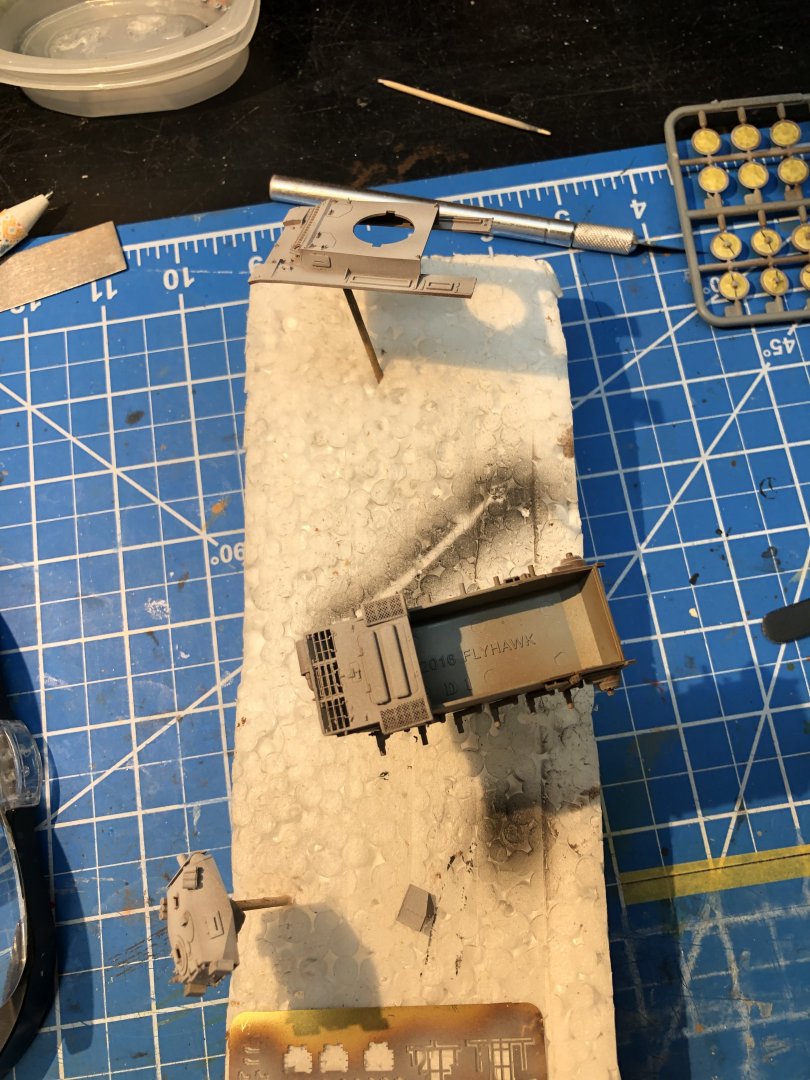
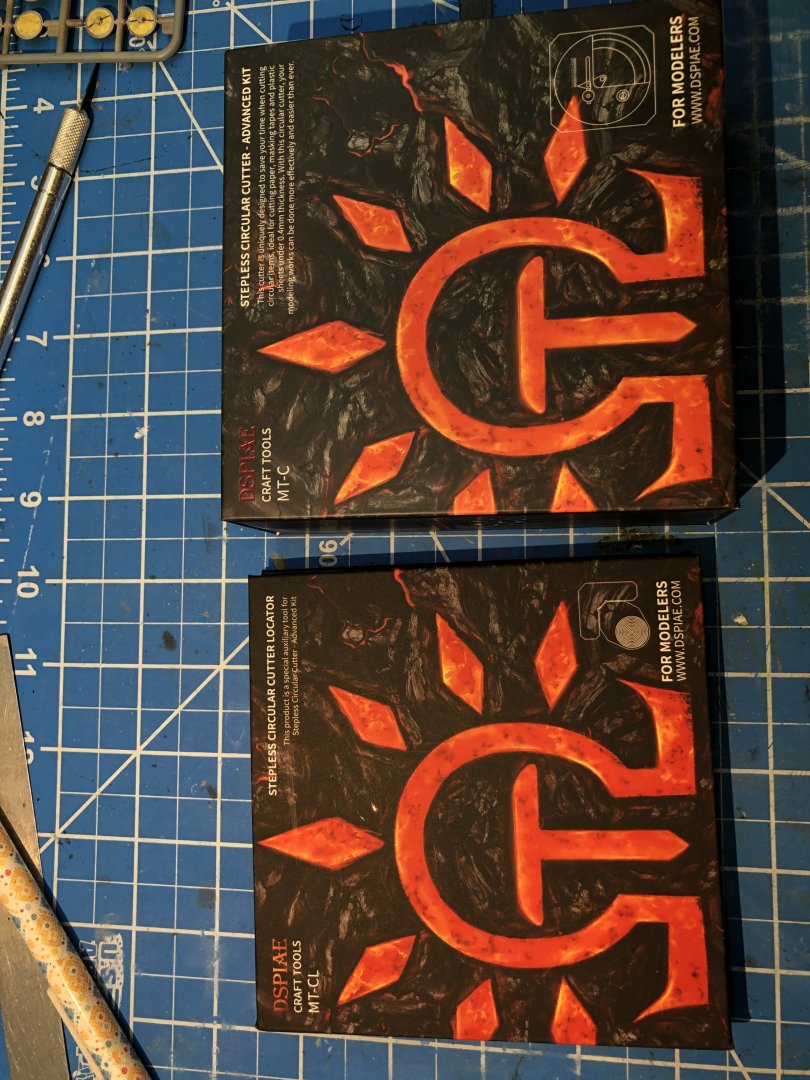
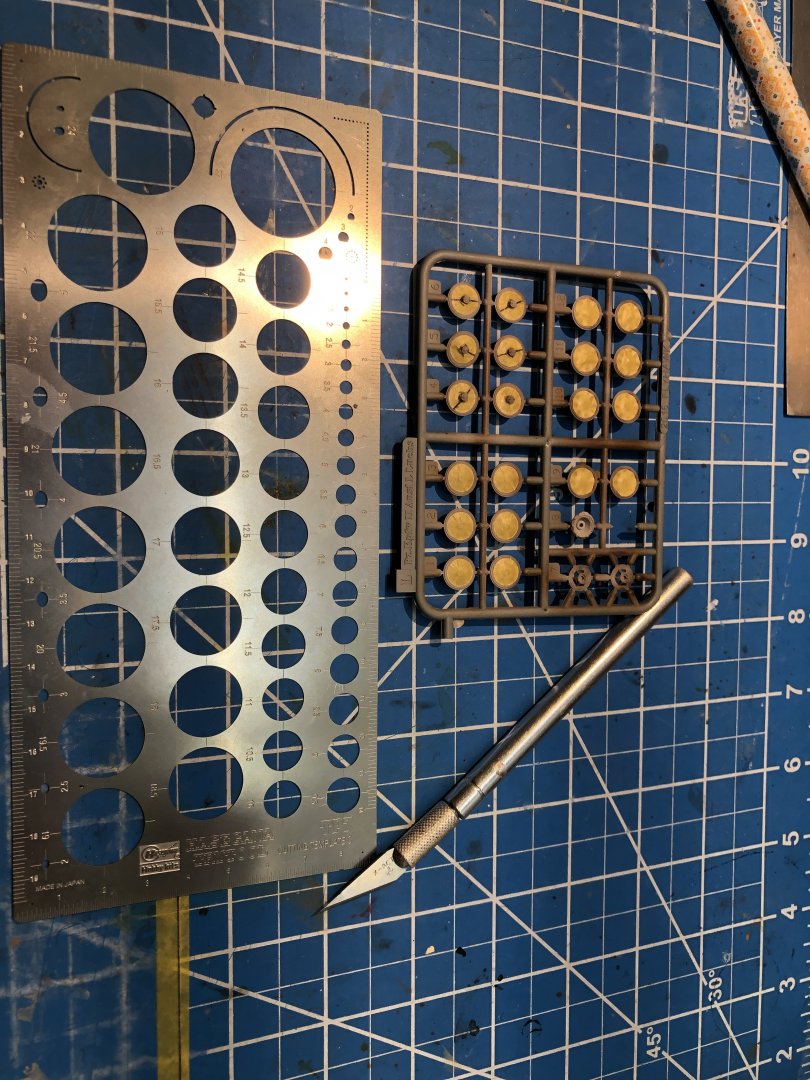
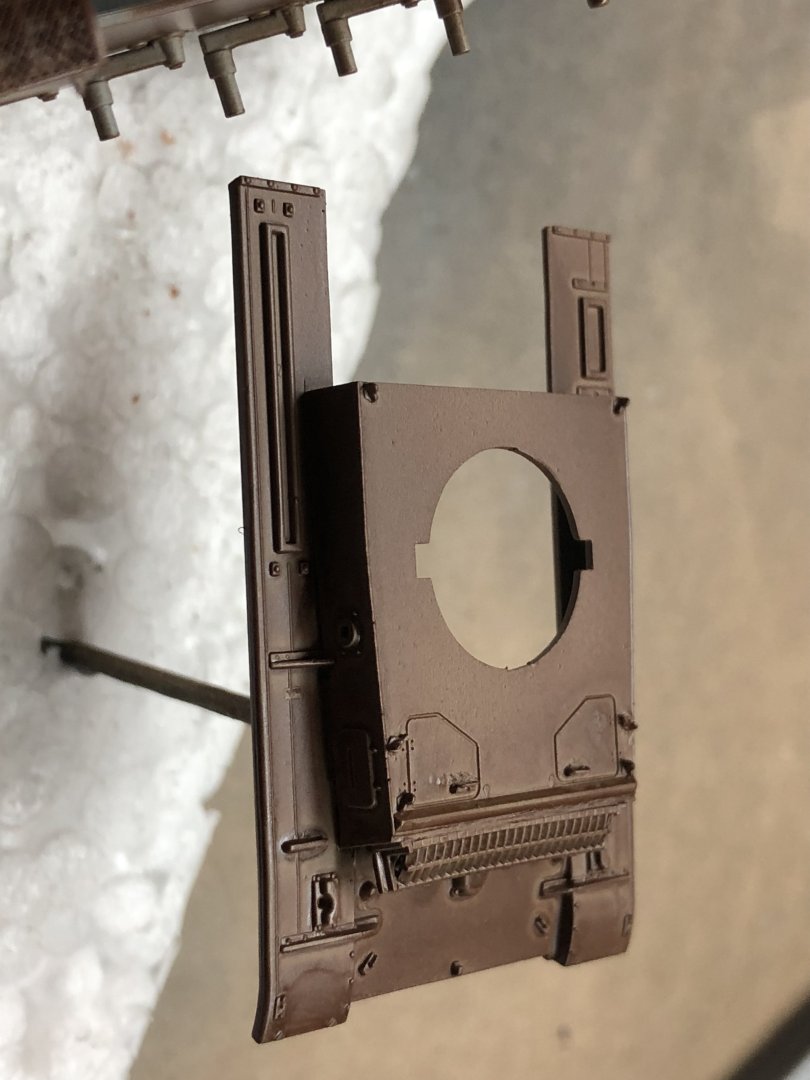
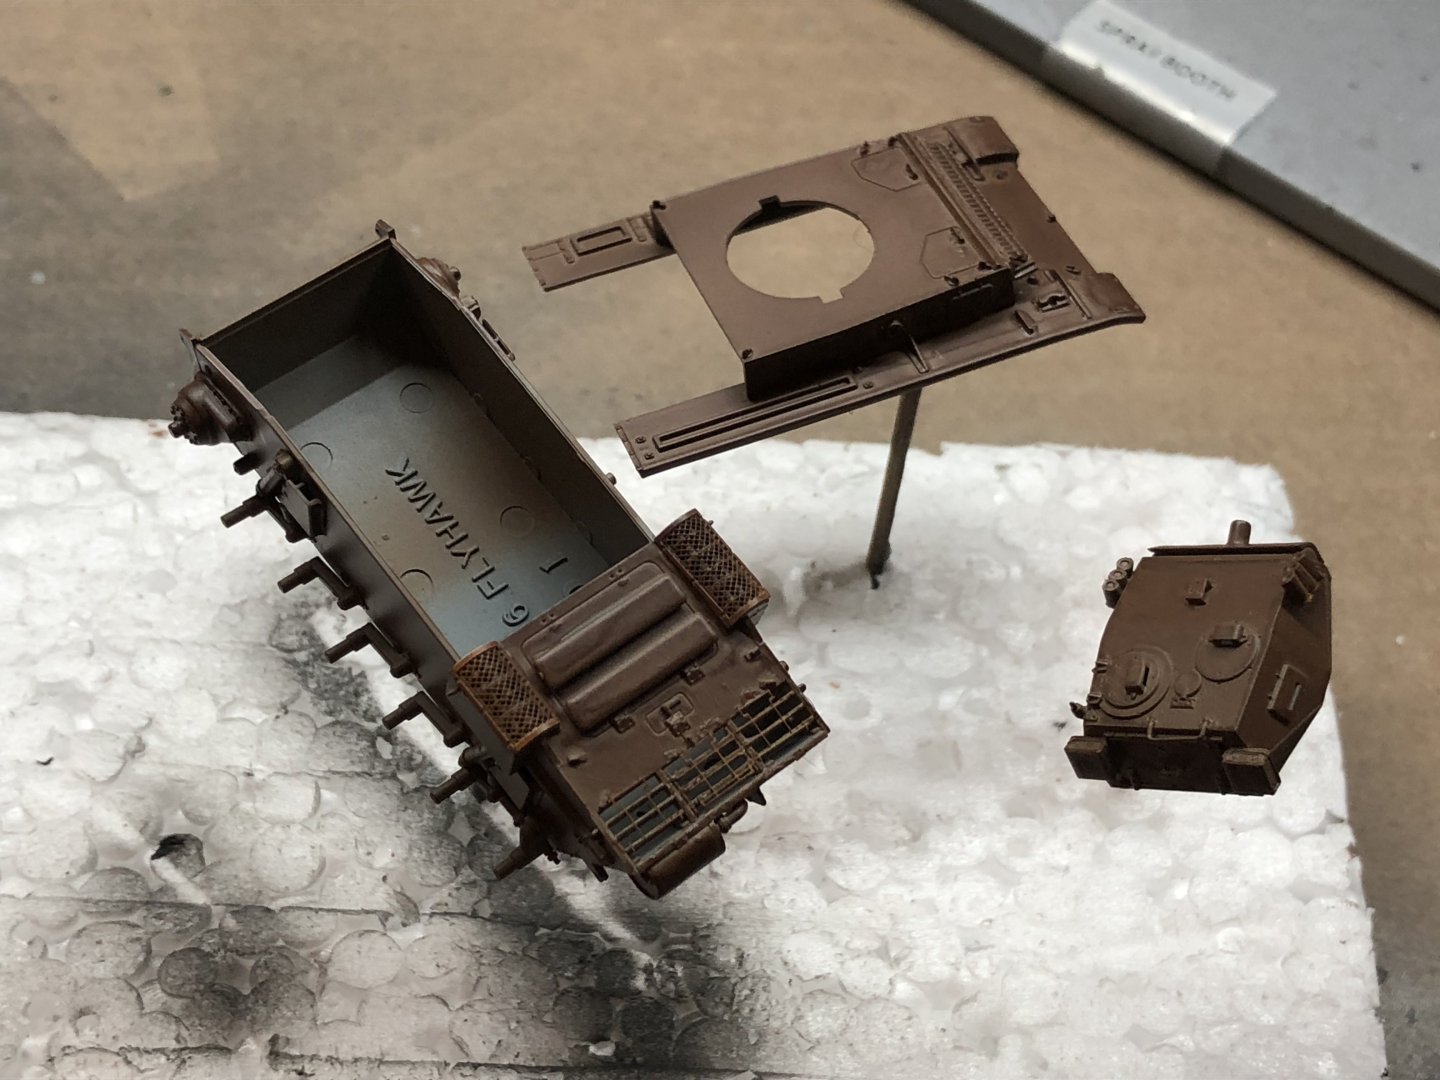
I’ve been a bit dilatory with the updates and actually the build has been pretty slow thanks to intrusions by real life. After finishing the undercarriage everything got a coat of MiG One Shot iron oxide (brown) primer. The color schemes show what I assume is a winter scheme in white with some brown creeping through in places. I rather like it and thought I would give it a try. I added several misted coats of Tamiya Flat White and was fairly happy with the results. it’s a bit paler in real life but I’m starting to think another coat might be a good idea. I’m scared of getting a dead white result though. Next up was the tyres on the road wheels. I had great hopes of the Dspiae circle cutter but I abandoned it in favor of the old circle template to make the masks for the wheels The Dspiae cutter worked flawlessly on a piece of copier paper but tore up about 75% of my attempts with masking tape. I think it’s my fault for not getting the right tension on the cutting blade, it’s probably fiddle with thin material like masking tape. I should have tried painters tape- next time. The tyres were sprayed with Mig Rubber black which is a grey in reality but I think it works and then the running gear was assembled. And that brings us to the next significant challenge, the tracks! The sprue has all the parts needed for one side. I’m not sure whether to try to build the tracks off the model or assemble them in place. Thanks for looking in and the likes and comments. Alan
-
Beautiful work Mark. From the lovely glossy blue hull to the neat rigging and the magnificent sails it a lovely boat. The stand sets it off so well too. congratulations alan
-
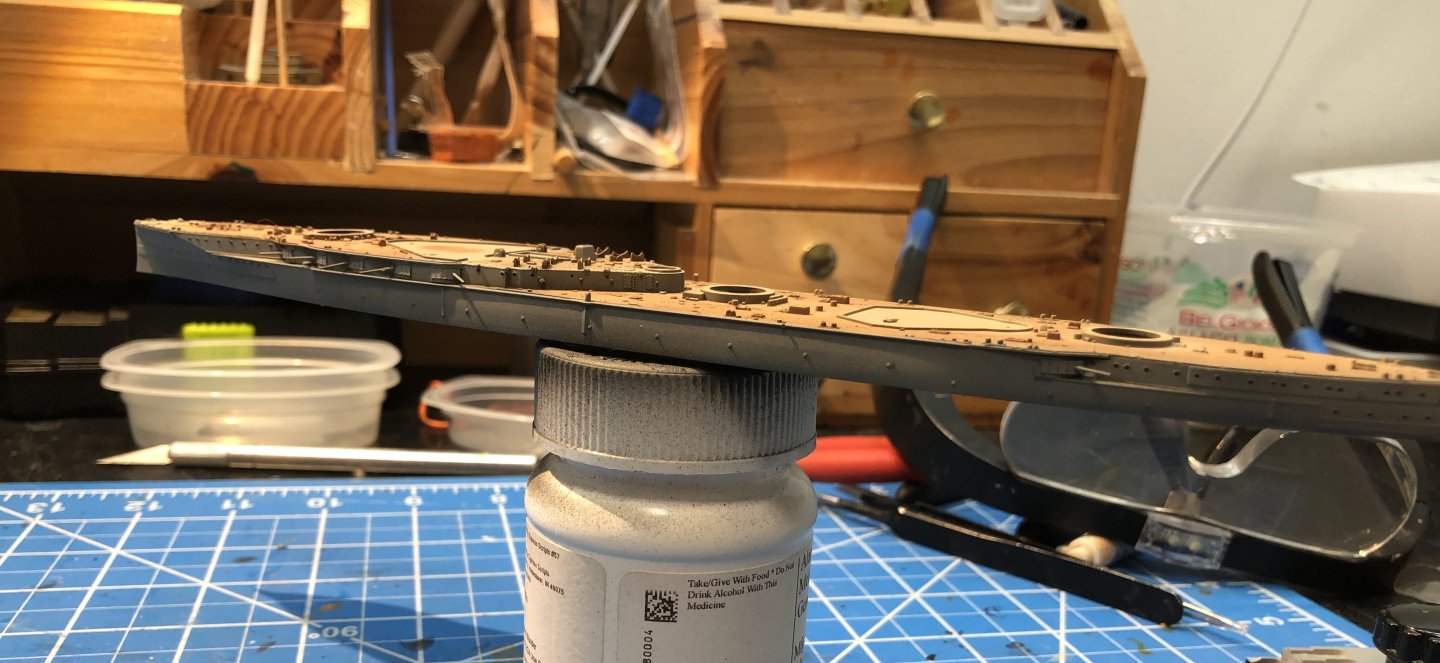
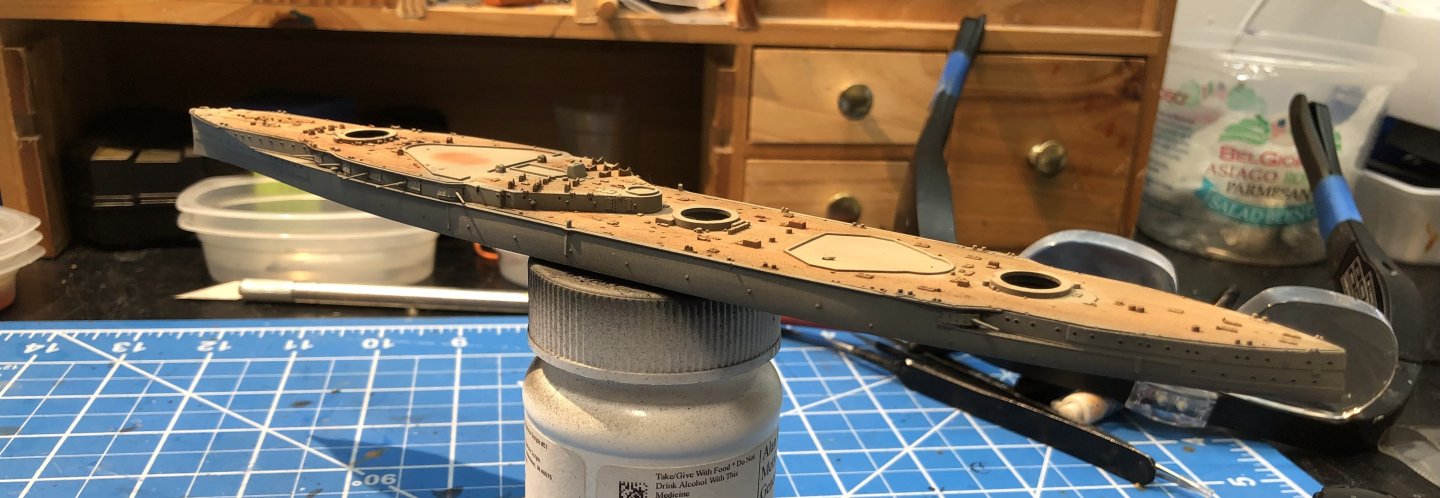
Progress hit a bit of a roadblock. I had to order the hull grey, the Flyhawk guide calls for a darker grey than anything I have. Then I had to do taxes, vet visit, eye clinic visit and a trip to the dentist. Anyway, the has arrived and the hull and superstructure were given several light coats to try to avoid a uniform color. The decks then got a coat to the Tamiya wood deck and then I used washes of burnt sienna and burnt umber oil paints. I like the result so far but I may add a thin black wash to pick out the details. Next up will be painting the linoleum decks and then back to the photo etch and a lot of railings. Thanks for looking in and the likes and comments. Alan
-
You are making a beautiful model Mike. It looks fiddle but the results are great. alan
- 47 replies
-
- Annapolis Wherry
- Chesapeake Light Craft
-
(and 1 more)
Tagged with:
-
Thank you OC. It’s an amazing kit with so many parts for such a small vehicle, although I have a feeling I’ll be cursing it later. Flyhawk make a small number of AFVs. This one and the regular Kpfw I and II, the Renault tank and the King Tiger which has a nice brass barrel. They make super little models and are very satisfying to build. Alan
-
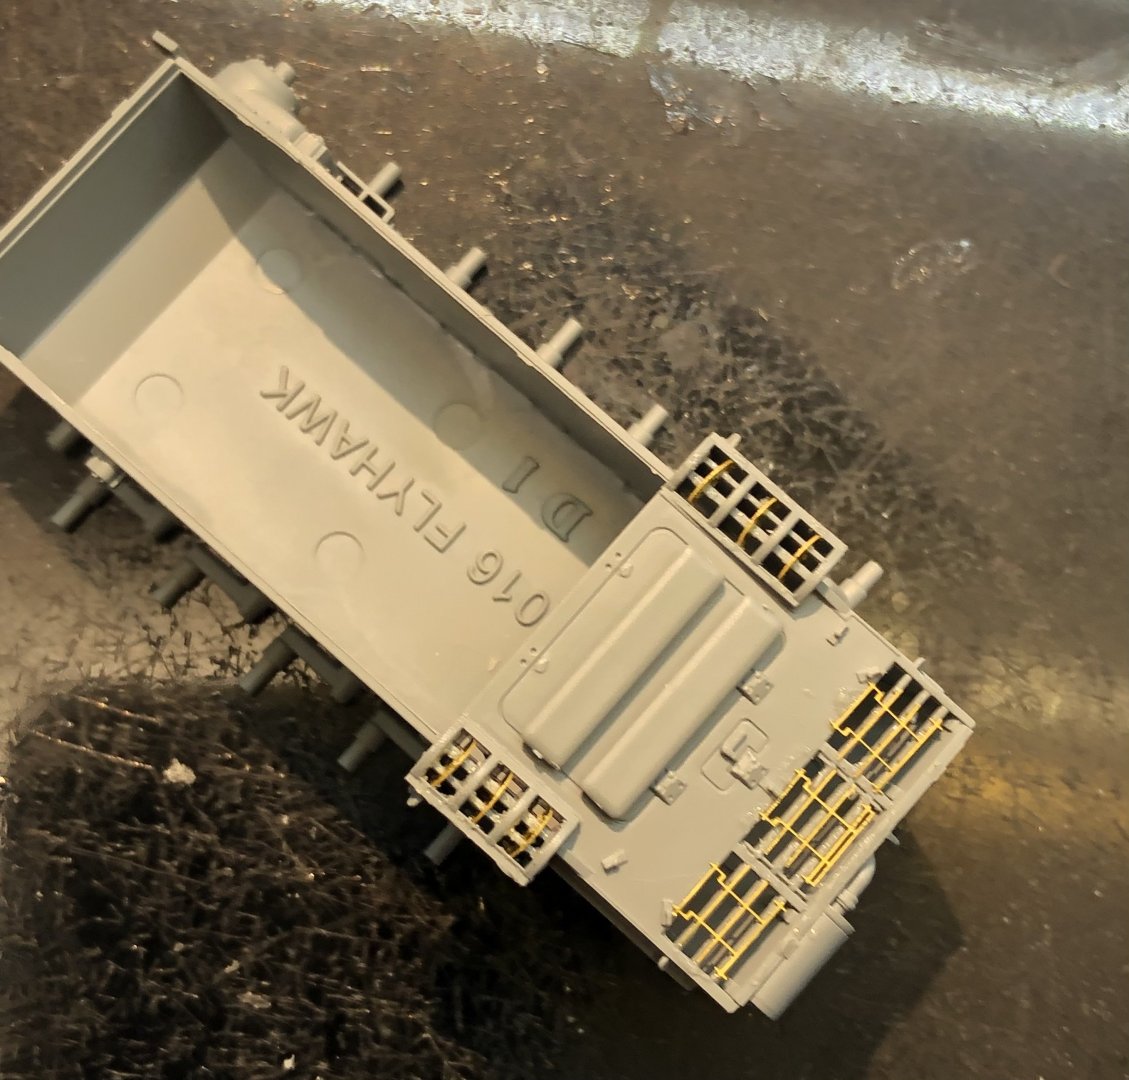
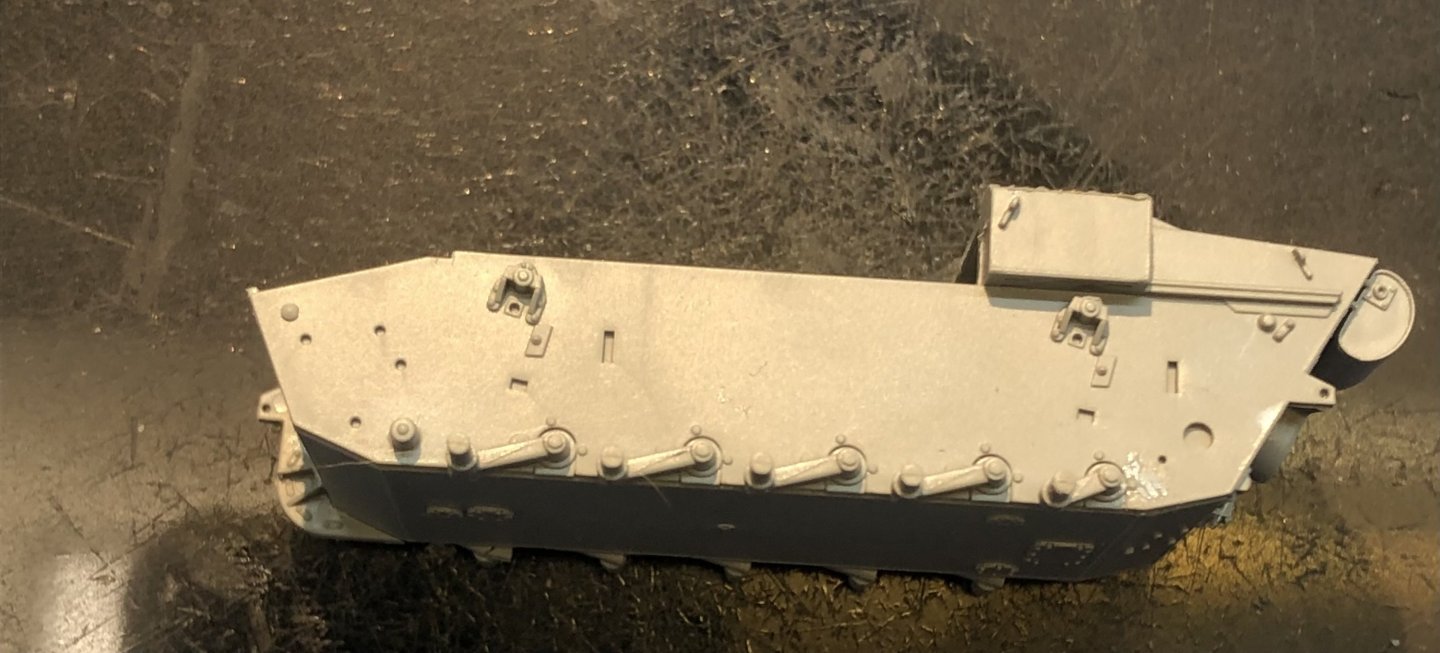
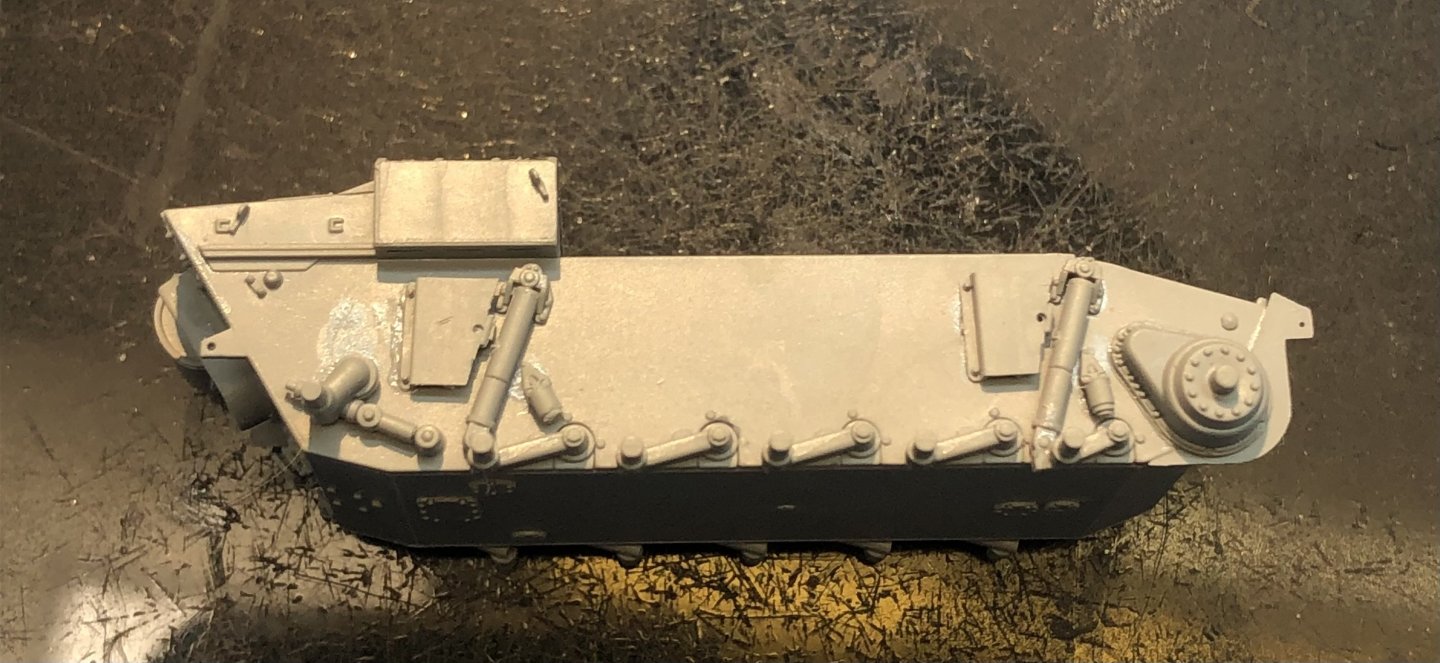
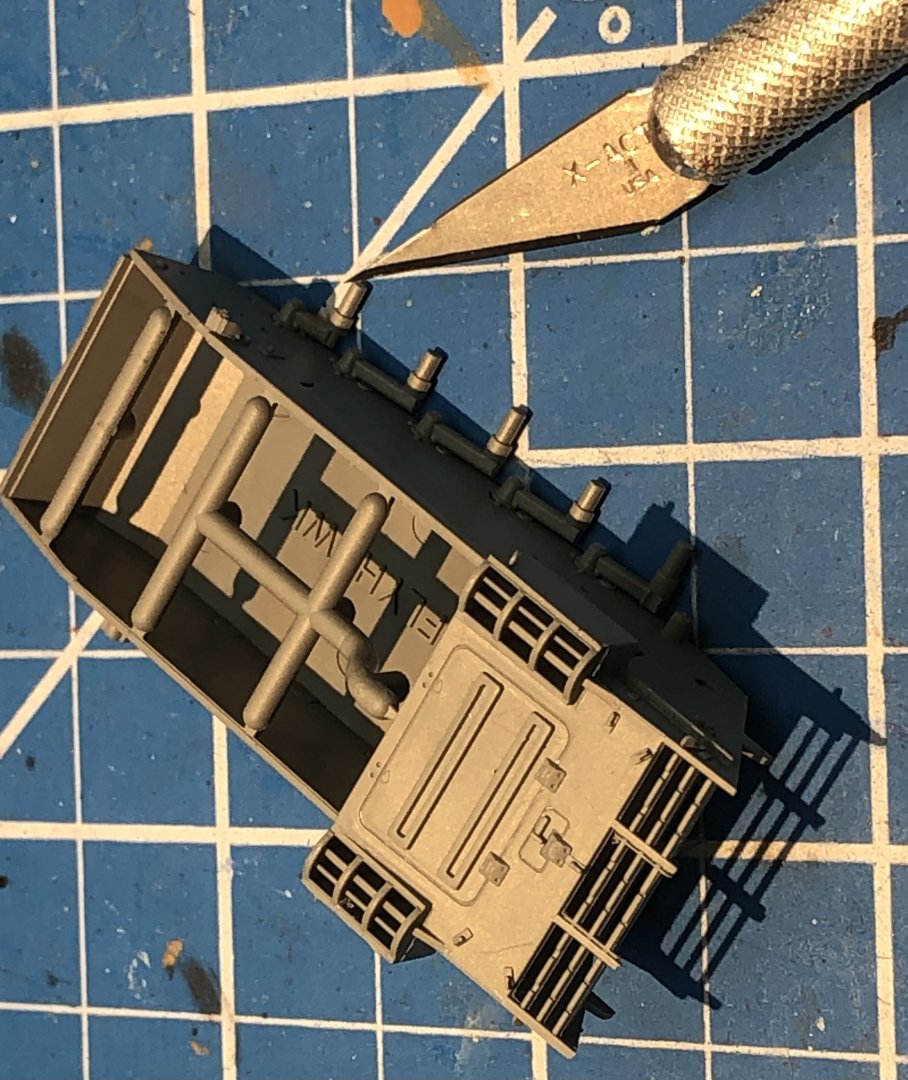
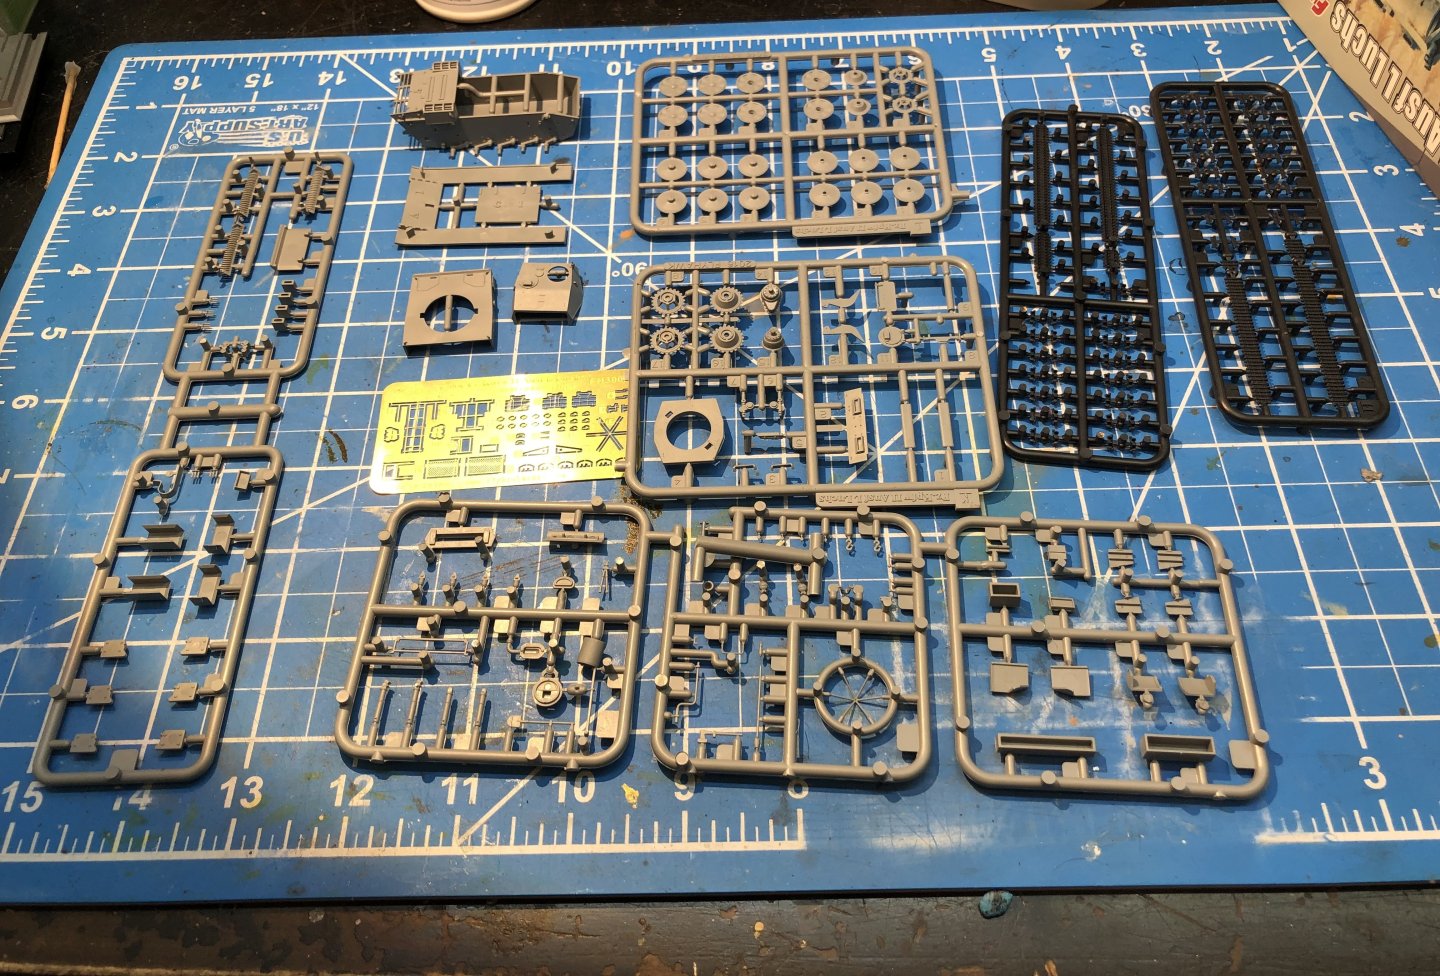
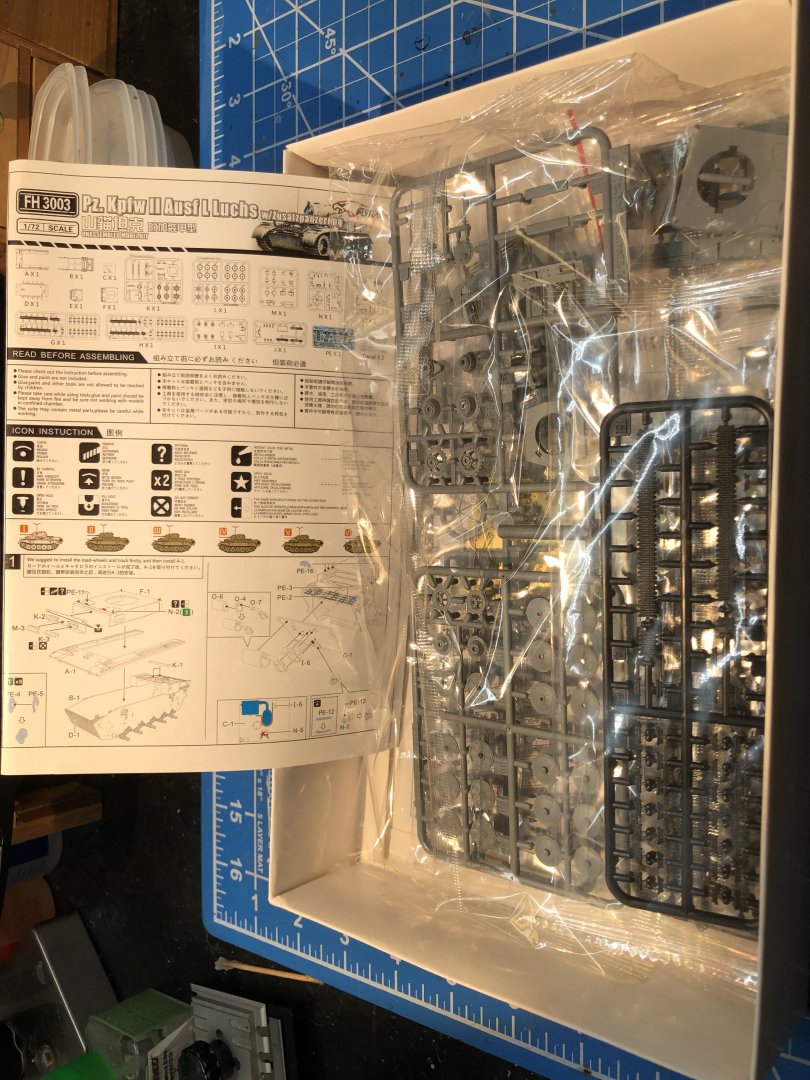
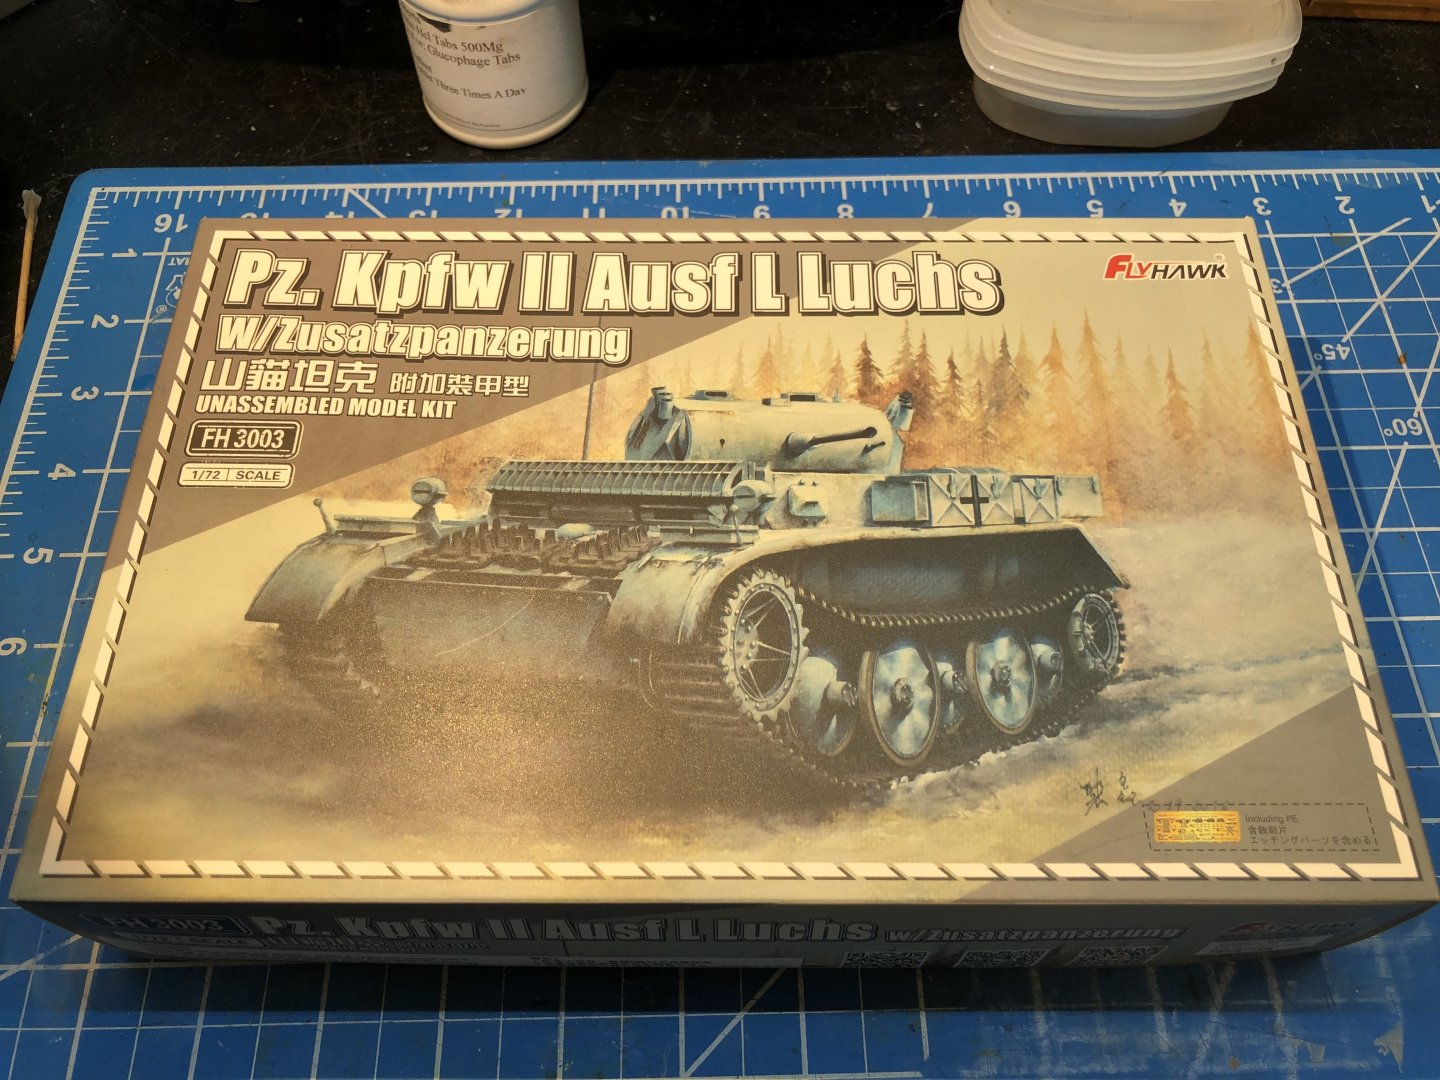
While I was stalled on the Iron Duke build I opened this box to keep me out of trouble. It’s a tiny 1/72 model of a tiny tank but with all the details that Flyhawk do so well. As I understand it the Zusatzpanzerung refers to the additional amor added to the tank. For such a small tank the box is well stuffed with parts There is a small PE fret of delicate parts. Some look impossibly small. The finished model is going to be small even with all the extra parts added. Assembly has started with the lower hull adding some PE to the engine vents and armor. There is quite a lot of suspension parts to add to the hull . So far it’s all fitting very nicely although it takes several reads of the instructions to work out what is intended. And the instructions are printed very small. One side done and one ready to start Thanks for looking in Alan
-
You made a beautiful job of her and the color scheme really sets the boat off. Congratulations and the case looks great too. alan
- 81 replies
-
- Norwegian Sailing Pram
- Model Shipways
-
(and 1 more)
Tagged with:
-
I’ll watch with great interest. It sounds like a nice looking model when finished with a rather different build method. Good luck, I’m sure it will come out well. alan
- 47 replies
-
- Annapolis Wherry
- Chesapeake Light Craft
-
(and 1 more)
Tagged with:
-
Absolutely beautiful work on the masts. alan
- 142 replies
-
- Mikasa
- Merit International
-
(and 1 more)
Tagged with:
-
Nice modification and it came out really well. I always get nervous cutting into stuff like that. alan
-
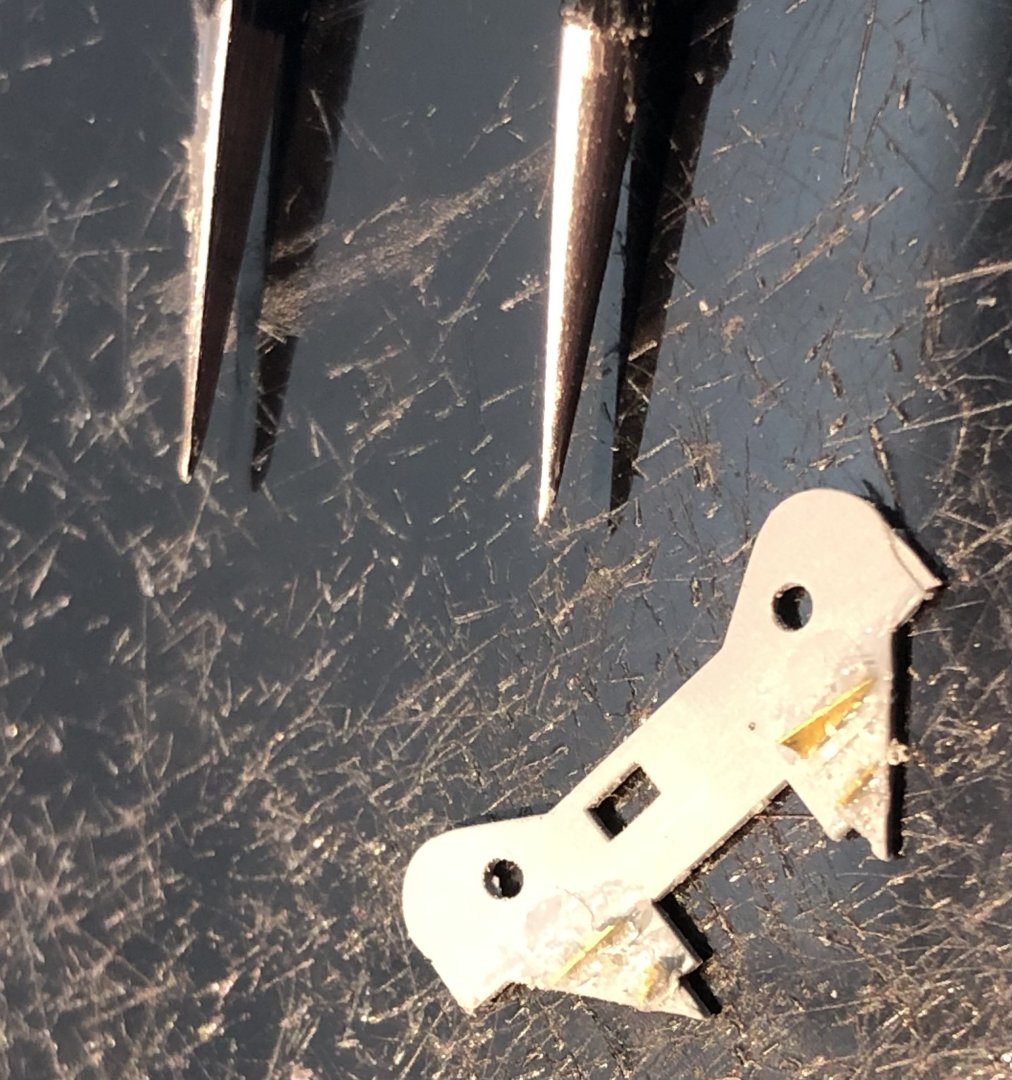
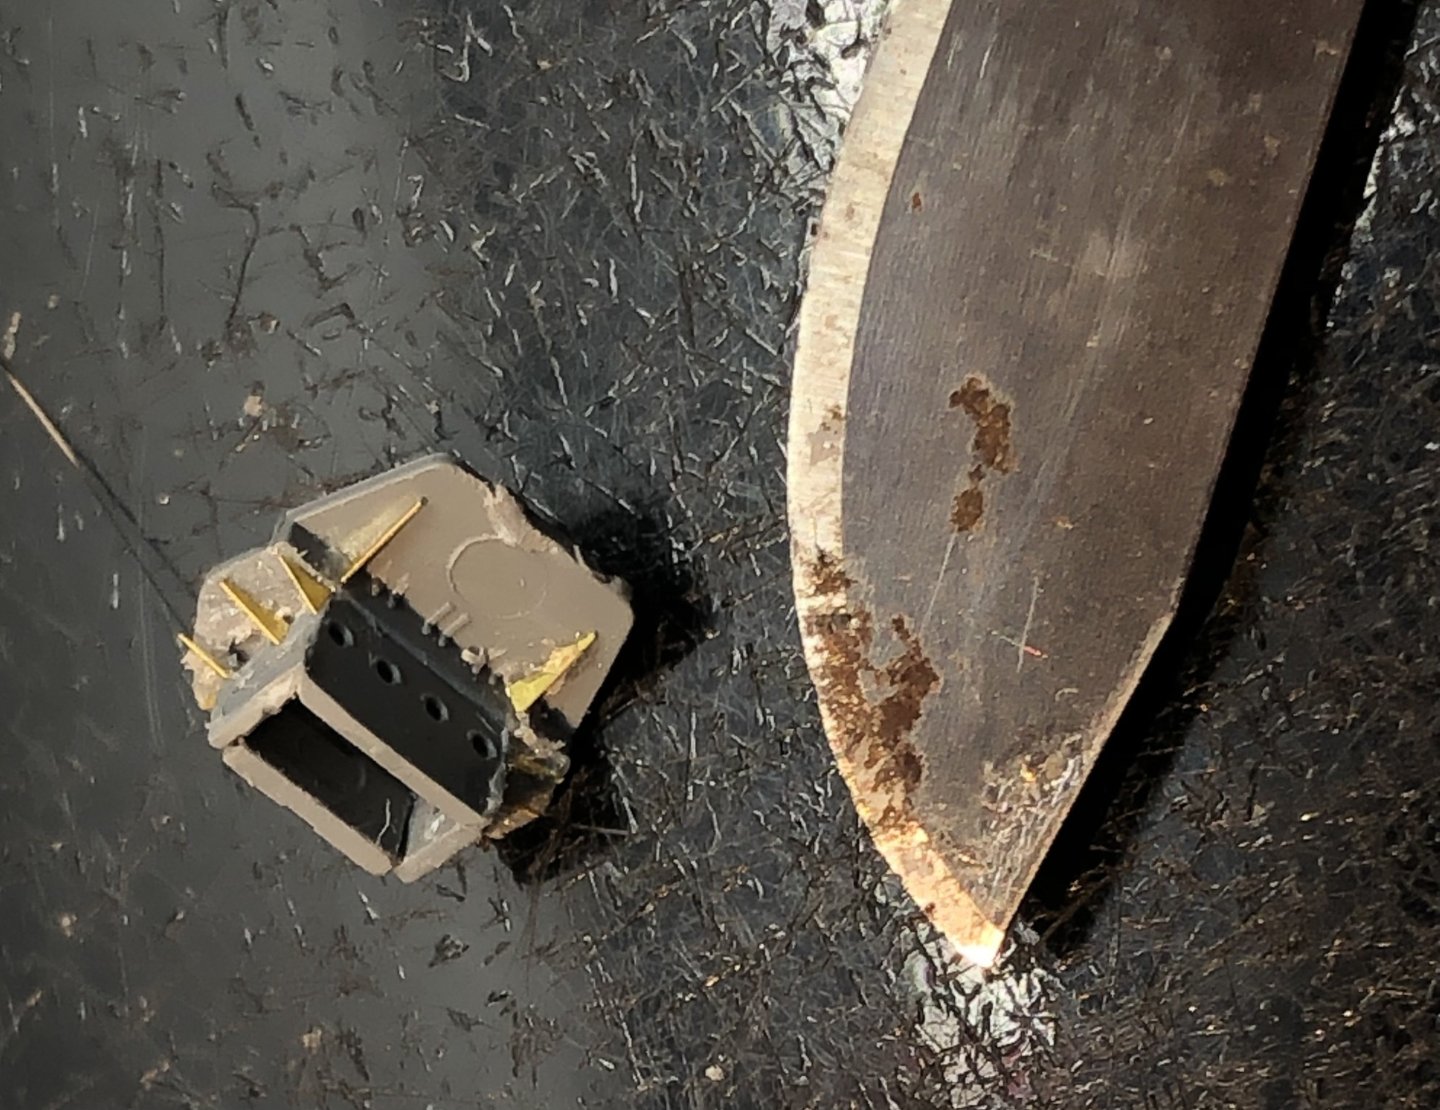
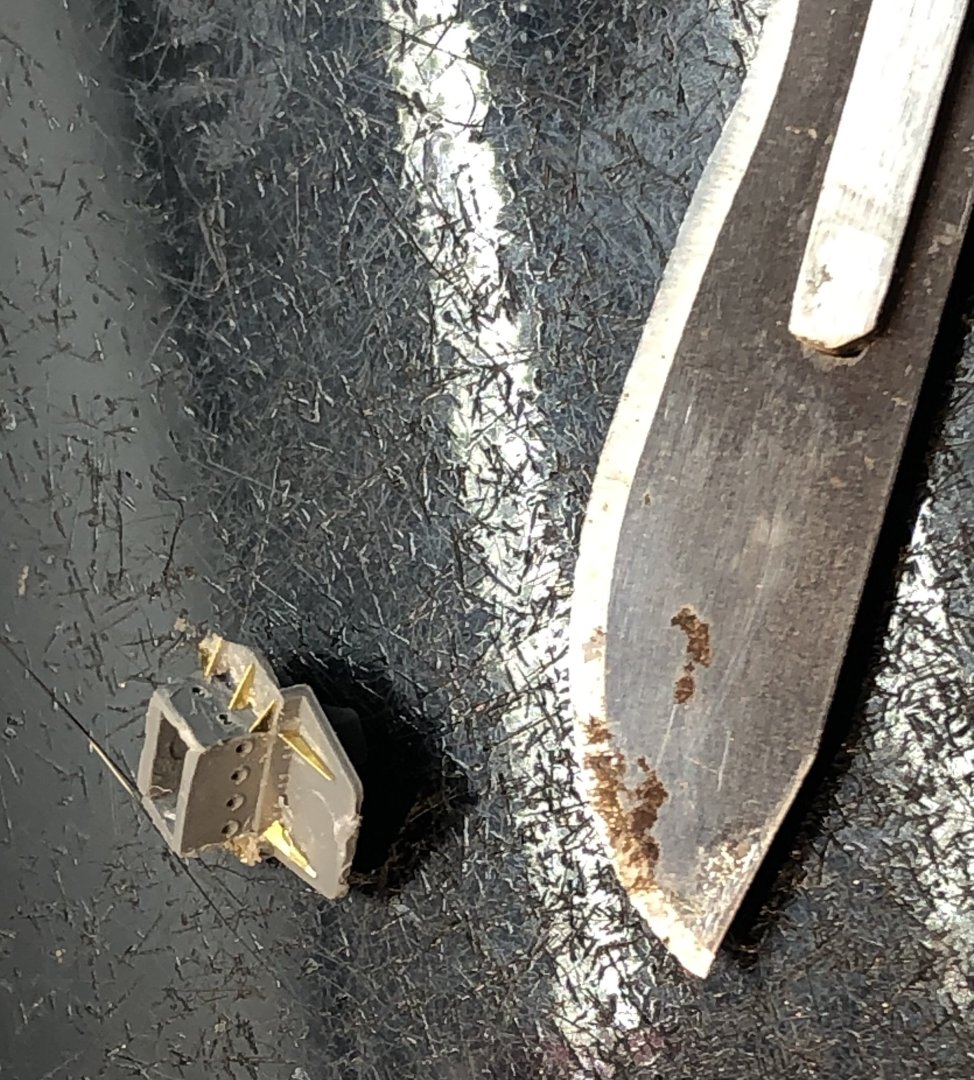
I found a little courage this morning and cut the plastic supports off two of the platforms and added the tiny photo etch parts. It took all day to build them up with a few diversions to find the little triangles after they flicked off the tweezers. Oh and a three hour power cut. At the end of the day they came out okay but I’m not sure it justifies the work. There is one more to do but I’m thinking of passing on it and moving forward with some primer. Thanks for looking in, the likes and comments. alan
About us
Modelshipworld - Advancing Ship Modeling through Research
SSL Secured
Your security is important for us so this Website is SSL-Secured
NRG Mailing Address
Nautical Research Guild
237 South Lincoln Street
Westmont IL, 60559-1917
Model Ship World ® and the MSW logo are Registered Trademarks, and belong to the Nautical Research Guild (United States Patent and Trademark Office: No. 6,929,264 & No. 6,929,274, registered Dec. 20, 2022)
Helpful Links
About the NRG
If you enjoy building ship models that are historically accurate as well as beautiful, then The Nautical Research Guild (NRG) is just right for you.
The Guild is a non-profit educational organization whose mission is to “Advance Ship Modeling Through Research”. We provide support to our members in their efforts to raise the quality of their model ships.
The Nautical Research Guild has published our world-renowned quarterly magazine, The Nautical Research Journal, since 1955. The pages of the Journal are full of articles by accomplished ship modelers who show you how they create those exquisite details on their models, and by maritime historians who show you the correct details to build. The Journal is available in both print and digital editions. Go to the NRG web site (www.thenrg.org) to download a complimentary digital copy of the Journal. The NRG also publishes plan sets, books and compilations of back issues of the Journal and the former Ships in Scale and Model Ship Builder magazines.


