


rshousha
-
Posts
431 -
Joined
-
Last visited
Content Type
Profiles
Forums
Gallery
Events
Posts posted by rshousha
-
-
Greetings,
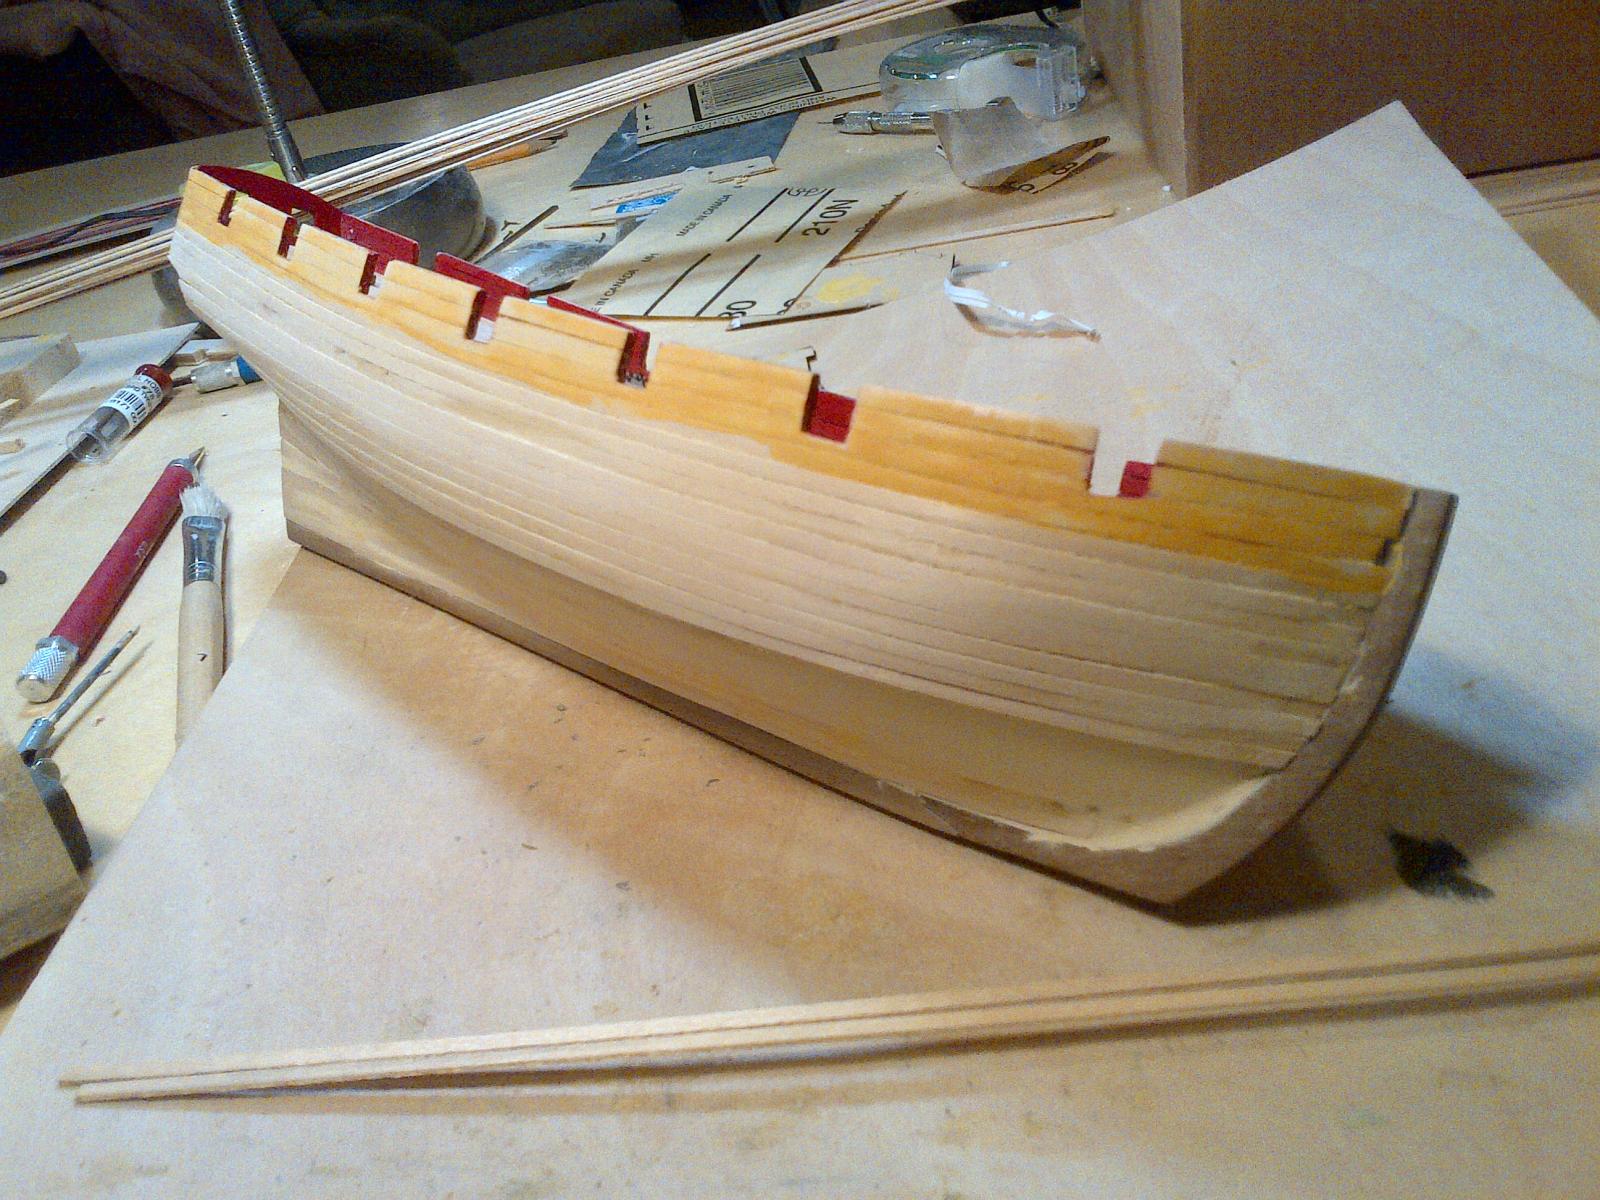
I found these nice little strips of lime and started on the second "first" planking. It's a heck of a lot more fun now, building this model. OK, so as I work my way down the hull, it's pretty evident that the stern is bigger than the bow. What do I do now? I can start spreading out the planks evenly, adding stealers every second plank or so, or I can continue until I finish the bow and then work in a triangular shape in the stern.
Hmm, it seems I've just answered my own question.
Cheers,
Rick


- Canute, egkb and Seventynet
-
 3
3
-
Hi John,
My first planking started out looking pretty much like yours and you seemed to have done a good job of evening things out. Your build gave me the inspiration I needed to work things out on my side. Until I saw yours the other day, I thought there was no hope for mine. Thanks for posting what you did. It was a great help.
One thing I noticed is that the grain of the supplied walnut seems a little coarse. I have some extra basswood strip here from another project and was thinking of using that for the second planking. I used that on the inside of the hull and it looks pretty good after the painting. I'll start slowly with that and see how it goes as I want to paint the sides. if it works out, I may just use that stuff as the second planking.
Thanks again for posting your build.
Best Regards,
Rick
-
I like it. We should have kits with three or four sets of planks, then.
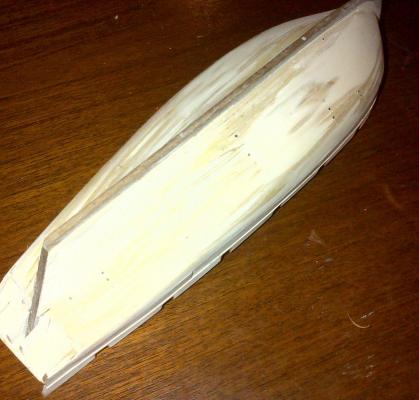
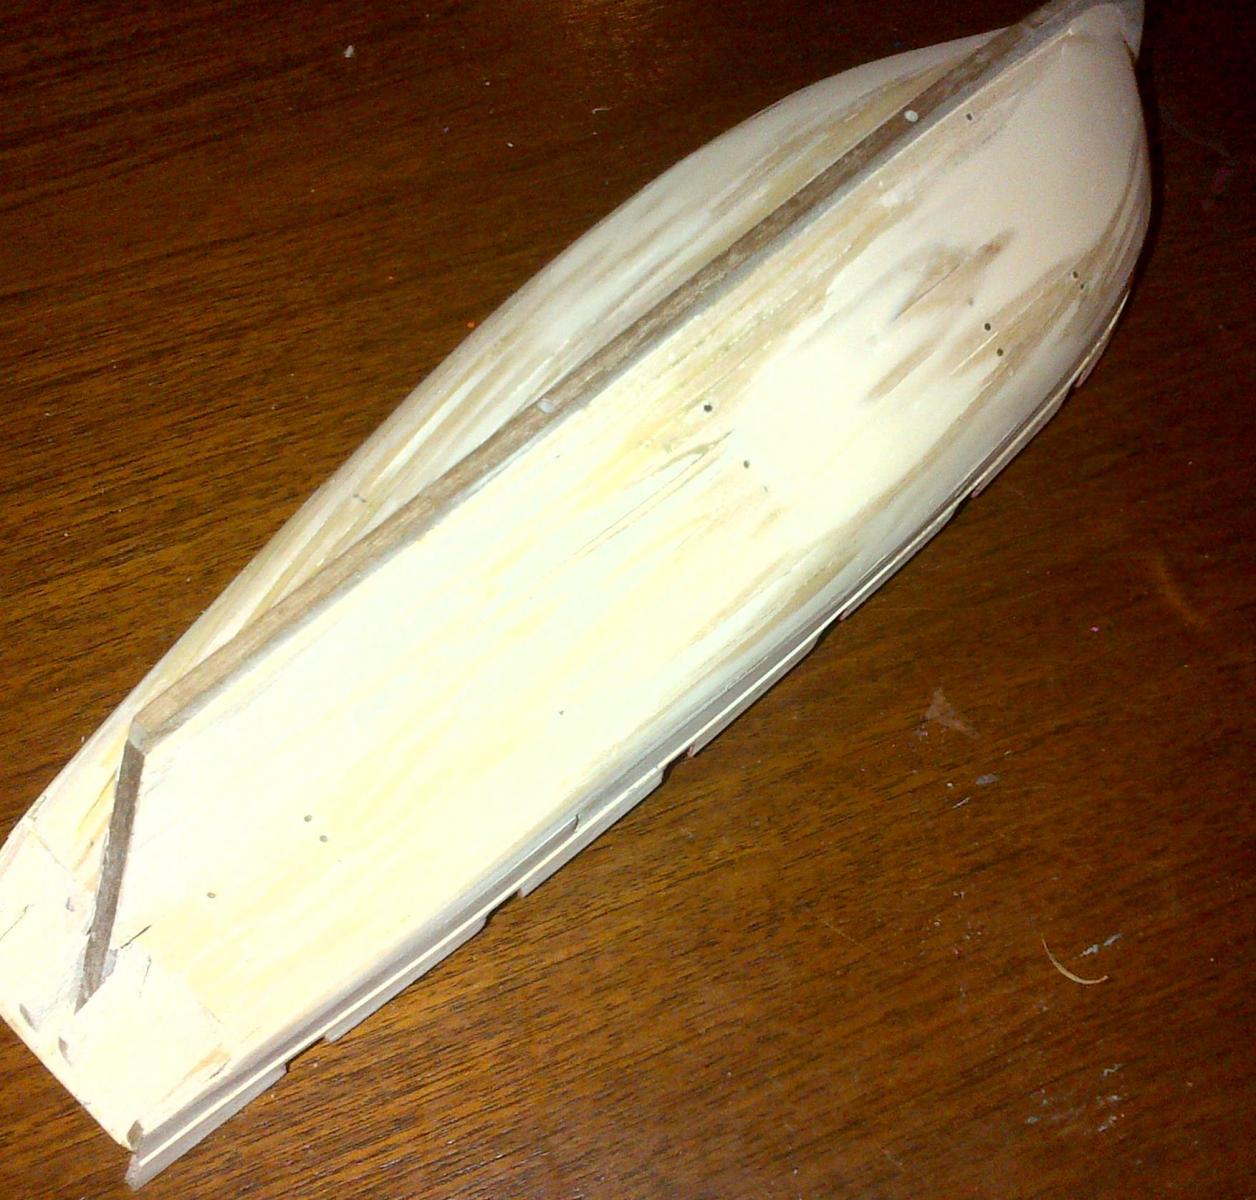
Here's a picture of where I'm at. I think I've cleaned up the mess, about enough to put a second practice layer on, before the real second planking. Since I sanded down the first planking until it was practically translucent in places. I figure I can put down a second "first planking" and sand that one down by 60% or so and end up with the equivalent of one first planking.
One of the reasons why I want to do this is because I was a little disappointed by the distance between the bulkheads on the kit. As you can see from the putty, this resulted in considerable waviness in the planks. I've done what I could to even things out with putty but a second layer of planks will even things out even more. Then, the real second planking should go on pretty evenly.
Cheers,
Rick
-
Greetings,
For those of you who are eagerly awaiting pictures, I want to mention that I have officially completed a rather awful first planking. However, after some searching, I have found that other beginners are not doing that much better than I am so I will be adding some pictures shortly.
I think I can actually pull this thing off!
I am looking forward to getting help.
Best Regards,
Rick
-
Thanks. I am tempted to put up the awful mess I've done and see if you can all help me get out of it. This is actually great fun as I learn about wooden ship building. it sure is different from car models. Even those Pocher models I've built are a lot more straightforward than ship building.
Did I mention this is really fun? What's the point of doing something easy when you can do something hard?
Cheers,
Rick
-
You said it Spyglass.When I was a kid I played the piano. What an ungrateful instrument. I took it up again when I started working and I was just never able to get things going again. I bought an electronic keyboard so I wouldn't wake the neighbors as I was living in an apartment at the time, rigged it up so I could listen to myself in the car on the way to work and took private lessons once a week.
But during that time I was travelling on business every couple of weeks for a few days and every couple of months for a week at a time. Whenever I got back to the ivories, I had moved back twice as far as the length of the trip.
And then the kids arrived and that was the end of that.
Models just kind of sit there and, if you've taken good notes, it is a quick jump to the spot you left off.
Happily, models don't put themselves back in the box!
Cheers,
Rick
-
Greetings! I'm back. After a long hiatus I'm finally back at the workbench. I am a little disillusioned by the quality of my work, especially since I know I can do much better buy, hey, it's better to get back at it, and learn something new, than to go back to the "same old, same old".
I'm just finishing up the first planking. Once i have the second planking done, it should look like something.
I'll upload pictures soon.
Regards,
Rick
-
-
Greetings,
A client asked me to describe the drybrush painting technique and I thought I'd ask the question here. Where do people use this technique and do you have any pictures to show?
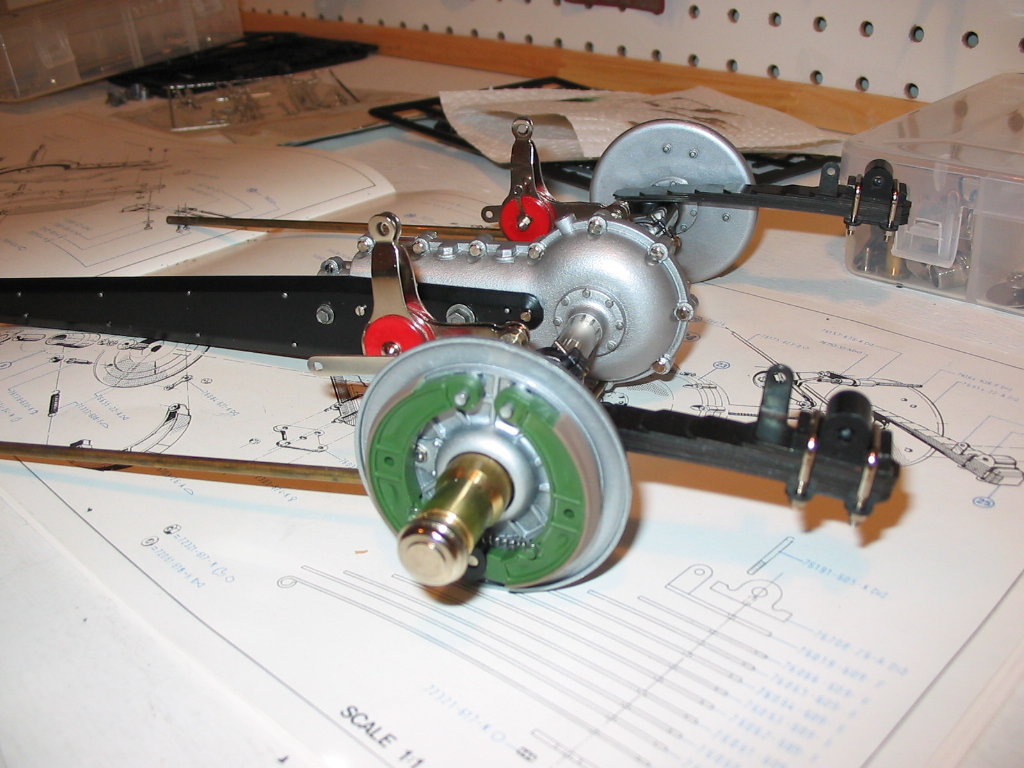
I'll start by saying I use the technique regularly but I only have pictures of this technique being used on car models. I've attached a picture where the various nuts and bolts have been detailed using this technique.
In essence, the brush is dipped in the paint and then pretty well 90% of the paint is removed. With whatever is left on the brush one can brush back and forth across a slightly raised part and give it some color. In the tiny nuts and bolts on that car part, a wet brush would have simply dropped gobs of paint on the model. It would be pretty well impossible to get those tiny screws on the left to look even without using this technique.
Can people add some boat pictures using this technique?
Best Regards,

-
Hi Sargeant,
I'm not quite sure why the link I entered above did not work. I think this one should:
http://modelshipworld.com/index.php/gallery/member/2920-rshousha/
Like I said, I think you're model is clearly more accurate than mine, I should have painted the metal bits. And all those trunnels are metal. Next time, I'll make them out of wood.
Cheers,
Rick
-
-
-
Hi Seargent,
Thanks for the note. There's a series of pictures of my model somewhere. I've put in brass nails everywhere to suggest trunnels but I think your paint and detailing is more realistic than mine. I should not have left the brass parts unpainted.
Here's the link to the gallery of my pictures:
It's funny how we all think the other guy's model is better. I was satisfied with mine (except for the brass) until I saw yours.
I've picked out some nice wood for the 1/12 scale kit and we've decided to do the metal parts on a 3D printer. That should give an excellent surface effect to the metal.
We're not sure whether we are going to turn the gun or print that, as well.
I wish I had detailed pictures of the actual designs that are on the gun.
Anyway, we have to have the gun done by May 12th, so we're going with what we have.
it's a longish story but you'll hear a lot more about my laser-cut short kits as time passes. We are working to bring some really interesting services to the modelling industry.
Regards,
Rick
www.modellers-workshop.com
-
thib,
It's a question of money talking. This is a good trade-off. If you are going to use someone's work to have some fun, I think it's more than reasonable to give something back. if you want to pay $6K or $10K for a piece of software, then you should be able to do what you want with it. But if someone spends a bunch of time developing a cool piece of software, he should be compensated however he sees fit.
To each his business model,
Regards,
Rick
-
What at excellent model. I had the chance to build this last year and it was really fun. I was a little annoyed about the fact that Corel mentions the parts are laser-cut. They are absolutely not laser cut. I put some of my pictures on this website but
It's too bad the kit is discontinued. I built mine with the express purpose of showing it to prospective clients but Corel took it out of their catalog.
The instructions are in the usual zillion languages and I only found one serious mistake with the engineering of the kit; the lower deck supports are assembled in a way that doesn't make sense in reality.
Since the kit is discontinued, I have decided to develop my own version of this 1:24 scale kit but at the scale of 1:12. I'll be setting up a page for that as we get going.
Regards,
Rick
-
Greetings,
One of my clients sent me this most interesting links to a software product. Trying to figure out where the modelling industry is going is a little like herding cats. However, there is one thing that is certain and that is that more and more builders are becoming interested, and proficient, at using the best technology that can be found to make their models.
This little piece of software seems to point in an interesting direction:
http://www.modeltrainsoftware.com/model-builder.html
One can imagine using such a tool to make decks, copper plating or some interior surfaces that are not easily seen once the model is completed.
Regards,
Rick
-
Hi Keith,
Due to popular demand, I modified the hinges a little, adding 1mm to the long ones and .8mm to the short ones. I think they'll fit better. I had to take .5mm off the tails in order to fit that extra mm on the length. I also took some material off the frame itself as I think there was more material there than needed.
I'll put up a picture of the new fret that is in work on the other thread.
Now, all I need is another ten or twenty orders and we can start on the 1/64 version.
Best Regards,
Rick
-
-
Hi Keith,
I don't know if you're ready for those gunport hinges but I am now putting them in work. Do you want me to save you a sheet?
Best Regards,
Rick Shousha
Montreal
www.modellers-workshop.com
-
I appreciate all this input. From what I understand, if I can source a good MDF product, that is made to be handled safely by modellers, it should be a significant improvement over plywood.
I like this, thank you.
Best Regards,
-
I would take Chuck up on his offer long before I tried using a school laser. Actually, no, I shouldn't say that. Once you've used the school laser and realized how much effort it takes to go from a design to the real thing, you will really appreciate how much time and effort it takes to make a decent cut on a laser.
Then, you can take Chuck up on his offer and pay him whatever he wants. Really. It's that hard to use these things to the level of quality and precision modellers will accept.
I am in the middle of designing custom gratings for a fellow, using three of four different thicknesses of teak. I can tell you it's a lot more subtle than one realizes.
Cheers,
Rick
-
Hi Keith,
That's a wonderful note. I am sure your concerns are right. The reason I switched from plastic and ABS car models (all those Pocher models I built) is because of toxic materials. I've become allergic to CA glue and can't come near the stuff. Who knows what I ingested when I was using automotive paints on those Ferraris.
So, I accept completely your concerns but I open the door to ideas on how to replace those plywood pieces with a material that doesn't warp.
Actually, let's start from higher up. What can be done, in kit form, to allow new builders to build a straight and true POB model?
Really, this is the crux of the matter. I want to sell a kit to a client and say "hey, you need this if you are going to build a perfect model". My new clients generally spend $400 on a model and another $200 on tools. That's the average first order. If I were to add another $150 to $200 for some sort of jig, they'd buy it.
This is great; with a few emails on this forum we actually got to where we are discussing the real issue.
Cheers!
Rick
-
Greetings,
Considering Amati is using this stuff I suspect it has more to do with the speed, ease, and quality of the build than with anything else. After having sold a couple of thousand kits, i can start to see patterns in my clients' reactions to kits. Among new builders, I get the best reviews from people who buy Amati kits. This suggests to me that they are making a great effort to keep things simple and help builders get to the end of their projects.
Speaking of ease or construction, there is a whole new way of putting their copper plates on the bottom of Pegasus. This is another place where I am looking forward to clients' reactions.
As a seller of kits, I am all for increasing speed, quality, and ease of construction. Any technology that adds to the fun of building models, lowers the skill barrier to entry, reduces frustration, and helps keep modellers interested, is most appreciated.
To me what is important is the final product. Does it look realistic? Is it clean and sharp? Will people want to keep looking at it year after year?
The new technology and materials coming on line is most exciting. Perhaps the MDF is not quite the right product for the frames or bulkheads, but it's nice to see companies innovating.
I have signed up as a designer on Shapeways and am working very hard to get some 3D printed cannons on that site. People will say that plastic cannons are not accurate but who sees the material after they are painted? On the other hand, with 3D printing, I can add detail to make the cannons much more realistic. Once they are placed side-by-side I am sure the 3D printed cannons will be more interesting to look at than turned brass cannons.
Time will tell.
And now back to the drawing board (literally).
Regards,
Rick
-
So far i know the Lady Nelson and the Pegasus kits come with MDF. I've searched around on this site to see if there are any comments but none of the build logs I've seen actually mention anything. If you can find a log that actually mentions the difference like "hey, wow, this is amazing!!!" I'd like to see that. So far it just seems like an incremental improvement, not a revolutionary revelation.
Rick

HM Schooner Pickle by rshousha - Caldercraft - My First Caldercraft Kit!
in - Kit build logs for subjects built from 1751 - 1800
Posted
All,
I cannot believe how time flies. I started this project on November 14th, 2014! I am just now getting through the first planking. OK, life is wonderful and I have a bunch of other things to do but, still, I am amazed.
I will have to put in an hour a day for the next two months and see if I move ahead.
Cheers,
Rick