GrandpaPhil
-
Posts
6,147 -
Joined
-
Last visited
Content Type
Profiles
Forums
Gallery
Events
Everything posted by GrandpaPhil
-
Looking good!
-
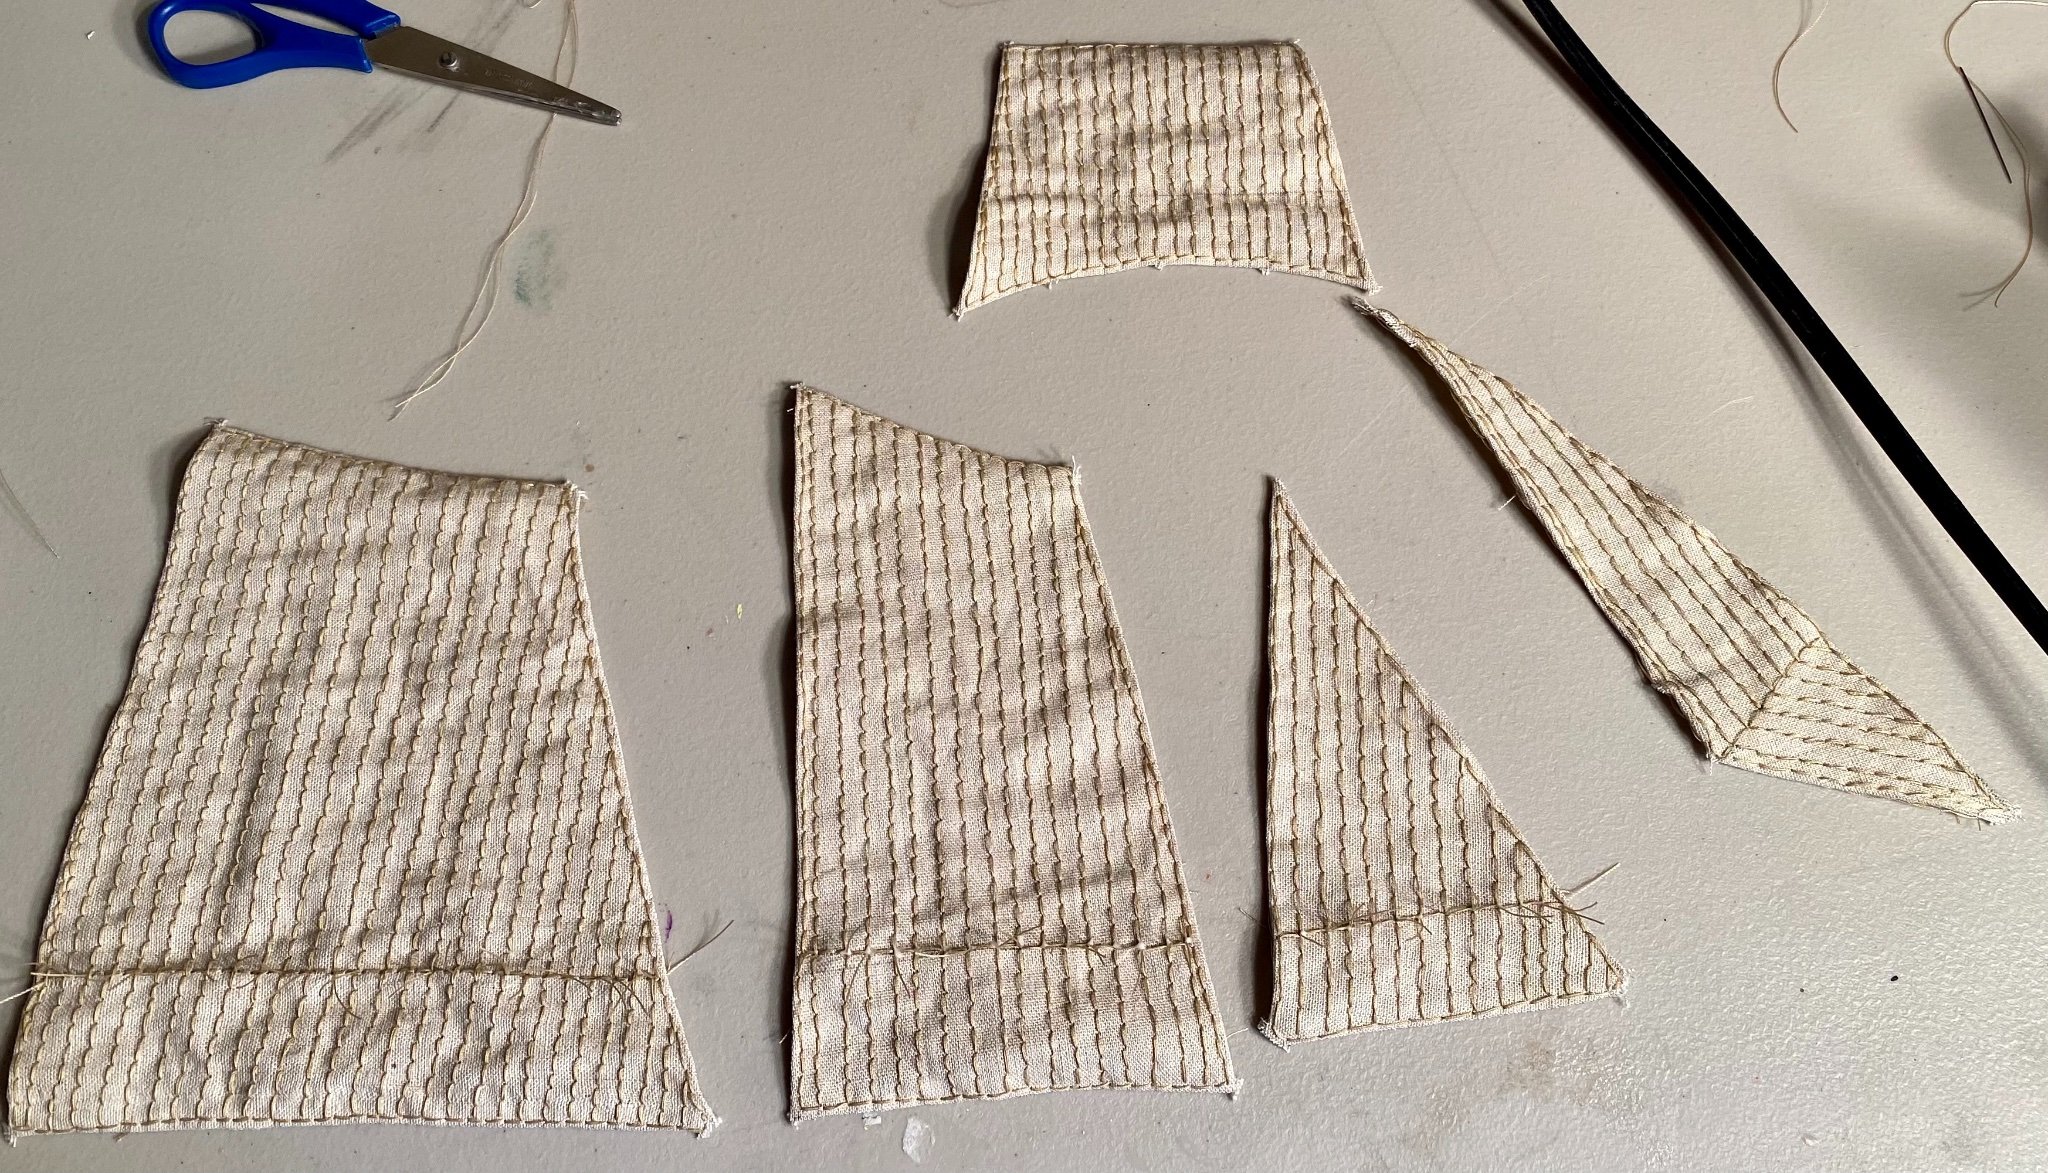
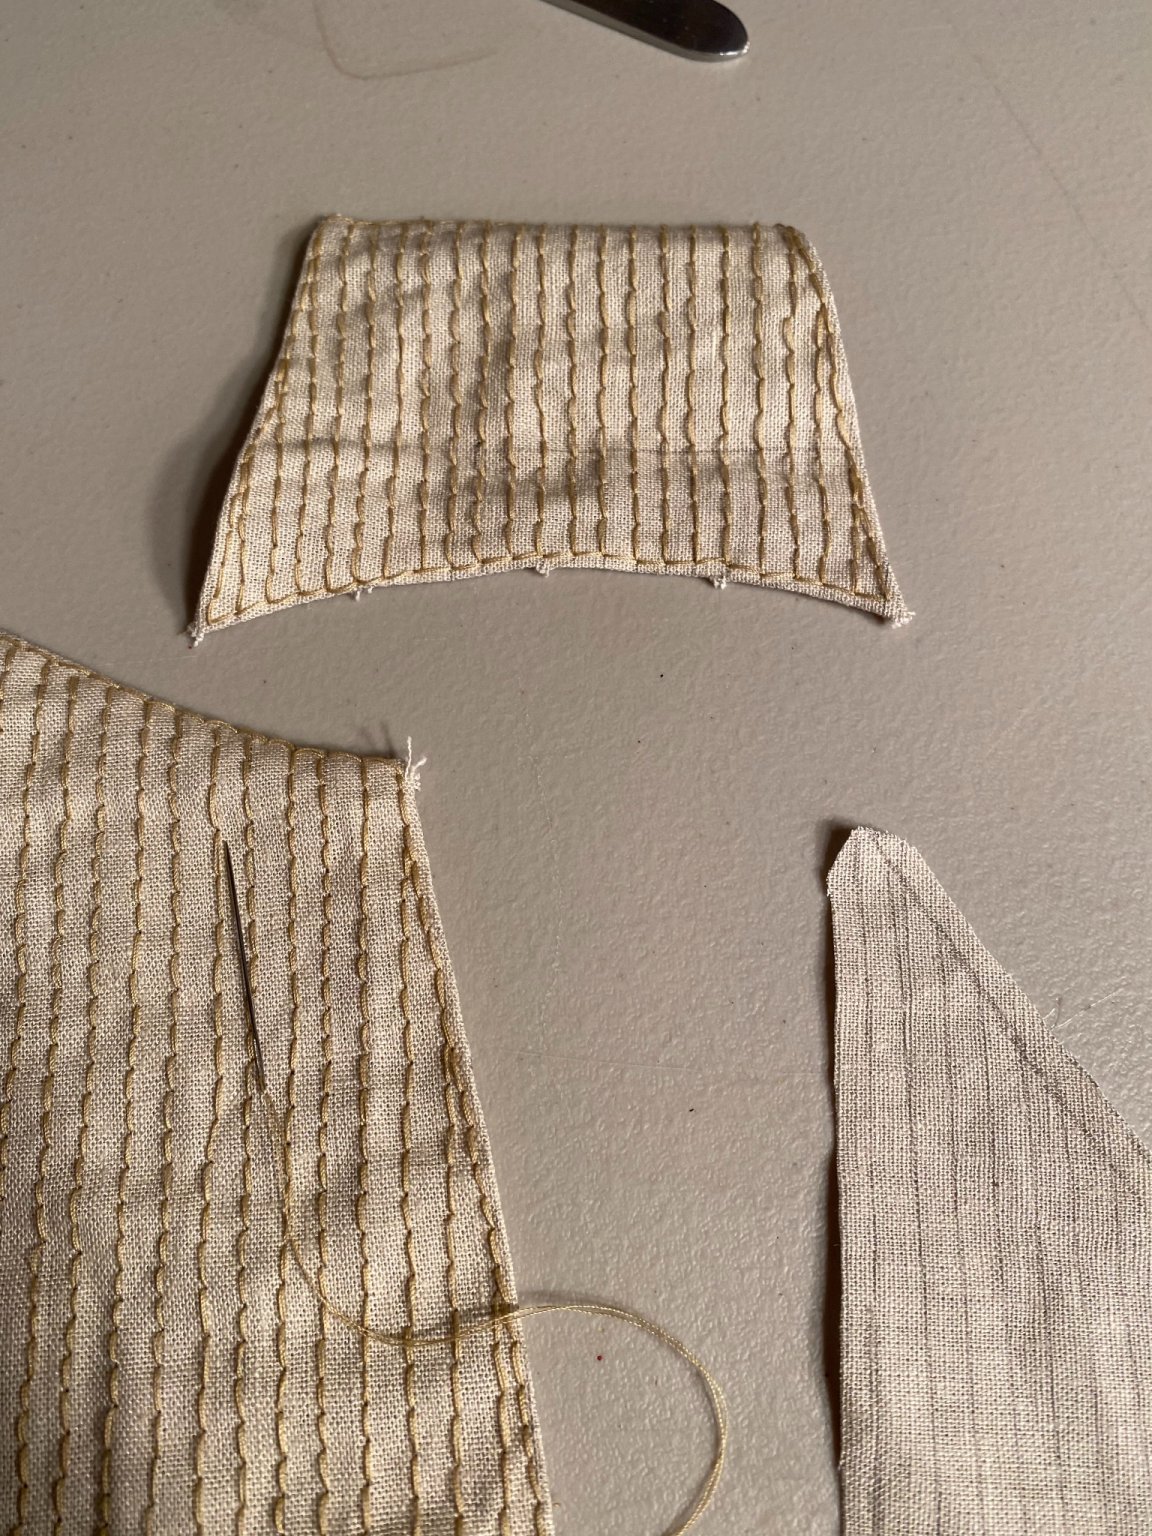
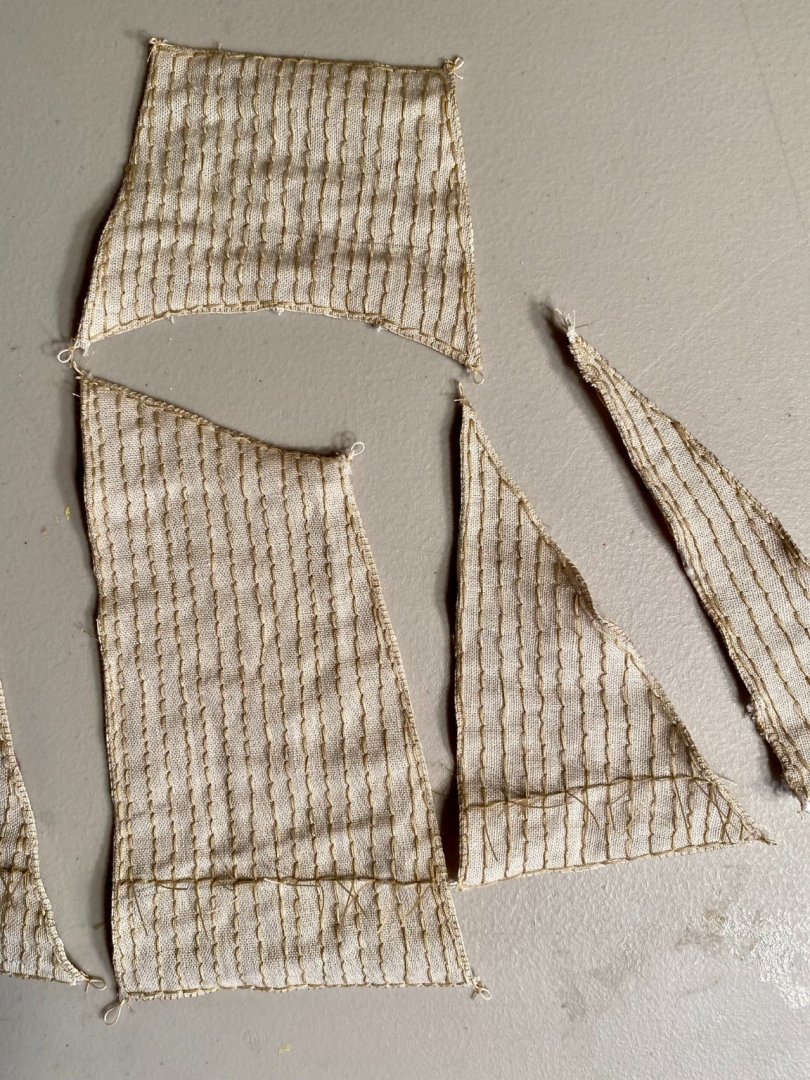
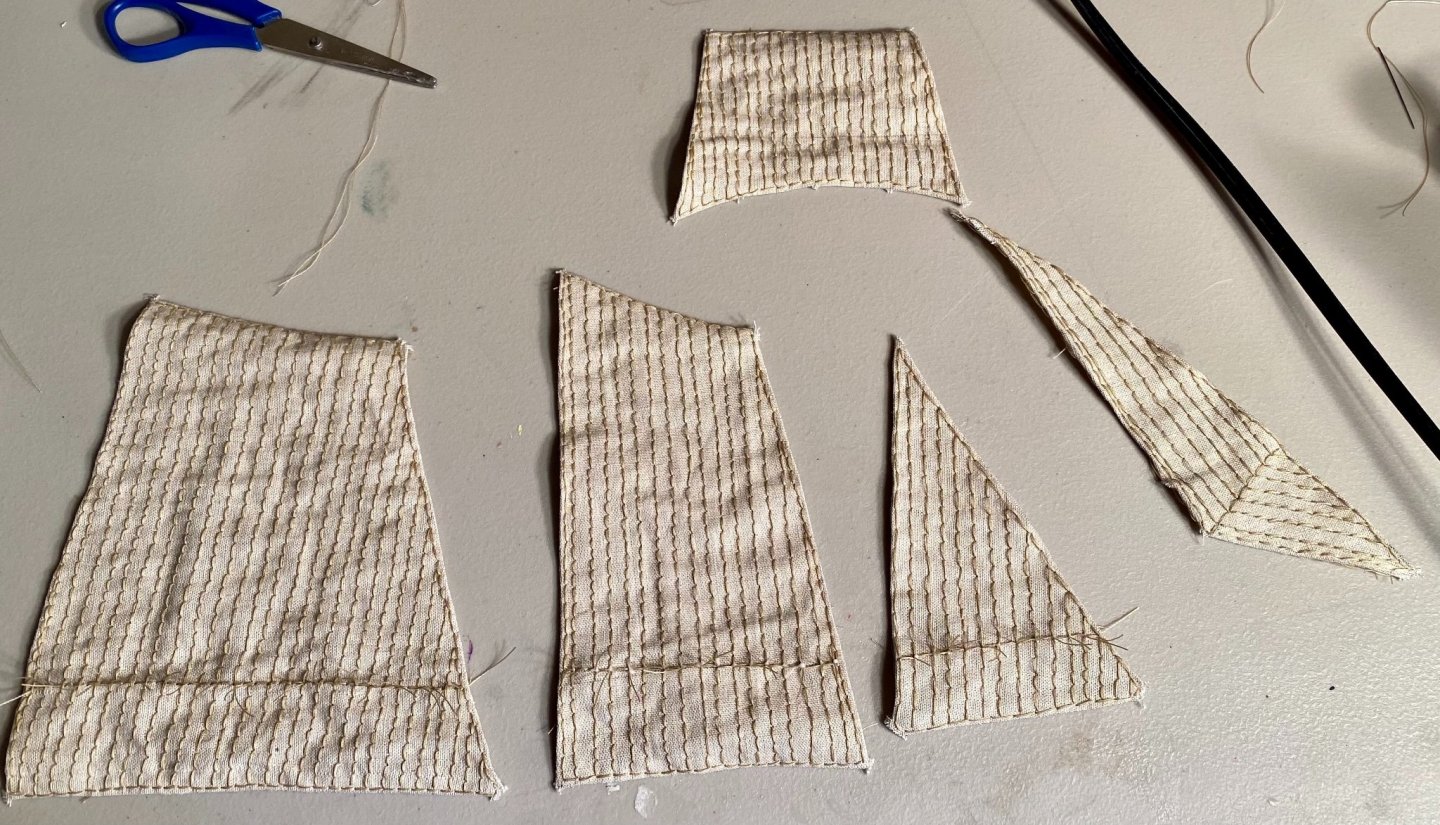
Thank you all for the comments, the likes and just for stopping by! One set of sails, reefing points and bolt ropes included: Now, on to the running rigging!


-
Looking good! The gunport templates are very nice. My Victory had cardboard templates to be used after the second planking, for gunport positioning. Your first layer of planking came out very well!
- 218 replies
-
- 2
-

-
- Victory
- Caldercraft
- (and 1 more)
-
OC, Thank you very much! Allan, I might try silkspan for the Victory’s sails. I’ve been getting more detailed and trying new techniques/materials with each model. I’m still getting better.
-
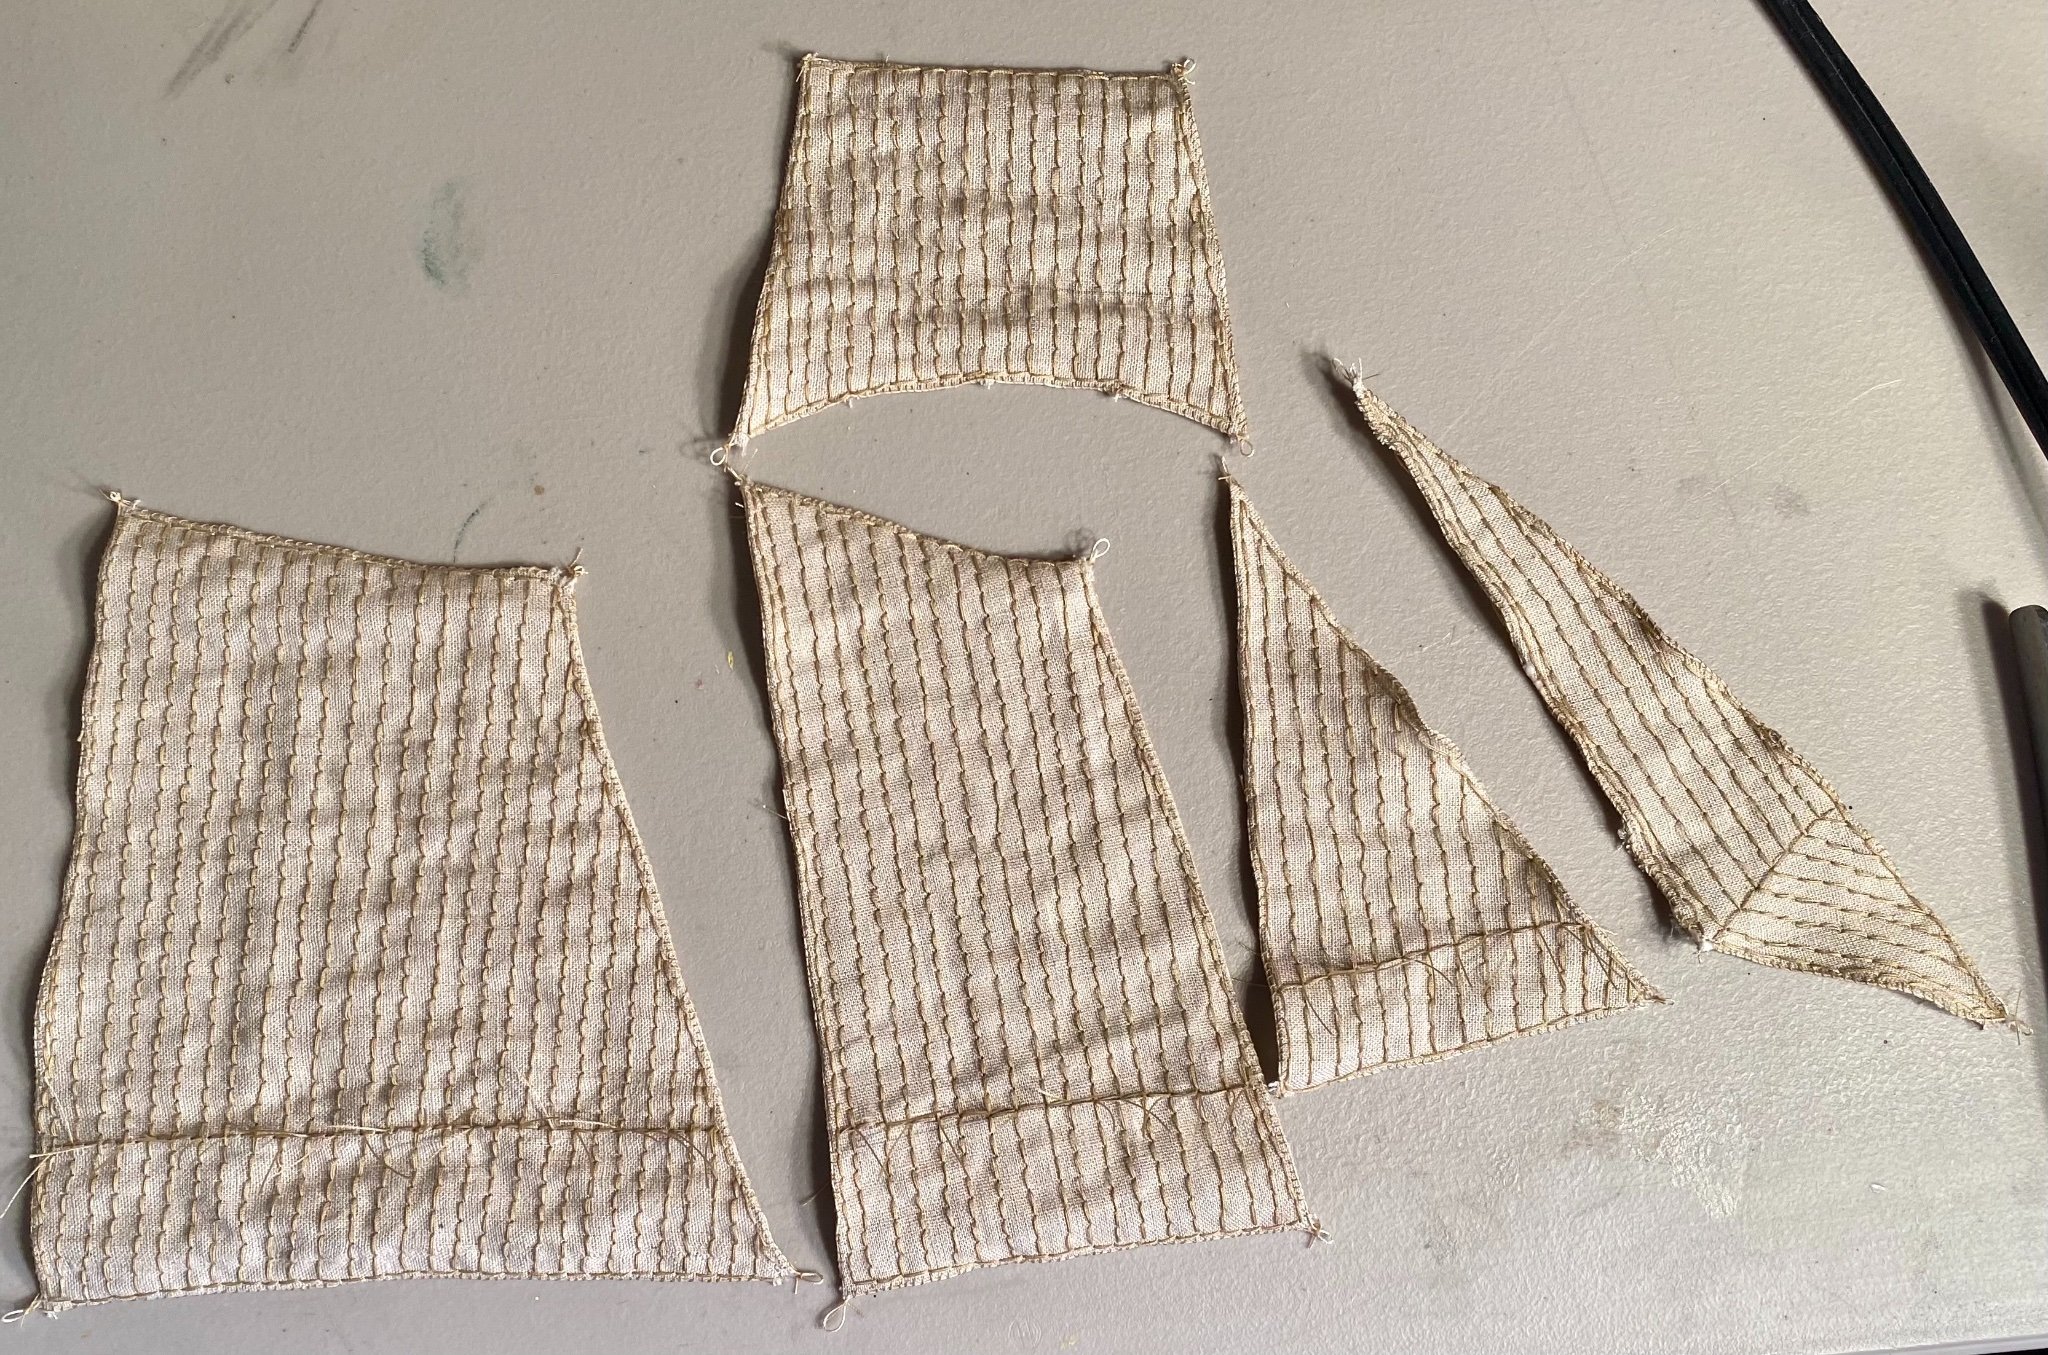
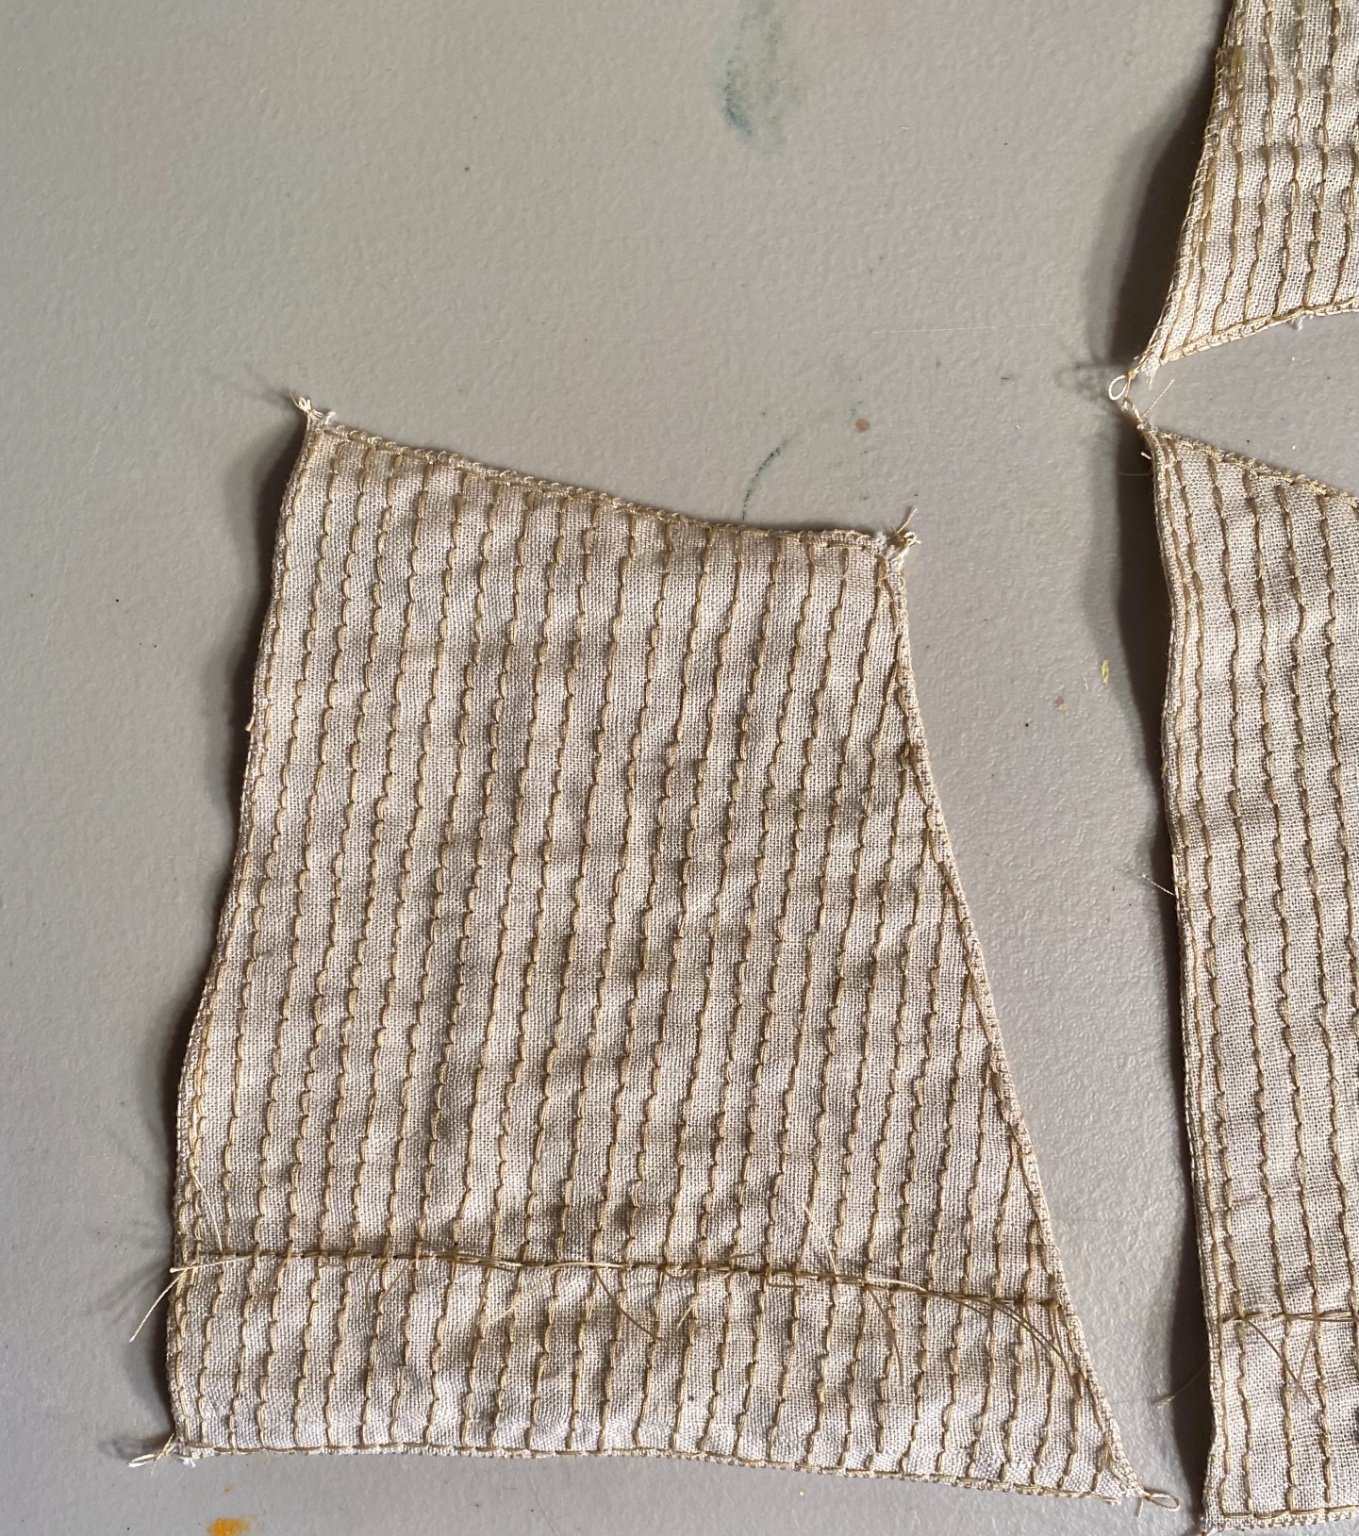
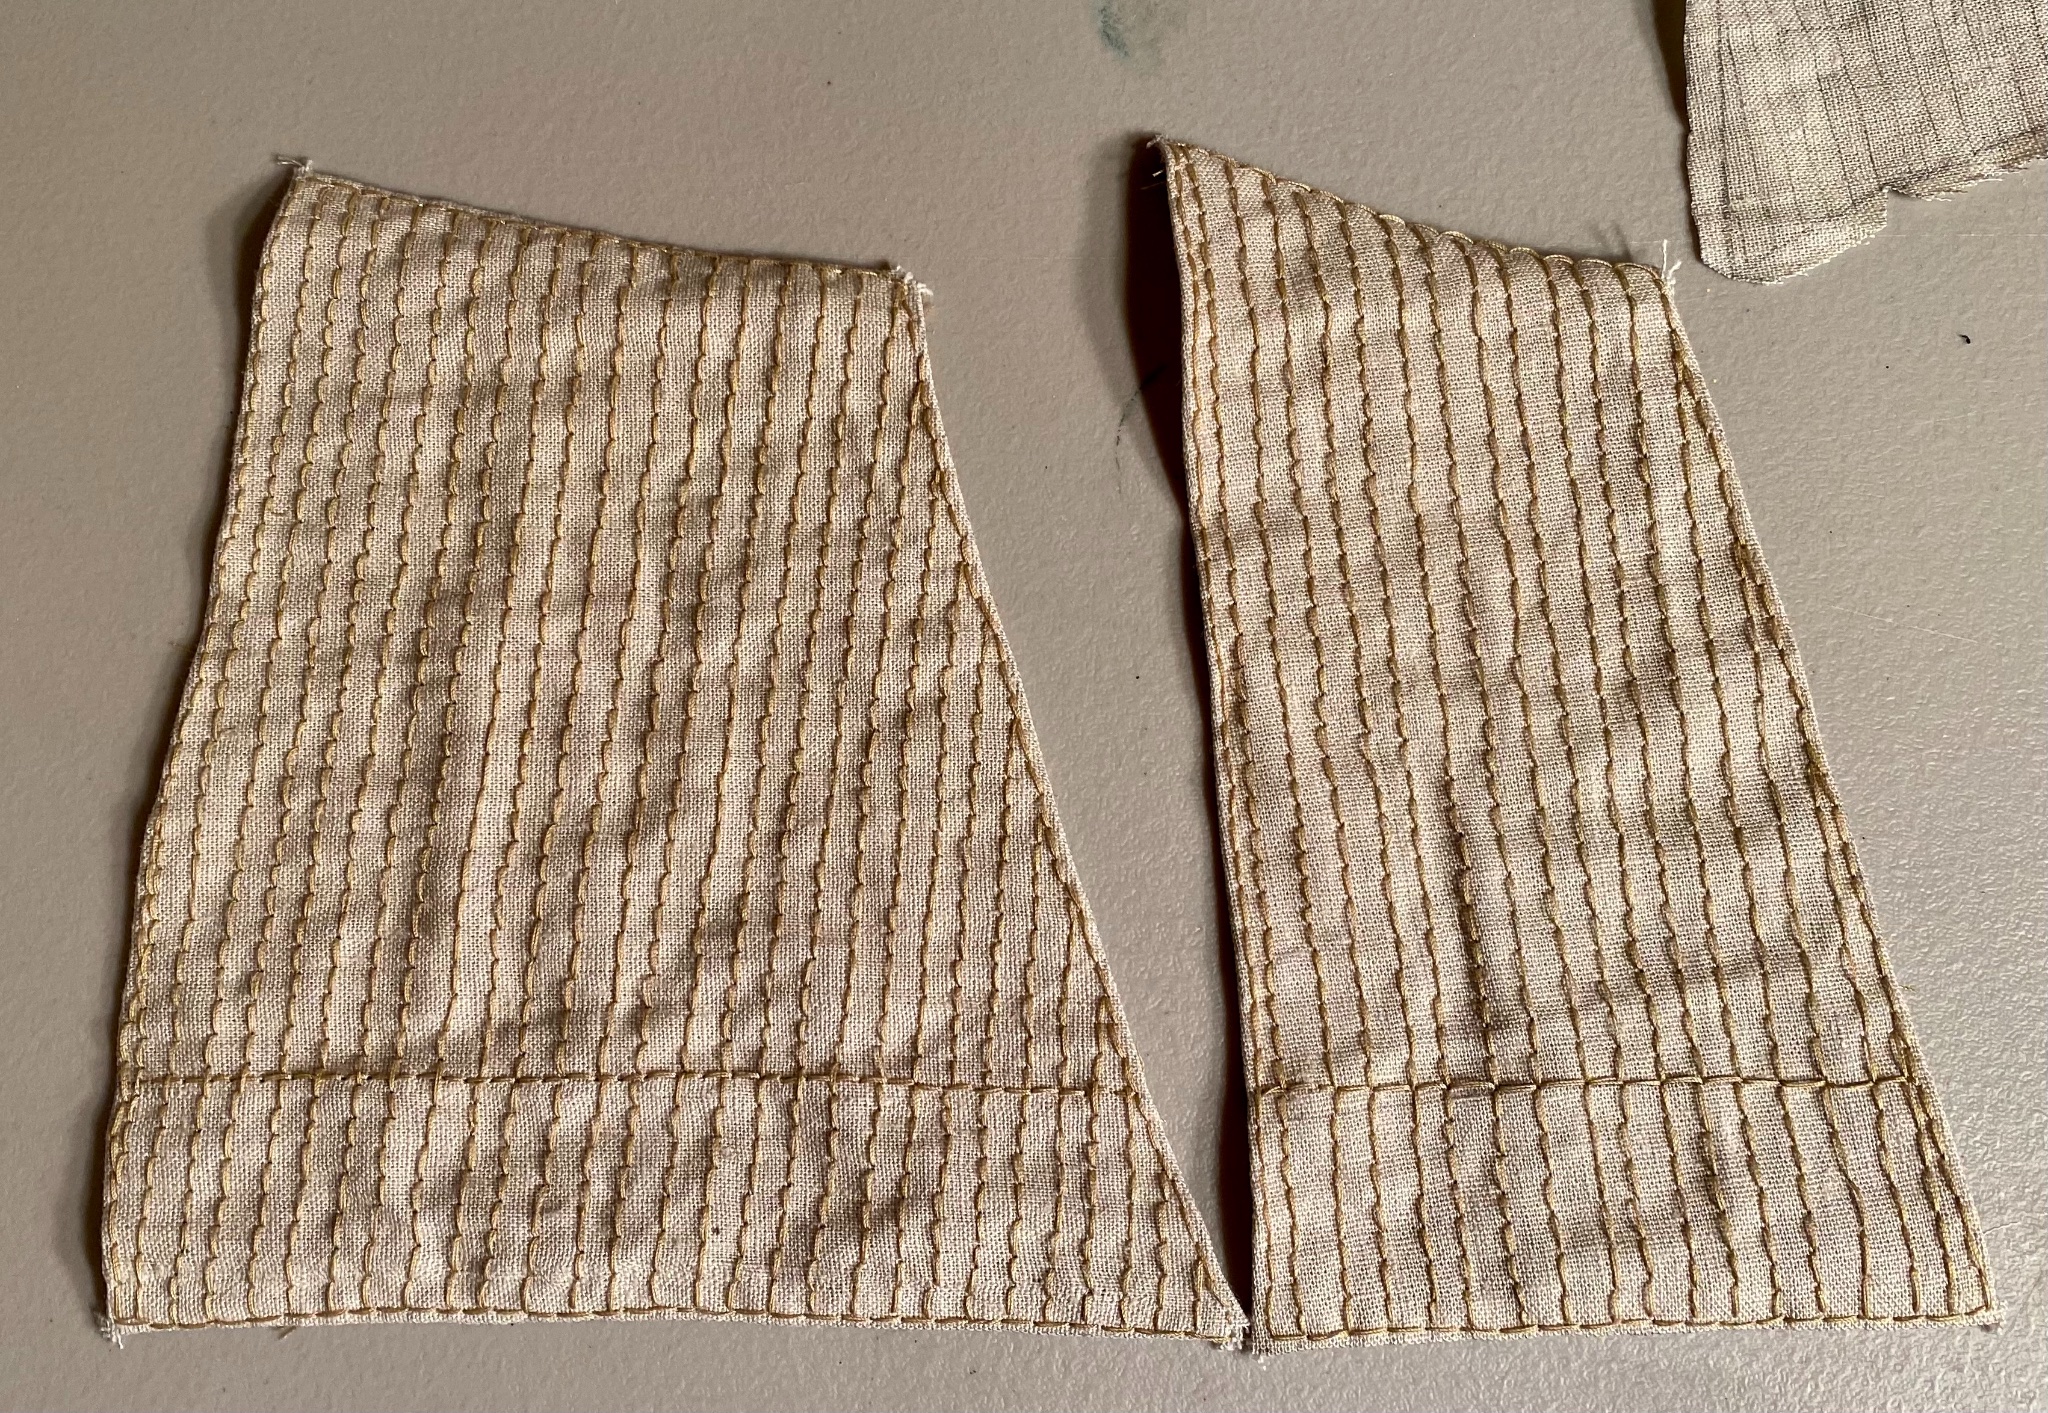
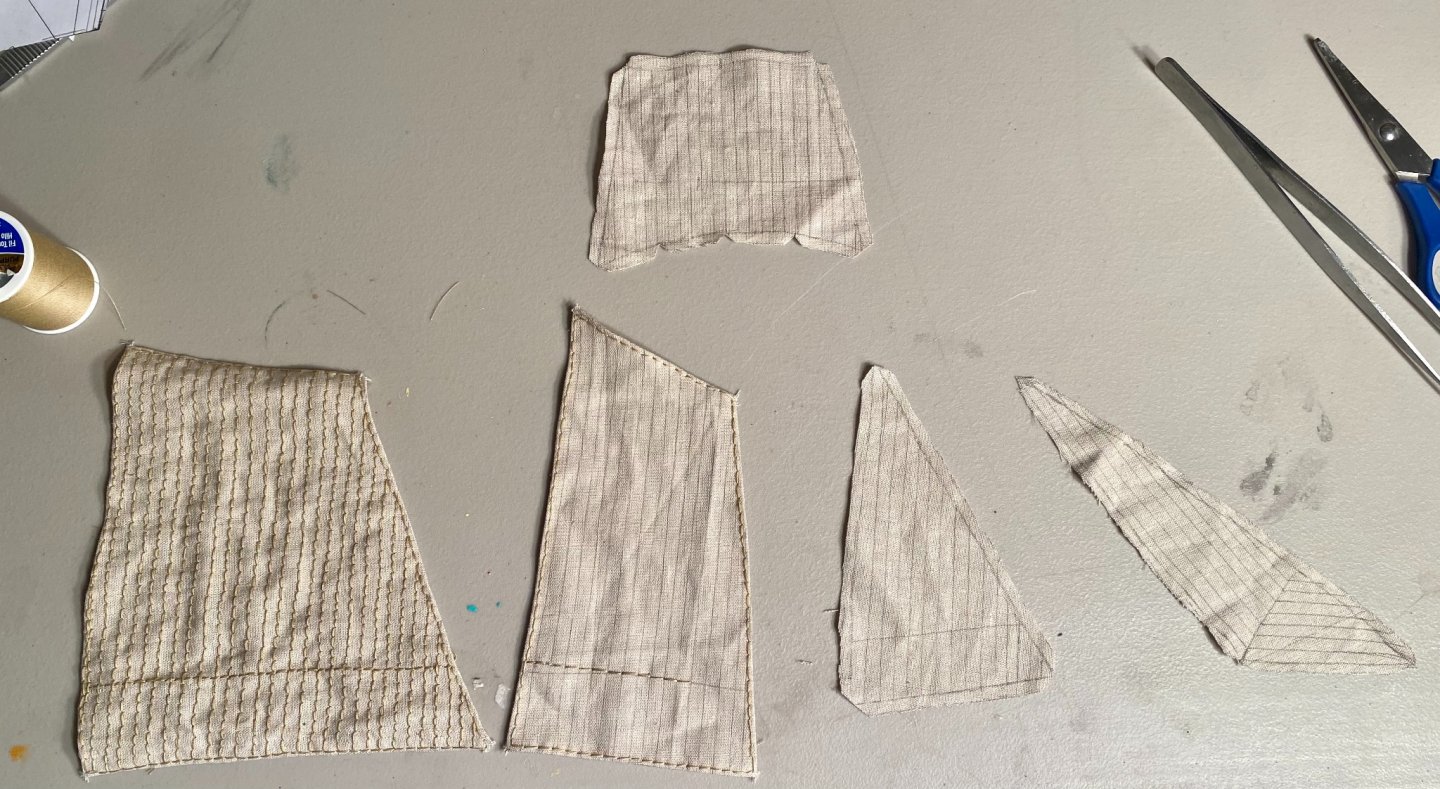
Installed reefing points: I wanted some thicker thread for bolt ropes, but according to Zu Monfeld, the bolt ropes had thickness between 1/3 and 2/3 the diameter of their respective stays, so… I guess I’ll use what I have on hand.
-
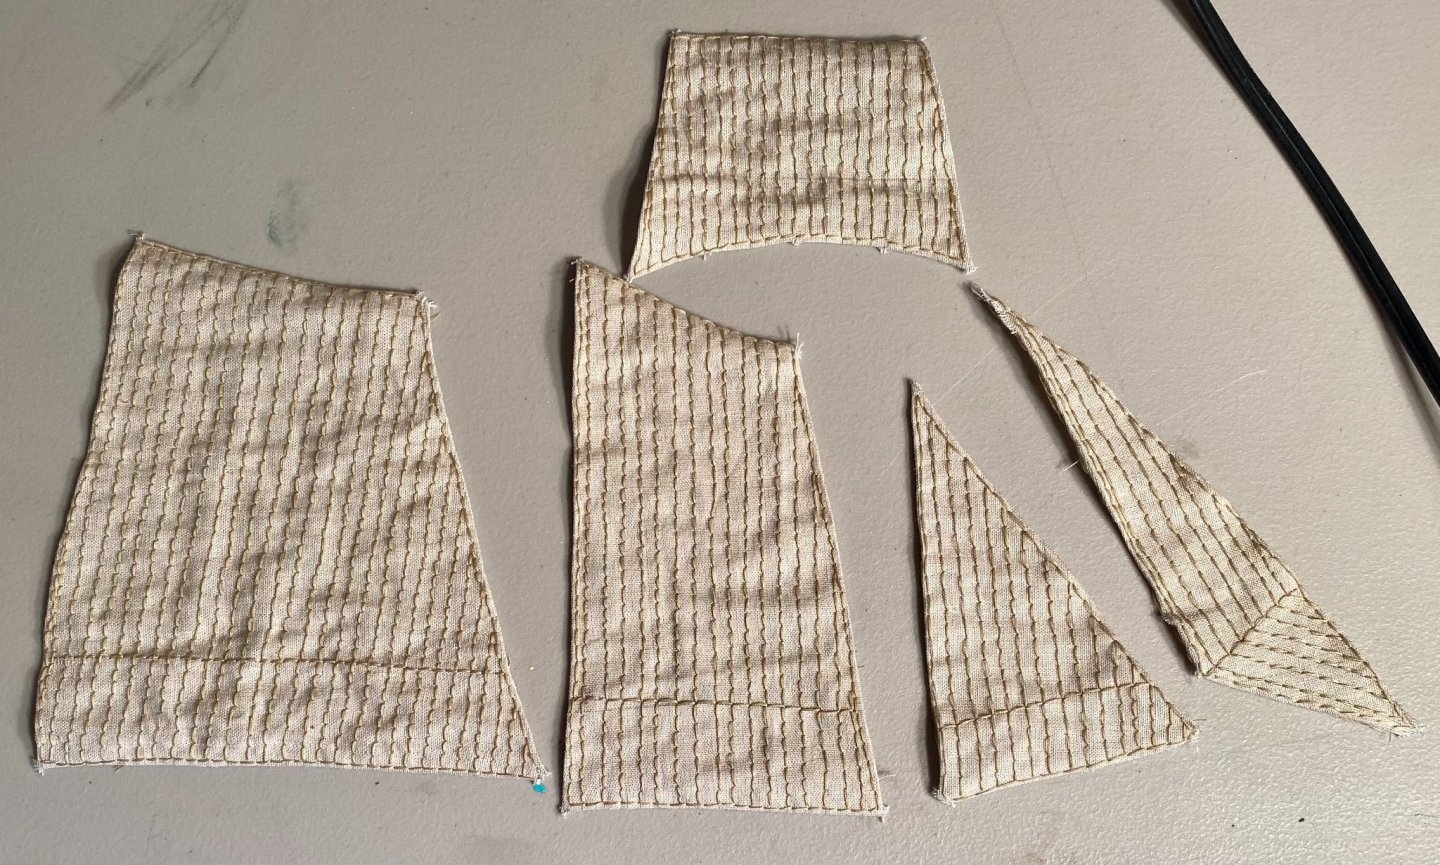
Thank you all for the likes and for stopping by! One rough stitched set of sails: Next up, reefing points and bolt ropes!
-
Papegojan 1627 by mati - FINISHED - 1/48
GrandpaPhil replied to mati's topic in - Build logs for subjects built 1501 - 1750
Very nicely done! -
Congratulations! Well done!
-
Looking forward to seeing this build! Are you going to carve your own decorations for this one, like you did on your Soleil Royal?
-
Incredible work!
-
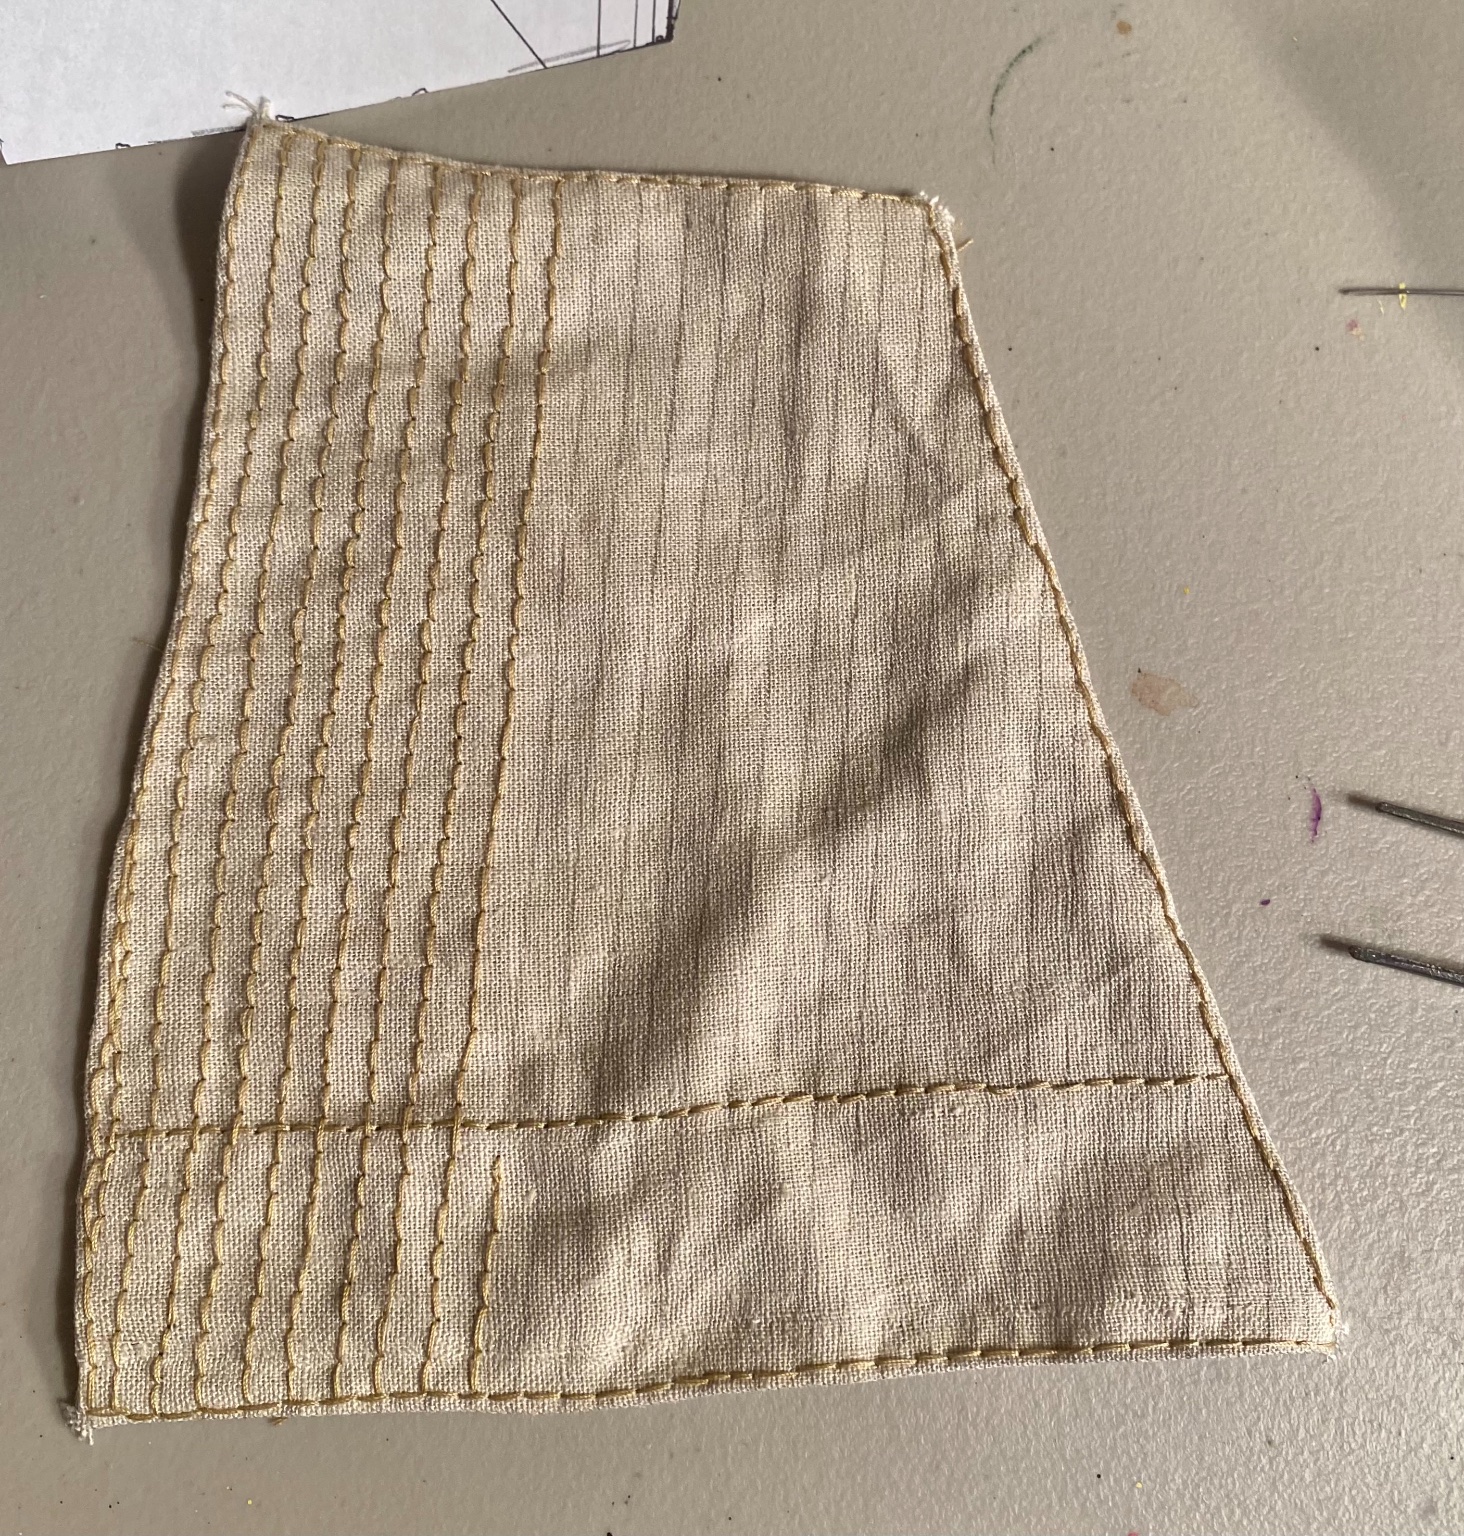
Making progress: The main sail still needs reefing lines and a bolt rope, but I’ll assembly line those and do all of them at once.
-
Very nicely done!
-
Thank you all for the “likes” and for stopping by! I am still working on the main sail slowly. I decided today that I am also going to make bolt ropes. I keep improving and getting more in depth with every model.
-
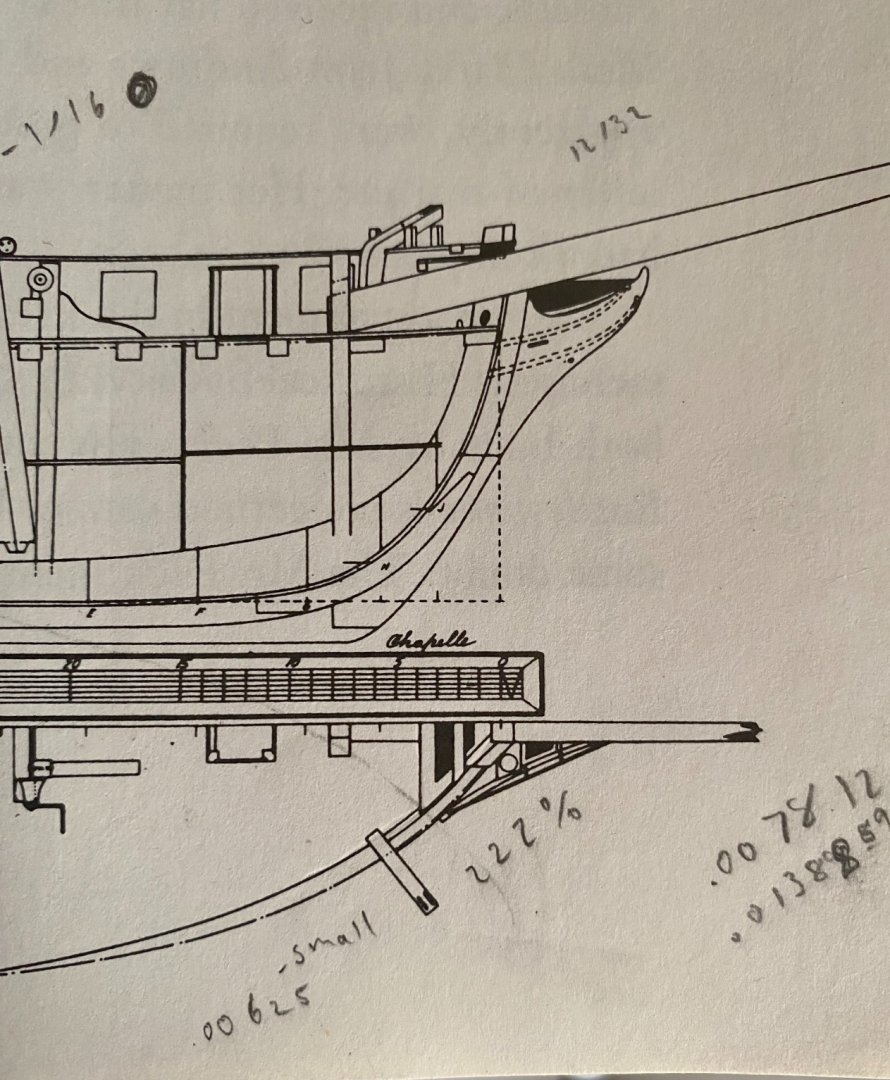
Ingrid And Other Studies is $21 plus $14 shipping on Abebooks Plate V of the History Of American Sailing Ships by Howard I Chapelle shows a single seat of ease to either side of the bowsprit, on the head, on the Prince De Neufchatel. Please ignore my notes. This was my copy that I used to build the hull of my model.
-
Congratulations! Best of luck!
-
Amazing work! Your Soleil Royal is coming along beautifully!
- 2,699 replies
-
- 3
-
-
- heller
- soleil royal
- (and 9 more)