GrandpaPhil
-
Posts
6,011 -
Joined
-
Last visited
Content Type
Profiles
Forums
Gallery
Events
Everything posted by GrandpaPhil
-
Newer to Model Building, requesting assistance.
GrandpaPhil replied to histprof1066's topic in Wood ship model kits
The Wasa has a lot of decorations. I would like to build one eventually. It is on my bucket list. I carved my figureheads and decorations for my last two models with a no. 11 scalpel. Some like to use a dremel for carving. Since it sounds like you are on your own for the decorations anyways, sculpey works very well for sculpting decorations. That’s actually something that I would like to learn to do. The intro to carving group here is a wonderful tutorial and a great way to learn. That is how I learned (and I am still learning). Realistically speaking, it sounds difficult, and it looks intimidating, but the hardest part about it is just deciding to try. You should make a build log. Ask lots of questions. The people on this forum are awesome. They have helped me immensely. -
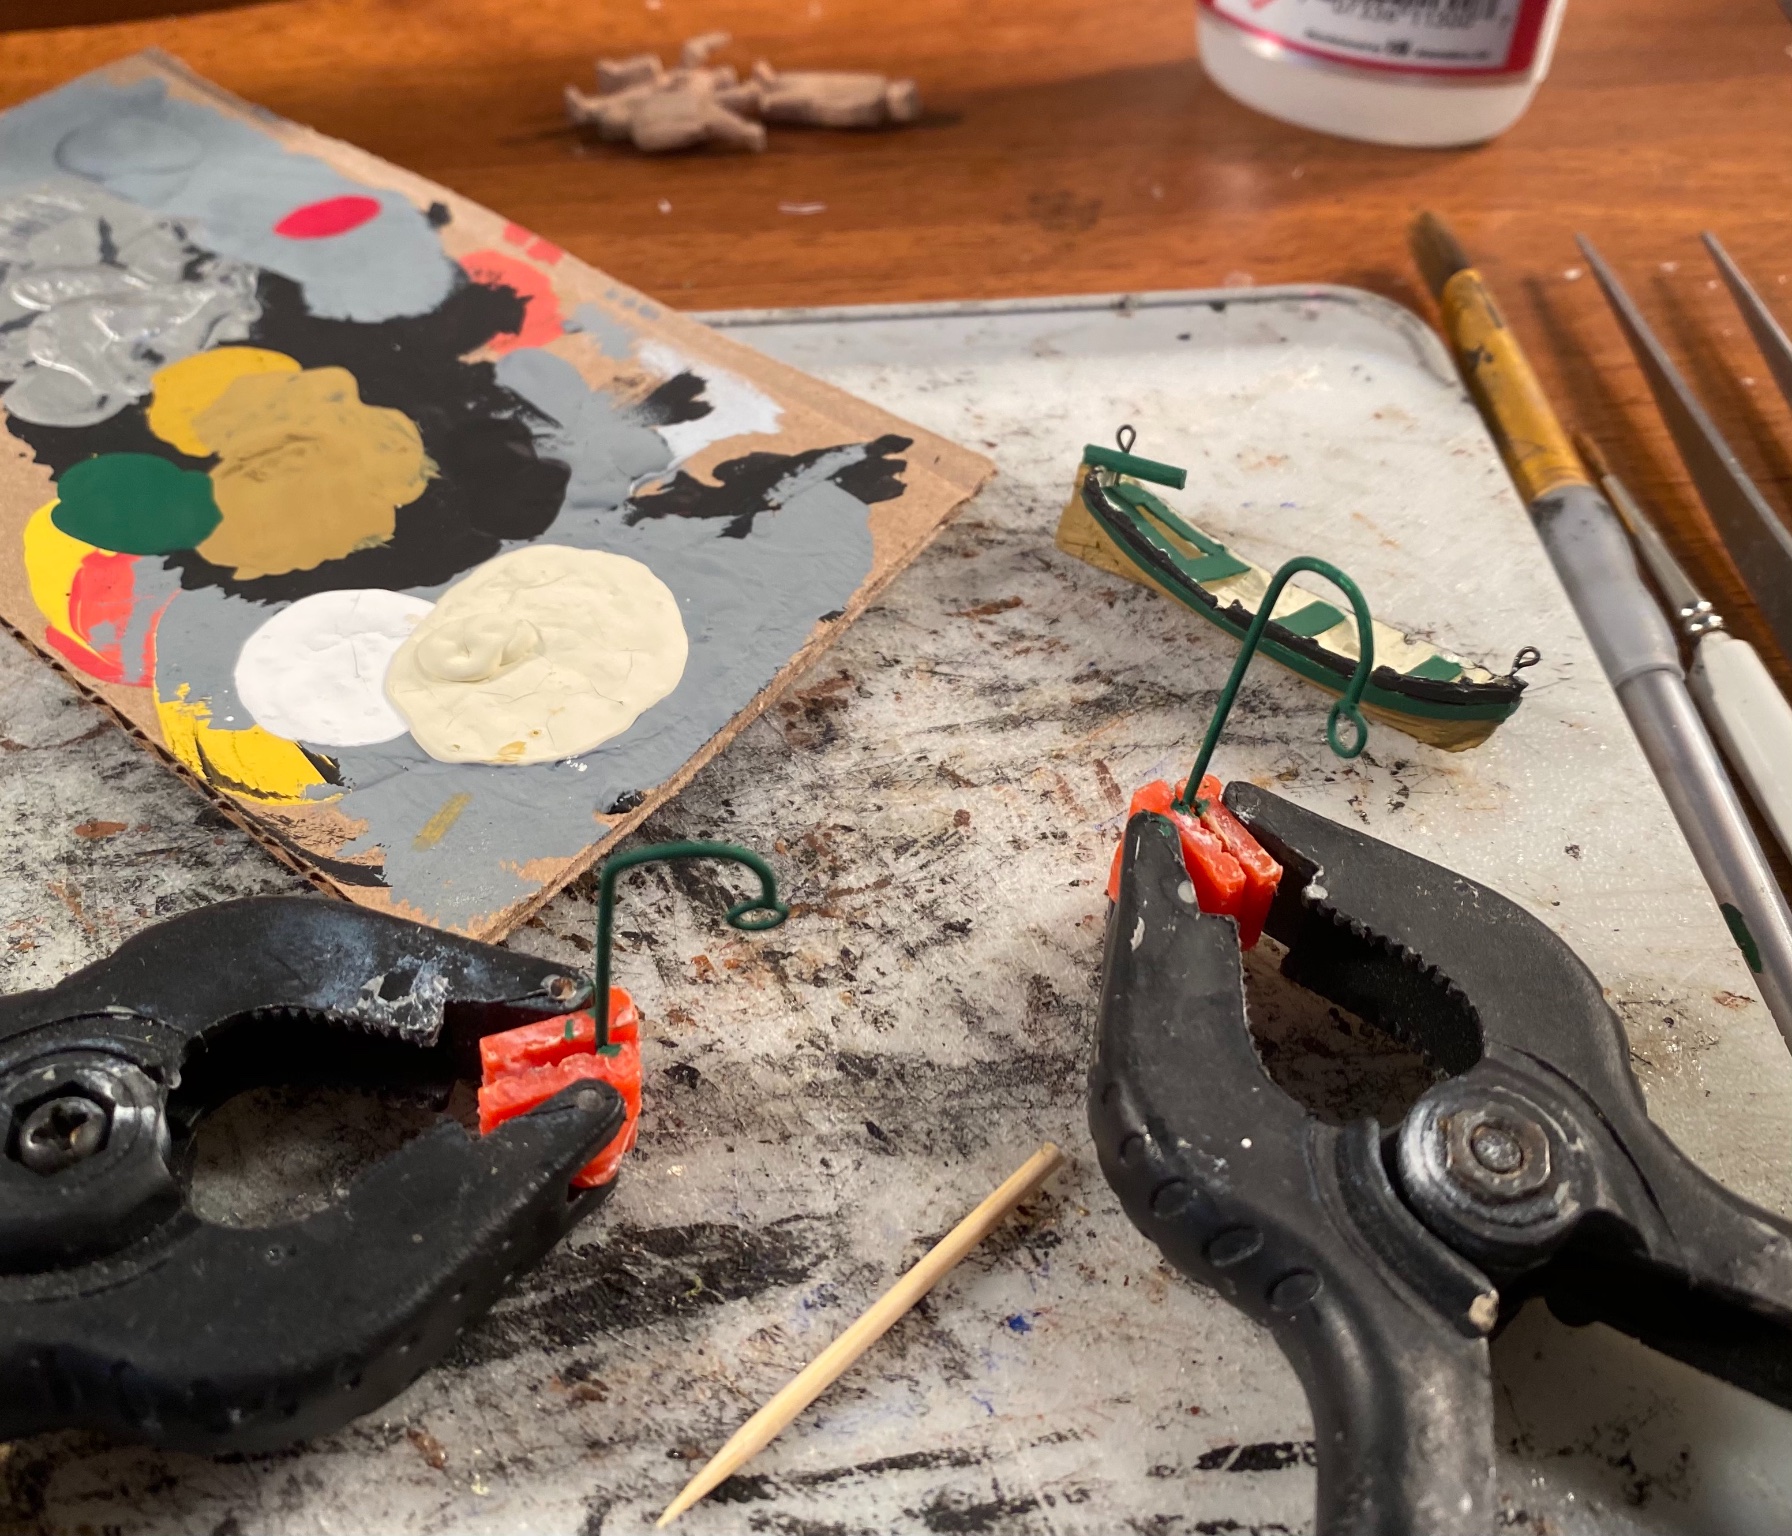
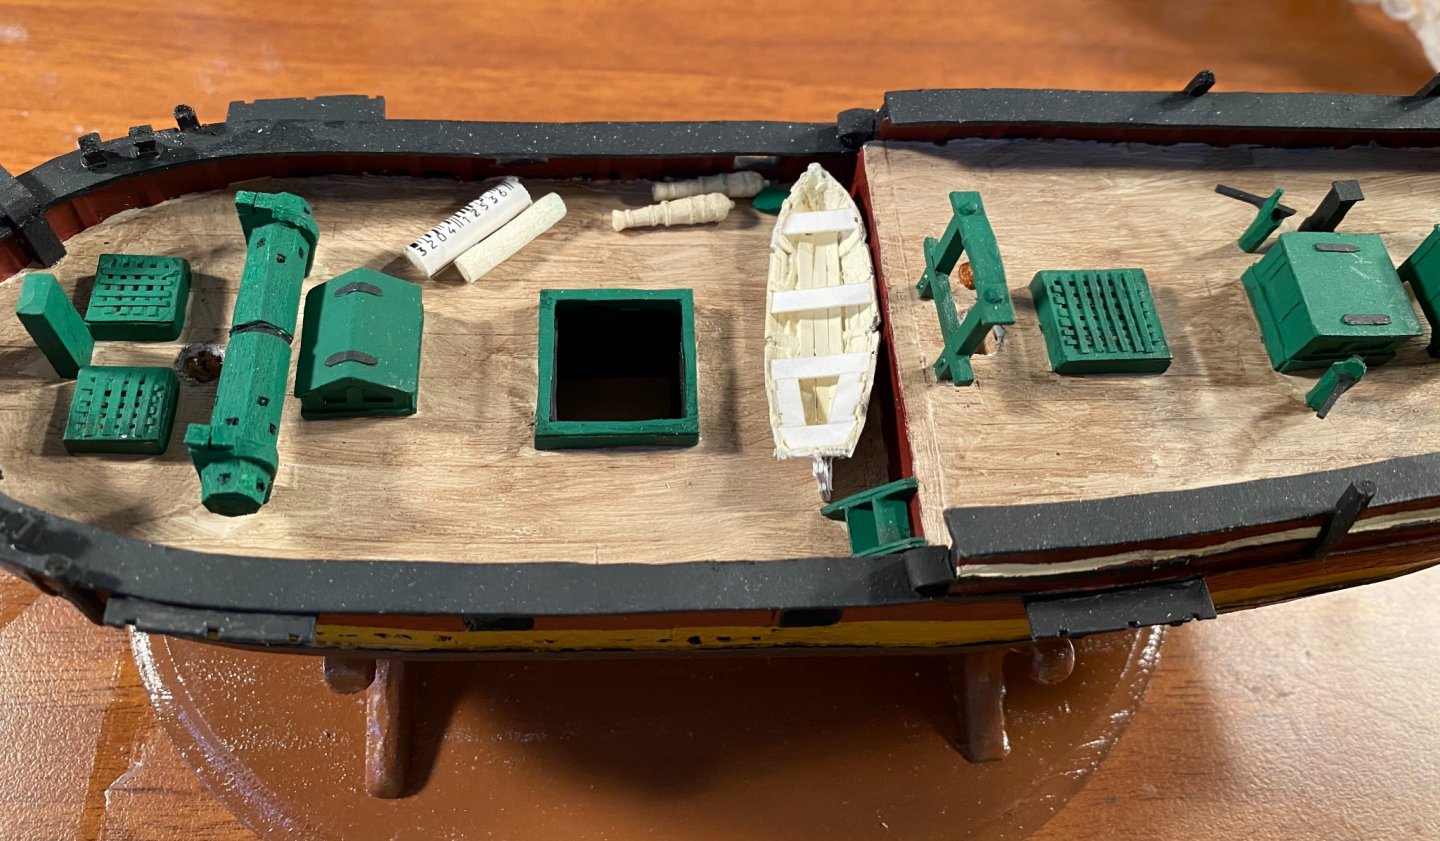
Thank you very much! It is good to be back! One modded boat with davits: Three crew members: My carving skills aren’t as good as some of the other members, I know this. However, there is only one way to get better. Fortunately, I am very stubborn.


-
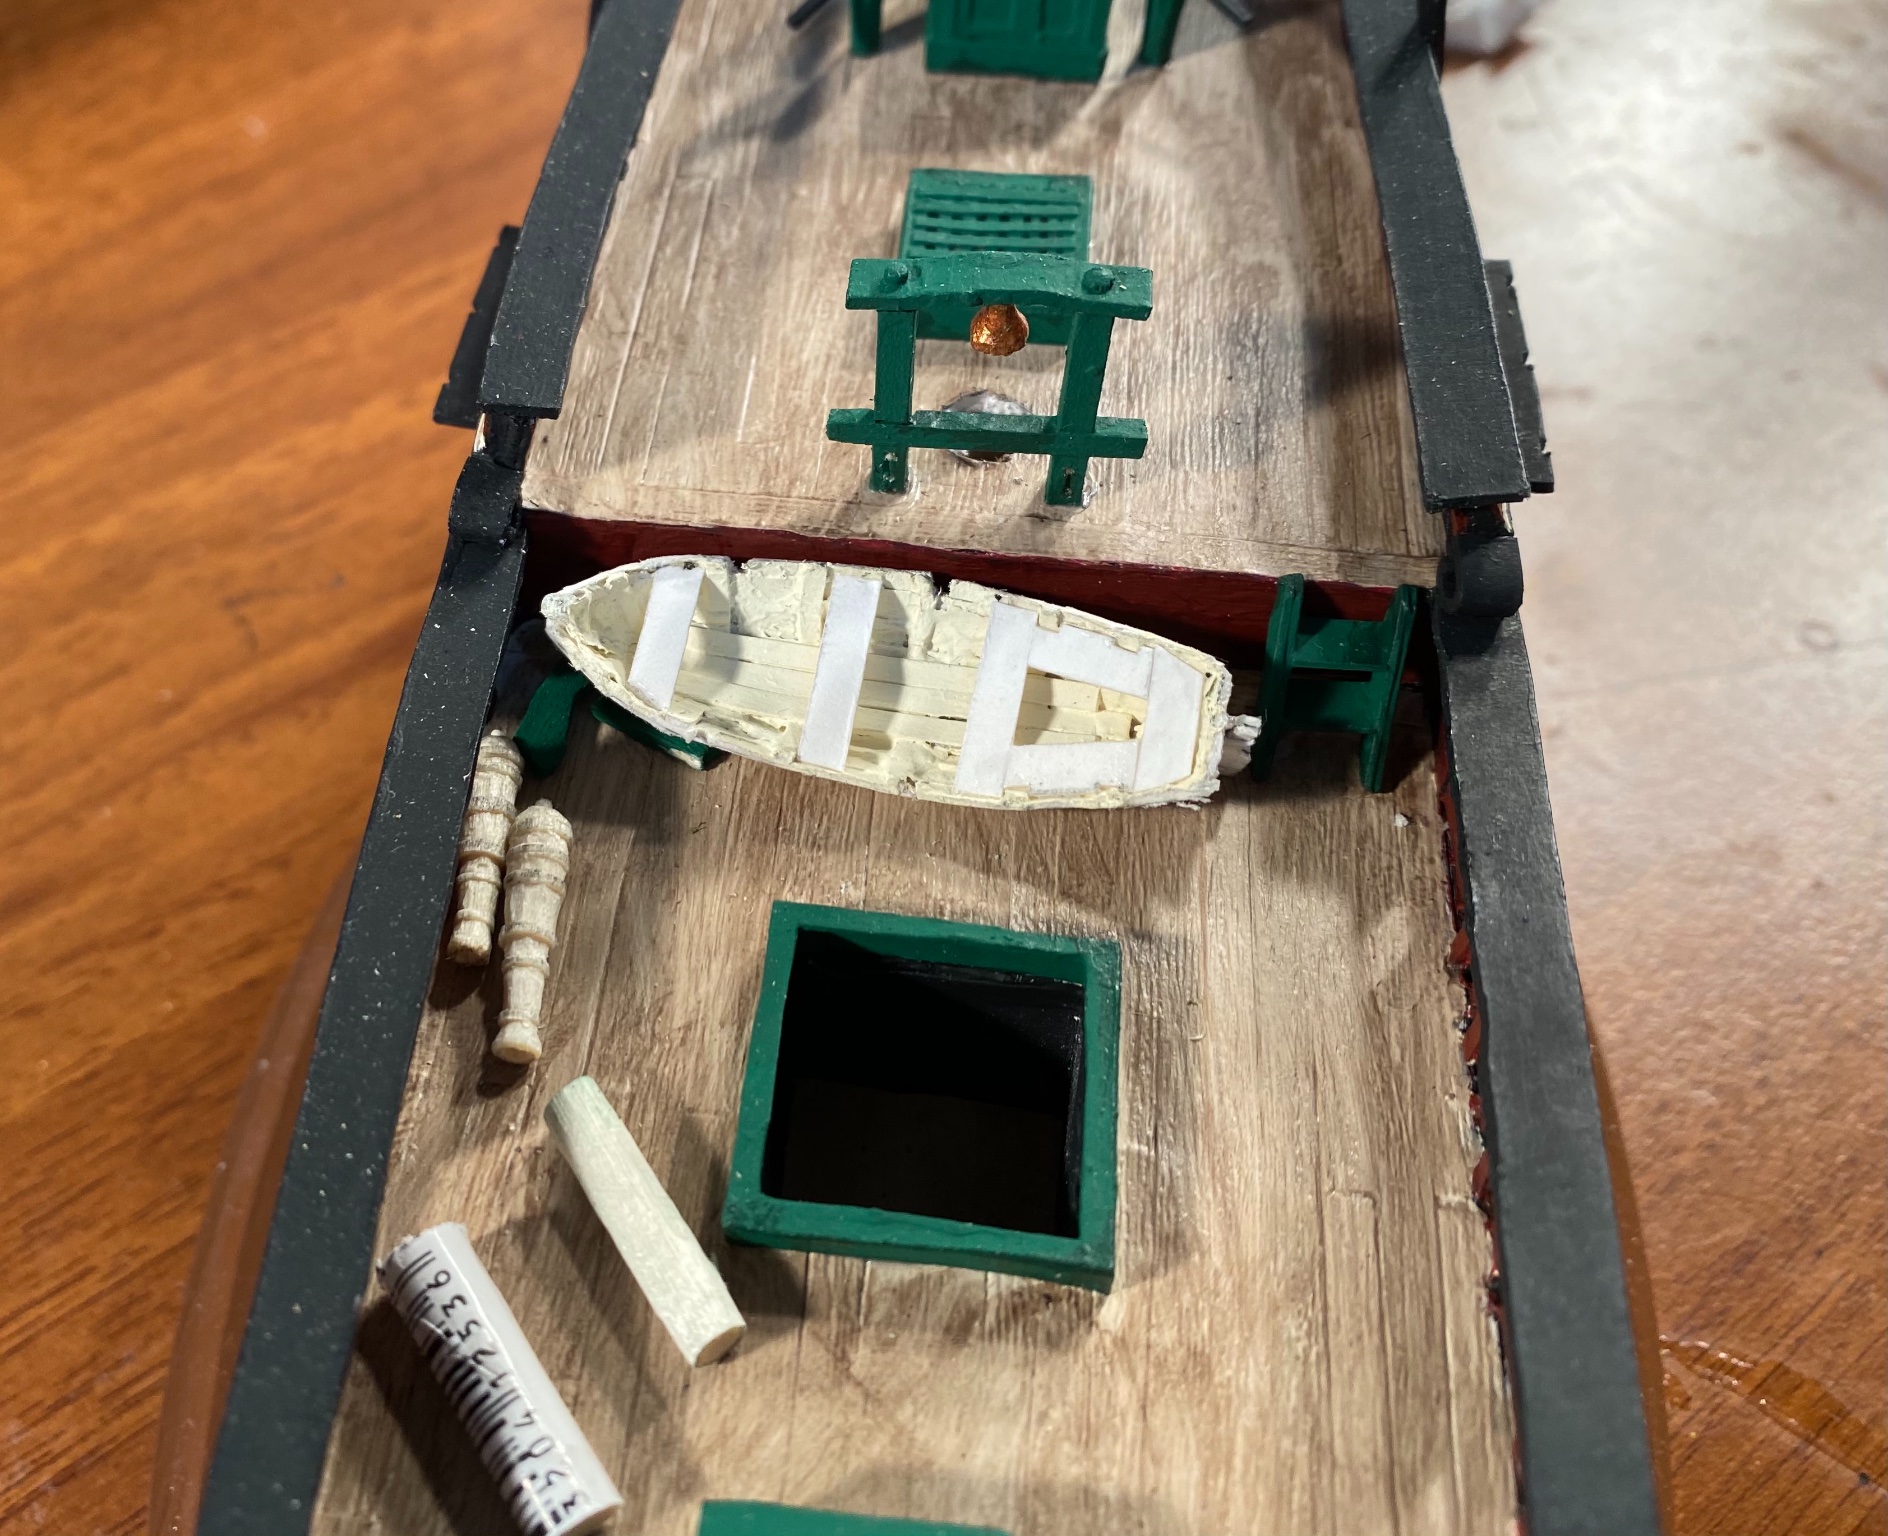
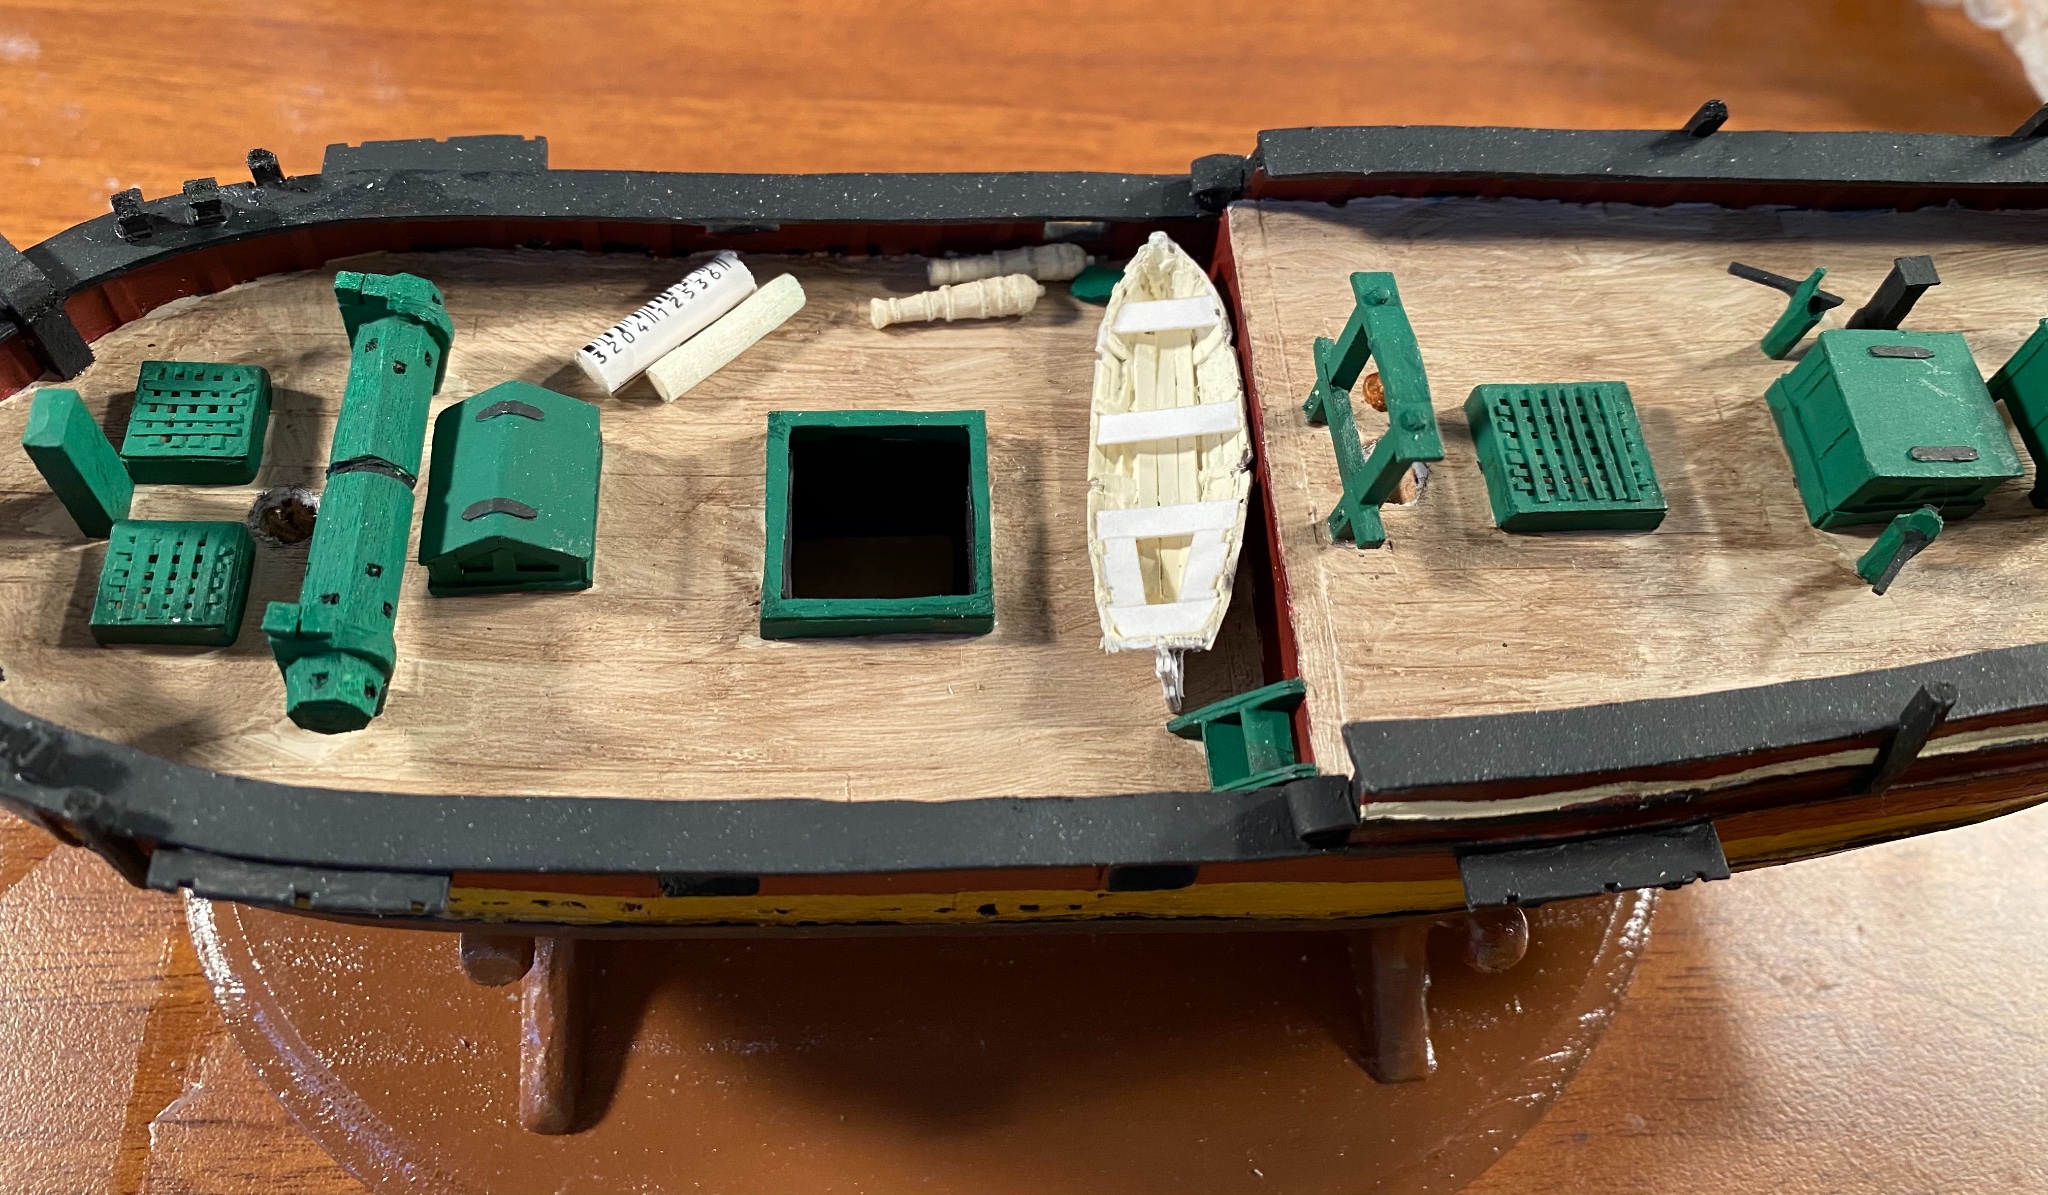
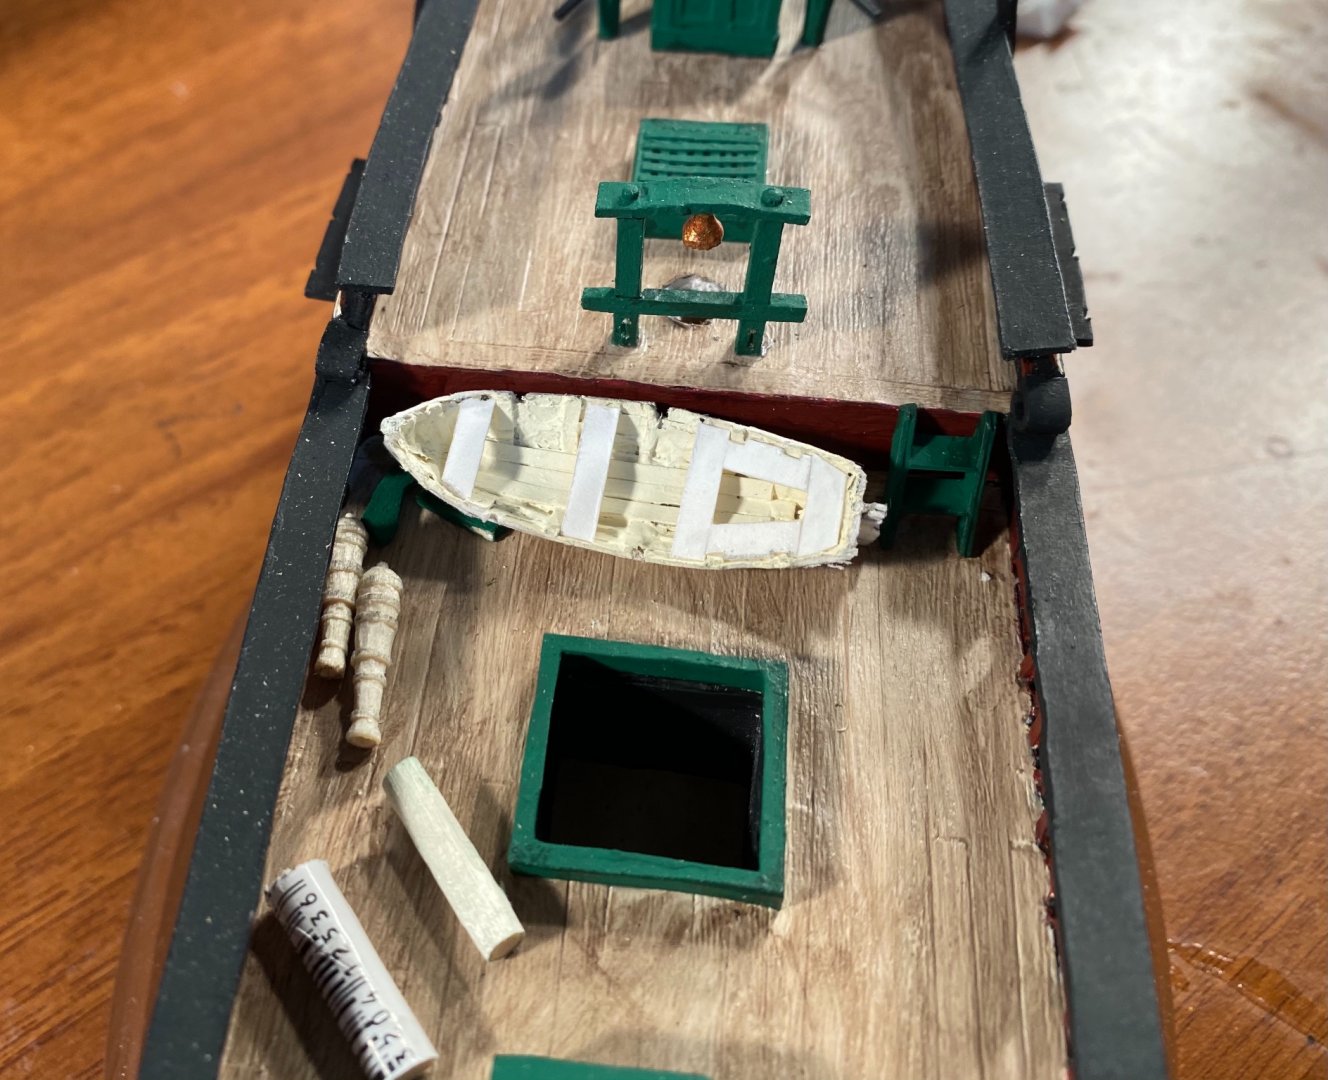
Thank you all very much for the comments and the likes! I finally got time to work on my model. I just realized that if I put my ship’s boat in, as demonstrated in the painting I was using as a reference, I won’t have room for the two aft cannons. Therefore, I believe that I will make davits and hang it off the stern!
-
Kit recommendations based on a request.
GrandpaPhil replied to Guybrush's topic in Wood ship model kits
Guns make good ballast according to a lot of period fiction. Which would make sense. The Model Shipways Sultana would make a good colonial era smuggler, too. -
Enzo Ferrari by CDW - FINISHED - Tamiya 1:24 Scale
GrandpaPhil replied to CDW's topic in Non-ship/categorised builds
Nicely done! -
I think, but don’t quote me on this, it may be for the mouldings down the side of the hull. My 1:98 Victory came with similar in photoetch. I didn’t use them. I replaced them with card, which looked a lot better than what came with the kit.
-
Very cool!
-
Well done!
-
It depends on how far along the assembly is. If the masts are fixed in place or the rigging is started, I’d personally put it in my lessons learned file for next time and call it good. If not, then there is no harm in sanding and refinishing, in my personal opinion, if that is what you want to do.
-
Ship's launch kits for 18th century ships - 1/60 or 1/64
GrandpaPhil replied to peterbrowne's topic in Wood ship model kits
Scratch building ship’s boats look intimidating, but once you get into them, they are not bad. Wolfram Zu Mondfeld’s “Historic Ship Models” has a great explanation of the process. I scratch built mine (out of card) for my last two models and they came out great, much better than what I have seen in any kit that I have had. I will be making a full set for my Victory as well. Line drawings for the ship’s boats for English vessels can be found in the Anatomy Of The Ship series books for vessels of that time period. I used the ones out of the one for the Victory and the Bellona. -
Patrick, Nicely done!
-
Congratulations! Well done!
-
Beautifully done!
-
Beautiful model. I love the weathering on it! That looks like it just came out of the water!
-
Pazar caique by mhmtyrl - 1:48
GrandpaPhil replied to mhmtyrl's topic in - Build logs for subjects built 1751 - 1800
Nicely done!