HOLIDAY DONATION DRIVE - SUPPORT MSW - DO YOUR PART TO KEEP THIS GREAT FORUM GOING! (Only 36 donations so far out of 49,000 members - C'mon guys!)
×


GrandpaPhil
-
Posts
6,079 -
Joined
-
Last visited
Content Type
Profiles
Forums
Gallery
Events
Everything posted by GrandpaPhil
-
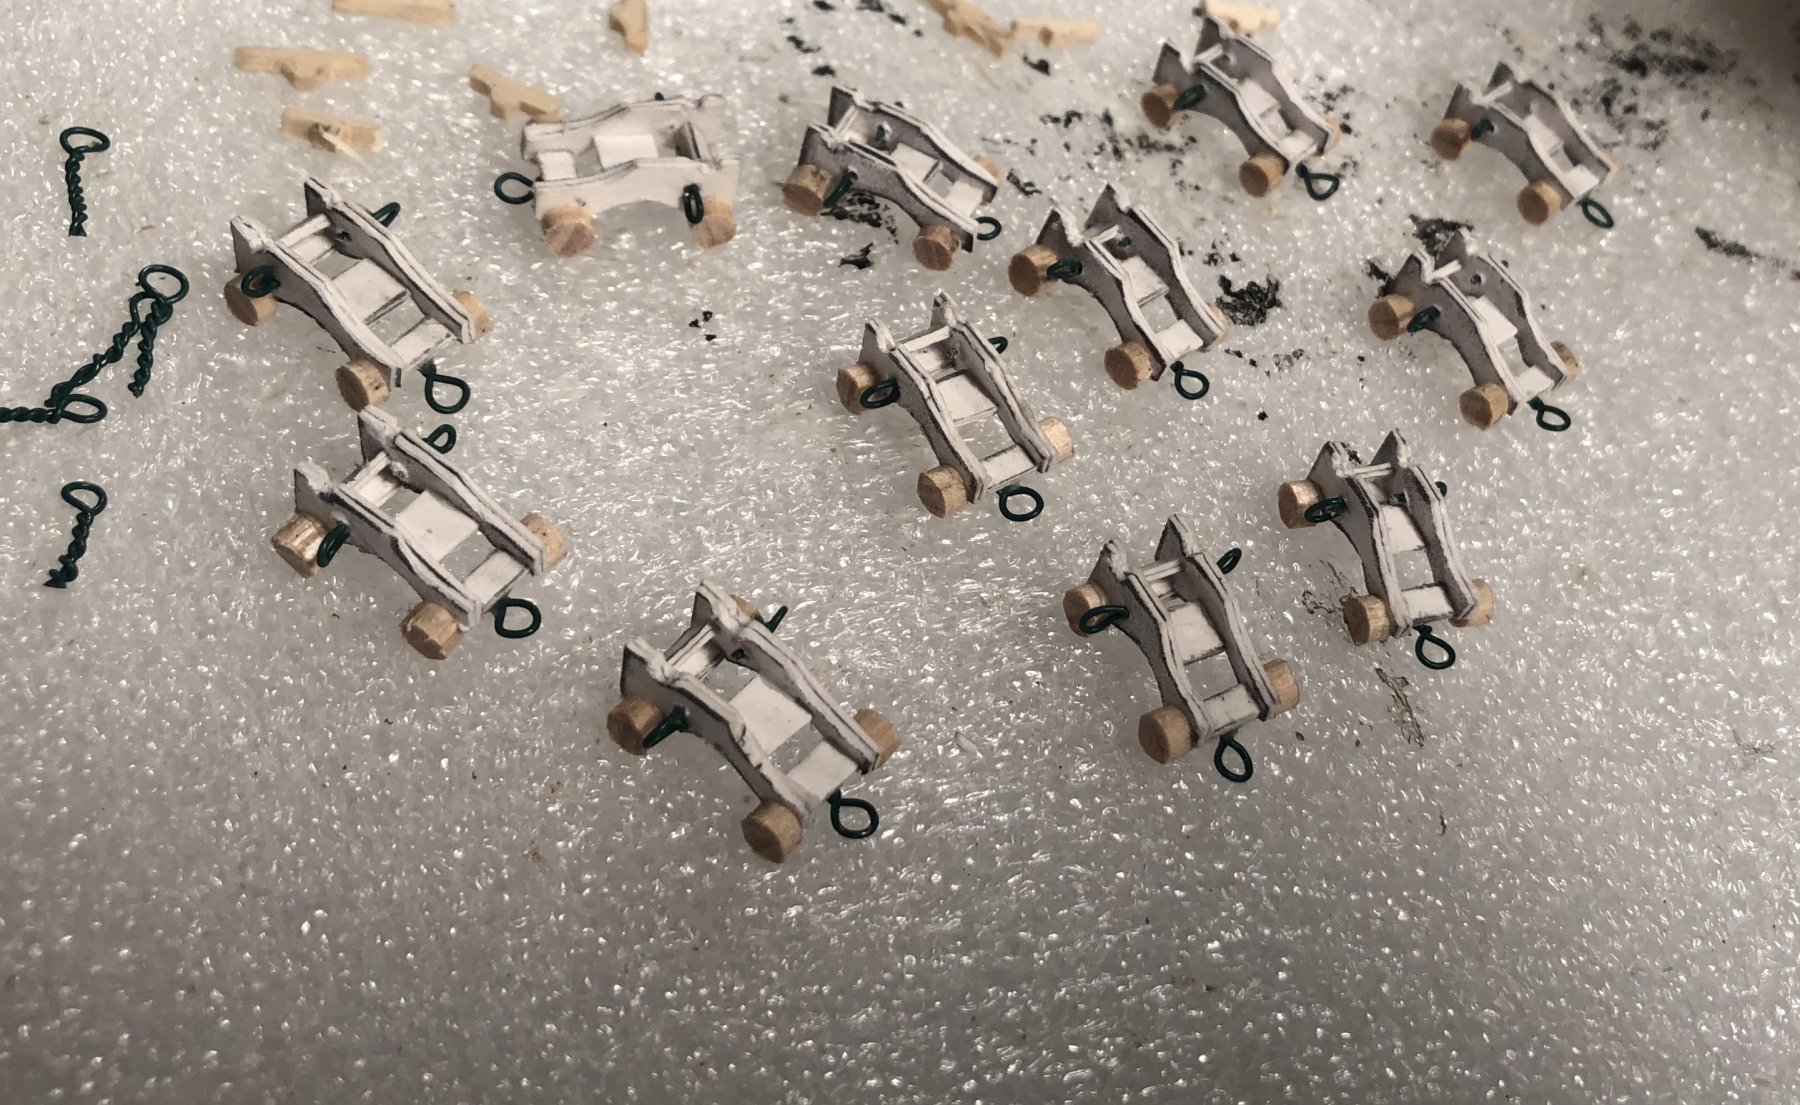
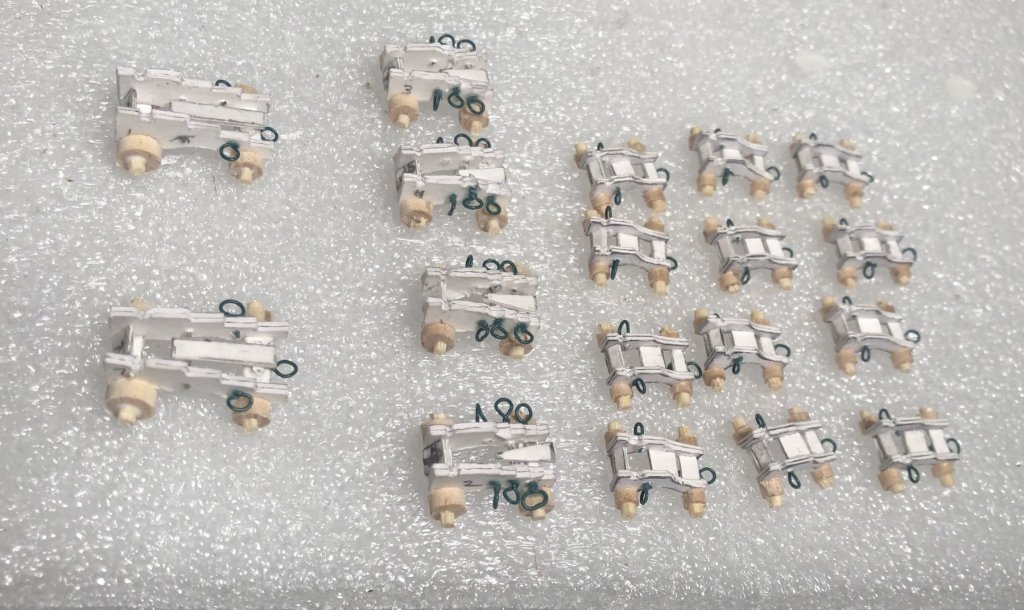
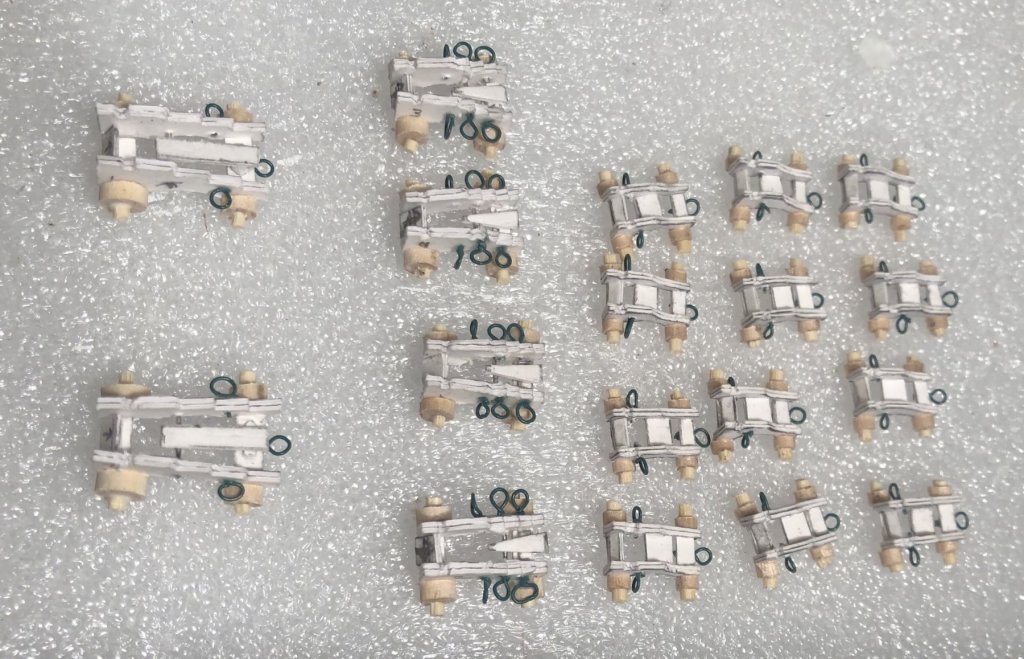
All eighteen carriages are ready to take their guns. Now, I just have to make them. I think that I will try carving them first, from a dowel rod. If I don’t like how that goes, I will try chucking said dowel rod in a drill and making a makeshift lathe. But, carving sounds safer, so I will try that first.
- 355 replies
-
- 3
-

-
- prince de neufchatel
- schooner
- (and 3 more)
-
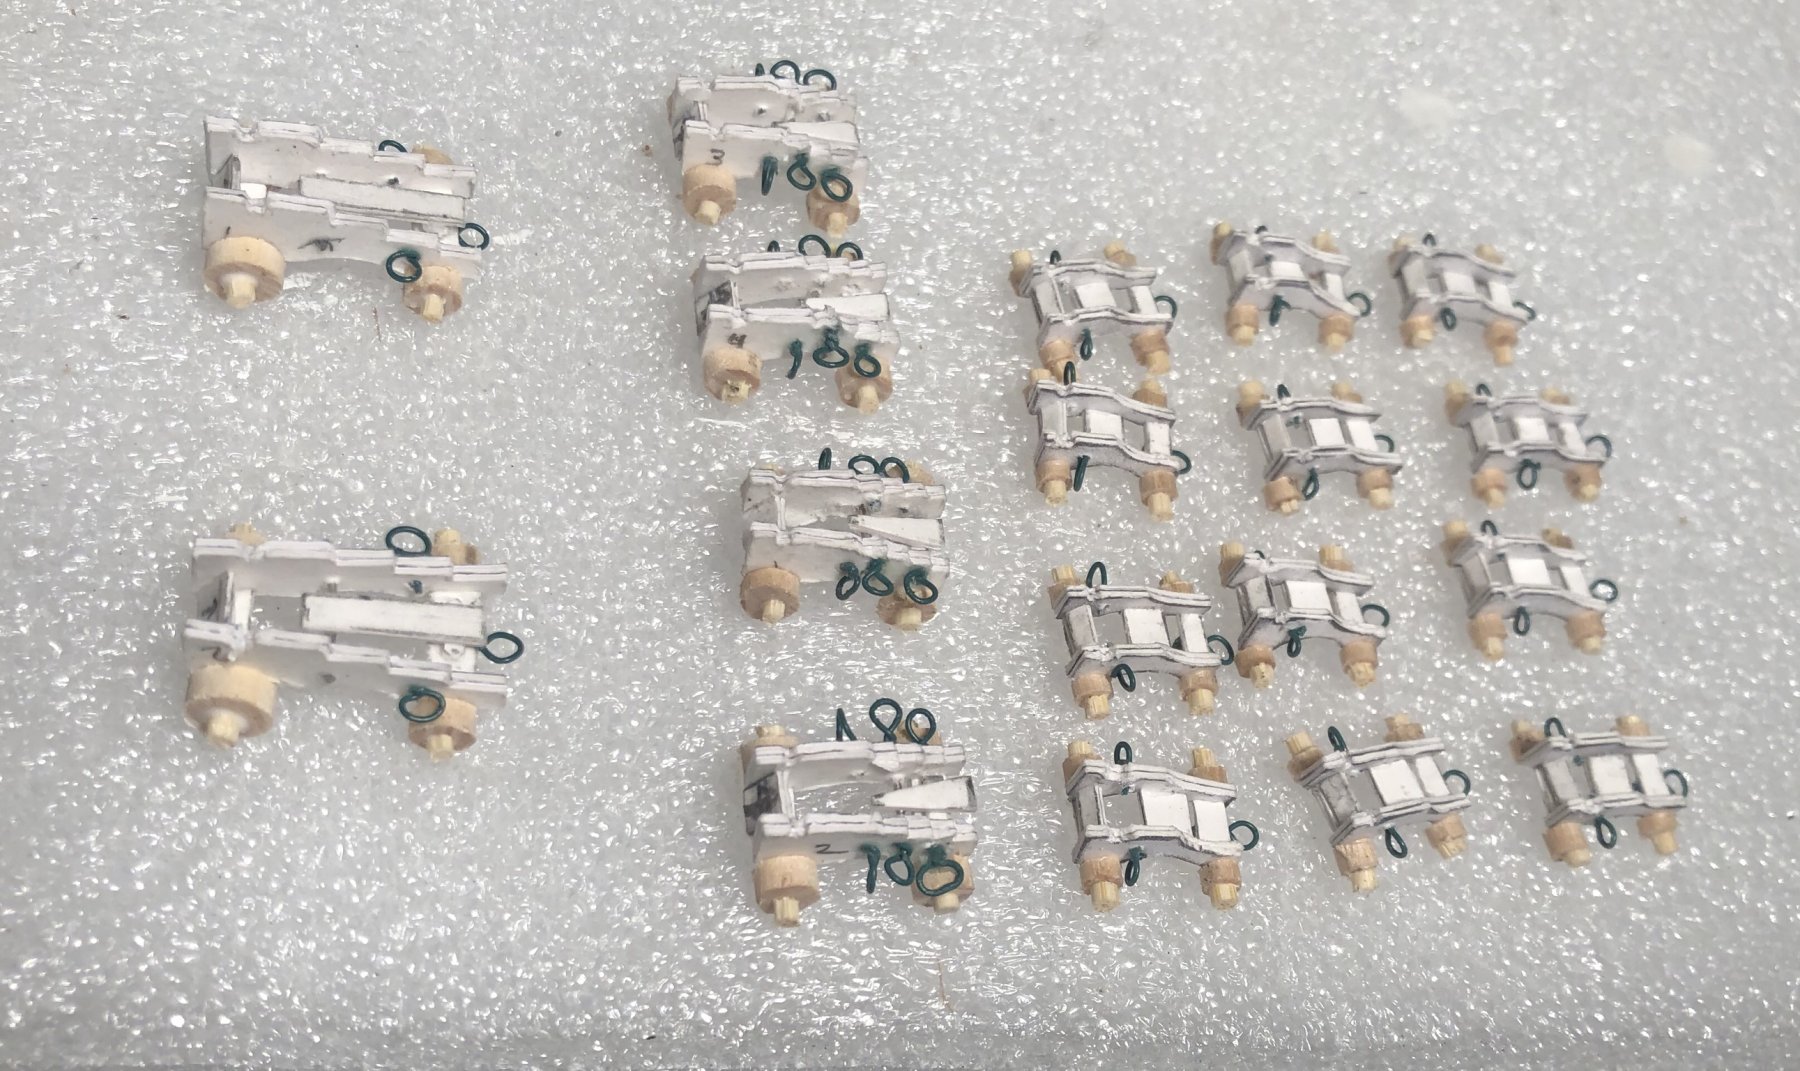
4 x 9 lb long gun carriages and 2 x 12 lb long gun carriages:
- 355 replies
-
- 3
-
-
- prince de neufchatel
- schooner
- (and 3 more)
-
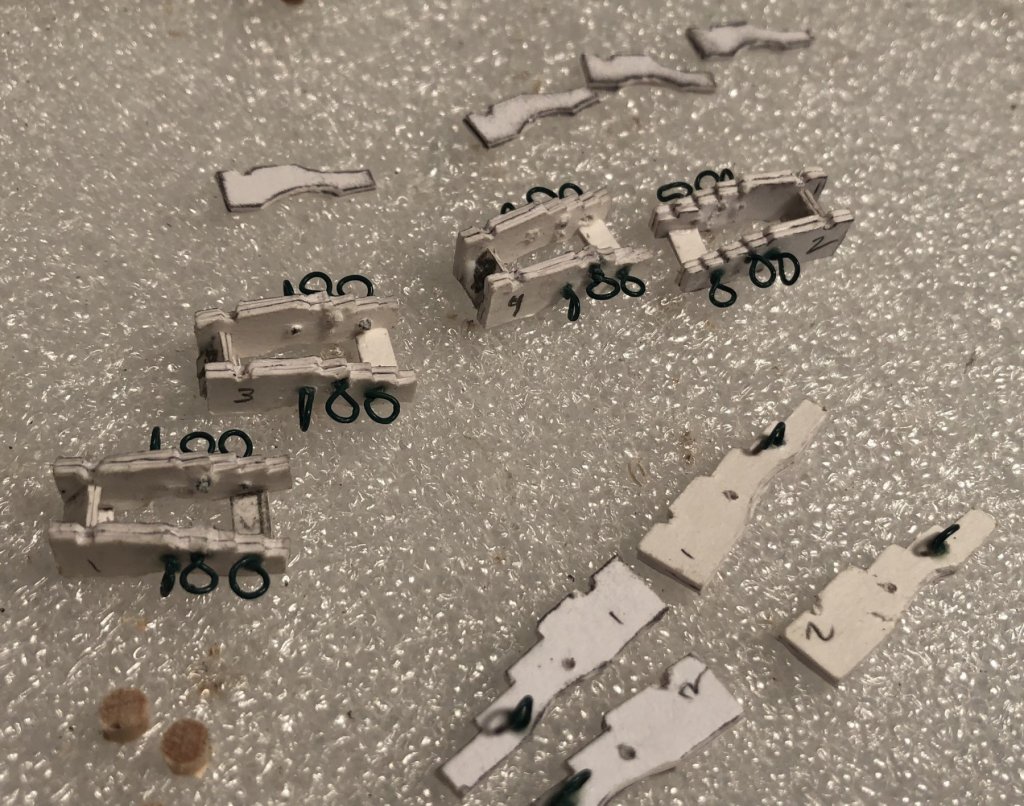
The carriages for the 4 x 9 lb. long guns are coming along:
- 355 replies
-
- 4
-
-
- prince de neufchatel
- schooner
- (and 3 more)
-
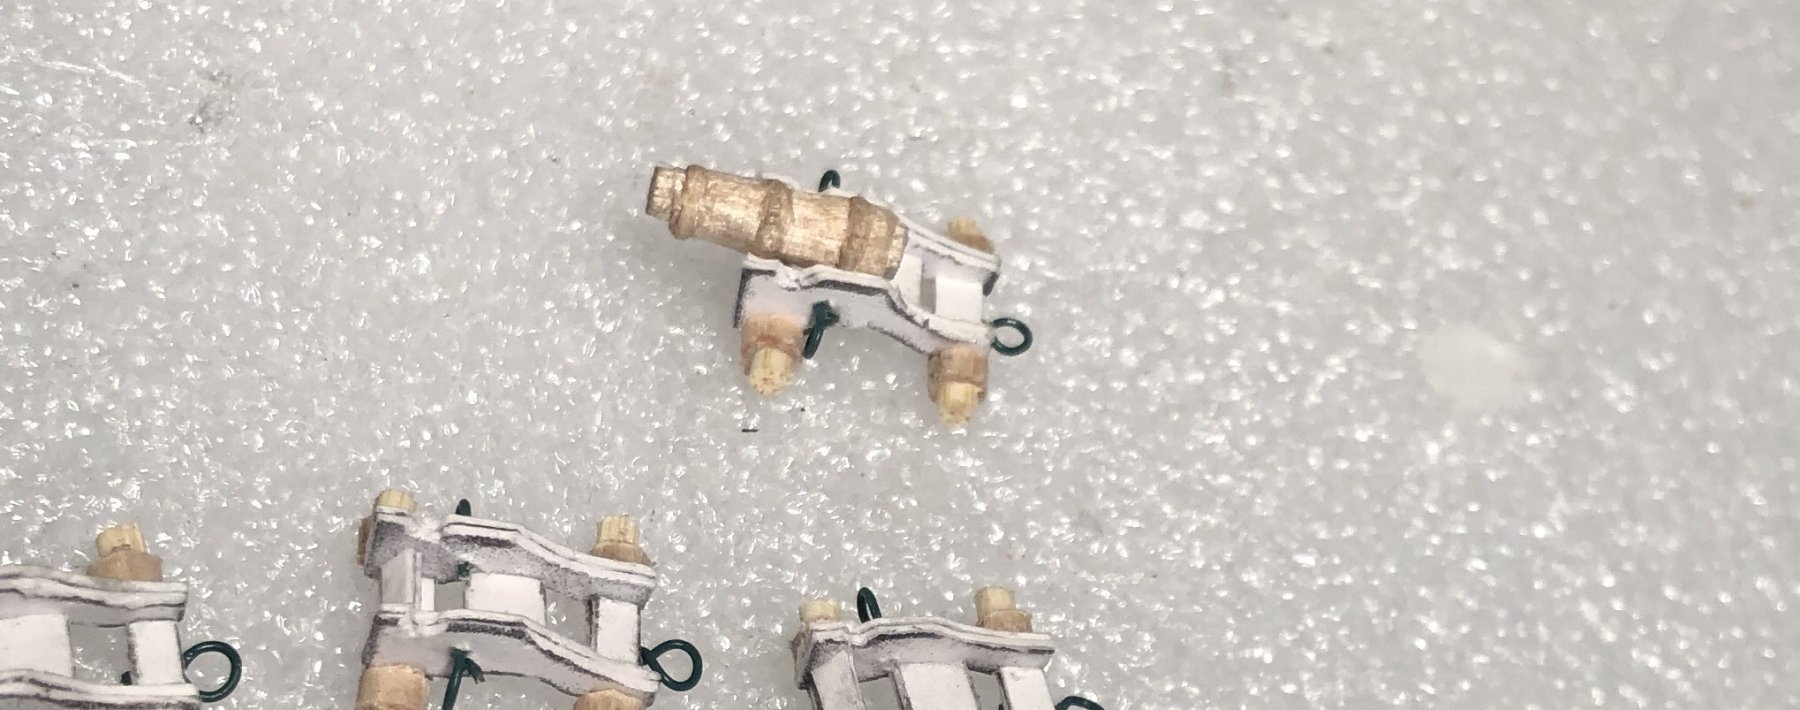
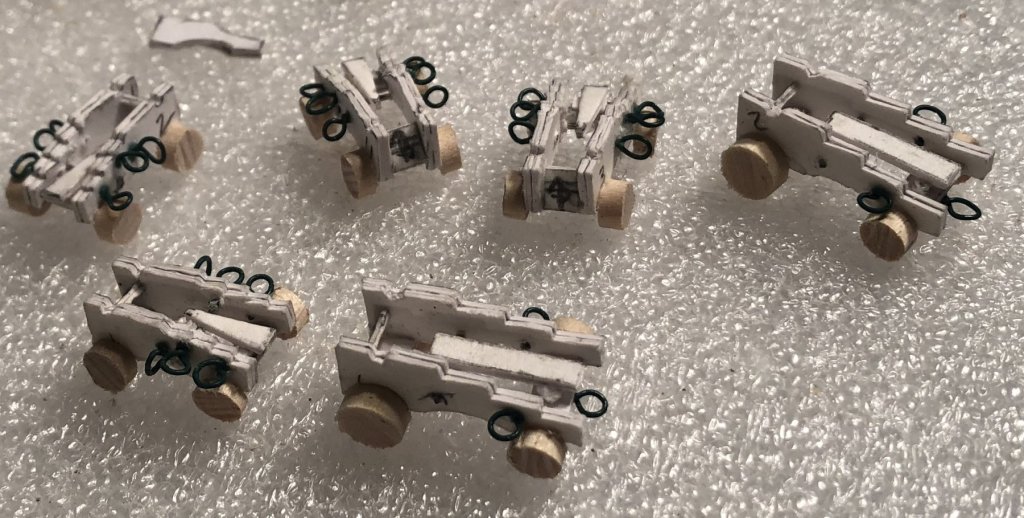
First carronade carriage has wheels and is test fitted!

- 355 replies
-
- 2
-
-
- prince de neufchatel
- schooner
- (and 3 more)
-
Personally, I like Delta Ceramcoat. It is my workhorse. I usually prime with a thinned down white or black paint, depending on what I am painting. Vallejo also makes some really nice model/miniature paints.
-
San Martin by augustus
GrandpaPhil replied to augustus's topic in - Build logs for subjects built 1501 - 1750
Excellent work! -
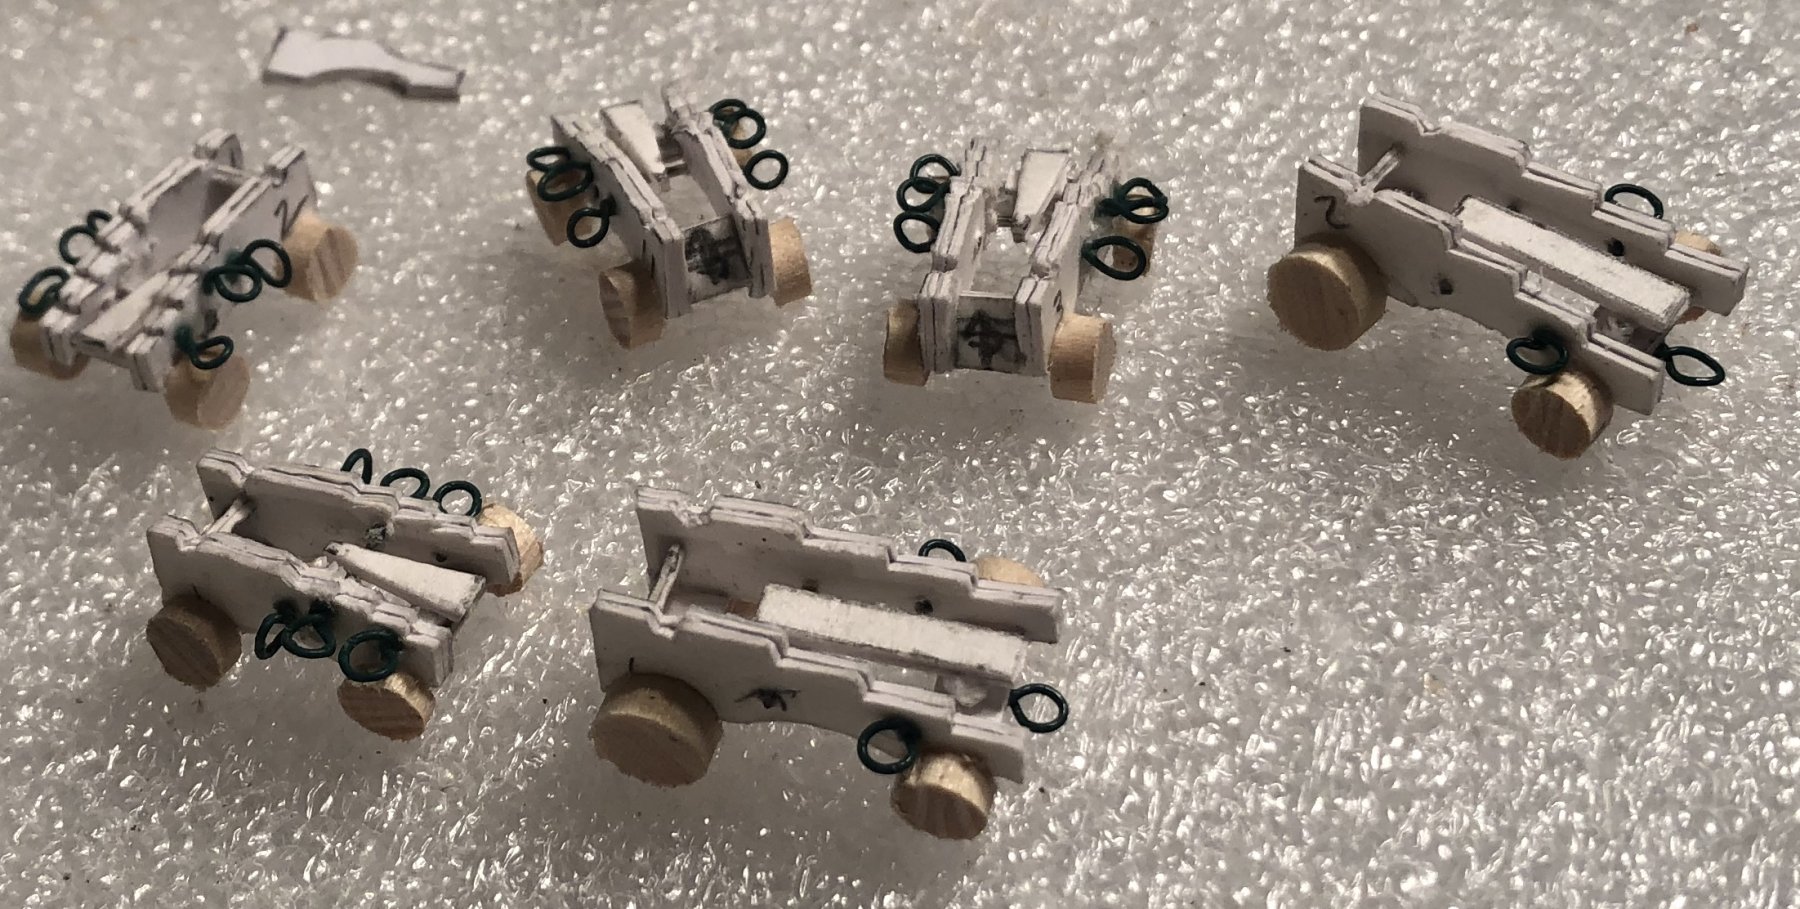
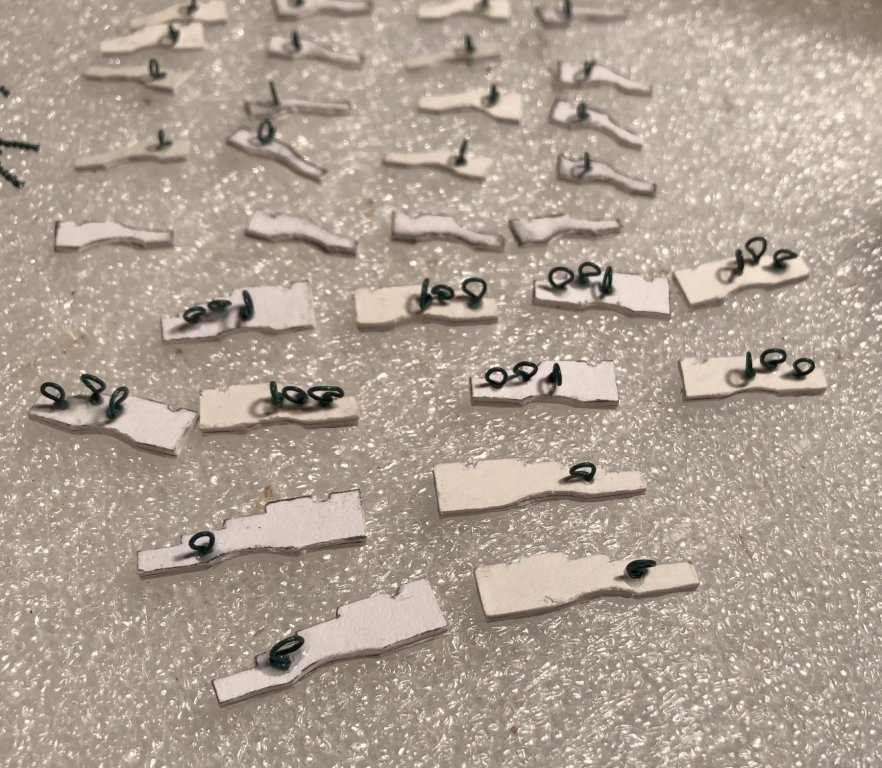
Busy weekend. I rearranged my shipyard so I can put in an actual workbench. I installed eyebolts in the sides of my gun carriages. I tested my new scalpel out on wood. It worked perfectly. I still have all fingers, lol. I need to make the rest of the parts for my gun carriages and assemble them.
- 355 replies
-
- 3
-
-
- prince de neufchatel
- schooner
- (and 3 more)
-
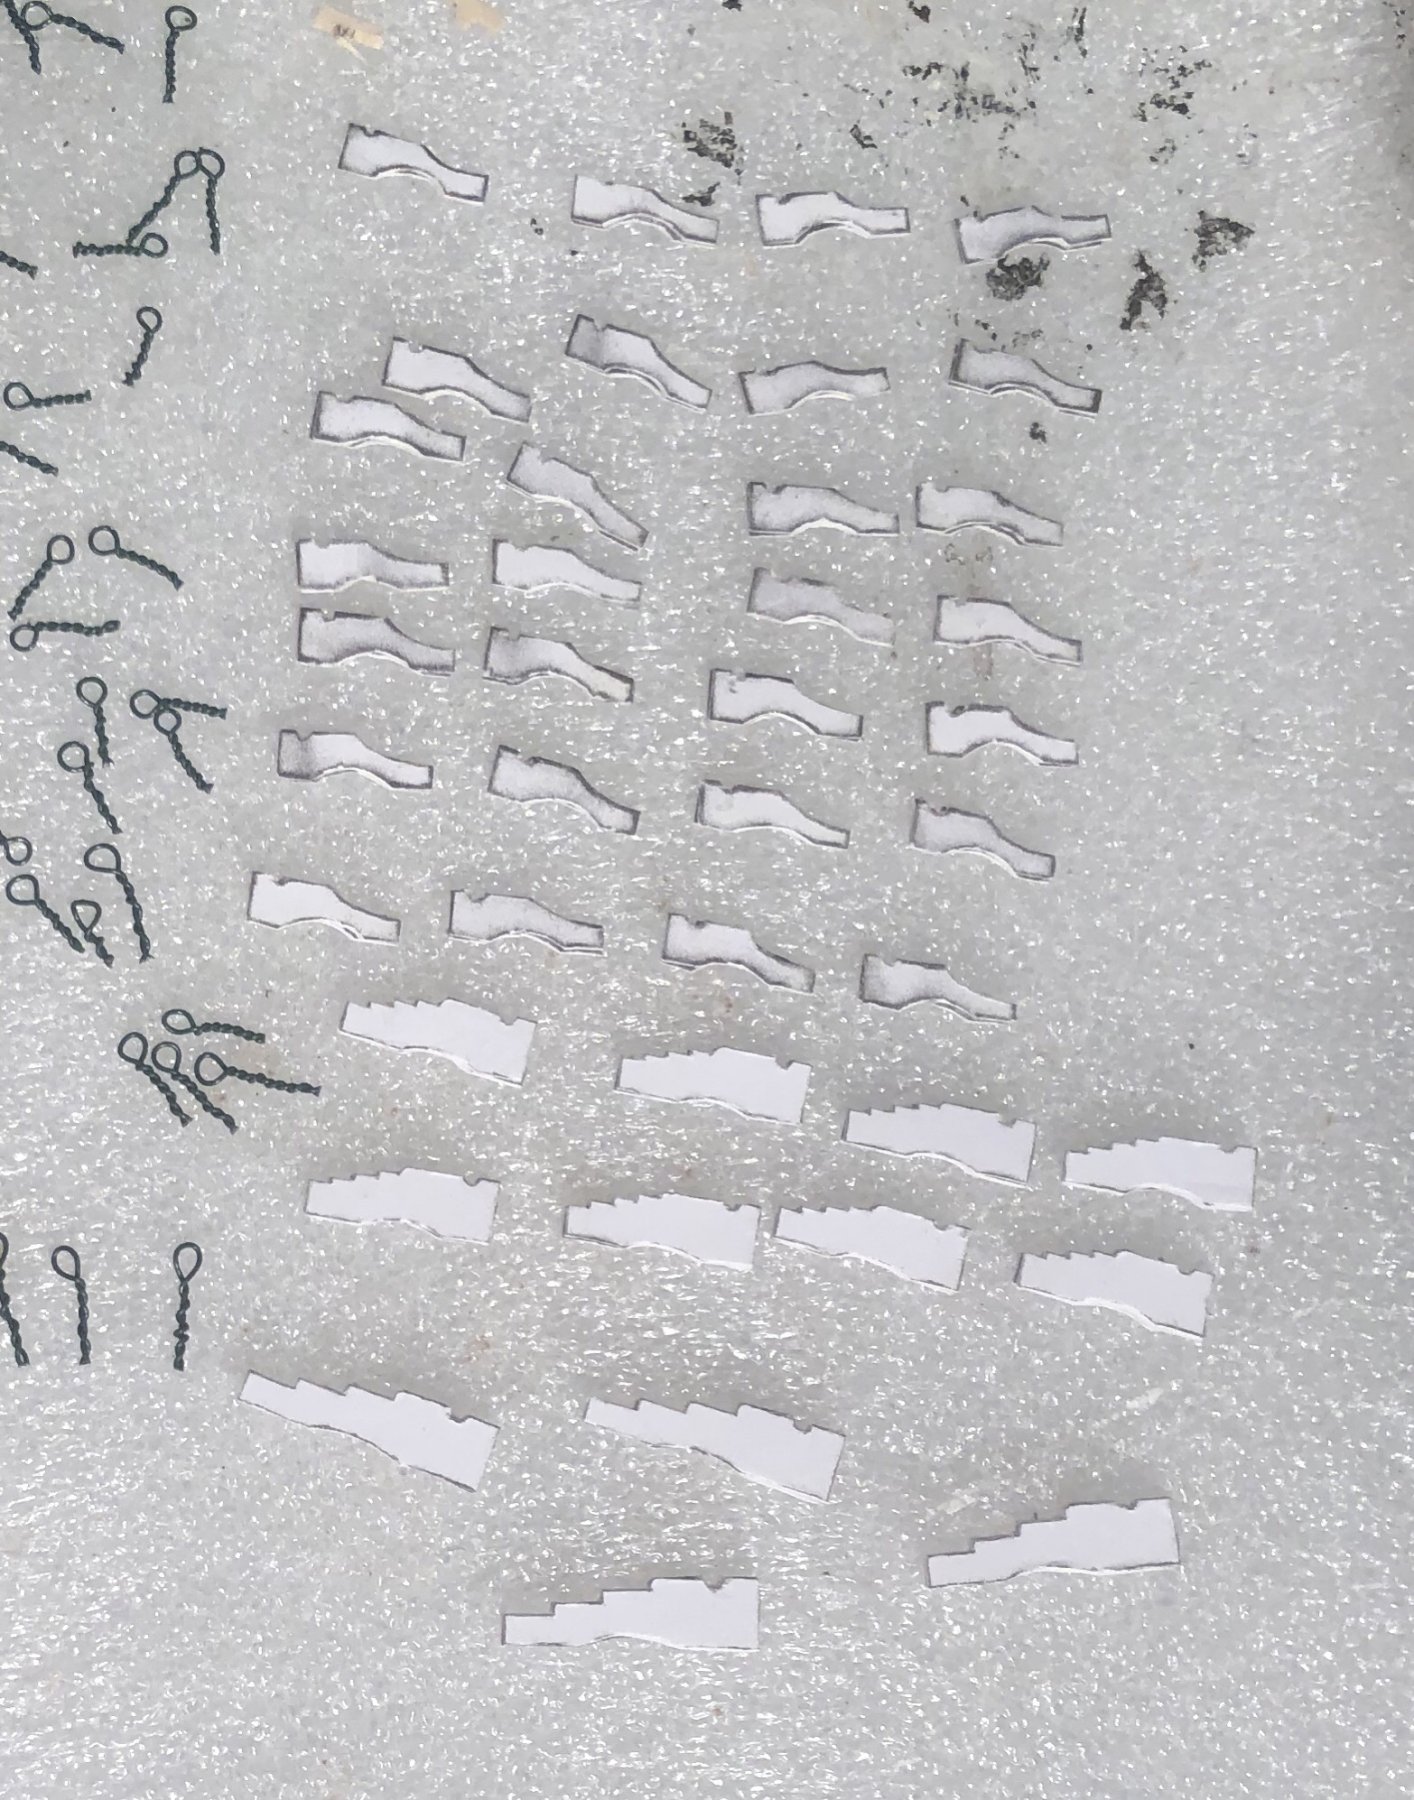
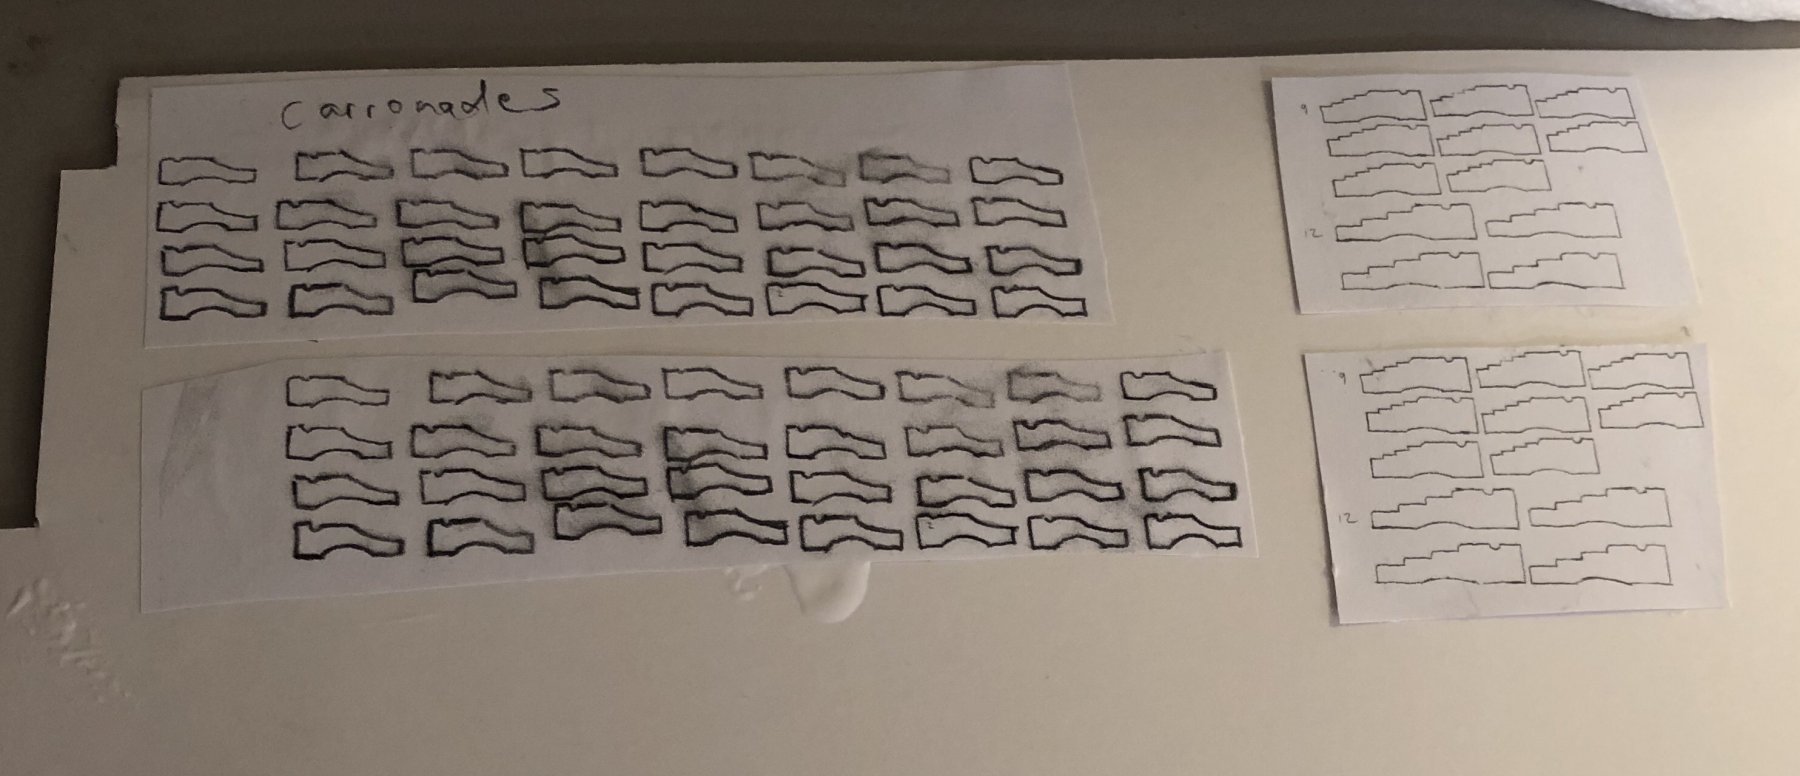
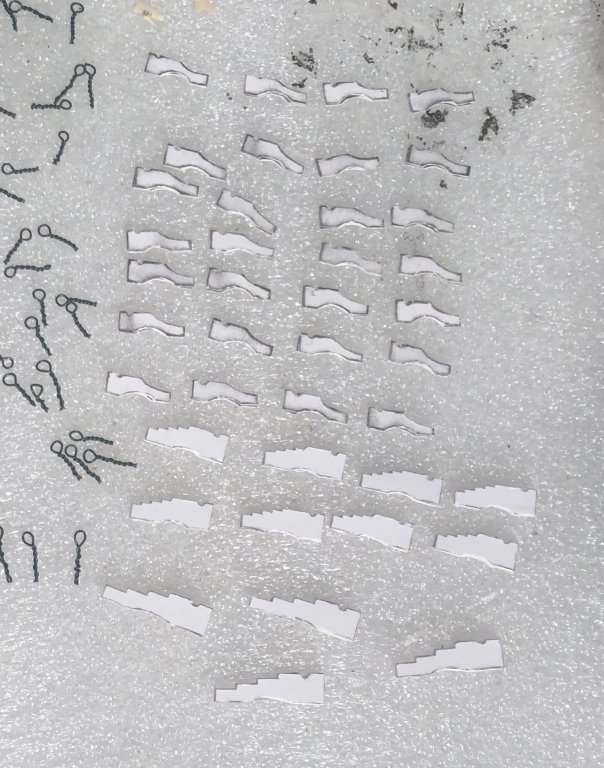
All gun carriage sides are cut out. I am making: 12 12 lb. carronades 4 9 lb. long guns 2 12 lb. long guns
- 355 replies
-
- 3
-
-
- prince de neufchatel
- schooner
- (and 3 more)
-
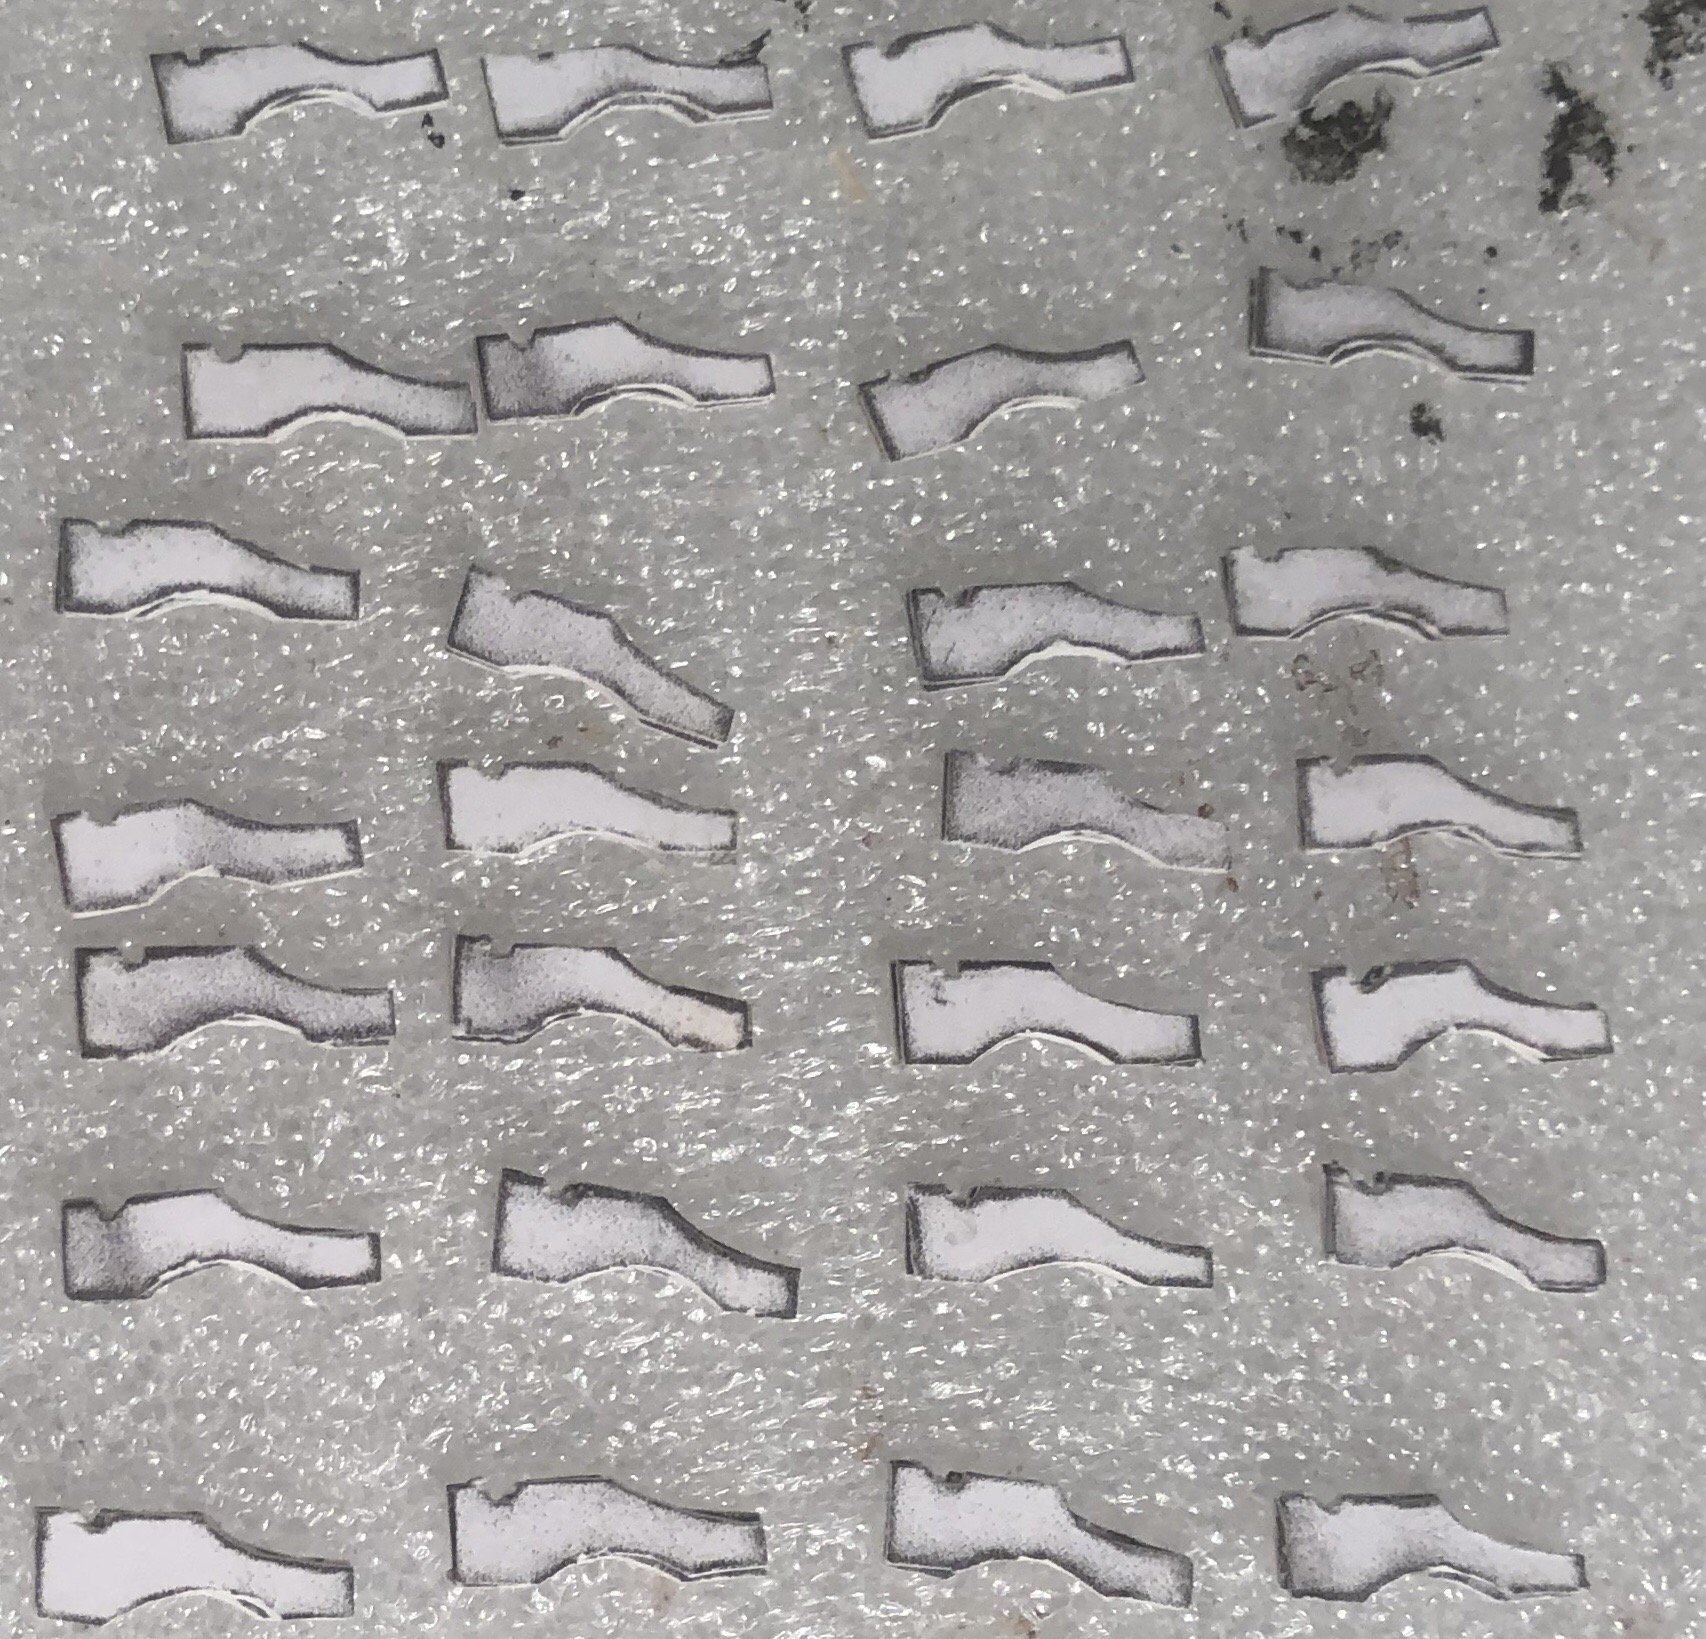
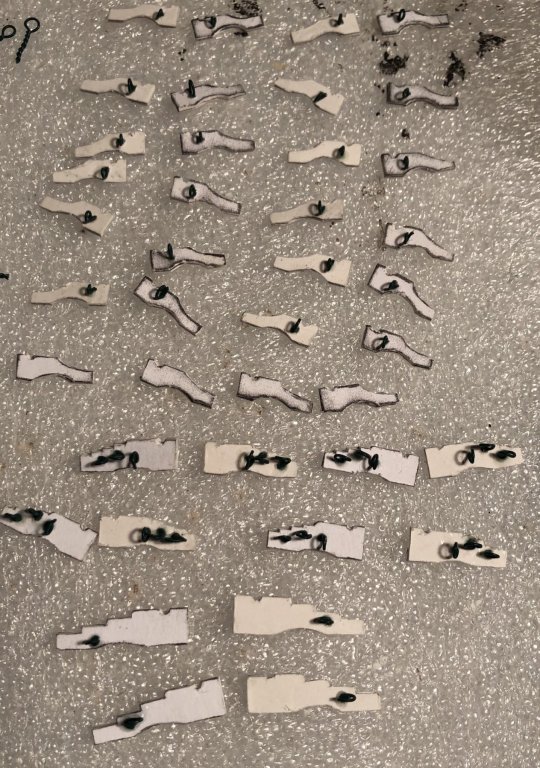
I’ve got enough sides cut out for 14 of the carriages for the 12 pound carronades. I only need 12, but I made a couple of extras. I’m working on the sides of the carriages for the 9 pound long guns. On a separate note, the scalpel is working well. The handle isn’t the most comfortable to use, but it will be okay for now. I want to get a couple of the plastic molded grip handles.

- 355 replies
-
- 2
-
-
- prince de neufchatel
- schooner
- (and 3 more)
-
I’m on my third copy of Historic Ship Models by Wolfram Zu Monfeld. I use it so much that I just discovered over this past weekend that the spine is starting to disintegrate (like my other two copies did).
-
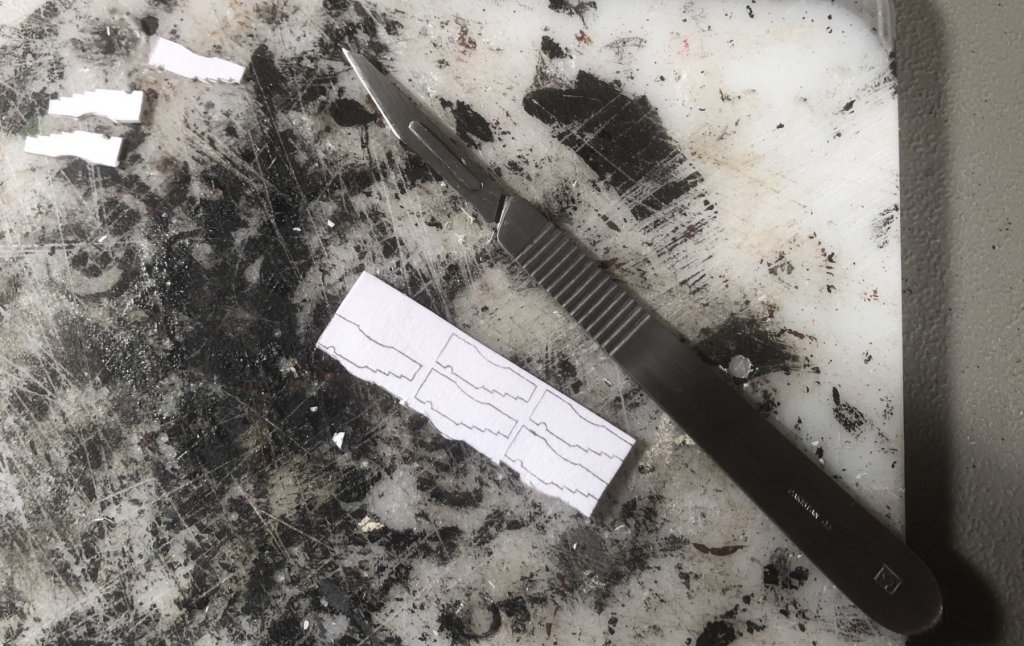
I got my scalpel and blades in the mail today. I ordered them after reading the thread on scalpels on this forum. According to the thread, they work better and last longer than X-Acto blades, which is very important to me, because I burn through an X-Acto blade a week. So, I figured I would try a scalpel out. I tested it out on a carronade carriage when I got home tonight. It worked beautifully. It made a very clean cut, even when I tried just shaving the poster board (which usually doesn’t work very well). I’ll see how the scalpel does on wood, this weekend. I’ll let you guys know how long the blade lasts.
- 355 replies
-
- 3
-
-
- prince de neufchatel
- schooner
- (and 3 more)
-
Patrick and Mark, Thank you very much for the comments! I started cutting out the carriages for the carronades last night. I also bought a 1/8” dowel rod to make the wheels from. I am learning as I go.
- 355 replies
-
- 2
-
-
- prince de neufchatel
- schooner
- (and 3 more)
-
It is slow going, but not onerous. I enjoy it.
- 355 replies
-
- 2
-
-
- prince de neufchatel
- schooner
- (and 3 more)
-
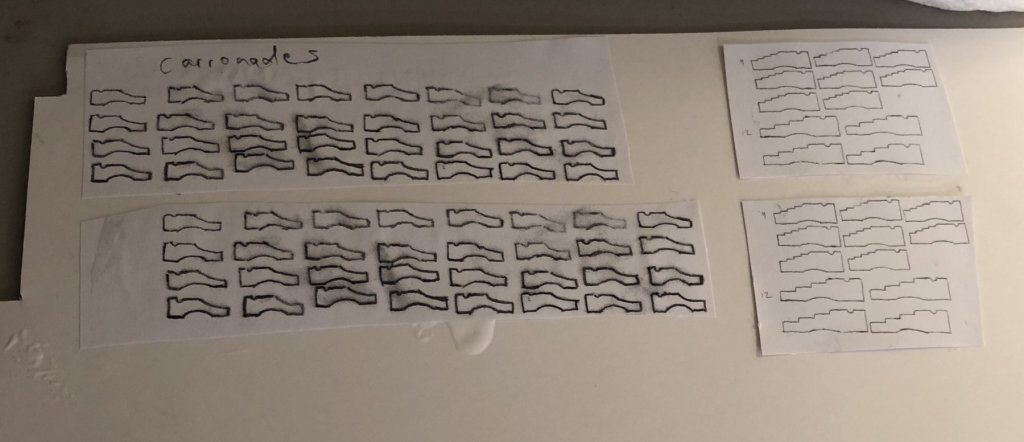
18 gun carriages: 12 12-lb carronades - from Search for Speed Under Sail 4 long 9-lb cannon - from AOTS Bellona 2 long 12 lb cannon - IBID Now to let them dry and then start cutting
- 355 replies
-
- 2
-
-
- prince de neufchatel
- schooner
- (and 3 more)