HOLIDAY DONATION DRIVE - SUPPORT MSW - DO YOUR PART TO KEEP THIS GREAT FORUM GOING! (Only 36 donations so far out of 49,000 members - C'mon guys!)
×


GrandpaPhil
-
Posts
6,079 -
Joined
-
Last visited
Content Type
Profiles
Forums
Gallery
Events
Everything posted by GrandpaPhil
-
Very true, this has caused me grief and rework before.
-
It’s a matter of personal preference. I just traced the body plan, reflected it over the centerline and made multiple scaled copies of that, to cut the bulkheads, for my current build.
-
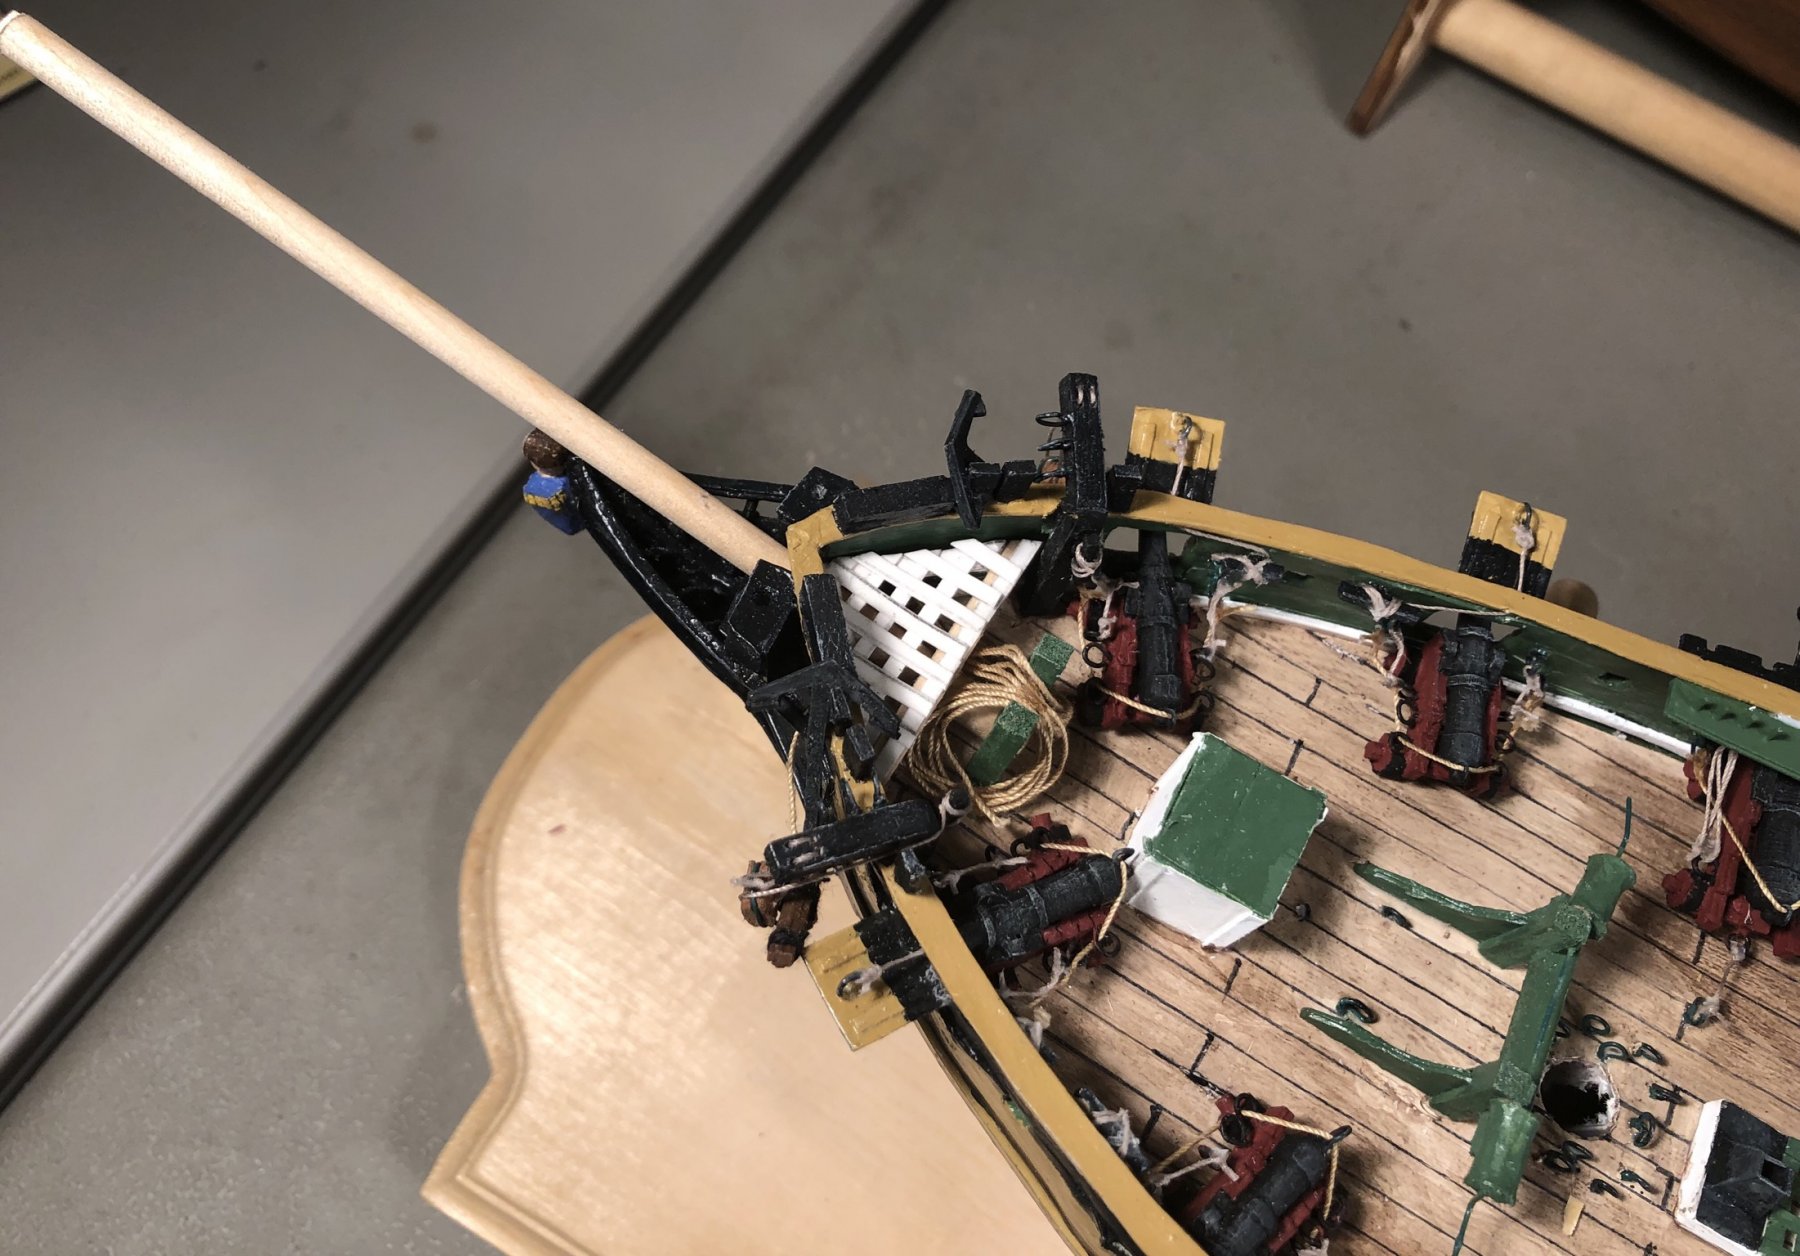
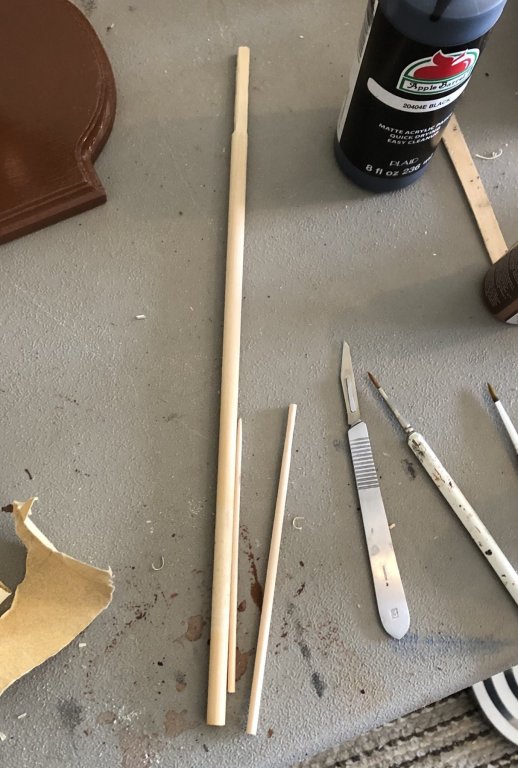
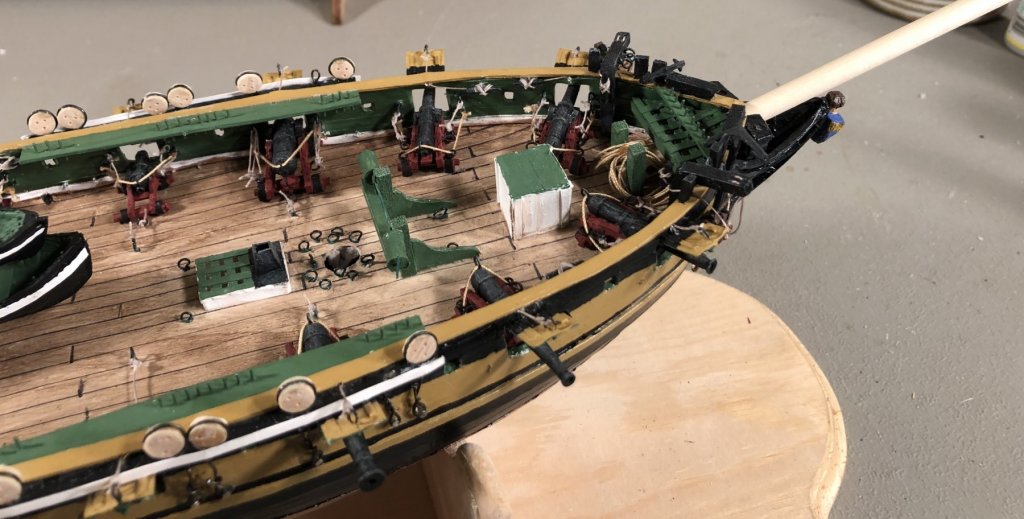
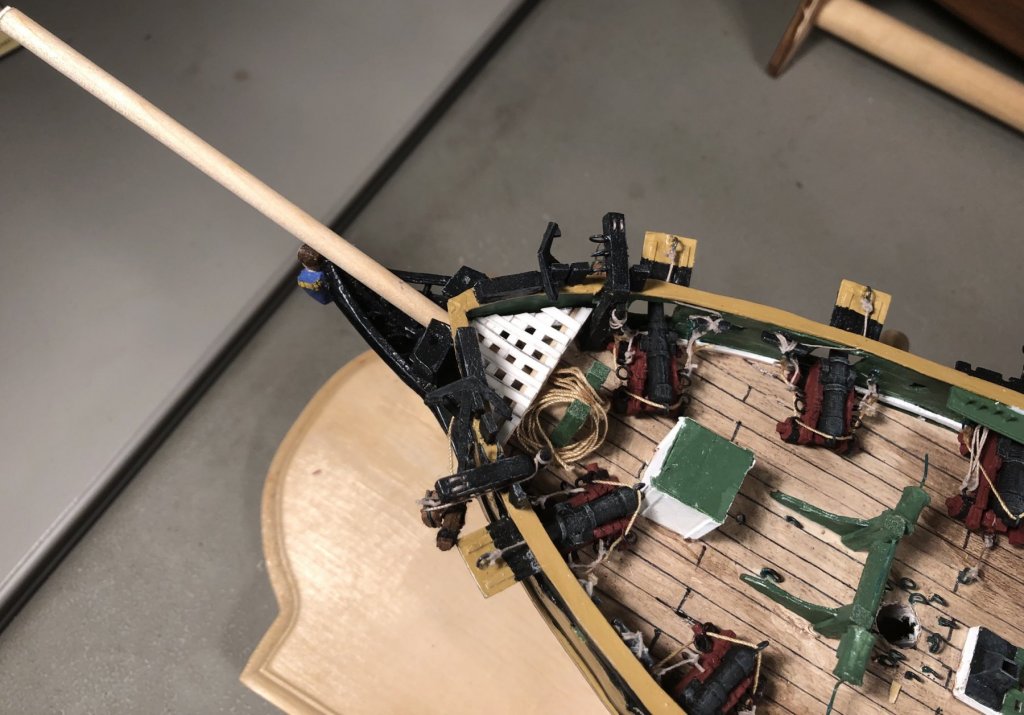
I remade the bowsprit and assembled both masts. Next step is painting everything and reinstalling the flying jib boom.
- 355 replies
-
- 9
-

-
- prince de neufchatel
- schooner
- (and 3 more)
-
Discovered that I made it wrong. Disassembled the bowsprit. Oh well, that’s how you learn, lol.
- 355 replies
-
- 3
-
-
- prince de neufchatel
- schooner
- (and 3 more)
-
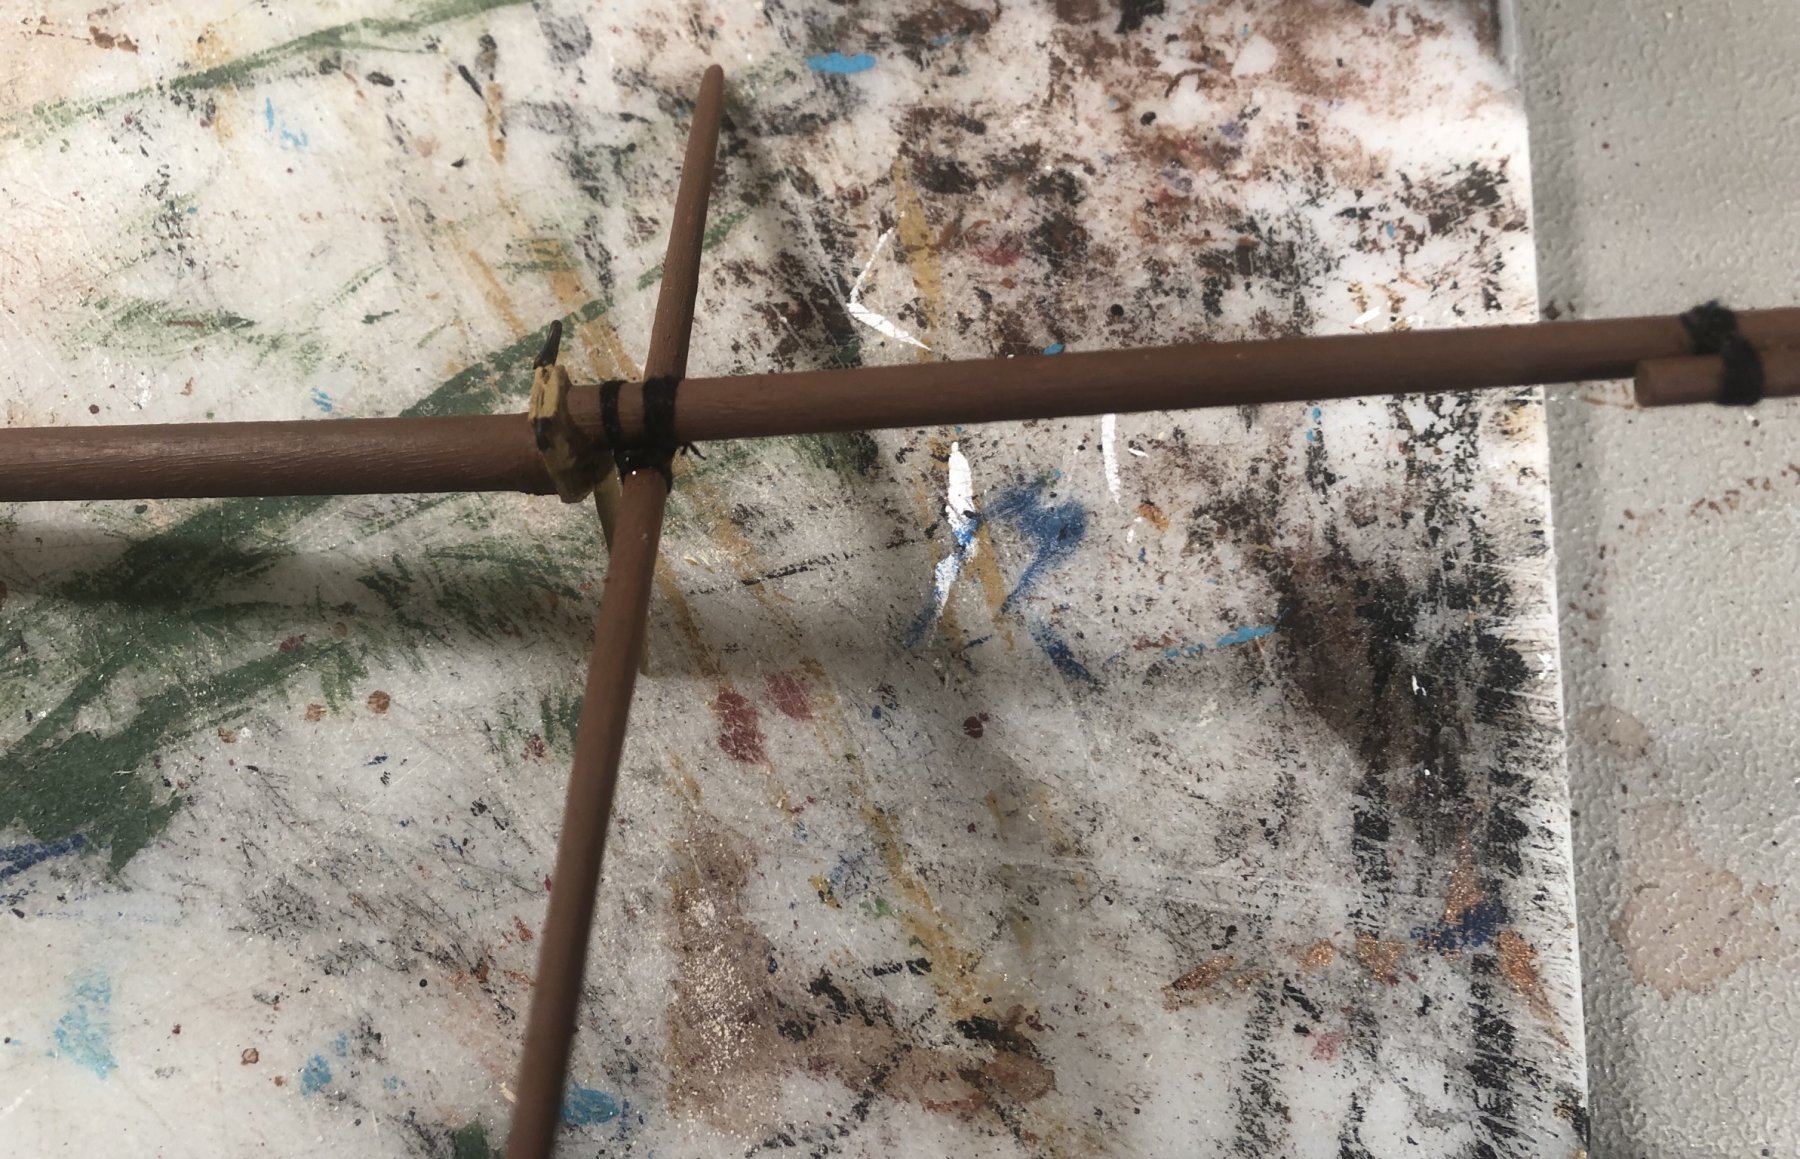
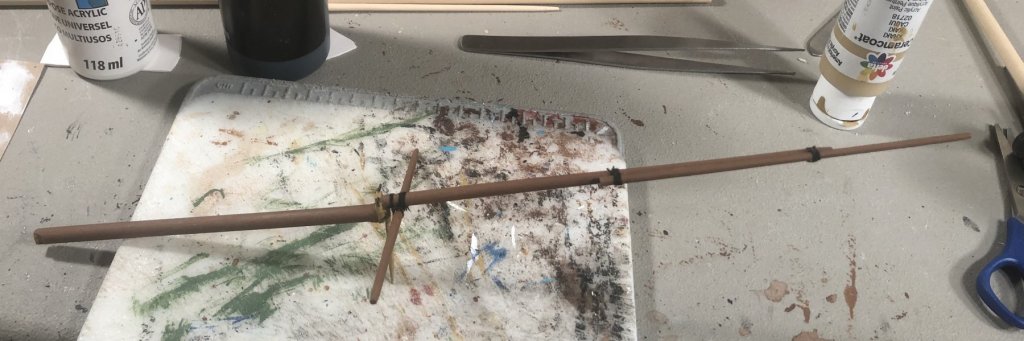
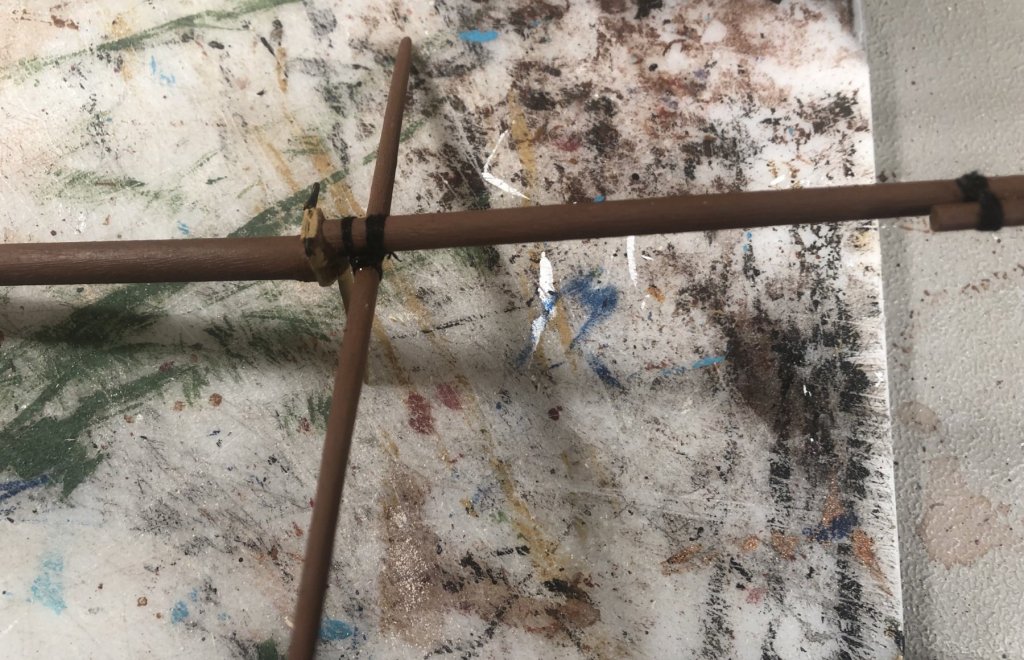
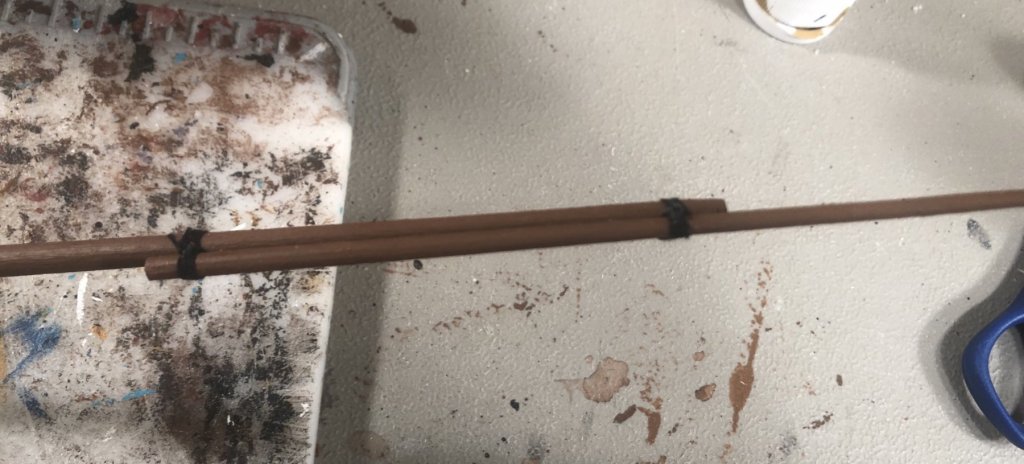
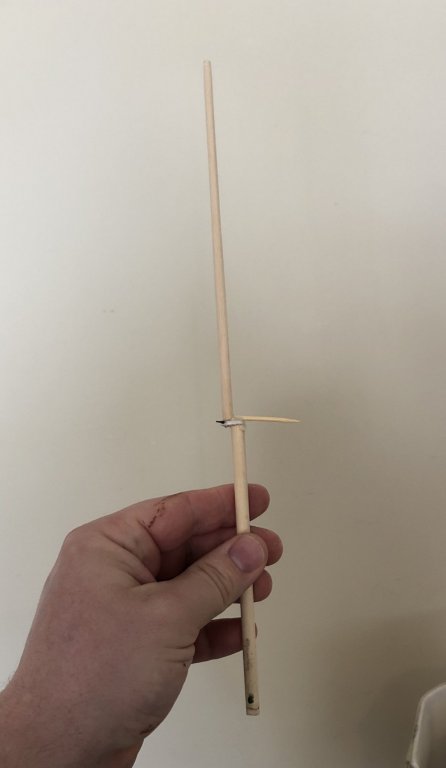
Bowsprit is assembled! Time to install it, and do the gammoning!
- 355 replies
-
- 5
-
-
- prince de neufchatel
- schooner
- (and 3 more)
-
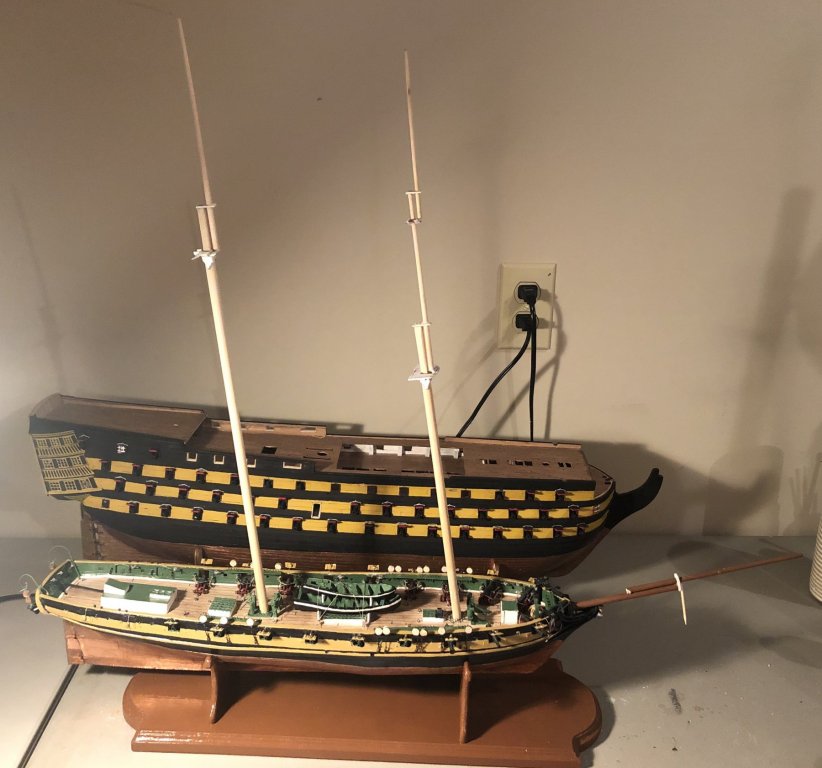
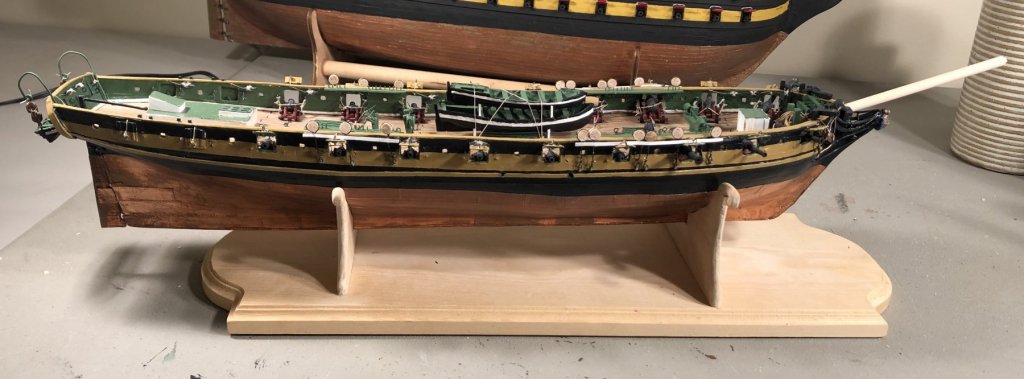
The hull is done. The base is done. I made the parts for the foremast. I made the main mast, itself, I still have to make the main top mast. I made the parts for the bowsprit, including jib boom, flying jib and spritsail yard. I am waiting on the mast tops and caps to dry so I can laminate them onto another piece of cardstock, then I will assemble the masts, paint them and install them. I measured it out, the model will be about 36” long by about 24” tall and 16” wide, with studding sails run out.
- 355 replies
-
- 5
-
-
- prince de neufchatel
- schooner
- (and 3 more)
-
Thank you, much appreciated! Next time I do this, among my lessons learned is that I’m going to use 1/16th inch basswood for my underdecking to prevent the waves that are in the deck. I’m also going to reinforce the bulkheads better to prevent the warping that occurred. I discovered that the entire hull has a slight twist in it, after I had painted it. I started putting large books on drying pieces after that. I made a mistake in my tracing of the bulkheads related to the spacing of the midships frames, in part because of the spine of the book, that I did not discover until after I had covered the hull, which caused the bulges around midships. I’m also going to try and not rescale images, from multiple sources, with multiple scales unless I am drawing up my own complete set of plans, which I did not do for this build. That caused me some problems as well. I’ve learned a lot on this build. It’s been a learning curve, but it’s been a lot of fun.
- 355 replies
-
- 5
-
-
- prince de neufchatel
- schooner
- (and 3 more)
-
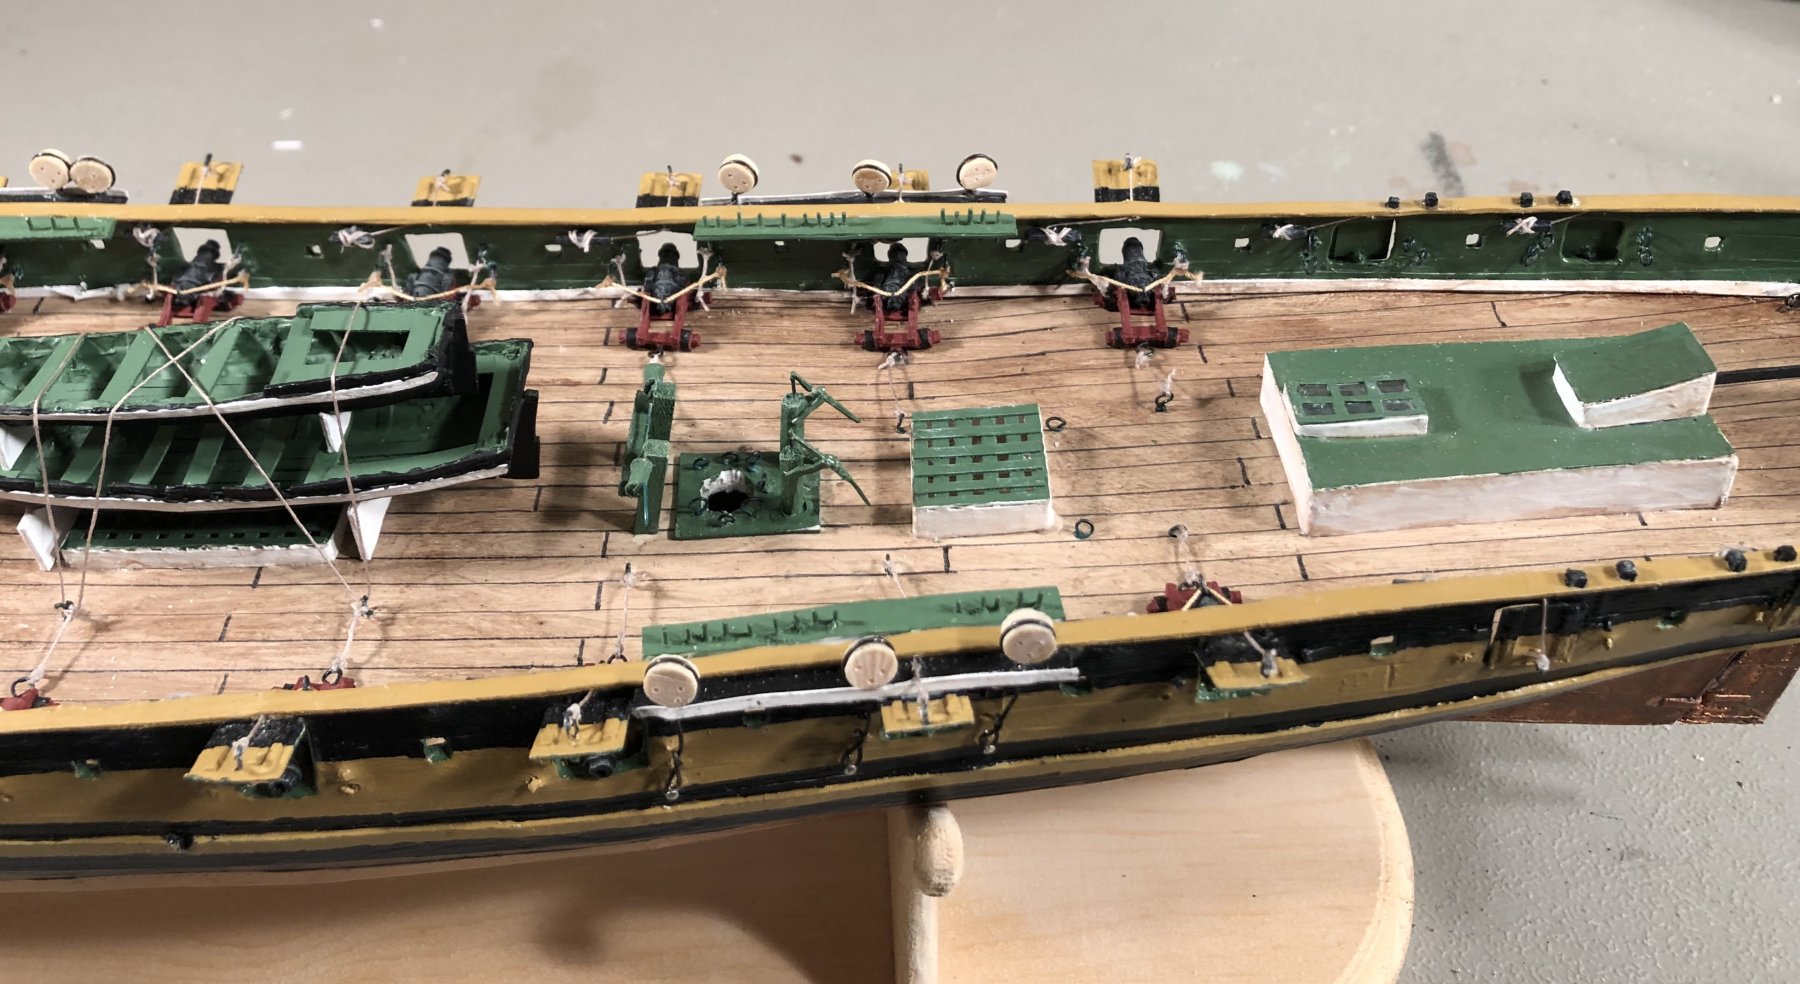
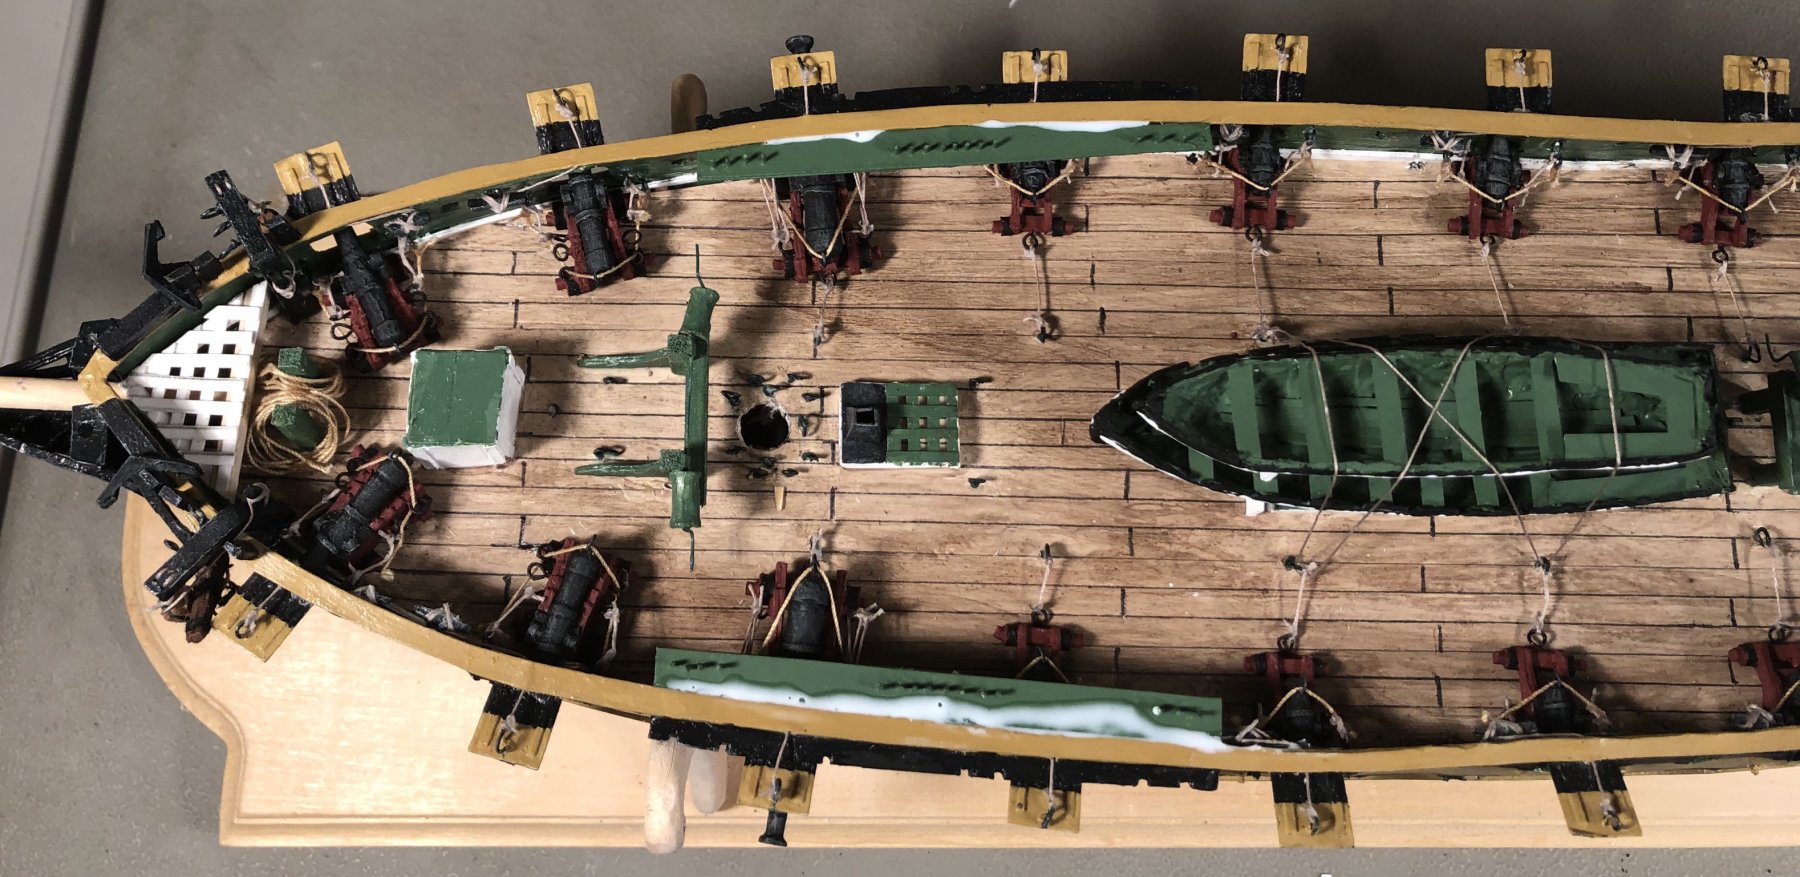
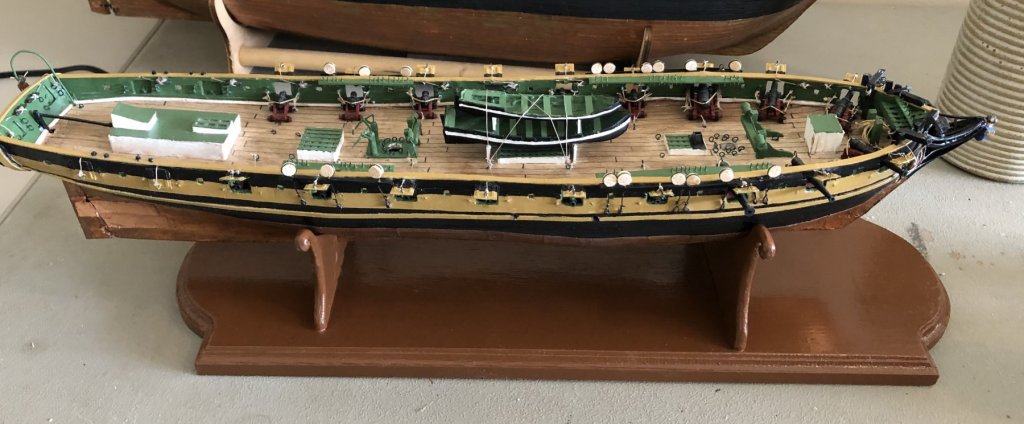
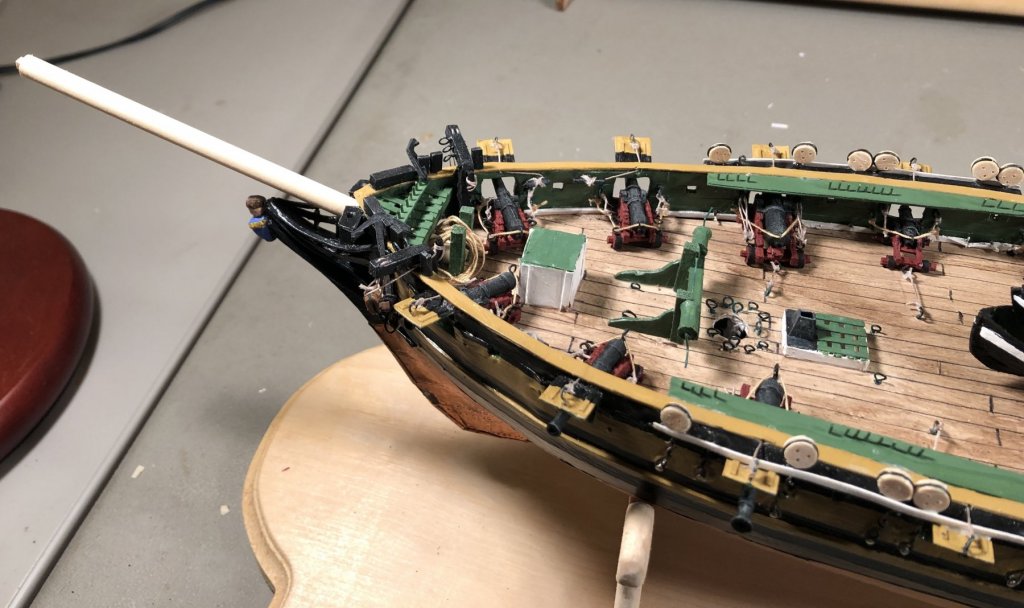
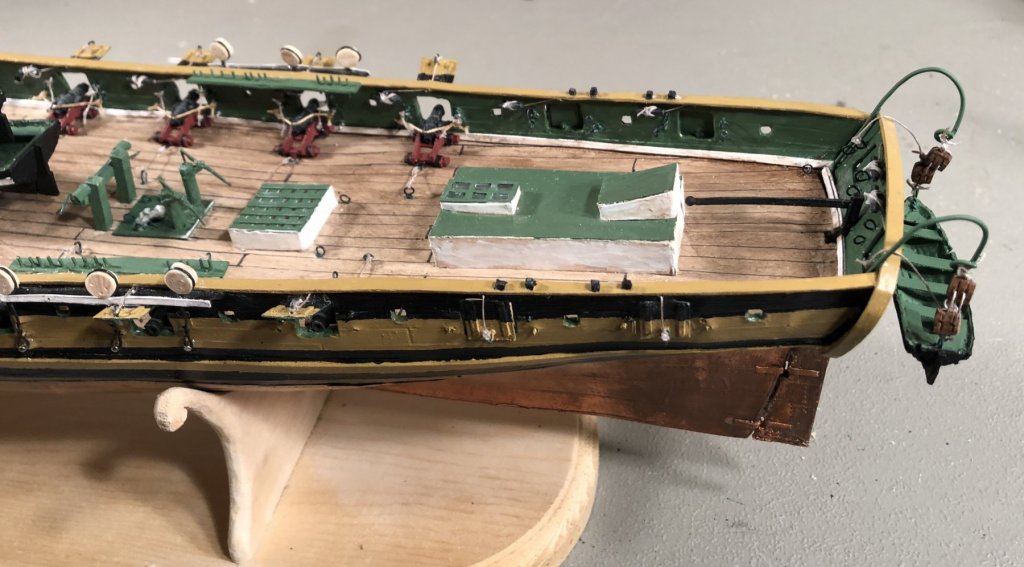
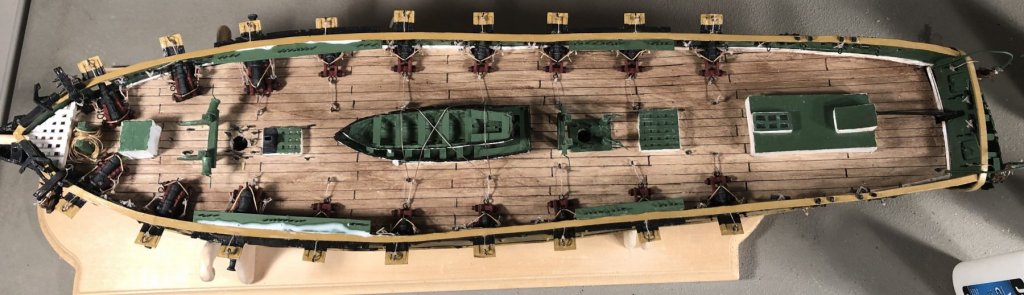
I just installed the bow platform, the bow pin-rail and the chain-plates. I also put a strip of card over the channels to hold them in place. This means that the hull is done, except for some minor touch ups and a little bit of paint work. I’m pretty excited because I’ve never scratch built a model ship before. Making the hull is the difficult part for me. I’ve never really had any difficulty once I got to the point of fitting out the hull. Although, it’s a different ballgame when you have to make your own fittings. This has been a lot of fun.


- 355 replies
-
- 7
-
-
- prince de neufchatel
- schooner
- (and 3 more)
-
I finished and installed the foremast pin-rails. The bow platform test fitted successfully. I measured off and cut out the bowsprit pin-rail. I also made the cap for the bowsprit. I’m going to make the dolphin striker, jib boom and flying jib here shortly. The original masting dimensions are on Plate 3 across from page 236 of The Search For Speed Under Sail. I’m using those for my dimensions.

- 355 replies
-
- 7
-
-
- prince de neufchatel
- schooner
- (and 3 more)
-
Thank you very much!
-
At this point I only have a little more on the hull and then it’s masting, sail making and rigging time.
- 355 replies
-
- 1
-
-
- prince de neufchatel
- schooner
- (and 3 more)
-
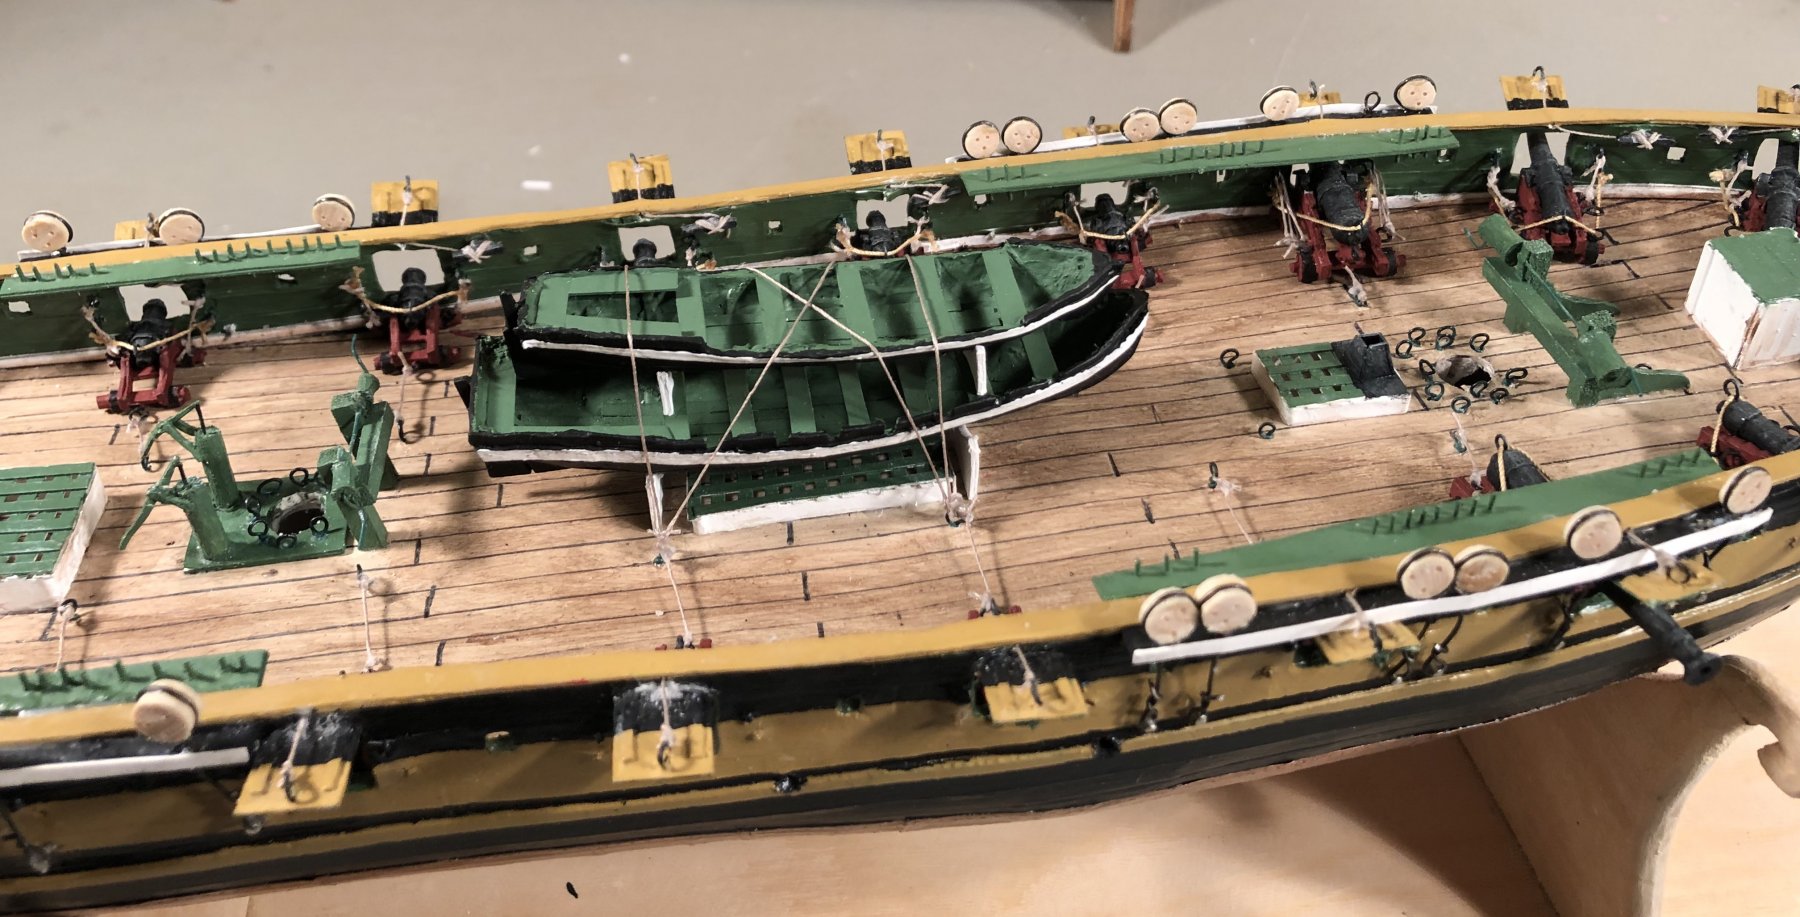
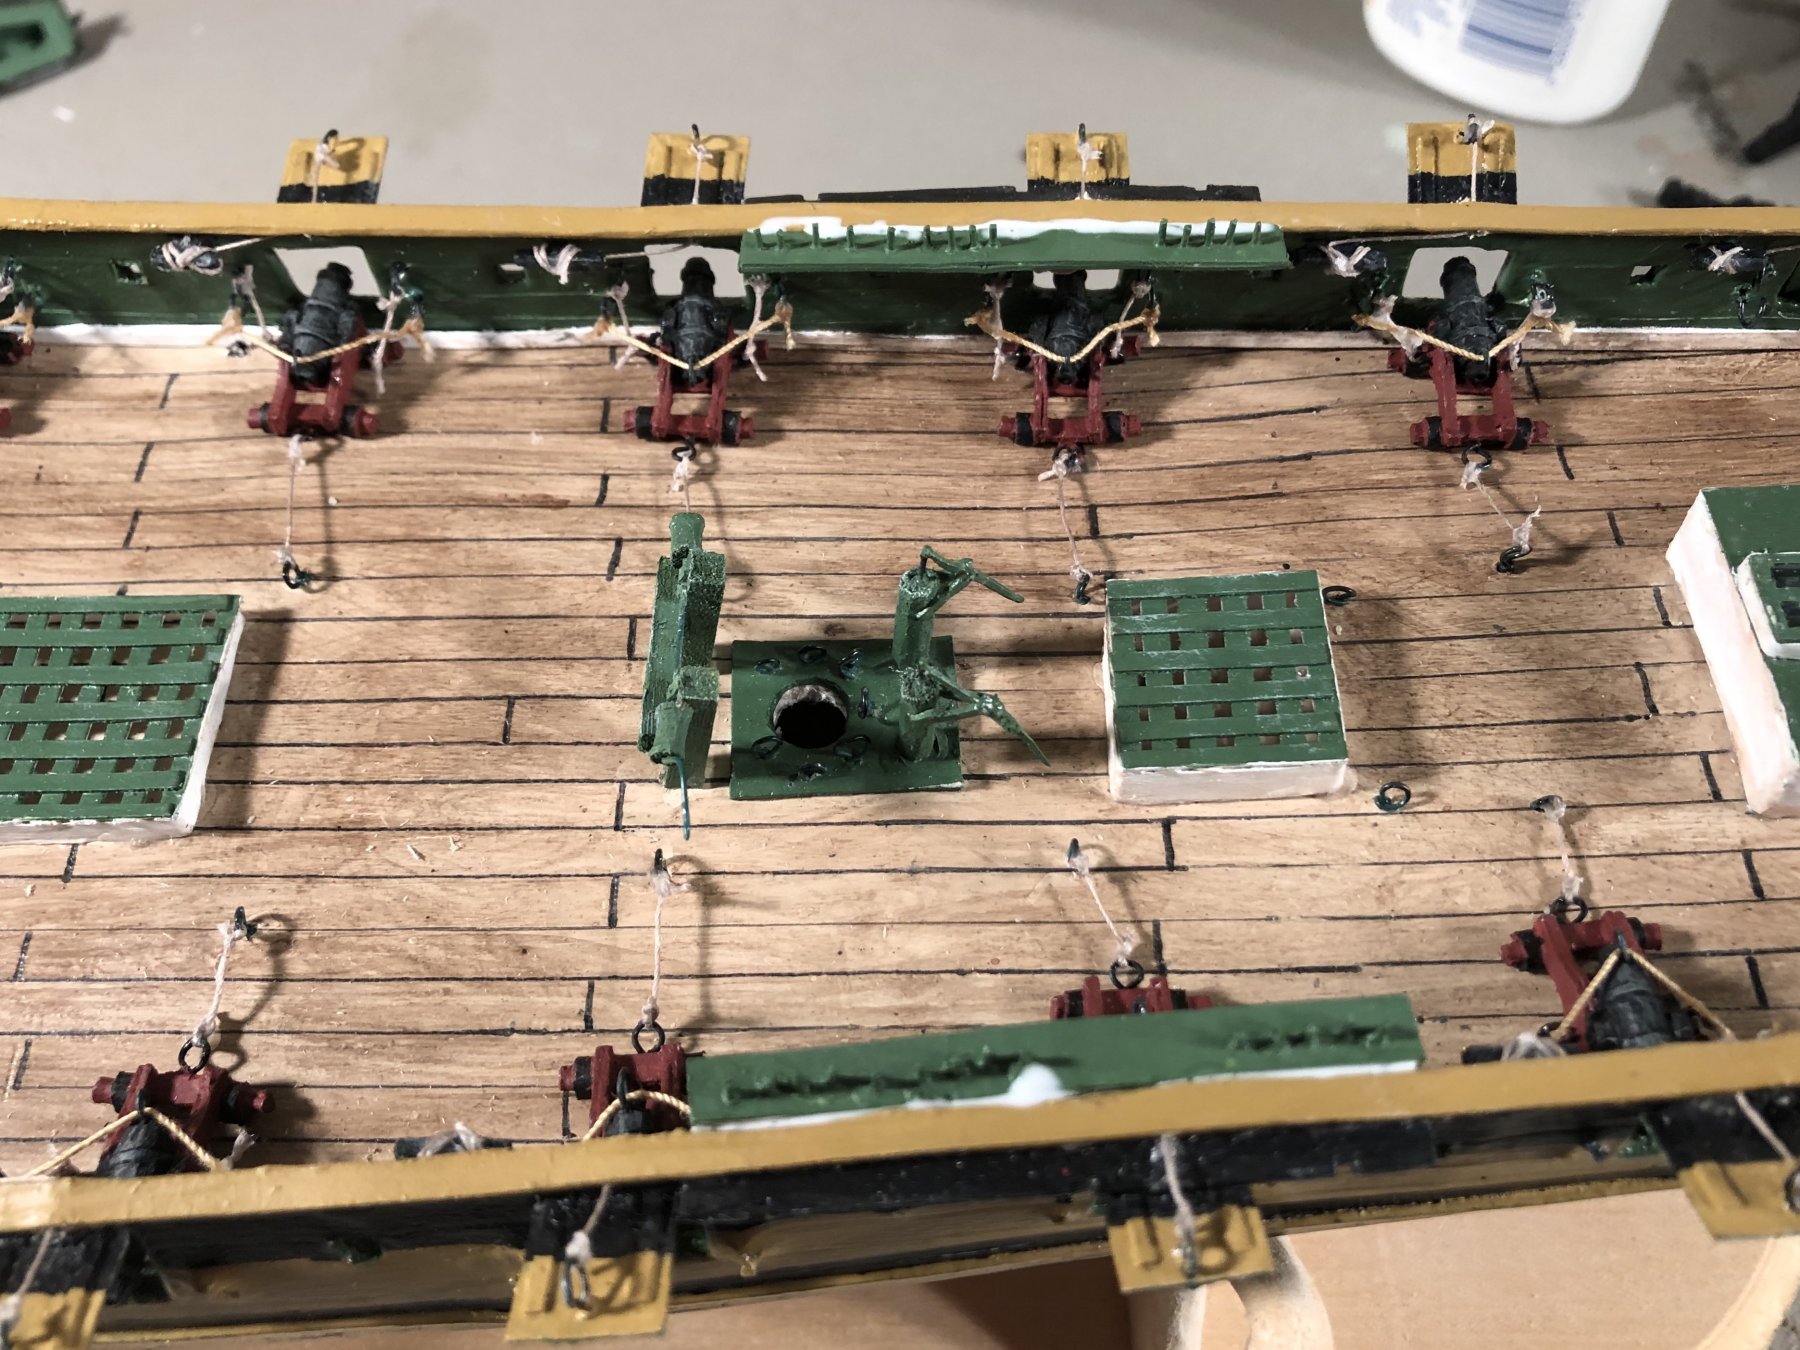
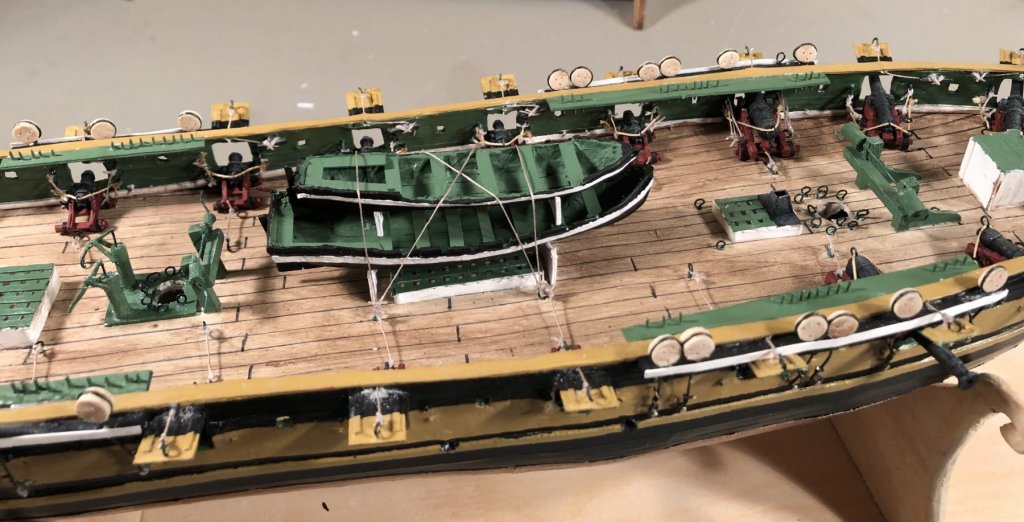
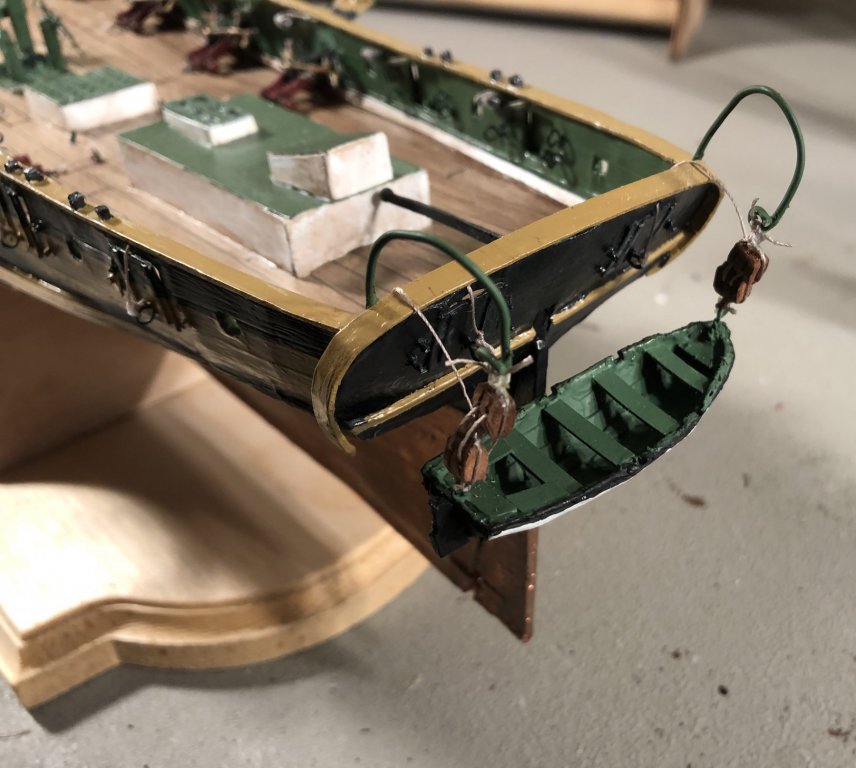
The ship’s boats are permanently installed now. I also made the bowsprit and have it temp installed so I can make the bow platform and pin-rail. I am working on the foremast pin-rails now, by which I mean that I’m waiting for the glue to dry so they can be painted.

- 355 replies
-
- 5
-
-
- prince de neufchatel
- schooner
- (and 3 more)
-
Ab, I’ve been using your tutorial for my Prince de Neufchatel build. I’m nearly done with the hull. I have a quick question, can you use card to make mast tops and other load bearing parts in the masting? Thank you, Phil
- 65 replies
-
- 1
-
-
- fish hooker
- fishing
- (and 2 more)
-
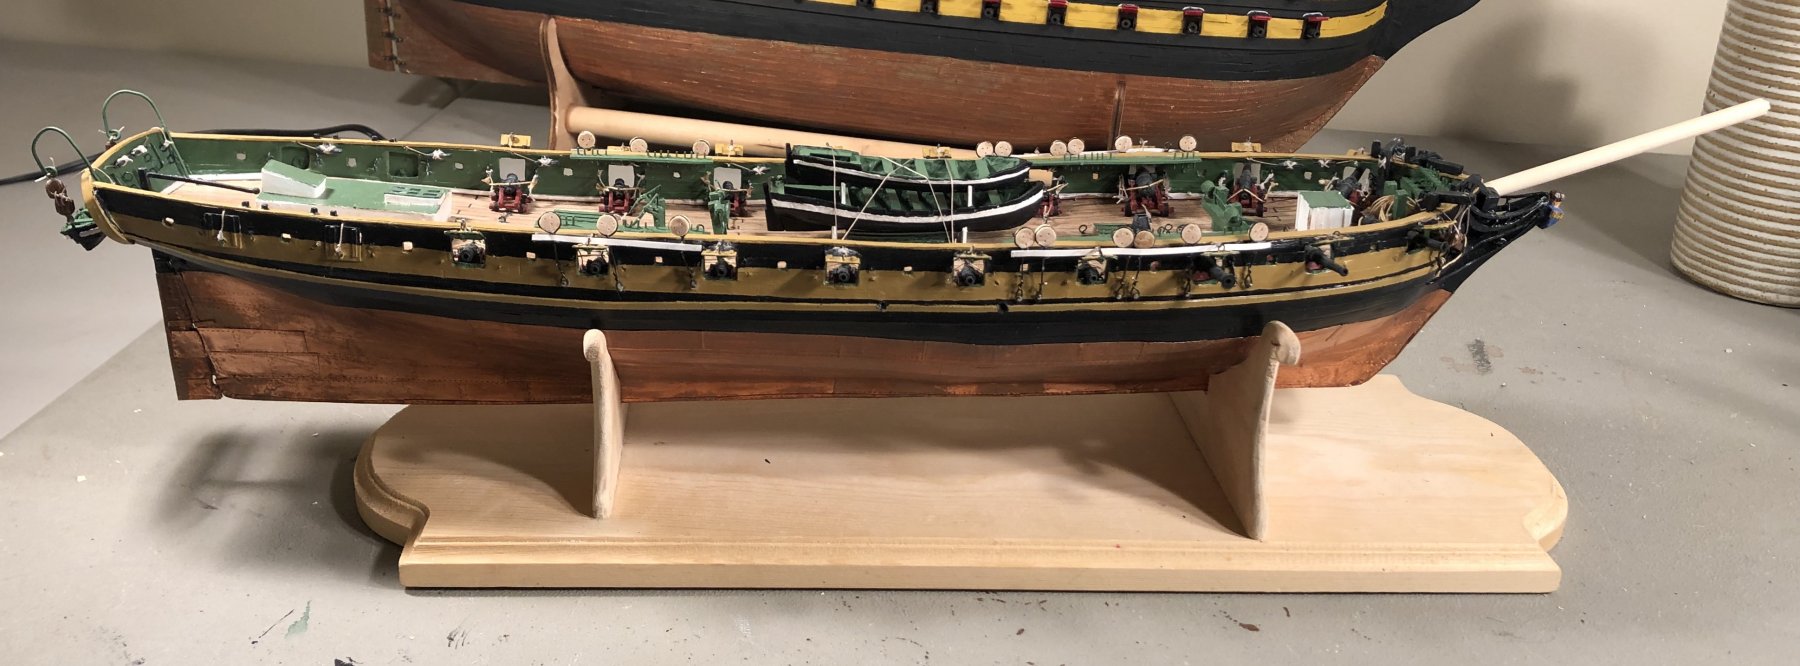
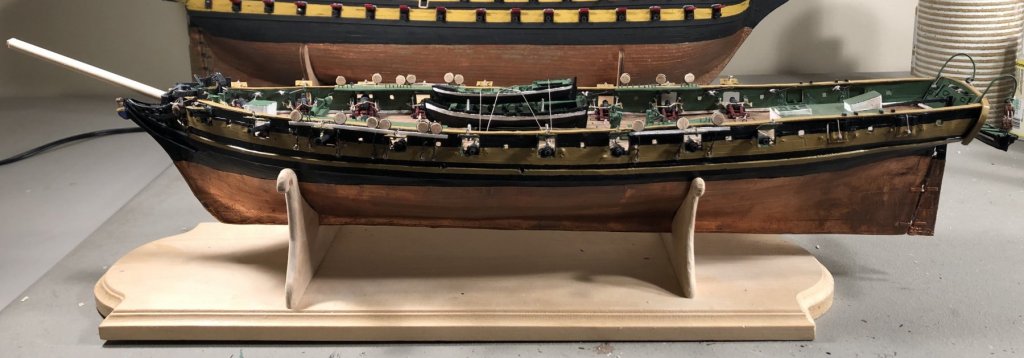
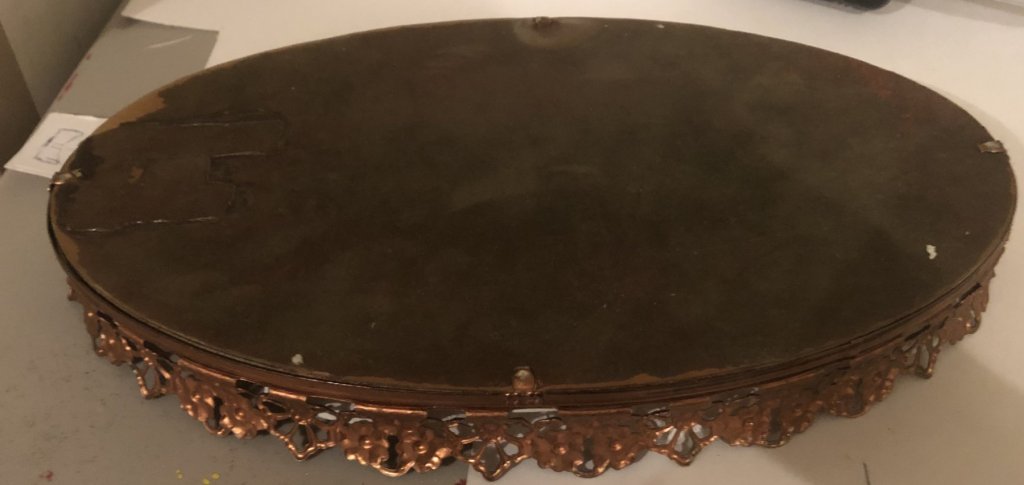
I found the base for the Triton at a flea market today. It will be the perfect base! I will build a cradle for the hull, like I did the Prince de Neufchatel, and mount the Triton on it.
-
I snuck away from a work project to hang the cutter off the stern and finish my stern pin rails:

- 355 replies
-
- 5
-
-
- prince de neufchatel
- schooner
- (and 3 more)
-
Paul, Looks good! Phil
-
I paint everything, but I developed most of my heavy modeling skills wargaming. I like my models to look well used, and military models, especially, to look a little battle scarred.
-
Cutty Sark by NenadM
GrandpaPhil replied to NenadM's topic in - Build logs for subjects built 1851 - 1900
Nicely done!- 4,152 replies
-
- 5
-
-
- cutty sark
- tehnodidakta
- (and 1 more)
-
I have used a lot of plastic HO scale model railroad eyebolts on my model of the Victory (1:98 scale Mantua).
-
I bought the Model Expo waterline marker. It makes life easier, for me at least. I mask off with painter’s tape.