-
Posts
276 -
Joined
-
Last visited
Content Type
Profiles
Forums
Gallery
Events
Everything posted by Kenneth Powell
-
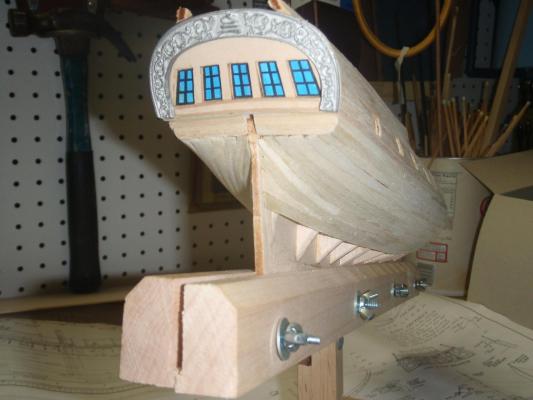
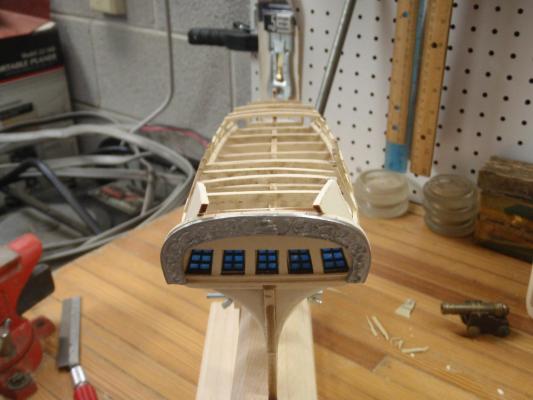
Thanks guys for looking in. Sport - If I remember correctly, the wood transom and metal carving were close in size. The metal is very soft and I bent it a little to match the wooden transom. Once I glued them together I only had to sand a little for a real good match. The metal used in the kit also sands as easily as the wood which makes gives an almost seamless result. We should have good sunlight tomorrow so I will work on those photos. Russ - I thought about red in the beginning and now may go to it. Kenneth
- 152 replies
-
- rattlesnake
- Model Shipways
-
(and 1 more)
Tagged with:
-
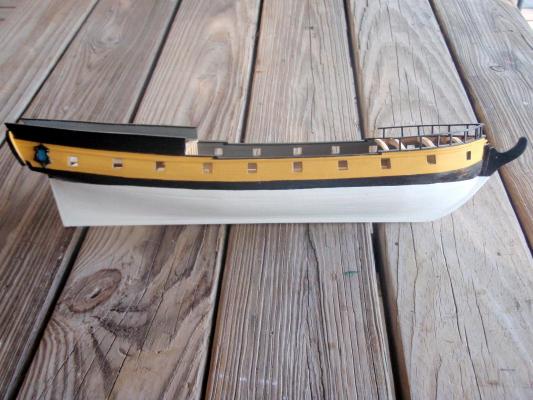
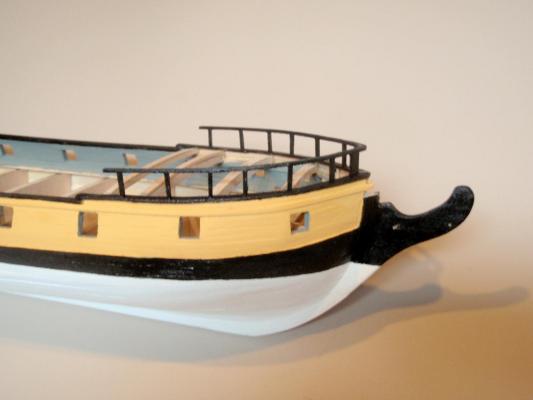
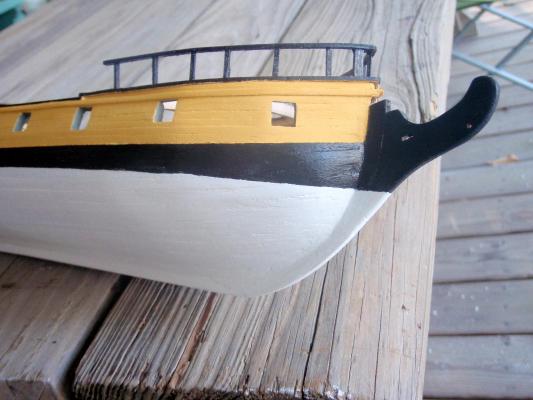
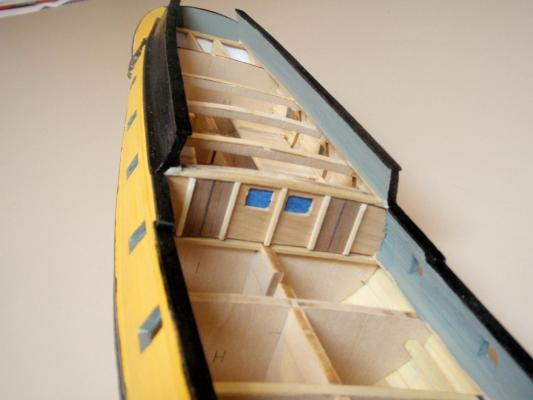
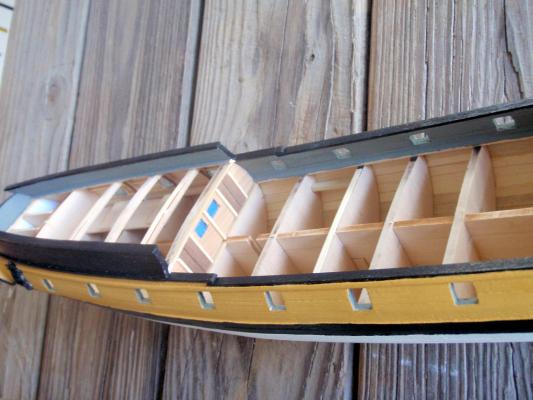
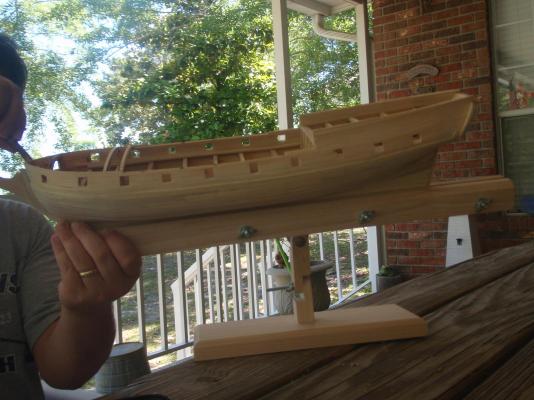
And now for some Color: Now you guys can see what I've been up to lately (besides admiring all the builds on this site). I went into this project wanting to paint her. The models finished with stain and varnish look great, but this is what I wanted. I didn't use much filler on the hull because it is a wooden model of a wooden ship and I wanted the run of planks and end seams and other 'beauty marks' to show. I measured the water line at stem and stern from the plans and marked it with a neat marking tool my wife bought me from model expo. The trick was to keep my small level steady across the rails during the whole marking process. I painted on primer then a few coats of each color with very light sanding between coats. Then of course back and forth with the touch-ups. The gray interior may look a little different from other models, but the instructions called for it. Let me know what you think. I will take a few more photos of different views and post them very soon. Sport - I hope these photos of the cabin bulkhead are OK.
- 152 replies
-
- rattlesnake
- Model Shipways
-
(and 1 more)
Tagged with:
-
She looks great and coming along nicely! I really like your build.
- 116 replies
-
- kilkis
- mississippi
-
(and 2 more)
Tagged with:
-
Excellent work. She looks great and really coming along.
- 116 replies
-
- kilkis
- mississippi
-
(and 2 more)
Tagged with:
-
Correction - I wrote earlier that 2 rows of planks were between each seam below the wale. It's actually 3. Discovered my mistake and absent mindedness while bottom painting.
- 152 replies
-
- rattlesnake
- Model Shipways
-
(and 1 more)
Tagged with:
-
Thanks sport for looking in. Yes I did omit the oar ports because they looked so small they may get lost in all the other planking. But I have seen photos of beautiful jobs on the Rattlesnake with them included. Photos will follow soon.
- 152 replies
-
- rattlesnake
- Model Shipways
-
(and 1 more)
Tagged with:
-
Thanks JPett for looking in. Your build has really inspired me.
- 152 replies
-
- rattlesnake
- Model Shipways
-
(and 1 more)
Tagged with:
-
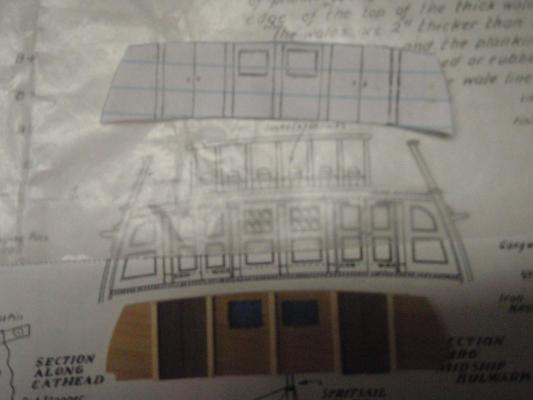
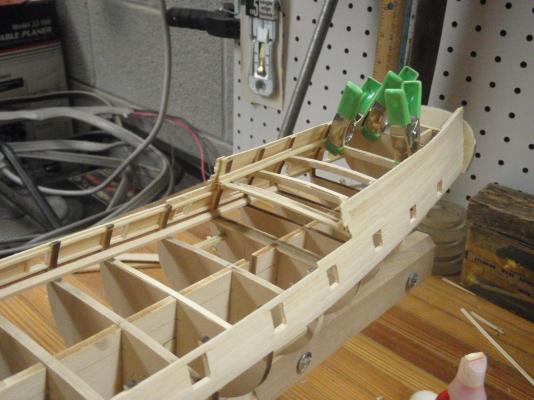
Thanks Russ for loking in and the kind words This is the photo of the cabin bulkhead sorry blurry Time for sanding and more sanding Notice the broken deck beams in the photos above. They just popped right off. I would glue them on with Titebond and move on. More photos after the weekend. Carry on good people.
- 152 replies
-
- rattlesnake
- Model Shipways
-
(and 1 more)
Tagged with:
-
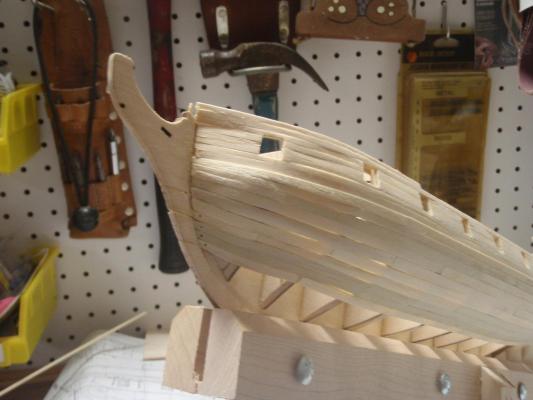
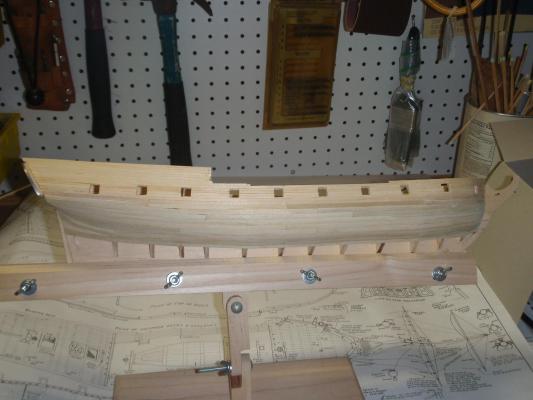
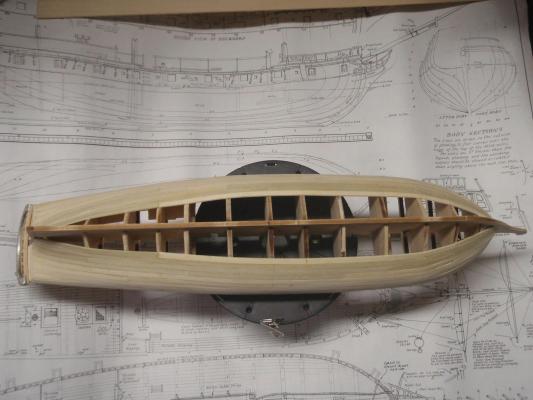
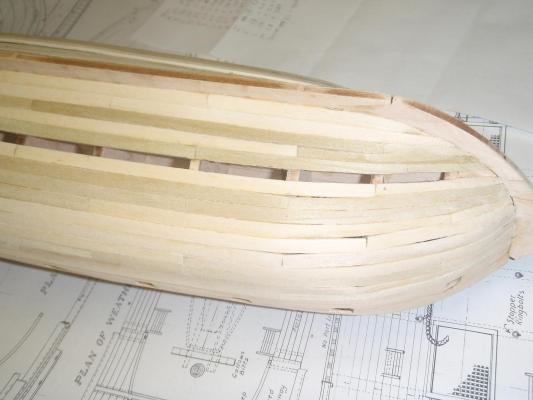
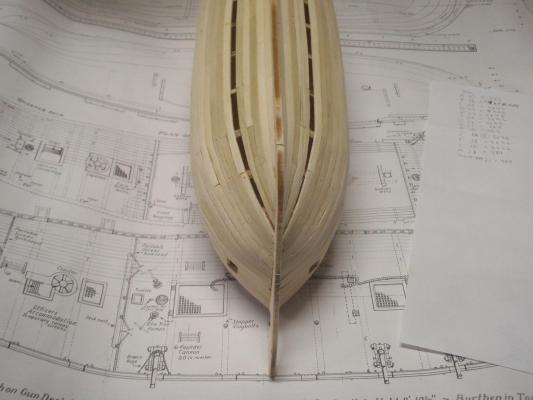
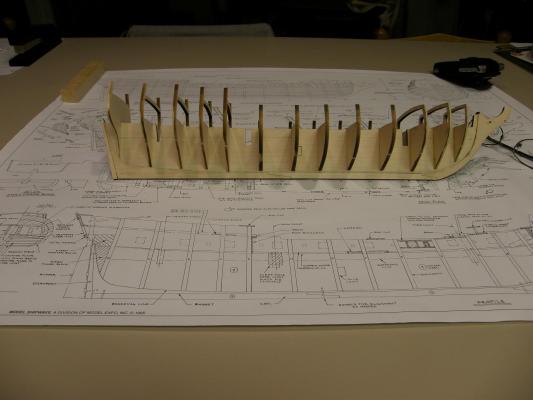
On to planking: I decided to go above the wale first. I wanted to shore-up the fragile areas of the bulkheads and the deck beams. Too many got broken! Above the wale went straight with no trimming except at the gun ports. The planking plans in the instructions lay out where to start below the wale and how many bulkheads to cover. It worked out well and gave 2 planks between seams on every run. WOW I actually followed directions and it worked! repair broken deck beam I did add a wider section of plank here. I got worried, but the number of runs did work out. Now from the garboard up Punch Planks This section took longer of course with tedious sanding and placing and correcting and replacing and checking and ....... Anyway, The length of planks the kit calls for made this run easier because they are short enough to work with yet cover a good distance. The kit doesn't have a cabin bulkhead and the instructions don't tell when to build it. I used the plans and made my own using a piece of juniper. The timing of this piece came from watching the scratch build by Pasi.
- 152 replies
-
- rattlesnake
- Model Shipways
-
(and 1 more)
Tagged with:
-
You can see a much better build of the boat by Torrens on this site. He put in great detail.
- 152 replies
-
- rattlesnake
- Model Shipways
-
(and 1 more)
Tagged with:
-
Awesome. That's what I'm going to do on mine. With your permission of course.
- 974 replies
-
- rattlesnake
- mamoli
-
(and 1 more)
Tagged with:
-
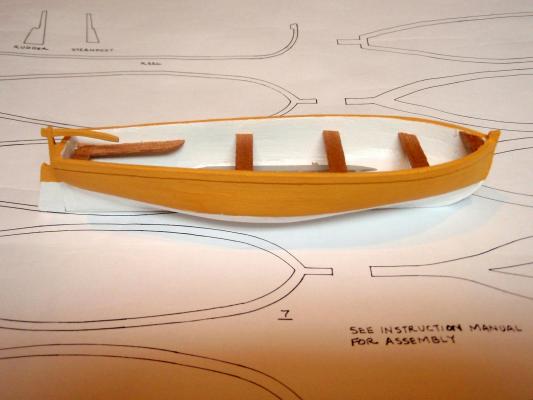
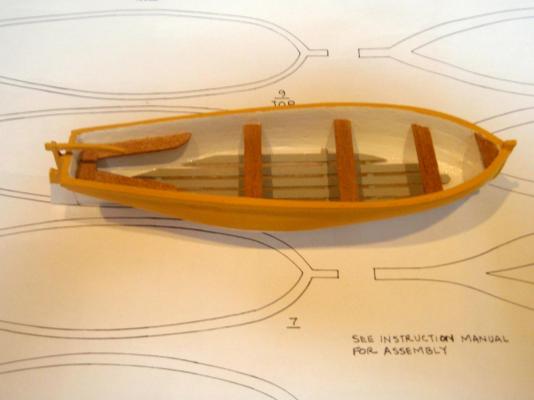
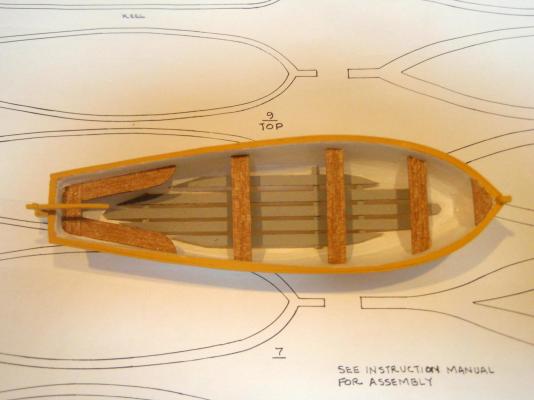
I finished the boat a little plain. After all, they are poor pirates Once I was finished, I noticed that I hadn't taken into account the sheer line. oops.
- 152 replies
-
- rattlesnake
- Model Shipways
-
(and 1 more)
Tagged with:
-
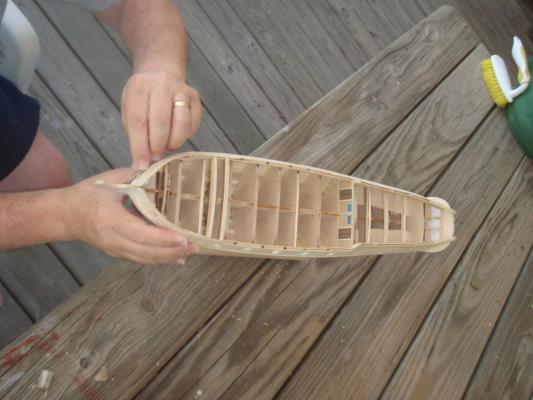
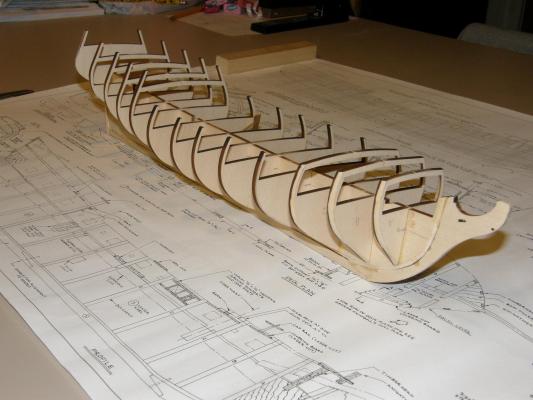
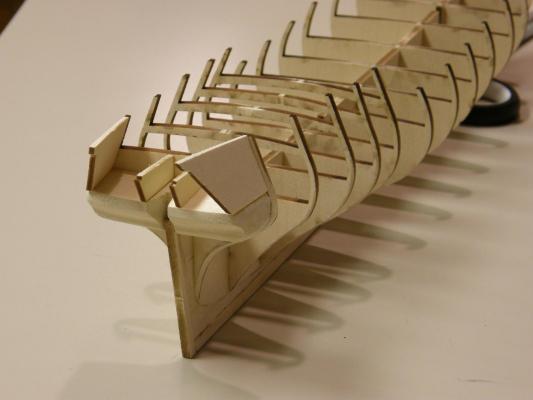
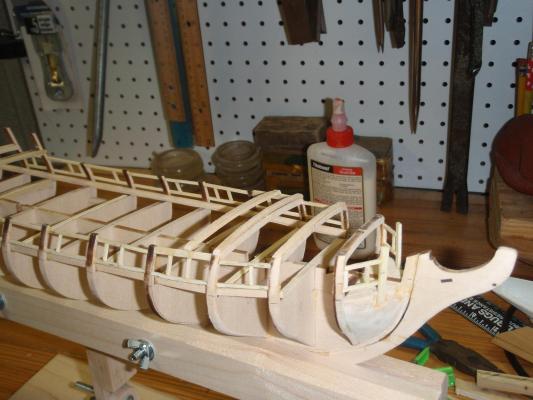
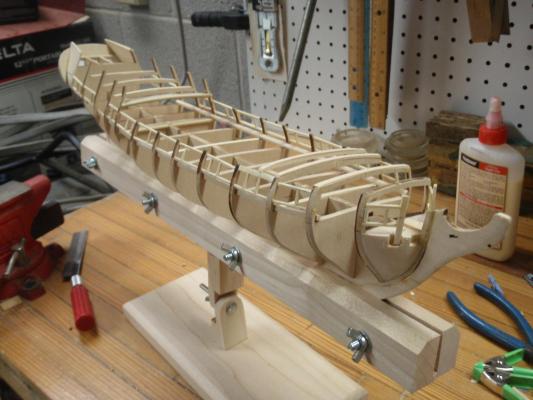
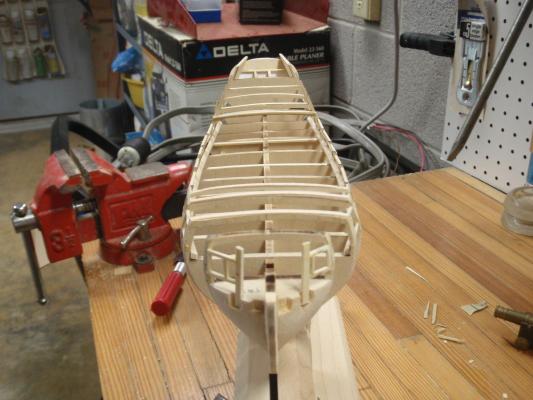
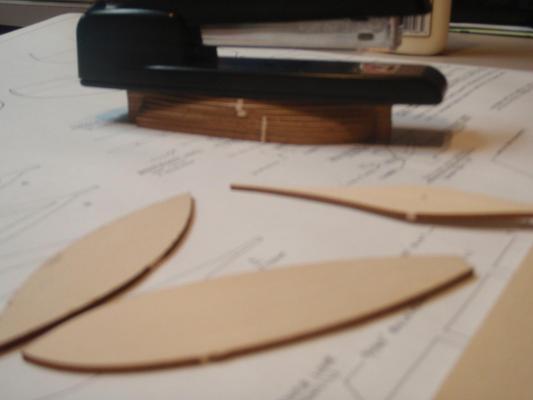
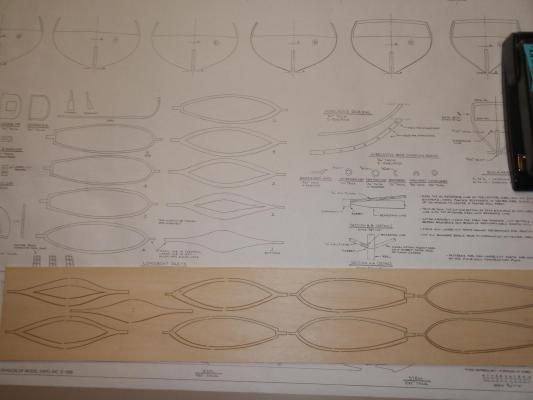
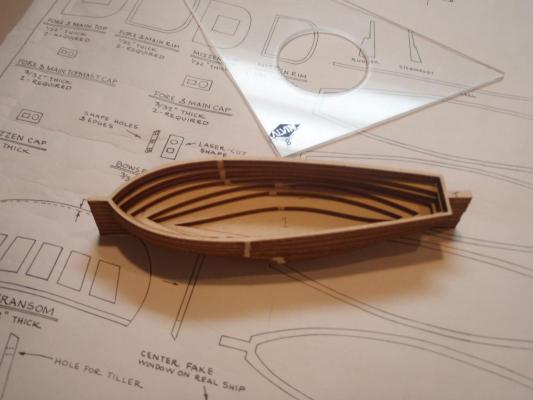
I started a log with a few photos of my build on this site before the great crash - then my own computer crashed and I lost some photos myself. I've been building so I decided to take the time (we can't wait until we have enough) to start the log again. Reading the logs and responses on this site and seeing the museum quality work, I know the kind words and encouragement you all give. I also know any criticisms or suggestions is entirely for the best. So I post this log to give and receive as much help as possible. These are some of the original pics. My gosh this kit has some fragile parts! Now some of the gun port framing. Ship's boat. I shifted to this to get up the nerve to start planking. Plus that, it just looked fun. This is a small 'bread and butter kit' inside the Rattlesnake kit. The instructions give a hint to glue all the layers together using the stem guides except the last one, that will make sanding the inside easier. I say stack them together, mark the lines and sand as much as you can separately, then glue them together. It's a very small space Sorry blurry. Stapler holding down the layers
- 152 replies
-
- rattlesnake
- Model Shipways
-
(and 1 more)
Tagged with:
-
She looks great. Keep up the good work and the posts with photos
- 116 replies
-
- kilkis
- mississippi
-
(and 2 more)
Tagged with:
-
I will follow your log with interest since I am from Mississippi and have read a bit on bb23.
- 116 replies
-
- kilkis
- mississippi
-
(and 2 more)
Tagged with:
About us
Modelshipworld - Advancing Ship Modeling through Research
SSL Secured
Your security is important for us so this Website is SSL-Secured
NRG Mailing Address
Nautical Research Guild
237 South Lincoln Street
Westmont IL, 60559-1917
Model Ship World ® and the MSW logo are Registered Trademarks, and belong to the Nautical Research Guild (United States Patent and Trademark Office: No. 6,929,264 & No. 6,929,274, registered Dec. 20, 2022)
Helpful Links
About the NRG
If you enjoy building ship models that are historically accurate as well as beautiful, then The Nautical Research Guild (NRG) is just right for you.
The Guild is a non-profit educational organization whose mission is to “Advance Ship Modeling Through Research”. We provide support to our members in their efforts to raise the quality of their model ships.
The Nautical Research Guild has published our world-renowned quarterly magazine, The Nautical Research Journal, since 1955. The pages of the Journal are full of articles by accomplished ship modelers who show you how they create those exquisite details on their models, and by maritime historians who show you the correct details to build. The Journal is available in both print and digital editions. Go to the NRG web site (www.thenrg.org) to download a complimentary digital copy of the Journal. The NRG also publishes plan sets, books and compilations of back issues of the Journal and the former Ships in Scale and Model Ship Builder magazines.


