HOLIDAY DONATION DRIVE - SUPPORT MSW - DO YOUR PART TO KEEP THIS GREAT FORUM GOING! (Only 24 donations so far out of 49,000 members - C'mon guys!)
×


Richmond
-
Posts
383 -
Joined
-
Last visited
Content Type
Profiles
Forums
Gallery
Events
Everything posted by Richmond
-
 Jake, I really struggled with understanding the various documents, I find there to be an assumption that you know certain things and steps are skipped over or not visually explained in enough detail. I think this is one of the major issues with wooden ship building and why people don't stick around in the hobby. However, I finally found a great build log, it was for the Model Shipways 18th Century Longboat by BobF. This guy has a great visual way of explaining things, he really doesn't skip a step and comes back with further information if you found any of his steps difficult to understand. I know no ships are the same but for some reason this one really hit home.
- 16 replies
-
- 2
-

-
- Golden Hind
- Constructo
- (and 1 more)
-
I'm a latecomer to this log, there has been wonderful work undertaken to these little planes. I noted your issues with masking, there was an interesting article in the Journal by Kurt Van Dahm (Vol 64, pages 282 to 284) and one thing that was recommended in addition to burnishing was spraying a light coat of the original /base colour along the edges of the masks at 90 degrees to the surface to seal the edges and prevent bleed under the tape. Obviously you need to be careful with coverage so as to not to cause a raised edge. I haven't tried it myself but it seems quite logical.
-
Apologies if this came over the wrong way I was just trying to classify the model in Scalemates - I will will leave it where it is on the generic sailing ship category
- 117 replies
-
- 1
-
-
- vanguard models
- yacht
- (and 2 more)
-
Sorry, to clarify, it is based a on a real ship, but with a fictitious name, do we know which ship it is based on?
- 117 replies
-
- 1
-
-
- vanguard models
- yacht
- (and 2 more)
-
I was struggling to locate this ship on https://threedecks.org/index.php?display_type=ships_search has anyone more information on it - type of ship etc
- 117 replies
-
- 1
-
-
- vanguard models
- yacht
- (and 2 more)
-
Yes some of those plastic kits have attached instructions which you can download - it gives you another perspective at least.
- 244 replies
-
- 2
-
-
- borodino
- dom bumagi
- (and 1 more)
-
Here is a link to the Borodino on the Scalemates site https://www.scalemates.com/topics/topic.php?id=23657
- 244 replies
-
- 3
-
-
- borodino
- dom bumagi
- (and 1 more)
-
Some of these specialty products are a waste of time - but not in this case. I have just purchased one recently having knocked over several bottles. I think AUD 30.00 (USD 20.00) is money well spent with a bottle of Extra Thin retailing at AUD 10.00. For me it will not take long to recoup the costs especially when you bring cutting mats and half built models into the equation.
-
Have a look at their website - I am sure it can be thinned - in fact I have some Vallejo thinner in my stash
-
I was referring to their acrylic paint refill pens
-
Some brands of acrylic paint are soluble in alcohol. One has to experiment. I've had only moderate success airbrushing when thinned with alcohol. They did not cover well and required repeated application. Alcohol speeds up the drying time a bit. The other shortcomings of acrylics remain. If you get chance have a look at Scaleaton and Plasmo's builds on Youtube (both superb modelers) they are not shy in using IPA to thin their acrylics. Personally I prefer Mr Color Leveling Thinner to thin my Tamiyas and Mr Colours. There is a school of thought which states you should thin with own brands - I assume this would only apply to the solvent based acrylics - I believe true acrylics can be thinned with water however I have never used a true acrylic so couldn't say for sure. For those stating that acrylic paints are expensive - in comparison to what ? I assume you are not shooting undiluted acrylics through your airbrush - they need to be thinned - when you bar a jar of acrylic you should get, as a minimum, 2 to 1 use - to me this is good value.
-
I would hazard a guess that the majority of plastic models are painted with acrylics nowadays and probably masked with Tamiya tape. There are many wonderful examples on here. Tamiya acrylics are my go to paint (they are not a true acrylic) - thinned with Mr Colour Levelling Thinner (you can use IPA) many people are going over to the true acrylics for health /enviro reasons - personally I don't like them but have seen wonderful models produced with them On the assumption you are not cutting corners with cheap rip offs, your issues with your acrylics /masking are probably due to builder error/inexperience There is a good article on masking in the recent journal.
-
The refill pens this company makes seems to be getting popular - irritating website I'm afraid https://www.molotow.com/
-
Just noticed this log, wish I had seen it before I started mine. Very nice build and much better colour scheme then the one I selected.
- 63 replies
-
- 5
-
-
- revell
- harbor tug
- (and 2 more)
-
A weekend update No major dramas to report other than poor fitting problems as you will note with the upper deck modules - I probably will not attend to these given the multi colour nature of the paintwork. I may try some weathering Really I just want to put to this to bed and move onto something else (i.e. a modern kit!) One thing I did do was pre-drill all the decks ready for rigging - I will go into more detail when I reach the rigging stage


- 6 replies
-
- 6
-
-
- revell
- harbour tug boat
- (and 2 more)
-
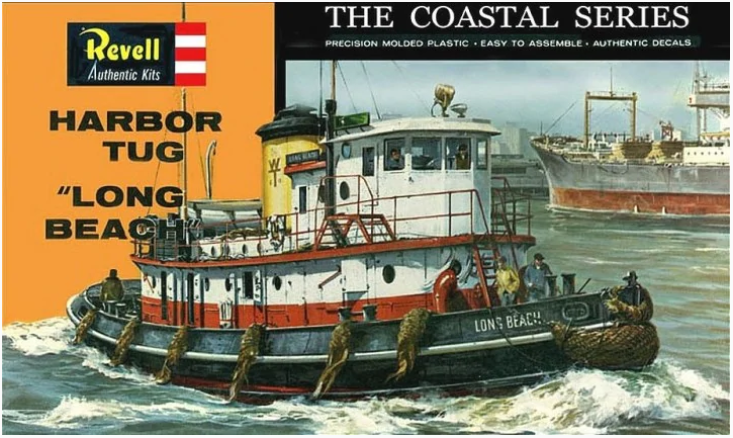
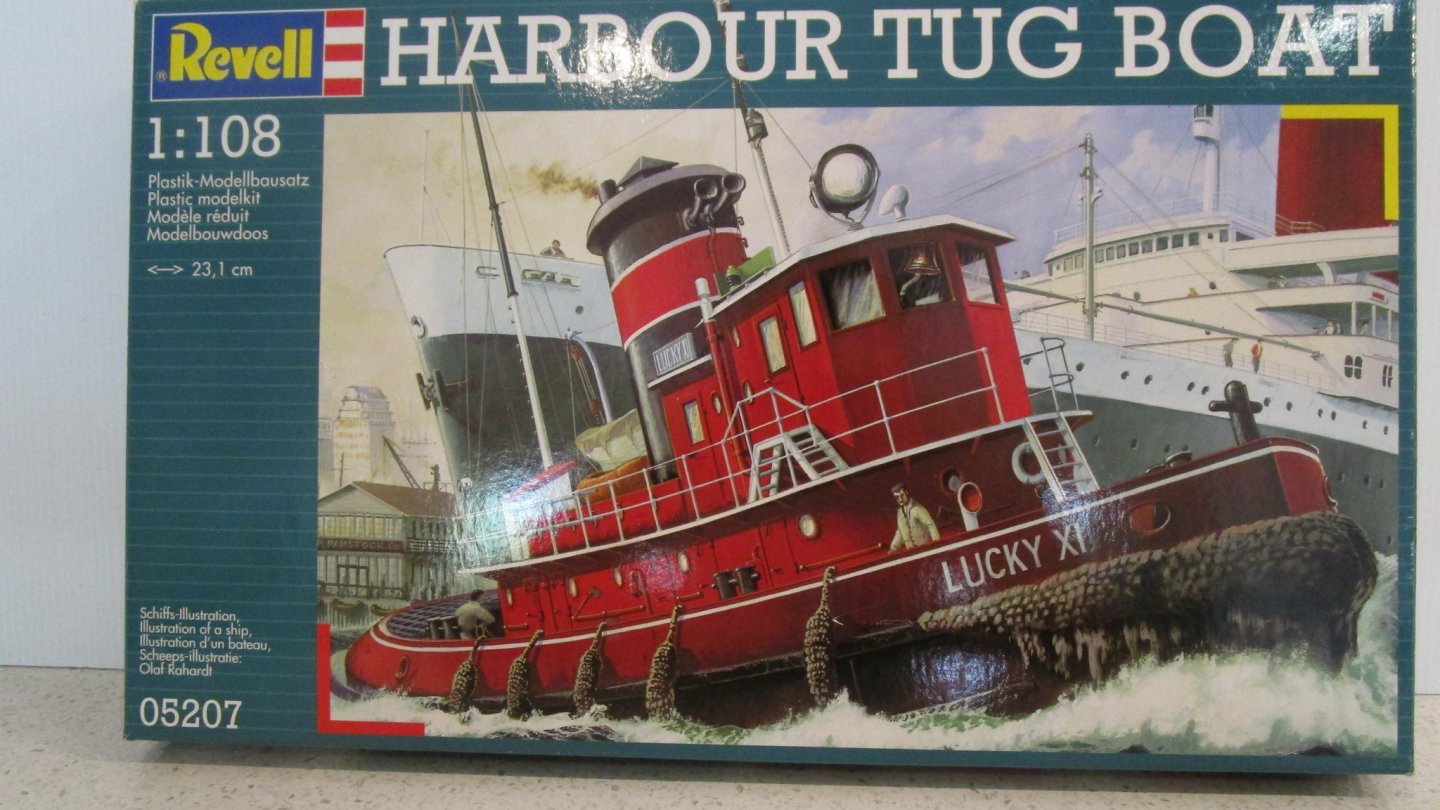
Yes, I think it a rebox of the 60s kit below - there have been several reboxes since then - the current one is 2001 (I believe) - its a shame they didn't change the mould ! If I had noticed this before I would have gone with the same colour scheme - I like the yellow funnel and the two tone lower cabin,
- 6 replies
-
- 2
-
-
- revell
- harbour tug boat
- (and 2 more)
-
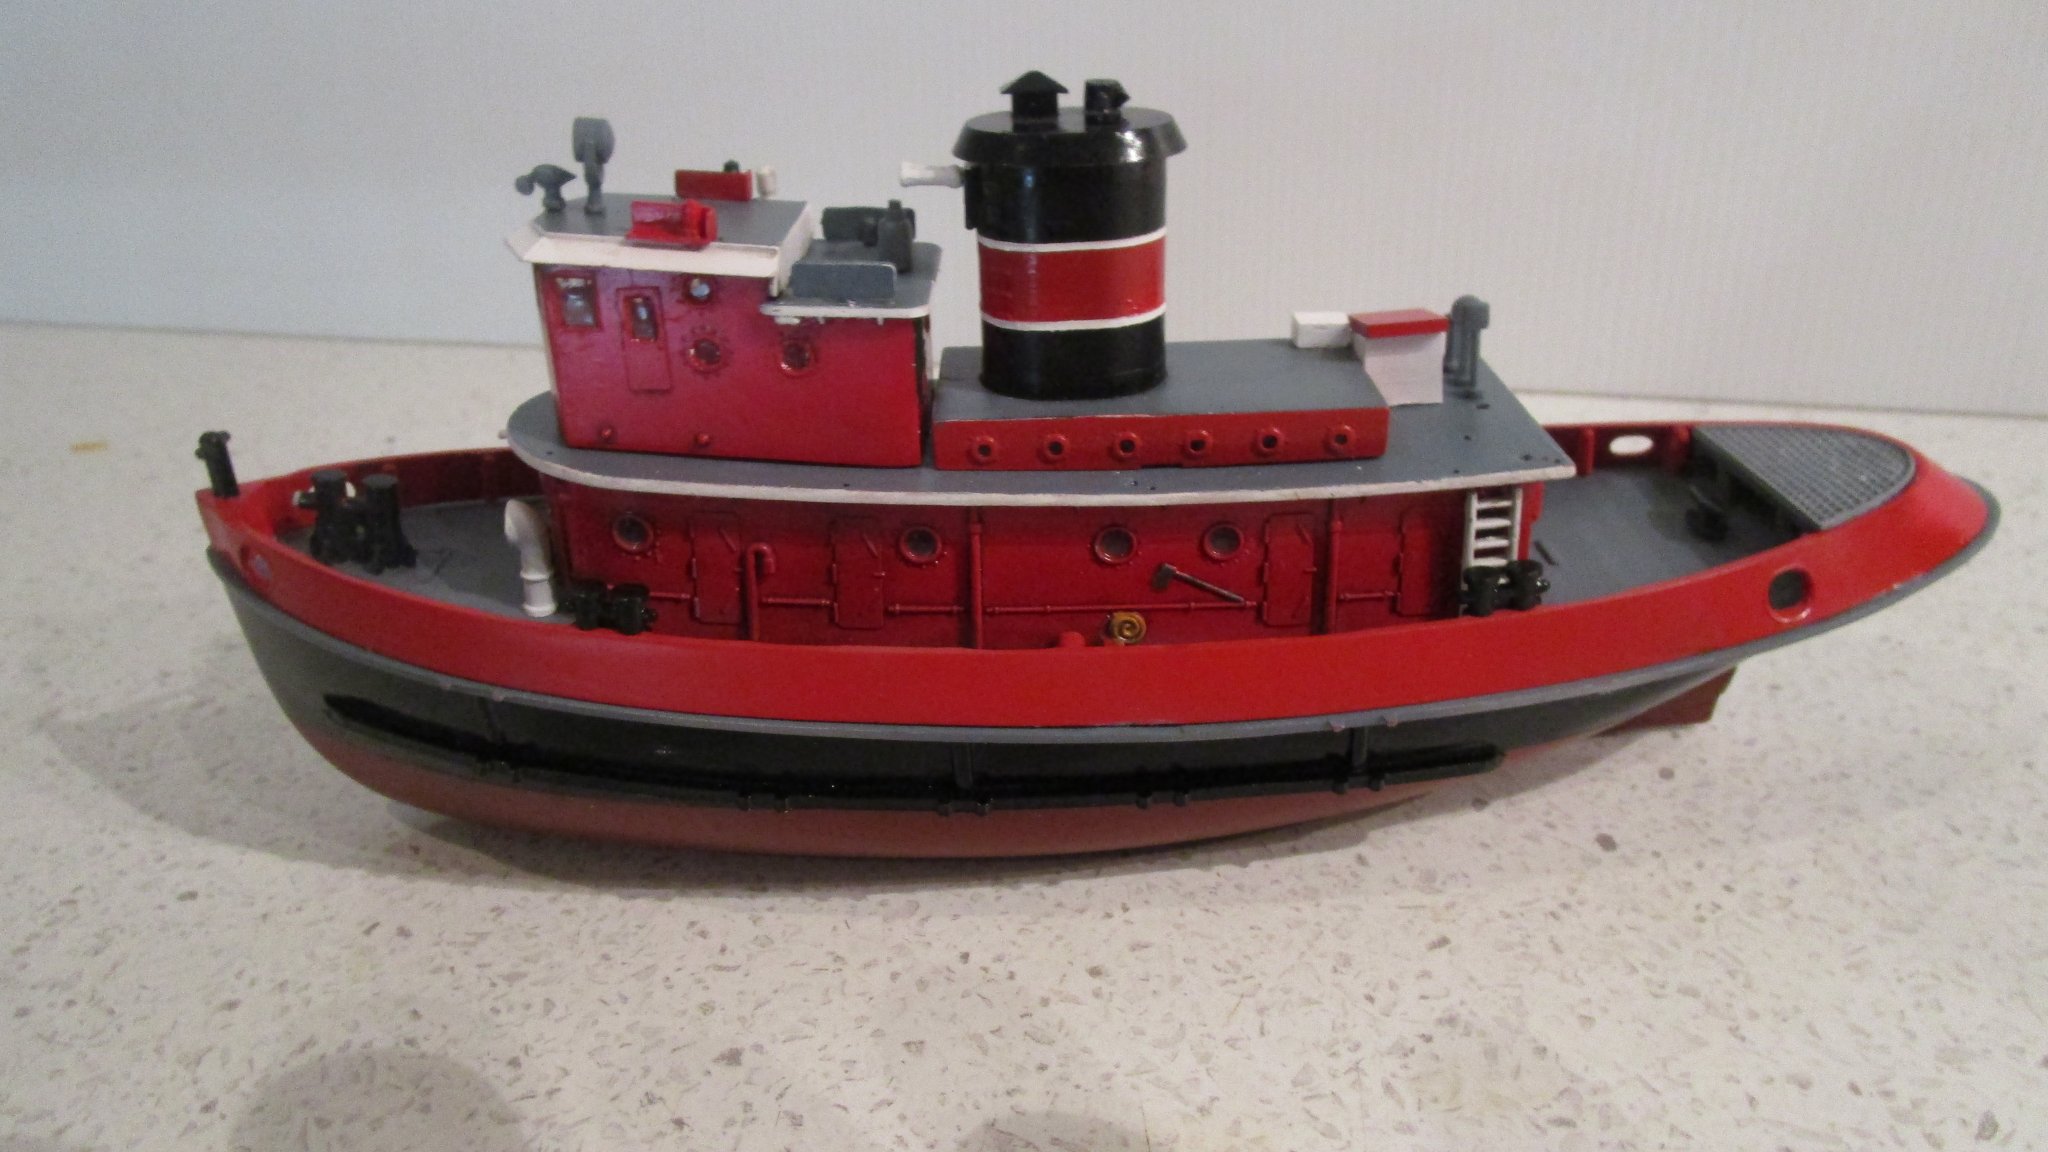
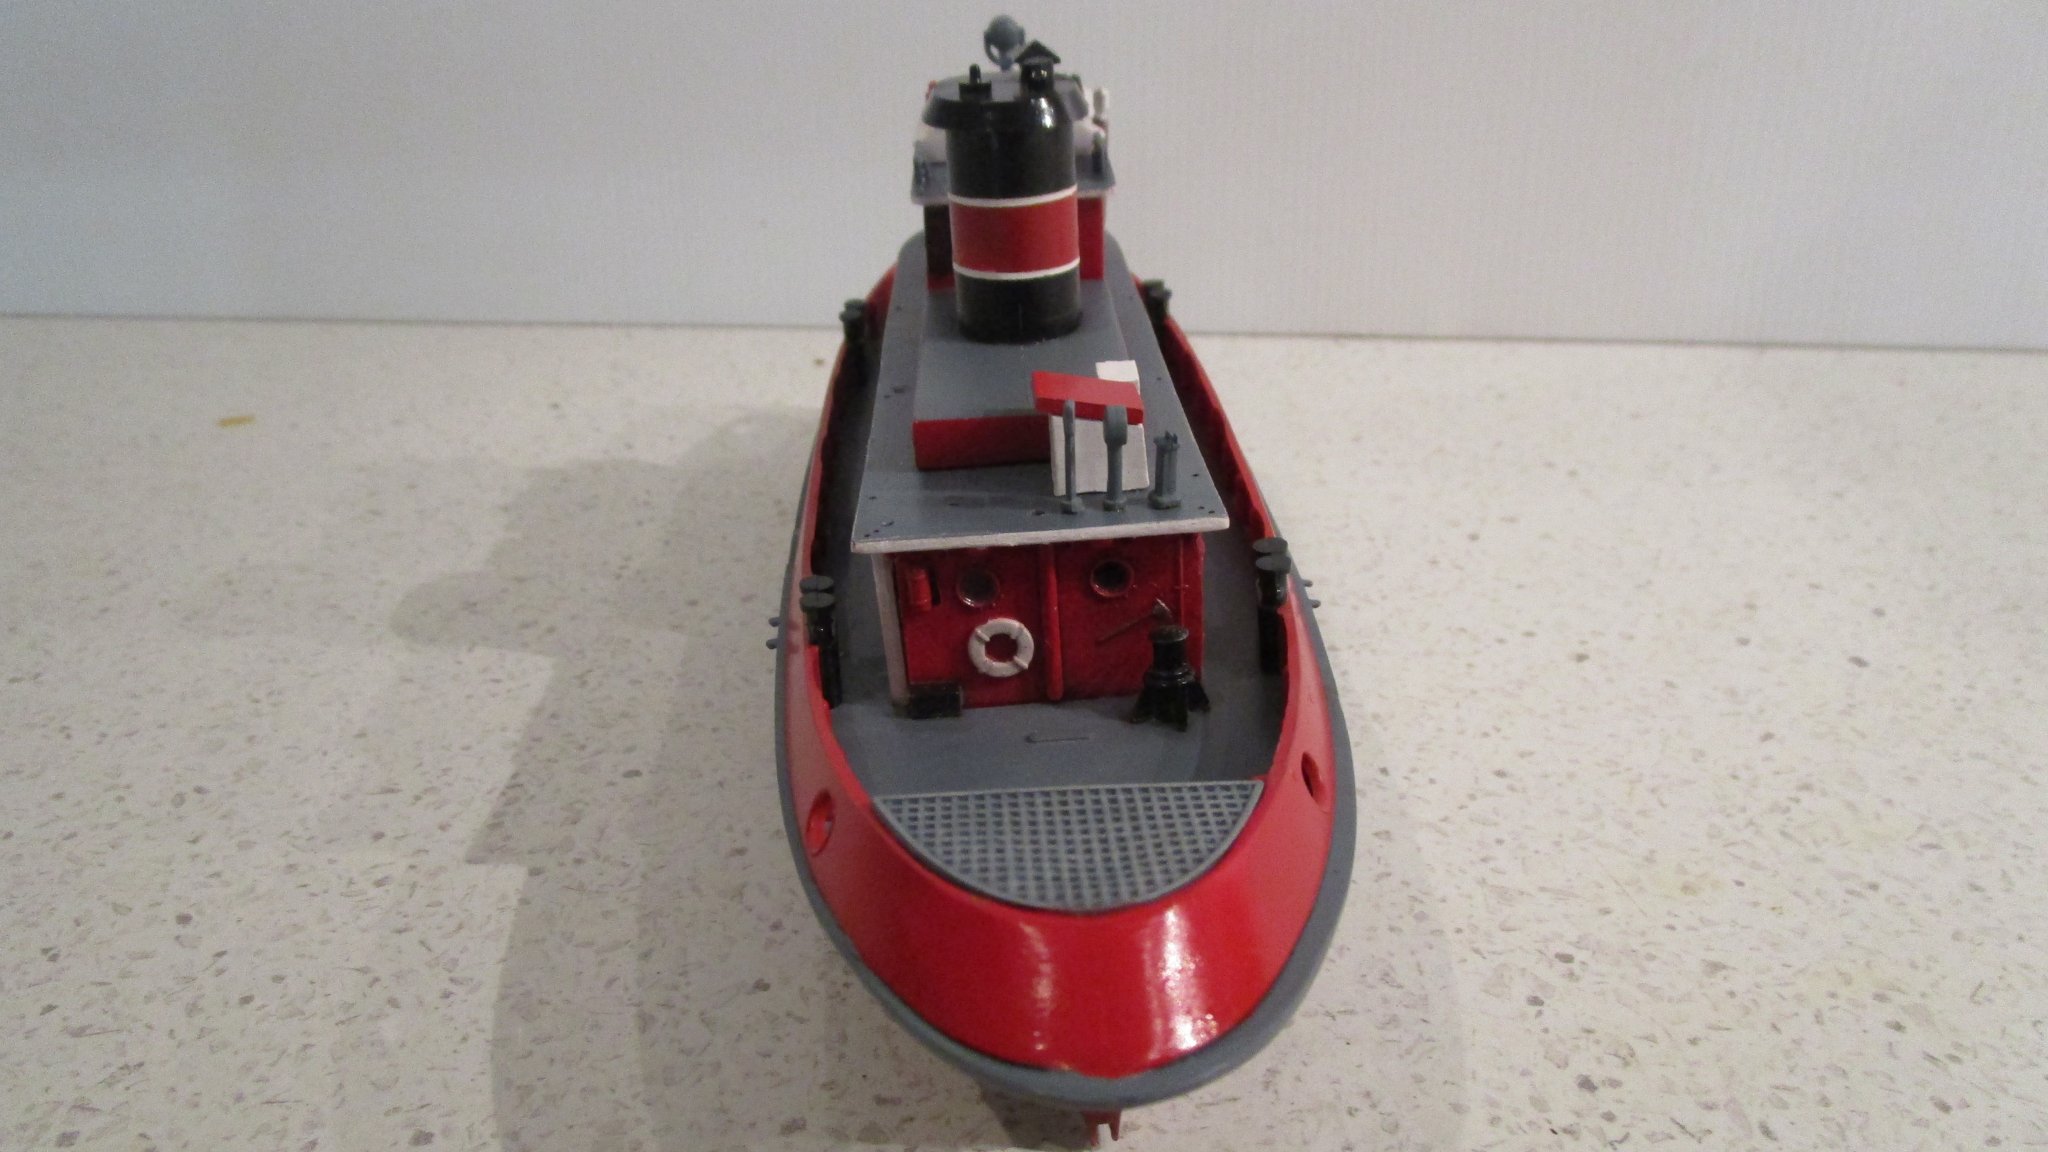
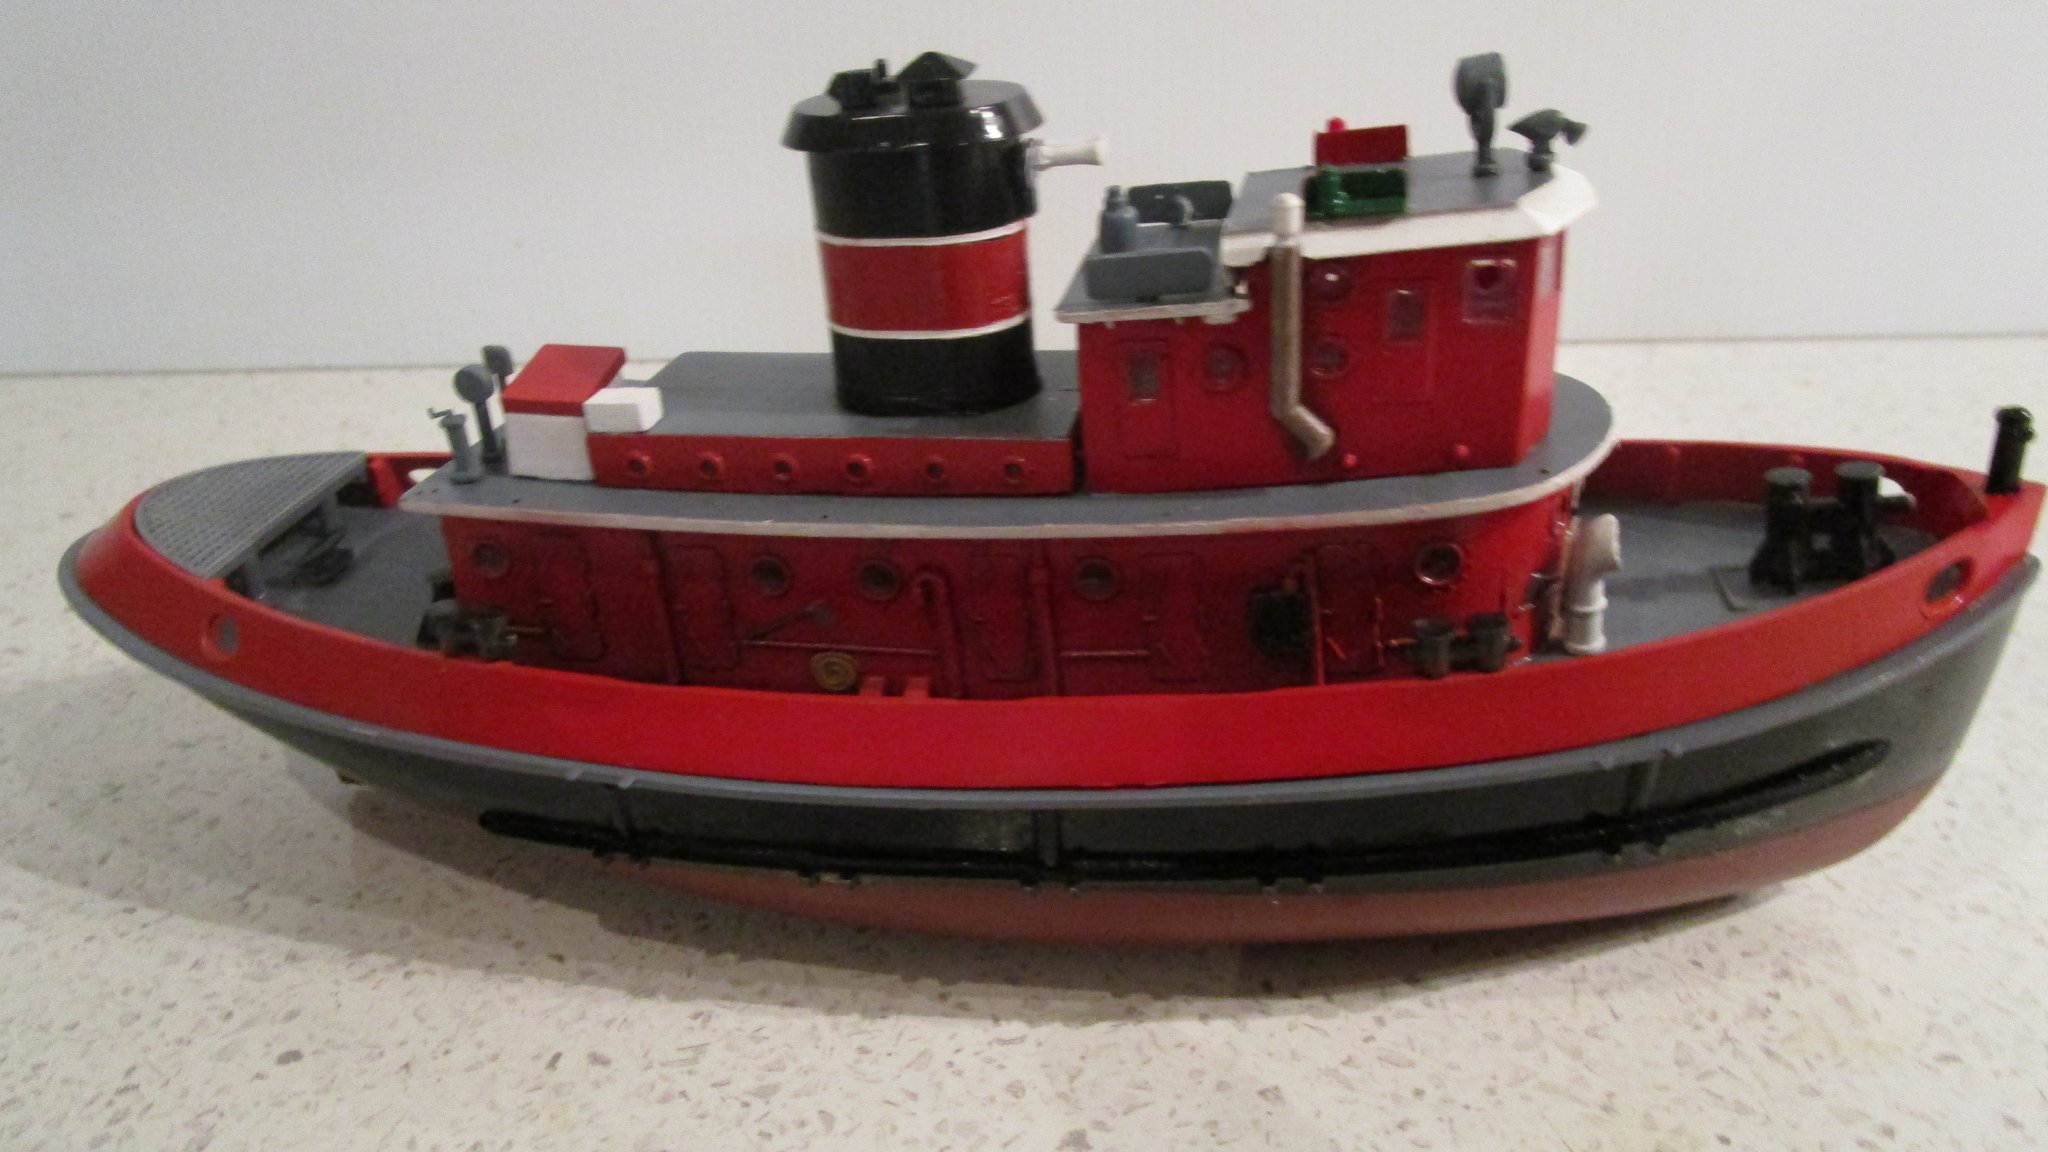
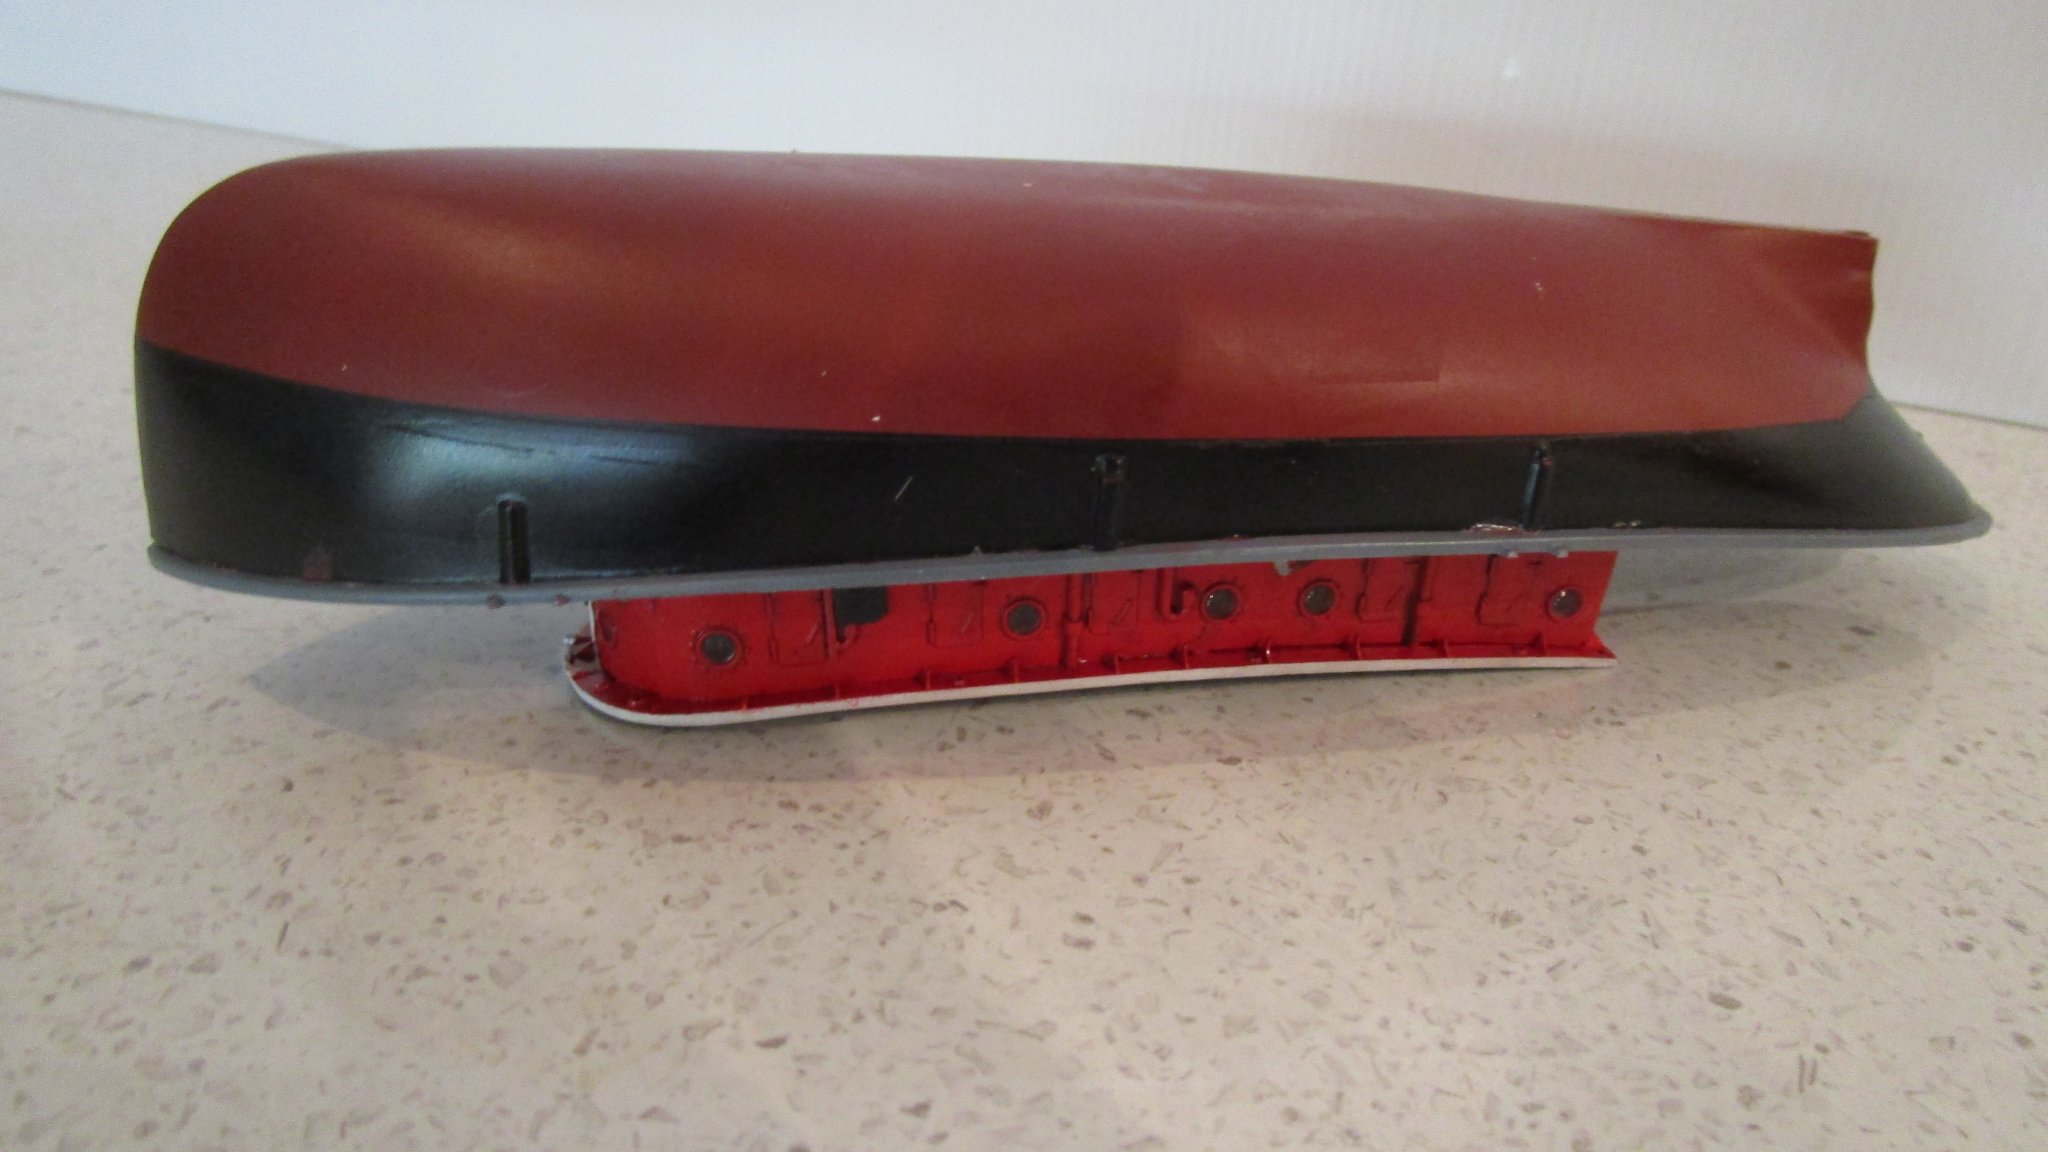
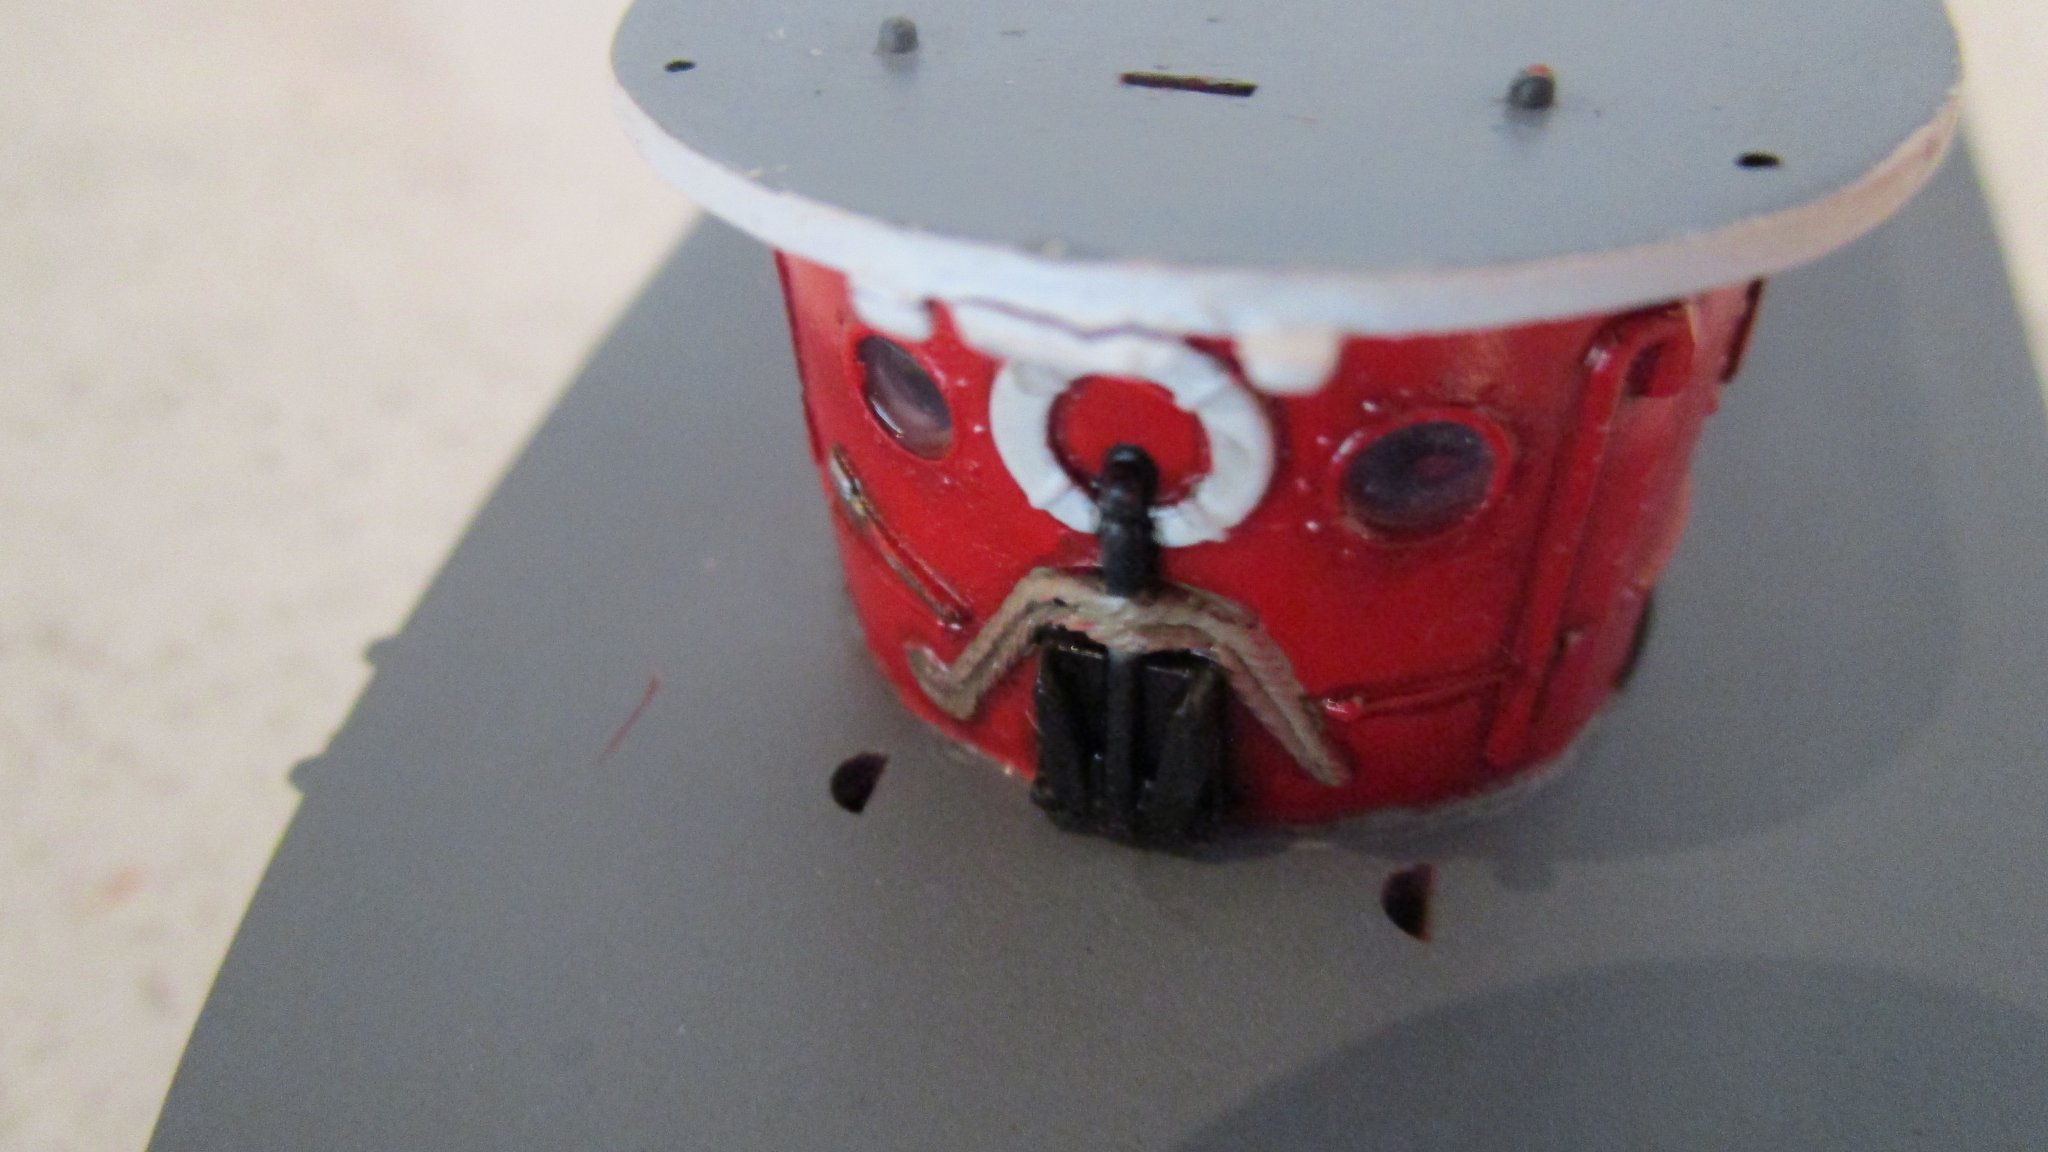
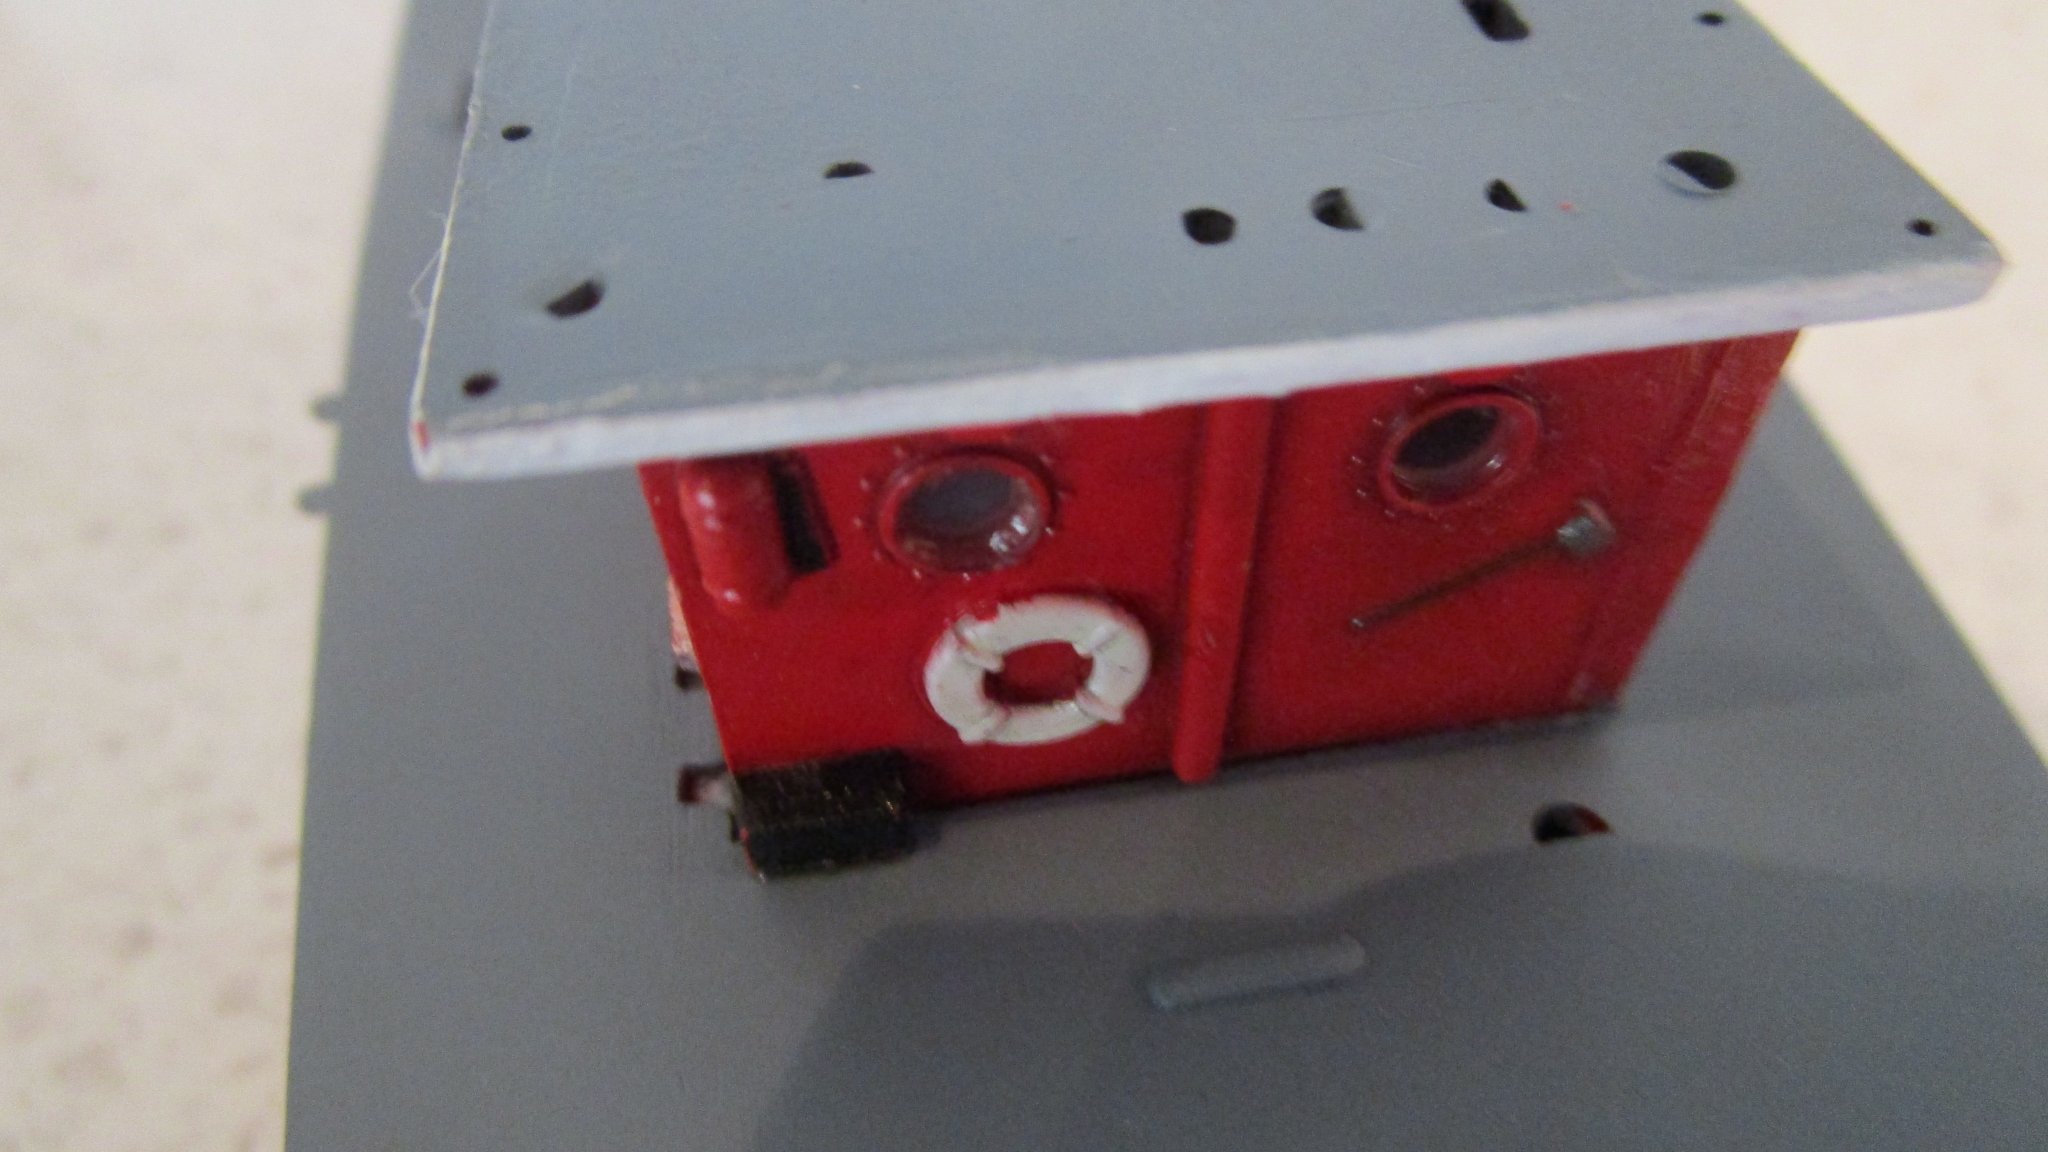
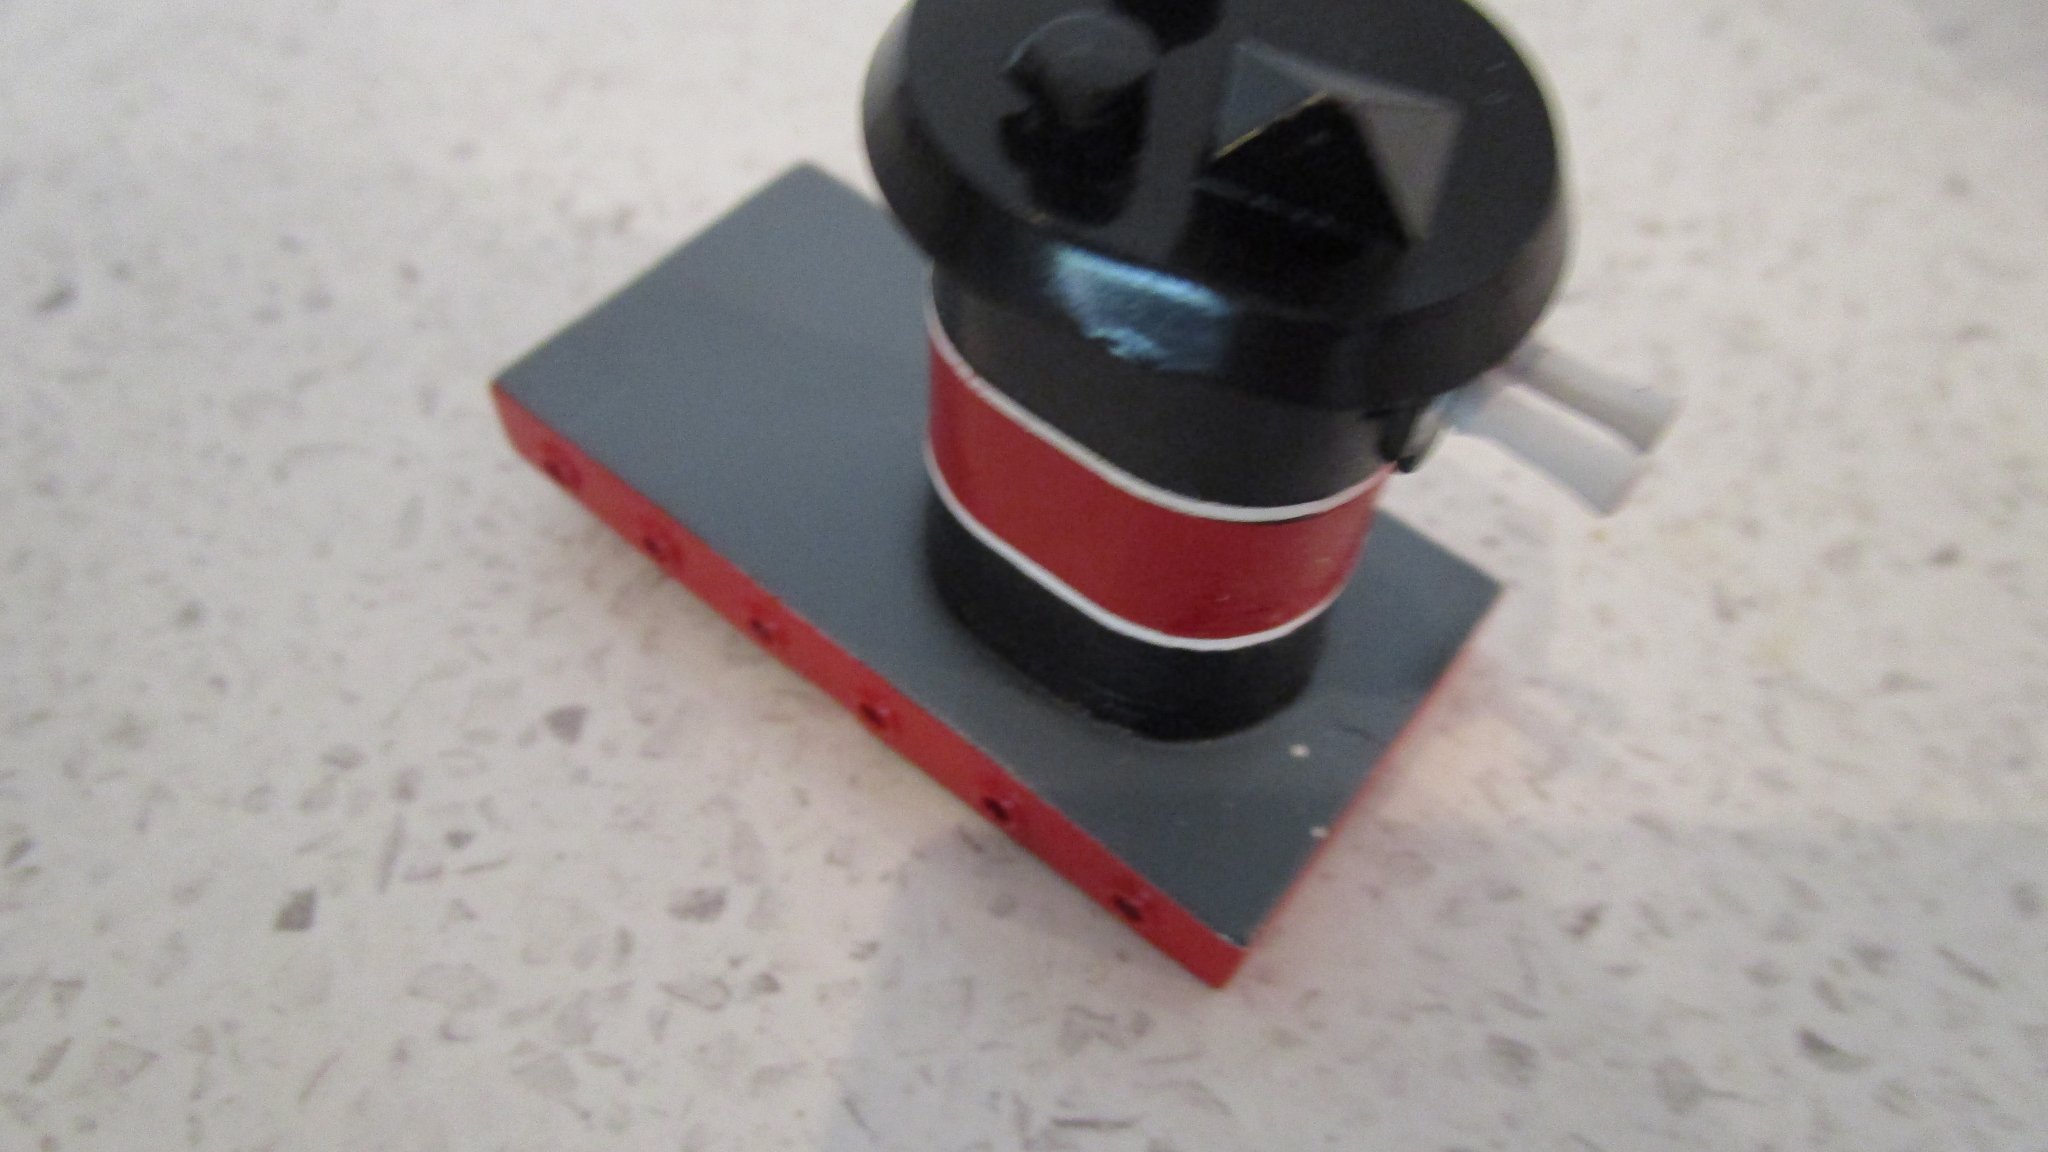
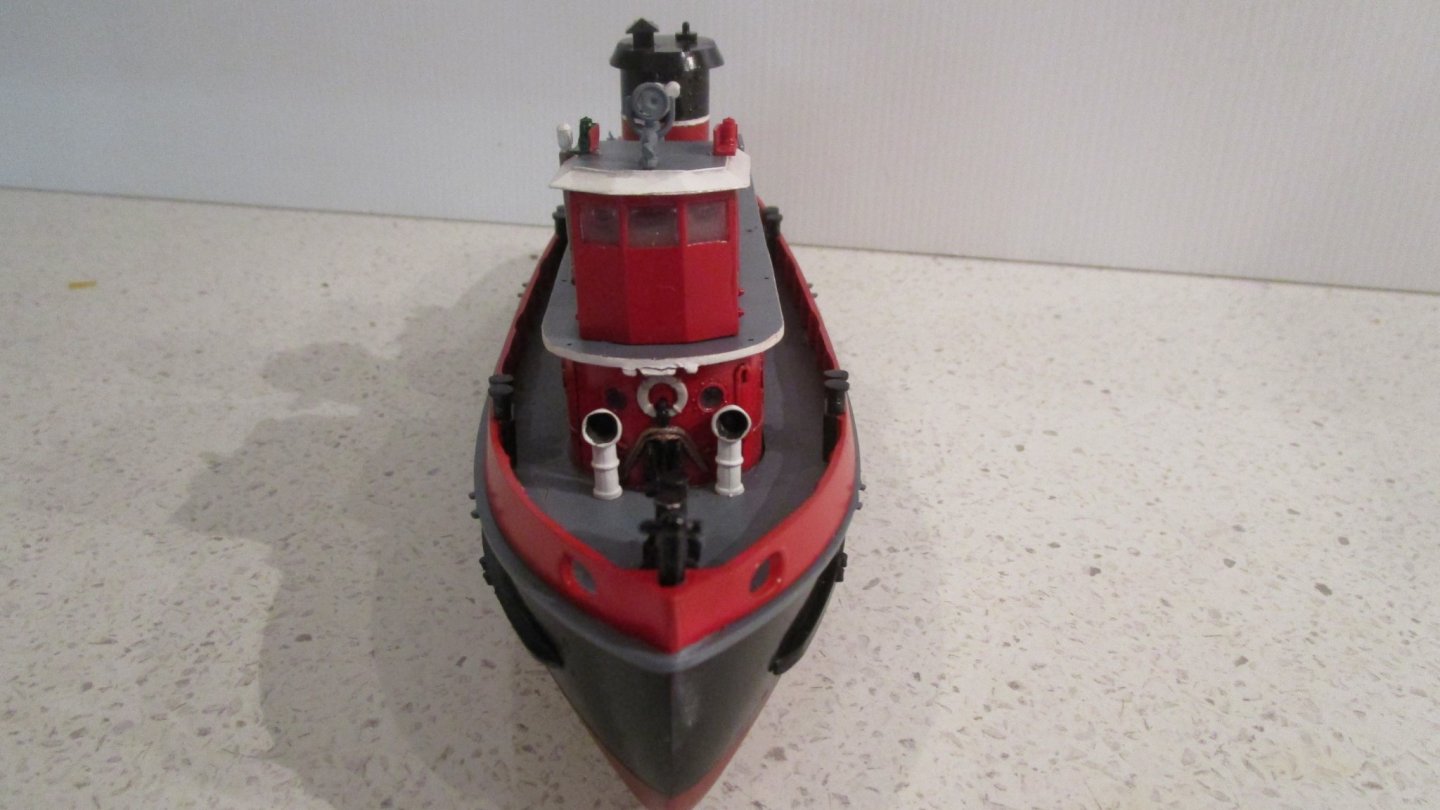
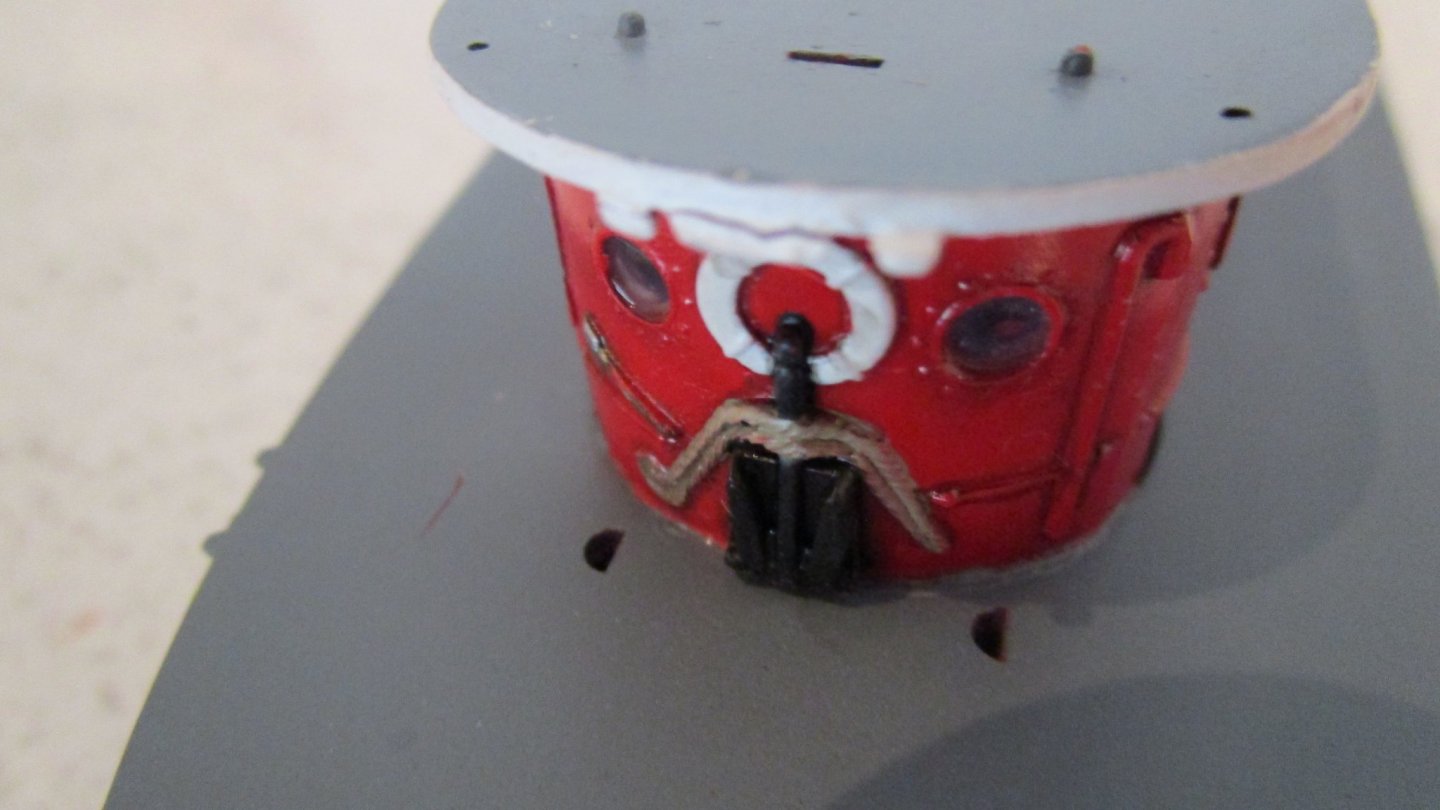
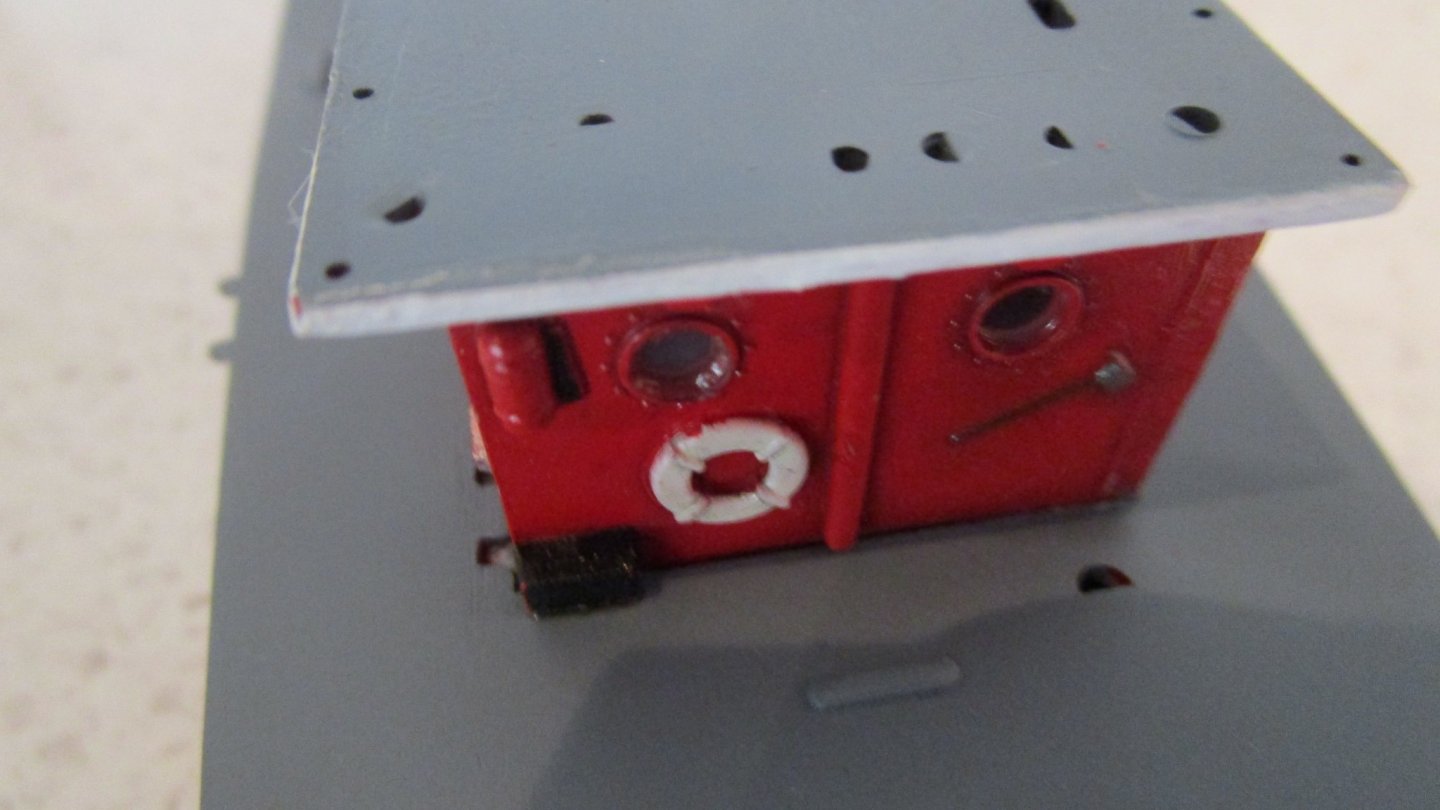
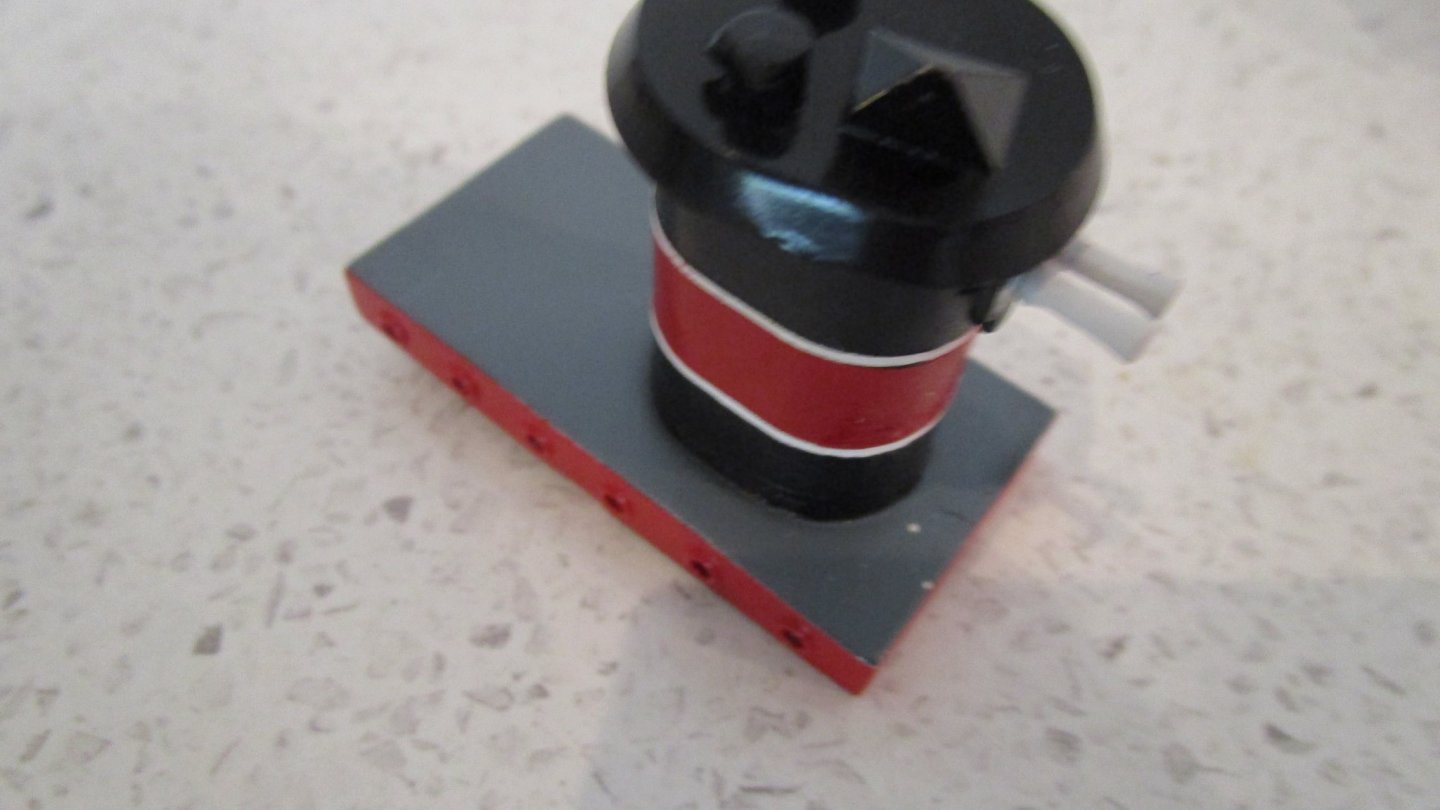
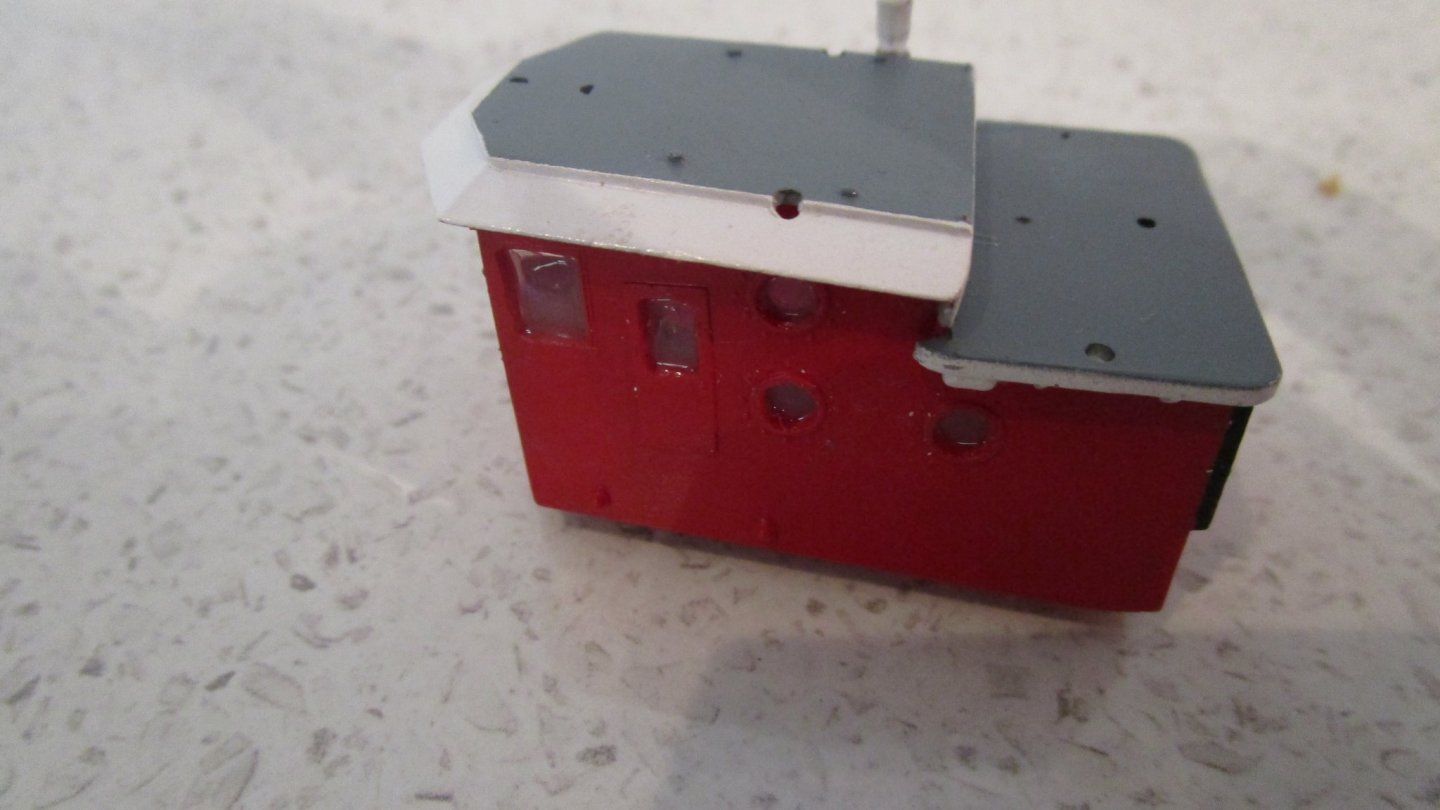
Here is my current 'ship' model - the Revell Harbour Tug - this will be out of box build. This is a very old kit - the mould has seen better days - tonnes of flash and very little fine detail - how far we have progressed! I did find some history on these tugs sometime back when I first purchased the kit but for the life cannot locate it again. I believe they were built by /for the US Navy and some several hundred were built. There are photographs on the www of these still in service. Main paint work is a mixture of Tamiya & Mr Colour / Levelling Thinner 50/50 Hand painting for fine details is generally Citadel with a some Tamiya /Retarder - the Citadel is superior to the Tamiya retarder method. Personally I do not recommend using Tamiya /Mr Colour for hand painting. Weathering is through a pin wash - Tamiya Accent brown. Glazed openings are with Deluxe Materials Glue and Glaze - I find this easier to use than the Microscale product as it comes with its won applicator. I have progressed significantly - really its just a case of gluing he parts together. The problem I find with these non naval ships is the multi coloured paint schemes - a lot needs to be painted before they are glued and then you run into issues when you glue the parts together and of course filling. So we have the classic two tone hull - I forego the white stripe - I tried and it was a disaster - too much bleed - Kurts recent article in the NRJ (Aug) will I am sure prove to be invaluable for future masking work. Here are some close ups of the lower cabin showing some of the finer hand painting detail work with the Citadel paints. You should make out the pin wash as well Here is the funnel - this was tricky with 3 different colours of stripes And finally the upper cabin - this hasn't been weathered yet - some of the glazing on the larger openings leaves a bit to be desired.

- 6 replies
-
- 5
-
-
- revell
- harbour tug boat
- (and 2 more)
-
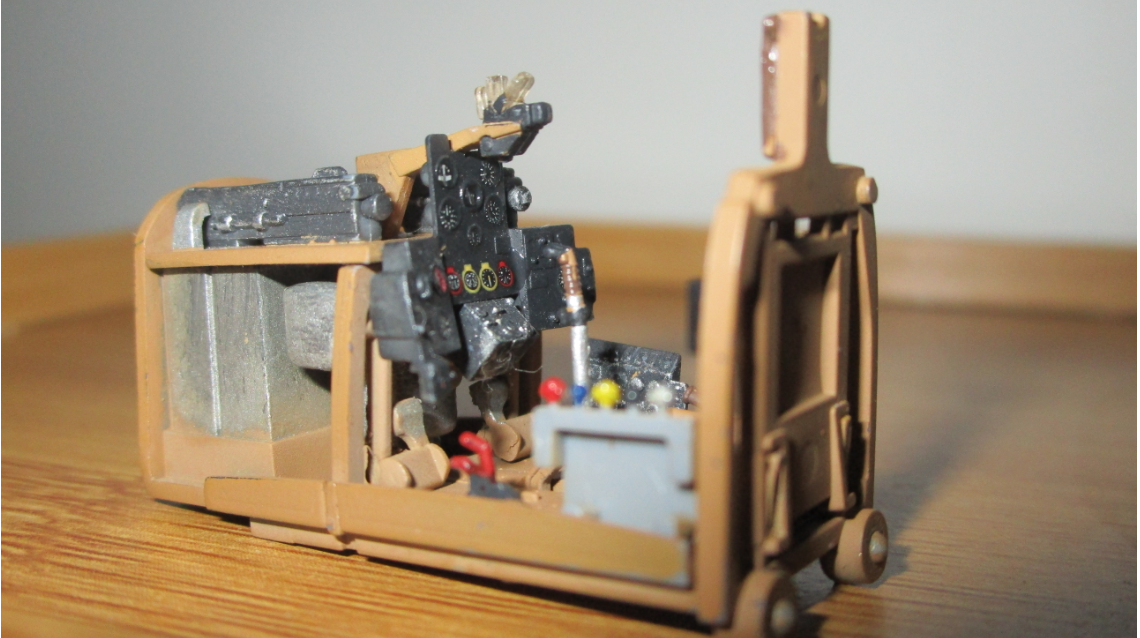
Those dials /gauges are a wonderful detail
-
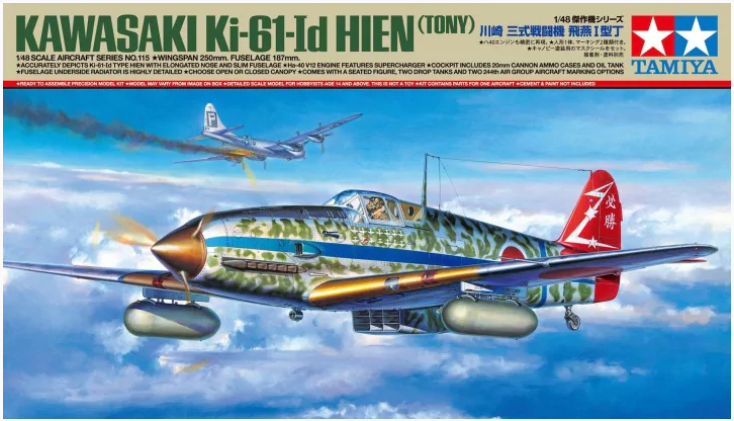
Kawasaki Ki-61 Hien by Richmond - Tamiya - 1/48 - PLASTIC
Richmond replied to Richmond's topic in Non-ship/categorised builds
Thanks Slog & Popeye for the kind words -
Here is something I am working on apart from ships. Here is the work I have done so far on the cockpit All spray work is 50/50 Tamiya and Mr Colour Levelling Thinner Hand paint is Tamiya and Tamiya Retarder - I am currently building up stock of Citadel paints for future hand paint work as I can get these locally All metallics are dry brushed, again I am using Tamiya - however I will be using AK Extreme for the main paintwork. The dials are done using in box decals with a drop of Tamiya clear on top - so I didn't have to hand paint them (thankfully) Once I have touched up some of the paintwork - I will do some pin wash weathering (Tamiya again ) I probably need to do further clean up of the clear part of the gun sight with some IPA however its fiddly work. I am going open cockpit with a pilot - so most of this detail will be lost
- 4 replies
-
- 11
-
-
Thank you ... I may go for the Flyhawk detailed set but its a bit expensive converting to around $100 USD but you do get quite a bit with it including resin parts and decks but there will be some double up with the kit supplied detail up. How many deck chairs are there in the Rainbow kit? I was reading on http://www.titanicmodel.net/accuracy.html and specifically http://www.titanicmodel.net/details.html that there were 595 on the real ship! I would find it hard to believe that many would be supplied in the Rainbow kit. However this guy was going for insane amounts of accuracy (it took him over 10 years to build!). I was looking at the kit supplied benches last night and I am struggling to see how to bend the seat part without damaging the PE once the bench ends /arms have already been bent into shape which is the order it shows on the Academy instructions. It looks like the modeler above had to make a special jig to deal with this.
-
I have the LED version of this model and I am planning this is my next build. Glad to see someone paving the way. May I ask who was the manufacturer for the photo etch you purchased. My kit comes with some limited photo etch and I am shopping around for more detail. I have been looking at Tom's Modelworks, Gold Medal Models and Rainbow's Titanic sets, there may be others I am not aware of.
-
Does anyone know where I can purchase a set of French Curves in steel. There seems to be a lot of plastic ones on the web - but I am struggling to find steel versions. Preferbally these need to be a small set similar to the plastic sets you see in stationary stores. RICHMOND