


CPDDET
-
Posts
1,181 -
Joined
-
Last visited
Content Type
Profiles
Forums
Gallery
Events
Everything posted by CPDDET
-
 Wow! You're a busy boy. 😊
 -
Agreed! She came out very nice. Has a weathered look.
-
Welcome! And thanks for giving us a peek into your background. As for your Mayflower: If there is any site that can assist you this one is it. Tons of experience here and a great group of friendly, helpful shipwrights. Dave
-
I have begun using solder paste. It enables one to carefully place minute amounts of solder on the work piece. With a low flow temp, it flows almost immediately. I'm using a HAKKO soldering station which allow me to set the temp of the iron.
-
Welcome Rob, it will be wonderful to have your experience available to us all. Dave
-
I think Constructo is no longer in business. Web site is no longer available. I agree, Ebay might be your best bet.
-
See the link I posted to birchbaysider build log of this boat. Perhaps he still has the plans?
-
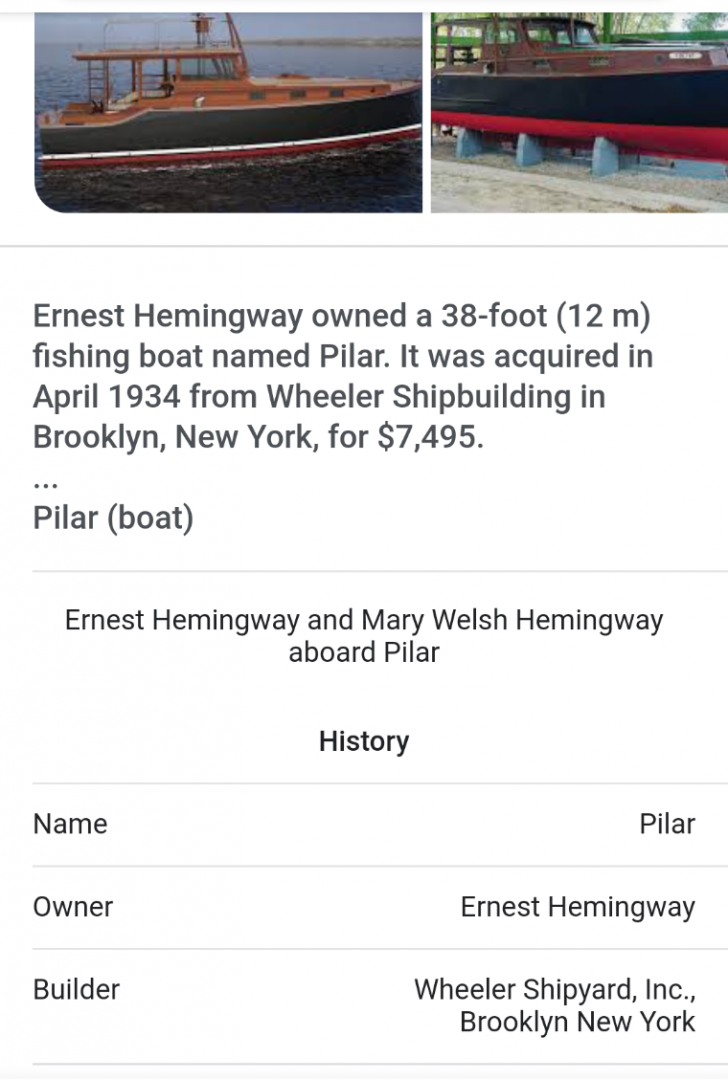
https://modelshipworld.com/topic/6310-pilar-by-birchbaysider-finished-constructo-127-ernest-hemingways-fishing-boat-1934/
-
Great find, Kieth!
-
Jim, don't know where you're located but, if your going to bash a kit, it would be great if you could find a current model and get lots of pictures.
-
abordage.com sells built models for well over 1k. Wonder if they would sell the plans and for how much? Sure is a beautiful boat!
-
BTW, Wheeler is still in business I believe
-
Don't know where to start with that one. If a kit doesn't exist you may have to do some heavy research to find out the make and model. Then see if plans can be obtained.
-
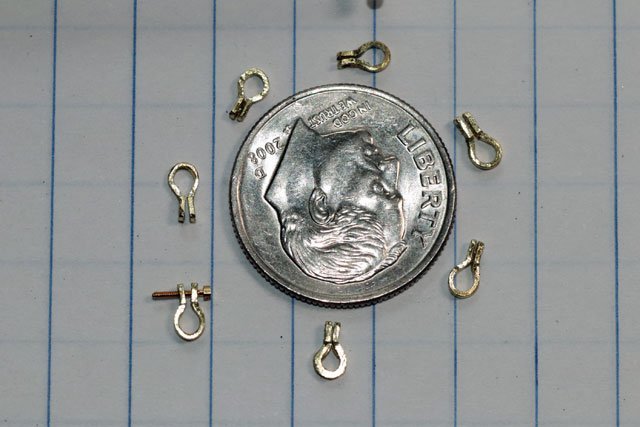
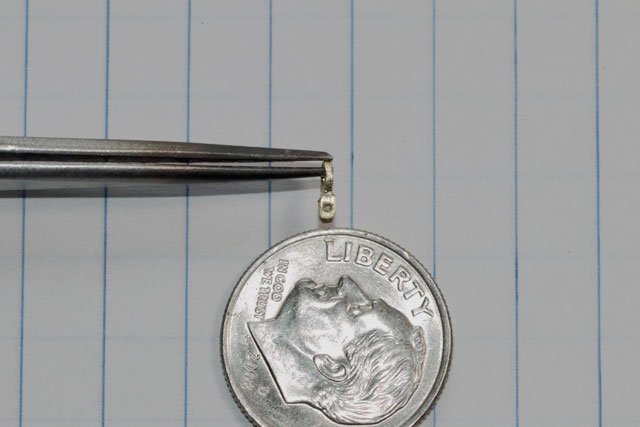
Took me forever but finally have the shackles mostly done for the bowsprit rigging. Started off wrapping a thin brass strip around a 1/16 brass rod. Then drilled a hole in each one for the pin. The rest of the shaping was done with files. Still have to clean these up and blacken them. The pin (a small brass bolt being used) will be trimmed after being installed.

- 389 replies
-
- 7
-

-

-
- bluenose
- model shipways
- (and 1 more)
-
White glue, like Elmer's will dry clear. Yellow glue, like Titebond will not. CA glue is handy but a bit messy to use unless you are careful with it. Don't bother with the thin, long spouts for your CA. Just squirt some on a scrap piece of wood or into a medicine cup and use a toothpick to apply.
-
If you do bring some stock of basswood. Be sure you have a steel ruler and small square. Thin basswood can easily be cut with an xacto blade. A razor saw and miter box might not be necessary. The money better spent on a set of files. Don't forget various grades of sandpaper.
-
Good tip that mistakes can always be fixed. It's only wood and replacement parts can be fashioned from stock sheets of basswood. And wood filler can be a savior as well. Before you purchase basswood sheets, check the thickness of the stock that come with kit so you know what to buy. Also check out YouTube for your dory build. Keep us all posted on you decisions and progress.
-
Lots of good advice and information in these posts. But don't get confused or bewildered. Stay on course. Make out lists for needed tools, supplies and reference material. Try not to get overwhelmed. Being organized, calm and patient will serve you well.
-
While the shipwrights series does come with the "necessary" tools, you might want to consider a few others in case you need to make a scratch part. That may include, but not limited to a steel rule, small square, razor saw and set of files. Your inability to acquire things while on fire watch puts you in kind of a pickle. Take your time in building a complete list and asking others on this forum for their input. Once you have chosen a model, let us know which one it will be. That will be a big help on giving you advice on tools and supplies.
-
The stuff does have a shelf life though. About 3 months at room temp I believe, longer if refrigerated. I got some very small glass bottles from Amazon and just squirt the whole tube into one, keeping it tightly capped and stored in a cool place out of the sun.
-
I agree with the Model Shipways, Shipwrights series route. You might be able to finish the first 2 in the series seeing that you will have ample time on your hands. Buy the kits well ahead of time and acquire the necessary supplies like glues, de-bonders and such. You might want to hit the hobby shop and pick up some basswood sheets of different thicknesses to have on hand in case you ruin something and have to replace it with a scratch built part.
-
I've been using Solder-it and have been pleased with the results. I just squirt a small amount out on a piece of scrap and use a solder pic or toothpick to place a tiny amount where needed. Then just a touch of the soldering iron and done.
-
Looks nice to me. Keep up your fine work!

