


CPDDET
-
Posts
1,193 -
Joined
-
Last visited
Content Type
Profiles
Forums
Gallery
Events
Everything posted by CPDDET
-
 Just thinking about the cannon pic you posted. There is quite a difference in the bore size. Wondered which is closer to scale?
 -
I'm going to butt in here with a question. Being somewhat new to this hobby I'm still learning the terminology as I work on my POB Bluenose. I realize this post refers to a POF build and pretty much understand the question being asked. But what does "R+S" refer to?
-
Thanks for the update. Both chain plates and masts are looking good.
-
That's a shame. Hopefully you can do something with files to clean them up.
-
Looking very nice! Hope my masts turn out as nice.
-
No dimes left after purchasing the lathe and mill. 😄😄
- 389 replies
-
- 3
-

-

-
- bluenose
- model shipways
- (and 1 more)
-
Sounds like you're off to a great start. Glad the neighbors and condo board is cooperating, at least so far. Looking forward to seeing more of your handy work. Carry on!!
-
Its well worth thinking things through. Its something I don't do enough of.
-
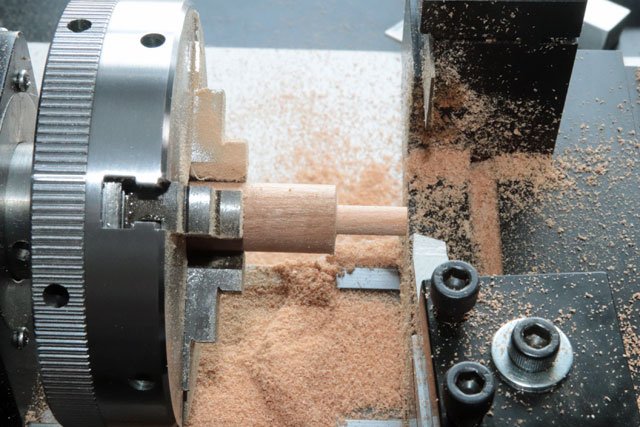
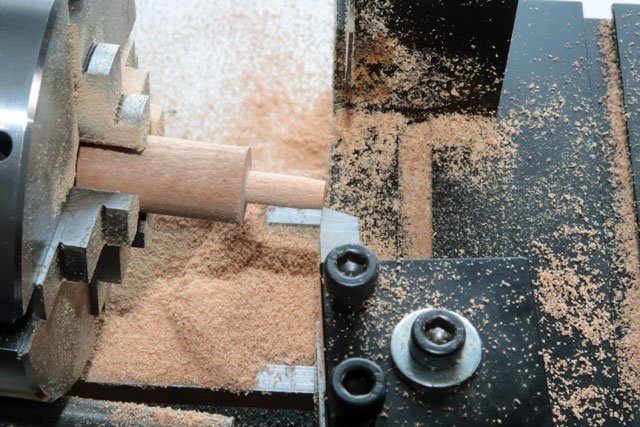
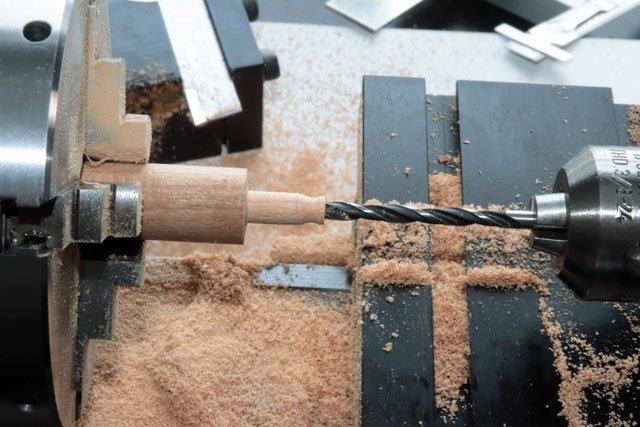
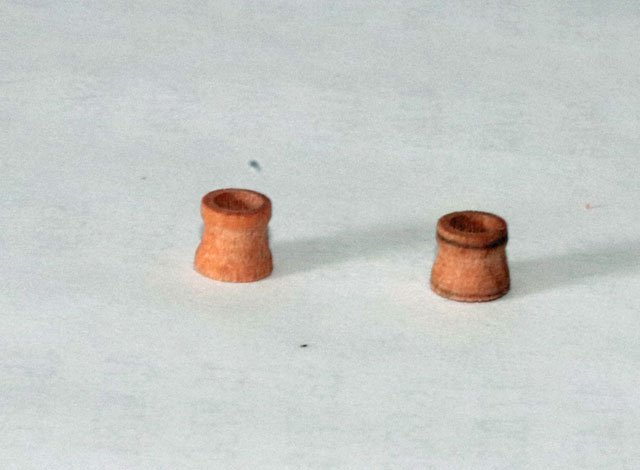
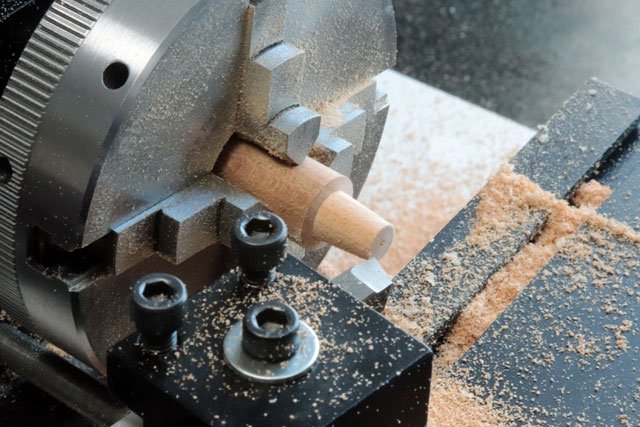
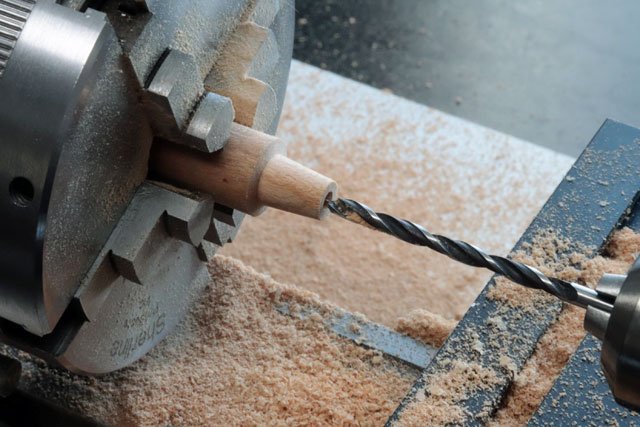
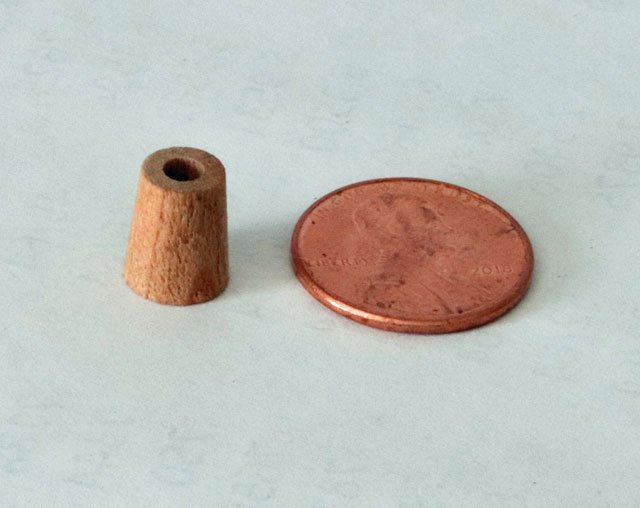
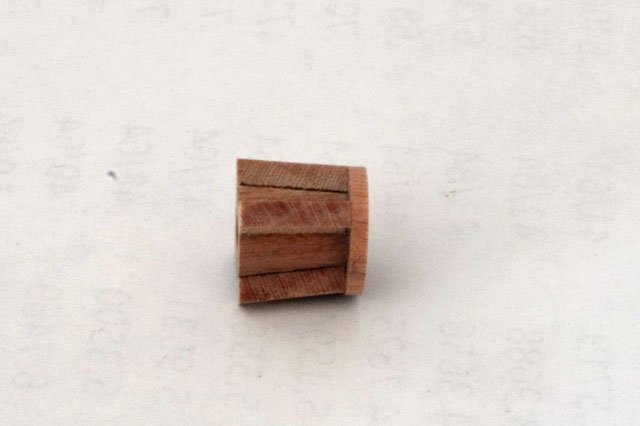
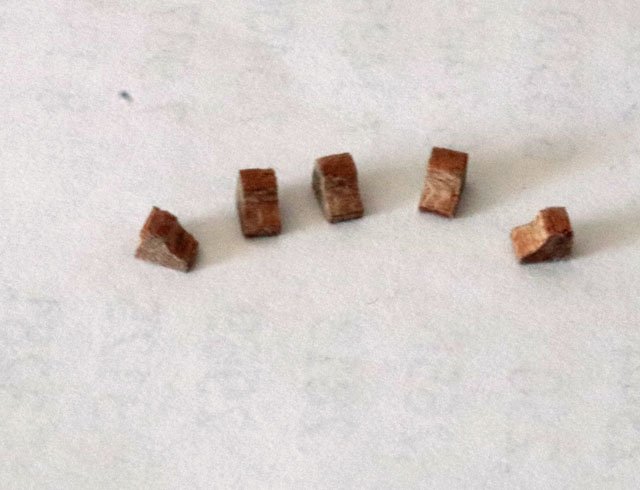
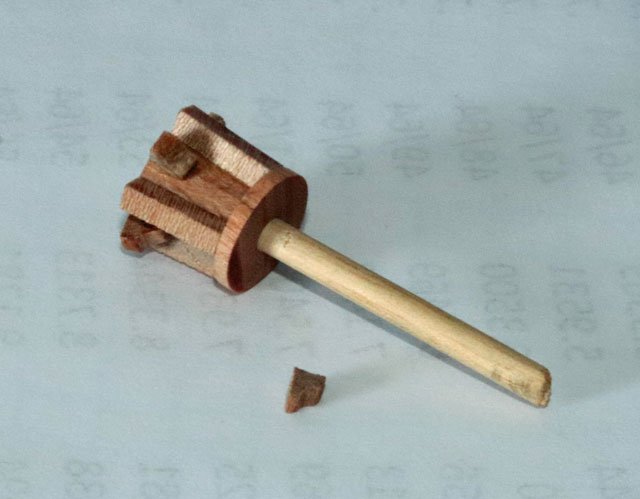
I thought it best to build the windlass in sections with a 1/8 inch axel through each section. I’m going to post my progress as I proceed. I started off making the windlass drums, also called gypsy heads among other things. Because I had plenty of cherry wood on hand I decided to use it. I first turned down a piece of ½ inch dowel rod to the largest dimension since this piece is slightly tapered. Then turned a slight 5 degree taper. Once that was done I shaped it with Escapement files and drilled a 1/8 inch hole for the axel. Finished pieces before final sanding. Next was the rope hawser side of the windlass. This is also tapered at about 5 degrees which I again did on the lathe, slightly tilting the headstock to achieve the taper. Then drilled the 1/8 inch hole for the axle. Here is the finished rope hawser drum I then cut and glued on the horizontal whelps. Instead of fitting small wood pieces between these whelps I decided to cap the right end (looking forward) with a small disk. While this isn’t exactly what the plans call for, I thought it was a nice clean look. For the whelps on the left end of the drum, I used a scraper to make the proper shape on a 2 inch piece of cherry wood and then cut it to the proper thickness and height. It was much easier to use a temporary axle while gluing the whelps in place. Here is a picture of the rope hawser drum with the whelps and windlass drum on the temporary axle. Moving on
- 389 replies
-
- 6
-
-
- bluenose
- model shipways
- (and 1 more)
-
Great work Richard. Thanks for going into detail on how you accomplish your work. I like the clamp you used to hold the .016 flat bar for filing, something you made for yourself?
-
Looking good!
-
Looks darn nice
-
Thanks for your comment. Coming from someone with your skills it means a lot to me.
- 389 replies
-
- 1
-
-
- bluenose
- model shipways
- (and 1 more)
-
All your posts, tips, clues and problem solving are a big help. Love your woodwork!
- 389 replies
-
- 1
-
-
- bluenose
- model shipways
- (and 1 more)
-
is there a difference? 😜 Still a beginner at this. But yes, Im a bit of a tool nut. Just want to make my job easier and continue to learn. The Bluenose has, and continues to be, a real learning tool. Maybe someday I'll have enough confidence to build as well as you do. Will be reviewing your video on building a windlass as well before I start that. Isnt it great the way we inspire each other to reach deep down and improve our skills? Thanks for all your tips.
- 389 replies
-
- 2
-
-
- bluenose
- model shipways
- (and 1 more)
-
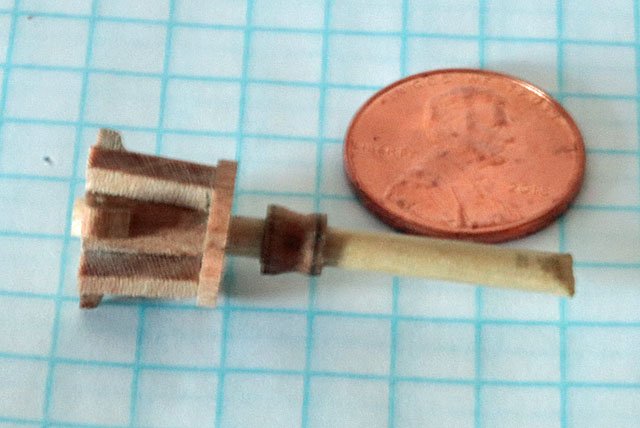
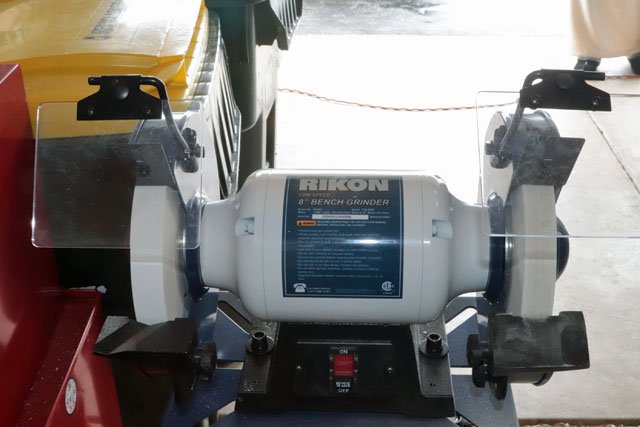
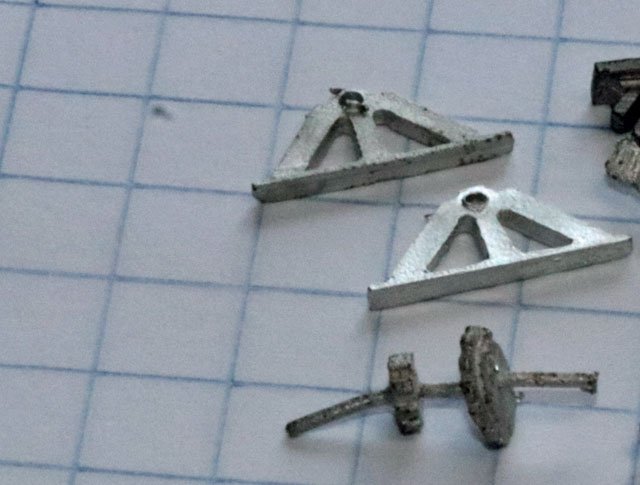
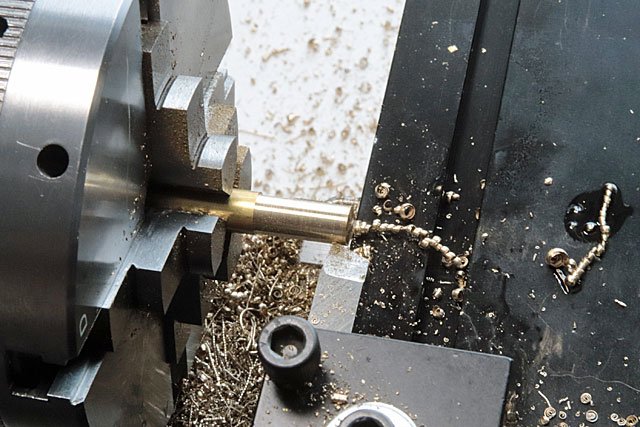
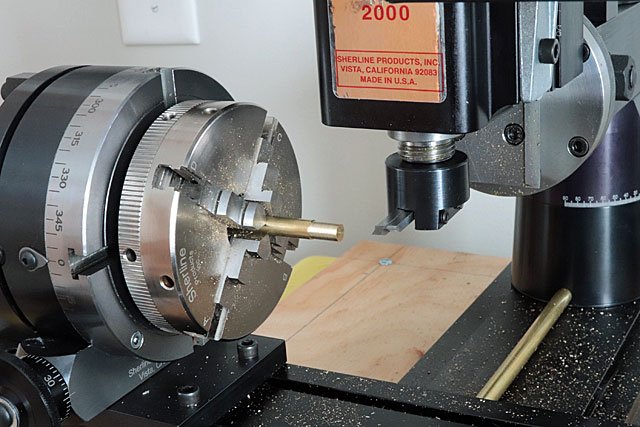
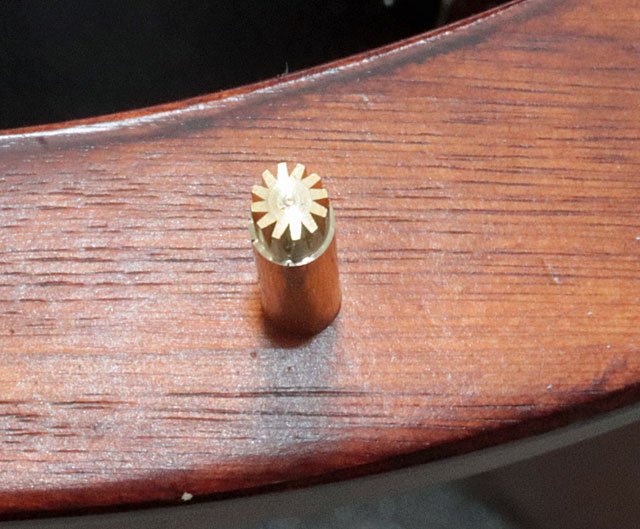
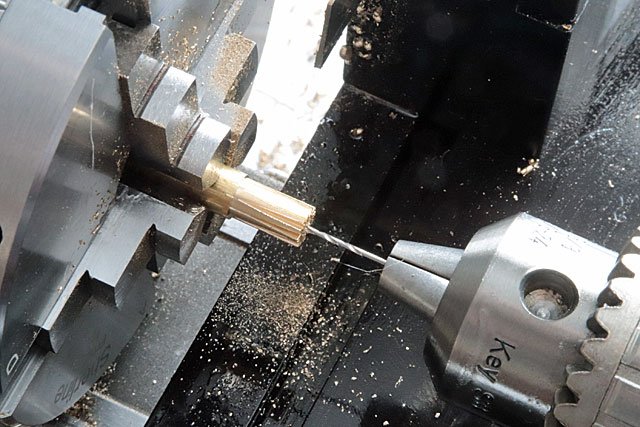
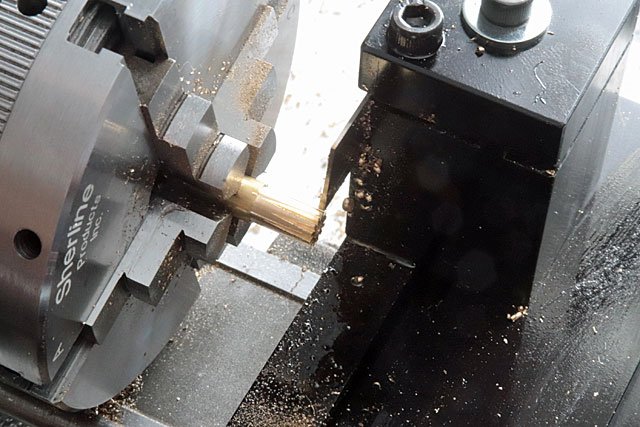
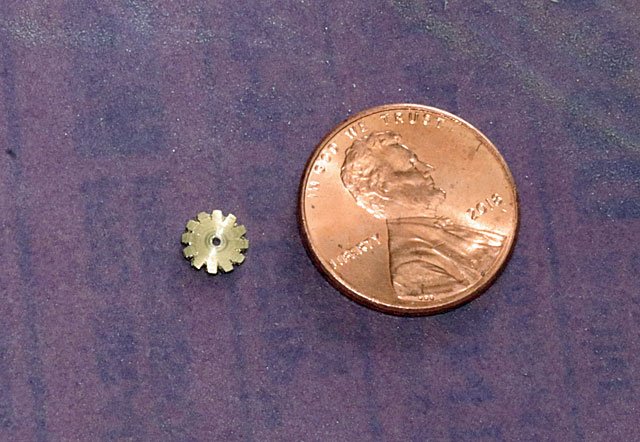
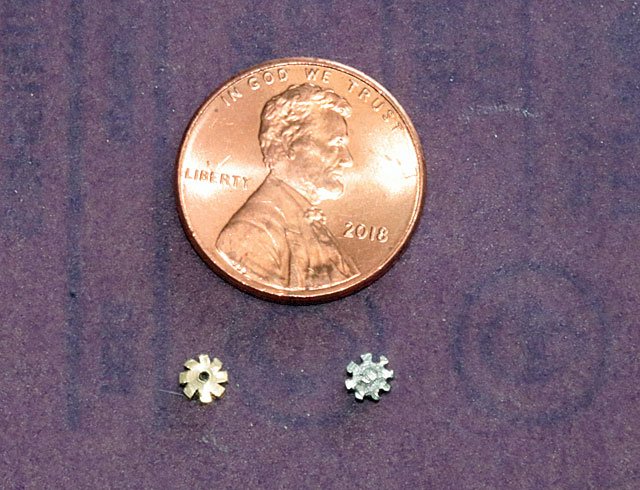
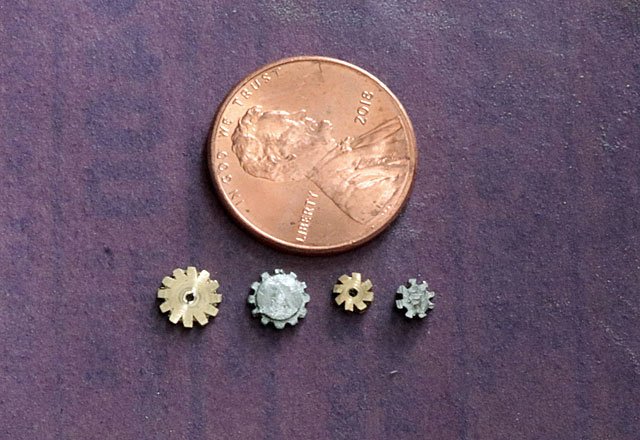
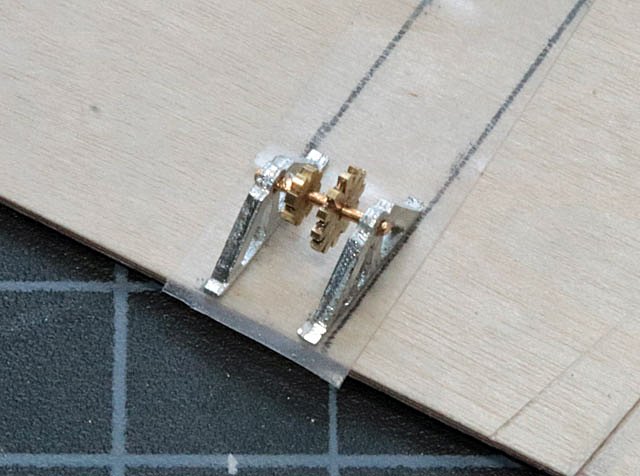
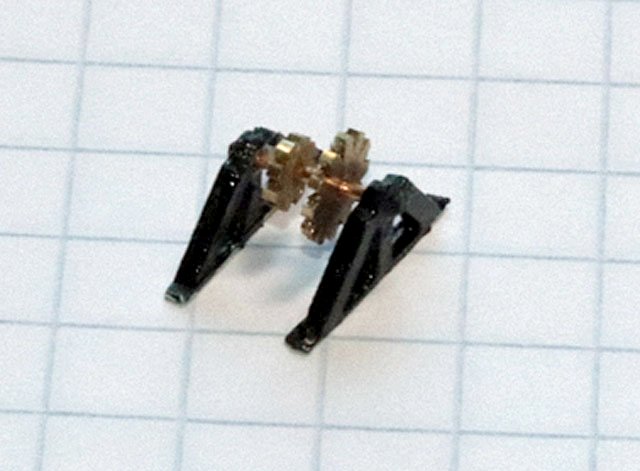
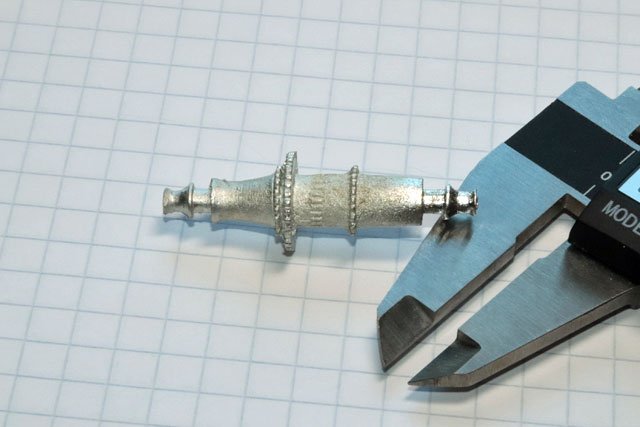
Learning curves, learning curves, learning curves have really slowed me down, that along with what seems like constant snow clearing. Using the grinder in the garage in close to or below zero temps hasn’t been much fun either. LOL First was assembling the new mill, reading all instructions and playing with scrap material and mill attachments until I became somewhat comfortable with it. Second was learning to use a grinder to sharpen and /or make lathe tools. My right hand lath tool needed sharpening and I totally destroyed it attempting to do this. I did have a backup right hand tool but decided to take a ¼ inch high speed steel blank and make my own. Yes, I could just have purchased new tools but my lathe and mill mentor, Retired Guy, said sooner or later I would need to learn the necessary grinder skills if I ever wanted to make my own custom lathe tools. And, as I have been telling myself lately, if not now, when? So I read the tool making instructions that came with the Sherline product and used the backup right hand tool as a template. Success! I was able to make my own right hand tool that worked beautifully. Besides, the cost of blanks is about half of premade tools. Third was learning how to make my own gearwheels using the gear cutting tool holder I purchased with the new mill. There were several failures and for a time I thought I was going to run out of brass rod before the job was finished. But persistence, slowing down and being as being precise as possible paid off. Also a big help was a video I got from the Midwest Model Shipwrights video library. On this video, Doc Williams explained how he built the windlass for his Charles W Morgan, part of which was making gear wheels. This is what I got with the kit for the counter shaft assembly. My first thought was to cut the gearwheels off, clean them up with escapement files, and drill a 1/32 hole for a new shaft. But that didn’t work as well as I liked so I took a deep breath and made my own gearwheels. Starting with a piece of ¼ inch brass stock, I loaded it into the lathe and turned it down to same diameter as the white metal gearwheel. That’s my self-made right hand cutting tool in the pic. Then I loaded the piece on the mill. On the right side of the picture is a 4 jaw chuck, mounted on a rotary table which is mounted on a right angle attachment. The rotary table allows a circle to be divided into 3600 parts. I just divided the diameter of each gear by the number of needed teeth, 8 for the small gear and 12 for the large gear. Then, using the handle on the rotary table, I rotated the piece the necessary amount for each cut. The cutting tool I used is actually made for cutting threads. The reason there are 2 cutting tools mounted in the gear cutting holding tool is because the tools are 1/8th inch vs the standard ¼ inch the holder is made for. Sherline advised me that when using 1/8th inch tools to mount 2 of them to make up the 1/8th inch difference. I cut the teeth .150 inches deep. This is a picture of what the large gear looks like after finishing in the mill. Then put the piece back into the lathe and drilled a 1/32 hole for the shaft. The rear cutoff tool made easy work of cutting the gear to the proper thickness. Here is the finished large gear And the finished small gear Bothe gears next to the white metal gears that came with the kit. I was, thankfully, able to salvage the stands. My skills are nowhere near ready to make these. I didn’t have any 1/32 brass rod but I did have some 1/32 copper wire (unknown gauge) so used that for the axel shaft. Here is the piece assembled. While this assembly probably should have been entirely black, I have previously left lots of brass pieces unpainted. So I went half way and blackened the frames only. I’m always conflicted about blackening the brass pieces. Kind of like painting over beautiful woodwork. Next up is the windlass. This is the piece that came with the kit, which isn’t very pretty. The cuts in the center for the pawl are hardly visible. So I’m going to attempt to build my own windlass. Looks like more learning curves in my future. But if not now, when?
- 389 replies
-
- 6
-
-
- bluenose
- model shipways
- (and 1 more)
-
Beautiful detail on the port doors, Pat. Really shows your skills.
-
Looks very nice Pat.
-
Your painting skills are great. Really beautiful looking deck. You should be very proud.
-
Take care of yourself. Health is more important than models.
-
Looks darn good to me.
-
I can sure relate to that!
-
If your spreaders match the dimensions on the plans I'm sure things will be fine.
-
Check your plans, the masts need to be tapered.
-
Thanks mates!
