DONATION DRIVE - SUPPORT MSW - DO YOUR PART TO KEEP THIS GREAT FORUM GOING!
×


Ab Hoving
-
Posts
691 -
Joined
-
Last visited
Content Type
Profiles
Forums
Gallery
Events
Everything posted by Ab Hoving
-

Deadeyes for Dutch mid-17th Century Ships
Ab Hoving replied to rcweir's topic in Masting, rigging and sails
After about 1630 the deadeyes were round. -
3D Brig 'Rose' in Blender 3.3x
Ab Hoving replied to 3DShipWright's topic in CAD and 3D Modelling/Drafting Plans with Software
Leaving aside the recent discussion of hull details, I would most of all like to express my admiration for the way you have rendered the sails and rigging. I have never seen it done so well. I tip my hat for this beautiful work. Ab -
I'm sure you will make this an interesting Build Patrick!
-
Sorry to disappoint you Kirill, but I have not the faintest. It seems to be part of the old rigging type, when even the lower yards were lowered and hoisted to manage the sails. Or it has to do, as mentioned here with the lashed topmasts, who knows? I am not aware of any sources, other than the ones mentioned here. Even Anderson has nothing about them. They do look like coils of rope but to what purpose? I don't know.
-
Well done Meriadoc Brandybuck! Very inspiring. I hope (and actually I'm sure) that you have found out that making everything all by yourself is a most satisfying way to build ship models. I'm quite curious to see your next project. Ab
-
Yes, correct. The length is measured from the front side of the stem to the aft side of the stern post. Good luck!
-
I posted another picture PM Brian. I think it was the kaag you wanted? Ab

-
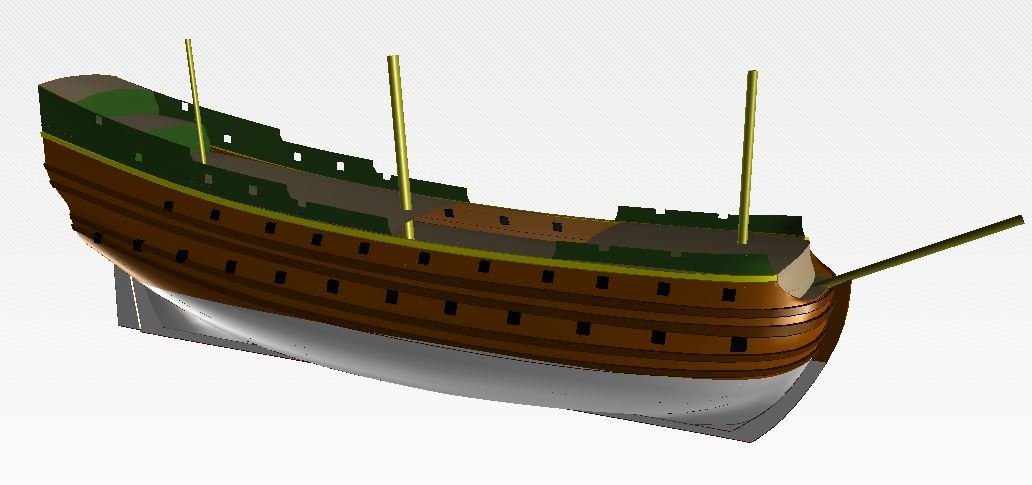
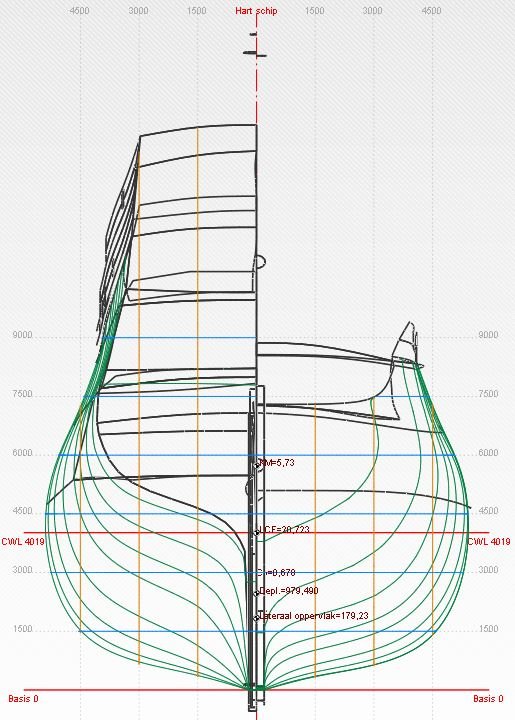
Hello JJ, Here are the files I have. There is a fbm.file which can be opened in the Delftship program (free downloadable here:https://download.delftship.net/DSFree.php), it may help when you are choosing your scale. The scale of the file is 1 : 1, Measurements are in meters. man of war 1680.fbm There is a body plan, a top view and an elevation as made by my great help Rene Hendrickx on the basis of the Hohenzollermodel. Here are some screenshots that may be helpful: Of course I don't know your level of building and working with plans, but this worked for me. Once you have your hull ready we can talk about decorations, beakhead, deck furniture and rigging, but that's another stage.... I advise you to lay your hands on the book (by Heinrich Winter) with the original draughts and lots of pictures of the model, which was sadly destroyed in WWII. It is only available as second hand. Let me know if there is more you need. Good luck, Ab

-
No, in the book I did not mention the names, but in the building reports on the vessels on the forums I think I did. Actually there are only two big ones: the Alkmaar and the Akerboom. The first one is a re-used hull from a project about a 160 foot long VOC vessel. The last one is the one with the hanging sails that is also on the Amsterdam picture. This one was based on adapted plans from a book 'Hollandse Tweedekker 1660/1670'. If that's the one you want you better try to get the plans from the book. On second thought I might have them digitally. I will have a look tomorrow. Time for bed now. 🙂 Ab
-
Thank you JJ for your kind words. If you want the info I used for these ships I will gladly send you what I have. I do work on a book on paper models of Dutch ships though, so if you are patient, perhaps by the end of next year... Ab
-
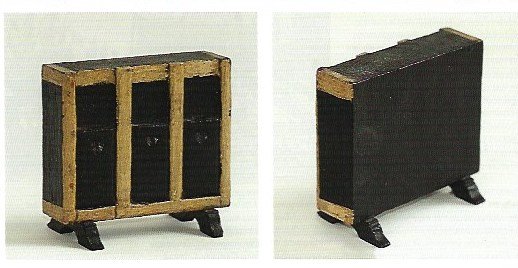
My compliments for your binacle with all the stuff inside. But in my sources it is described that the whole front and aft of the cabinet were covered with sliding panels in order not to blind the helmsman at night. The glass was between the compartments to let the light reach the compasses. Here is one from the 4.5 metres long model of William Rex in the Rijksmuseum, Amsterdam. The sliding panels are supposed to move upwards. But maybe you have better sources?
-
I'm happy that you like it Joe. Even more fun!
-
Good job Radek! Ab
-
Hi Brian, Happy to see that you worked on it. If you want one more picture, just tell me which one, I can easily send it over by PM. Very curious what sort of frame you'll choose. Ab
-
Any Delftship users here?
Ab Hoving replied to Patrick Matthews's topic in CAD and 3D Modelling/Drafting Plans with Software
Ask my ever helpfull and competent friend Rene Hendrickx: Rene.joanna@skynet.be -
No, I see that the forum program makes the file much smaller. Do send me a PM and I can send the file there. Ab
-
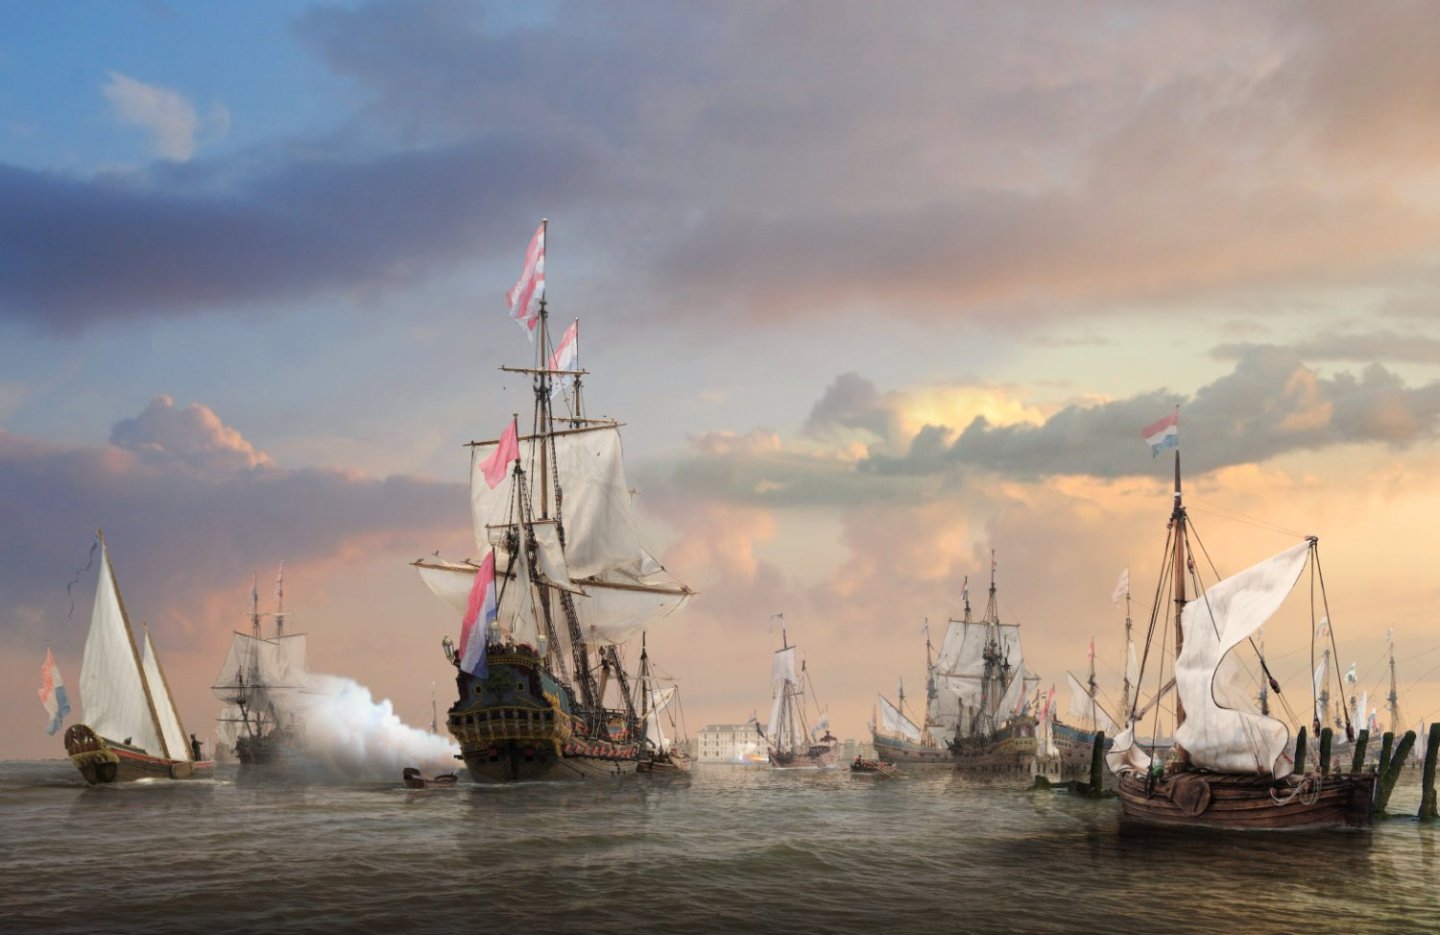
No need for any compensation Brian, it's a pleasure to send the file to someone who appreciates our work. Here it is, it may look small, but as I said, go to a good printshop and they can make you a real large image. Good luck. (I hope this works, it is 5.4 Mb, if it does not work, send me a PM.)
-
Which one would you like Brian? I can send you the file, take it to the print shop and have it printed. 150 100 cm is possible. You can even have it printed on perspex. Ab
-
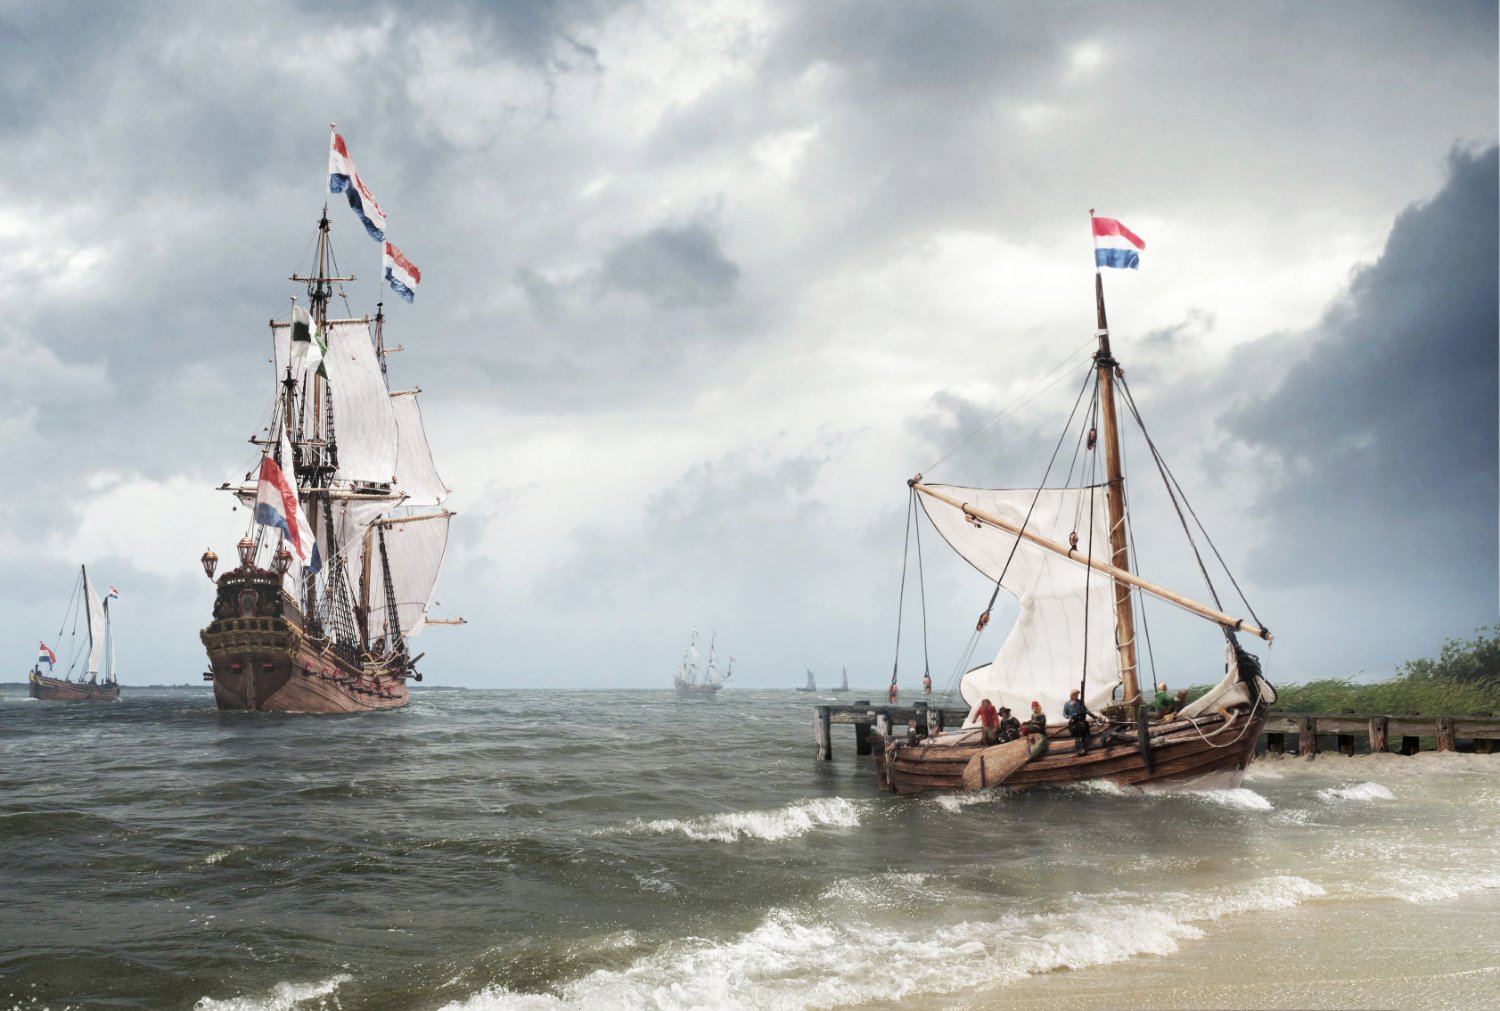
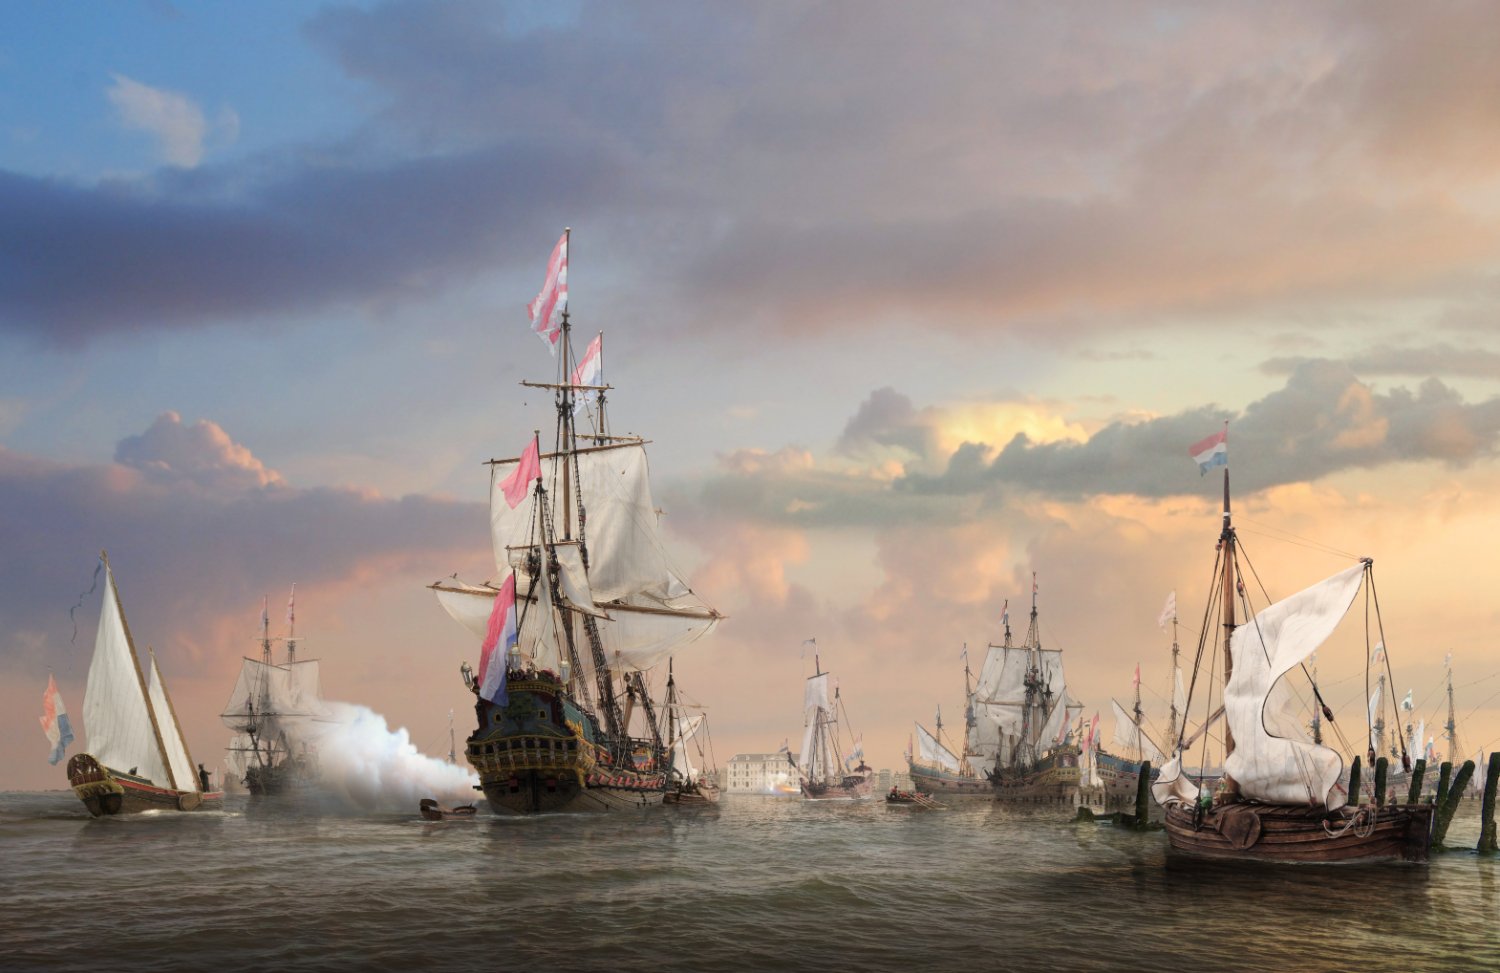
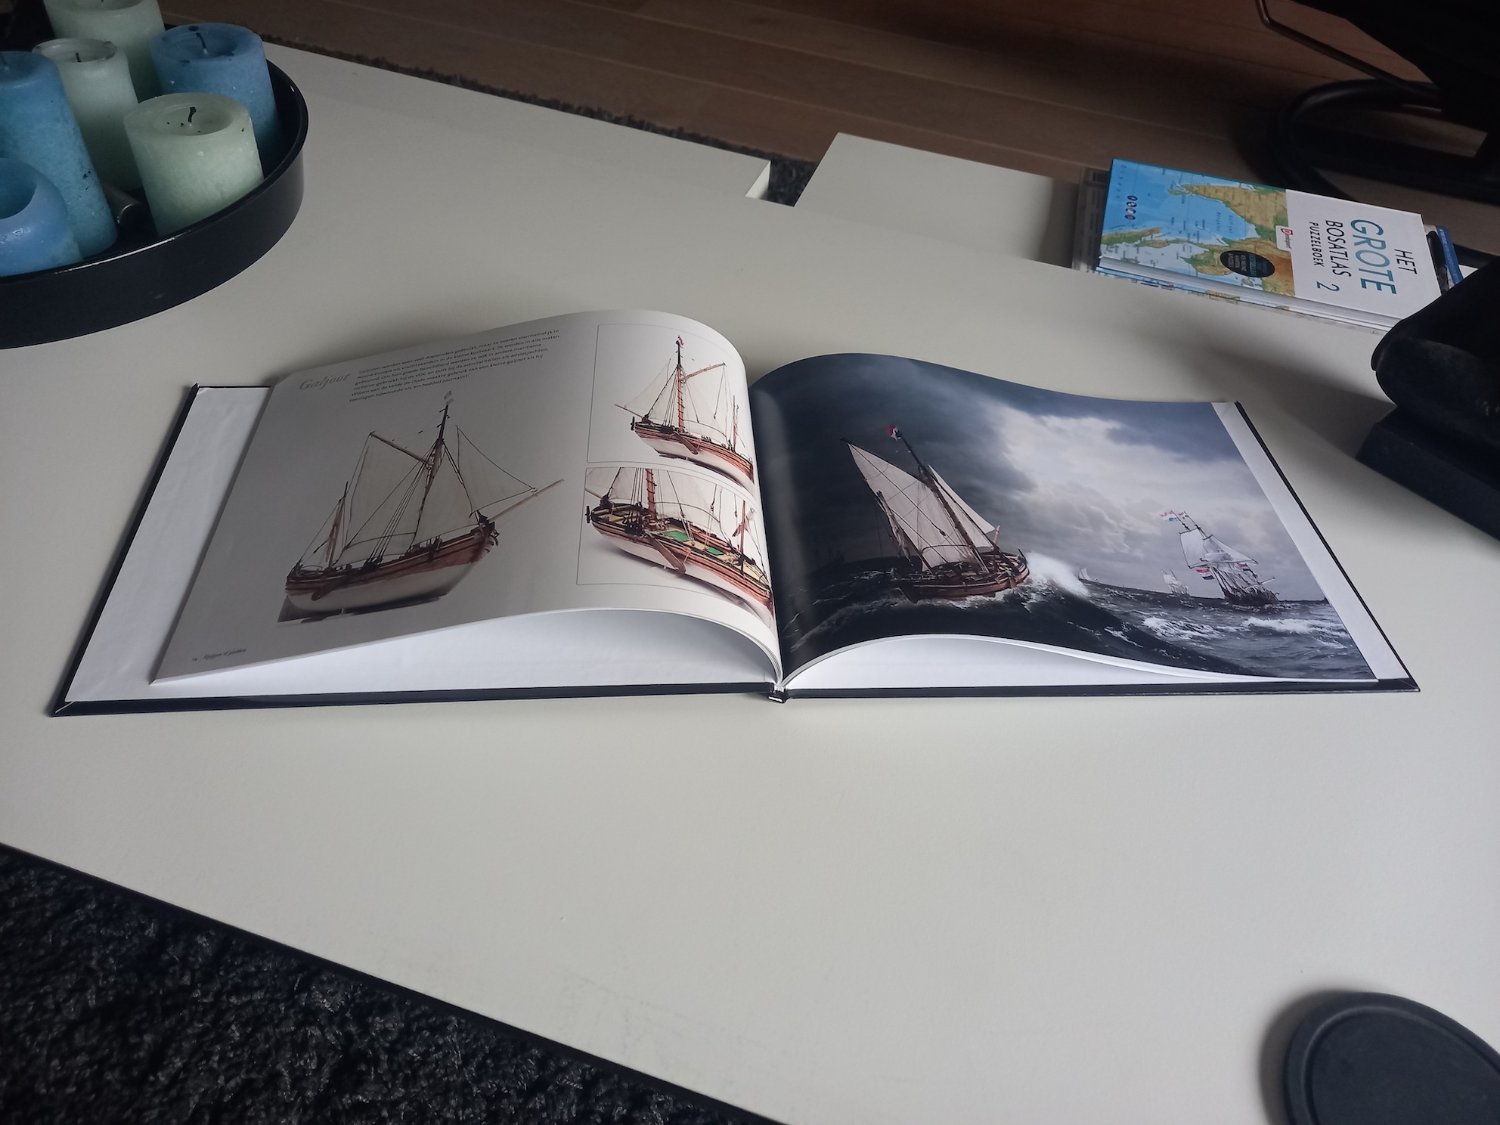
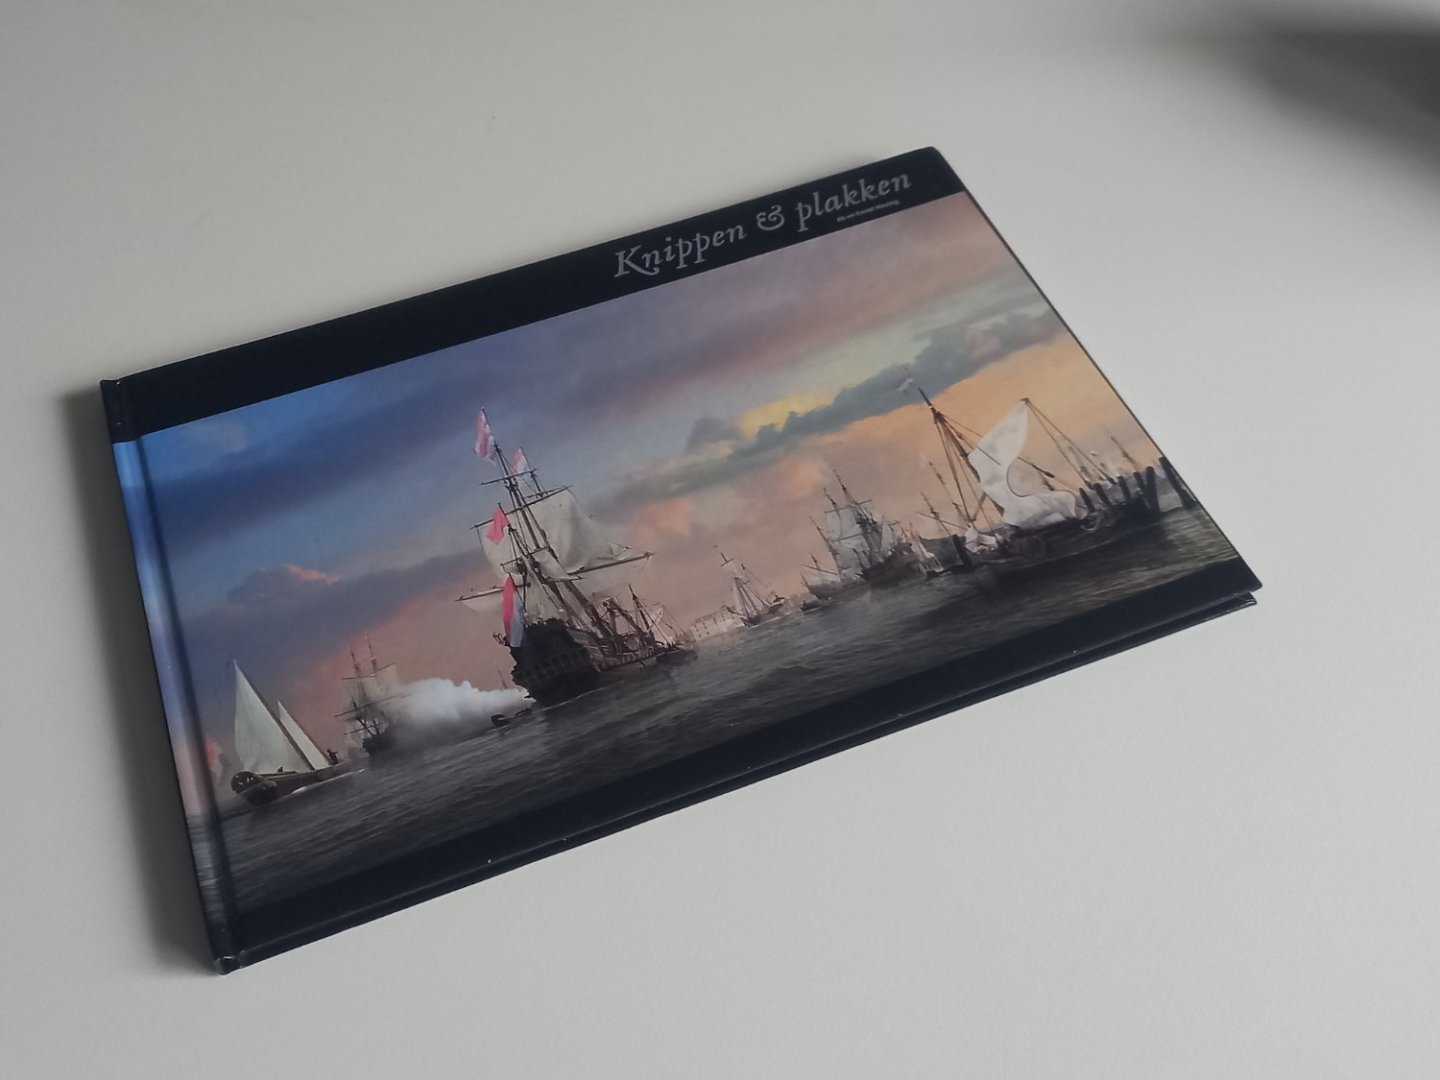
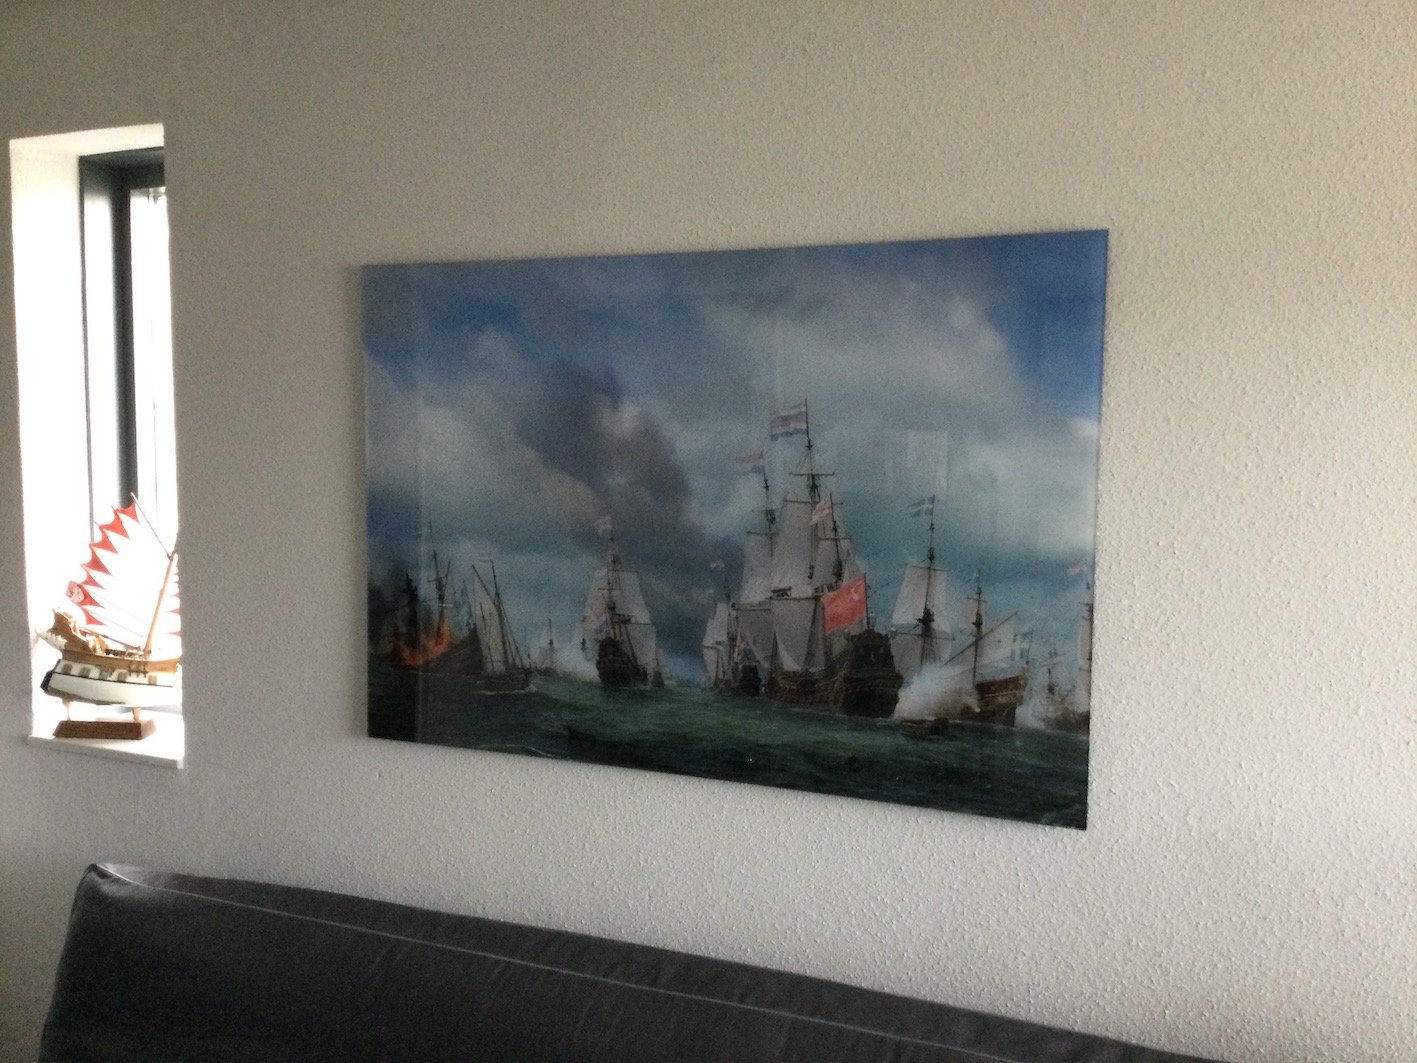
Hello Hollowneck and Shipman, Thank you for your generous advice. As a matter of facts we did order a few dozens of hard copies of the booklet, just to serve as presents for family and friends. People order such one time books at companies to see their holiday pictures in print. Does that mean we will put it on the market after all? No, the printing costs are relatively high and will at least be doubled by postage and packing. Even if there is no fee for the makers, it still is too expensive for an occasional purchase and it will bring a lot of work for us. We can spend our time in a more useful way. So we publish it online and hope people enjoy it as much as we did making it. We even go further than that. We have sent people the digital file of the picture of their choice and many have printed them on perspex to hang on their walls. Here is one in my own house: Thank you all for your positive feedback!

- 50 replies
-
- 18
-

-
On behalf of my son and myself: thank you all for your kind words and the likes. It keeps a man alife. Perhaps we should have published it after all. 🙂
-
This is not a book that is officially on the market. My son and I made it just for fun. We hope you like it too. Cut_and_paste_ENG.pdf
- 50 replies
-
- 59
-
-

-

-
Hello Meriadoc, Reading your report I noticed that you built a combination of the two pinks on Chapman's page. The railing from the second design is a nice addition, works very well, but I wonder if the inward curve would have been as much as you have made. Such curves only seldom add to the nice sheer of the ship. You also seem to miss the connection between the railing and the decorated stern. I suppose the two squares in the stern were gunports? (Edit: no of course they are windows. Sorry for that.) No idea how to translate that into a useful setting so close to the helm. The color of the wood is nice. A suggestion: you write that you used paper handkerchiefs to wipe off the brown paint. Better try soft cloth, which is much softer than paper, leaving more paint on the model. You might also do some weathering near the scuppers (if you model them) and the hawse holes. I would be very hesitating to use the blue color you applied. Unless you will give it a wash in a later stage I would bring the deep color a bit down, probably by mixing it with a bit of white. I sound like Bob Ross’s ‘Happy little trees’, don't you think?:-) Making models from draughts, even as good as Chapman made then, always raises a lot of questions, which makes scratch building so interesting. This has been a very good learning project. I have high expectations of your next model. I did not finish the re-rig of my junk, due to having had Covid lately and to the heat-wave we are suffering here. Temperatures of more than 30 degrees are not the best circumstances for building models. I enjoy my days sitting on our jetty and watching the people on and in the water. Our house is at a big pond or a small lake, whatever you want to call it, and with these hot days it's a blessing. Good luck with this and your next paper project. Any progress with the 'wadconvooier'? Ab