HOLIDAY DONATION DRIVE - SUPPORT MSW - DO YOUR PART TO KEEP THIS GREAT FORUM GOING!
×


jgodsey
-
Posts
111 -
Joined
-
Last visited
Content Type
Profiles
Forums
Gallery
Events
Everything posted by jgodsey
-
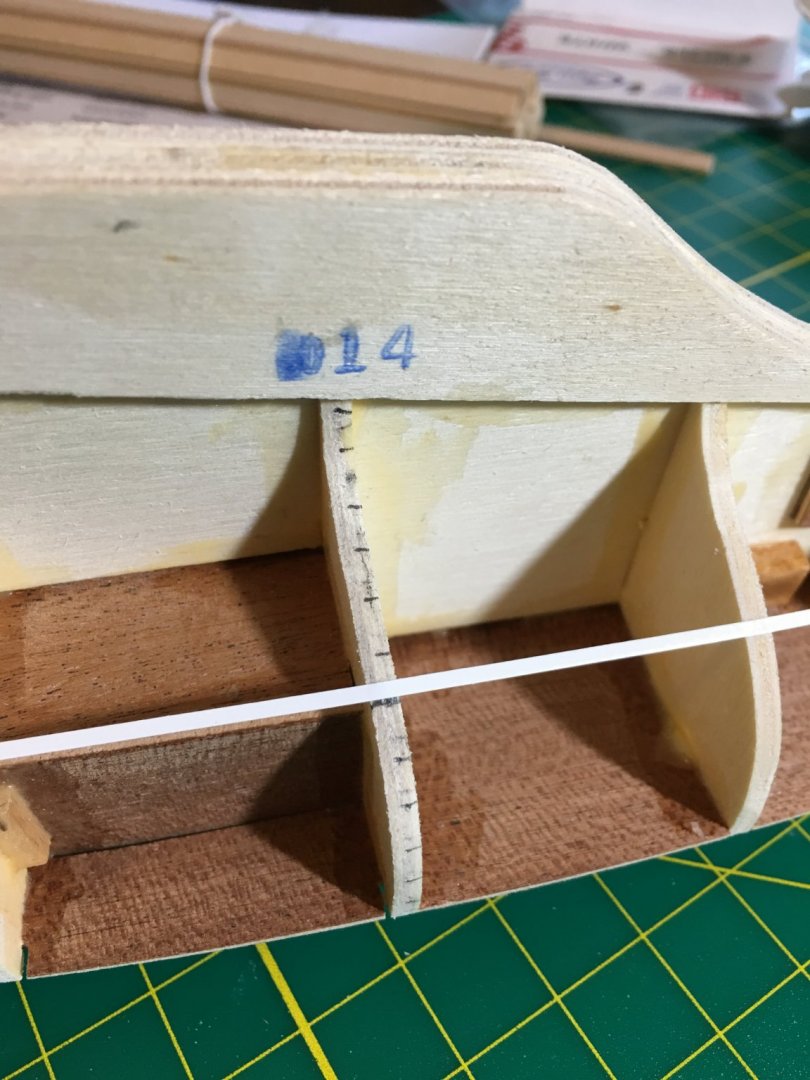
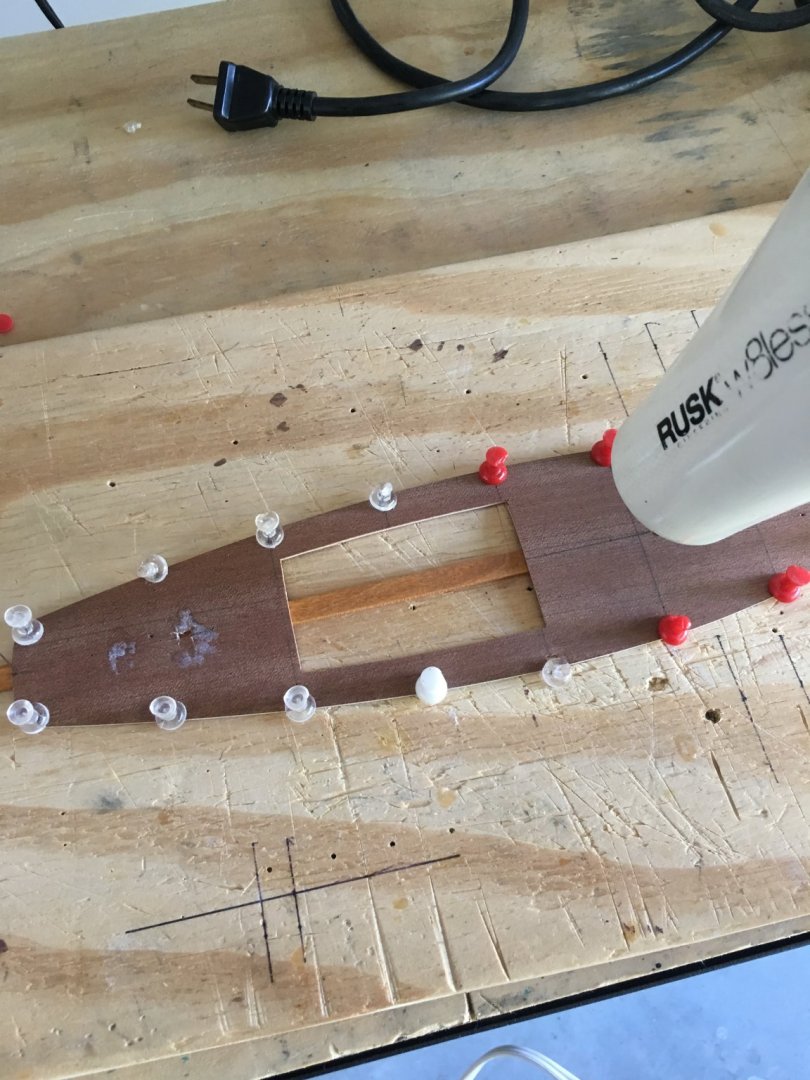
 Matthias - I hope to do it justice. It's been a crazy weekend. So many honey do's. Only made a little progress on the hull planking. Measured off 2 belts, each with 6 planks. The planking strips are 1.5mm x 5mm. Once the belts were marked, the I was able to use the planking fan and mark off the bulkheads. The next step is to measure, trim and fit the sheer plank. Hopefully, we can make more progress this next week. Cheers, Jim
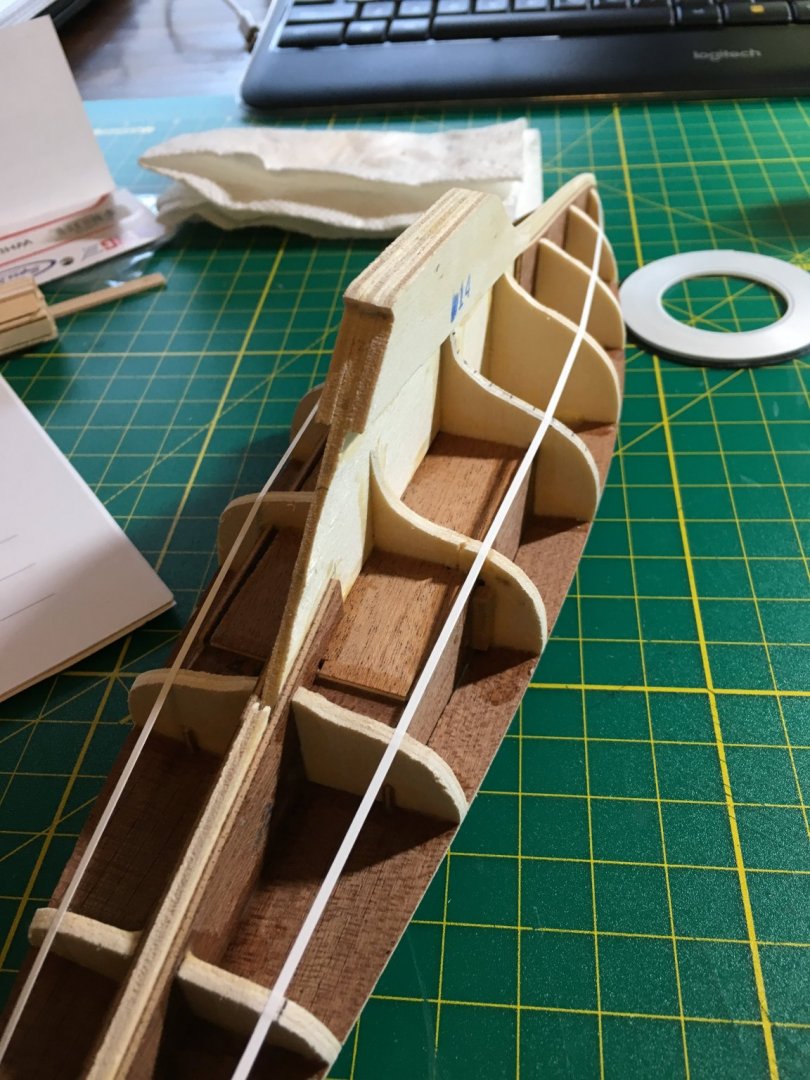
.thumb.JPG.47eabf80183557405daa382137e03c25.JPG)
-
For me, these are amazingly well timed and helpful videos. Thank you. I'm right at the point of lining off my bulkheads and then continue with the tape method you describe in the articles database to measure and cut the planking strips. The method shown on the video is so much easier. My model is a Dragon sailboat and the hull shape is very different than the Winnie, but as you say, this method should work for just about any hull shape. I post my results in the build log. Thanks again, Jim
-
Beautiful job on the deck! Jim
-
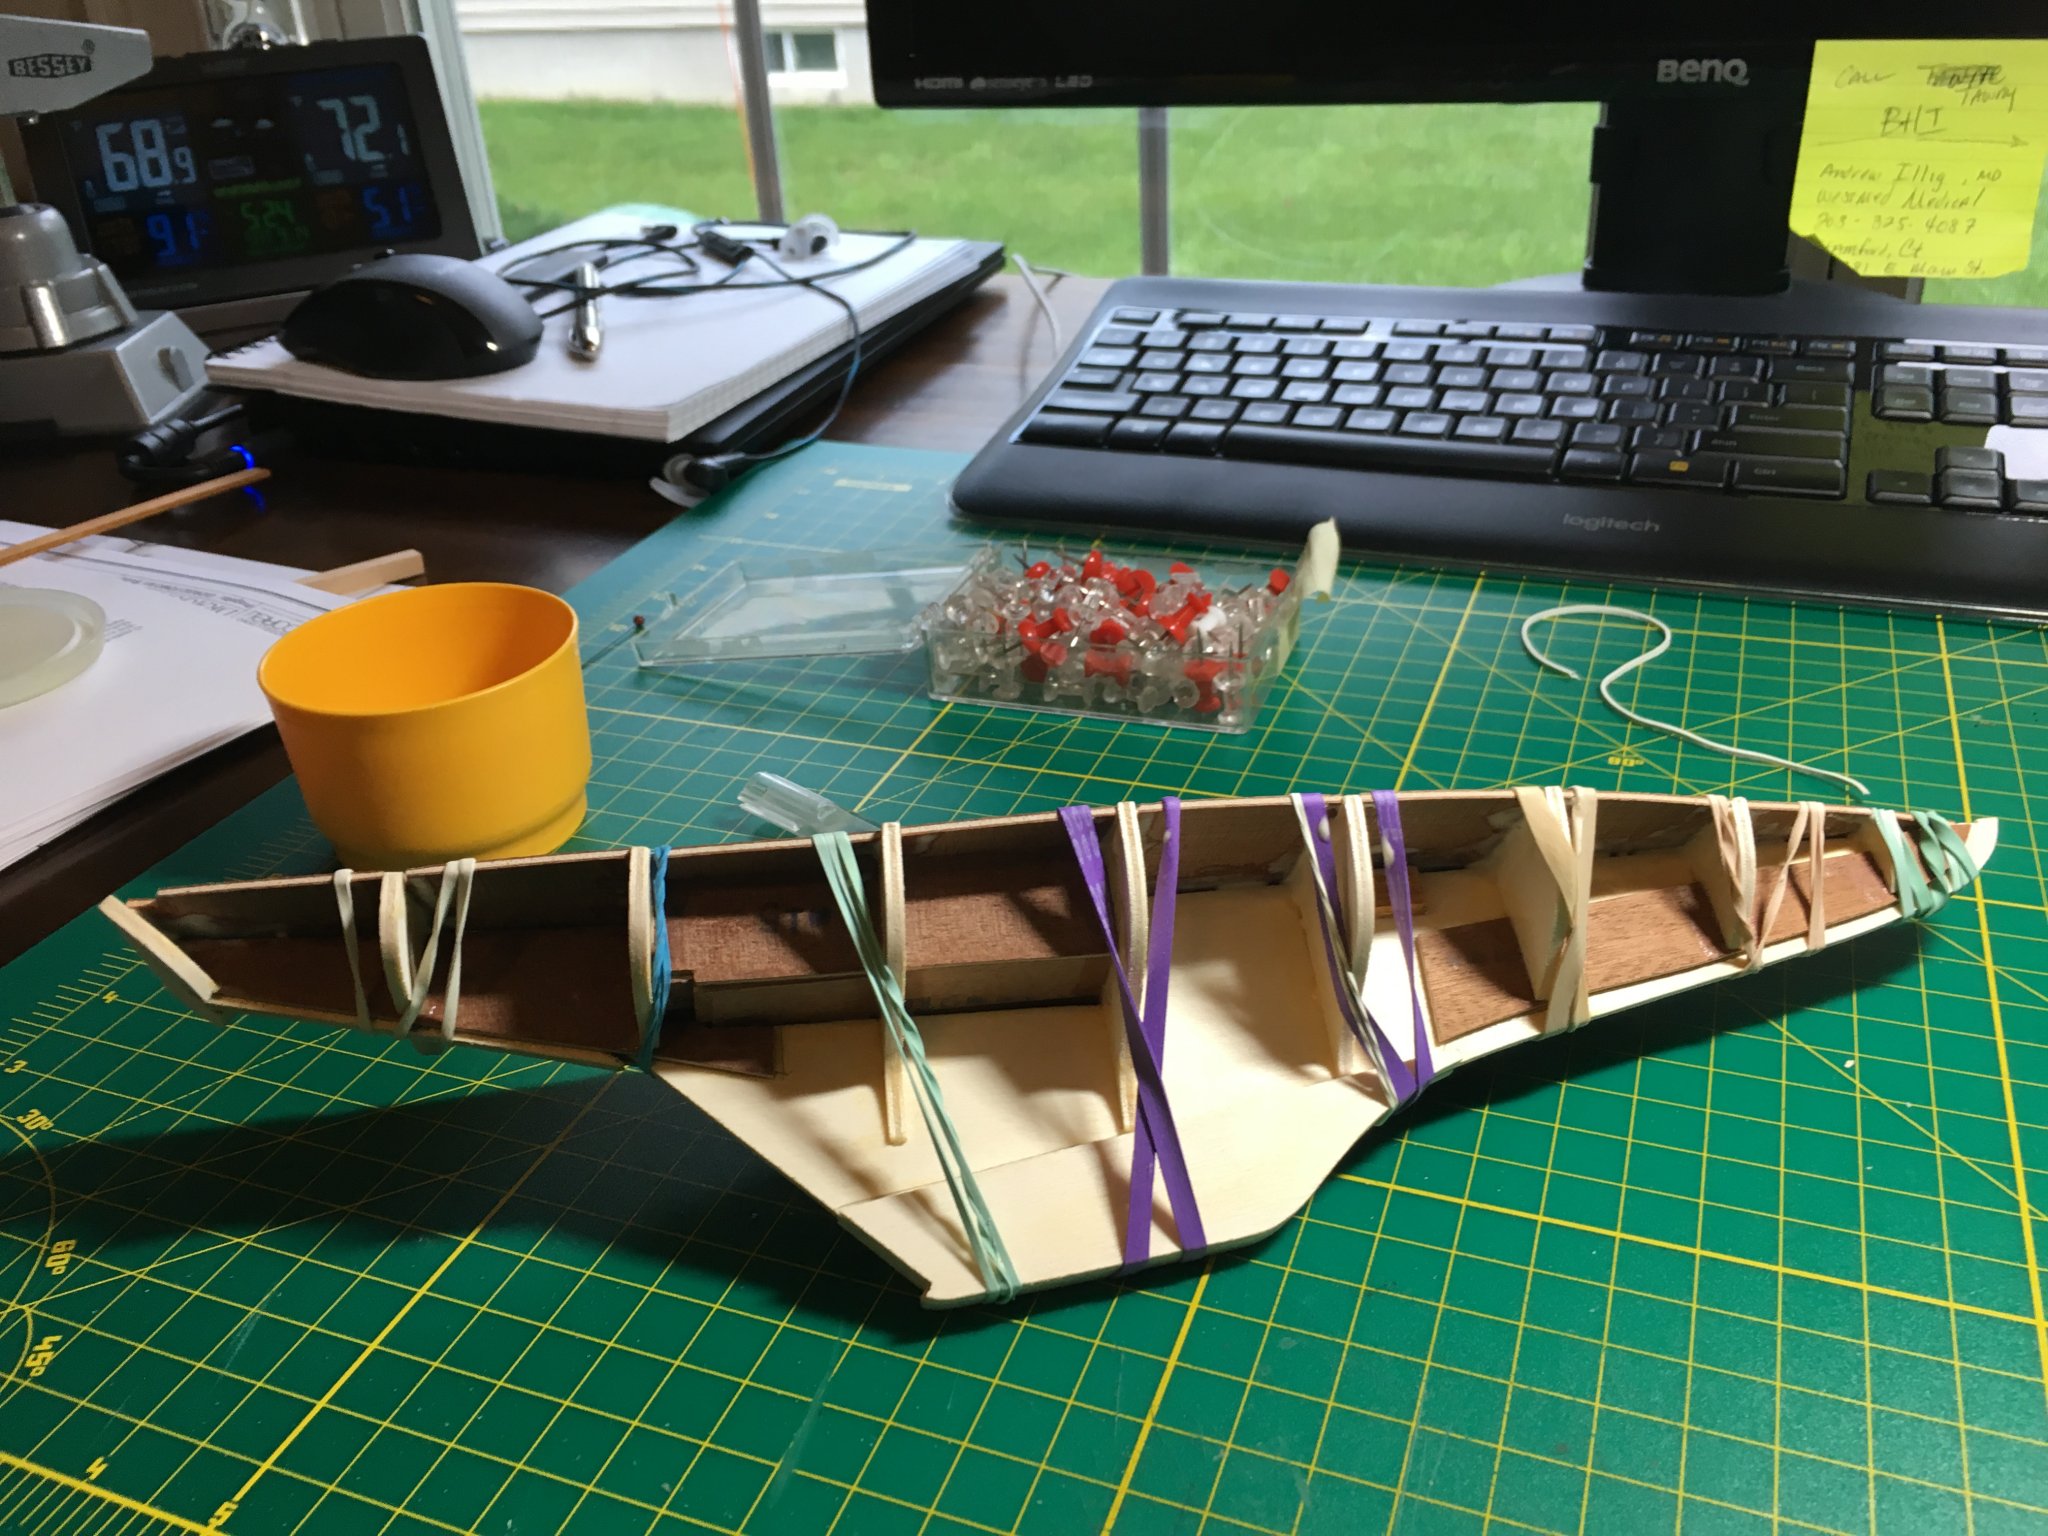
OK, so the deck jig worked well. It gave a nice curve that allowed it to sit well on all the bulks. A bit (a lot of bit) of Elmer's Wood Glue and some rubber bands completed the job. The next day all the rubber bands were removed and everything is looking good so far. It's a wee bit curvy and needs a little bit of sanding. A few of the bulkheads are either a little tall or a little wide. Using some 100 grit sandpaper on a sanding block worked well to smooth things out. Funny translation quirk - the Corel instructions translation from Italian to English calls sandpaper - glass paper. Using one of the hull planks, I trued the bulkheads so the fit to the plank was proper. I'm using Chuck Passaro's Planking Tutorial - Lining Off a Hull in the Article's Database to plank the hull. This boat uses two (2) planking layers. The first is for strength and the second (walnut) is for looks. I'm trying for a very clean planking so that portions of the hull can remain natural. More to follow on the planking. Cheers all, Jim

.thumb.JPG.e82856ea2268e083febc94007f09ba08.JPG)
.thumb.JPG.845cc7df954fdccd19cc285bd152a24b.JPG)
-
Thank you Henrik. I'm sure you can still realize your 1:1 dream. There seem to be plenty for sale.
-
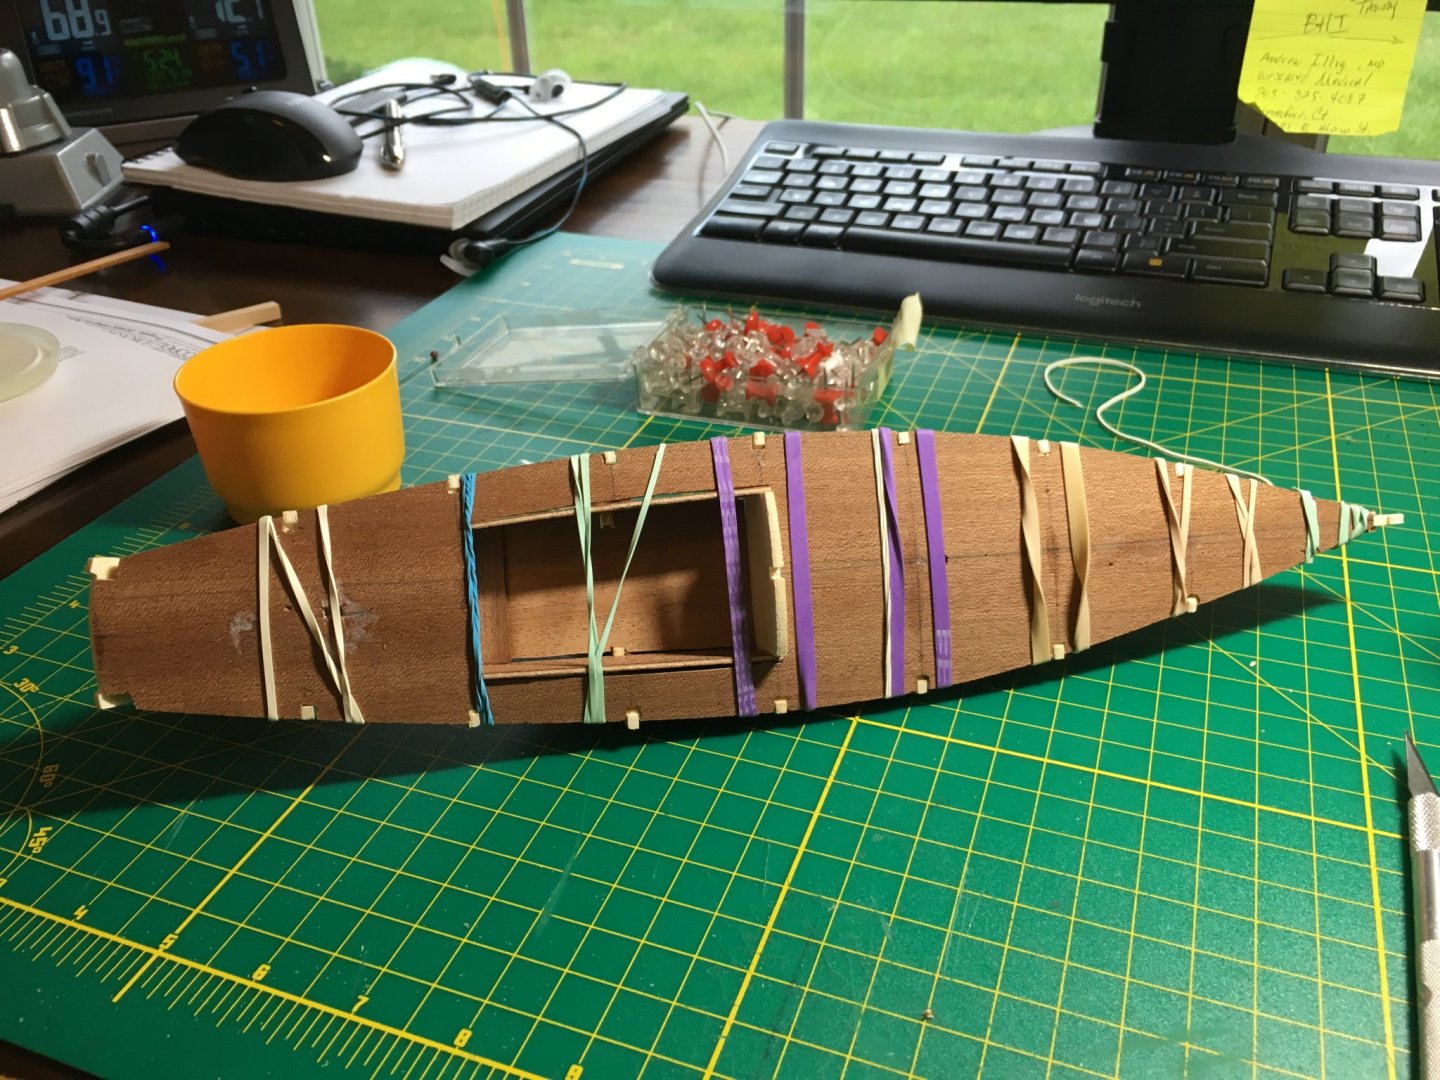
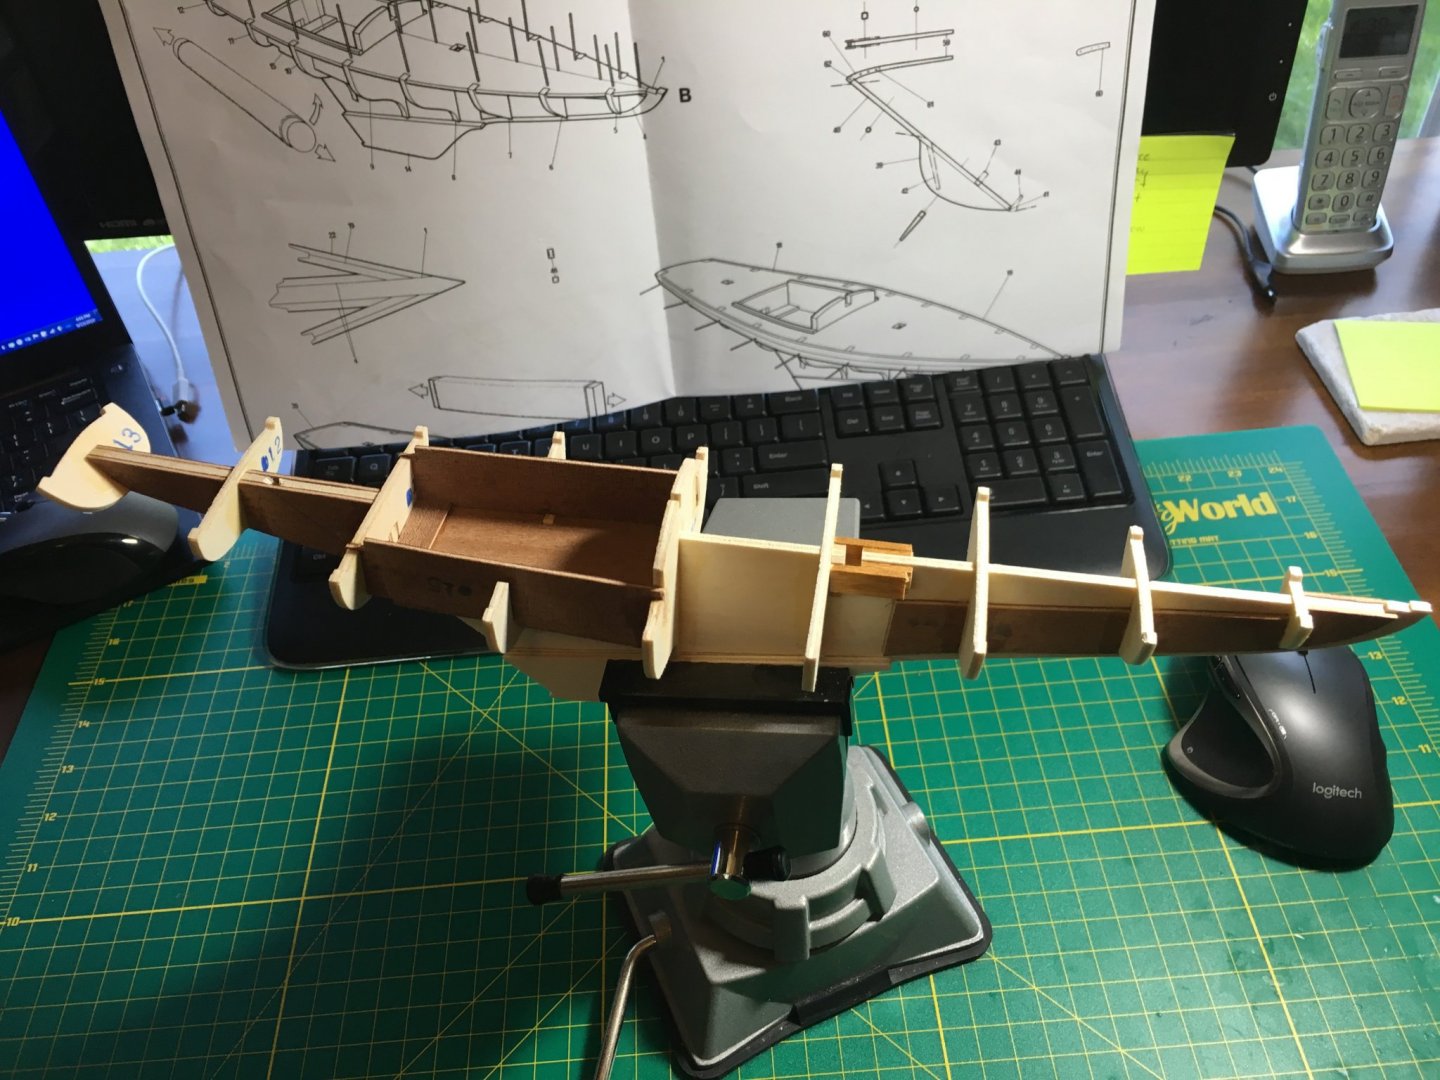
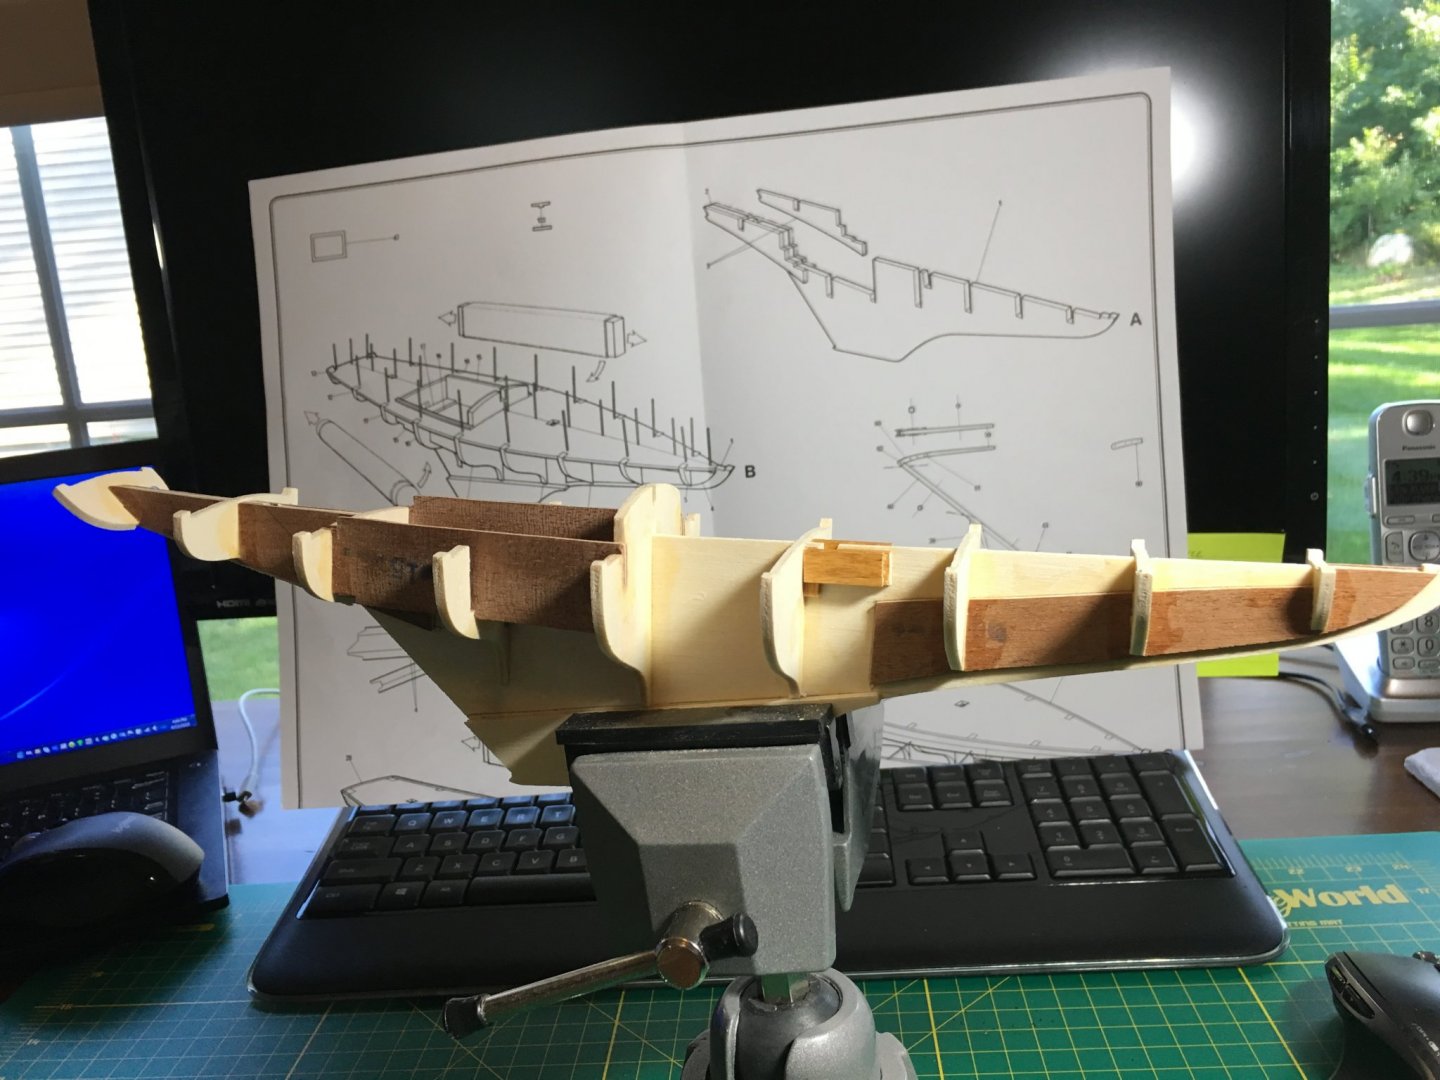
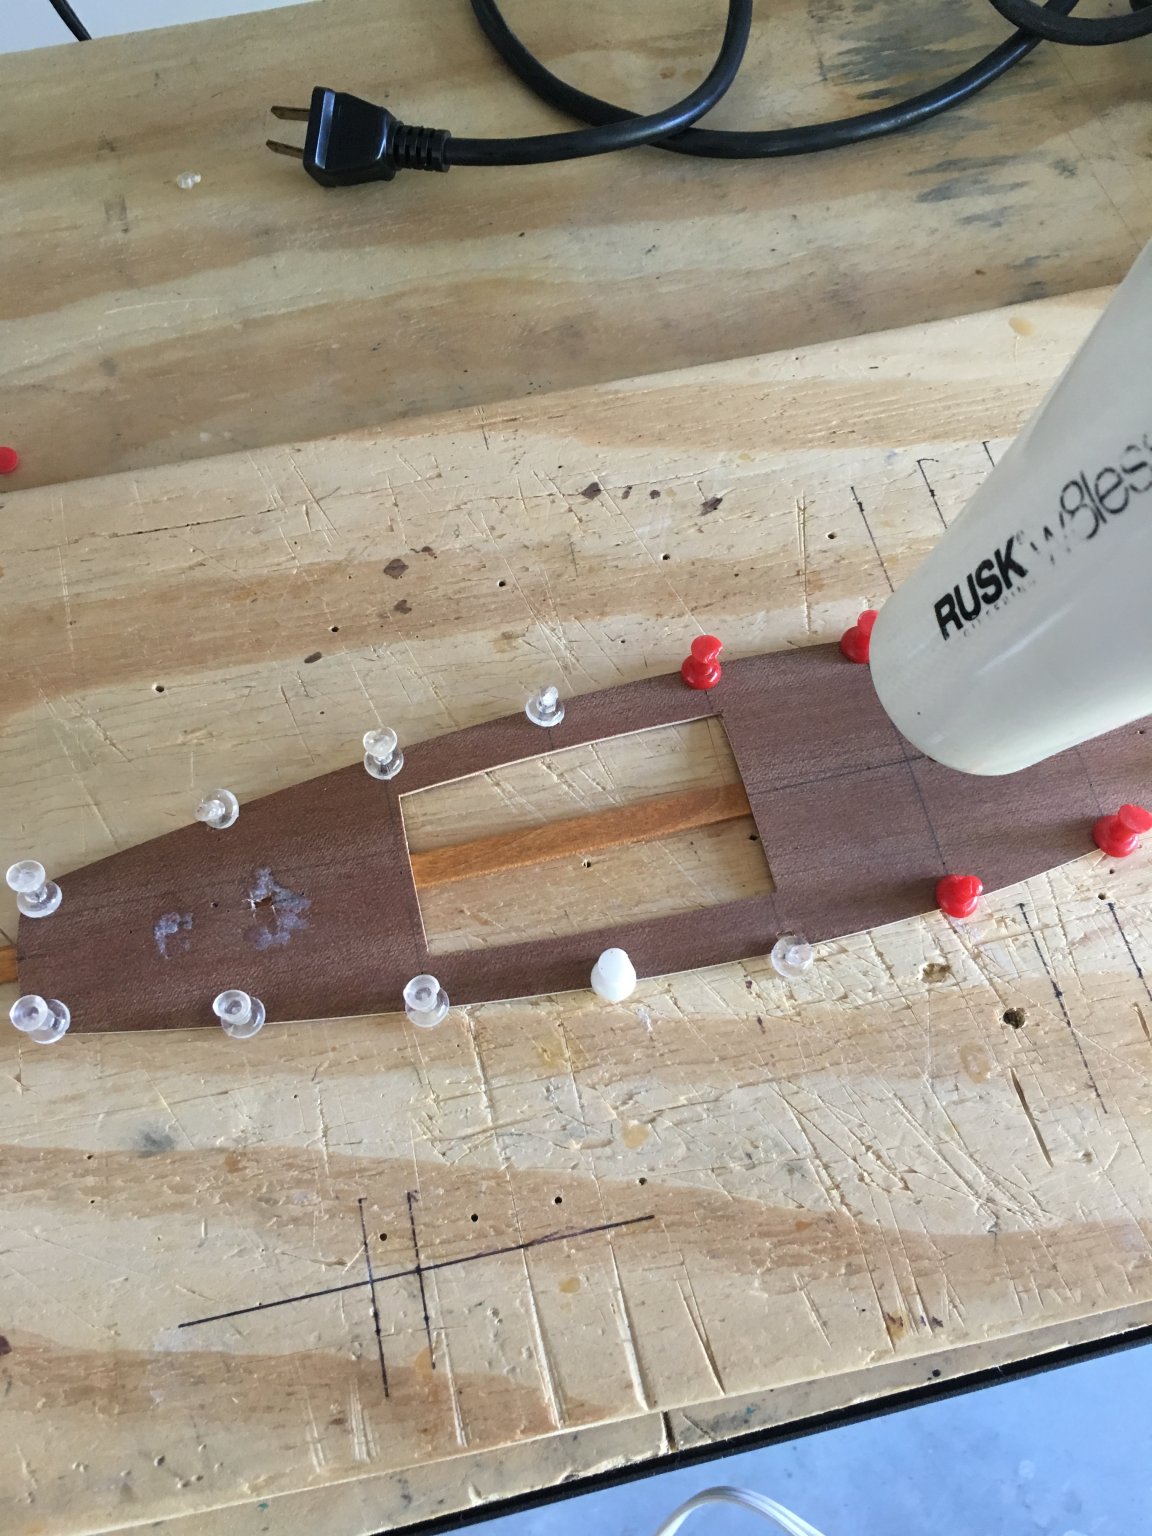
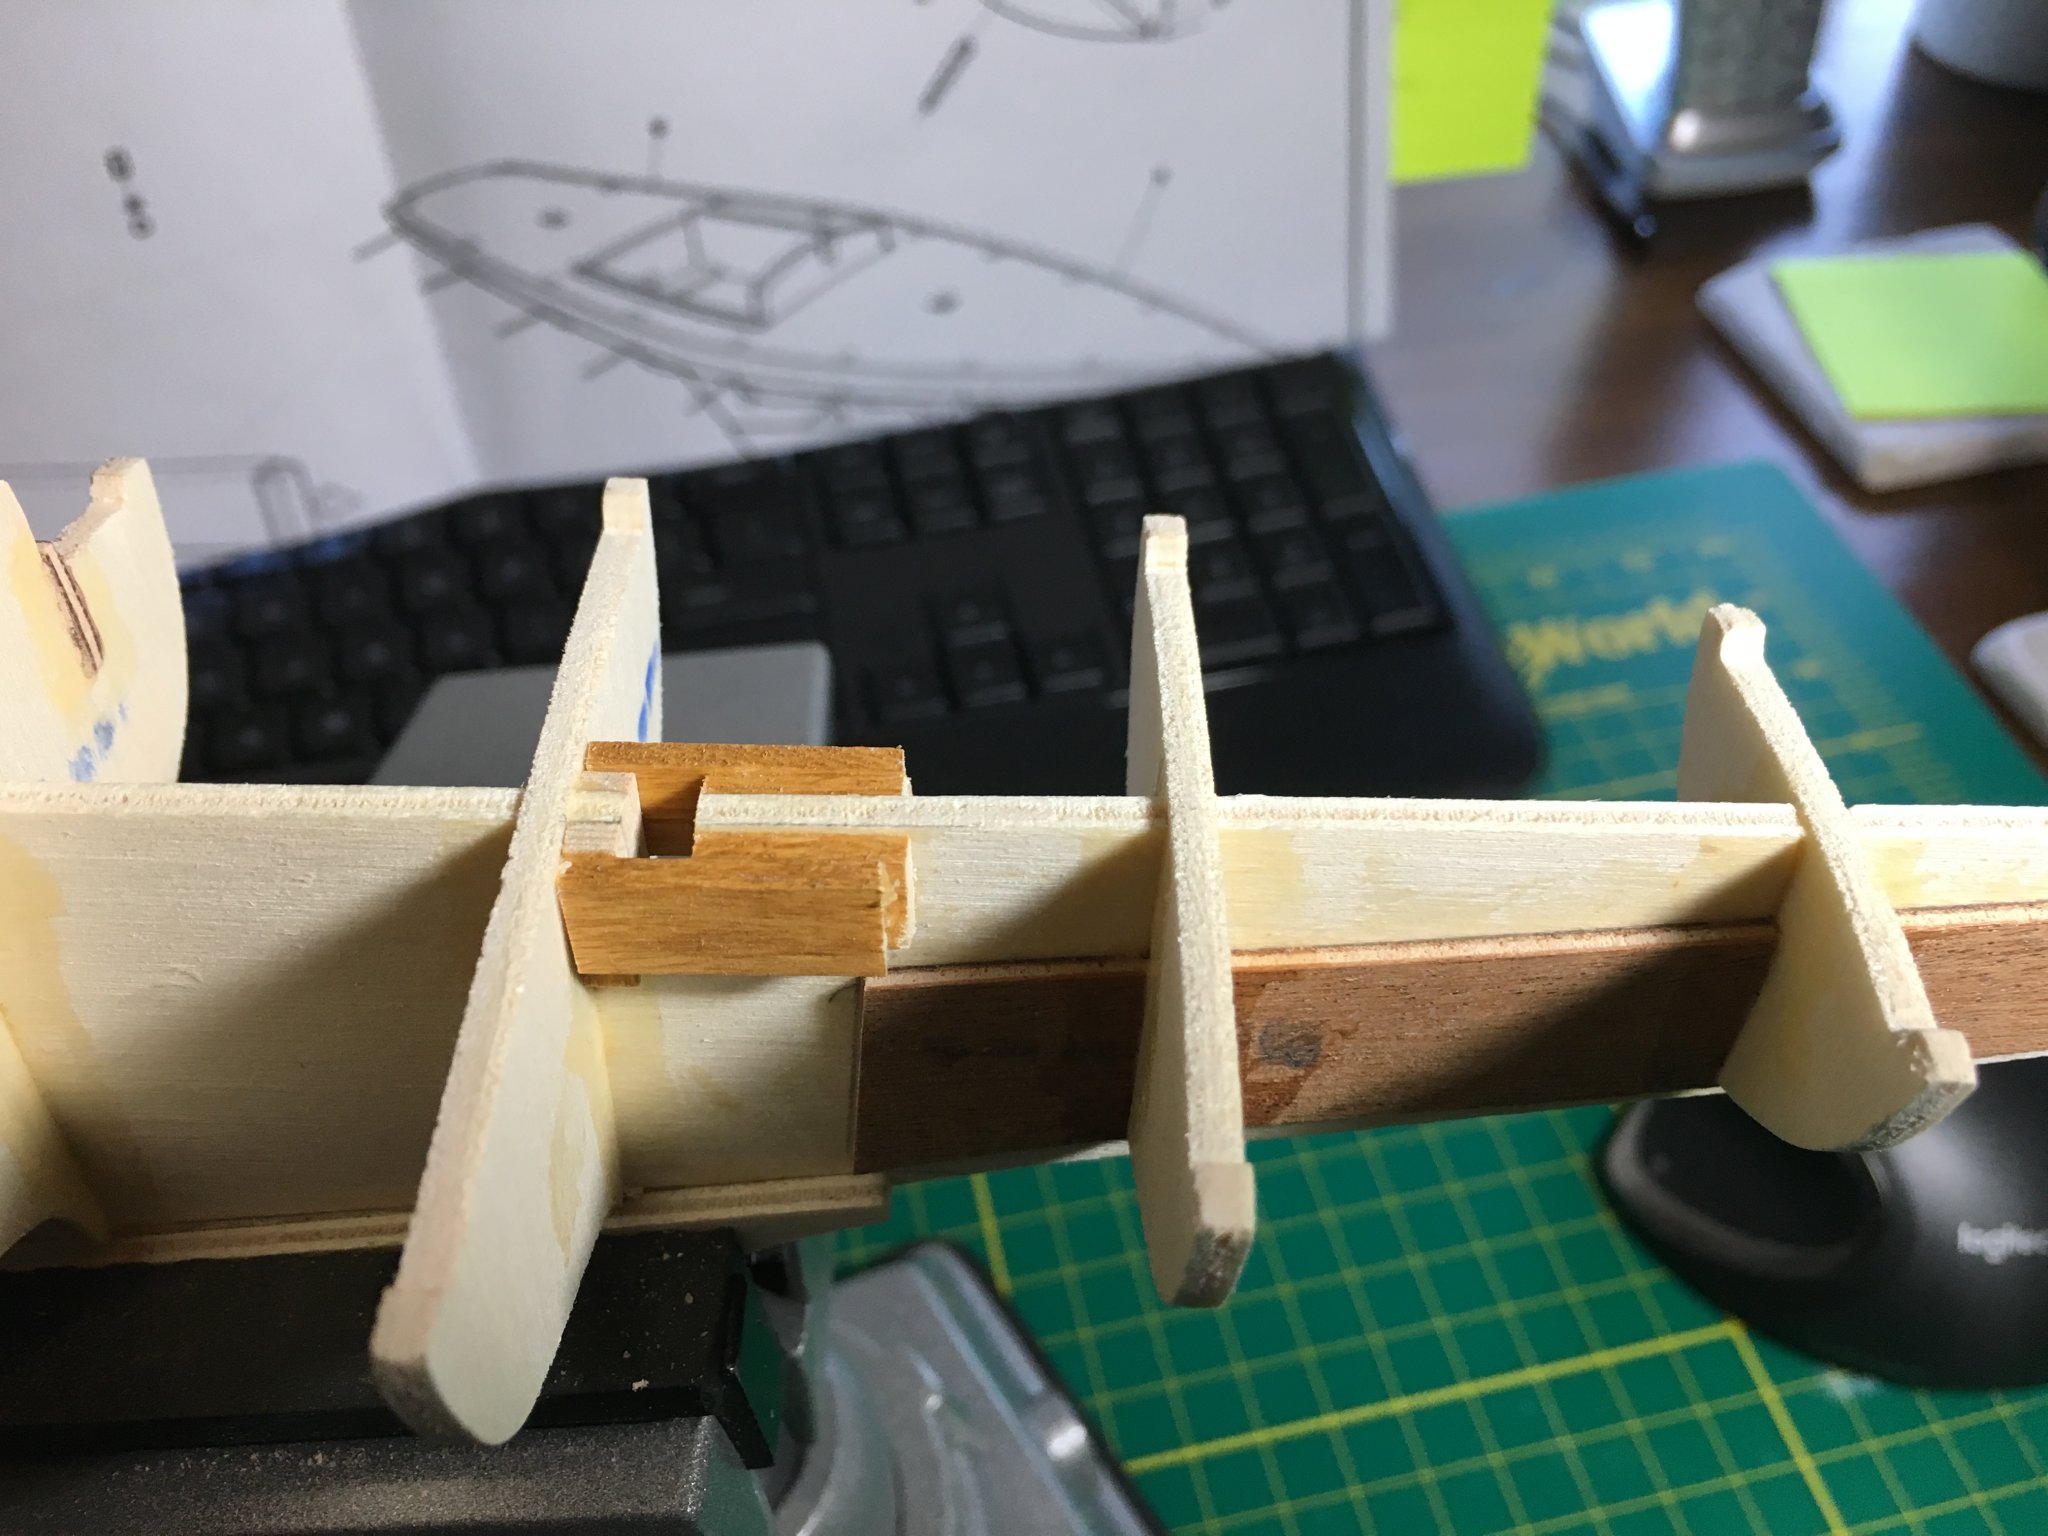
And we’re off… All the bulkhead pieces were dry fitted to the keel prior to gluing. Only a little bit of sanding was required. The fit is snug and seems fairly square. The false keel is two (2) pieces. The main piece from the stem back to the opening for the rudder post. The back piece follows leaving a small gap for the rudder post and finishing at the stern. Mahogany 1.5mm plywood pieces are used to both join the two keel pieces as well as add strength forward. In putting the framework together, the one area that I would have changed in the instructions is the cabin opening frame. While numbered as sides (15), floor (16) and rear step (17), it would have been much easier to assemble it floor, sides then rear step. The plan sequence required a bit of reshaping and sanding in order to have floor width not conflict with the sides. I also decided to reinforce the mast step beyond the simple knotch in the keel. Anyway, it’s done now. The deck sub-floor is a very stiff piece Mahogany 1.5mm plywood. It is mounted to the keel and bulkheads with the expected convex deck curve. It seems too stiff to rely simply on glue, pins, rubber bands or anything else you would think to secure it with. I decided to try pre-curving the deck using a jig and heat. The jig uses an 1/8” x 5/16” strip down the center, with push pins to hold the sides down. Then heat was applied. First with a heat gun, then with a hair blow dryer. The heat gun worked, but it was really hot and began melting the plastic on the push pins. I figured I should switch to the blow dryer before I had a real mess on my hands. I’m going to leave the deck on the jig overnight to see if that helps it hold its shape. It's good to be back in the shipyard! Cheers all, Jim

.thumb.JPG.6a2963ee88e7fbeb6ad7eeca617da2da.JPG)
-
The Corel 1:25mm Kit The Corel 1:25mm Kit is based essentially upon a Dragon constructed in a French yard on the Mediterranean coast at the end of the 1940’s. Subsequently brought to Italy, the boat, which was remodeled several times was moored on Lake Maggiore until 1990 when an enthusiast had it restored in a craftsman boatyard using the official fascicle and the plans published from the I.Y.R.U. by the Royal Yachting Association in London, returning the craft to its original appearance. That document was used by Corel in the designing the model. This POB kit is a pretty straight-forward build. All the parts are numbered and the building sequence is to be performed in numerical order. As you can see from the following picture, all the bulkheads and other wood parts except planking and decking strips are pre-cut. While it looks like laser-cut, it has no laser char and the pieces are already removed from their original stock. I’m thinking this is more die-cut than laser-cut. All the metal hardware is either brass castings or PE brass. Sails, flags and rigging line is also included. It’s a pretty complete kit requiring on the normal tools, glue and paint. The build directions come in four languages – Italian, English, Spanish and German. In addition to the build directions, five (5) large plan sheets are included. These show several different build sequences and will be helpful to the build story. My goal is to complete the boat with sails, painted hull and natural wood deck and cabin.
.thumb.JPG.1c8664ca99268f85b9409695122ec181.JPG)
.thumb.JPG.959f42359341eb2a49d59e66cb289a3f.JPG)
.thumb.JPG.3514642eb888adfb2d987a5406c753d2.JPG)
-
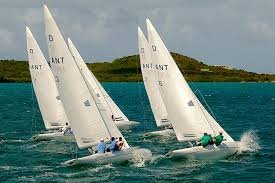
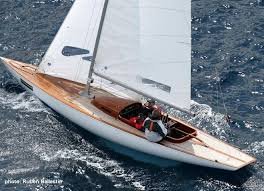
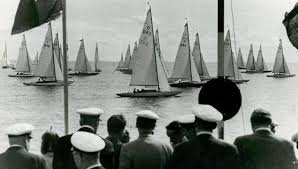
Build #3 First, a little background The Dragon Source: International Dragon Association The Dragon was designed by Johan Anker in 1929. The original design had two berths and was ideally suited for cruising in his home waters of Norway. The boat quickly attracted owners and within ten years it had spread all over Europe. In 1937 the Gold Cup was presented to the class by the Clyde Yacht Clubs Association. This quickly became one of the principal championships in the class and a prestigious trophy in the world of competitive yachting. LOA 8.9m Beam 1.95m Draugh 1.2m Displacement 1700kg (with mast) Mainsail 16m² Genoa 11.7m² Spinnaker 23.6m² The Olympic Years In 1948 the Dragon became an Olympic Class, a status it retained until the Munich/Kiel Olympics in 1972. It remains the only Olympic yacht ever to have a genuinely popular following outside the Games. Since the Olympics the Dragons have gone from strength to strength. The major reason for this has been the ongoing controlled development of the boat. In 1973 thanks to the hard work of Borge Borresen a G.R.P. specification was adopted, metal spars having been introduced in 1970. This proved to be a major milestone in the class's development. Designed from the first to compete on equal terms with the existing wooden boats, the GRP dragons are incredibly stiff - one reason why boats remain competitive at top level for years. More information: Scuttlebutt Sailing News – “Dragon Class – Stronger than Ever” SailboatData.com – “Dragon” SailingWeek.com – “ANTIGUA DRAGON YACHT CLUB CHALLENGE: MAY 8-9, 2017”
-
Gary and Tim, Such wonderful compliments from skilled modelers are really motivating! Thank you, Jim
- 60 replies
-
- 1
-

-
- mary taylor
- solid hull
- (and 2 more)
-
This one is on my wish list. It will be fun to watch your build. Best of luck! Jim
-
Sea Hoss - Thank you for the kind compliment. UK Mike - the solid hull has a knob of wood on the bow that needs to be trimmed down. Overall, the whole hull is just a bit too thick all around. The templates provide very good guidance on how much to shape down the excess. Take time to make copies of the plan, then make the templates from the copies. The wood is reasonable soft and it was pretty easy to trim. I used a combination of a hobby knife #11 blade, #17 chisel blade, 100 grit sand paper and most helpful, a Dremel with a sanding drum attachment. Be careful though. Because the wood is pretty soft, you can easily take off too much especially if your using power tools. At the end of the day for me, solid hull vs. POB or POF is a matter of personal preference. I've seen many excellent builds on this forum of both solid and planked hulls. My next build is a POB. I want to give that a serious try. I have the Corel Dragone kit sitting on the shelf waiting to start as soon as time allows. A build log will certainly follow. Good luck in your next build choice. I really don't think there's a right or wrong answer. Go with what looks cool to you and have fun. Cheers, Jim
-
Nice paint job and great work on the stand. It definitely seems much more secure. Jim
-
Thanks Nic! Your Mary Taylor build log was a constantly source helpful knowledge and additional perspective. I'm grateful it was there. Hope your recovery is going well. Jim
-
Thank you for the pats on the back.
-
Well, that glorious day has arrived. The Mary Taylor is now finished! This has been a fun build and I learned a lot. As I'm sure is true with all builds, some days were a bit more fun than others. I certainly had a few self-inflicted challenges along the way. But, it's finished now and I'm proud of the results. The Admiral is very impressed. Thank you to everyone for their likes and kind words. For someone new to ship modeling, they truly mean a lot. Build #3 is in the closet waiting for my birthday in a few weeks. A new build log will follow. Cheers! Jim
.thumb.JPG.3196ae7331588a0909c34fbf01086920.JPG)
.thumb.JPG.f1678b881a111c71ca68b1309bff6279.JPG)
.thumb.JPG.2c84951a9c7df60e1722395cba3590b6.JPG)
.thumb.JPG.009a92ded8321650490c46a6a756a947.JPG)
.thumb.JPG.f5924ed26fba00ae960663440352746c.JPG)
.thumb.JPG.95904a2a05784b5a7ec99ff0d5dbe68b.JPG)
- 60 replies
-
- 13
-
-
- mary taylor
- solid hull
- (and 2 more)
-
Bob, Thank you so much for the kind words. This was only my 2nd build and it provided a great platform for learning. Your Mary Taylor looks pretty awesome as well. Scale or not, the sails look great! I'm pretty close to being done. At this point, the boat build is complete now that the flags are flying. I'm finishing up the display mounting board and will post the "finished" pictures once it's formally mounted. Thank you again! Jim
- 60 replies
-
- 1
-
-
- mary taylor
- solid hull
- (and 2 more)
-
Thanks Nic. It should be a few more days for the coils, hanks, flags and base. Jim
-
All the running rigging is complete. It's a little hard to see in this picture, but the jib, foresail, top main and mainsail were simulated using very thin white thread. All sails to drawn to starboard as port is windward. Did I get that correct? Now, the various rope coils and hanks need to be added to the line ends. Cheers, Jim
.thumb.JPG.6fe613e5f66dc3f9dfdf814d33bd9dfa.JPG)
.thumb.JPG.17db2d7287fd41e7980e467f882a8be1.JPG)
- 60 replies
-
- 3
-
-
- mary taylor
- solid hull
- (and 2 more)
-
Phil, You're on a roll now! Looks great. Jim
- 355 replies
-
- 2
-
-
- prince de neufchatel
- schooner
- (and 3 more)
-
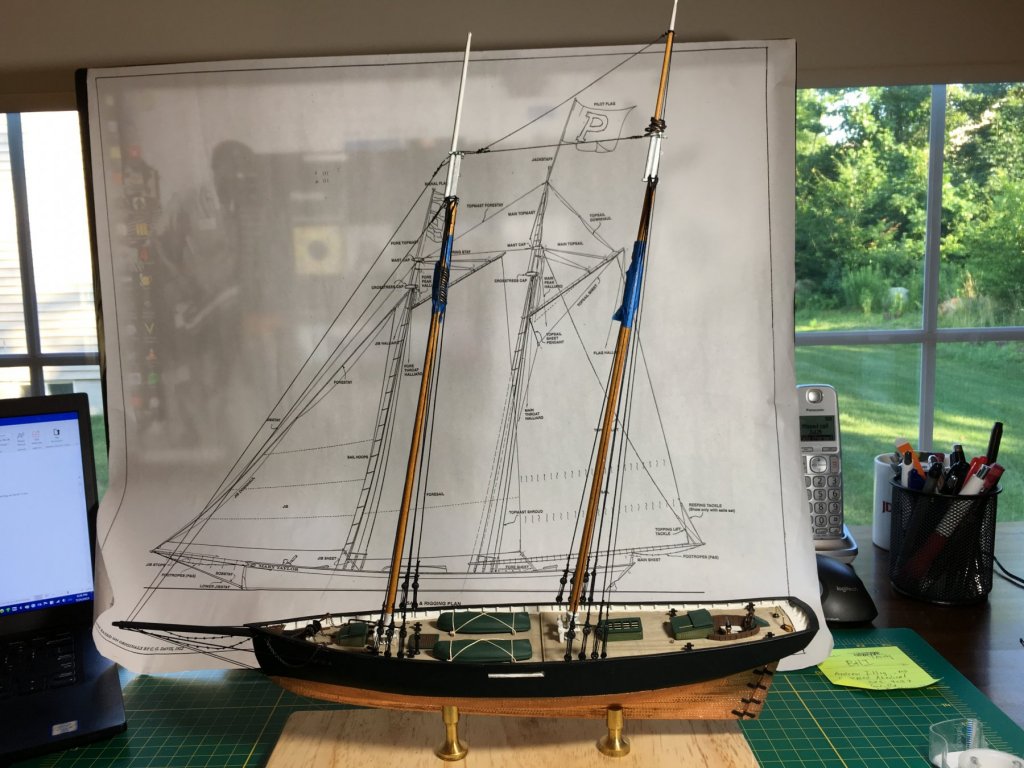
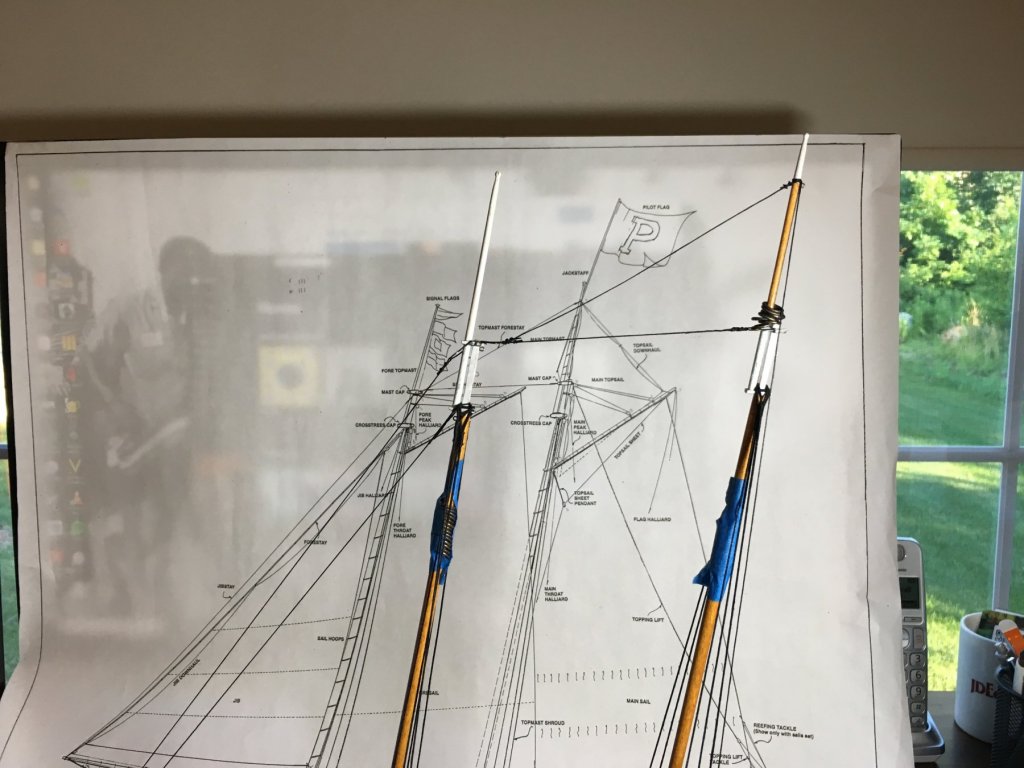
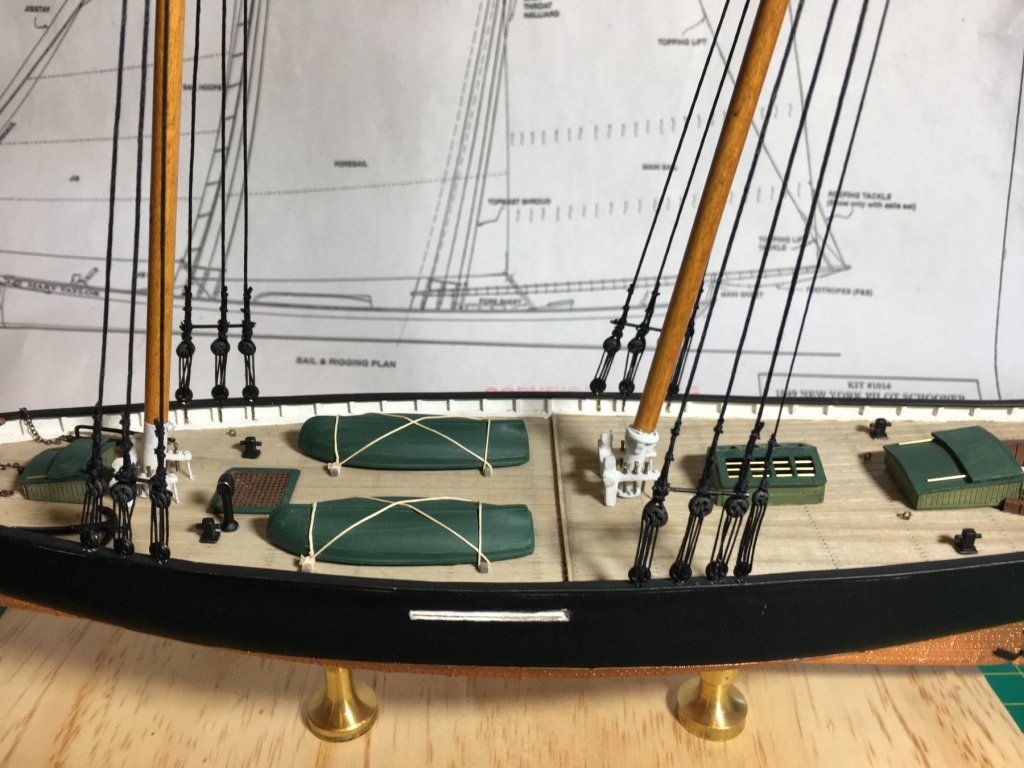
Thank you to everyone for all the Likes. The Standing Rigging is now complete. Rigging shrouds is tricky business as it can be a challenge to keep them even. I'm sure they get easier with practice. And, the masting is complete with both the top masts added. It's getting real close. Now, string the Running Rigging and add the flags. So close! Cheers, Jim
- 60 replies
-
- 4
-
-
- mary taylor
- solid hull
- (and 2 more)
-
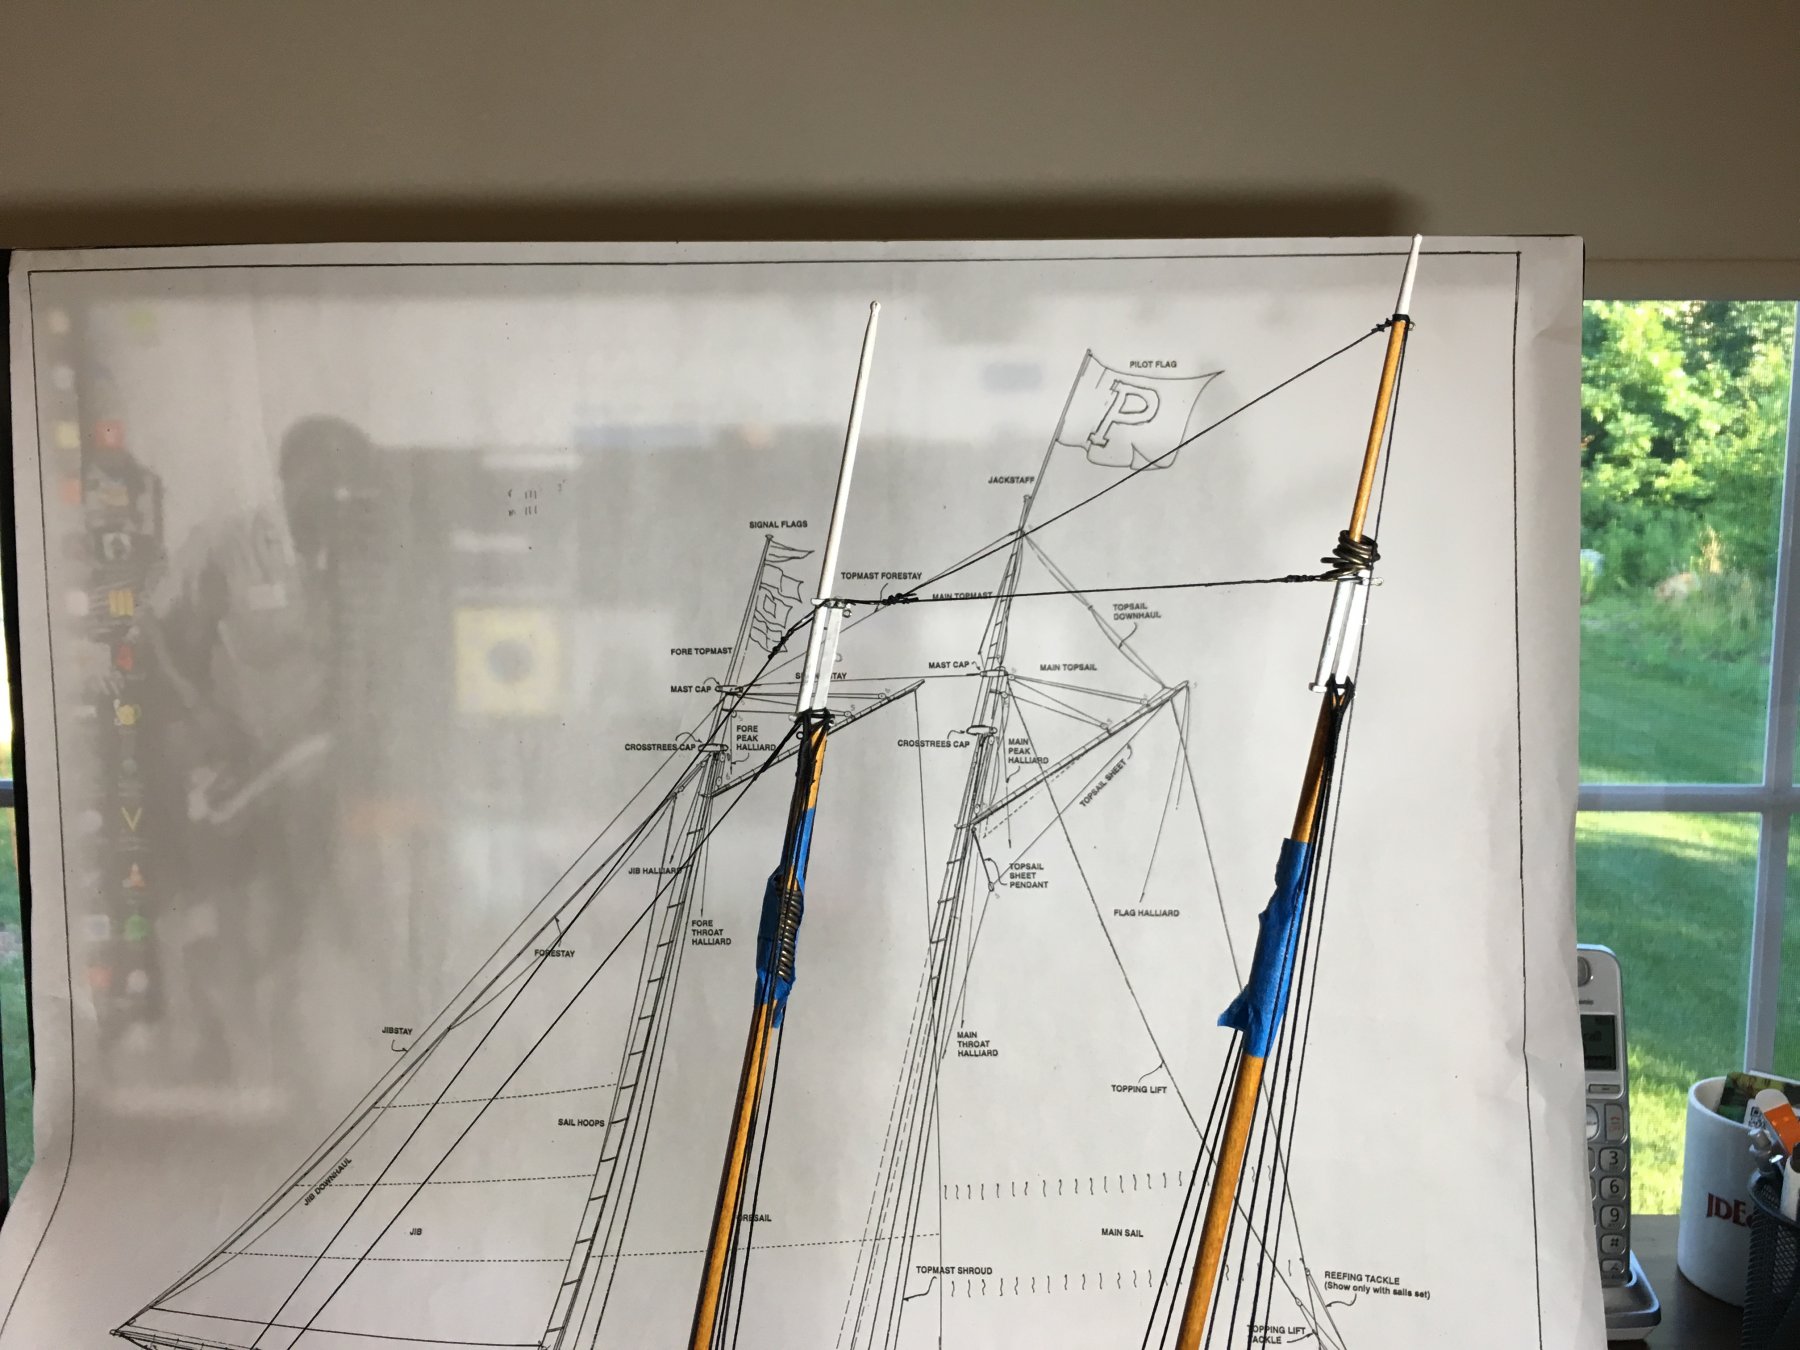
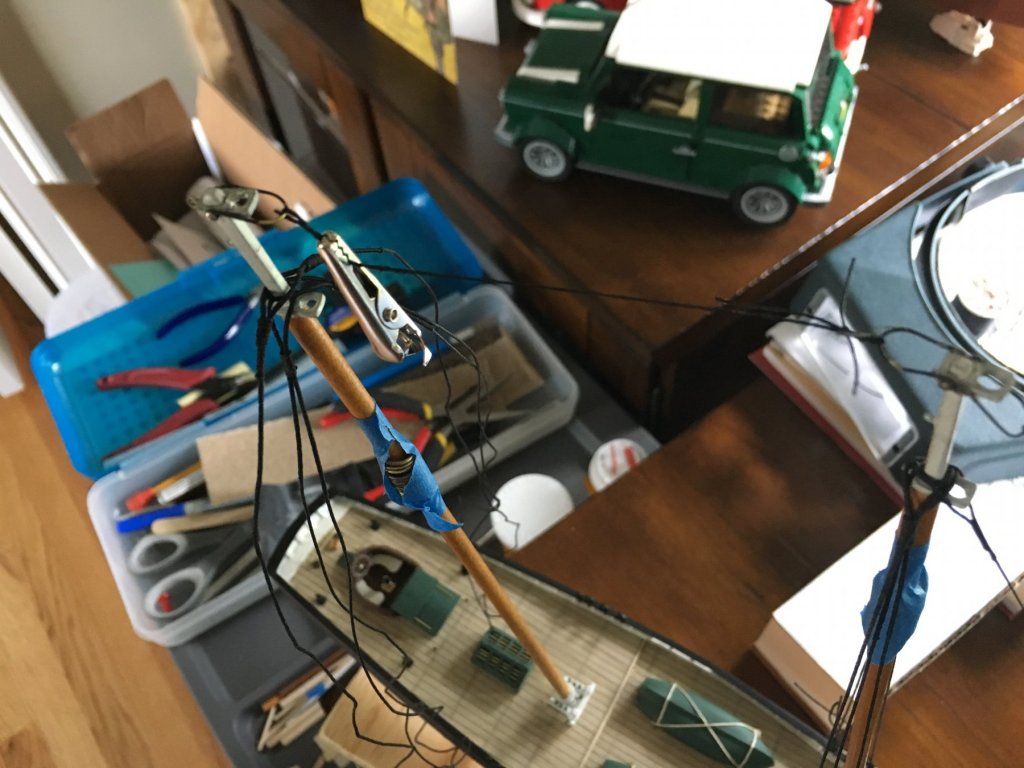
Nic, Glad to see you're back at the bench. Hope you're feeling better. Good suggestion, but I already took the scissors to it. Rather than cut the entire Spring Stay, I cut the seizing knots on just the Main Mast side leaving the Fore Mast in tact. See the picture. The alligator clip is holding the position. I'm thinking that will make measuring the shrouds a bit easier since the mast will be at the proper rake. Thank you, Jim
- 60 replies
-
- 1
-
-
- mary taylor
- solid hull
- (and 2 more)


.JPG.dac7440aecaaf01fccb453c305d4145f.JPG)

.JPG.6b271795aed1bb66d78fb2b65eb86ce6.JPG)
.JPG.bf6479d5a9a87e4916a00757cdad44f8.JPG)


.JPG.8ae2ae37c0c414c76d64e0dfc00bc384.JPG)
.JPG.5f7e99c541bdc4c9f864a575a6bc2b0a.JPG)
.JPG.47d02e5c21fa9a0cd07b264a2809d3c8.JPG)
.JPG.853da4afe5e0c82eb0eb9707ad95f3eb.JPG)
.JPG.db14976327ec7fd313c033699ddc8403.JPG)
.JPG.d0597a59cc441eff52b6c6b88e9c0cfd.JPG)
.JPG.12a1813dc2271aa20c29eb449878e1a1.JPG)
.JPG.3bccc40af66fbf6e16c5fd0745d8129f.JPG)
.JPG.6bc5cd9a5b374f3de51c2edec4960692.JPG)
.JPG.185c578f681eb965ad0b09b551a9eb3d.JPG)
.JPG.ae7e0e91045fcfad3d1d7a14da4e6c7b.JPG)
.JPG.16db53c27f6814836218aeccfabd6b63.JPG)