


lraymo
-
Posts
235 -
Joined
-
Last visited
Content Type
Profiles
Forums
Gallery
Events
Posts posted by lraymo
-
-
-
Thanks @SkiBee, I appreciate your thoughts, and I might go with 3/8" too! Seems to be right... and your coppering looks terrific!
-
Sanded the hull, primed it, and sanded again. Still see a few bumps and blips, so more sanding is in order. Then I'll be ready to paint it using the black paint from the kit. I'd like it to have a bit of a sheen on it, so I'm thinking I'll also add a layer of Clear Satin from the previous kit.
I didn't prime the deck yet. Wanting to get the outer hull finished first. I'm also concerned about the coppering. I asked SkiBee what length should be used for each plate. I'm thinking 3/16", but I don't really know.
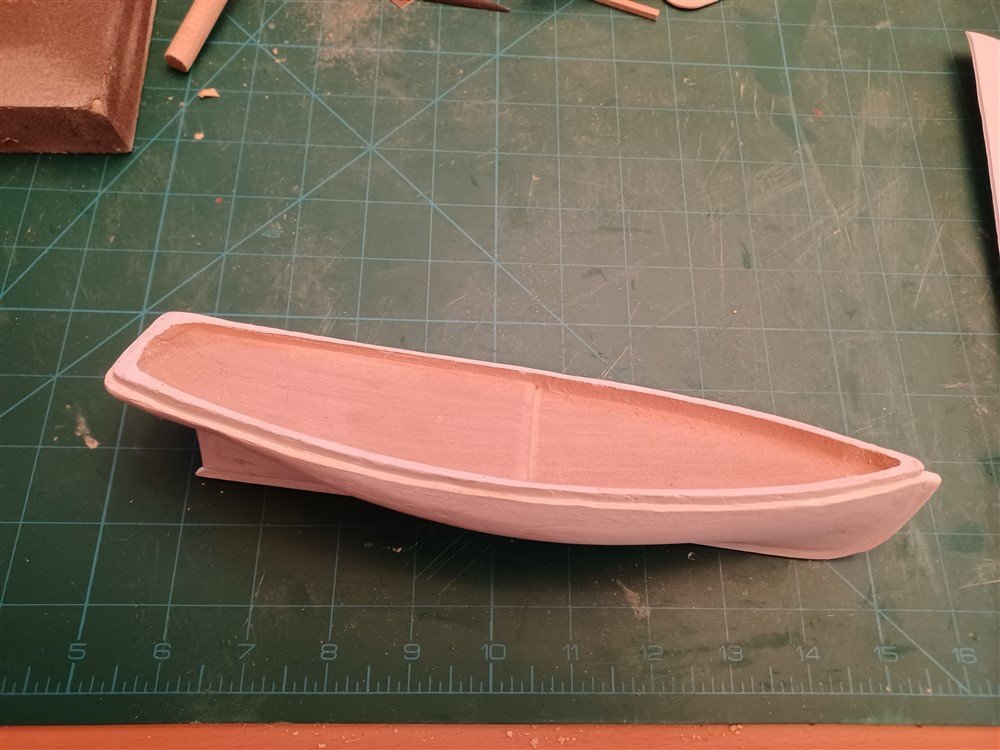
I also need to clean up and organize my work space! Yikes!
_1000.jpg.37471f96efb6b67e094d36857cde2c7b.jpg)
- Cathead, ccoyle, Keith Black and 2 others
-
 5
5
-
@SkiBee, what is the length of each of your copper plates? I'm getting close to doing the same, but it says they should be 1/8" long. That's got to be a typo! I know its 1/8" wide, but maybe 1/2" long? What did you do?
-
Thanks, I found several good tips on marking the waterline. After nap time tomorrow (an important part of any day!), I'll have to try some of the techniques!
- tlee01 and Keith Black
-
1
-
 1
1
-
Hi Keith! You're too funny! I've been too busy to do much on the model (how did I ever find time to work??? Retirement shouldn't be this busy!)
As it so happens, i finally got some time to work on the stem and sternpost.
Glued the pieces of wood together for the stem as described, cut out a reasonable facsimile, and glued it on. Some gaps, but I actually felt good about how it fit. Then using @SkiBee's blog as an example, I used wood filler to smooth and fill in the gaps. Right now it looks really rough, but after it dries, and I do some serious sanding, it should turn out ok. Then i just need to add the keel, sand & paint!
I do have a question though. I drew a waterline, but it was mostly guesswork, and after I prime and paint, I'll need to recreate the line. Are there any good tips for creating a waterline?
- Keith Black, Cathead and Ryland Craze
-
3
-
WOW! Impressive... it is gorgeous!!!
-
The copper is looking good! I'm not quite there yet, but will be using your "painters tape" idea to keep the edges from snagging. Good advice!
-
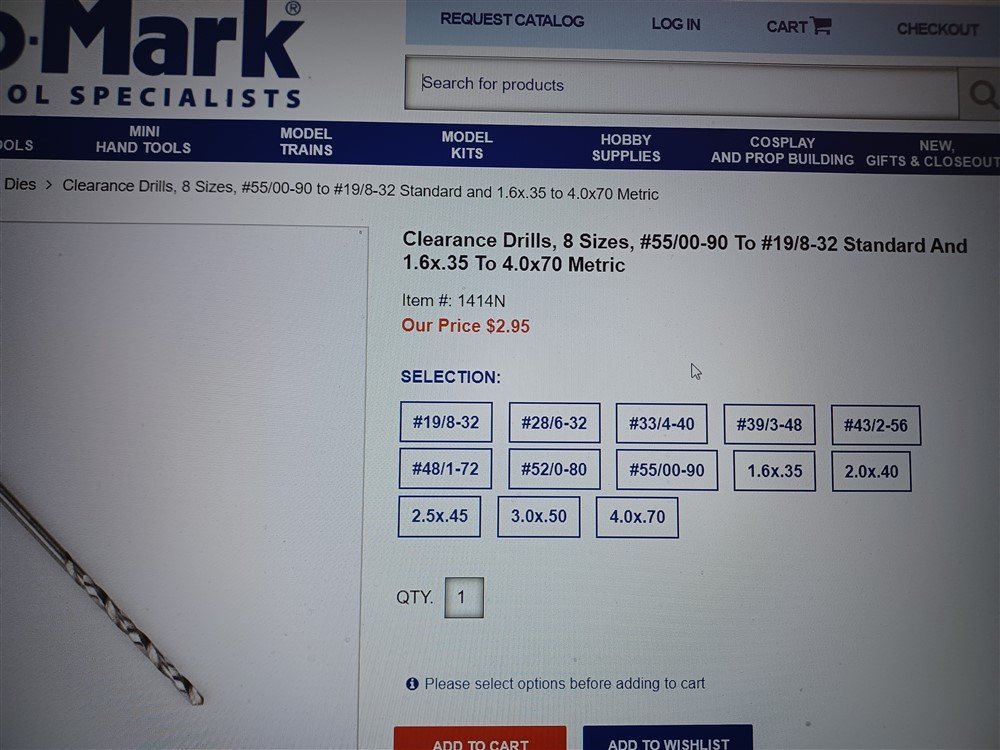
Thanks everyone! @EricWilliamMarshall I bought a small drill set on Amazon, @Keith Black the pin idea will work out well for the rudder, and @SkiBee I appreciated the visual! I've finally gotten an idea of what I need to do. I actually have much more work to do, before I even need the drills (perhaps I shouldn't have read ahead!) Anyway, thanks!
-
Thanks, but still confused! You all have given me lots of info and numbers (and I learned alot from the videos!), but nothing corresponds to this list of drill bits. Which of these do I need to get? (Sorry to be dense!)
For the rudder, it says to use a 3/16” diameter bit.
For the launching way, it says to drill holes for the 1/16” brass keel pins.
Which of these drill bits should I buy?
-
On 10/18/2021 at 4:02 PM, SkiBee said:
Drilled the holes to mount the boat to the launch way
SkiBee, what size bit did you use to drill the holes to mount the boat? And did you use a "pin vise" to do it? I also have a big drill, but I think its much to big, heavy, and awkward to try to drill the holes! So I am hoping I can use the pin vise, but I don't know what size bit to use. Your thoughts?
-
Rudder confusion! In reading ahead, it says its now good time to drill the hole for the rudder. What hole are they talking about? In the instructions, it talks about the rudder being held in place with pintles and gudgeons glued to the stern post. So I am confused about what hole needs to be drilled (and where?) Also, it says to use a 3/16" diameter bit. What size is that? I have a set of bits that go from 61 thru 80. And another bit that is 55. Would any of these work? And what goes into the hole after its drilled? I'm confused!

-
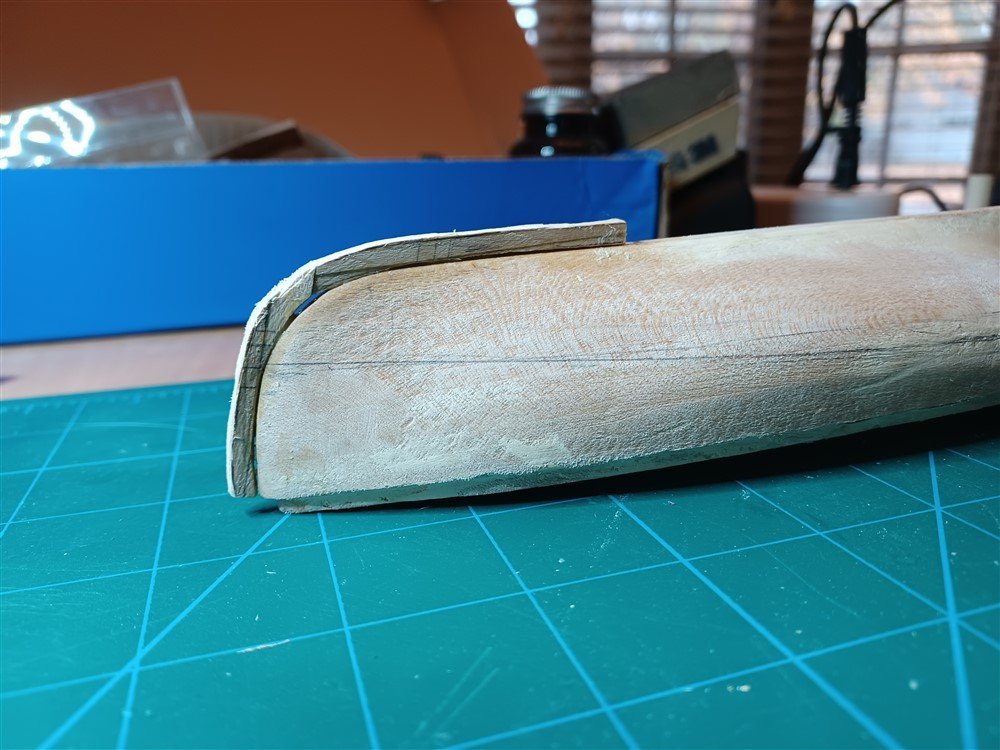
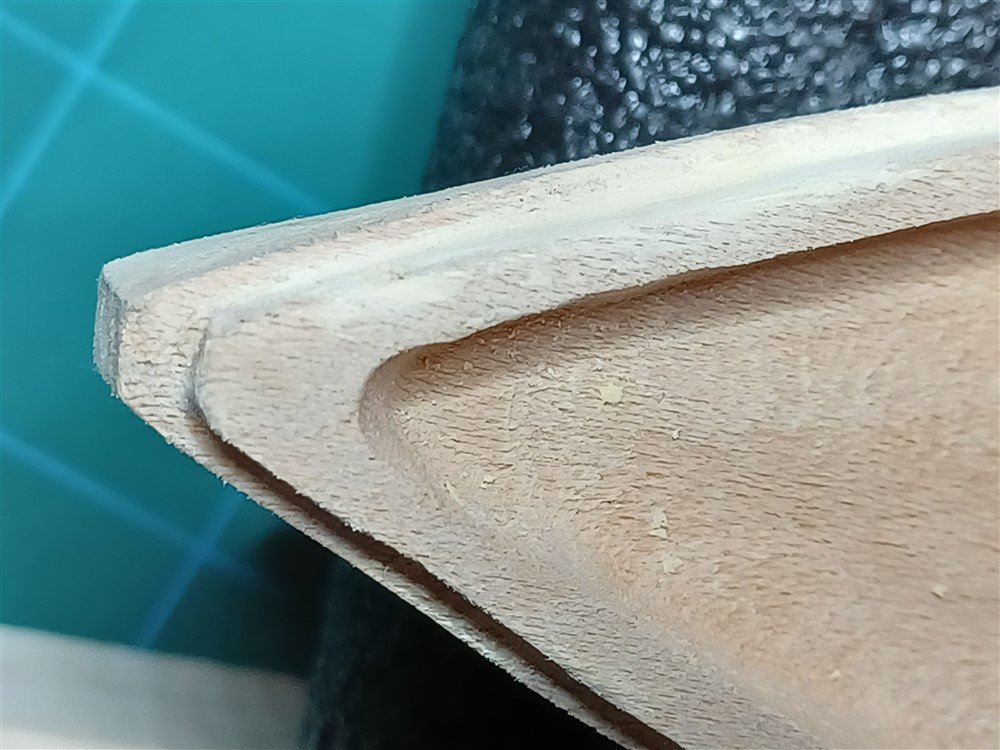
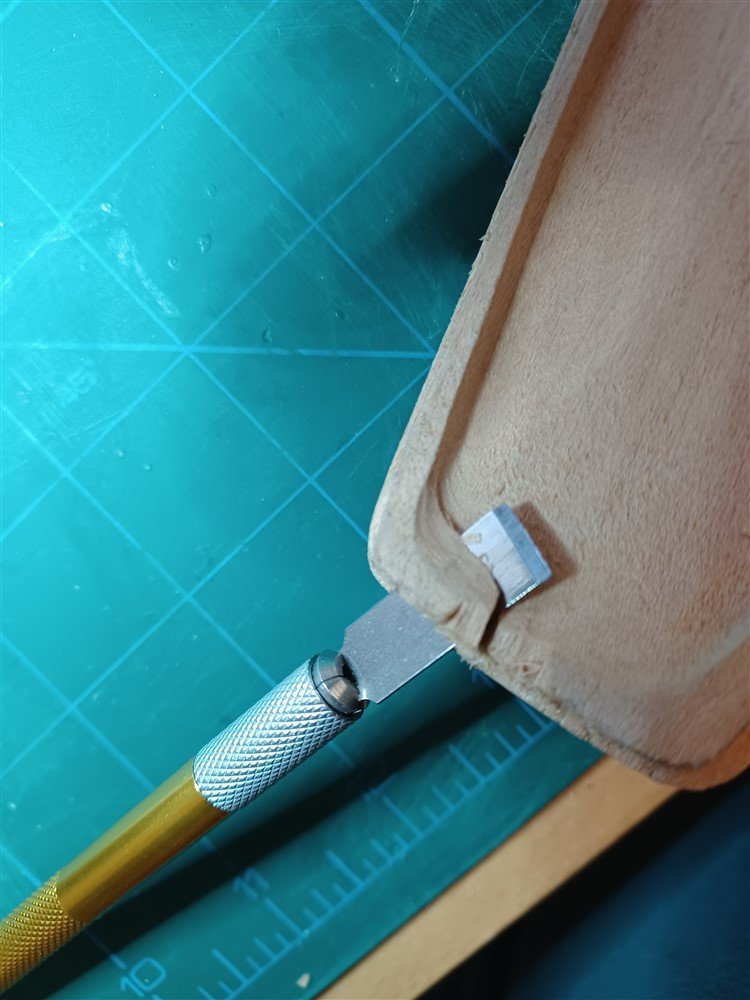
Finally finished the "Step", using several different blades, needle file, sandpaper, and wood filler to help smooth out the edges. It's not perfect, but it looks ok to me, so I'm moving on. Thanks for all the suggestions and the encouragement! This was slow going, and I'll probably do a bit more filing, but it's essentially done. Next up is the sternpost, stem, and keel (made it to page 4! Whee-ha!)
Fixed the stern
The bow looks better now too!
- Ryland Craze, Keith Black, SkiBee and 3 others
-
6
-
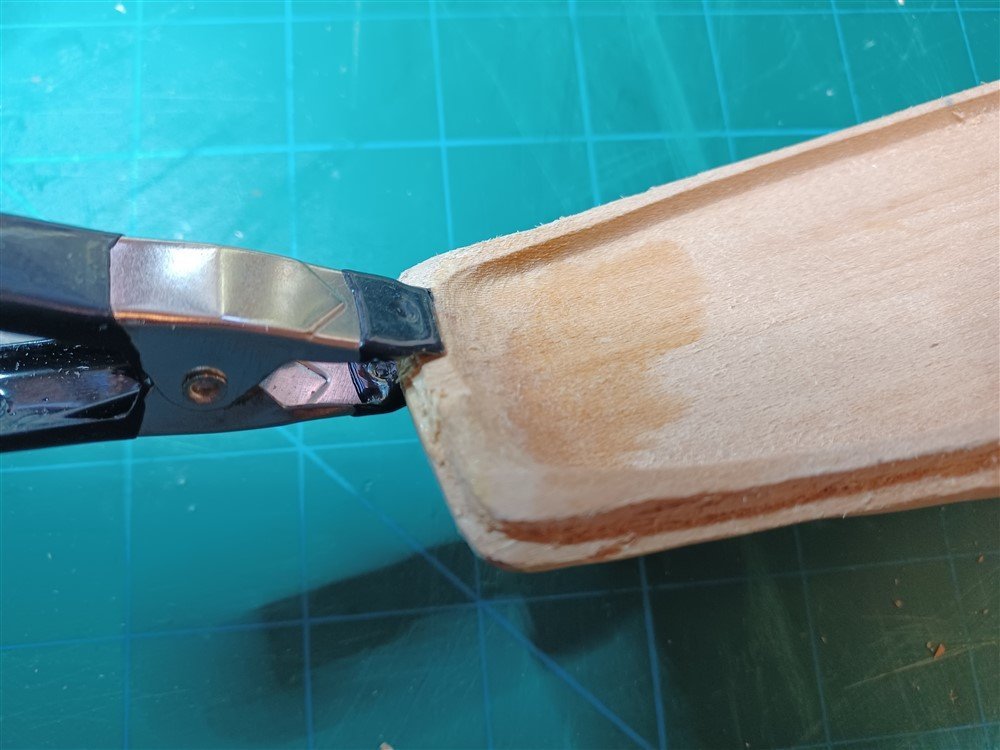
Thanks again for the suggestions. I had my first carving mishap with the knife. Went completely through the bulwark. Glued and clamped to fix, and I'm hoping I'll still be able to carve, file, and sand through the glue, as there's still more excess wood to remove from the area! For now, going to let it dry and try again tomorrow! It will be interesting to see if I can make this all look good, but I am hopeful!
- Keith Black, Cathead, Ryland Craze and 2 others
-
3
-
 2
2
-
Thanks Keith! I was encouraged because the file you suggested is the exact one I picked to use when the package arrived! I haven't made any discernable progress yet, but I'm working on it. Can't believe the "step" part is so hard for me, as I know there are much more difficult areas ahead. Ah, but then I remember it's all a learning experience! Now, off to experiment with getting a smooth surface!
- Cathead and Keith Black
-
2
-
-
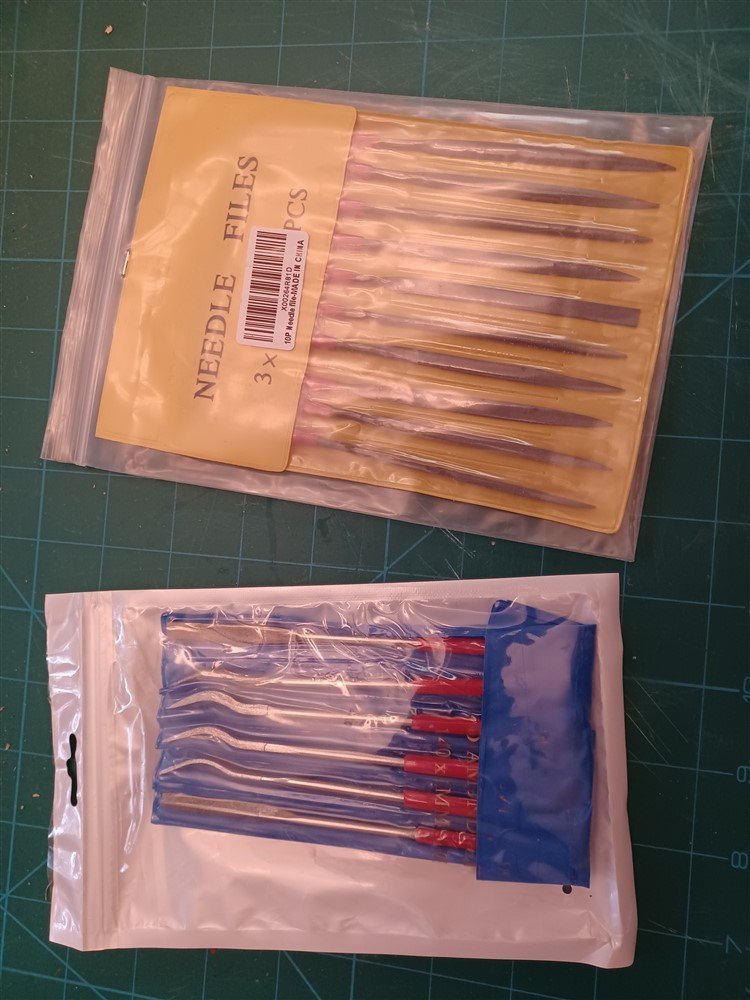
My new needle files arrived. I am not really sure how to use them, and carving the step is very rough... not sure how to get the smooth, finished surfaces I see in other posts. But this is just the first pass. I'll try to use the files to smooth it out... and may try some wood filler to create a smoother finish!
-
Thanks Keith, I will order some of these.
And thanks Bob, that's a really good suggestion! (I can see how I will need to do this!)
- Keith Black, Cathead and Ryland Craze
-
3
-
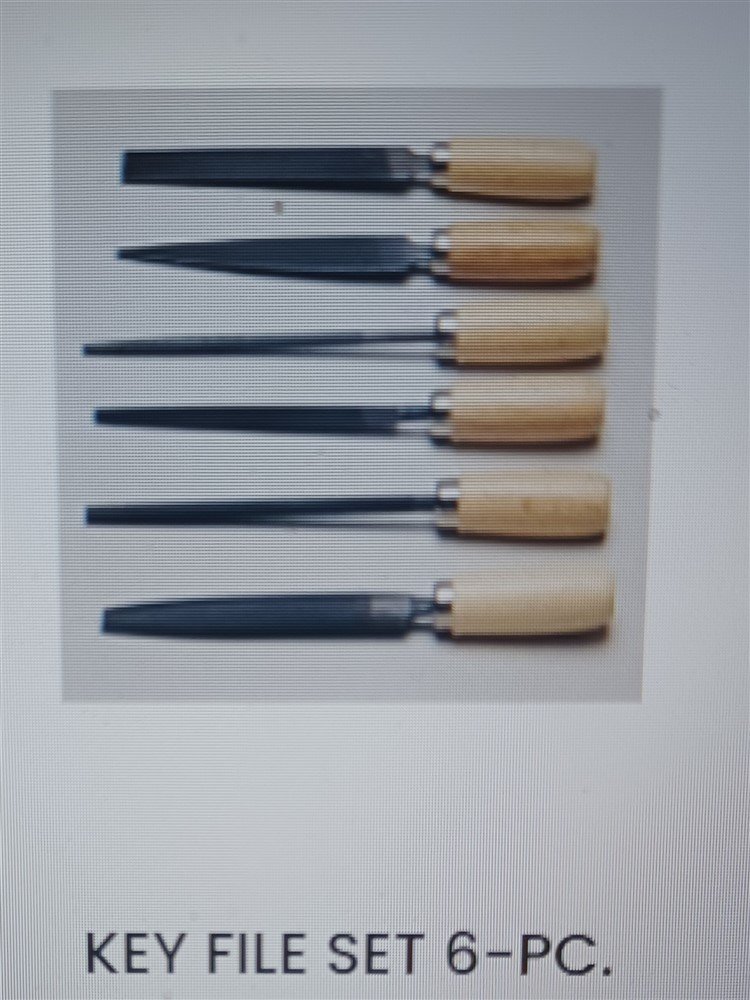
Hi Keith. I bought this "key file" set. Are these considered jewelers files? I agree, sandpaper is going to be tough to get this done right!
-
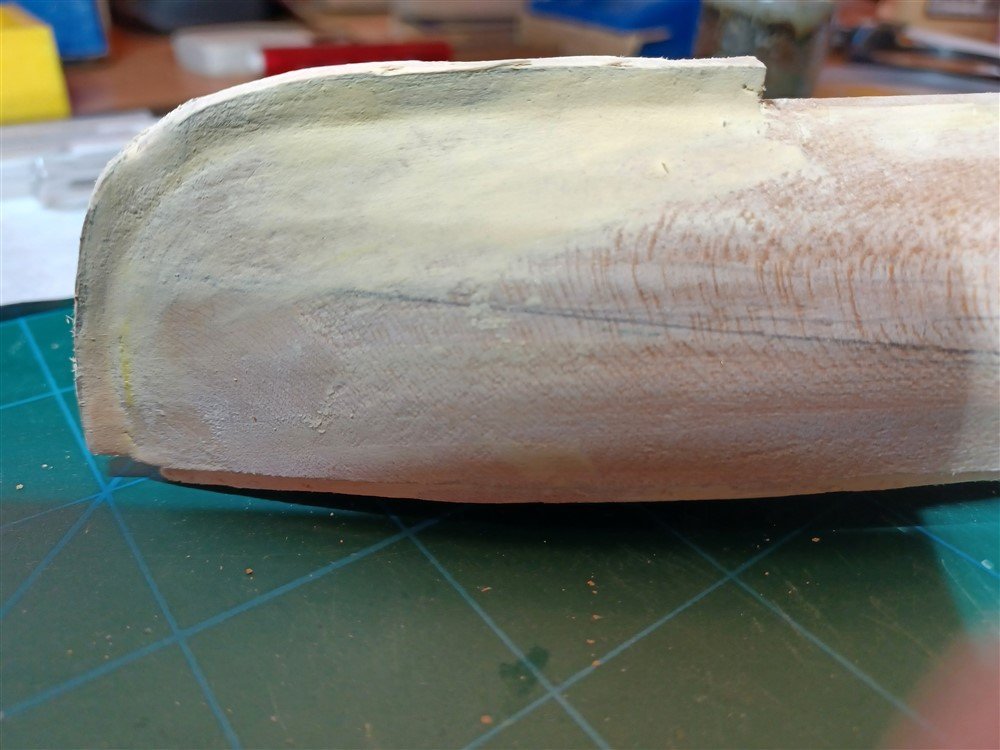
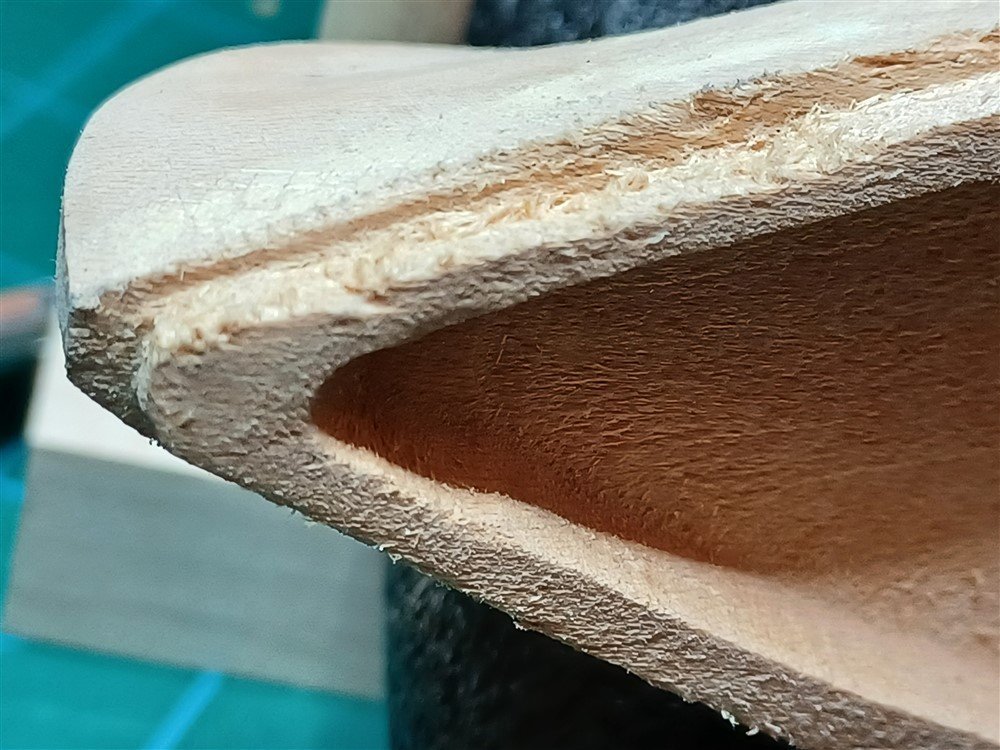
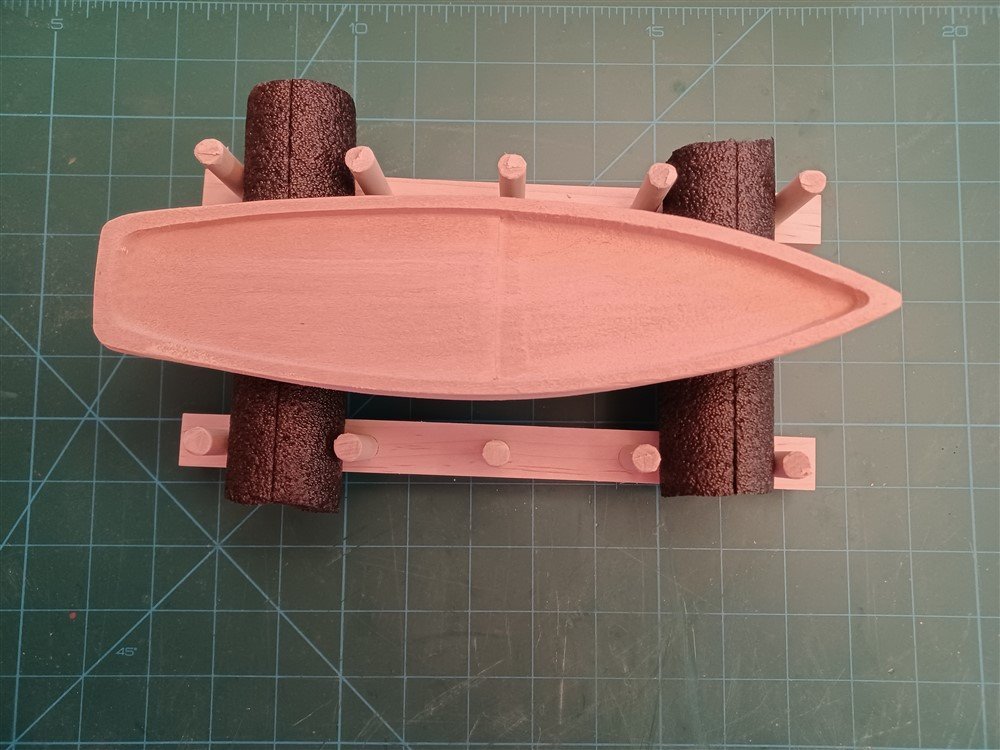
Starting to carve the step. Realizing I'm not very good at carving, but feeling ok about it, since I've never done this! Just finished the initial pass on one side. I can see there will be LOTS of sanding and touch-up to make this look ok, but at least I've started. Much more work to do on the step, but for now, I'm off to play pickleball!
- Tom E, Cathead, EricWilliamMarshall and 2 others
-
5
-
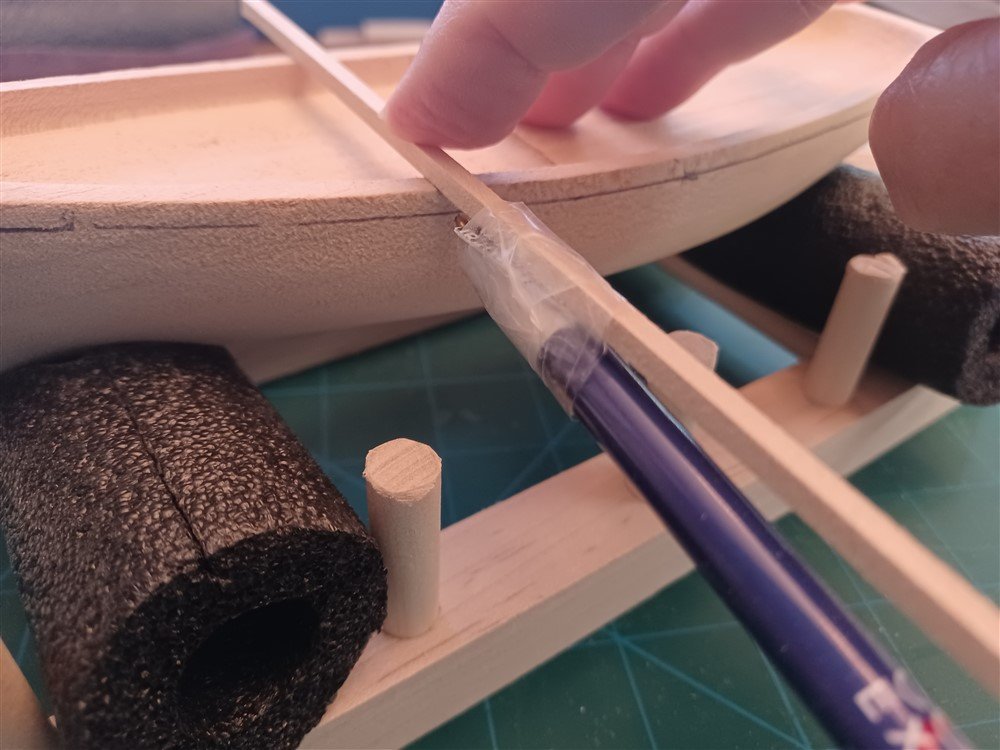
Creating my own tools... to draw the carving line for the step. Using a very precise method of scotch tape and a pen, I was able to scribe a line 1/8" below the top of the bulwarks. (I'm sure there are tools I could buy to accomplish this!)
Now I'm off to begin carving (gulp!)
-
-
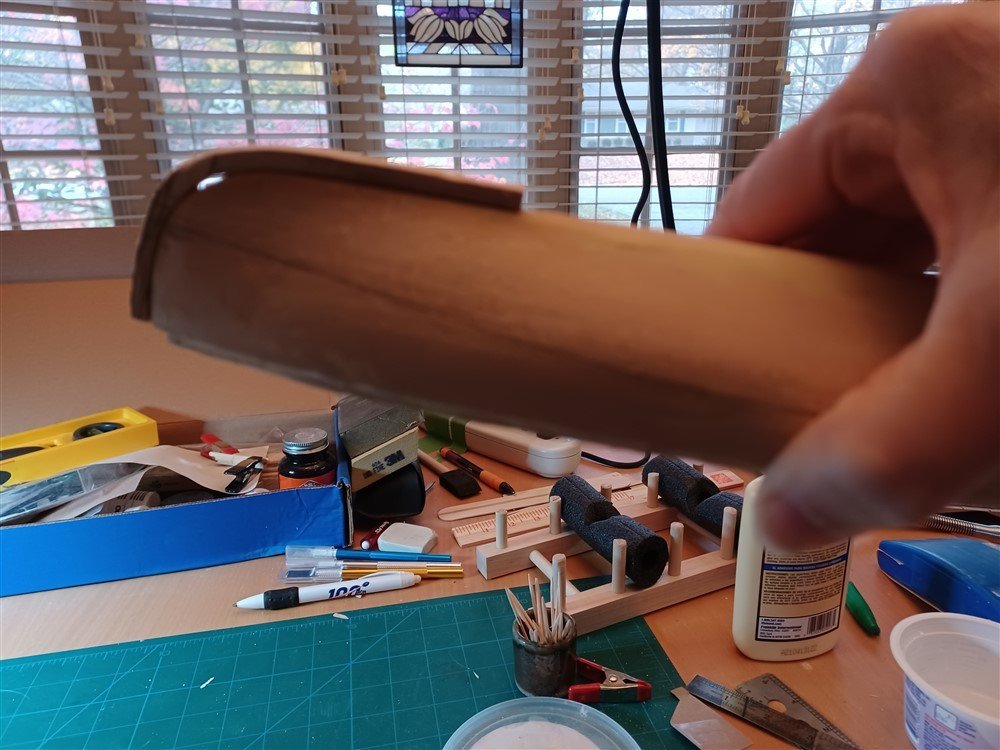
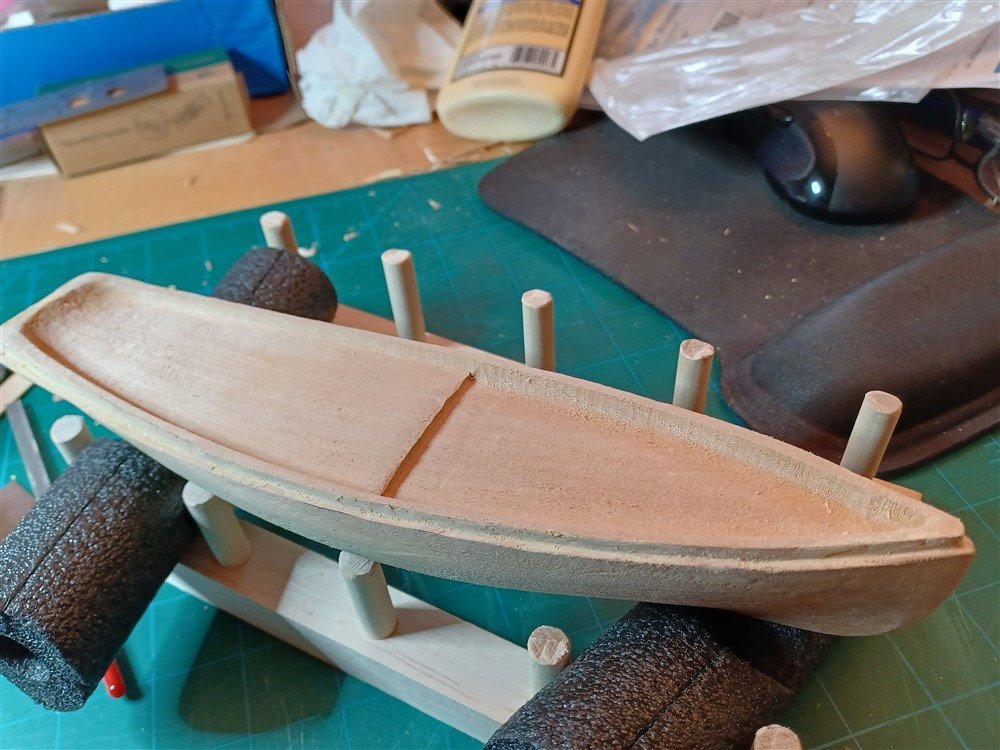
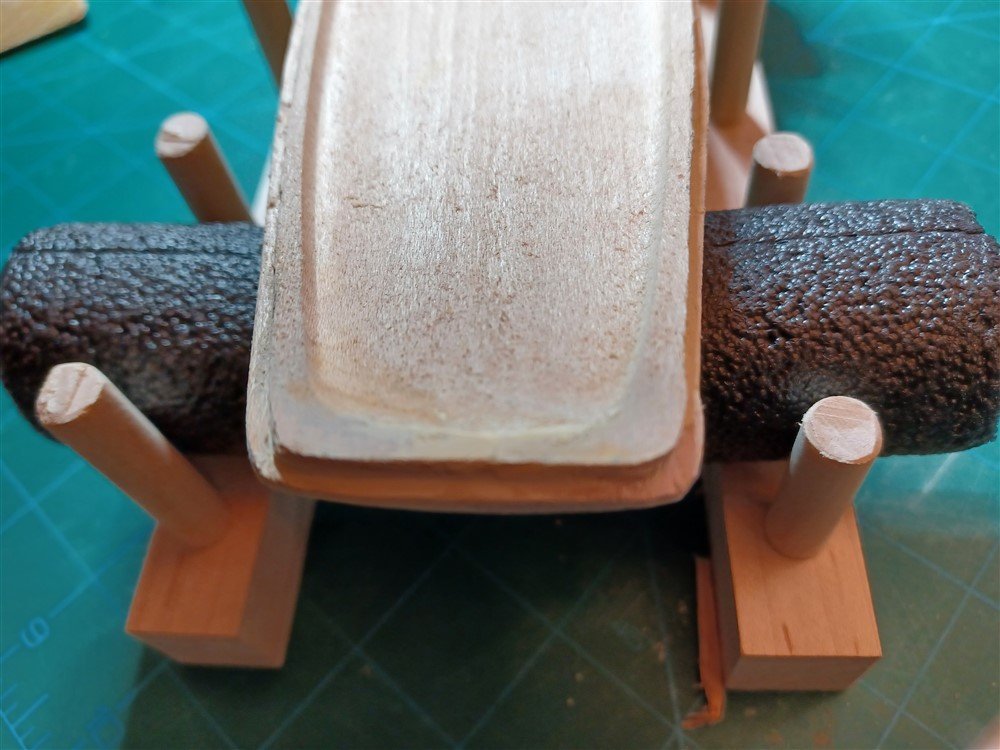
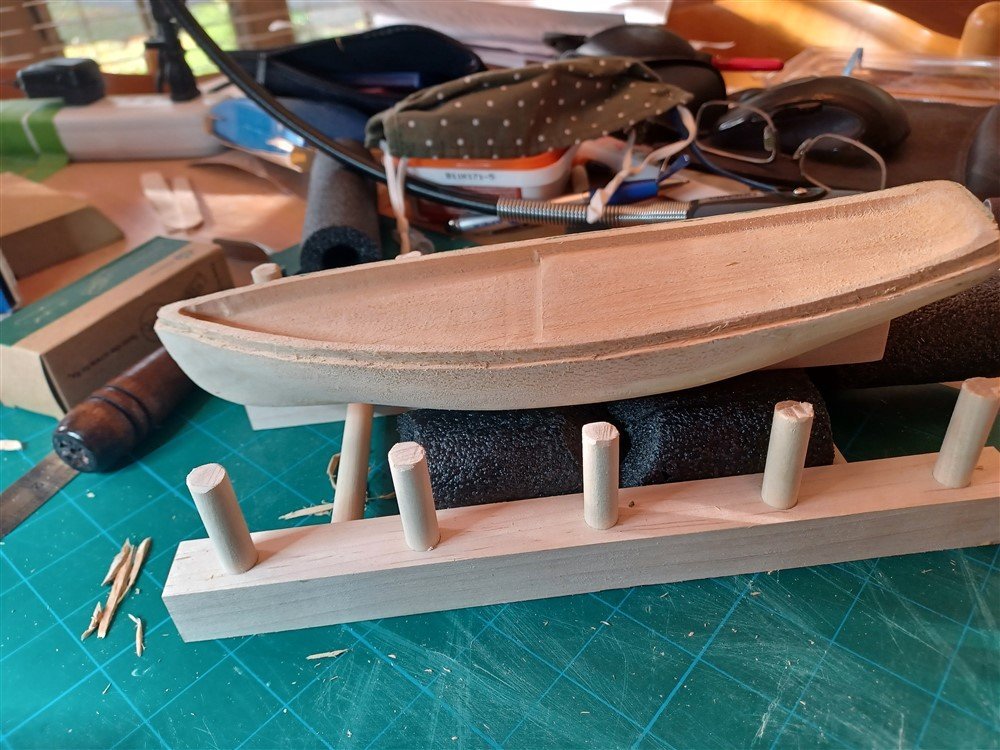
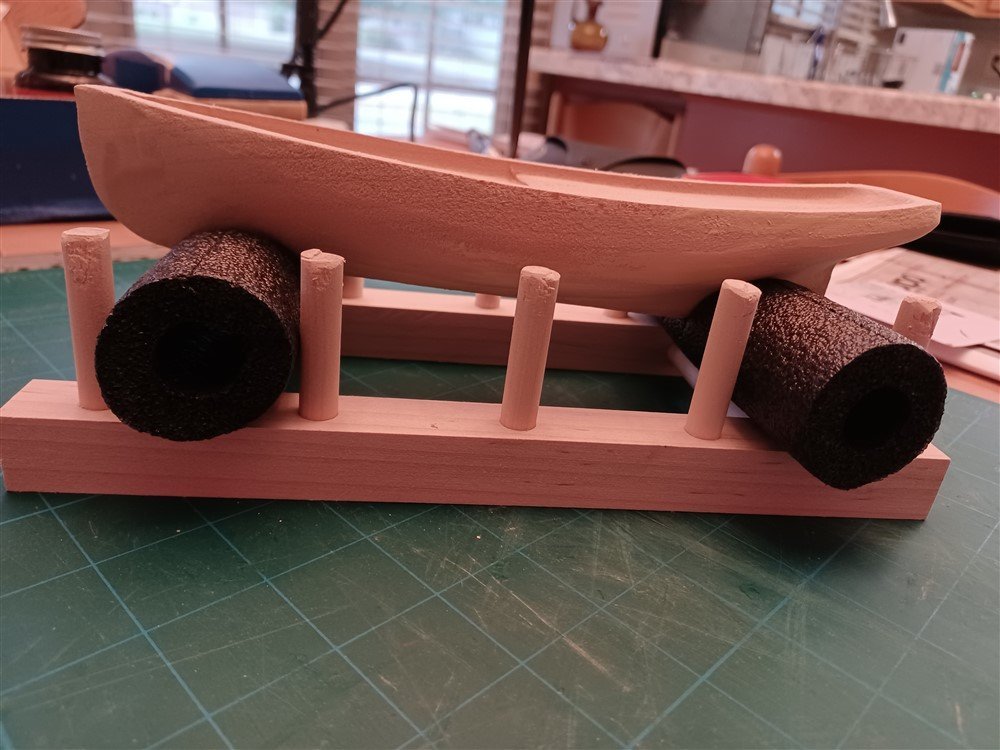
Very slow going, as I have too many other commitments going on! but I am making some tiny progress. Created a ship holder out of a trimmed down dish holder and some pipe insulation. Also tried out my new dremel tool to shape some of the hull, sanded off too much and made some gouges, and filled in alot with wood putty. Waiting for everything to dry so that I can sand it smooth, and probably will call it "good" since the overall shape looks ok to me. Then I'll carve in the "step" mentioned on page 3. (Can't believe I've only made it to page 3, but clearly this will keep me busy for weeks & months to come, so that's a good thing!)
-
@crjmjh Thanks for the kind words. Your Dory looks terrific!

USS Tennessee 1869 by Keith Black - scale 1:120 - Wood Hull Screw Frigate - ex Madawaska 1865
in - Build logs for subjects built 1851 - 1900
Posted
Yikes, they are so small! How are your eyes holding up? These are beautiful!!!