HOLIDAY DONATION DRIVE - SUPPORT MSW - DO YOUR PART TO KEEP THIS GREAT FORUM GOING!
×

Edwardkenway
-
Posts
3,046 -
Joined
-
Last visited
Content Type
Profiles
Forums
Gallery
Events
Everything posted by Edwardkenway
-
 The table looks like it does the job Jack! Very nice !! Now to get the same set up, is persuading the Admiralty to release funding😊 🙄
 -
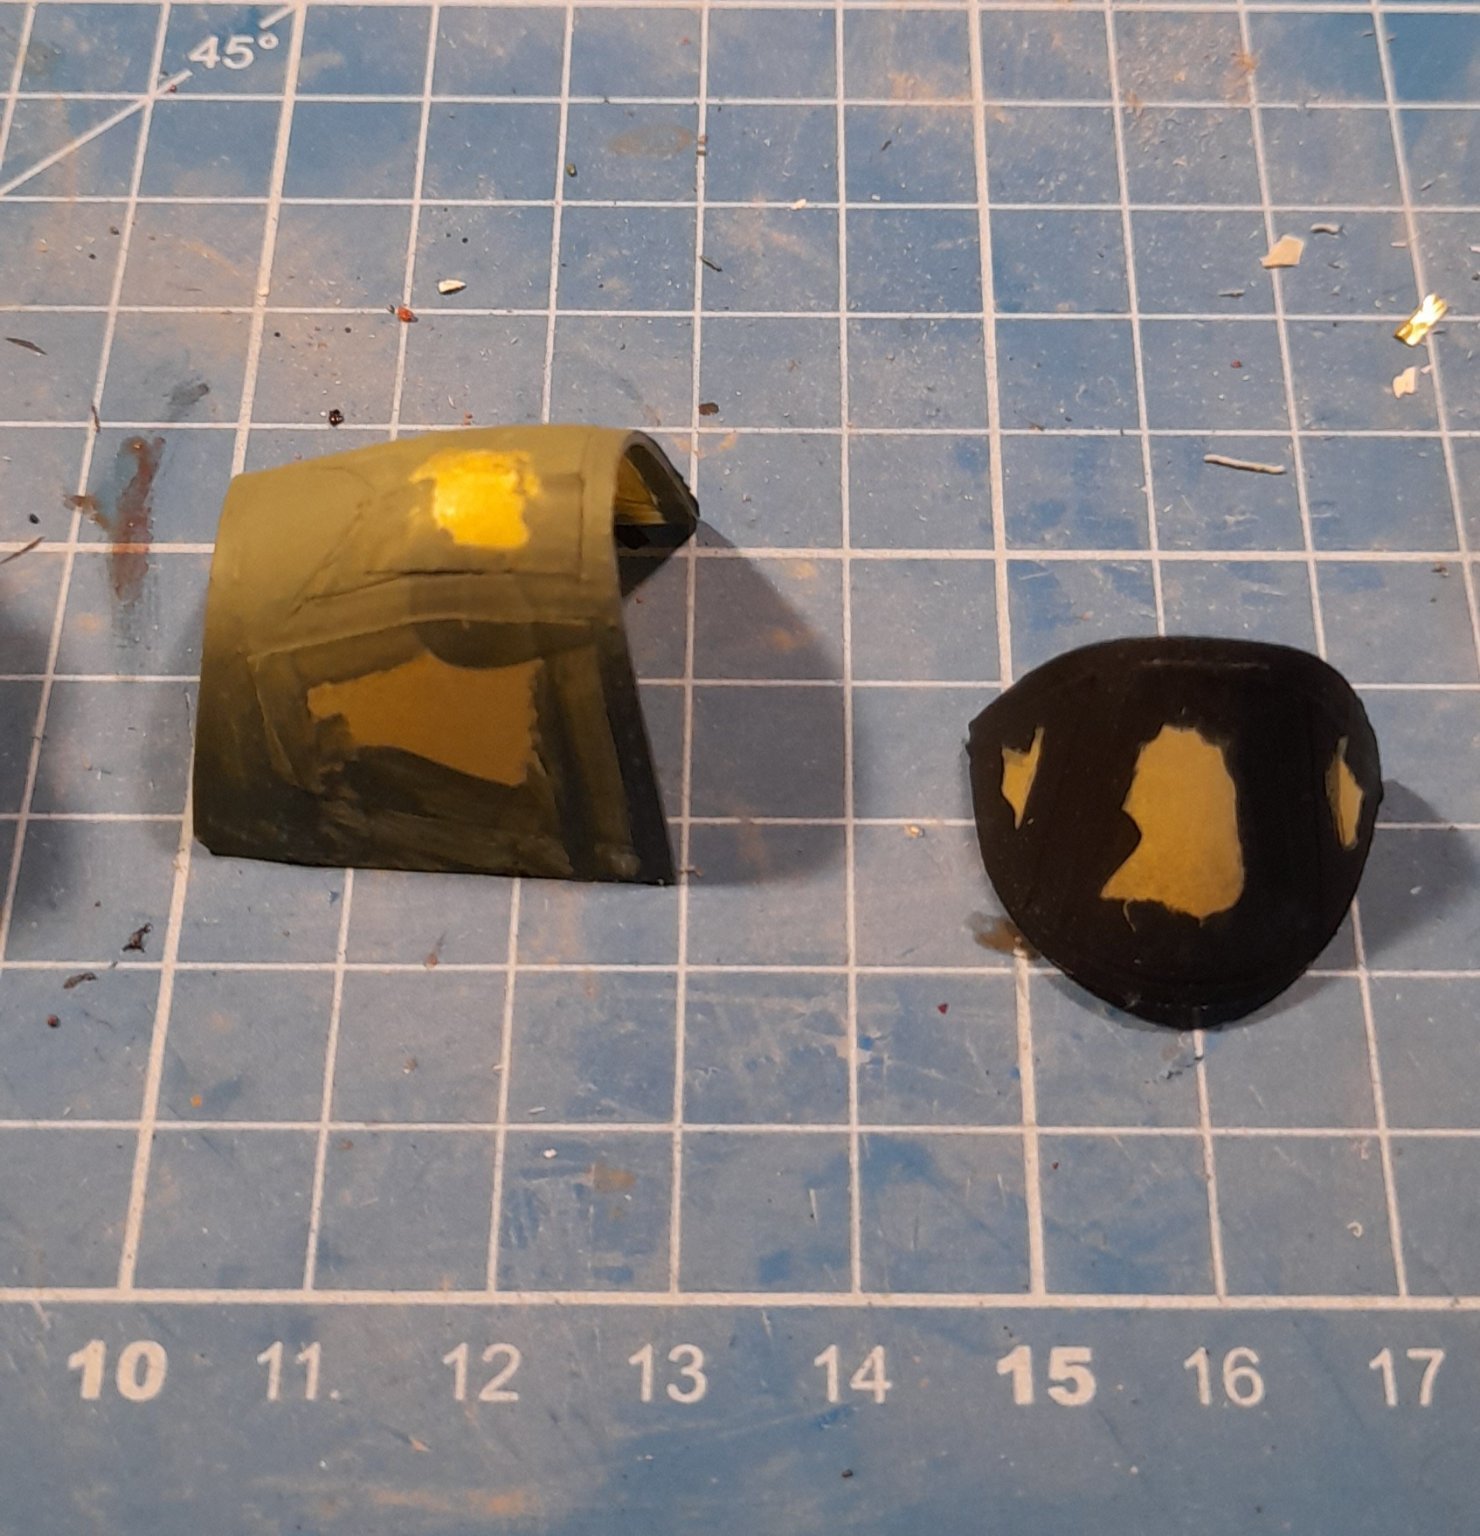
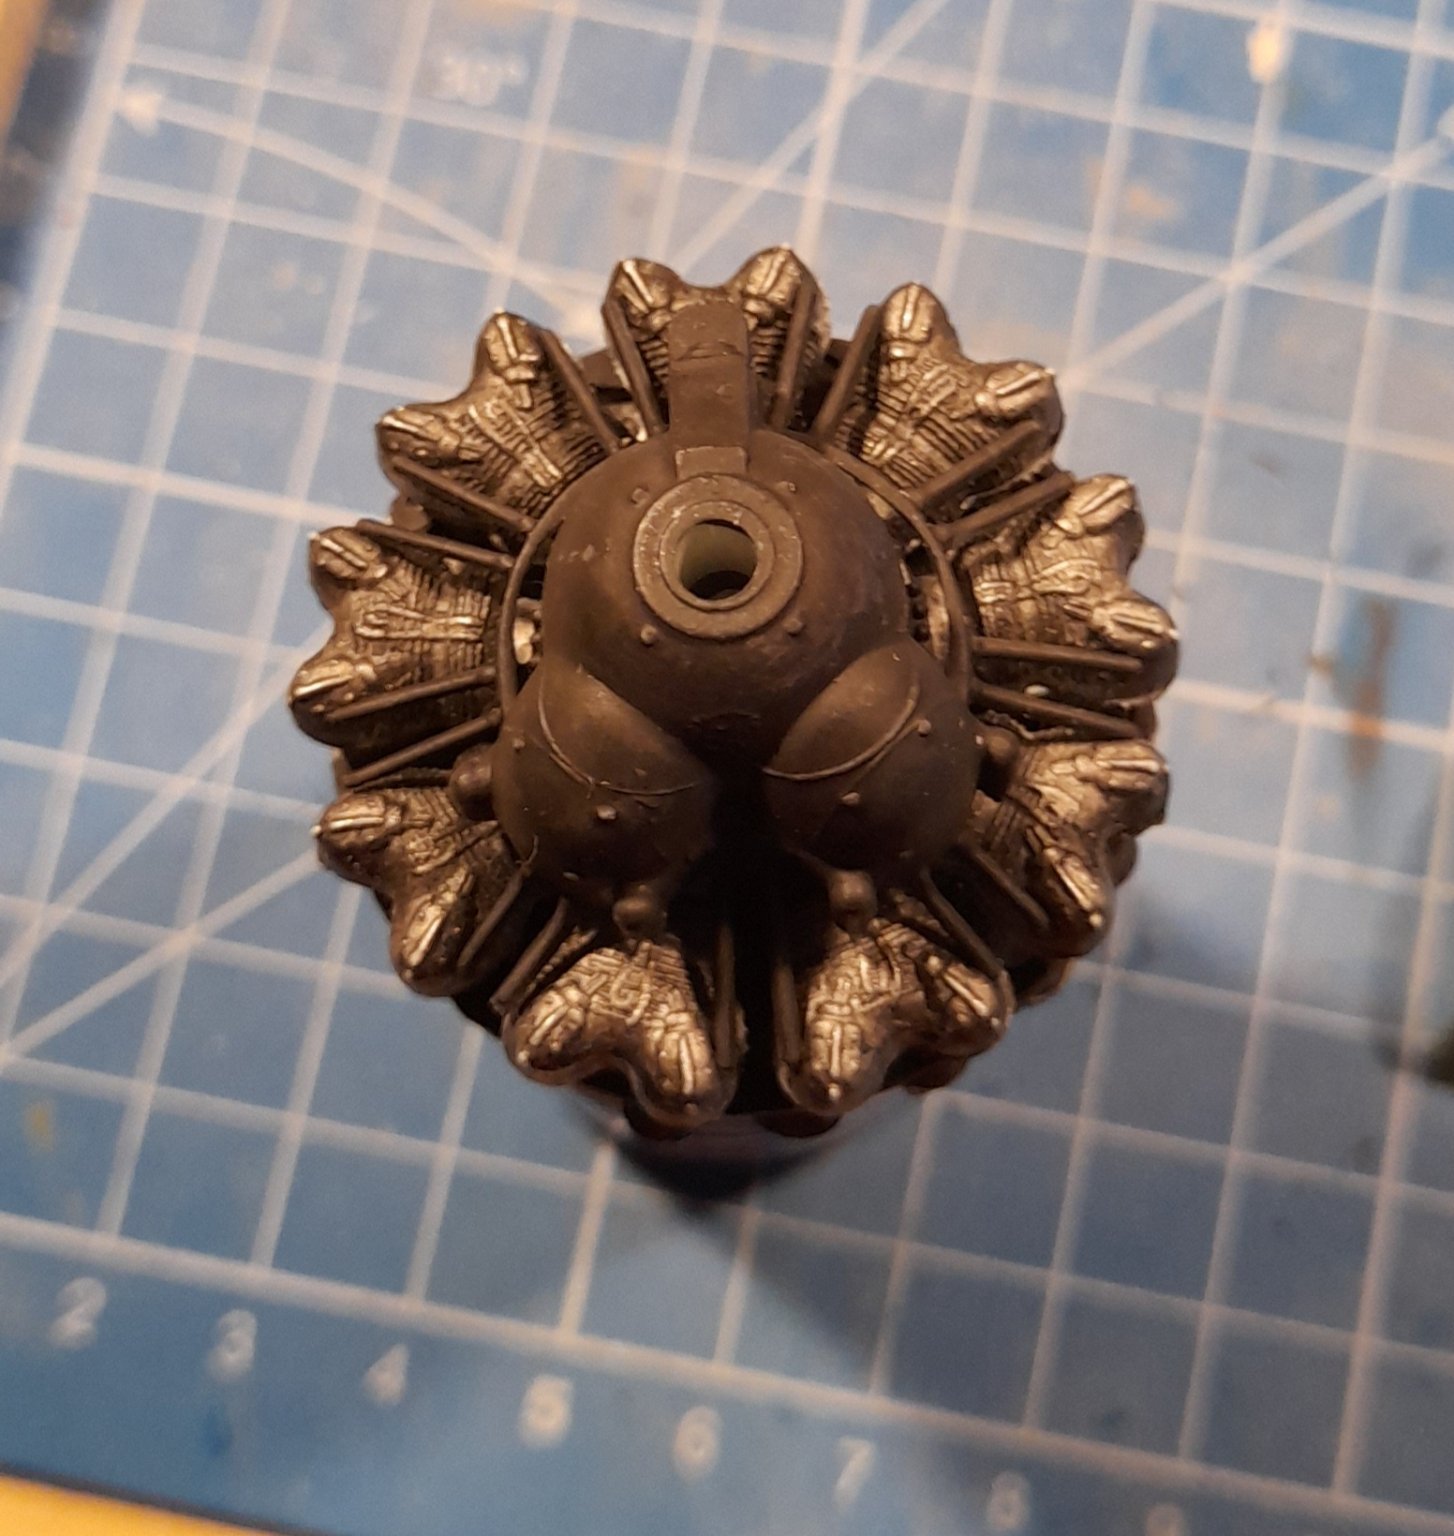
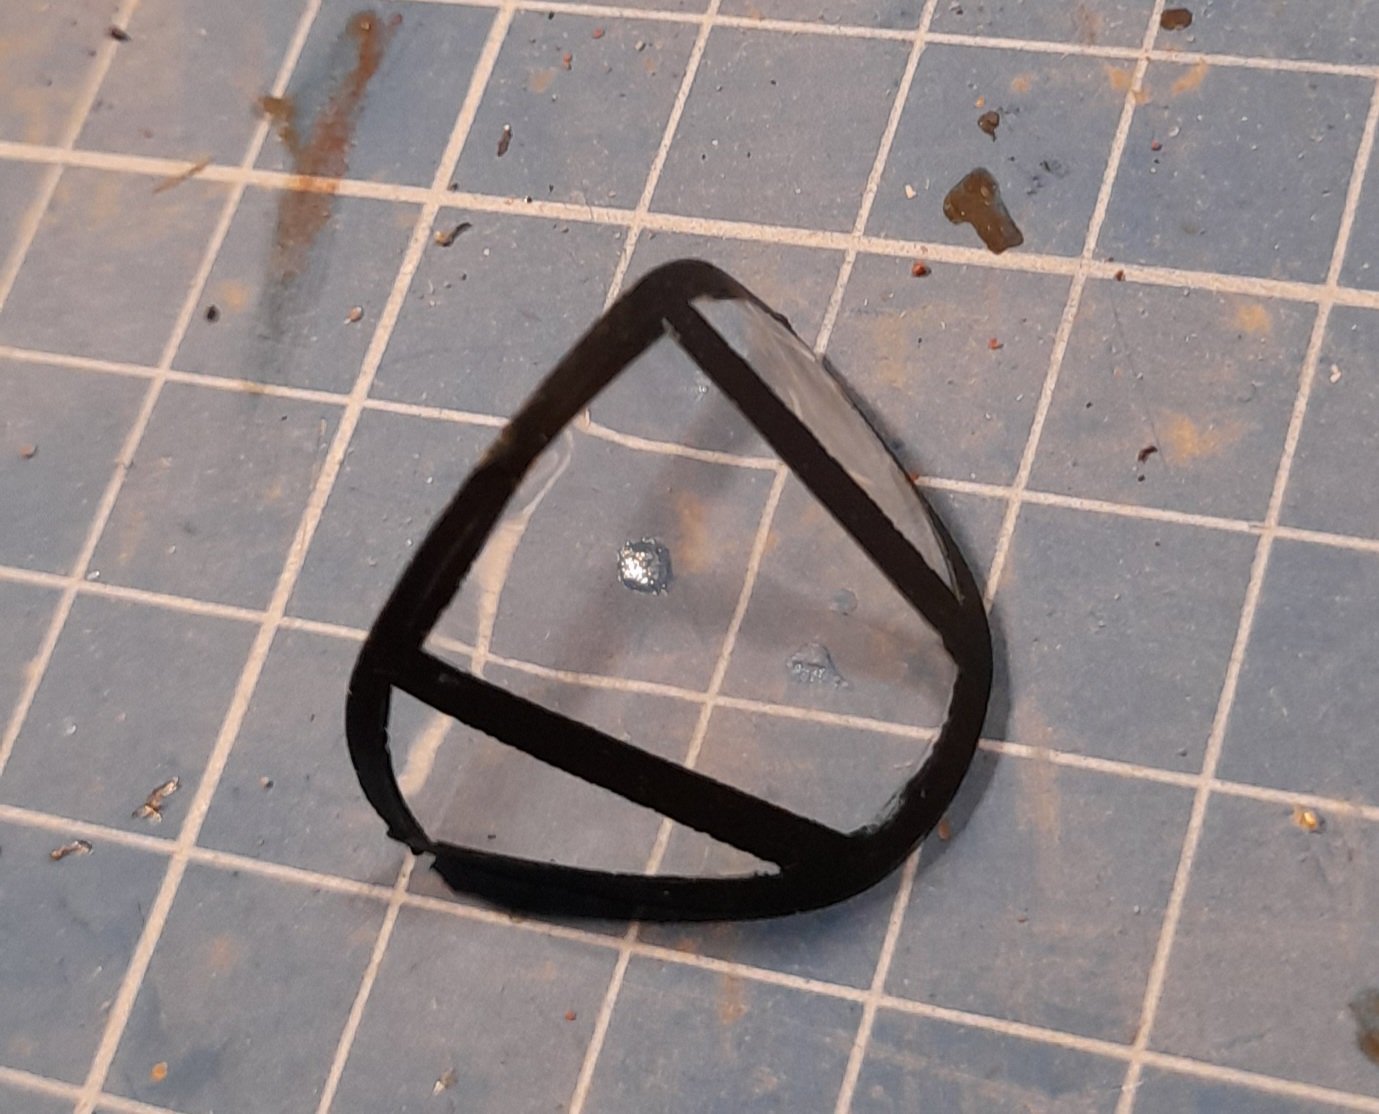
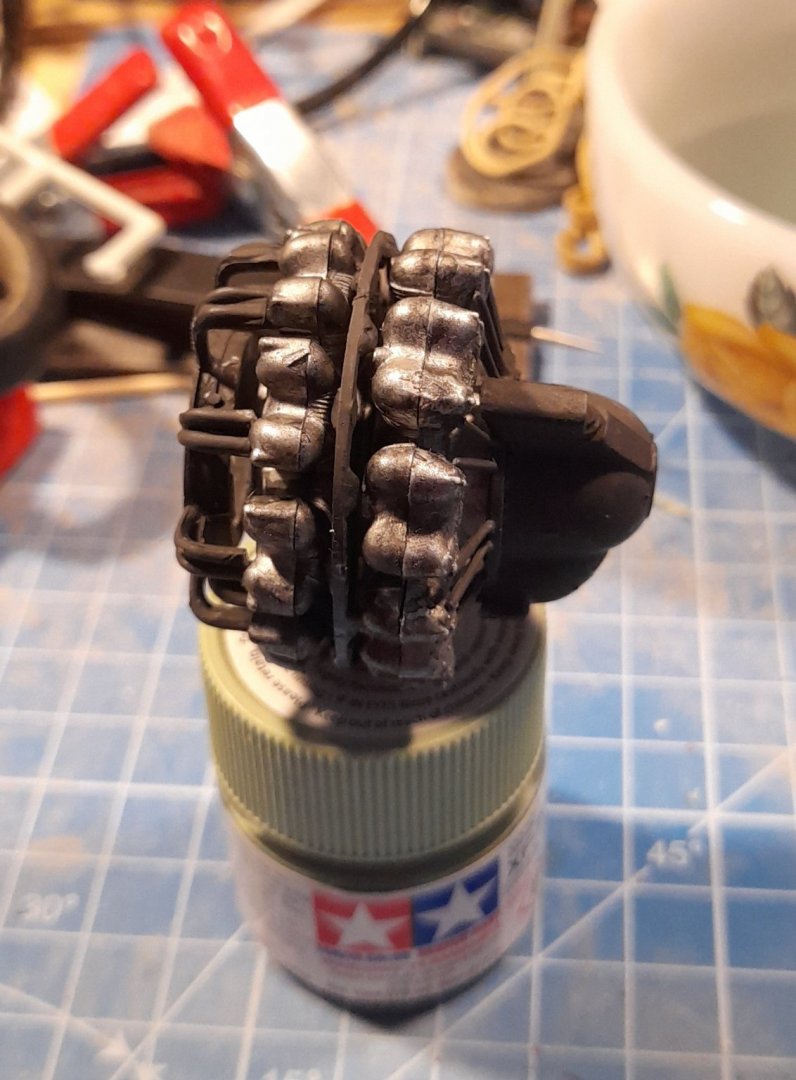
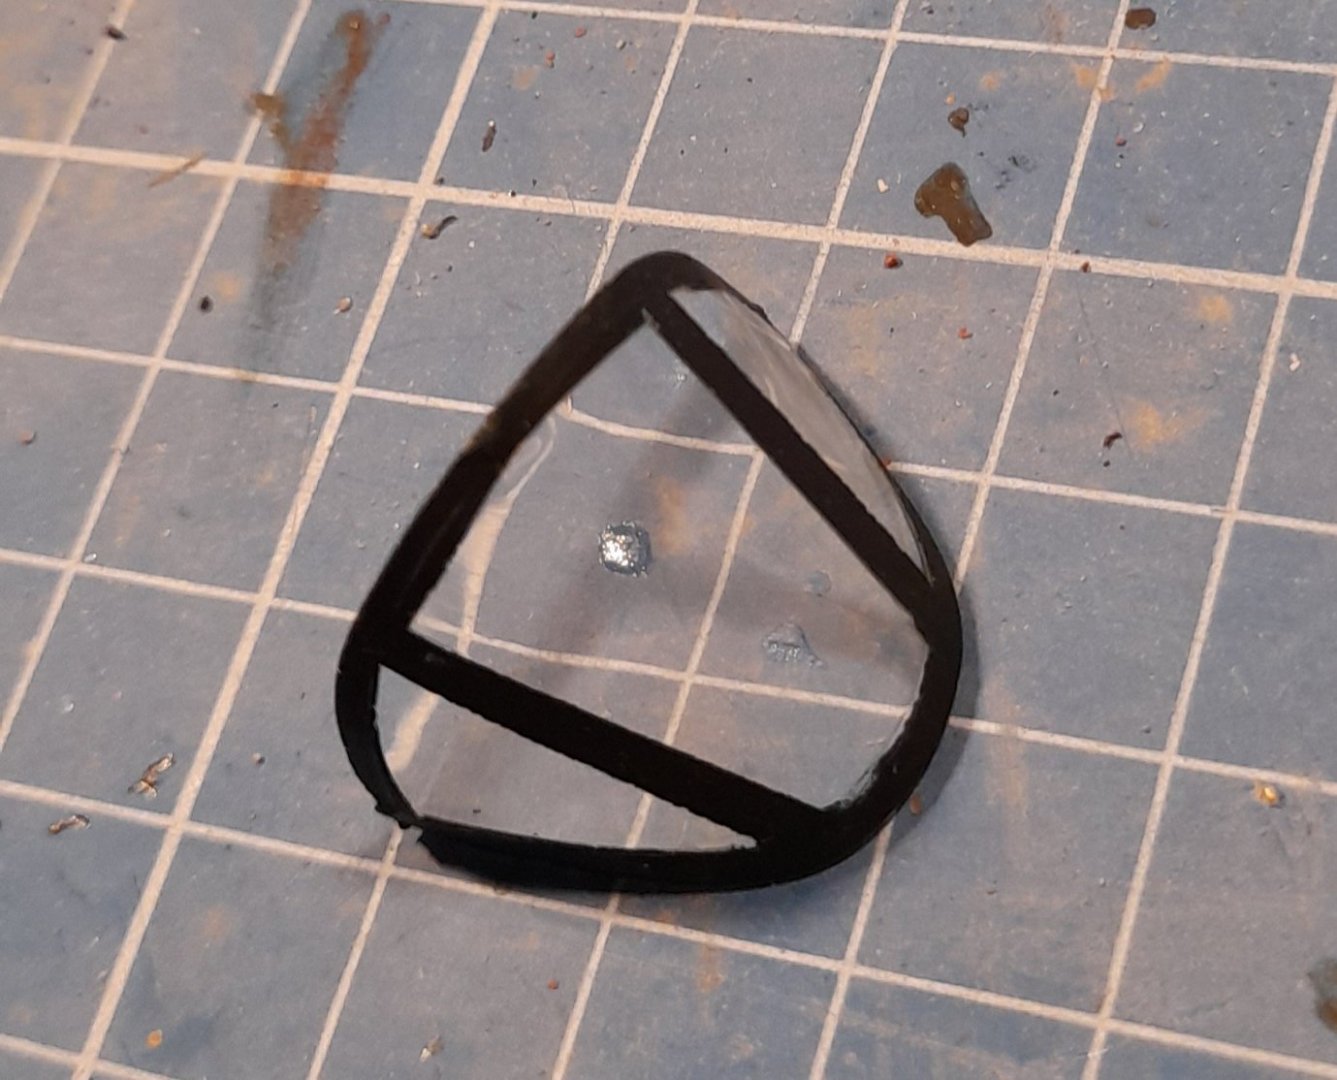
A small update, not a lot of progress. Painted the engine, the instructions say to use steel colour, I've not got steel so l used flat aluminium, with a citadel armour wash the other parts are dark iron. also made a mask for the canopy and painted the framework cockpit green first followed by sea blue I'm happy how it's turned out 😉 thanks for watching and the likes. Cheers


- 136 replies
-
- 15
-

-
Yes, me too!🙄😂
-
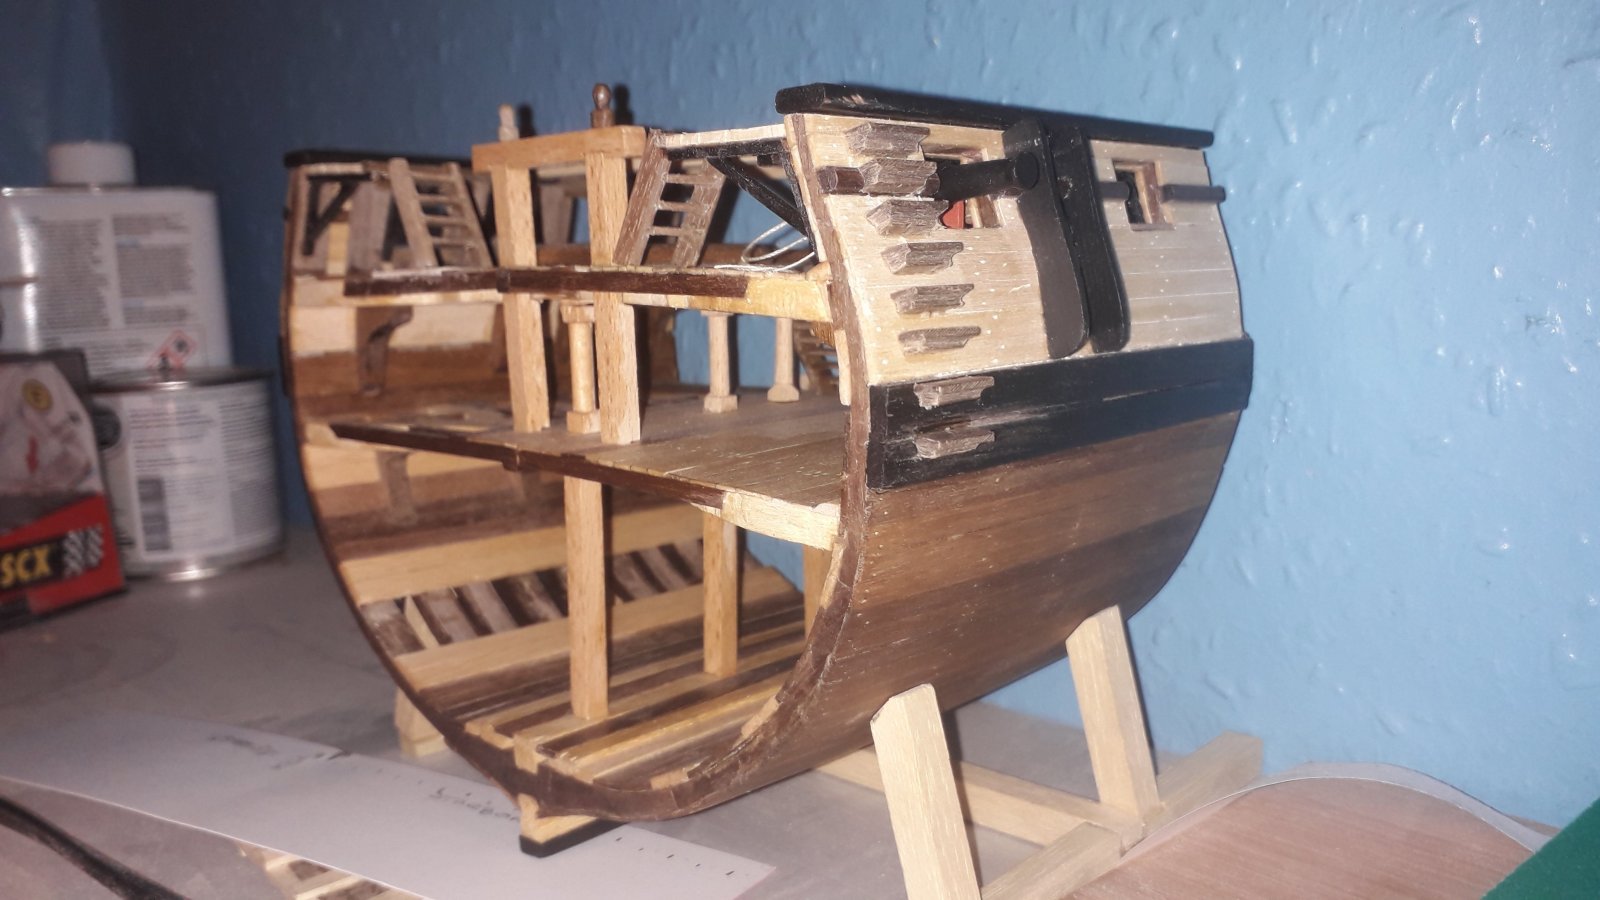
I've been waiting for this Tim, I hope you enjoy the experience, I know I did on the Triton cross section. Comfy chair ready!
-
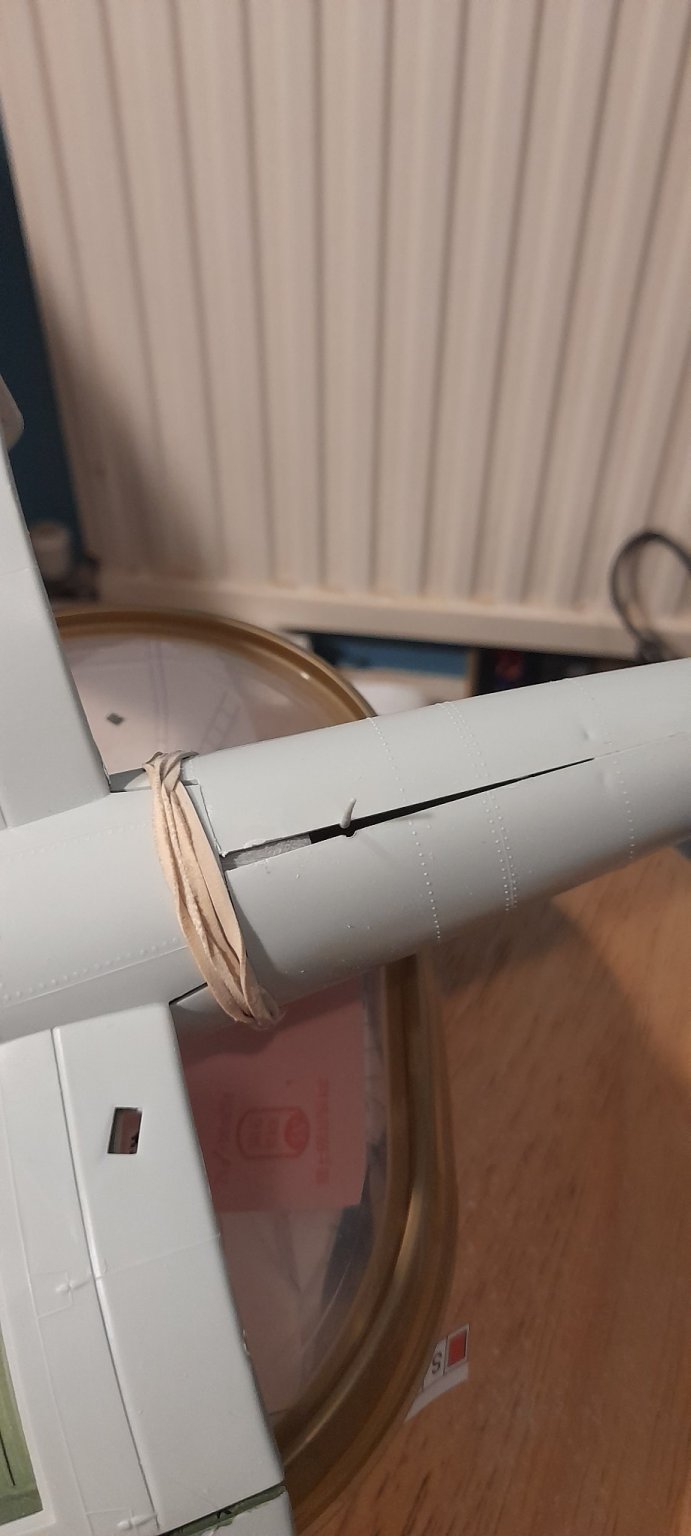
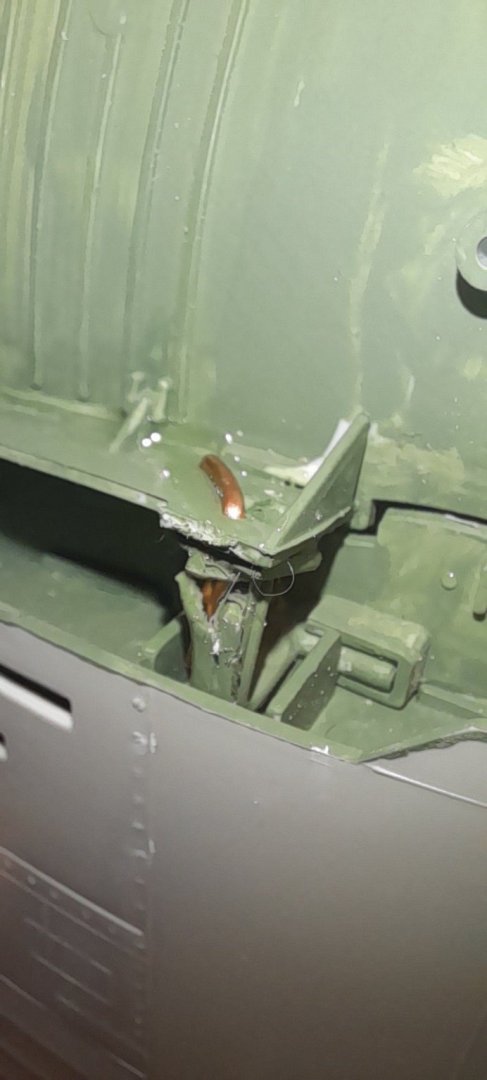
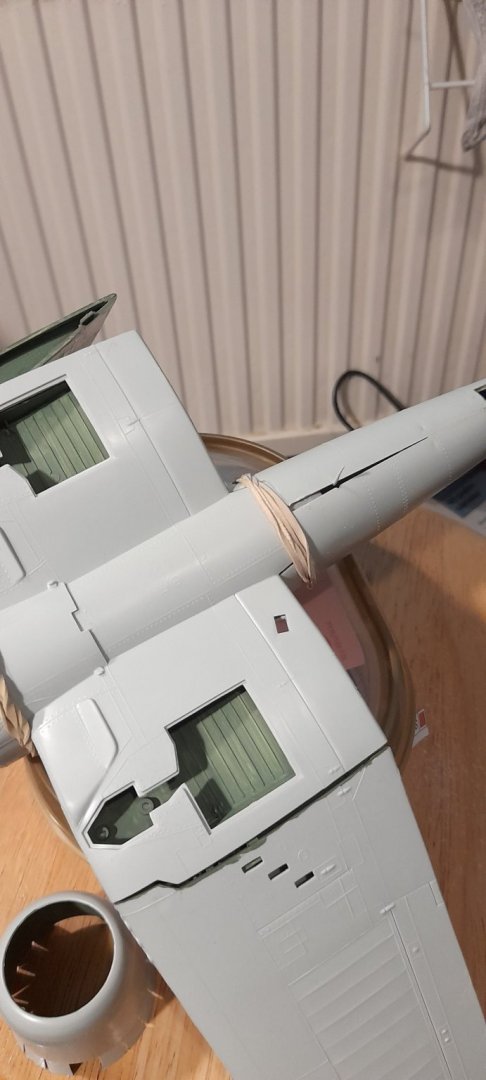
Thank you Denis antenna duly cut off while filler applied, dried and sanded, some minor rivet detail lost, I will try to replicate them with tiny dots of CA. The antenna was glued back. As I was sanding the filler, the wing hinges snapped, (the kit plastic is quite soft) and the outer wing sections fell off.🤨🥺 the uppermost part was carefully removed and the hinge stub drilled and a brass pin inserted and glued, a corresponding hole was done in the other part the pin pushed through and bent over and again glued. Hopefully this will give it a bit of sturdiness. Thanks all for looking in etc... Cheers

- 136 replies
-
- 15
-
-
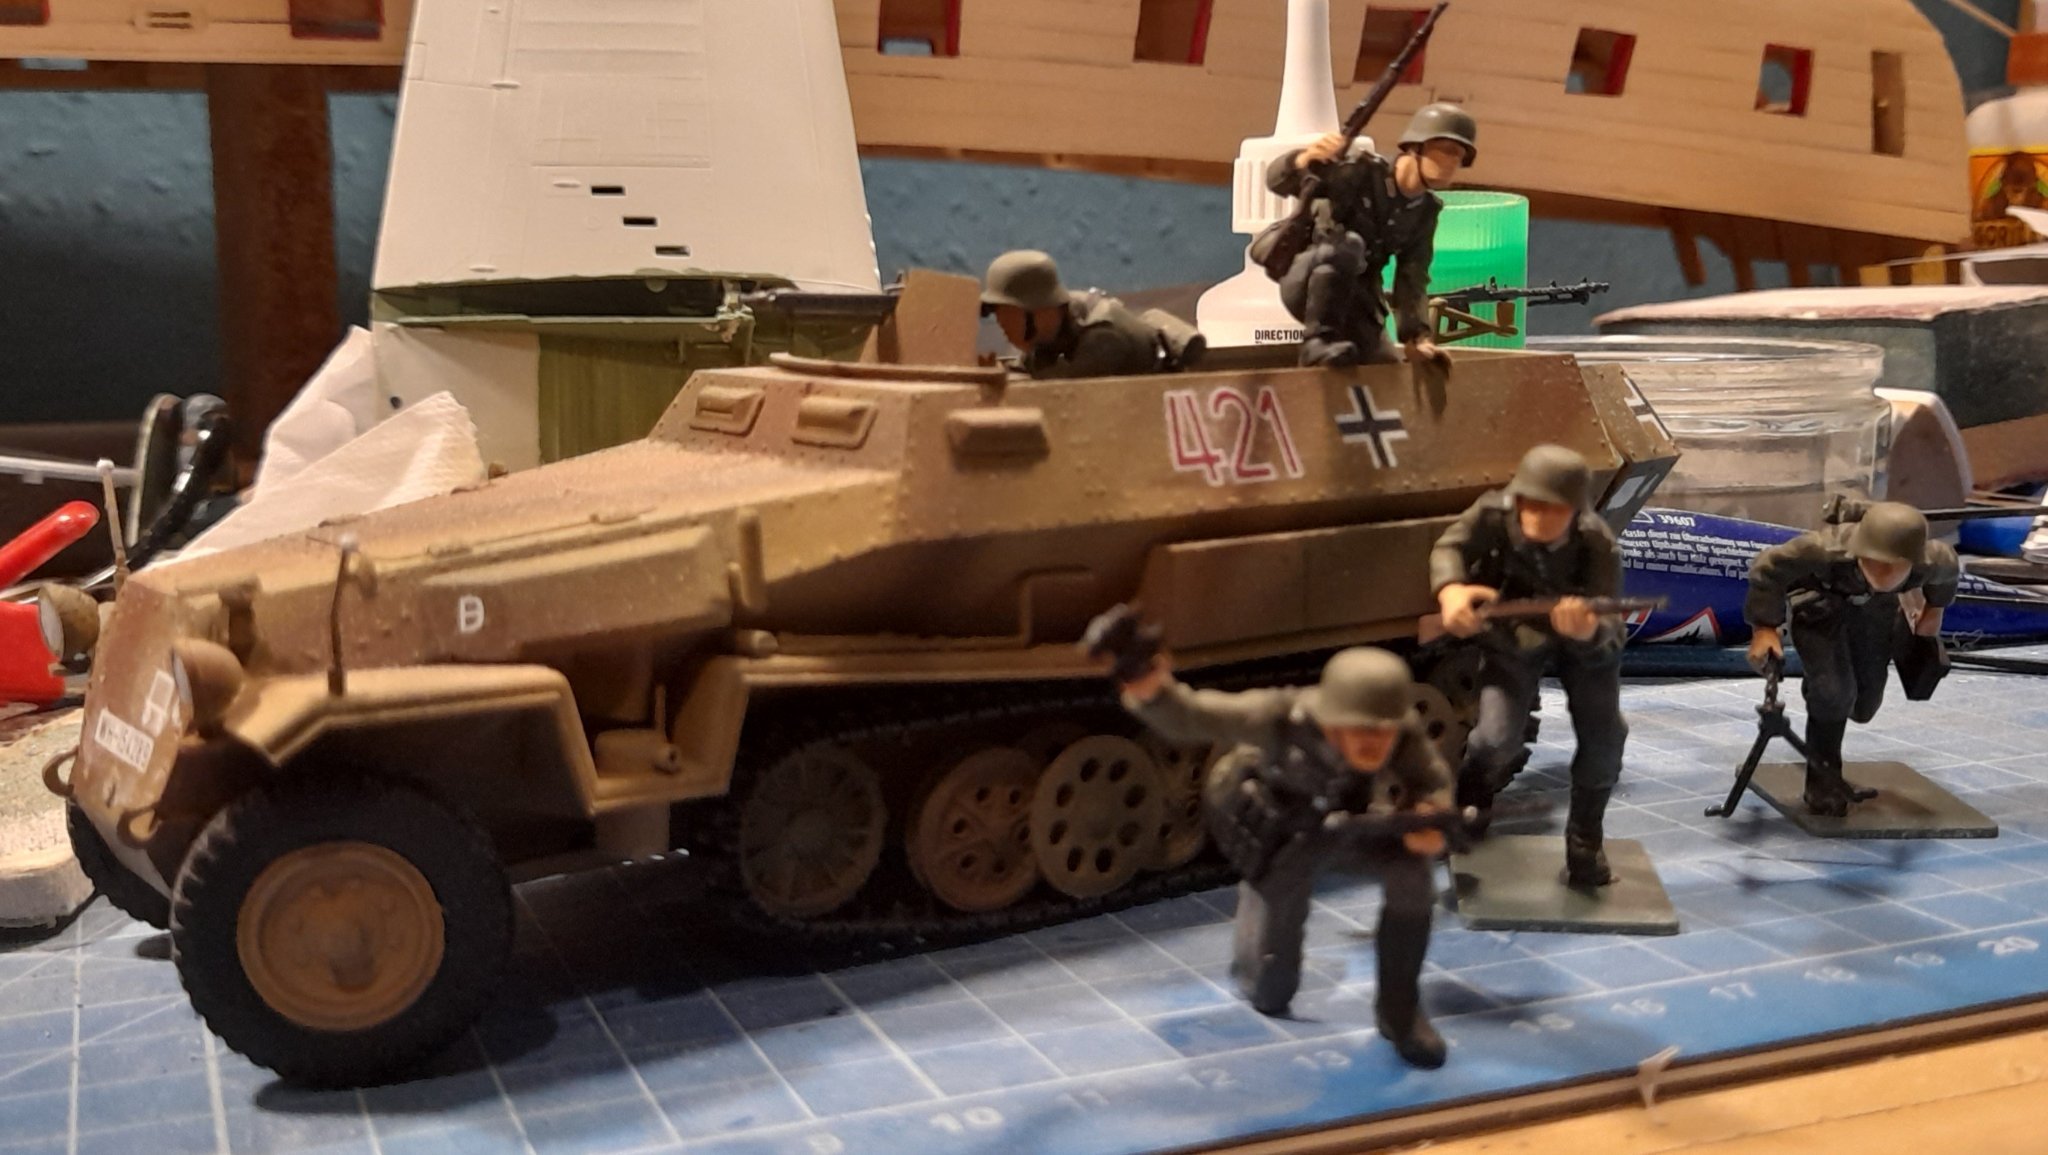
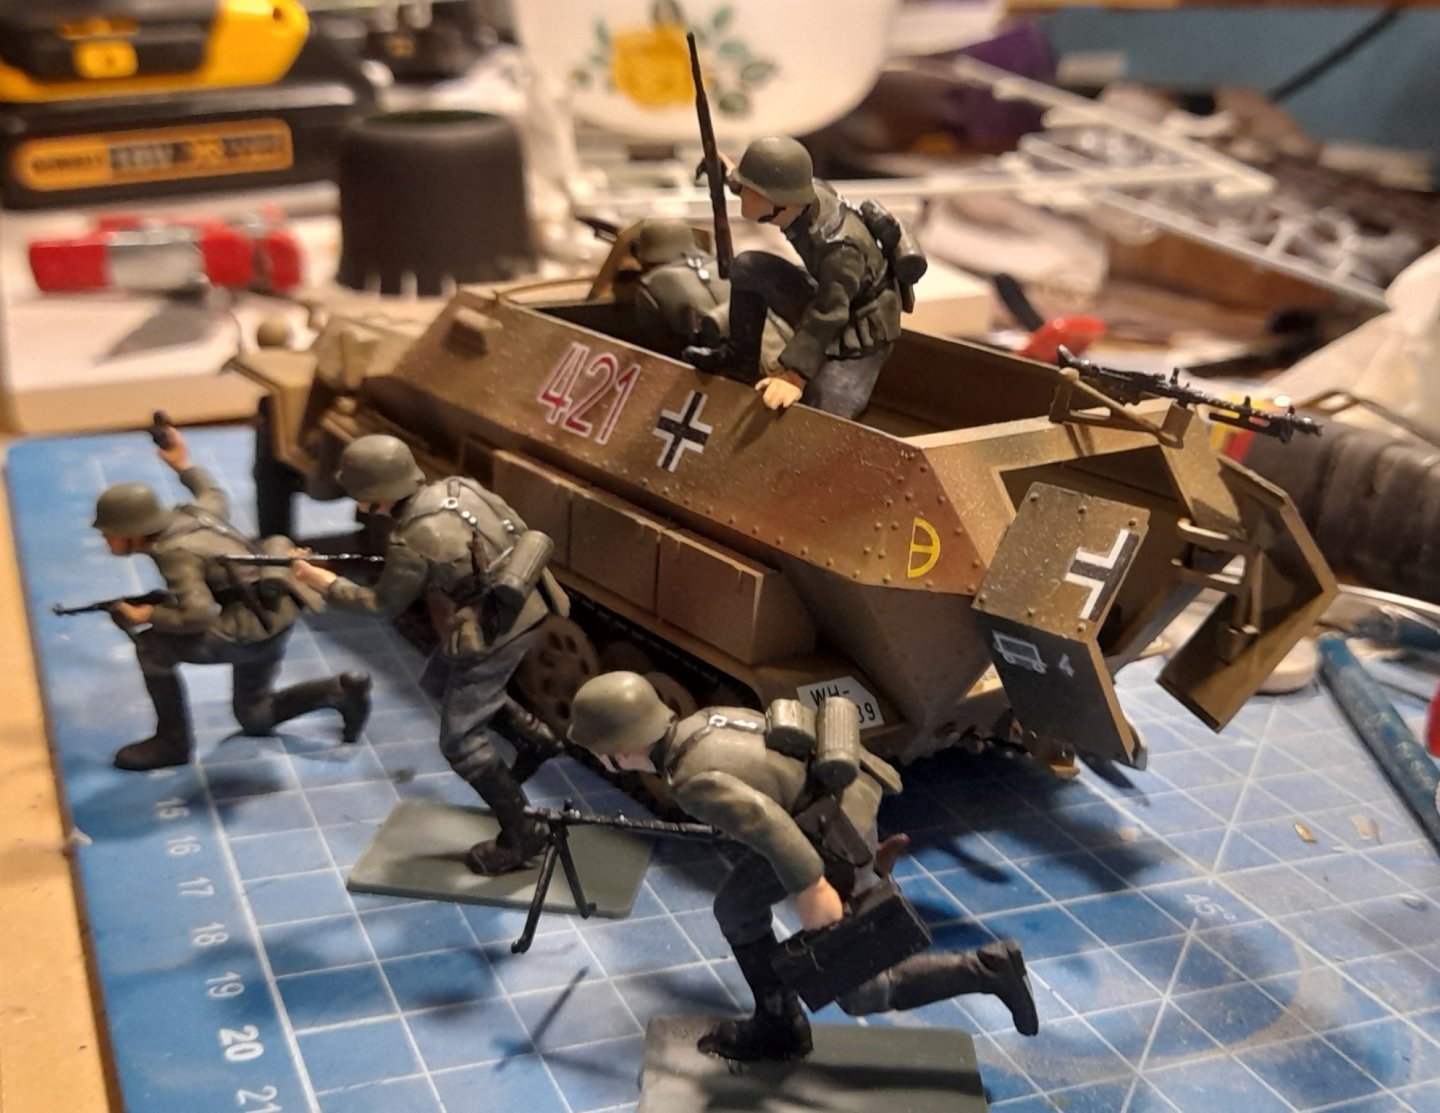
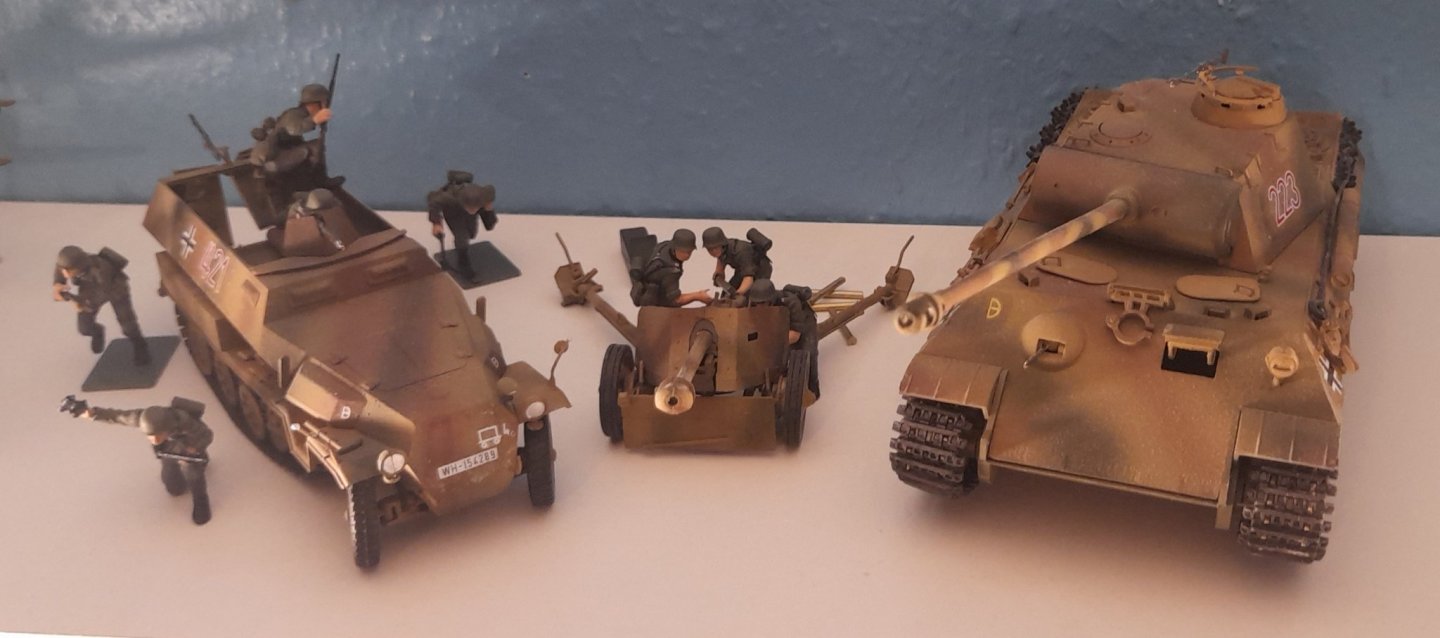
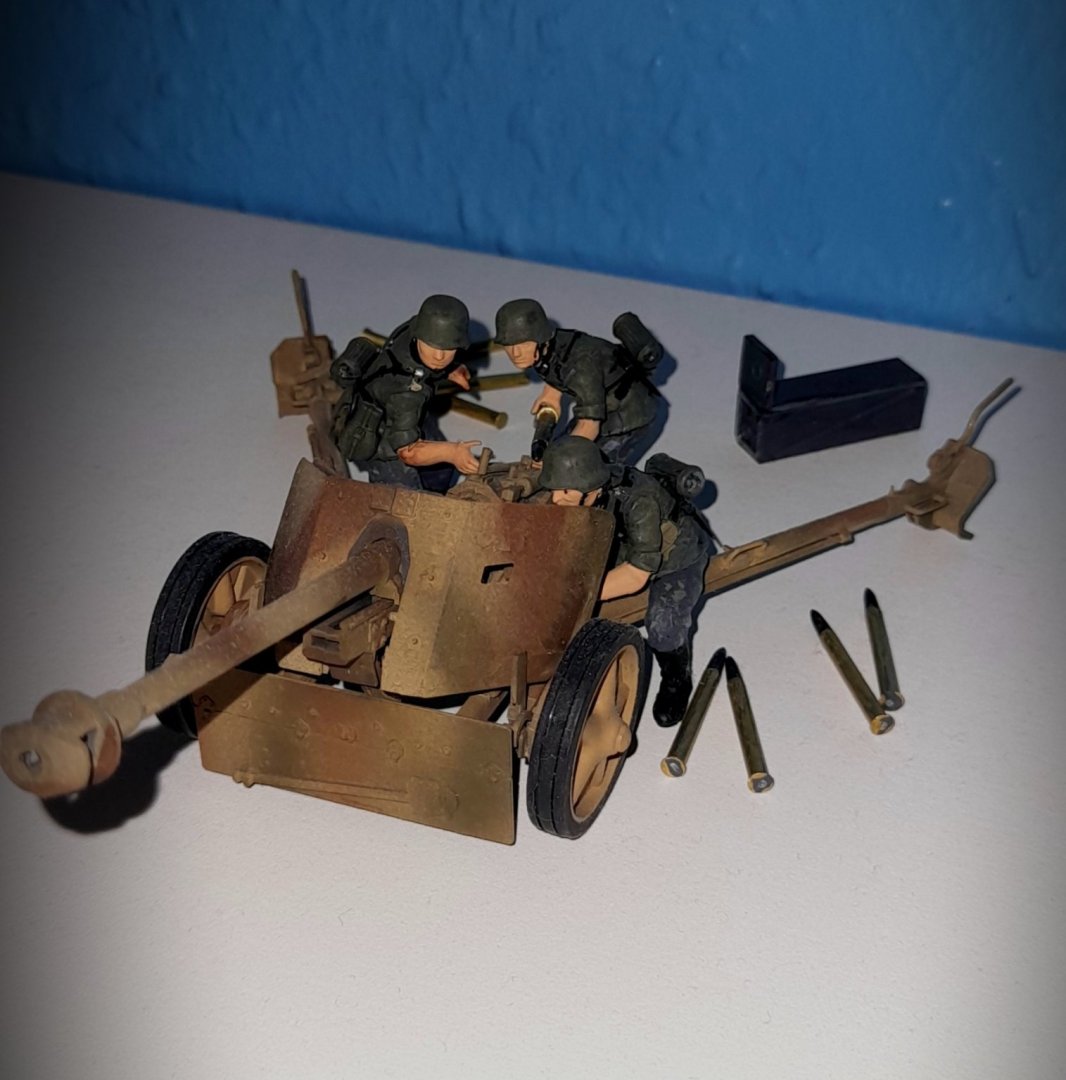
Thanks for all your comments and continued support!😉 The squad of soldiers from the 251 are basically finished Just some small touch ups to do you'll note the gun crew have removed the loose live shells but not the empty shell casings thanks for watching! cheers

- 46 replies
-
- 13
-
-
Very snazzy Denis!😉
-
I'll make sure the crew get reprimanded, probably a transfer to the Eastern front😳🤨 for their poor housekeeping!
-
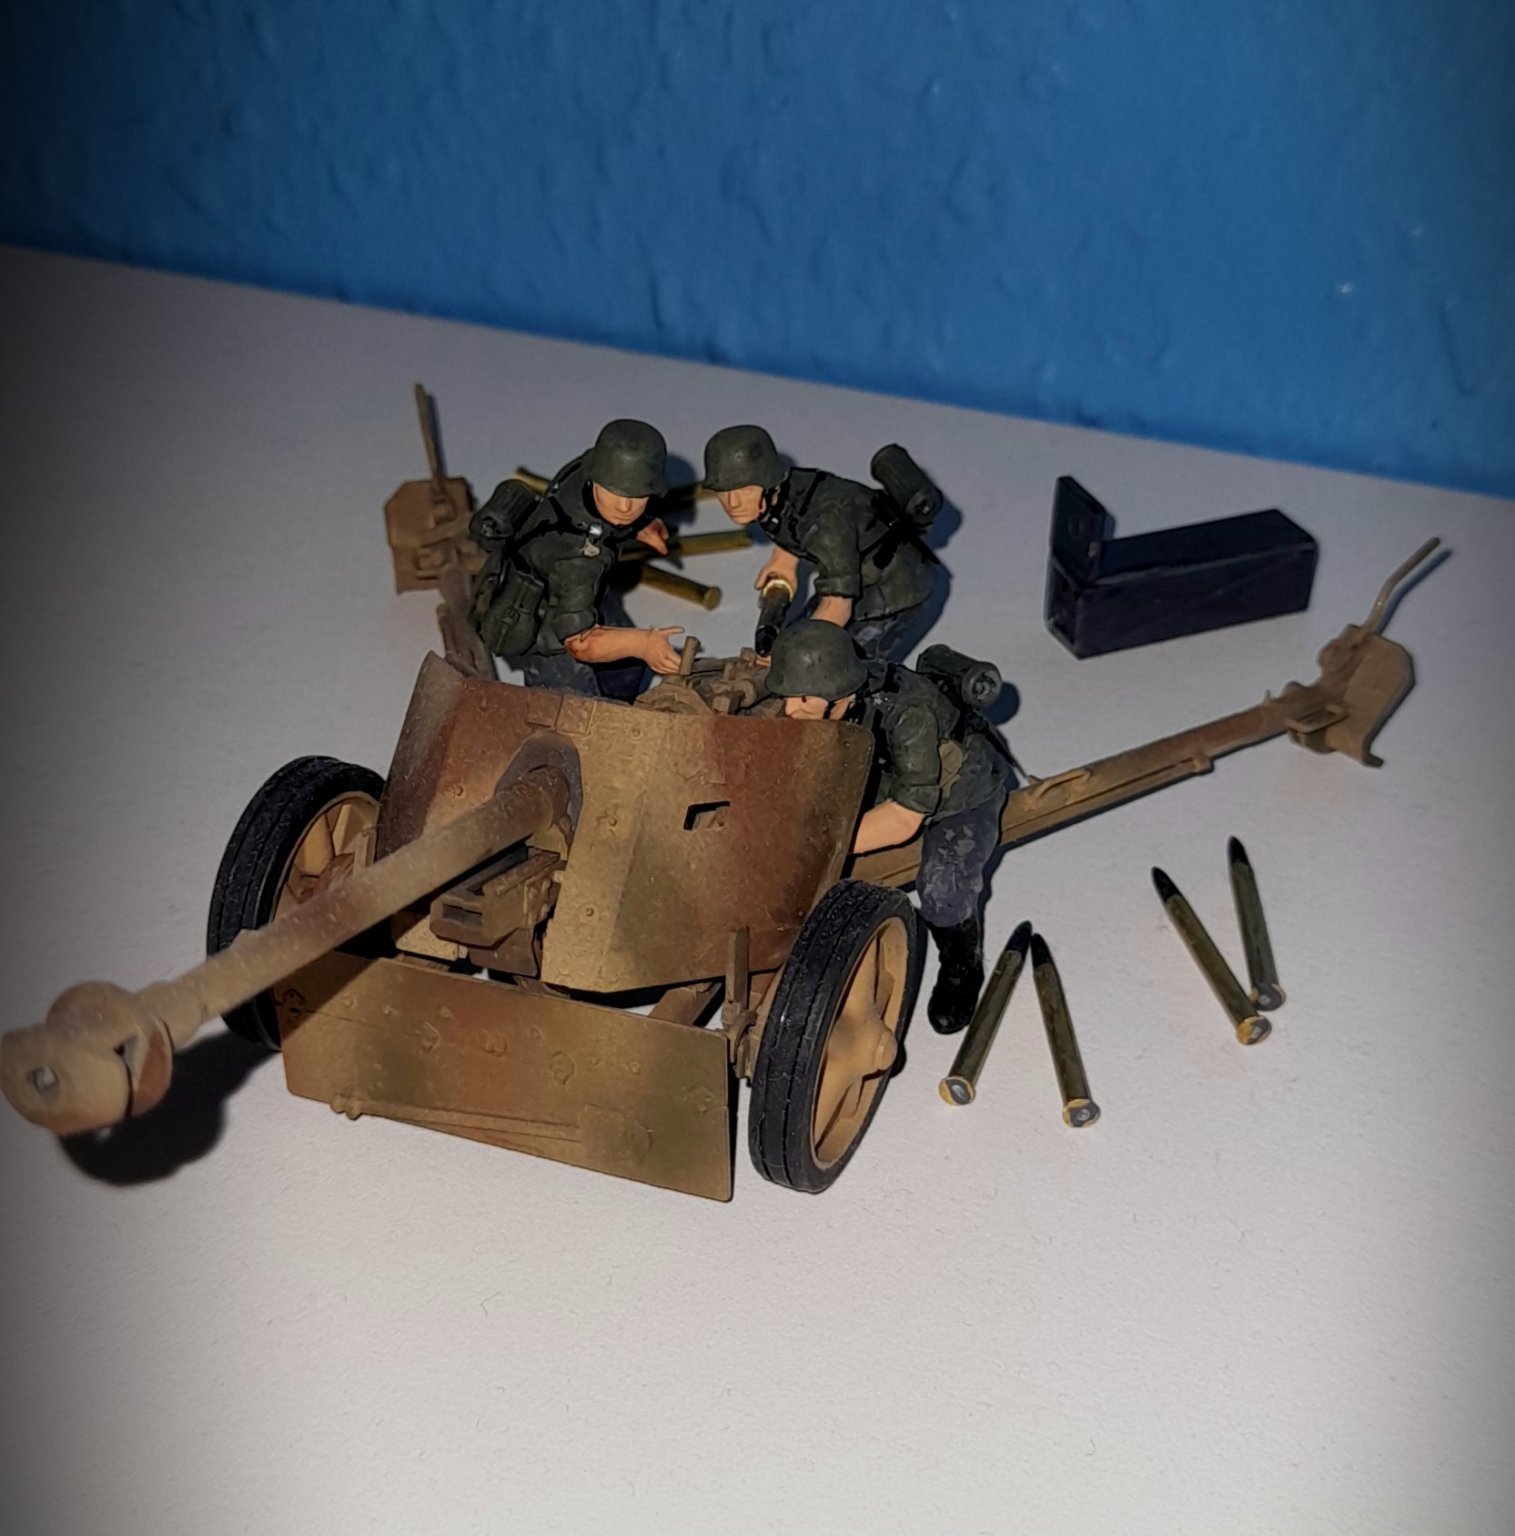
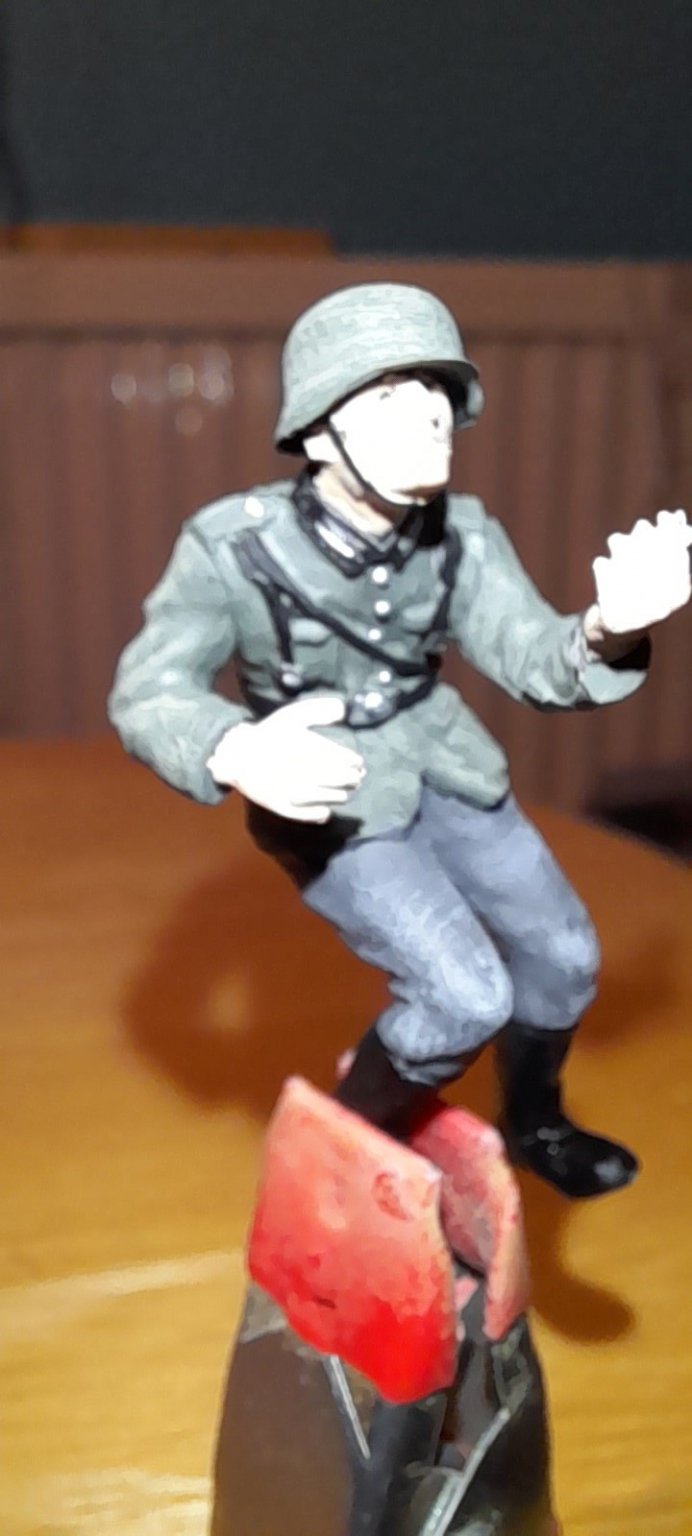
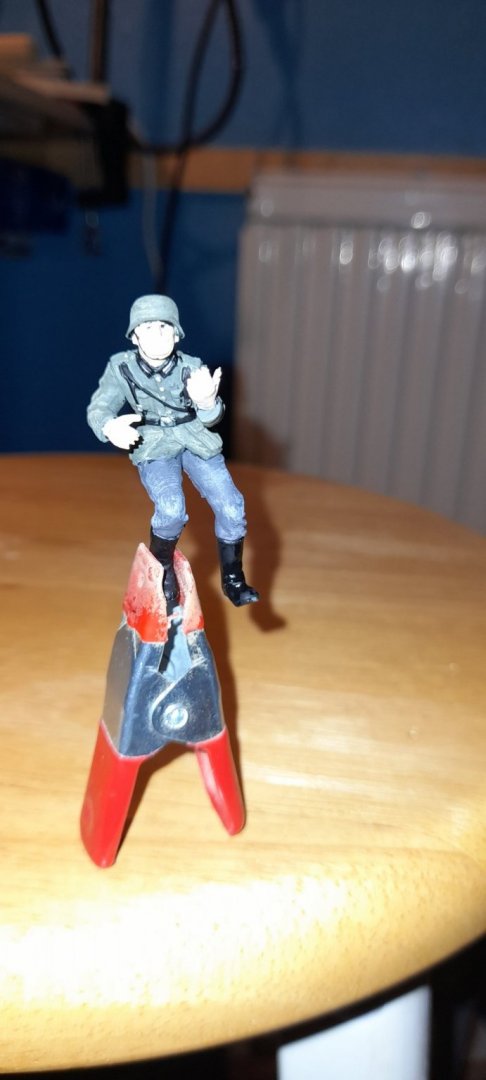
The gun crew are done! Don't look too closely, my figure painting is still rusty!😉 Thanks for looking in! I would love to see more photos Darius😊 Cheers
- 46 replies
-
- 12
-
-
Settling in for a good build! 👍
-
Although I have not got anywhere near doing these details yet, I have to agree with the previous comments and say go for the 10 and not going simple. For myself I'm thoroughly enjoying the challenge of Winnie and trying to create a model to be proud of!
- 1,784 replies
-
- 6
-
-
- winchelsea
- Syren Ship Model Company
- (and 1 more)
-
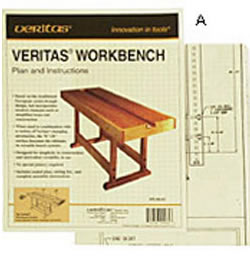
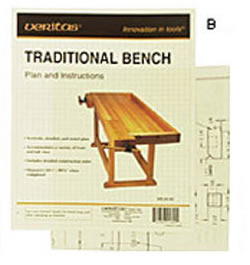
Is this the bench? Veritas Woodworking Project Plans Veritas Workbench System Plan £9.90 (£11.88 incl VAT) These are available from Canadian Tools, Chronos Ltd uk Veritas Woodworking Project Plans Veritas Traditional Bench Plan £8.80 (£10.56 incl VAT) although there may be a delay in getting them due to supply issues because of COVID19
-
I do hope you can find a solution to the issue Chris! It's a fine model!
-
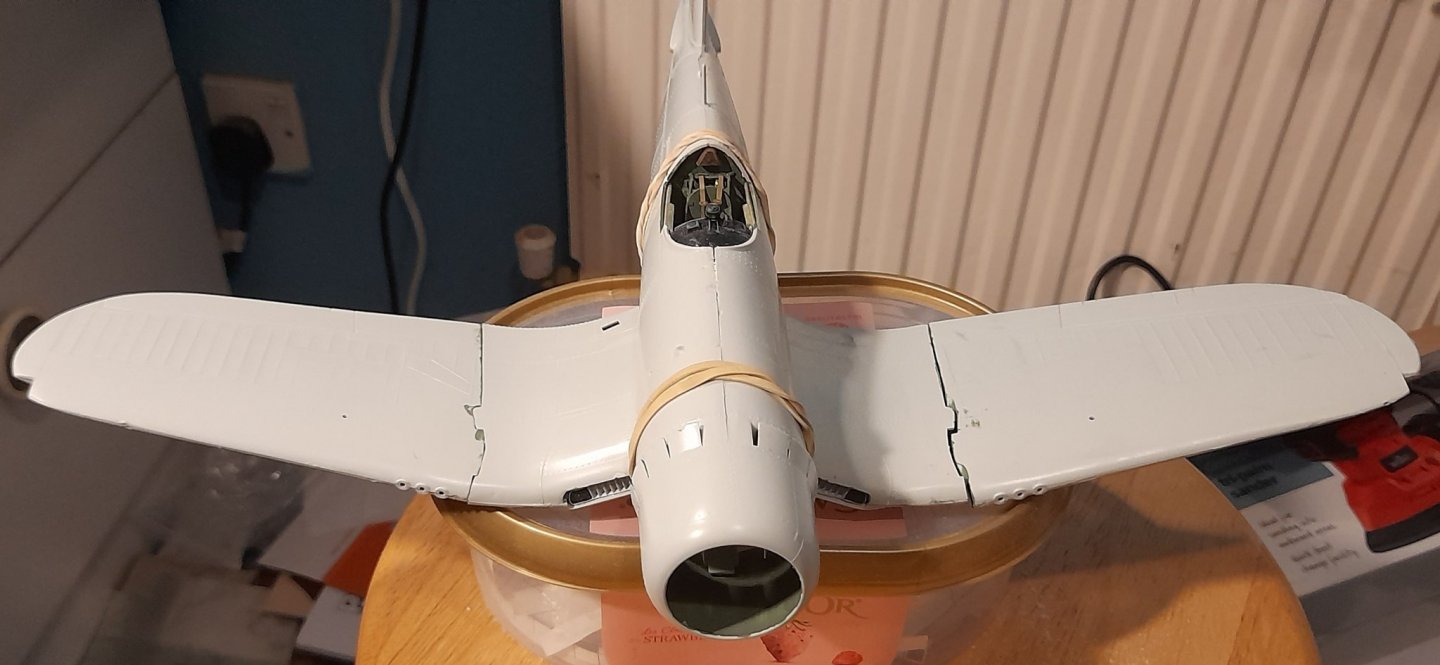
I was thinking of wings folded, for space saving on the shelf 😉.
-
Looks very impressive indeed, I agree with Lou that is the last view you want of this beast! Great weathering, especially the dust.
-
Sitting quietly at the back, nice start on the engine!
-
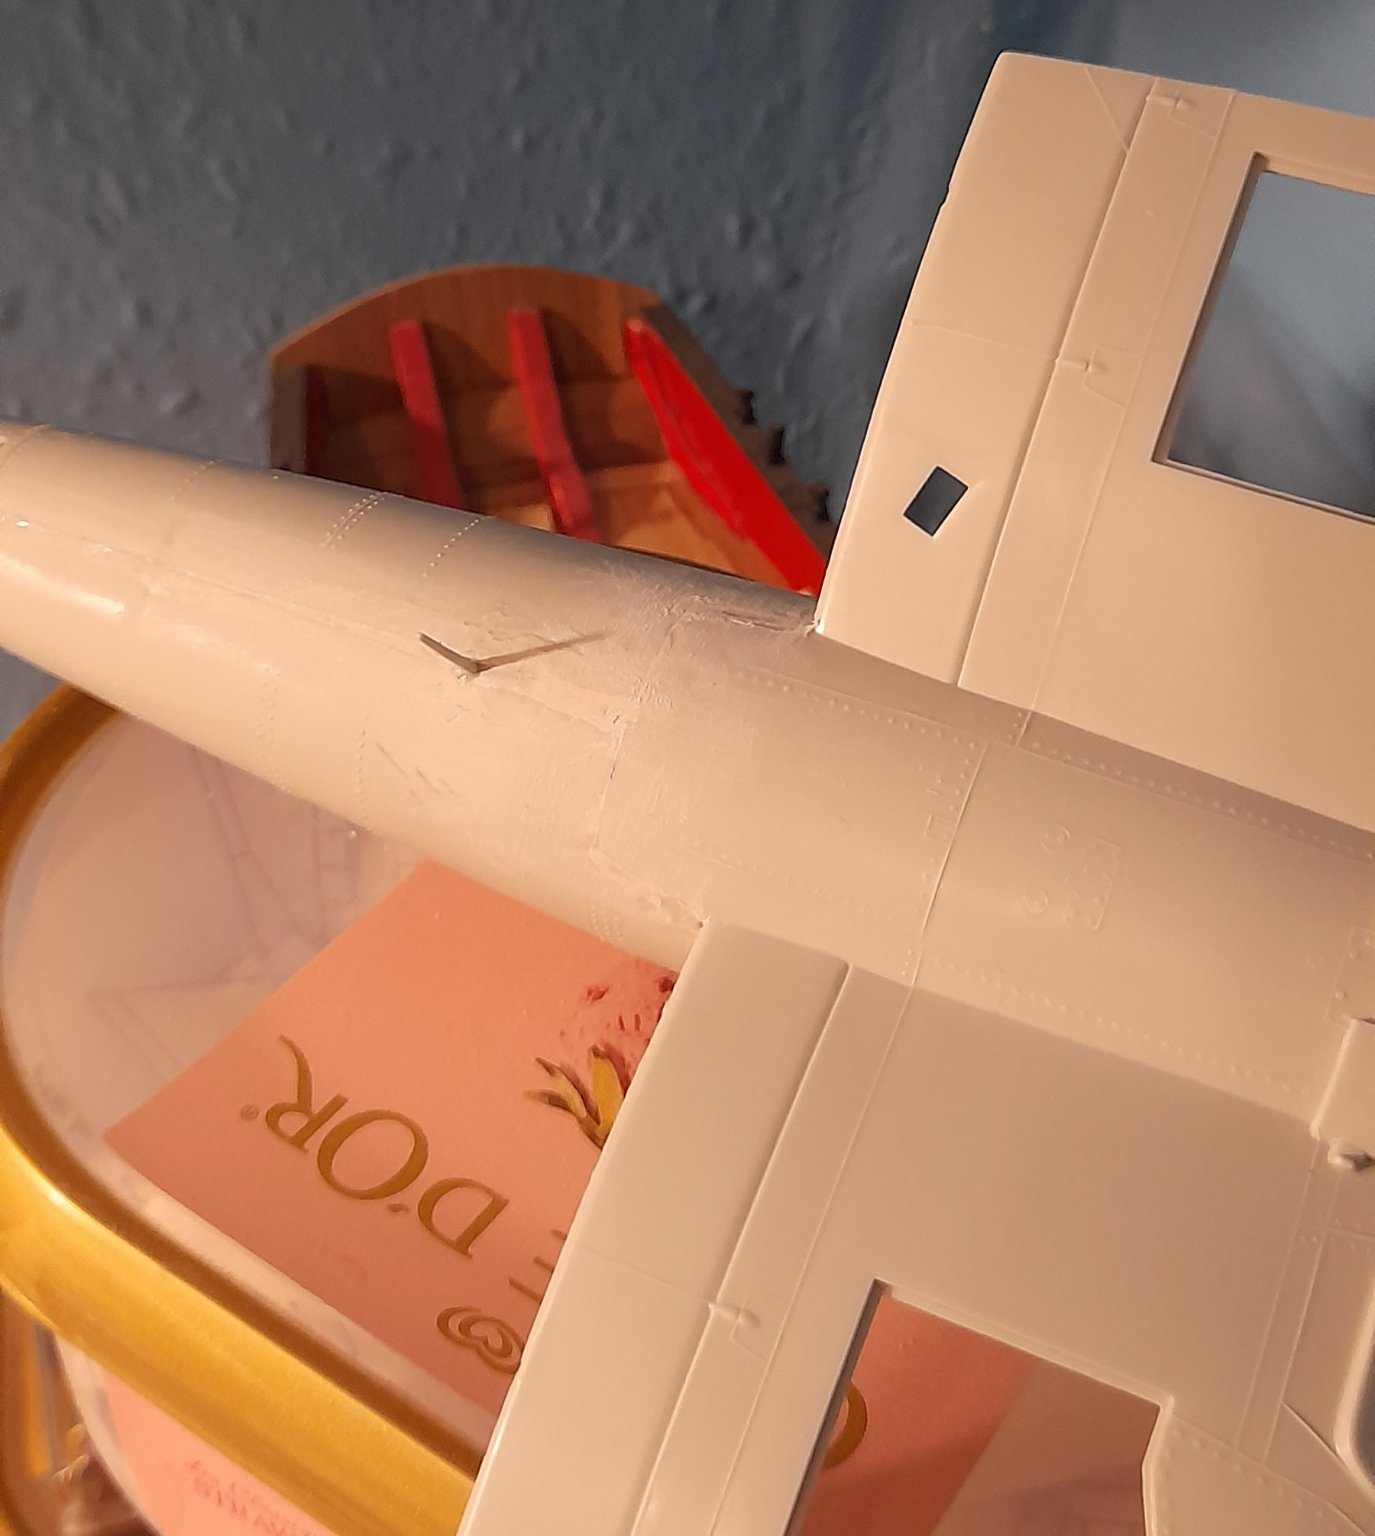
Appreciated EG! Yep the wing assembly sits somewhat badly even without any obstruction, and the curve of the top of the wing does not match the cut out on the fuselage, that said it's nothing that putty/filler can't rectify 😉. Thanks for your continued faith brother!
-
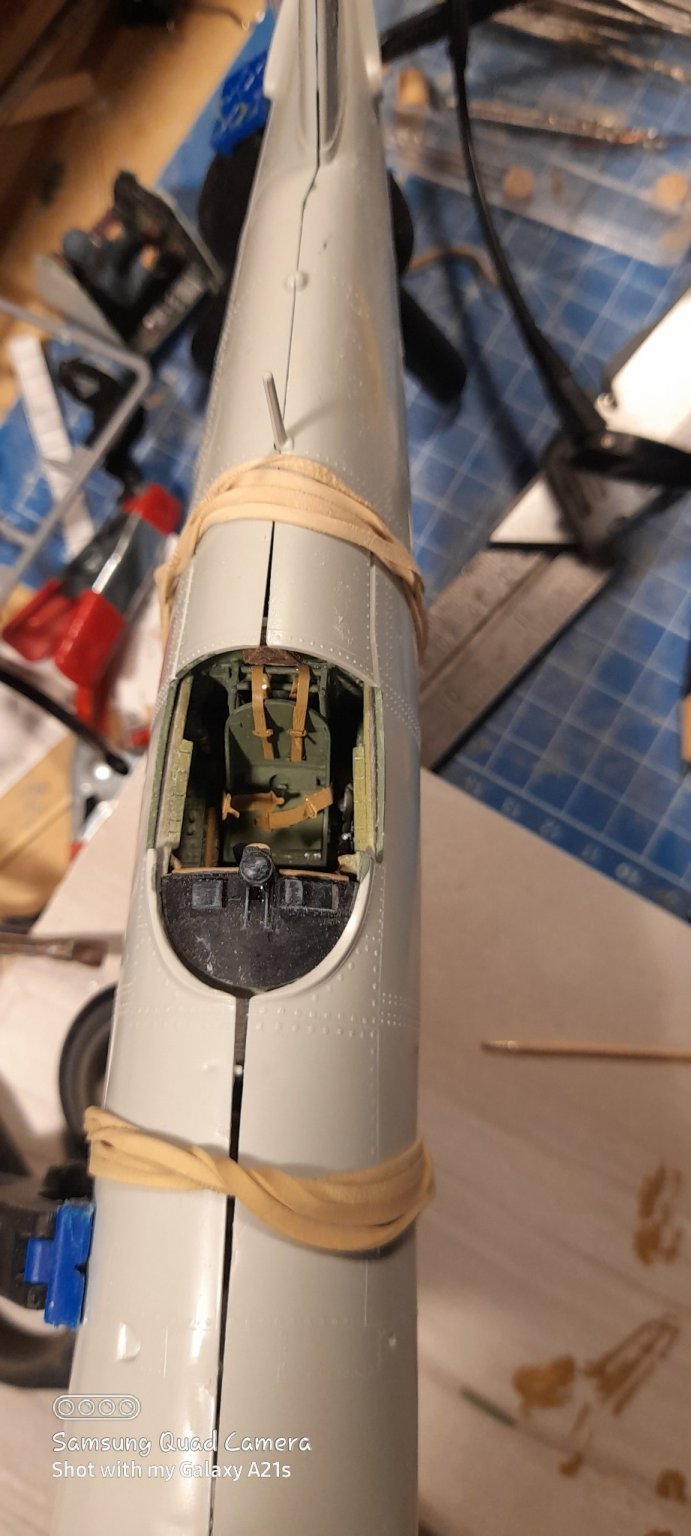
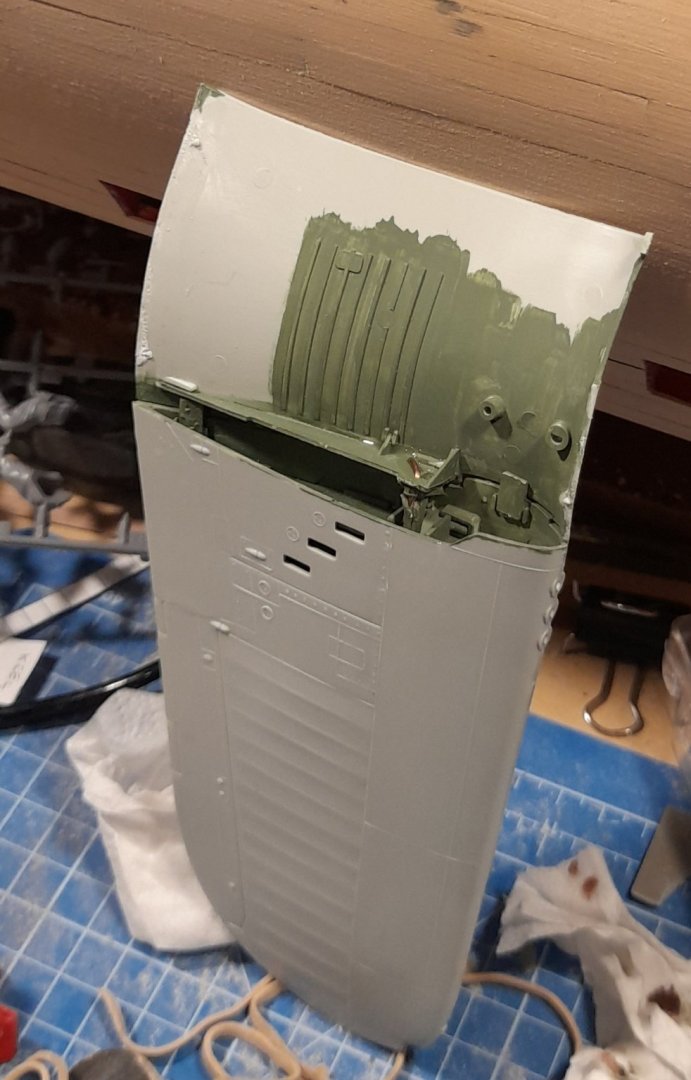
The cockpit is in!!😊 In the end this is the only gap left to fill. The joint between the fuselage and the wings is pretty poor, but no worse than when dry fitted without the cockpit 🙄 Thanks for looking in, the advice, encouraging comments and hitting the like button! Cheers

-
Great work Alan! It's a good looking little tank😉
-
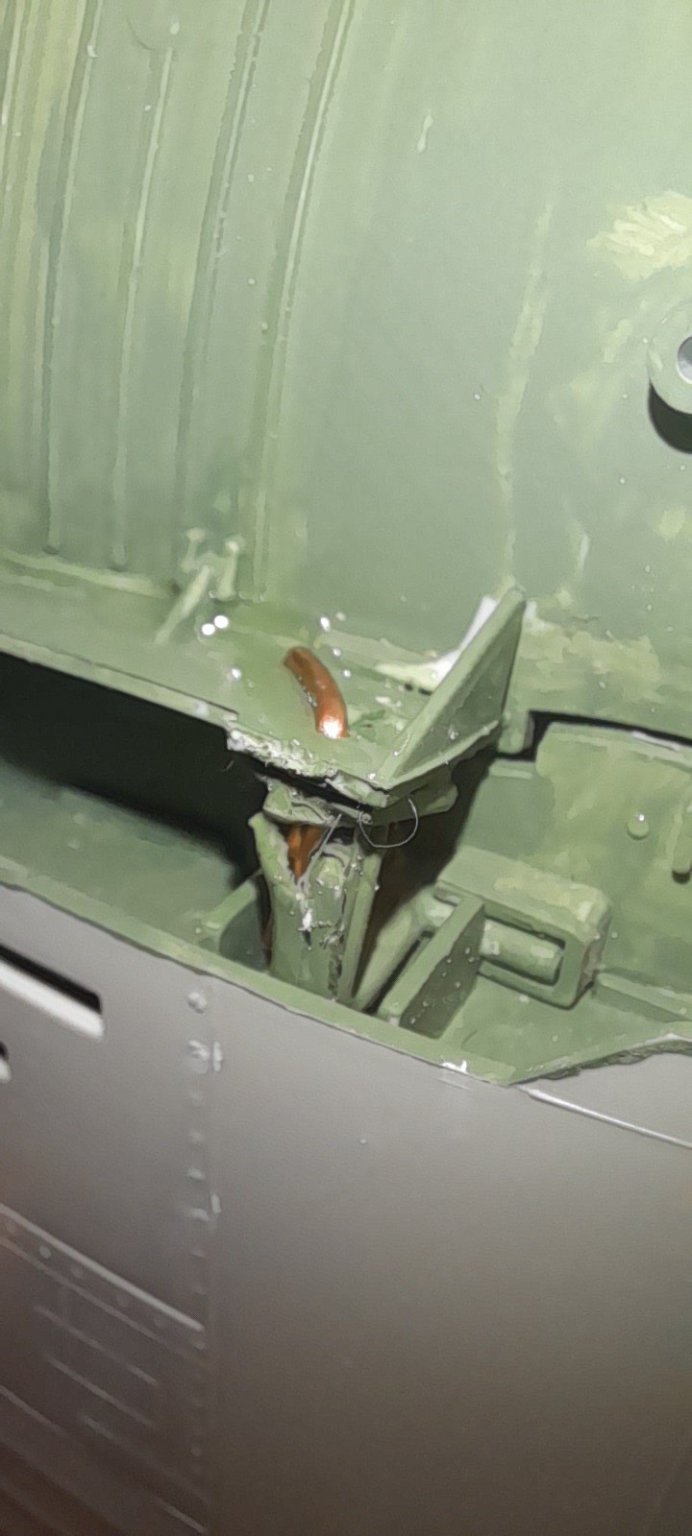
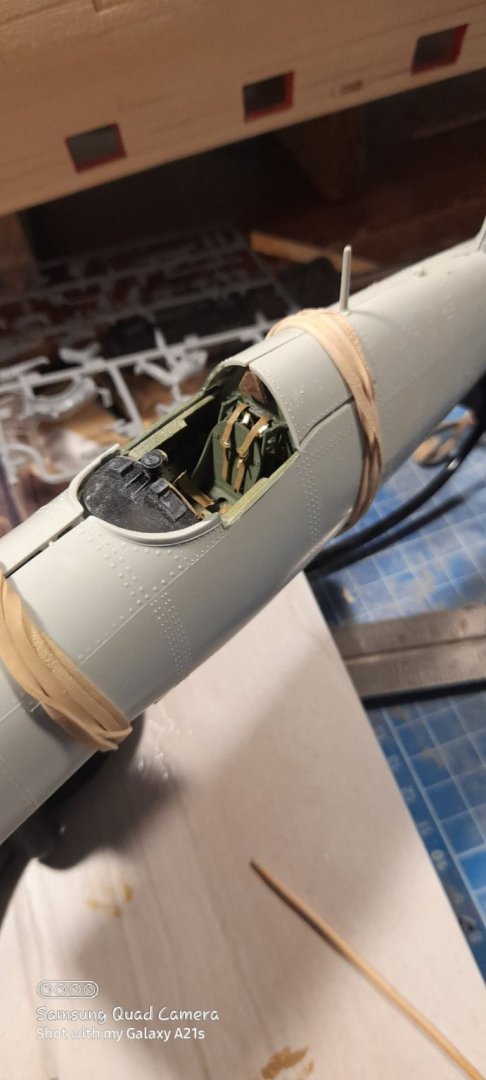
The fitting of the seat and rear bulkhead to the rest of the cockpit gave me another small setback! Just as I thought it had all gone far too easy, there was a ping and the joystick went flying out, after a fruitless search, I decided to make one from some wire and a piece of sprue. With the replacement piece fitted, I gave the whole thing a trial run in the fuselage 😰 😊☺I'm calling it a success! The gaps will close up a touch more, and a bit of filler will make good any discrepancies. The wing assembly also fits albeit with a slight gap, but again friend filler will help out. next time it's glue it all together and give the bodywork and coat of primer. Thank you for visiting and commenting, and also for the likes 👍 Cheers


- 136 replies
-
- 12
-
-
But it is fun, if frustrating at times, and it keeps me occupied 😁😊 Thanks to all for the nice comments😉
-
Thanks for the tips gents, the flash was on auto🙄. The rest of the troops have been primed, tunics and trousers painted and highlighted, also the skin parts have had one coat. those pesky allies have sewn bear traps everywhere 😁 thanks for your interest and 👍. Cheers Edit : No flash this time😊

-
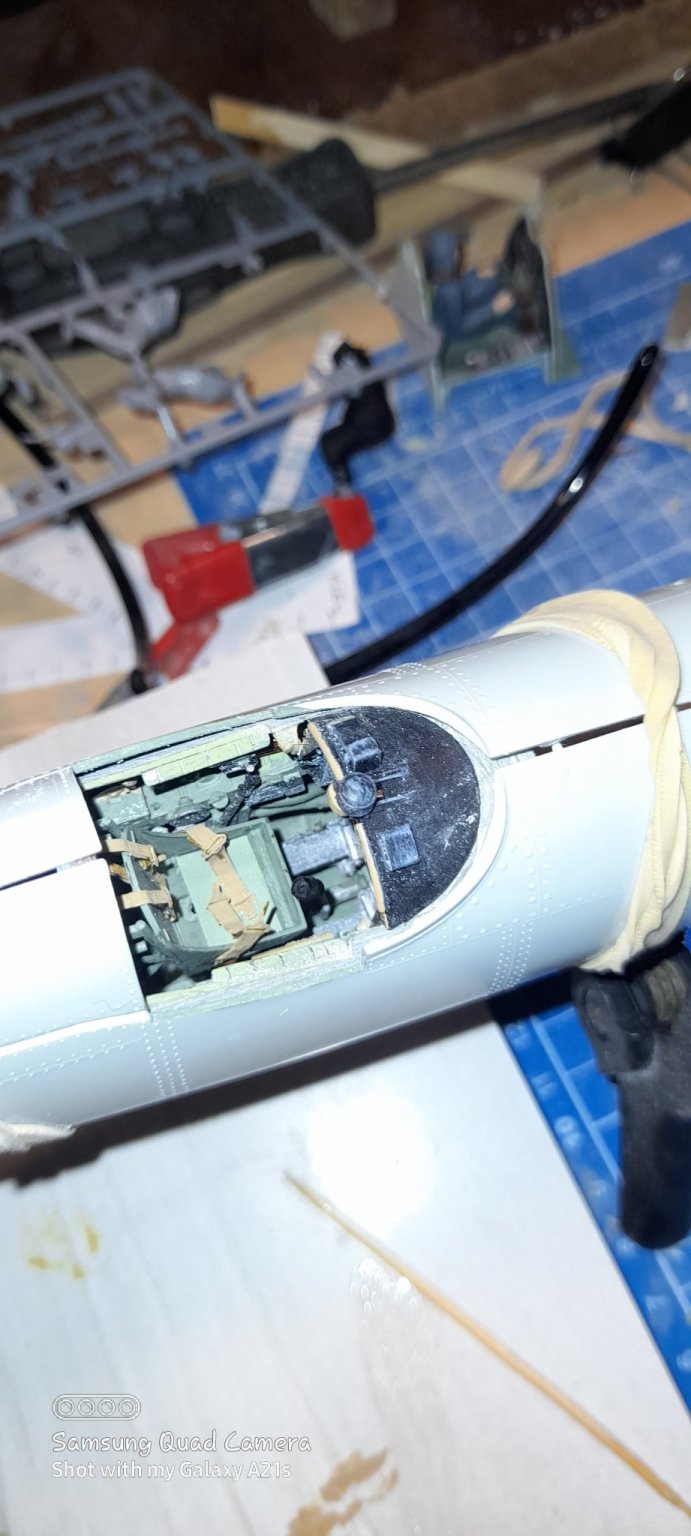
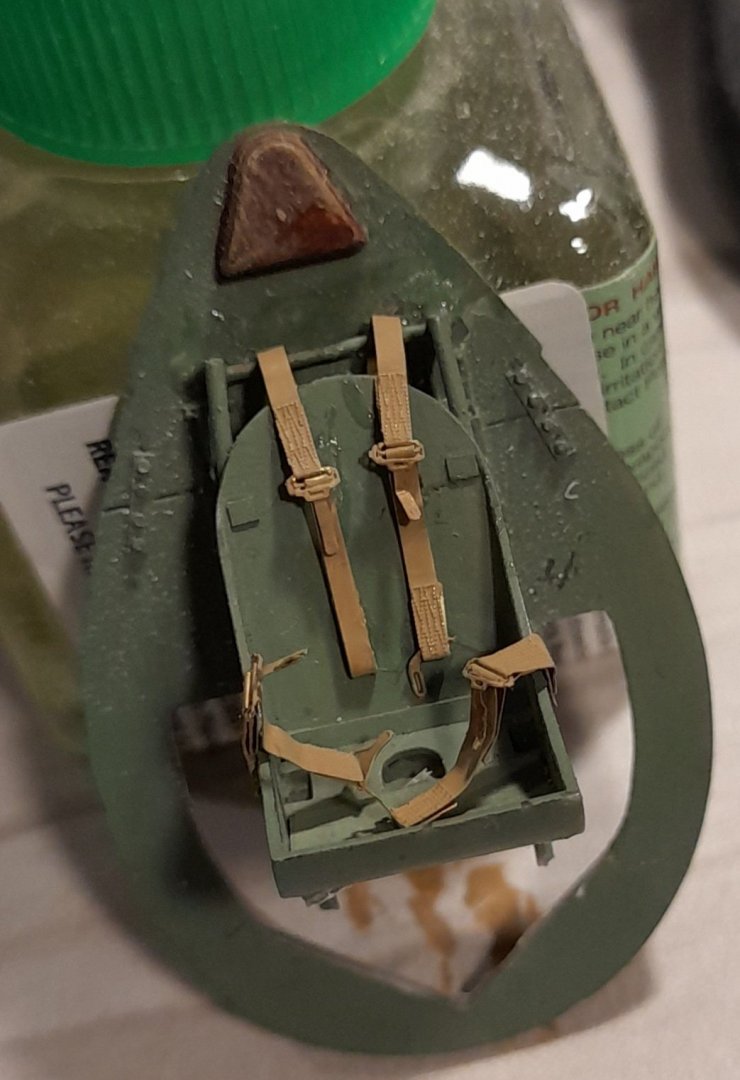
Well the seat belts that have been causing me grief have finally capitulated 😅 as can be seen the lower left belt on the back has no detail on it, this is a homemade replacement because the original part went MIA. It may be quite a while before I dip my toes in P/E again🤪😂 Thanks for all the likes, comments and just calling by. Cheers
- 136 replies
-
- 14
-
-
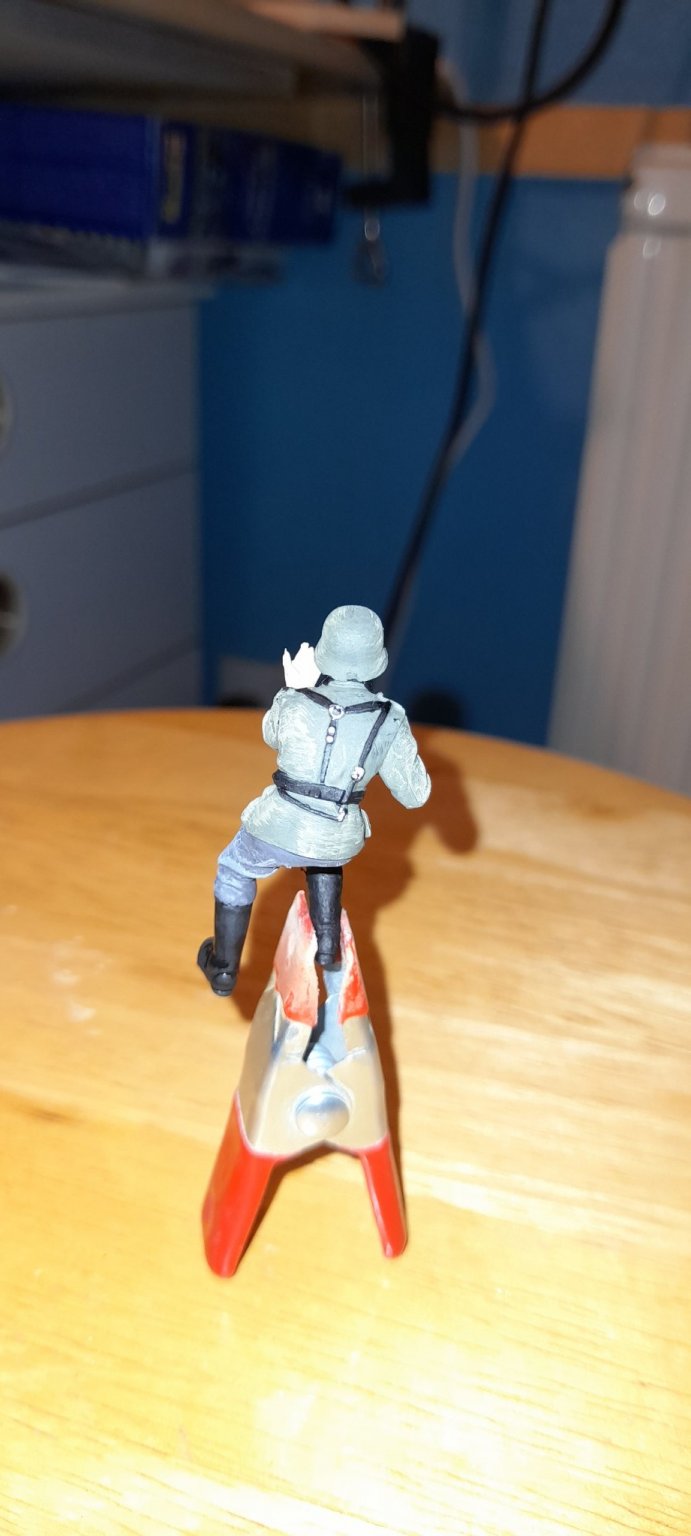
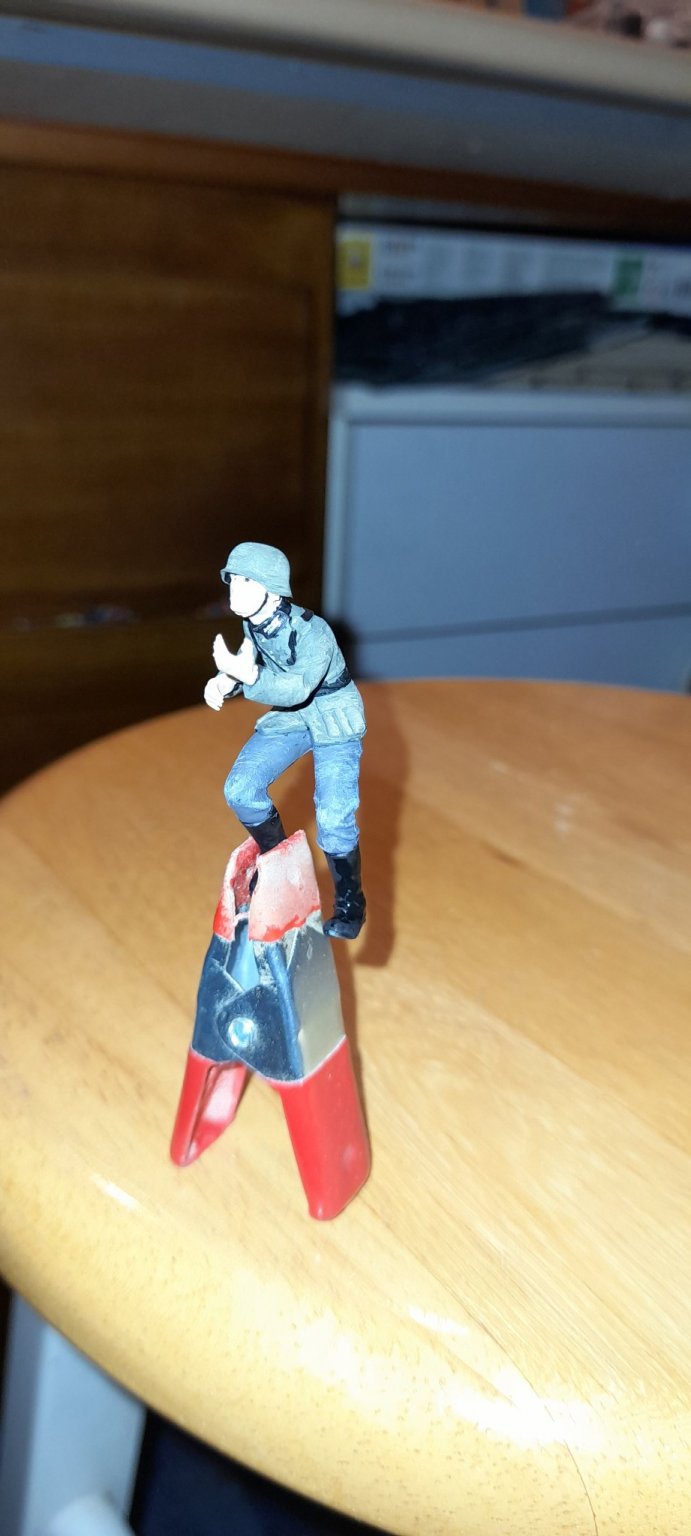
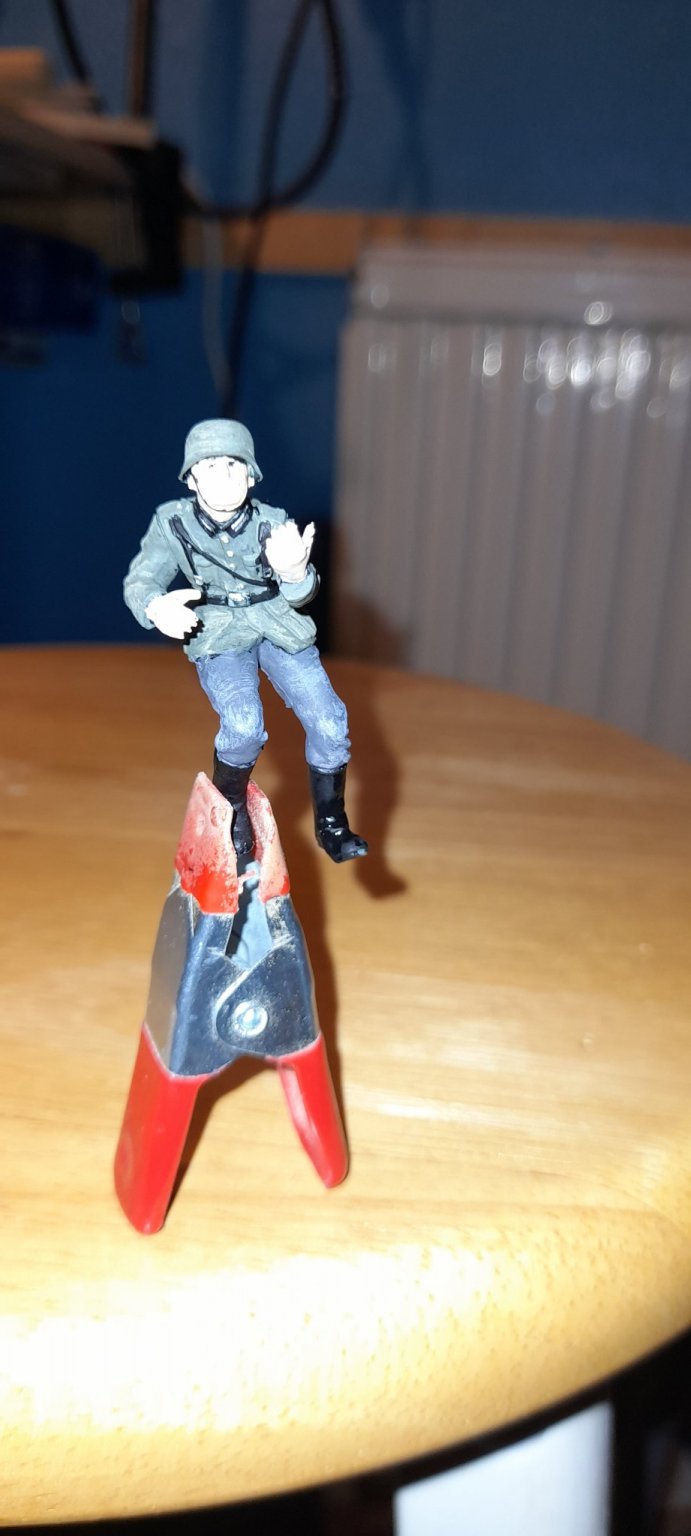
I decided to start painting the figures to have break from getting the F4U-1A cockpit to fit! thefirst guinea pig, poor fellow drew the short straw for letting me practice. It's been a few years since I painted any figures! Thanks for looking in. Cheers

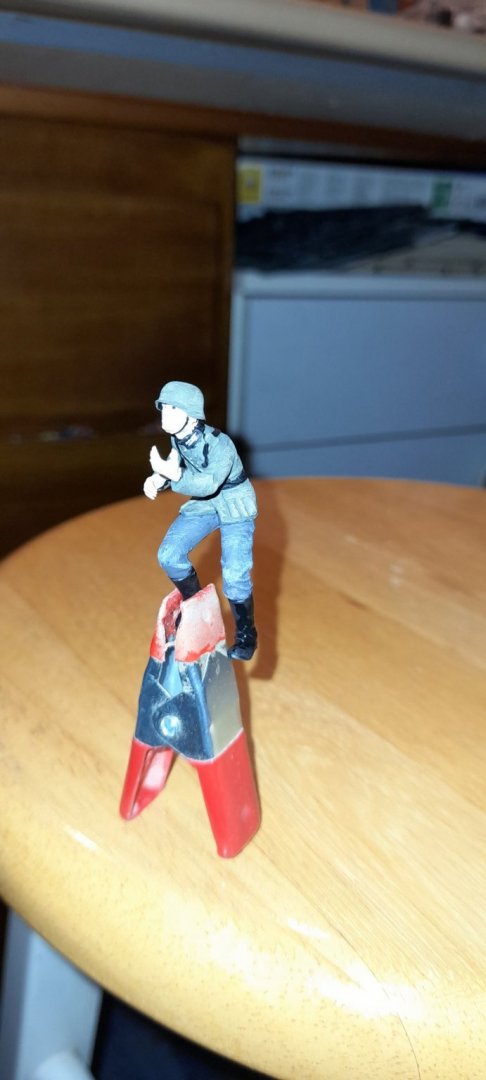

- 46 replies
-
- 11
-
-
"Steady now, my lads, let's show them frenchies what we're made of!" Very nice OC!