HOLIDAY DONATION DRIVE - SUPPORT MSW - DO YOUR PART TO KEEP THIS GREAT FORUM GOING!
×

Edwardkenway
-
Posts
3,047 -
Joined
-
Last visited
Content Type
Profiles
Forums
Gallery
Events
Everything posted by Edwardkenway
-
and welcome to MSW James
-
 Ahh yes, I didn't make it clear, Hobbymill EU (I believe he has Chuck's permission to do this) only does the wood strips in a package for Winchelsea, and that getting laser cut chapter parts from Syren (Chuck) may be the less expensive option. Sorry for any confusion.
- 1,784 replies
-
- 2
-

-
- winchelsea
- Syren Ship Model Company
- (and 1 more)
-
and welcome to MSW Jason
-
If you can cut your own bulkheads and keel former, there is a vendor in Estonia (Hobbymill EU) who does a timber package for Winchelsea, then just purchase the laser cut chapters as and when you require them. If the cost is not too much the customs and vat are pretty low on smaller less weighty parcels.
- 1,784 replies
-
- 2
-
-
- winchelsea
- Syren Ship Model Company
- (and 1 more)
-
Coming along nicely, looks like the veritas mini workbench was a good buy?😉
-
and welcome to MSW Dirk
-
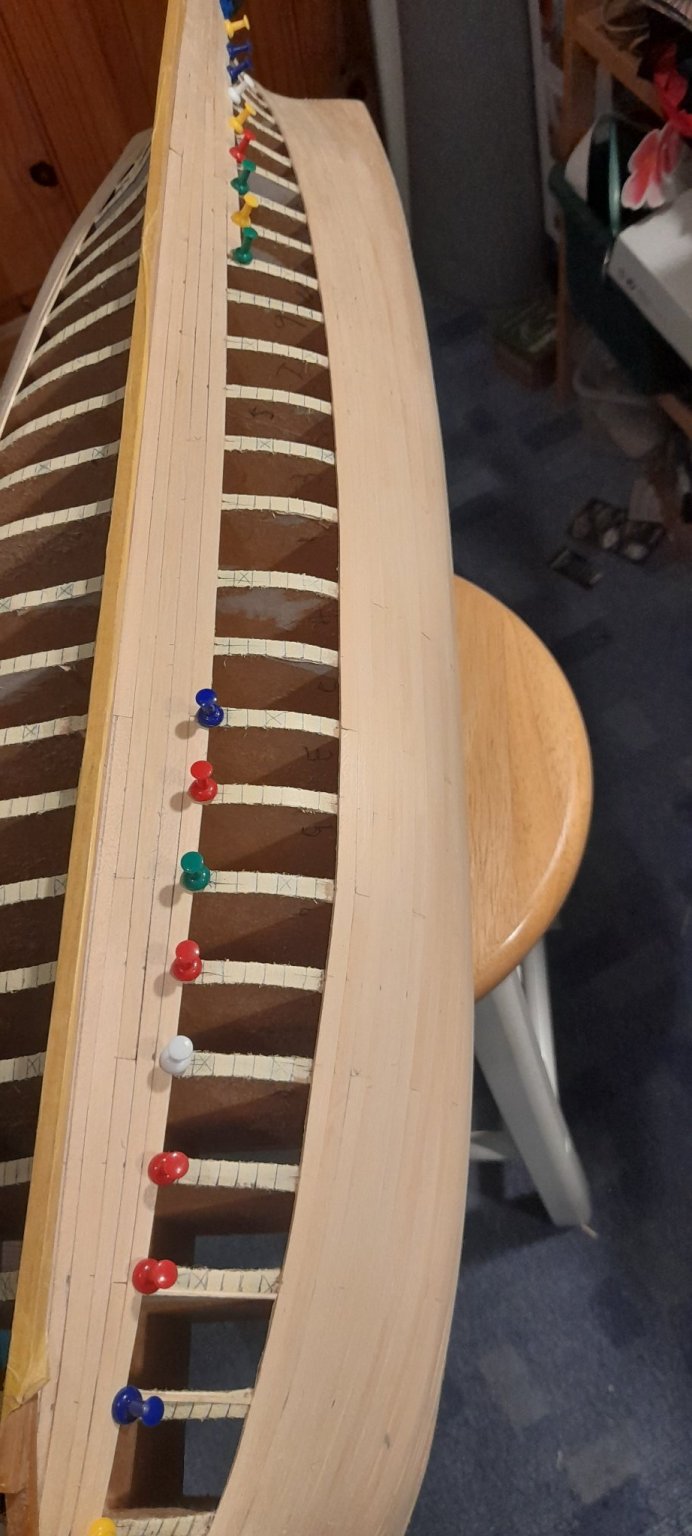
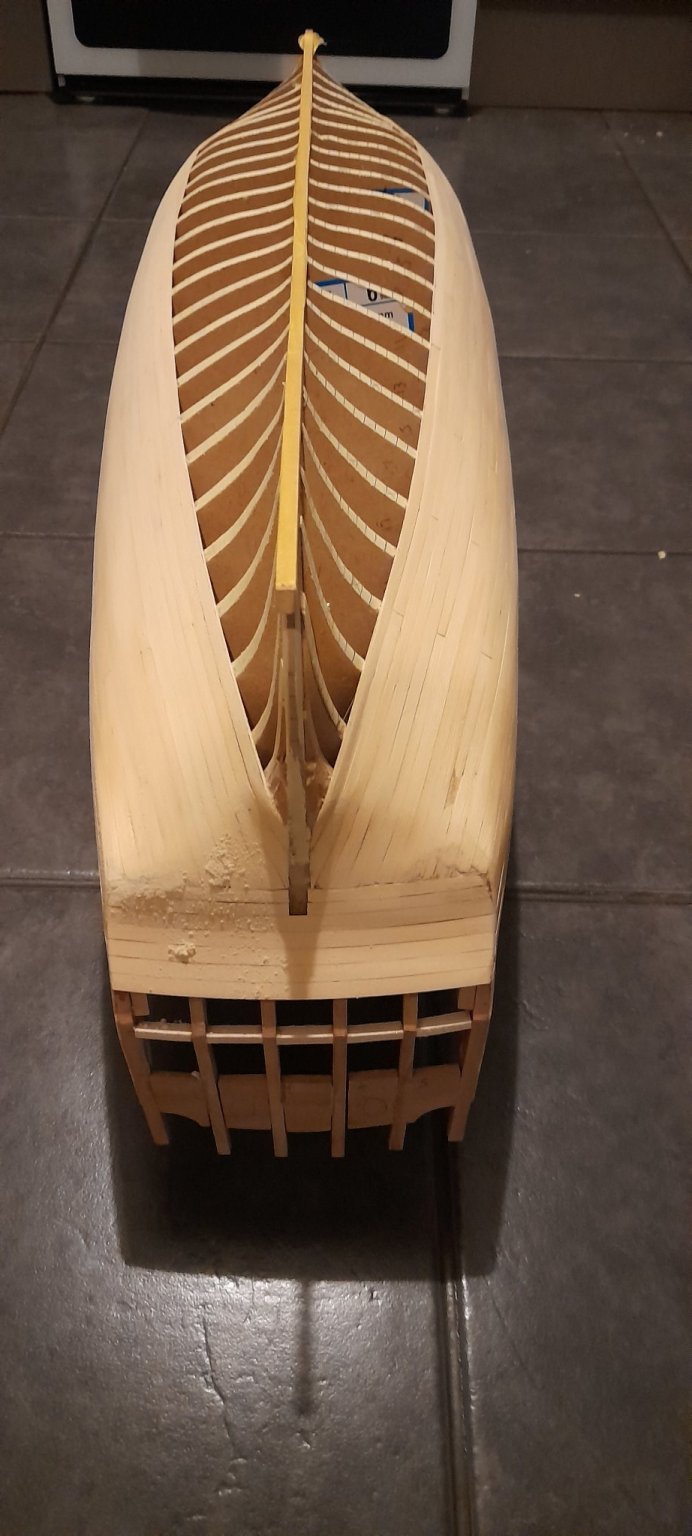
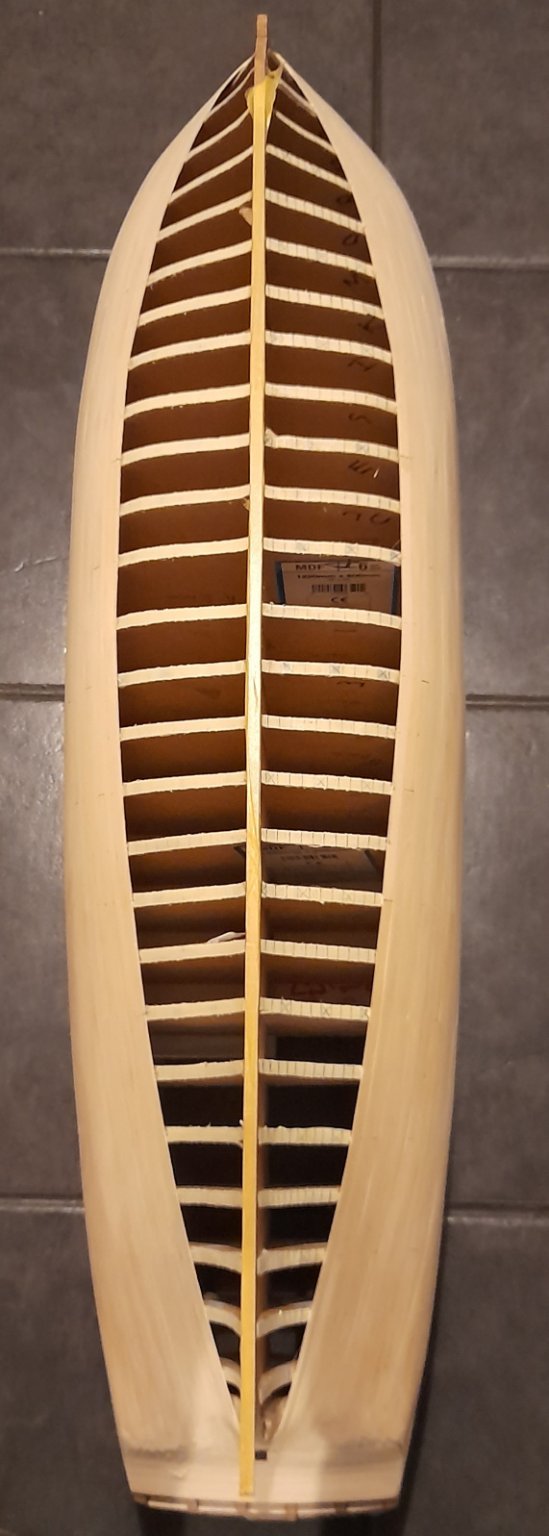
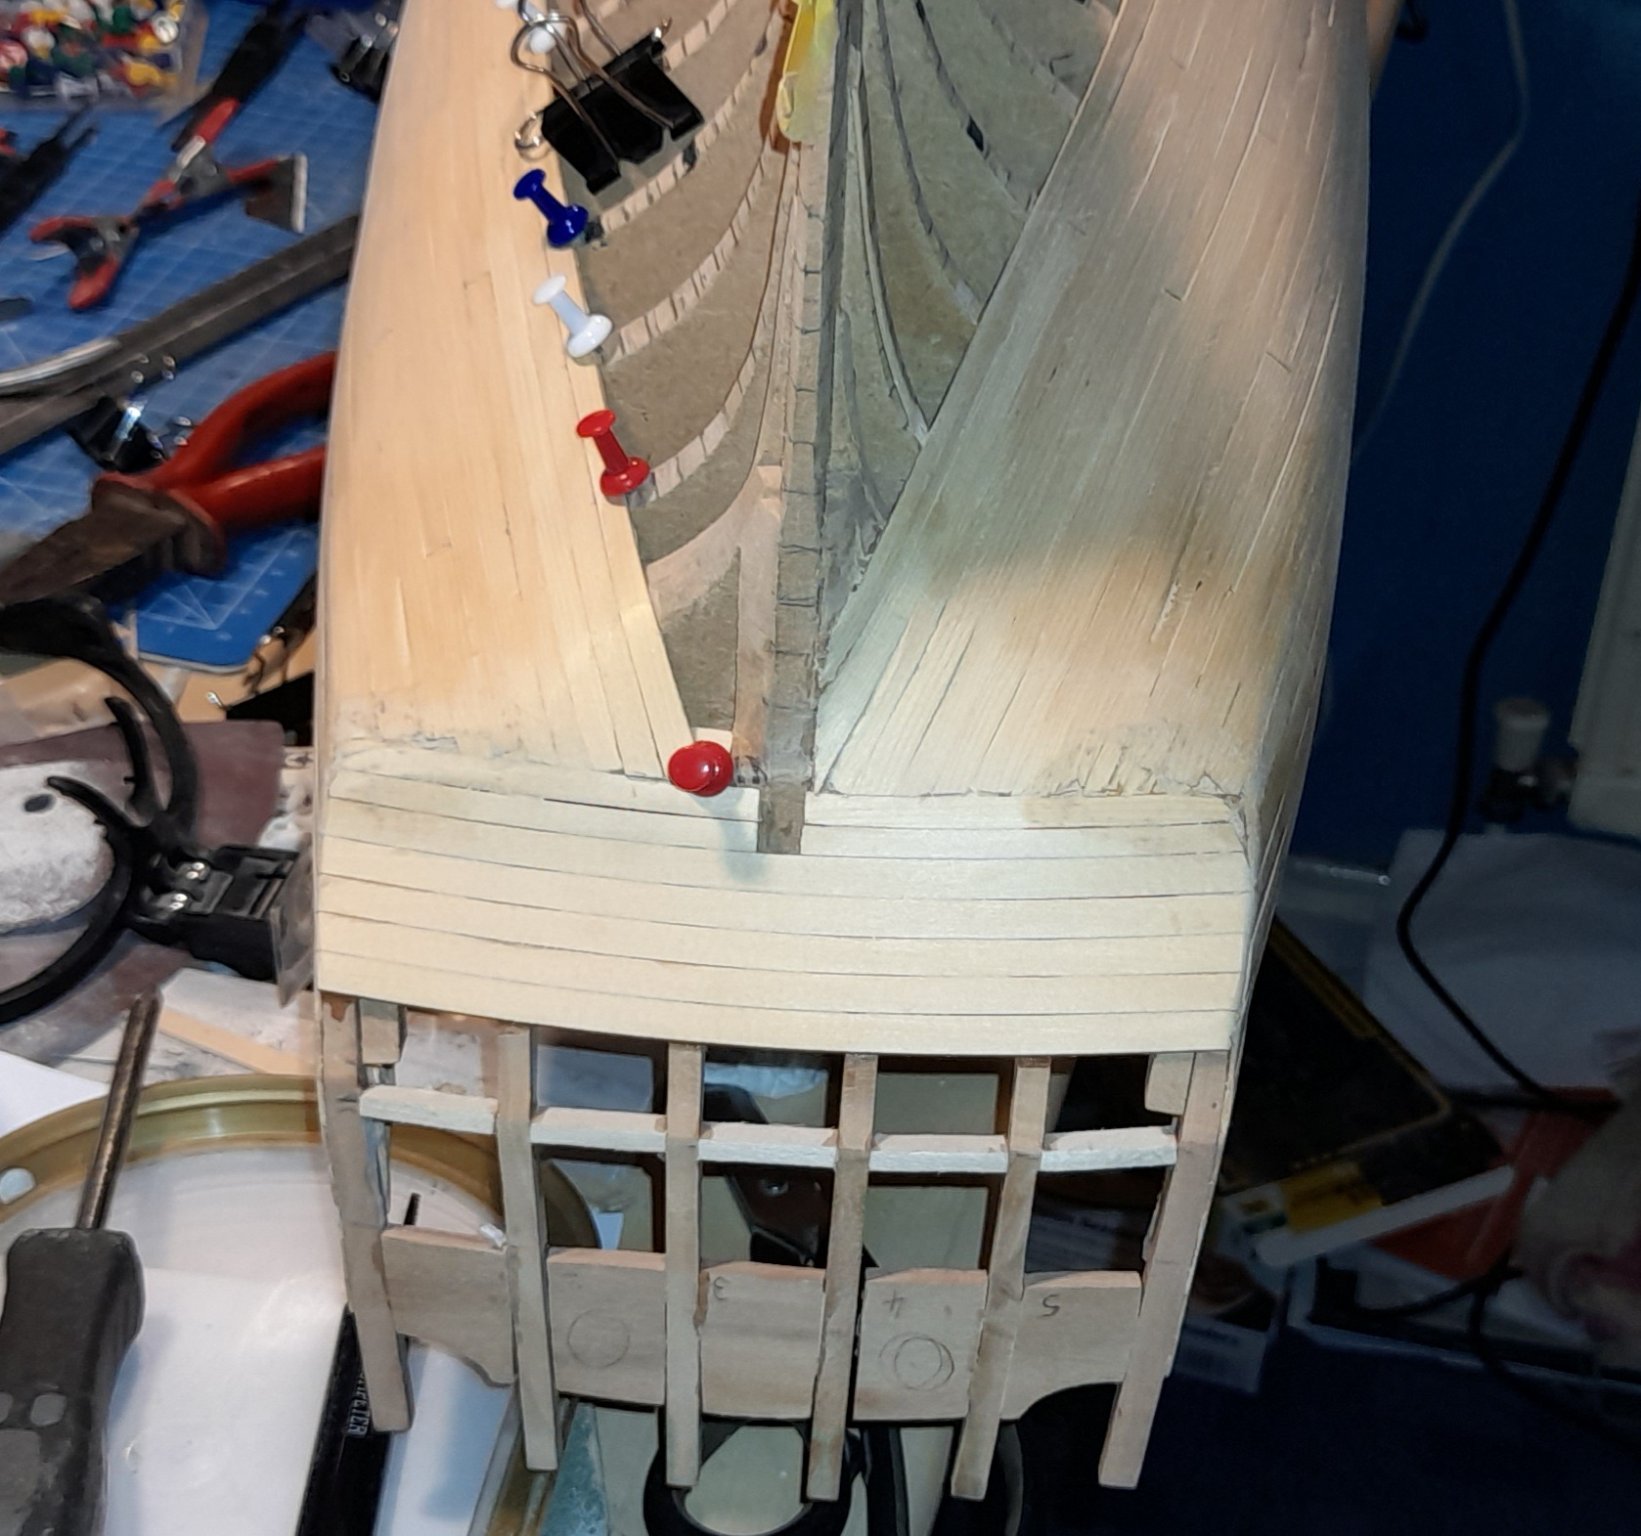
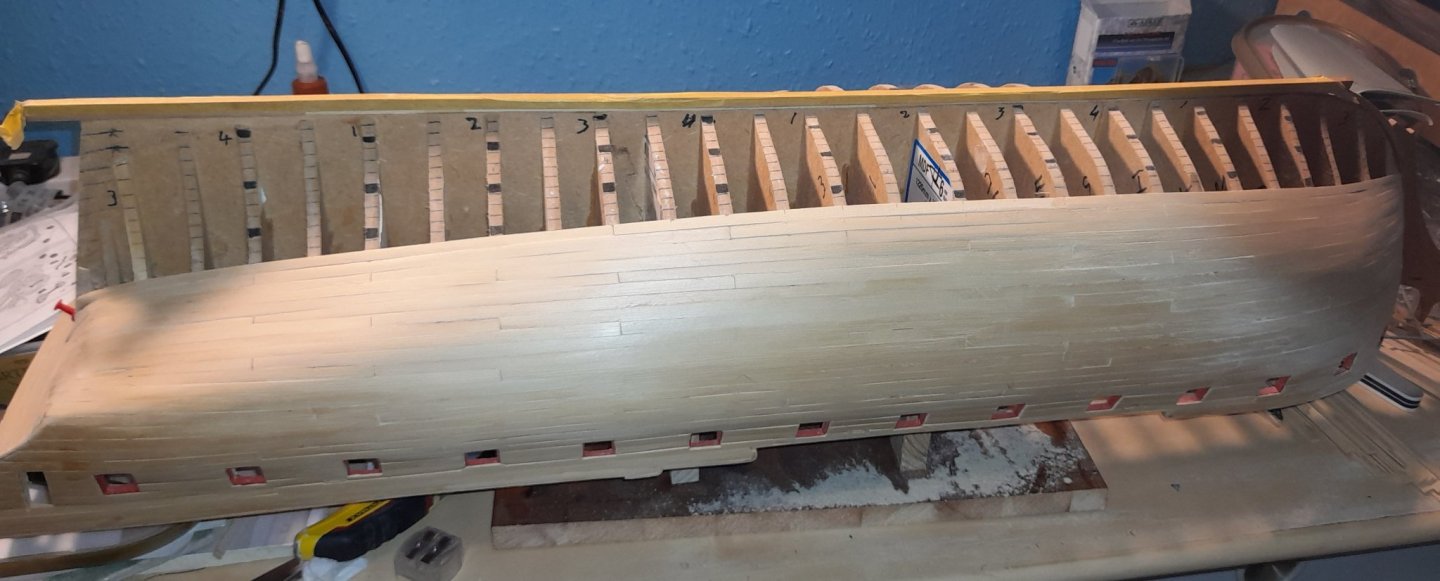
A belated merry Christmas to all, and looking forward to a better happy new year! Thanks Ben, mine will be about the same when done. Still plodding on with the planking, but now only 3 bands to complete. I found working from the keel a pleasant change. working with wood glue is much less messy than CA but slower I reckon I've another month or so before I'm finished planking. The piece missing from the keel has been knocked off when I moved Winnie and I decided to leave it off till I flip her right side up. Thanks for watching and the likes, Cheers


-
Nice looking planks Frank. I own the same saw and think it is a lovely machine to use. All the best to you and yours for Christmas 🎄
-
Shane, welcome to MSW
-
Very tidy and precise work Glenn, but after watching your Cheerful, I've come to expect nothing less😊
- 840 replies
-
- 4
-
-
- winchelsea
- Syren Ship Model Company
- (and 1 more)
-
Nice battle of tanks, all of them are superb, Alan Well done
-
Another great little tank, Alan, lovely work!
-
New Member Rock Harris: An Introduction
Edwardkenway replied to rock harris's topic in New member Introductions
Welcome to MSW -
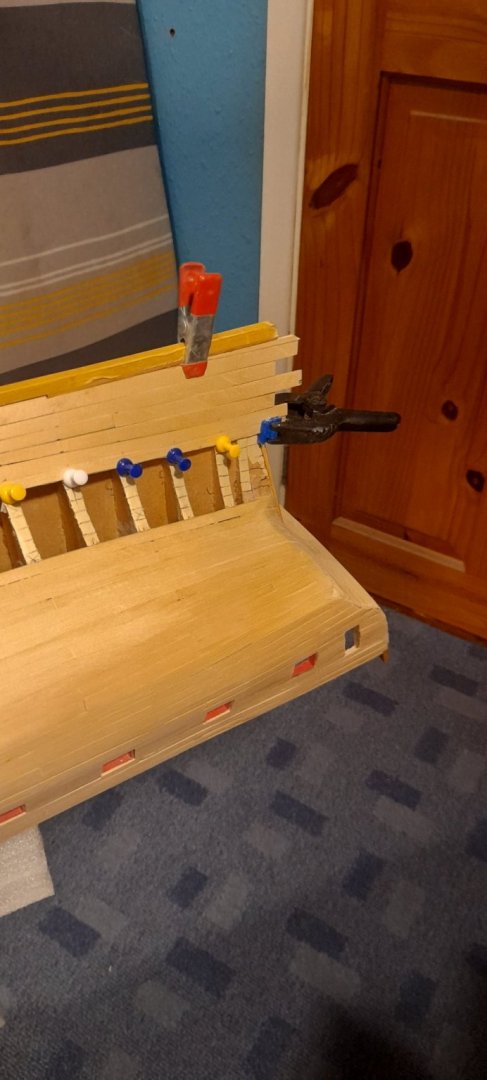
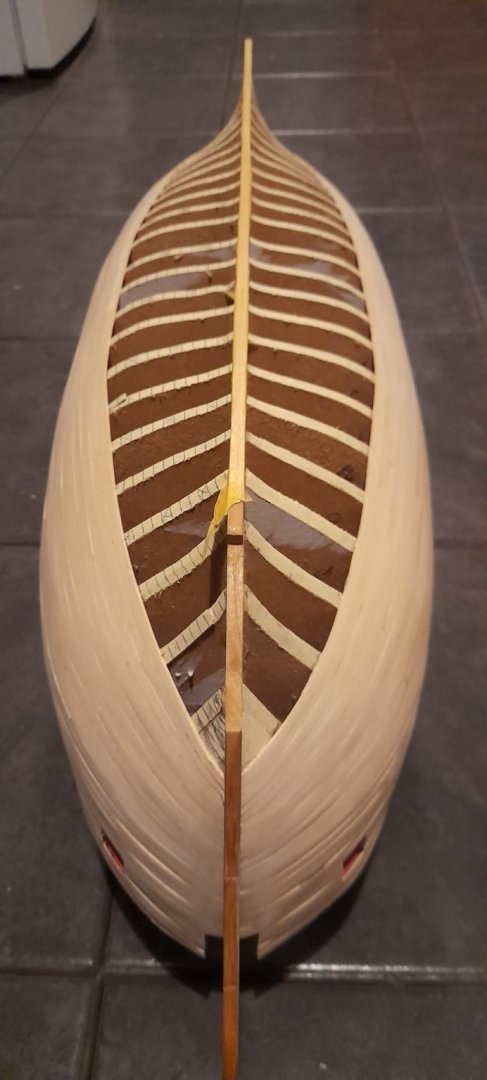
I feel I'm on the homeward stretch with the hull planking now, just two bands each on port and starboard sides. I've redone the lining out to reduce the risk of ending up with a narrow plank. it all looks pretty even and symmetrical to my eyes! just a bit untidy, but I'm hoping a good dose of sanding will go some way to rectifying that. especially at the bow! Anyway, the last batch of planking is imminent, then it's onto the stern and QG's, which I must admit I feel a bit of trepidation at. That's it for now, thank you to everyone for the interest and continued support. Cheers


-
Best wishes for your op Mark and a good calm recovery! Sphinx is coming on despite the small setback😉
- 505 replies
-
- 9
-
-
- vanguard models
- Sphinx
- (and 1 more)
-
Tip-toeing quietly in at the back. I'm enjoying your armour builds😉
-
Since building the Triton cross section, it would be something I would definitely be interested in!
- 1,784 replies
-
- 2
-
-
- winchelsea
- Syren Ship Model Company
- (and 1 more)
-
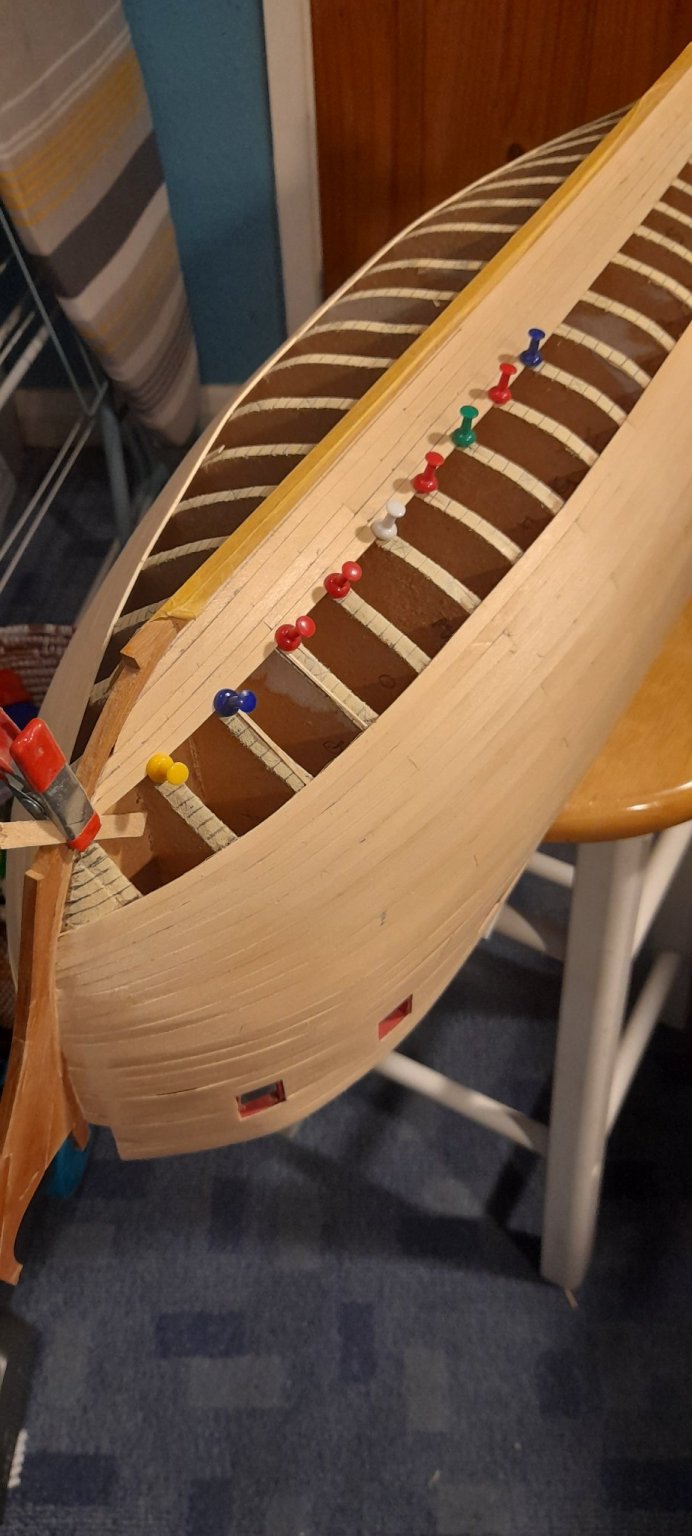
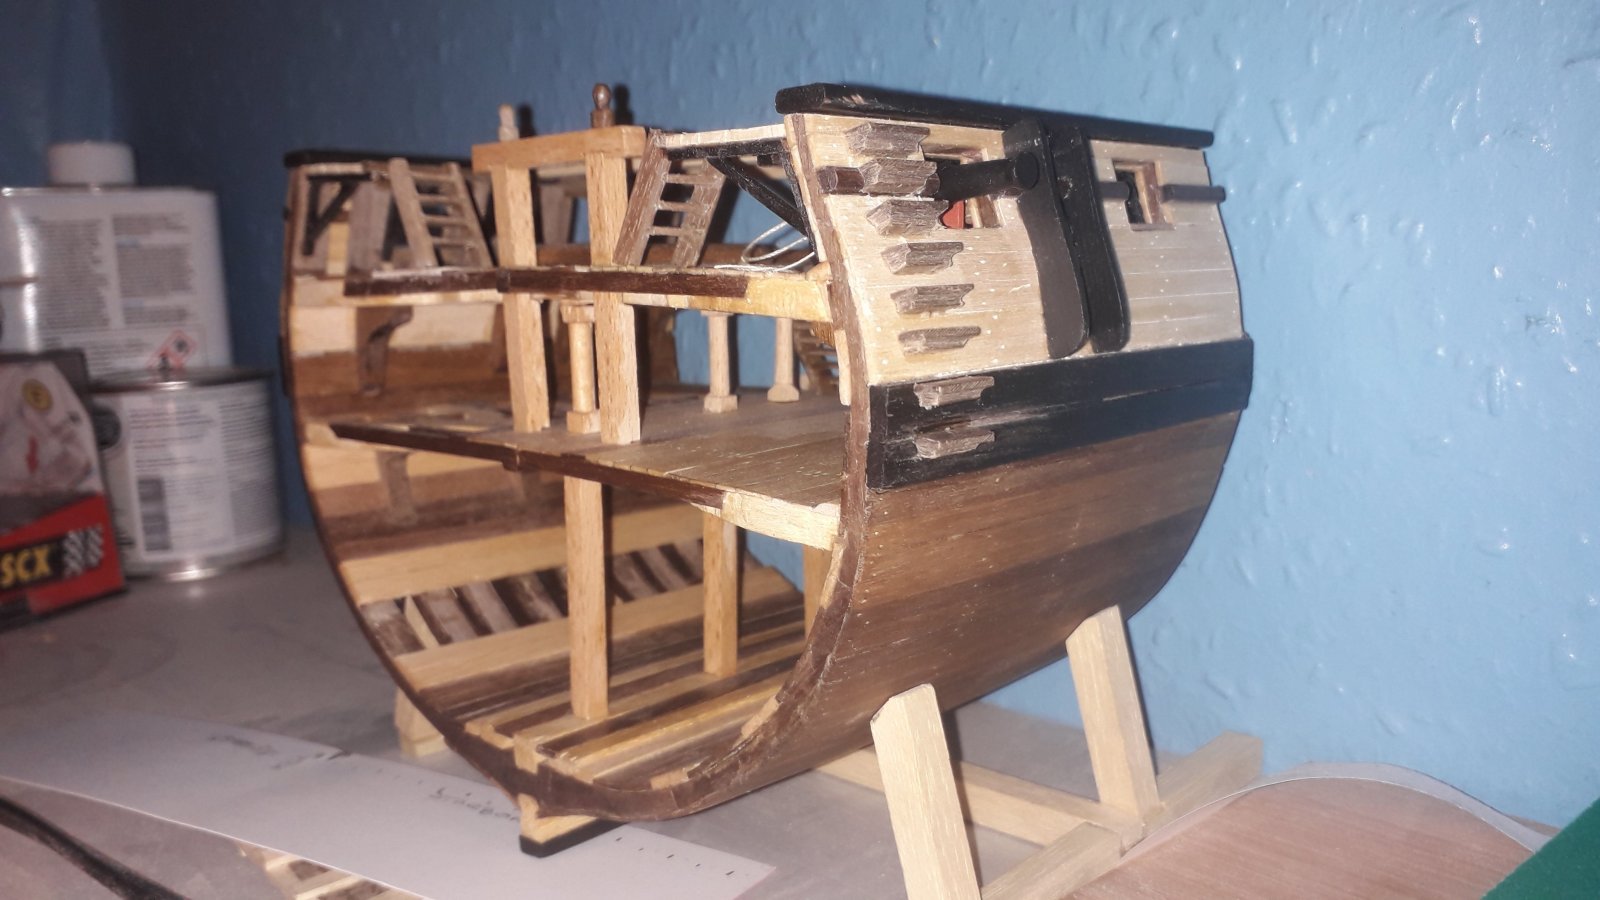
Well, with work and other pressing matters, planking is progressing very very slowly 🐌 I have two bands completed on the port side and I'm halfway through the second band on the starboard. The transition from Hull to counter has been a trial, with several planks being removed, replaced and removed again. As it stands it's not the prettiest but it is smooth. It's going to be a fair while before I can flip her right side up😊 as I've reverted to using titebond glue because I got in a proper mess using CA. Thanks for watching and the likes! Until next time, cheers.

-
That is terrible news, I also hope you find the strength to fight on. Thanks for the insight to your Vanguard build, it's always great 👍
-
Coming along nicely Mark! Prayers for plain sailing with your heart surgery and a speedy recovery .
- 505 replies
-
- 3
-
-
- vanguard models
- Sphinx
- (and 1 more)
-
Amazing! Hard to believe that it's a card kit
-
👍superbly done, OC
-
Very nice Alan, I really like the camo method, turned out great! I'm looking forward to the mk IV and whippet😉