HOLIDAY DONATION DRIVE - SUPPORT MSW - DO YOUR PART TO KEEP THIS GREAT FORUM GOING! (Only 13 donations so far - C'mon guys!)
×

Rob S
-
Posts
339 -
Joined
-
Last visited
Content Type
Profiles
Forums
Gallery
Events
Everything posted by Rob S
-
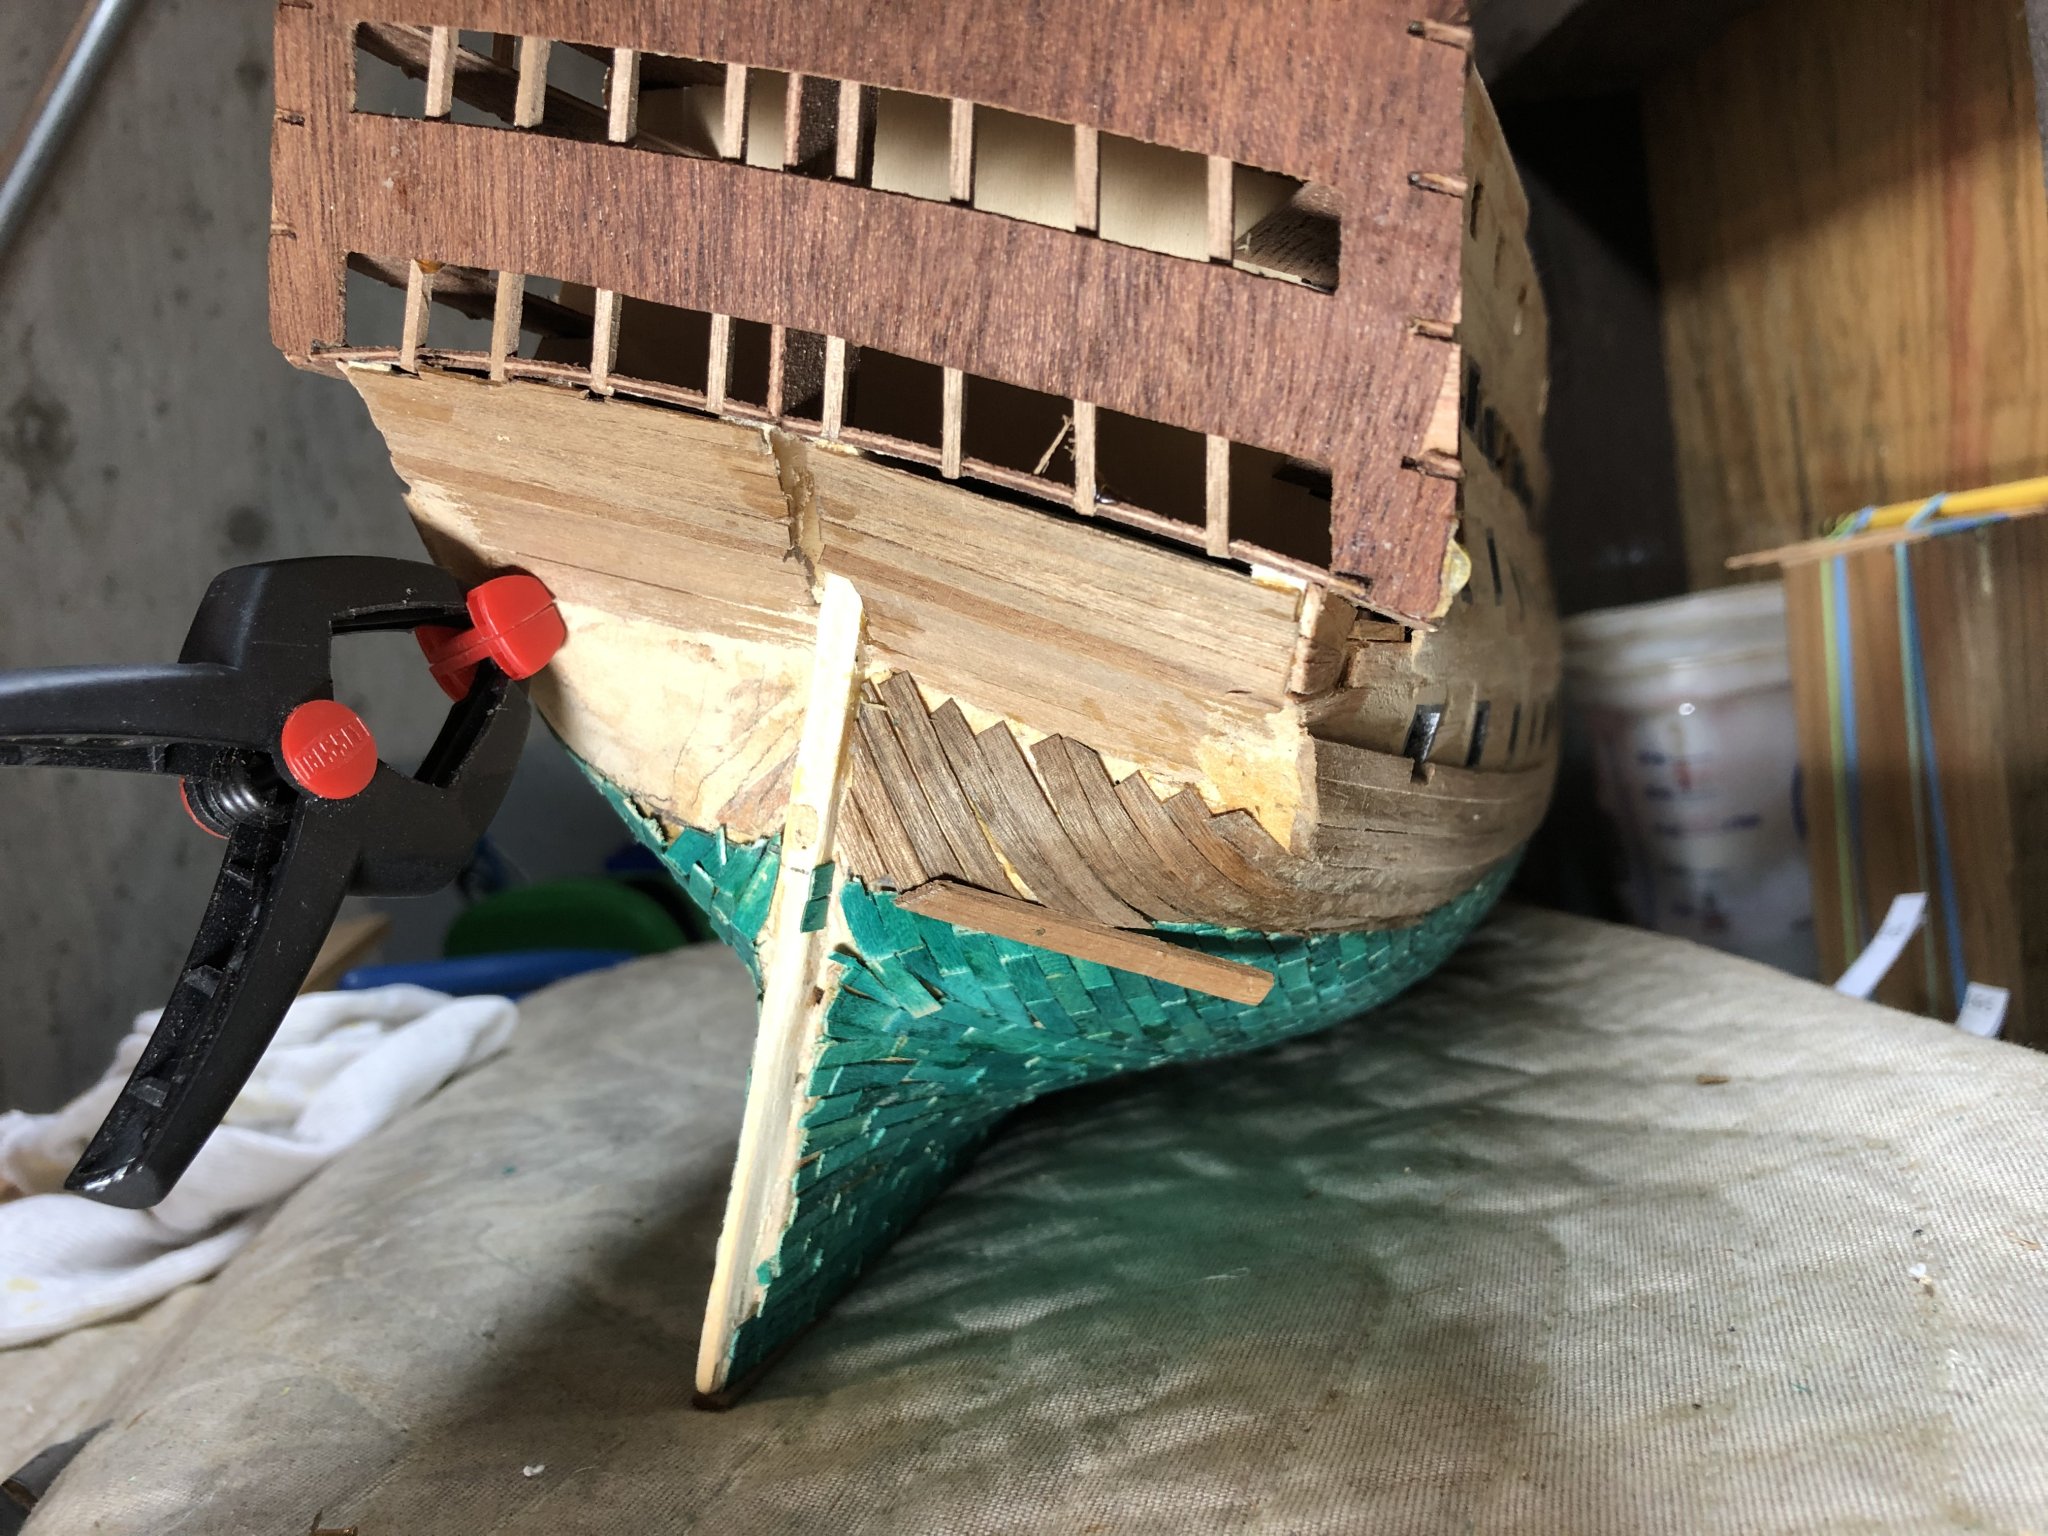
 Thank you for the suggestion. The wale plank is 3mm x 2mm and I believe it will break if forced. Are you saying the glue will soften the wood enough for me to put it back in place? I’ve since freed it up a bit and it is giving some, but not much.
 -
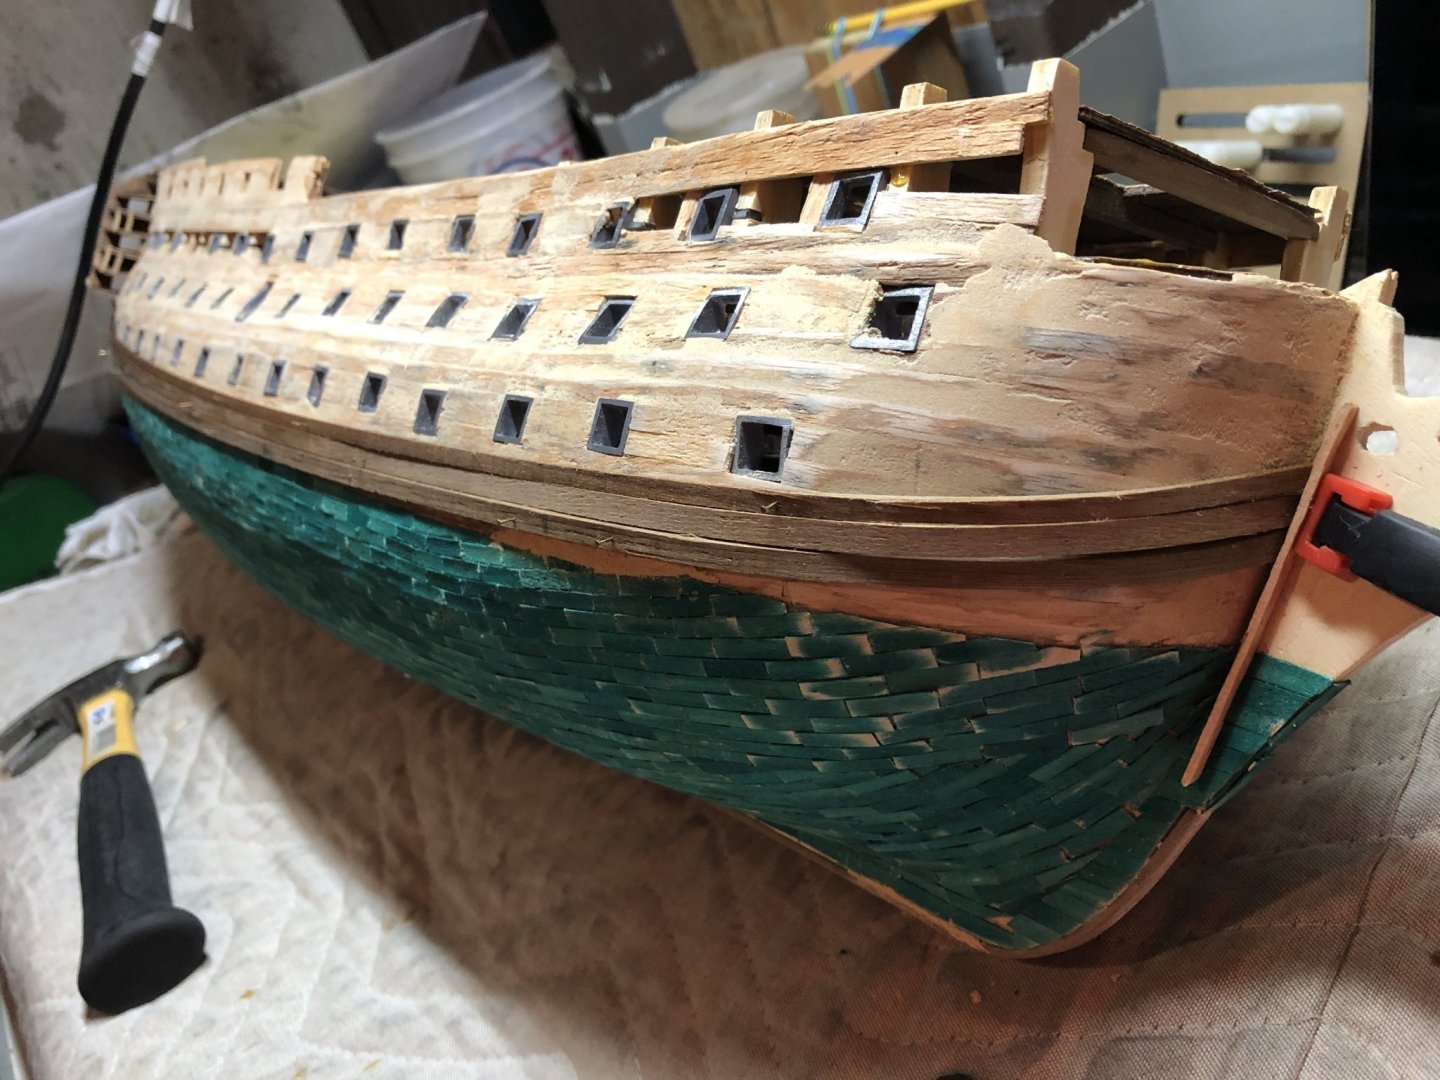
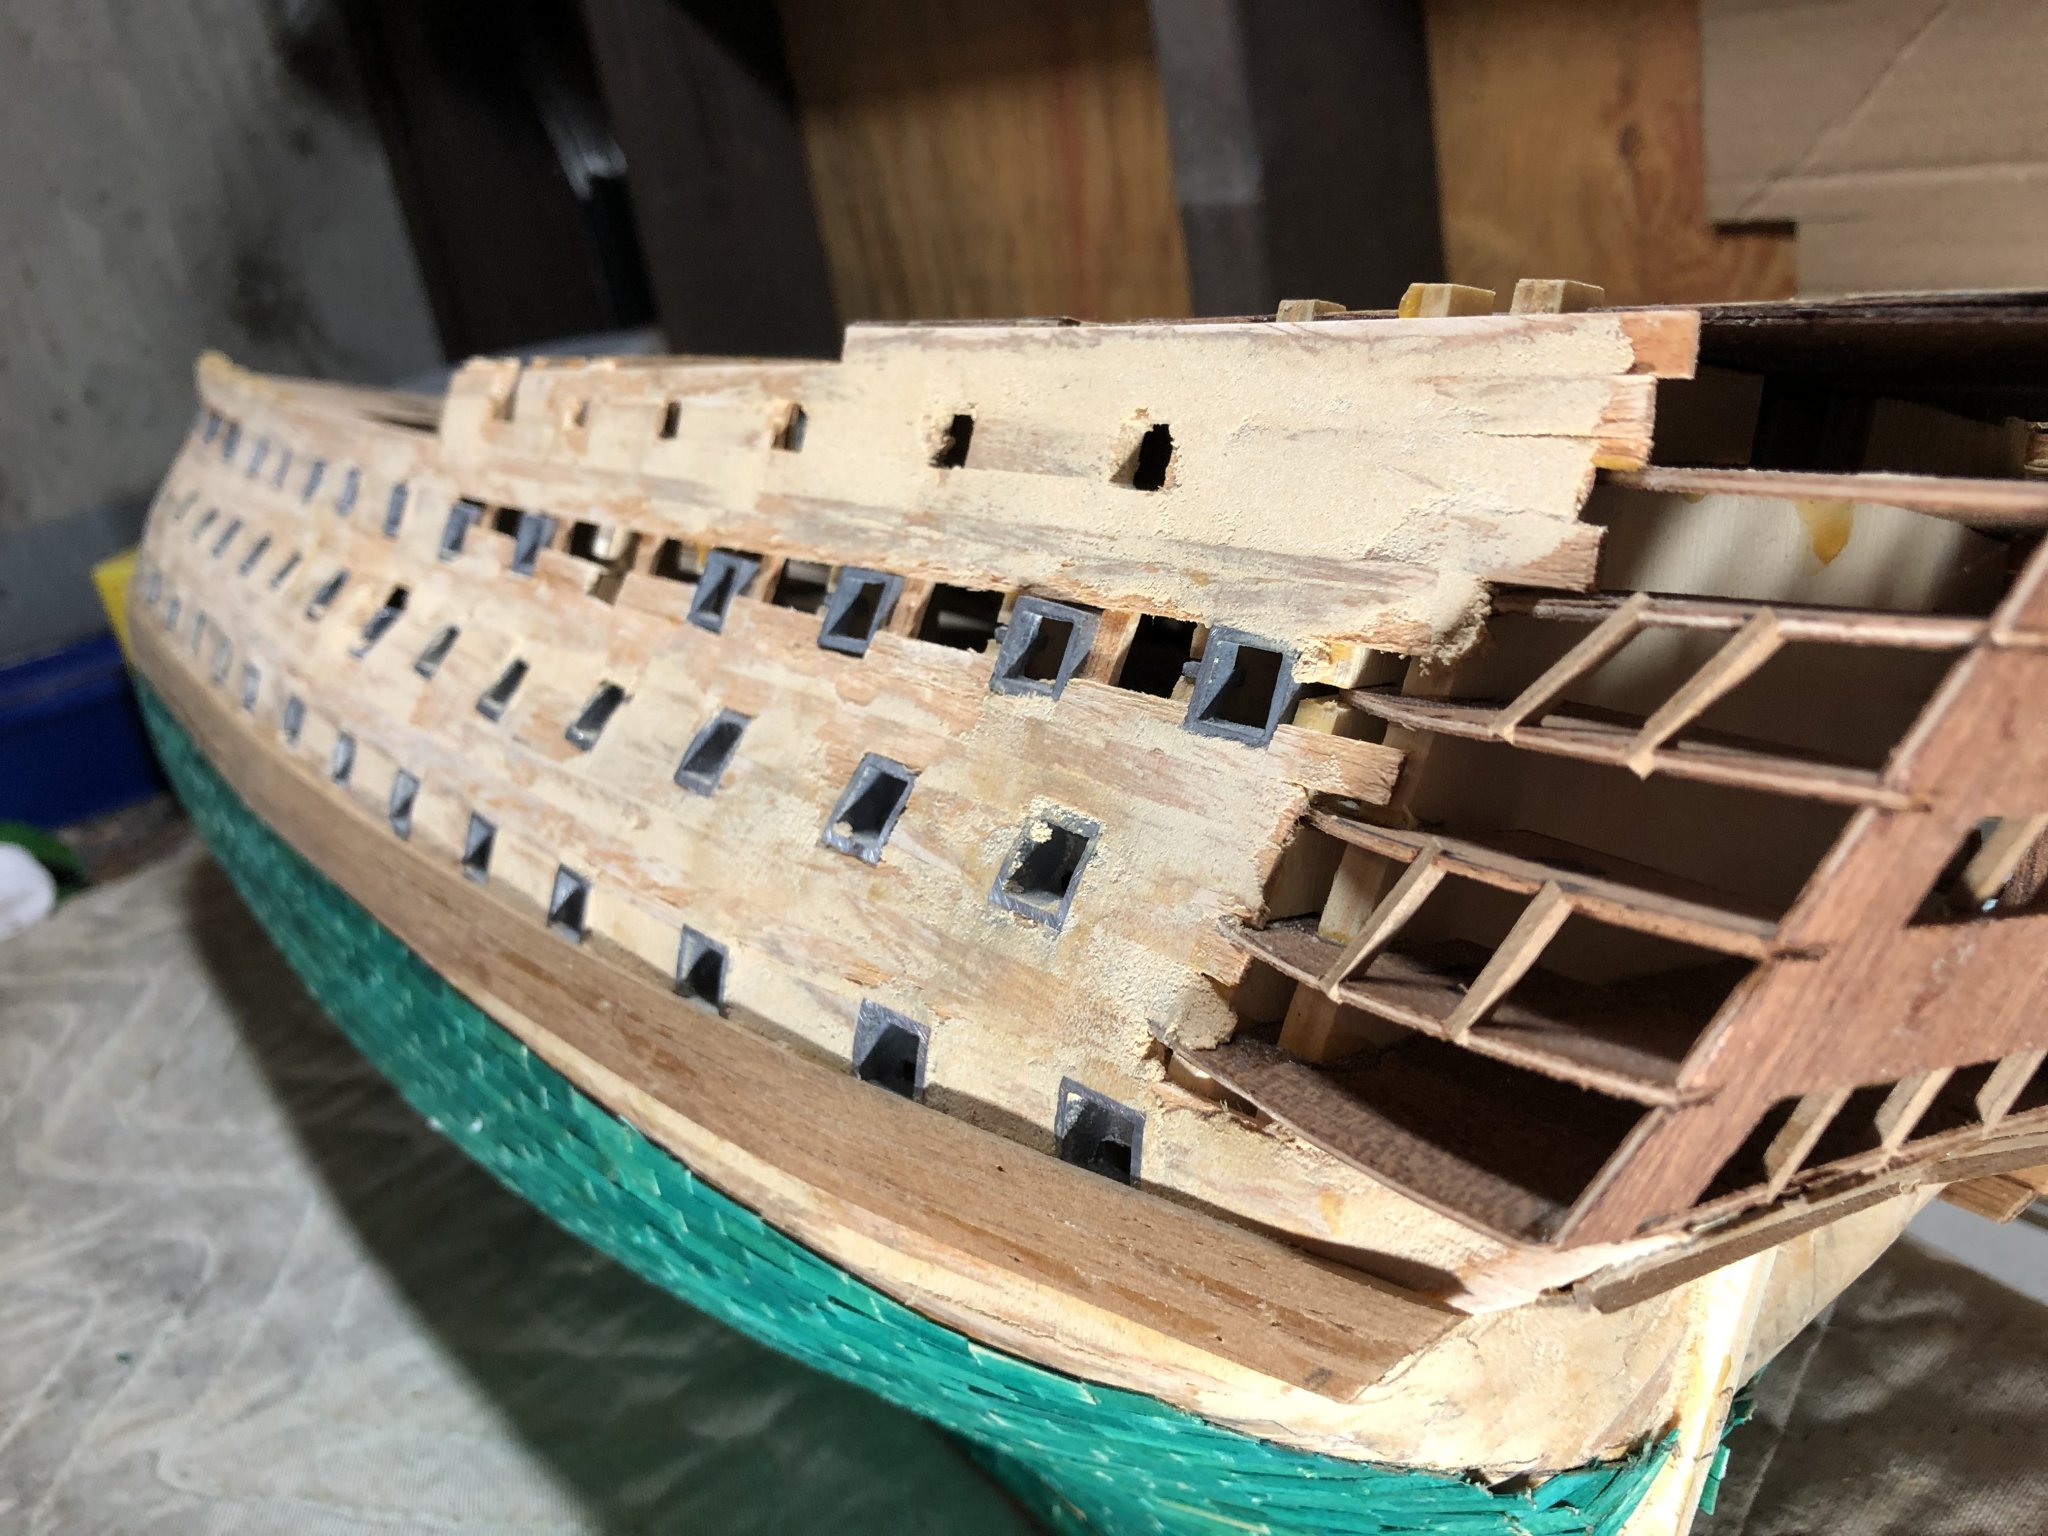
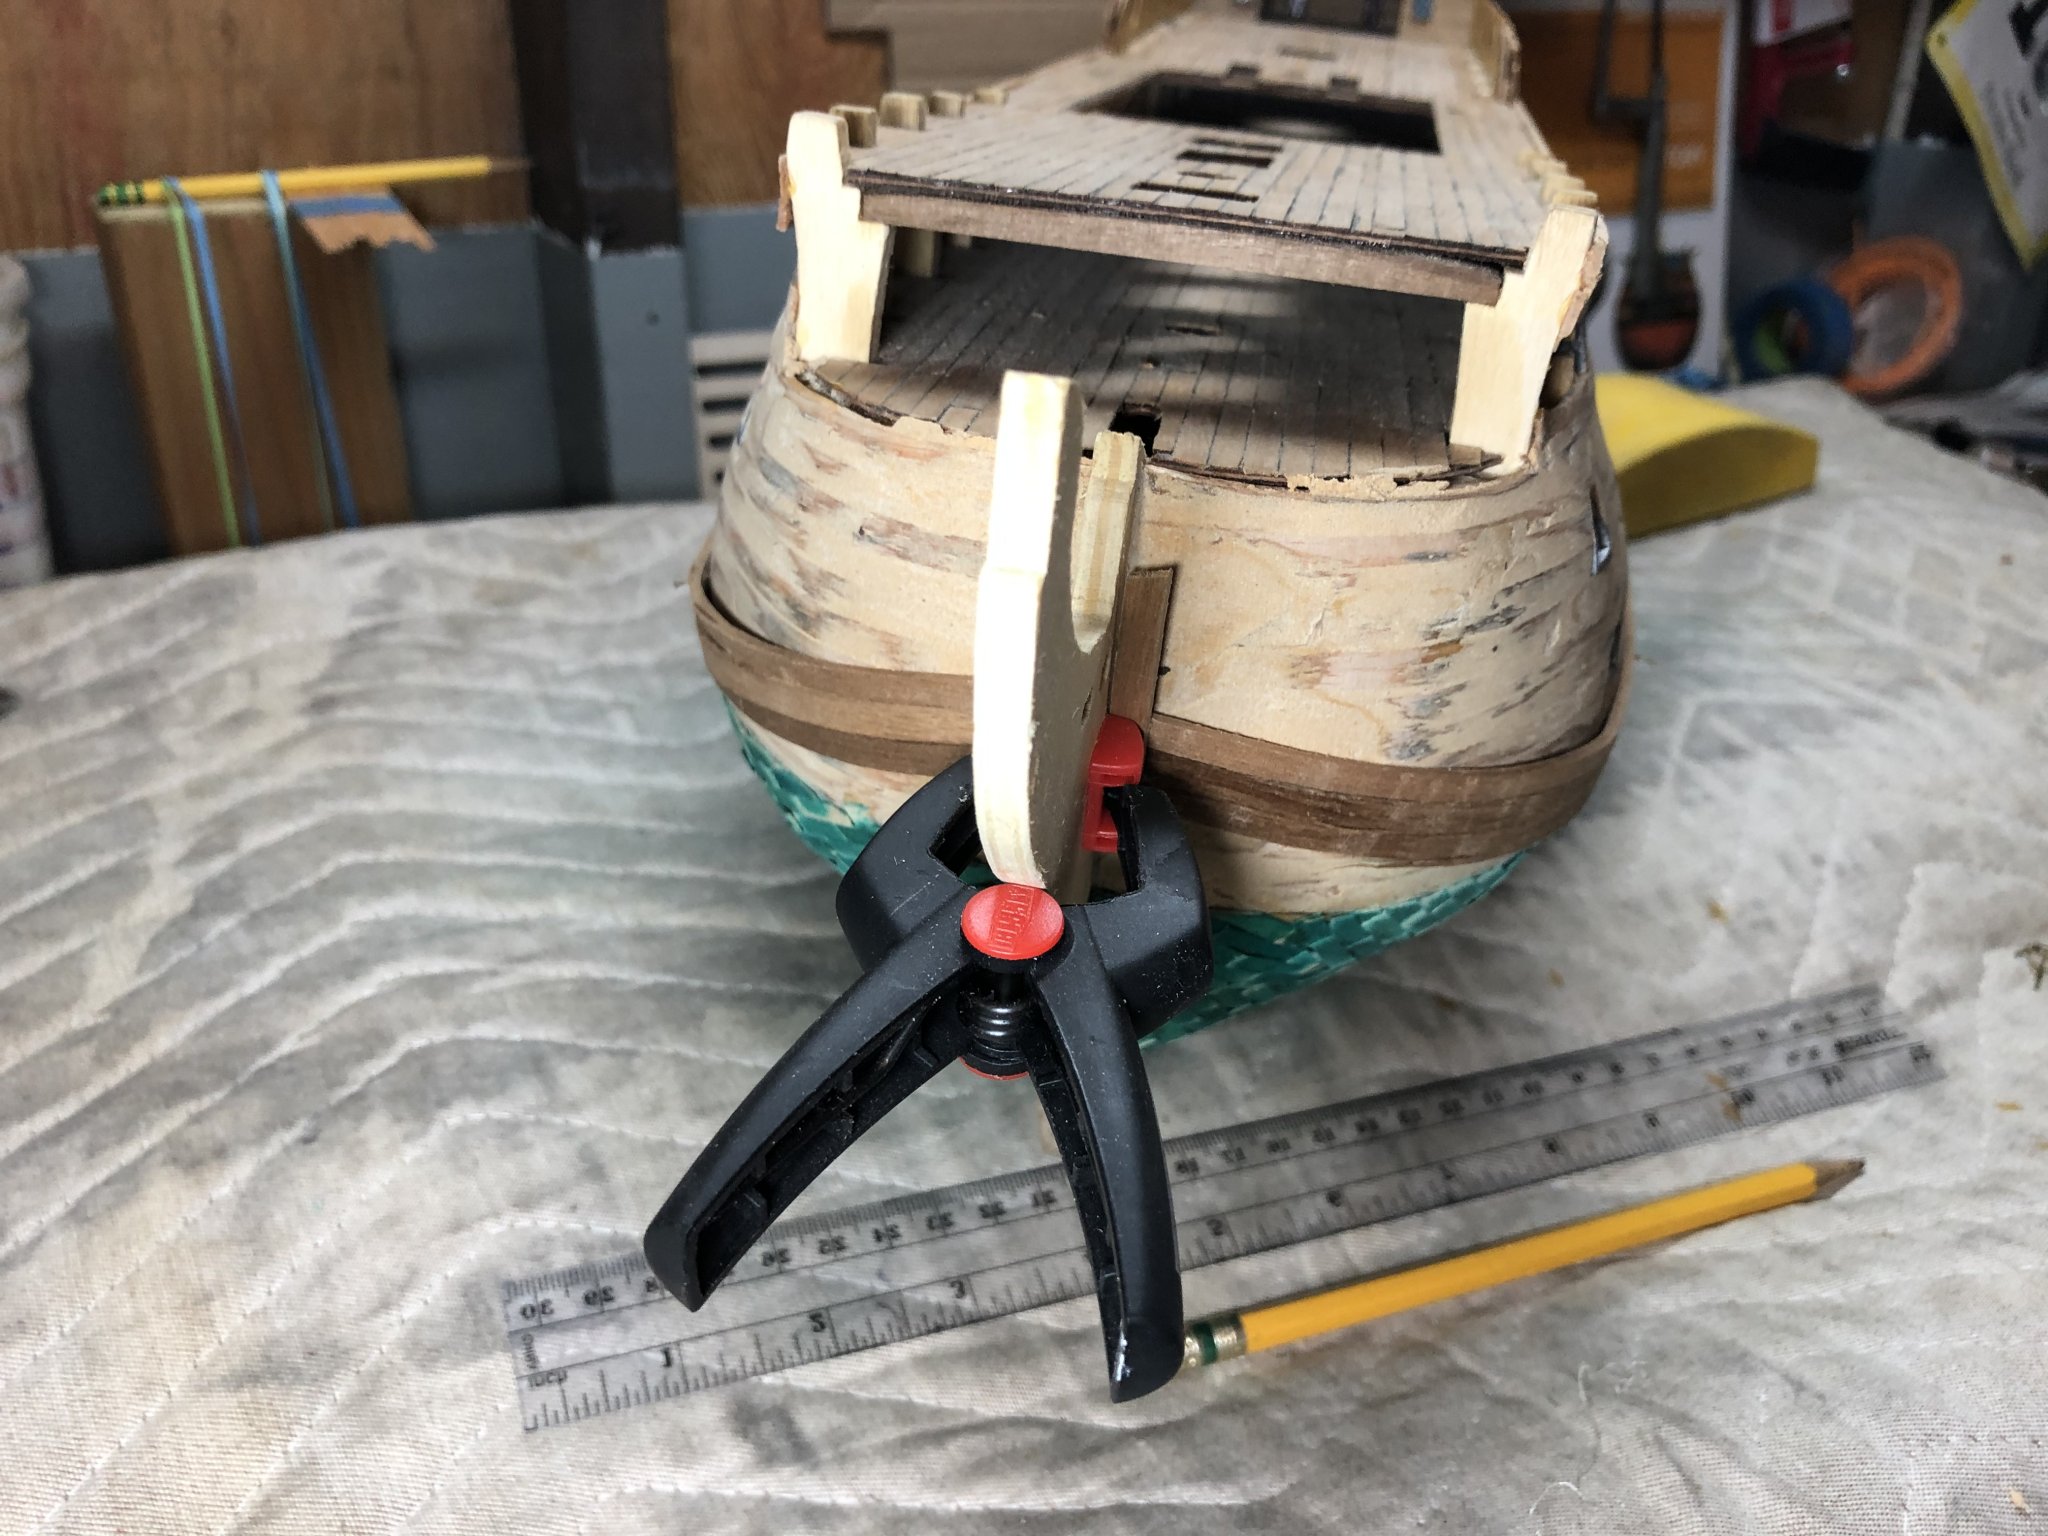
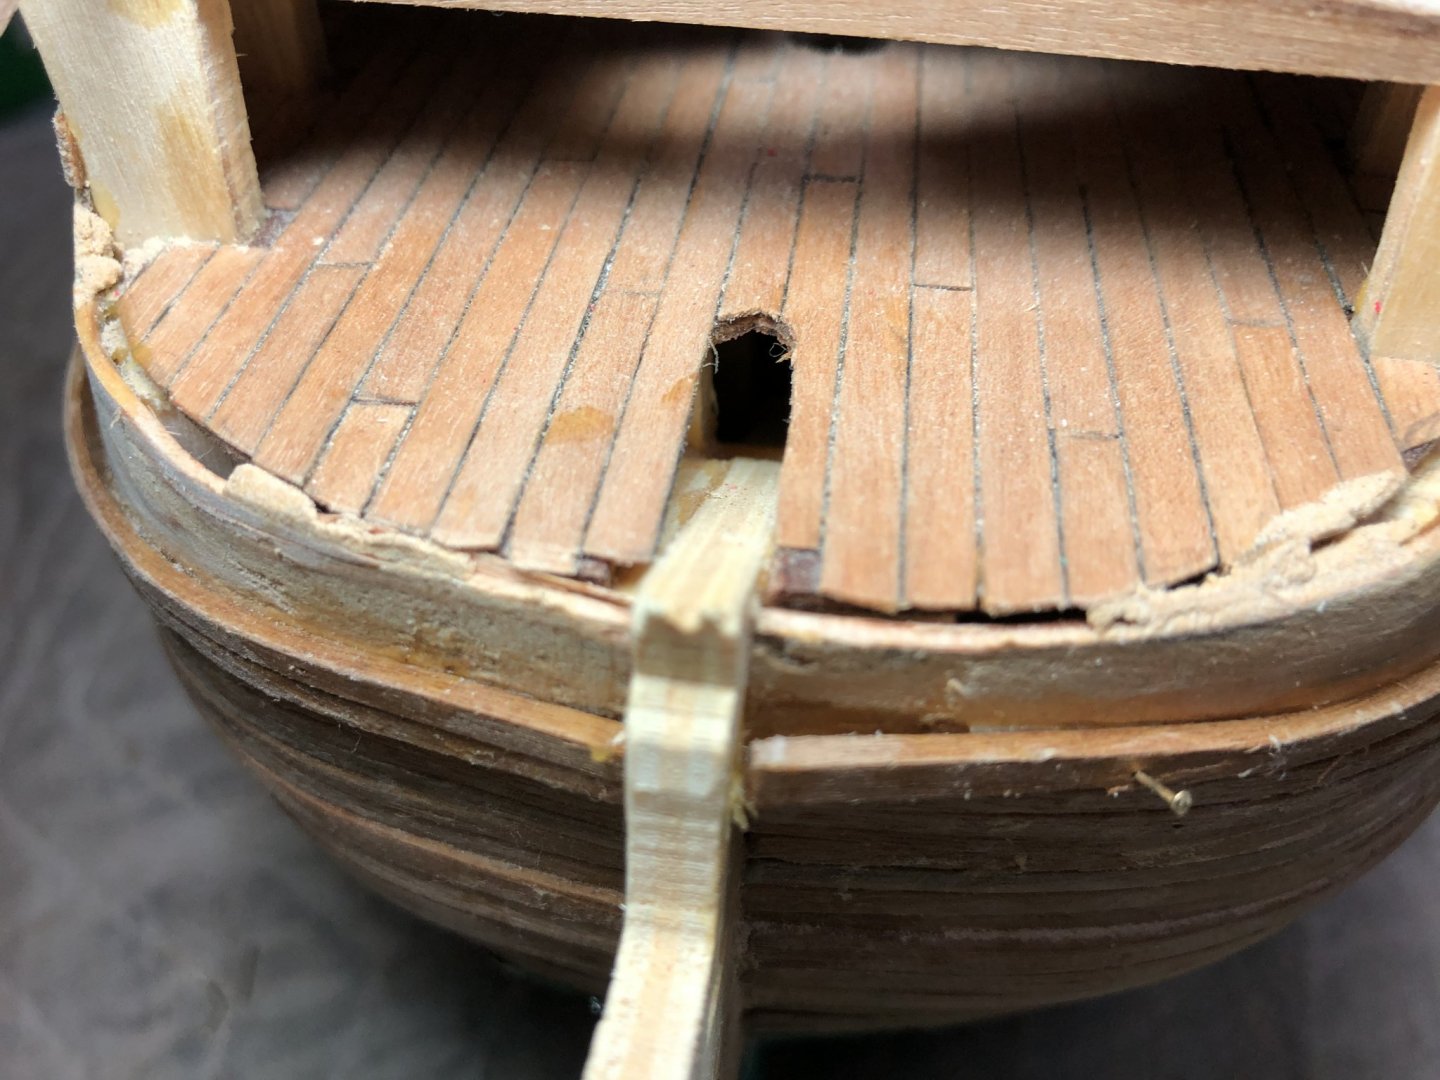
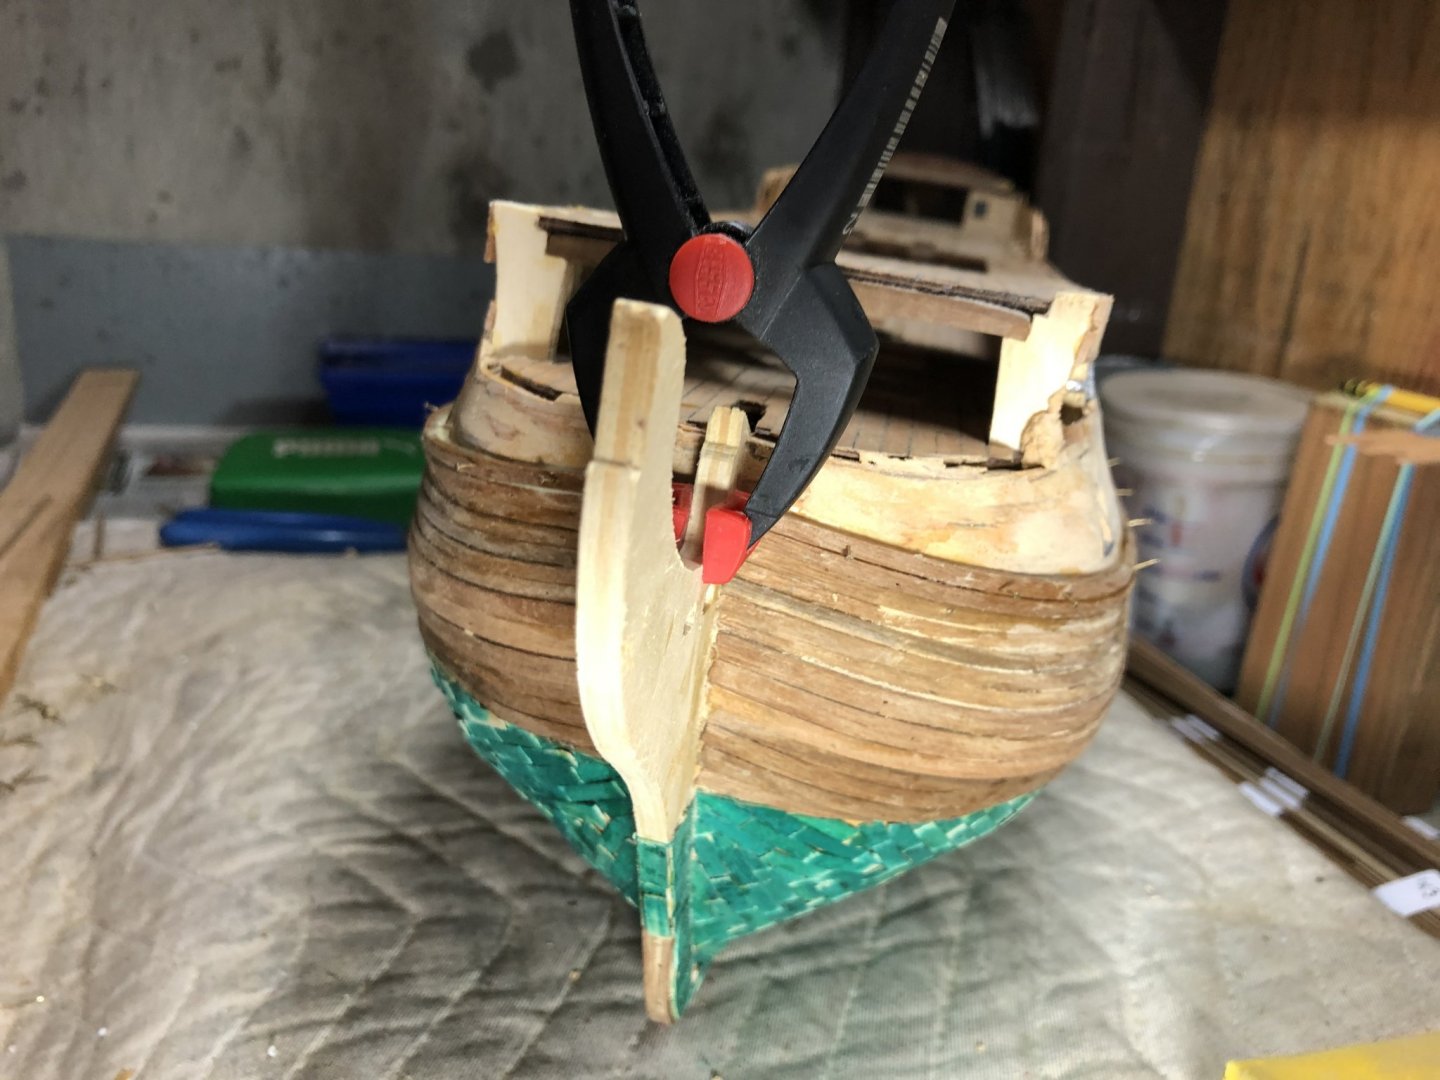
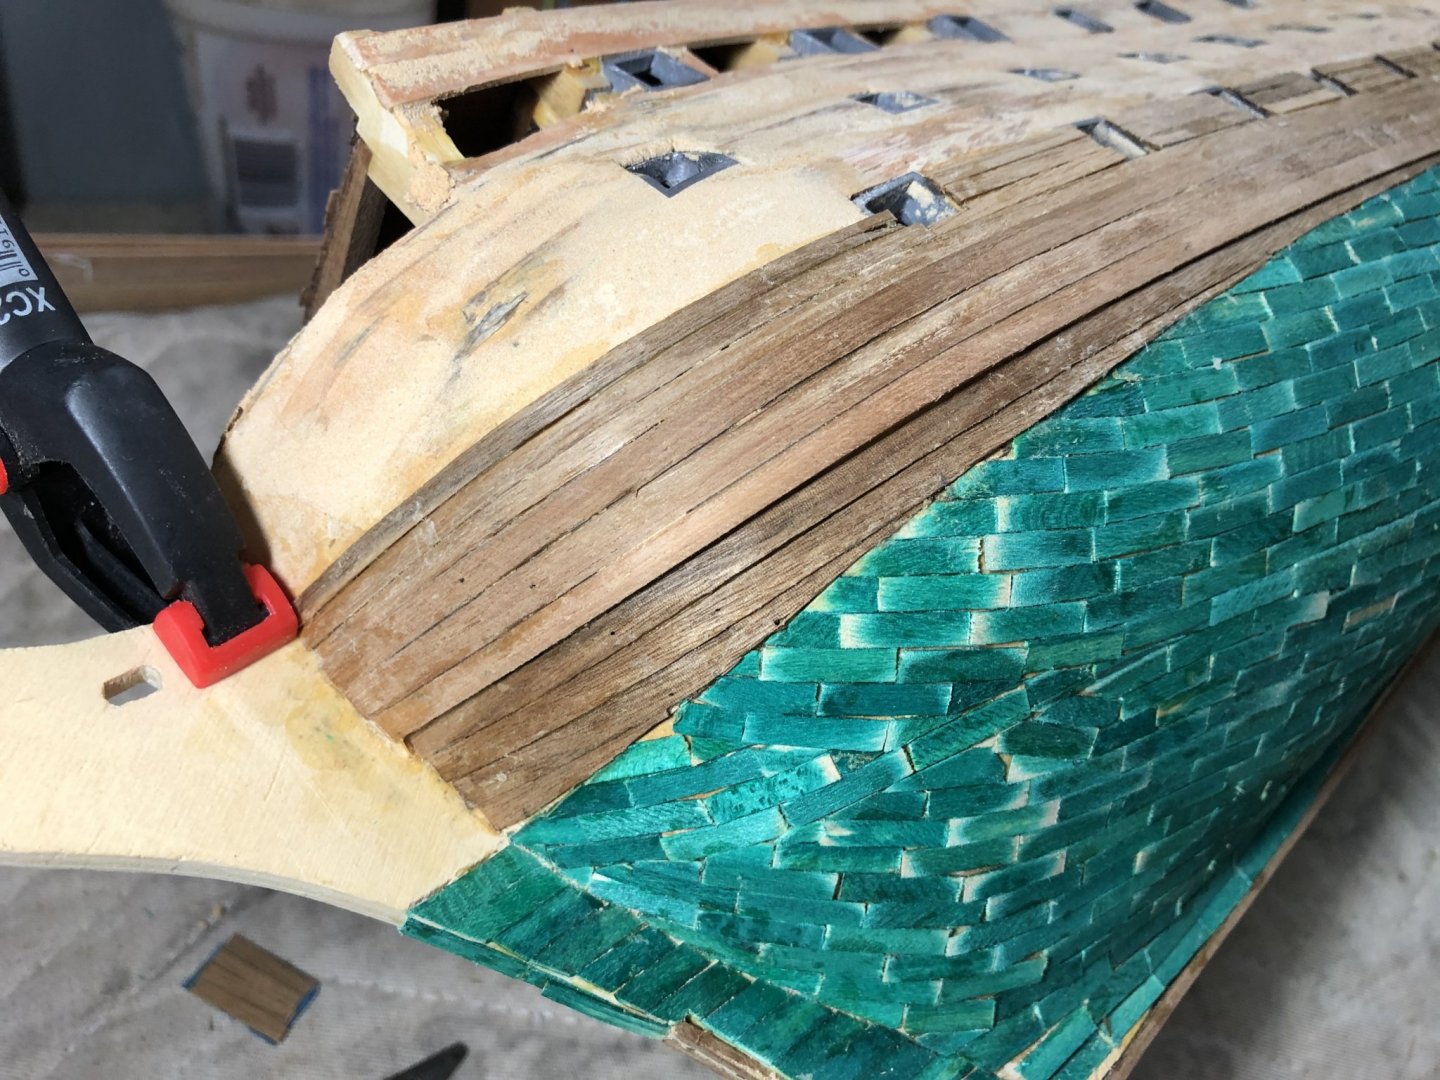
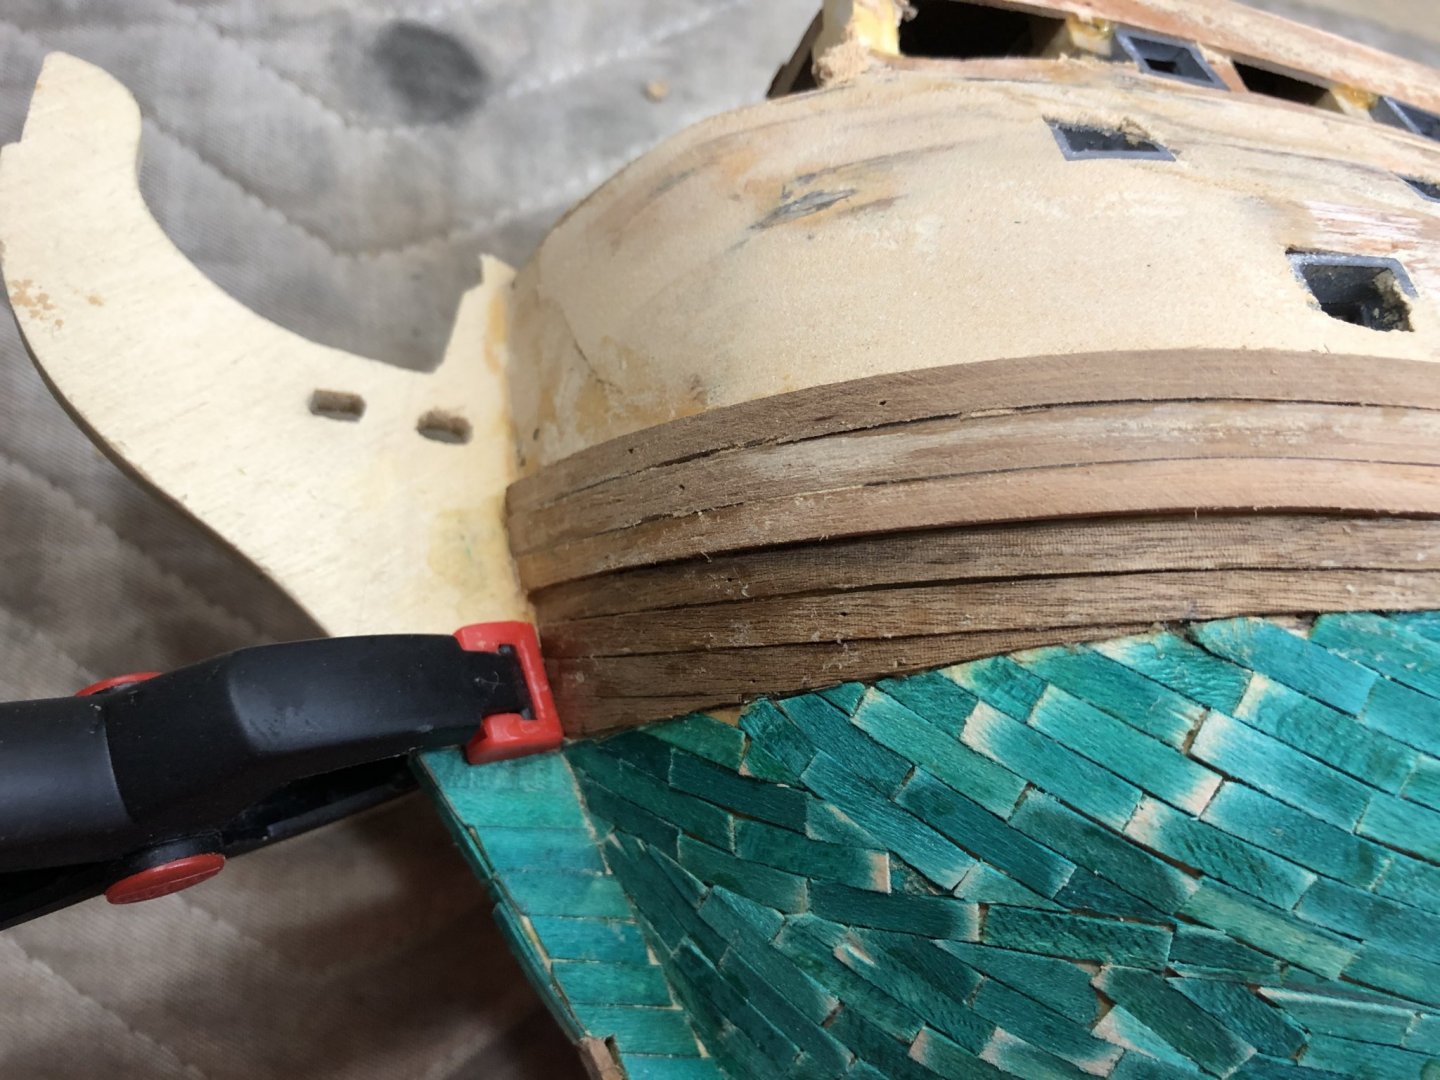
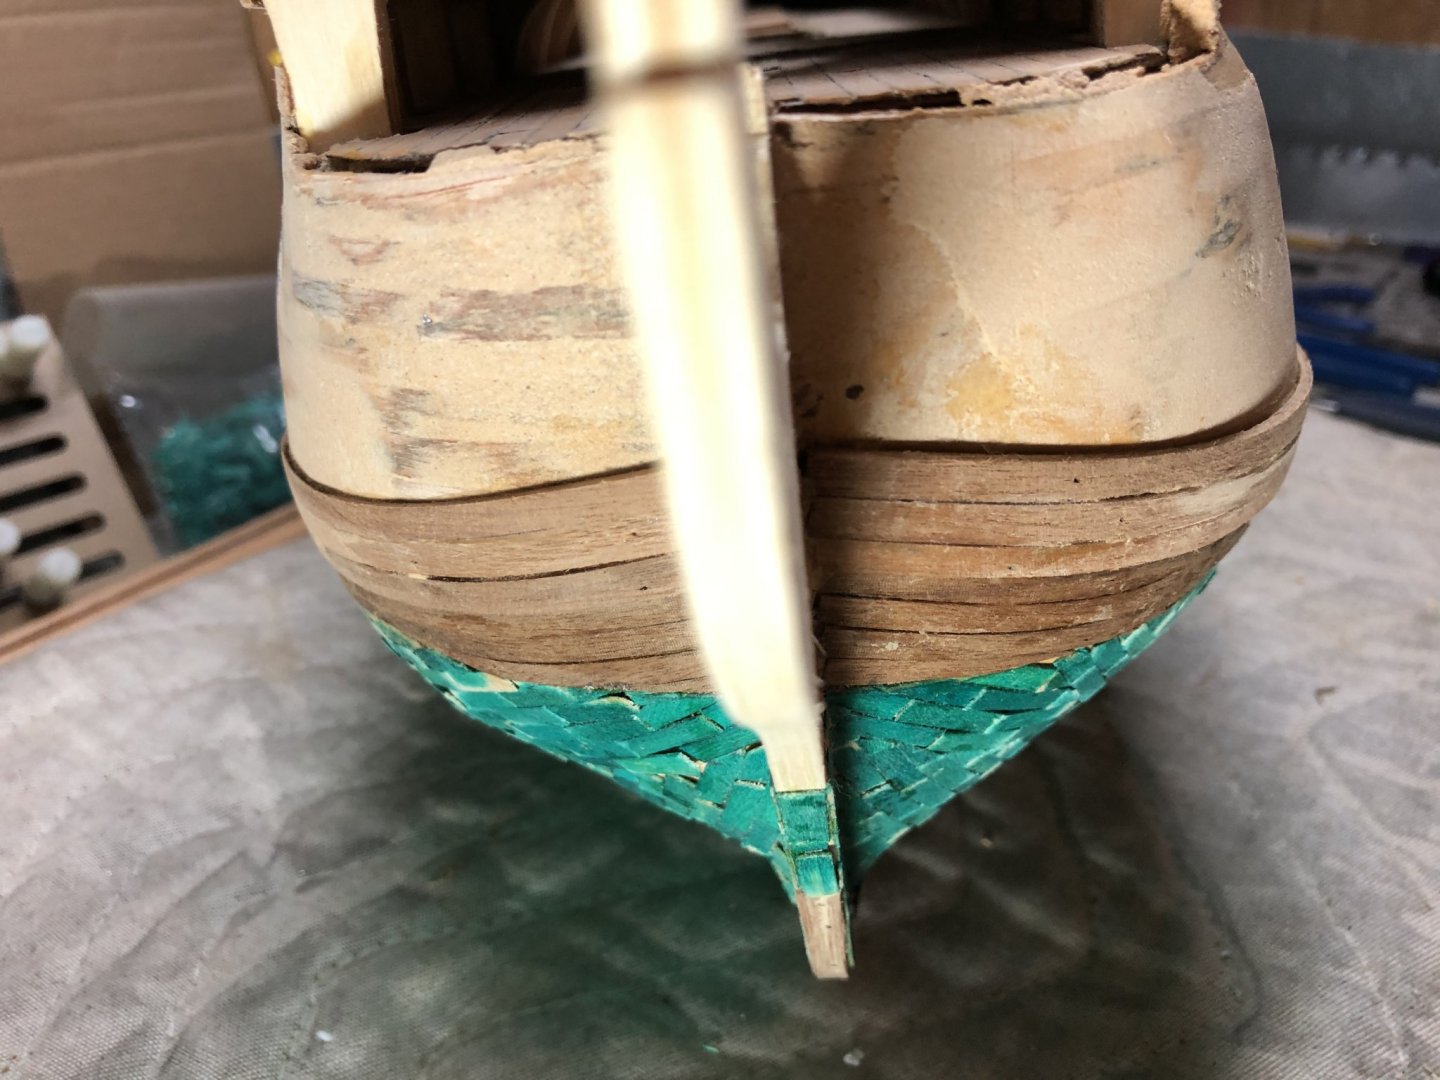
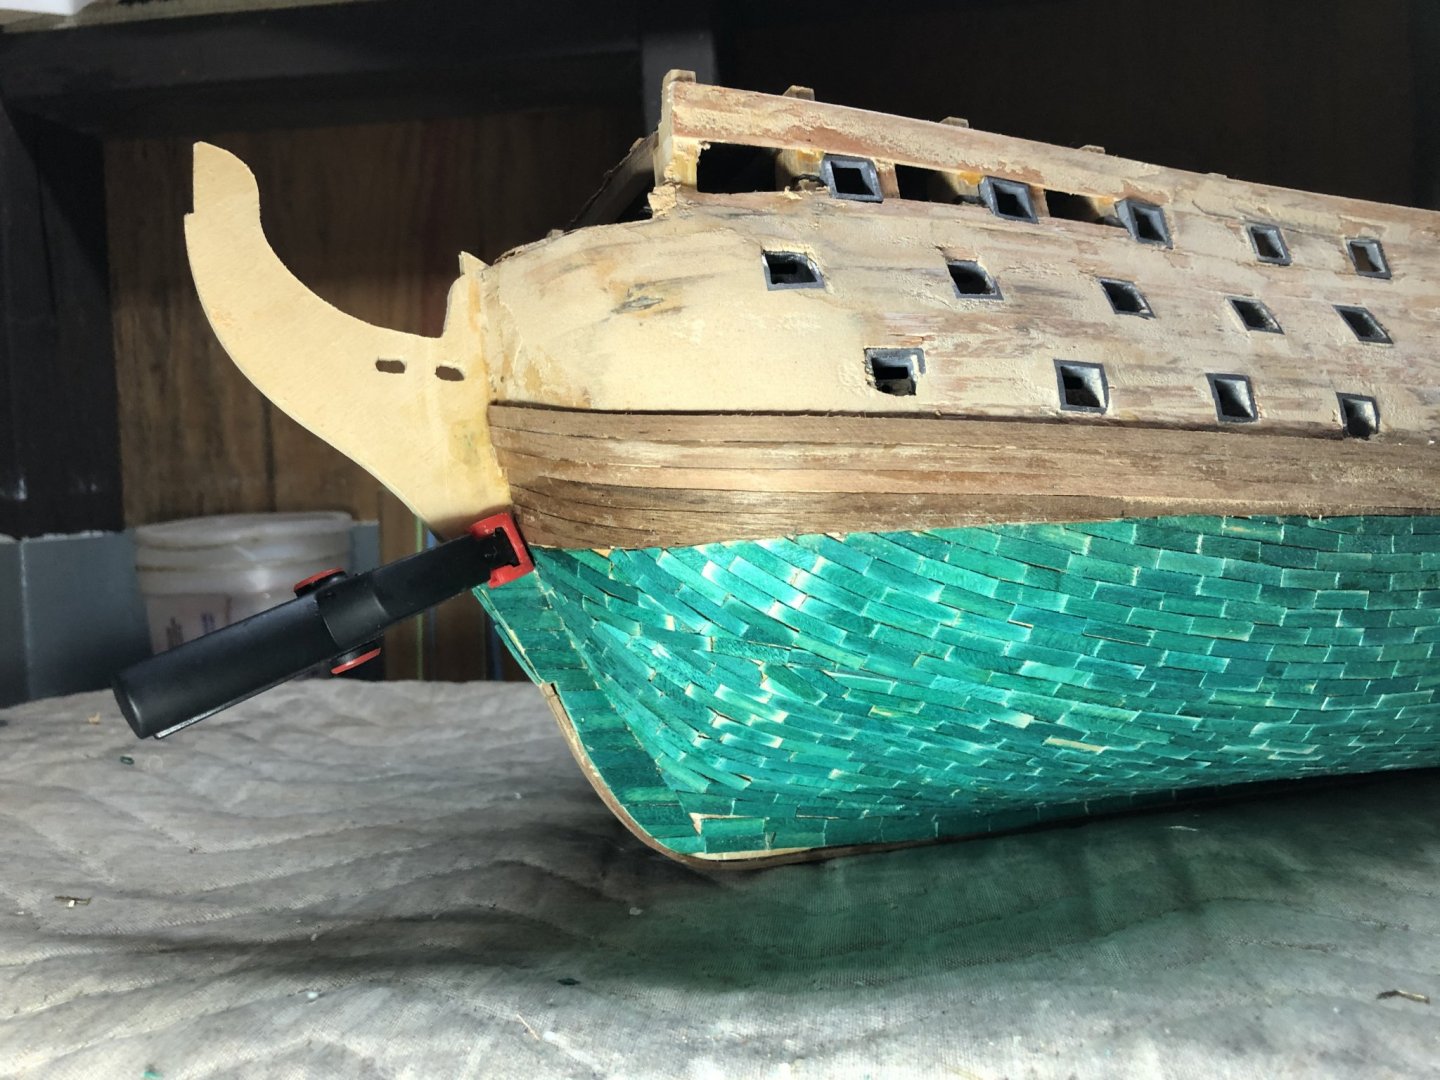
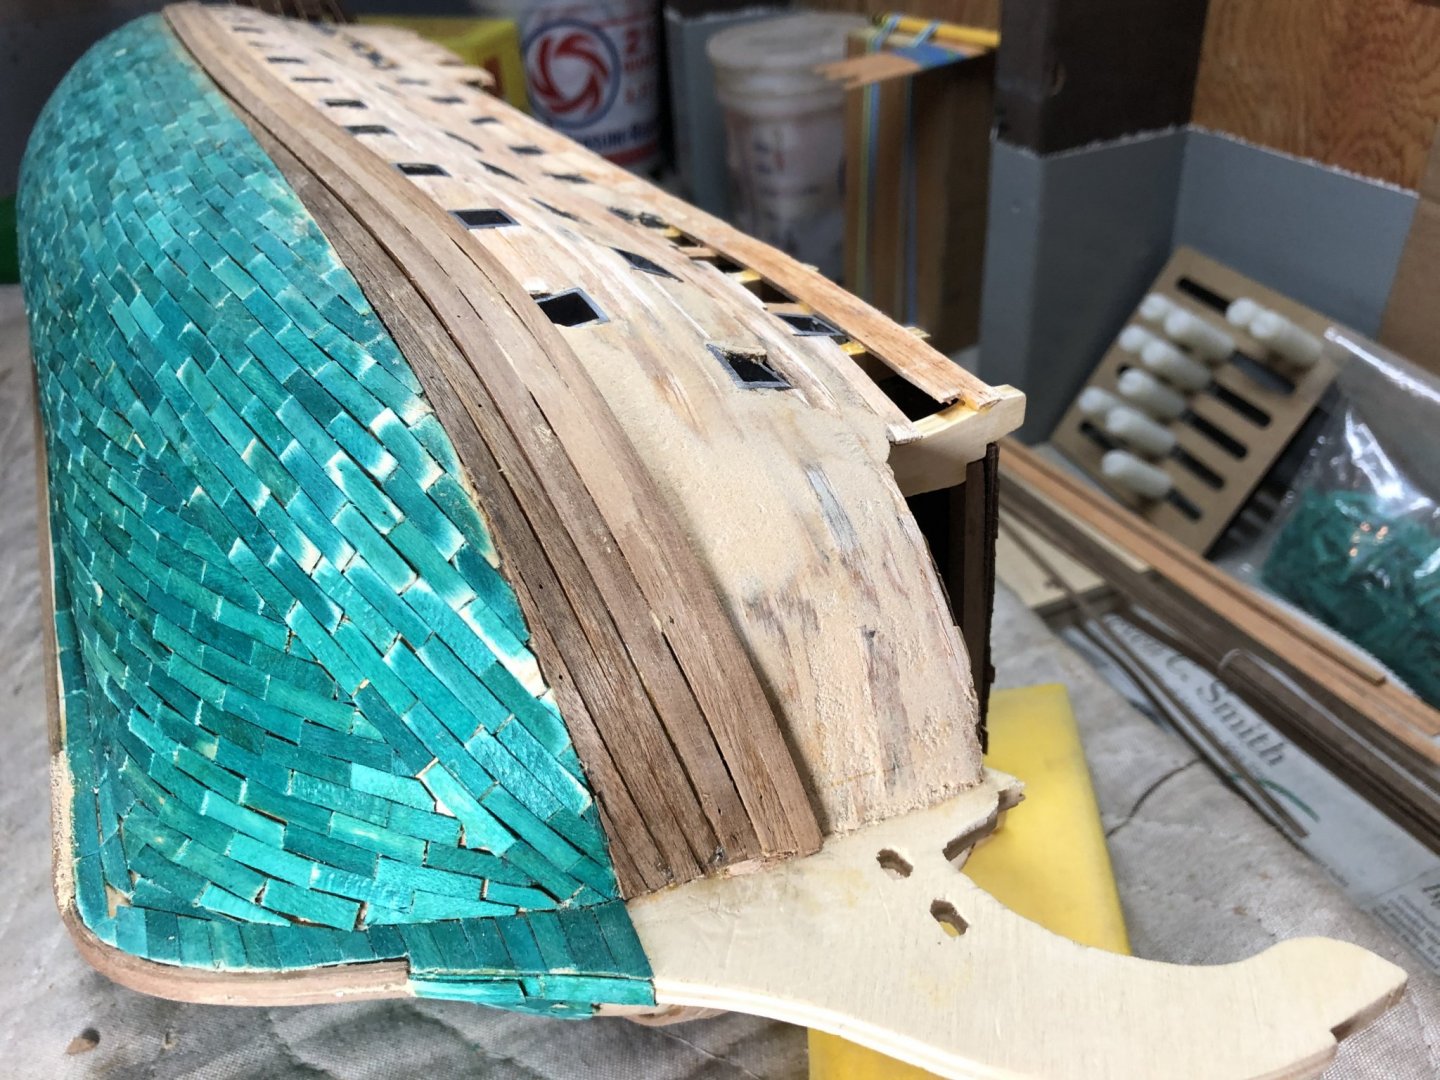
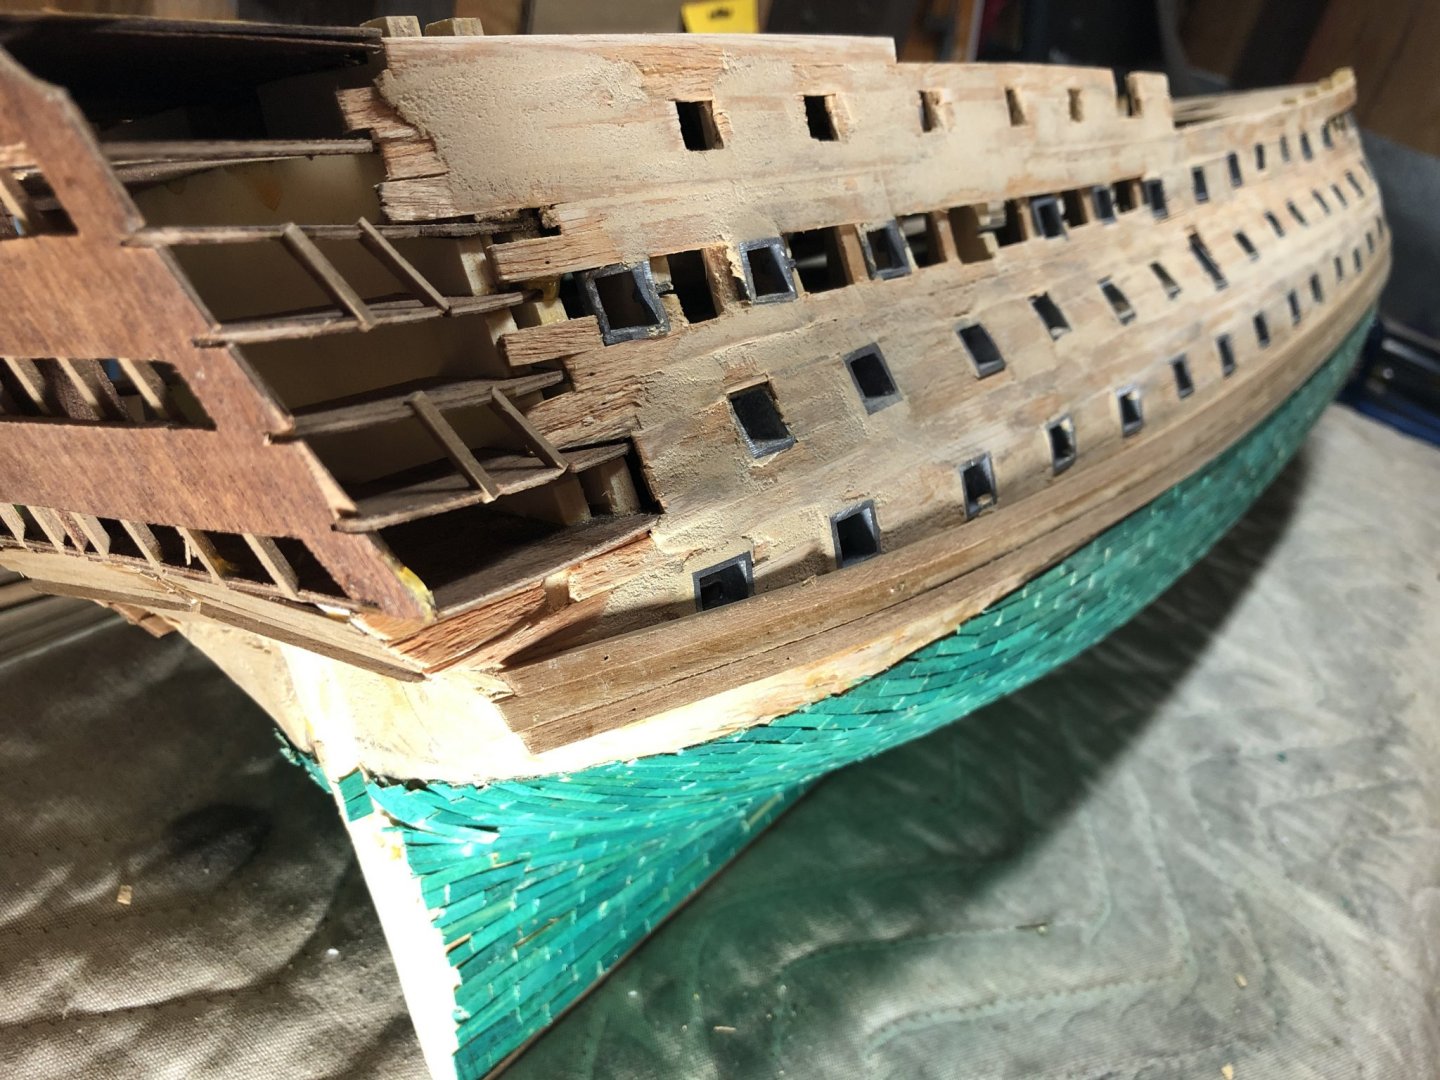
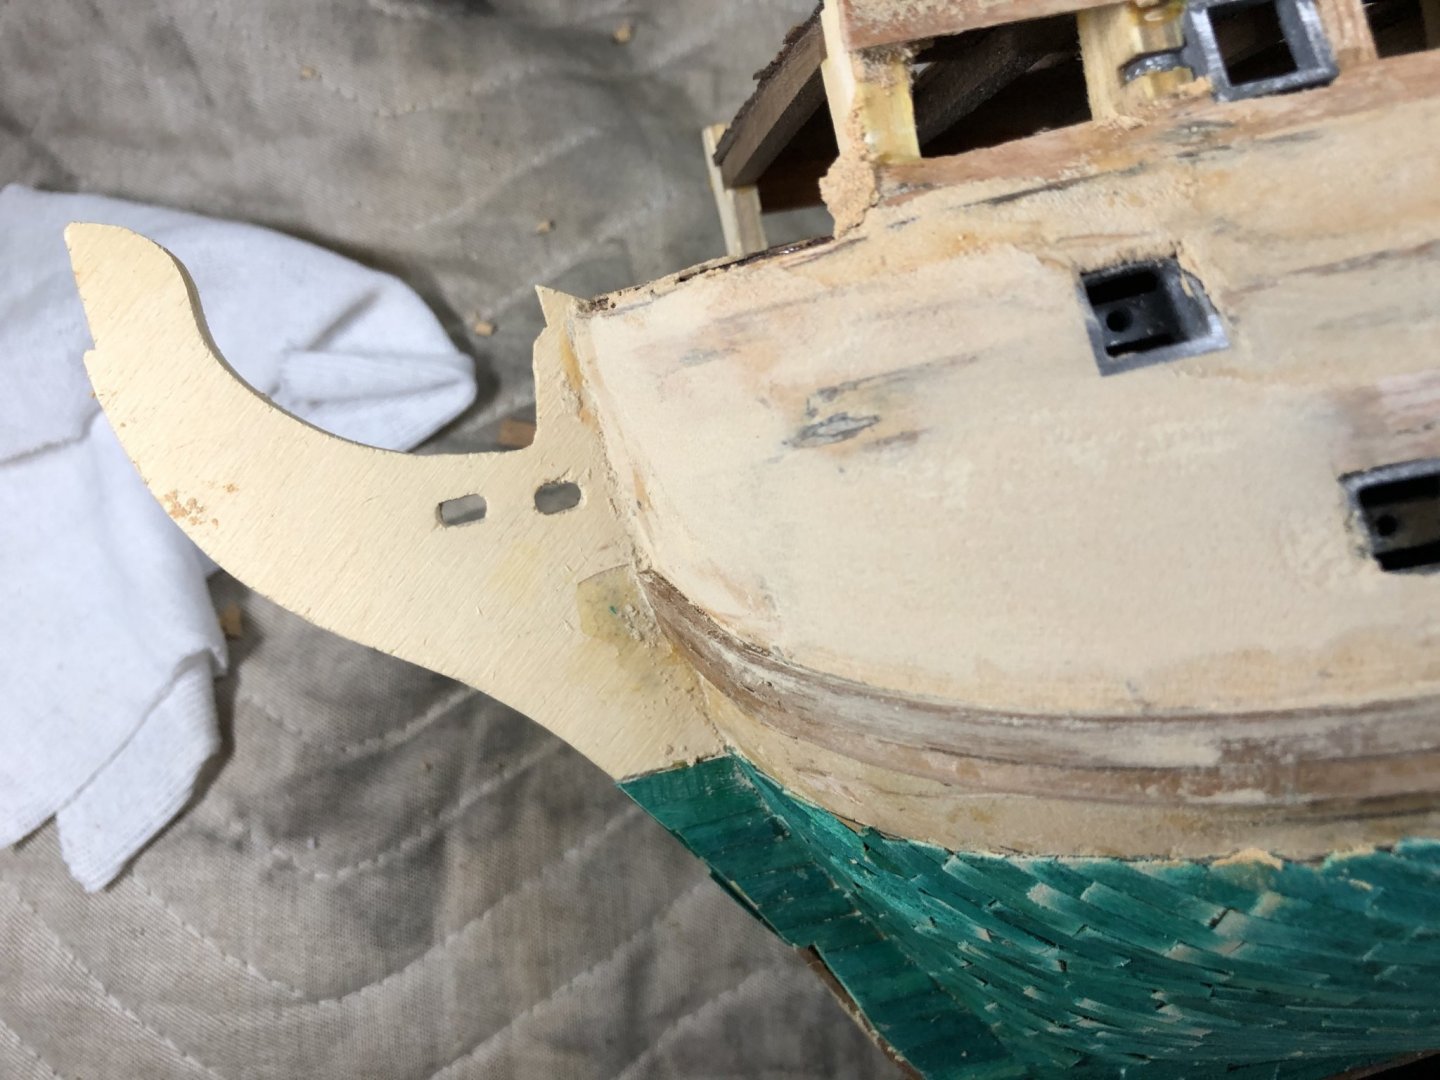
Thought I had completed the port side second set of wales only to find out the most forward portion of the plank had slipped out from the clamp while drying, resulting in the condition below. Any suggestions on how to fix this? Plan ‘A’ is to sand away any excess glue residue and gently scrape away the glue connecting to the lower wale to provide some flexibility. Then, to see if some steam may enable me to bend the end into position. Plan ‘B’ would be to cut the end off, reattach to the hull and sand/fill the seam. Other suggestions welcome!
-
First two planks of both starboard and port wales installed. I was able to sand the edges on these two planks before installing them which provides more of a marked separation between the two boards. I’ve been using the small Mamoli provided nails for holding planks in place while drying and after having knicked up my fingers attempting to temporarily press them into place while I put the hammer to good use - finally came up with a way to hold them in place with pliers, tapping them down to hold them in the plank before actually getting the plank in place. Then, I could easily tap the nail in. Saving a bit of bother. I know, I know... yes, the Victory shouldn’t be your first kit! Should be able to finish the wales up tomorrow and then continuing the planking exercise....

-
Thank you Christopher; you are too kind! You are clearly not looking close enough! While far from perfect, I do think my plank bending approach and skills are improved over my first planking effort. I’m immersing the planks longer, bending and then allowing to fully dry before installing. I’m also adding filler if/where needed for those spots in front that leave gaps between the hull and plank. That enables me to provide a solid plank/hull connection.
-
Starboard side complete. Planning to shape and fit the next set of starboard/port side wales for drying and then installation shortly thereafter.

-
Starboard walnut planking continuing; hoping to finish it off tomorrow and begin adding the second set of wales.
-
Thanks Emmet; I’m enjoying watching your build; you’ll be past me shortly!
-
Port side planking continues above the main wale. Complete now with some sanding to do. The spacing looks ok. Will work on the starboard side tomorrow, gLw.
-
Thanks for this Christopher. I think you are partly correct. How did your early part integration go? I’m talking specifically about the middle decks and above. After I had integrated the bulkheads with the keel, the decks did not fit. I had to do a lot of deck modification to get them inserted in the bulkhead slots. You can see these trials in the early portion of my build log. Did the decks fit correctly for you? I carried this kit around for 20+ years and I’m sure the wood pieces were inversely affected by poor humidity and other conditions. So yes, the kit parts have some blame, but I’m also sure my methods have not been spot on. Perhaps I’ll get it right with the next one... given there is another!
-
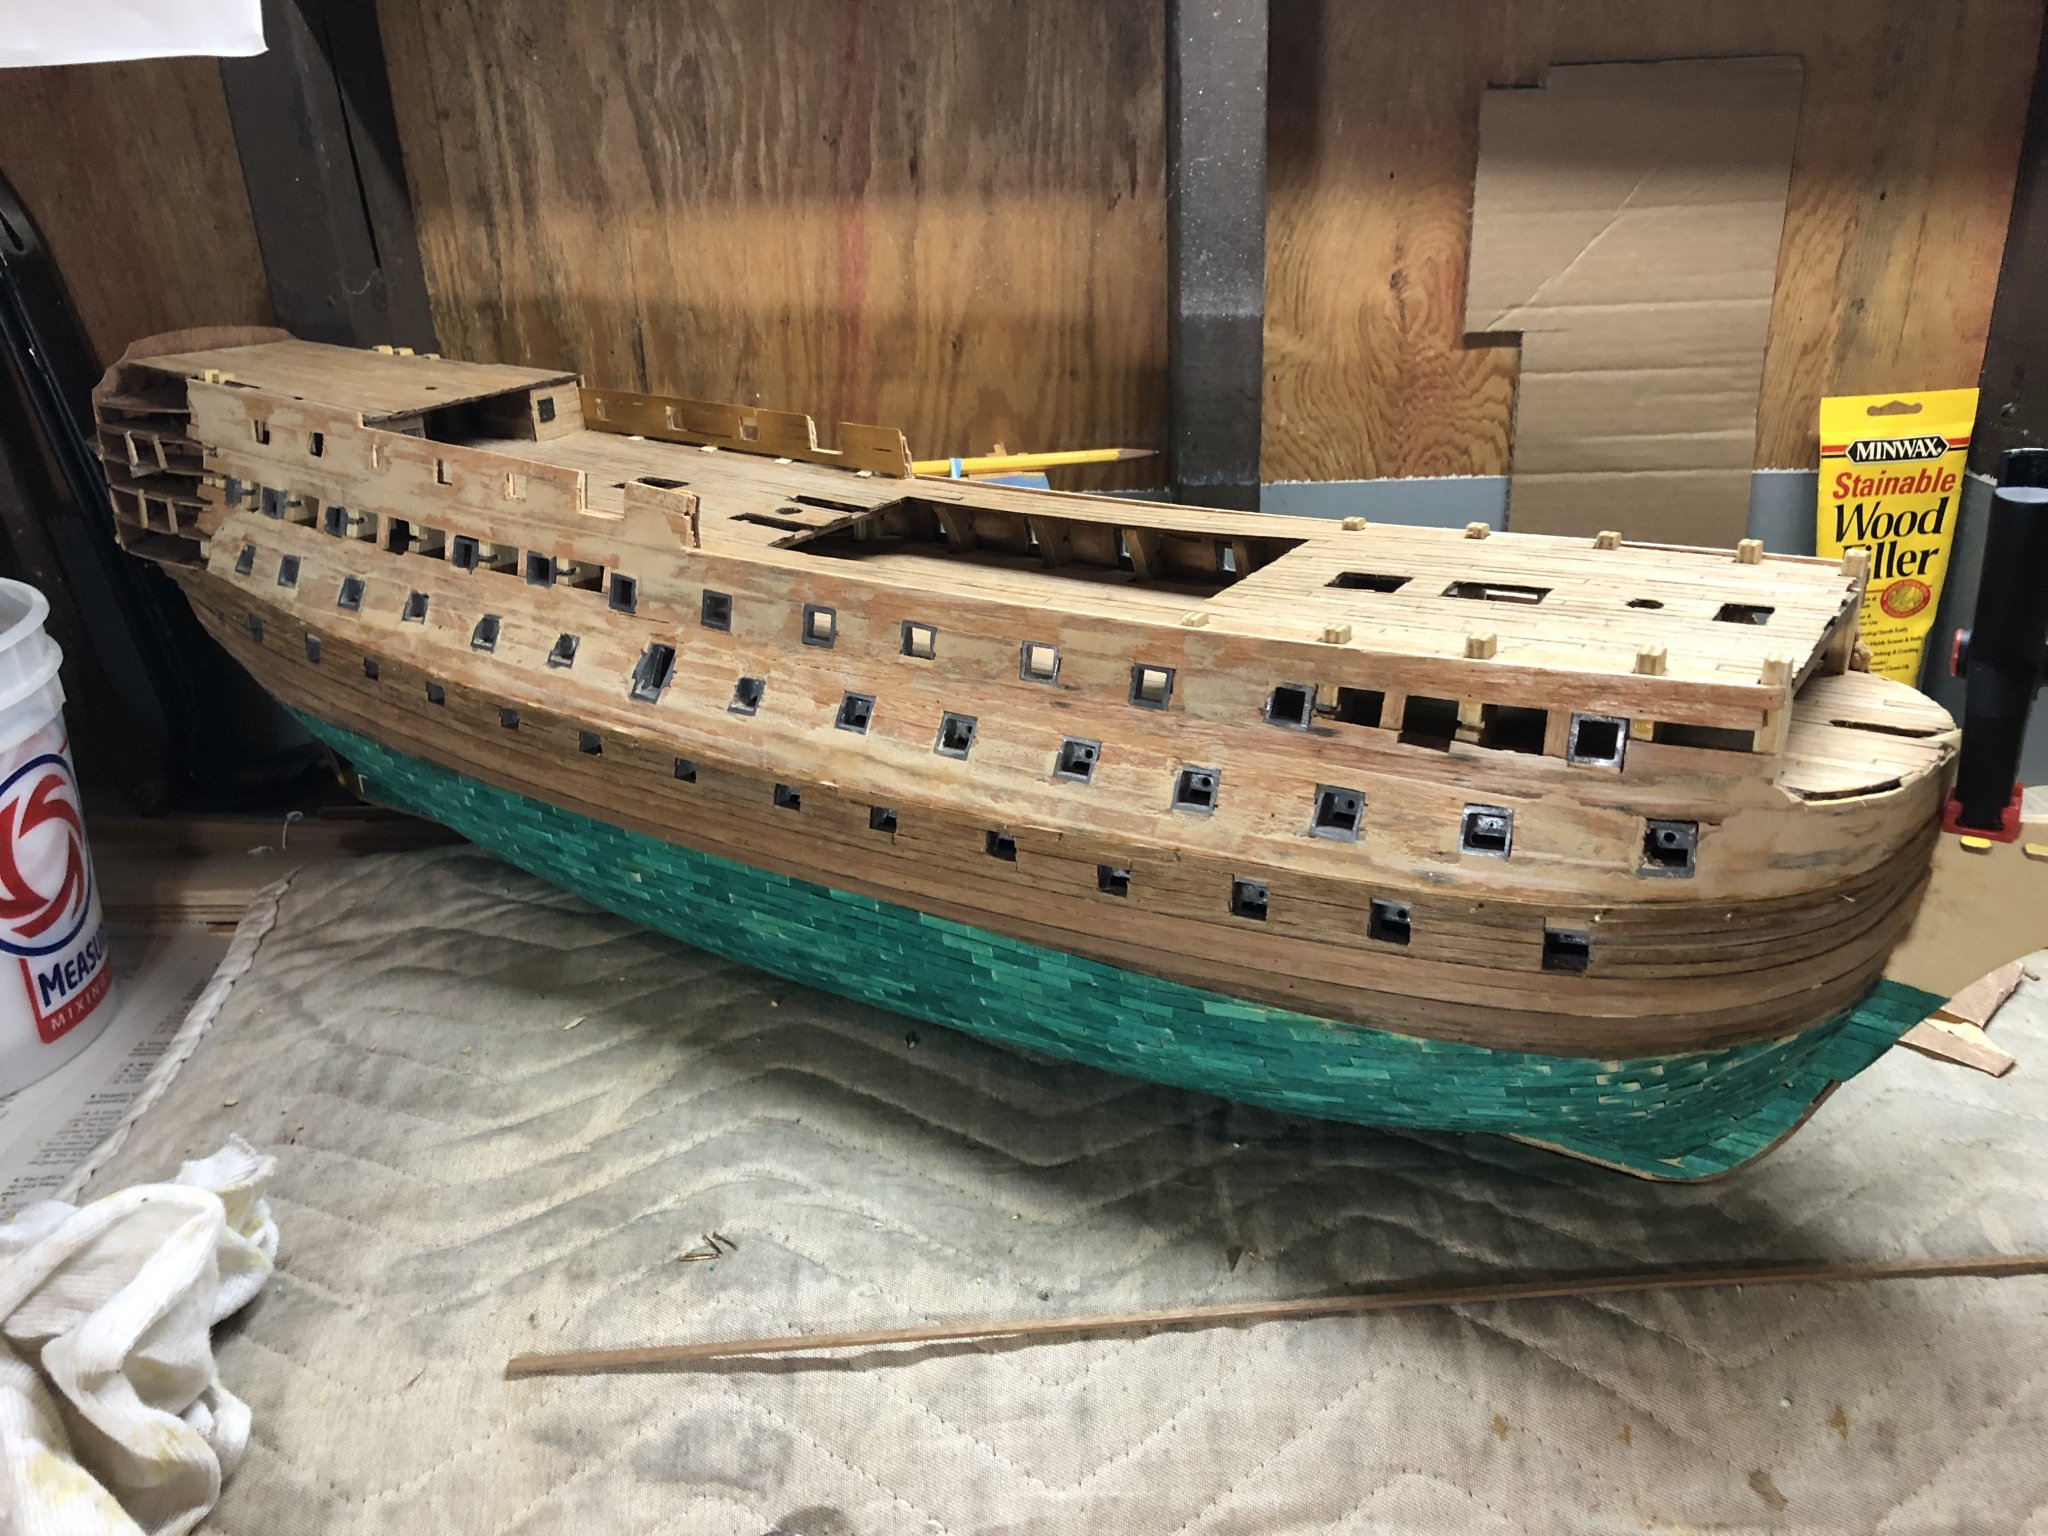
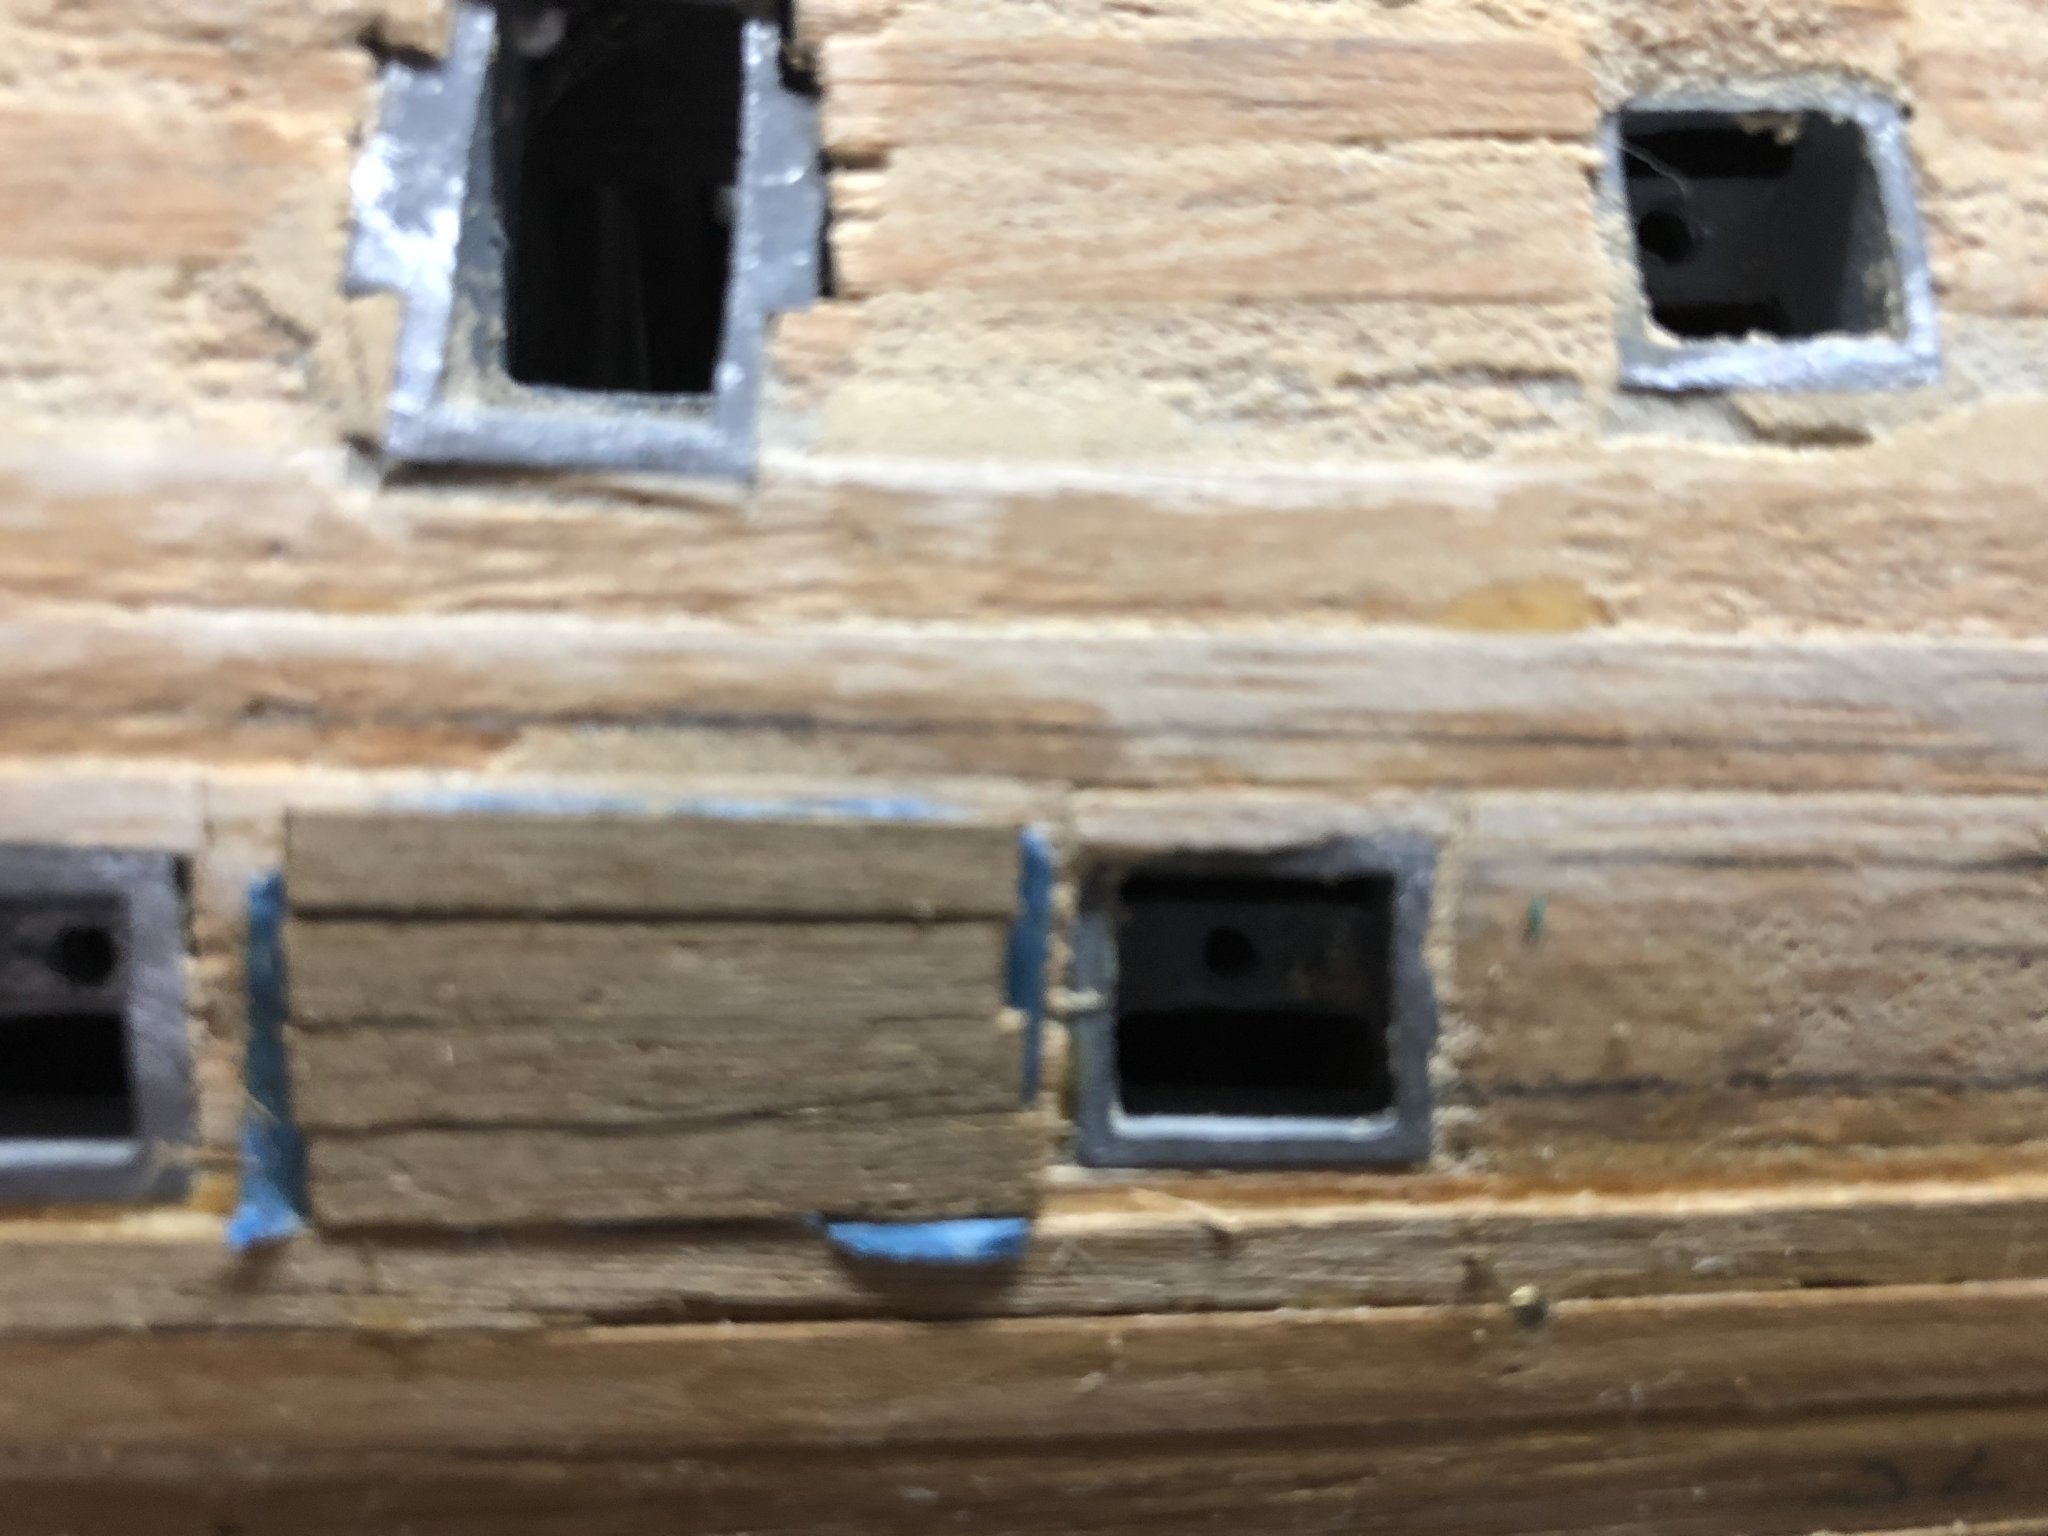
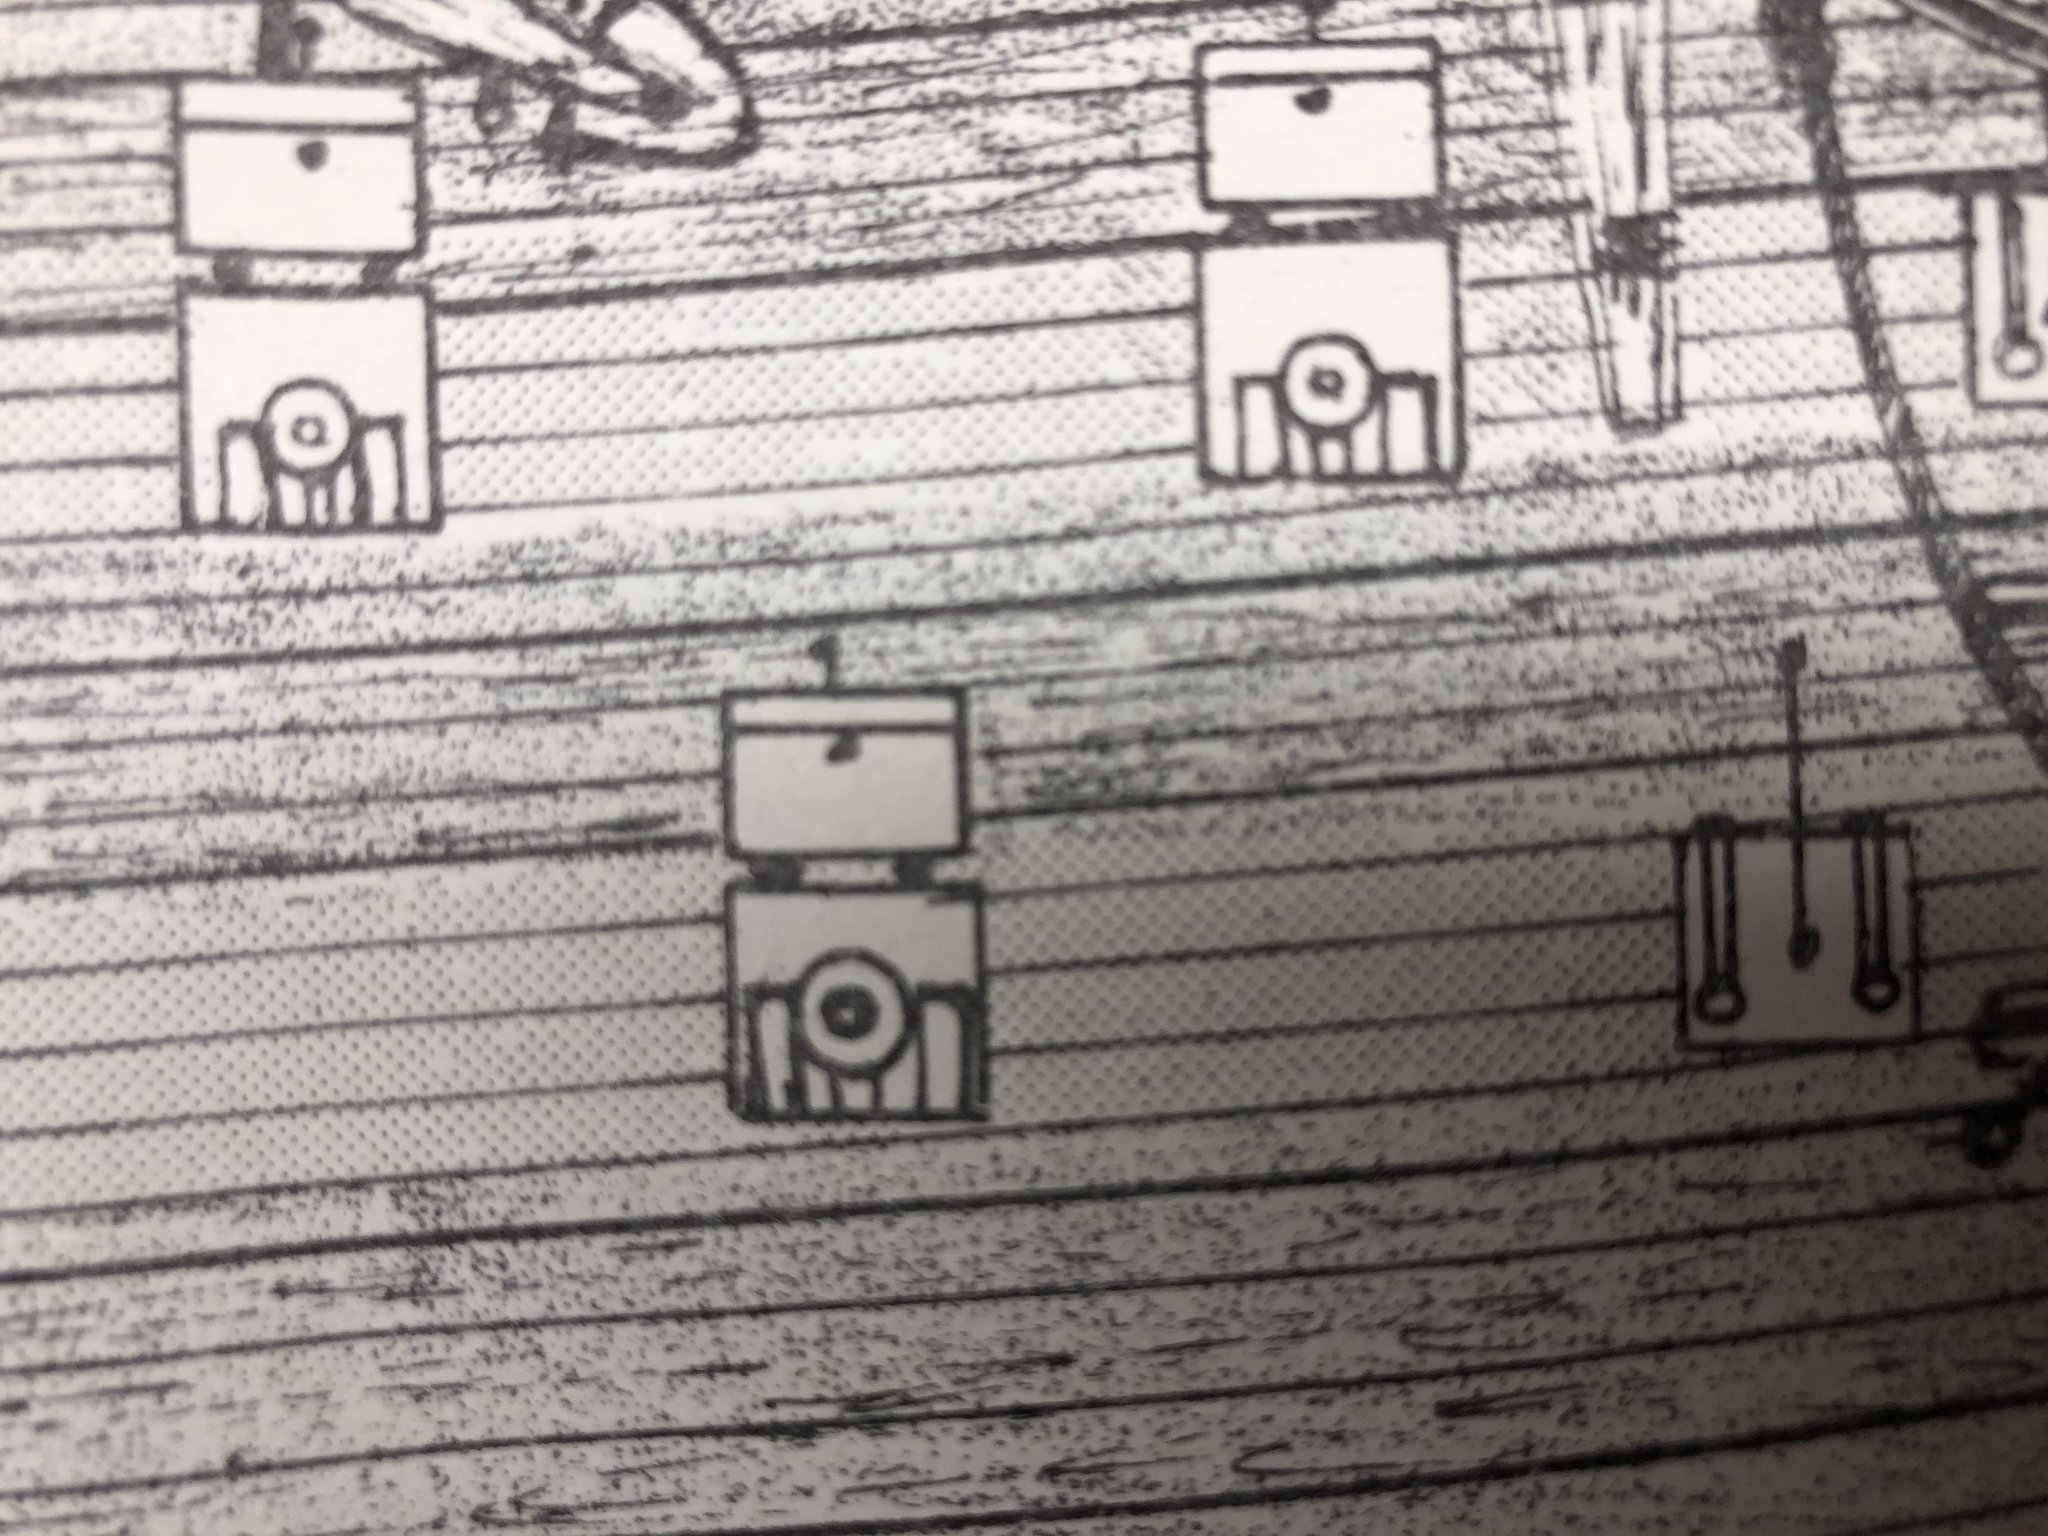
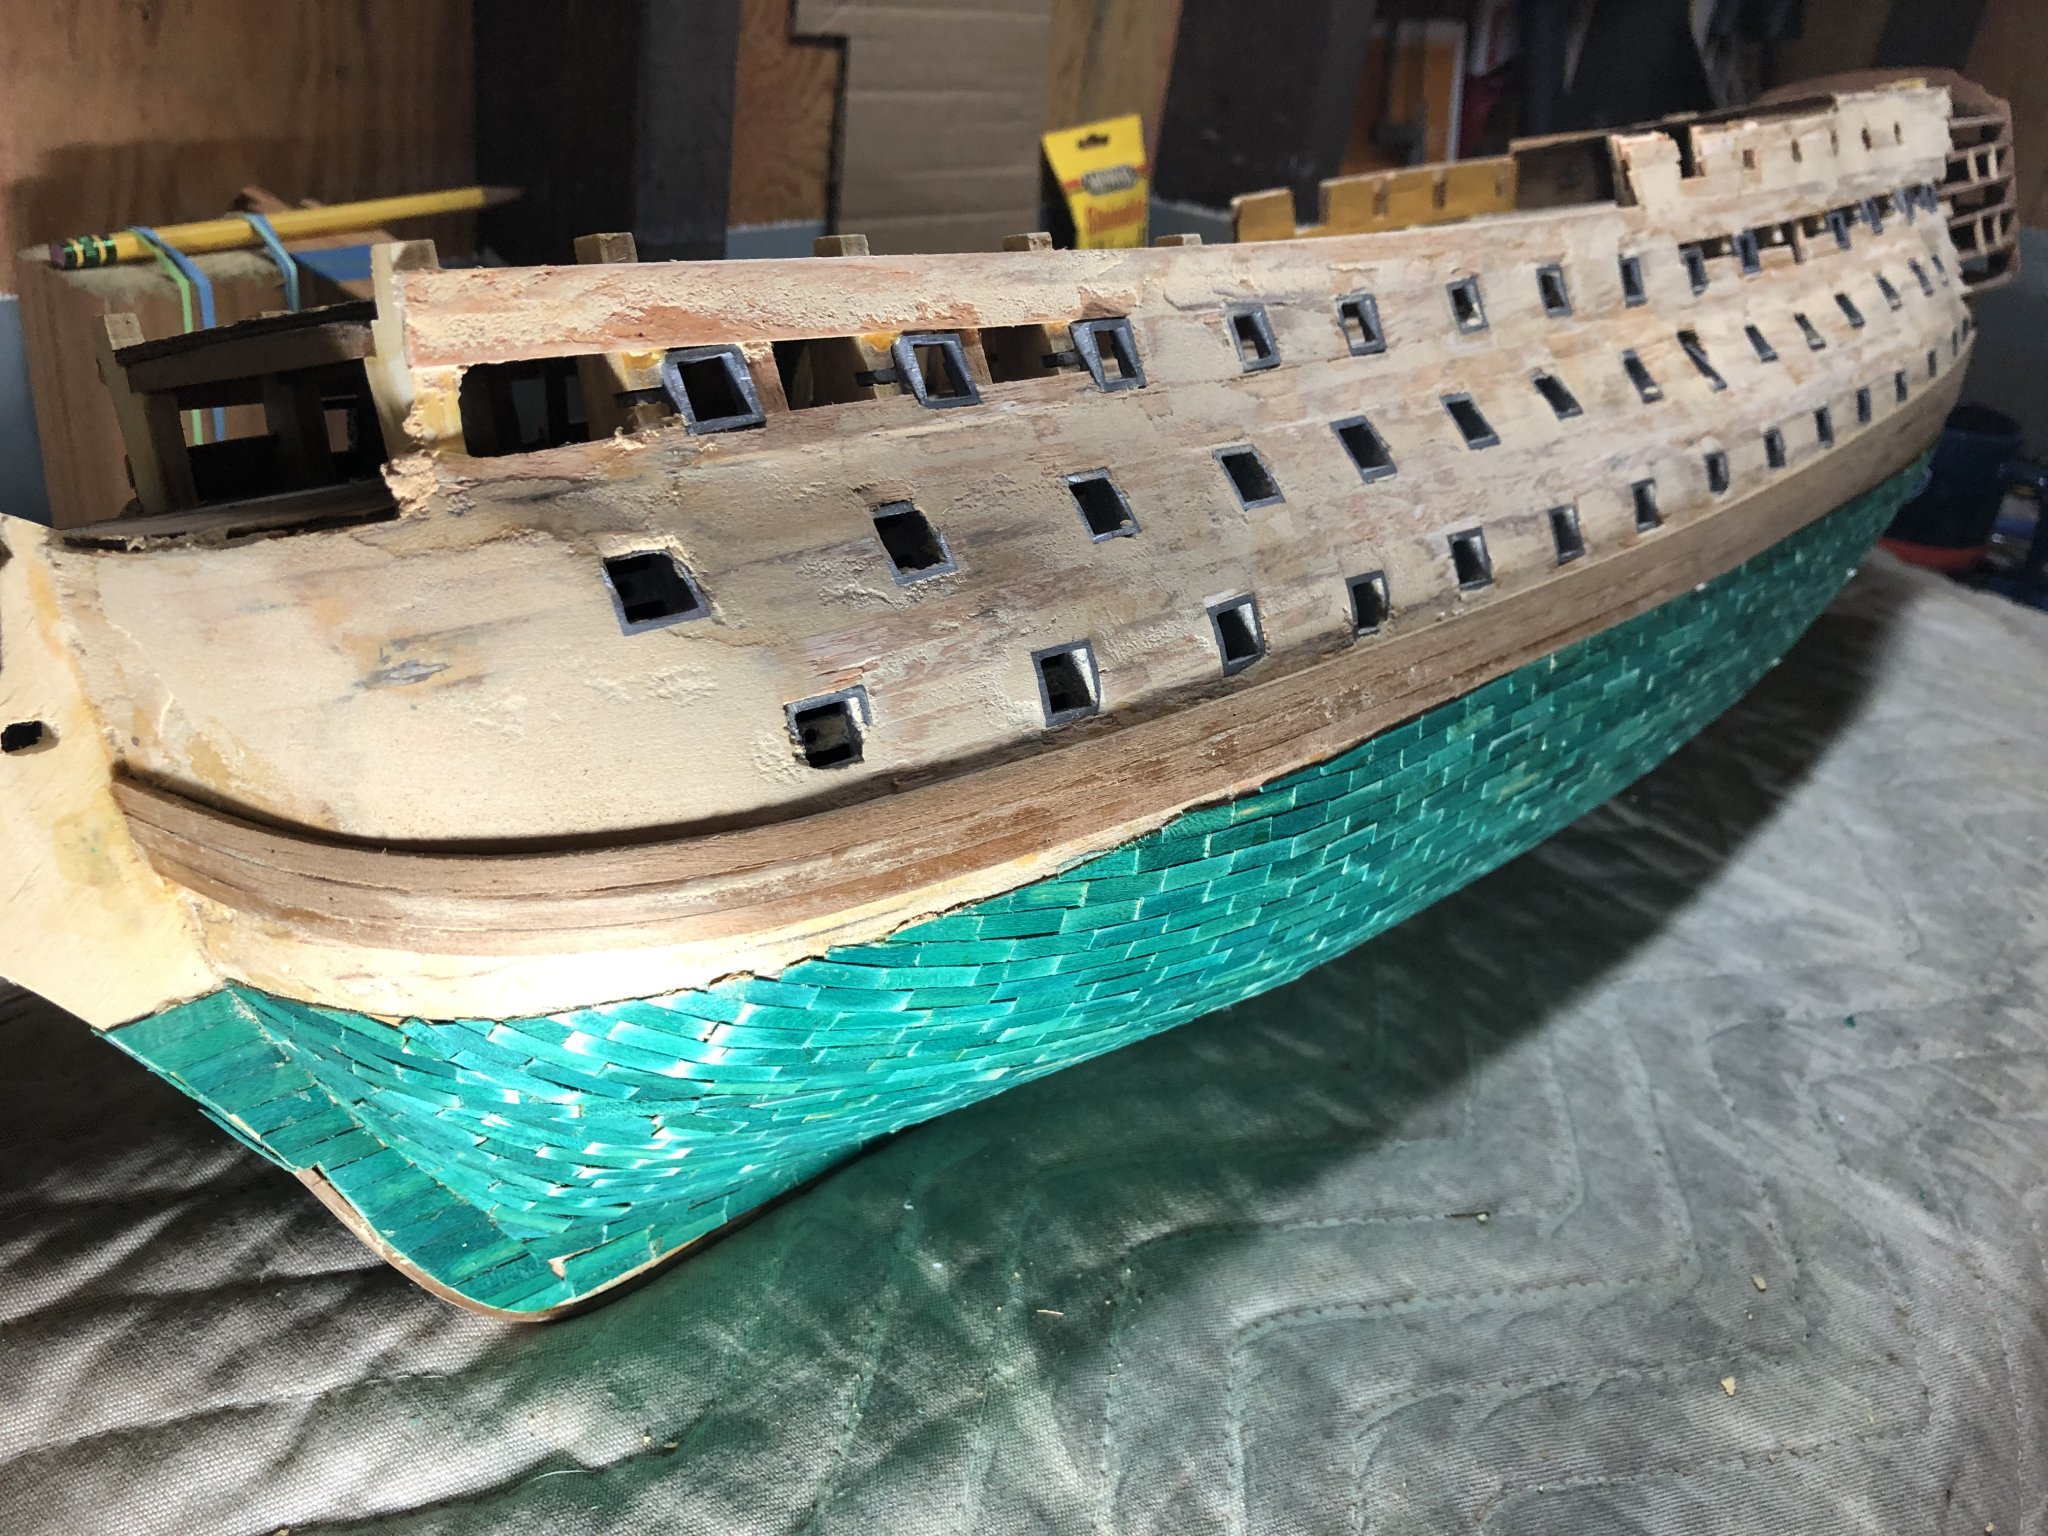
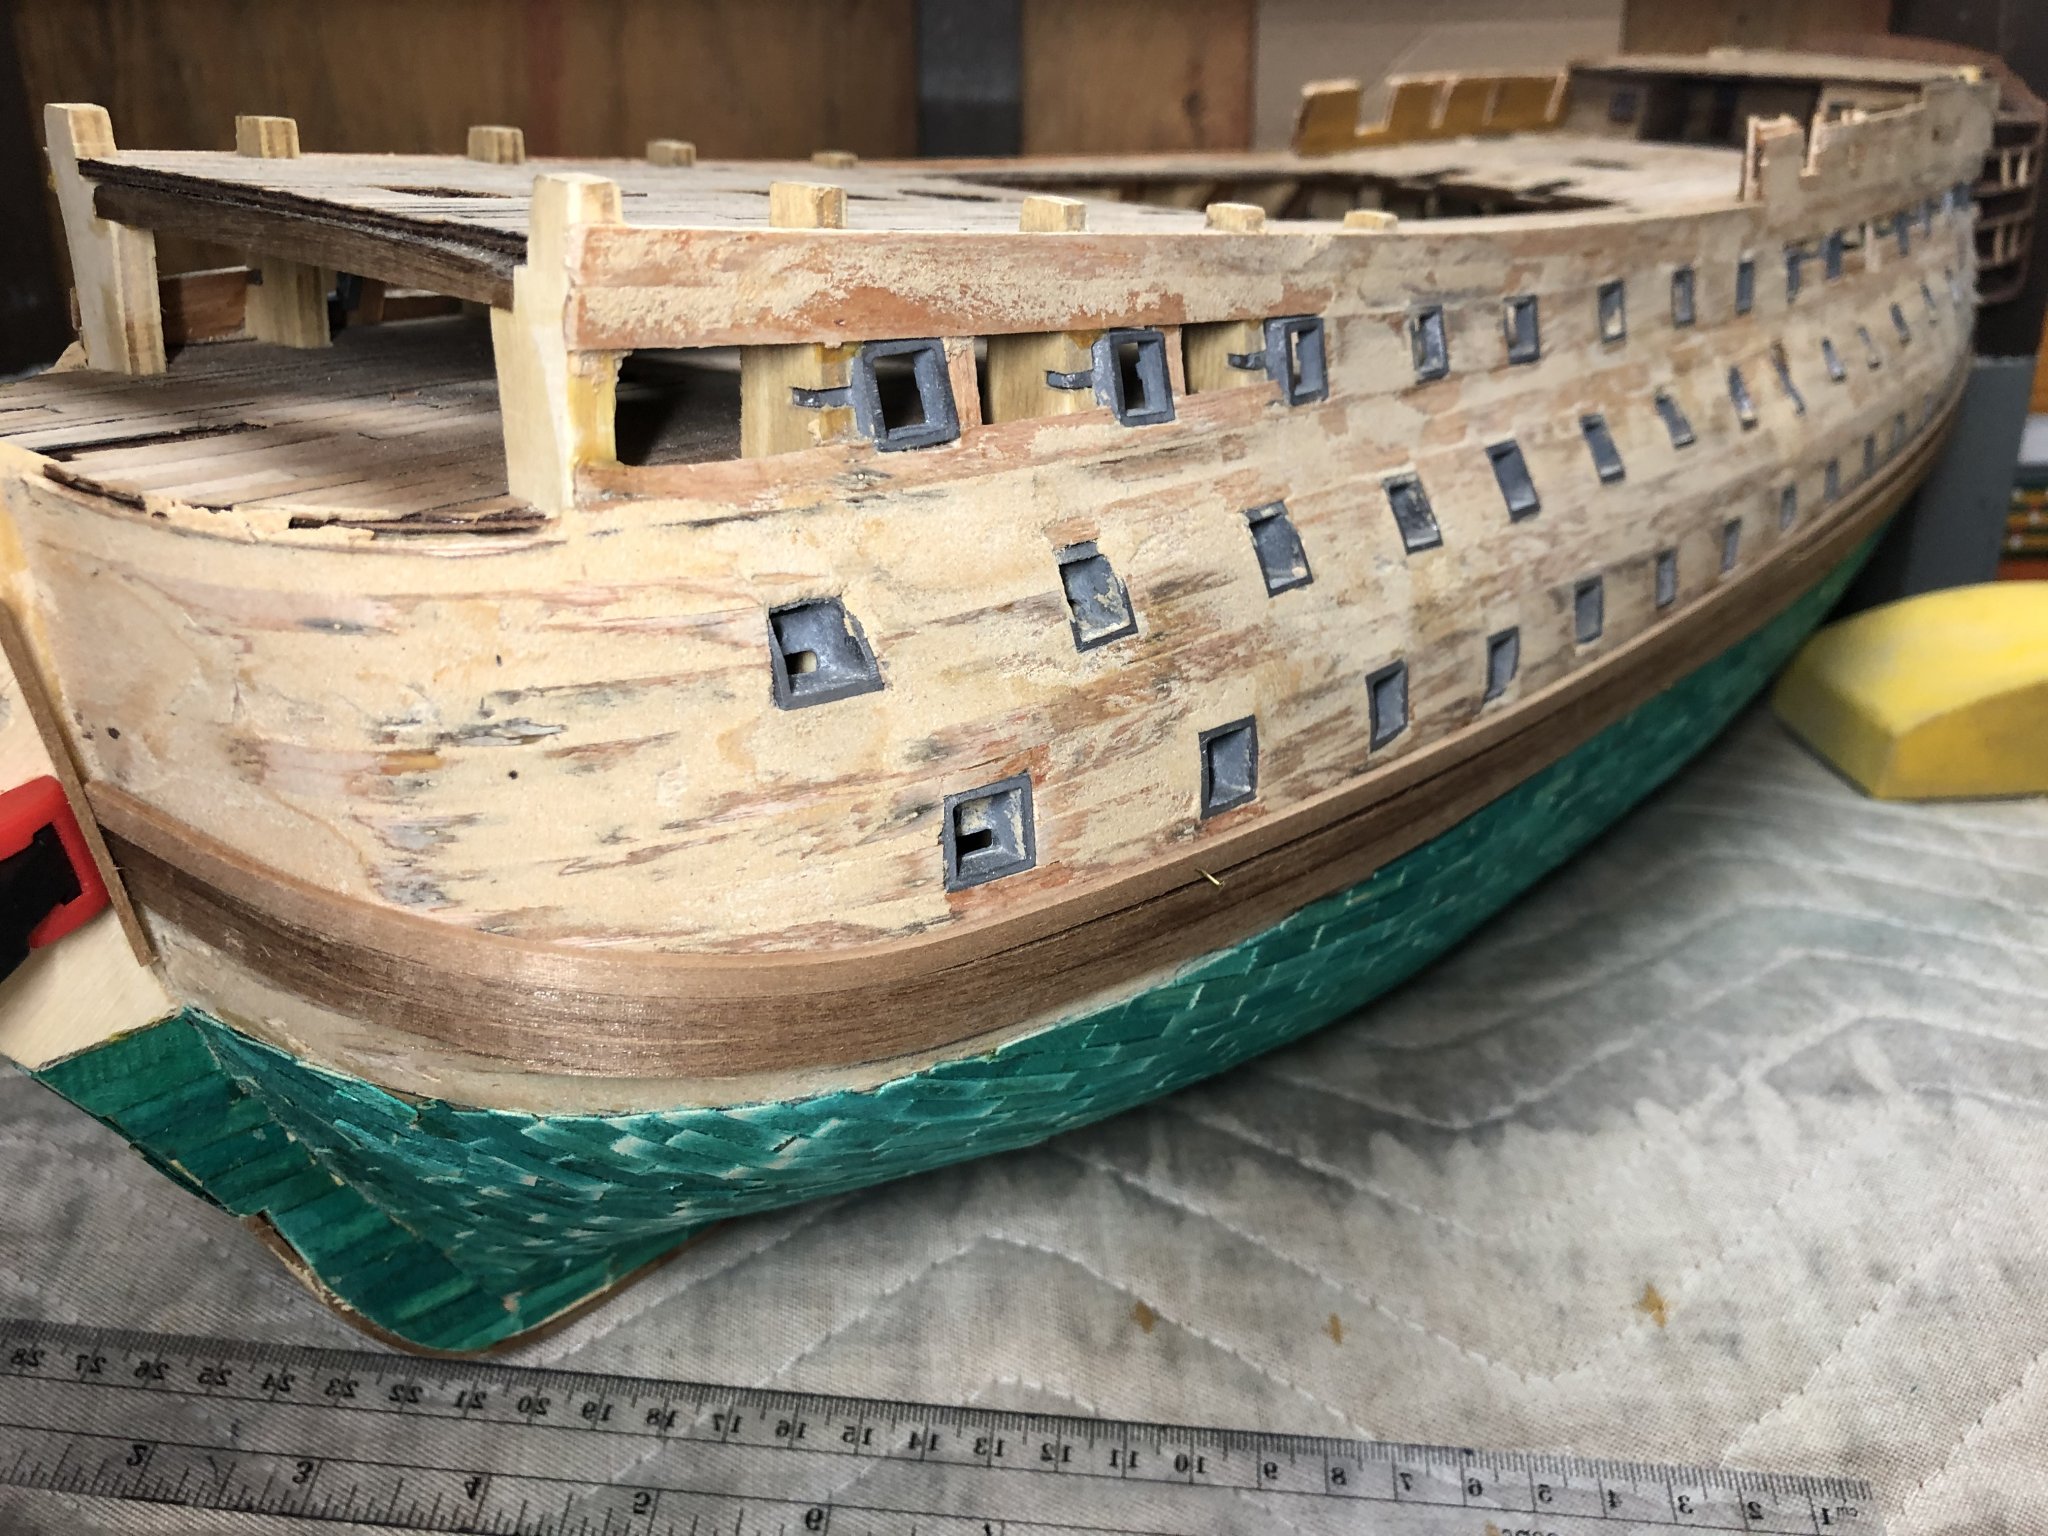
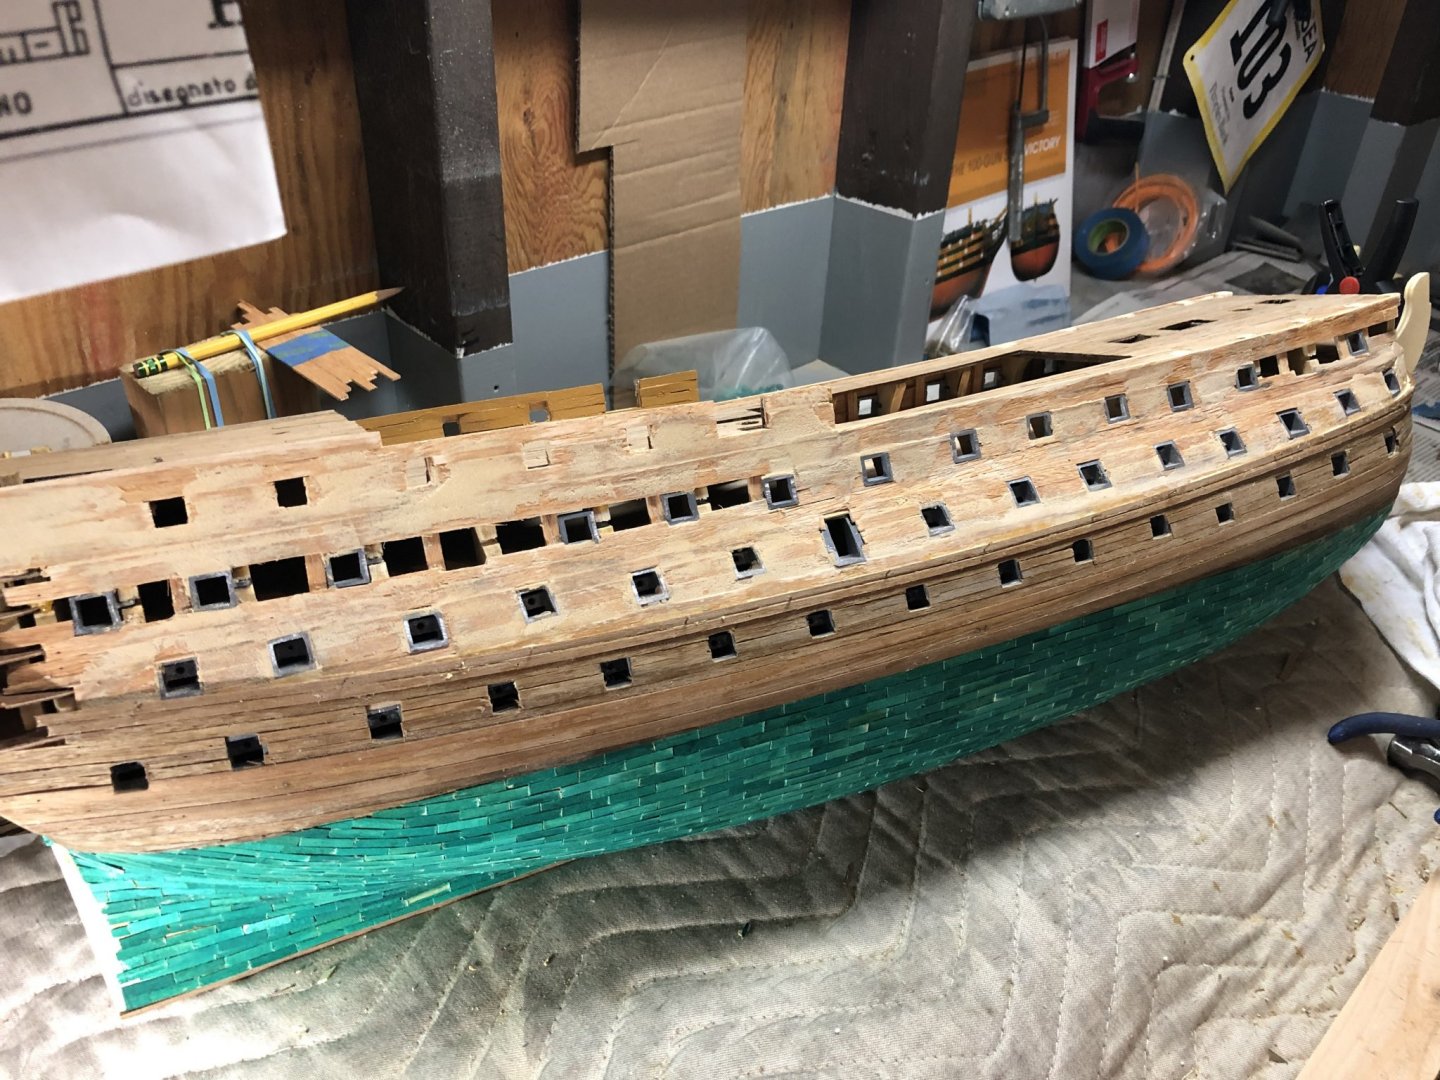
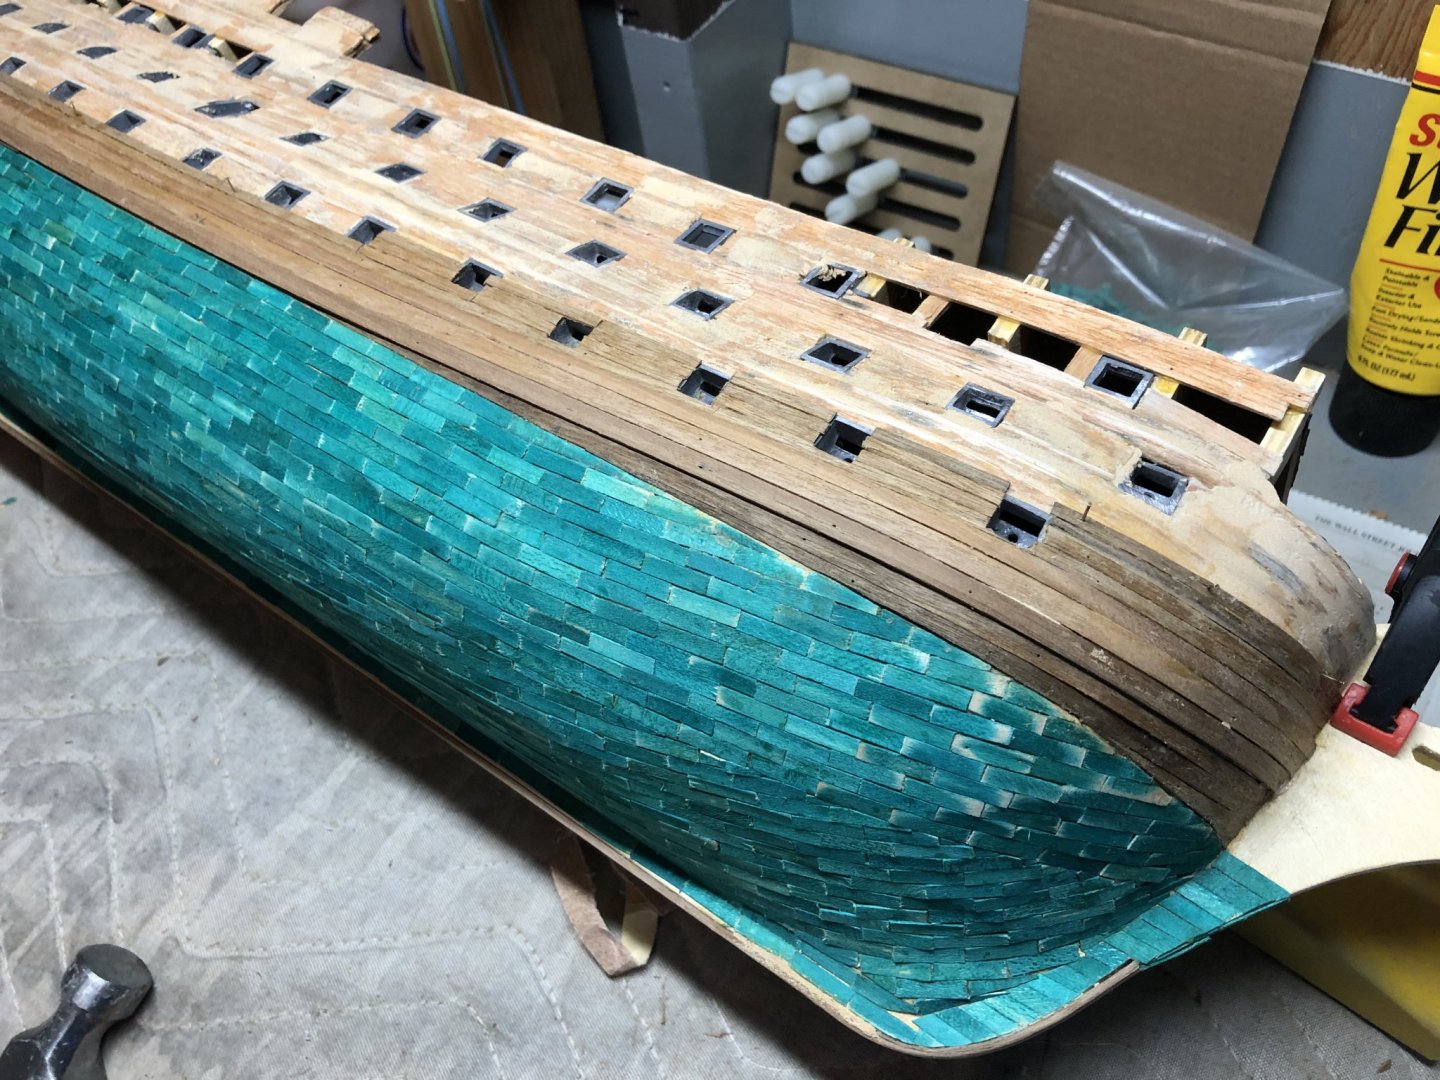
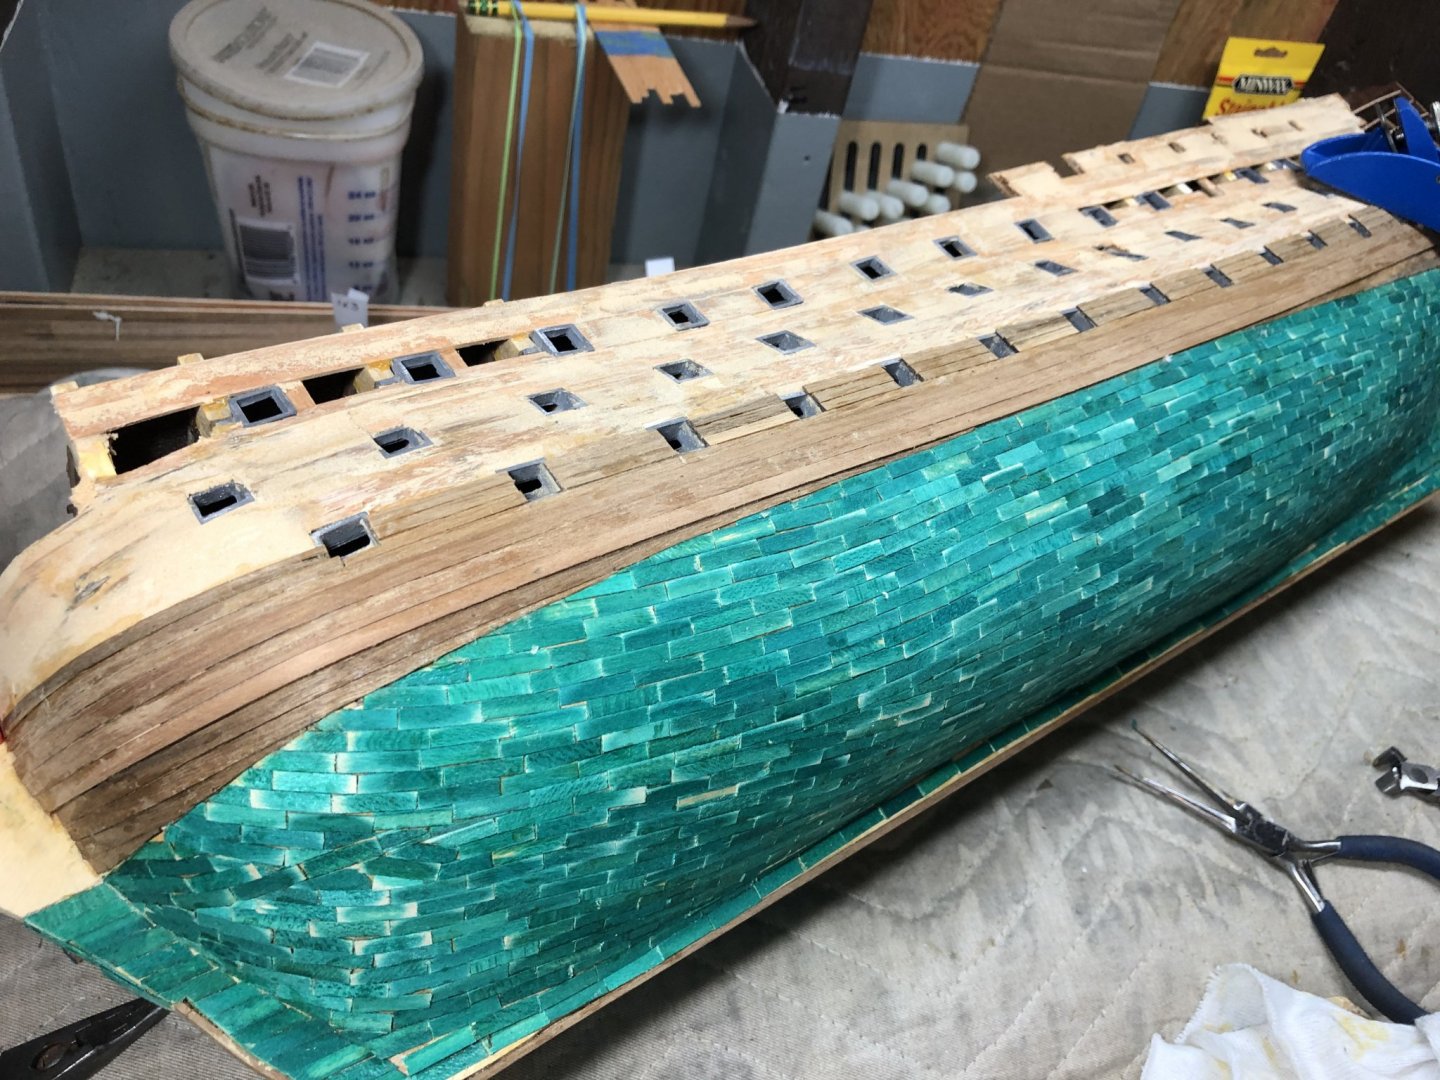
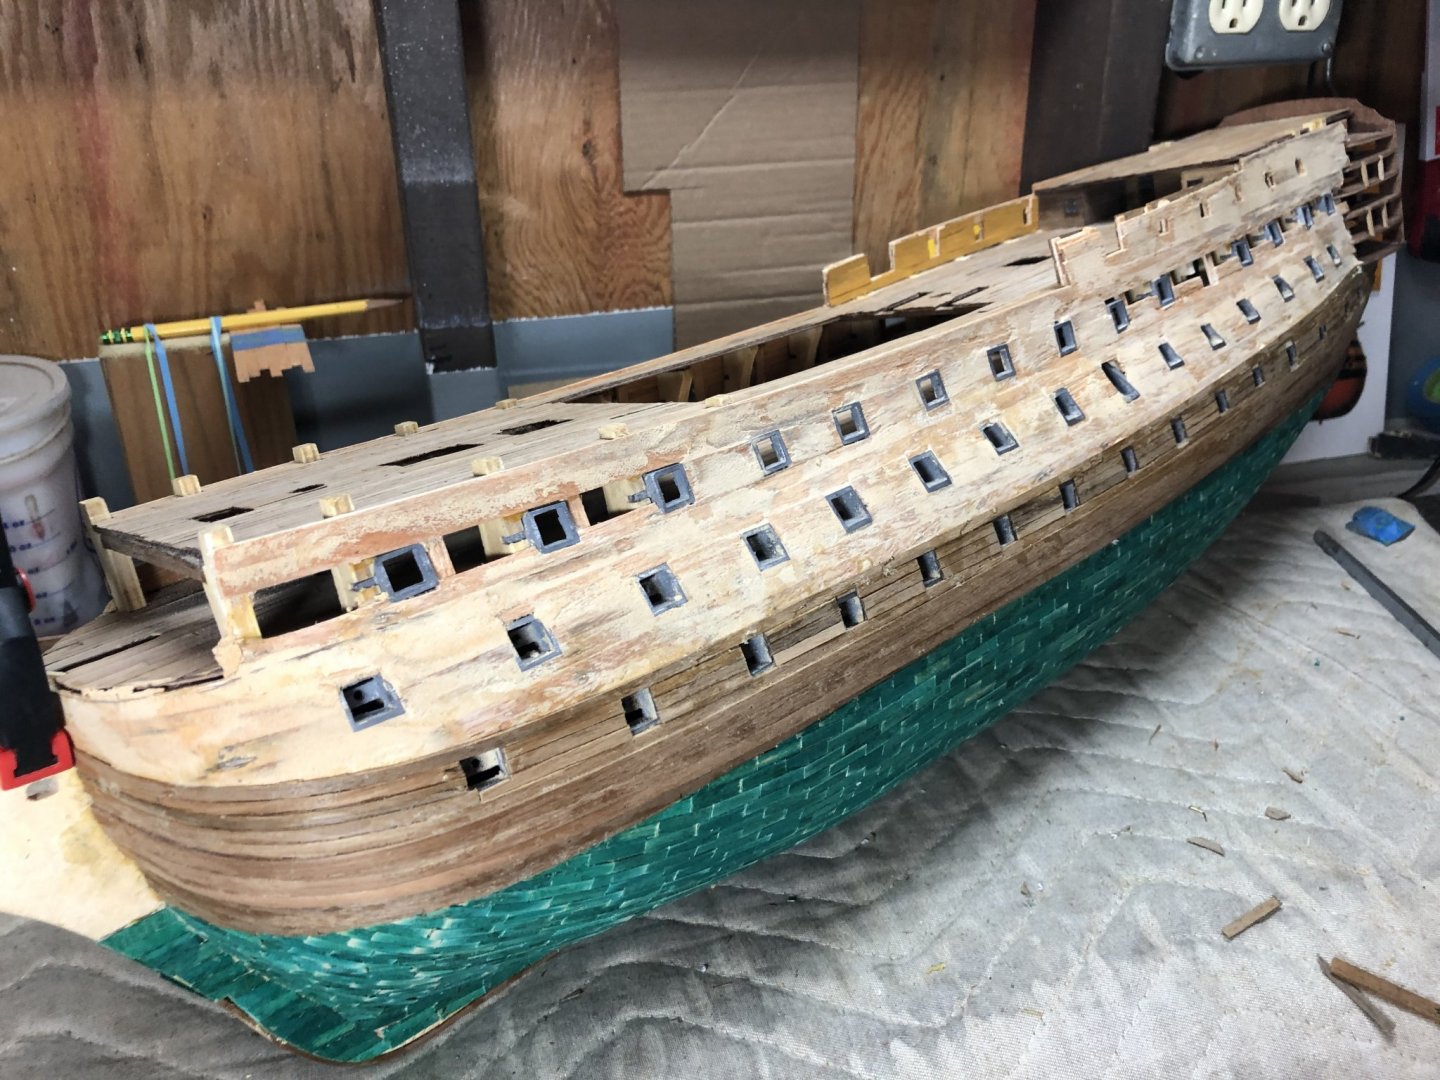
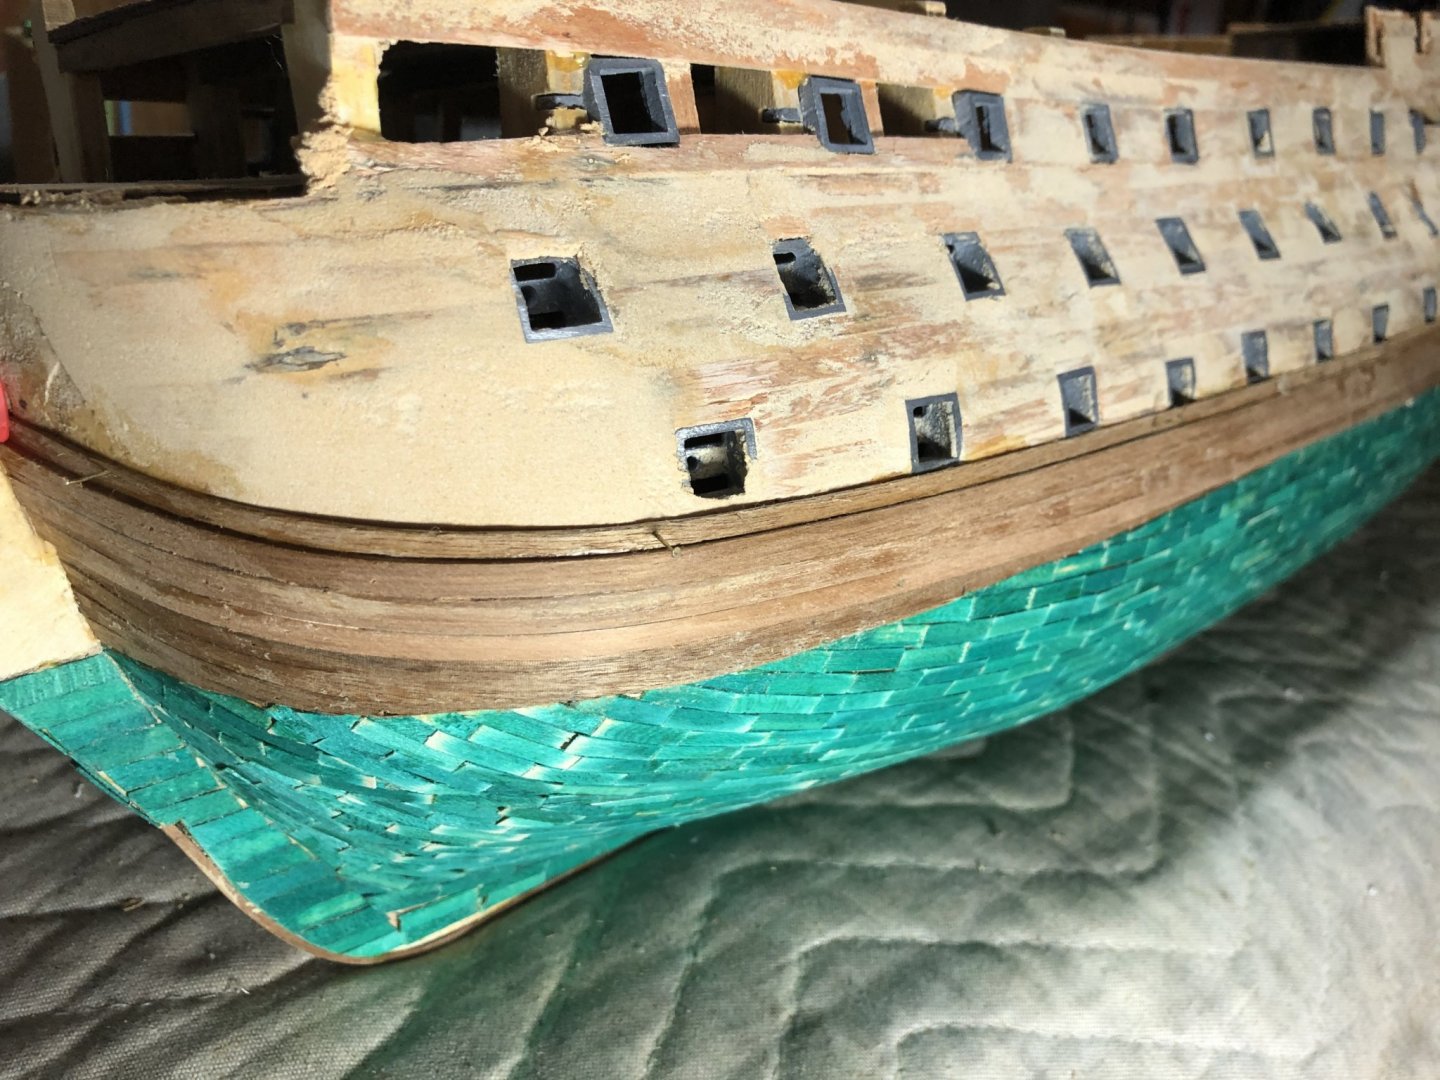
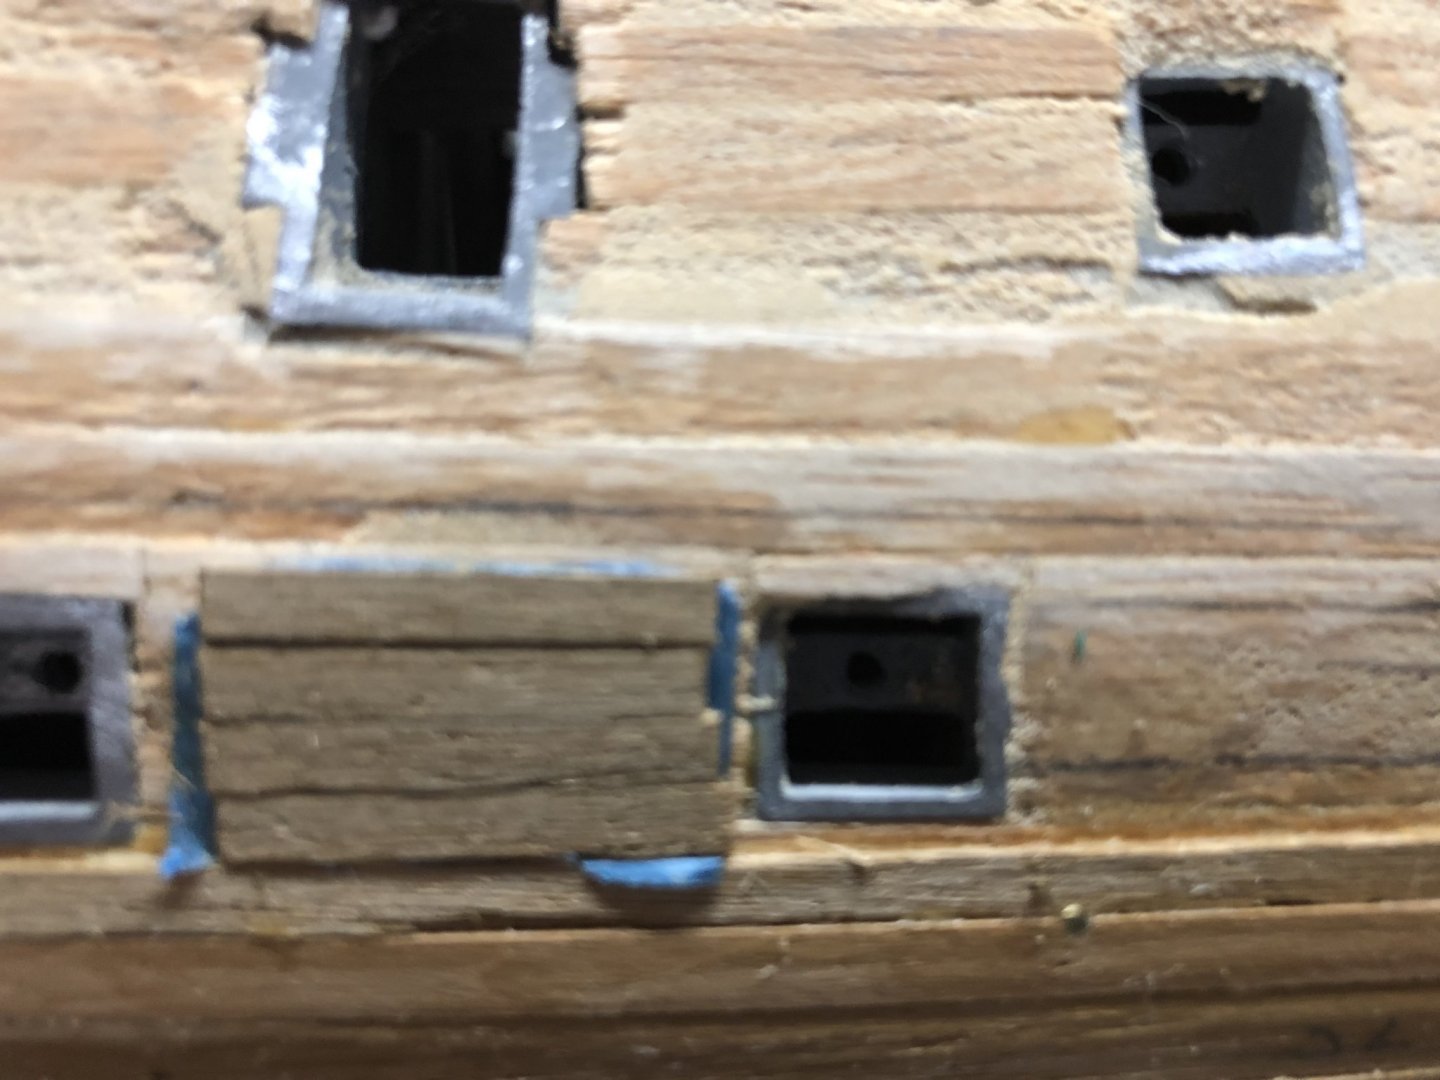
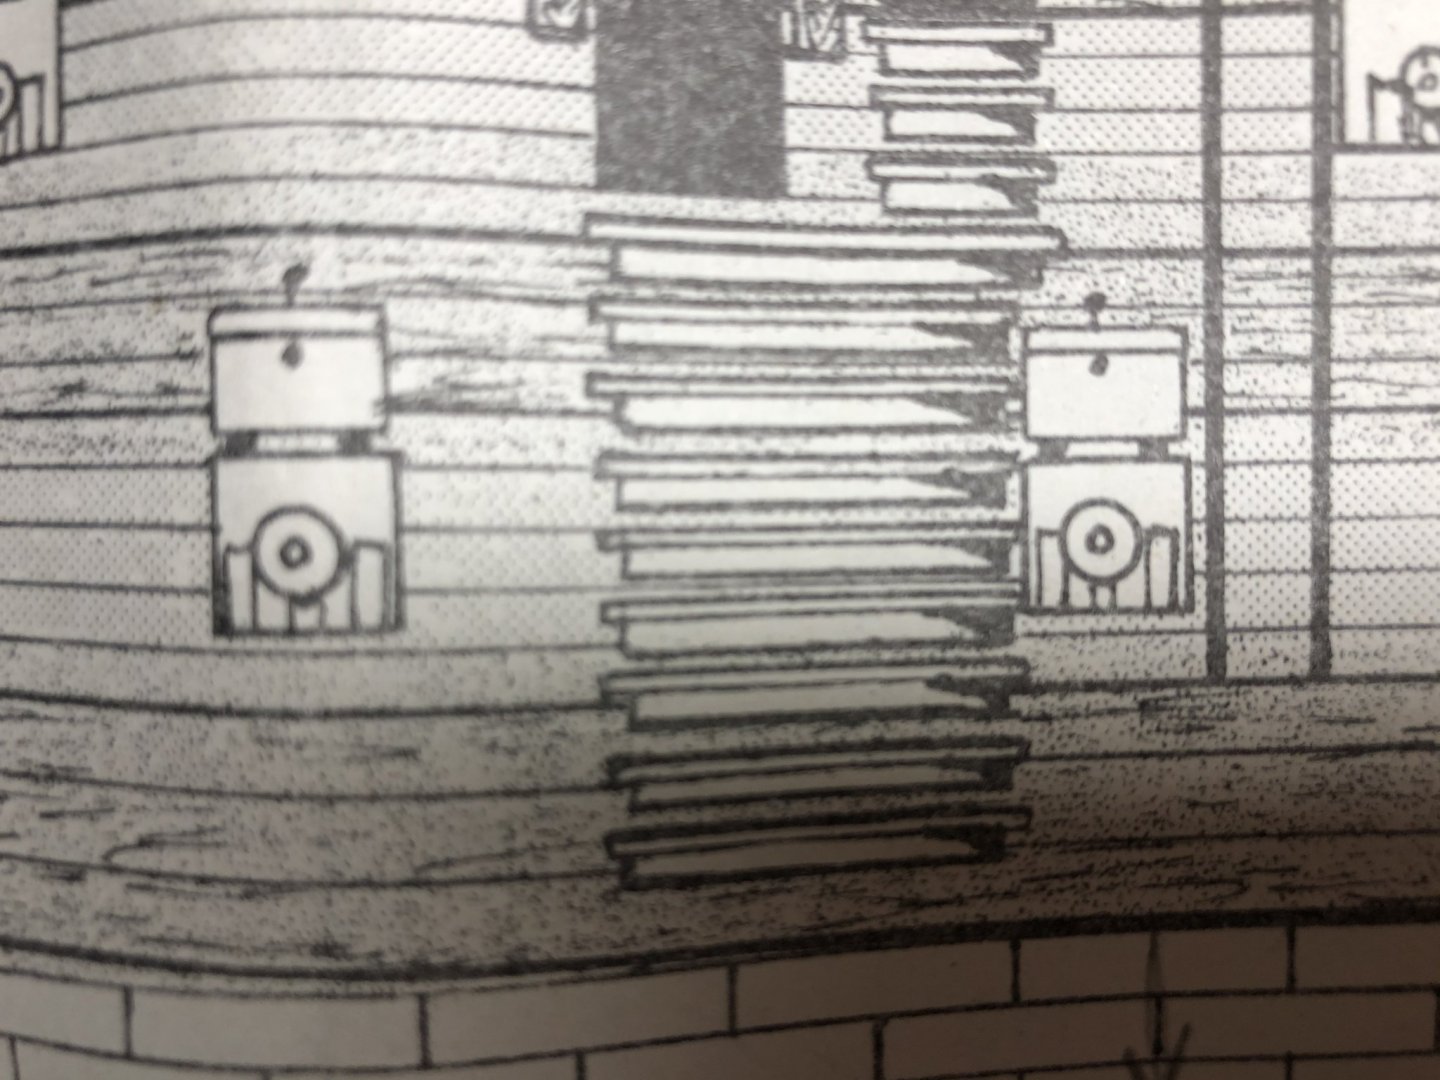
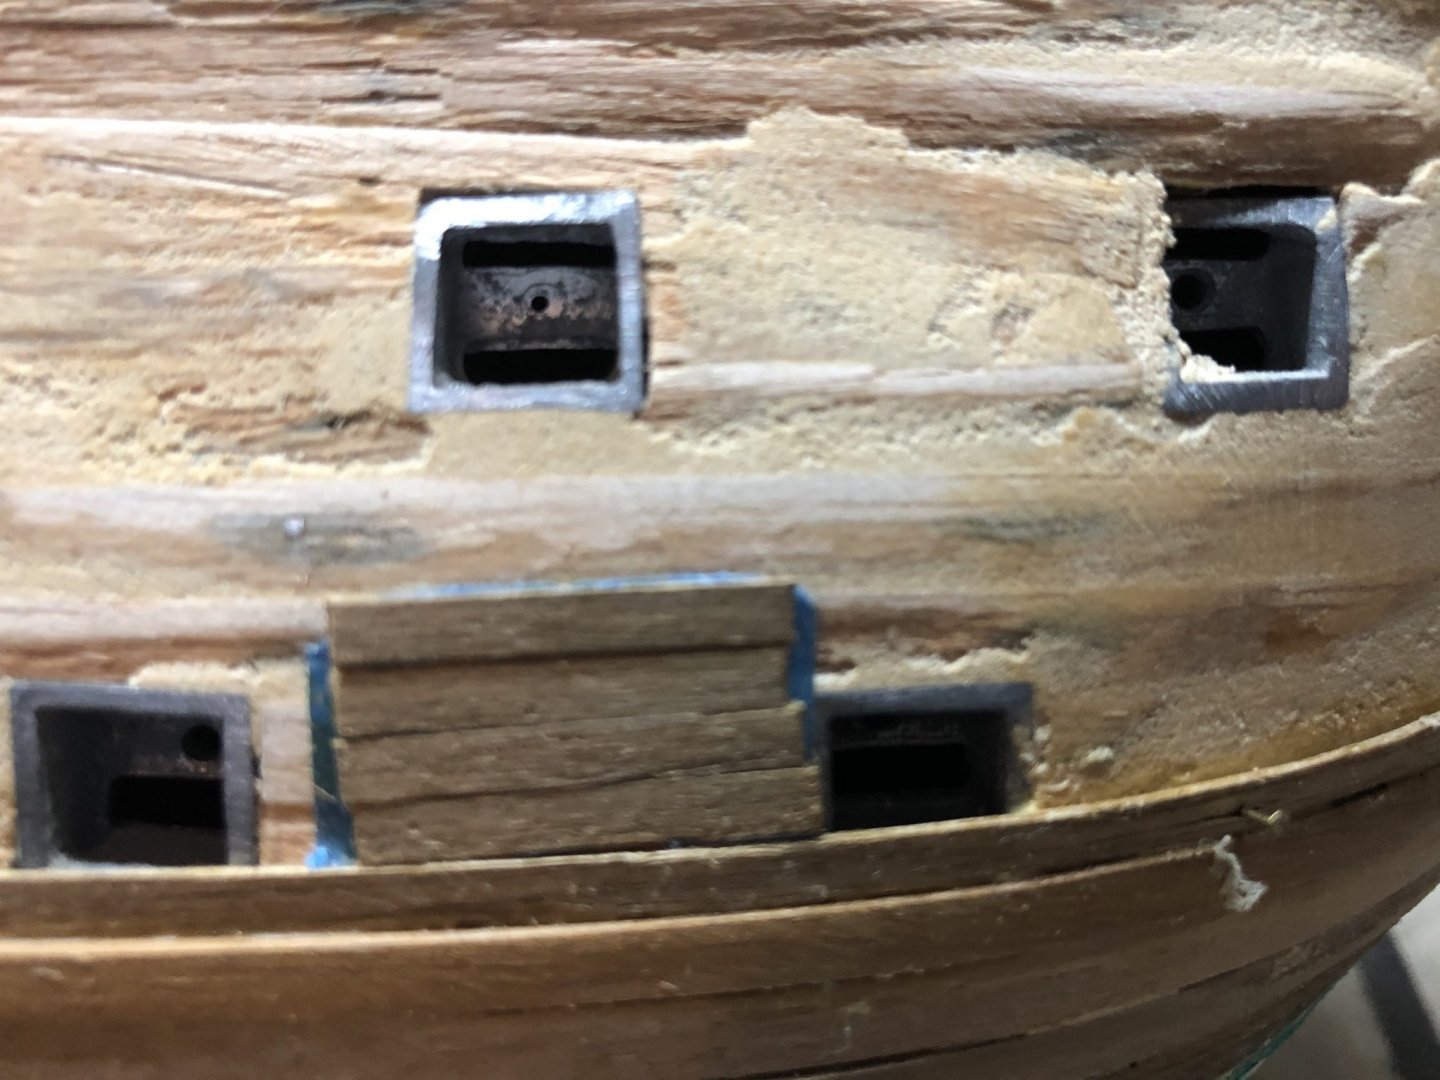
Largely finished the stern work below the main wales and have started the planking north of the main wales. The plans call for 5 x 1mm x 3mm walnut planks above the main wales and just below the next wales. That is 15mm high from the main wales. I created a small 12mm plank section that shows the planking riding higher than the plans show. This is especially evident as we move toward the bow. Up front the planks are nearly 3mm higher than indicated in the plans. I’ll be looking at other models and looking at ways to ensure the planking doesn’t get out of wack. The plans shown below are from the 1/90 scale drawing supplied with the kit. The last picture is of the starboard forward ports.

-
Finishing up the lower planking. This seems to be a cleaner process than the starboard side. Should finish up later today. I’ve also started filing out the aft gun ports covered by the lower wales. Using a long, rectangular file for the process.
-
Looking forward to following along with your copper solution!
-
Good news is that the Vic presents us the means to overcome errors.... I’m sure yours will be fine. Nothing to fret too much over.
-
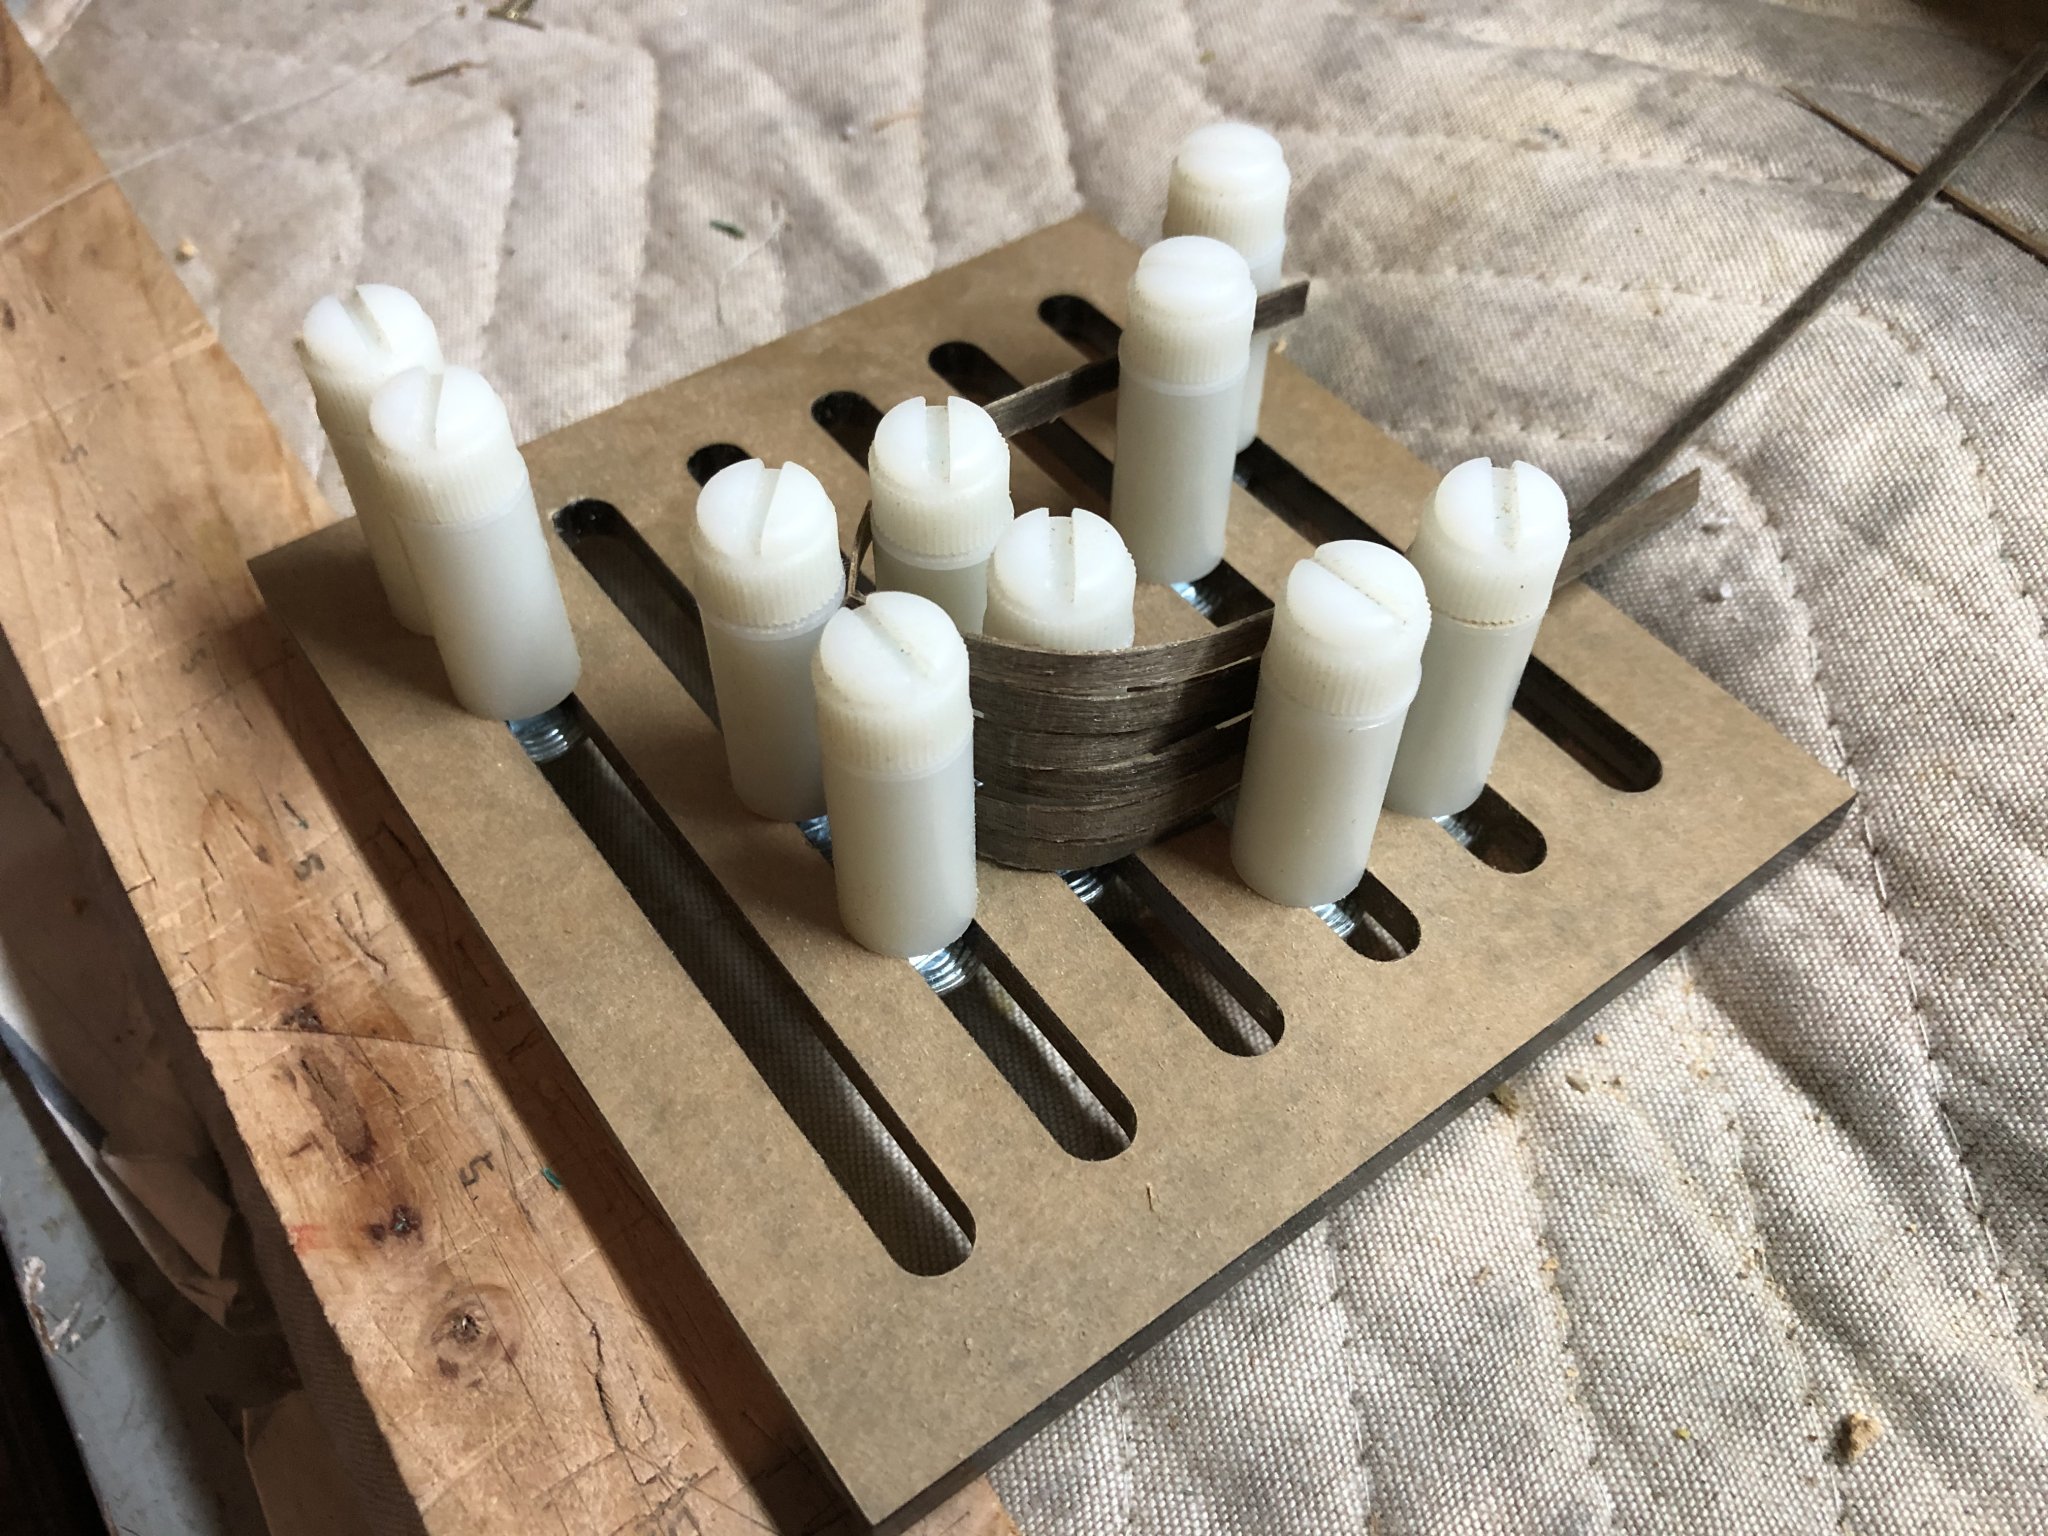
I need to be a bit more patient here. There is no easy way to hold the stern planks in place while the glue dries resulting in some movement during the drying process. I’ll have some touch up to do there. I’ve tried using some excess planking material that is nailed in place... but not shown to be 100% effective. I’m working the port side. Have shaped planks and have them drying in the plank jig I have. It works well and holds the plank shape properly. Once dry, I can then begin placing them in the proper locations. These planks (0.5mm x 4mm) are easy to shape. The next plank set above the main wales are 2mm x 3mm and will be a bit more challenging.


-
My sister lives in Gwaenysgor in Flintshire. Small world!
-
Port side bow under main wales planked. Need to further sand the wales to knock off the edges. Plan to plank the stern areas below the main wales beginning tomorrow. That will take longer.
-
Looking forward to this journey!
-
Beginning installing the planks below the lower wales. Starboard bow complete. Will work the port bow next.
-
Lower wales now installed. I have done some sanding to take the edges off of the interfaces.


-
Have attached the lower wales. However, yet another lesson learned and the importance of marking components correctly. Each lower wales section consists of 2 x 5mm wide and 1 x 4mm wide planks. The plank order is bottom two 5mm planks, topped off by the 4mm plank. After shaping and drying the planks I marked each side with a ‘P’ for port and ‘S’ for starboard. I then designated the planks as 1, 2 & 3 starting from the bottom. Unfortunately, I marked the port side incorrectly - P1, P2 and P1 again. Given a coin flip probability, of course I ended up using the 4mm width piece for the lower plank on the port side. Damn it Jim! I found the error after having attached the lower planks. I’m living with it. The pictures show the addition of filler to help with the wale plank attachment to the hull. I’ll sand further as necessary when attaching the set of planks above the wales. Next up is to plank the area below the lower wales.

-
Thank you Christopher; I have the same book! I also picked up a softcover book ‘The 100 gun ship Victory’ by McKay. Lots of resources out there. No worries about computer skills, you are doing fine!
-
Hi Christopher! Welcome aboard. Glad you are here. The forum is a great place to share information and ideas that has loads of resources. Suggest you read some of the up front posts for forum guidelines. Your build looks nice!
-
Had a bit more time available between yard work tasks today. Shaped and am now drying the port side lower wales in place. Plan to permanently place them tomorrow and then begin planking the area below them but above the waterline.


-
Thank you Christopher. Understand about the red gun ports. However, I was thinking I’ll add the red paint last, rather than before the ochre or whichever color is required. But I will consider your advice - e.g., pros/cons of which goes first. The overall painting approach, especially timing, is a bit of a mystery right now. I’ll need to do some additional research.
-
Now have shaped and fitted the starboard lower wales. I soaked in warm water the thicker wale planks (5mm x 2mm and 4mm x 2mm) for 45 minutes and tried a new bending technique that I’m sure most of you experienced wood workers already used. I’m just late to the party. Instead of marking and starting where the plank begins to bend, I started the shaping process using my heated plank bender at the plank end and progressively worked back along the plank until I was able to fit the plank with my hands. That worked really well. Otherwise, the curve I obtained where the hull begins to curve in toward the bow was too large. I used the Mamoli supplied 1/90 scale drawing to place the wales using the aft and forward lower gun ports for reference. Thanks to Spider999 for supplying some helpful reference pictures from his Mamoli Vic build. I’ve also noted some areas near the bow where the hull needs some additional filler. Otherwise, there is a gap between the wales and the hull surface. Once they have dried to shape I’ll add the filler as necessary, sand and then fit/glue the wales in shape. Then ‘rinse and repeat’ for the port side.