Rob S
-
Posts
339 -
Joined
-
Last visited
Content Type
Profiles
Forums
Gallery
Events
Everything posted by Rob S
-
 Thanks Emmet! Appreciate the kind words. I hope you are doing well and wishing you the best. Stay safe and I look forward to your return and continuing work.
 -
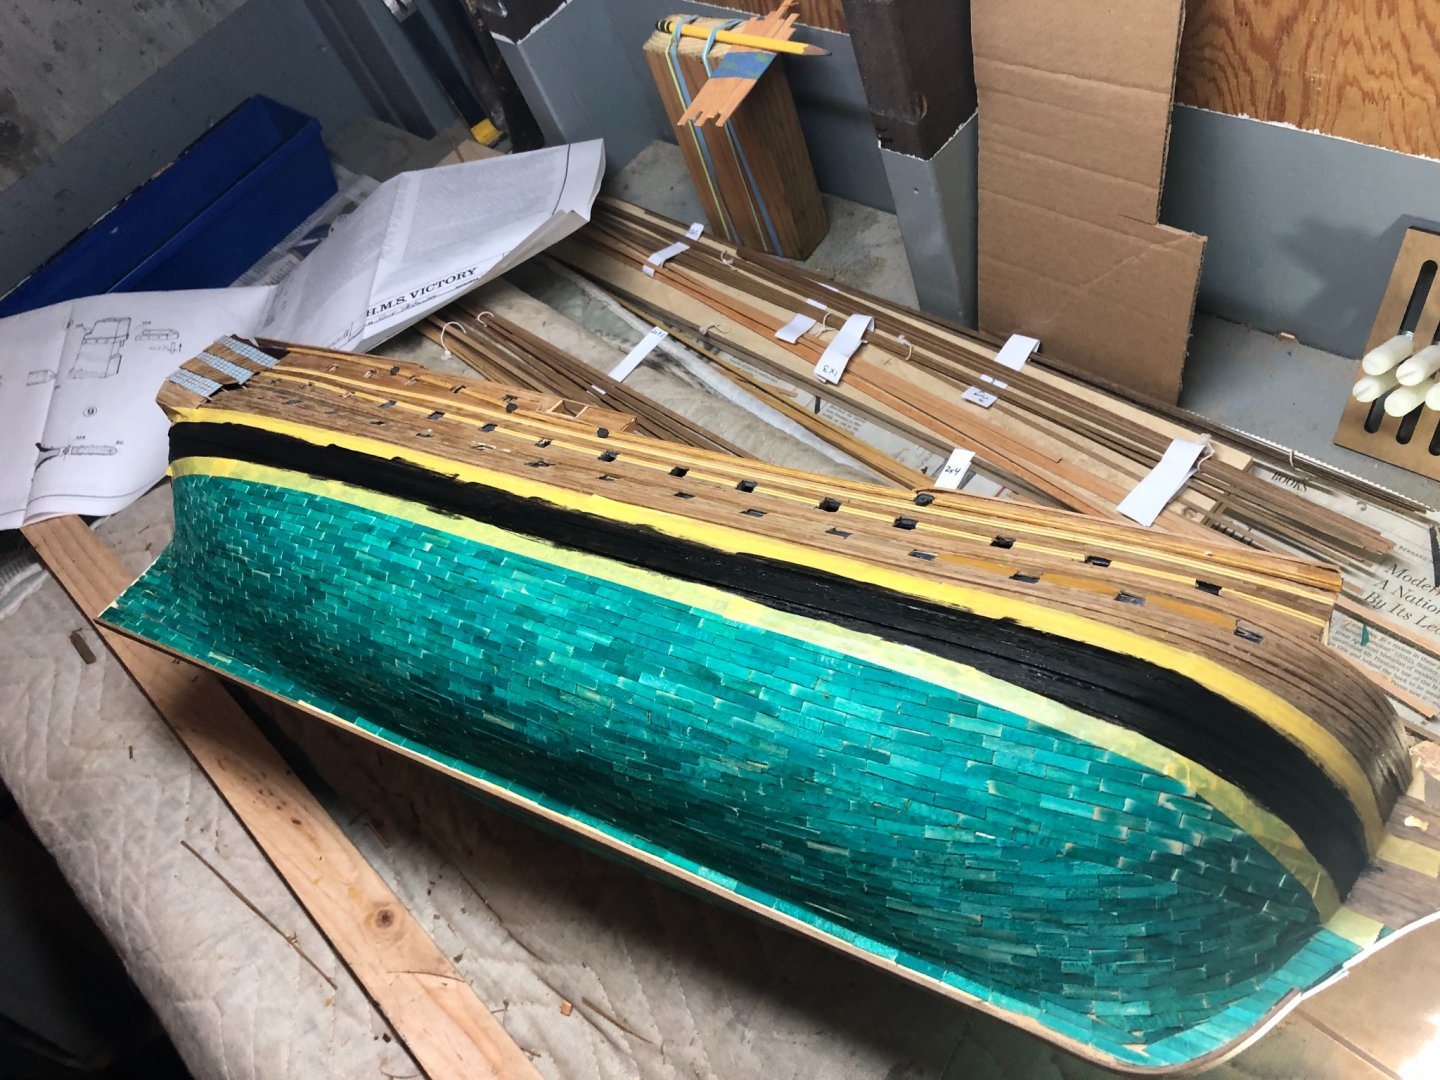
Yellow Ochre being applied to the gun decks. Some of the black paint is still wet and was re-applied after the masking tape removed some of it. Total of two-2.5 coats applied in each color. Some finer detailing still required. Good to see some color now being applied.
-
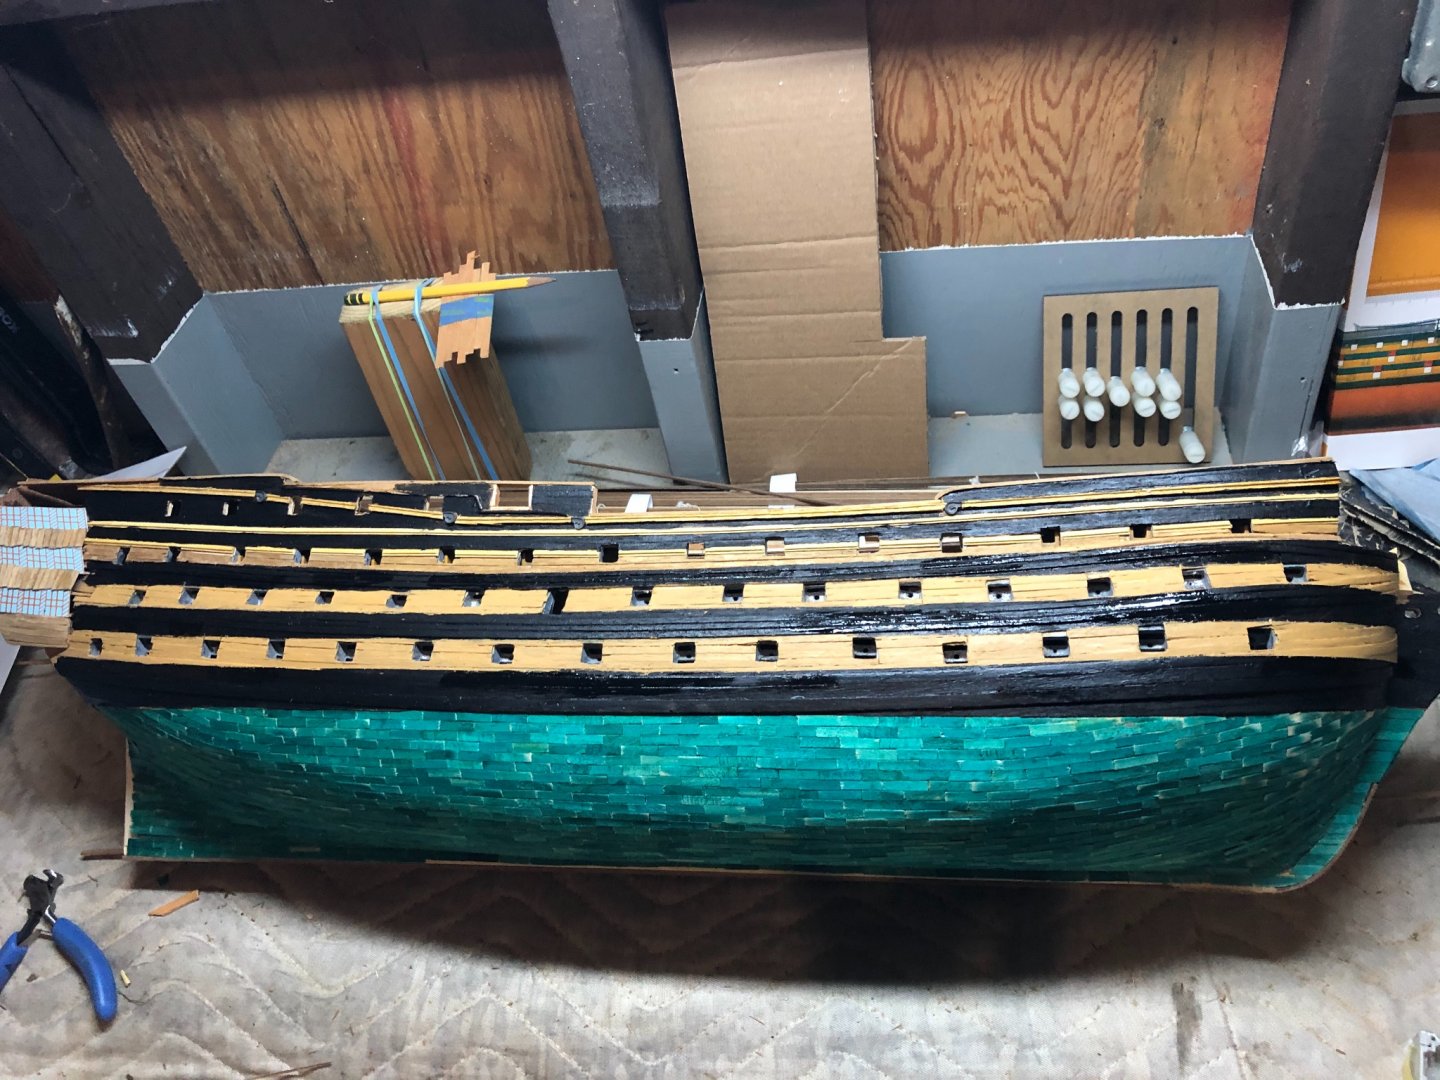
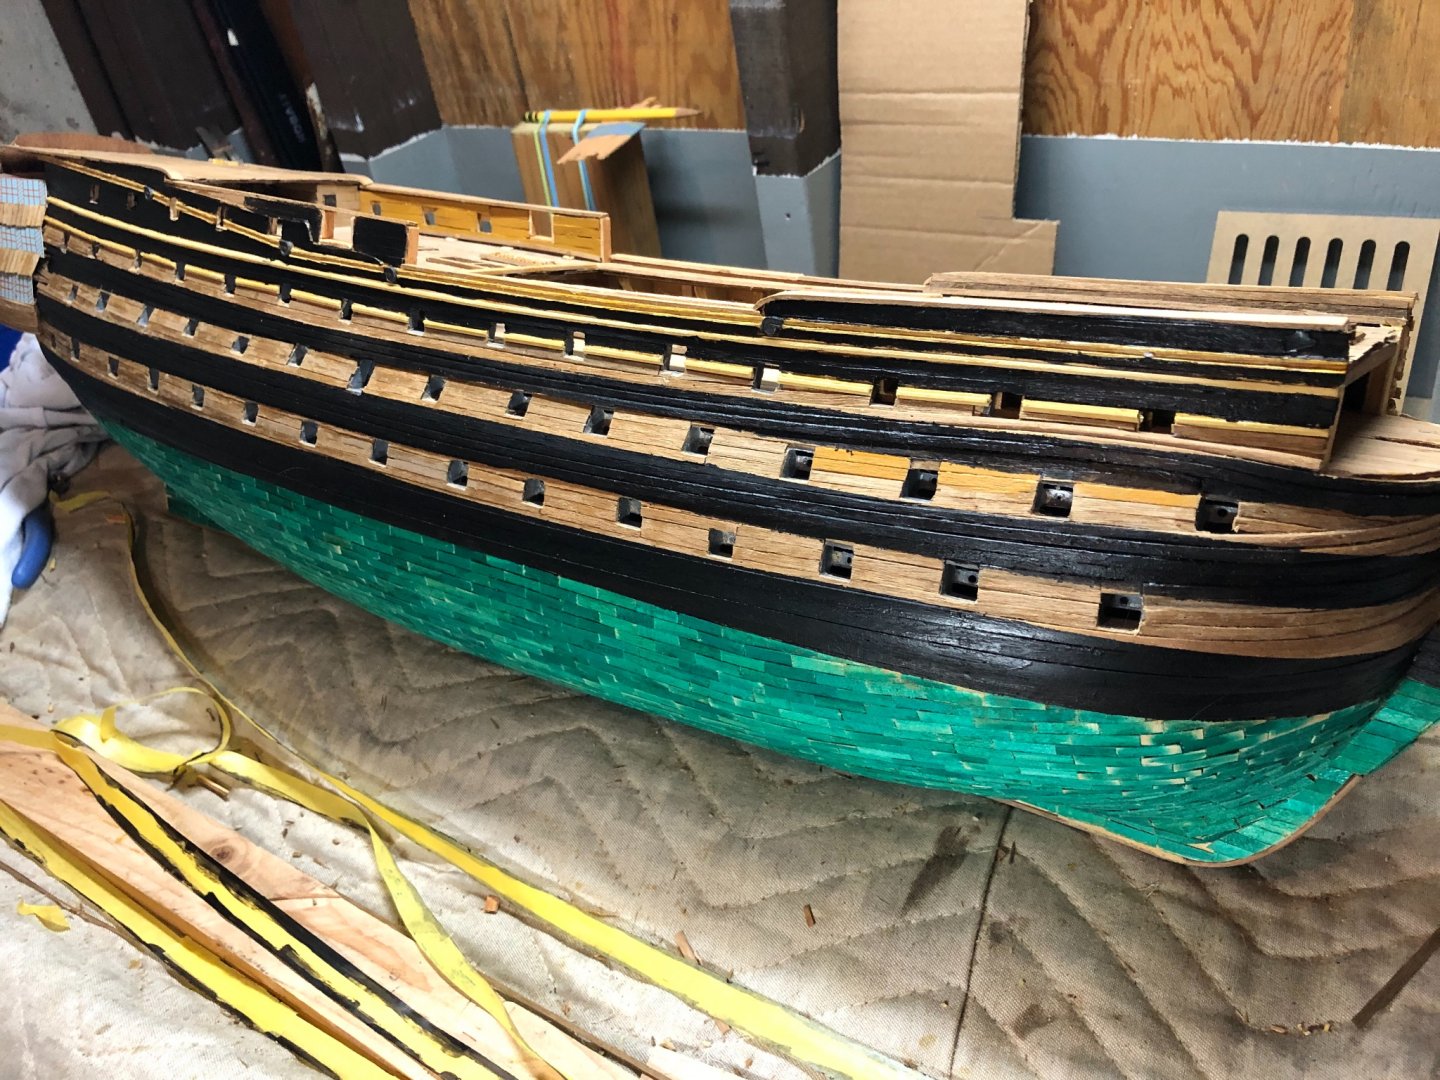
Initial starboard black paint scheme application. Transitioning to the port side next.
-
As I was reading through the instructions they read to implement steps a, b, c, d... and so on and then ‘before completing these steps, paint the transom ink black...’. Of course I had already implemented the preceding steps. Another lesson learned, be sure to continually read ahead... over and over again to make sure steps are completed in order. Good news is it wasn’t too difficult to paint the transom black and carefully painting around the blue windows. While I was at it, I decided to begin painting the hull black in the right places. Just starting now.
-
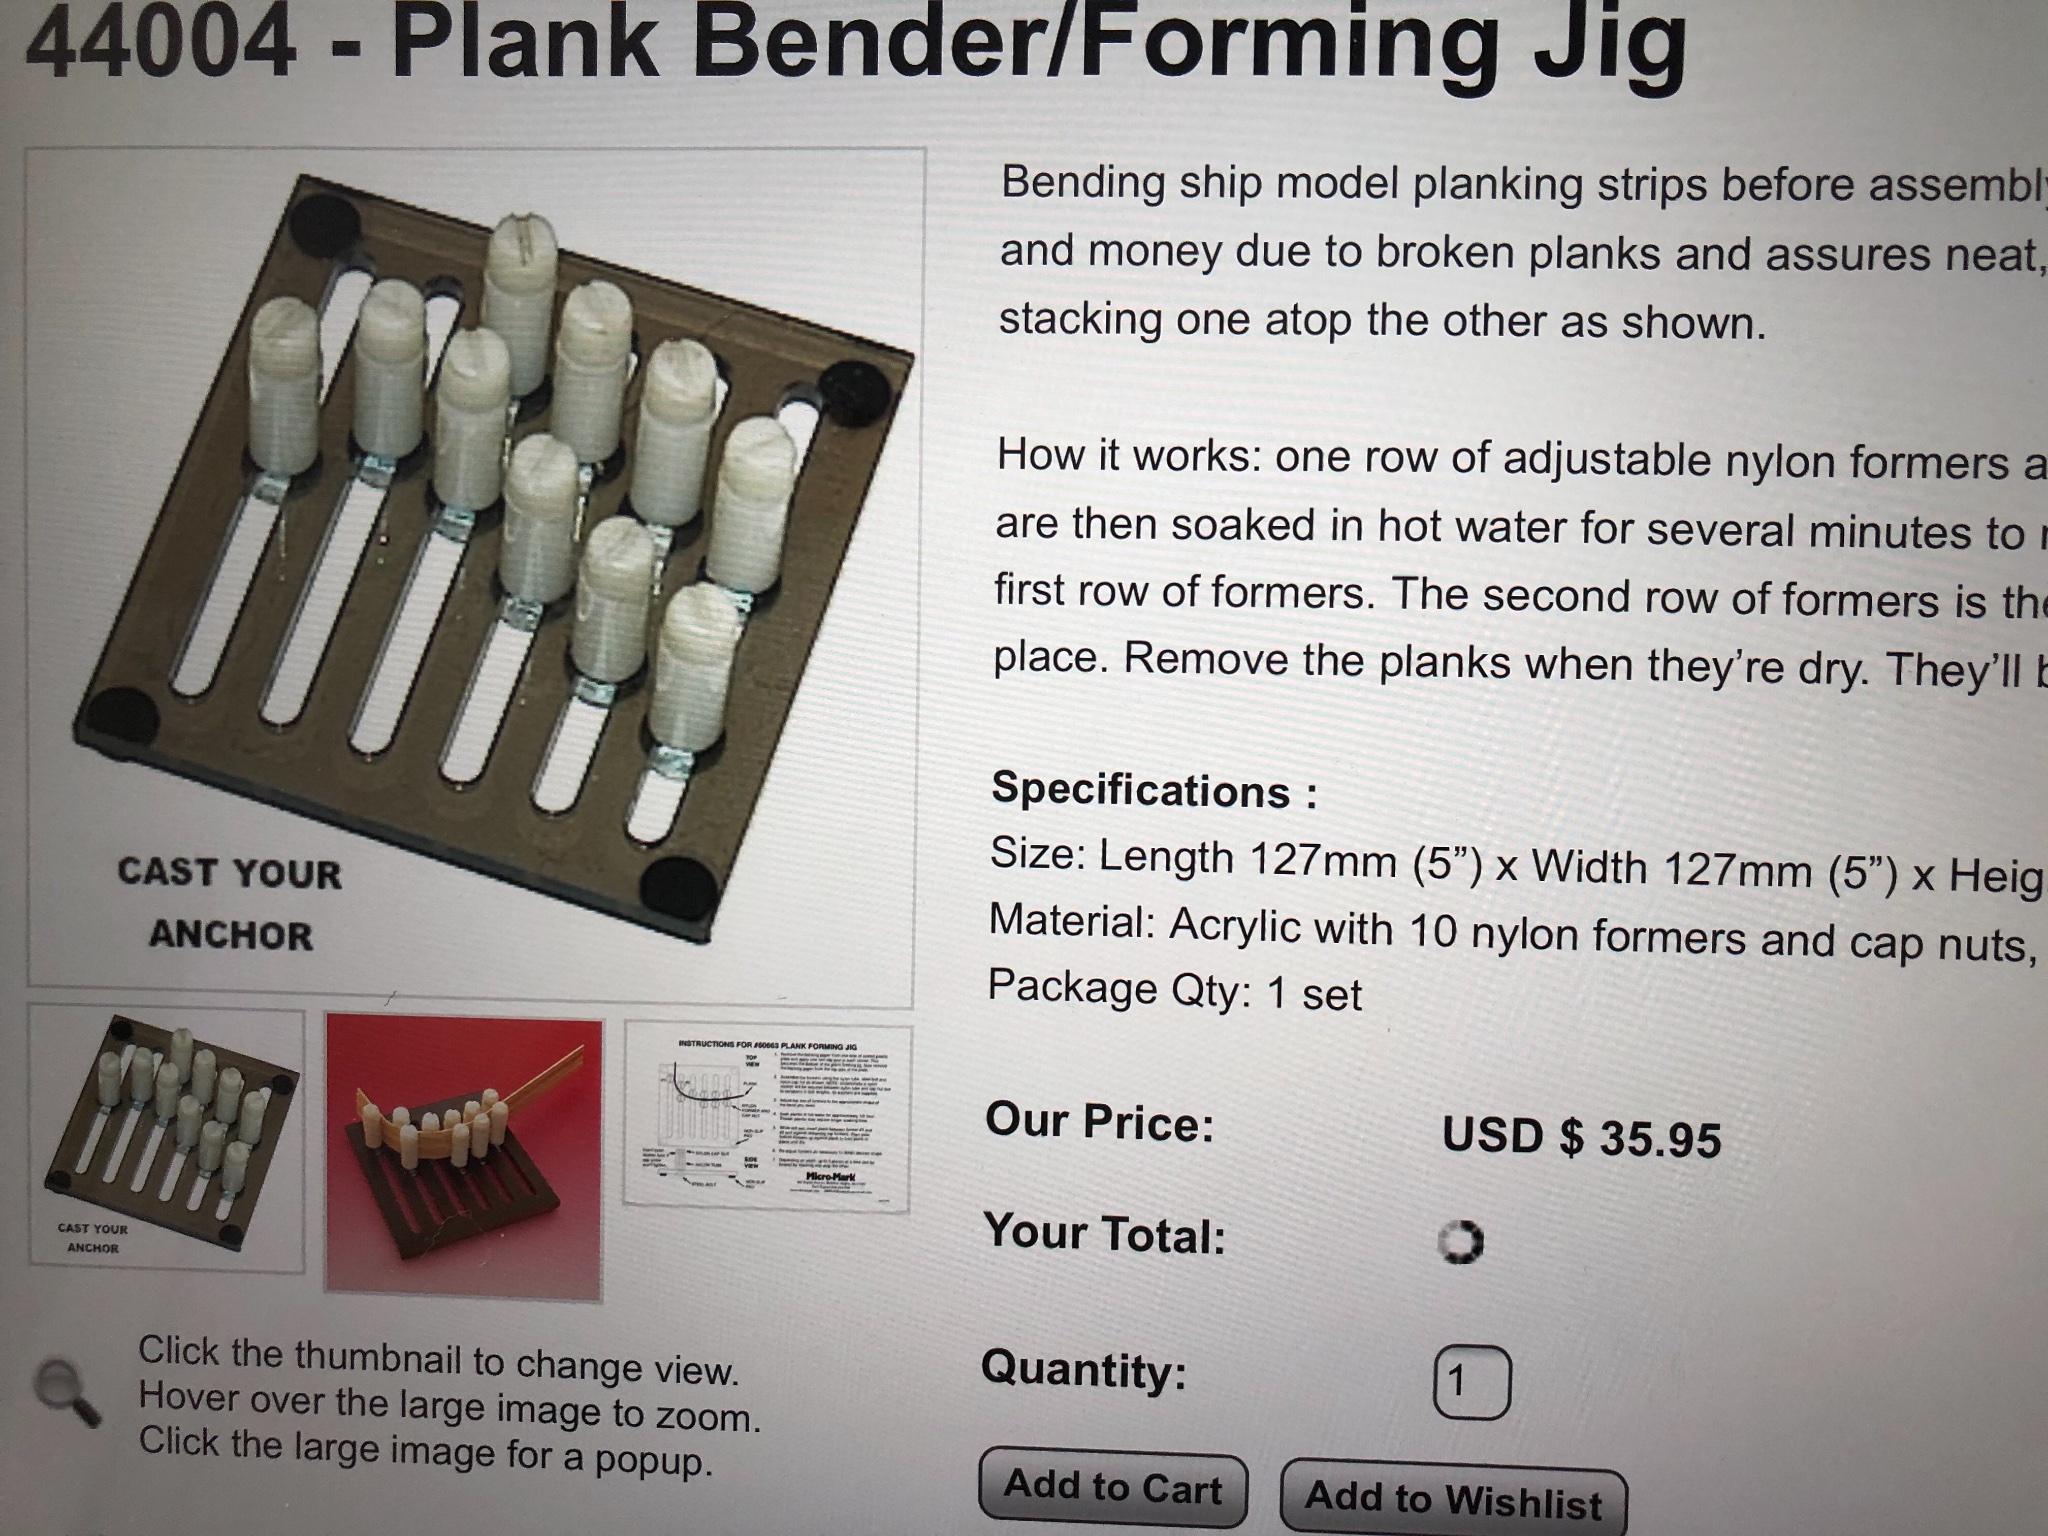
Enjoying your build Eugenio! Here is the device I use for holding bent planks while they dry. It’s served me well. Very similar to your nice method!

-
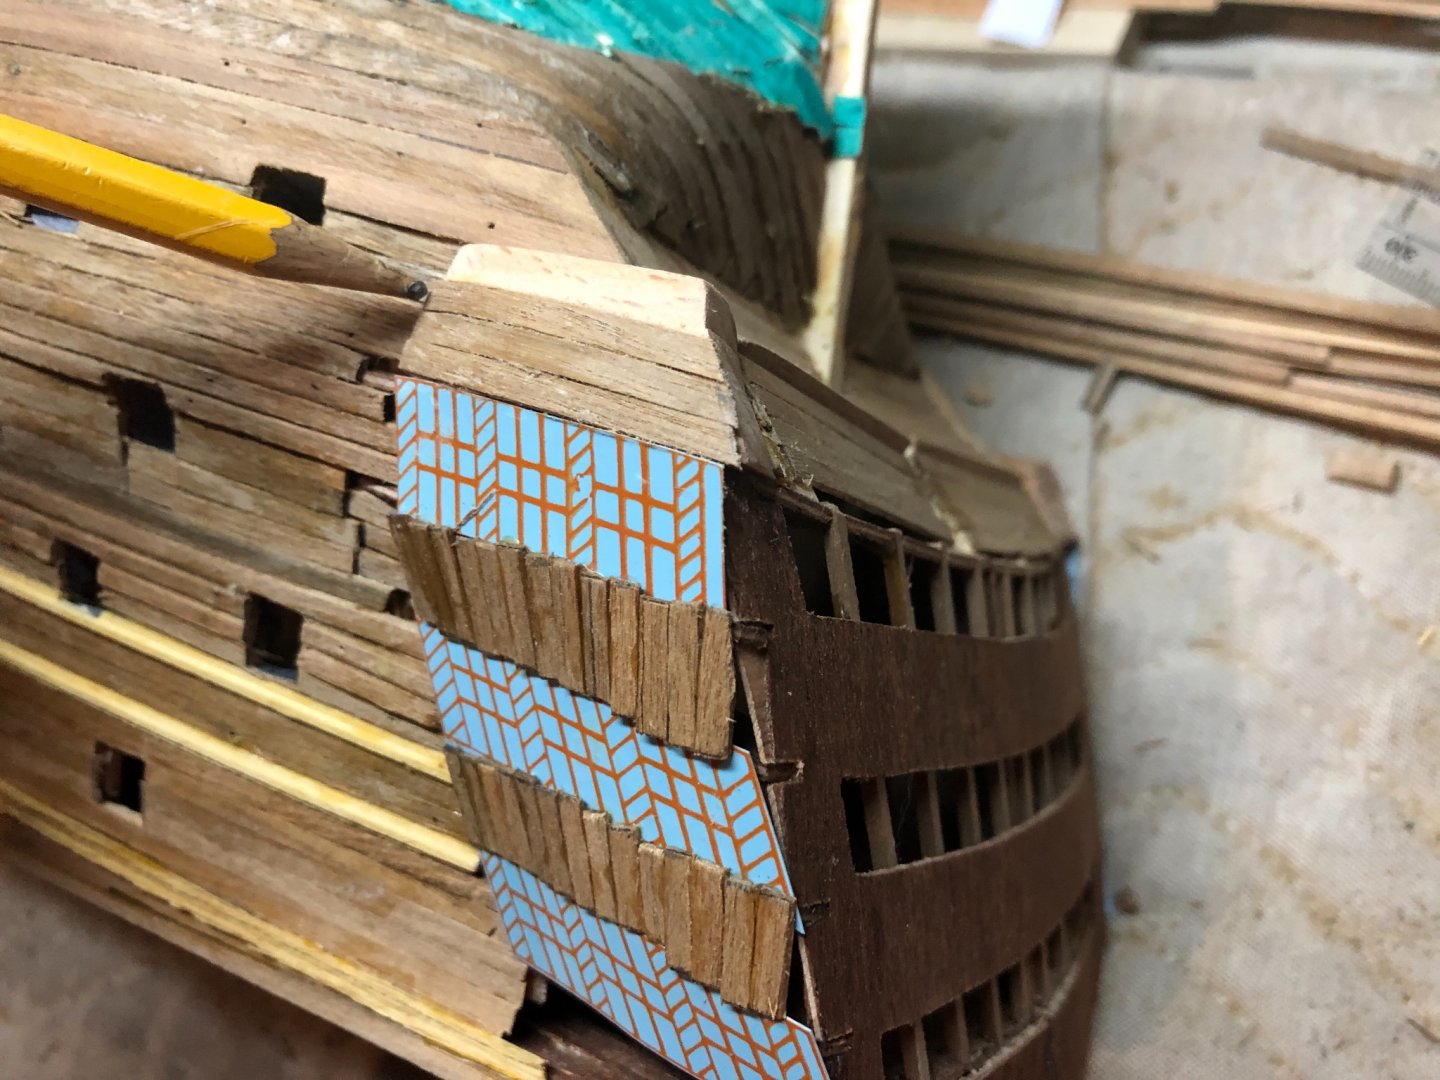
Transom/stern ‘windows’ applied with an acrylic glue for wood/non-wood bonding. I understand there are better alternatives out there, but I realize I’m already over my head with the basic instructions/kit materials. We’ll see how it turns out.

-
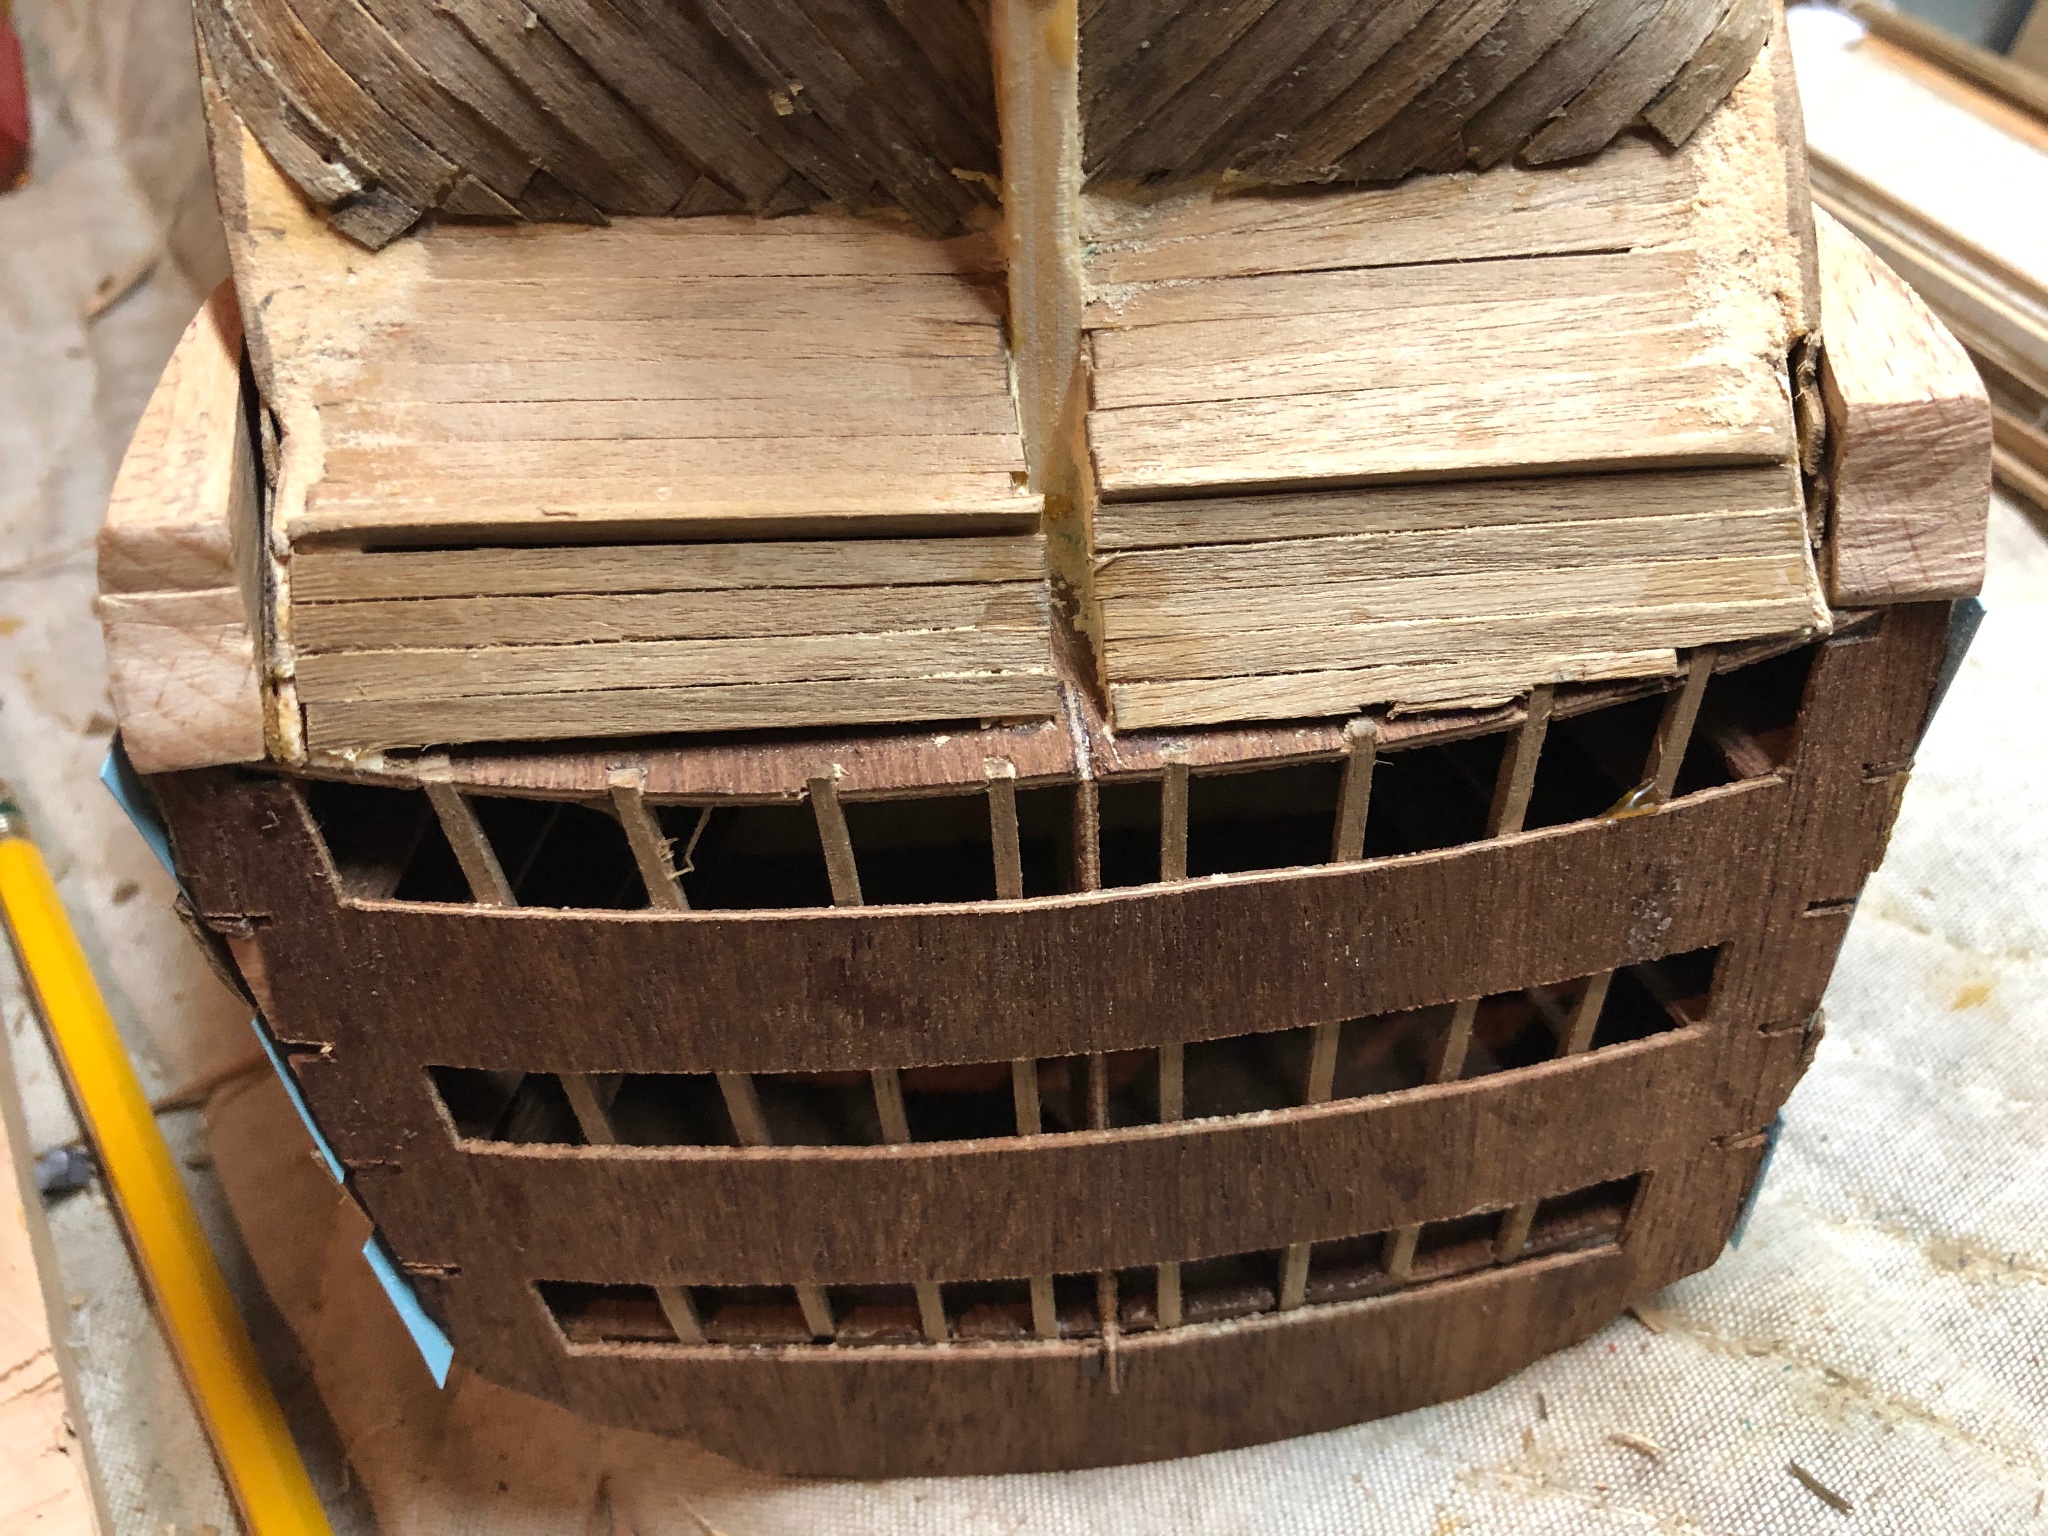
Applying 3mm x 1mm walnut laths to the bottom portion of the transom per the instructions. Note that although these strips are pliable, there is just enough tension in the small pieces to make it difficult to attach without first bending them. Small nails to hold the laths in place will split the wood, so I measured and then applied my bending iron to the planks, cut them and then dried them in my plank ‘shaper’ device. After dry, the pieces fit and stayed nicely with the wood glue adhesion. No other means of keeping them in place were necessary. You can judge the result for yourself.
-
All this planking work is making you an expert Emmet! Hope your fall is going well:)
-
Now installed! Will be doing some light sanding in preparation for putting 0.5mm x 3mm walnut laths over them next.


-
Both transom base pieces molded and ready for install.

-
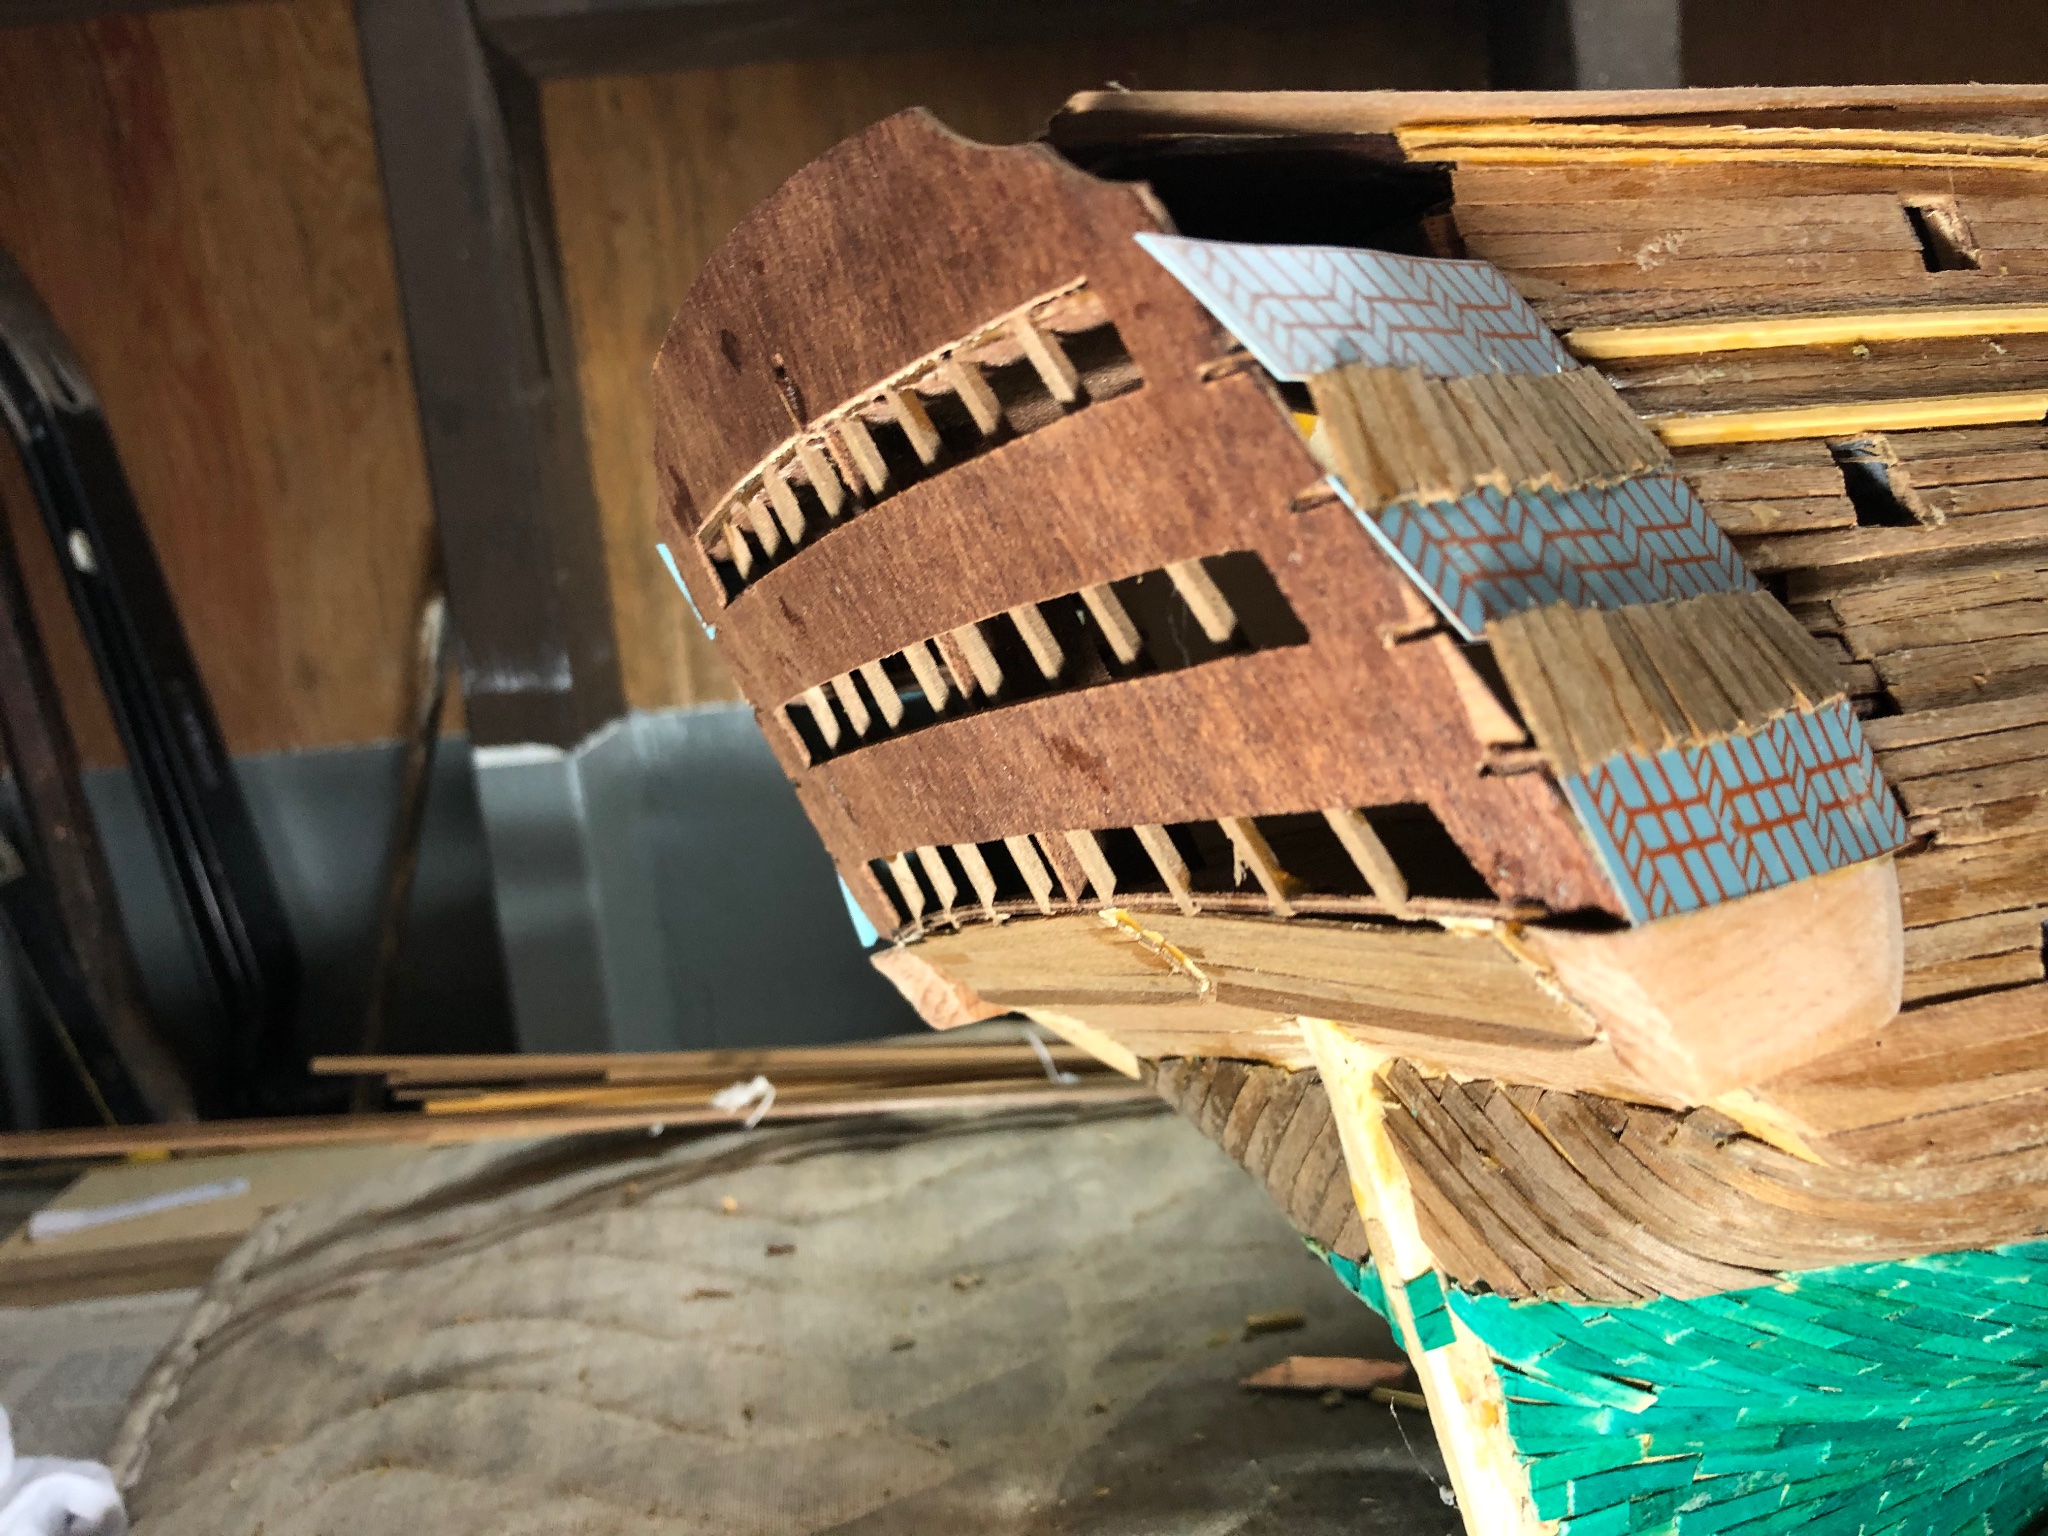
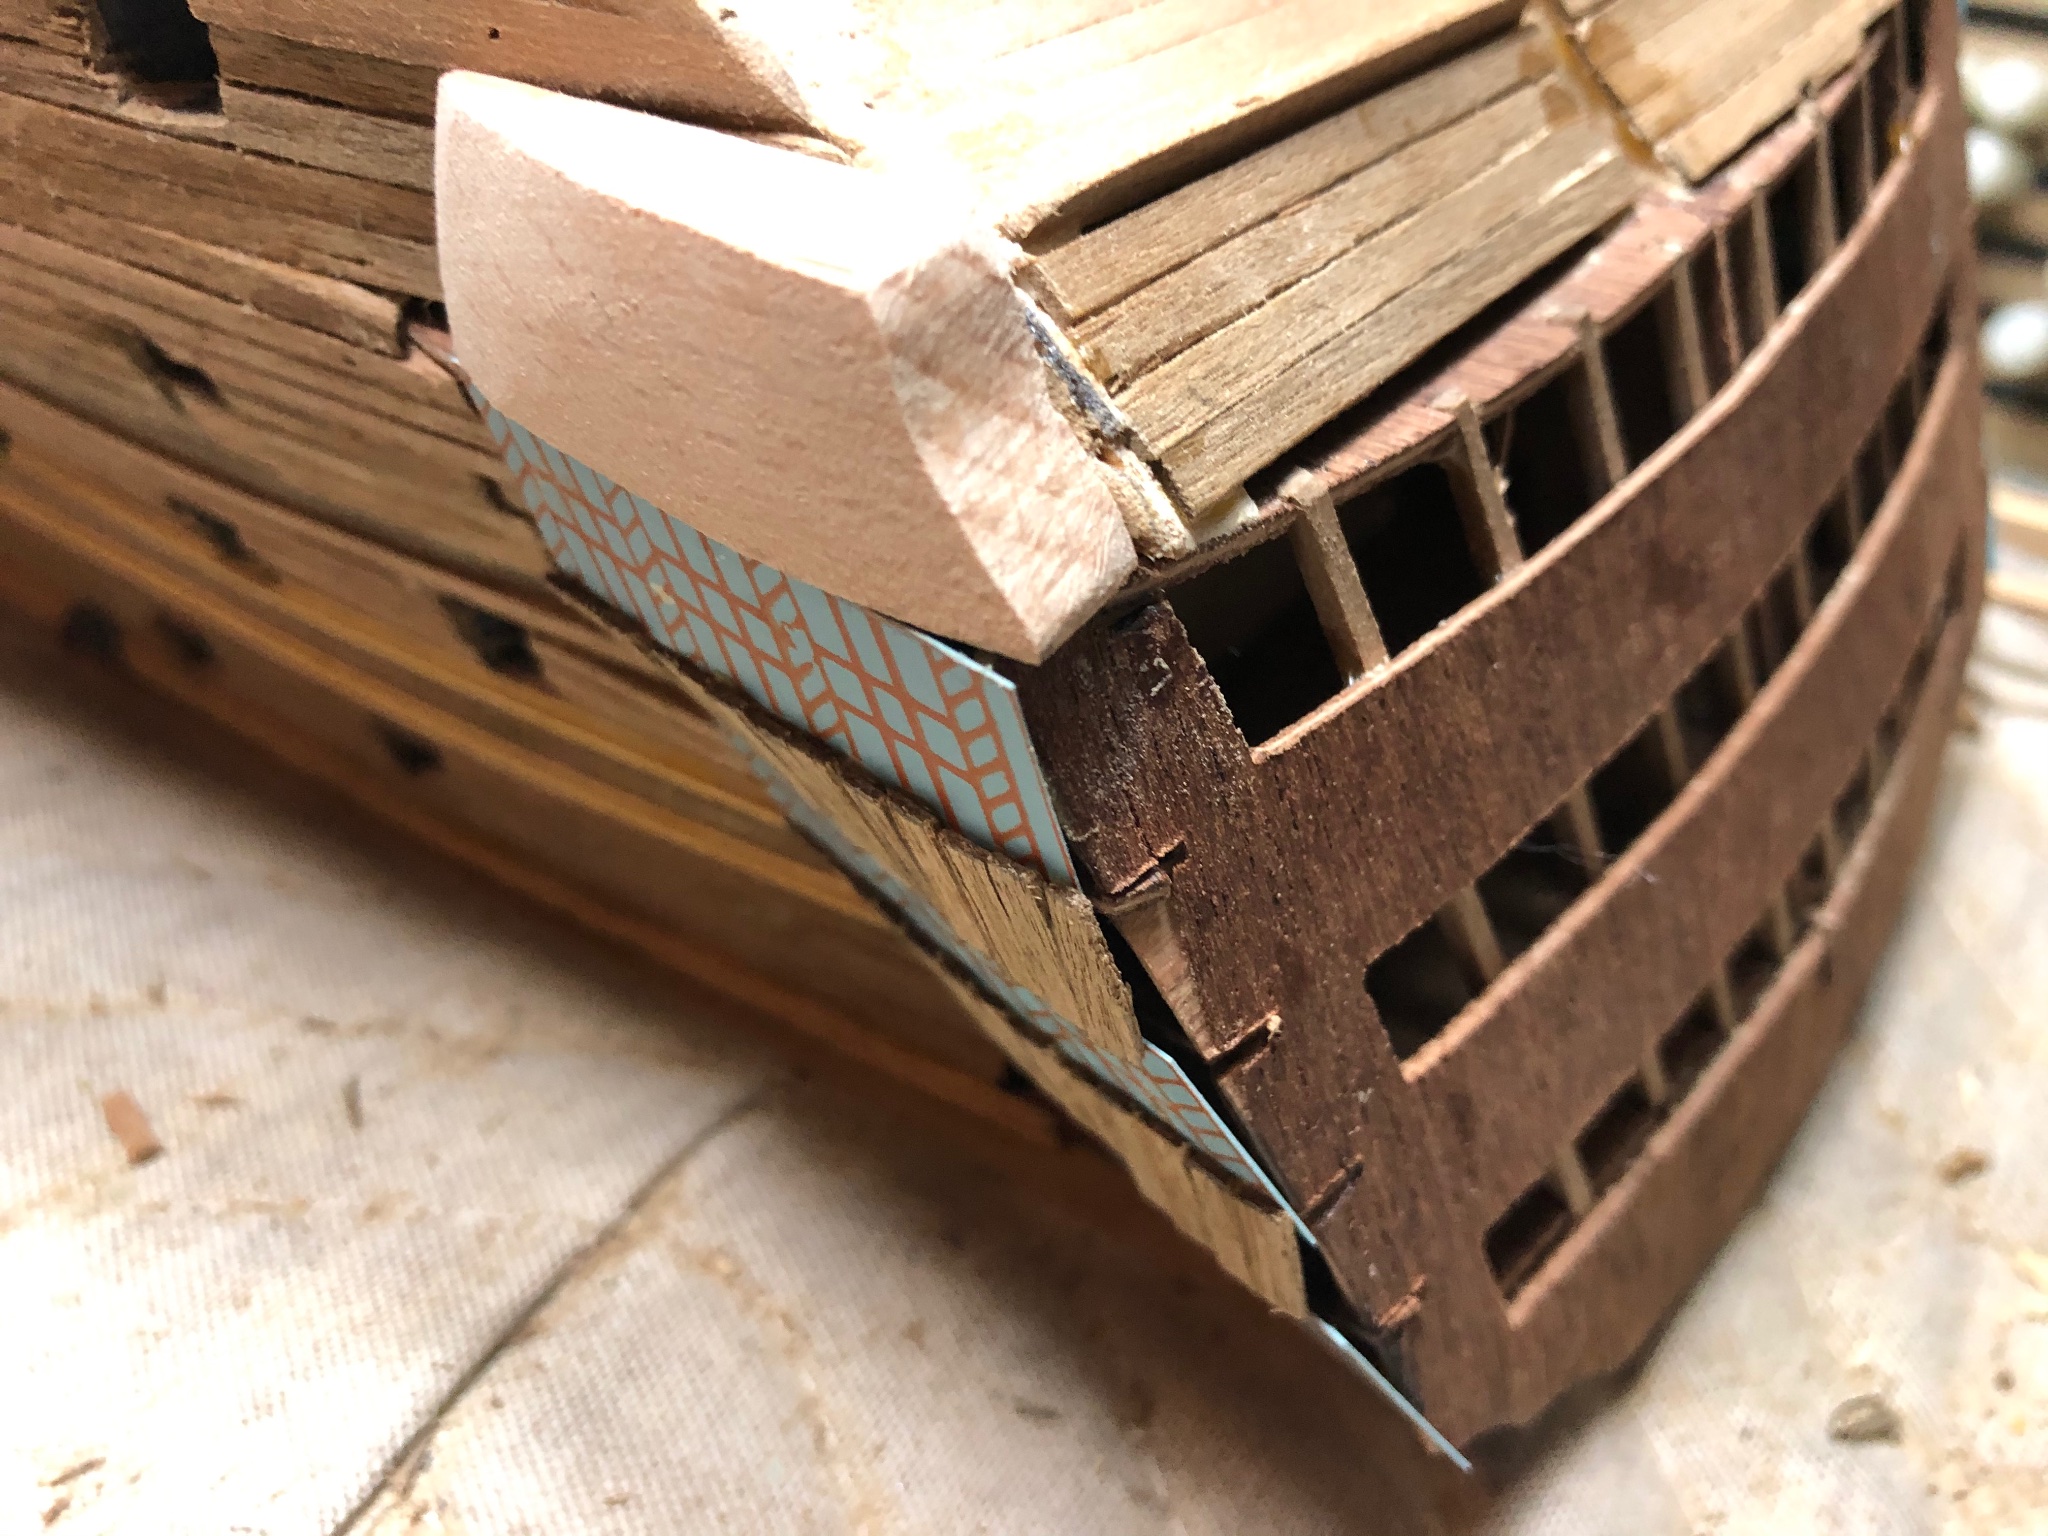
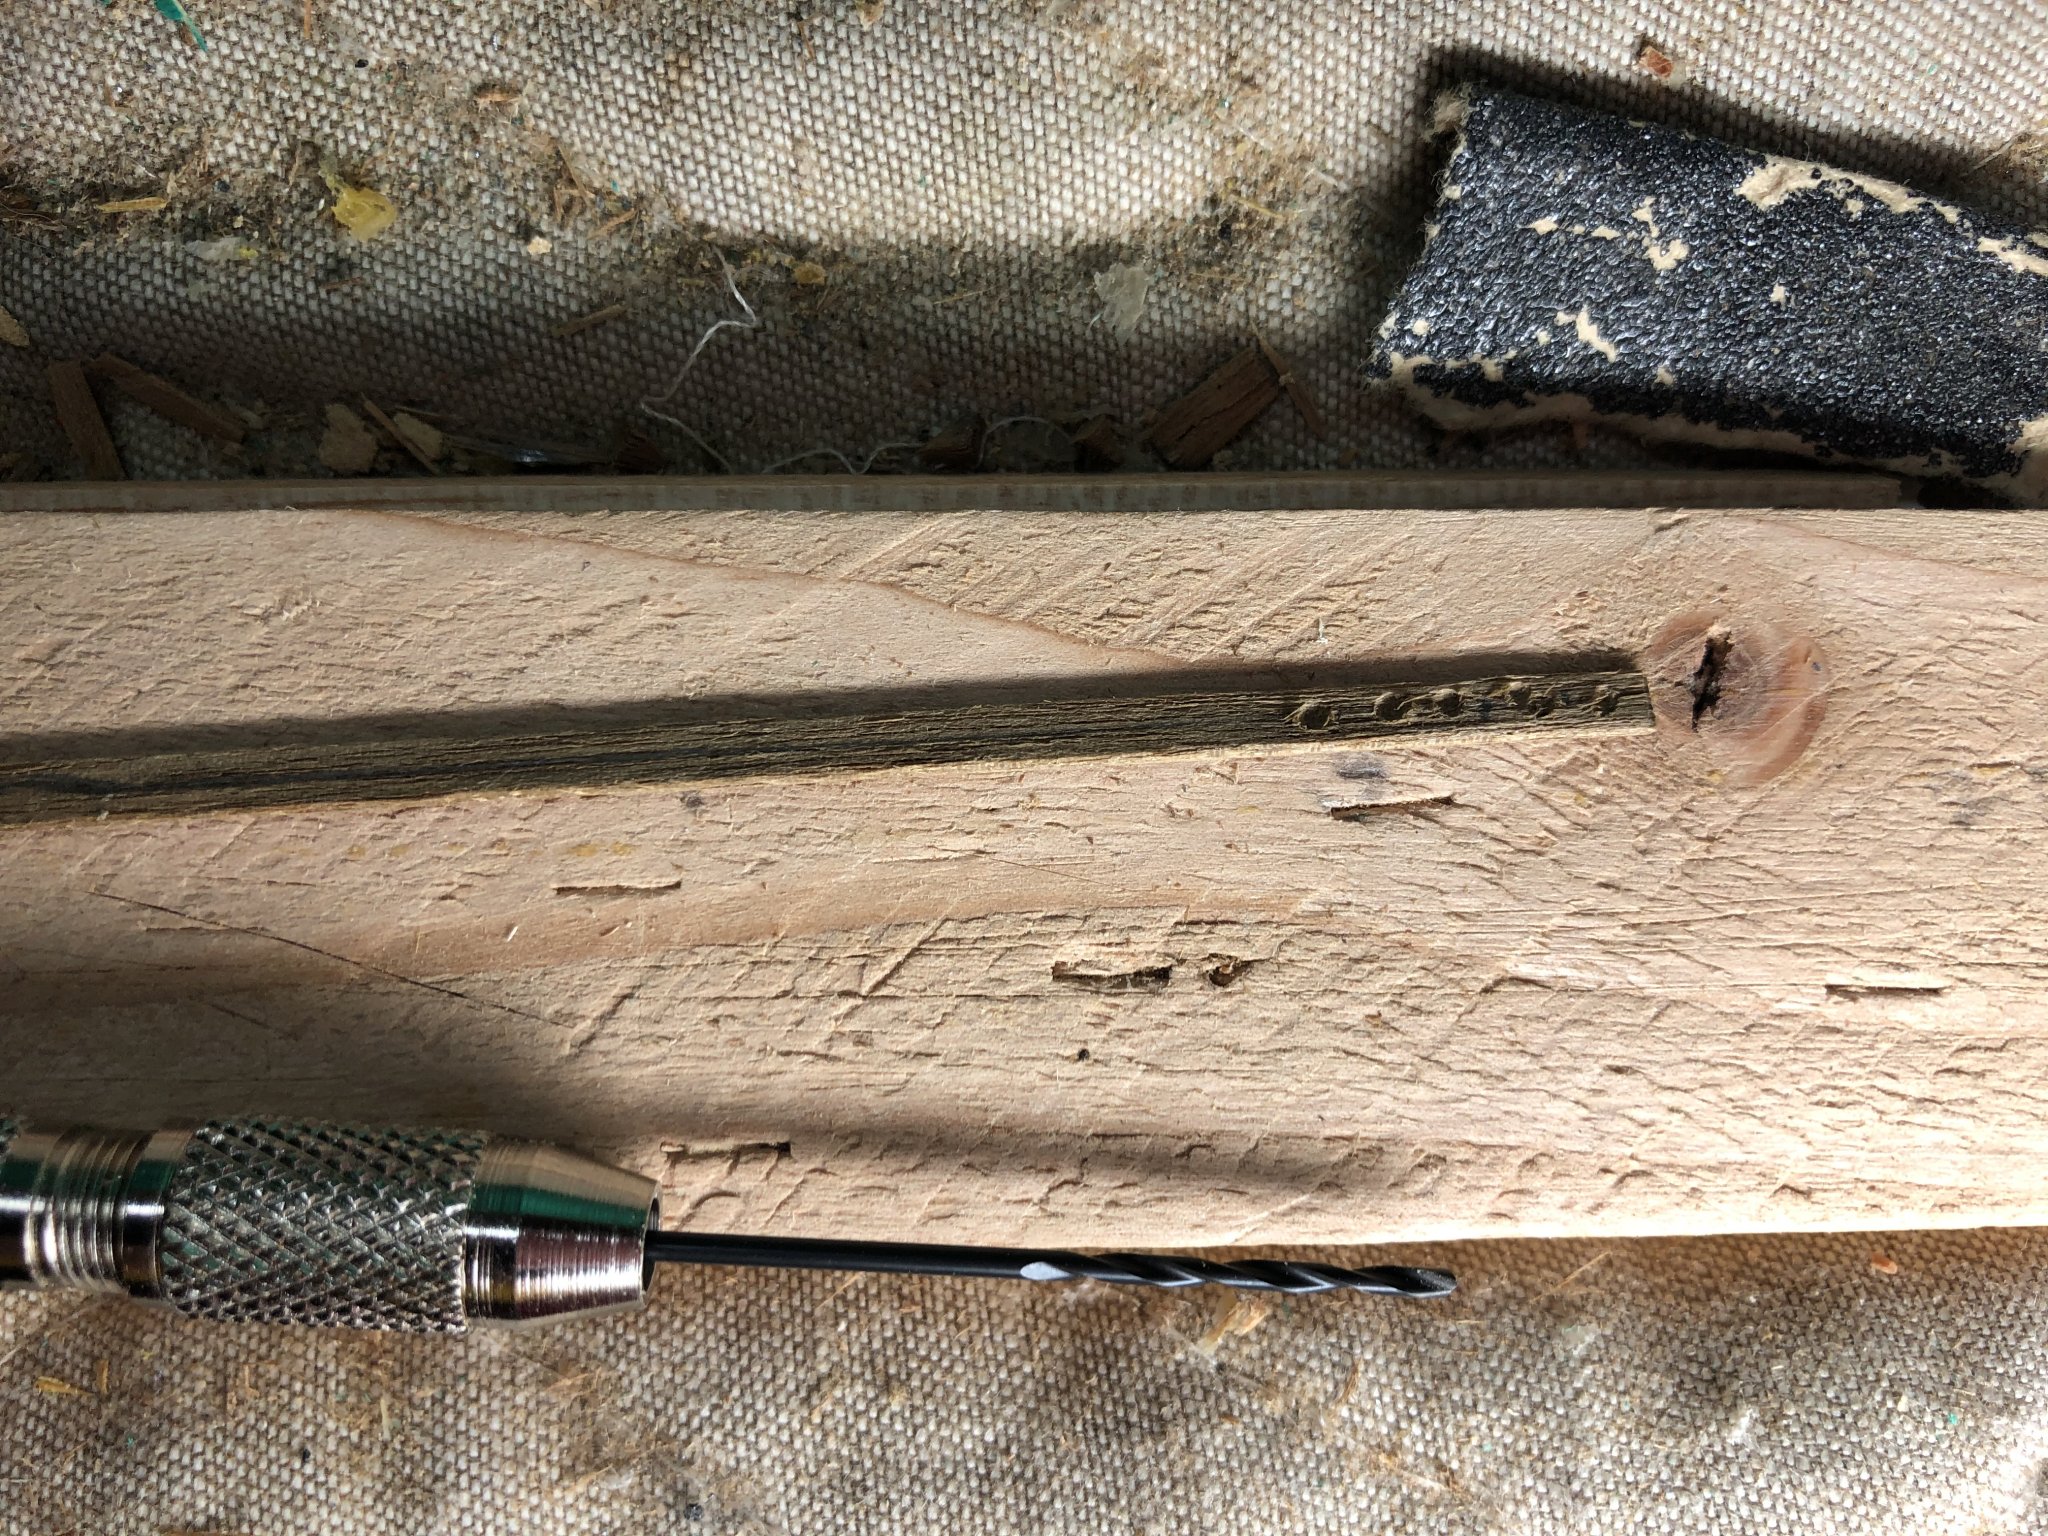
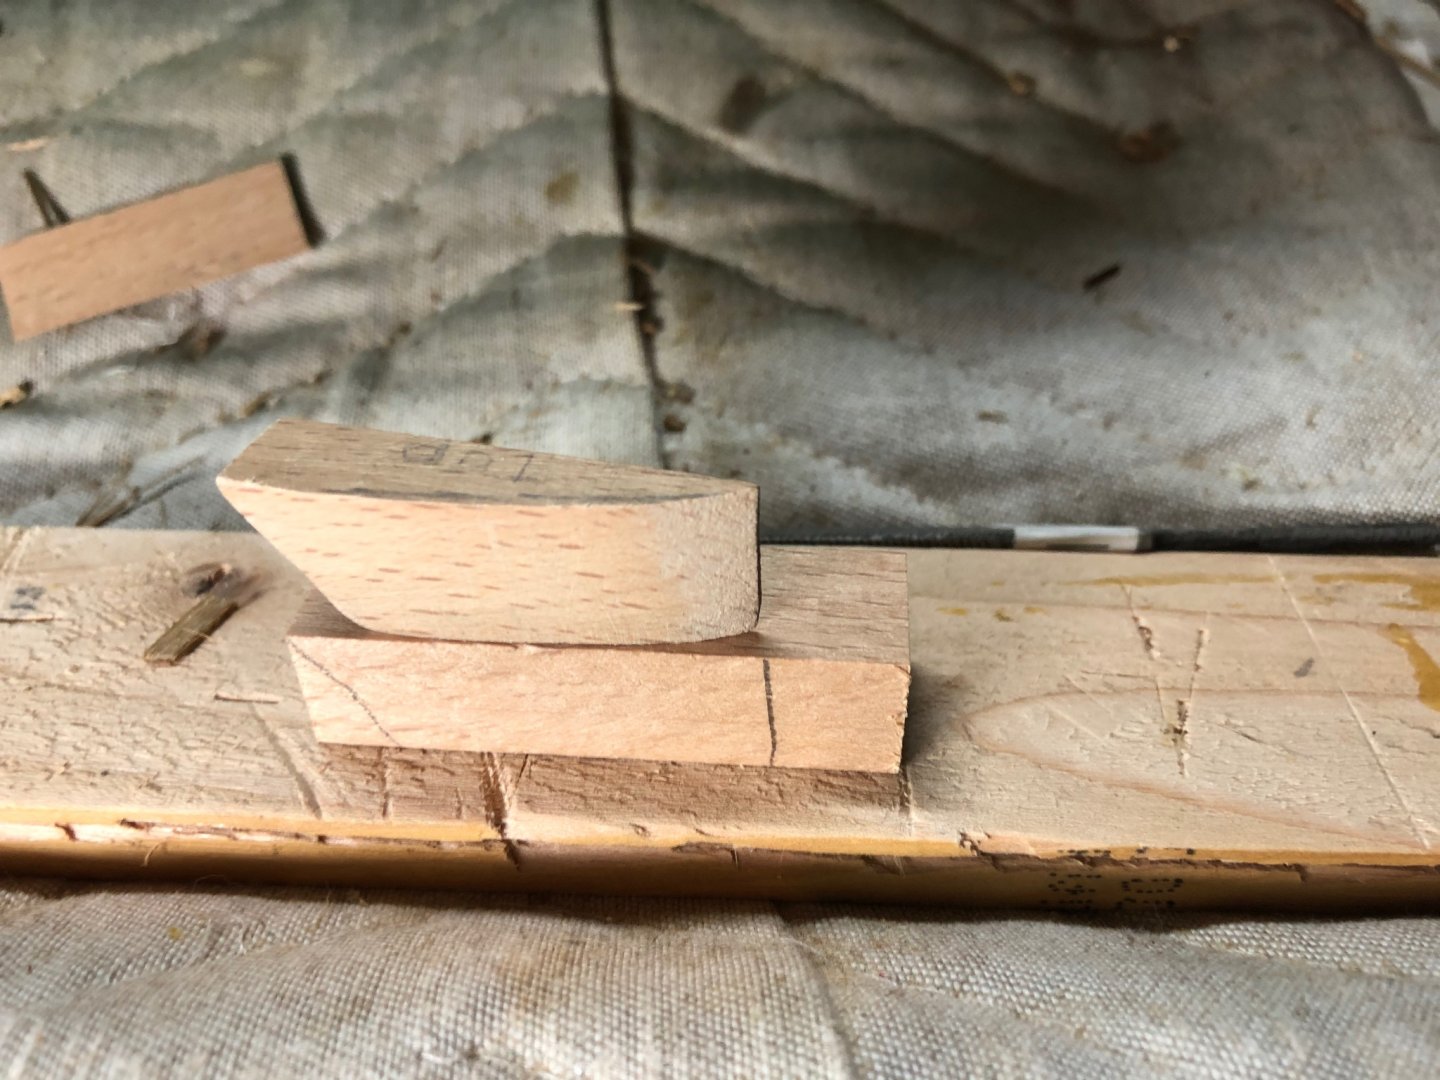
Well, I’ve been away from the shipyard for a little while as I transition to the Transom with associated finishing. I’ve been working to shape the bottom sections of the transom. You can see the piece of wood I started with (bottom piece) and where I currently am on the starboard side (top piece and associated picture). I need to shape the port side, install and plank. Then over to the more intricate portion of the transom finishing. It’s really fun (not) trying to interpret the instructions for all the small pieces of trim, etc. This will take some time.

-
Hi Clive - yes I do. You can message me for details.
-
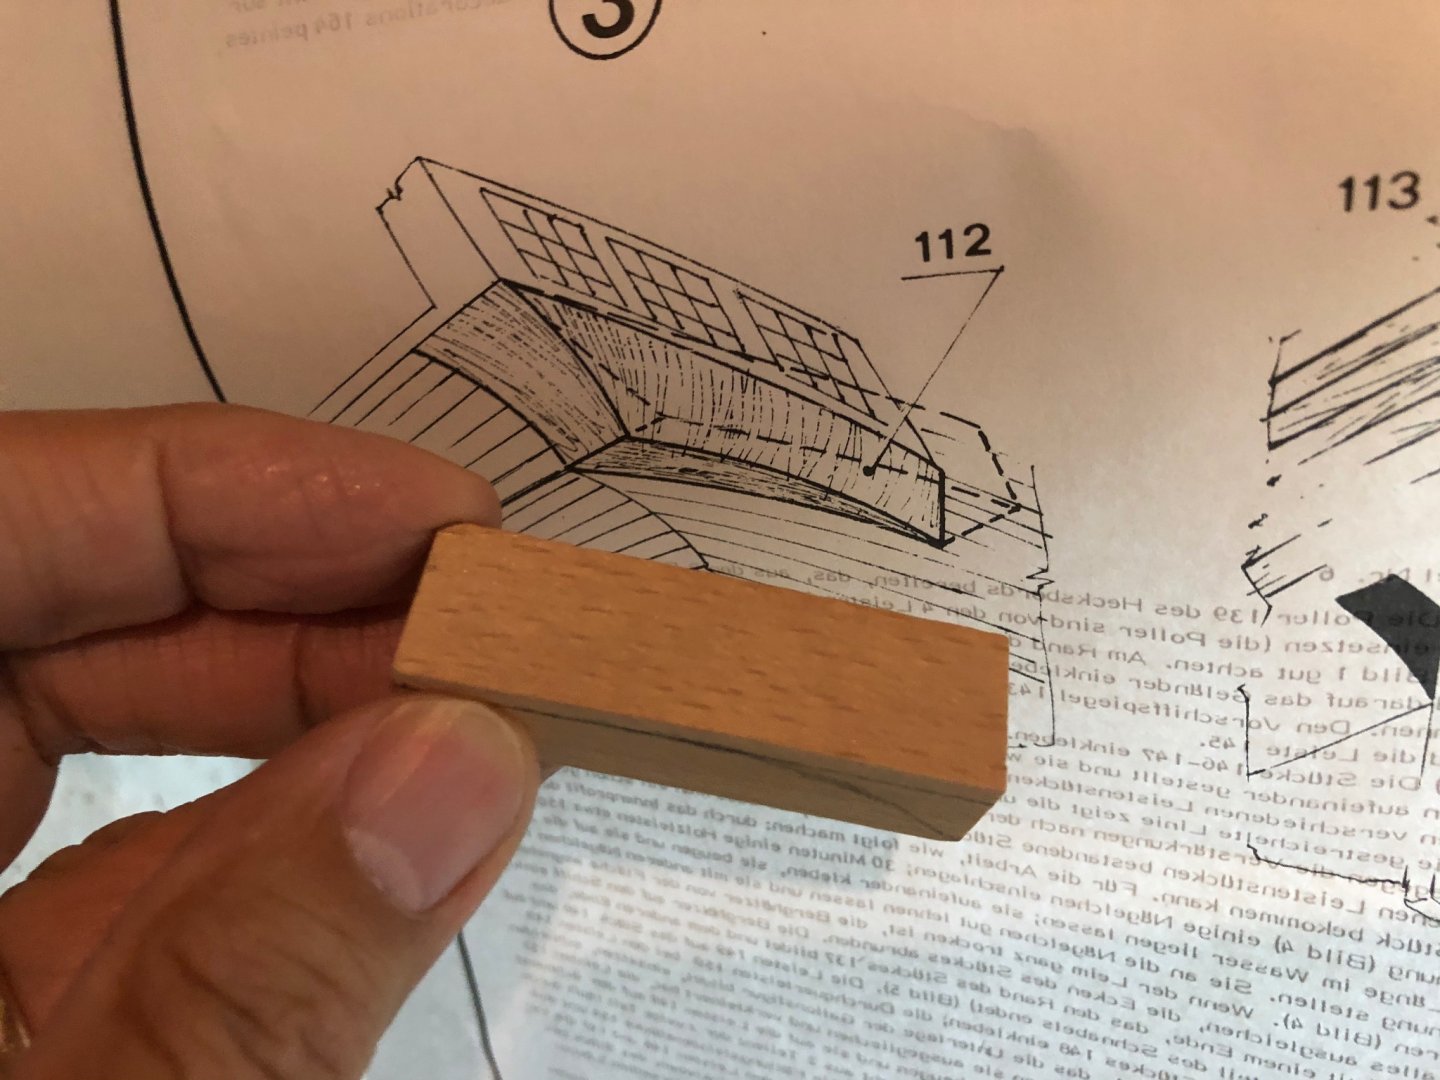
Continuing the transom work. Instructions call for shaping a couple of small blocks to form the bottom portion of the starboard and port sides of the transom. I’m not completely sure the best way to mold the blocks so I intend to solicit help on potential techniques by starting a forum discussion. My initial thought is to identify/mark sections on the block, secure it in a vise and sand it with an electrical sander. I’ll use sand paper for the finer sections. Any other suggestions are welcome. Thanks in advance.

-
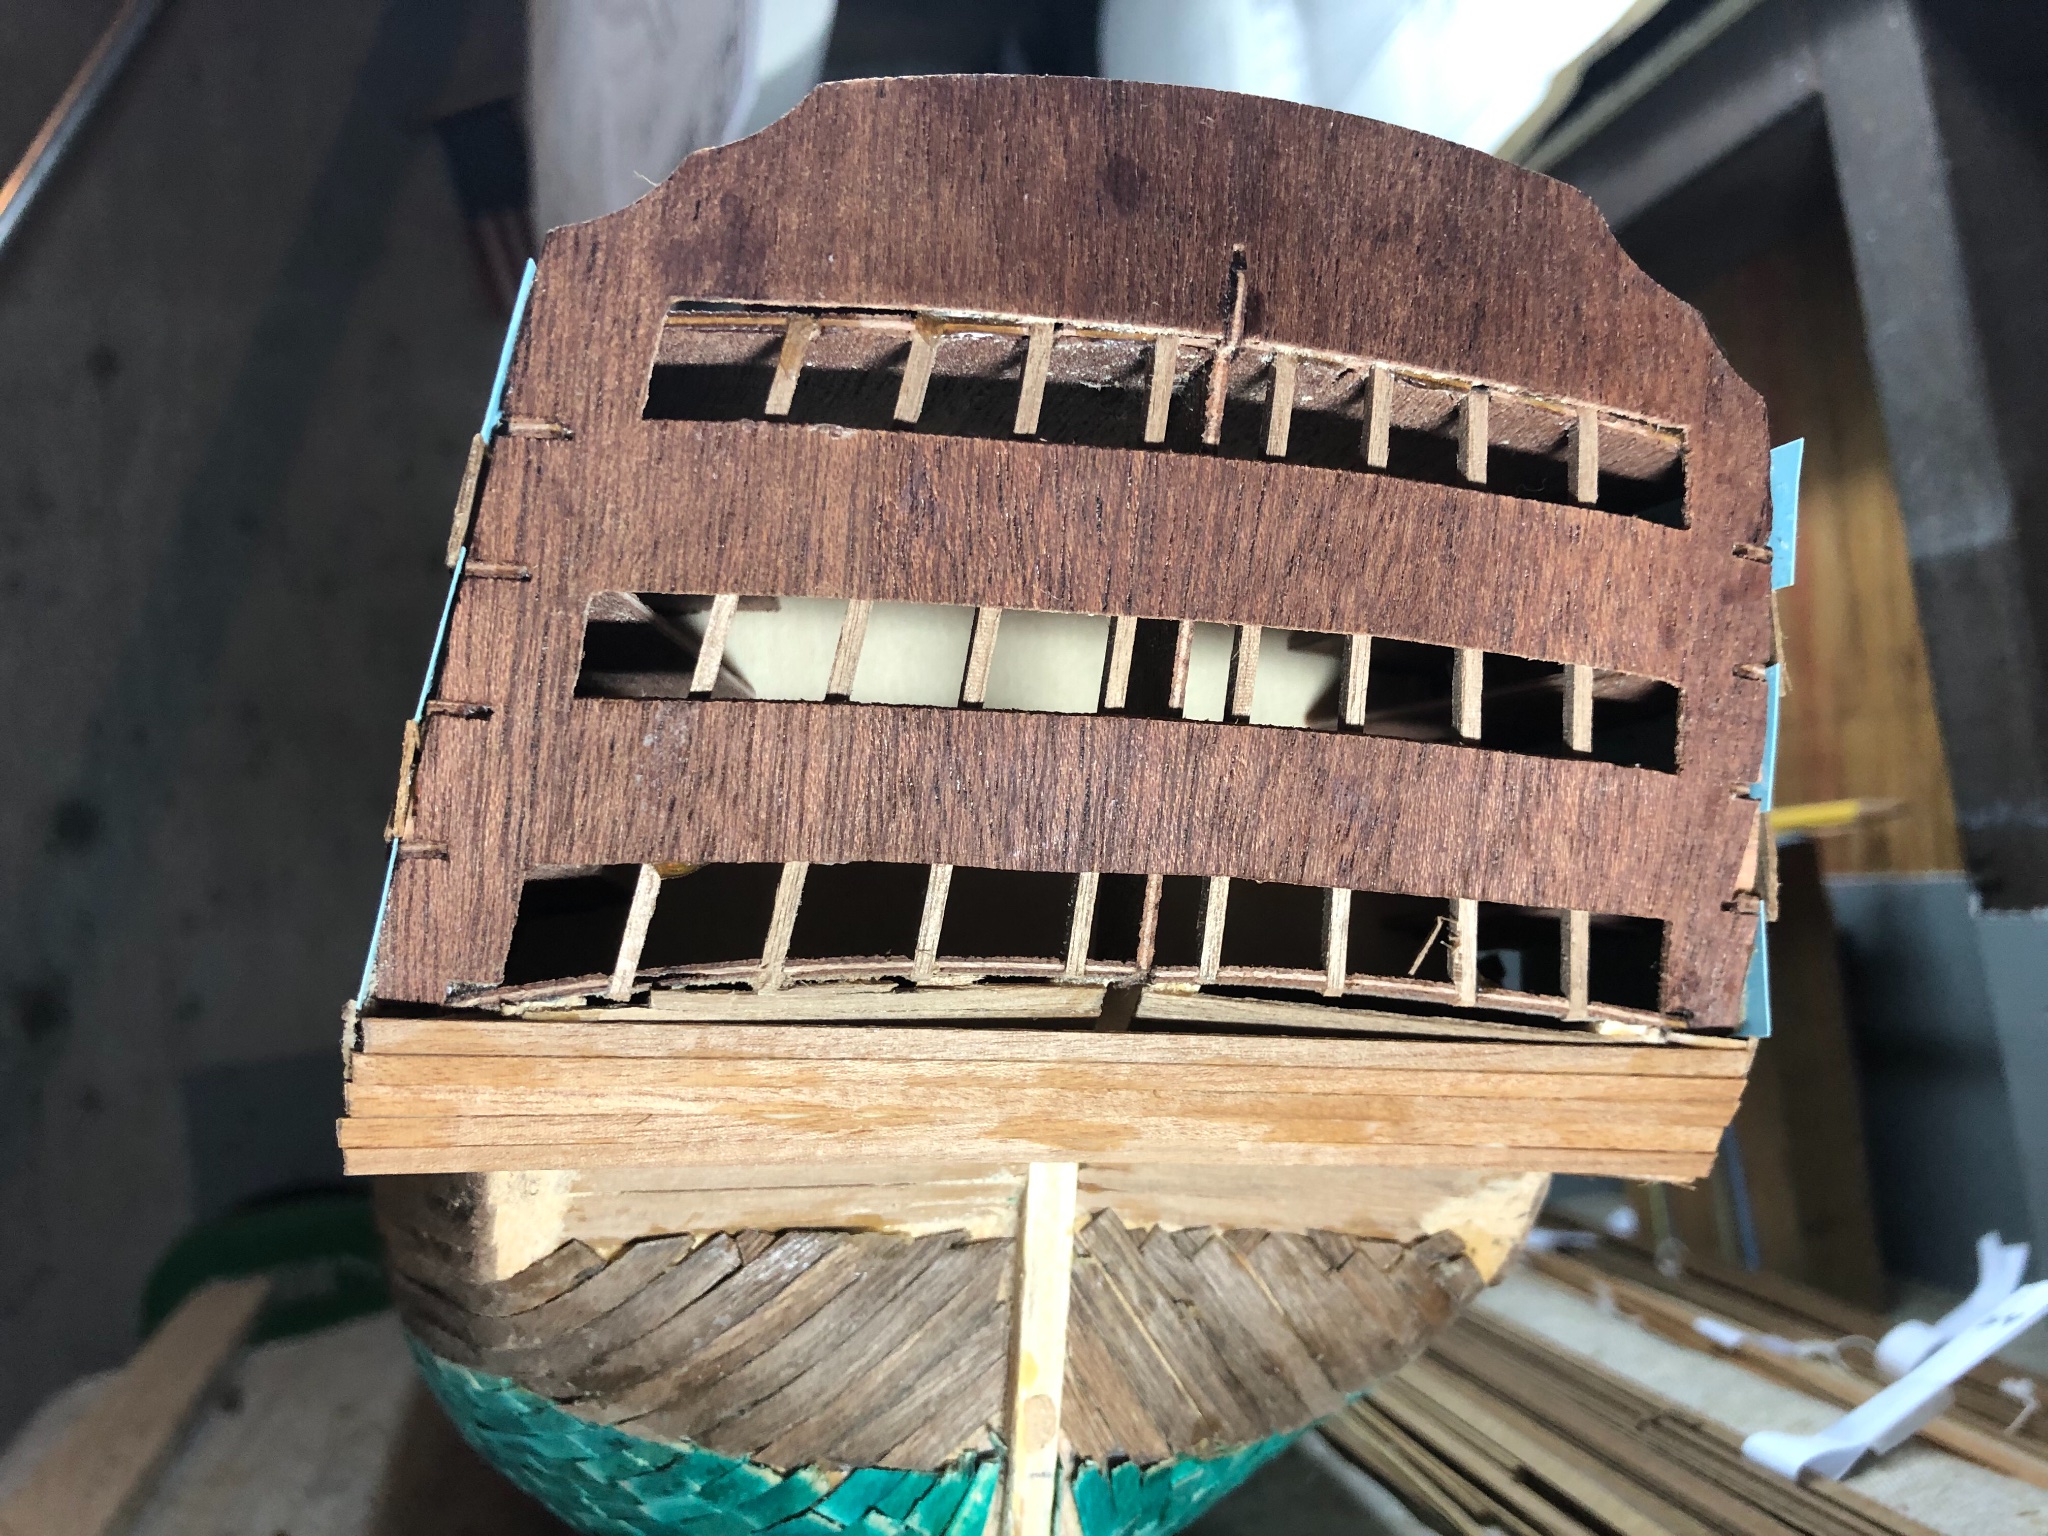
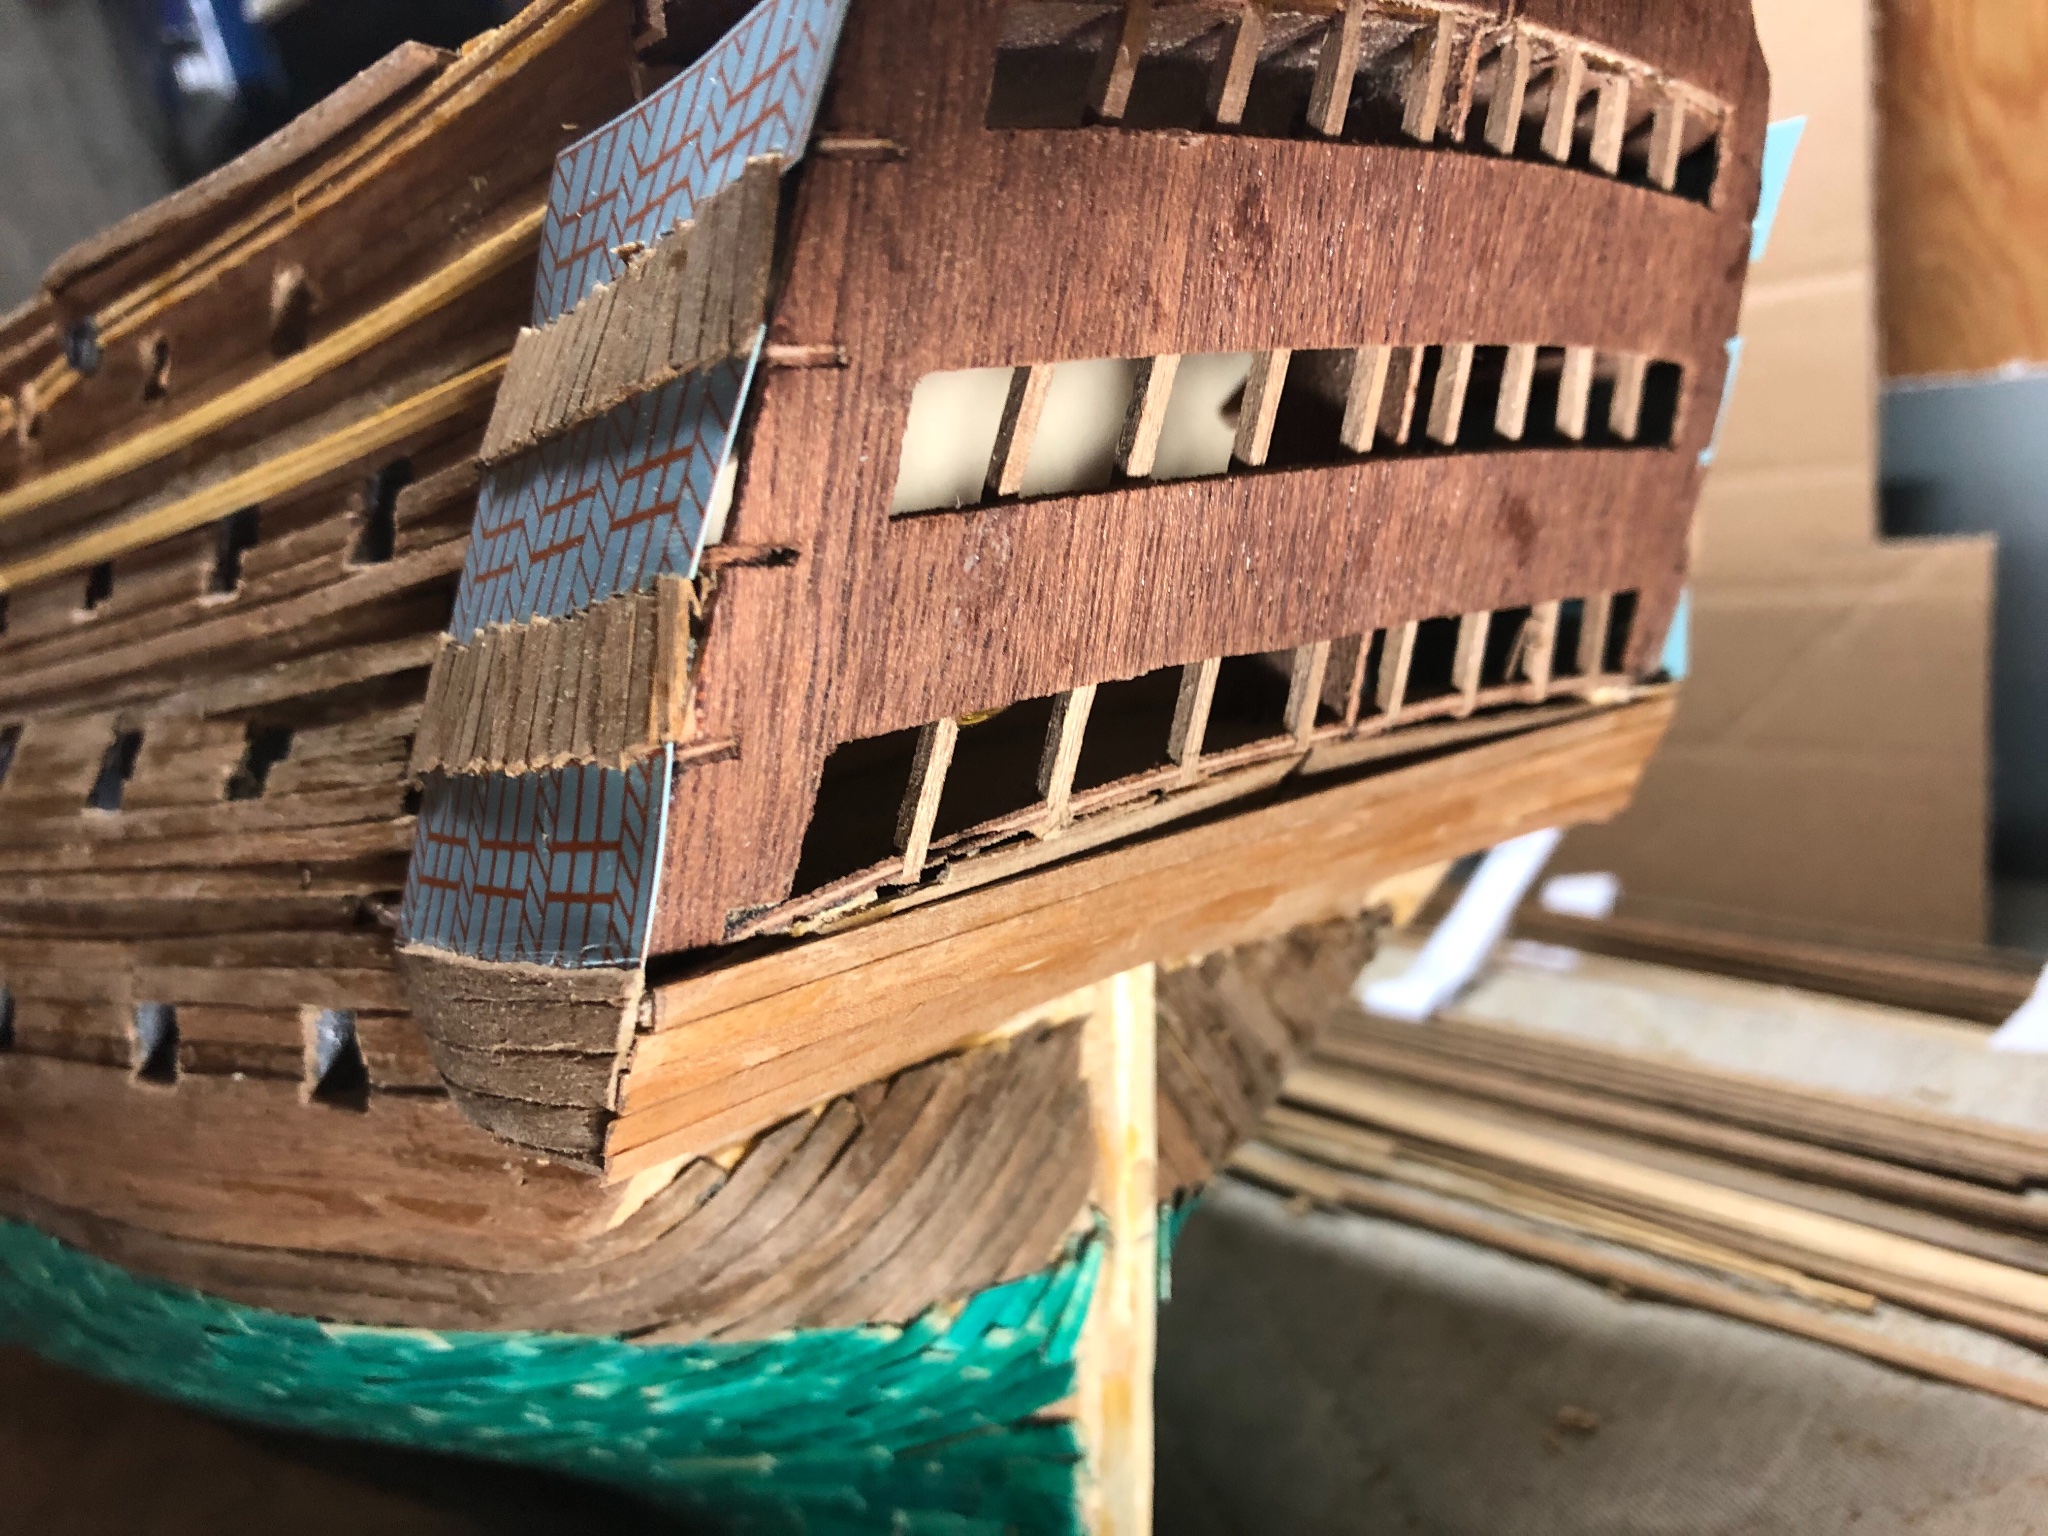
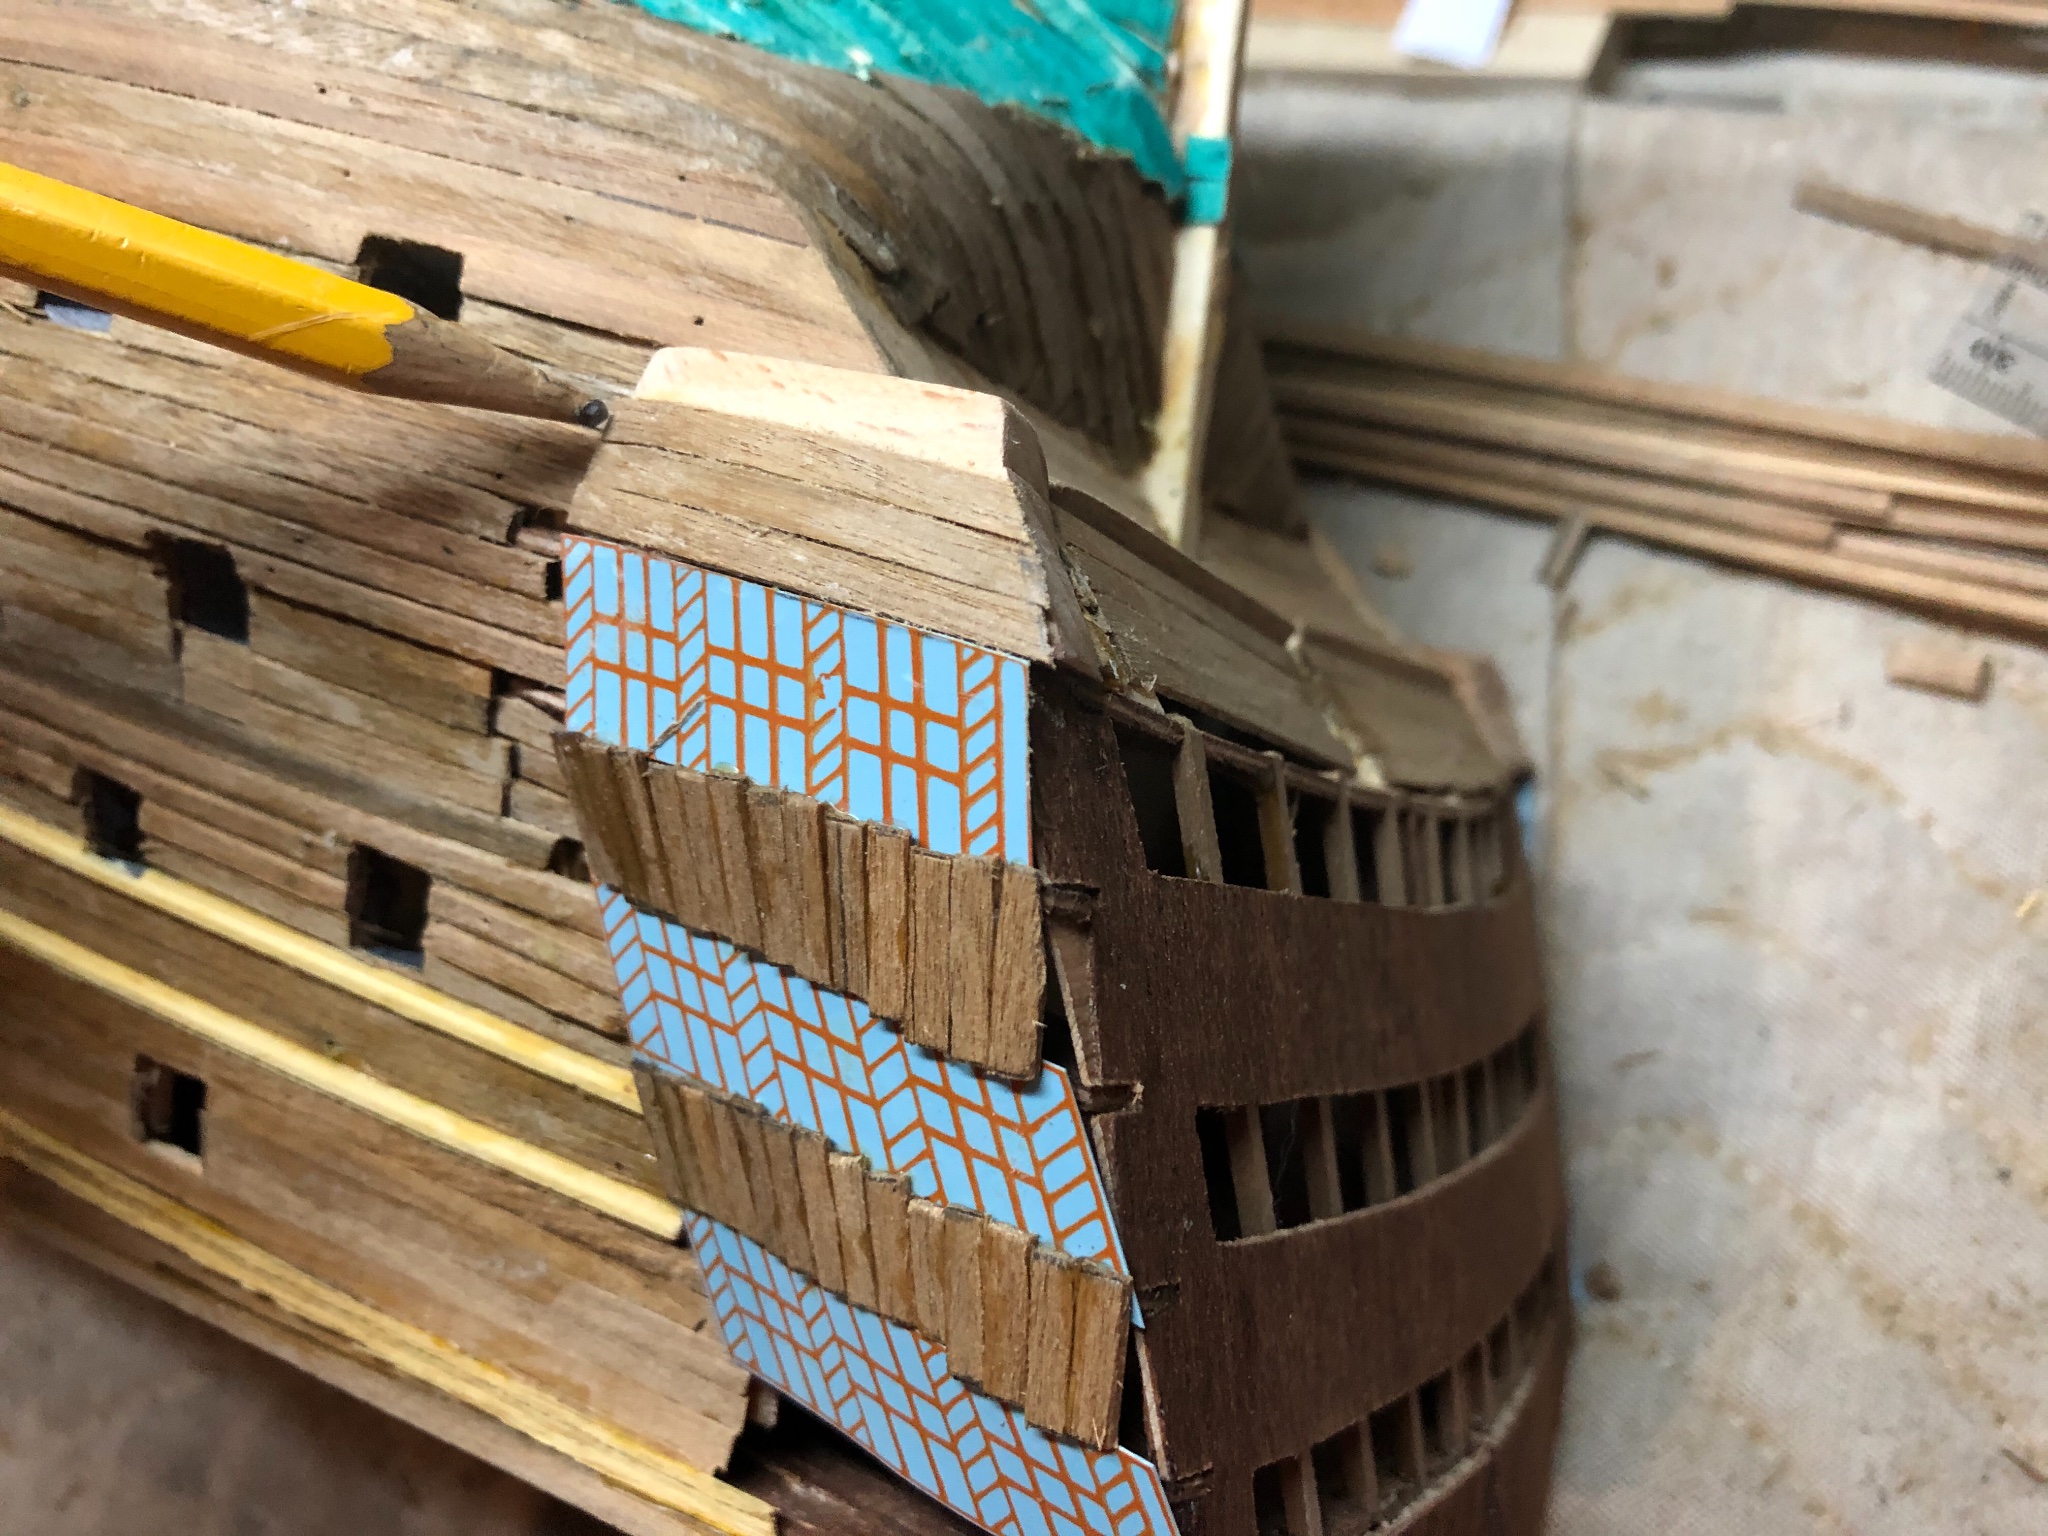
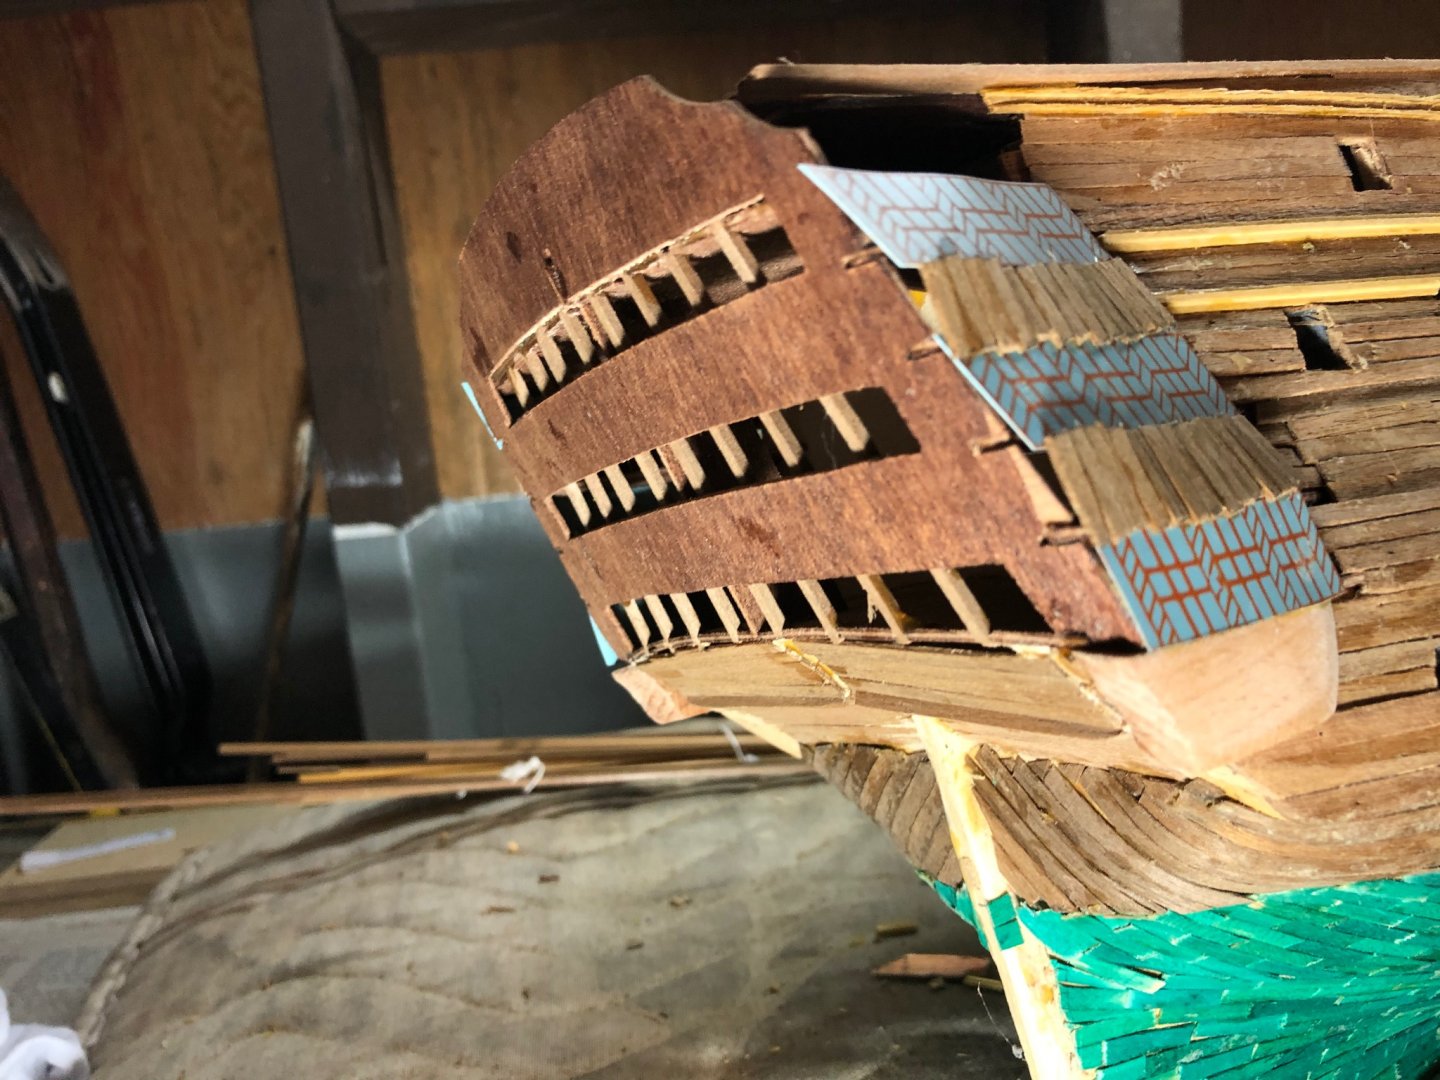
Transom work on the port side. Instructions call for small, 1mm x 3mm walnut strips (about 11mm) between the cut outs. Doesn’t leave a lot of room for the strips to adhere to.
-
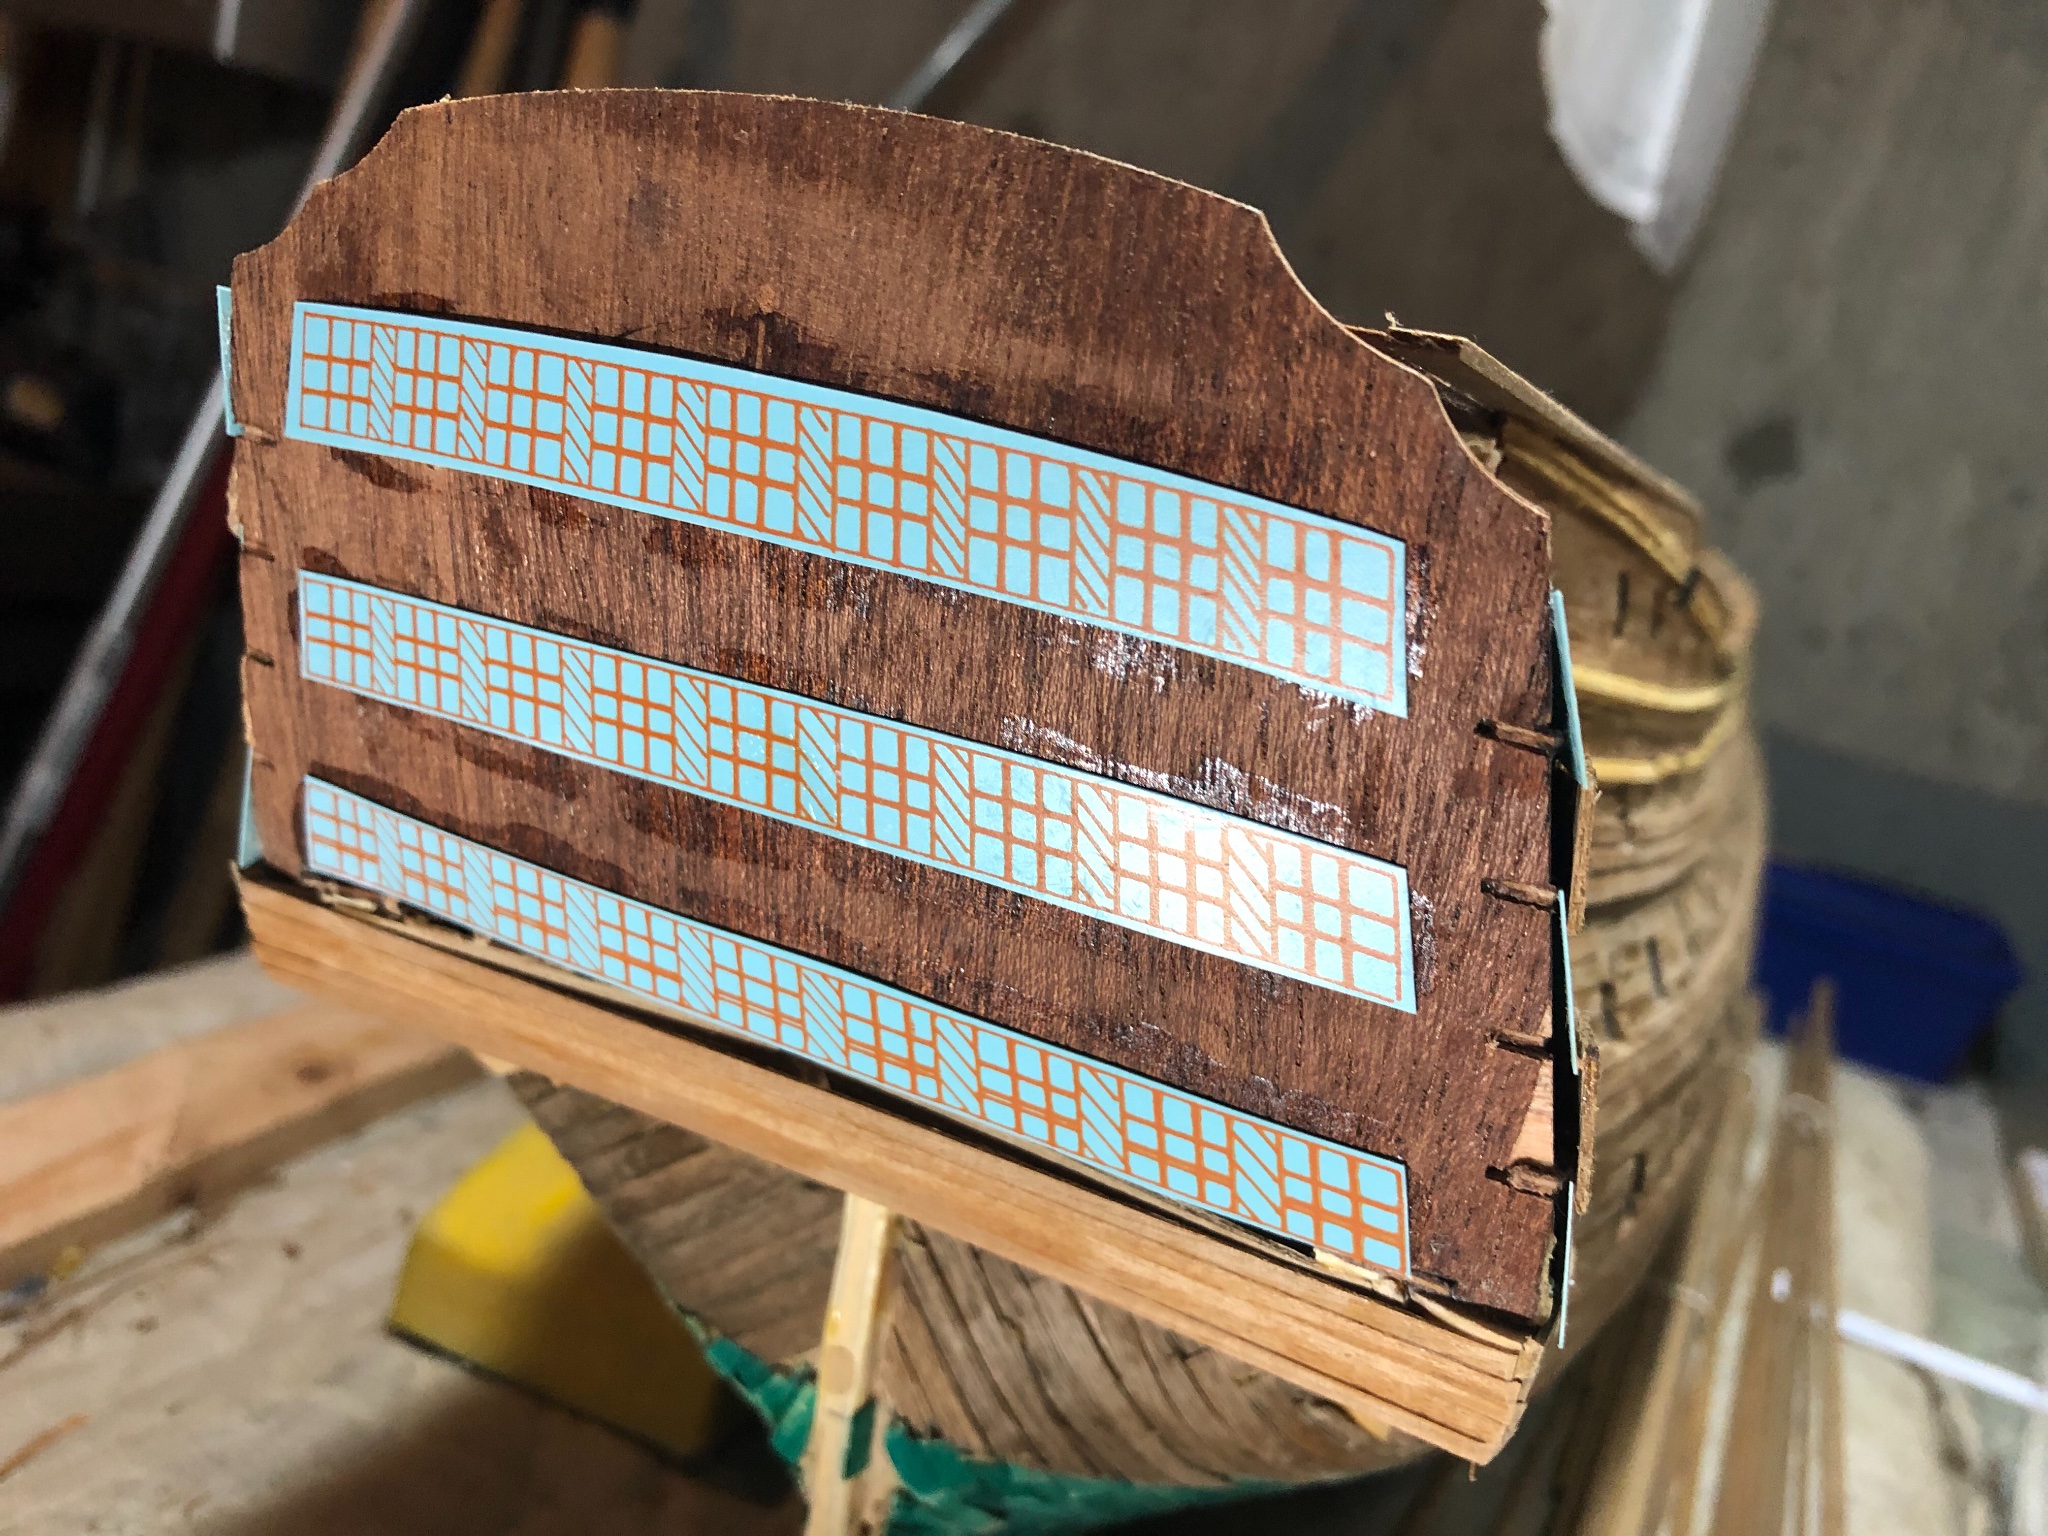
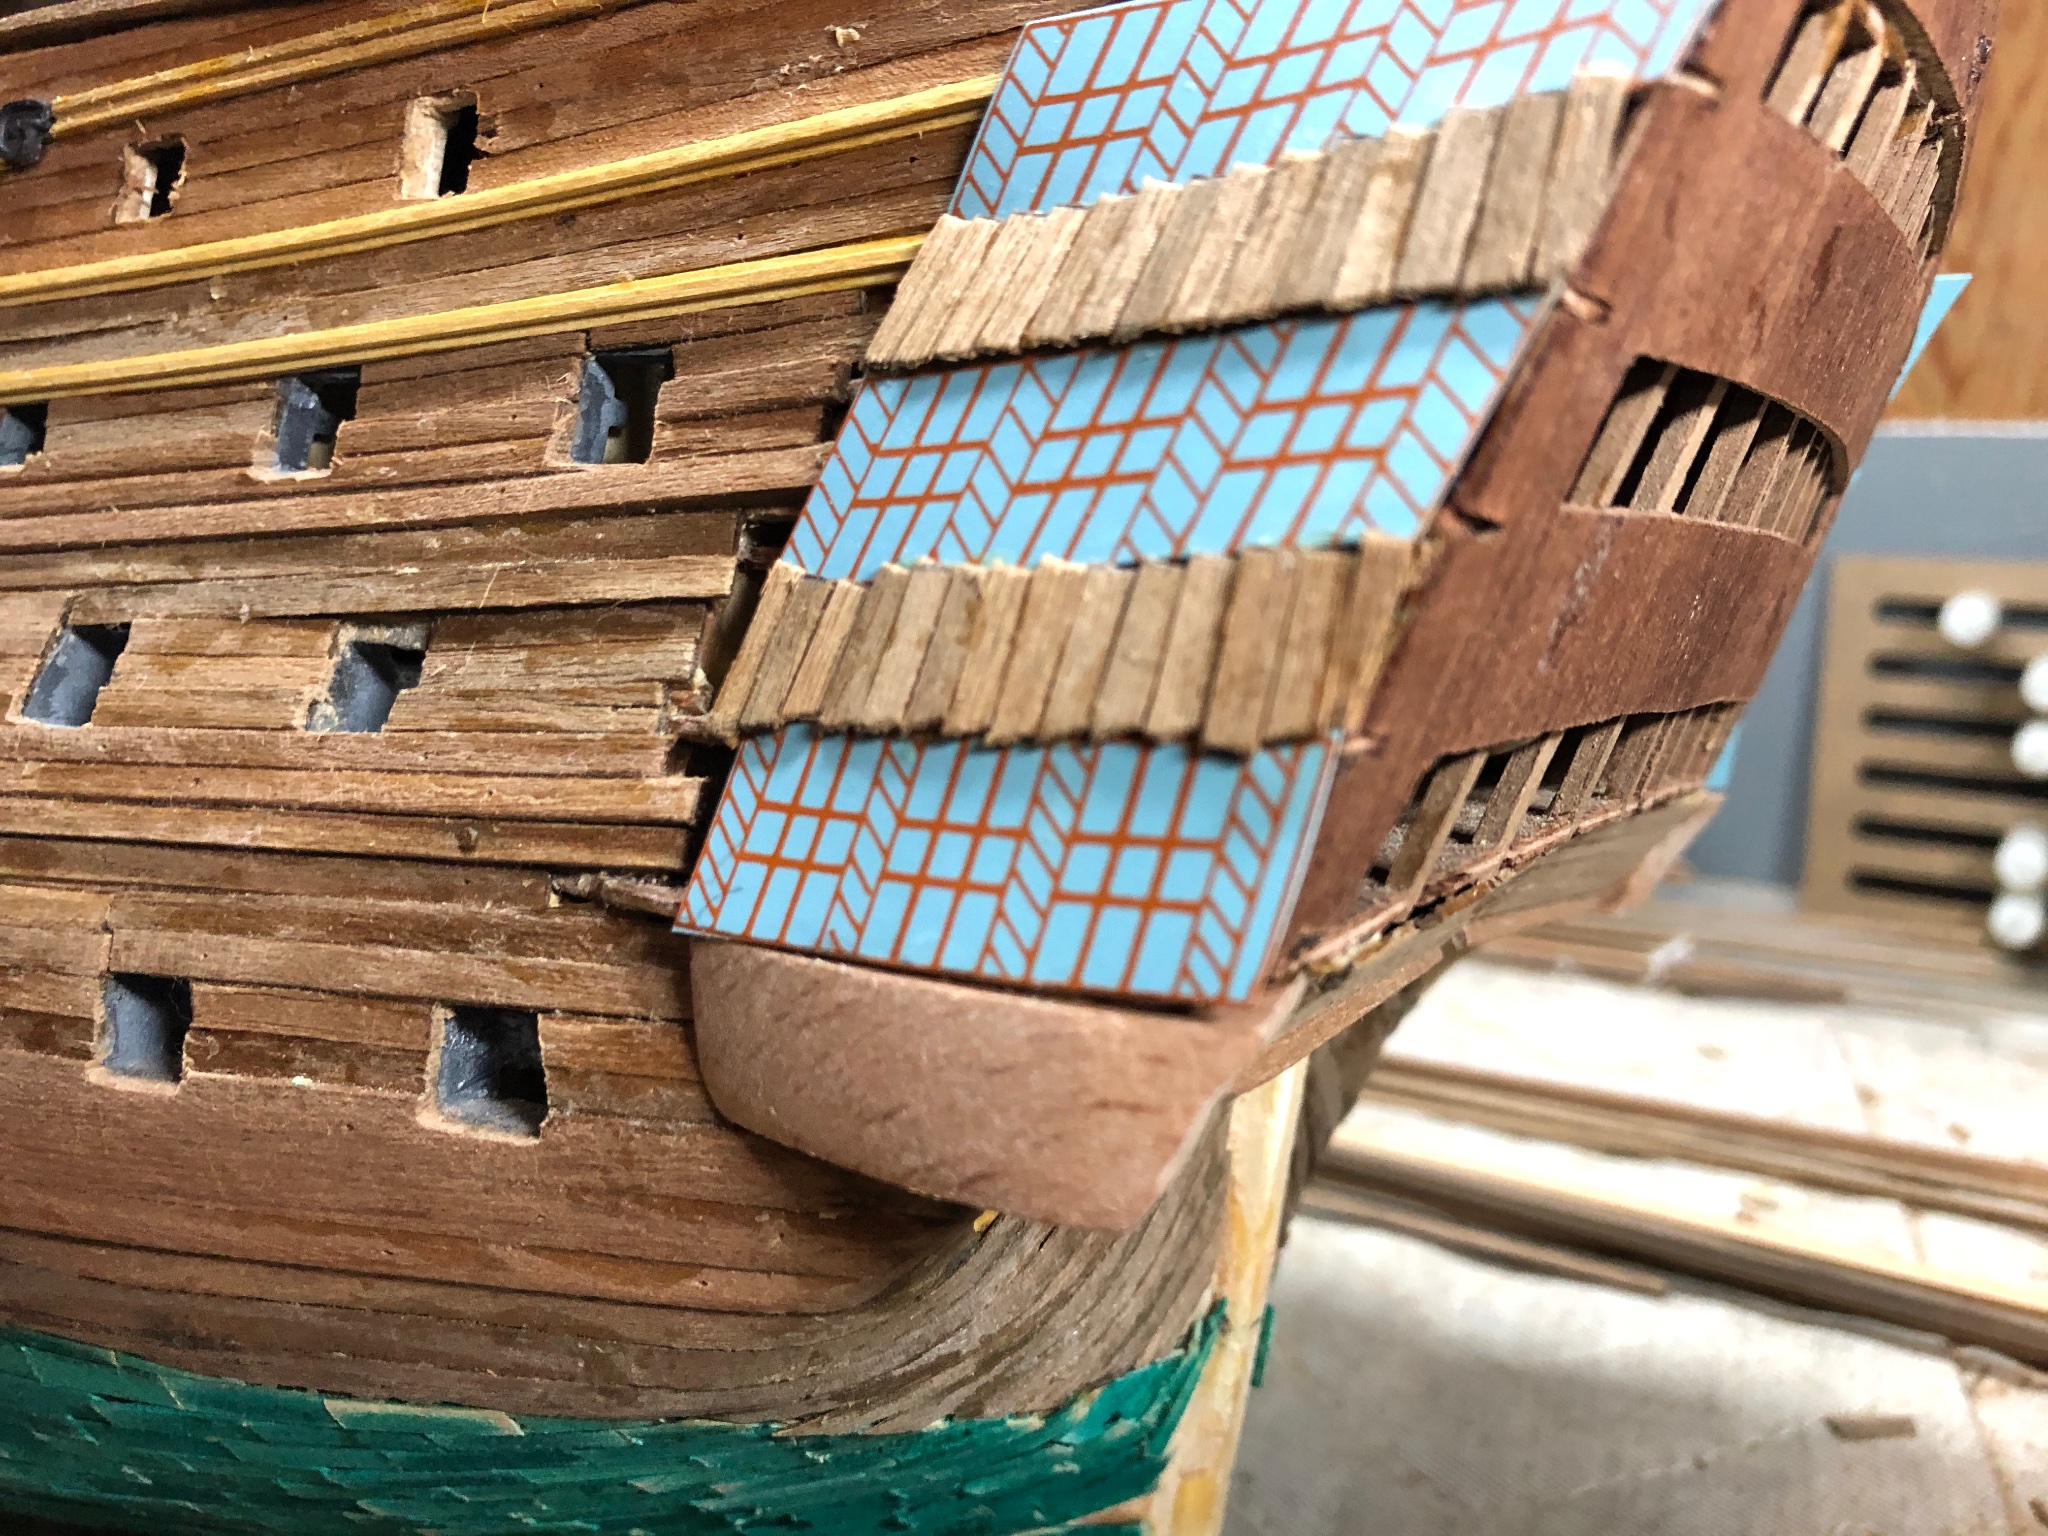
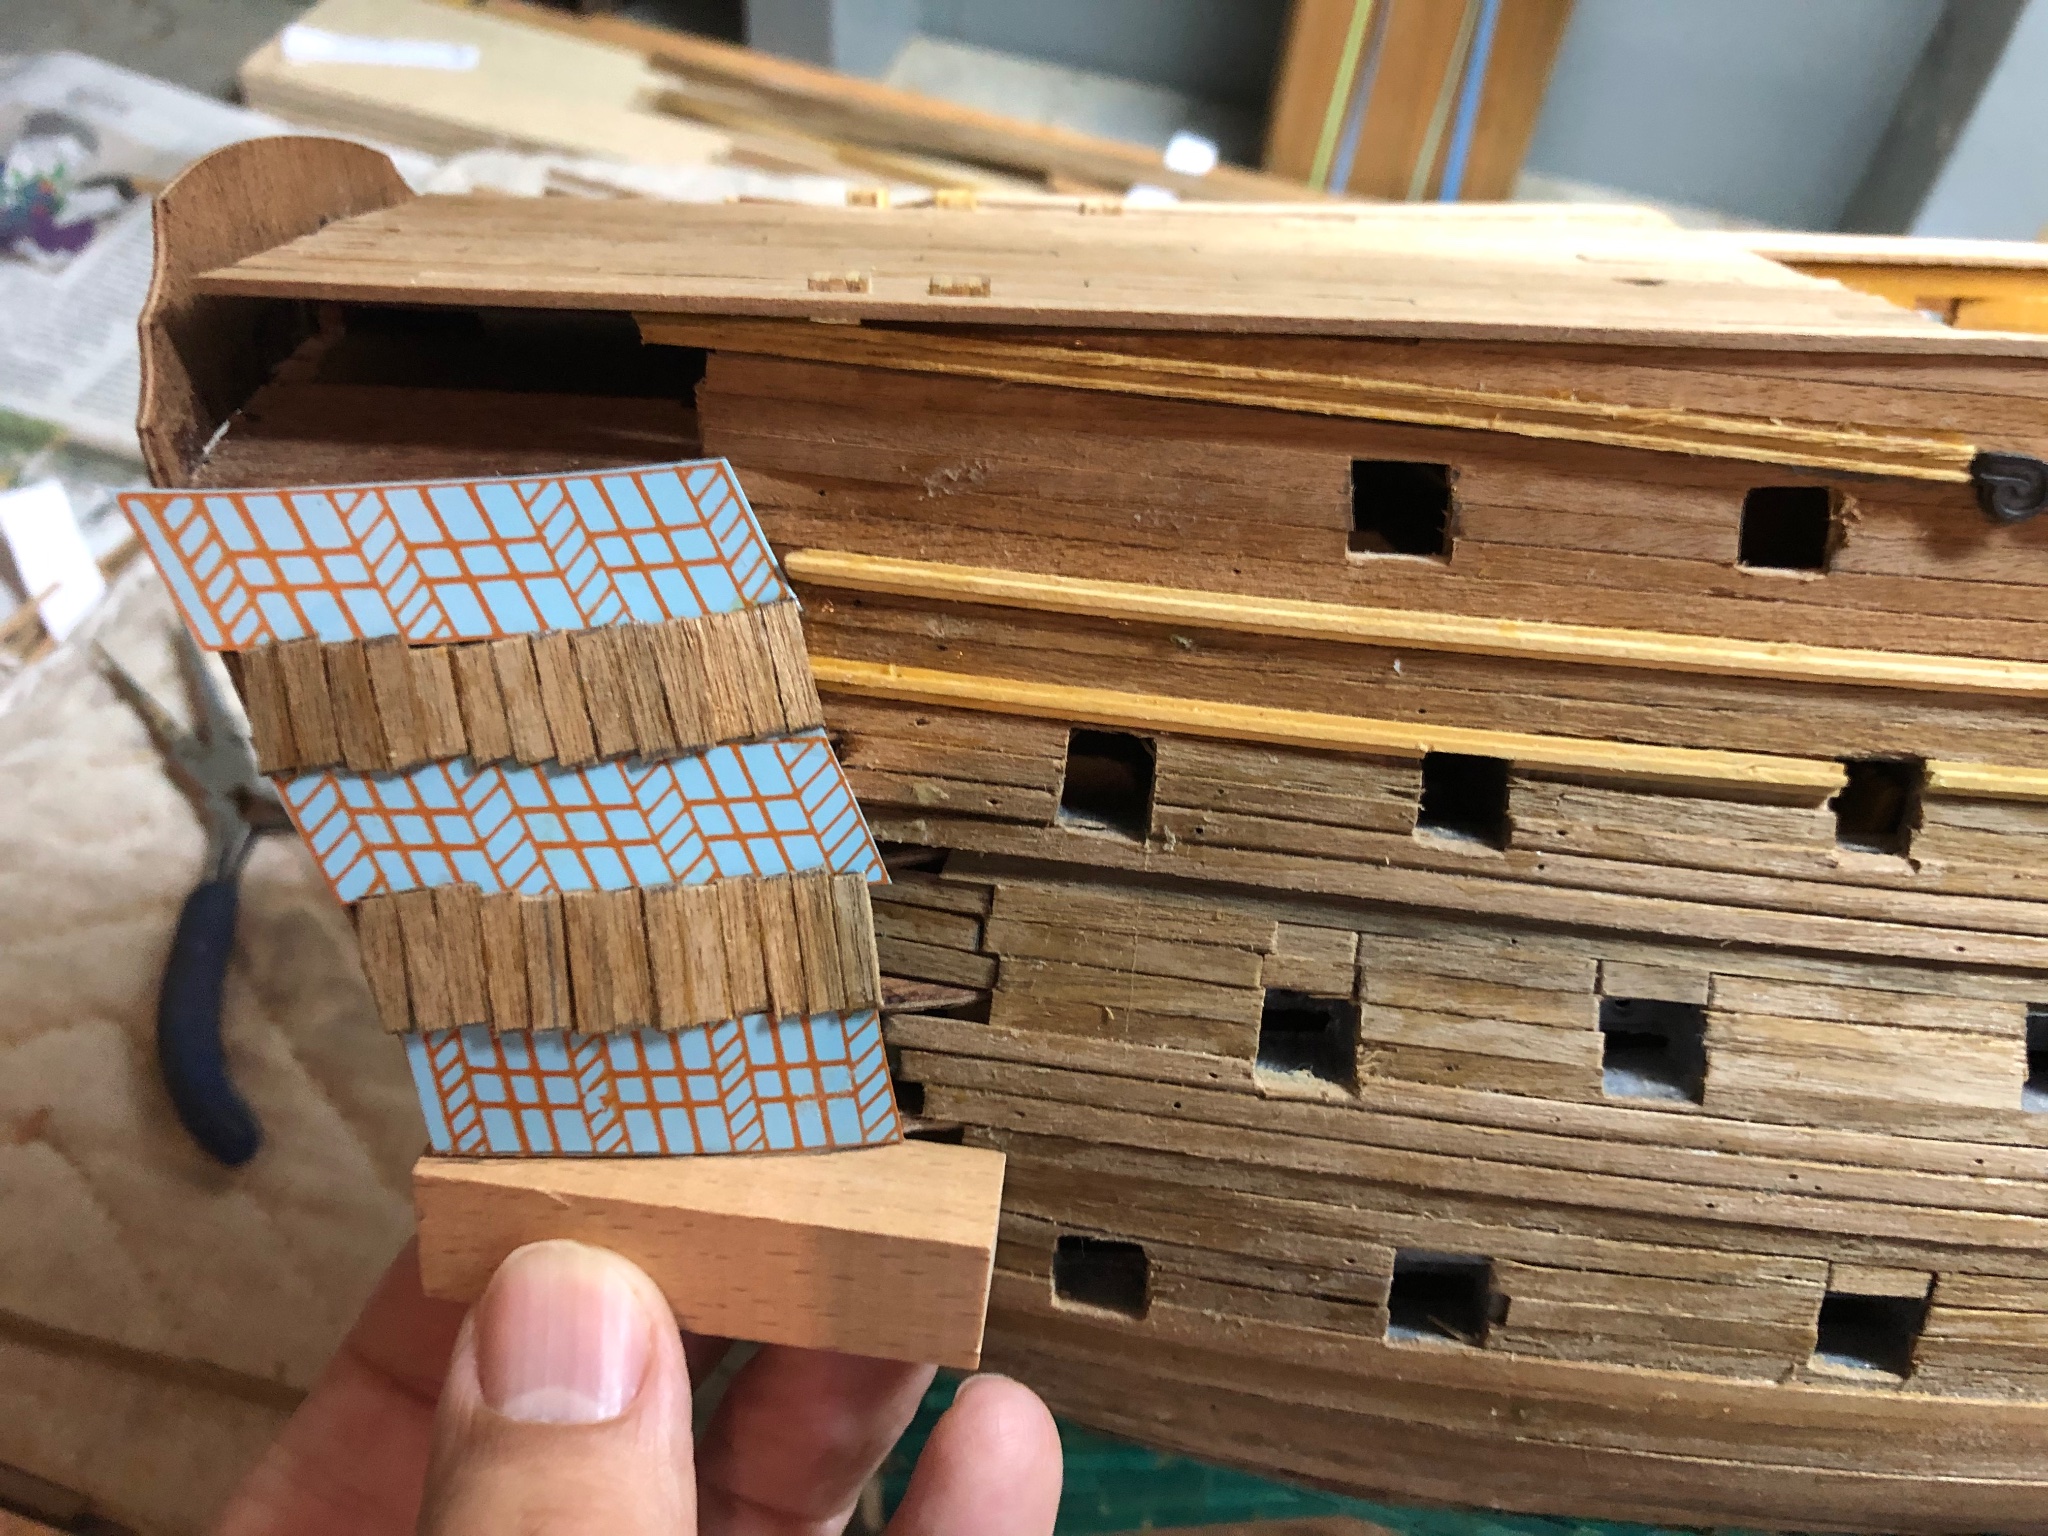
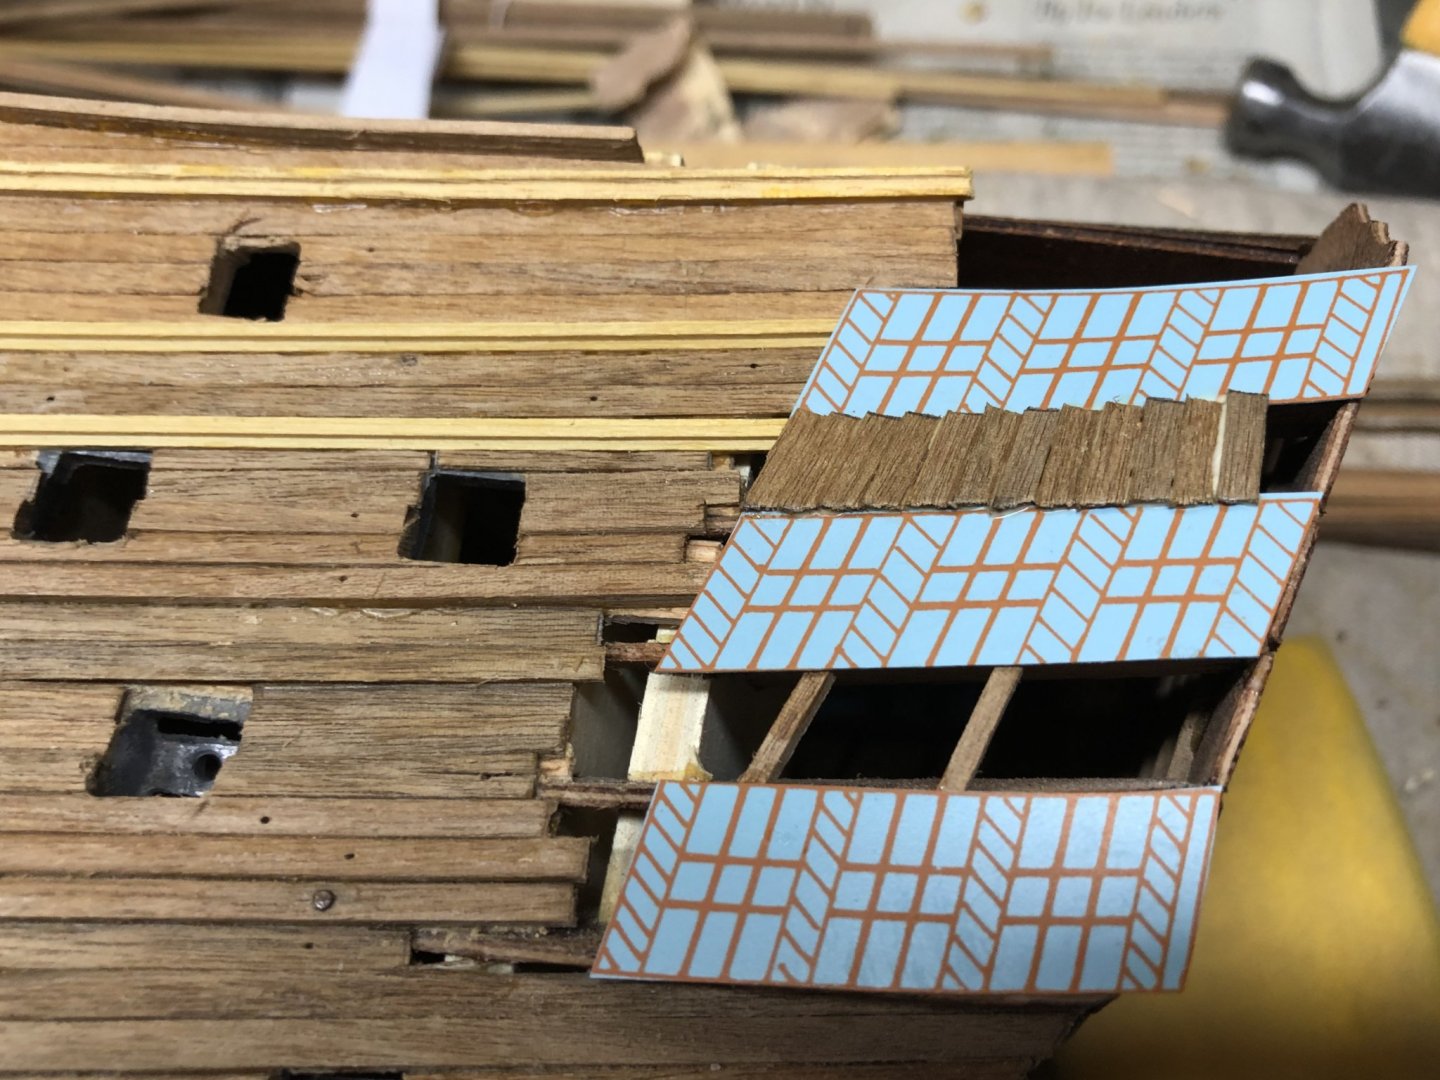
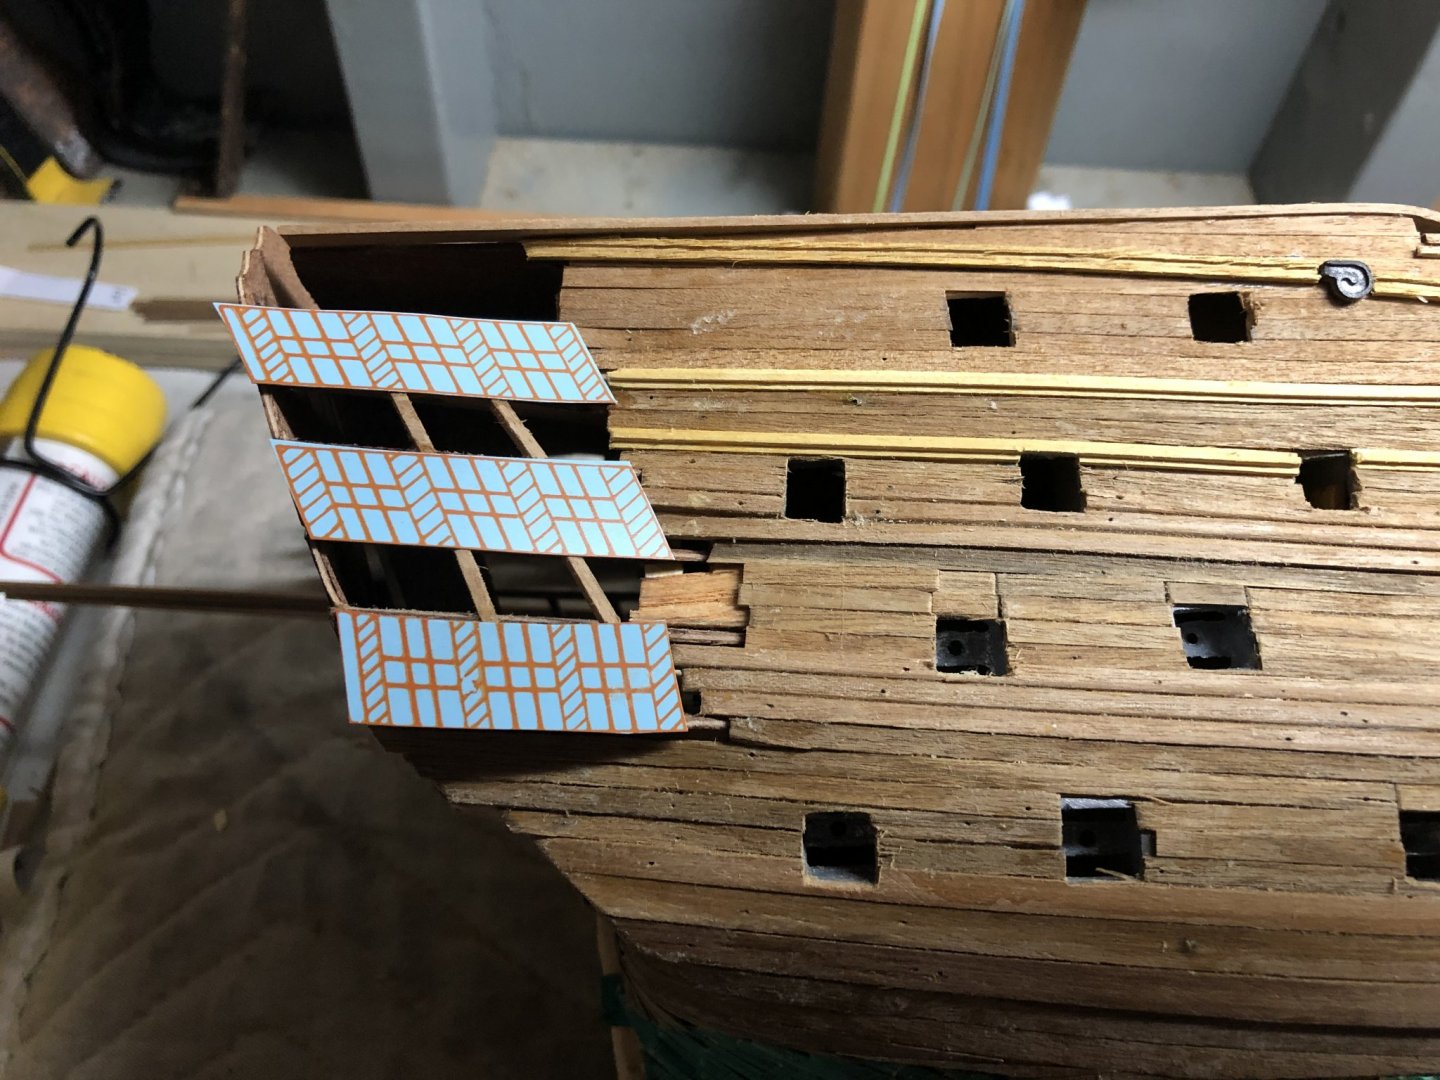
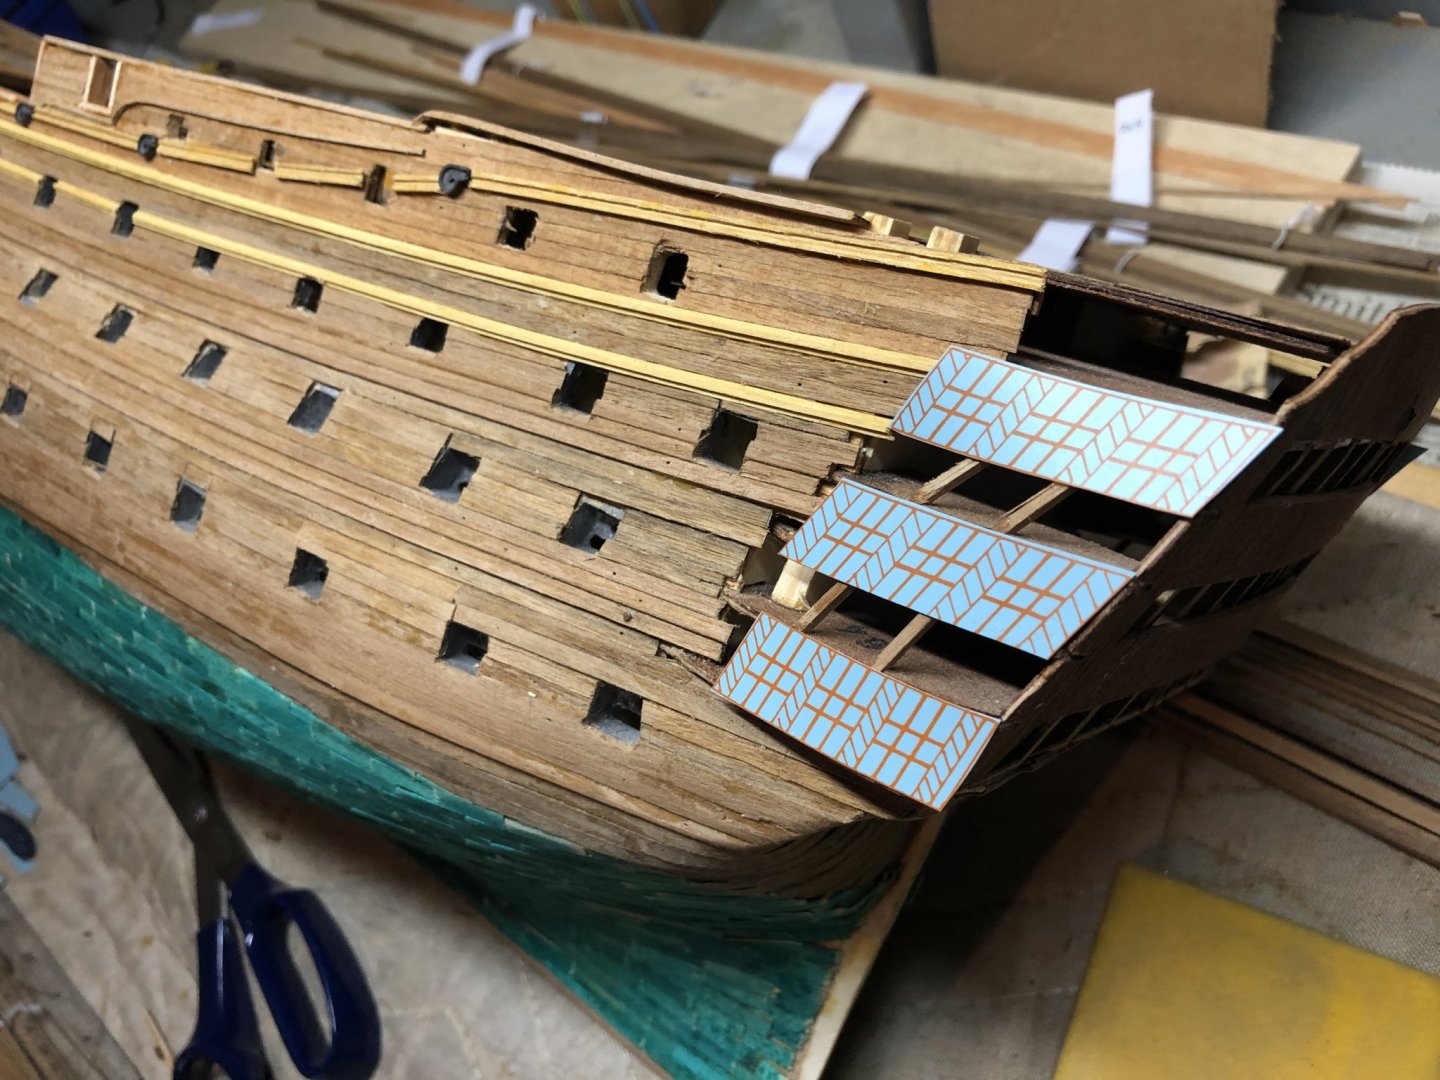
Transom work has begun as I transition to instruction set ‘6’ of the Mamoli plans. The transom windows are on a thicker paper stock, cut out and glued to the sides. This will be the same for the aft windows. I’m sure there are more elegant solutions, similar to use of copper tiles for the hull, but I plan to stay the course with the as provided materials/approach.
-
Very well done Henrik; Agamemnon is coming along nicely. Very impressive work and detail!
-
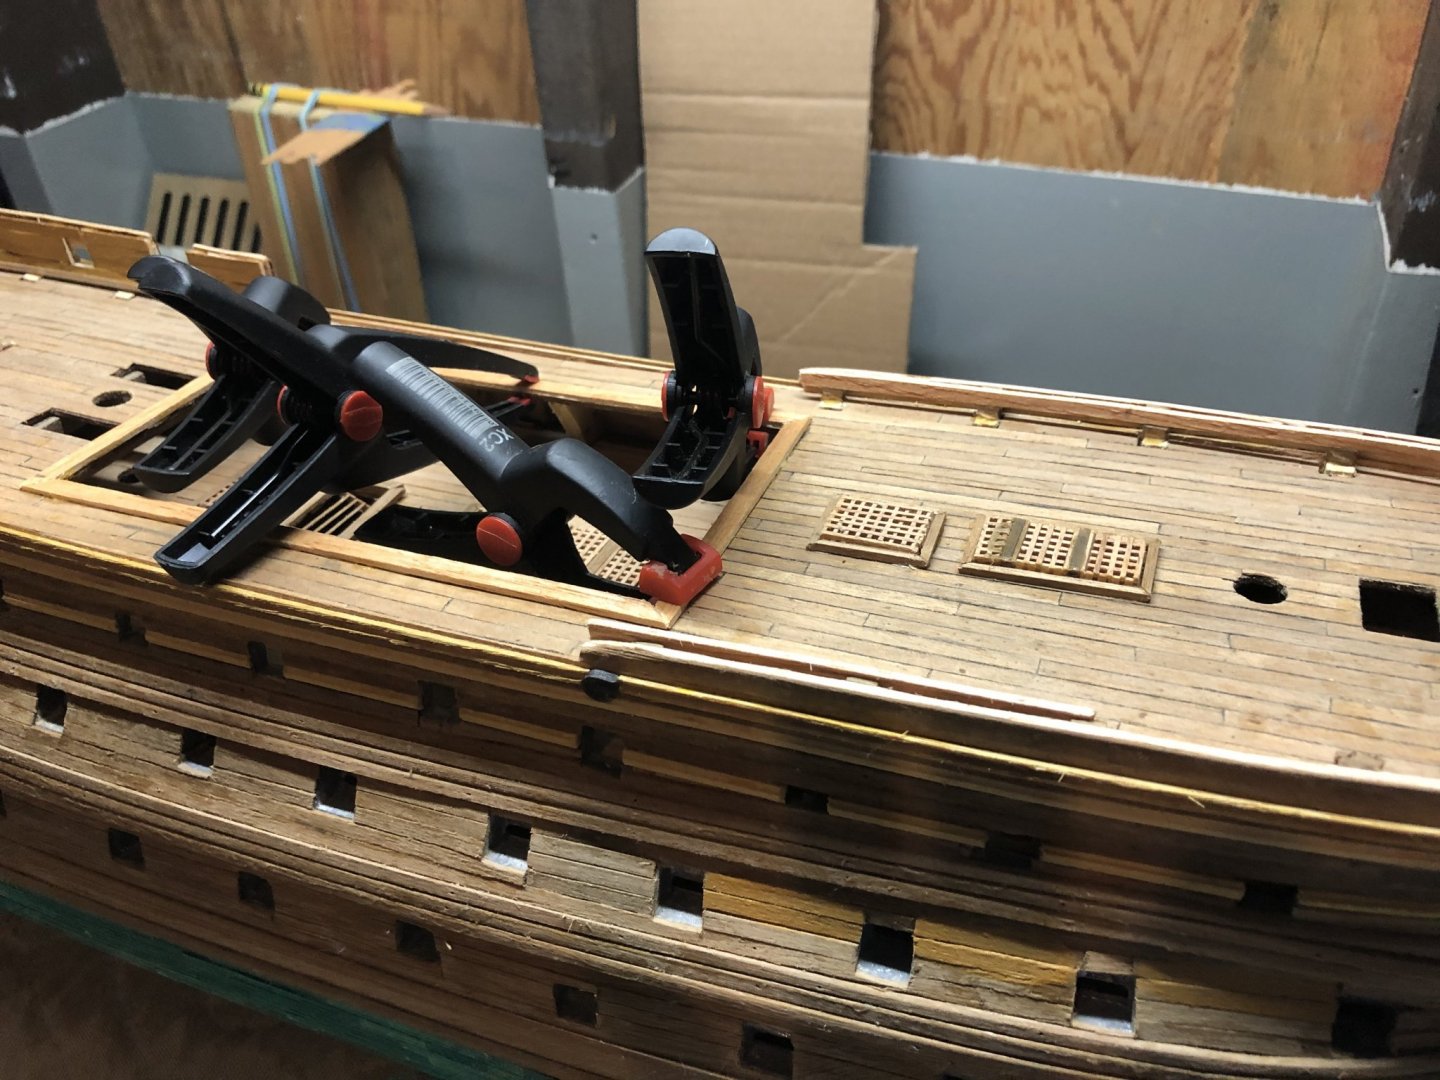
Thank you Nirvana! Appreciate the very kind words! Continuing the bow finishing activities. These clamps are extremely helpful. Seems like there are never enough!
-
Continuing quarterdeck finishing... Should finish up the bow portion this week and then redo the cannon ball storage on the upper deck before turning to the transom.
-
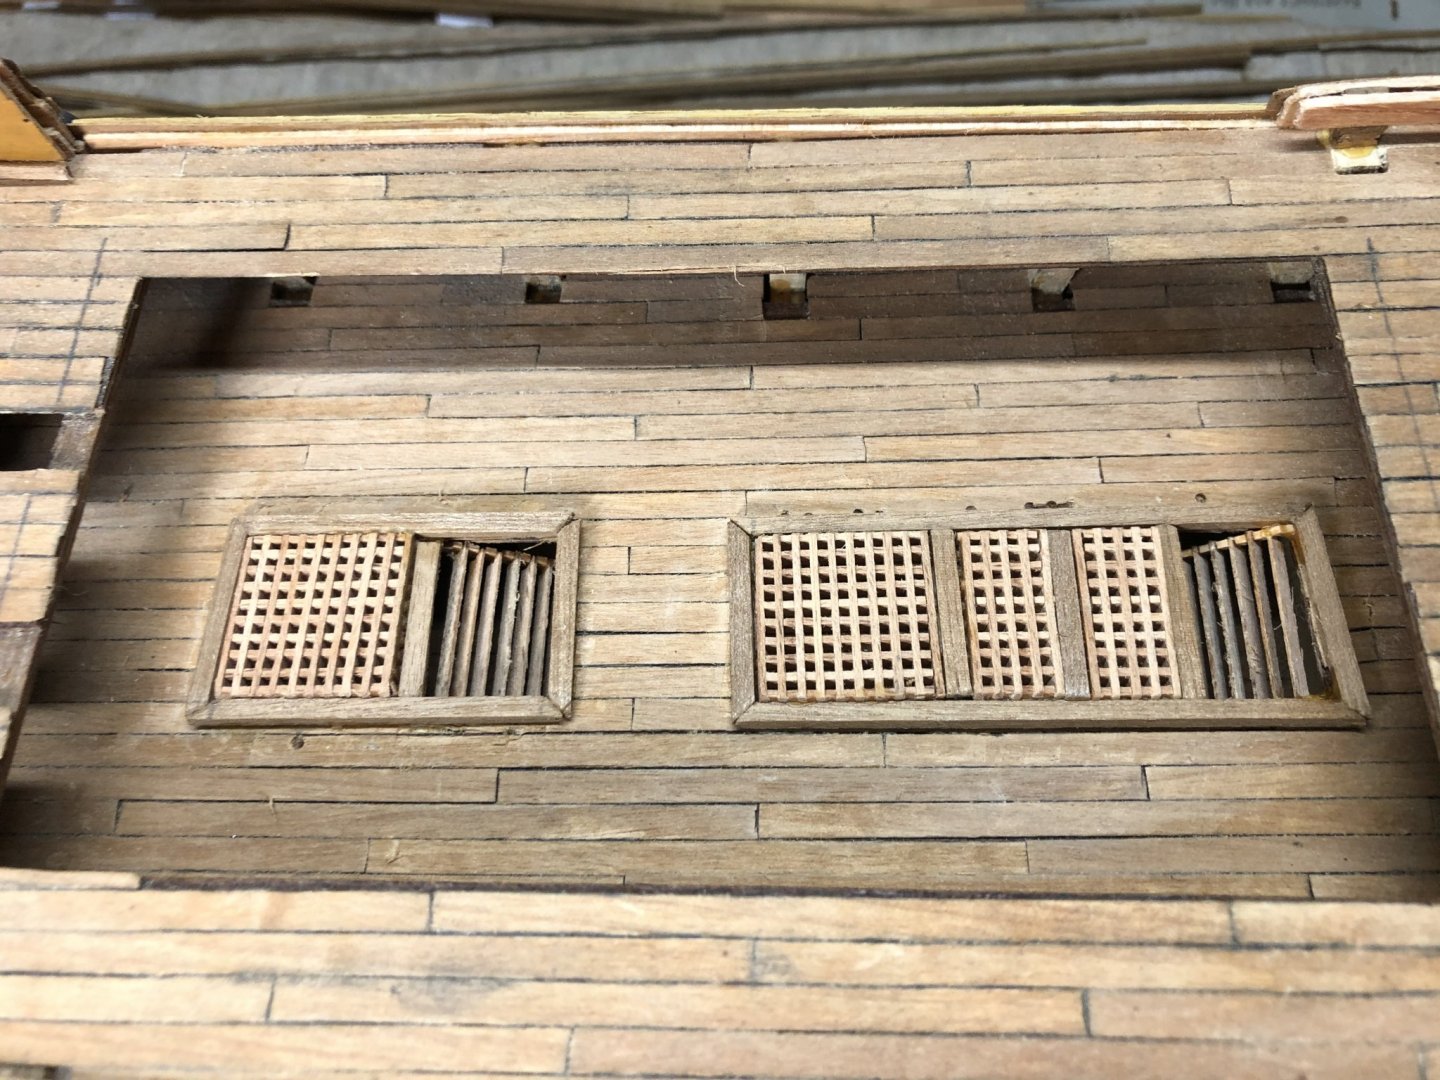
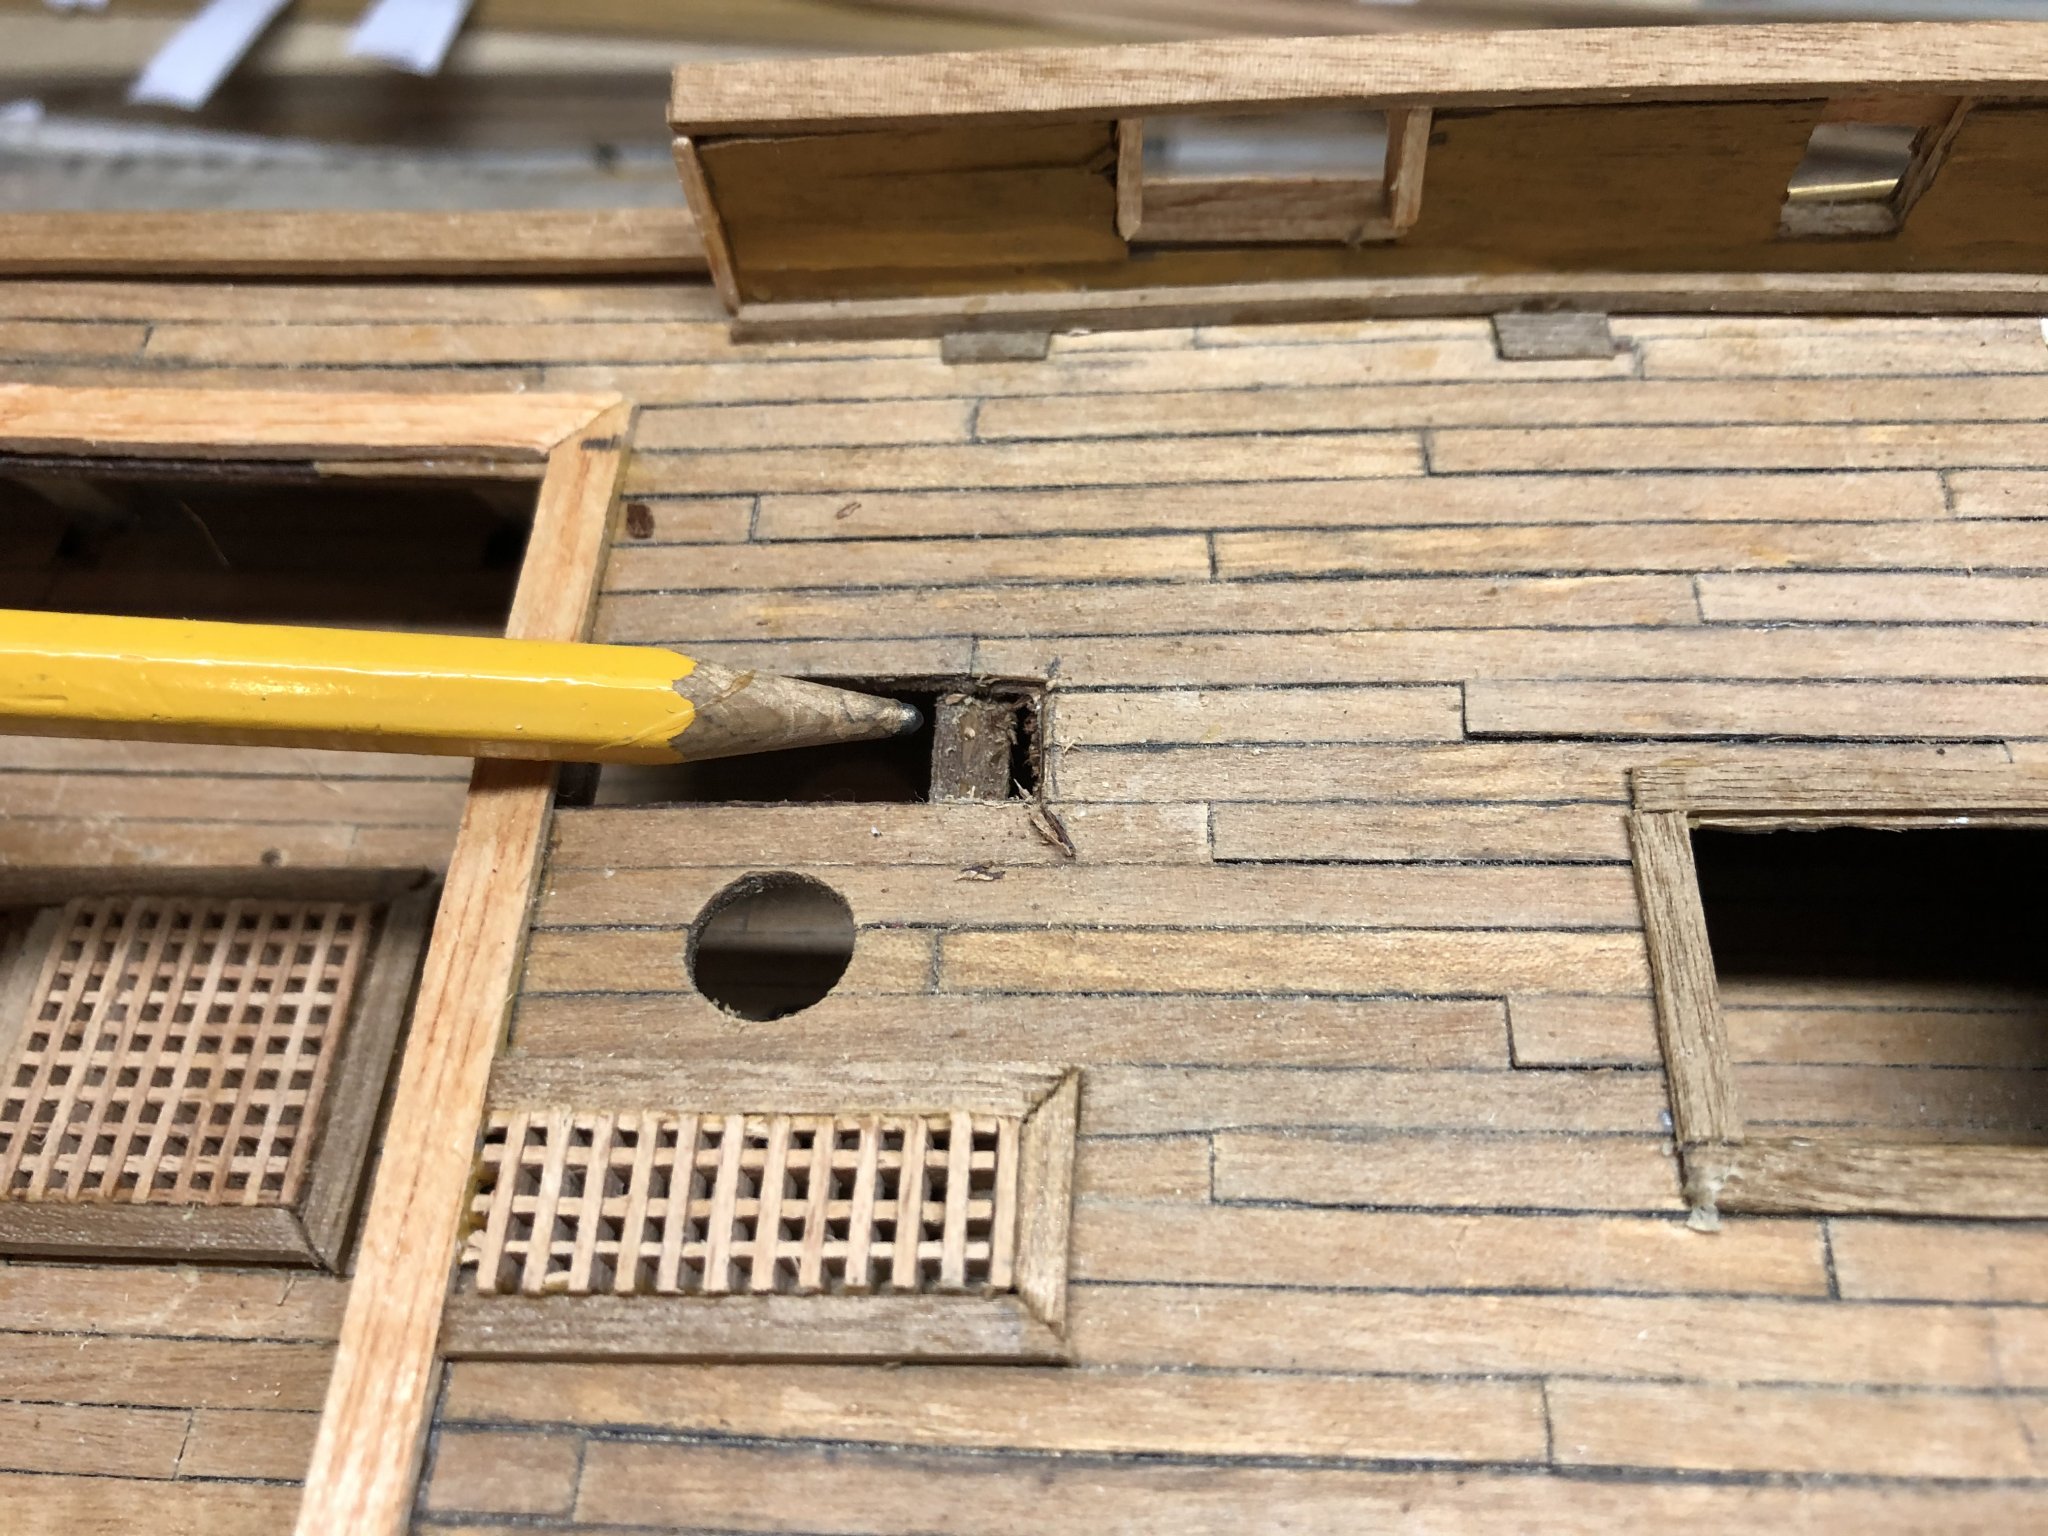
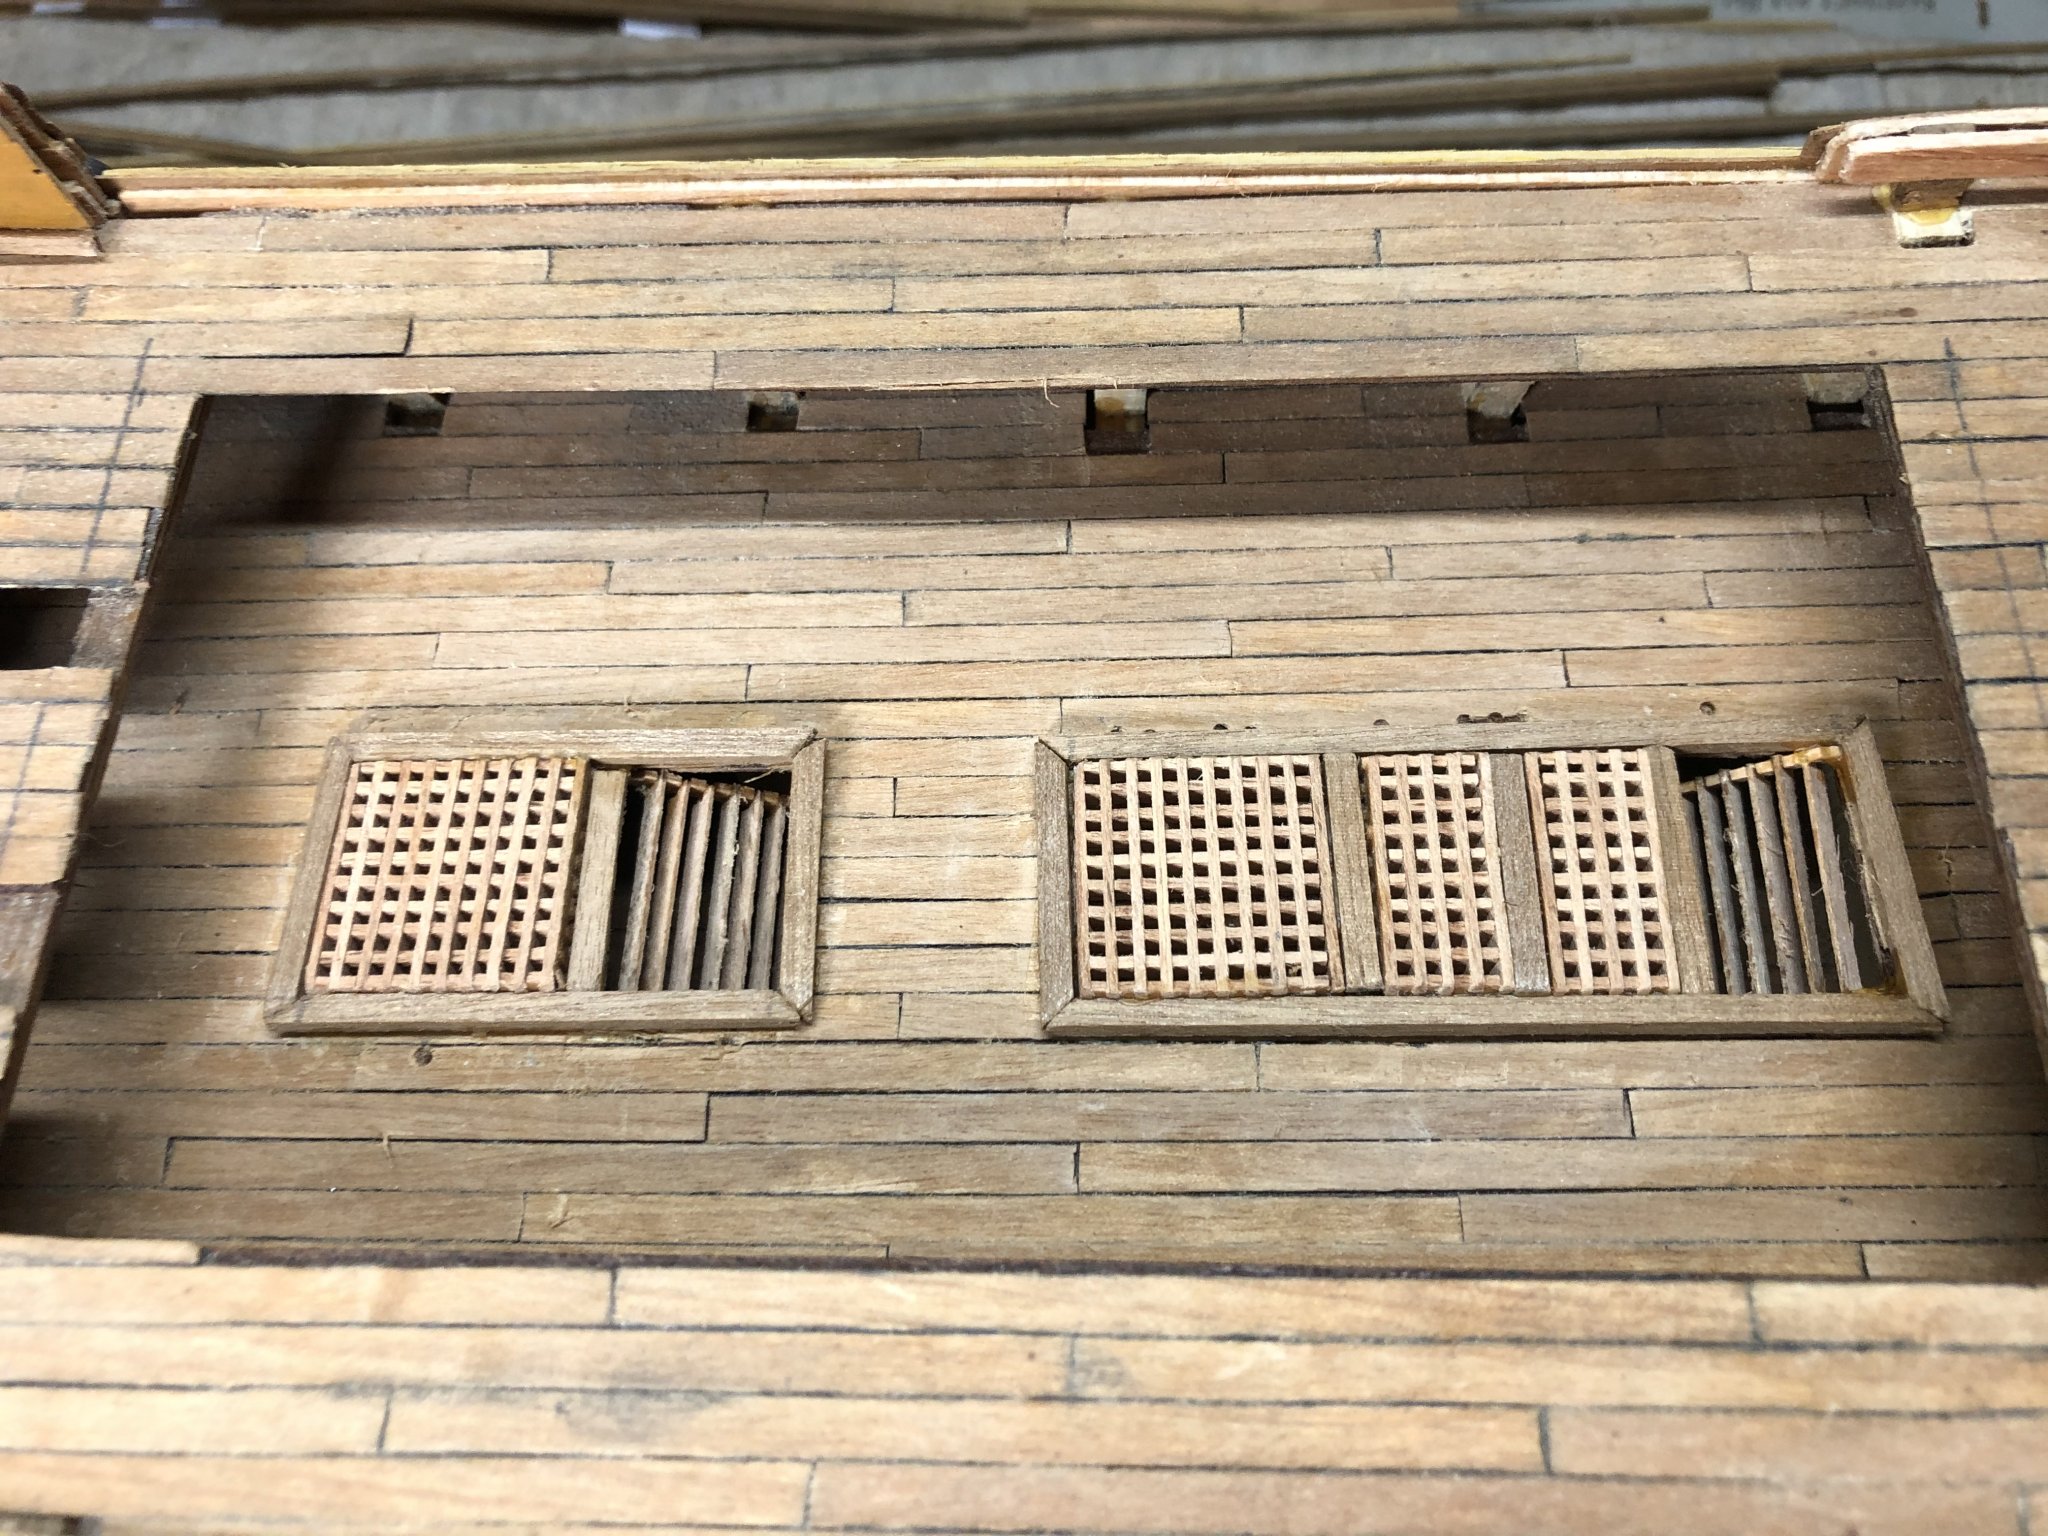
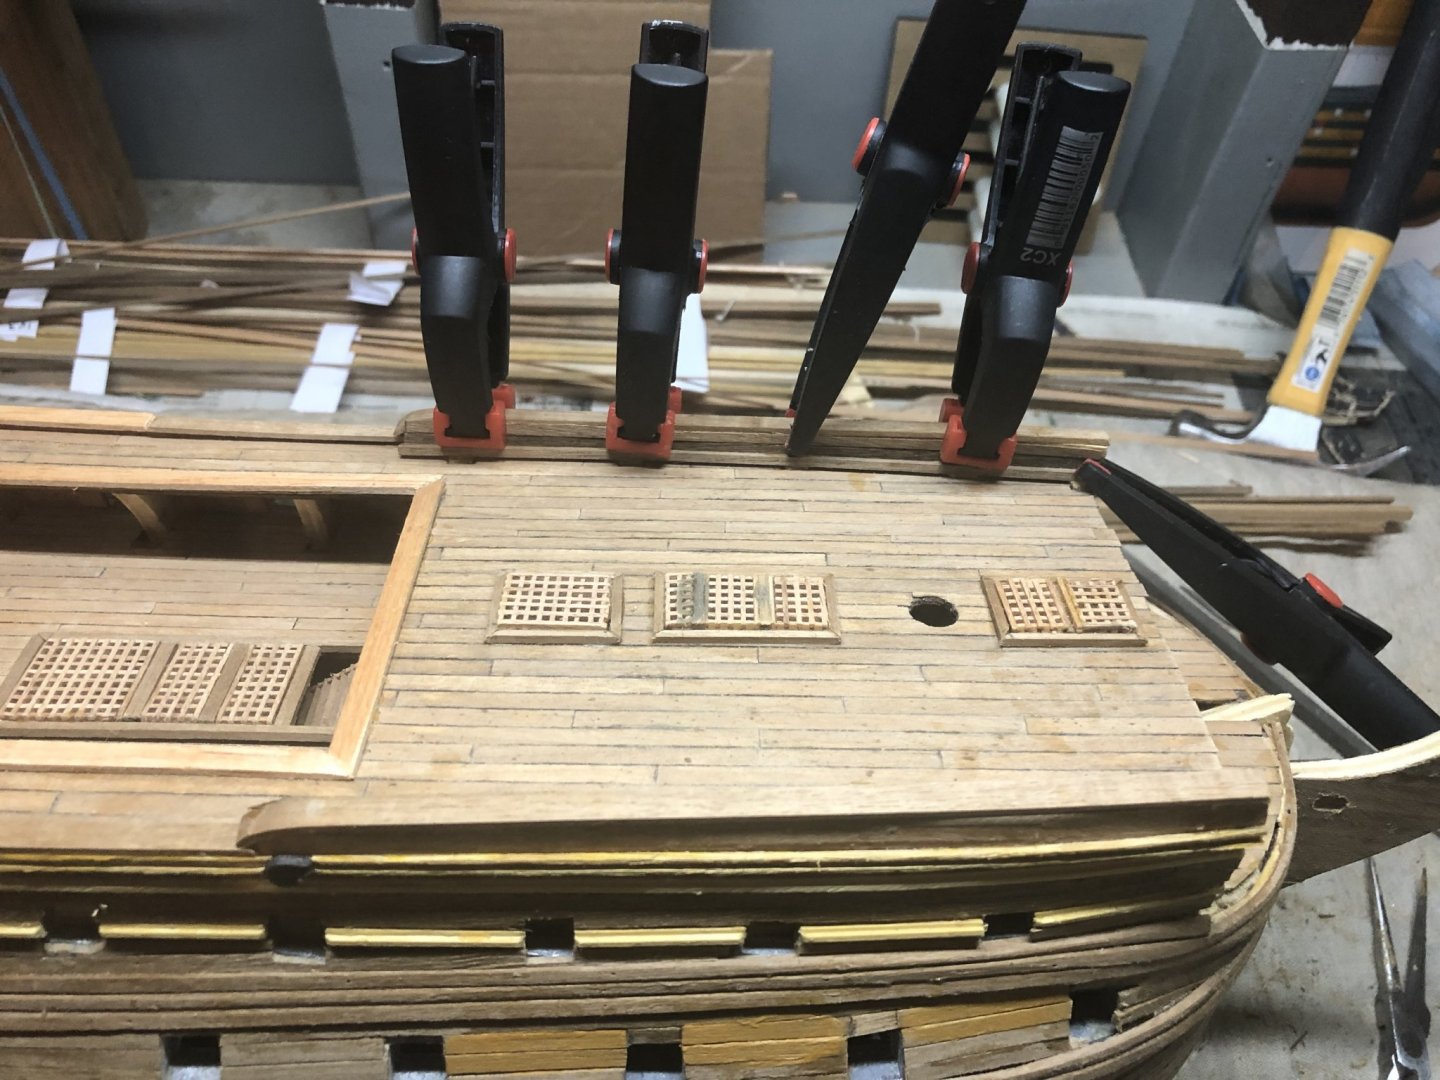
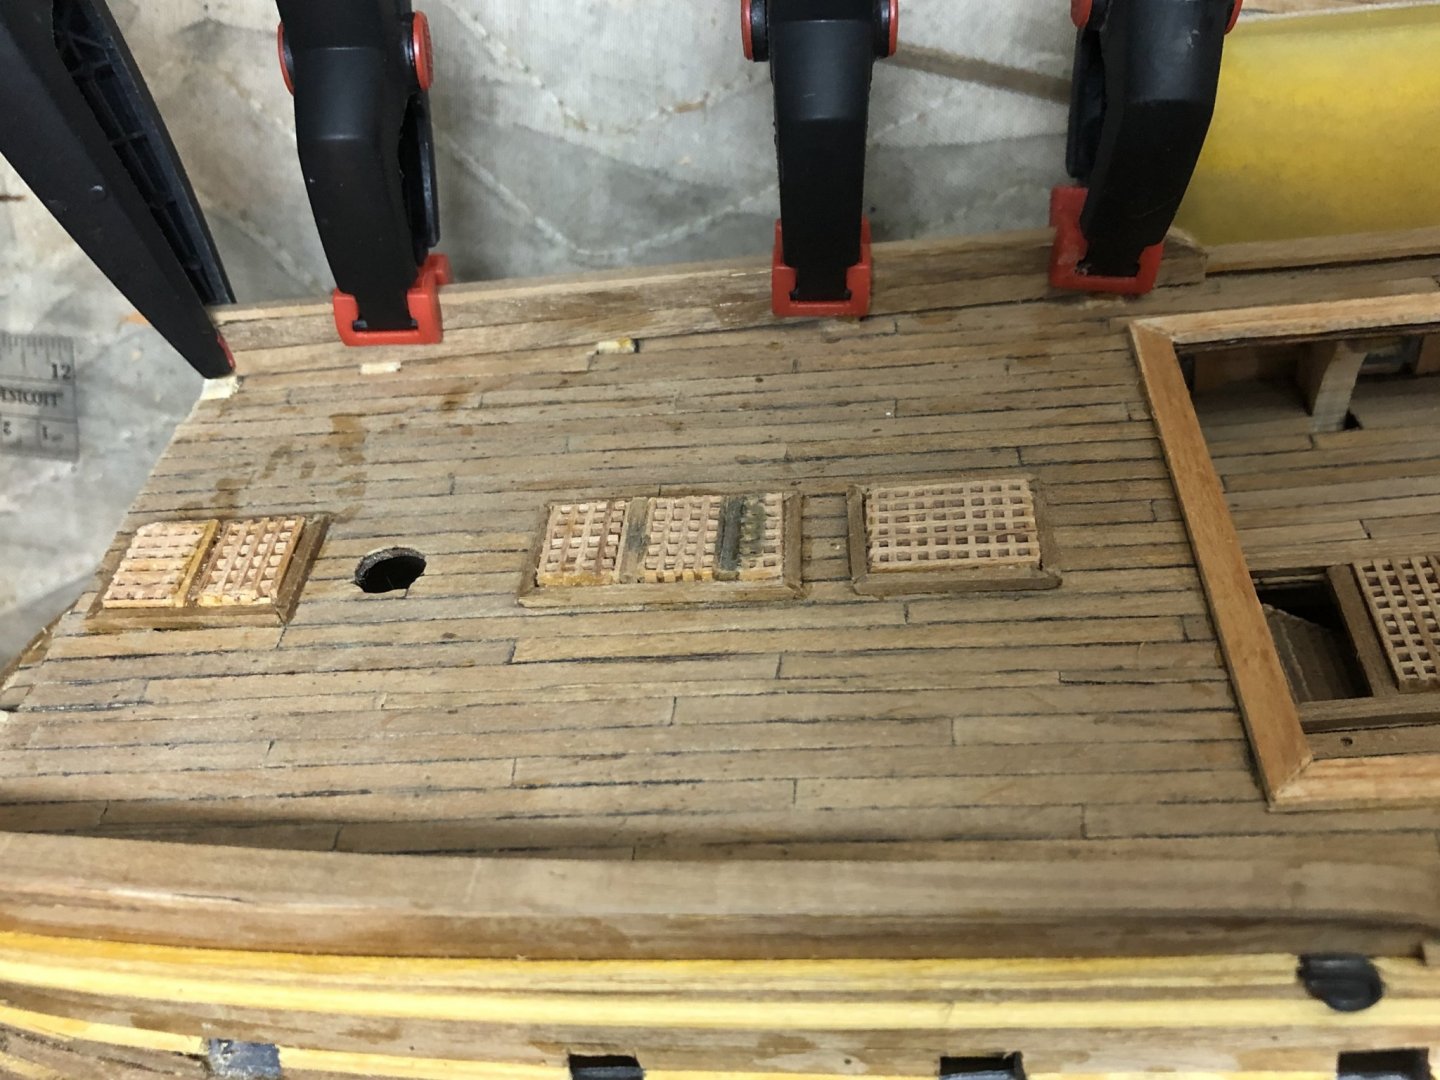
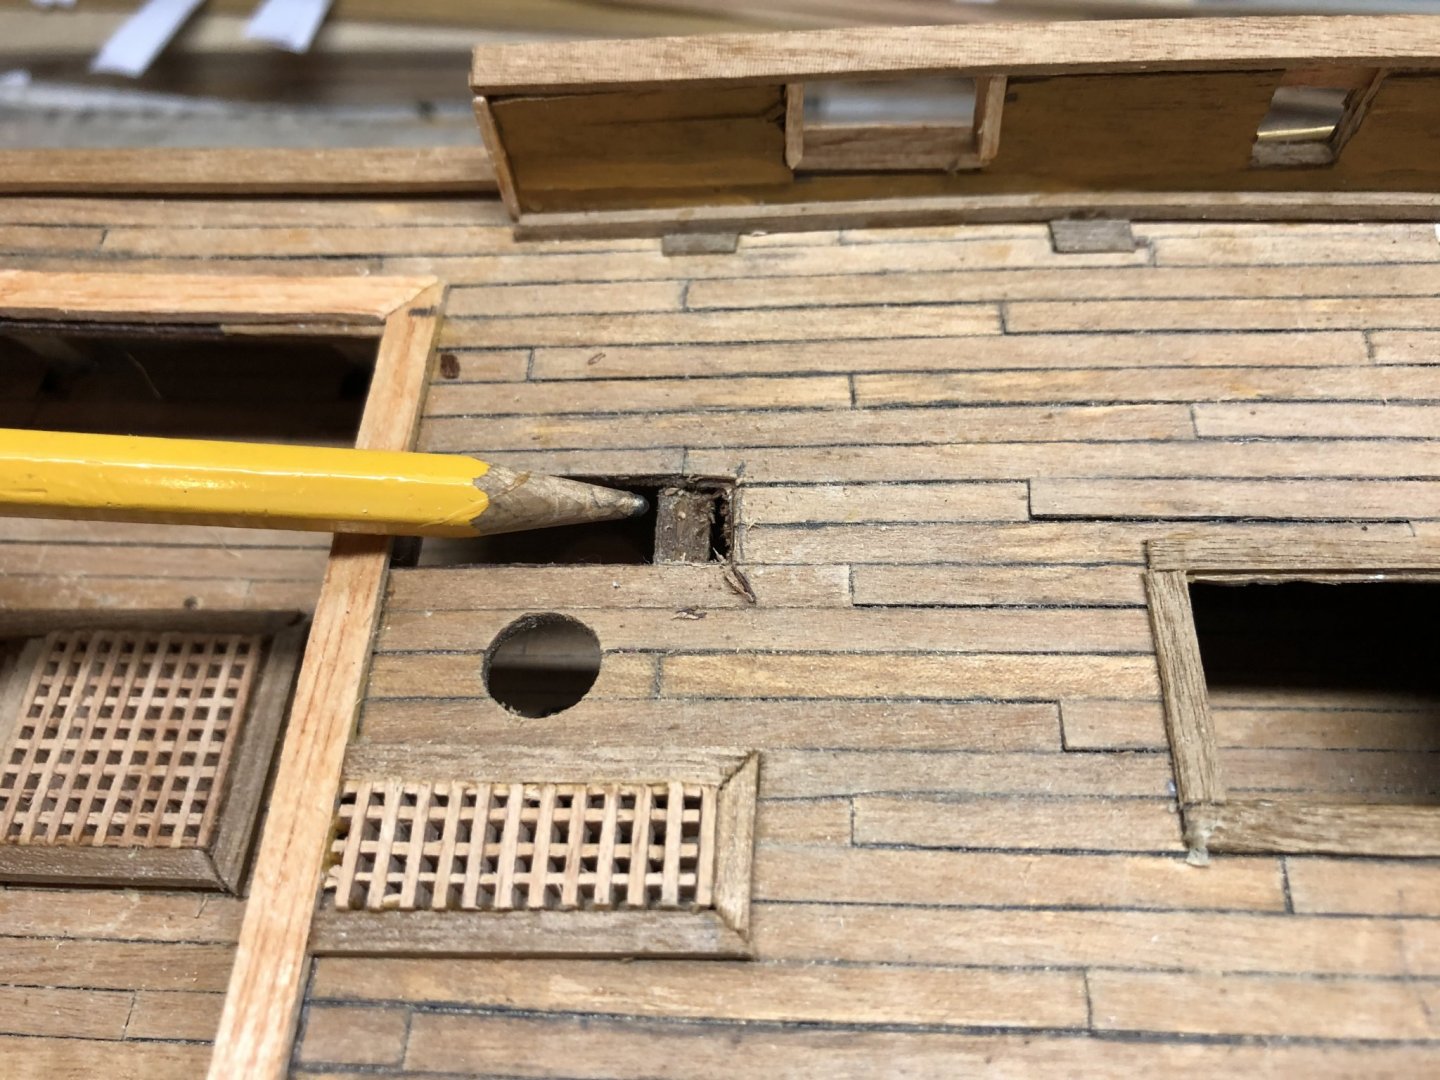
Slow going finishing the quarter deck moldings and running into a few issues along the way. Primarily we have a quarter deck support beam that is running across the aft steam grate on the starboard side. I’ve elected to leave it as is rather than cut it and later face a ‘load bearing’ issue. You can see the finished product.
-
Thanks Emmet - understood. I will see what I can do. For messaging, simply select the member you want to communicate with and you’ll see a hyperlink with a ‘Message Member’ type link near the top. Then write your email/message. However, to respond you have to be in the forum. Select your name/icon and navigate to your messages where you select the appropriate thread and reply within it. You can’t respond externally. Hope this makes sense. Safe journeys!
-
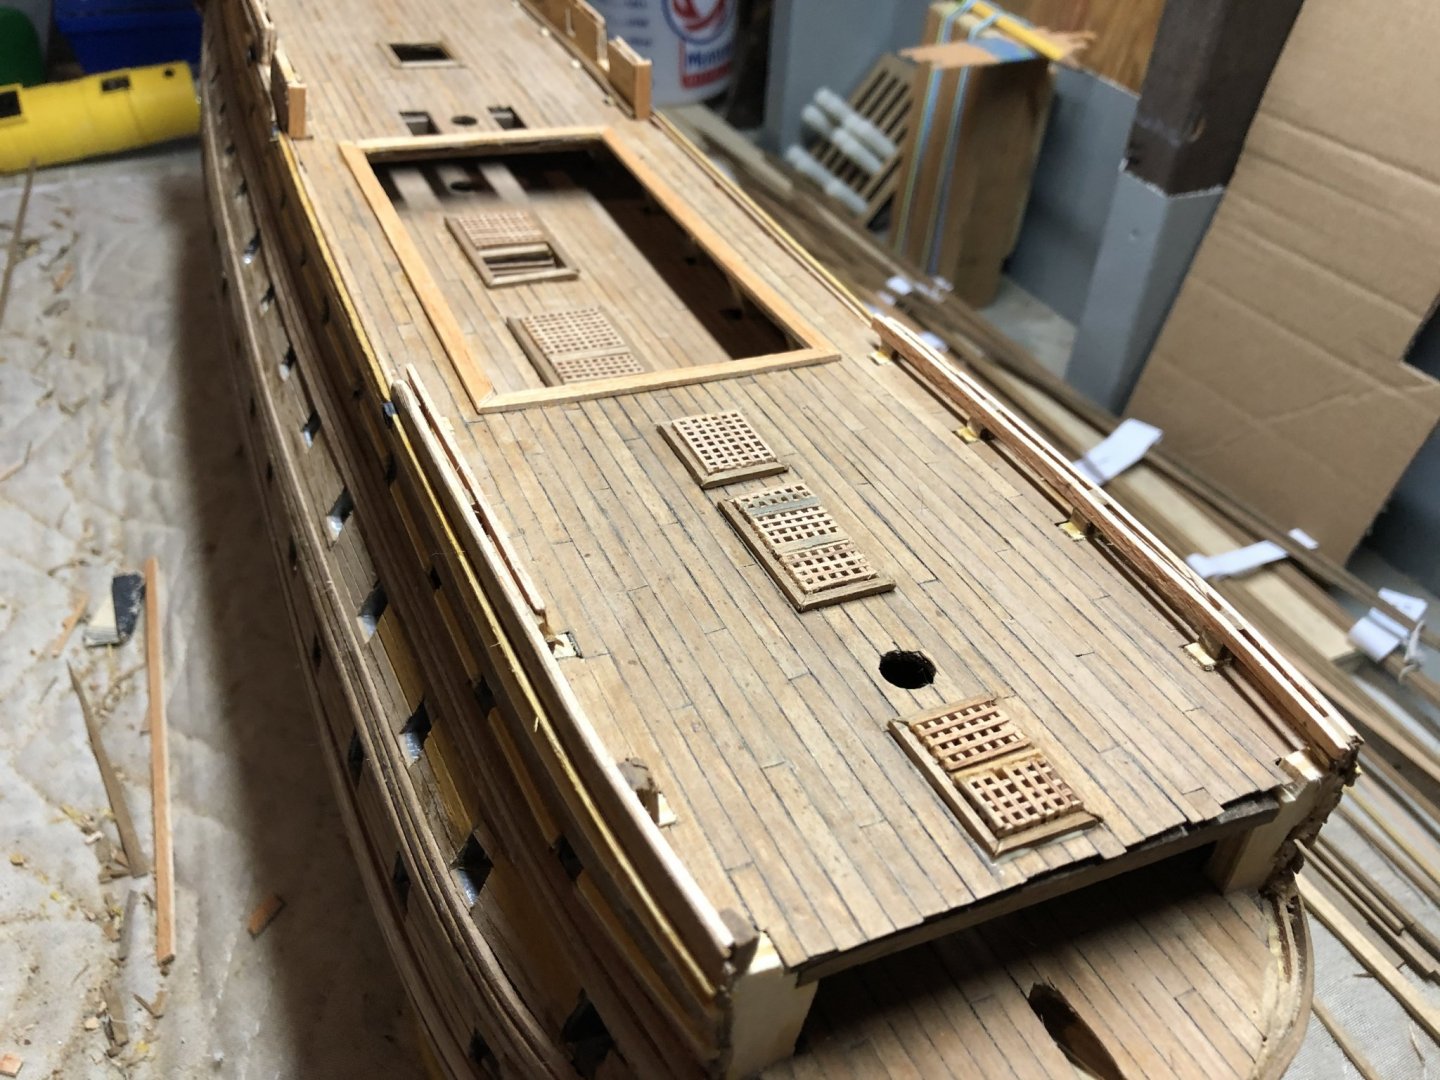
Quarter deck finishing at the bow section. The grates are difficult to work with especially when banding with the finishing moldings. The Mamoli instructions don’t always call out the molding dimensions so I’m using best judgement. I used the deck planking material for the molding parallel to the gang boards because the material wasn’t specified in the instructions (or I couldn’t find it).
-
Quarterdeck finishing tasks....
-
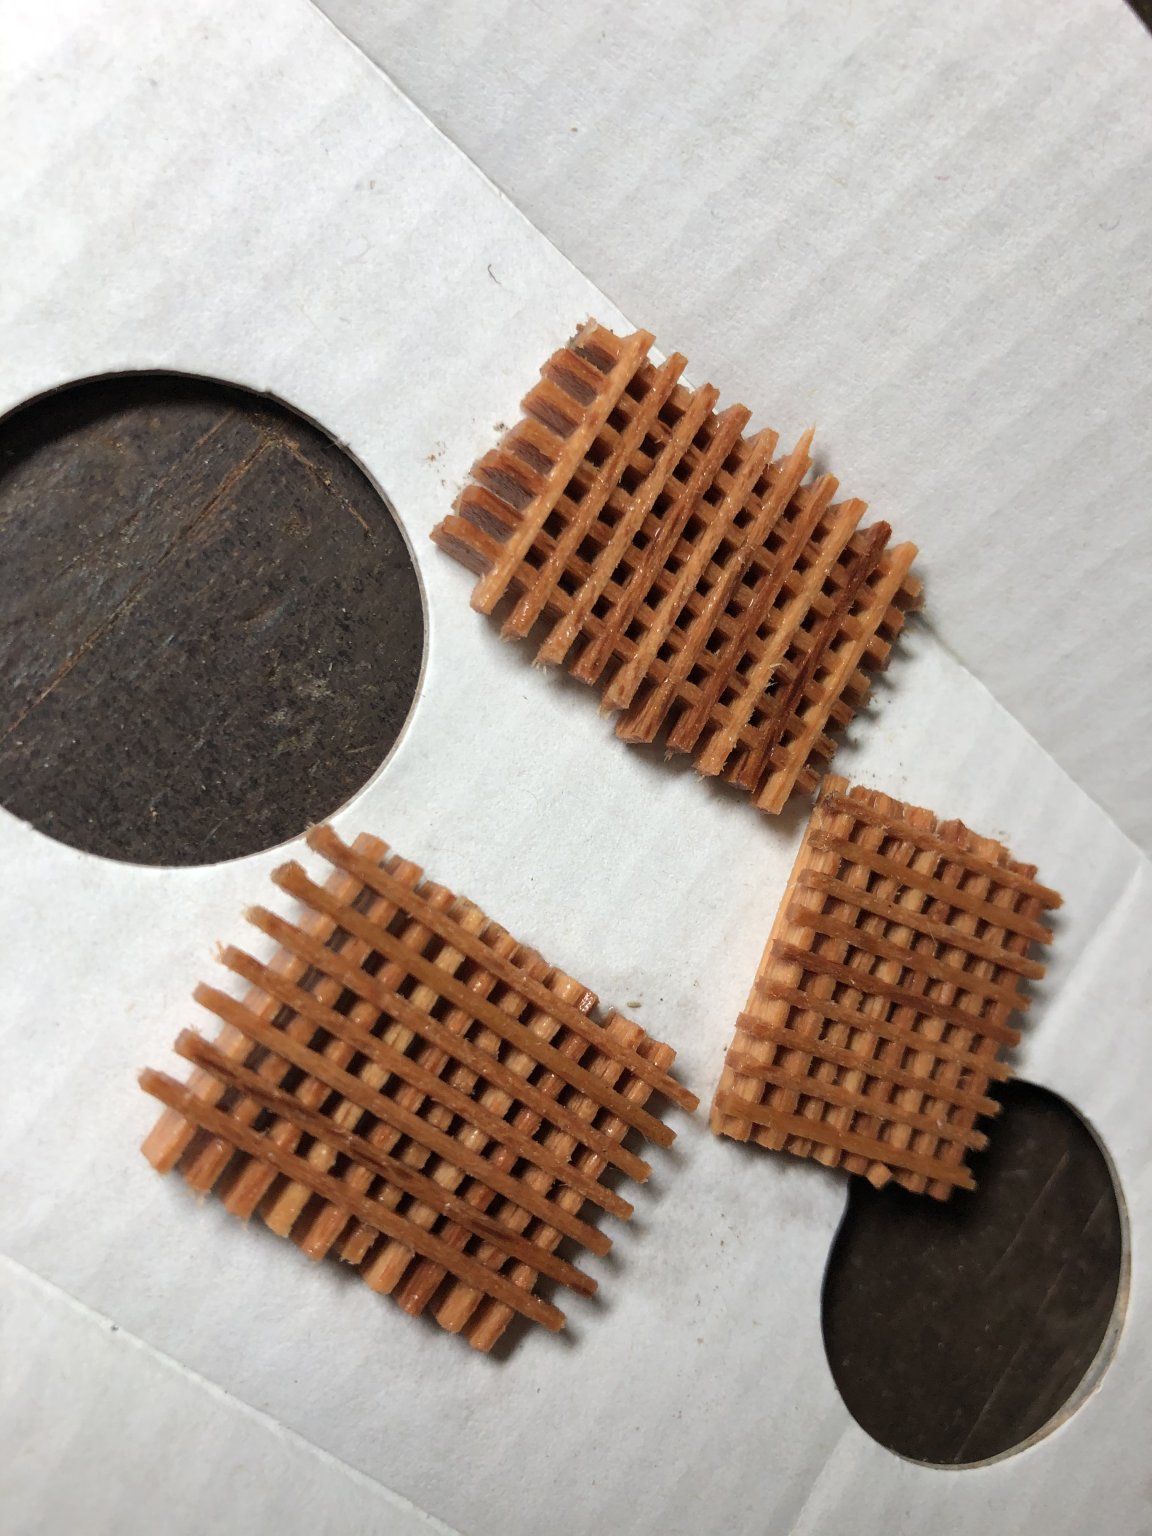
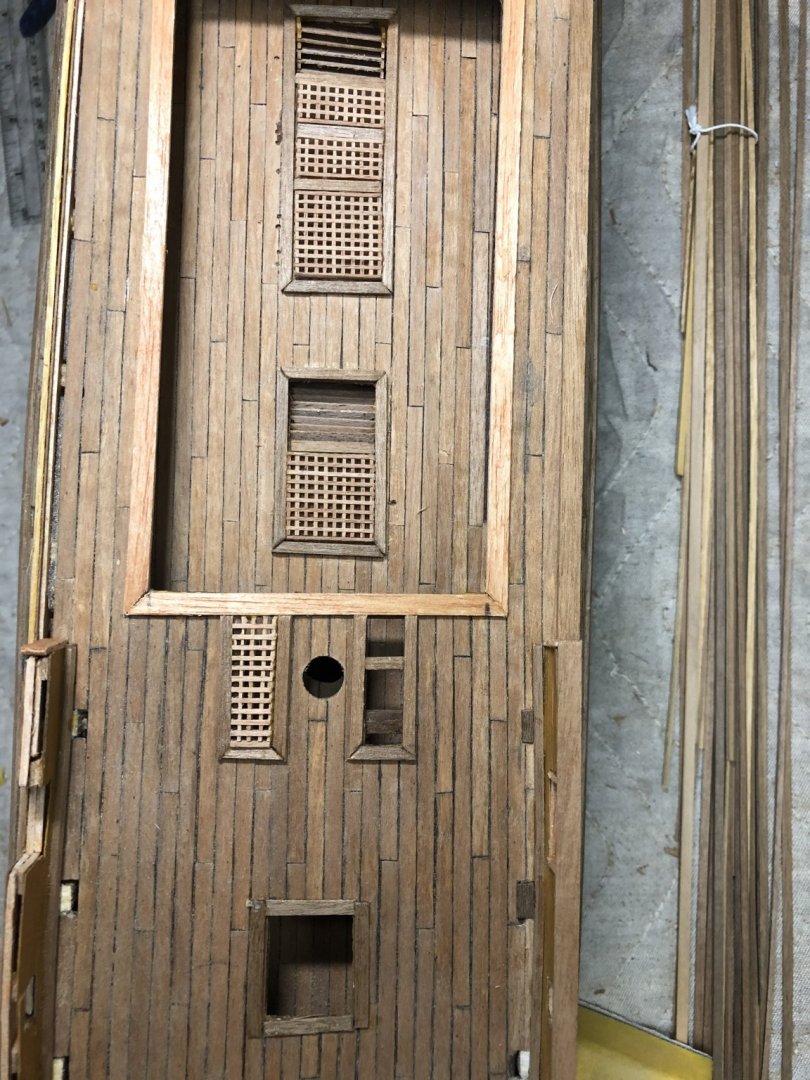
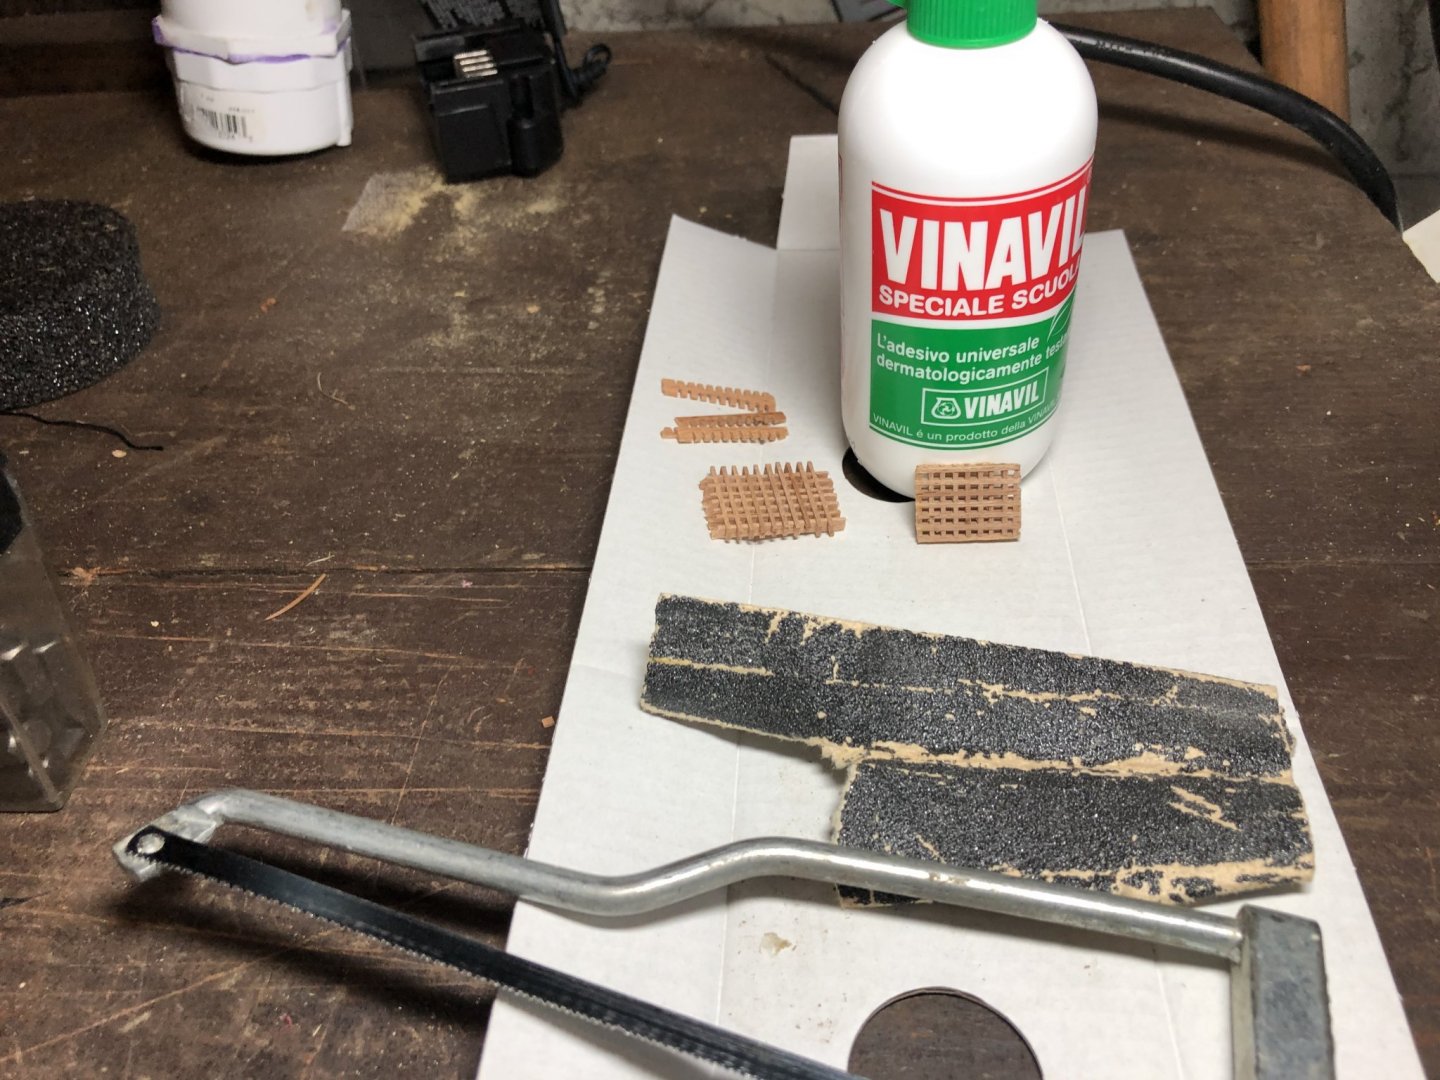
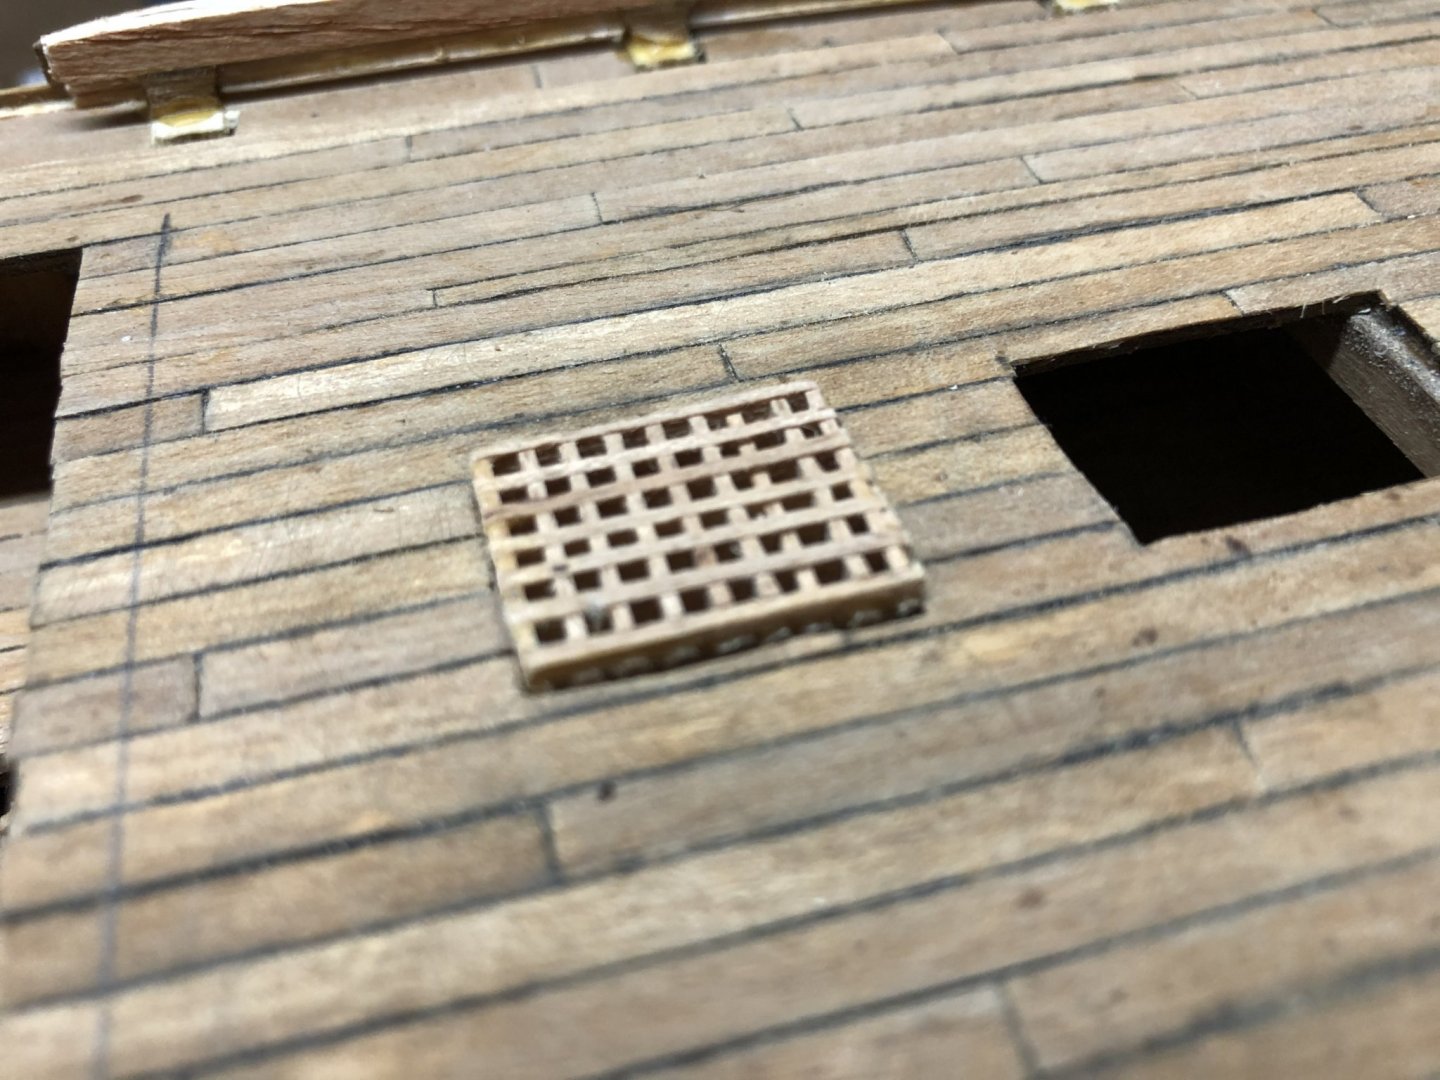
Now that the thrill of planking is largely behind me, I’m working the deck finishing aspects. I’ve included a few pictures of the grates as they progress from pieces to assembled components to the finished grate assemblies. The instructions call for you to assemble the grates, mix some glue in hot water and throw the grates in the glue/water mixture for a few moments. The glue is supposed to adhere with the grate pieces and make it easier to tailor them appropriately. However, after doing this and attempting to cut the grates down to size, the grate wooden sides/parts fall off.... so I’ve been adding some additional glue on the grate sides and then sanding them down once the glue hardens. This takes a bit of time and isn’t really as ‘sexy’ as the planking process is, but if done correctly look good.
-
Upper deck grate moldings replaced and ladder repositioned. I’m having trouble putting the cannon ball fixtures on the brittle walnut laths. Will have to go even slower. Preparing the fore quarter deck grates.